Raijintek Atlantis Series Antila D5, Calore C240/360D, IRIS 12 RBW-3 Review
Raijintek was established in 2013 and within this short time, the company has made its way to earn themselves a good reputation in the market. Their aim is to design high-end products for lifestyle, computer, and day-to-day usage. Their products are designed in Germany and manufactured in China. Their products range include Power Supplies for the PC, Cooling solutions in both categories of air and water, custom loop components, PC Chassis, fans, and accessories. Their lifestyle product line is intended for the smartphone and tablet users in the form of accessories.
Raijintek has recently upped their game of custom water cooling by releasing new core components such as CPU Water Block, Pump/Reservoir combo, 240mm and 360mm radiators in Atlantis series. Though they are not available in the form of a kit; a hard tubing based kit is expected from the manufacturer very soon. Since these components are not in the form of a kit hence, we will be taking at each individually and with a combined testing to measure the thermal performance. We have already published a review of the CWB-RGB CPU Water Block. A link of the content will be provided in this content below. The Antila D5 RBW is an improved version of the Antila D5 with one more port at the bottom and addressable RGB LED lighting up top. It is using a Laing D5 pump with 900 L/h flow rate and variable speed control at the users’ disposal. To harness the true cooling potential of the concept, the Raijintek has released fully copper based 240mm and 360mm radiators named as Calore C360D and Calore C240D. Each is 65mm thick radiator with 14 FPI count along with a triple-row 14-set flat tube design and brass tank. IRIS 12 RBW ADD are there new addressable RGB LED fans based on the IRIS 12 Rainbow series which were limited to 256 colors. These fans are 120mm ones rated for maximum RPM of 1800 and are using Hydraulic bearings. Maximum airflow value is 35.8 CFM with 1.16 mmH₂O. Without a further a due let’s dive in and see what these components have to offer not only in terms of the form but functionality in particular.
| Item | Antila D5-RBW Pump/Reservoir Combo |
| Calore C240/C360 Radiators | |
| IRIS 12 RBW ADD-3 fans | |
| Manufacturer | Raijintek |
| Pricing | Antila D5-RBW £90.00 |
| Calore C240D £60.00 | |
| Calore C360D £70.00 | |
| IRIS 12 RBW ADD-3 £40 |
Antila D5-RBW
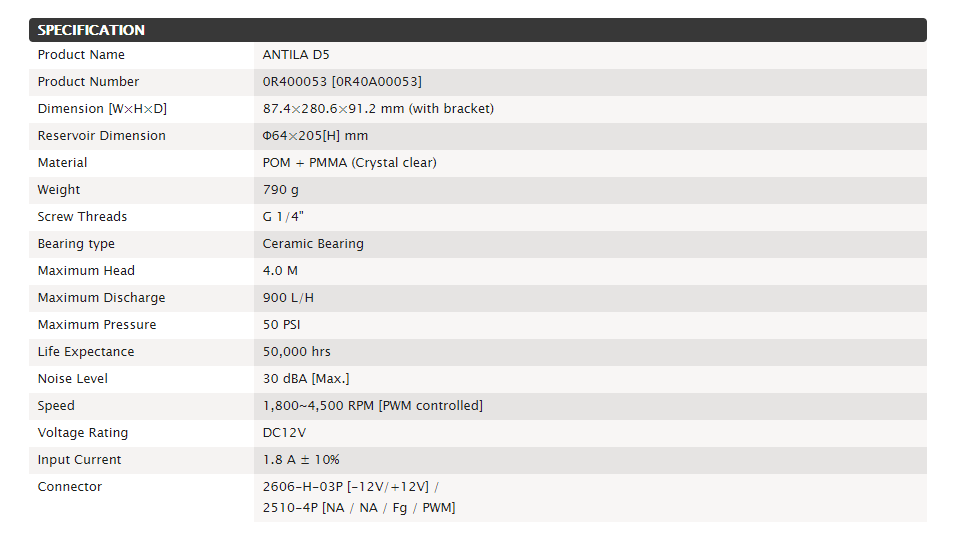
Let’s start with Antia D5-RBW Pump/Reservoir combo. Here is the specification of the unit:
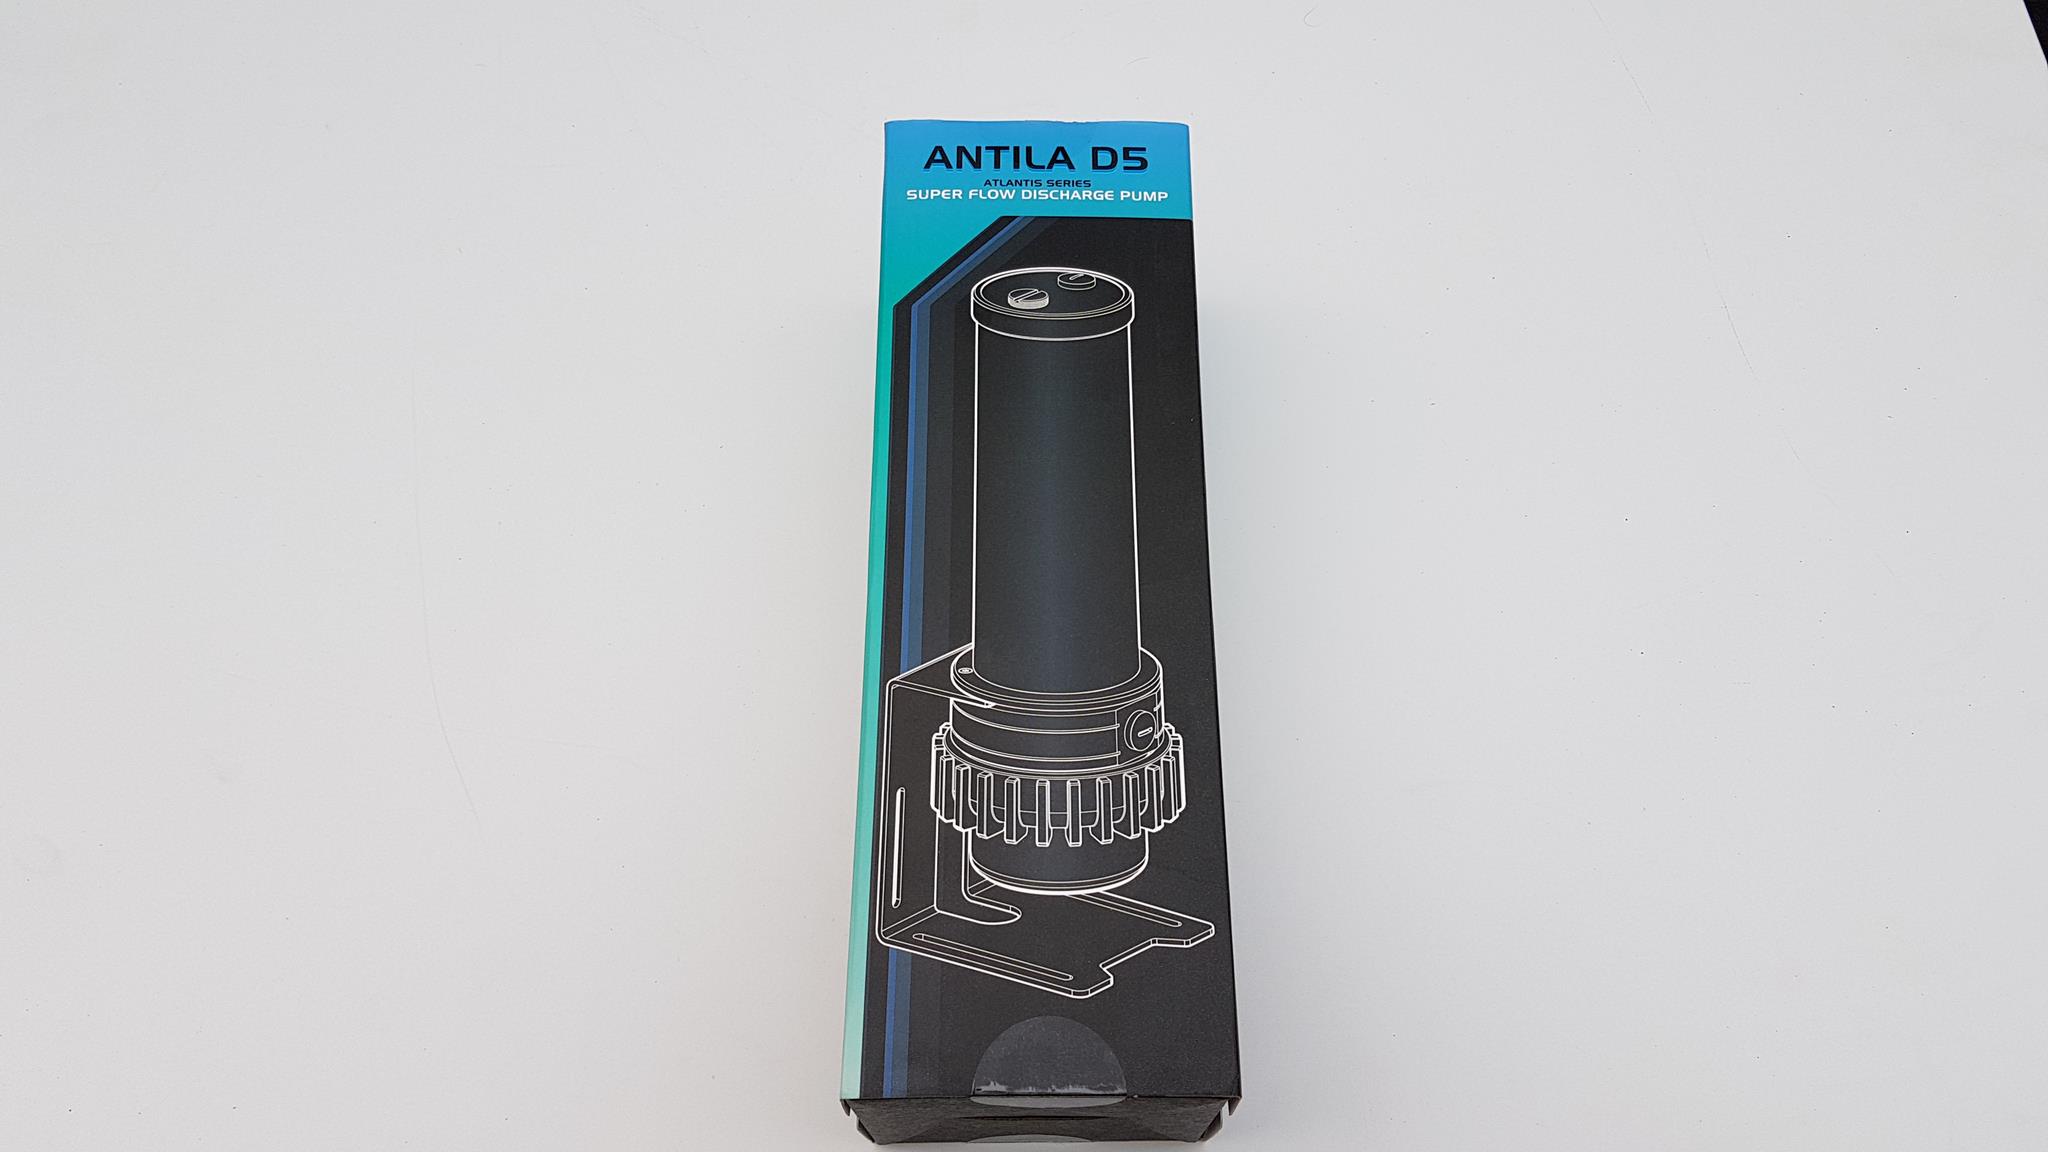
The unit is shipped inside a cardboard box of black color. There is a paperboard packing on top of the cardboard box. The front side of the packing box has Antila D5 printed on the top. There is a diagram of the unit printed on the main section.
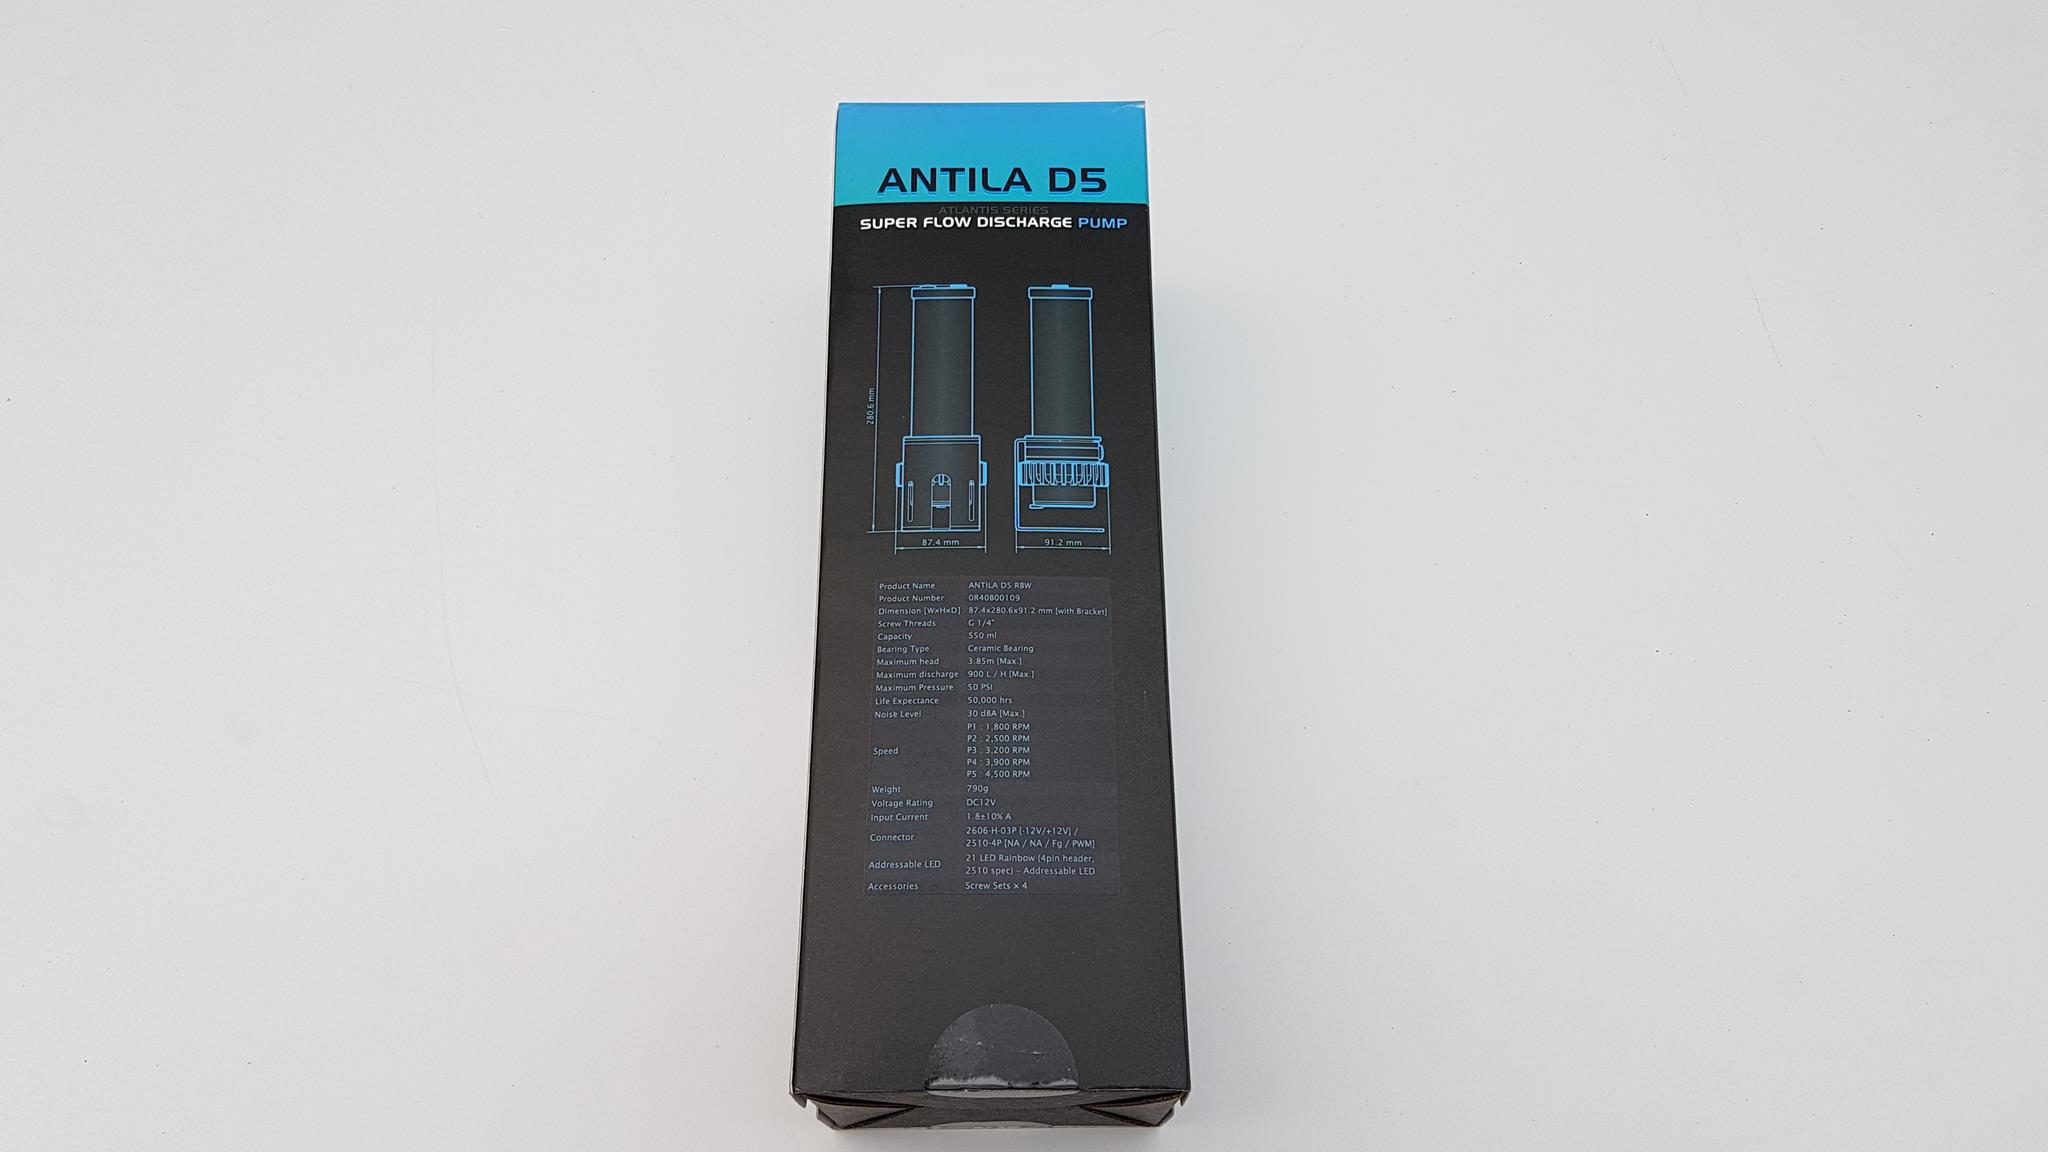
This side has the specifications of the unit printed in the tabular format. There are two diagrams up top showing the dimensions of the unit.
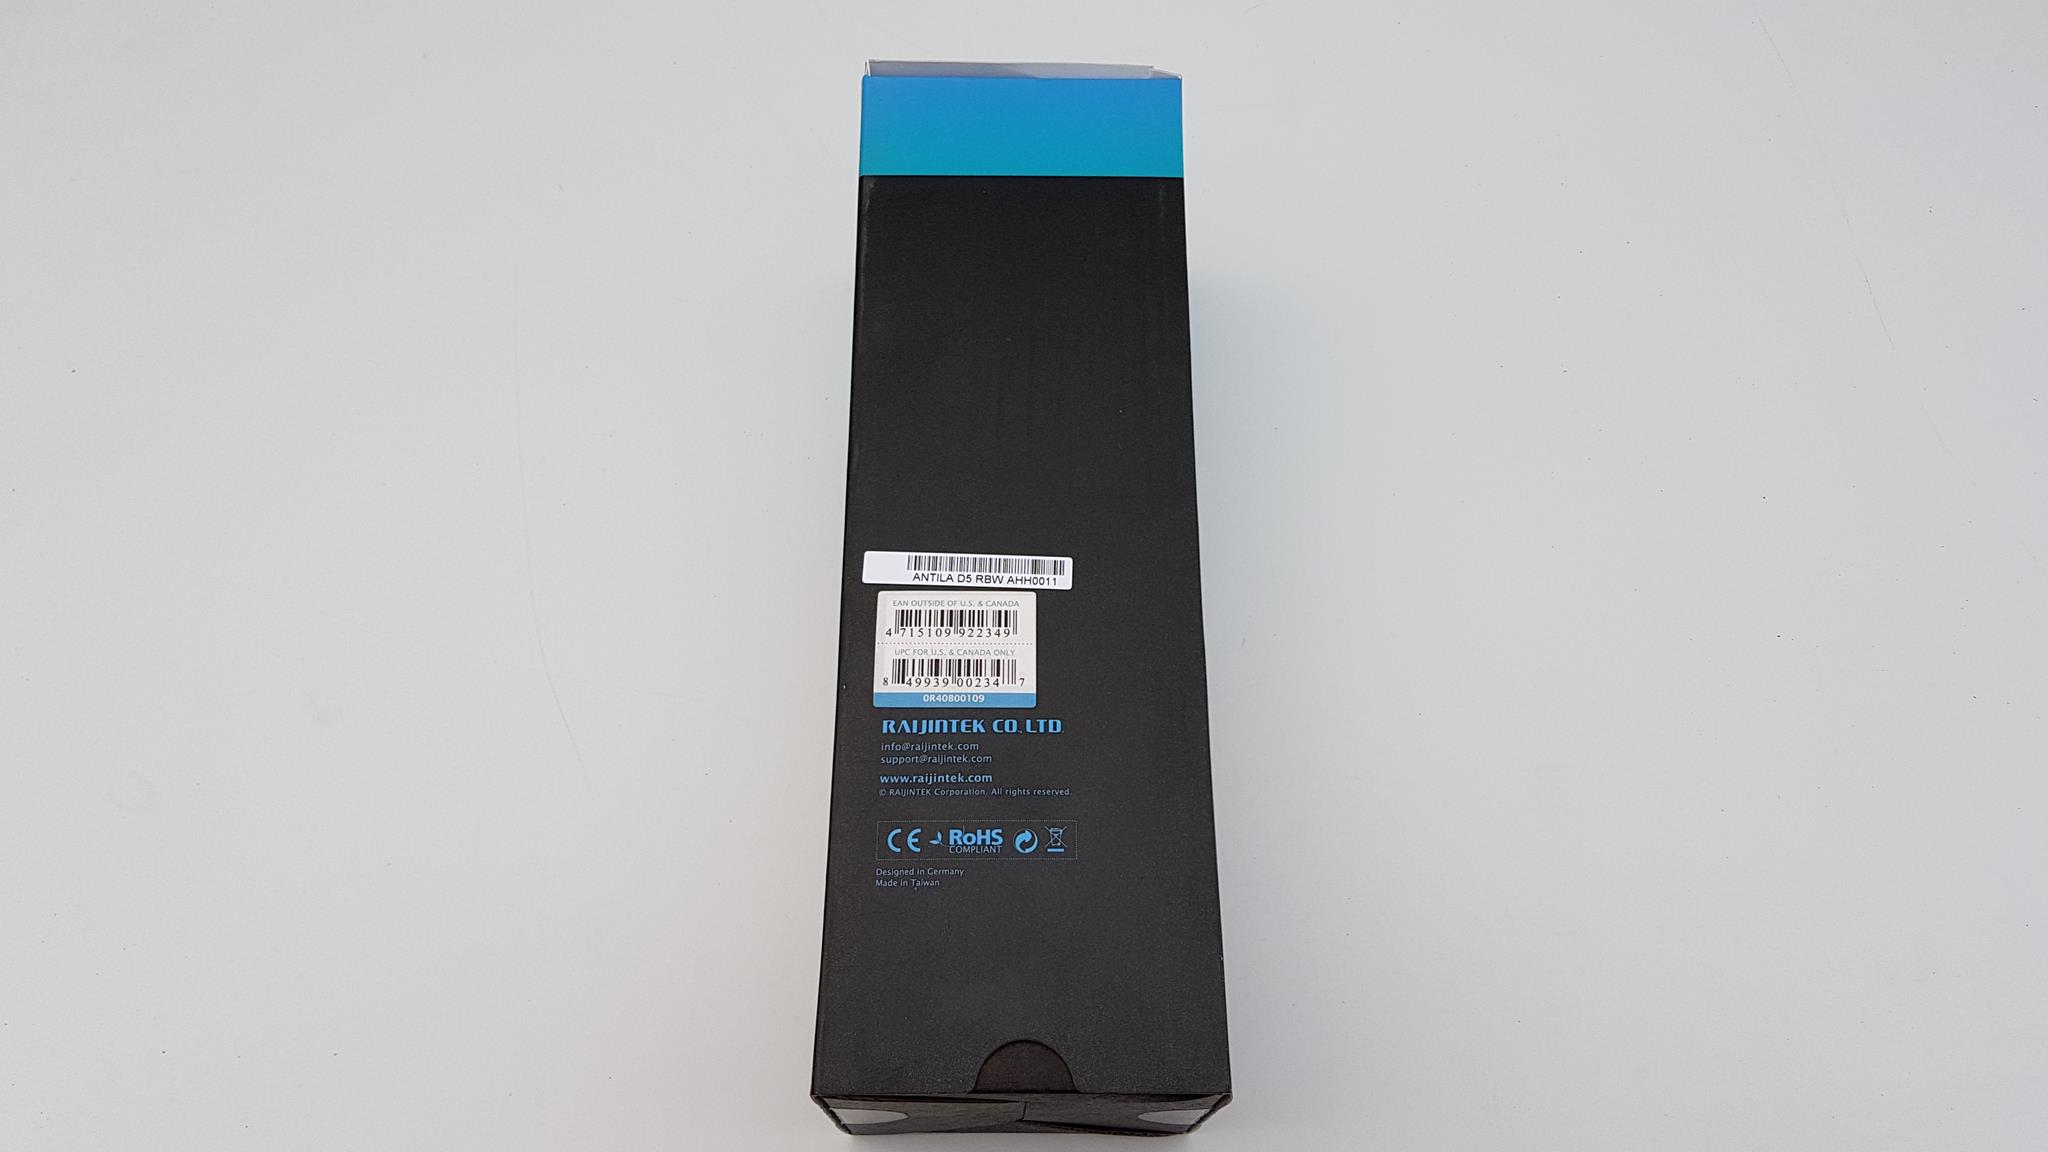
This side has a serial no sticker pasted on it along with the EAN and UPC info labels. The company’s contact information is printed below the labels. Compliance information to various regulations is printed at the bottom.
The top cover is in blue color and there are Raijintek brand name and logo printed in the center.
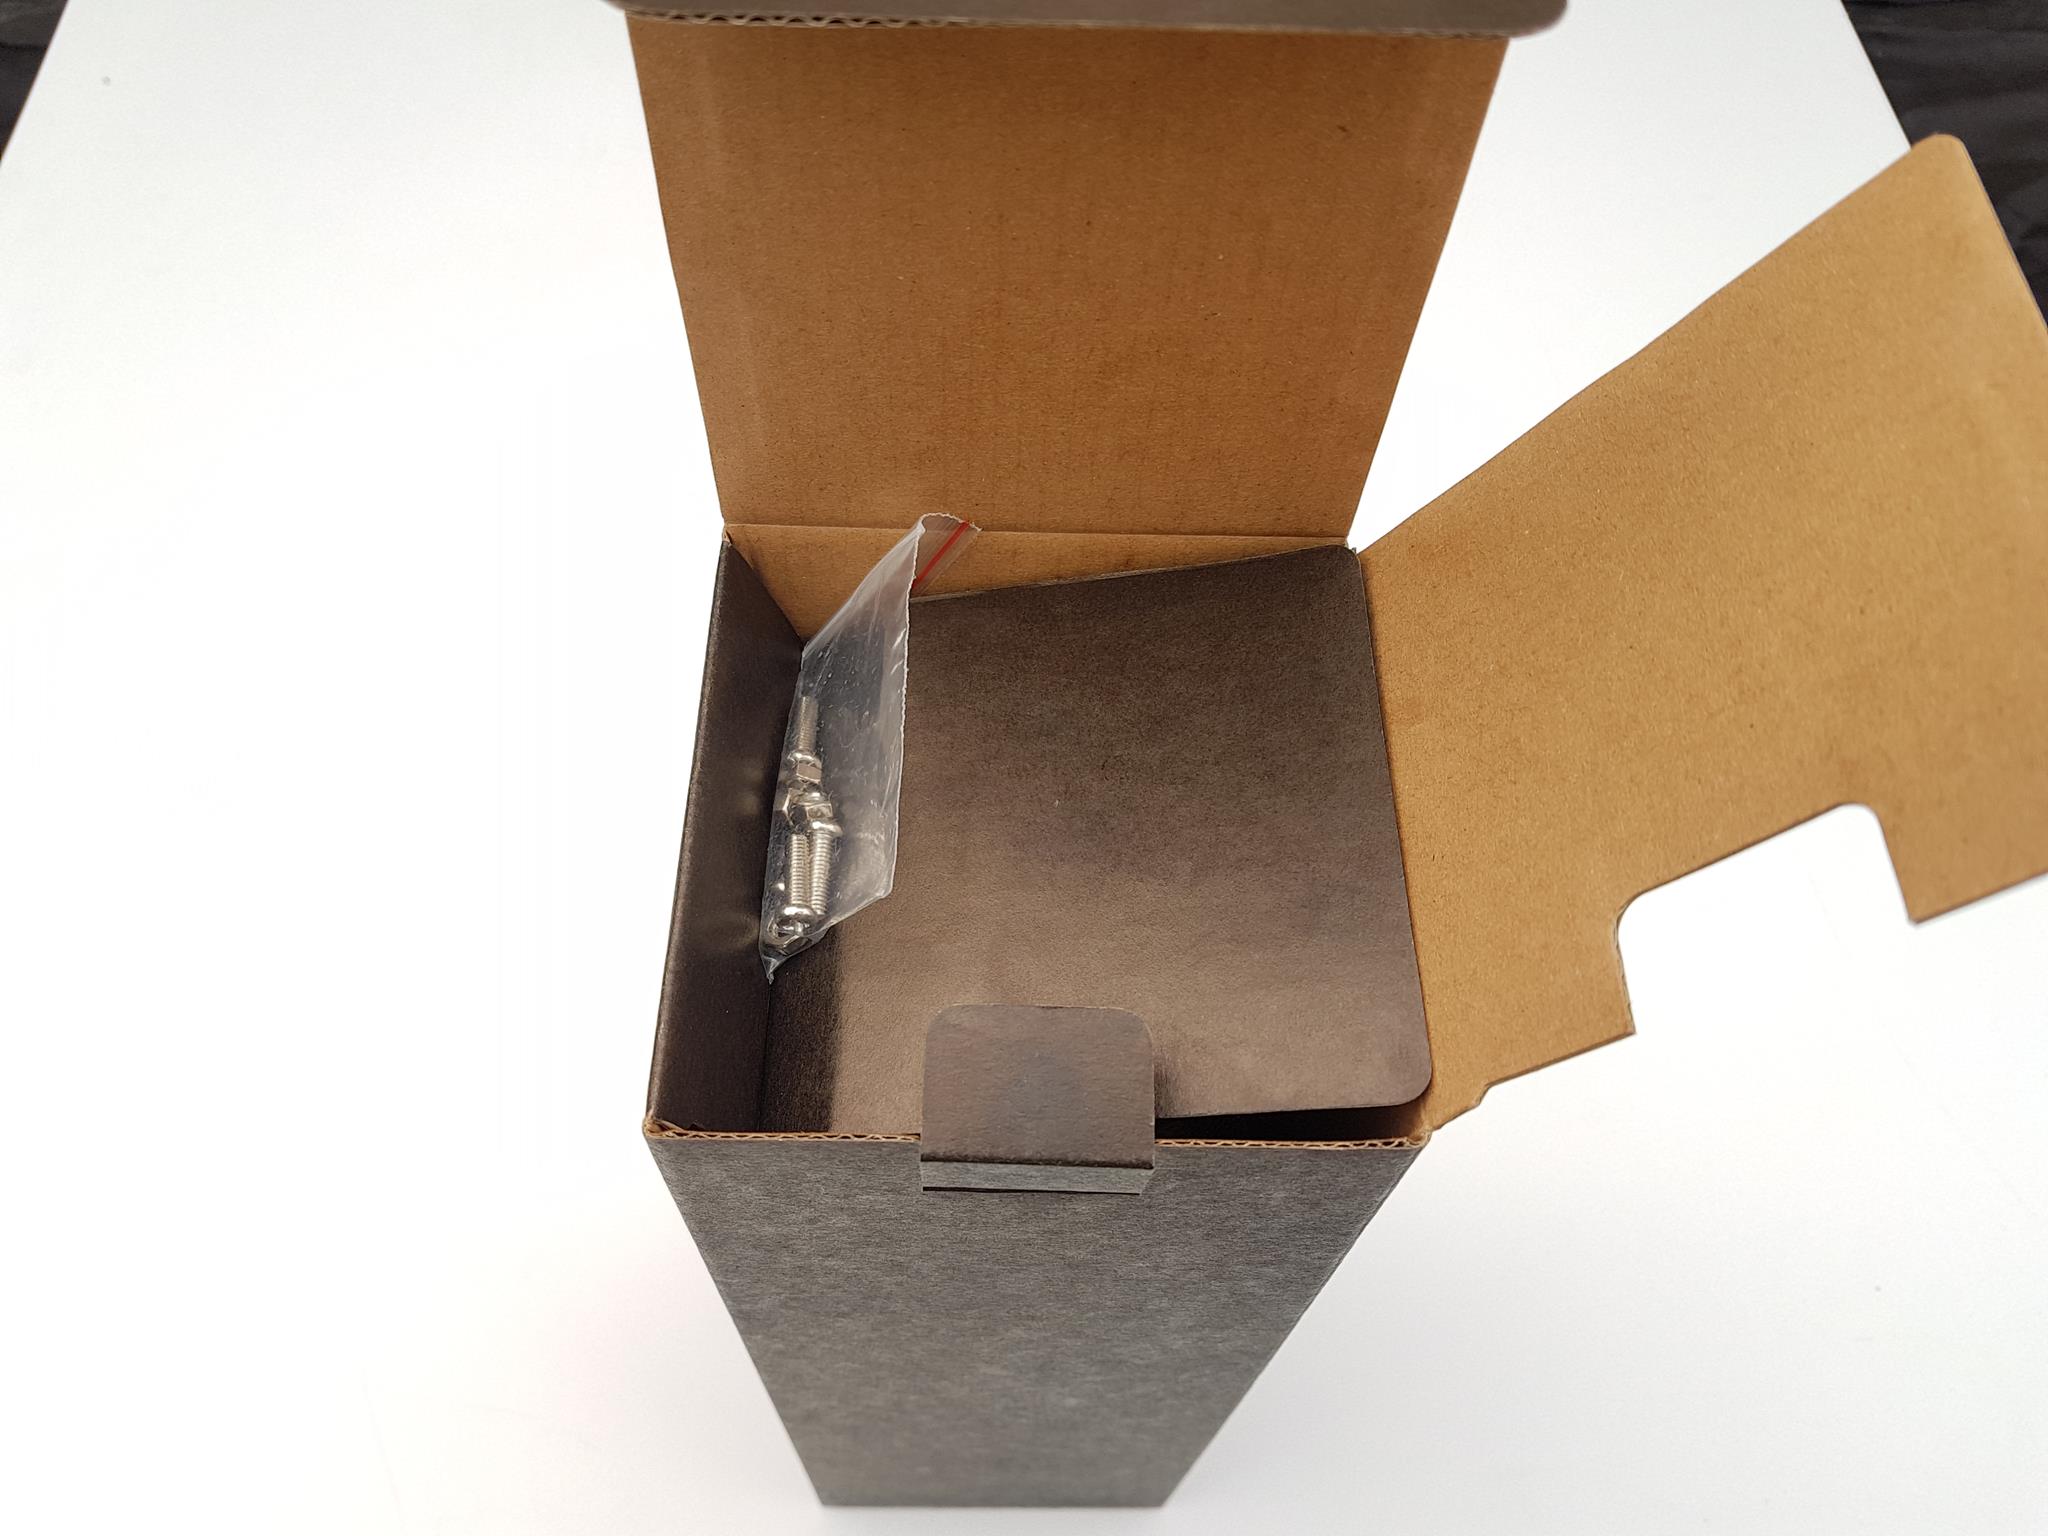
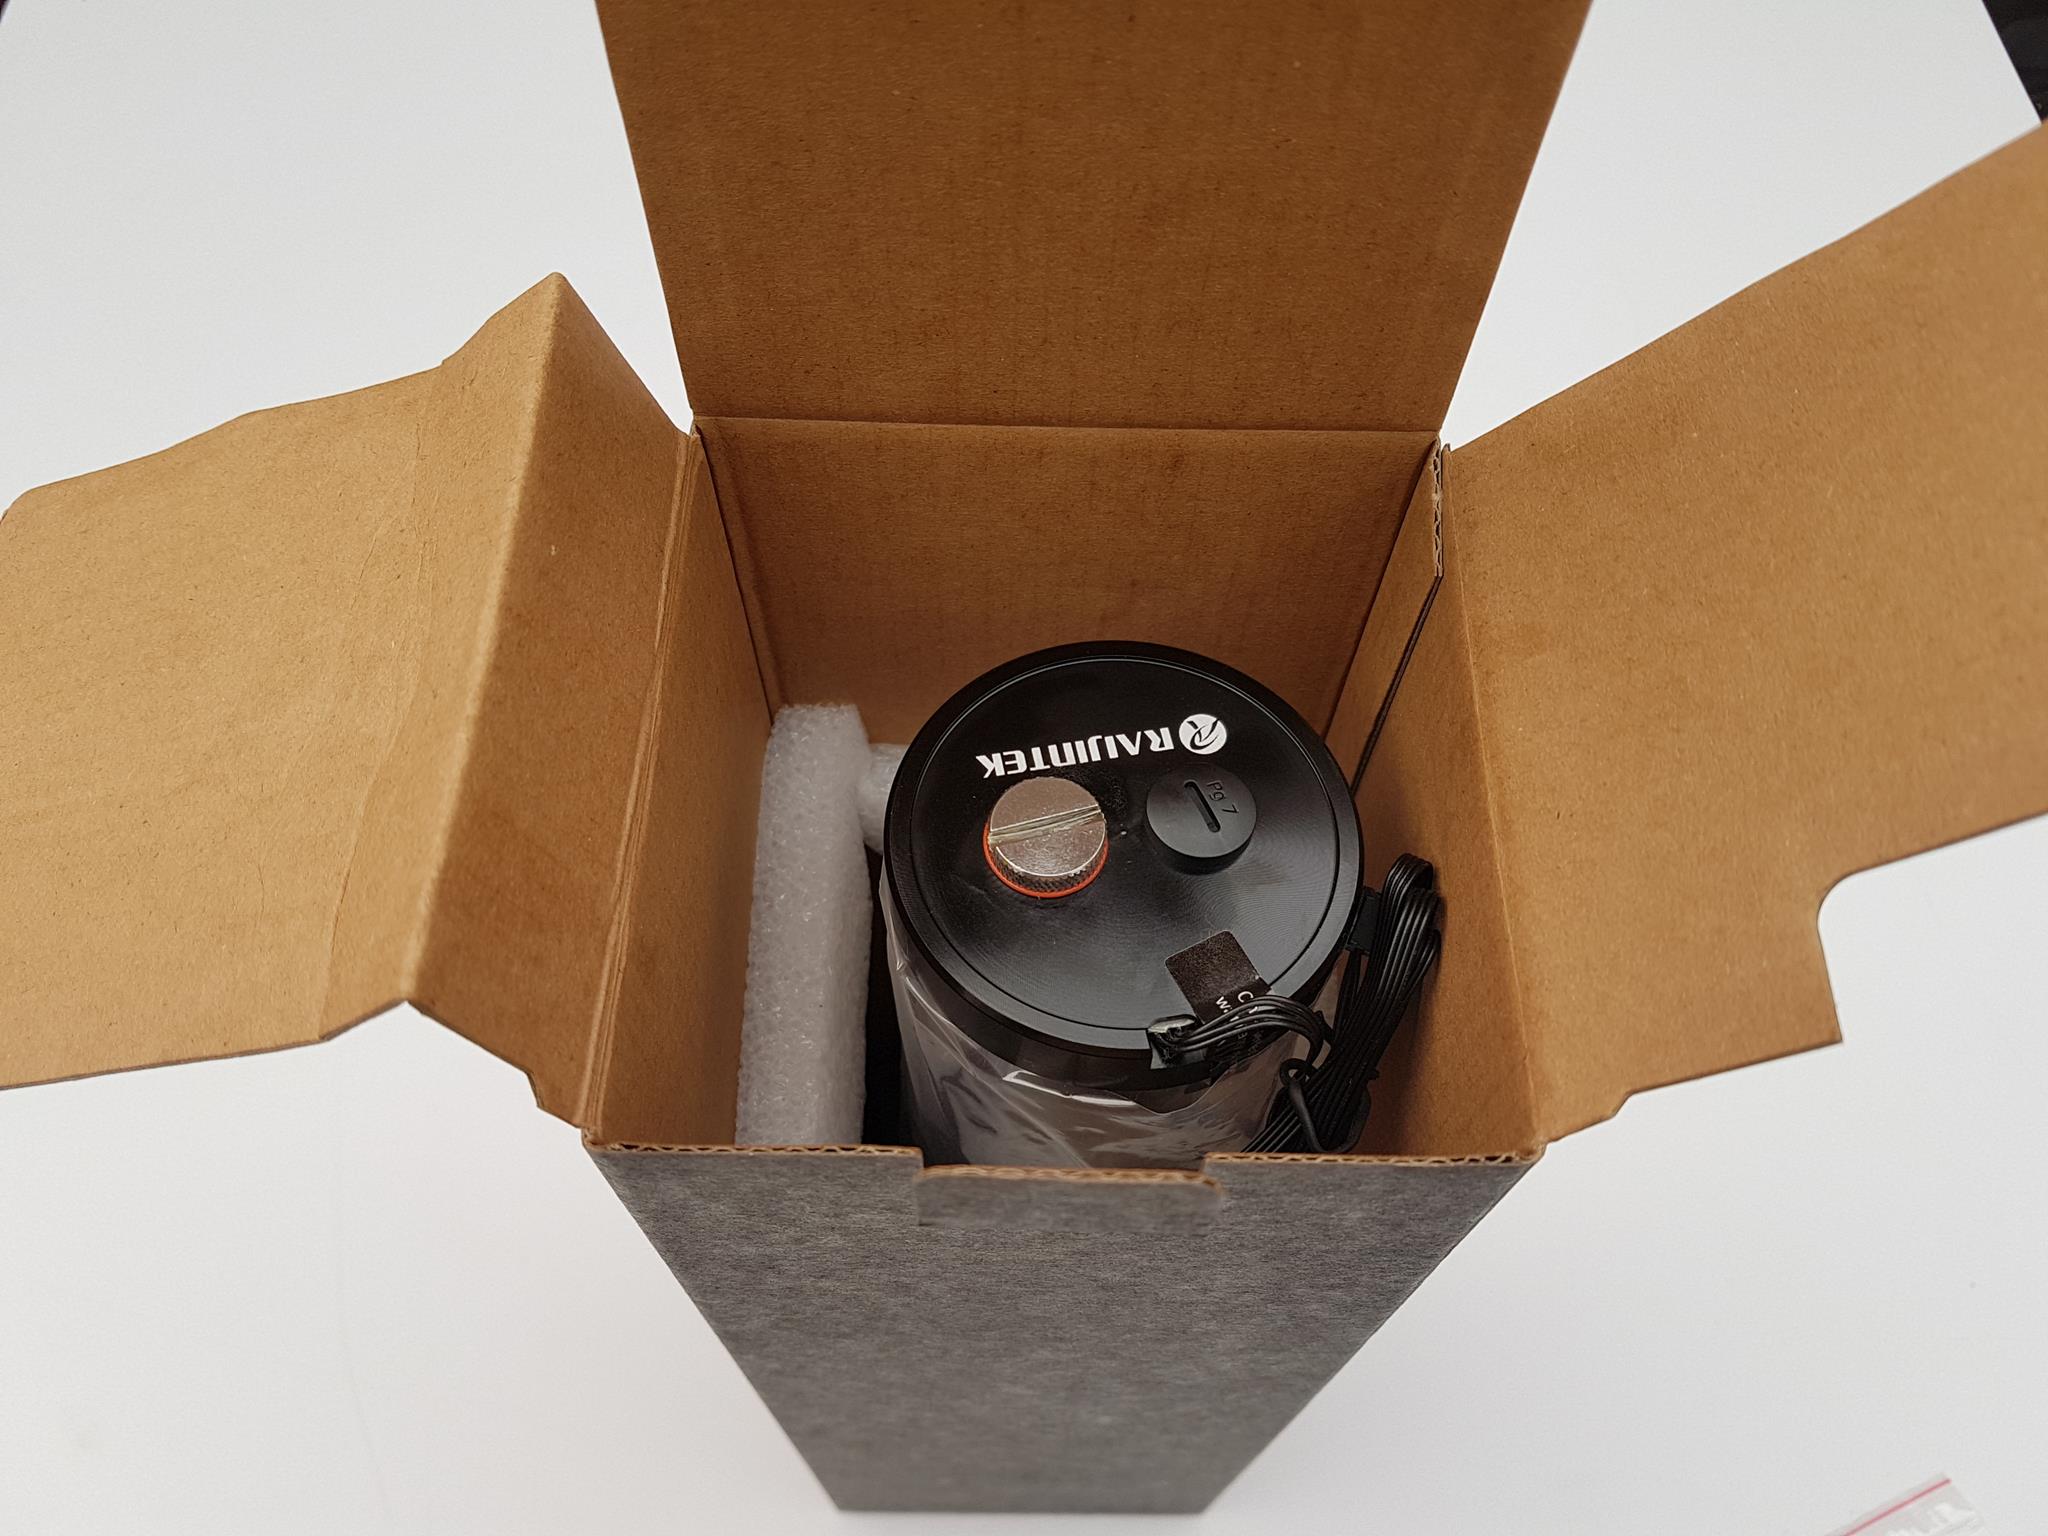
The cardboard box is attached to the paperboard using two tapes at the bottom. Opening the box will show a transparent container with 4 screws and nuts. Opening the top cover of the cardboard box will show the top side of the unit. There is thin Styrofoam pad placed on the reservoir which should have been much thicker for the safety of the unit during shipping. Our unit came with the broken return inlet pipe/tube. Raijintek was quick enough to send the replacement part.
The ANTILA D5 is a highest level solution for PC enthusiasts and custom PC builder to create a super water cooling system. ANTILA D5, made in Taiwan, features a super flow discharge of 900 L/H and Head-lift of 3.85 meters at maximum speed. The dimension of the unit is 87.4×280.6×91.2mm with the support bracket. The unit comes with the pre-installed support bracket. The reservoir is 64mm thick and has a height of 205mm. The reservoir is made of high-quality acrylic material whereas the pump and housing are made of POM material. The reservoir has a capacity of 550ml.
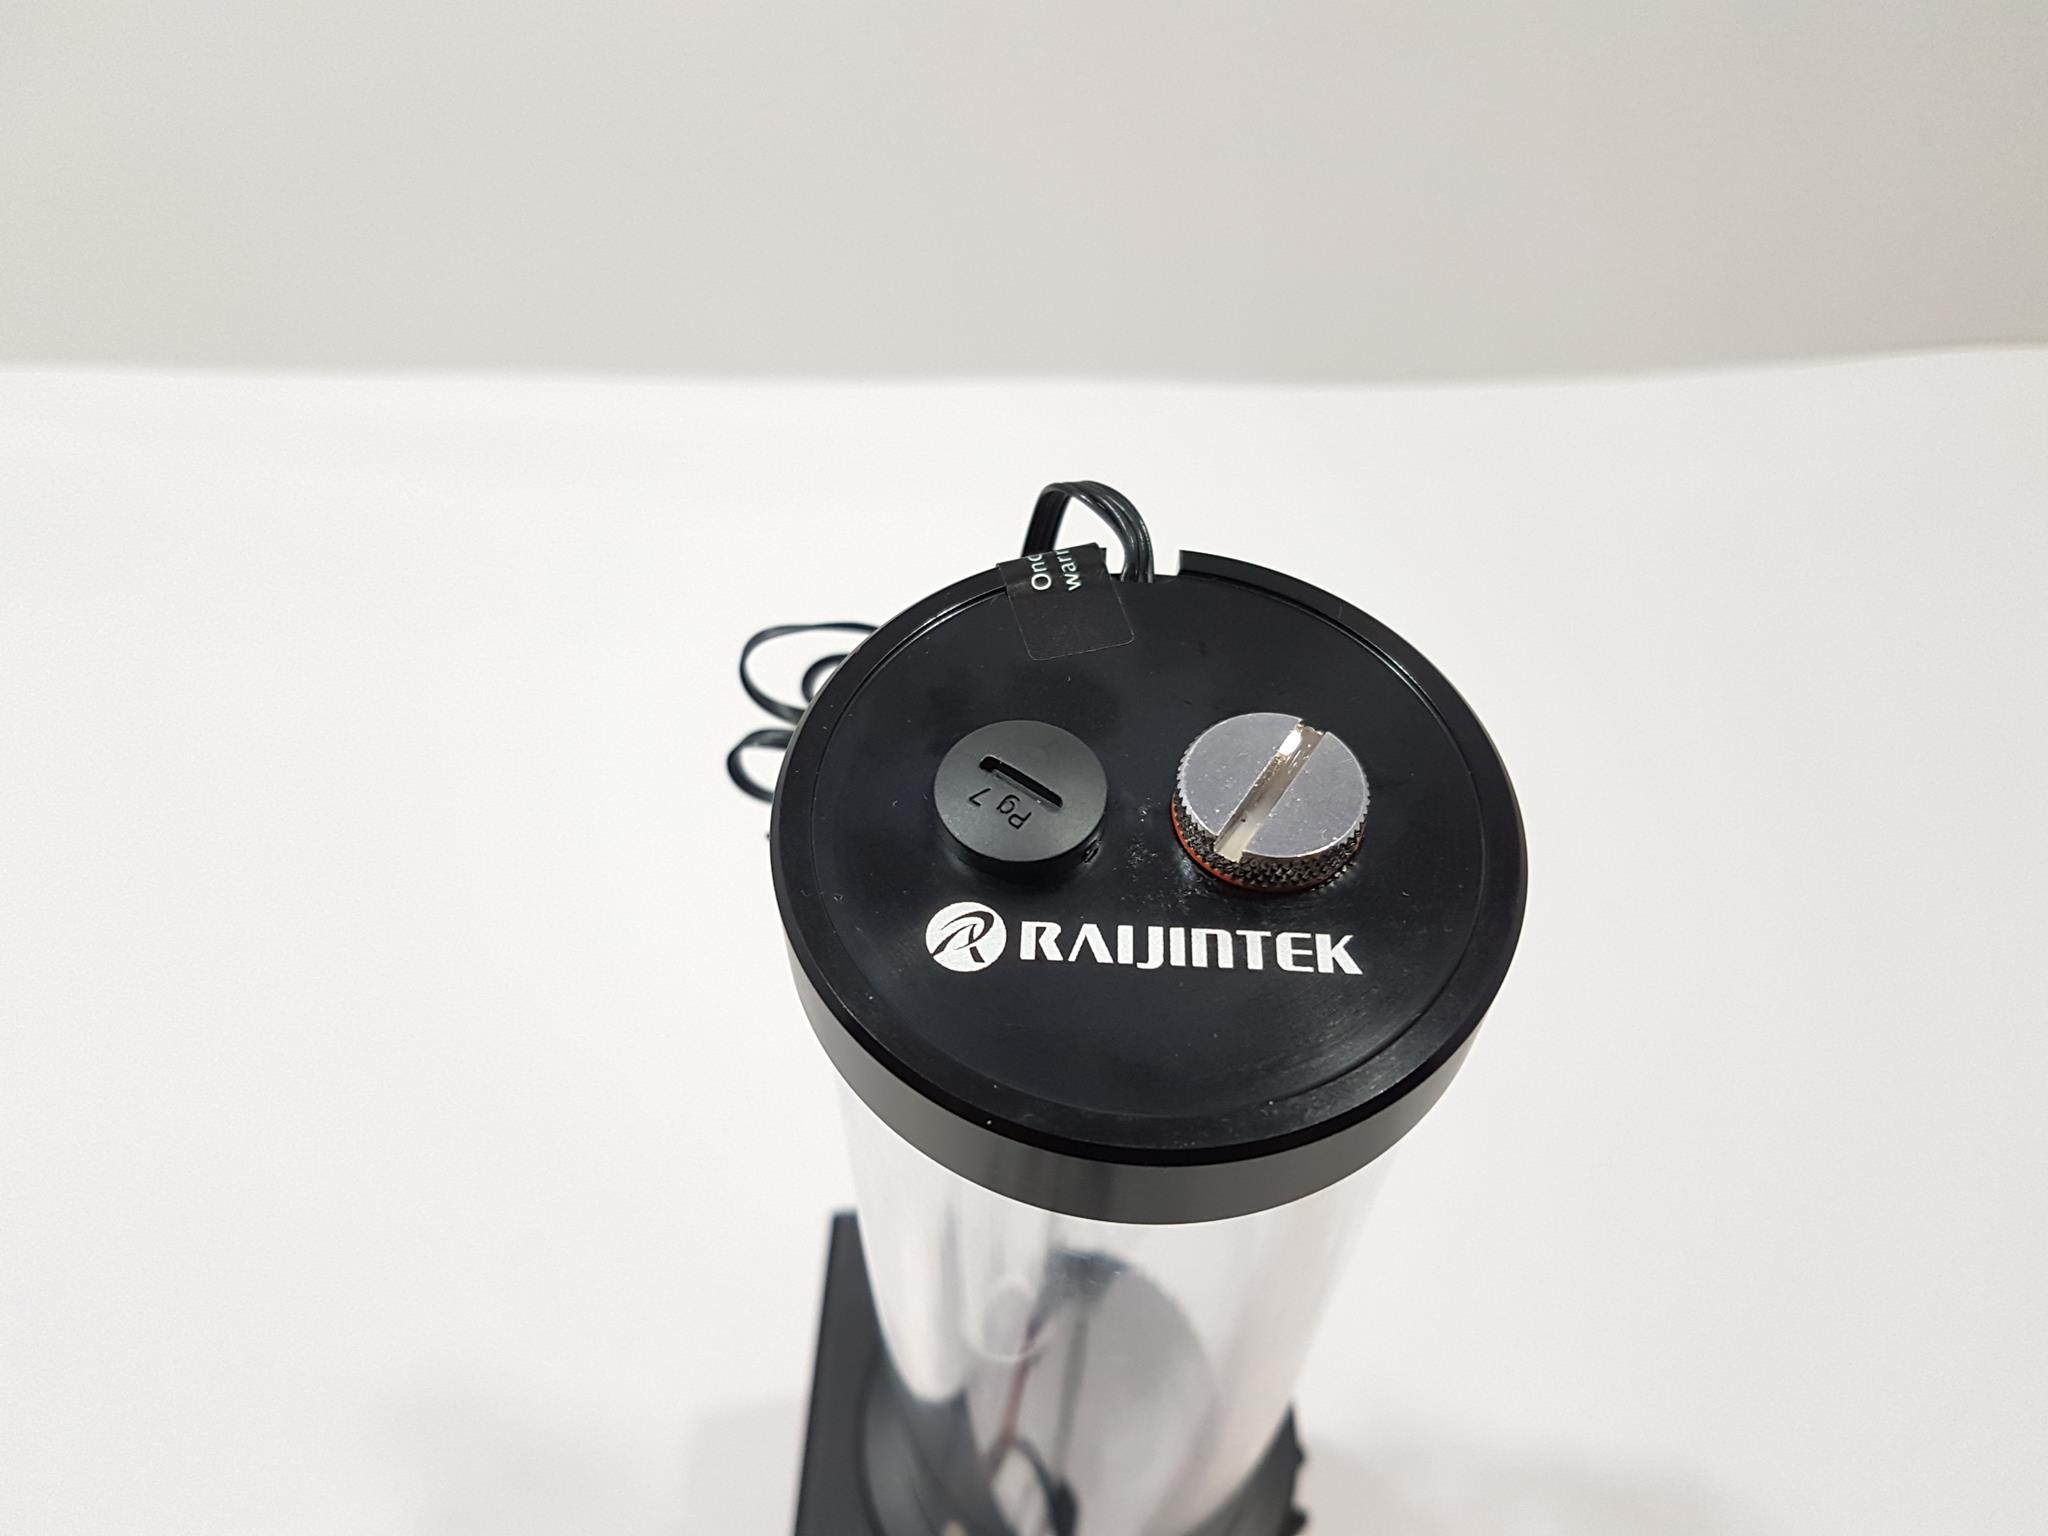
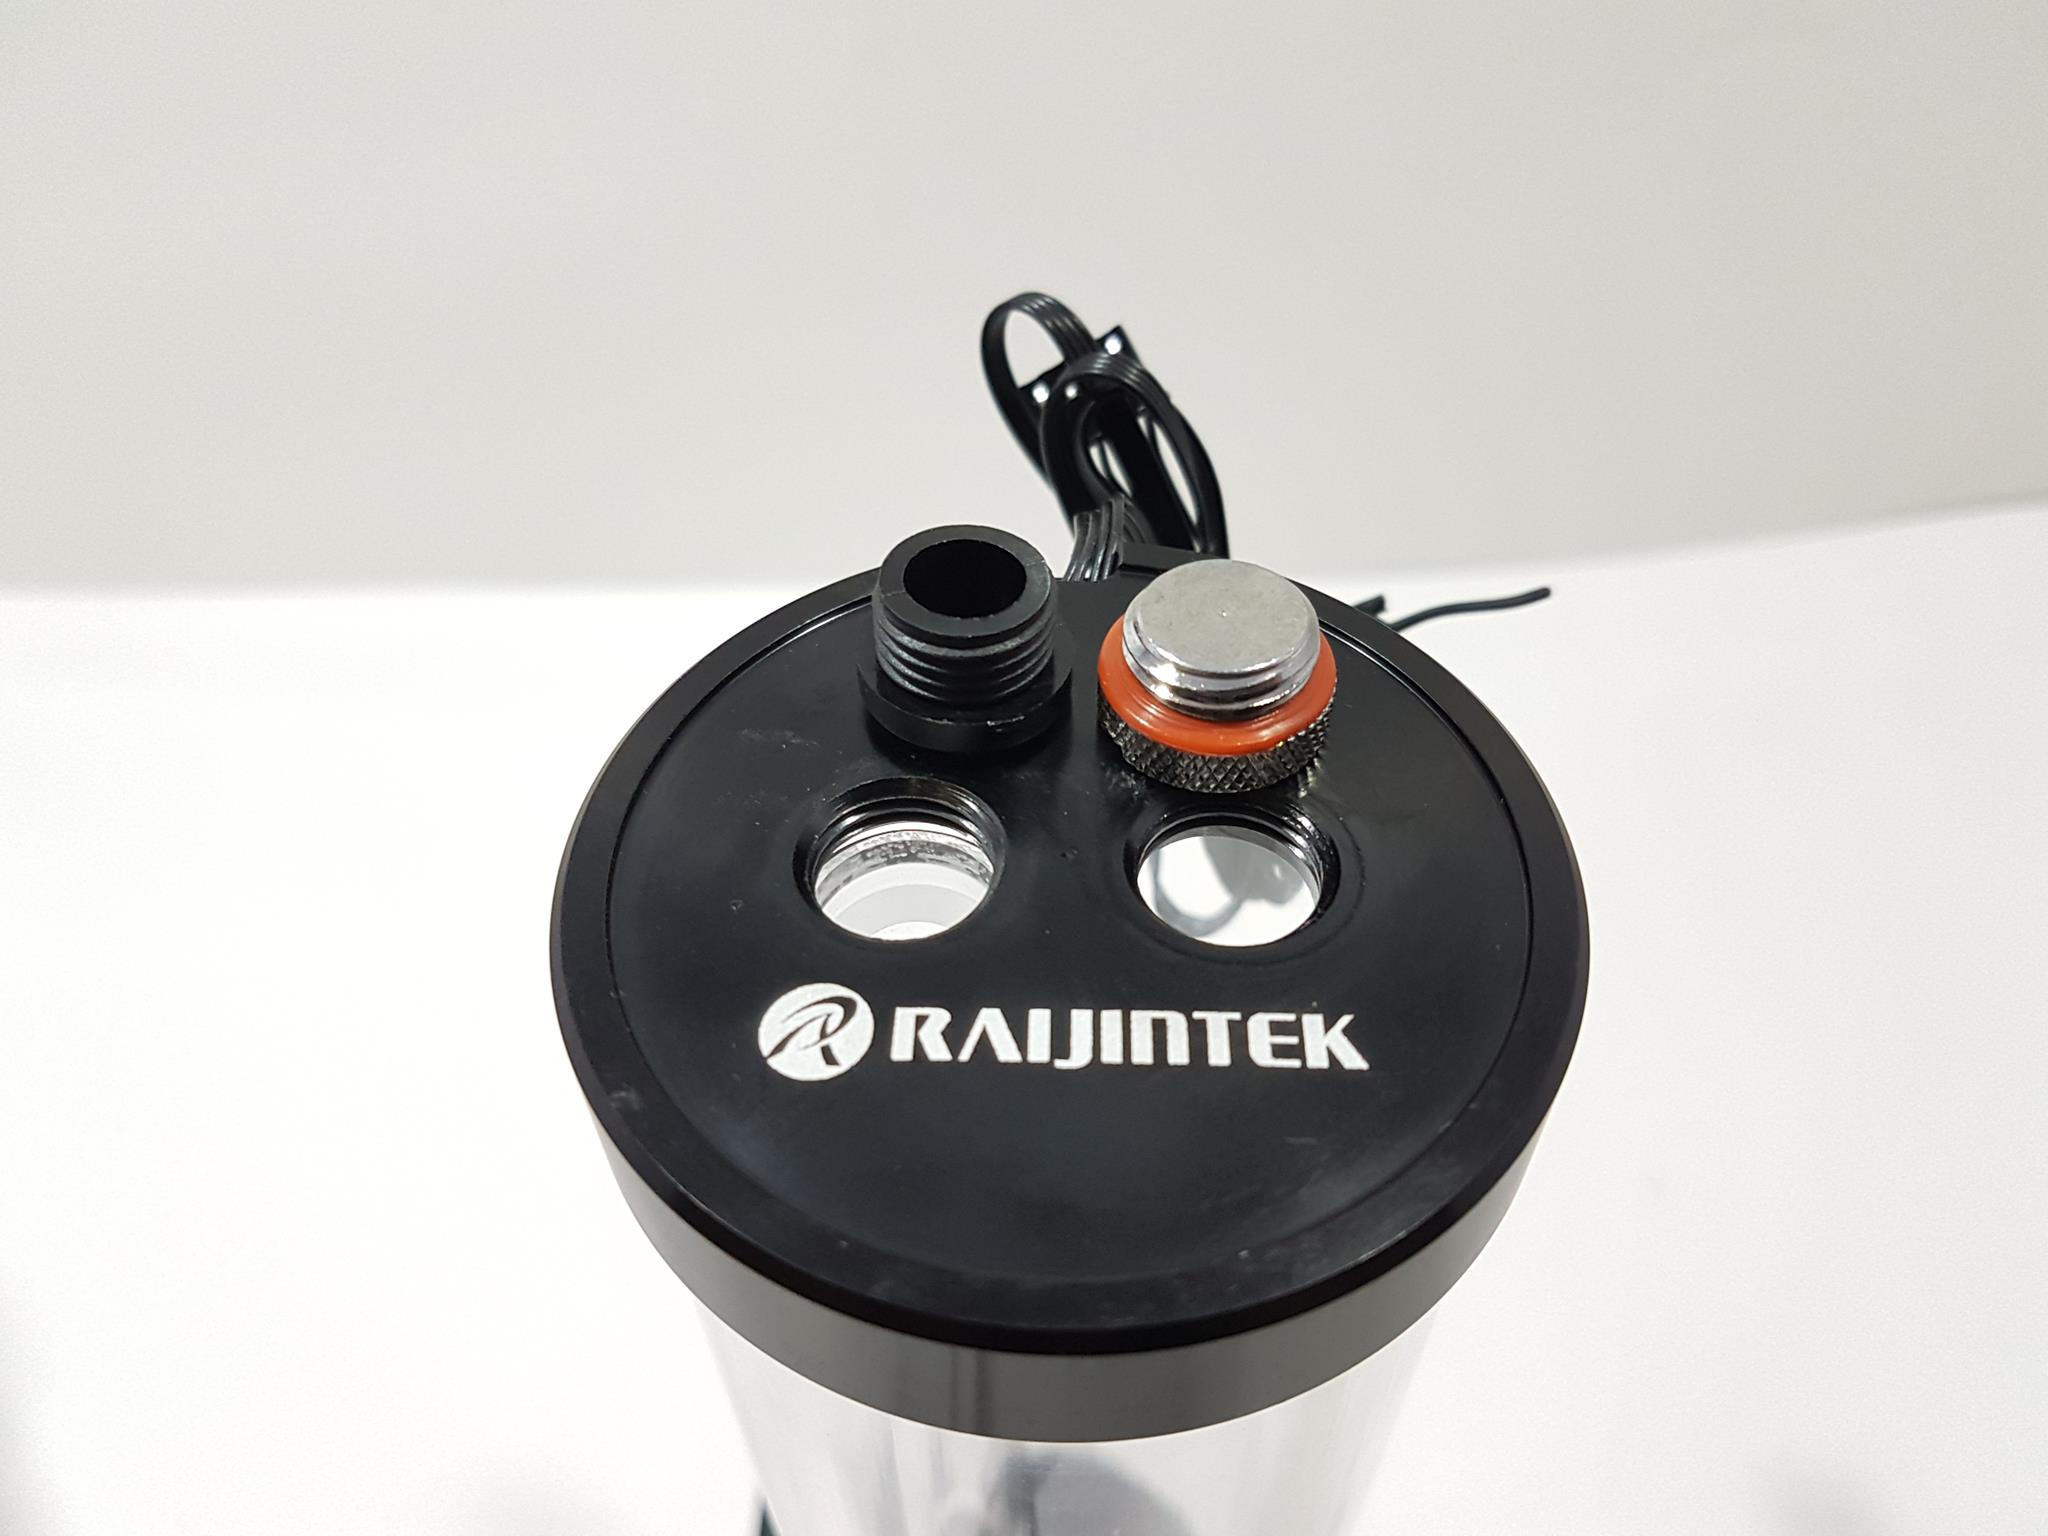
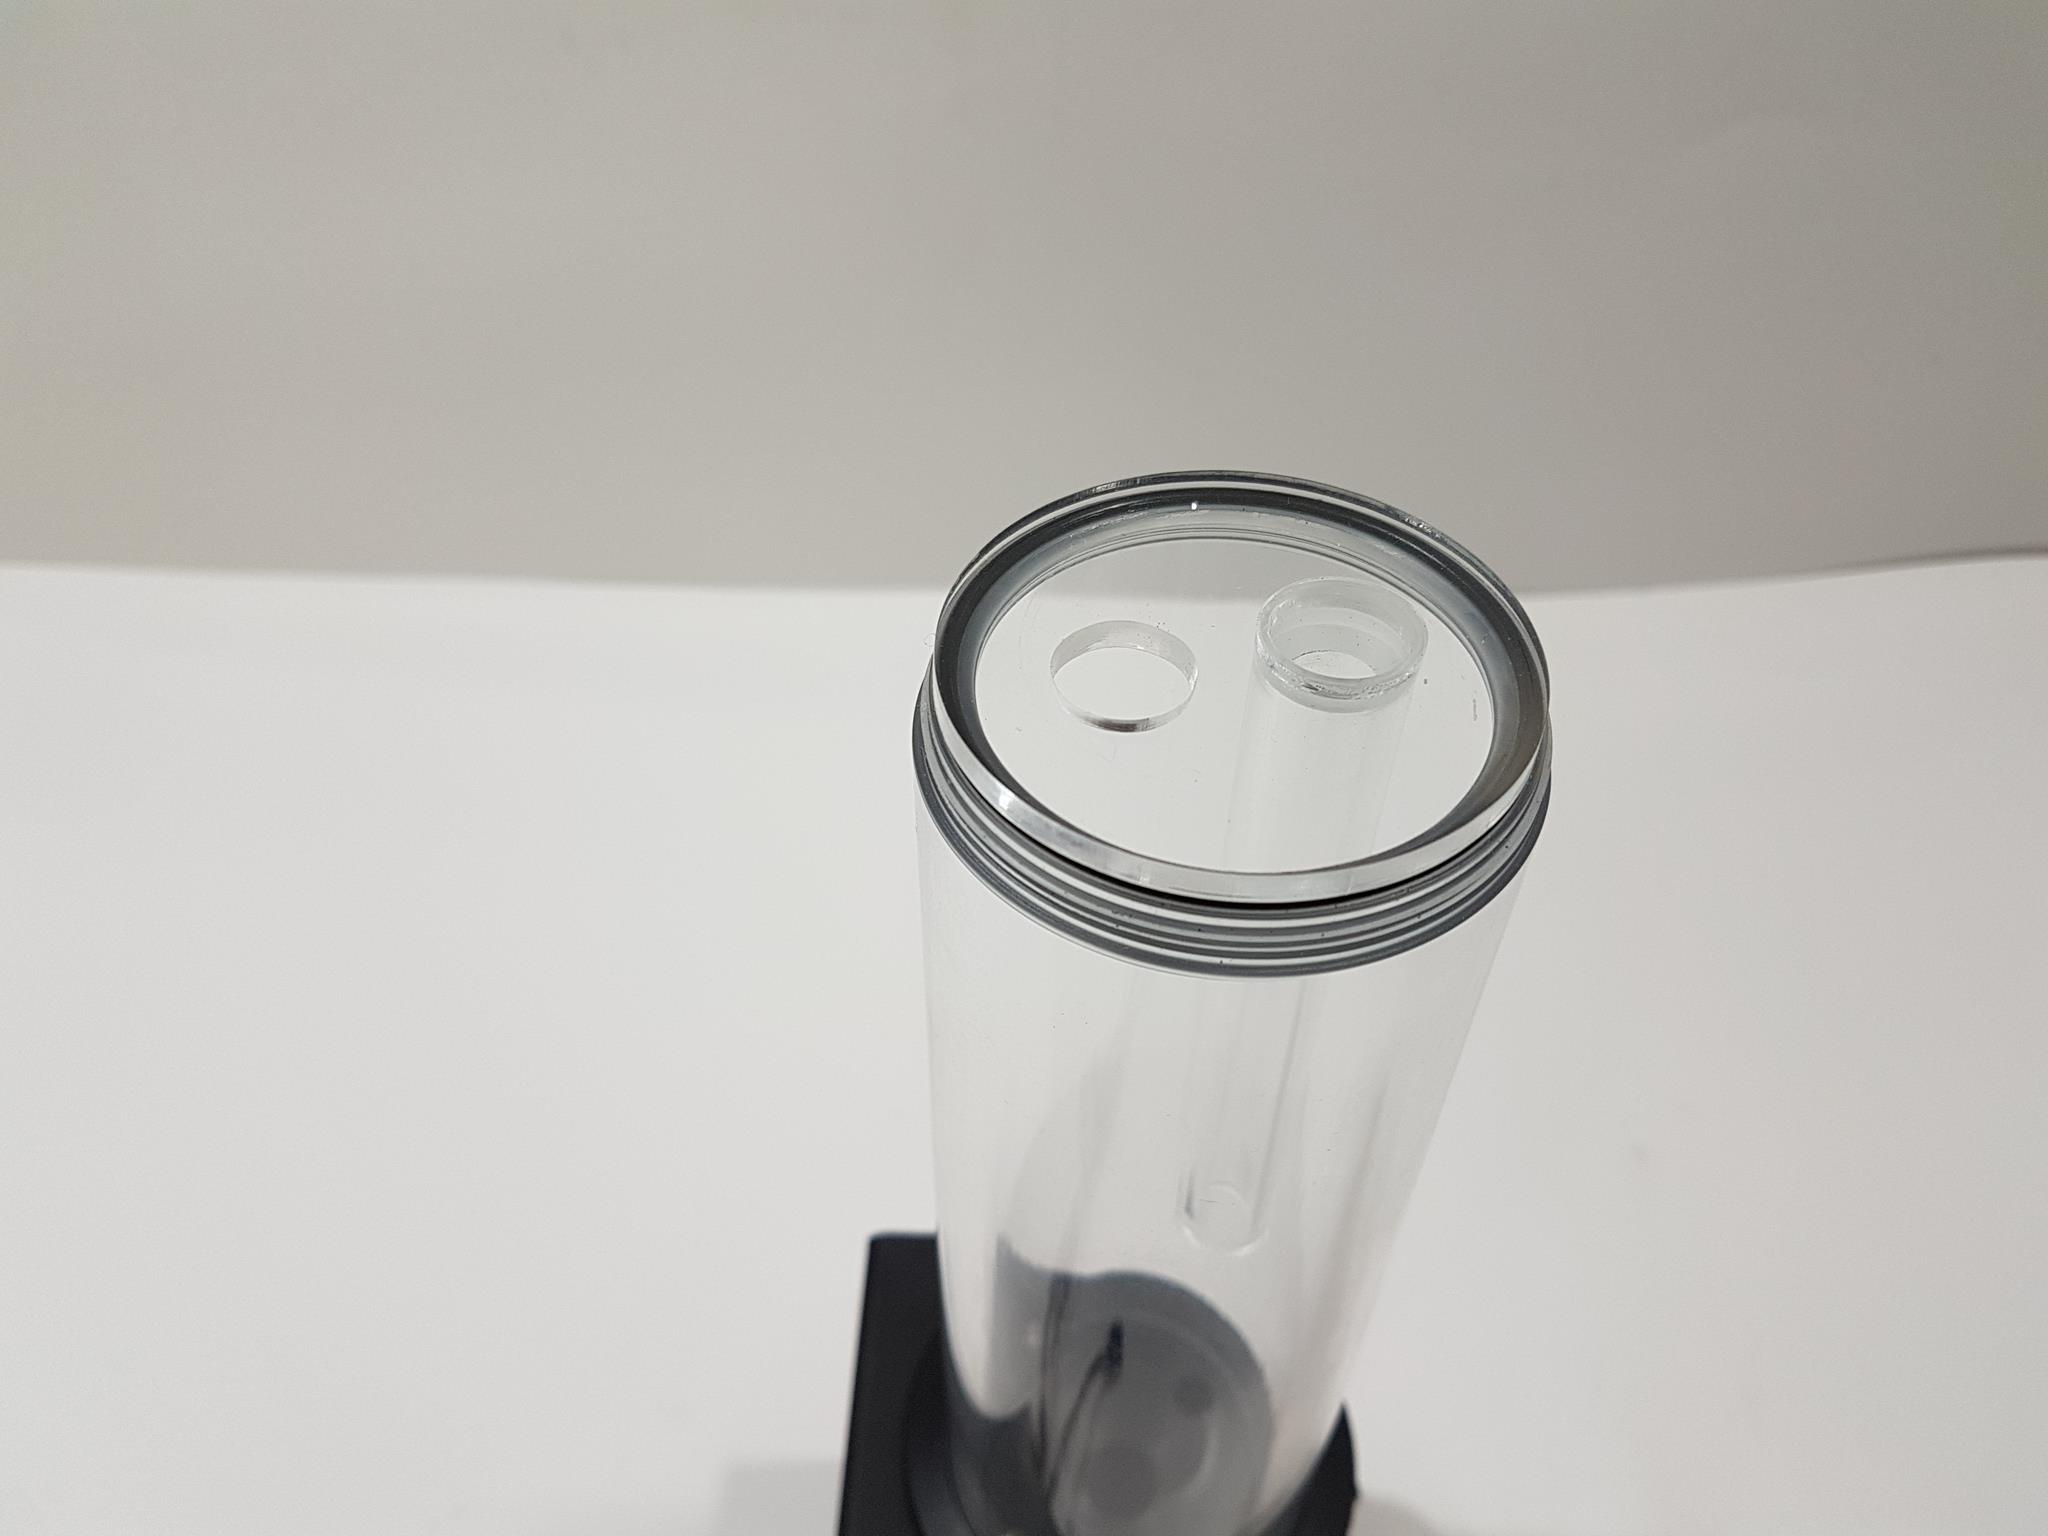
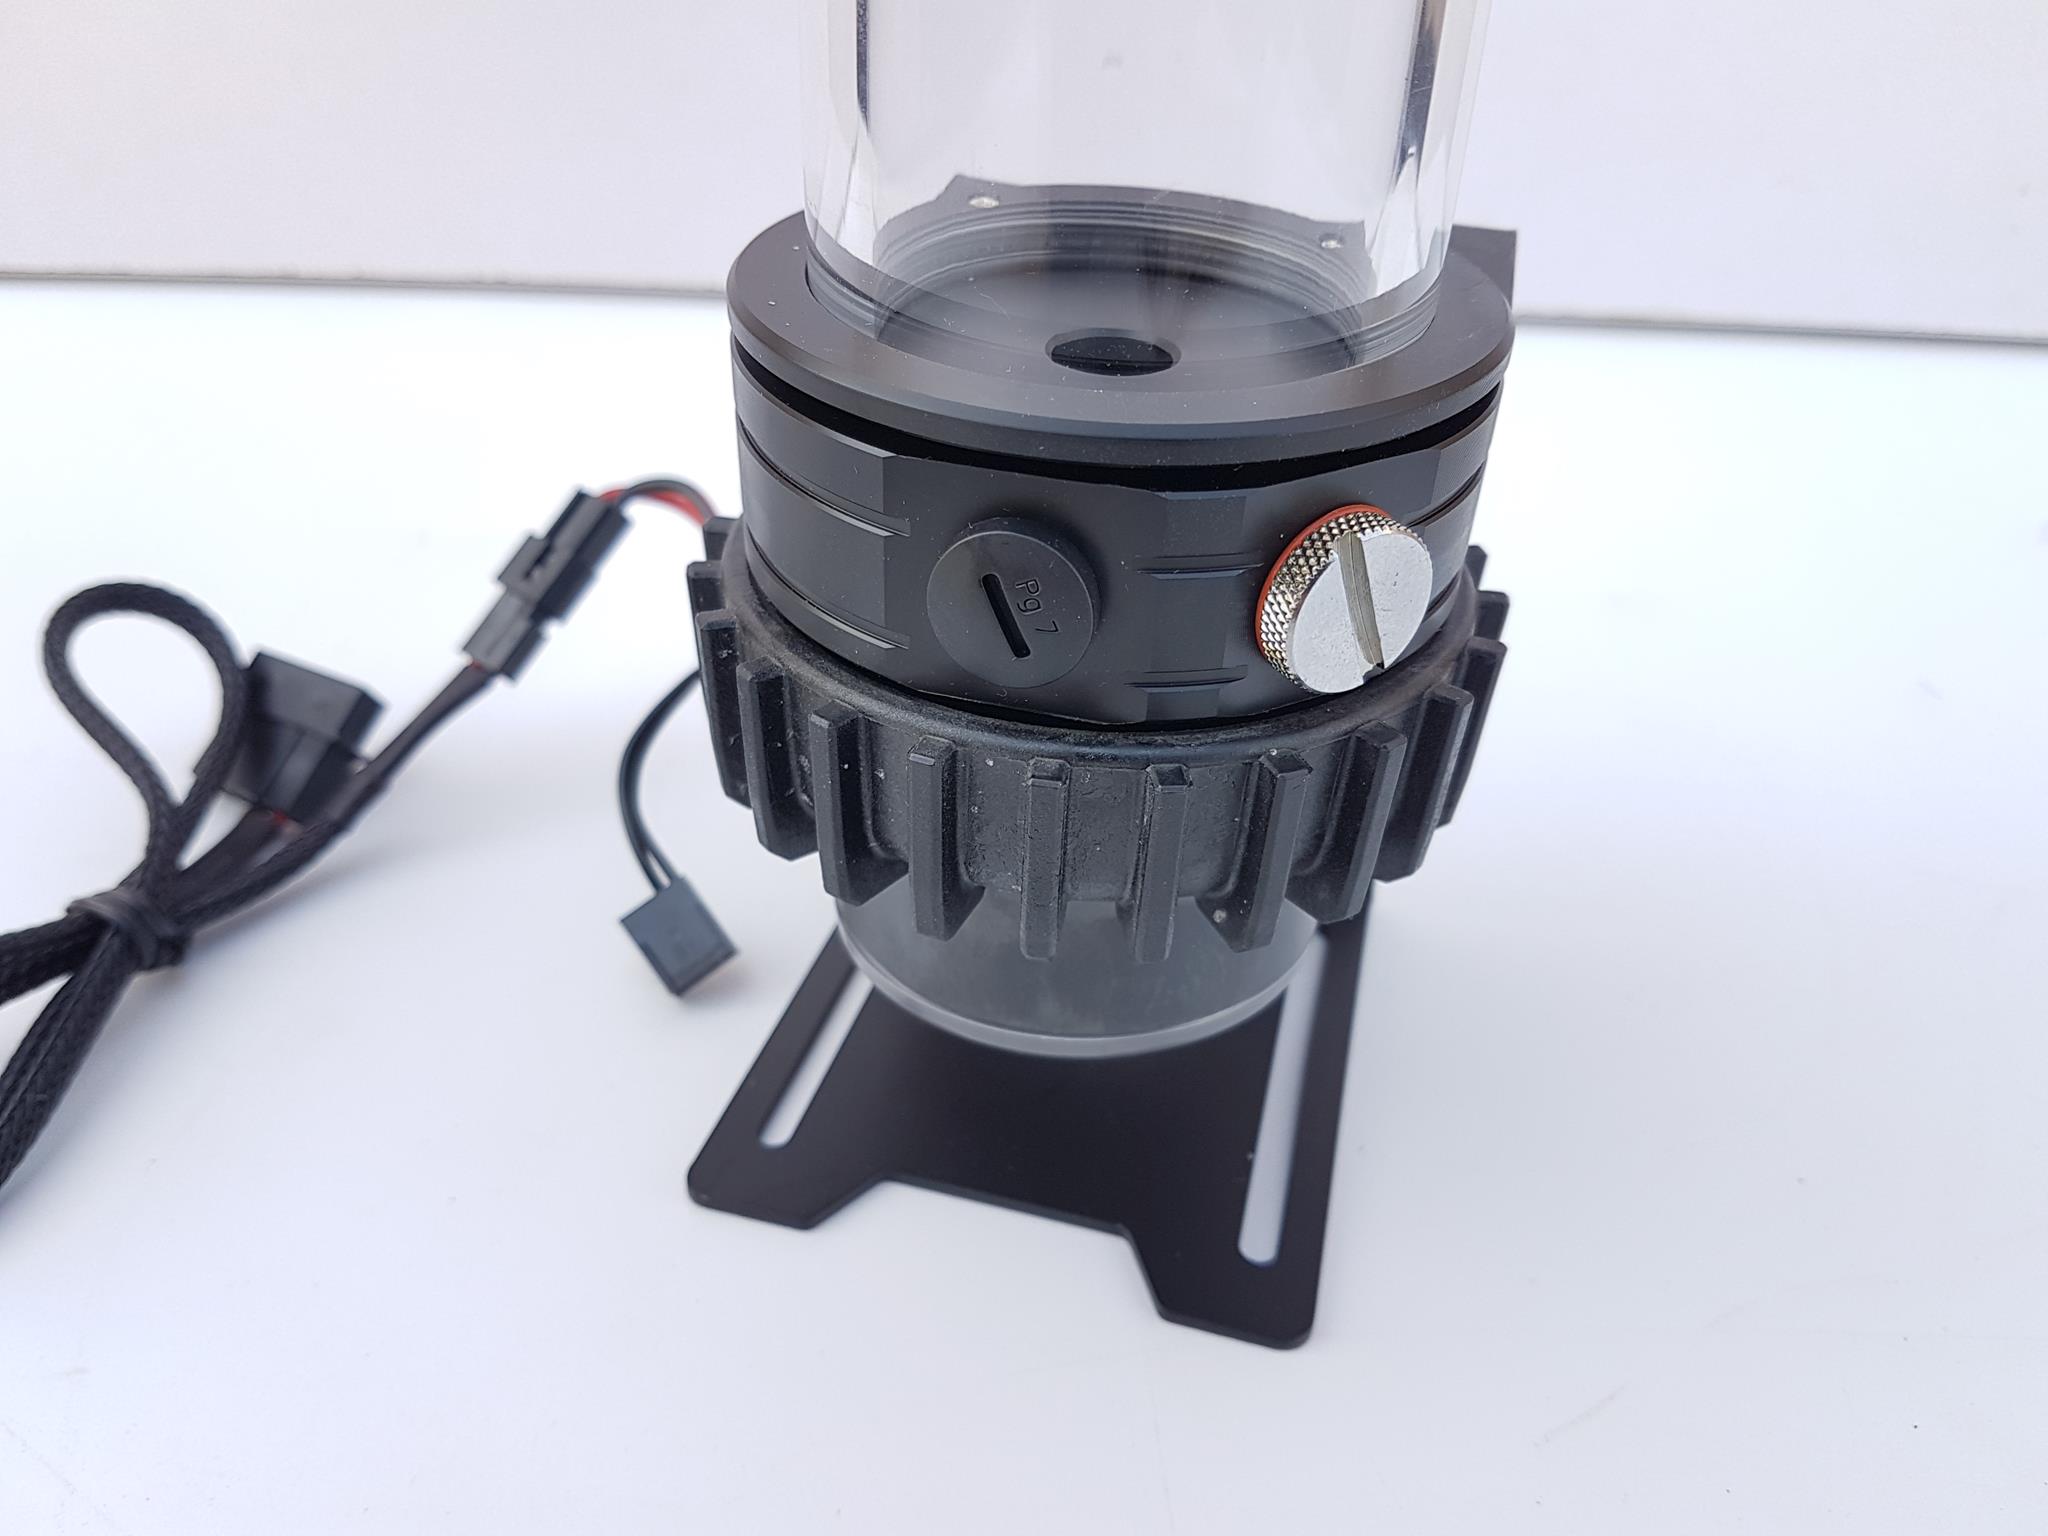
The top side of the reservoir has a black color lid. Raijintek brand name and logo are printed below the ports. There are two G1/4” ports in the center in a series. One is covered with a plastic plug of black color while the other one has a metallic silver plug with red color oring. The plastic plug port is facing return inlet pipe/tube in the reservoir. This is where the coolant is returned to the reservoir from the other component depending upon the loop configuration. The other port with metallic plug is a fill port which is used to fill the reservoir with the coolant.
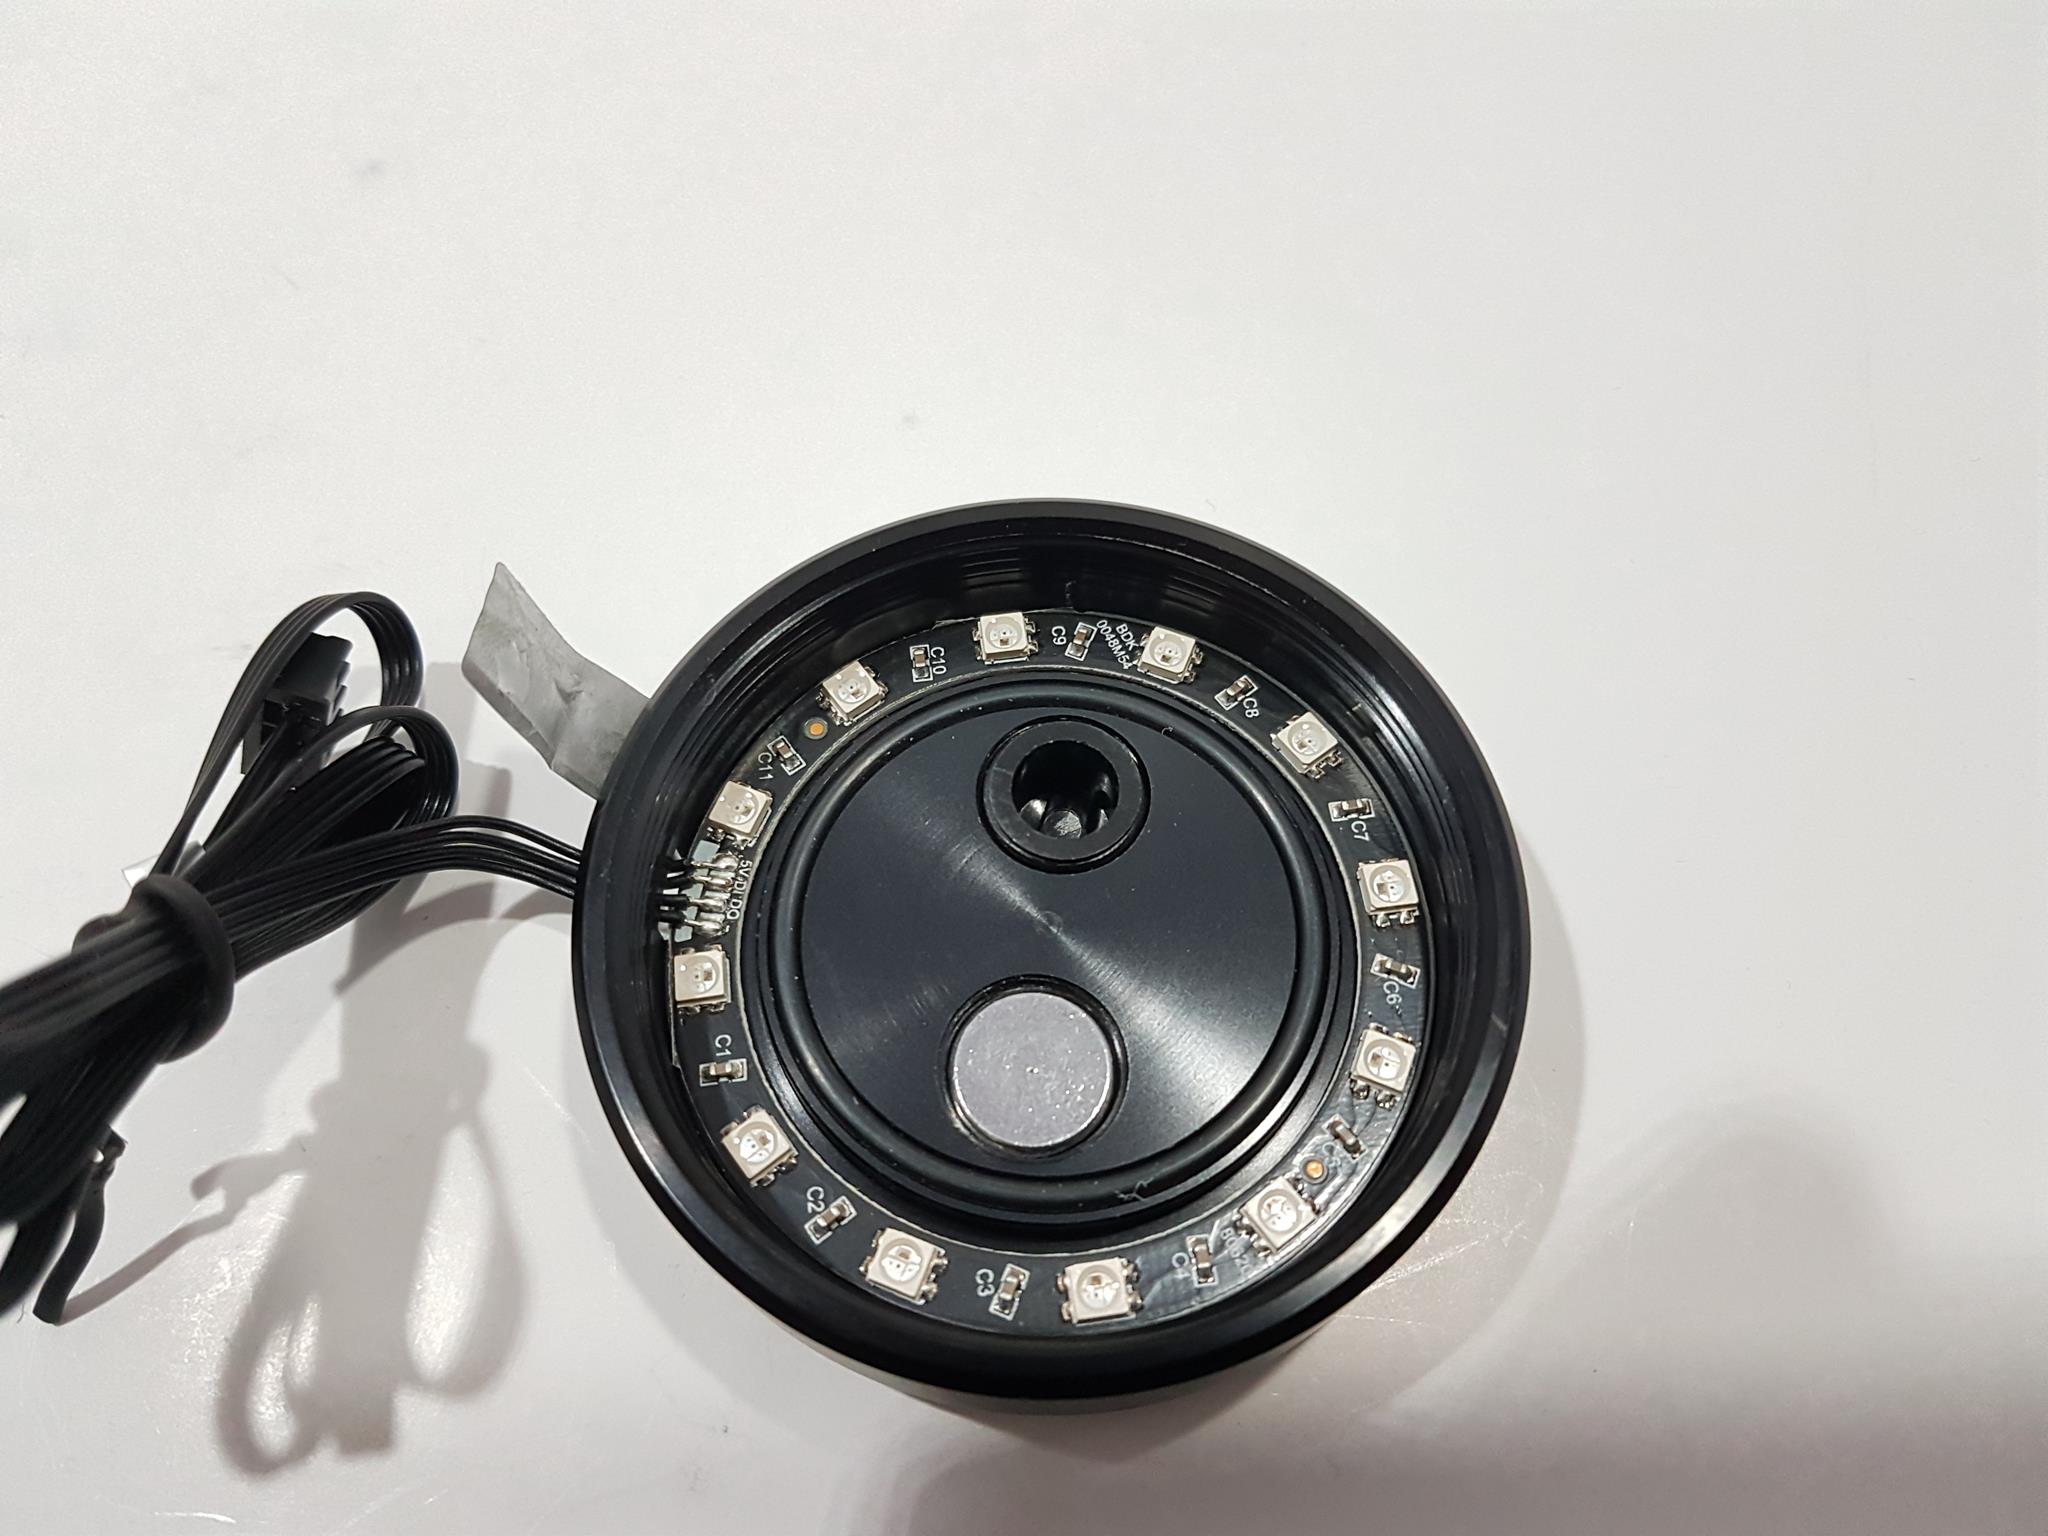
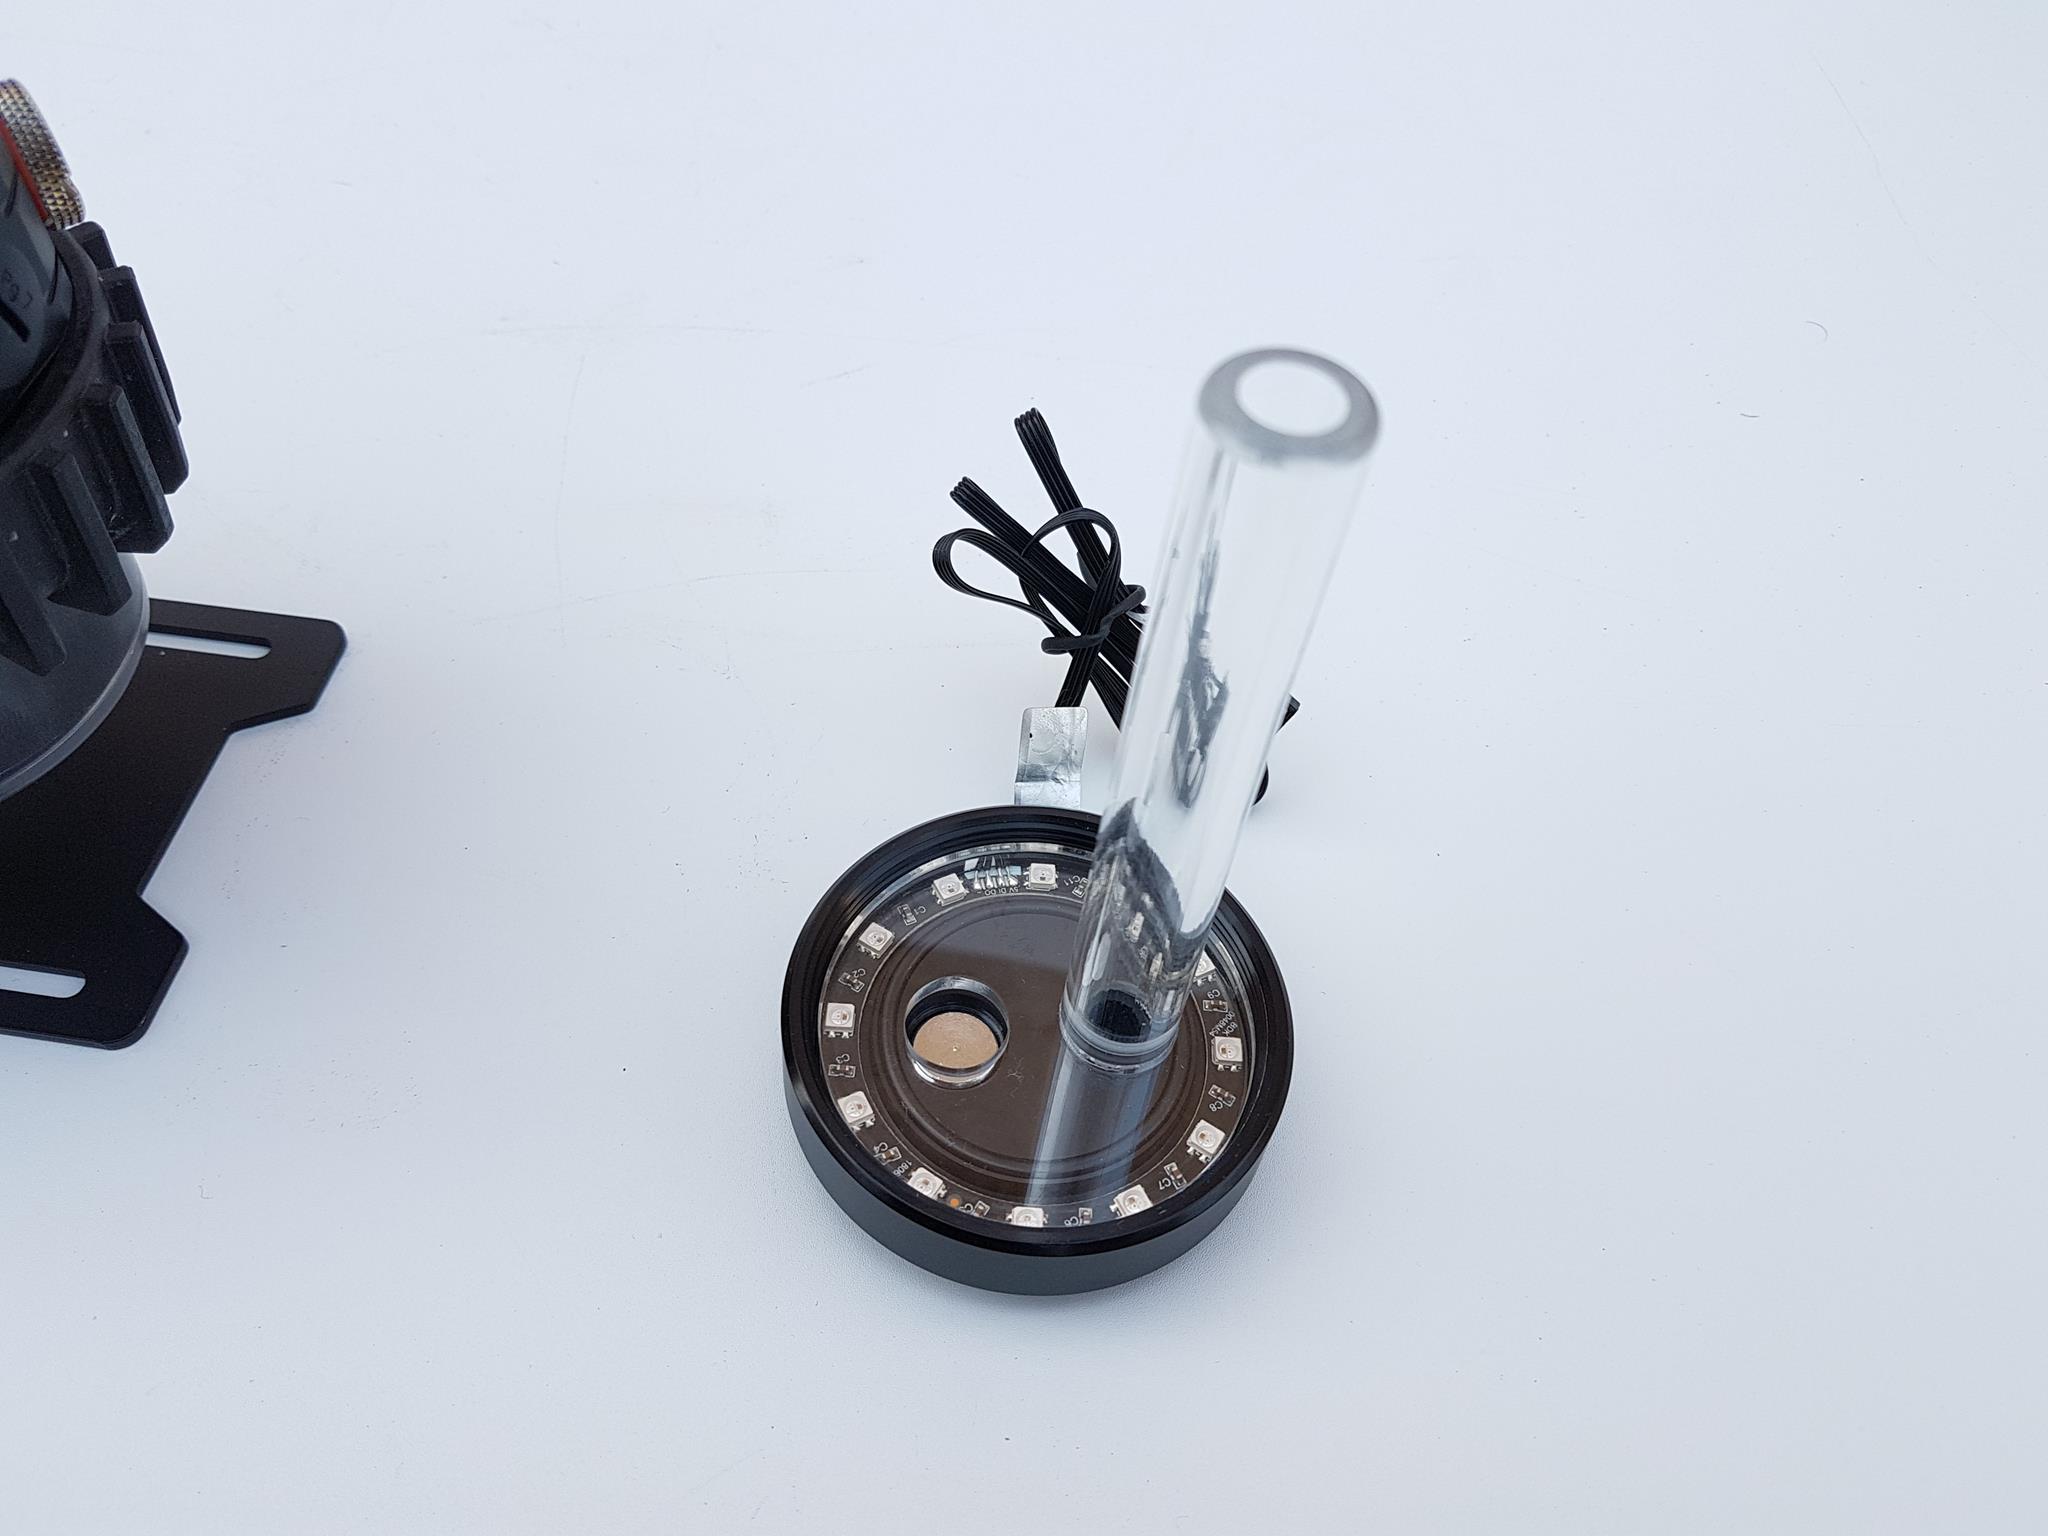
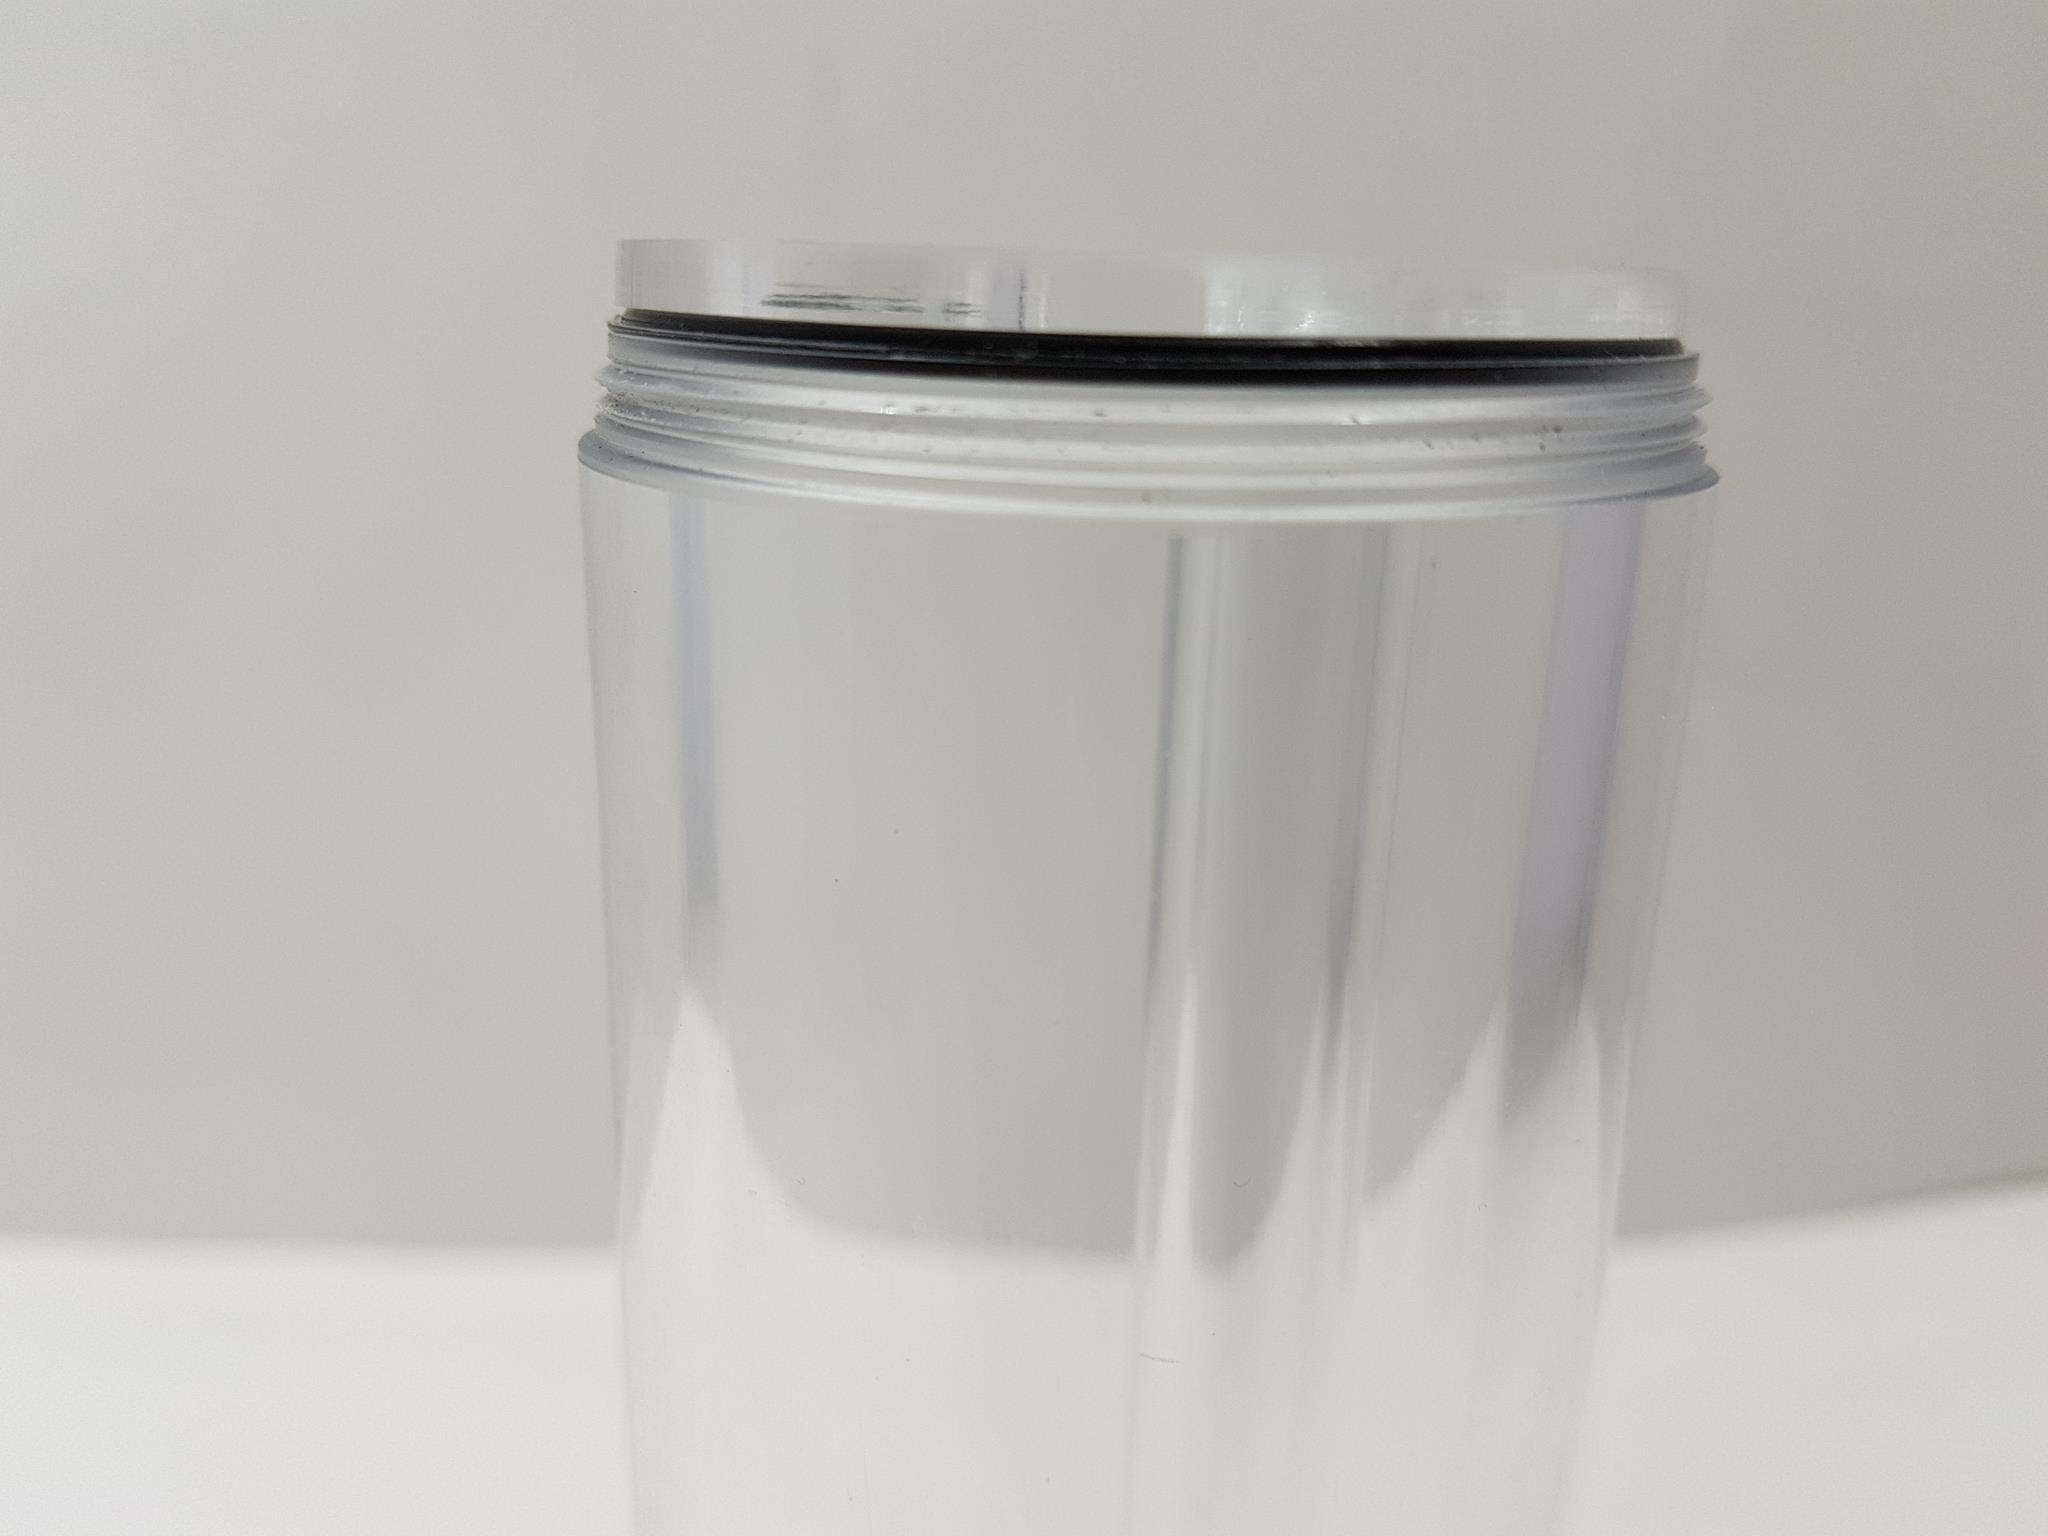
The lid has a height of 12.85mm approximately. The inner side of this lid has 12 addressable RGB LEDs placed along the complete length of the lid. The length of the RGB LED cable is approximately 488mm. In my opinion, a bit more length to this cable should have been provided depending upon where the reservoir will be placed inside the chassis and the distance from the reservoir top to the controller. This RGB LED cable is using the pin format of [GND / NA / D / +5V]. Raijintek has not provided any controller with this unit and there was no user manual either in the packing. In order to access and operate the lighting modes, one needs to get a compatible controller separately. At least, a motherboard Sync cable should have been included enabling the users to connect the RGB LED cable to the enabled motherboard headers for lighting control. An oring can be seen on the inner side of the lid that ensures the proper seal between the lid and the top plate of the return inlet pipe. There is a warranty void sticker pasted on the lid that is covering the reservoir body as well. Removing it would void the warranty.
The return inlet pipe is not fixed to the top lid or to the reservoir. While this is handy as it was easier for the Raijintek to replace the broken inlet pipe without having to send a complete unit again, this also poses a challenge to the user. This pipe is placed on top of the reservoir opening and it sits between there and the top lid. Once we started to close the lid, we were expecting it to rotate along with the lid so as to ensure that proper alignment between the dedicated return port and the return line. But this was not the case at all. Rather it sits there on the originally placed position and waits until lid comes closer to its fixing position then it starts to rotate. We had to go through a tough time in proper aligning and closing the lid as otherwise the coolant was simply flowing towards the fill port and returning to the reservoir from there. This return line has an ID of 8.80mm and OD of 13.94 approximately. There is an oring between the top plate of the return line and the reservoir top. As the reservoir is using G1/4” threaded ports, any fitting using this threading can be connected to the unit.
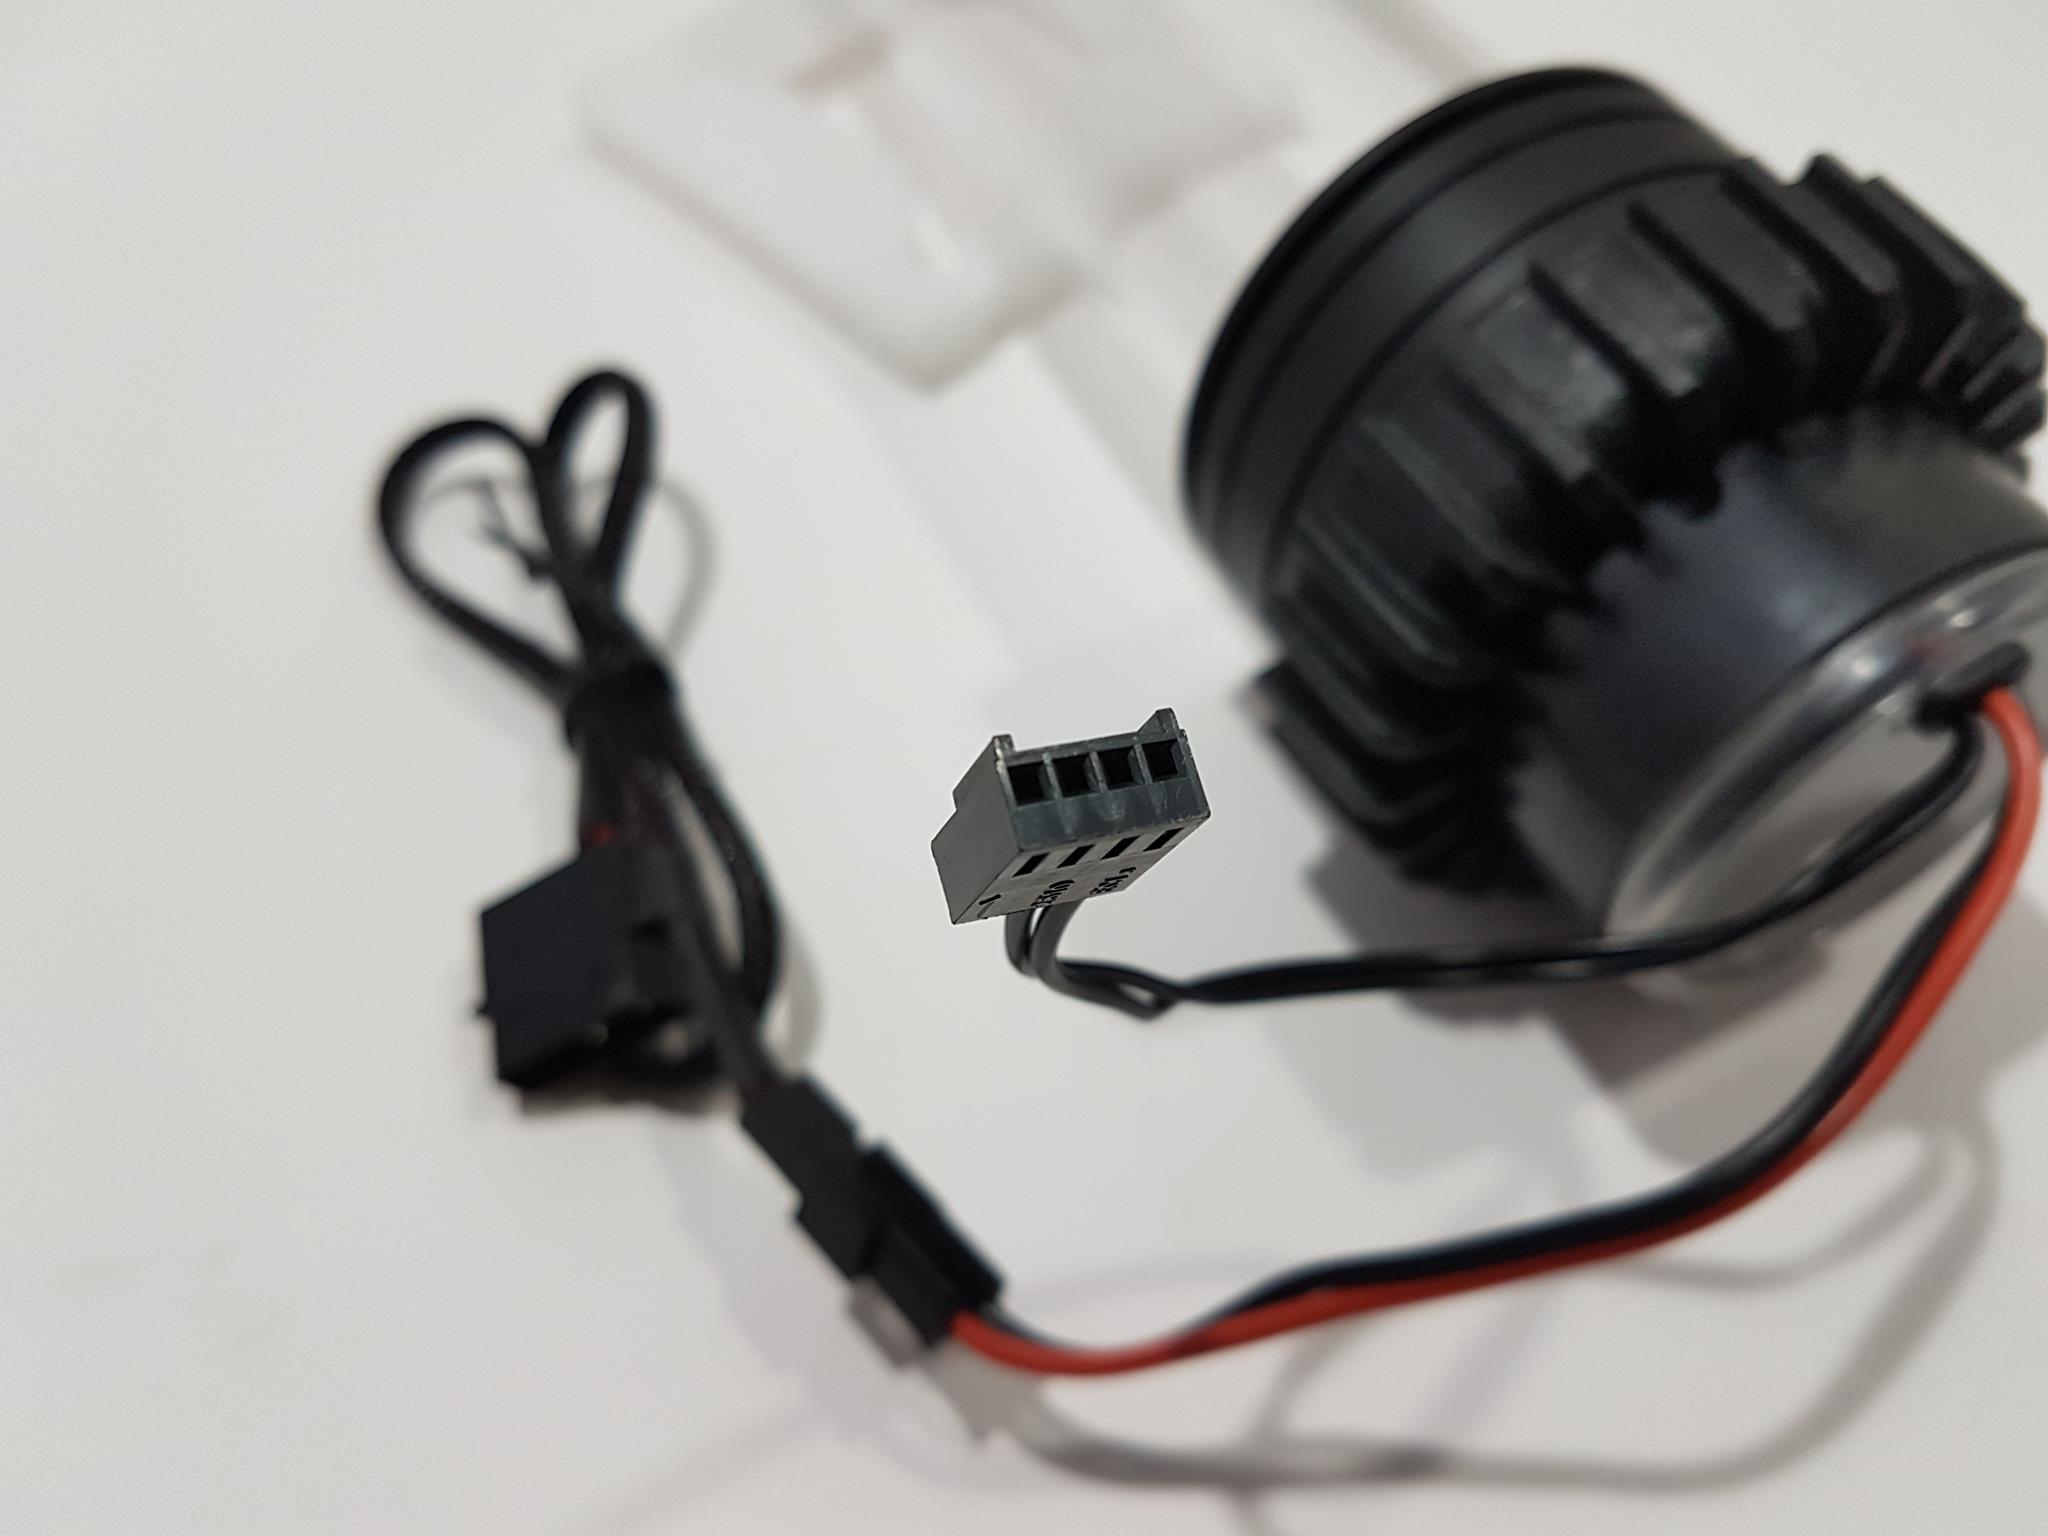
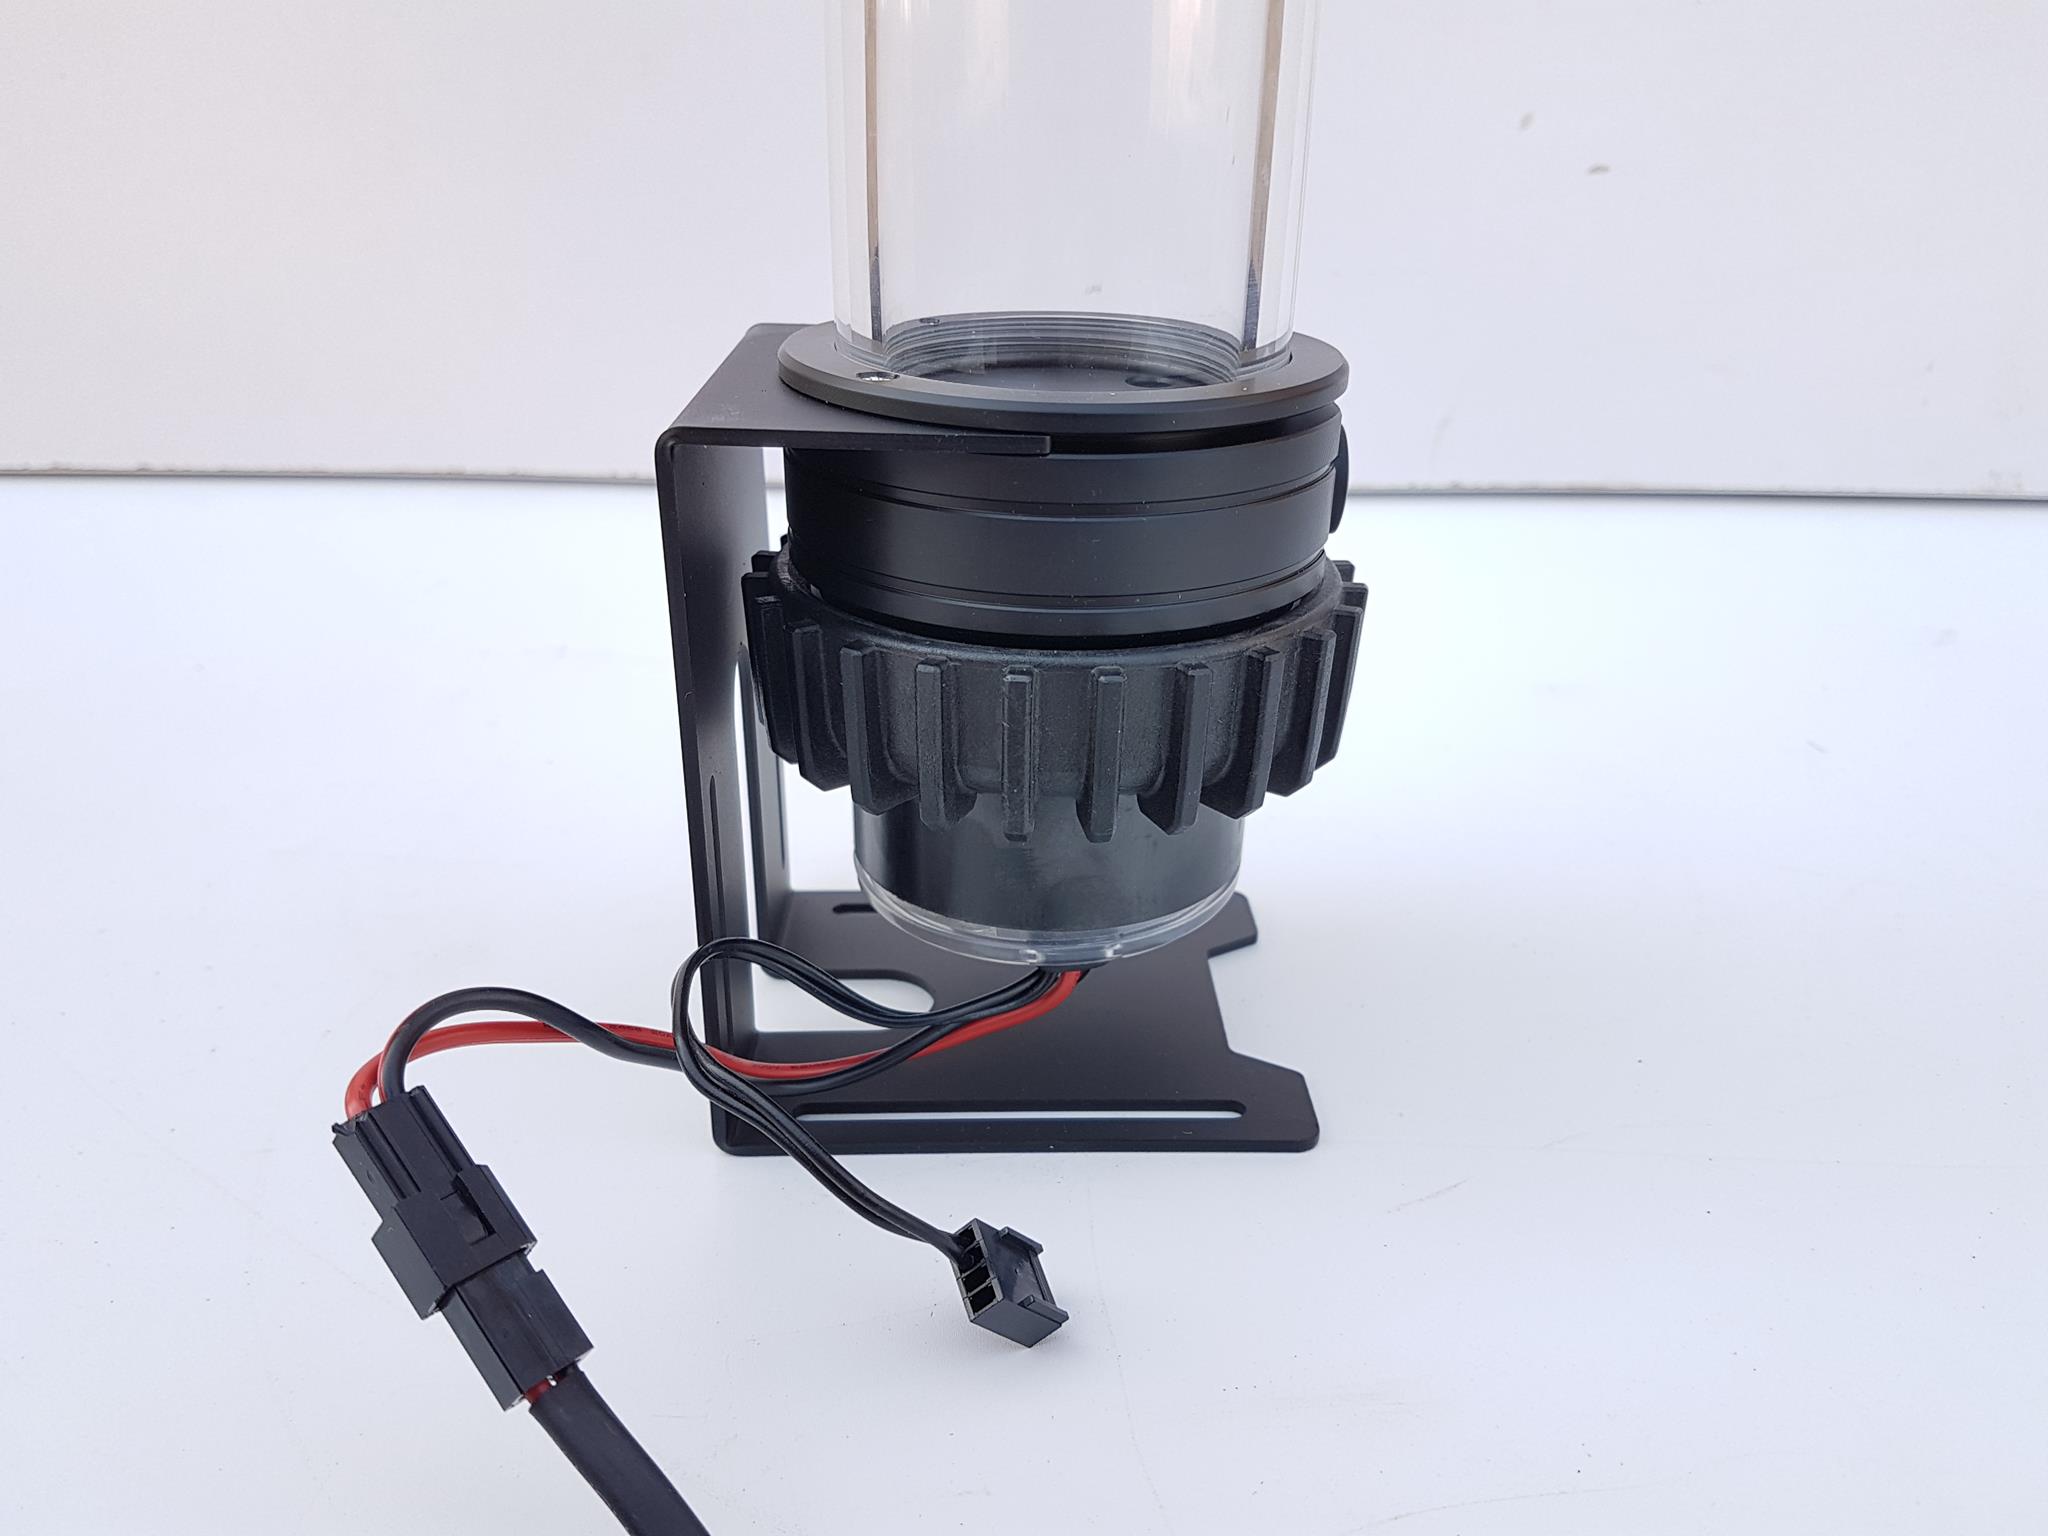
The Raijintek is using a Laing D5 pump with a maximum flow rate of 900 L/H. Raijintek clearly, means business with their Atlantis series of the custom loop gear and seems not compromising on the main element of the loop which is the pump. This is a PWM version of the pump and Raijintek has provided a 4-pin PWM connector exactly for this purpose though the length of the PWM cable is merely 121mm which is beyond my comprehension of why not providing a suitable length to this cable. The user is forced to use PWM extension cable in order to control the speed of the pump. Not every user would have such accessories in readily available personal inventory. There is 2-pin cable coming out of the pump with a Molex connector. The length of this cable is 650mm. It is using the connector type of 2606-H-03P [-12V/+12V]. The four pin PWM cable is using the connector type of 2510-4P [NA / NA / Fg/ PWM]. There is a ring at the base of the reservoir where the pump is connected to the reservoir. The pump is using the ceramic bearing. Maximum pressure rating of the pump is 50 PSI with 50,000 hours of MTTF. The noise level is rated at 30 dBA. This pump is louder at full speed initially but will settle down once the bubbles are out of the loop and vortex is eliminated. We have observed the vortex phenomena with this unit to the extent that there was a white foam on the top of the coolant level and the coolant was whitish (not clear) in the reservoir. With regulating the speed of the pump from lower to the highest points and opening the fill port on the reservoir the coolant was back in its original shape. The pump draws power using 12VDC with an input current of 1.8±10% Amp.
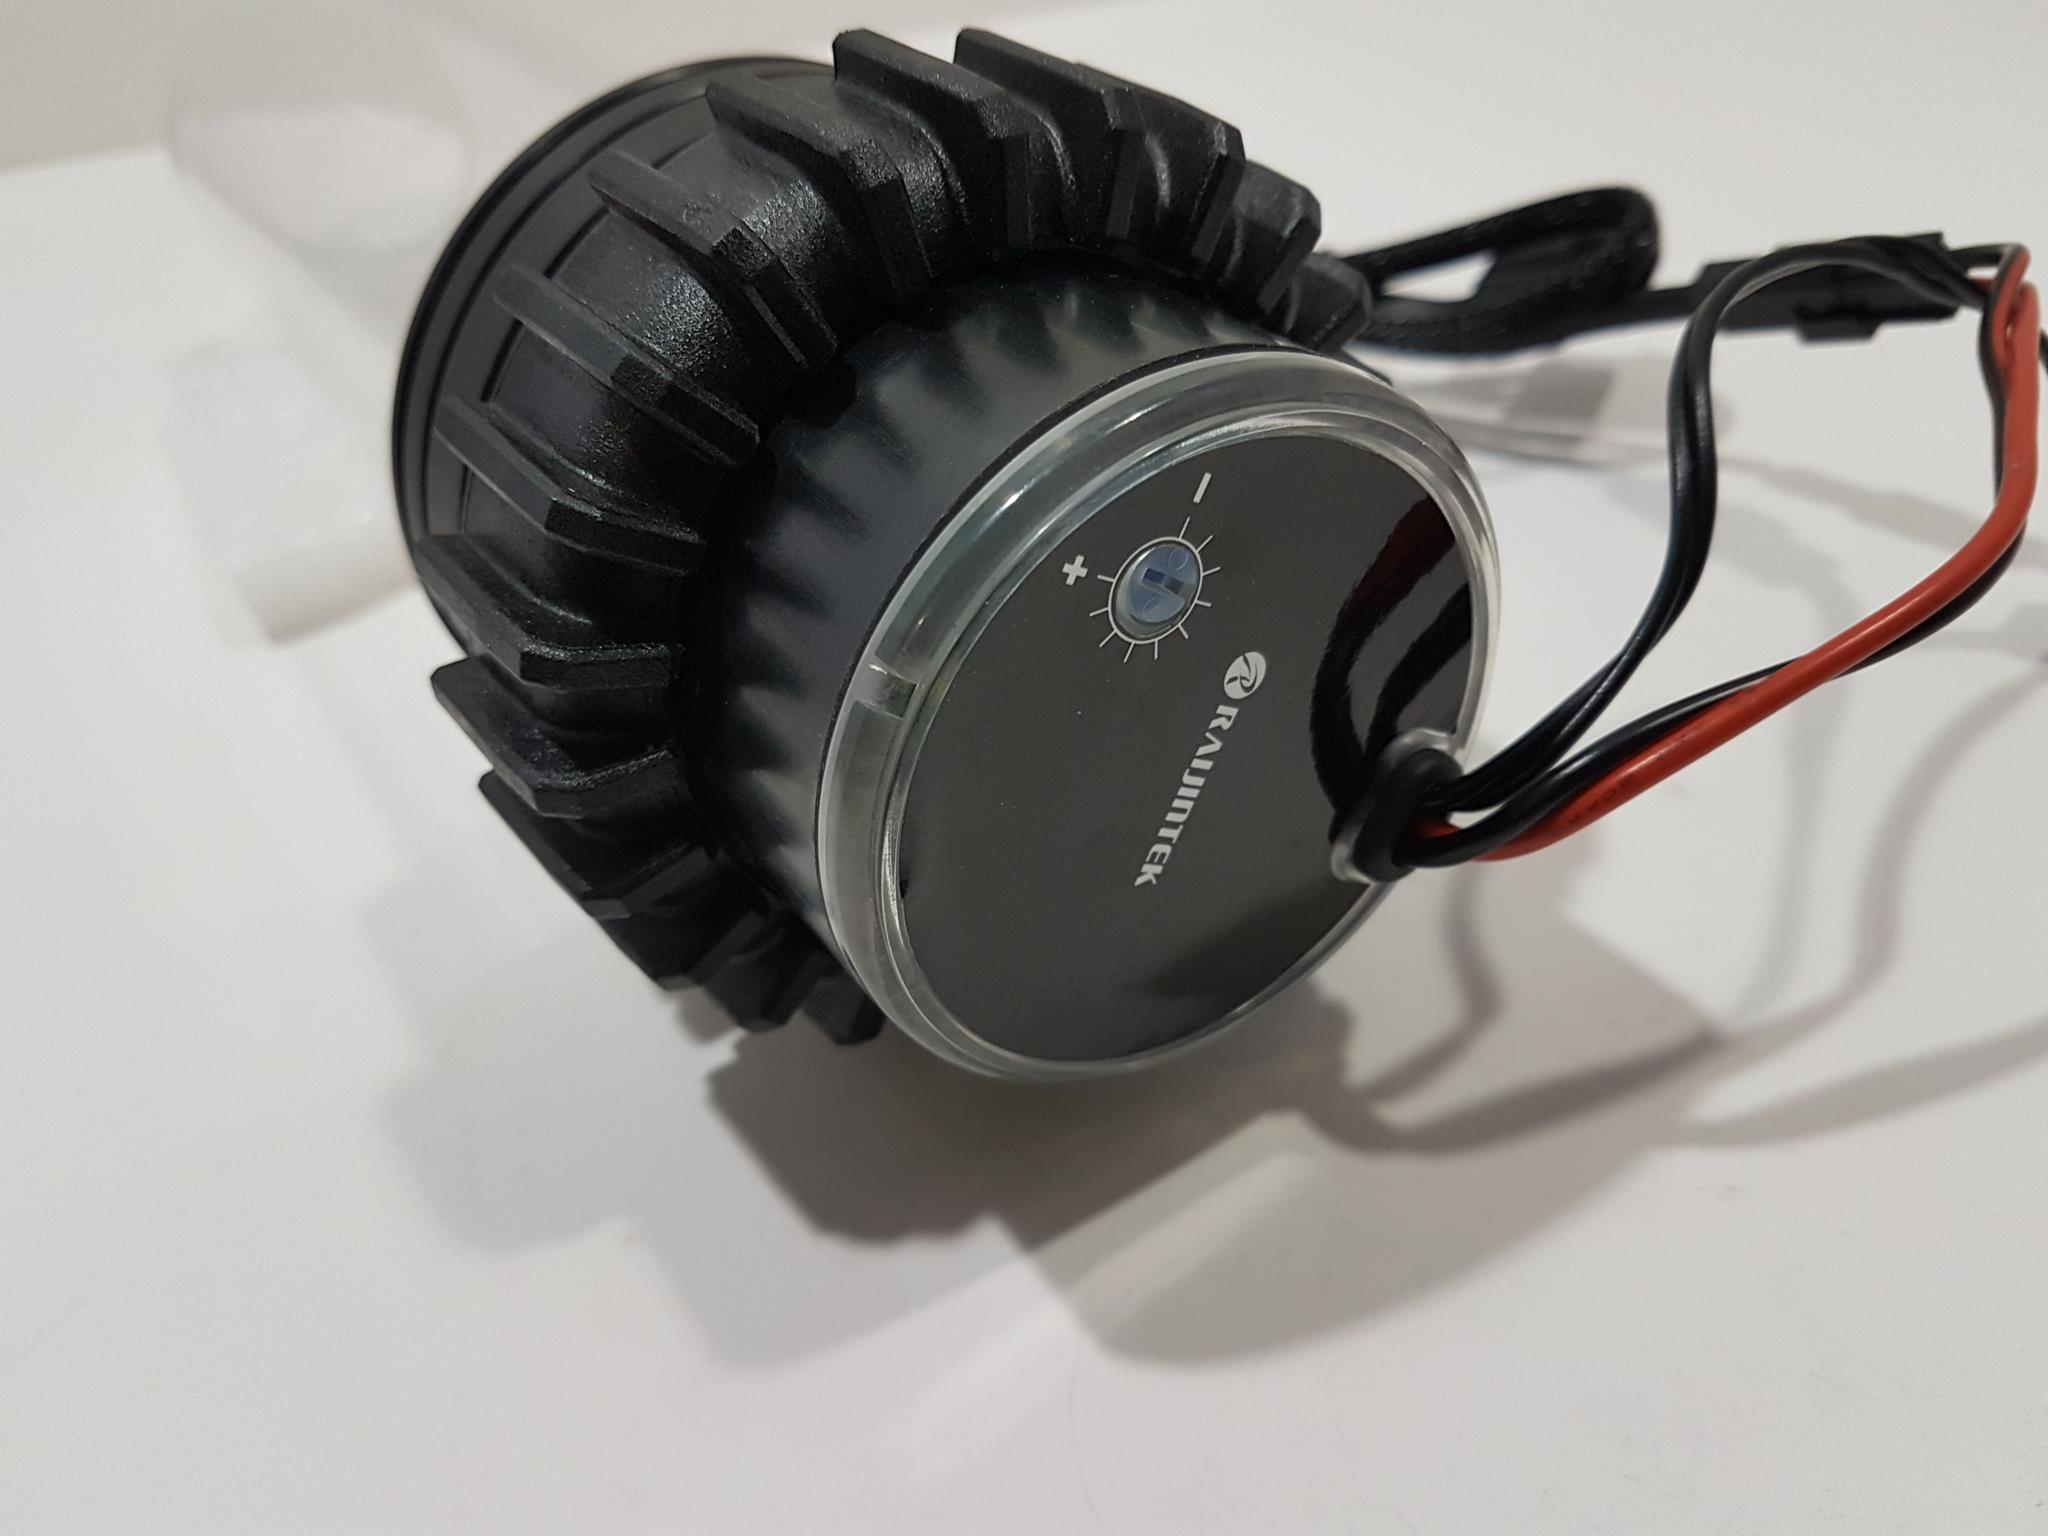
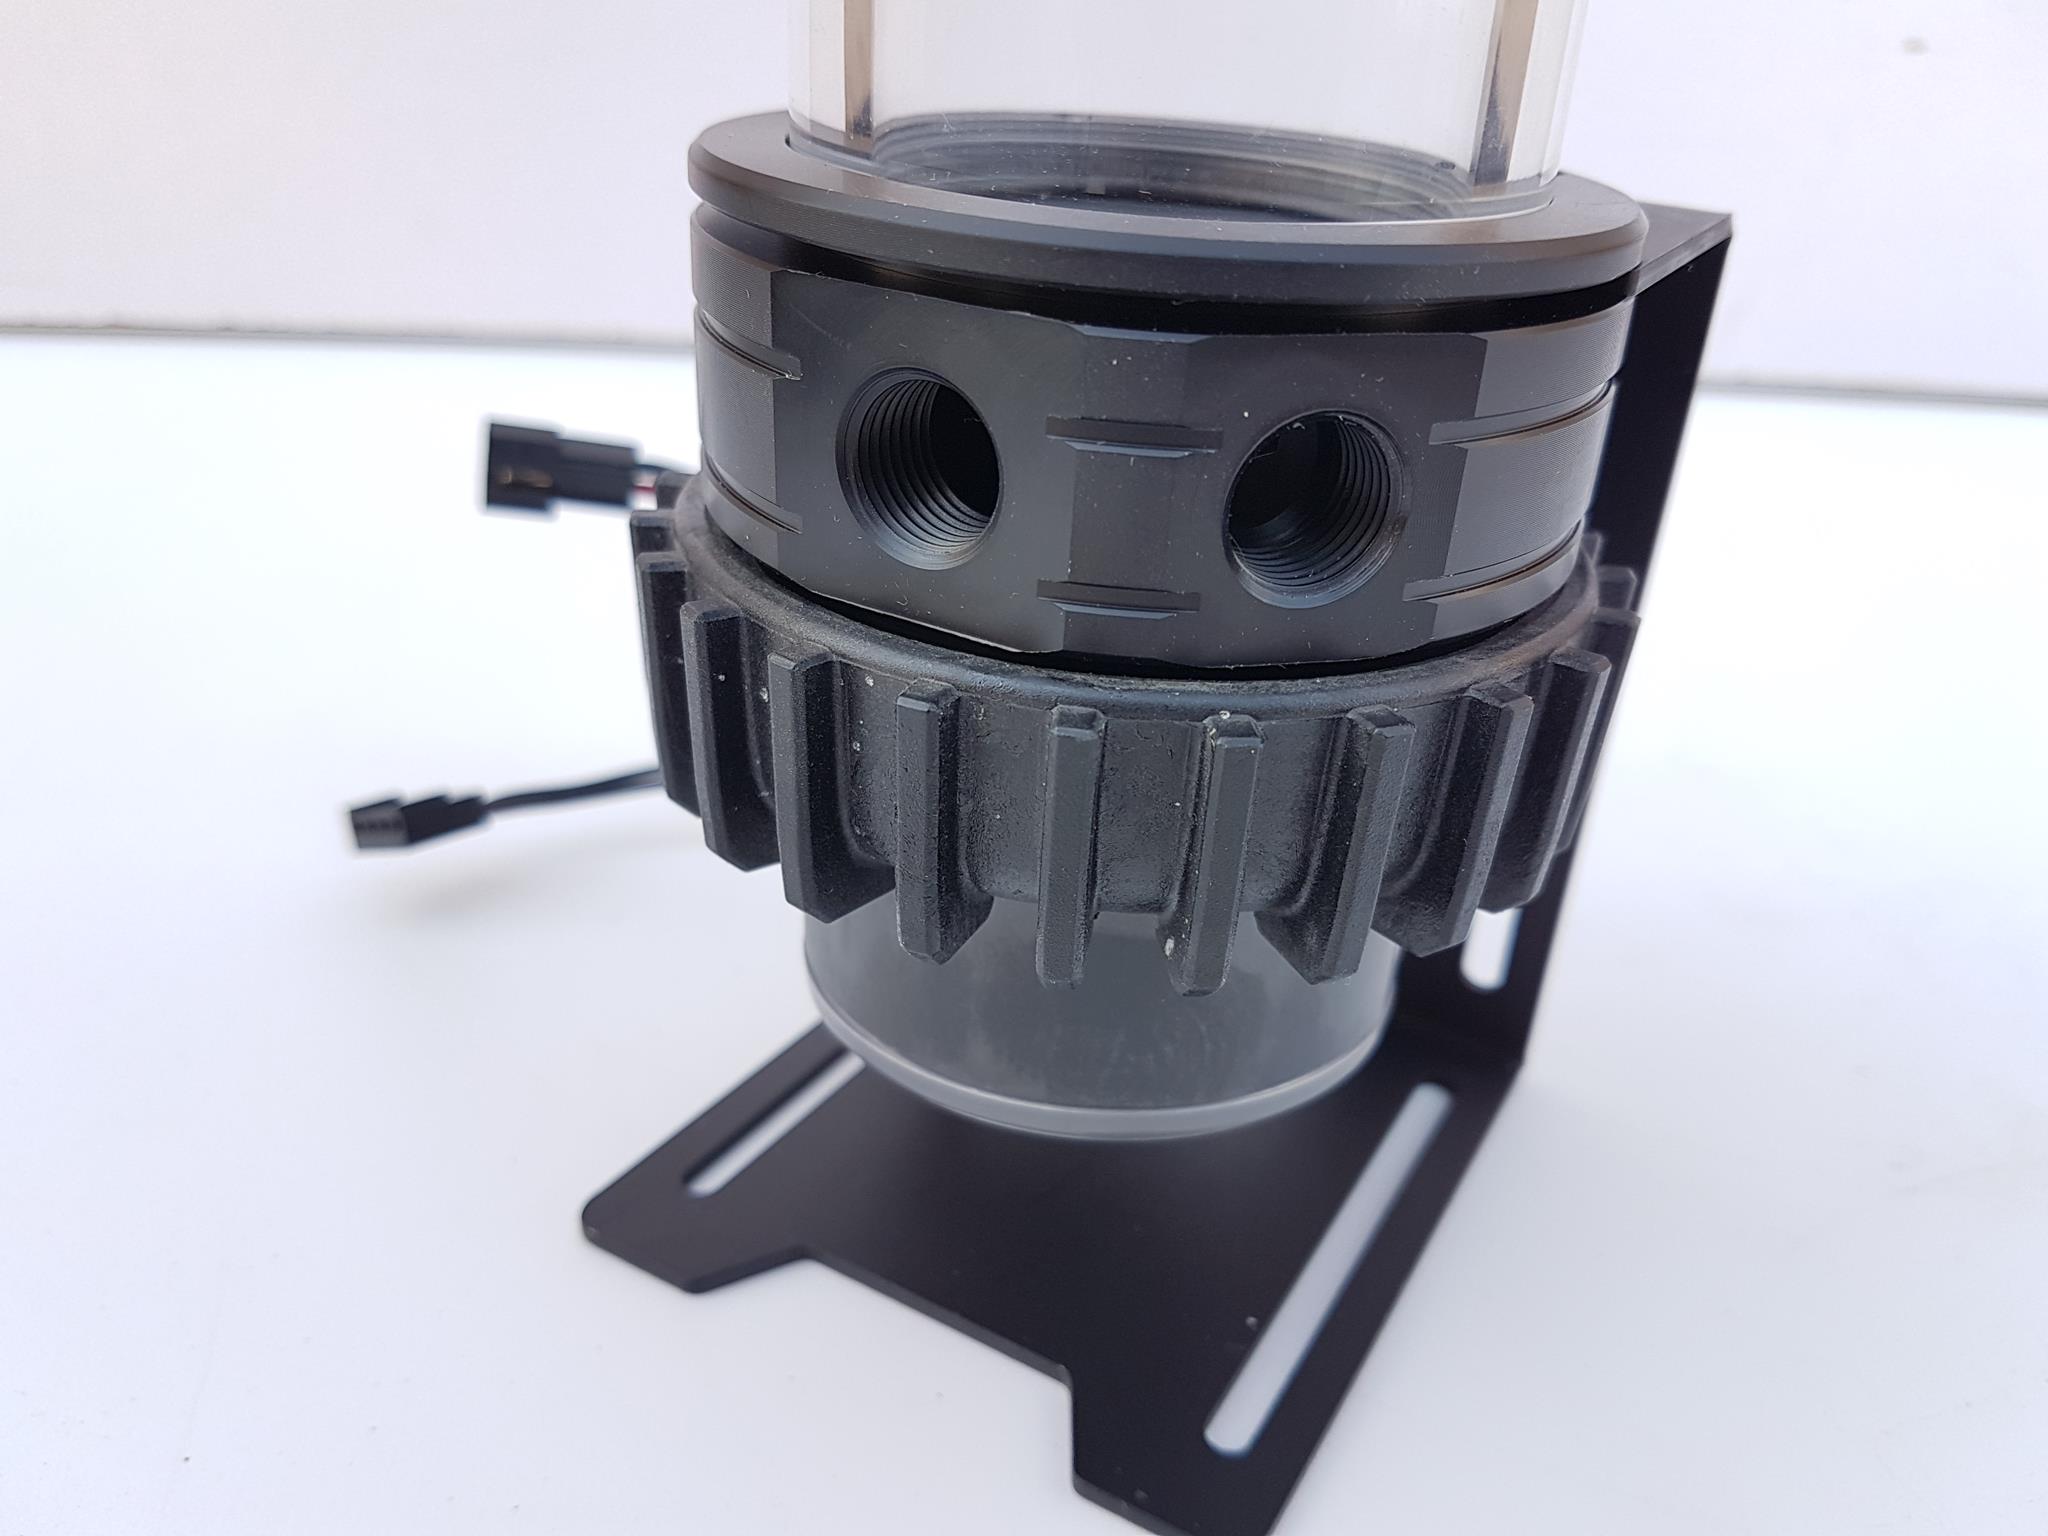
Looking at the base of the reservoir housing, we can see two G1/4” ports. The one on the left is the outlet port coming from the pump. The one on the right with a metallic plug is the inlet port which can be used to return the coolant to the reservoir. The closer the inlet and outlet ports are, the more difficult it would be for bleeding the loop to clear it from the bubbles. We did not take the pump apart from the reservoir. The base of the pump has white color LEDs under it. The Raijintek brand name and logo are printed on the base of the pump. There is a manual speed control knob located at the base as well with – and + symbols for visual aid. Since we have a PWM connector with the unit, there was no need to control the speed the using this knob. Also, once the unit is installed inside the chassis, the convenient access to this knob is eliminated. Part of the Molex cable is braided.
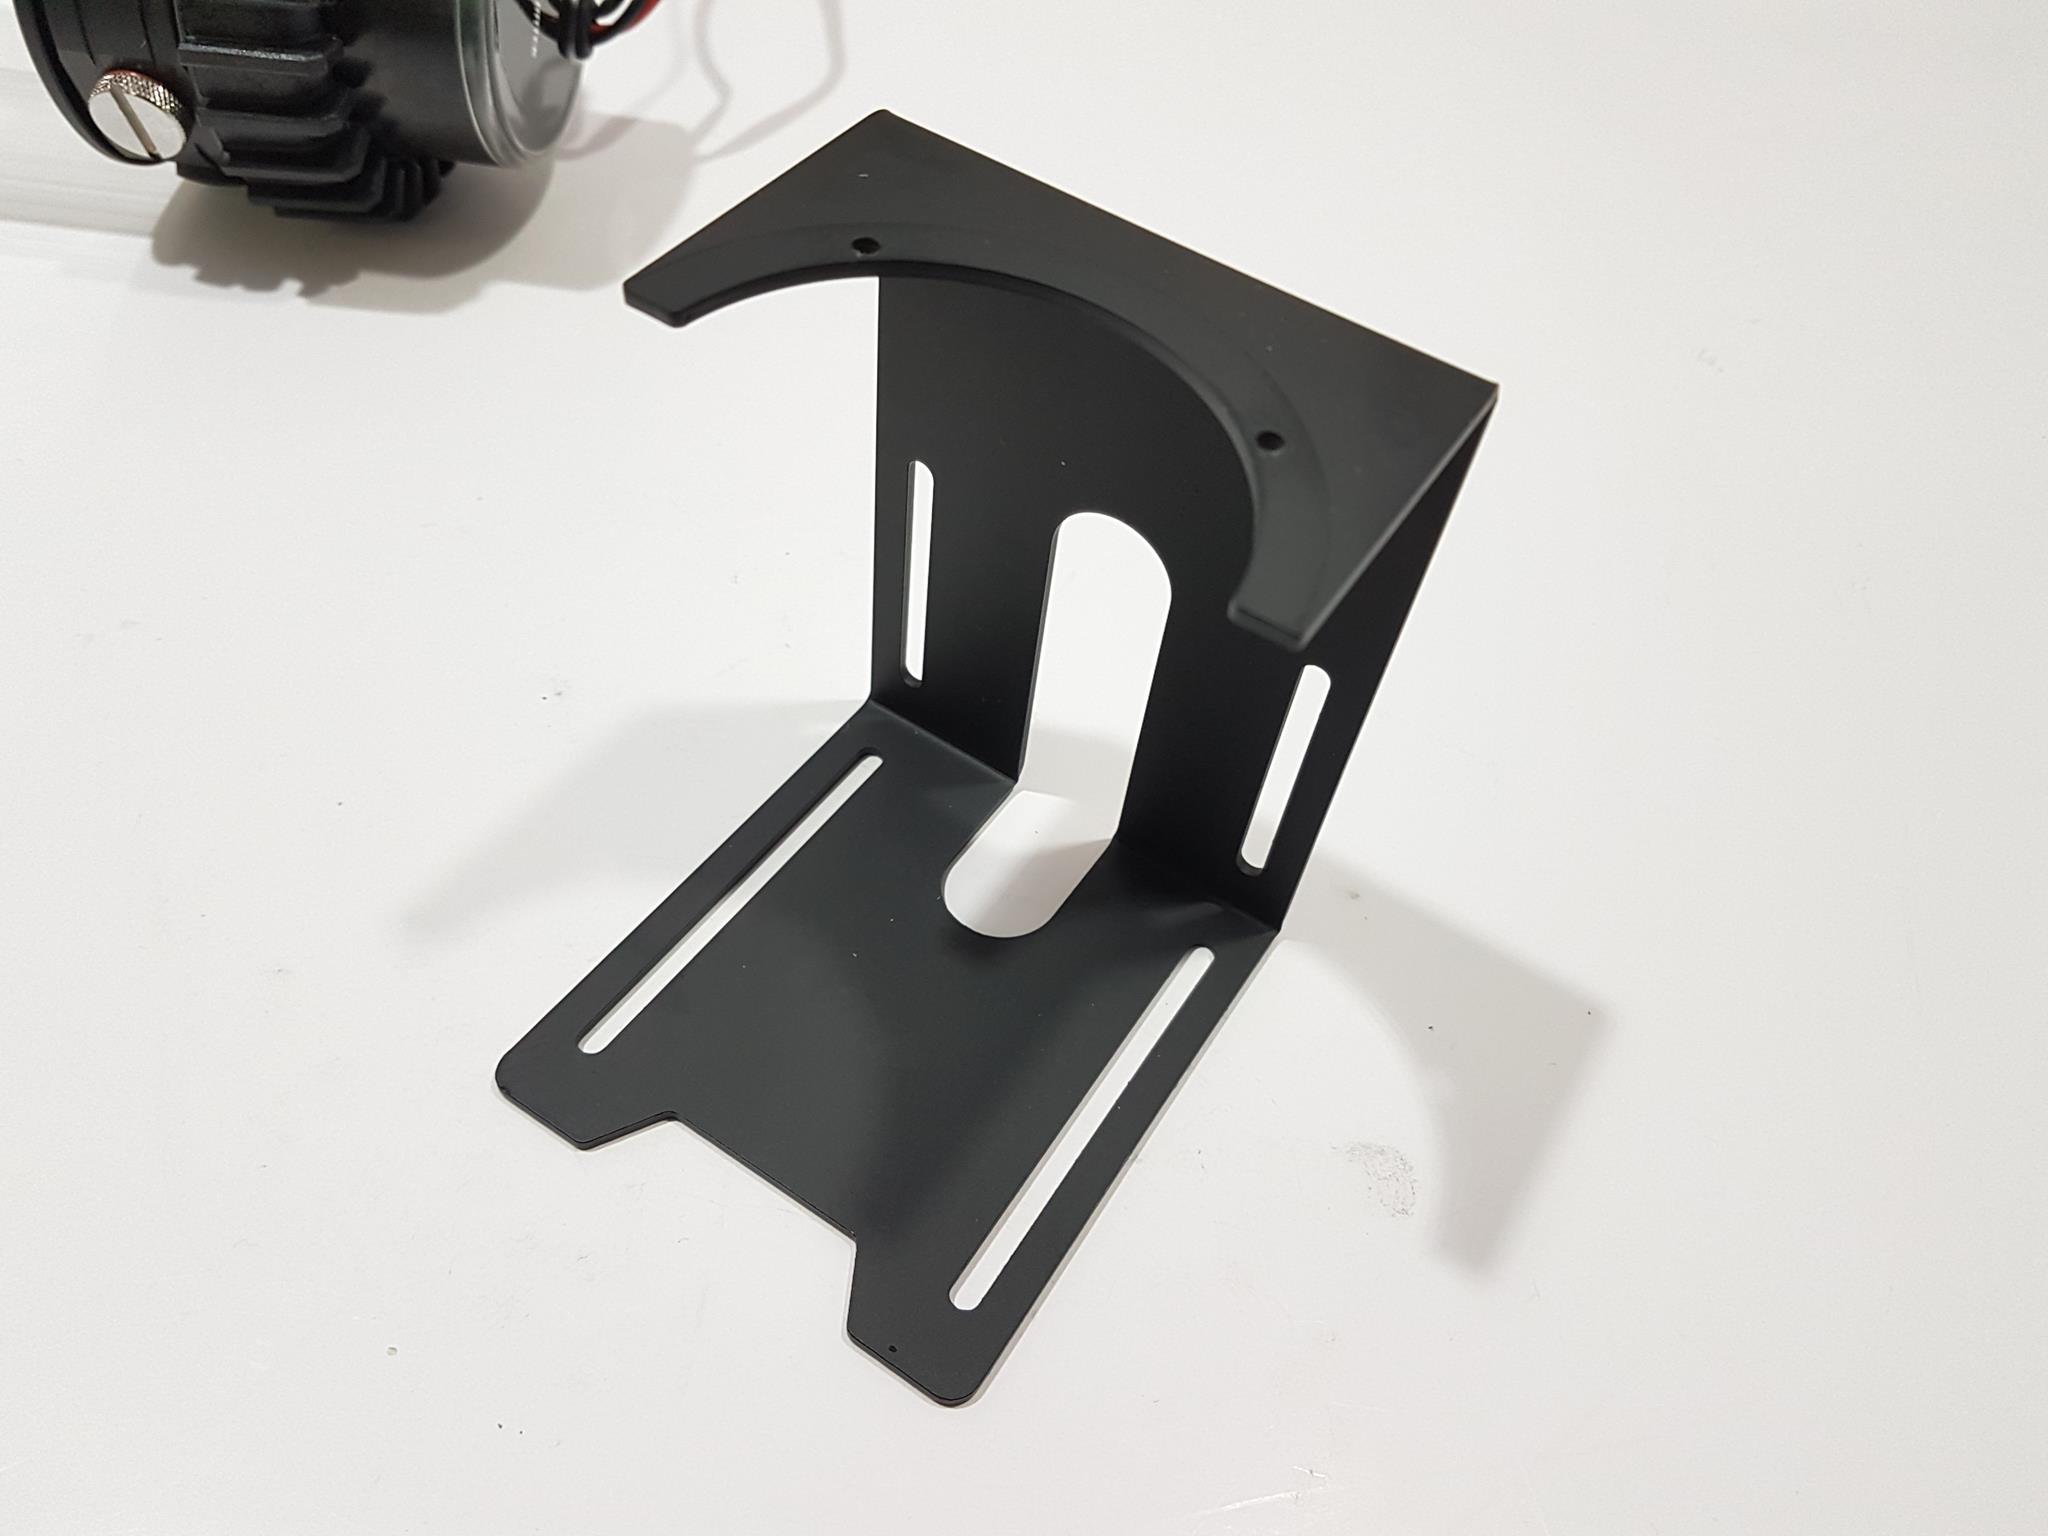
The last element of the Antila D5 is the pre-assembled support bracket for easy installation of the unit in the chassis. This bracket is metallic and has a dimension of 108x84x74mm (HxWxL). There are two long length cutouts on the base and on the wall of the bracket. These are the locations which are used to mount the unit inside the chassis either in a hanging position or on the base of the chassis. The rail mounting allows for easy adjustment of the unit’s mounting position. The unit is secured to the bracket using two screws. I would suggest removing the unit from the bracket and installing the bracket first in the chassis then the unit otherwise it would be inconvenient installation.
Calore C240/360D Radiators
The next components in the list of custom loop stuff are two radiators that Raijintek has sent for the review. One is the 240mm radiator and the other is a 360mm radiator. Here are the specifications of the both:
| Product Name | Calore C240D | Calore C360D |
| Product Number | 0R400055 [0R40A00055] | 0R400056 [0R40A00056] |
| Dimension [WxDxH] | 282.5x119x65.5mm | 403.5x119x65.5mm |
| Flat Tube | 14 set; 240x13x2mm | 14 set; 360x13x2mm |
| FPI | 14 | 14 |
| Tube Row | 3 | 3 |
| Screw Threads | G1/4” | G1/4” |
| Port | 5 | 5 |
| Material | Copper | Copper |
| Weight | 1191 gm | 1653 gm |
| Surface | Black Coated | Black Coated |
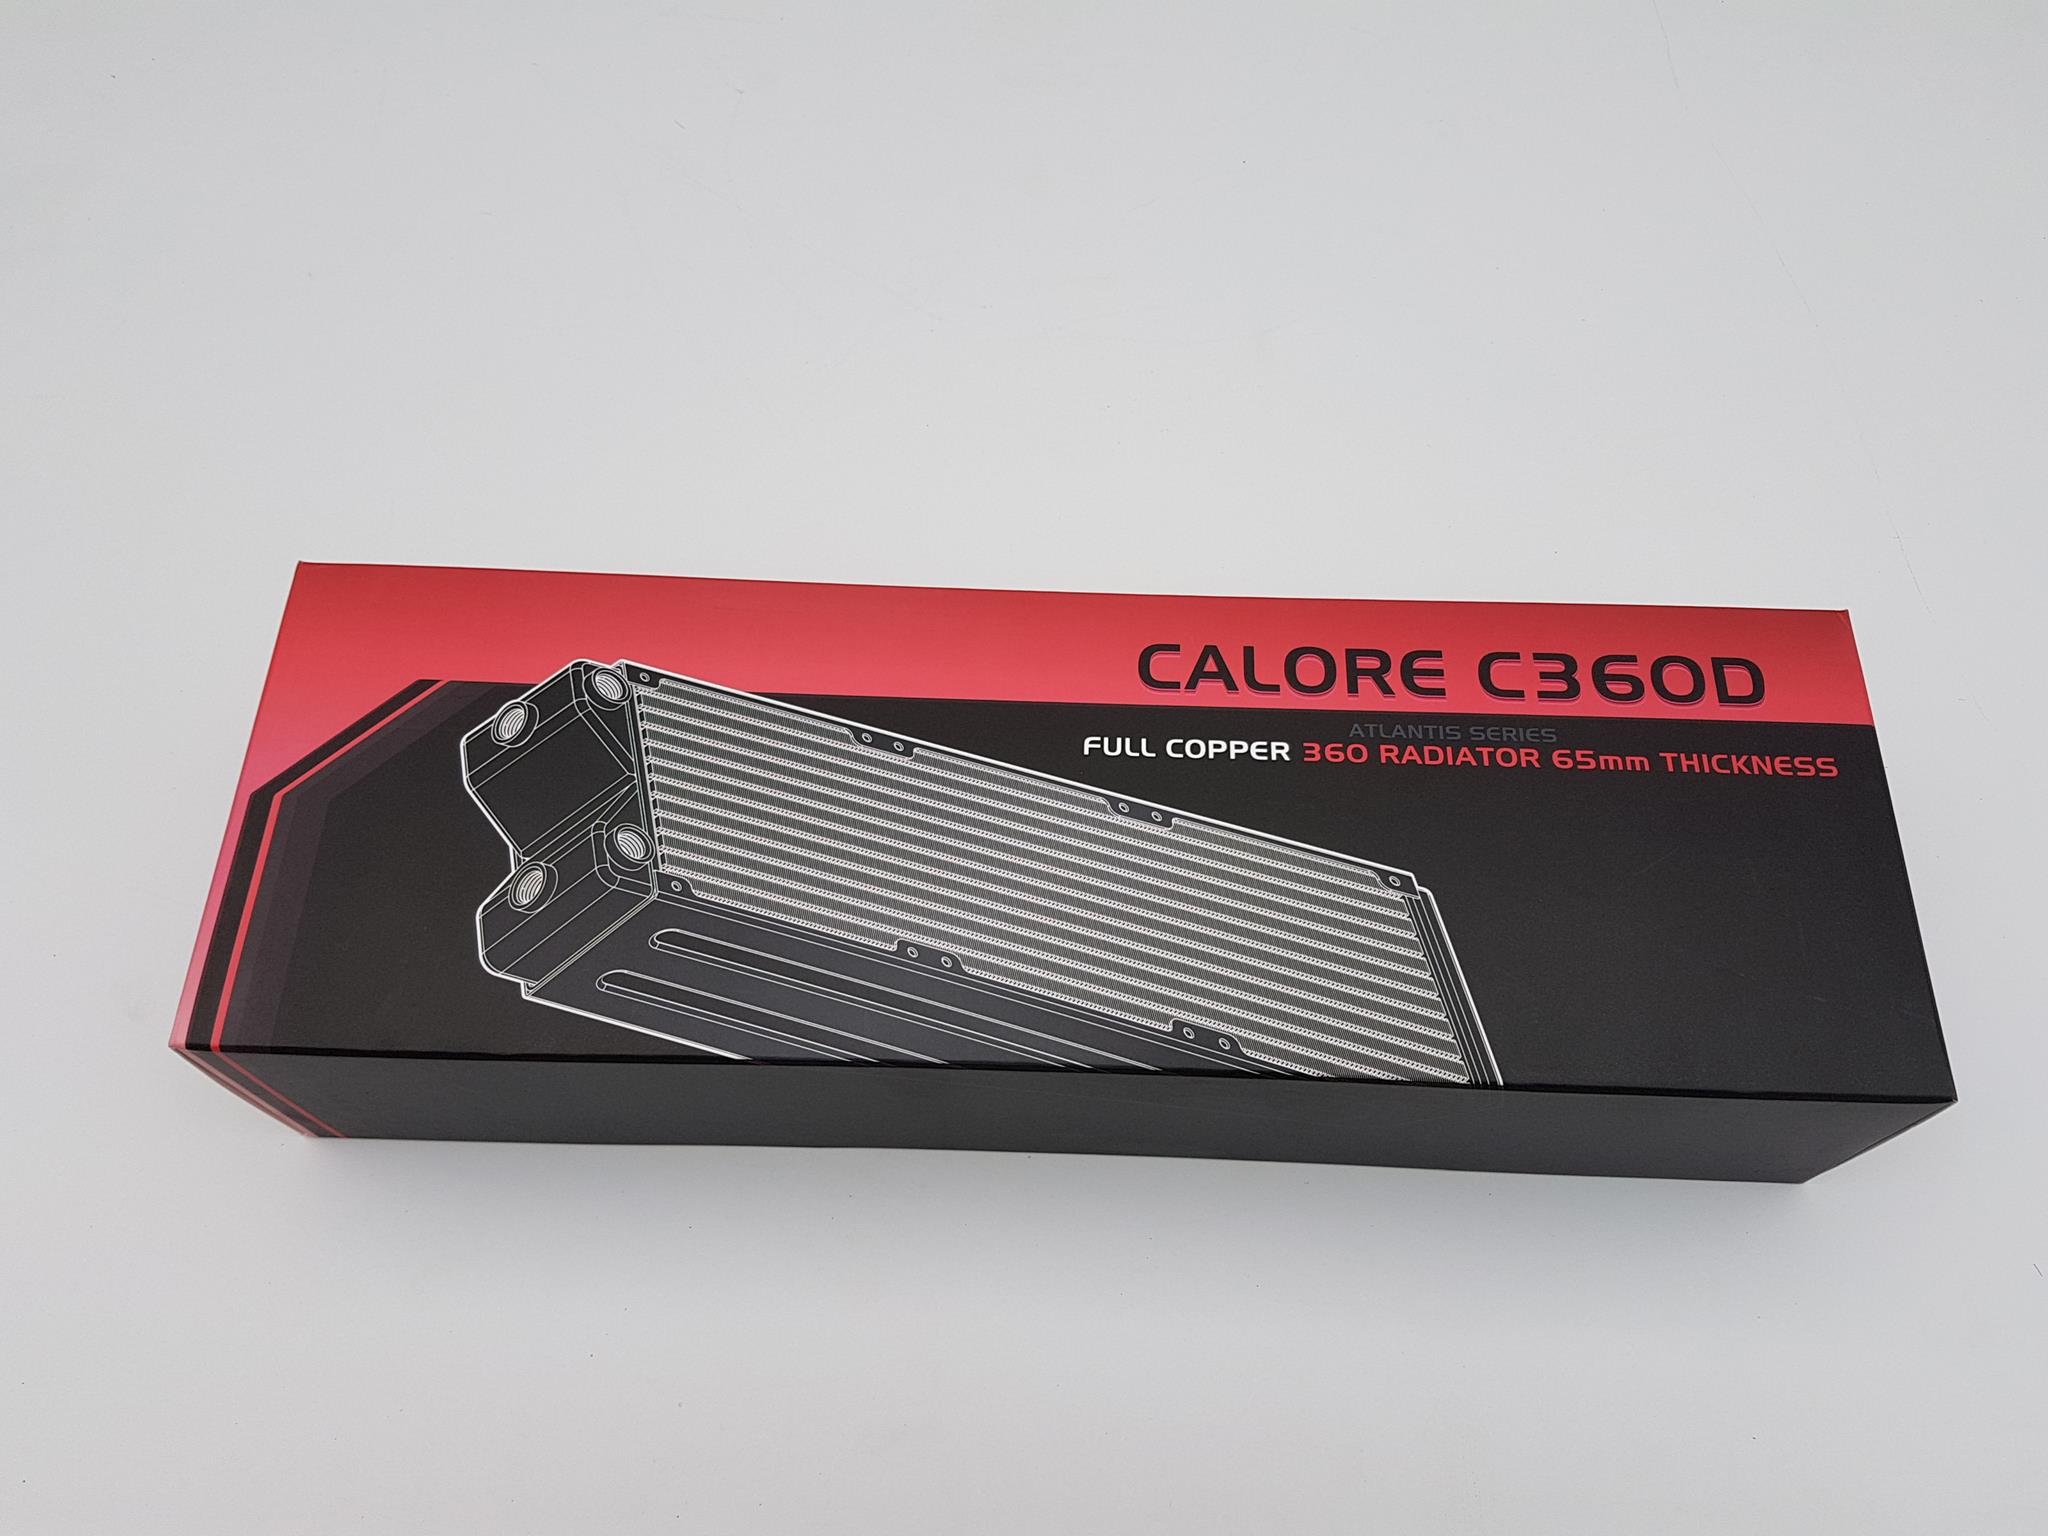
Both radiators are shipped inside rugged cardboard box covered by a paperboard. The front side of the boxes has a model of the radiator printed on the top left side. The C360D box has red and black colors on the paperboard box whereas the C240D box has blue and black colors. There is a diagram of the unit printed on the main section.
The top side has Raijintek brand name and logo printed in the black color on the center.
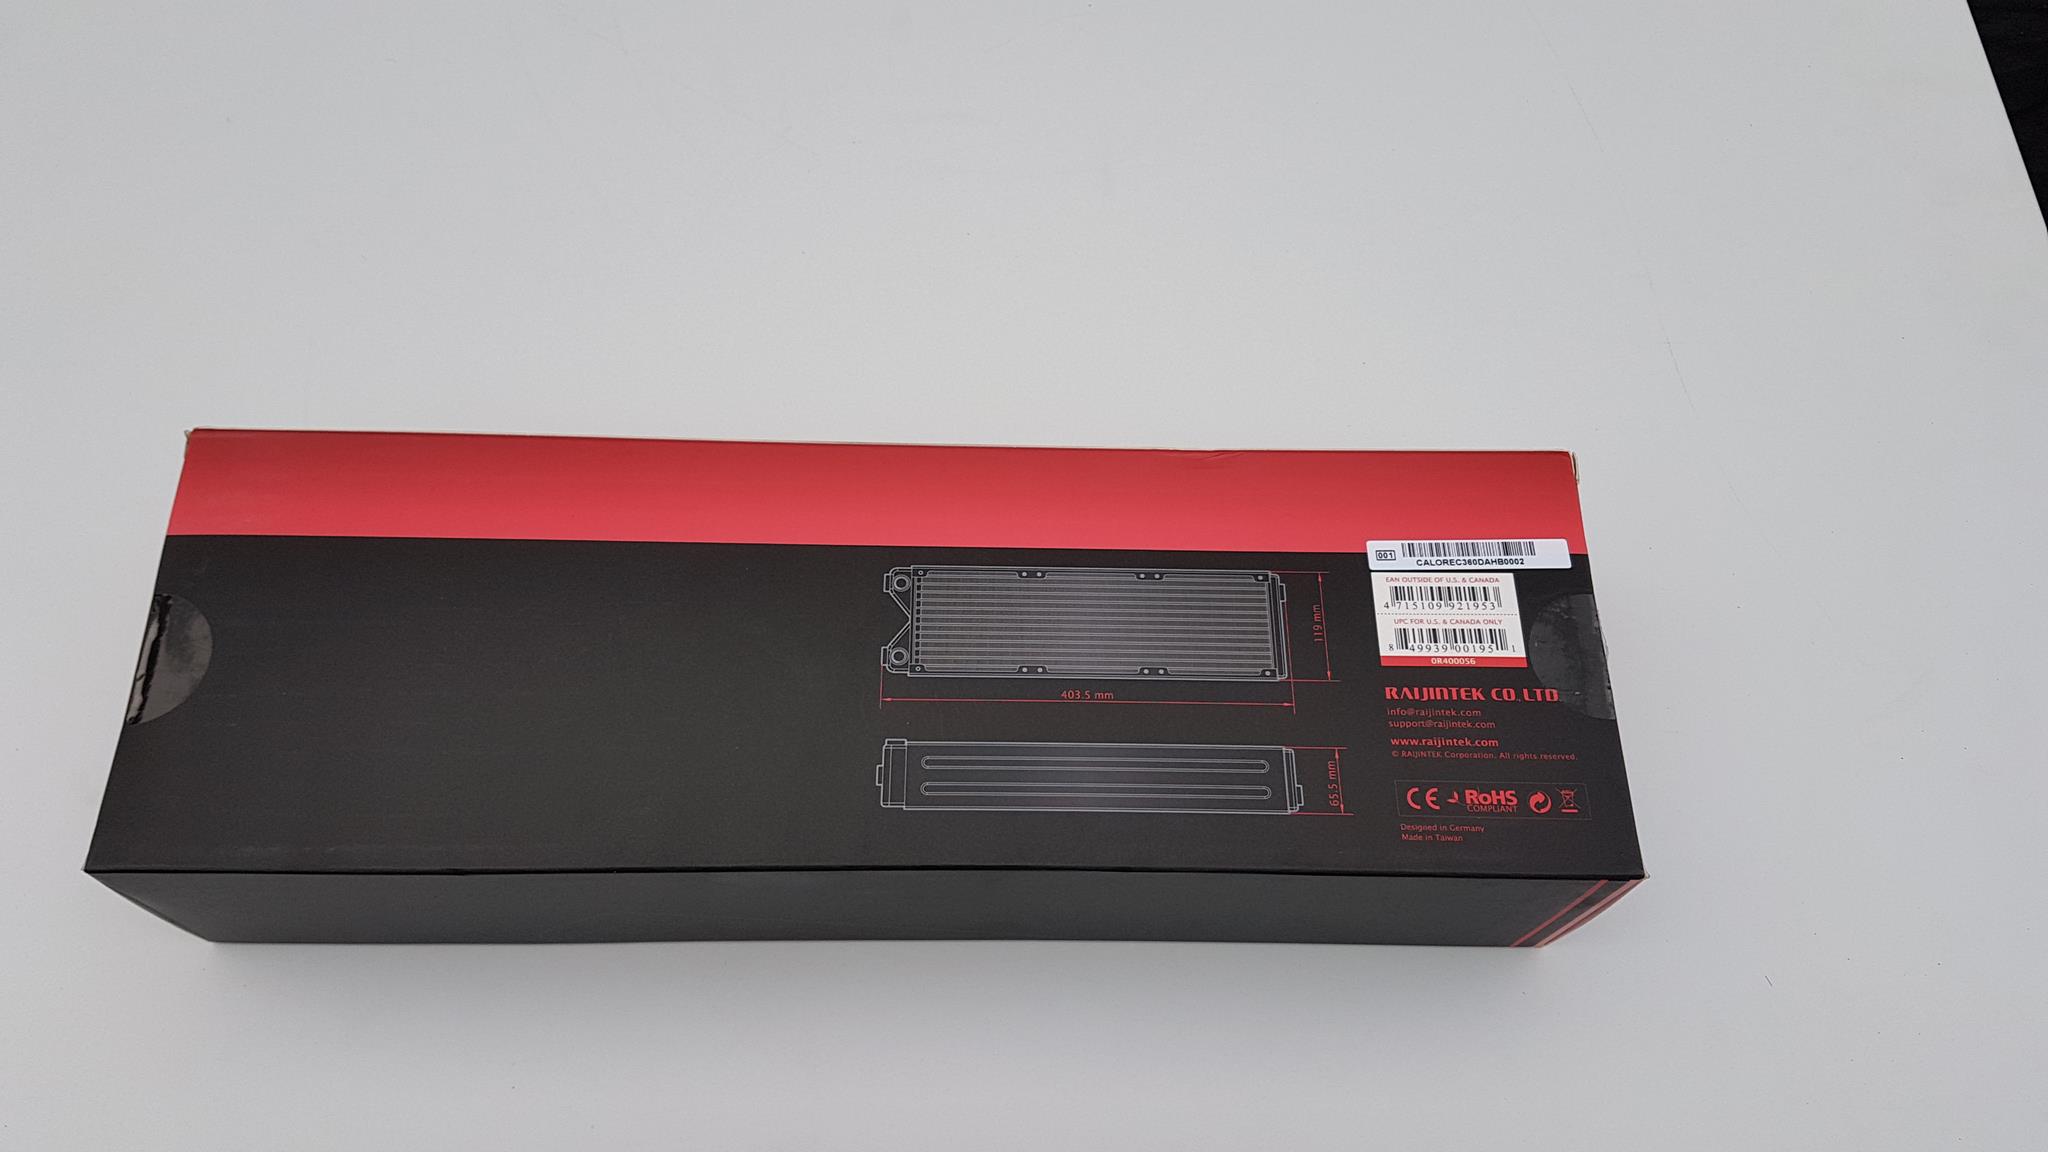
The backside of the box has two block diagrams showing the dimension of the unit followed by a serial no sticker pasted on the rightmost side. Below this sticker are EAN and UPC info labels. The company’s contact information and compliance with various regulations are printed on the bottom right side.
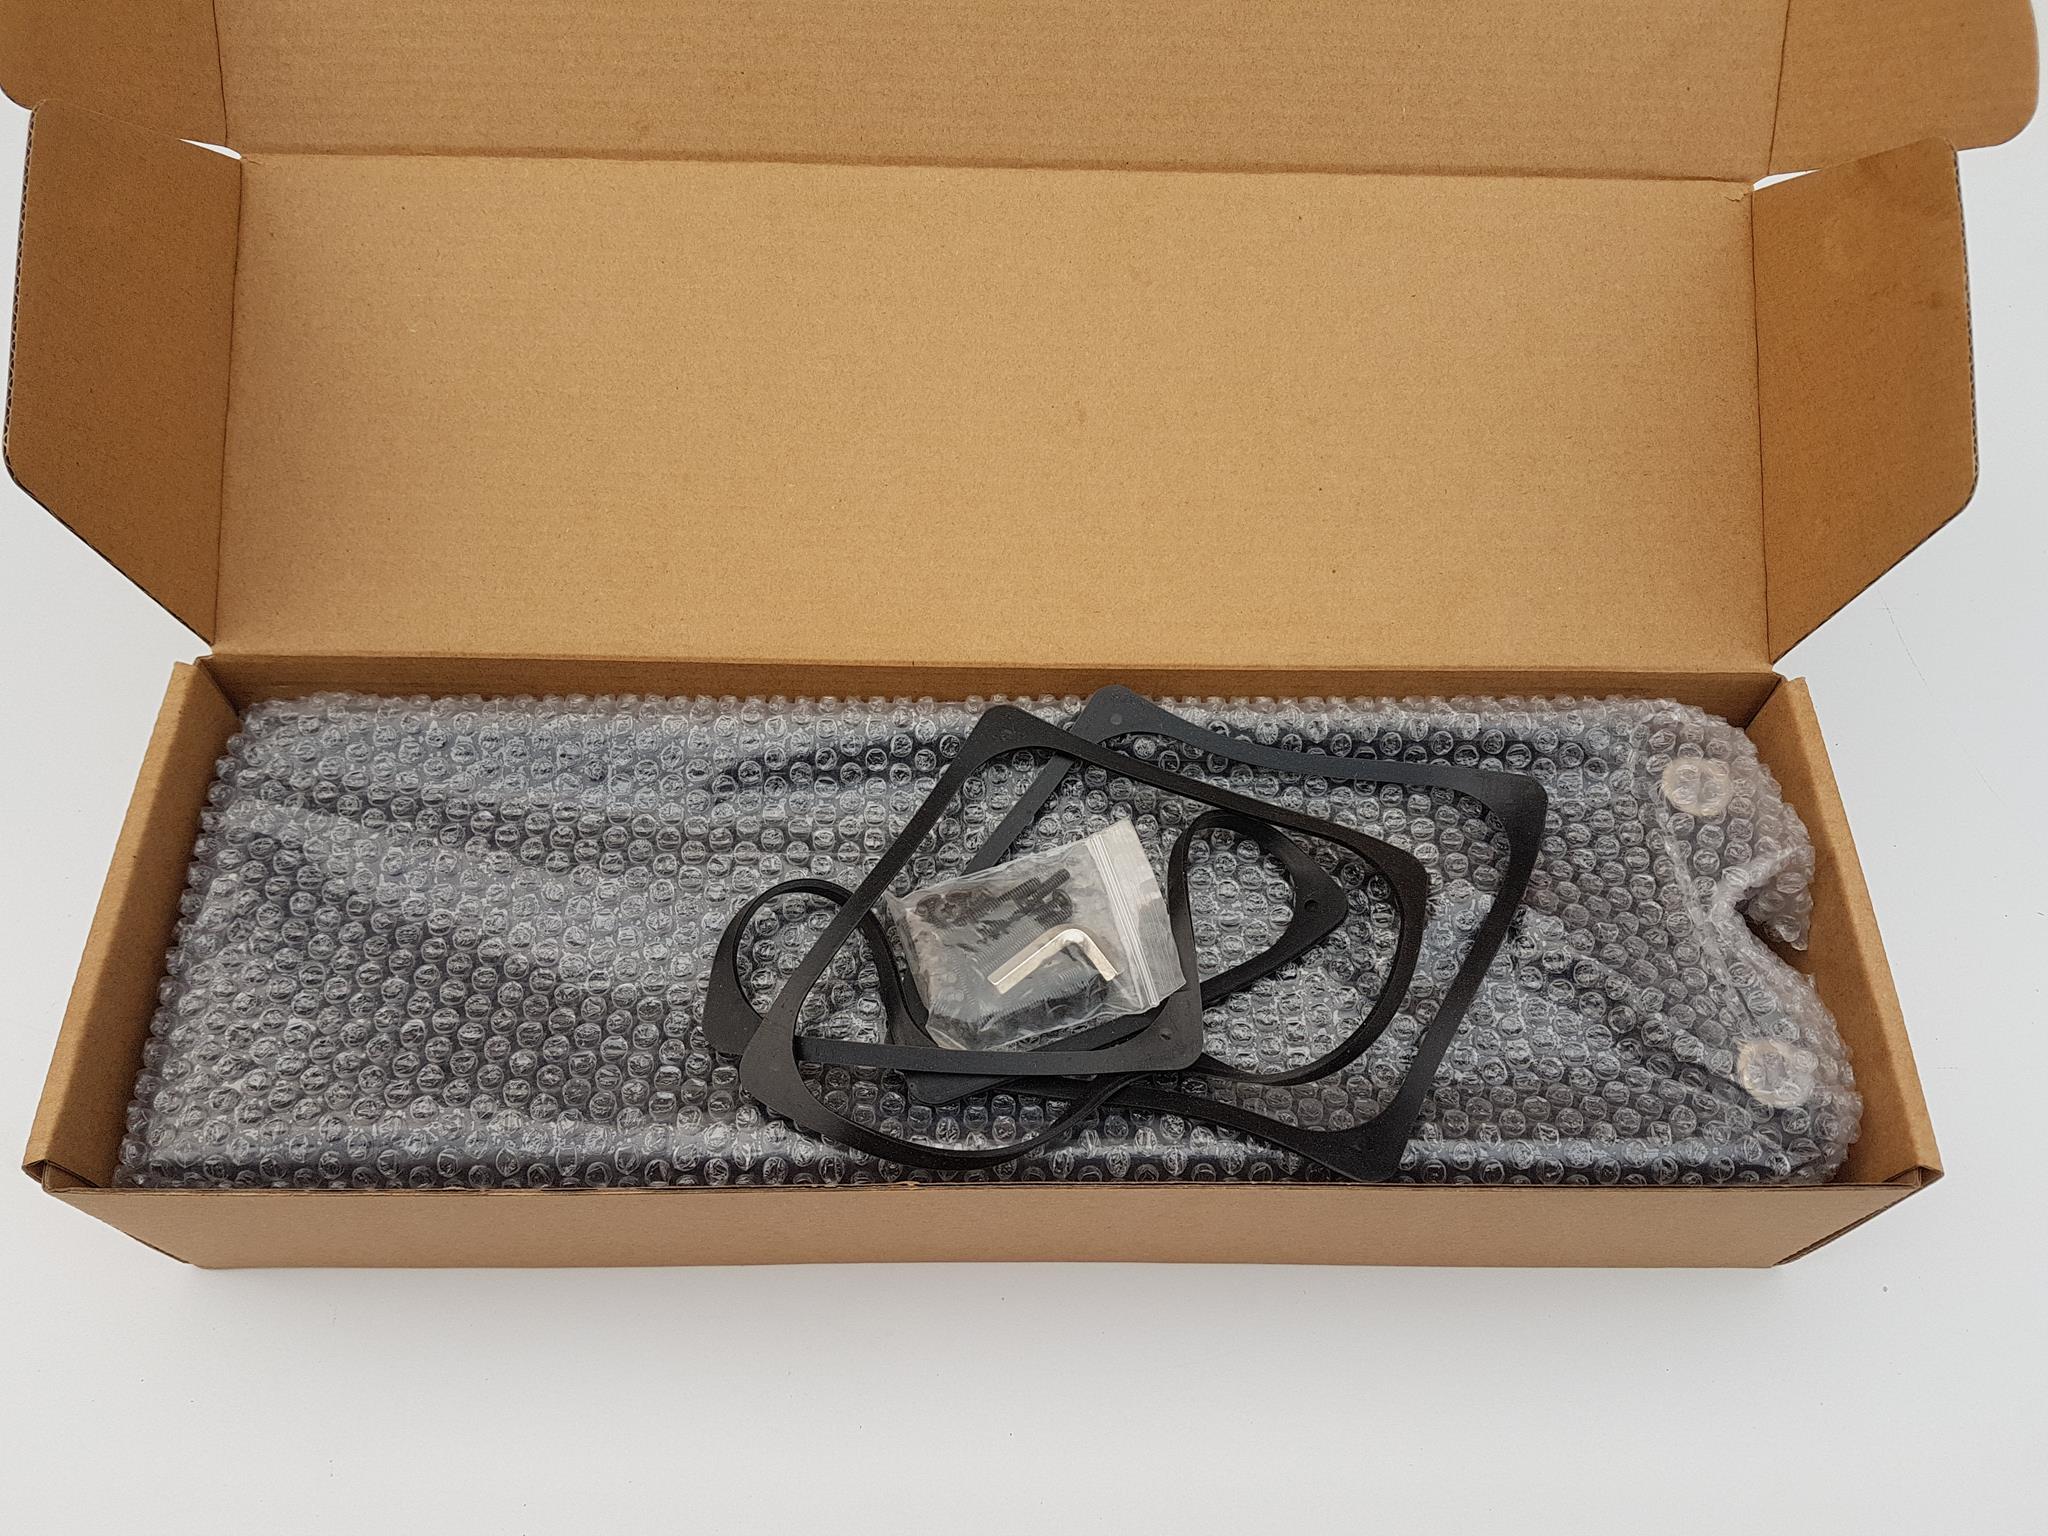
The inside cardboard box is in standard brown color. Opening this box would show three square anti-vibration rubber mount for three 120mm fans on the C360D and two pads for the C240D. The C360D has 12 long screws for fans installation on the radiators and 12 short screws for radiator mounting to the chassis. The C240D has 8 each of these screws. There is a 90° Allen key for port plugs removal. The radiators are placed inside the bubble packing for maximum safety.
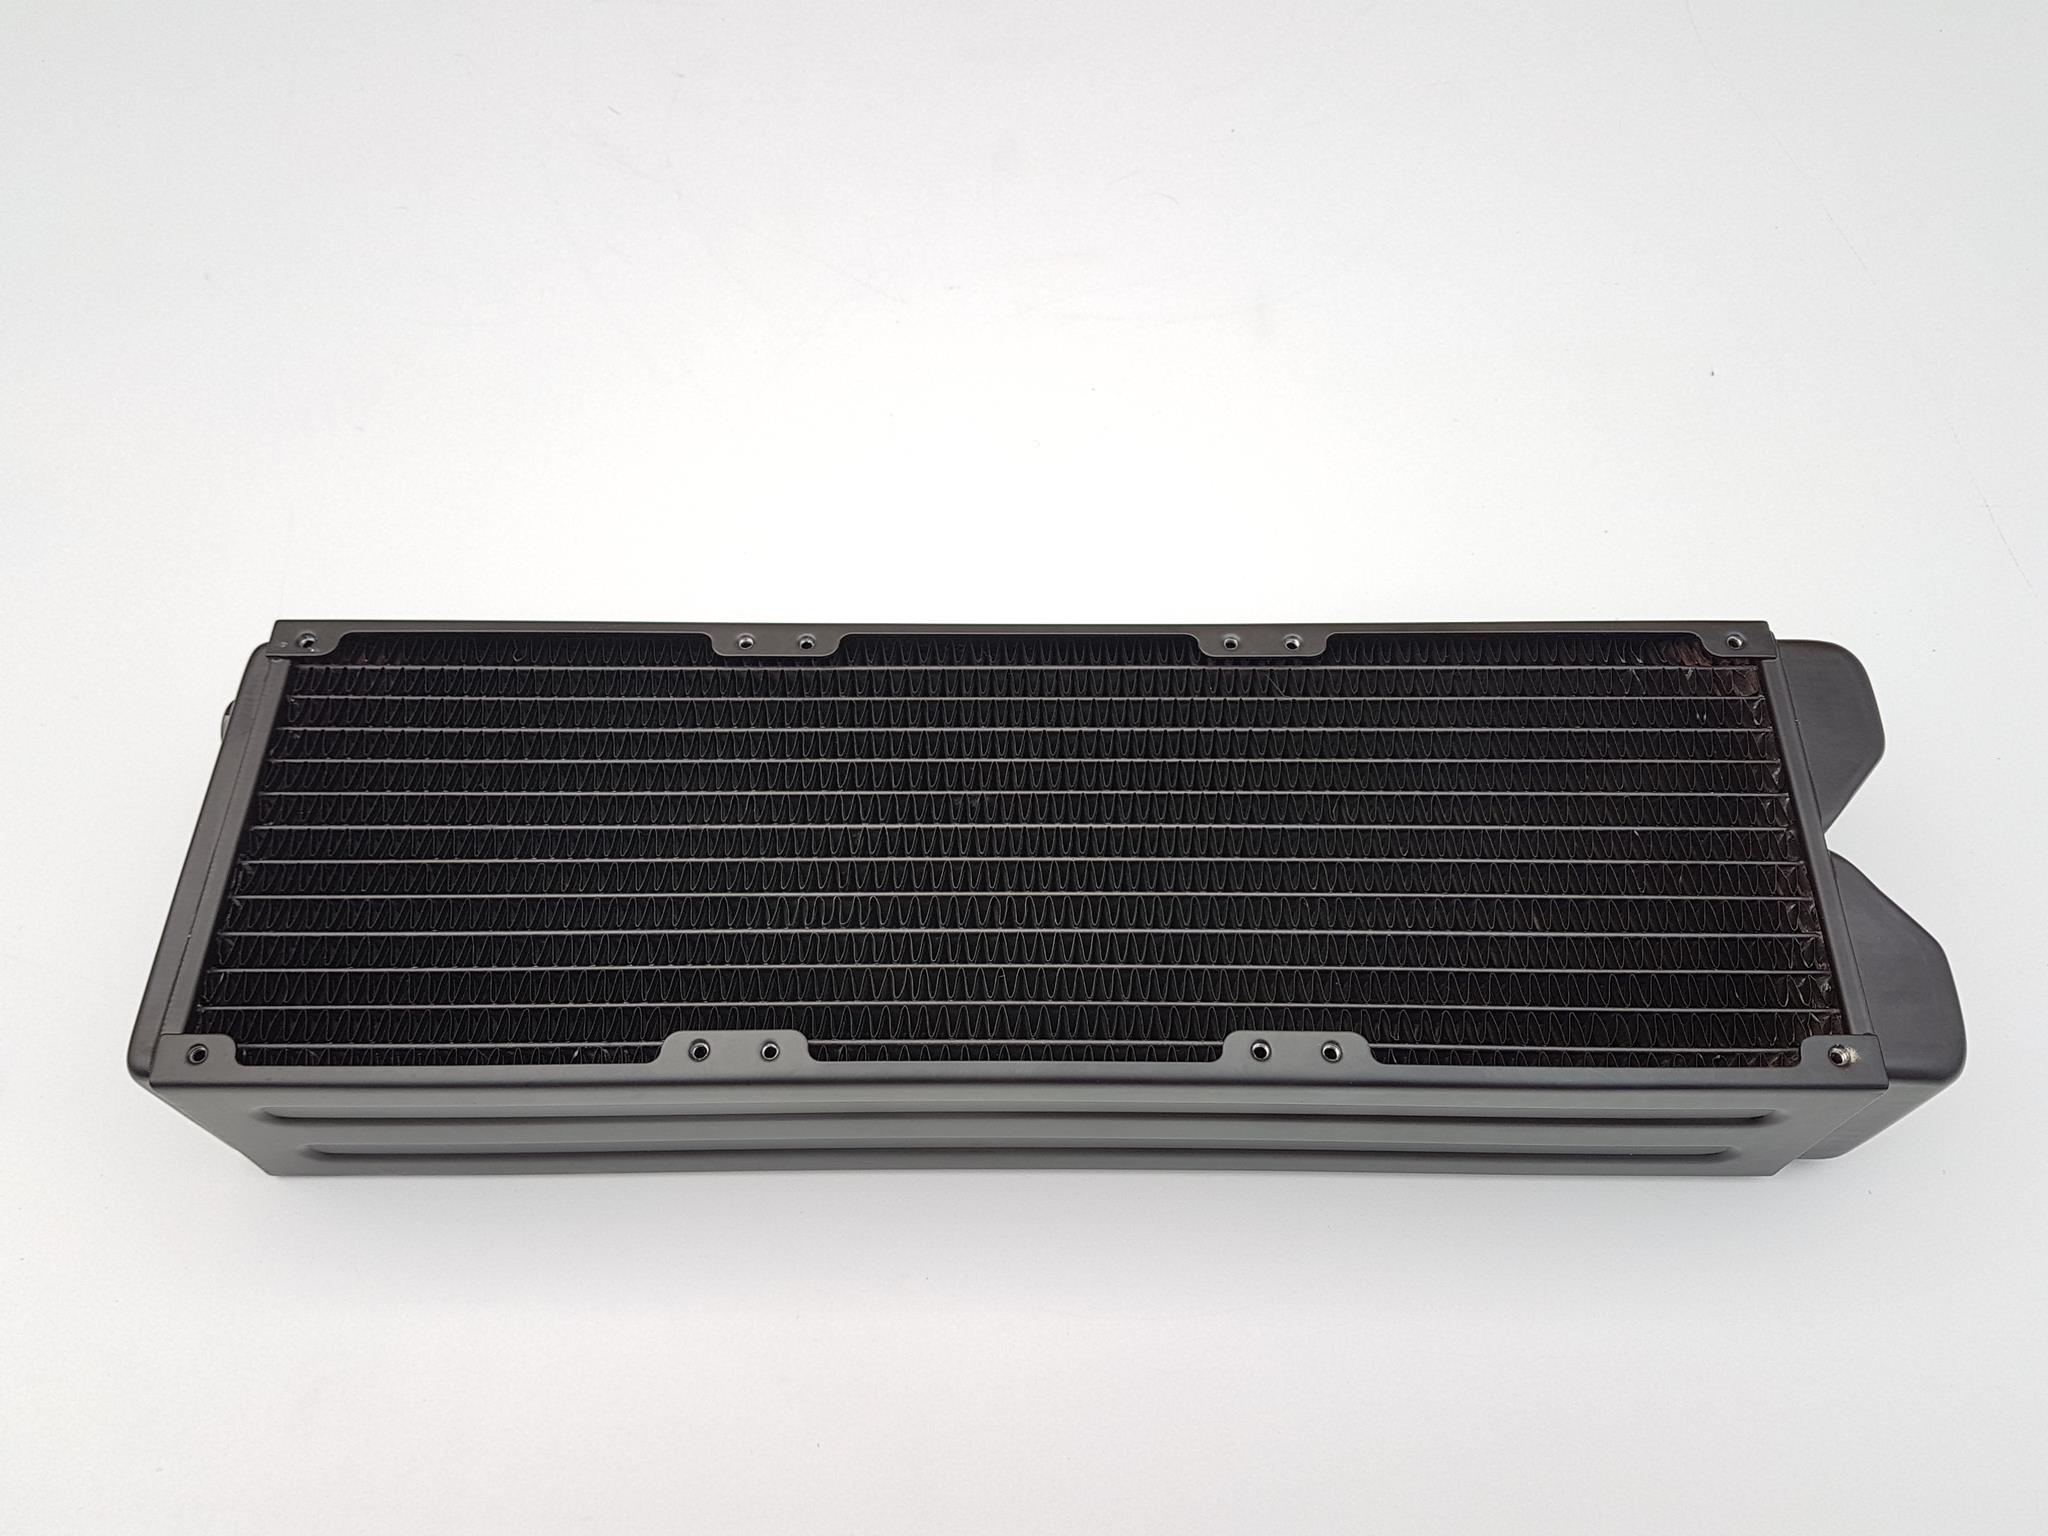
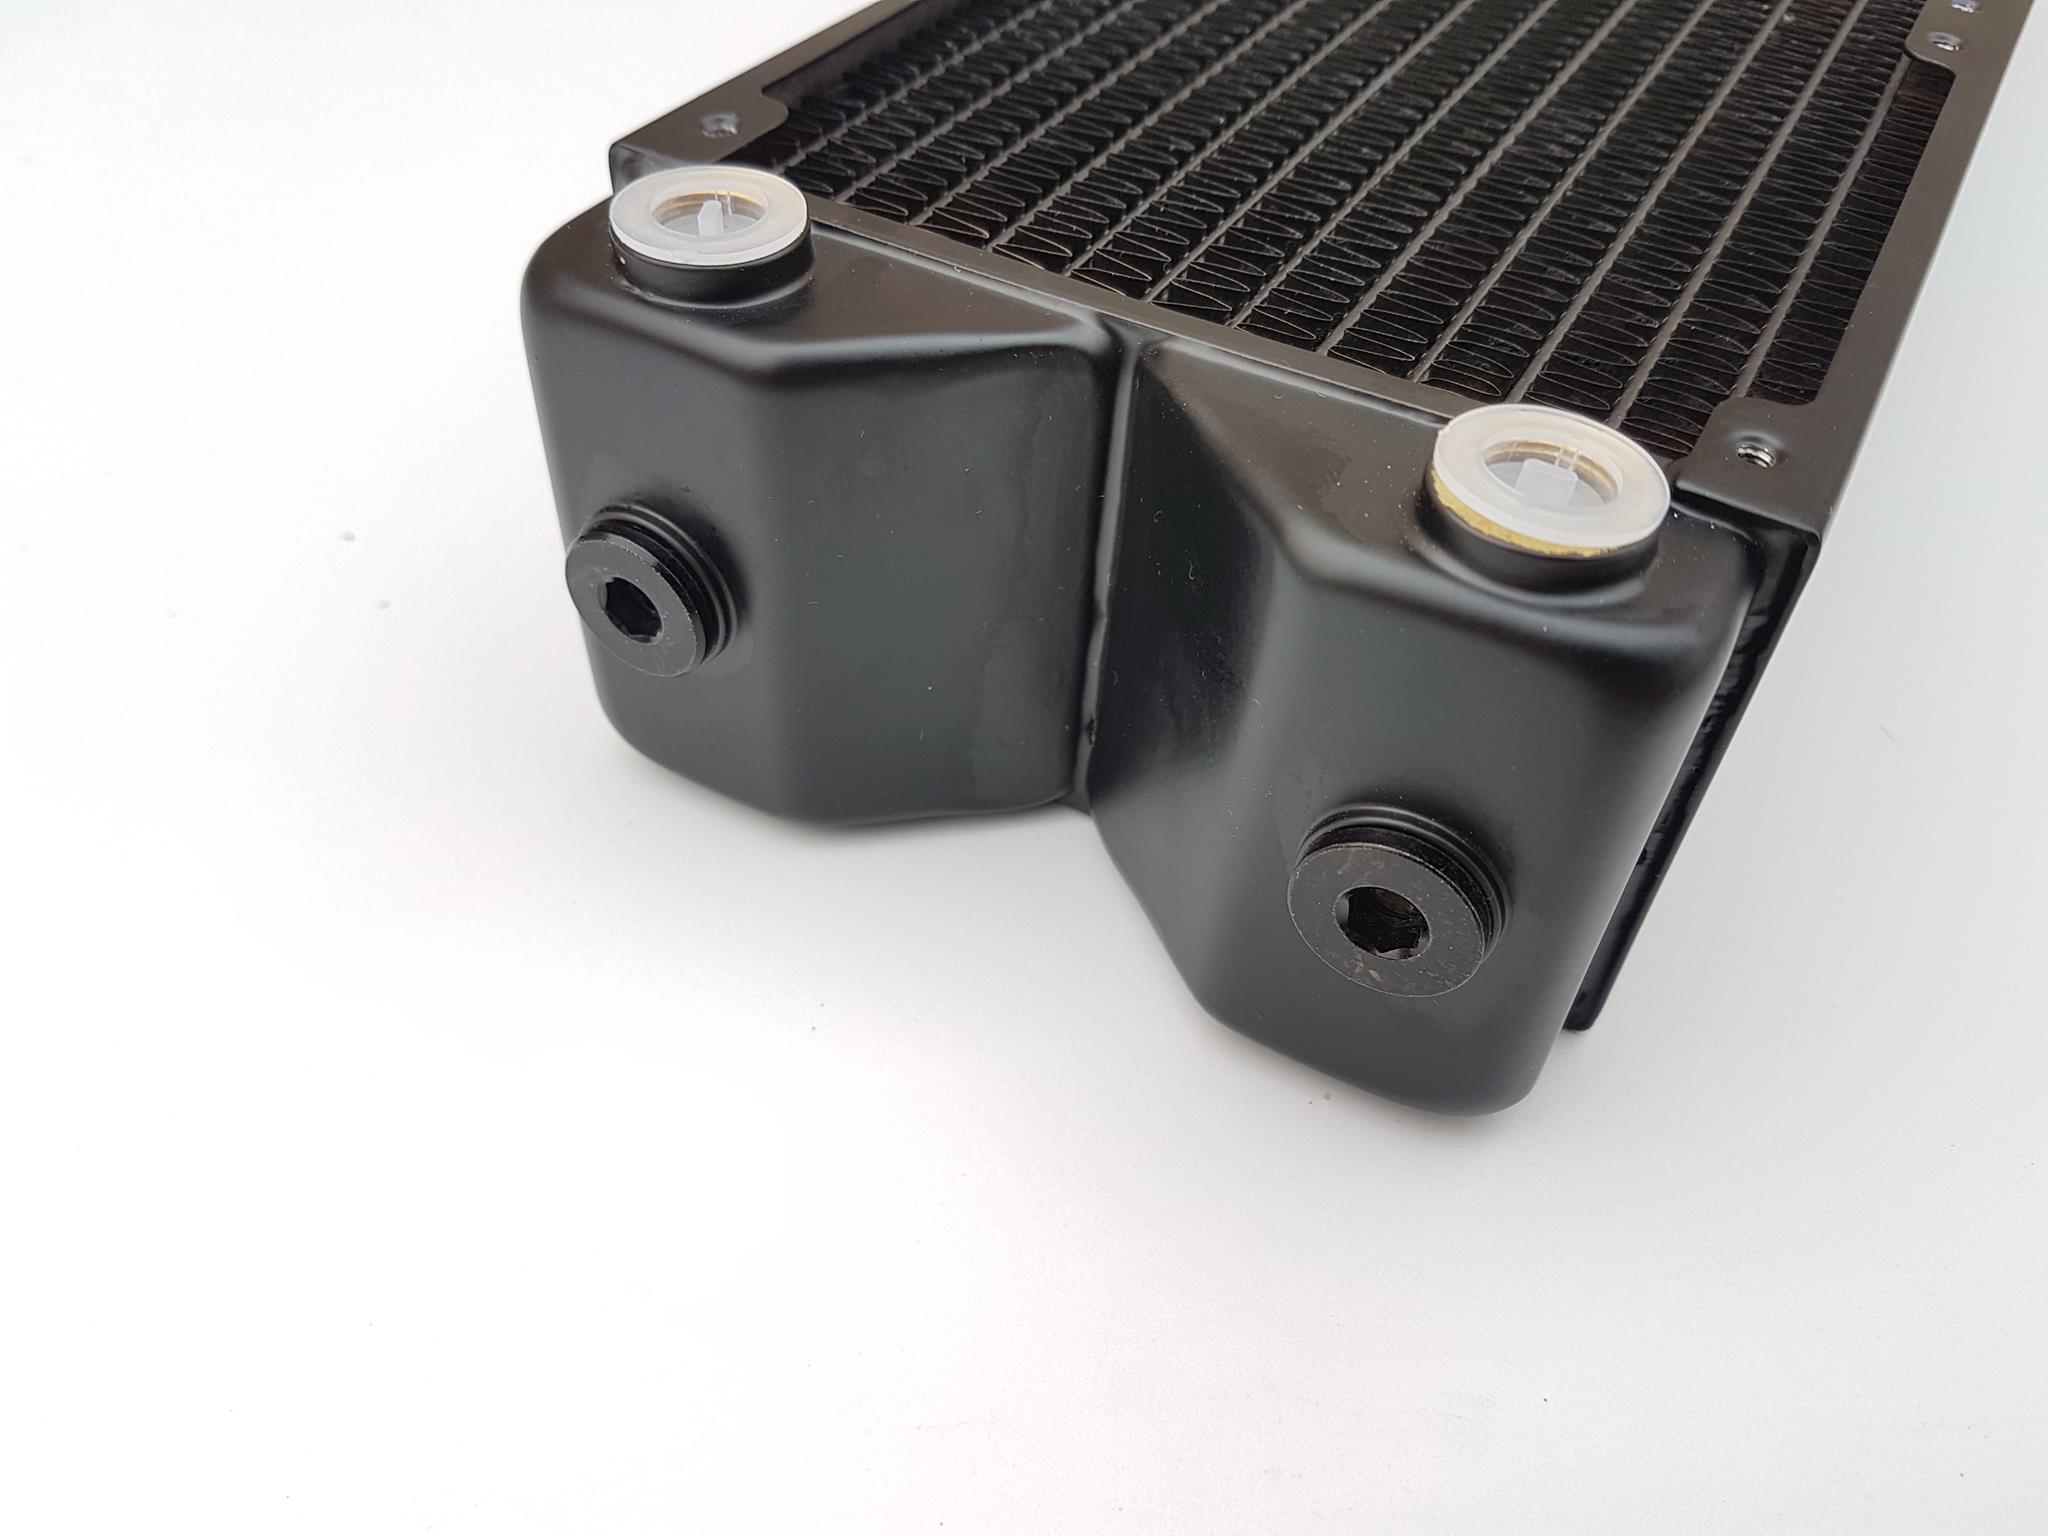
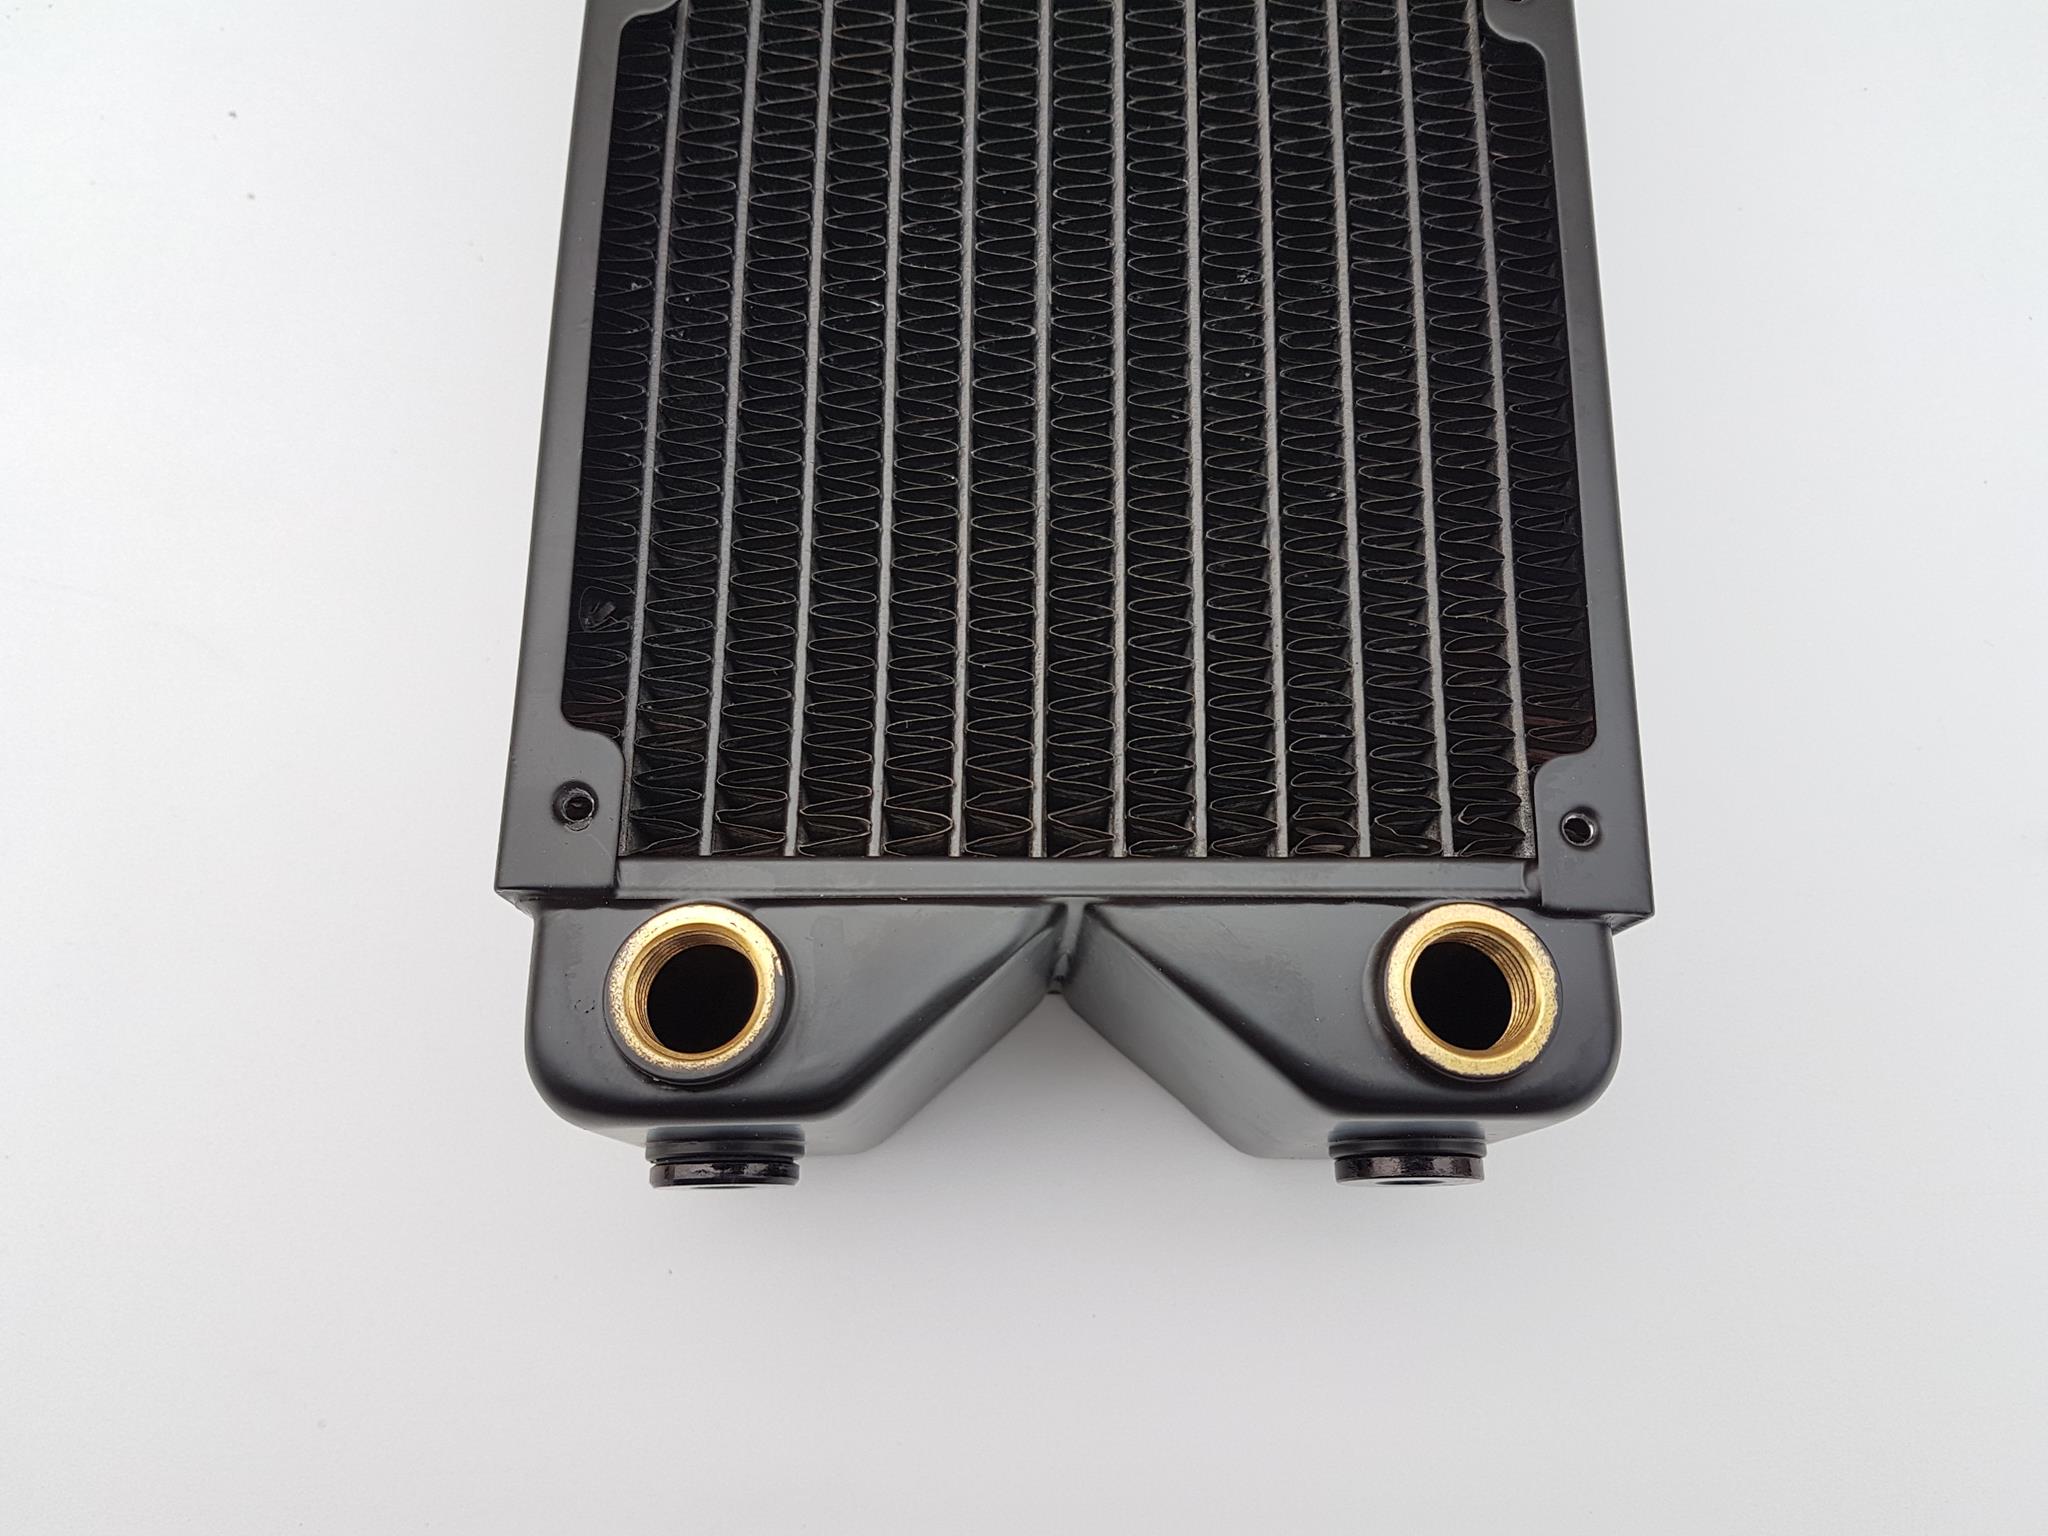
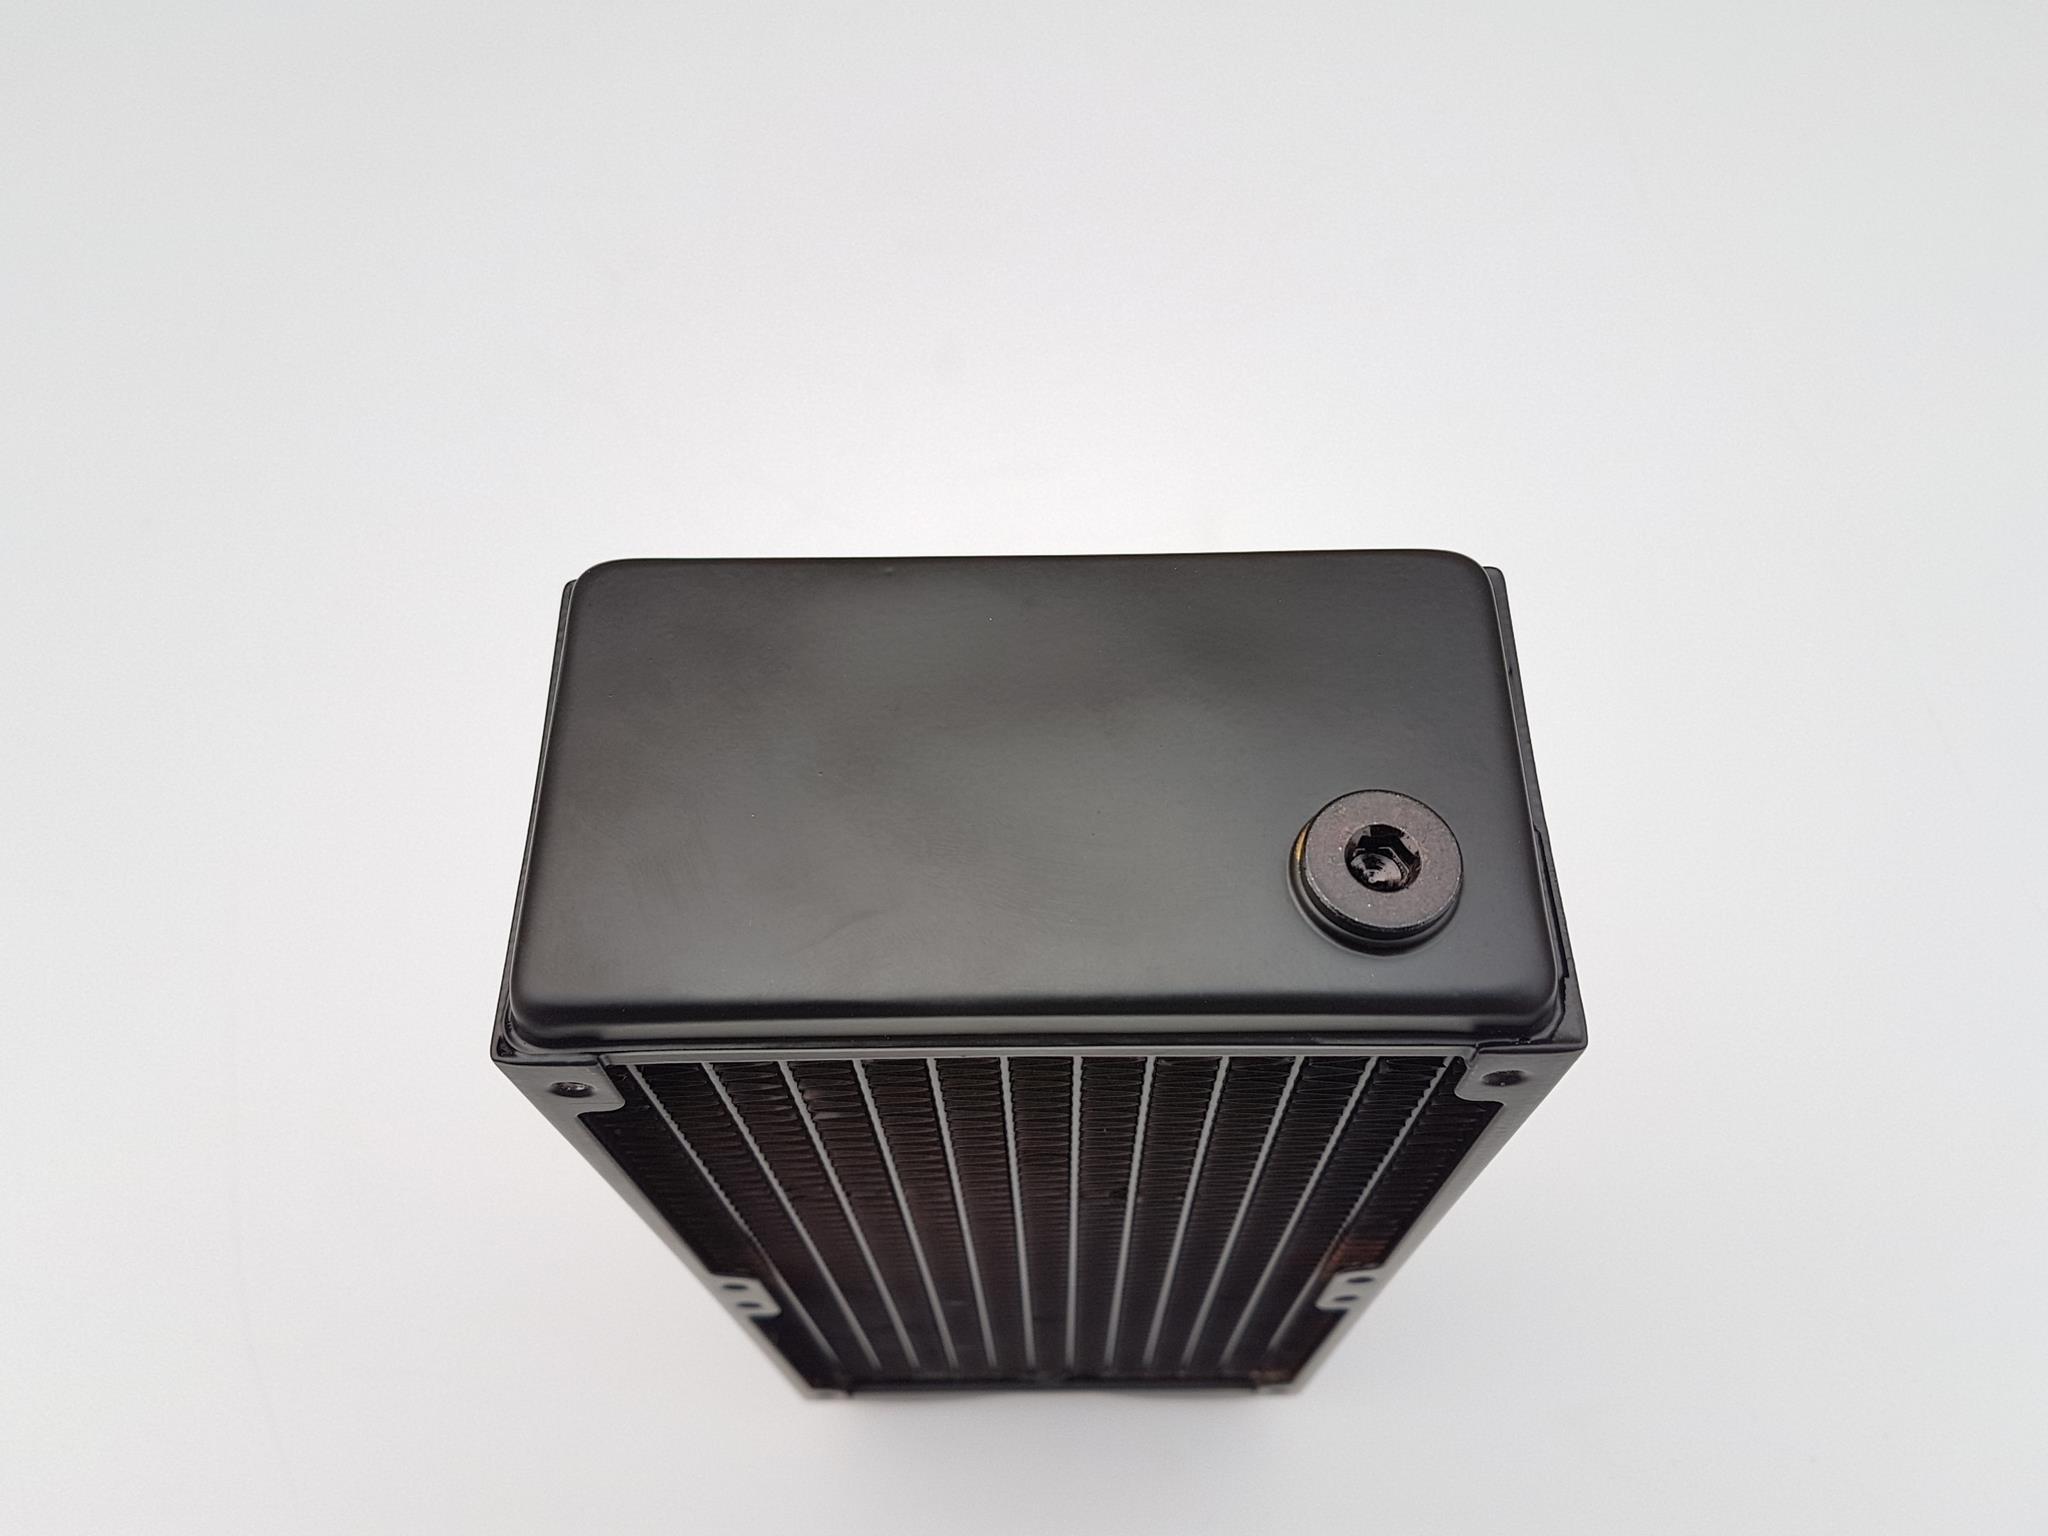
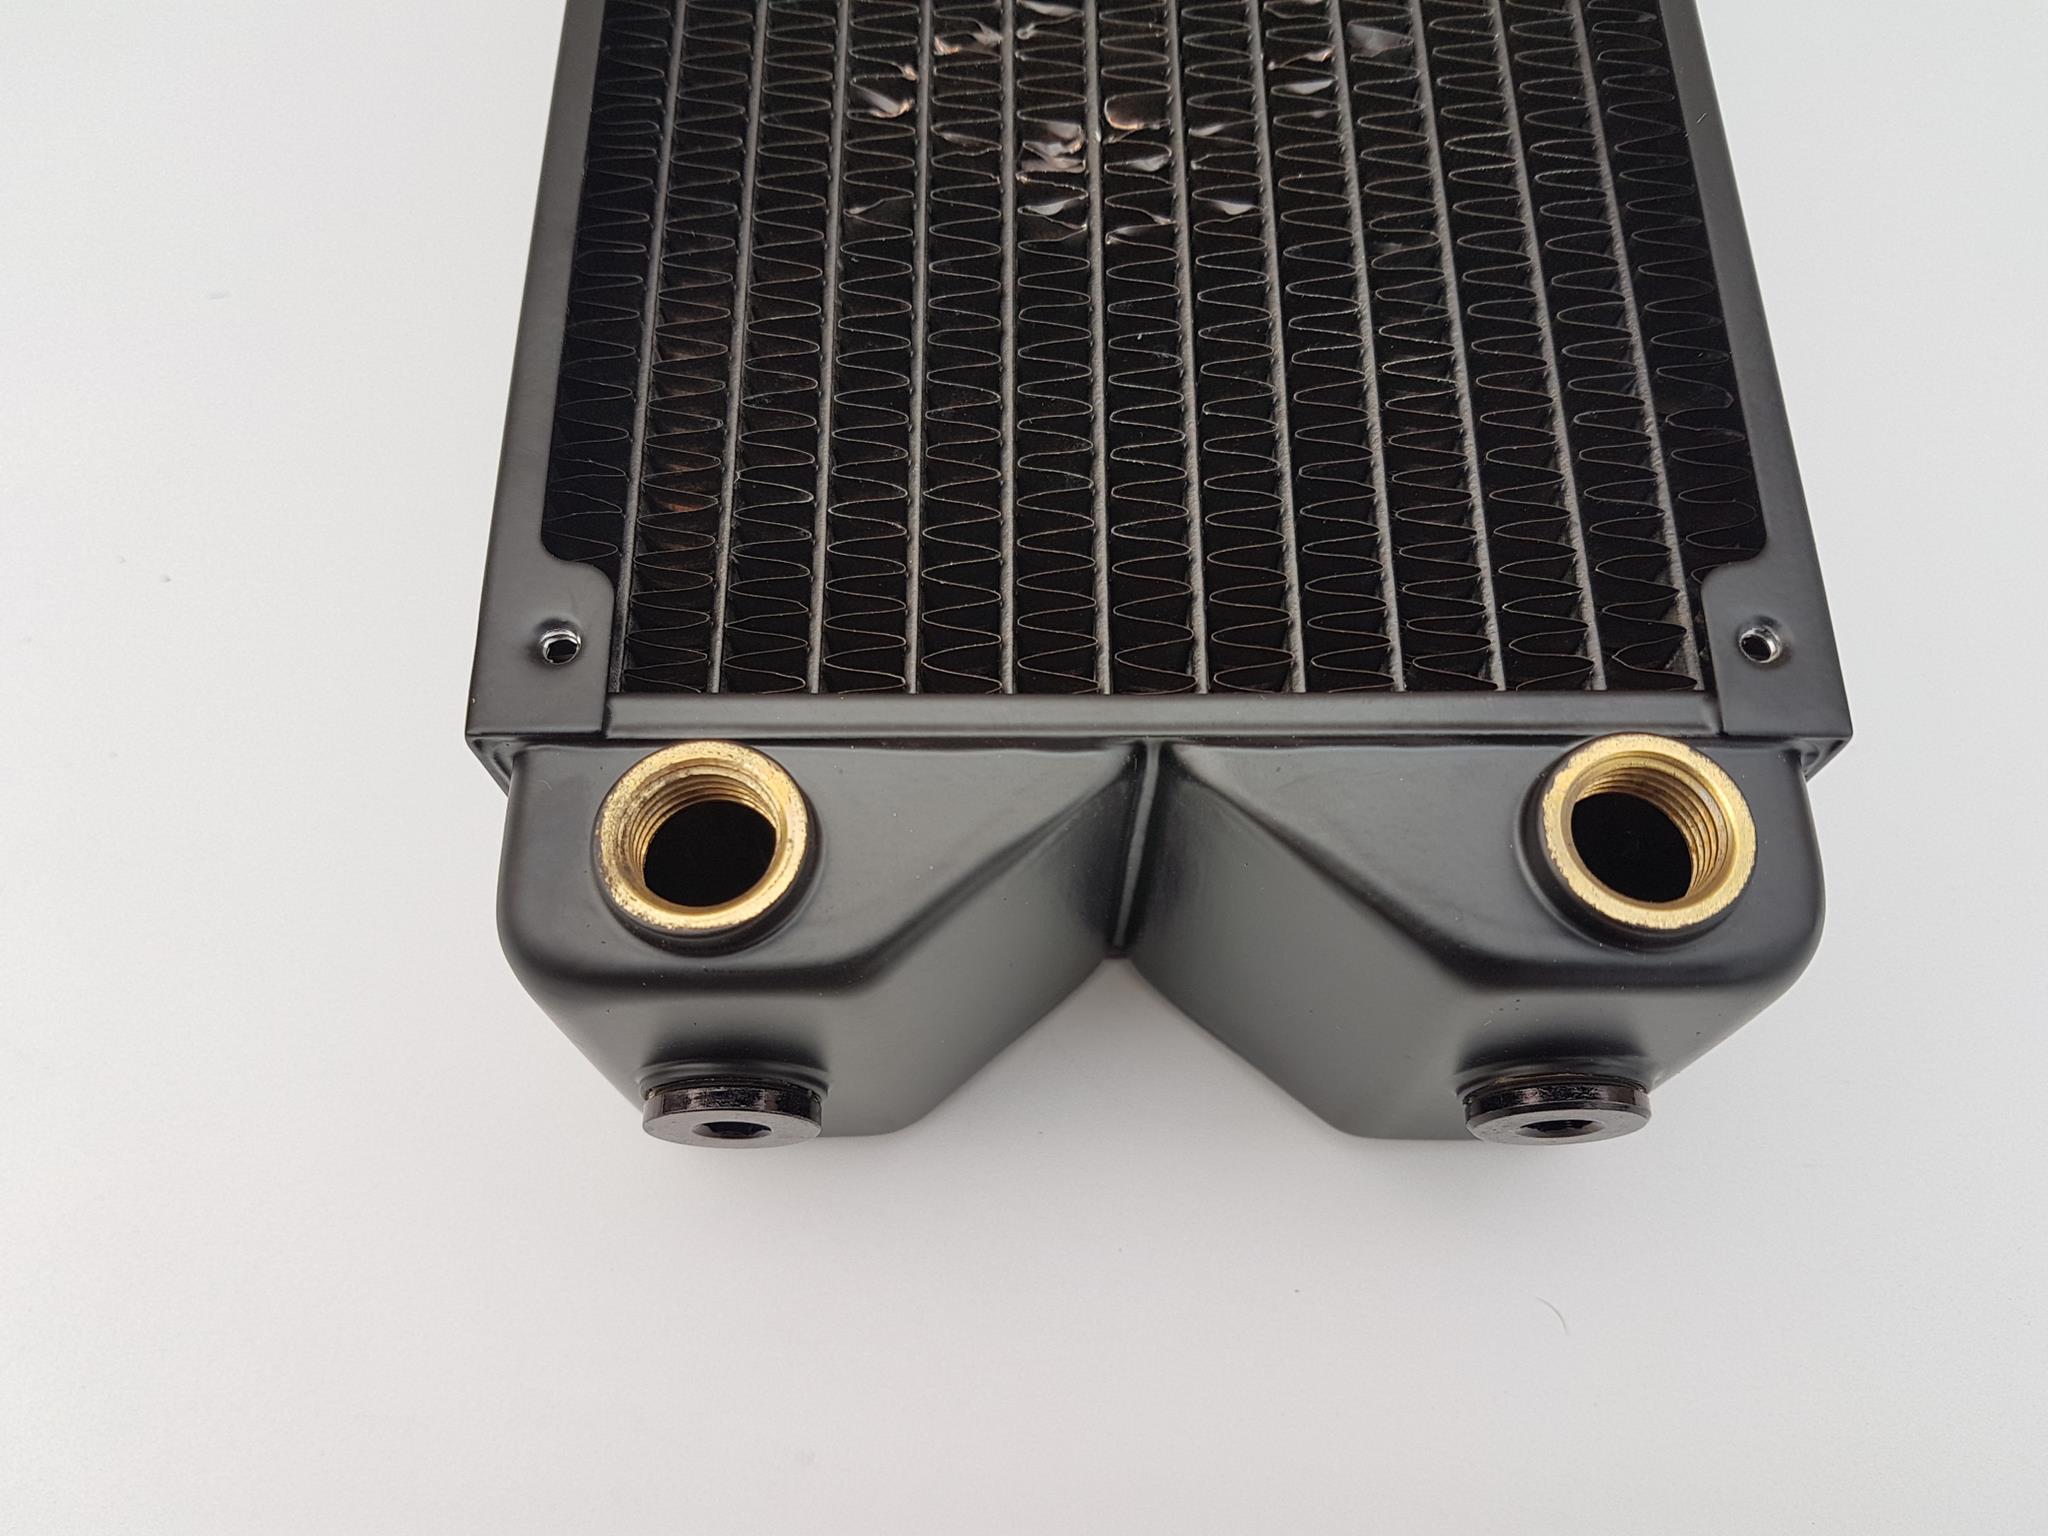
The C240D is a 240mm (core dimension) radiator having a dimension of 282.5x119x65.5mm (WxDxH) where 282.5mm is the length of the radiator housing including the ports and plugs. The 65.5mm is the height or the thickness of the radiator including the housing. The C360D is a 360mm (core dimension) radiator having a dimension of 403.5x119x65.5mm (WxDxH) where 403.5mm is the length of the radiator housing including the ports and plugs. The 65.5mm is the height or the thickness of the radiator including the housing. Both of these radiators are made of copper fins and tubes with brass tanks. The FPI (fins per inch) count is 14 as per the Raijintek specifications. However, as per our random measurements, the FPI count is coming to 12 or 13 FPI, not 14. These radiators are multi-port which really adds more flexibility in terms of the overall loop configuration. There is a single port on the far chamber which is only a drain port and should be used only this purpose. The near chamber has two ports on the back side of the tank and two on the facing side. Each of these ports is G1/4” threaded hence any fitting using this size threading can be used on these radiators.
These radiators are using flat tube design with a total of 14 set of tubes in 3 rows. Each tube has a measurement of 240x13x2mm for the C240D and 360x13x2mm for C360D respectively. Here 240/360mm is the length of a tube, 13mm is the height of a tube and 2mm is the gap between the interior and exterior walls of a tube through which the coolant will flow. The radiators are made of copper fins and tubes soldered together in a reflow design. This is to help to ensure an optimal design for efficiently pulling heat away from the core. The coolant is entered on one side of the radiator, flows through the 3 rows of the tubes towards the far chamber and then flow back towards the front or near chamber. The housing of the radiator is made of copper finished in a black coating. This 3 row-14-set flat tube design with 14 FPI helps in achieving maximum heat dissipation at both low and high airflow operation.
Each radiator has 3 ports covered with metallic G1/4” plug and 2 ports covered with a silicon rugged cover. Clearly, Raijintek was thinking straight in the design as any time only two ports will be in use with the exception of the drain port which may or may not be used, making sure that the user would not need to be worried about buying plugs to cover the ports.
While the finishing of the C360D was satisfactory, same was not true for the C240D as few fins were found bend out of the box. Though not a difficult task to straitening them but at-least for being the review sample, this was not expected. There is a spacing of 110mm between any two fan mounting holes. There is a spacing of 92mm between two ports on the same side.
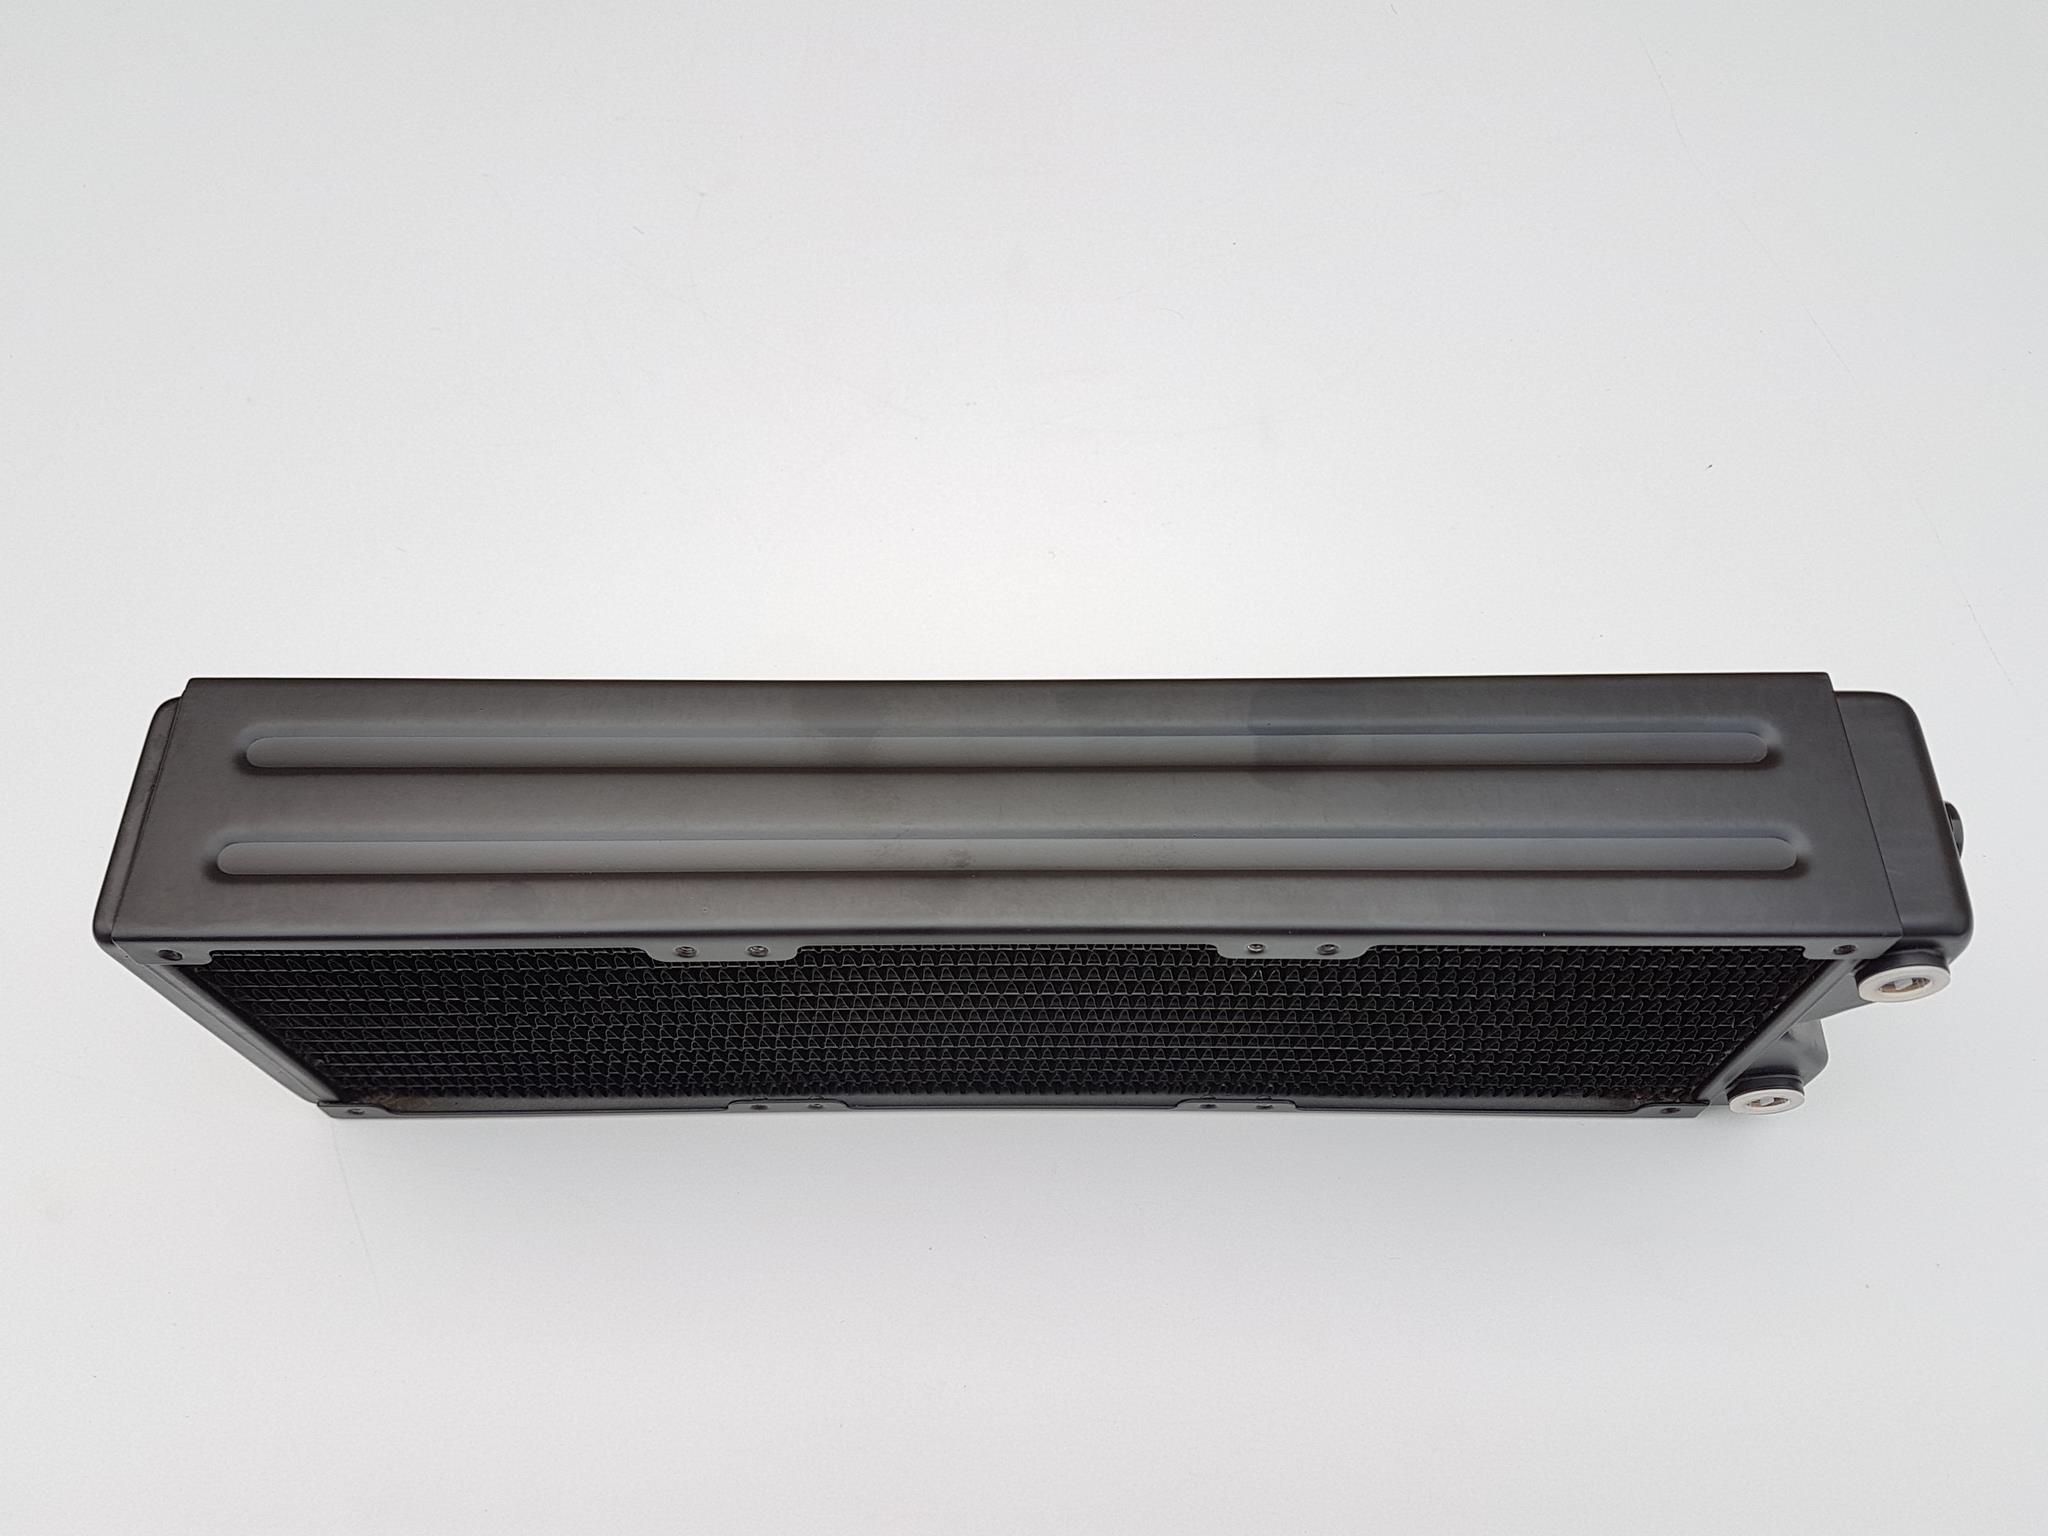
The left and right sides of both radiators are identical. There are two insets or grooves on the running length of the housing highlighting triple row design of the radiator core. These sides are fingerprint magnets, keep that in mind when handling them. The overall design of the radiators resembles that of the Thermaltake Pacific CL240 and 360 except that on the near chamber design.
One important aspect of the design lacking is that there is no protective plating under the side rails having fan mounting holes. This is an important aspect as many brands are taking care of this minute detail. Using longer screws than needed could easily damage the fins hampering the cooling efficiency of the unit. Also, there are only 8/12 long screws in the C240D/C360D respectively. In case the user wants to go push/pull setup there is no support in the accessories. The total height or thickness of the fully assembled unit with the fans on the radiator will be 93.5mm approximately. Keep this in mind for the chassis clearance. Not all chassis have a support for this thick radiator.
IRIS 12 RBW ADD
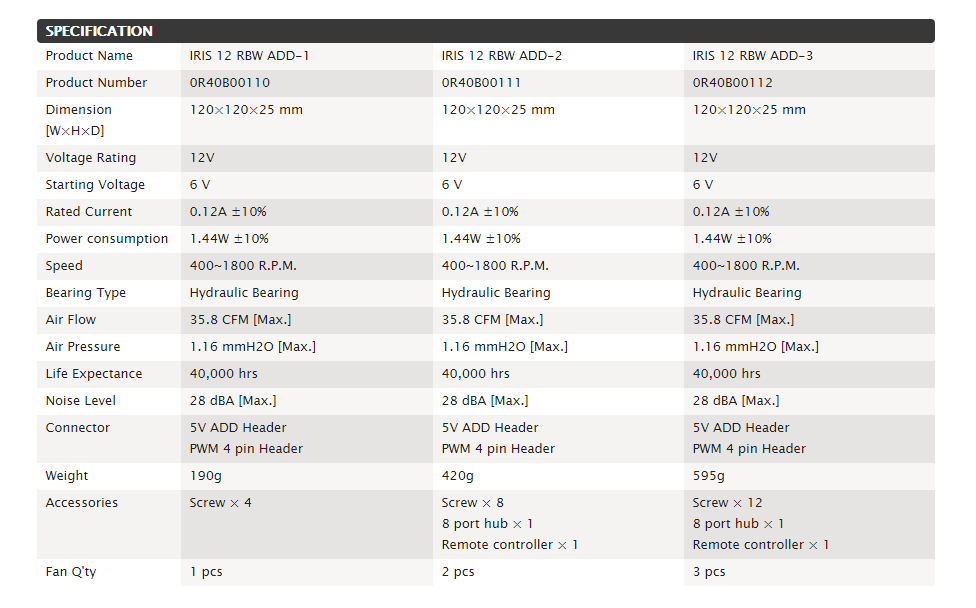
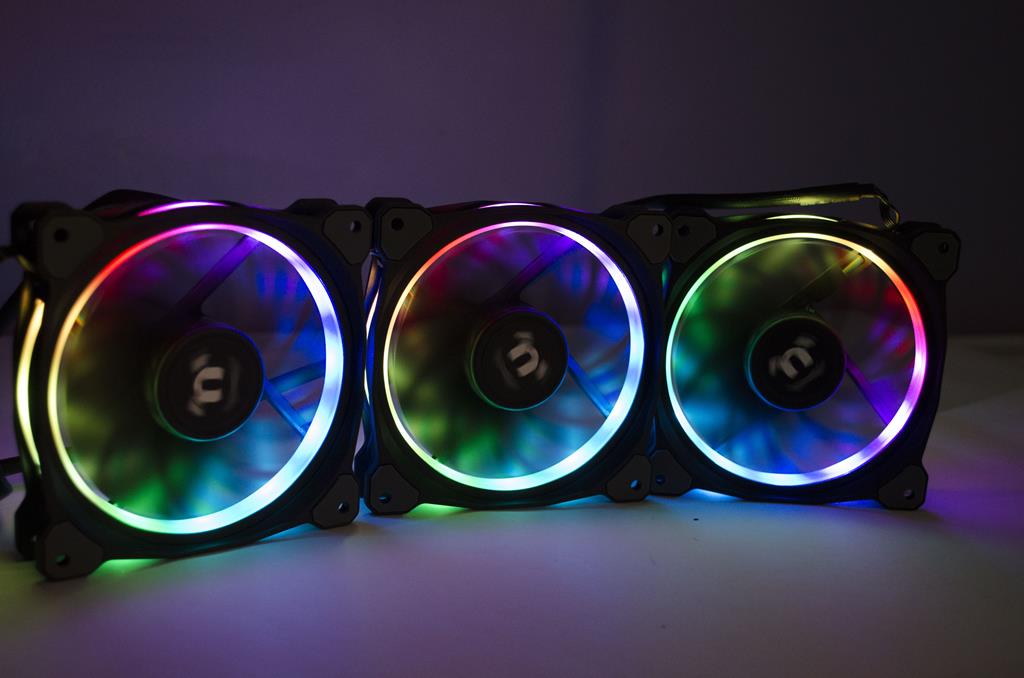
The IRIS 12 RBW ADD are addressable RGB LED lighting enabled fans based on their IRIS 12 Rainbow 256 fans. We have already reviewed IRIS 12 Rainbow 256-3 fans which can be checked here. Raijintek IRIS 12 RBW ADD series, 12025 O-Type ADD PWM fan, continues company’s innovative design and providing advanced features & additional value to end users. With 6 port ADD LED hub and a remote controller (for 2 & 3 pack), you can set your IRIS 12 RBW ADD fans to stun with fading, breathing, blinking and single color LED modes. The IRIS 12 series combines optimized Eleven fan blade design to provide high-volume air delivery with less noise and turbulence, O-type LED ring and 15pcs LEDs to brings visible color and brightness uniformity from all directions, Hydraulic Bearing with Low-Noise Design, and Anti-Vibration rubber pads on all corners. We will mention specifications of the fans here and will move on to the testing section.
Testing
Unfortunately, our Coolance flow meter malfunctioned and we were not able to measure the airflow through the loop at various speed regulations of the Antila D5 pump. The pump’s lower speed was 2010 RPM with mid-range of 3150 RPM and a maximum speed of the 4788 RPM. The minimum speed mentioned on the specifications is 1800 RPM, mid-range speed is 3200 RPM, and maximum speed is 4500 RPM.
We have measured the airflow of the IRIS 12 RBW ADD fans on the C240D radiator by placing the Perfect-Prime WD9819 anemometer at three positions. Here is the result:
| Distance from the Radiator (mm) | Airflow Value (CFM) |
| 0 | 25.82 |
| 20 | 18.14 |
| 40 | 16.38 |
For now, we will focus on the thermal performance coming from the complete loop.
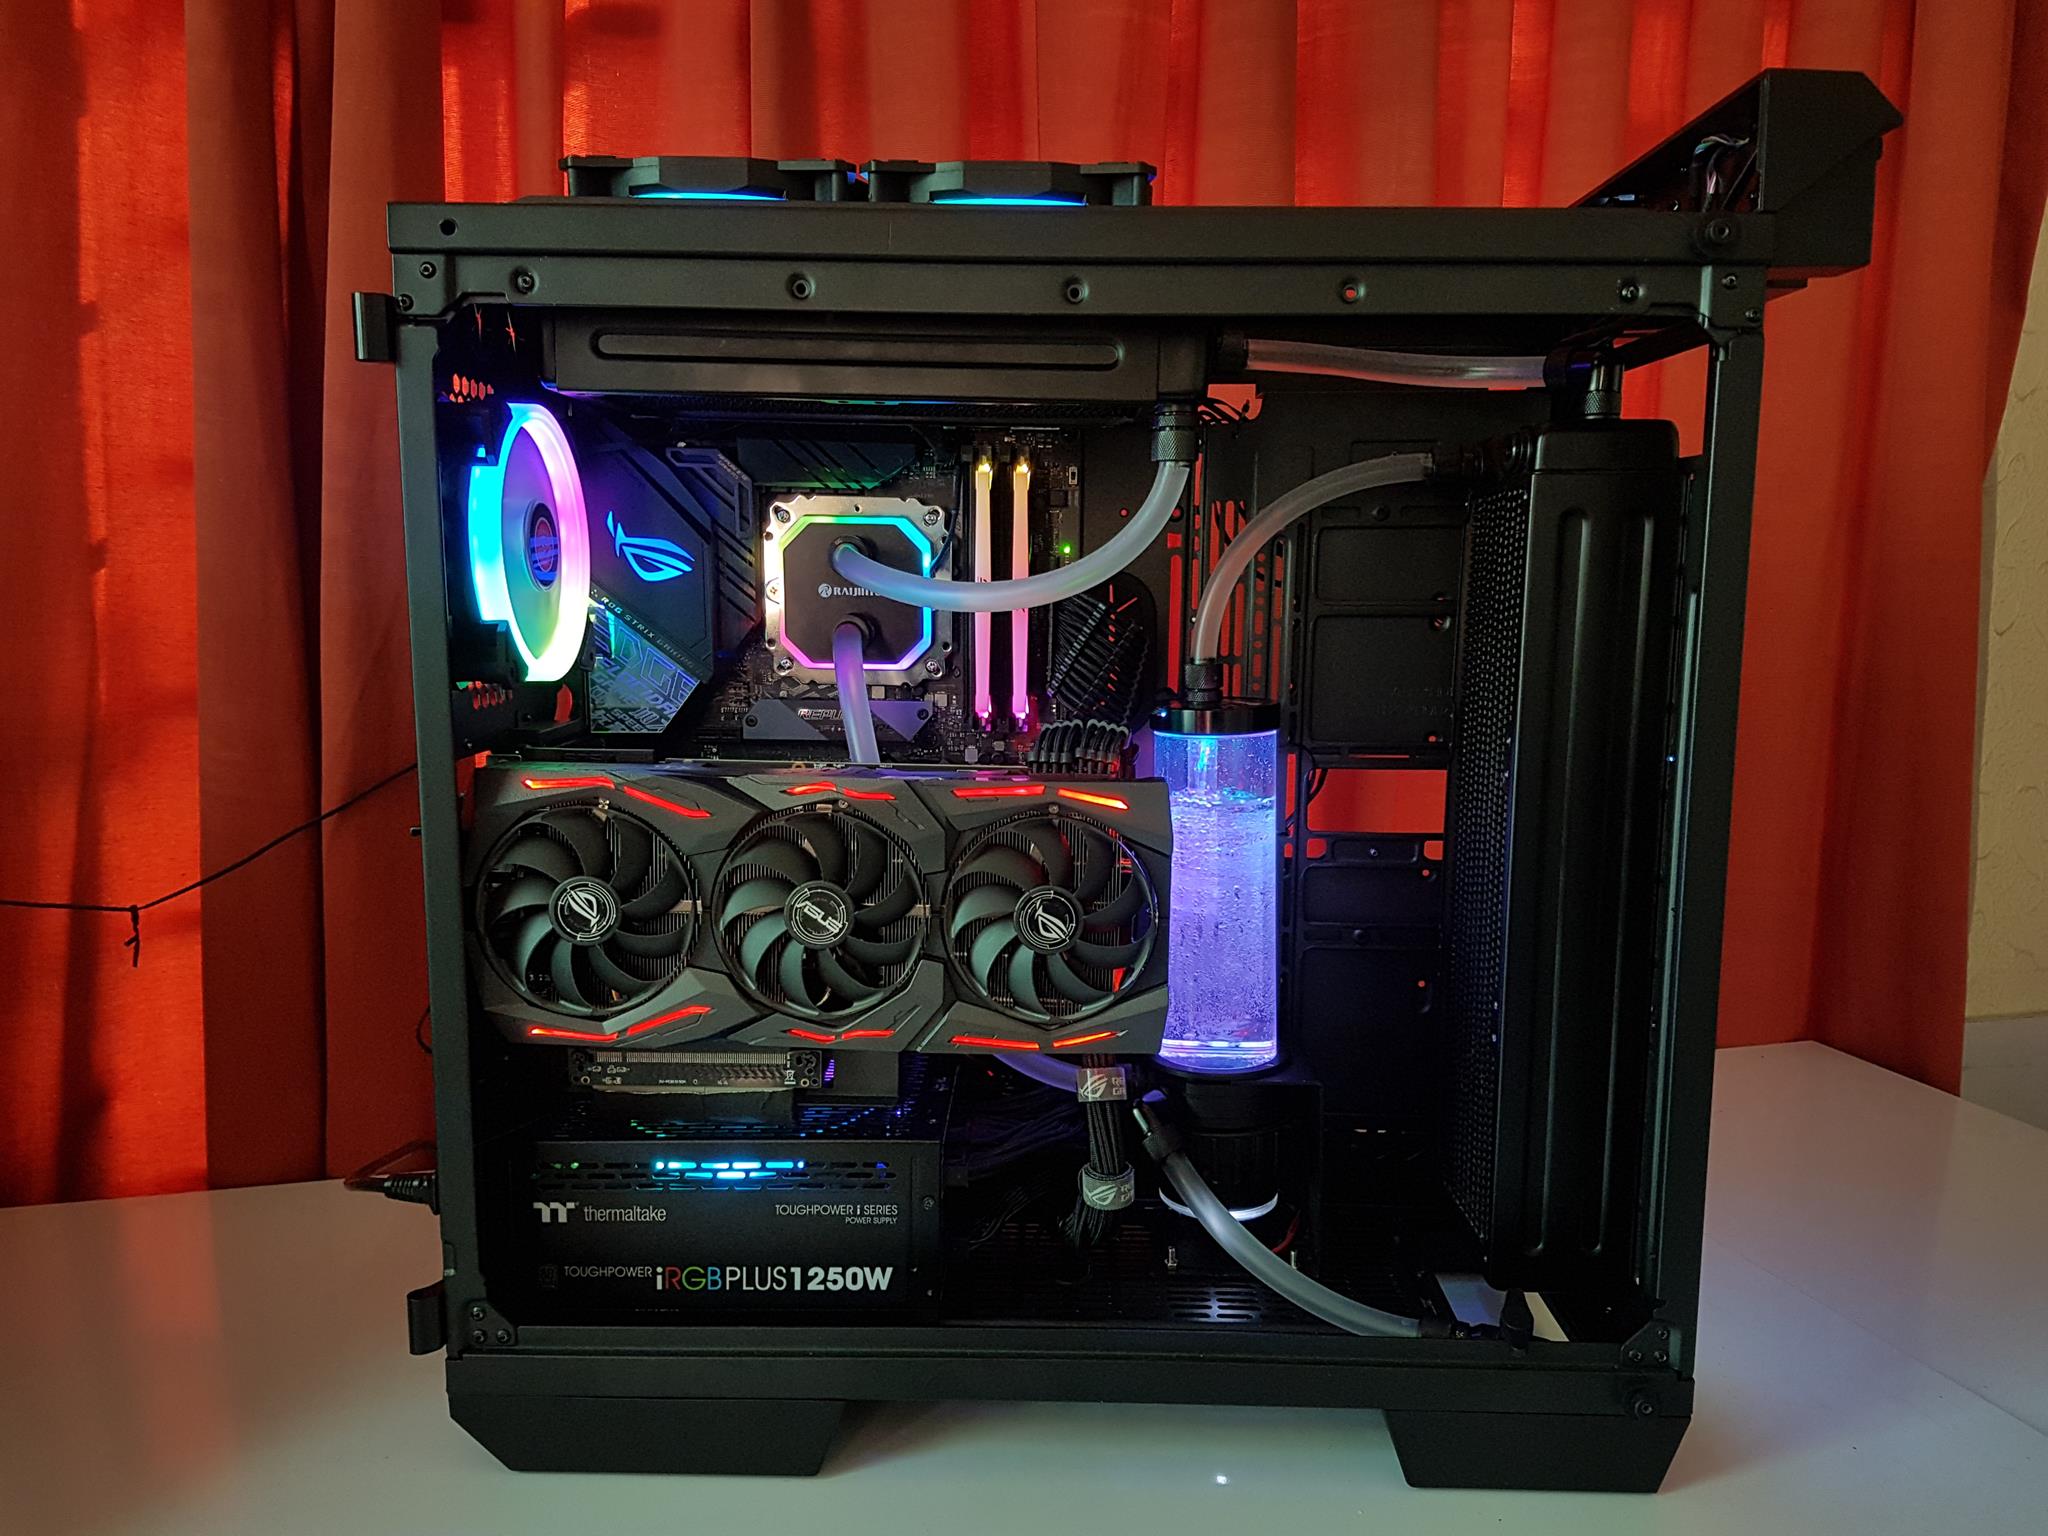
Here is the test build configuration:
- Intel i7 8700k
- Asus Strix Z390E Gaming
- Asus Strix GeForce RTX 2080 O8G
- ADATA XPG Spectrix D41 4x8GB @ 2666MHz
- ADATA XPG SU950 SSD
- Thermaltake TP iRGB 1250W Digital, Titanium PSU
- Alphacool Compression fittings [Straight and 90° rotary fittings] 13/10mm
- Alphacool Soft Tubing 13/10mm
- Raijintek CWB-RGB CPU Water Block
- Raijintek Antila D5
- Raijintek IRIS 12 Rainbow 12 256-3 fans pack
- Raijintek IRIS 12 RBW ADD-3 fans pack
- Raijintek Calore C240D/C360D
- Thermaltake View 71 TG
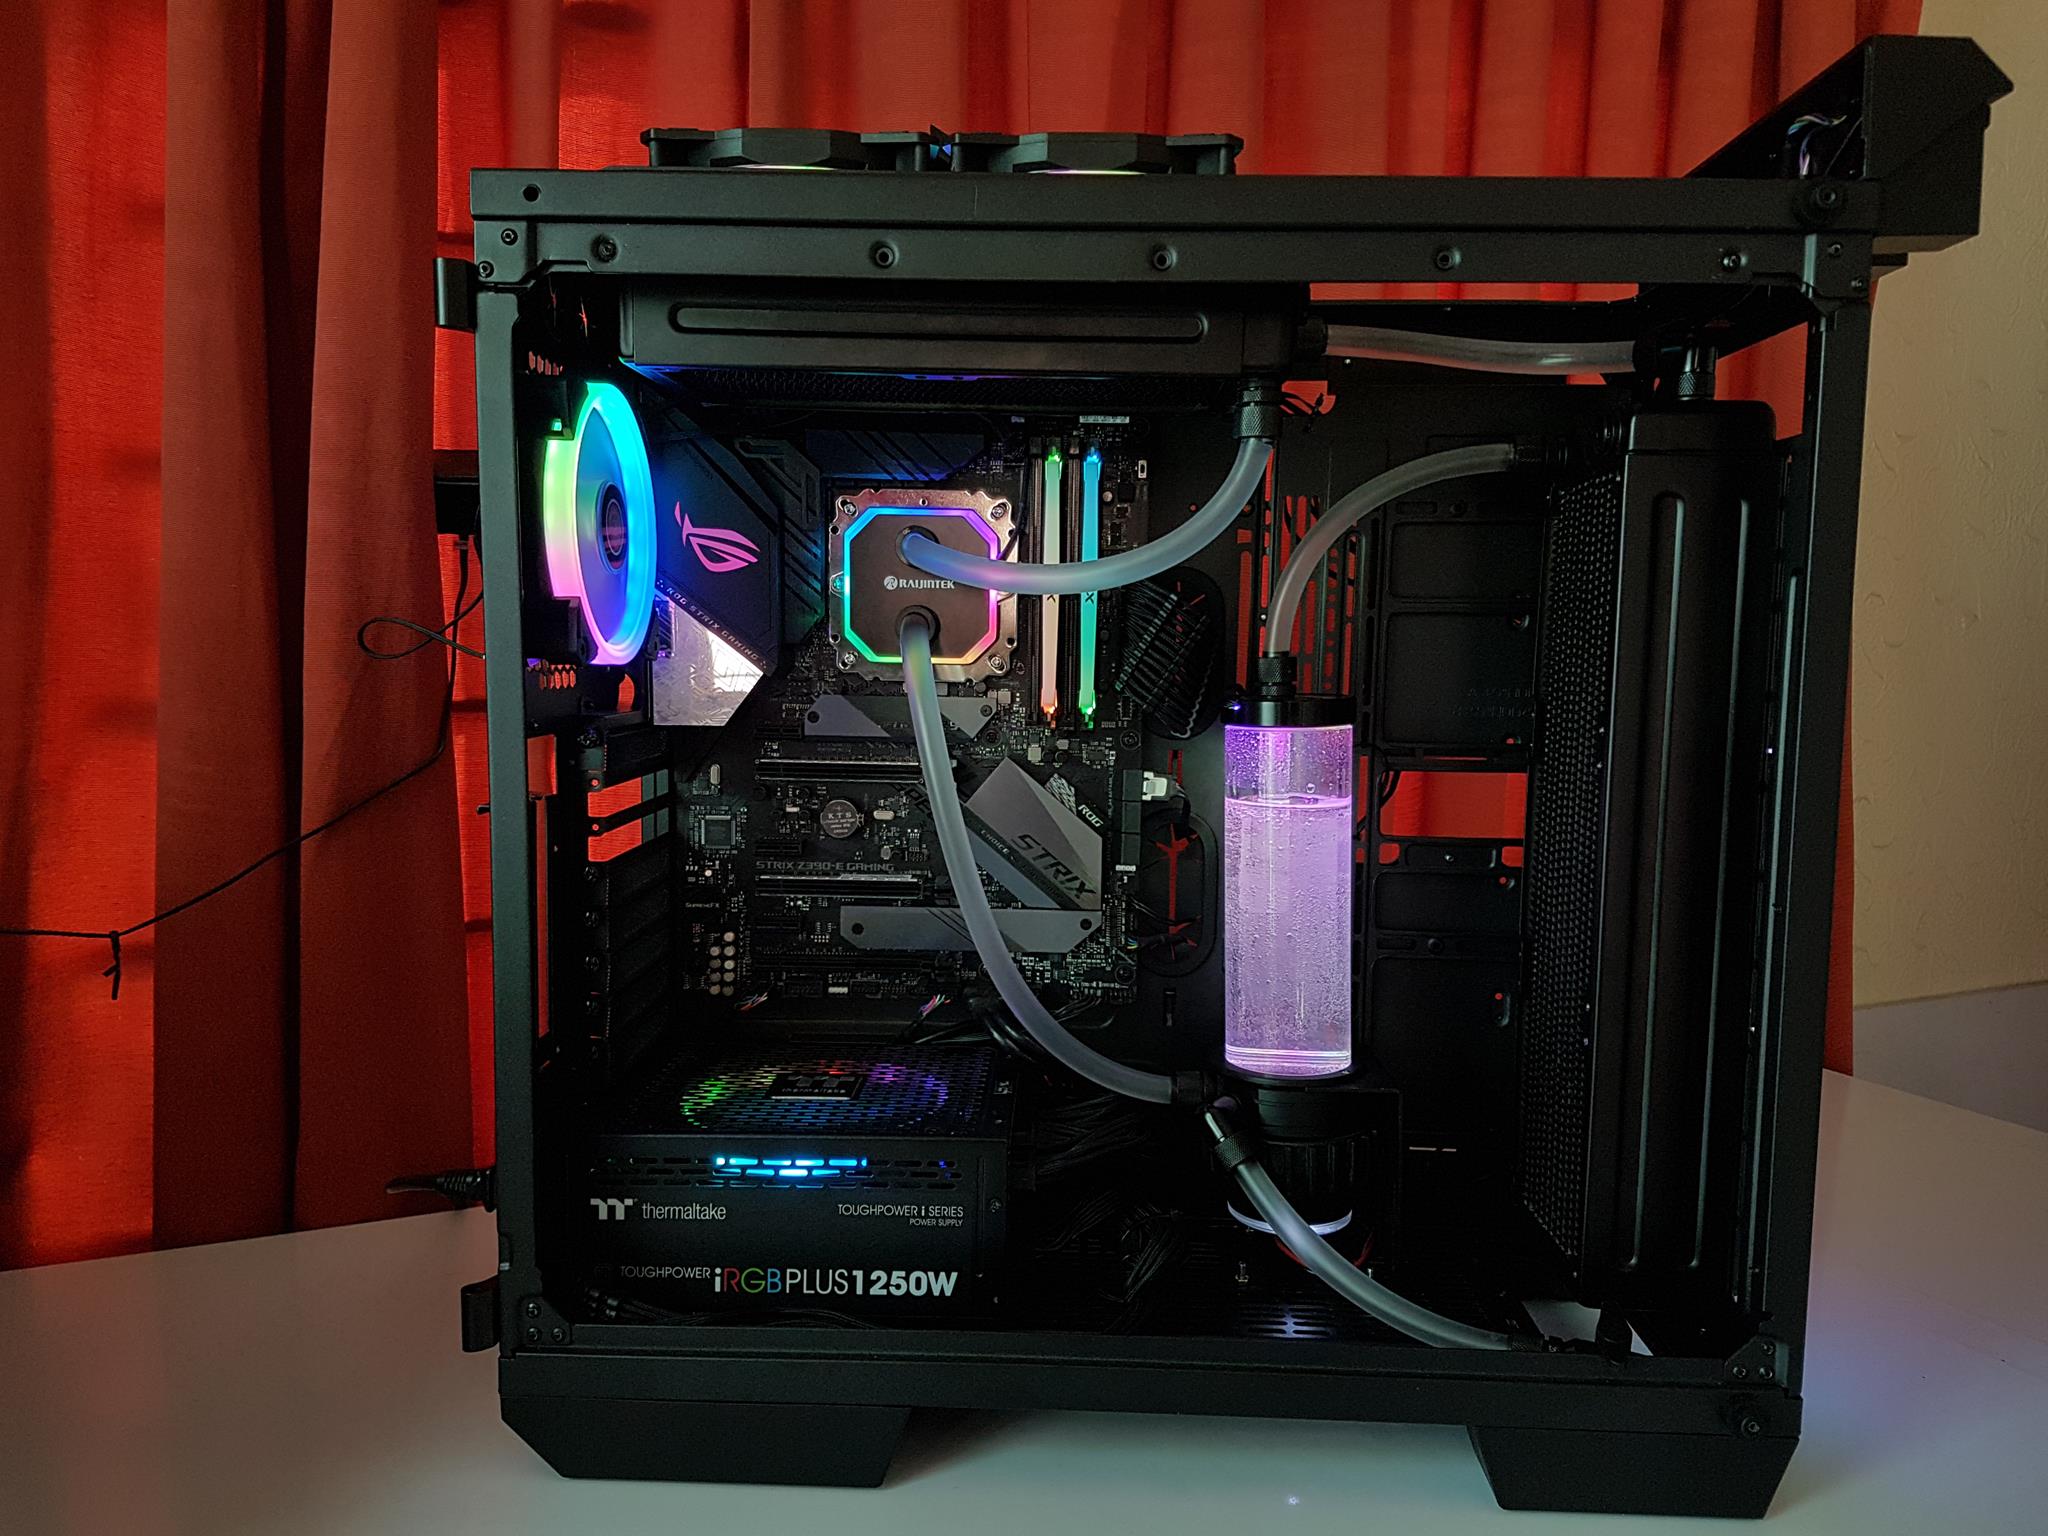
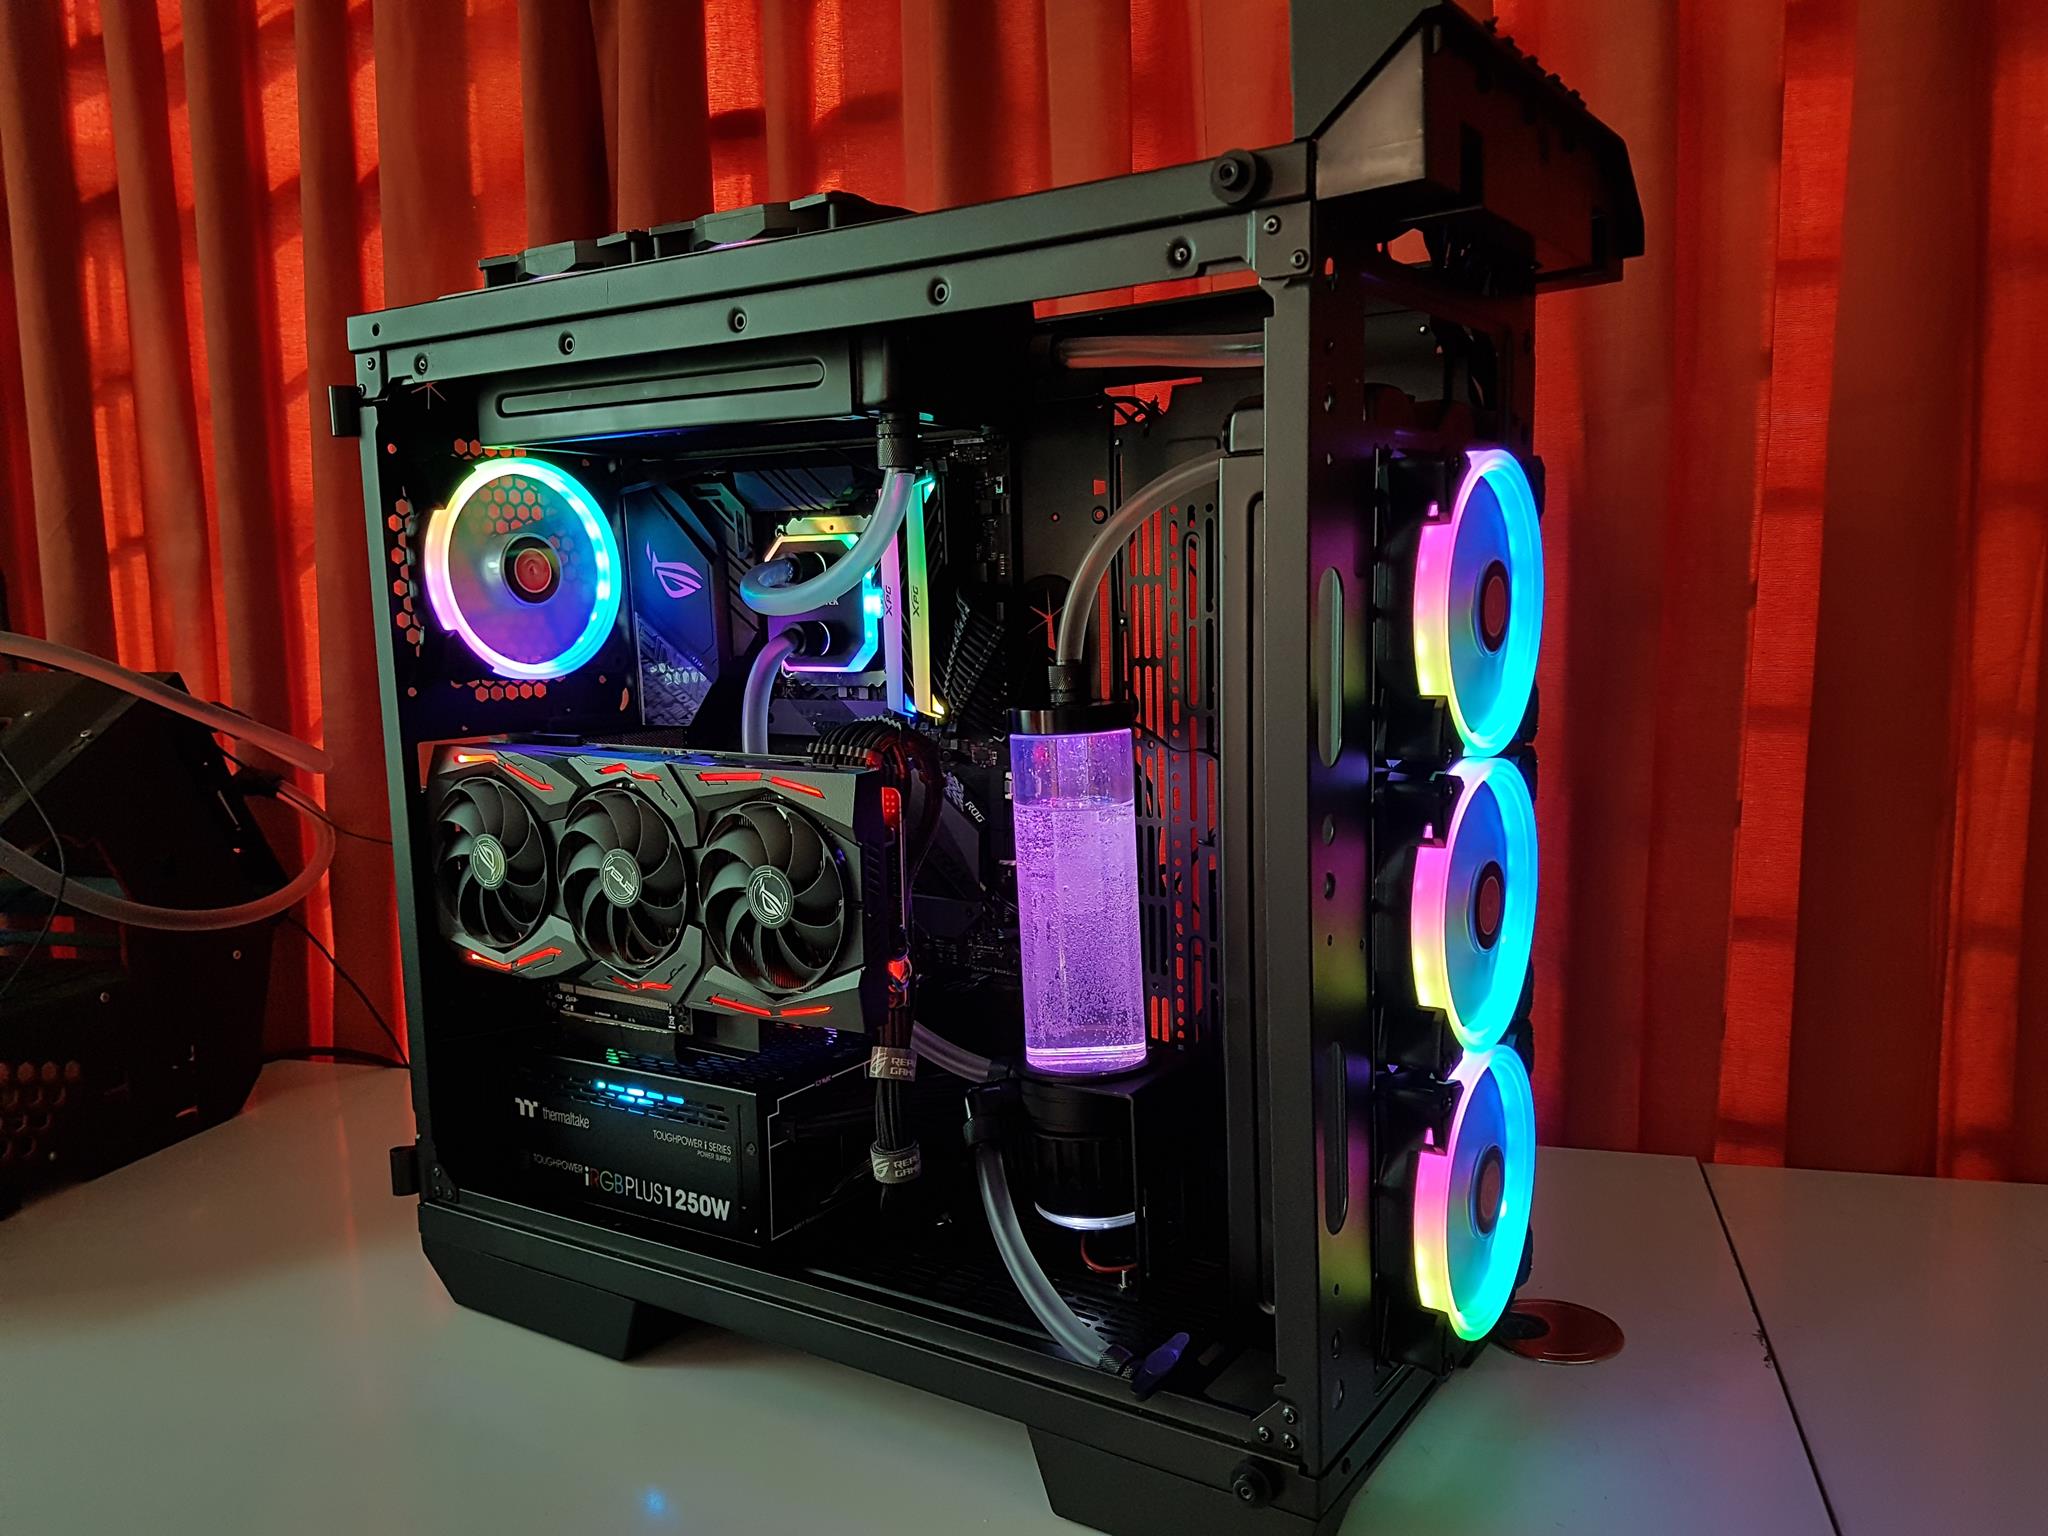
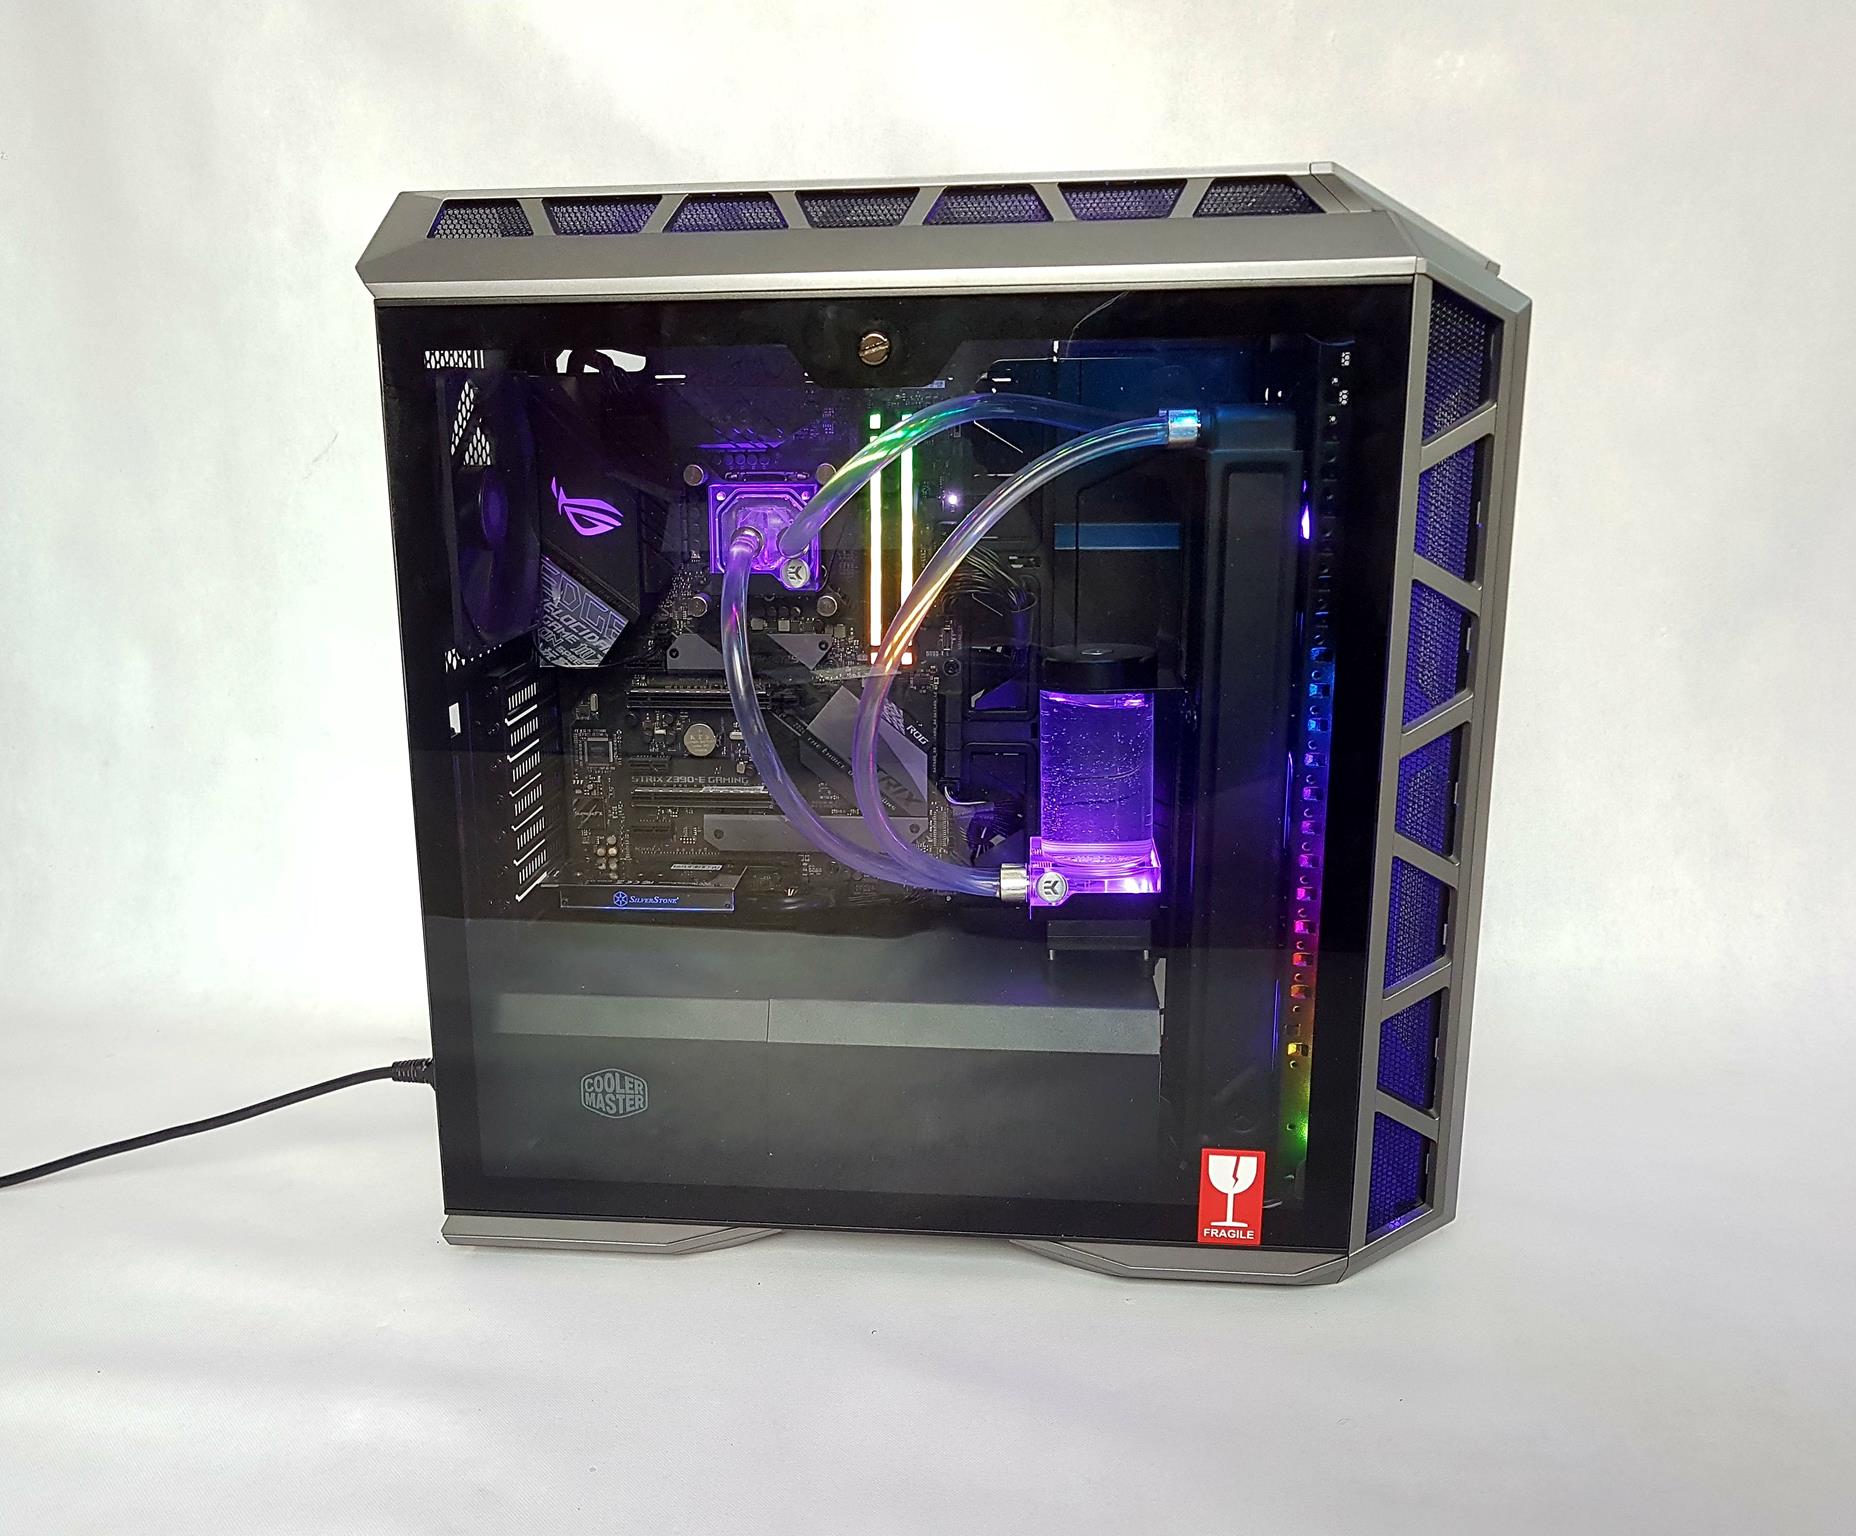
The Thermaltake View 71 TG was the only option available to me in the local market that could support 65mm thick radiators. The C240D was installed on the top with two IRIS 12 fans in the pull configuration. One IRIS 12 fan was installed on the rear as exhaust. C360D was installed on the front with three IRIS 12 RBW ADD fans pushing the air through the rad inside the chassis. The Anitla D5 was installed in front of the C360D at the base of the chassis. The loop is set up like that the coolant flows from the pump to the bottom G1/4” port of the CWB-RGB block. Hot water exits from the top port of the water block and go into the C240D from where it flows to the C360D. Finally, the coolant flows from the C360D to the Antila D5 reservoir from its return inlet line. The pump was run at 50% of the rated speed. Noctua NA-EC1 30cm Chromax.Black cable was used to bridge the short PWM cable coming from the pump and the fan header on the motherboard. The speed of the pump was regulated from the BIOS. The graphics card was installed in a vertical orientation using the support bracket that comes with the Thermaltake View 71 TG.
We are humbly thankful to the Alphacool for sponsoring us the open loop stuff which has enabled us to complete this review. Since at the moment we don’t have a manometer, hence we won’t be able to measure the liquid flow restriction of the block at the moment. We have a plan for other testing equipment including manometer in coming time that will enable us to do more detailed testing of the hardware at hand. For now, we will stick to the thermal testing as this is the ultimate goal of any CPU Water Block.
We are using Noctua NT-H1 thermal paste on our test bench to ensure the standardization among the coolers testing and to mitigate any benefit coming from the bundled thermal paste with the cooler. We are using Asus RealBench 2.44 to stress test the CPU on an overclocked chip to 5.0GHz at 1.250V. One hour run of the test is done for each time. The average of all cores temperature readings is calculated by summing up the temperature reading of individual cores and diving this figure by the number of the cores. All the testing was done on Microsoft Windows 10 x64 Professional Edition. HWInfo 64 v 5.91 was used to monitor the temperatures and the clocks.
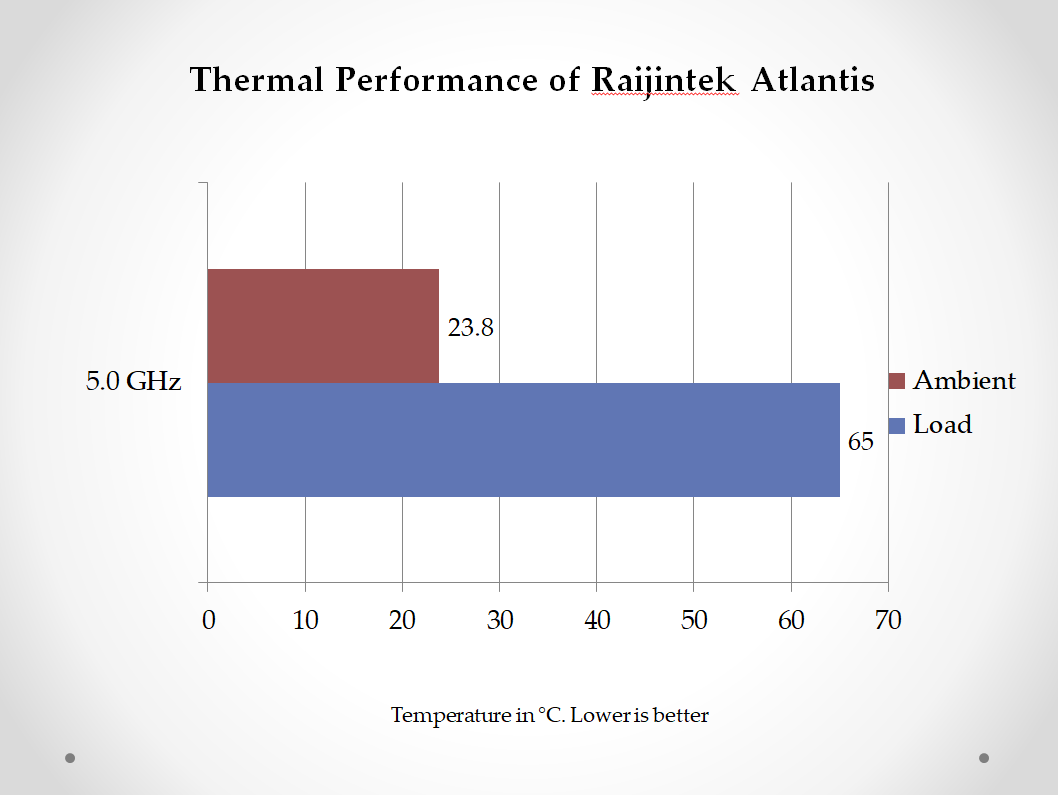
Let’s take a look at the performance graph.
At 5.0GHz (Sweet spot for my 8700k), the average temperature was 65°C with maximum temperature on any core being 67°C. None of my AIO (including Alphacool Eisbaer 360) and air coolers (including Noctua NH-D15) was able to keep this chip cool at 5.0GHz with temperatures ranging in the 80s. Raijintek Atlantis series of custom loop gear has proven their point of effectiveness loud and clear.
Due to certain environmental noise, I did not use the sound meter for an obvious reason of invalidated readings. Based on my experience, the overall noise of the build was a bit noisy but definitely not louder or teasing.
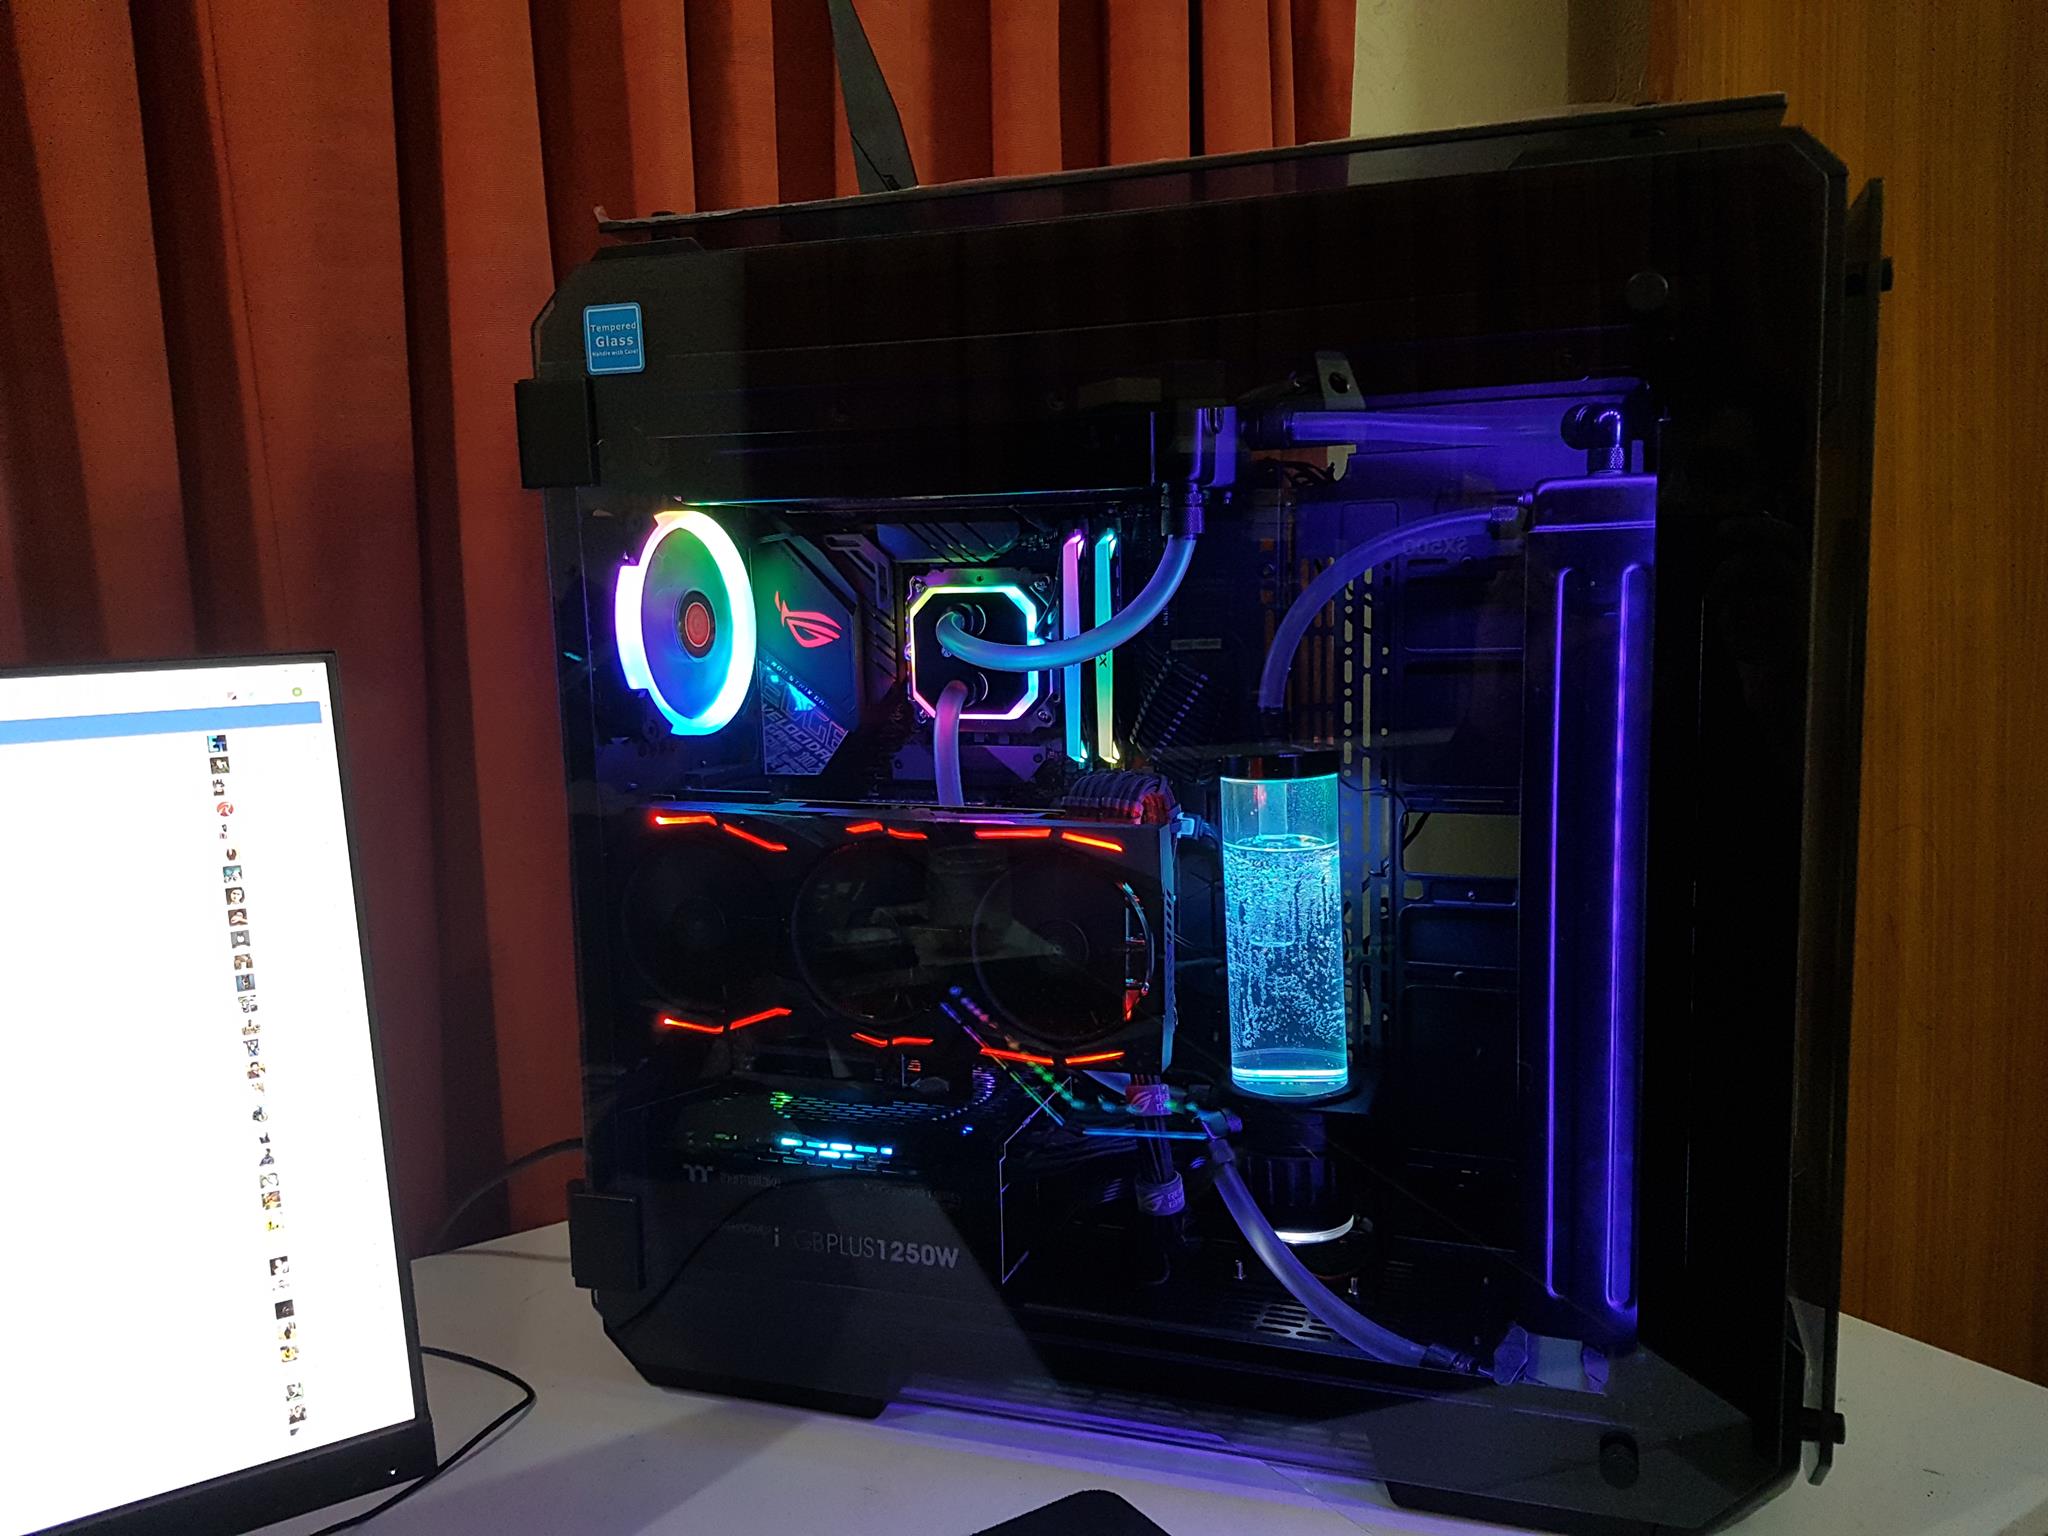
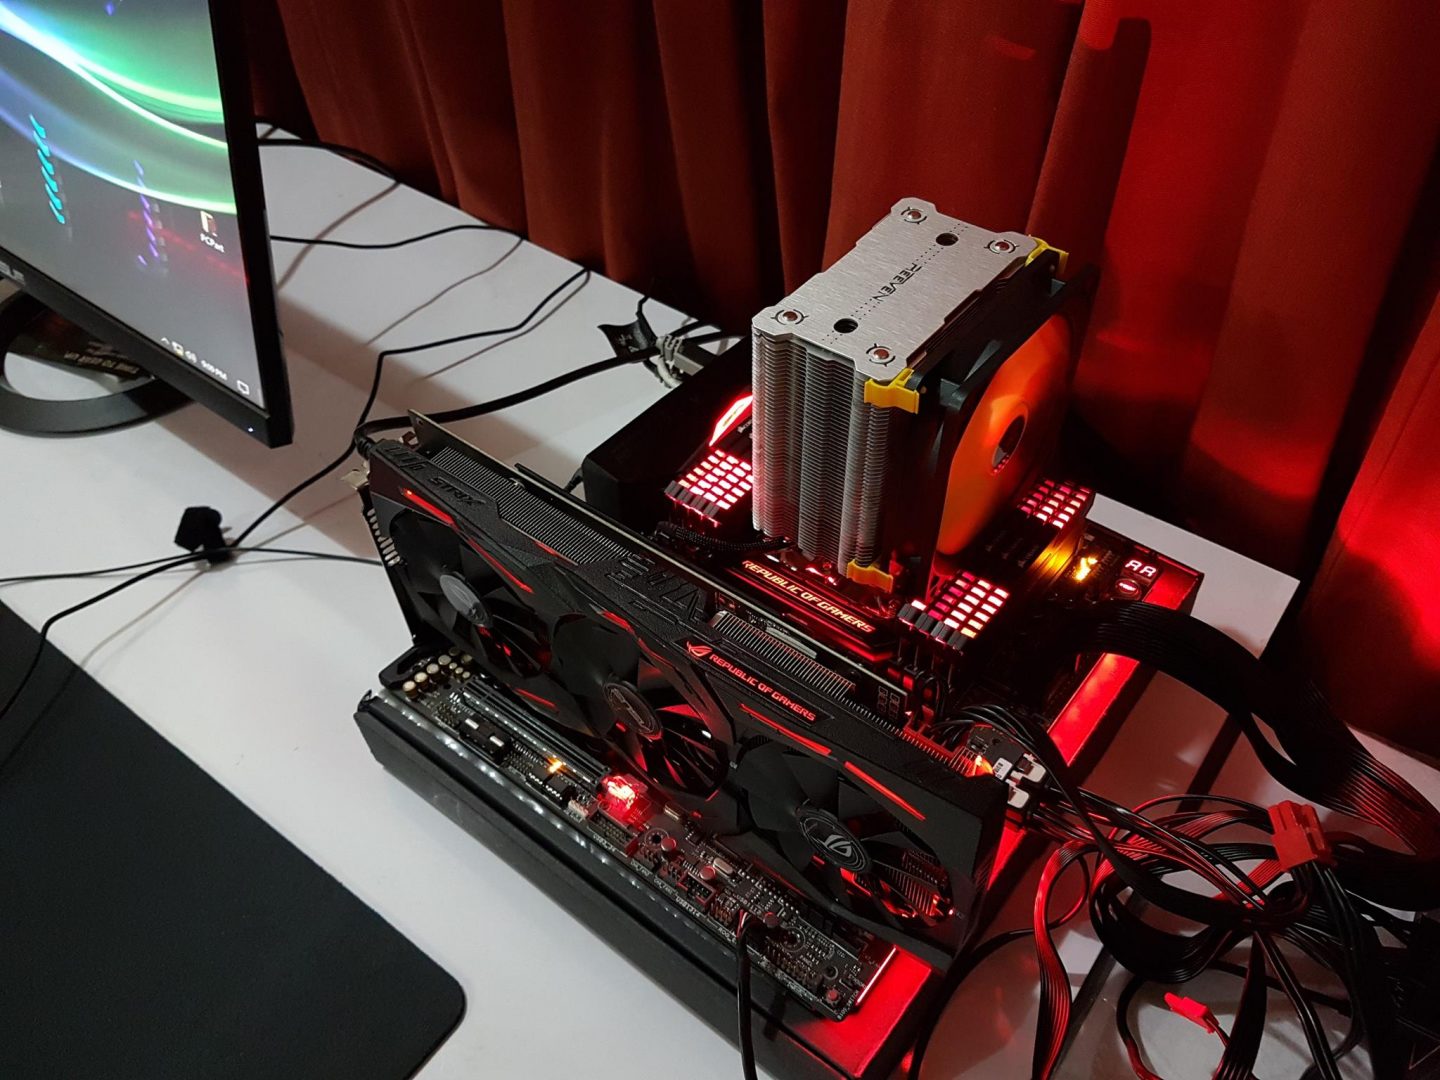
Here are a few pictures from our test build.
Conclusion
The Raijintek Atlantis series of custom loop components consists of CWB-RGB CPU water block, Calore series radiators, Antila D5 pump/reservoir combo. They have recently released RGB fittings for the hard tubing and are expected to release a complete kit in the coming days. For now, these components are available for purchase separately. We have already reviewed their CWB-RGB CPU Water block, which can be checked by clicking here. The Antila D5 is a 550ml capacity reservoir measuring 87.4×280.6×91.2mm including the mounting bracket. It has four G1/4” threaded ports with two on the top lip and two at the base of the unit. The version we have used is Antia D5-RBW meaning it has addressable RGB lighting enabled. The inner side of the top lid has 12 addressable RGB LEDs using 2510 specs and has 4-pin LED cable. The length of this cable is approximately 488mm which in my opinion fall short of length depending upon where the controller is placed inside the chassis. Raijintek has not included any controller inside the box nor there is any motherboard sync cable provided. Either of two is a must as this is a standalone component. We have used it with the controller that was provided with the IRIS 12 RBW ADD-3 fans. One of the top ports is dedicated to the return line and the other is fill port. The return line is not permanently connected to the top lid. Rather it is placed on the top of the reservoir with oring in between. While this does not sound anything problematic there is one caveat to it. Should you decided to open the lid and put it back on, good luck with that. As the return line is independent of the top cover/lid, both do not rotate synchronously which could easily result in misalign top port for the return line and the tube itself causing the coolant to spill over the fill port. The left port on the base is the outlet one coming from the pump and the right port is the inlet port which can also be used as a return line. Raijintek is using Laing D5 pump with 4-pin PWM cable (2510-4P [NA/ NA / Fg/ PWM]) provided for the speed regulation. It draws power using Molex connector (2606-H-03P [-12V/+12V). The length of the PWM cable is just 121mm and it should have been minimum 350mm so as to connect it to the PWM source. The pump has a rated pressure head of 3.85m and draws power at 12VDC using 1.8±10% Amp. It has a maximum flow rate of 900 L/H with a speed range of 1800 to 4500 RPM. It is using Ceramic Bearings and is rated at 50,0000 hours MTTF. We observed the vortex phenomena with this unit as the transparent coolant was whitish and there was a foam layer on the top level of the coolant inside the reservoir. However, it went away with bleeding the loop at various speeds of the pump. The unit comes pre-assembled on the metallic mounting bracket which can be used to install the unit on the chassis side wall or at the base as per the requirement.
The Calore series of the radiators come in two flavors; C240D and C360D. Raijintek was kind enough to send us both versions for the testing. Both are 65mm thick radiators with multiple ports for ease of loop configuration which has definitely helped us in designing our loop. The C240D measures 282.5x119x65.5mm whereas the C360D measures 403.5xx119x65.5mm. Both radiators are made with copper fins and tubes and brass tanks. Raijintek is clearly taking their game to the next level with this gear. The FPI (fins per inch) count is 14 as per the Raijintek specifications. However, as per our random measurements, the FPI count is coming to 12 or 13 FPI, not 14. There is a single port on the far chamber which is only a drain port and should be used only this purpose. The near chamber has two ports on the back side of the tank and two on the facing side. Each of these ports is G1/4” threaded hence any fitting using this size threading can be used on these radiators. These radiators are using flat tube design with a total of 14 set of tubes in 3 rows. Each tube has a measurement of 240x13x2mm for the C240D and 360x13x2mm for C360D respectively. Here 240/360mm is the length of a tube, 13mm is the height of a tube and 2mm is the gap between the interior and exterior walls of a tube through which the coolant will flow. The radiators are made of copper fins and tubes soldered together in a reflow design. This is to help to ensure an optimal design for efficiently pulling heat away from the core. The housing of the radiator is made of copper finished in a black coating. This 3 row-14-set flat tube design with 14 FPI helps in achieving maximum heat dissipation at both low and high airflow operation. Each radiator has 3 ports covered with metallic G1/4” plug and 2 ports covered with a silicon rugged cover. While the finishing of the C360D was satisfactory, same was not true for the C240D as few fins were found bend out of the box. There is a spacing of 110mm between any two fan mounting holes. There is a spacing of 92mm between two ports on the same side. The left and right sides of both radiators are identical. There are two insets or grooves on the running length of the housing highlighting triple row design of the radiator core. These sides are fingerprint magnets, keep that in mind when handling them.
The IRIS 12 RBW ADD-3 are their new fans based on IRIS 12 Rainbow 256-3 fans. These feature addressable RGB LEDs and core design feature of these new fans is the integration of the Atlantis series of custom loop components ARGB lighting using a single controller. These fans come in three variants; single fan, a pack of two and pack of three. These are rated at 12VDC with starting voltage being 6V. Their rated current is 0.12A±10% with power consumption of 1.44W±10%. Their speed is rated between 400 to 1800 RPM. Their airflow rating is 35.8 CFM and static pressure rating is 1.16 mmH₂O max. Their noise level is 28 dBA. They are using Hydraulic bearings with MTTF of 40000 hours. One 8 port hub, one remote controller is included in the box. We have already reviewed their IRIS 12 Rainbow 256-3 fans earlier which can be checked by clicking here.
The Raijitnek Antila D5 is listed at £90.00, Calore C240D is listed at £60.00, Calore C360D is listed at £70.00, and IRIS 12 RBW ADD-3 fans are listed at £40 at the time of the review. This pricing coupled with the good performance and 2 years of limited warranty on all the stuff is one heck of a good deal if you are looking to get yourself started with custom loop based cooling. This stuff was able to keep my 8700k at 5.0GHz at 65°C under stress test which was previously not possible as the temperature using AIO/Air Cooler was on the upper side of the 80s. With vivid and brilliant RGB lighting, good performance and user-friendly price tag, the Atlantis series of custom water loop stuff from Raijintek come on our top recommendation and has won our Performance award.
We are thankful to the Raijintek for giving us the opportunity to review their Atlantis series of the cooling components.


