Thermaltake Commander C36 TG ARGB Case Review
Introduction
- Manufacturer: Thermaltake
- Product Page: Commander C36
- Purchase: £99.98 At the time of review on Scan.co.uk
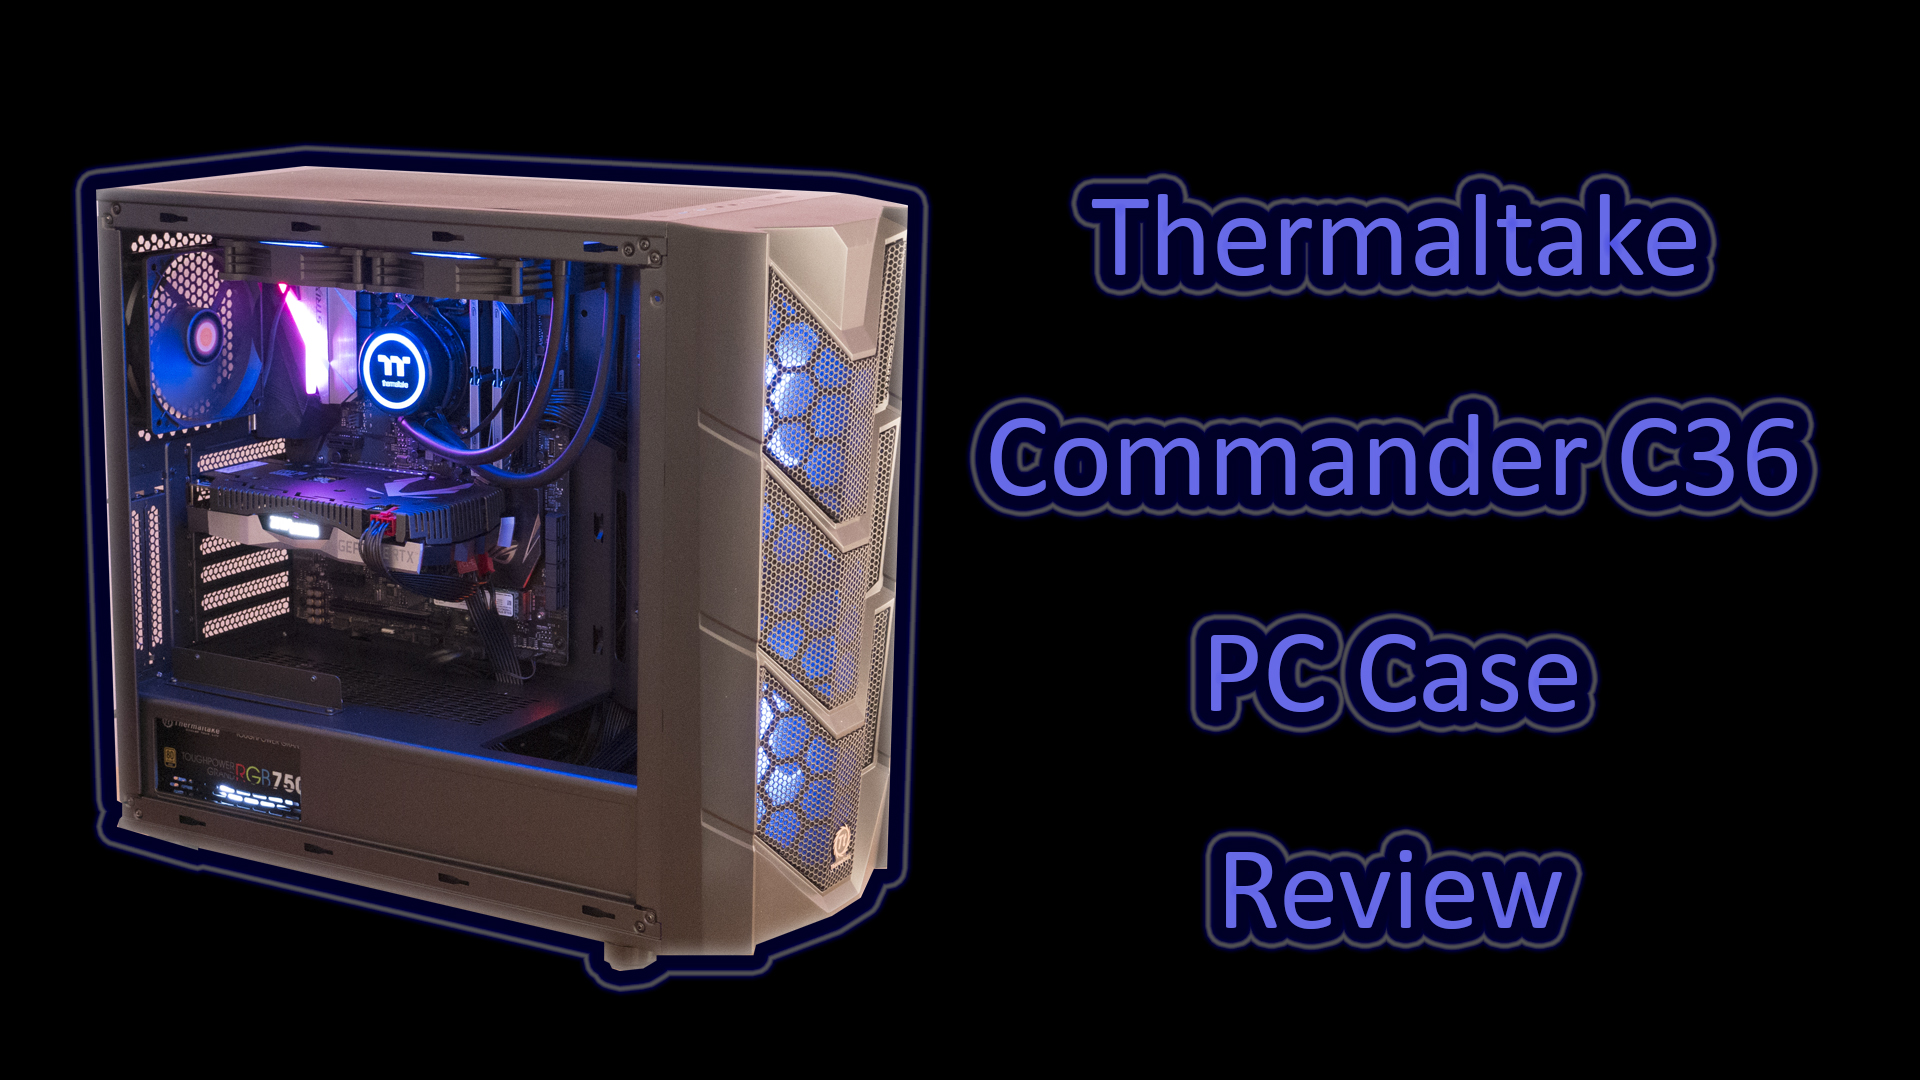
Following on from our last review on their Pacific TF1, today, we will be taking a look at one of Thermaltake’s new Cases by way of the Commander C36. The new C-series of cases comes in six different variances, all of which have a different front panel. Featuring dual 200mm 5V ARGB front intake fans, Thermaltake is looking to shake things up a bit with these cases. Having a pair of 200mm fans in the front is massive, not only do they offer some amazing airflow, but they will also be quieter than smaller fans. With room for an ATX motherboard and boasting a 4mm Tempered Glass side panel, the Commander series has a lot going for it. However, before we give away too much, let’s just take a closer look at one of Thermaltake’s latest offerings.
Closer look
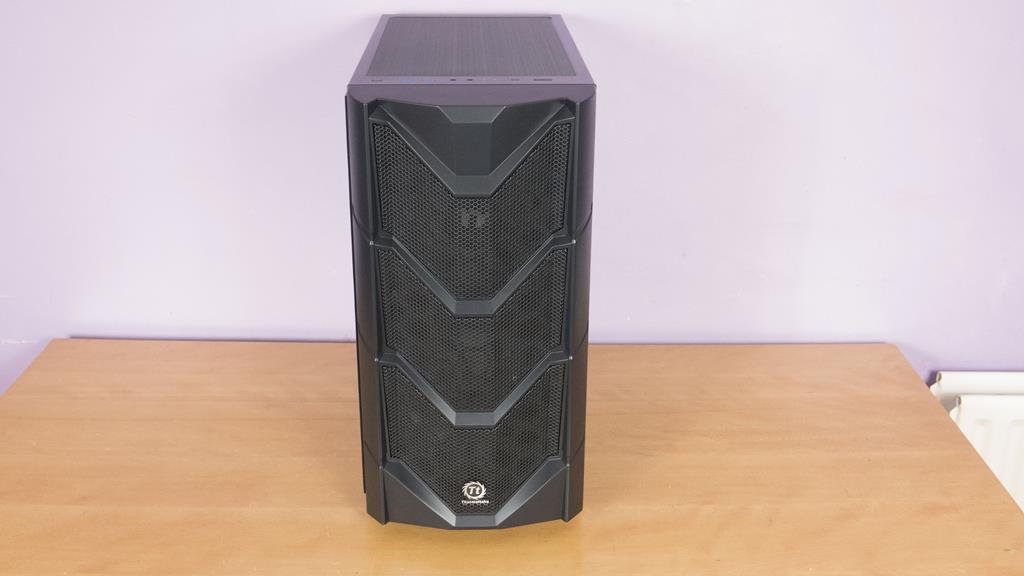
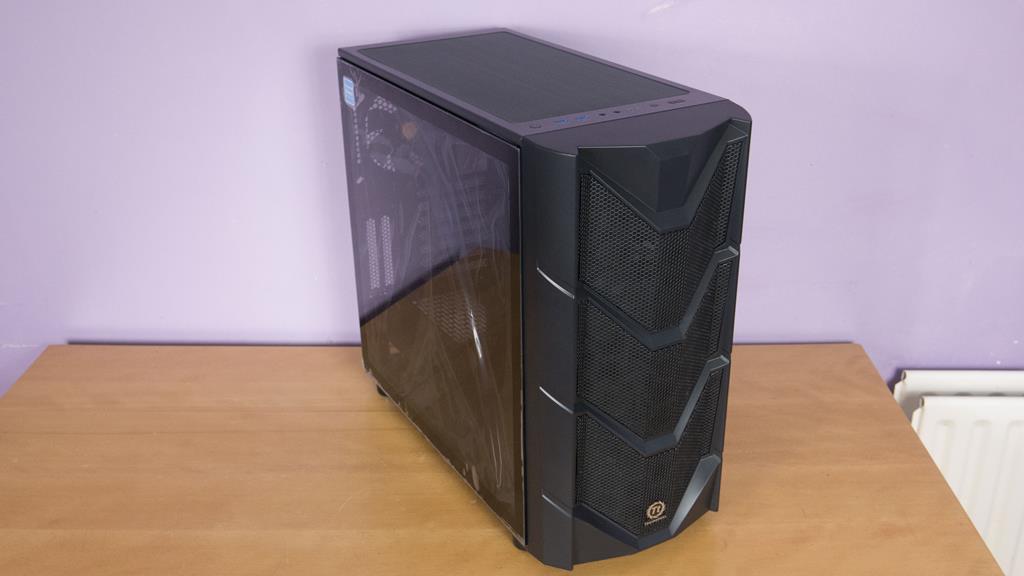
The front of the Commander series is where users will notice the differences in the cases. The C36 has three mesh areas that pretty much span the whole front panel. As mentioned, behind these are the dual 200mm fans that are ready to push some massive airflow through your case to keep everything nice and cool.
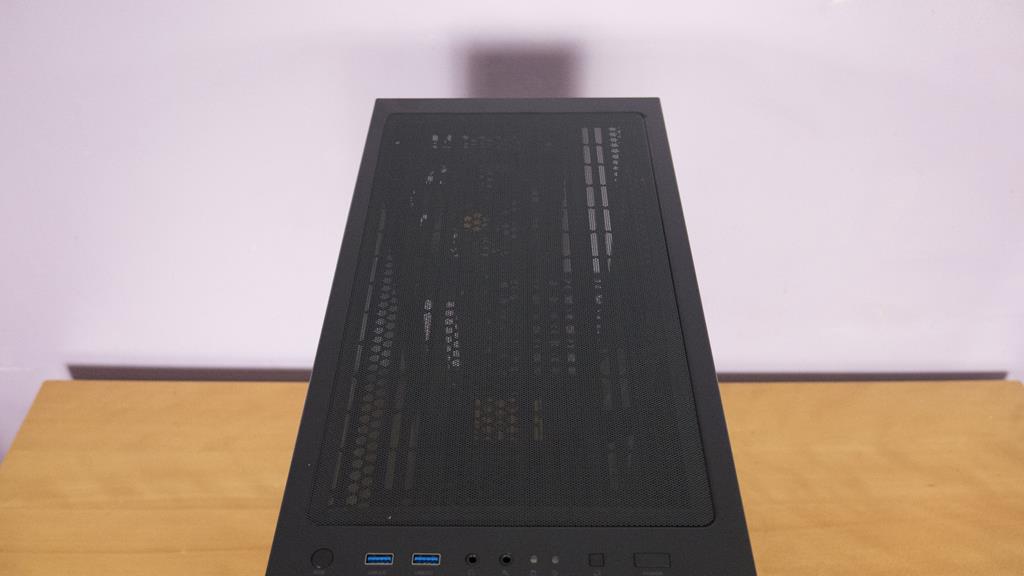
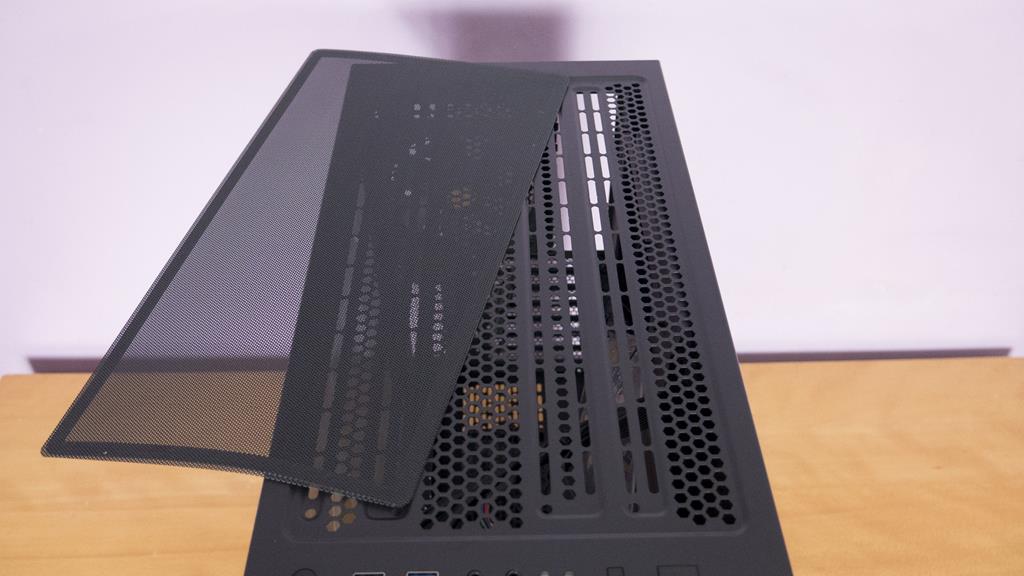
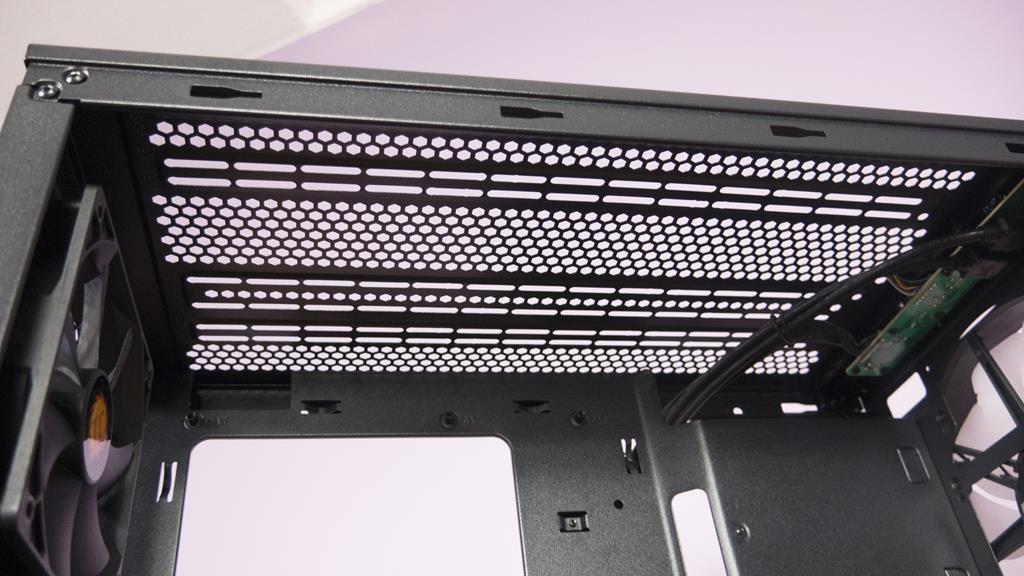
Alongside the front panel being mostly mesh, the top of the case is a major ventilation area and comes with a magnetic dust filter to try and help keep the dust out of the case itself.
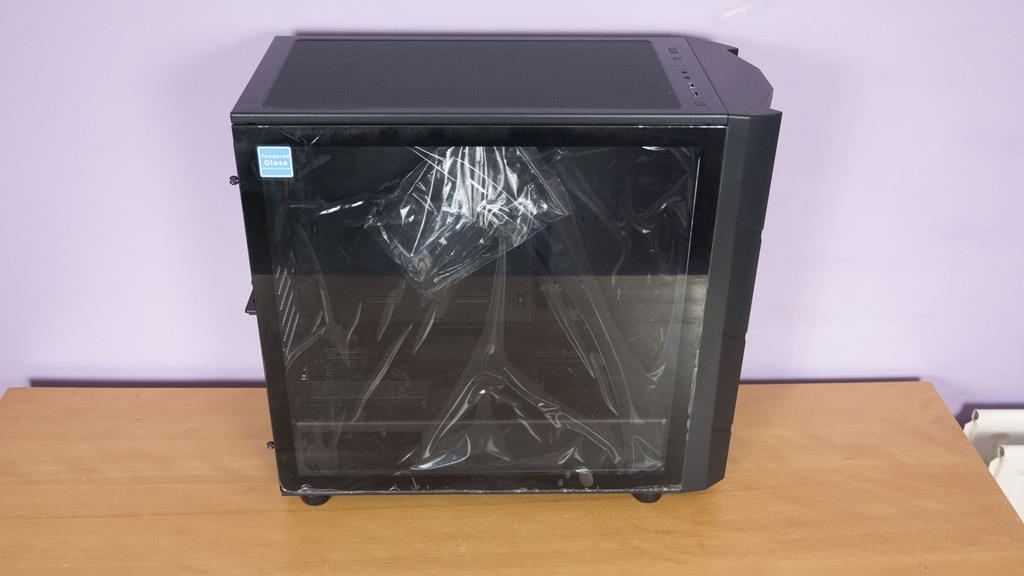
The 4mm thick Tempered Glass side panel is going to allow users to show off their build with ease. Thermaltake have opted to have two thumbscrews on the rear of the panel to hold it into place. This is a much better look than the four thumbscrews we generally see holding TG panels on.
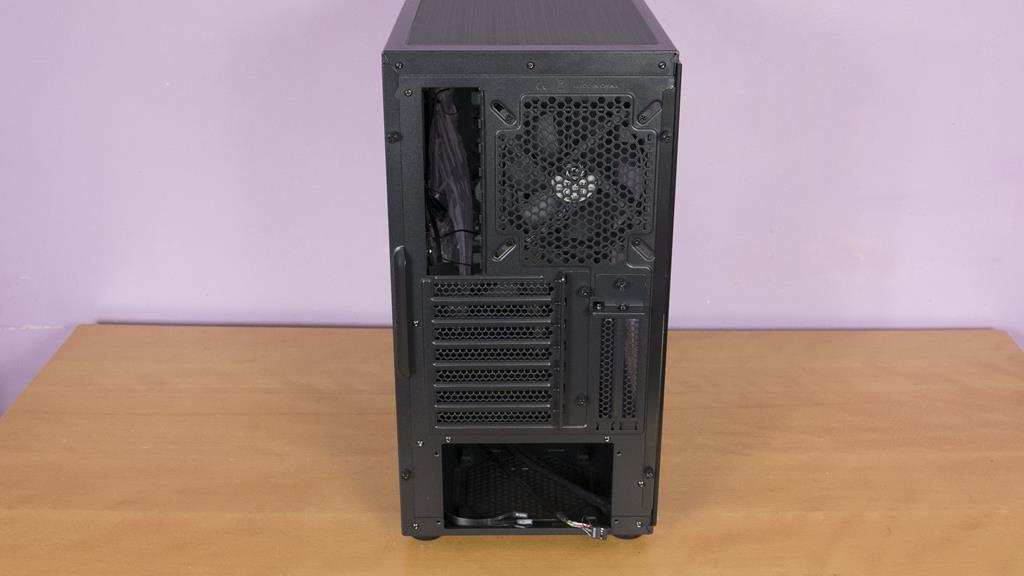
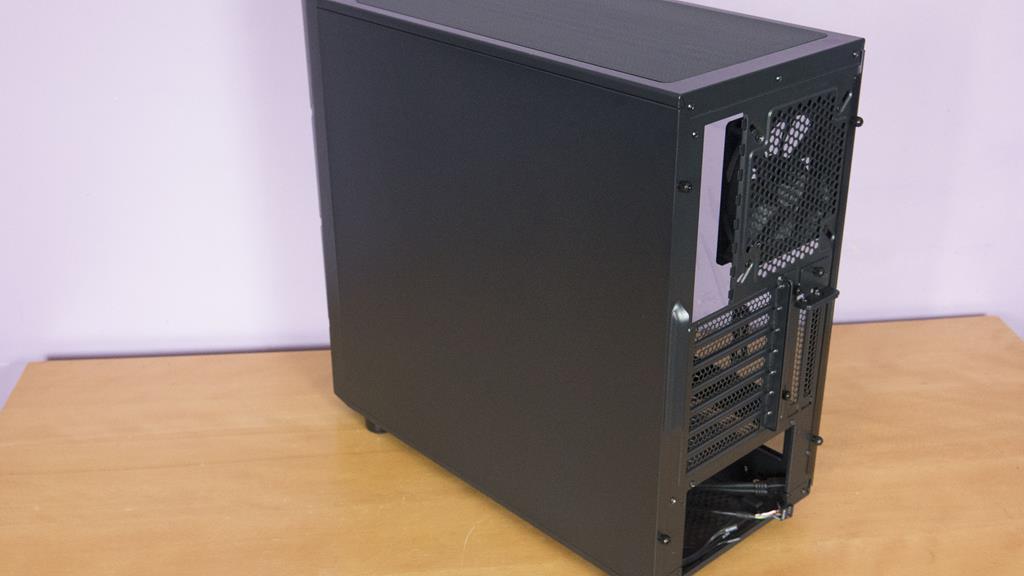
Not a whole lot going on around the back. Alongside the normal host of features, we can see an extra two PCI expansion slots. These are going to be used for vertically mounting the GPU in the Commander Series cases. This means users can properly show off their graphics cards without the need to mod the case, well done Thermaltake!
The secondary side panel is plain as can be and good, no point showing off the rats nest of cables most of us leave behind the motherboard tray.
As we’ve seen. the top of the case features an easy to remove magnetic dust filter. There is also plenty of mounting options here for a number of different rad and/or fan combinations. Cooling is a massive thing to Thermaltake and is always great to see a multitude of options available in their cases.
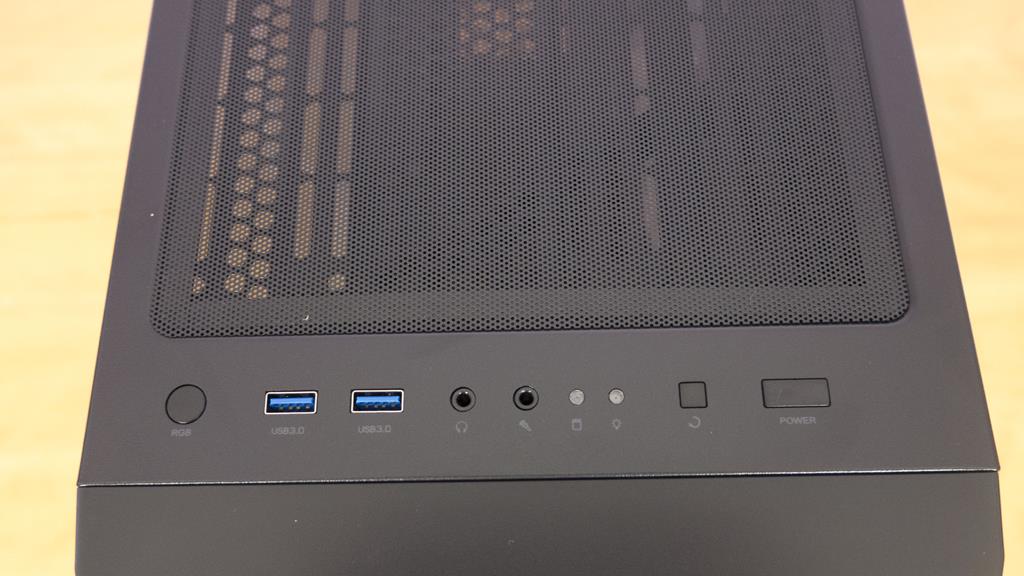
The front IO is on the top of the case and features an RGB button, two USB 3.0 ports, audio inputs and power and reset buttons.
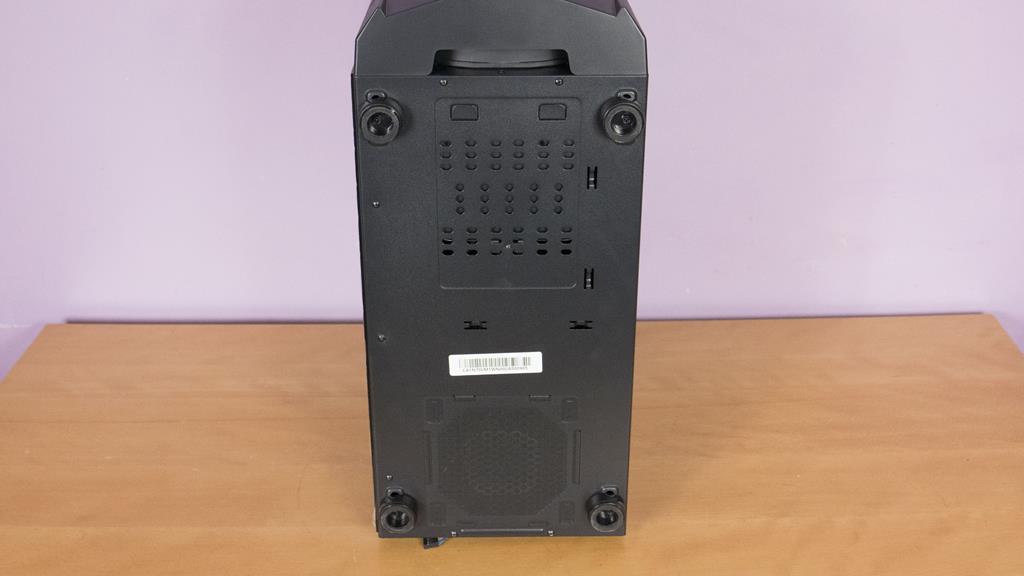
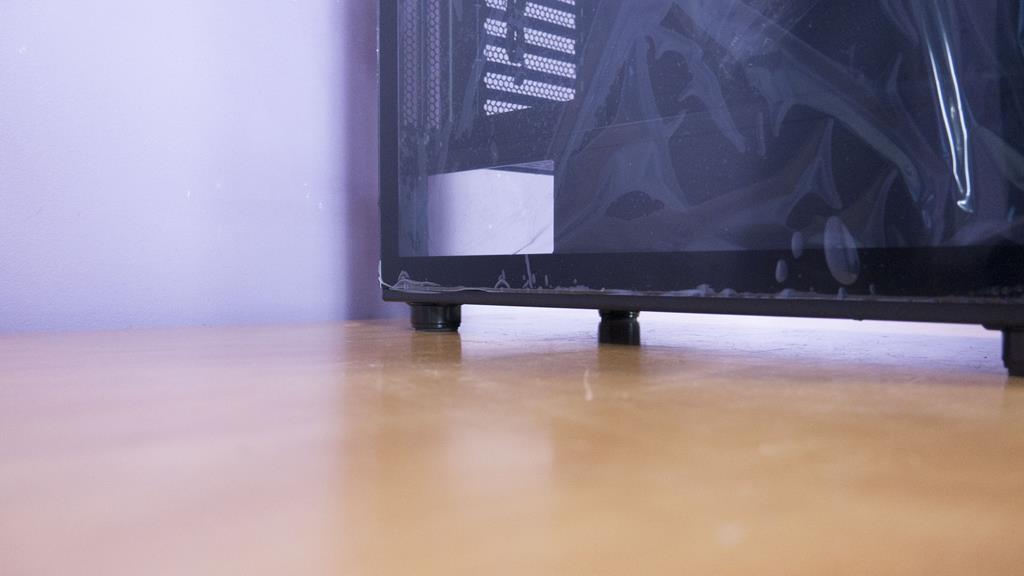
The bottom of the case features four feet to help keep it off the floor and to allow for some extra airflow. We can also see that where the PSU will grab air from has its own dust filter. Again, this can be easily removed and clean whenever needed.
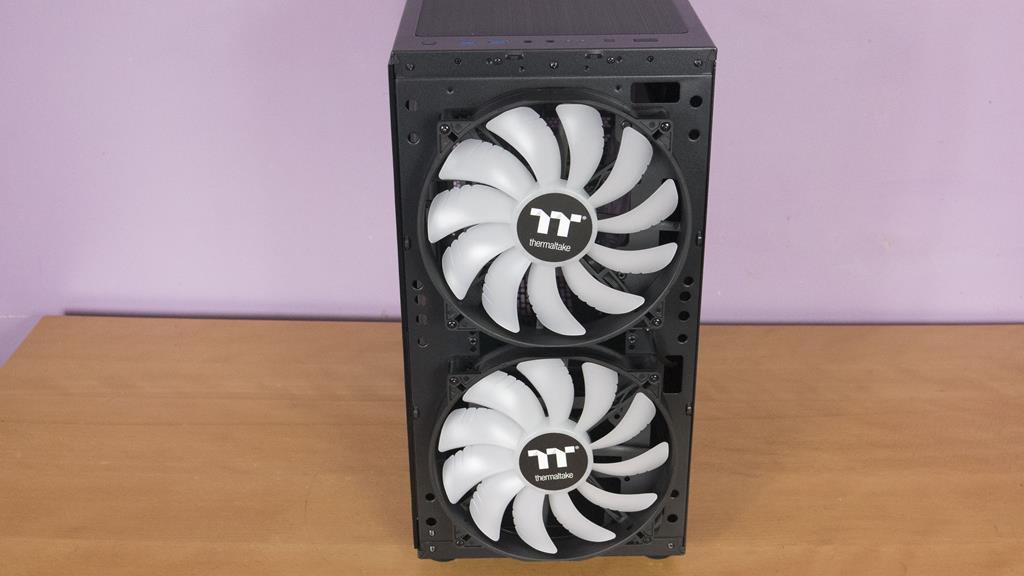
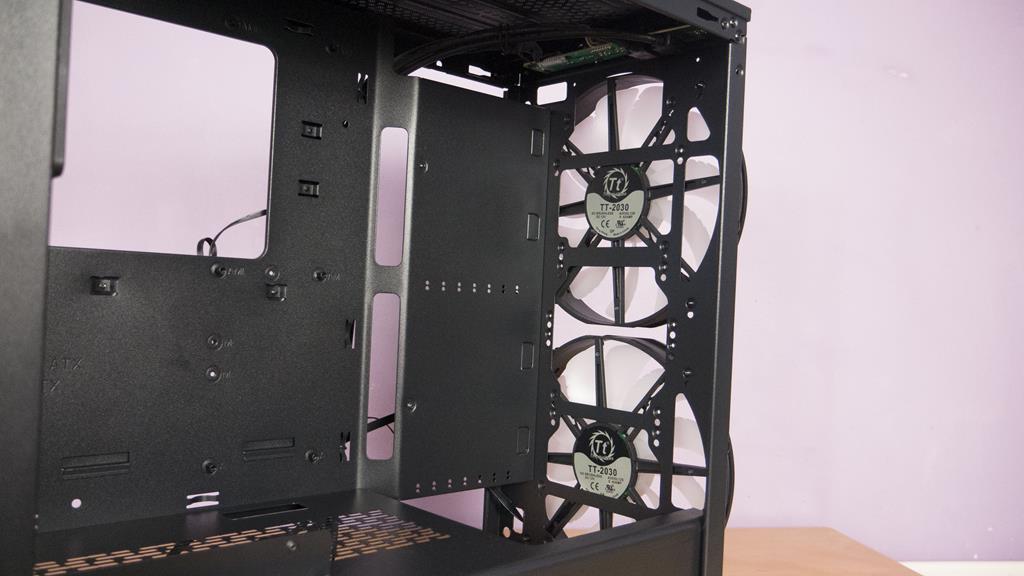
When you think of 200mm fans, you know they’re big but when you put two of them in the front panel of a case it really shows just how big they are. Not only are these beasts massive, but they are 5v ARGB as well and can be controlled VIA compatible motherboards or right from the included controller.
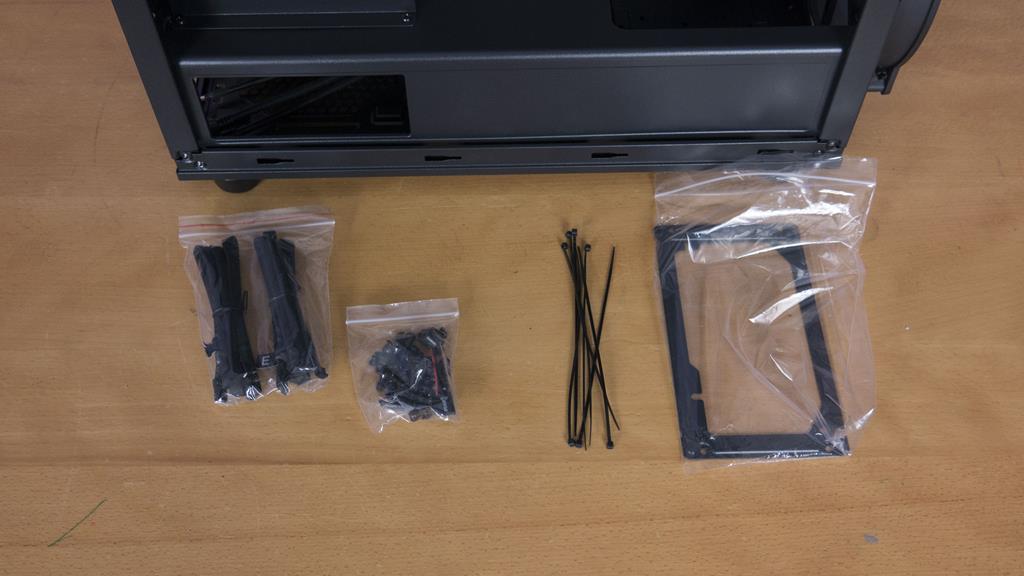
Inside the case, you will find a bag with some accessories/cables in it. Thermaltake have included a couple of cable extenders, screws, zip ties and also the PSU mounting bracket.
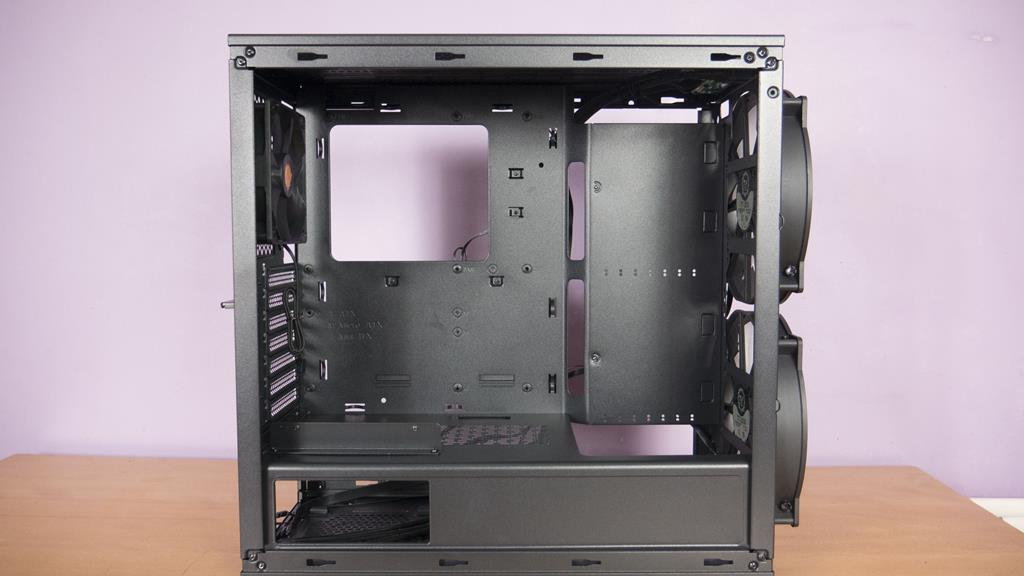
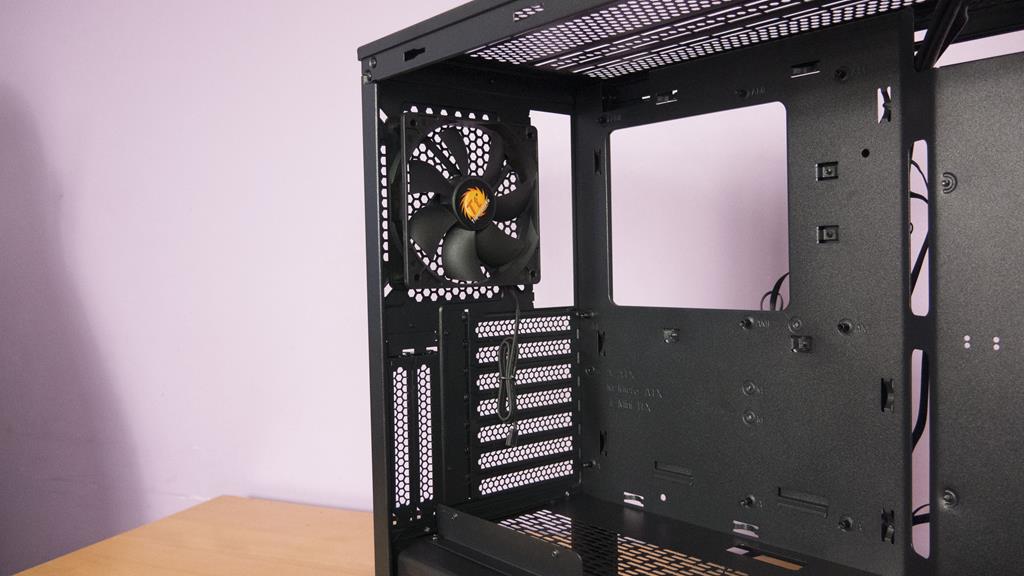
Look how clean that looks before we put our test system in it. There’s a nice big cutout on the motherboard tray for easy CPU cooler installation. There are also two cutouts in the PSU shroud, one so you can see what PSU has been installed and one to allow users a bit of room towards the front of the case for things like reservoirs or action figures or whatever you like to put in your case these days.
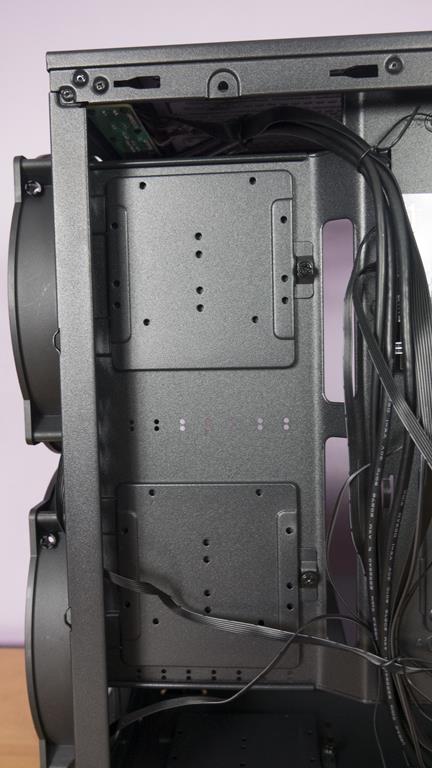
Towards the front, you’ll notice the area next to the motherboard tray come inwards to the case a bit. This is so you can install some drives on the backside, we will look at these mounts in a bit. Those dual 200mm fans are a thing of beauty and are going to help keep things cool even if you don’t install much else cooling wise.
As we saw, the top is heavily ventilated. All the long holes are for users to mount their fans/rads in a number of different configurations. While some people may ask why do we need so many ways to mount a fan, you’ve yet to find out the hard way and I can only commend Thermaltake for offering various mounting options.
Towards the back, we see the preinstalled exhaust fan. Such a shame that it’s not ARGB as the front fans are. While we can appreciate the extra cost we would incur, we are going to have to replace this fan anyways so mind as well just do it from the start! We can also see the vertical GPU mounting setup alongside the seven normal PCI expansion bays.
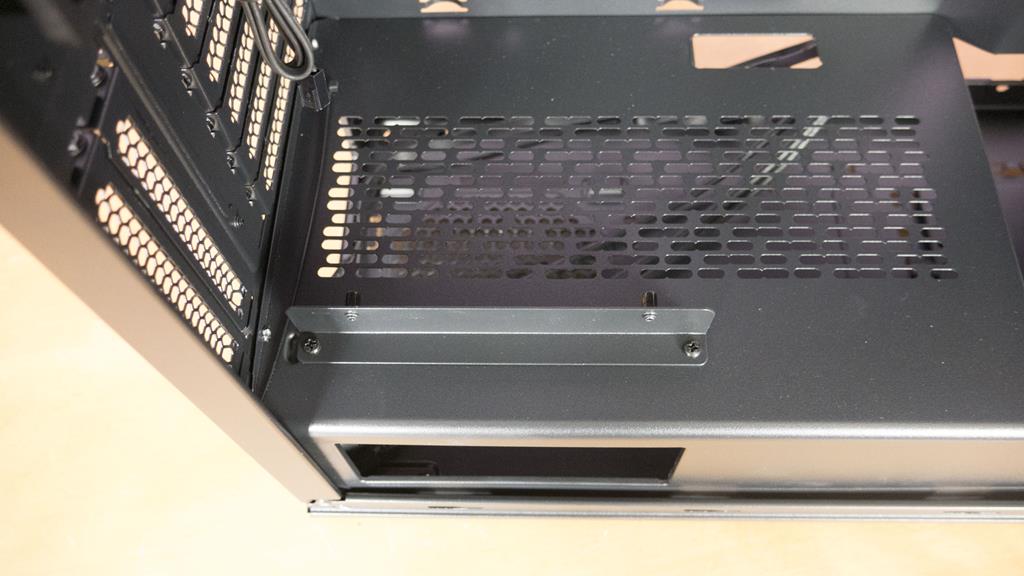
More ventilation in the PSU shroud accompanies by the vertical GPU riser Cables bracket. This will allow you to secure your riser cable in place so it’s not pulling on your GPU when mounted vertically. This is another one of those small details that really make a difference!
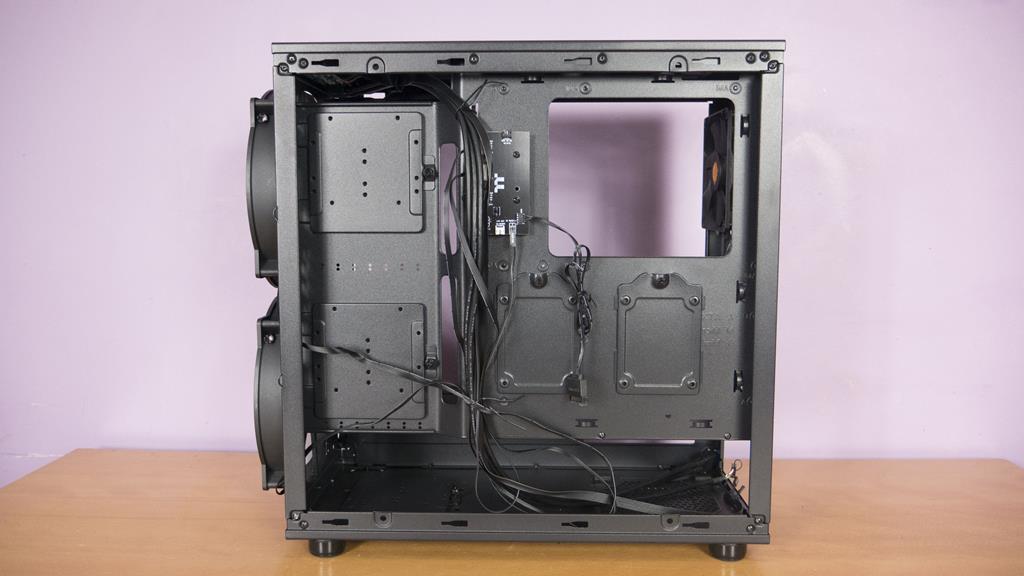
On to the back of the case and while there isn’t a whole lot going on, there is a couple of areas to highlight.
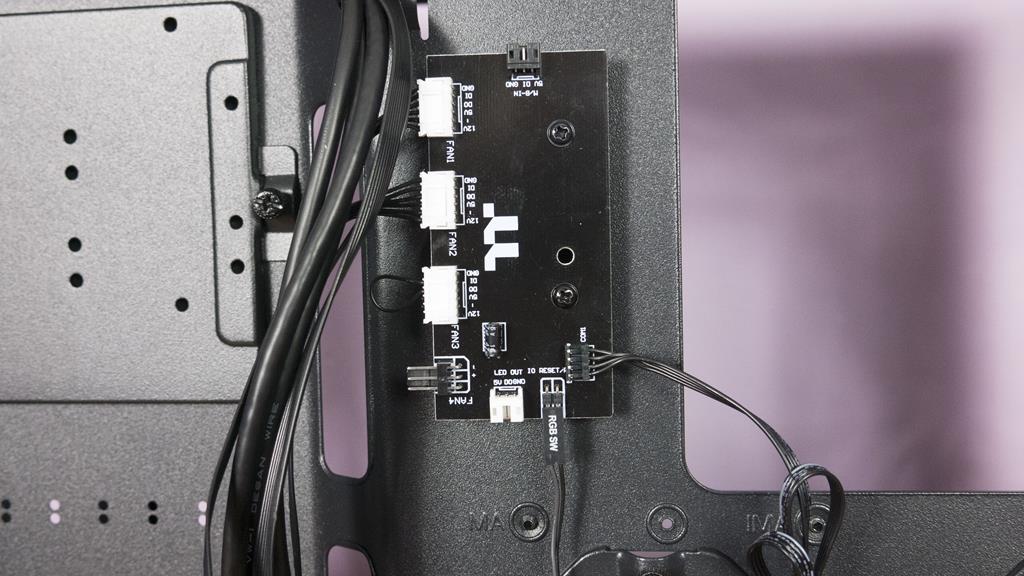
The first is the fan controller. Not only does this control the front ARGB fans but you can also plug the standard rear exhaust fan into it and even control your AIO ARGB fan thanks to the extra LED out port. You can also connect it to your motherboard and control everything that way if you prefer, the more options the better I say!
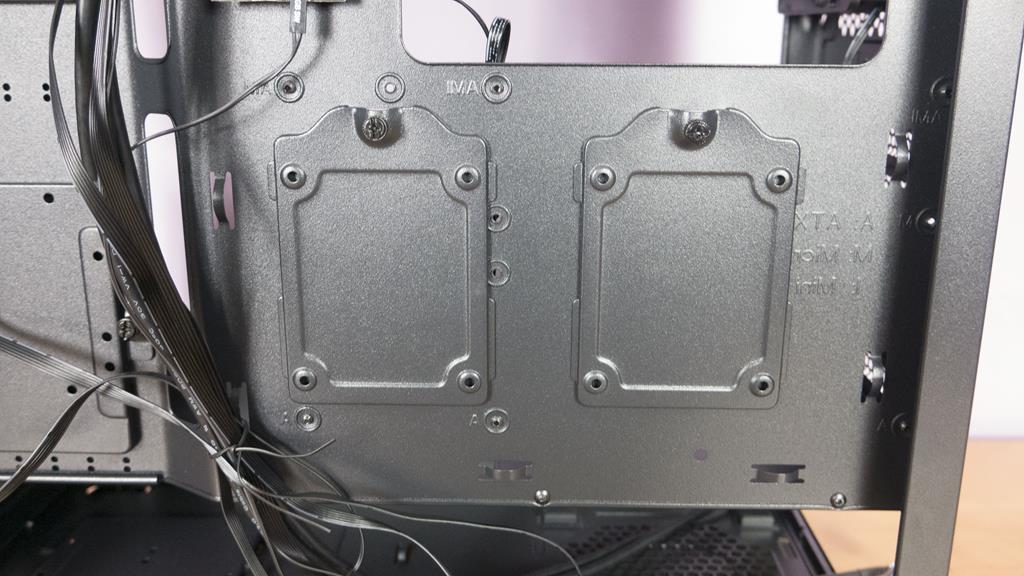
Nice little pair of SSD or 2.5″ drive bay mounts located just behind the motherboard beneath the CPU socket.
Need to mount some bigger drives? Not a problem, the Commander C36 has you covered.
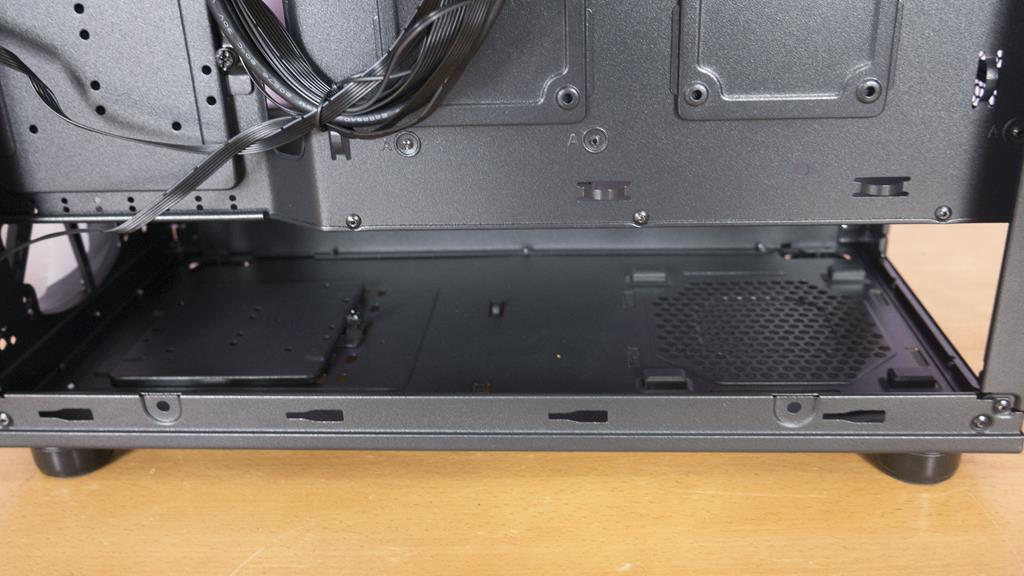
Under the PSU shroud are another drive mount and plenty of room to hide those hideous cables! While RGB is lovely, the more RGB the more cables and sometimes we just need somewhere to stuff them all out of the way!
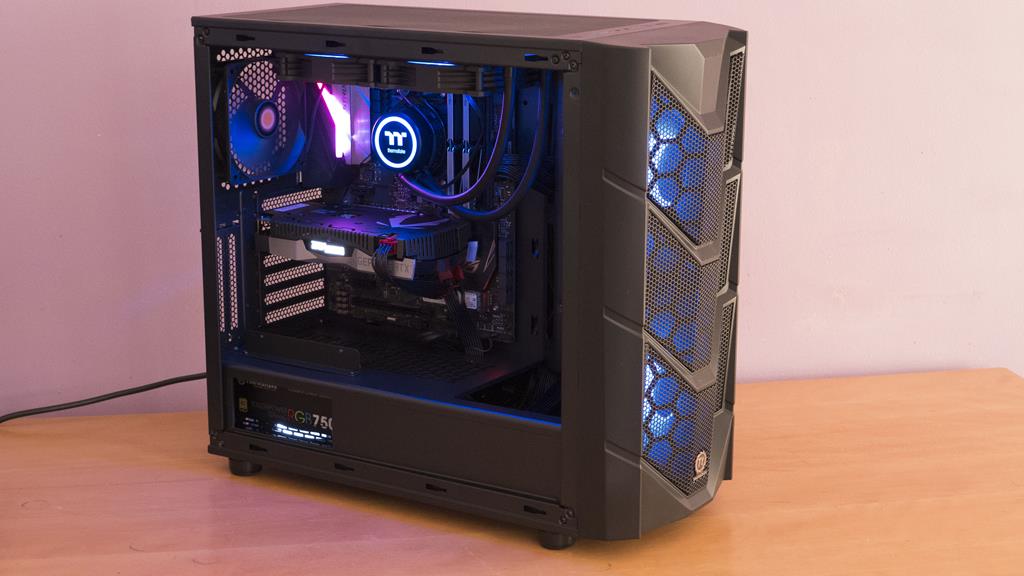
Final Build

Conclusion
Performance and Design
The Commander series comes in six different flavours and the only difference is the front panel. While this may seem a bit pointless to some, Thermaltake actually has the right idea. Not everyone is going to want the same exact case and the front panel can be a game changer. The internals of the case are solid so offering different front panels is a massive thing to do as it allows them to cater to most people without having to alter the cases, just the front panel. The two 200mm are no doubt one of the main points of focus for the Commander series and rightly so. These bad boys are going to provide more than efficient airflow to cool anything you want to put inside this case. From here you can talk about the rest of the cooling support, such as 280m rads in the front and top and all the ventilation the case has to offer. Not only is this case designed for cooling, but it also has plenty of room for hardware and/or liquid cooling components.
Value
Coming in at around £100 at the time of review, the Commander C36 has a lot going for it. The cooling performance it has to offer is enough to make the case worth it. However, when you add in the sleek aesthetic and amount of room the Commander Series of cases features, you have yourself a real contender in the £100 price range. Also, one more time, let’s not forget those beastly 200mm fans that are supplying a mass amount of airflow to the internal components of the case, well done Thermaltake! This case is worth the money it asks for with ease, cooling, space, and unique SSD/HDD mounting all included at a price that won’t break the bank!
“The Thermaltake Commander C36 is a spacious case that includes plenty of space as well as some pretty elite cooling options. Users looking to make the most of their hardware will really appreciate what the Commander Series has to offer.”


