SilverStone ALTA G1M PC Case Review
Introduction
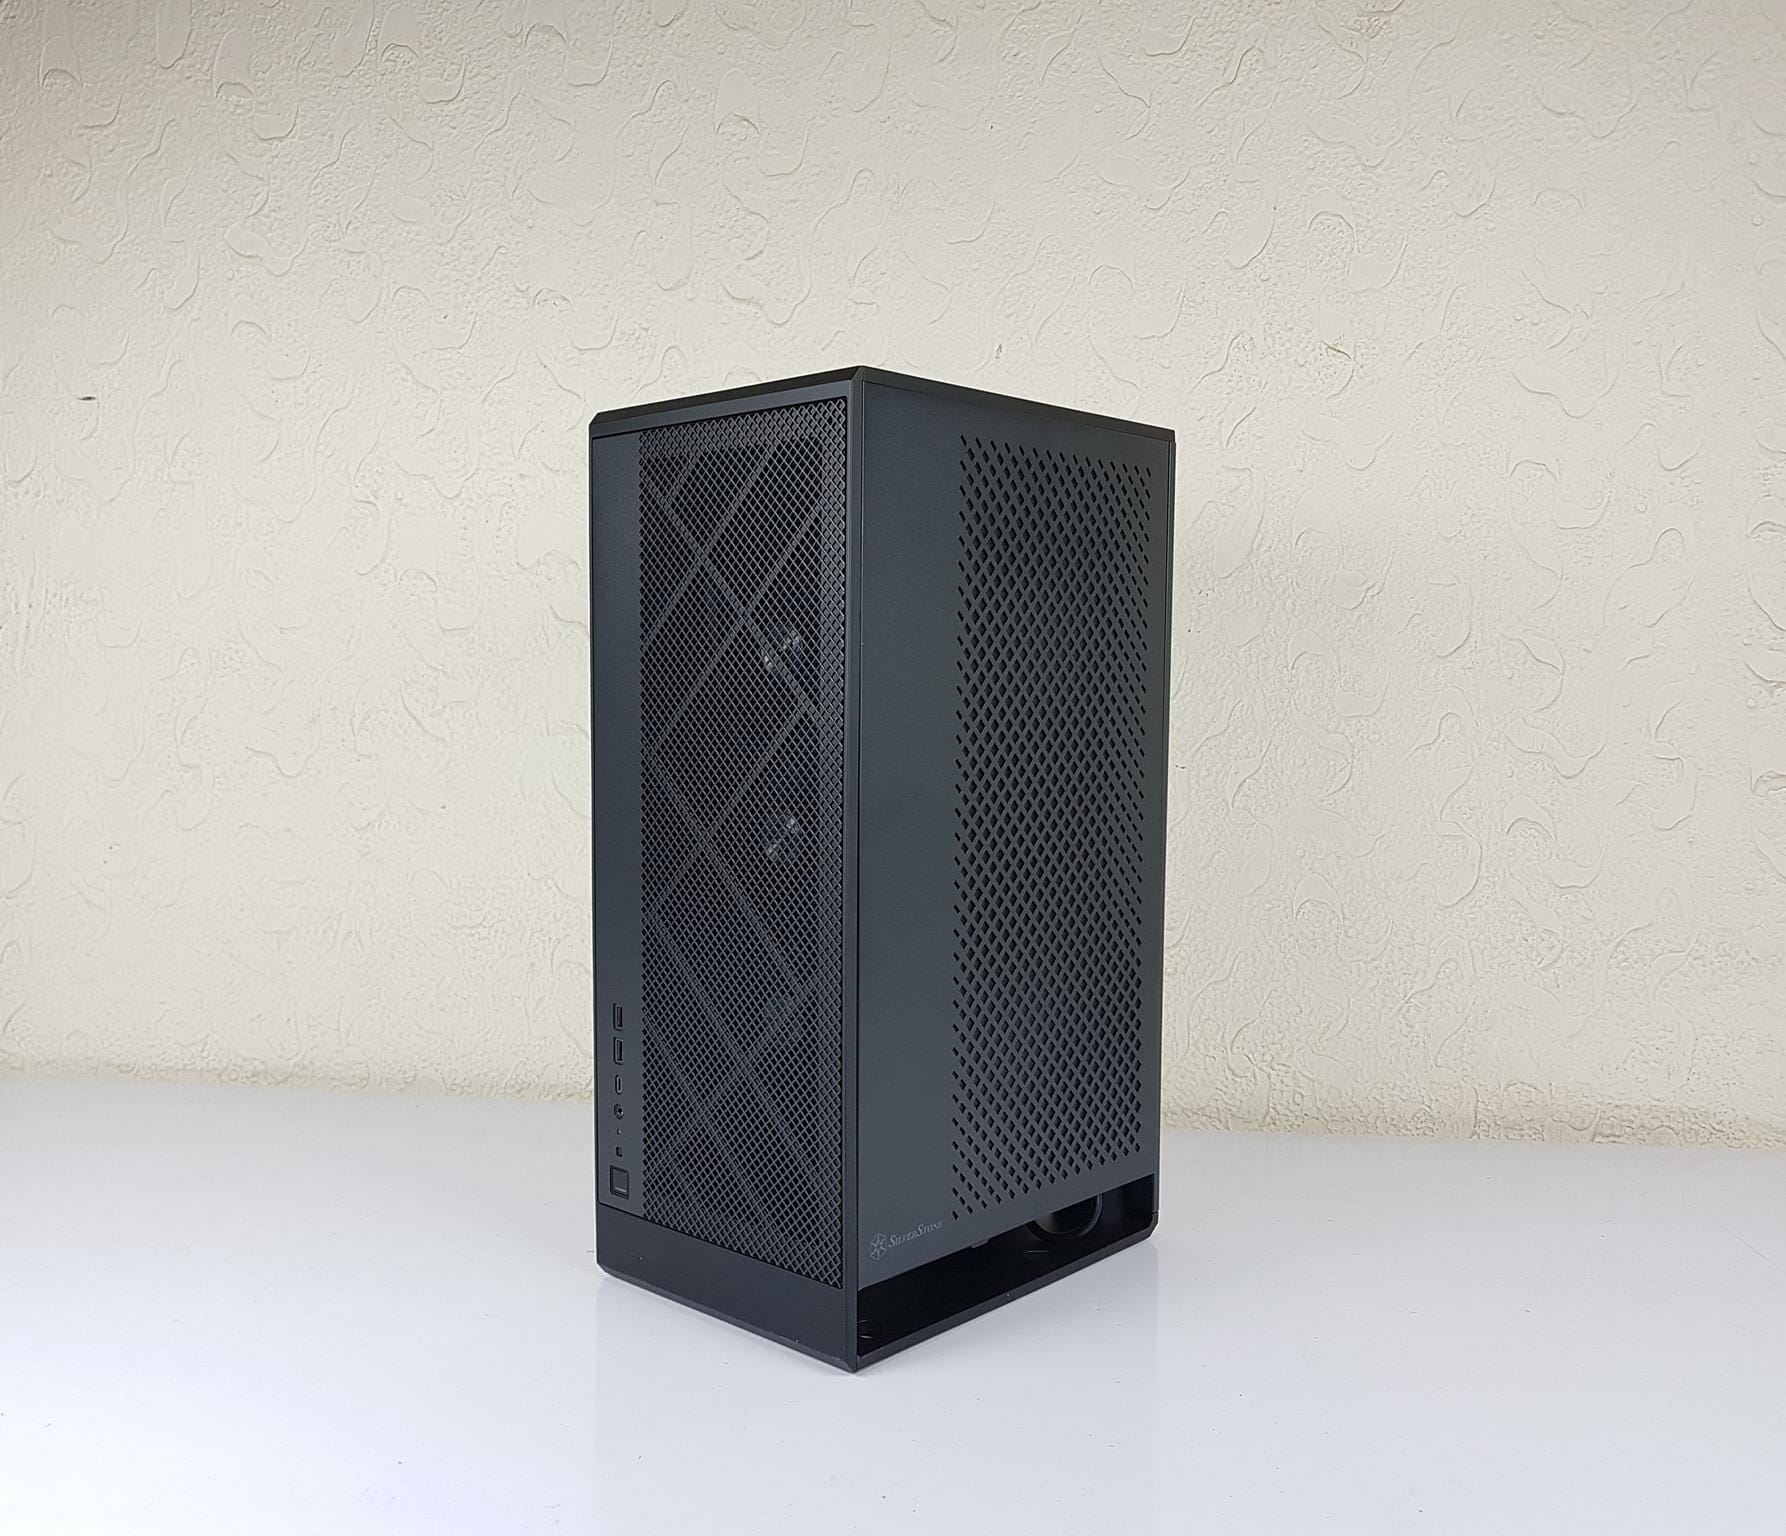
SilverStone has recently launched the new PC Case in mATX/mini-ITX segment named ALTA G1M. This case is available in white and black colors. The case competes in the cylindrical style design-build on the stack effect taking on the footprint of Fortress FT03 but with refinements and more attention to the details. The Fortress FT03 has a size of 235×284=667mm² whereas the ALTA G1M has a size 200×307=614mm². The case has an MSRP of $169.99 for the black edition and $179.99 for the white edition. The salient features include:
- Micro-ATX tower with stack effect design
- Supports 360mm radiator
- Super small footprint design with no visible cabling on four sides
- Stack effect layout with 90-degree motherboard layout
- Mandatory cable routing design
- Supports graphics cards up to 355mm
- Includes 1 x 180mm Air Penetrator fan to aid stack effect cooling
Specifications
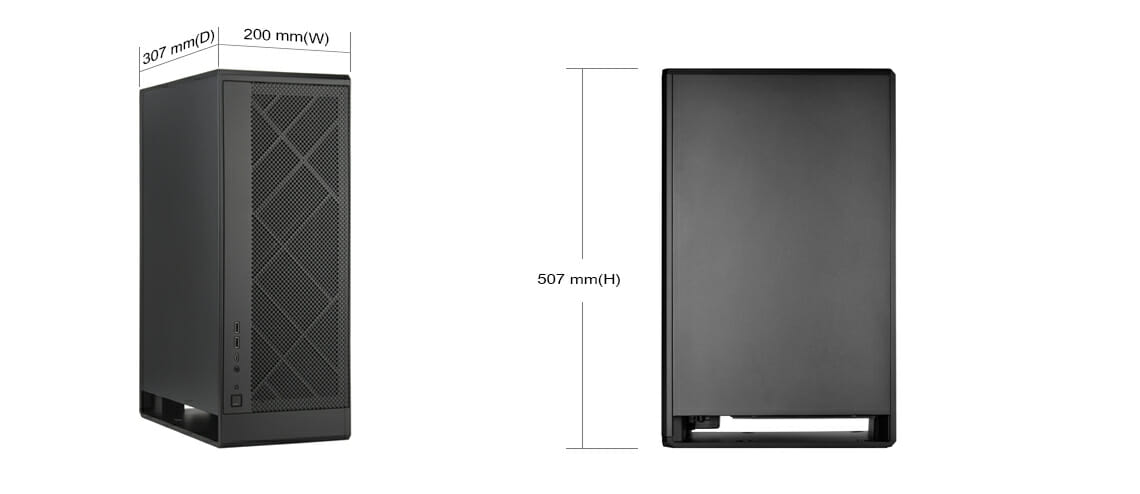
Dimensions
Packaging and Contents
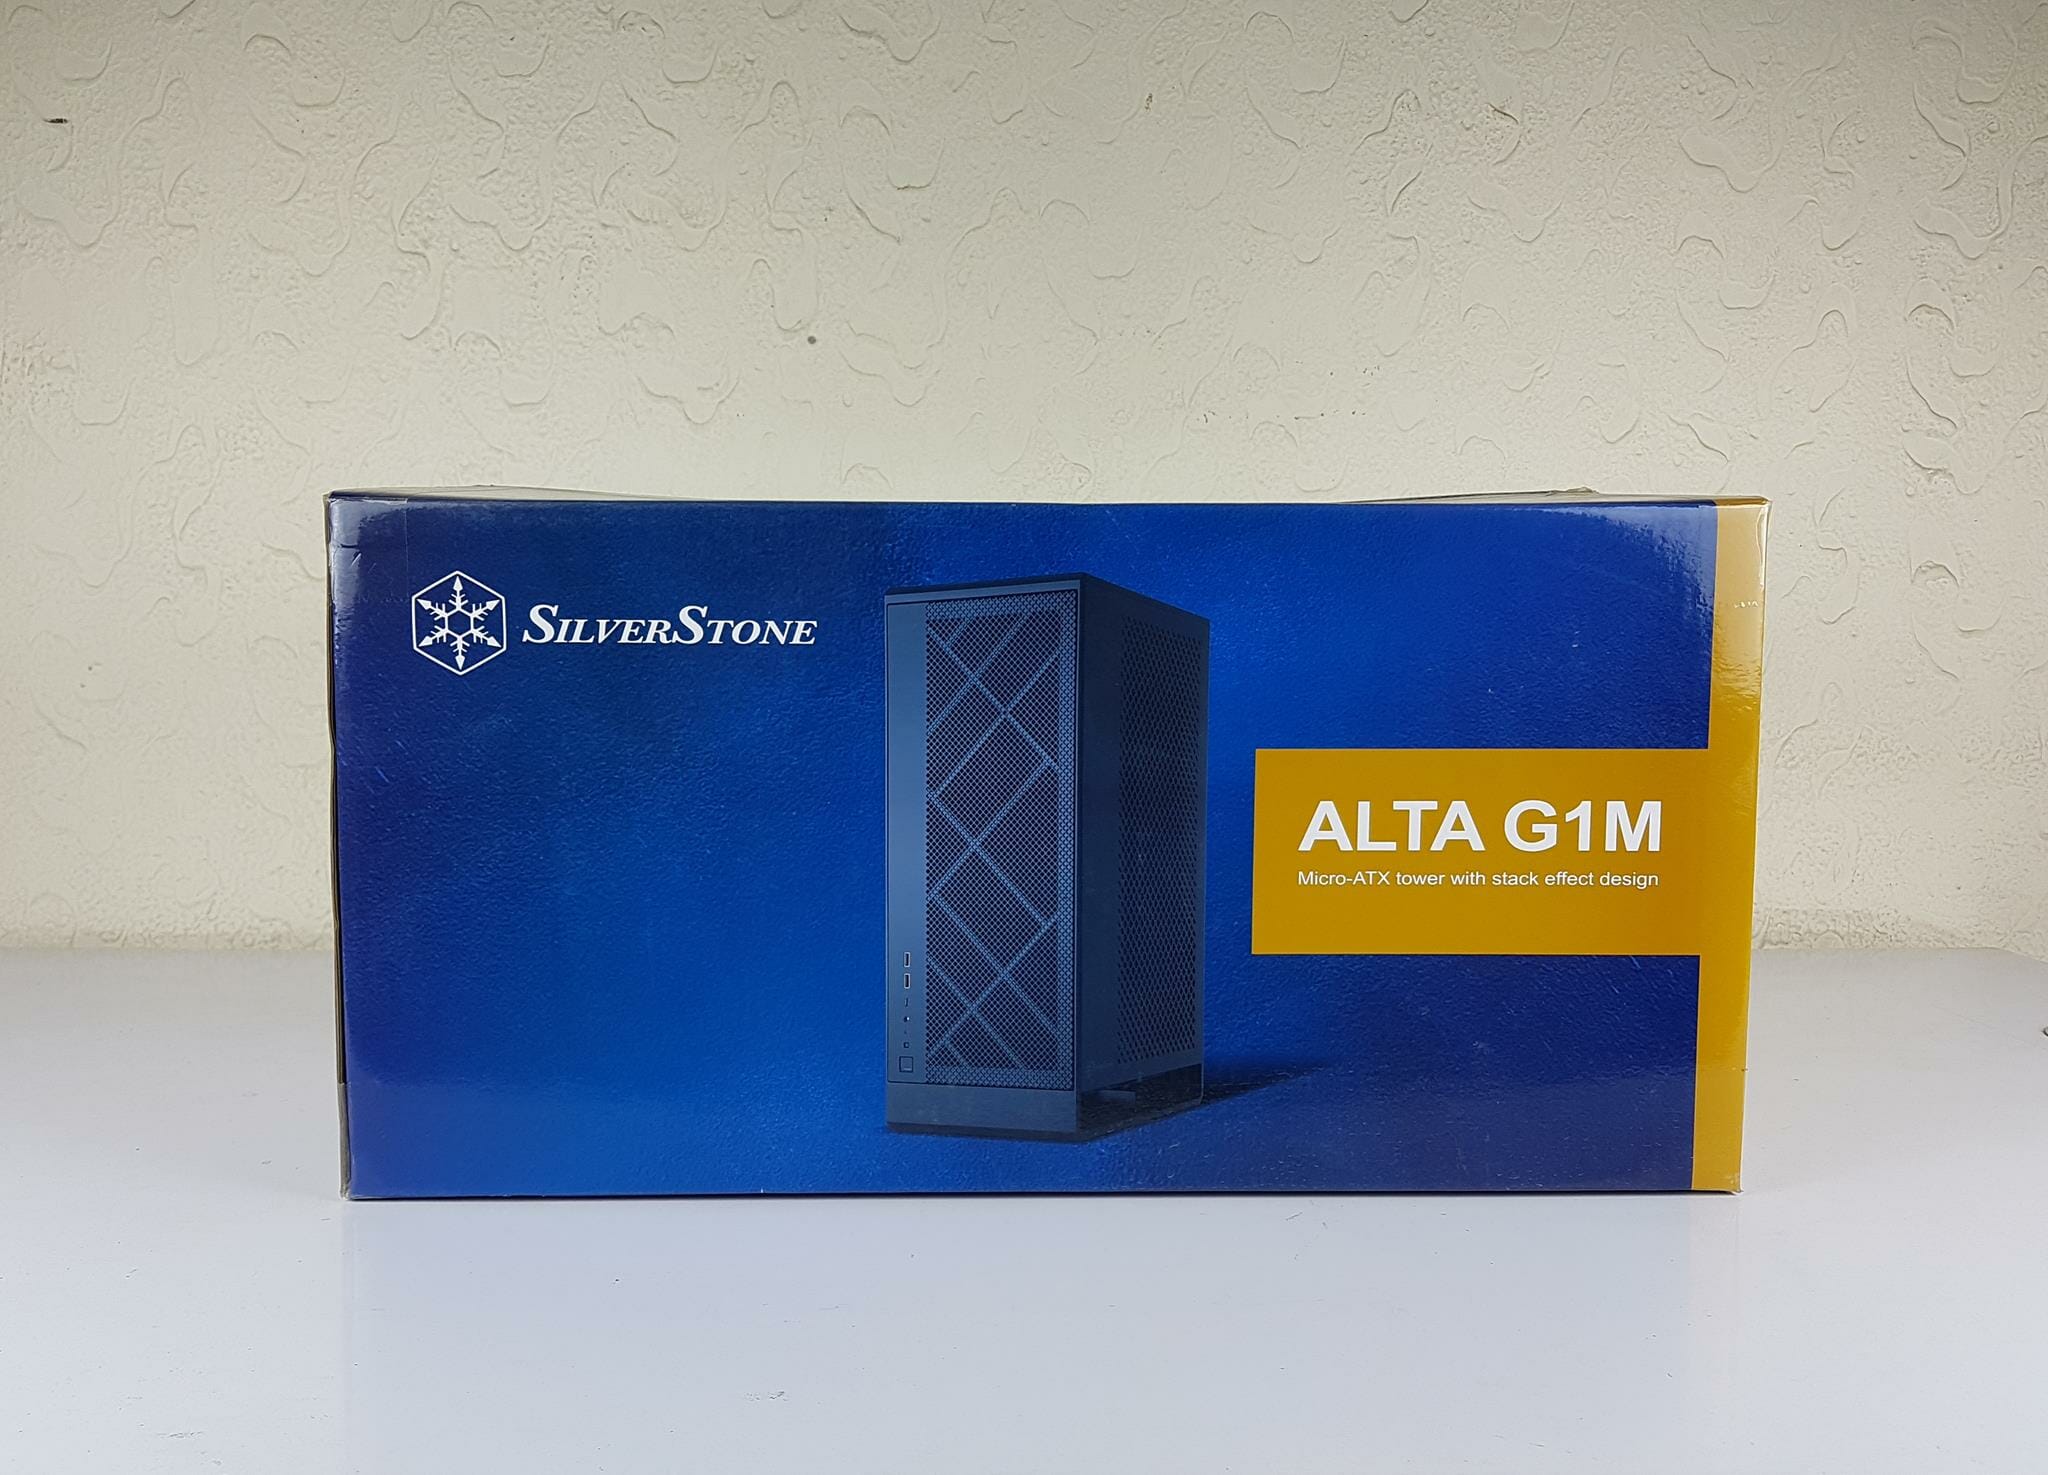
The chassis is shipped inside a cardboard box. I like the color scheme on the packing box. SilverStone is using the same box for color variants.
The ALTA G1M is a micro-ATX tower with a stack effect design.
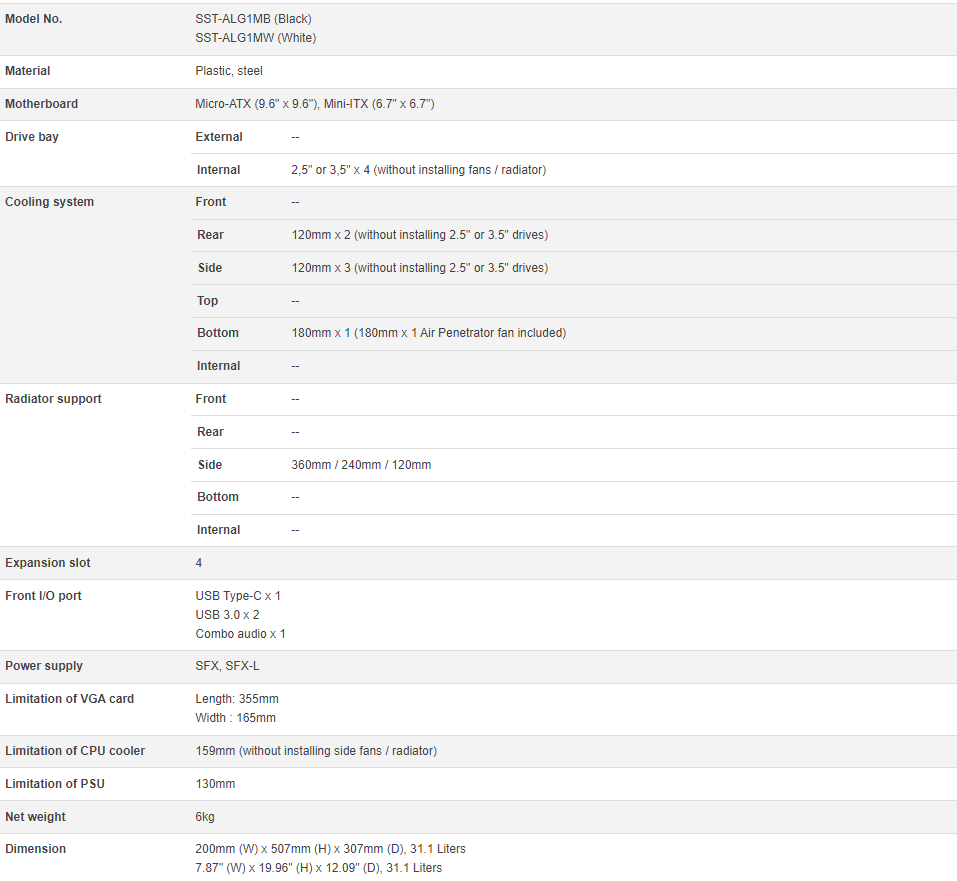
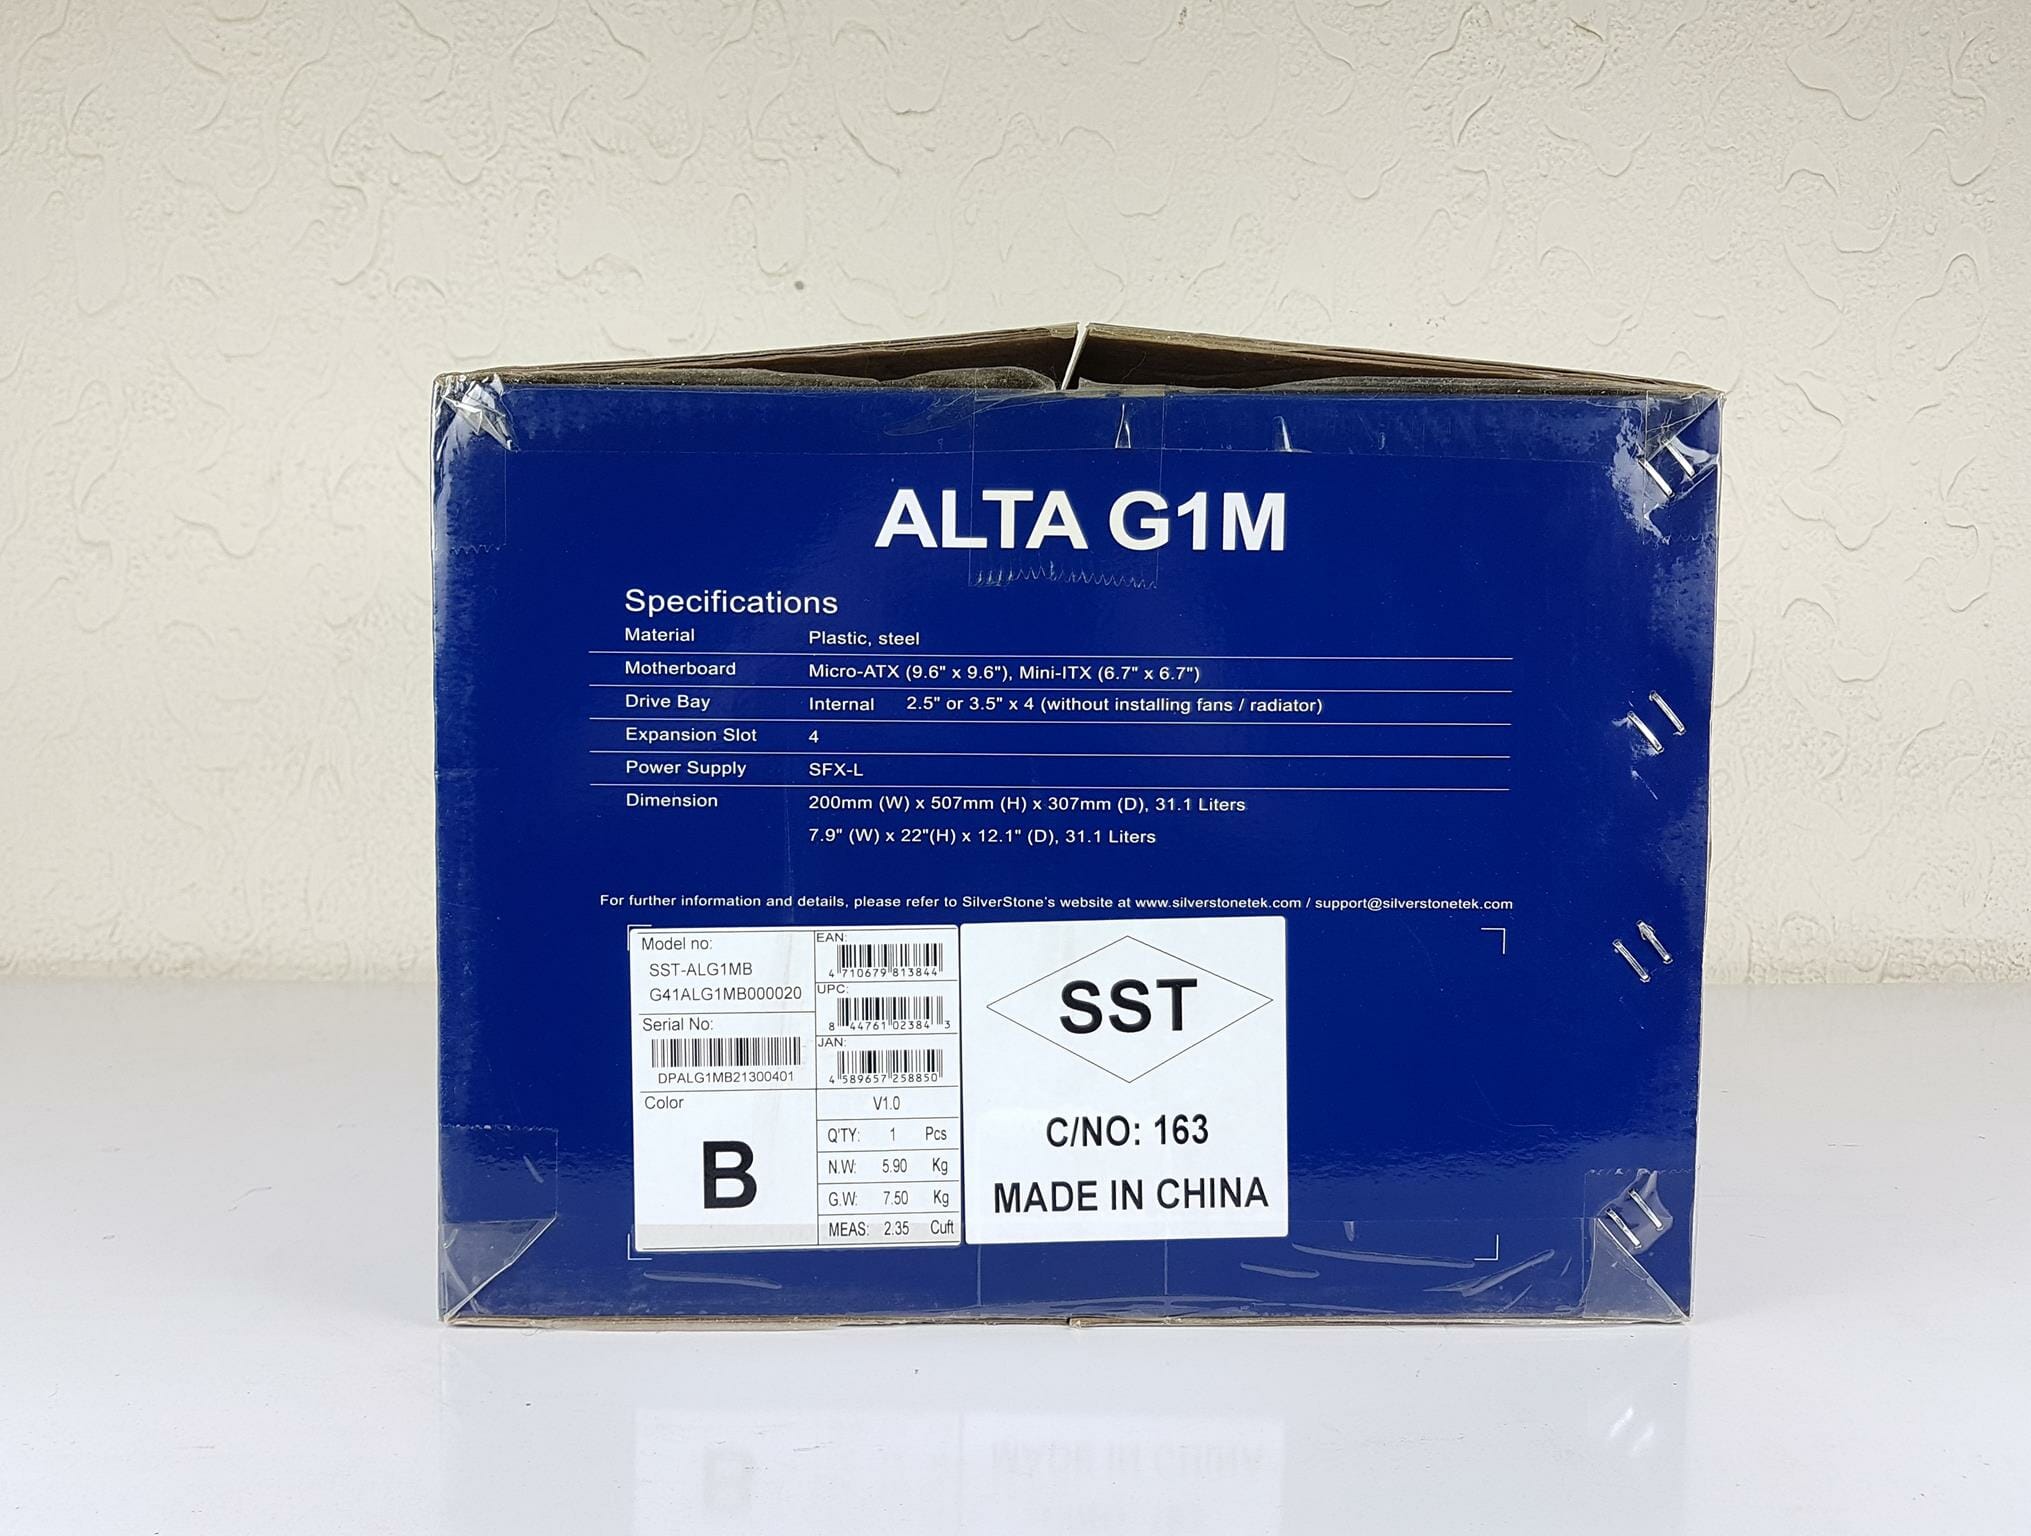
Salient specifications are printed over here.
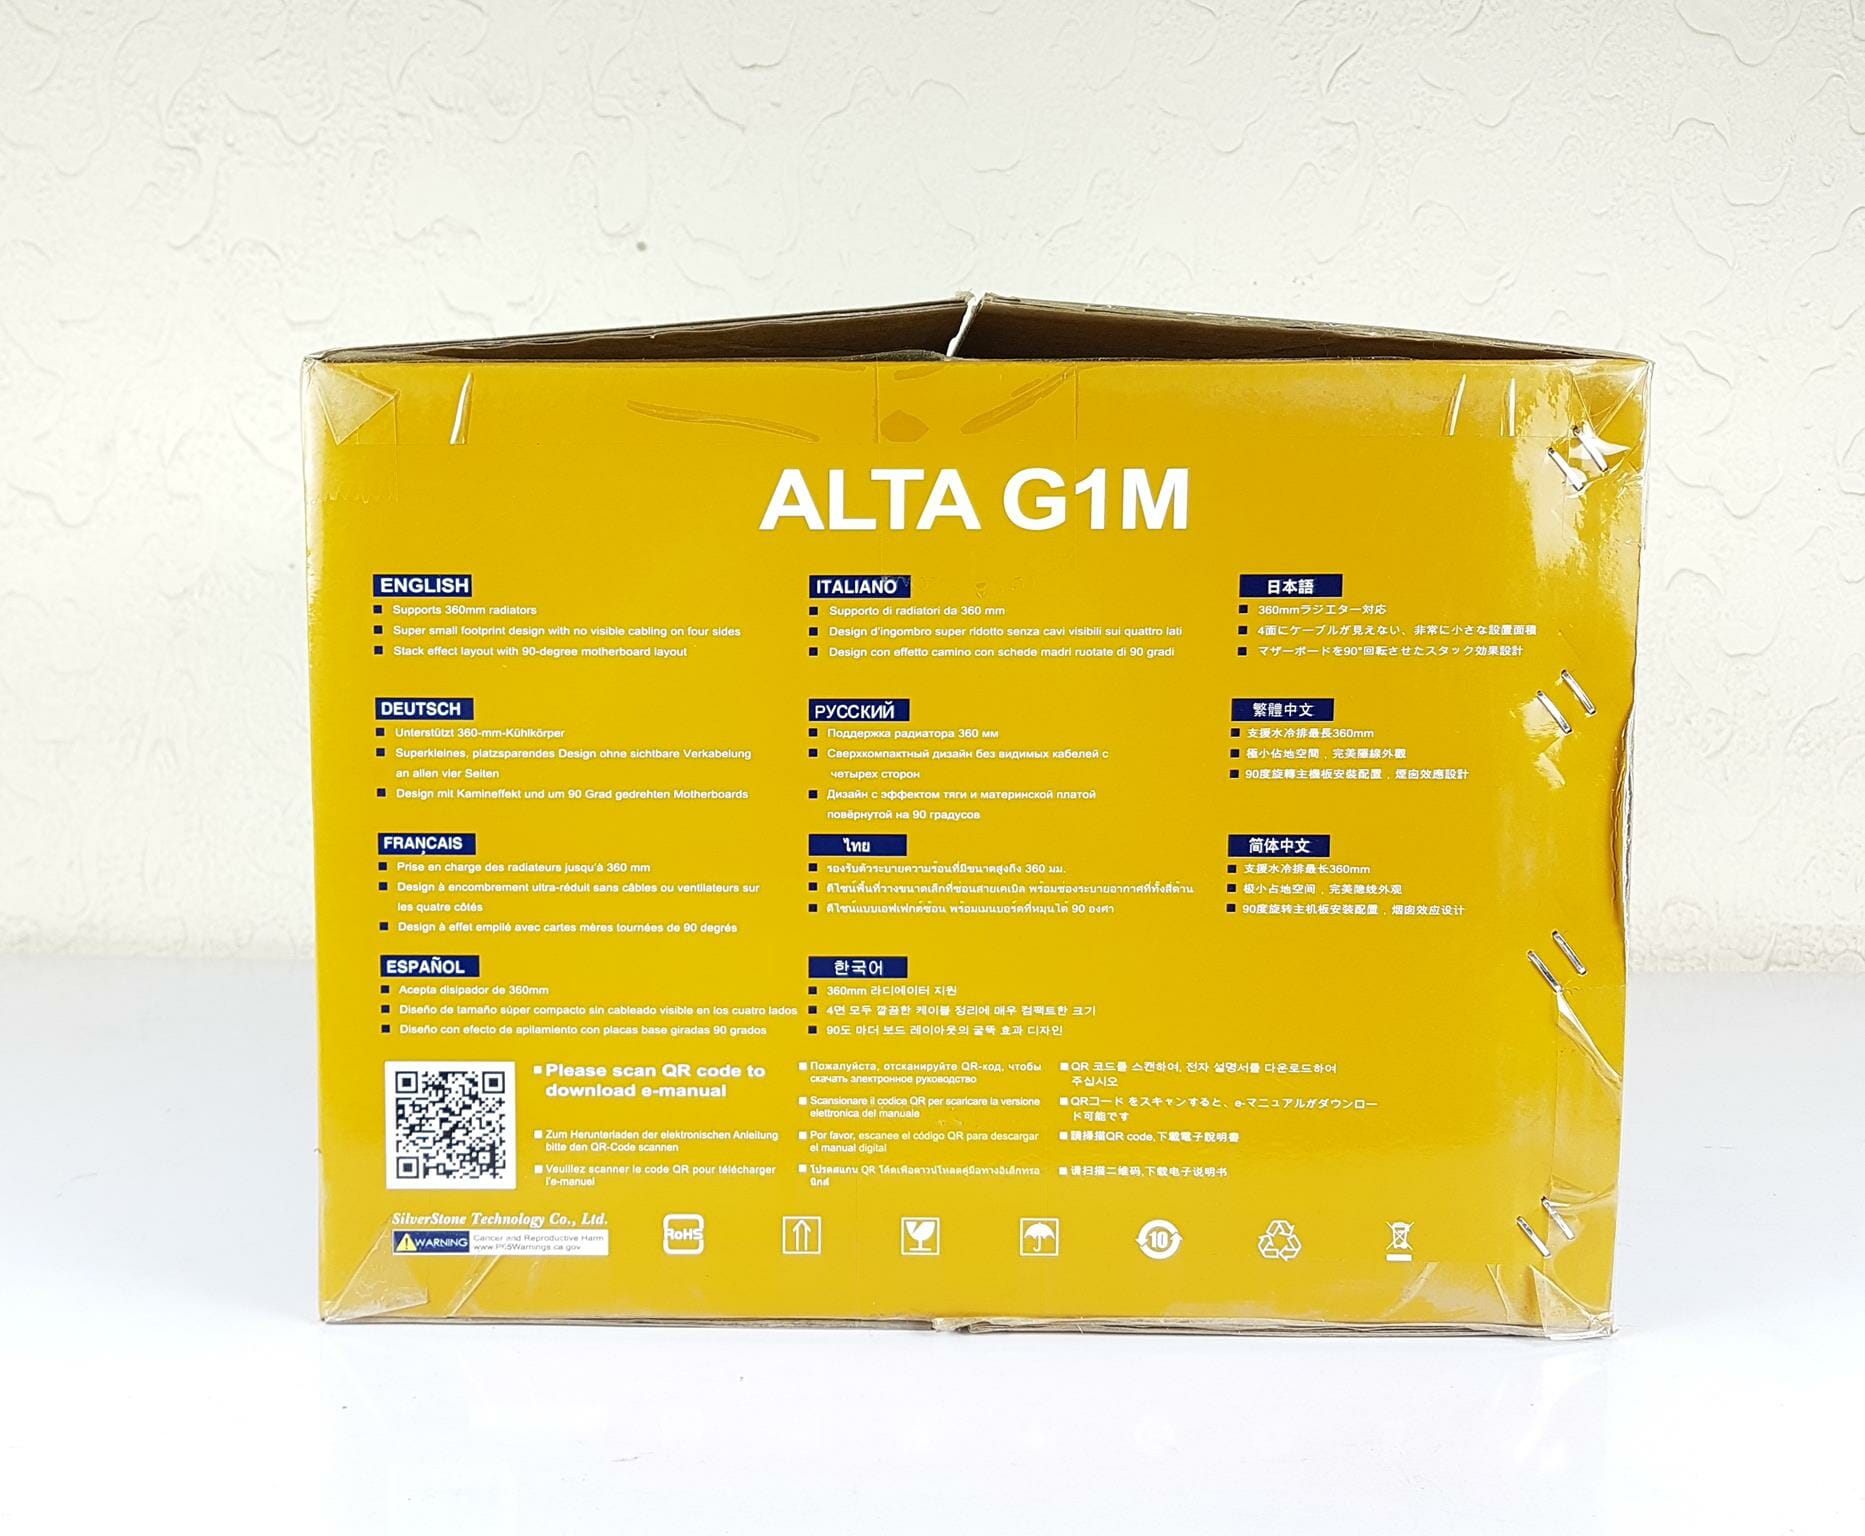
The salient features of the case are printed in 11 languages.
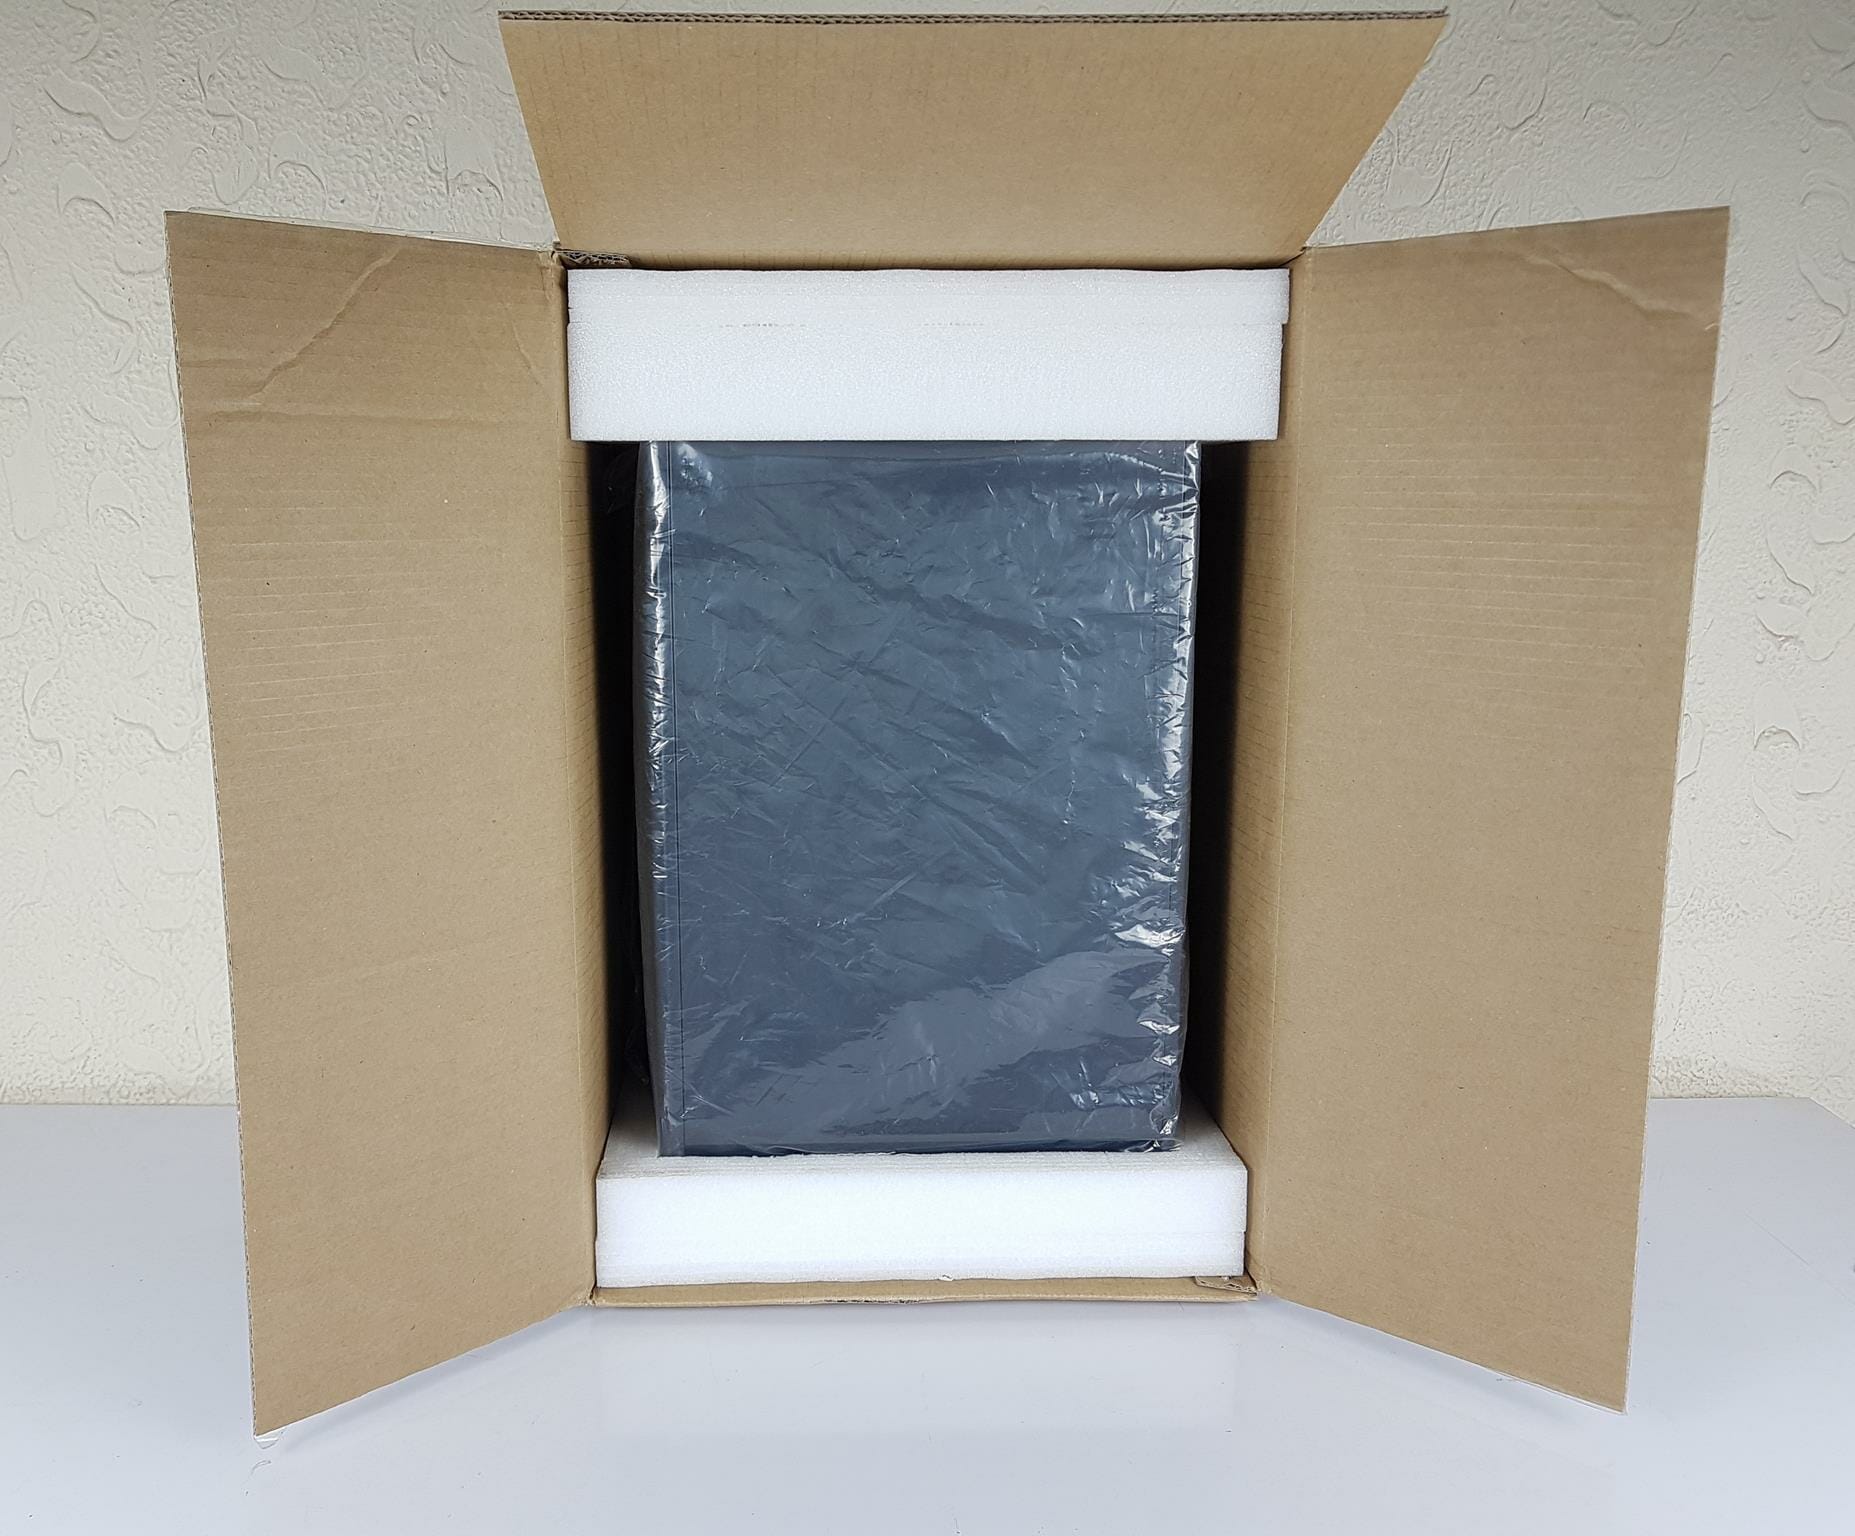
The case is tucked between two white color Styrofoam pads.
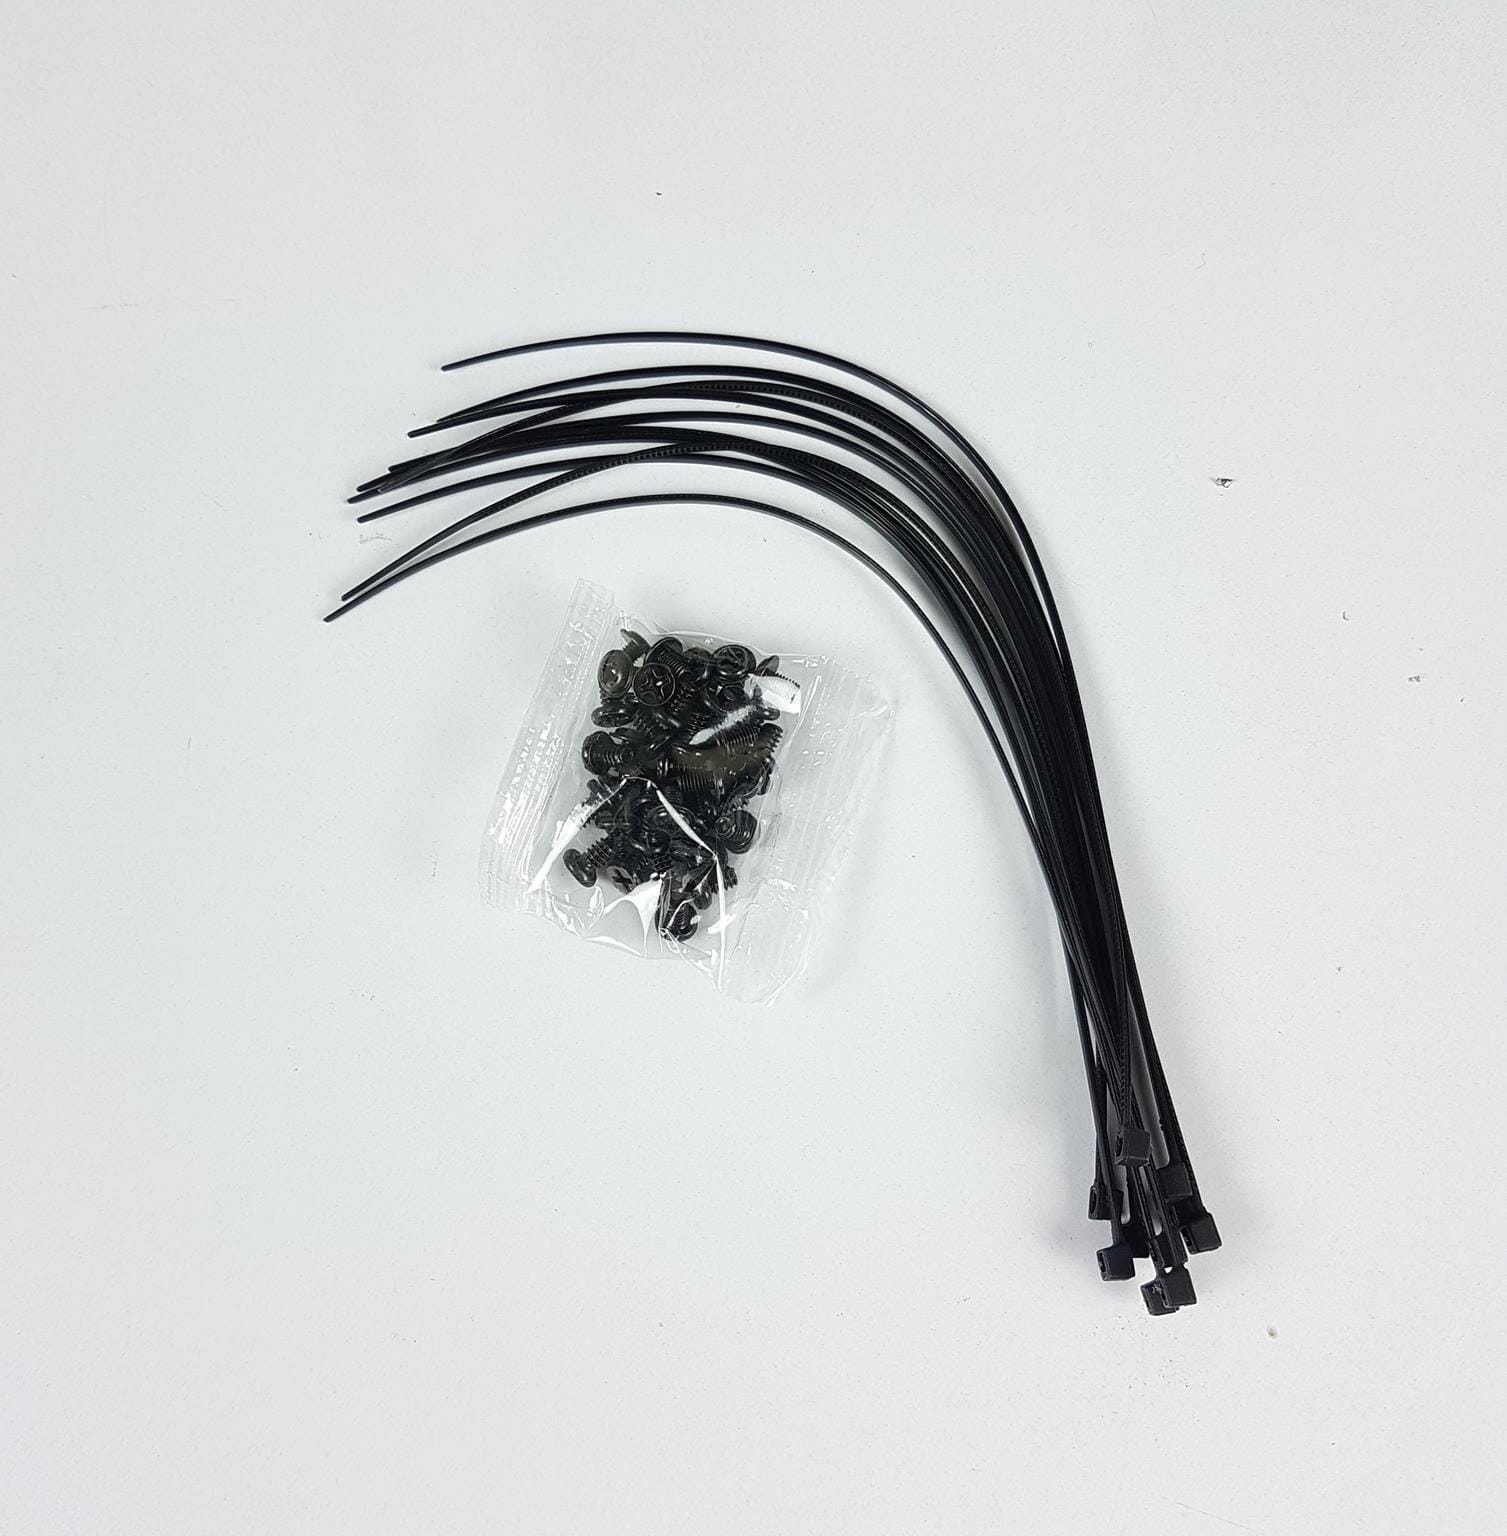
SilverStone has provided various screws and plenty of cable ties in the transparent container.
Closer Look
It is time to take a closer look at the chassis and see what it offers in this price range. The dimension of the case is 200x507x307mm (WxHxD). The case is made of steel and plastic material. The net weight of the chassis is 6KG. If I remember correctly the FARA R1 has a net weight of 5KG. In terms of volume, this case has 31.1 Liters. The case is compact but has more height to it. This is done with 90° mounting of the motherboard and resultantly all other components like the graphics card are also installed at the same angle. One peculiar thing about the G1M is the modular design. The user can remove all the four sides’ panels and the top cover to access the internals. In fact, the case is designed around this modular approach as we would need to remove these panels anyway.
We will the case side-wise in detail.
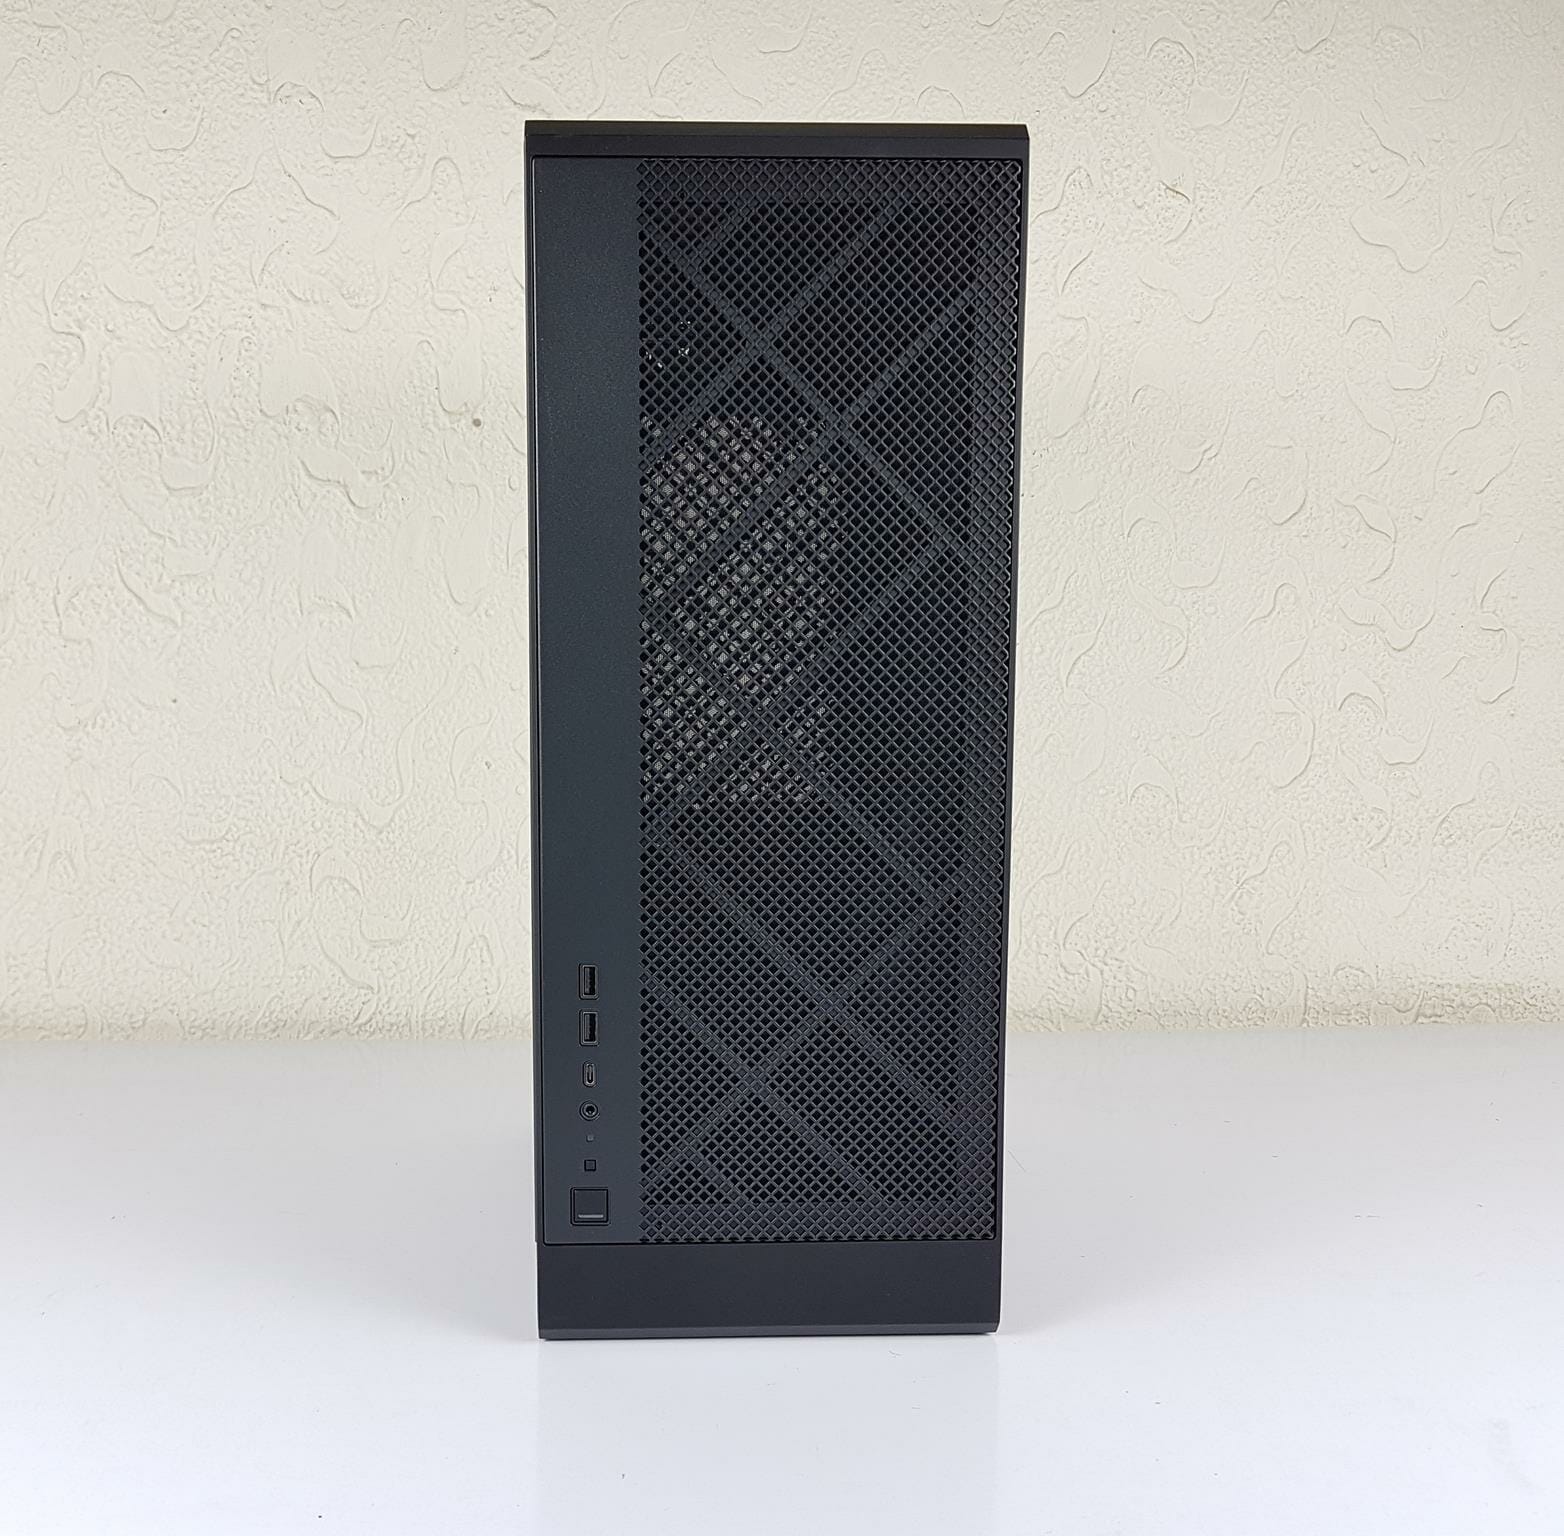
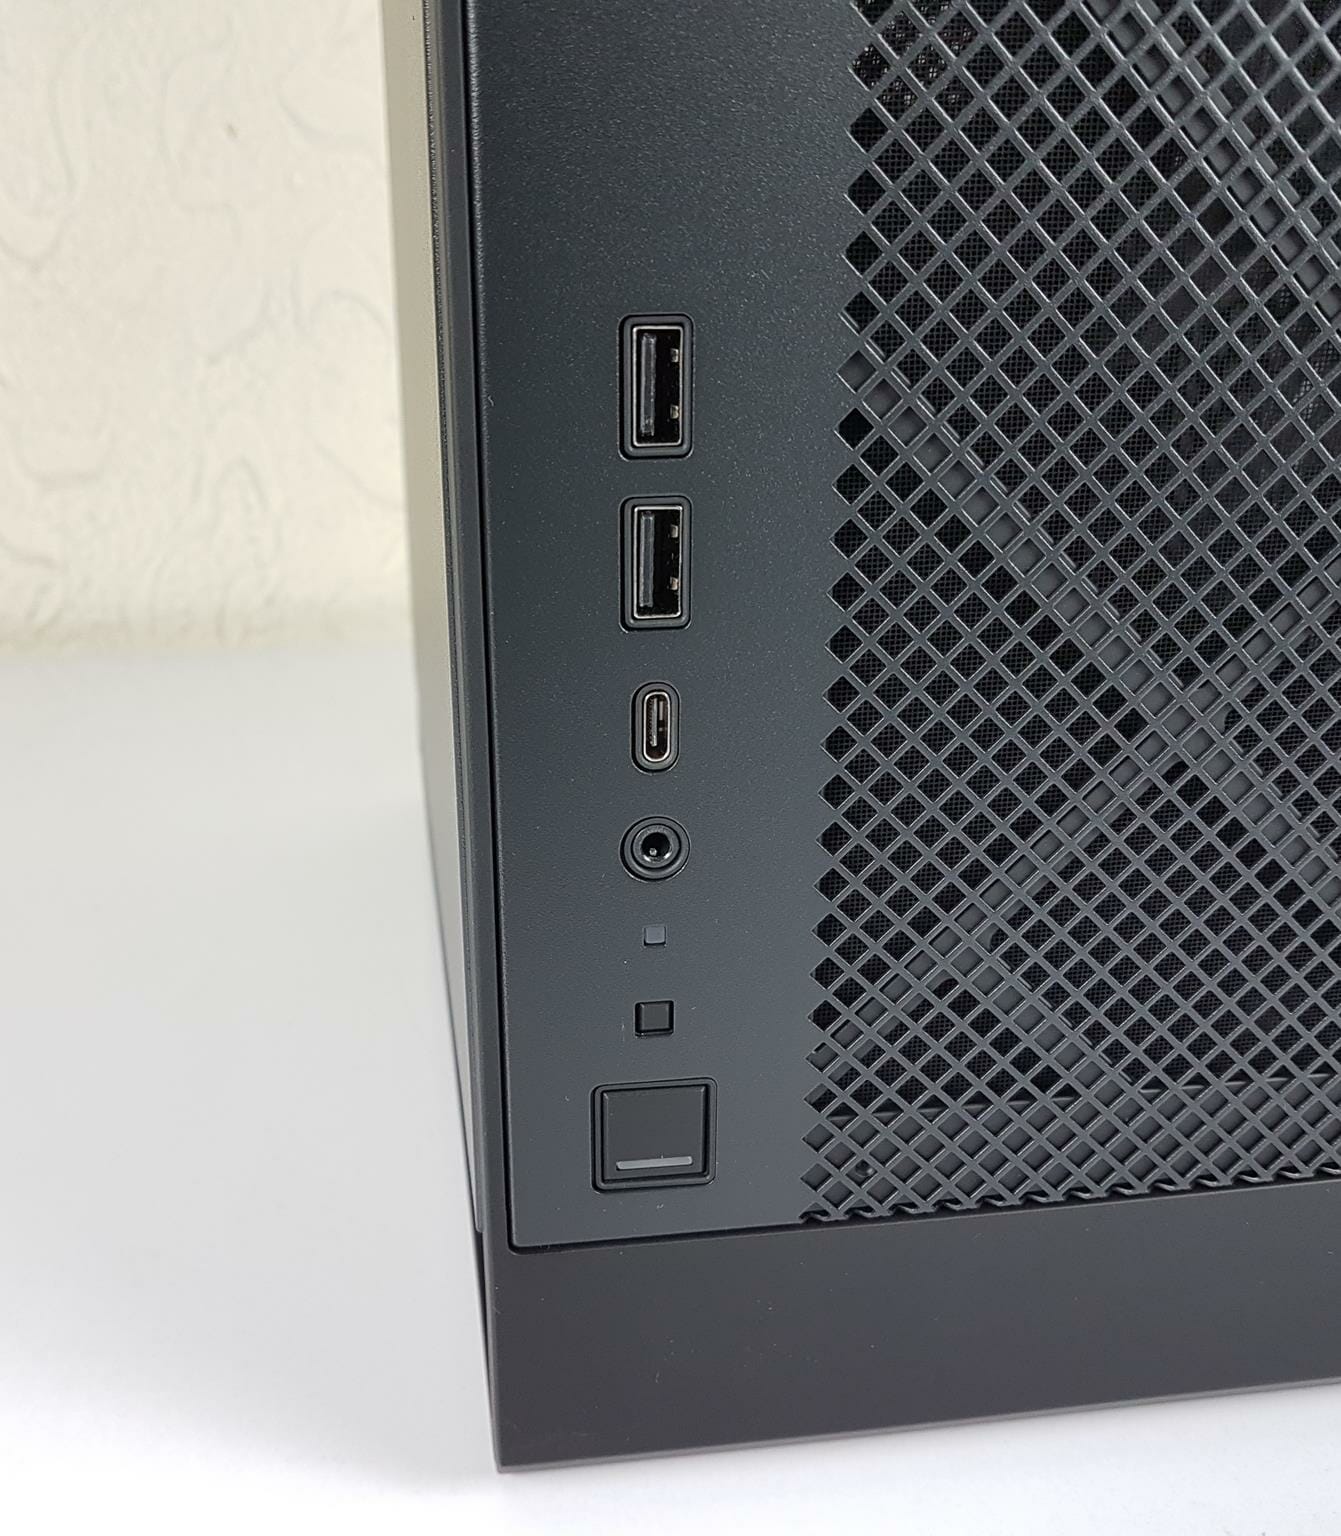
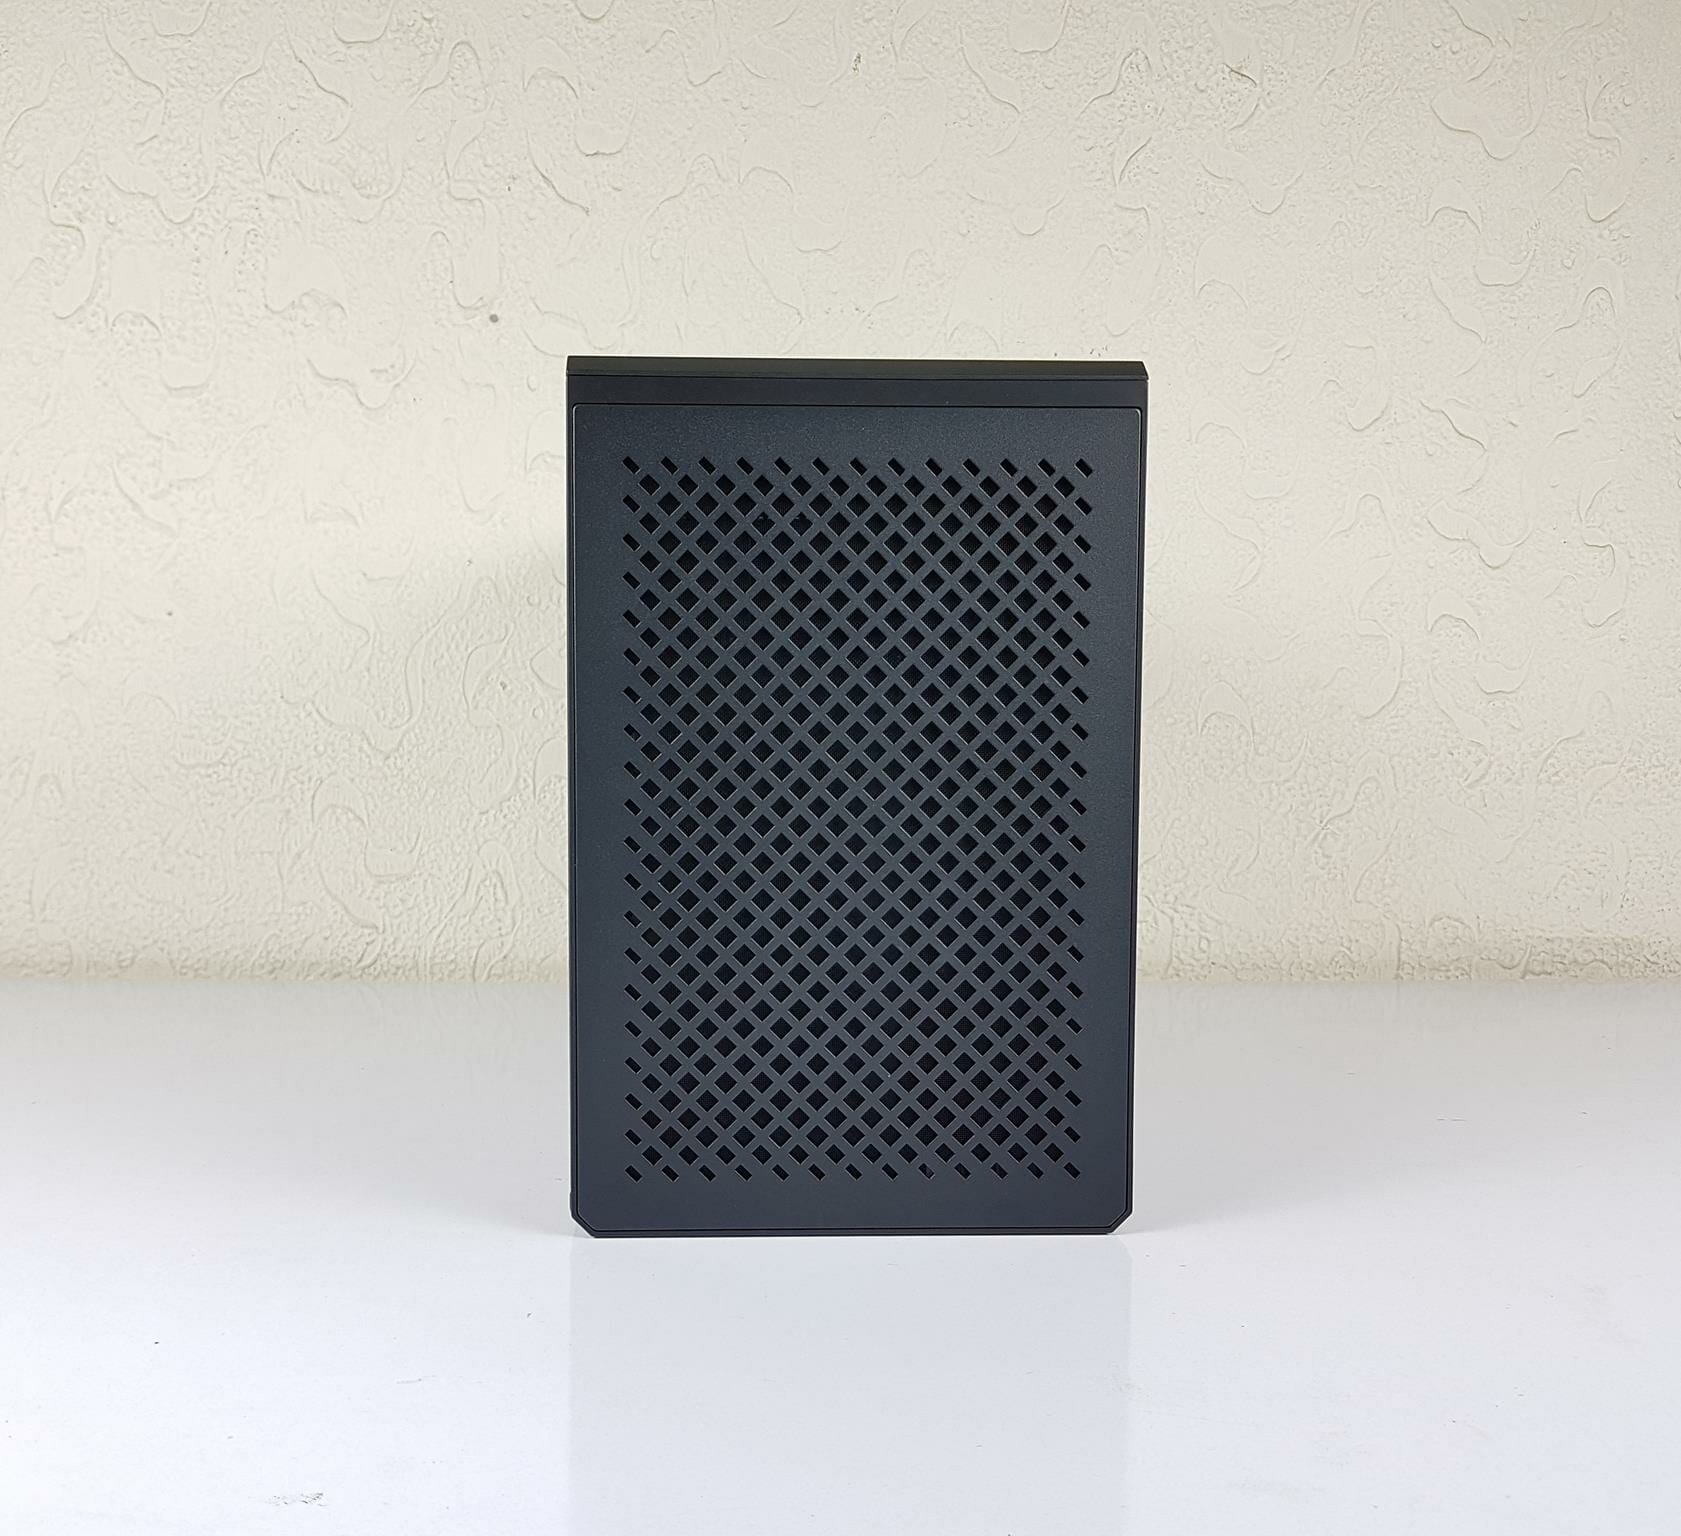
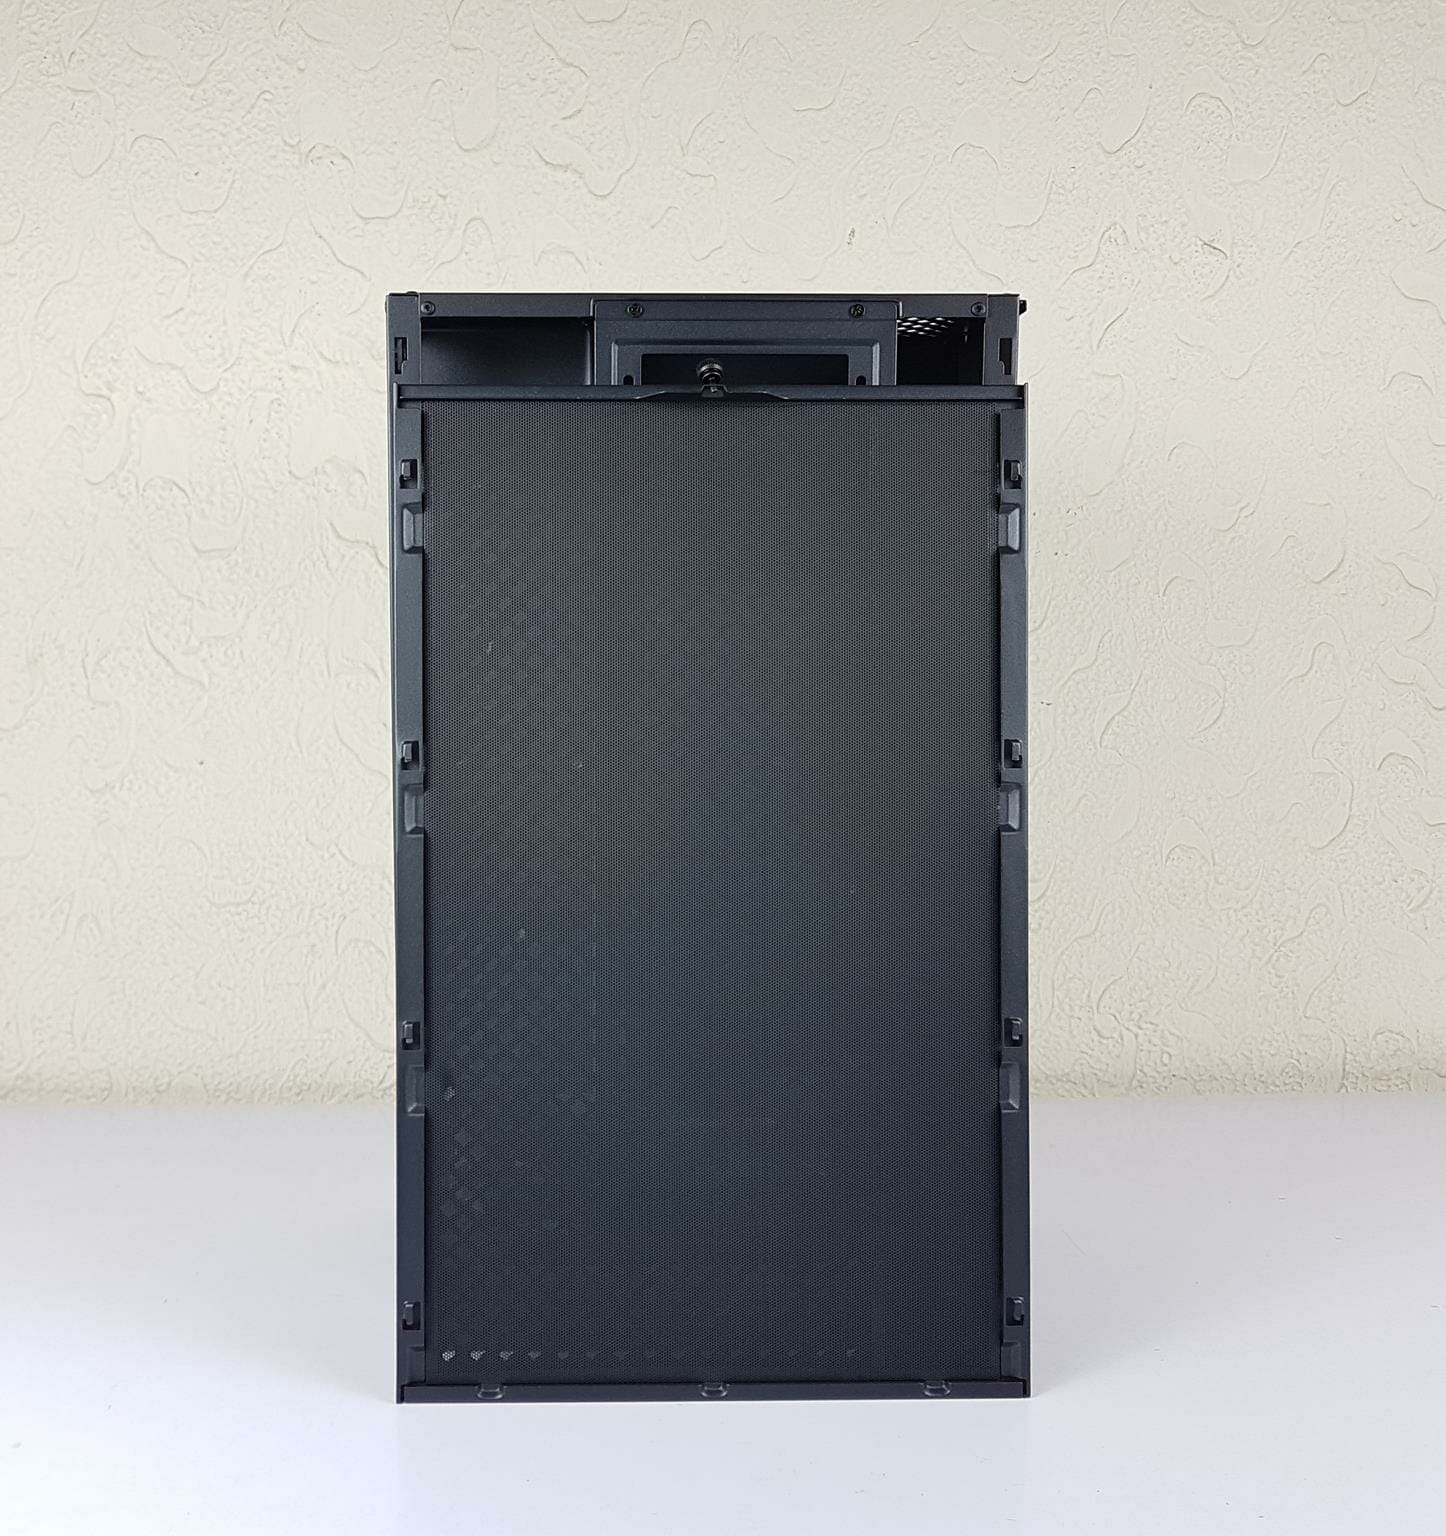
The front side of the case has a mesh design. The dust filter is on the backside of the mesh. The IO panel is conveniently placed towards the lower left side of the panel for easy access. The panel is made of plastic and is quite sturdy. There is no branding of any sort here.
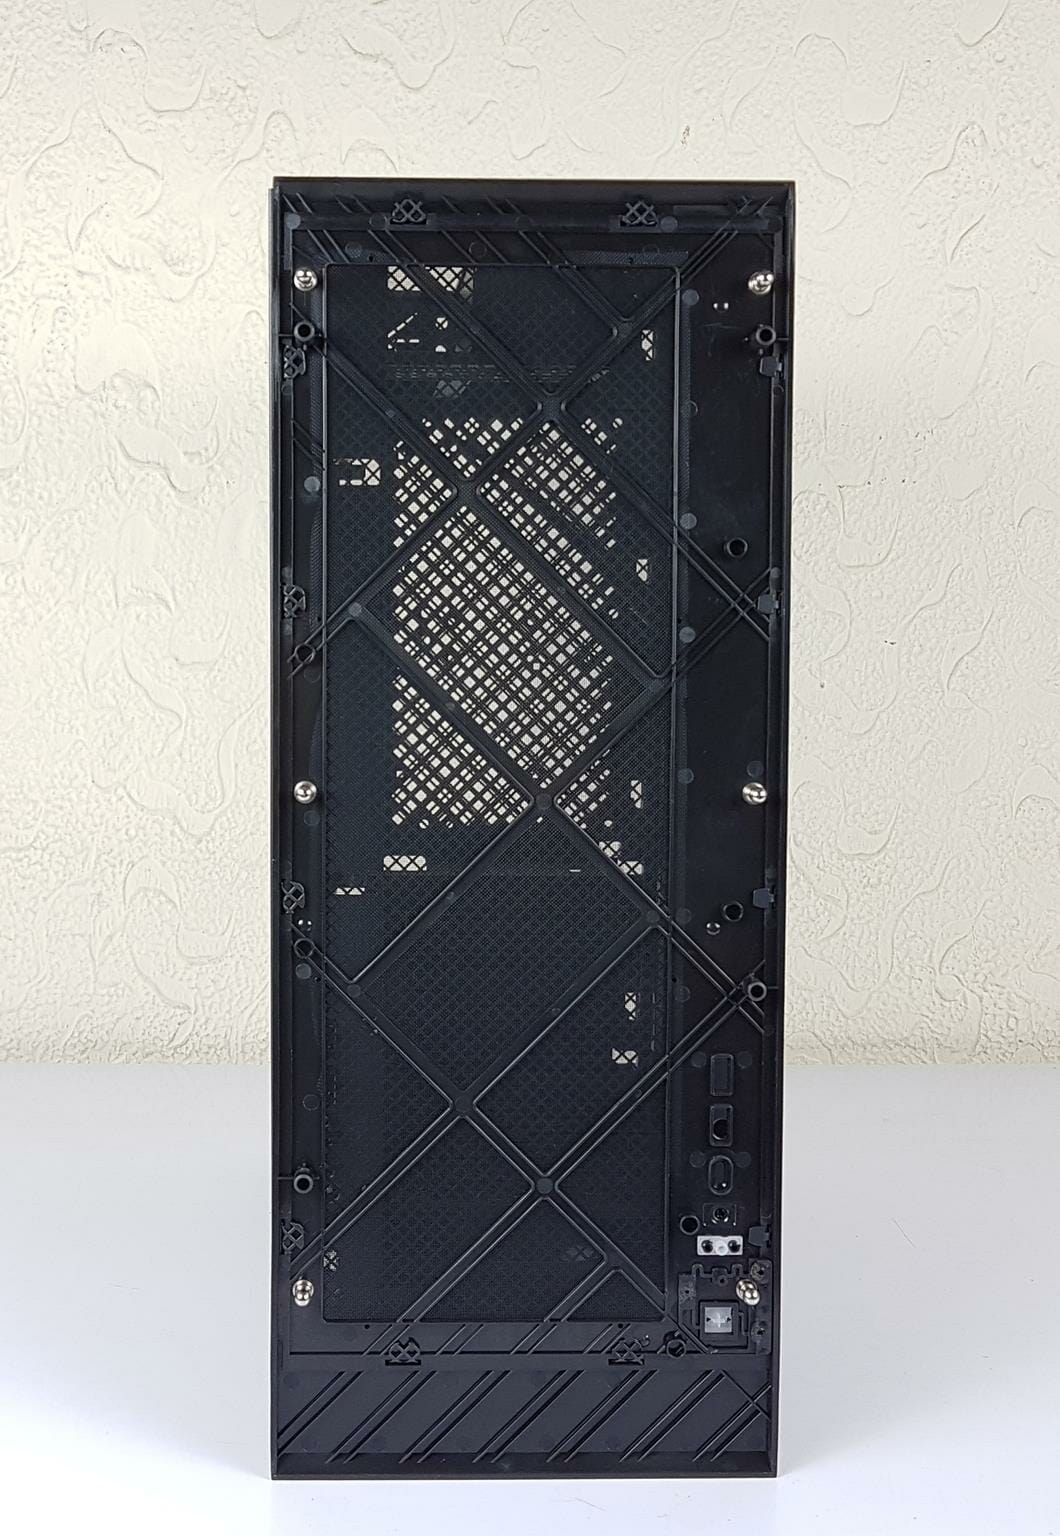
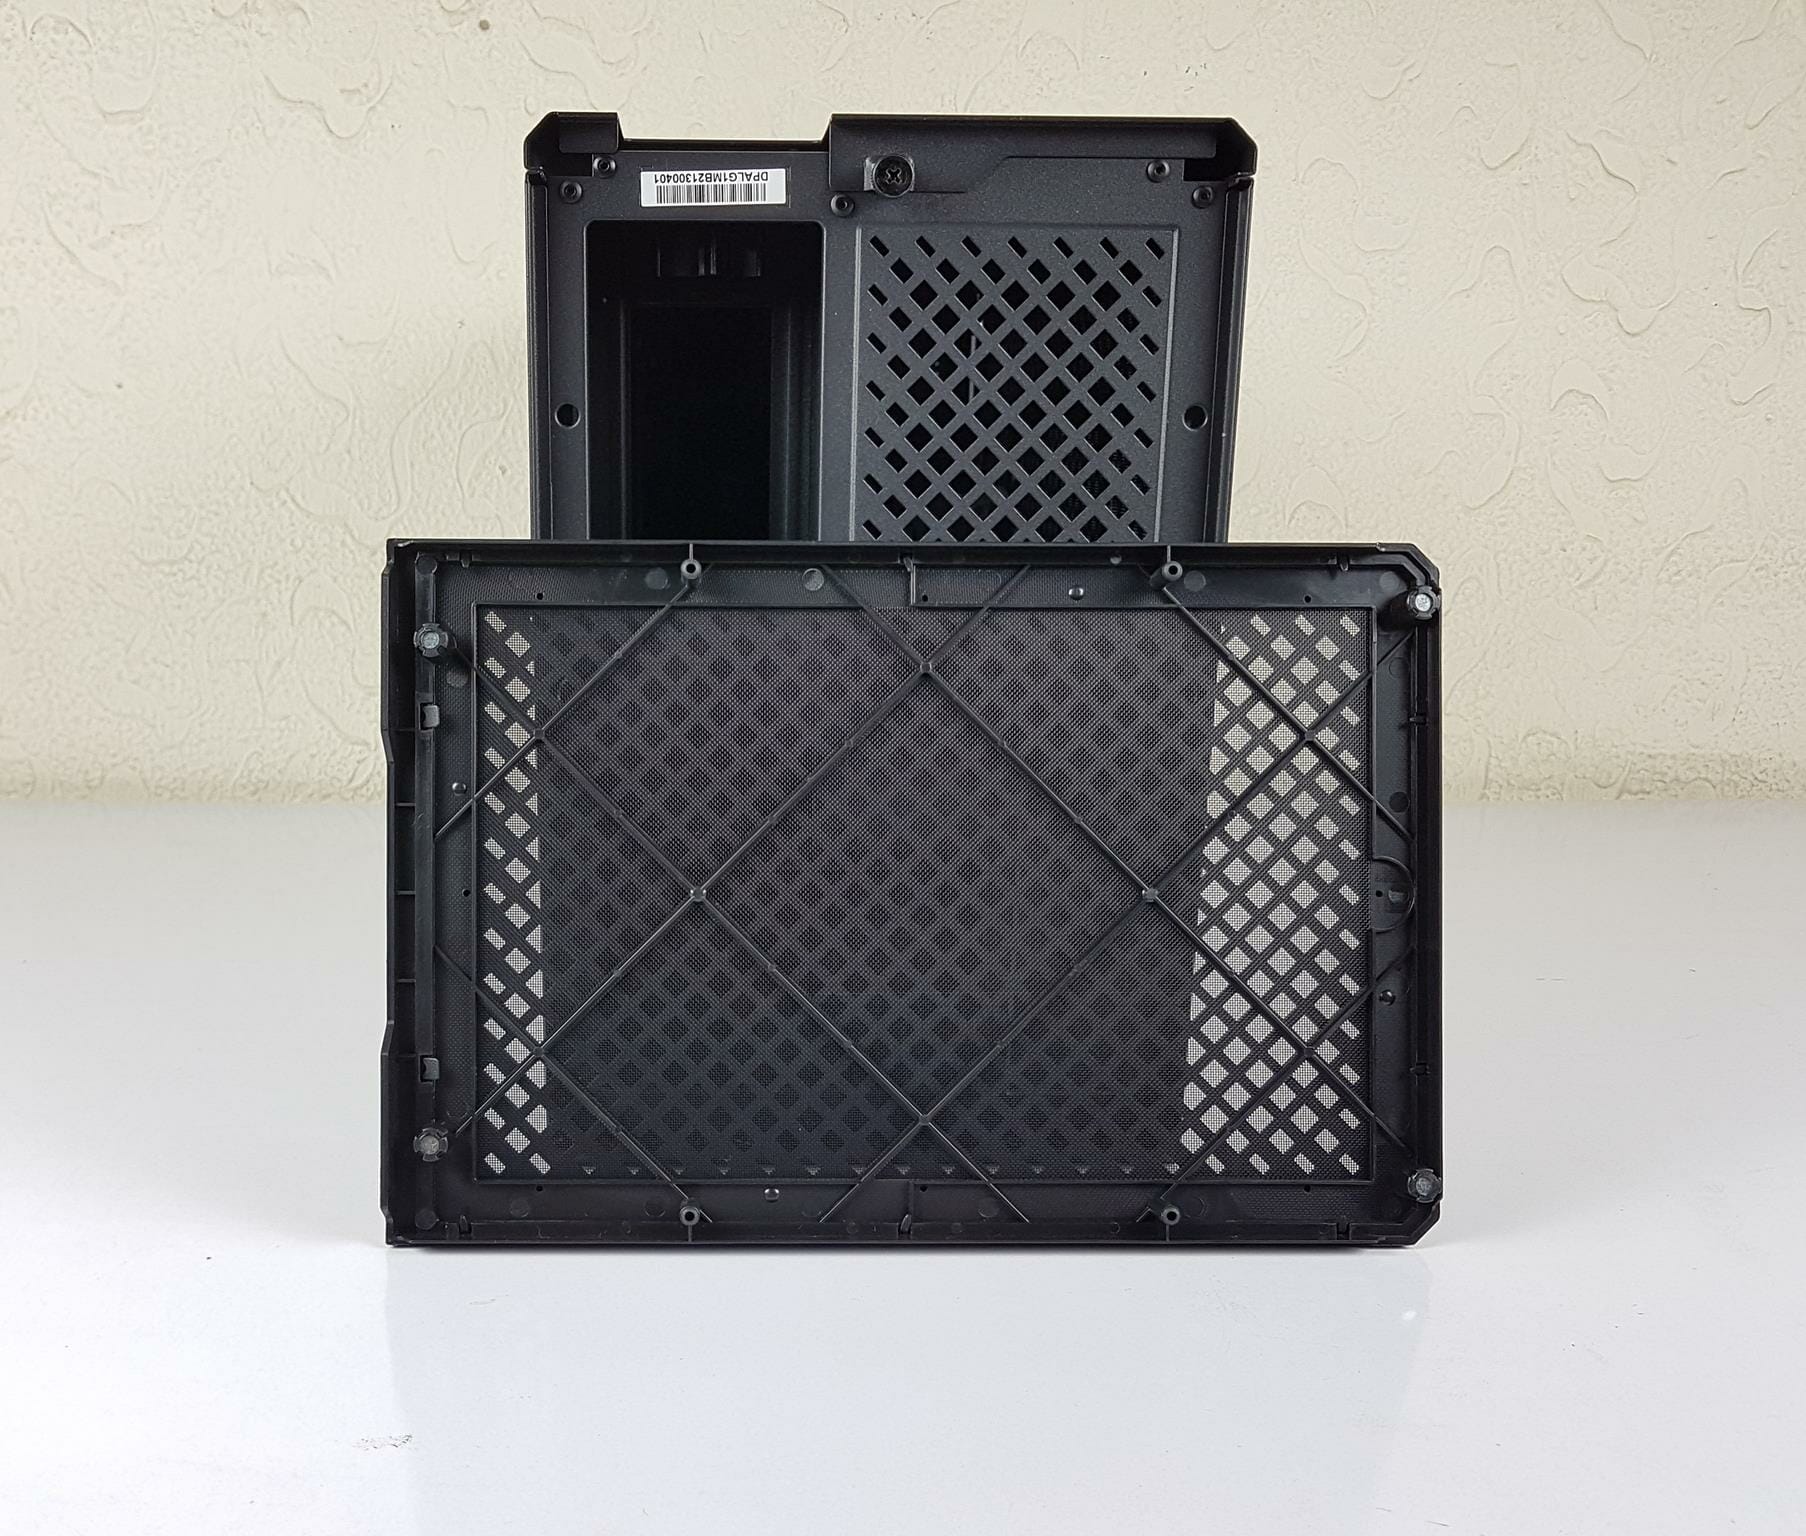
The above picture shows the backside of the front panel. Note that the dust filter is permanently attached to the panel and can’t be taken out. This would make the cleaning job a bit challenging.
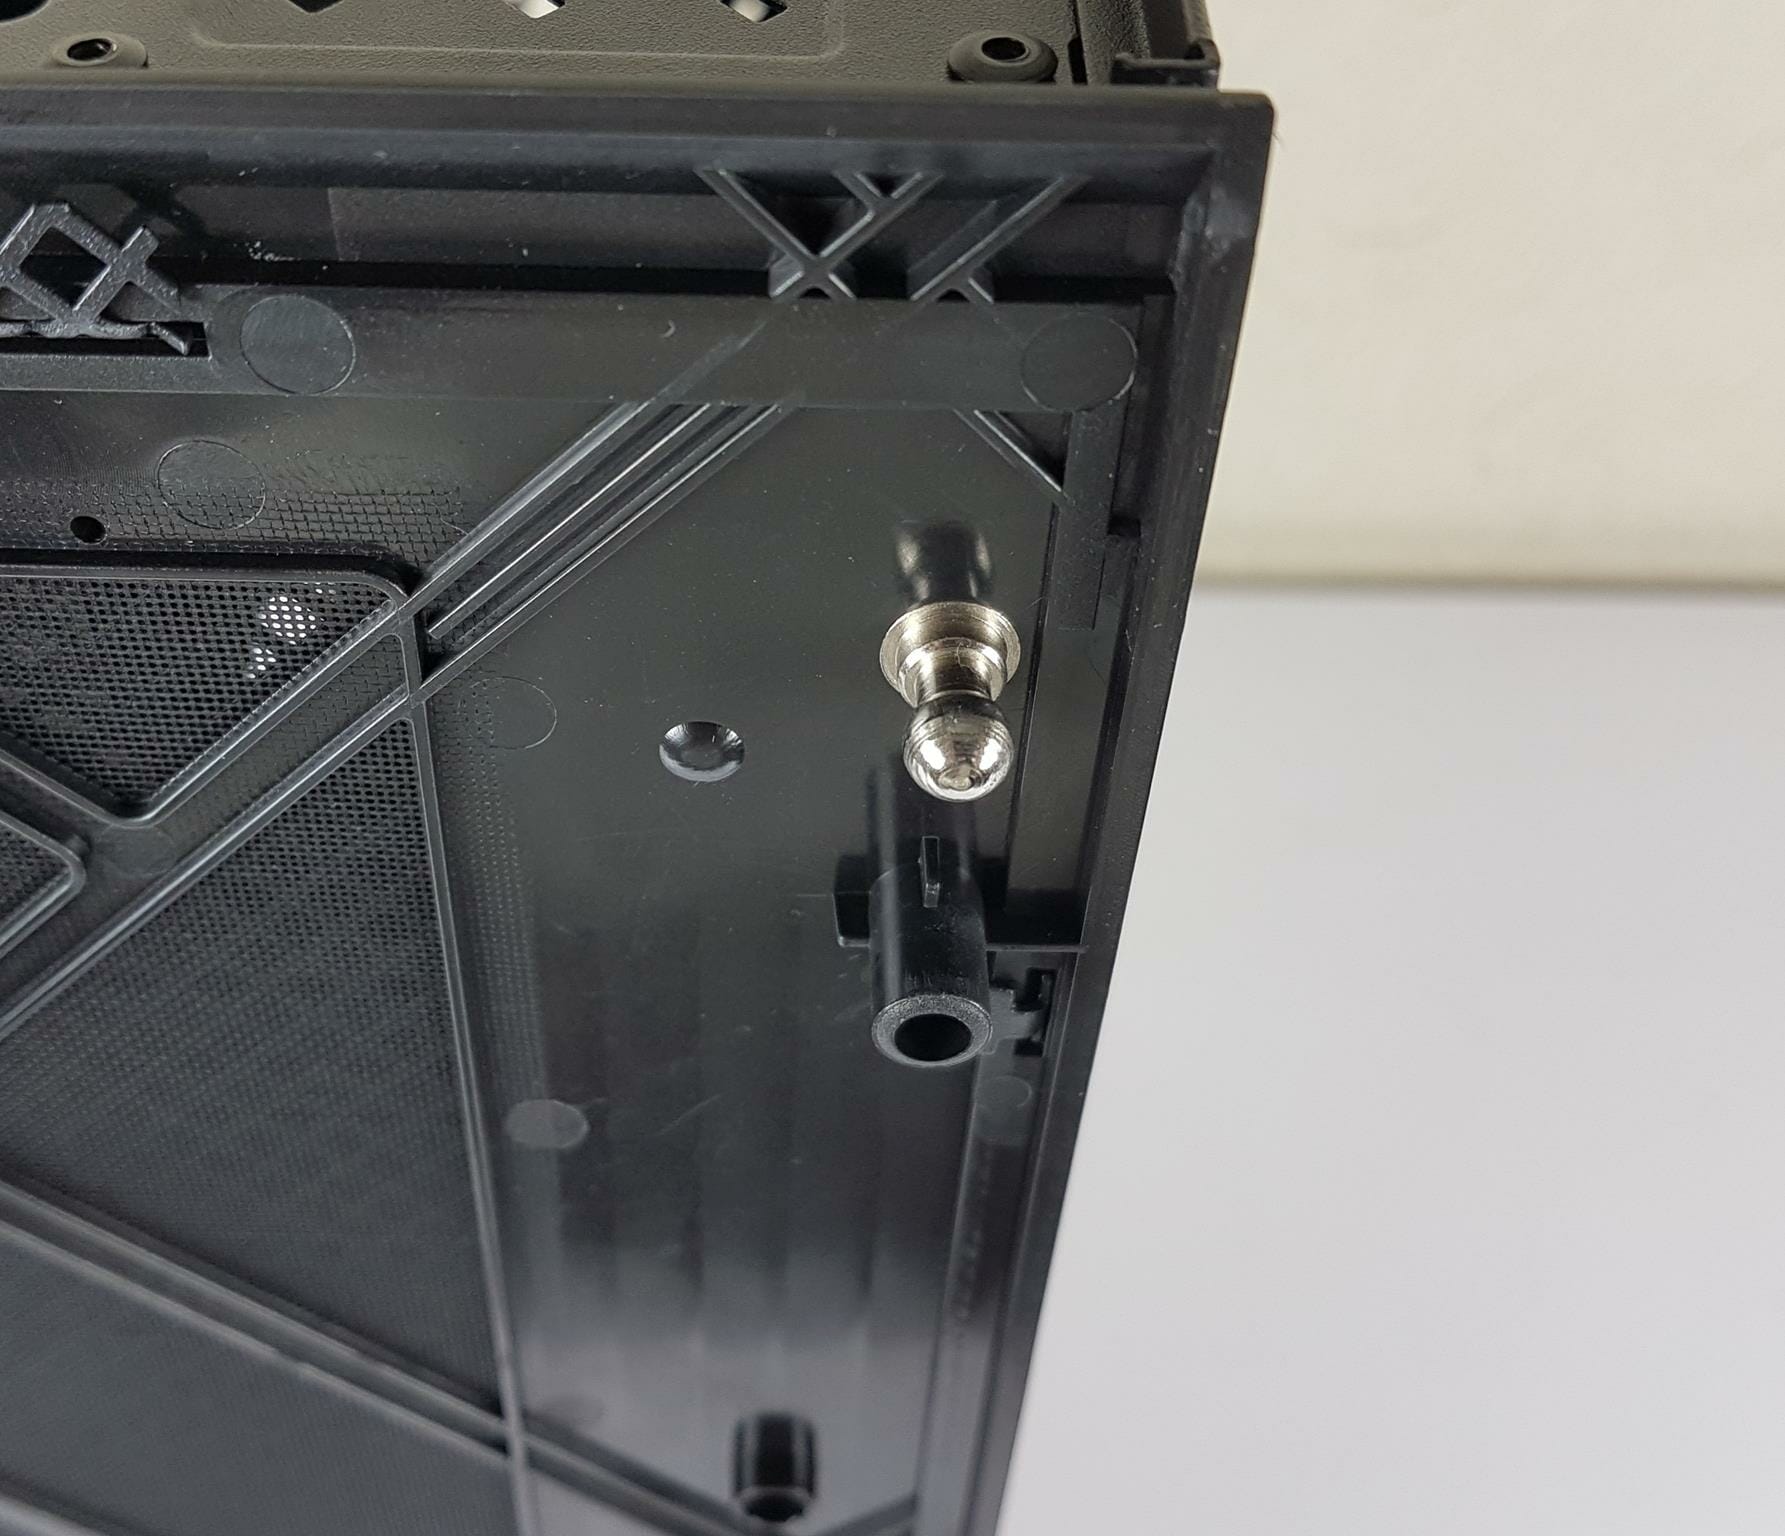
SilverStone has used pushed pin-style tabs on the front panel. This makes the removal and installation of the panel quite convenient.
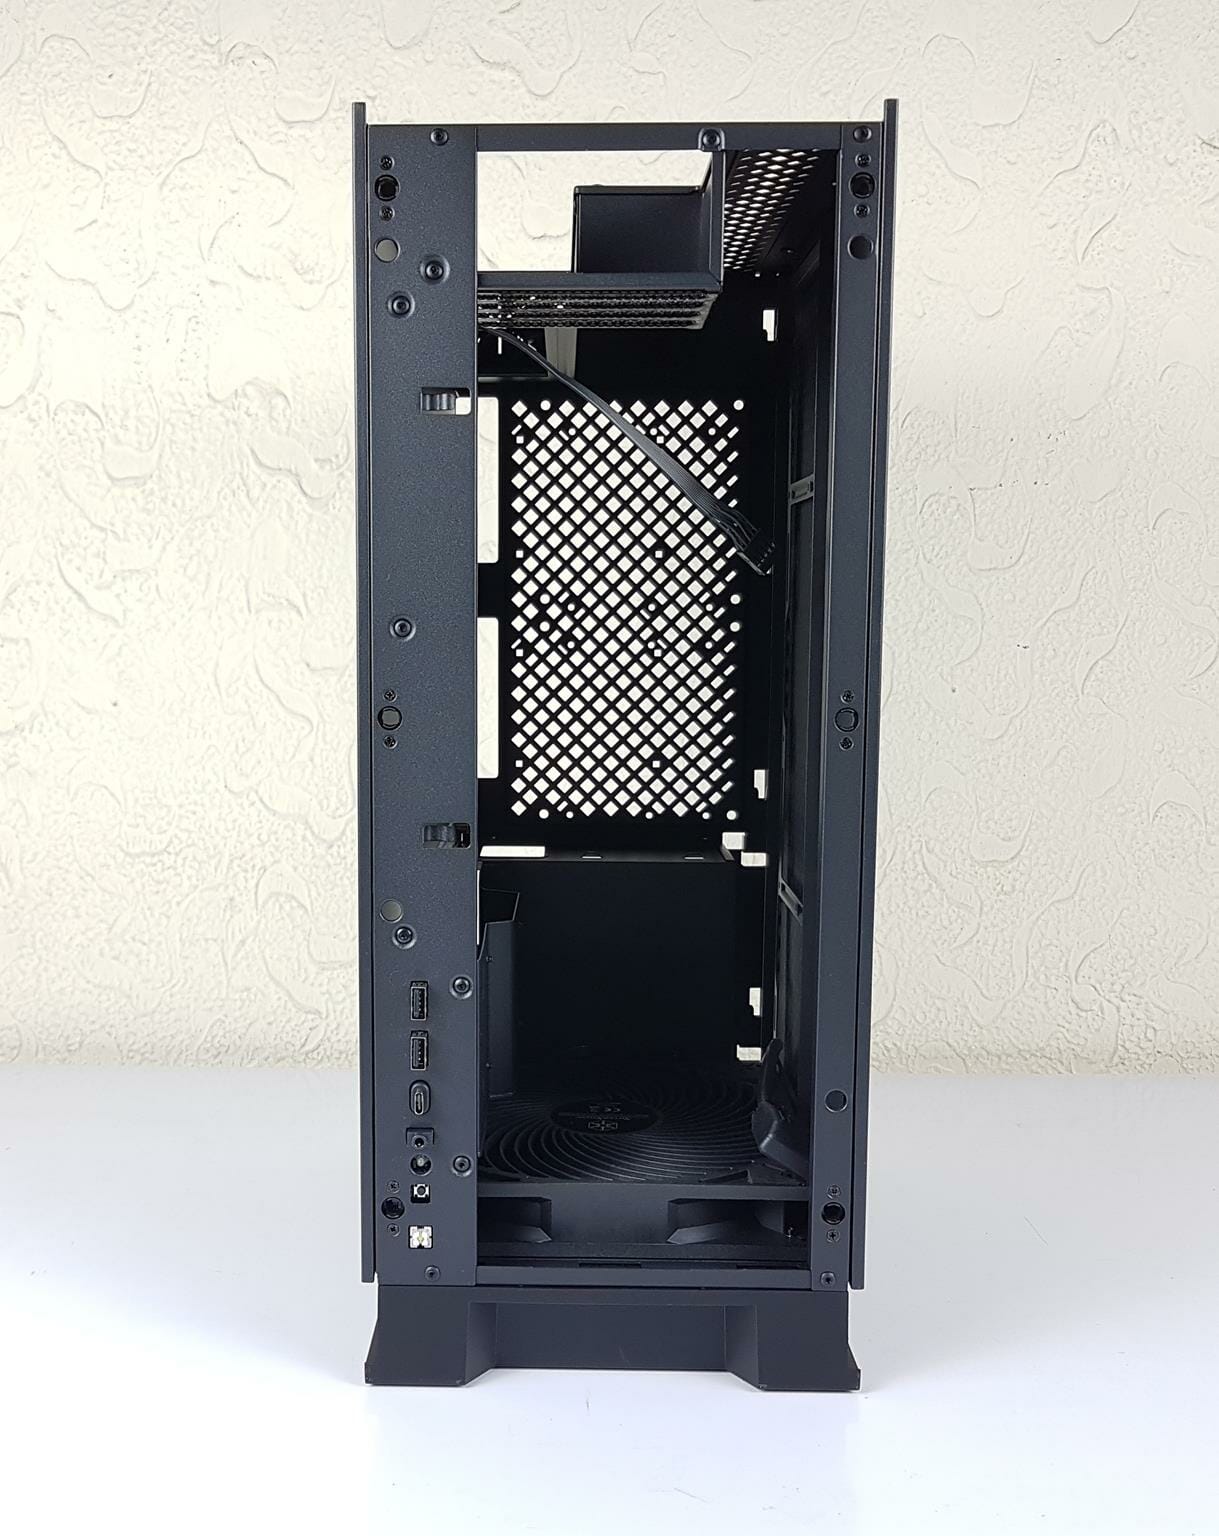
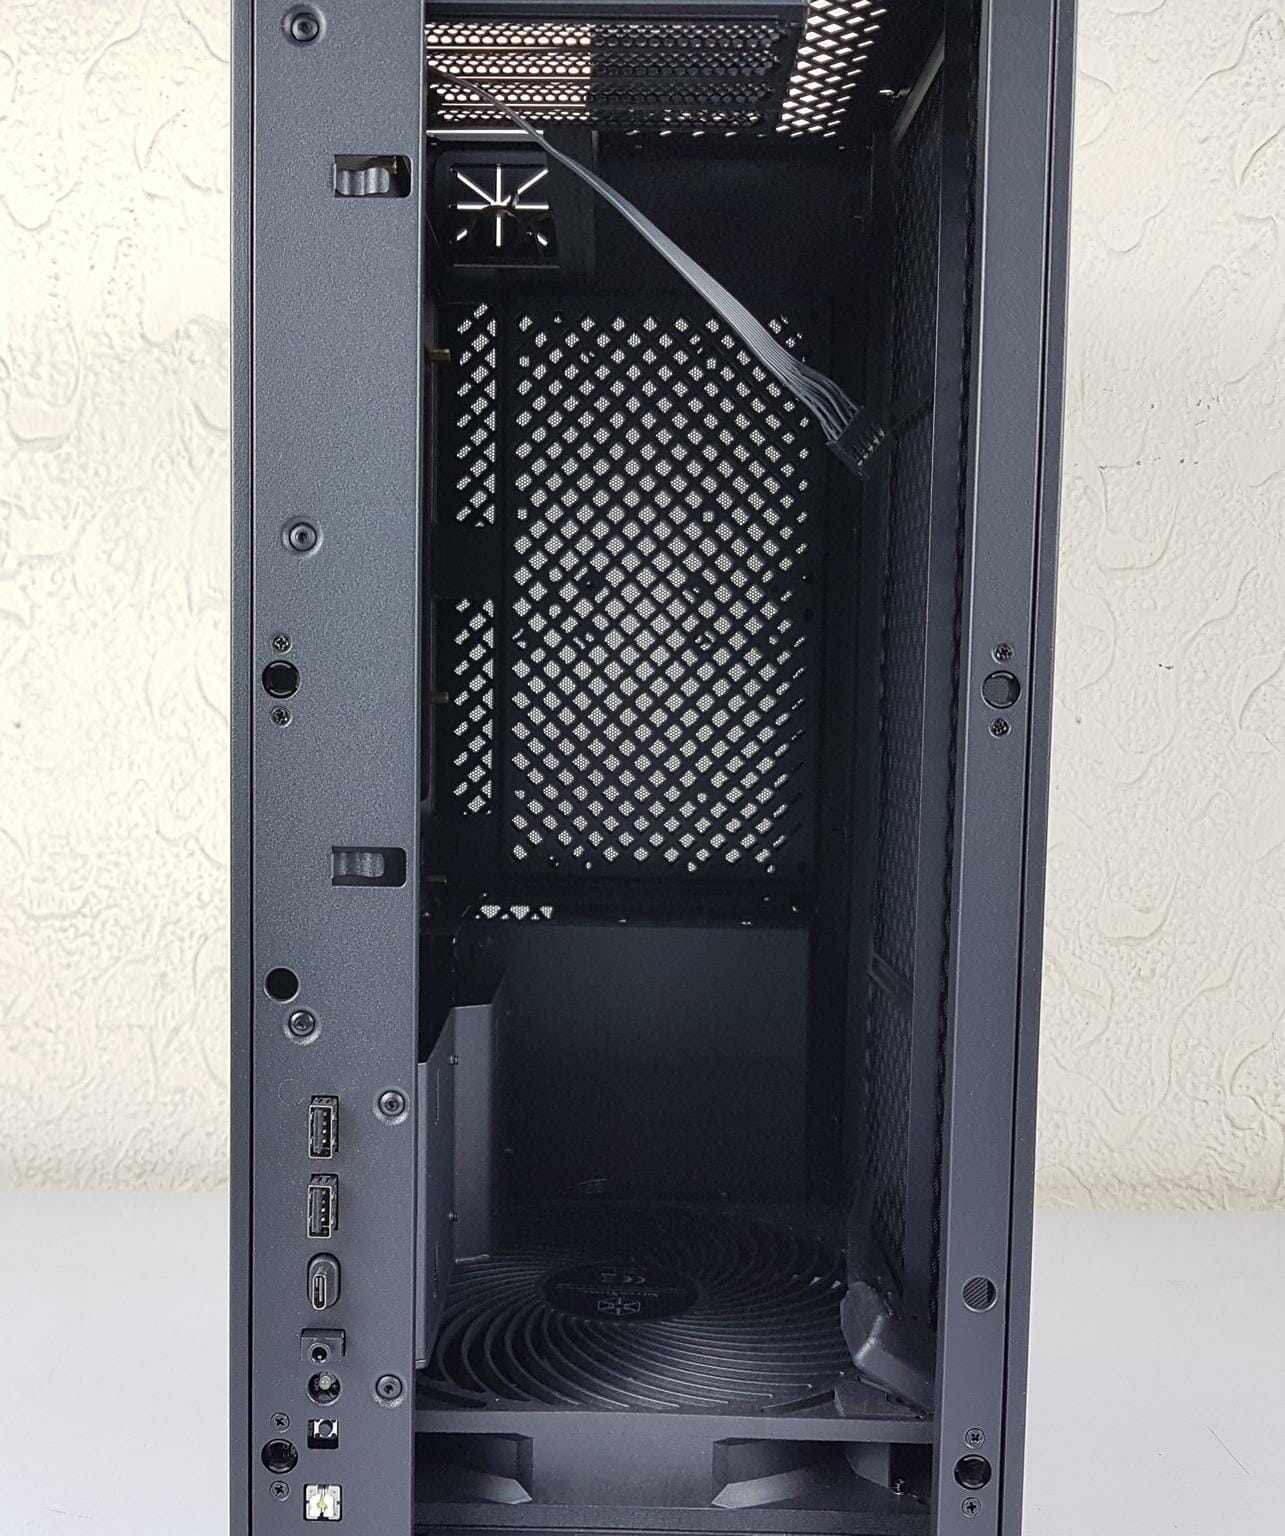
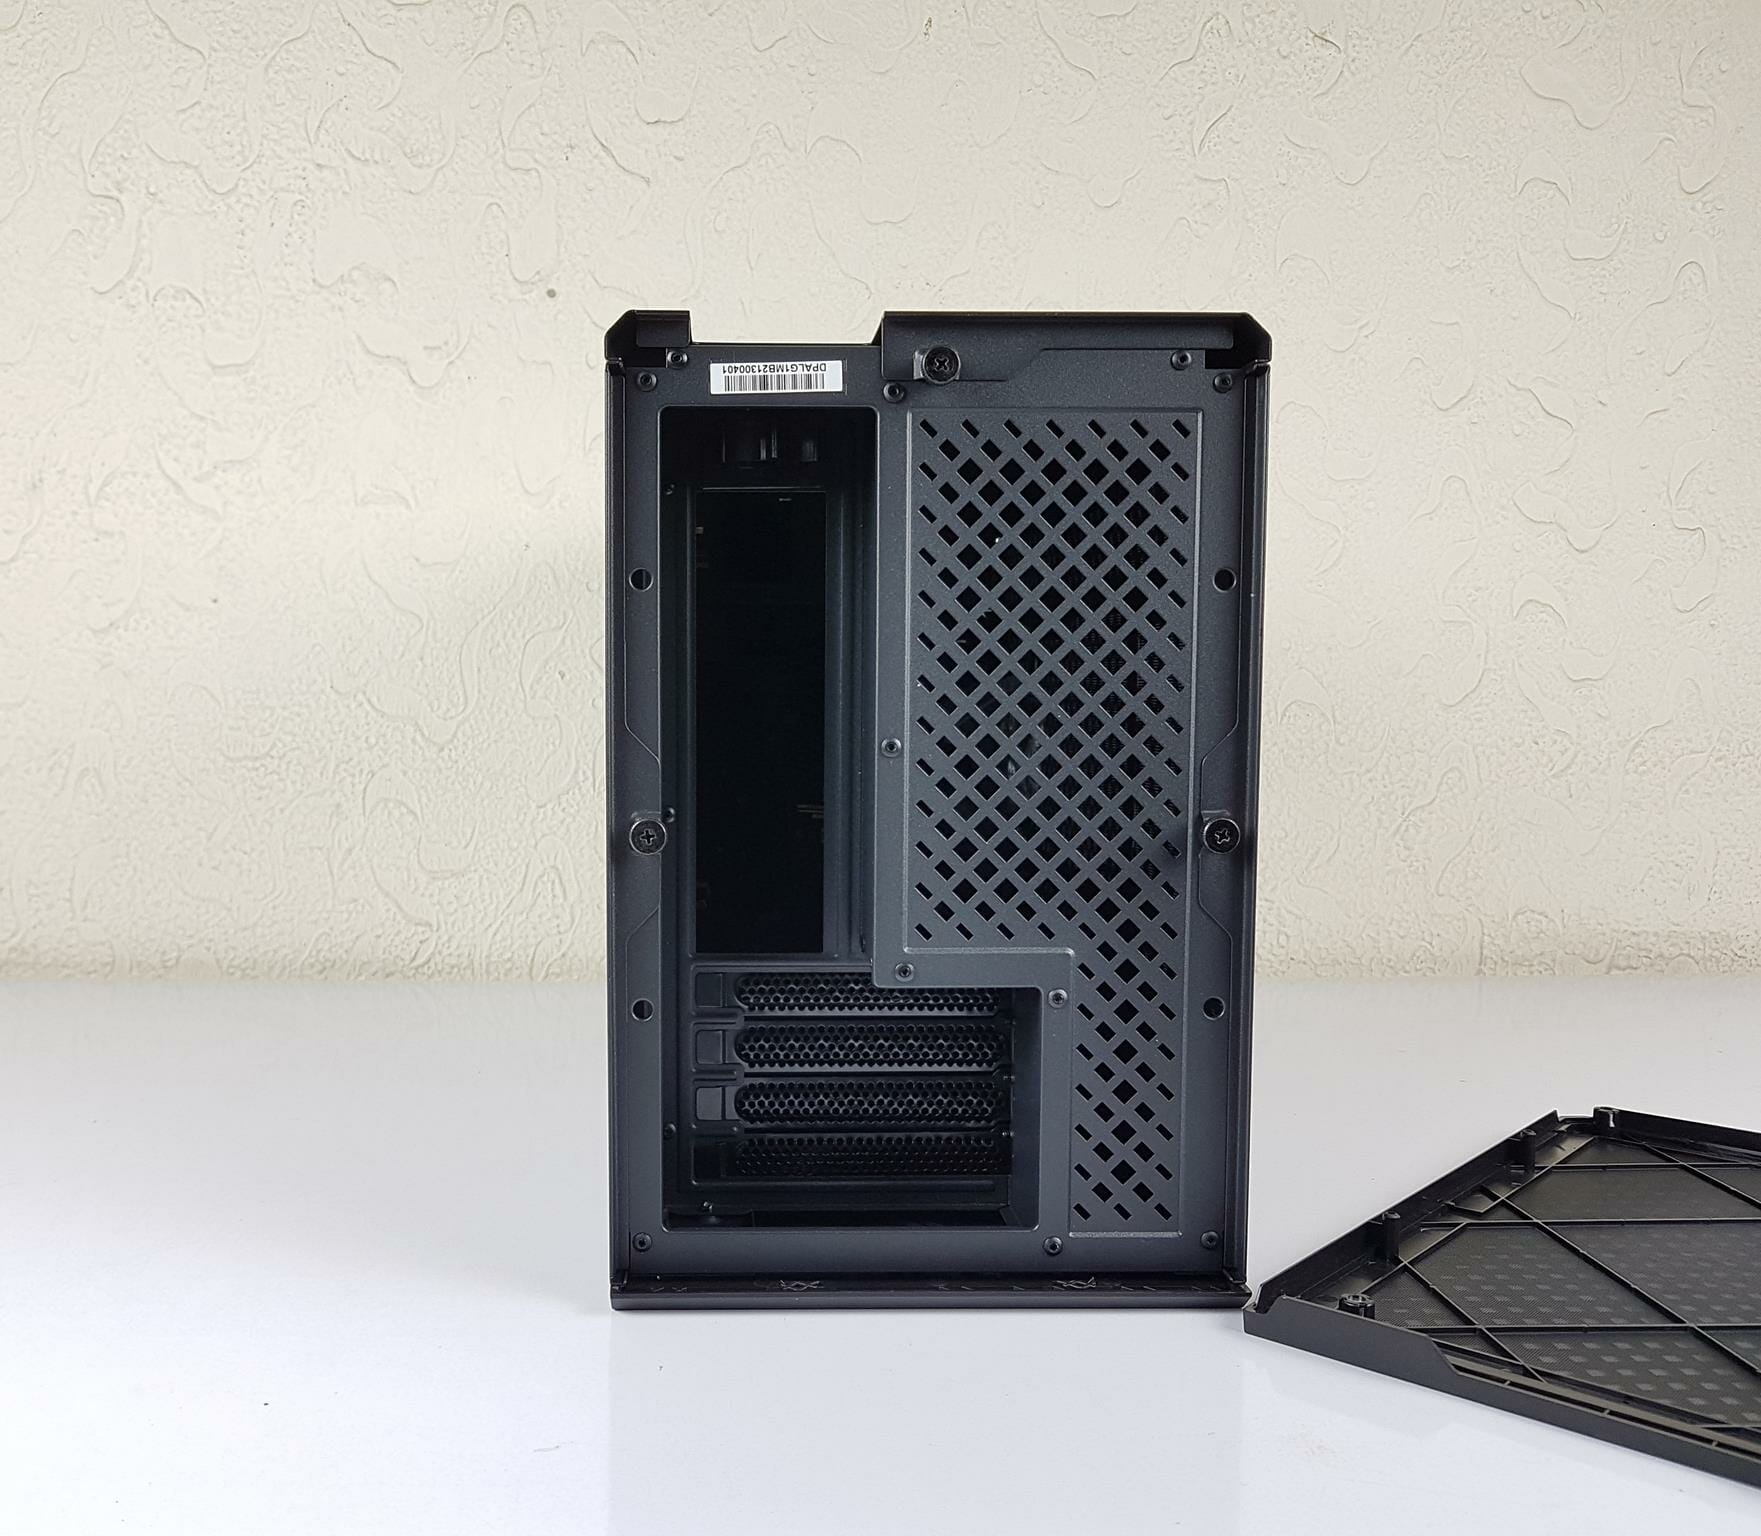
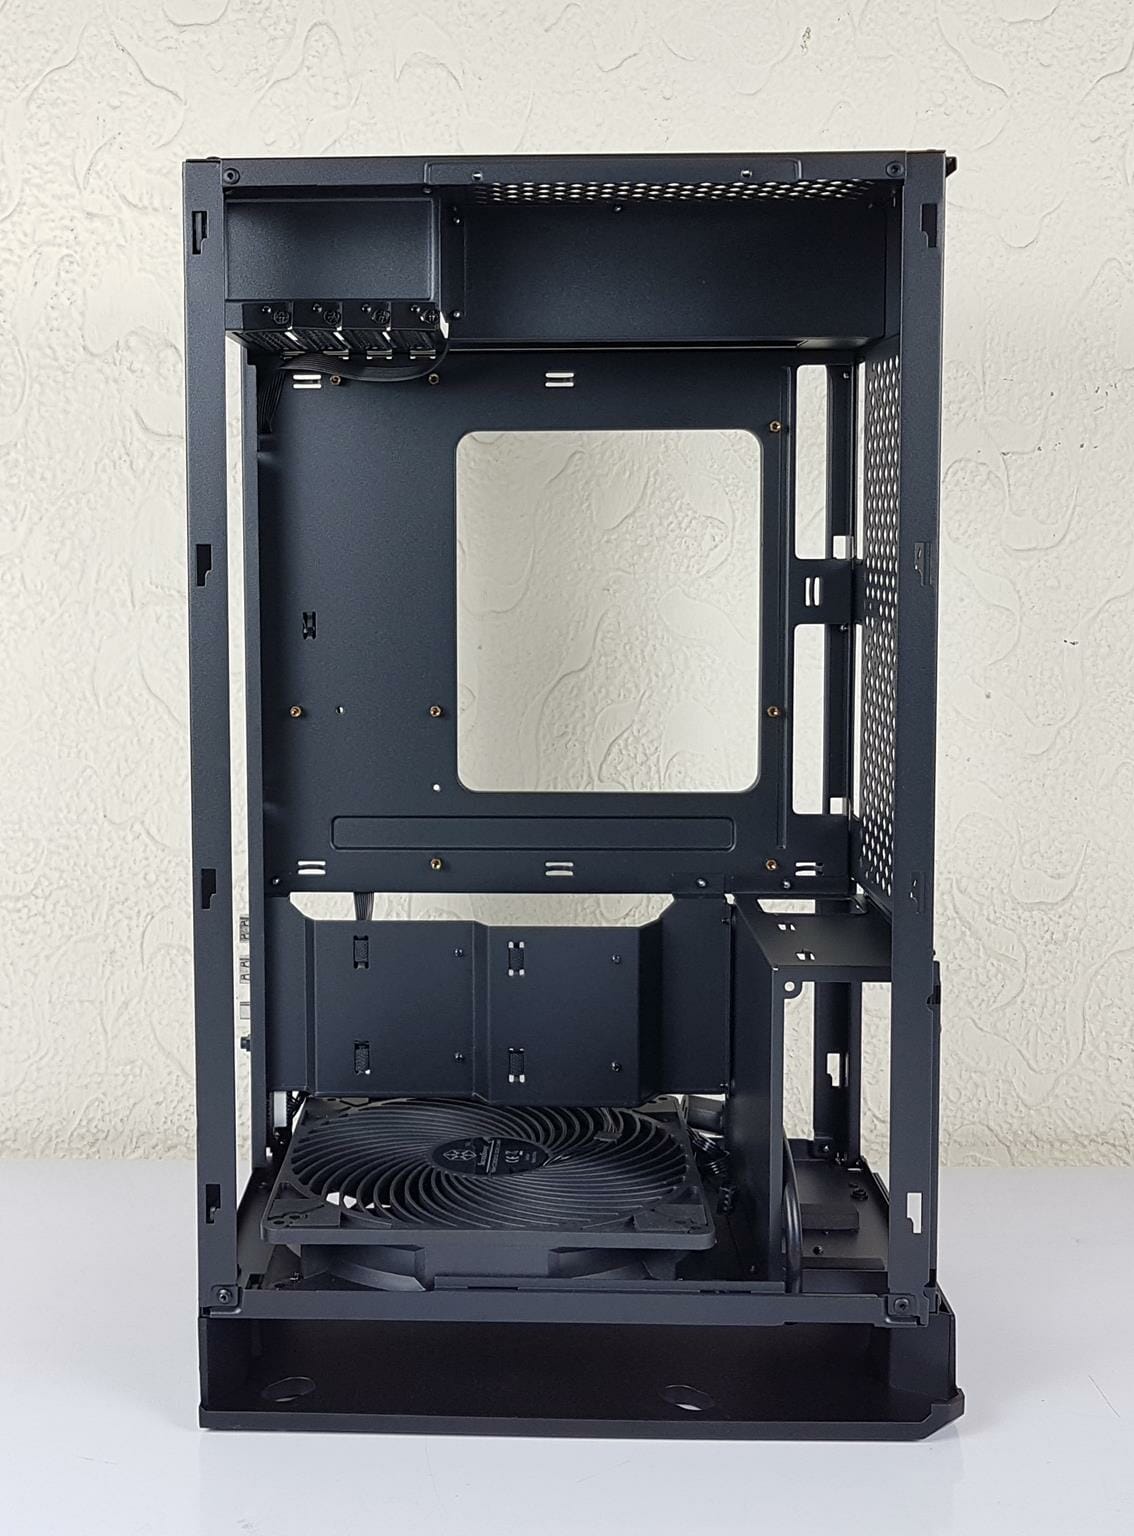
The above picture shows the inside of the case from the front. We can notice a 180mm fan on the base. The top area shows the bottom-facing 4x PCIe slots.
There is a ventilated portion right on the opposite of the front. This is a wise implementation as the user can install:
- Up to 2x 120mm fans
- Up to 2x 3.5” drives
- Up to 2x 2.5” drives
In case you are wondering where the motherboard will be installed, its location is towards the left side. We will come to that shortly. Unlike the traditional PC cases, there is no mounting provision of any fan or radiator on the front. Keep in mind that the case is micro-ATX with a cylindrical design hence the overall layout would be different from the traditional design.
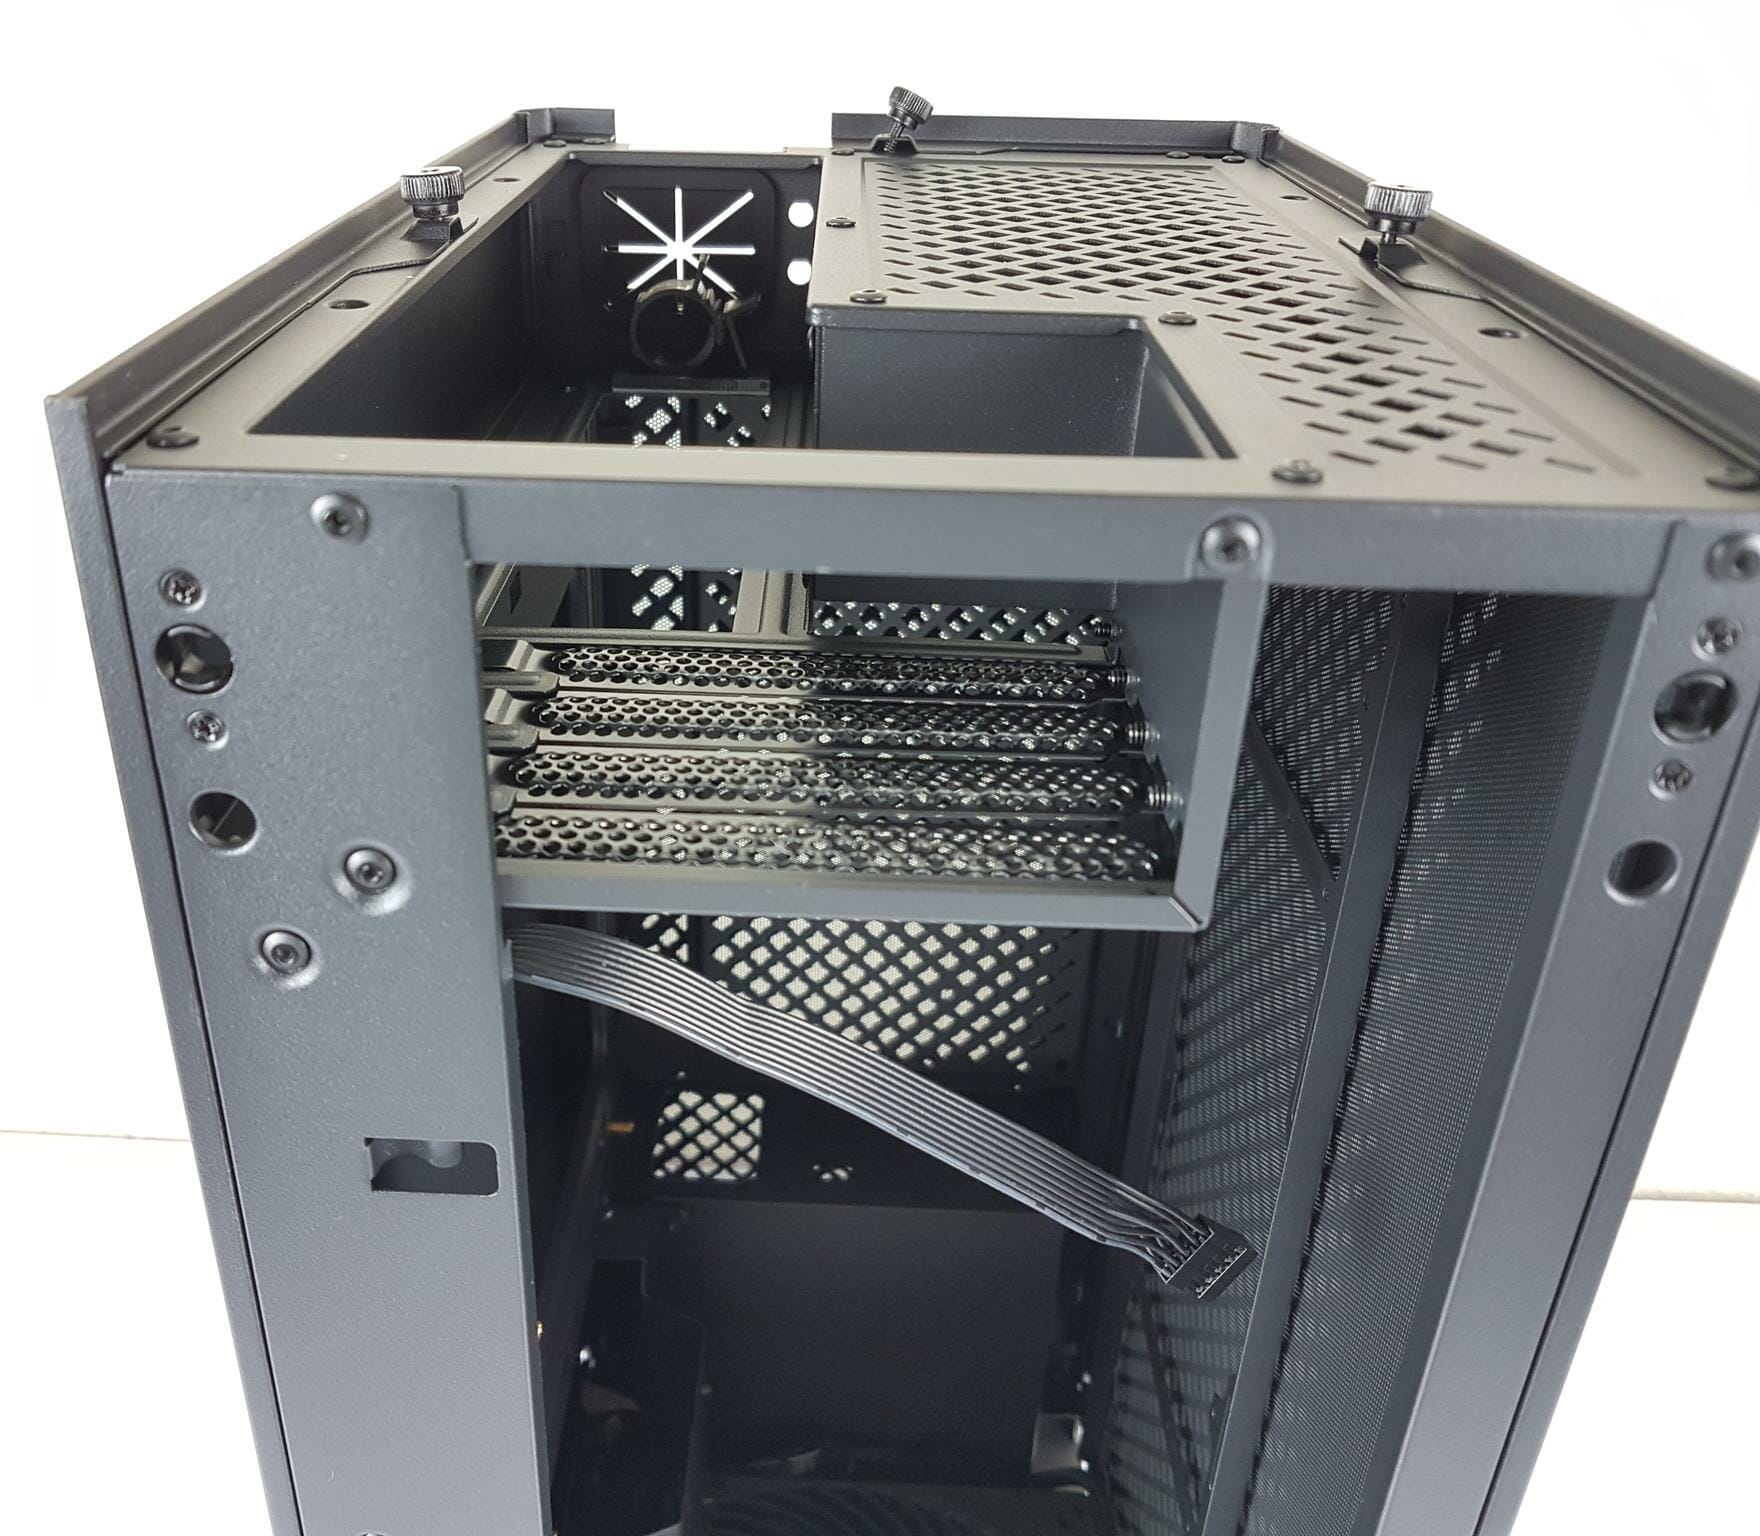
The above is a close-up view of the PCIe slots and the top section of the case. We noticed that the slots have reusable vented covers.
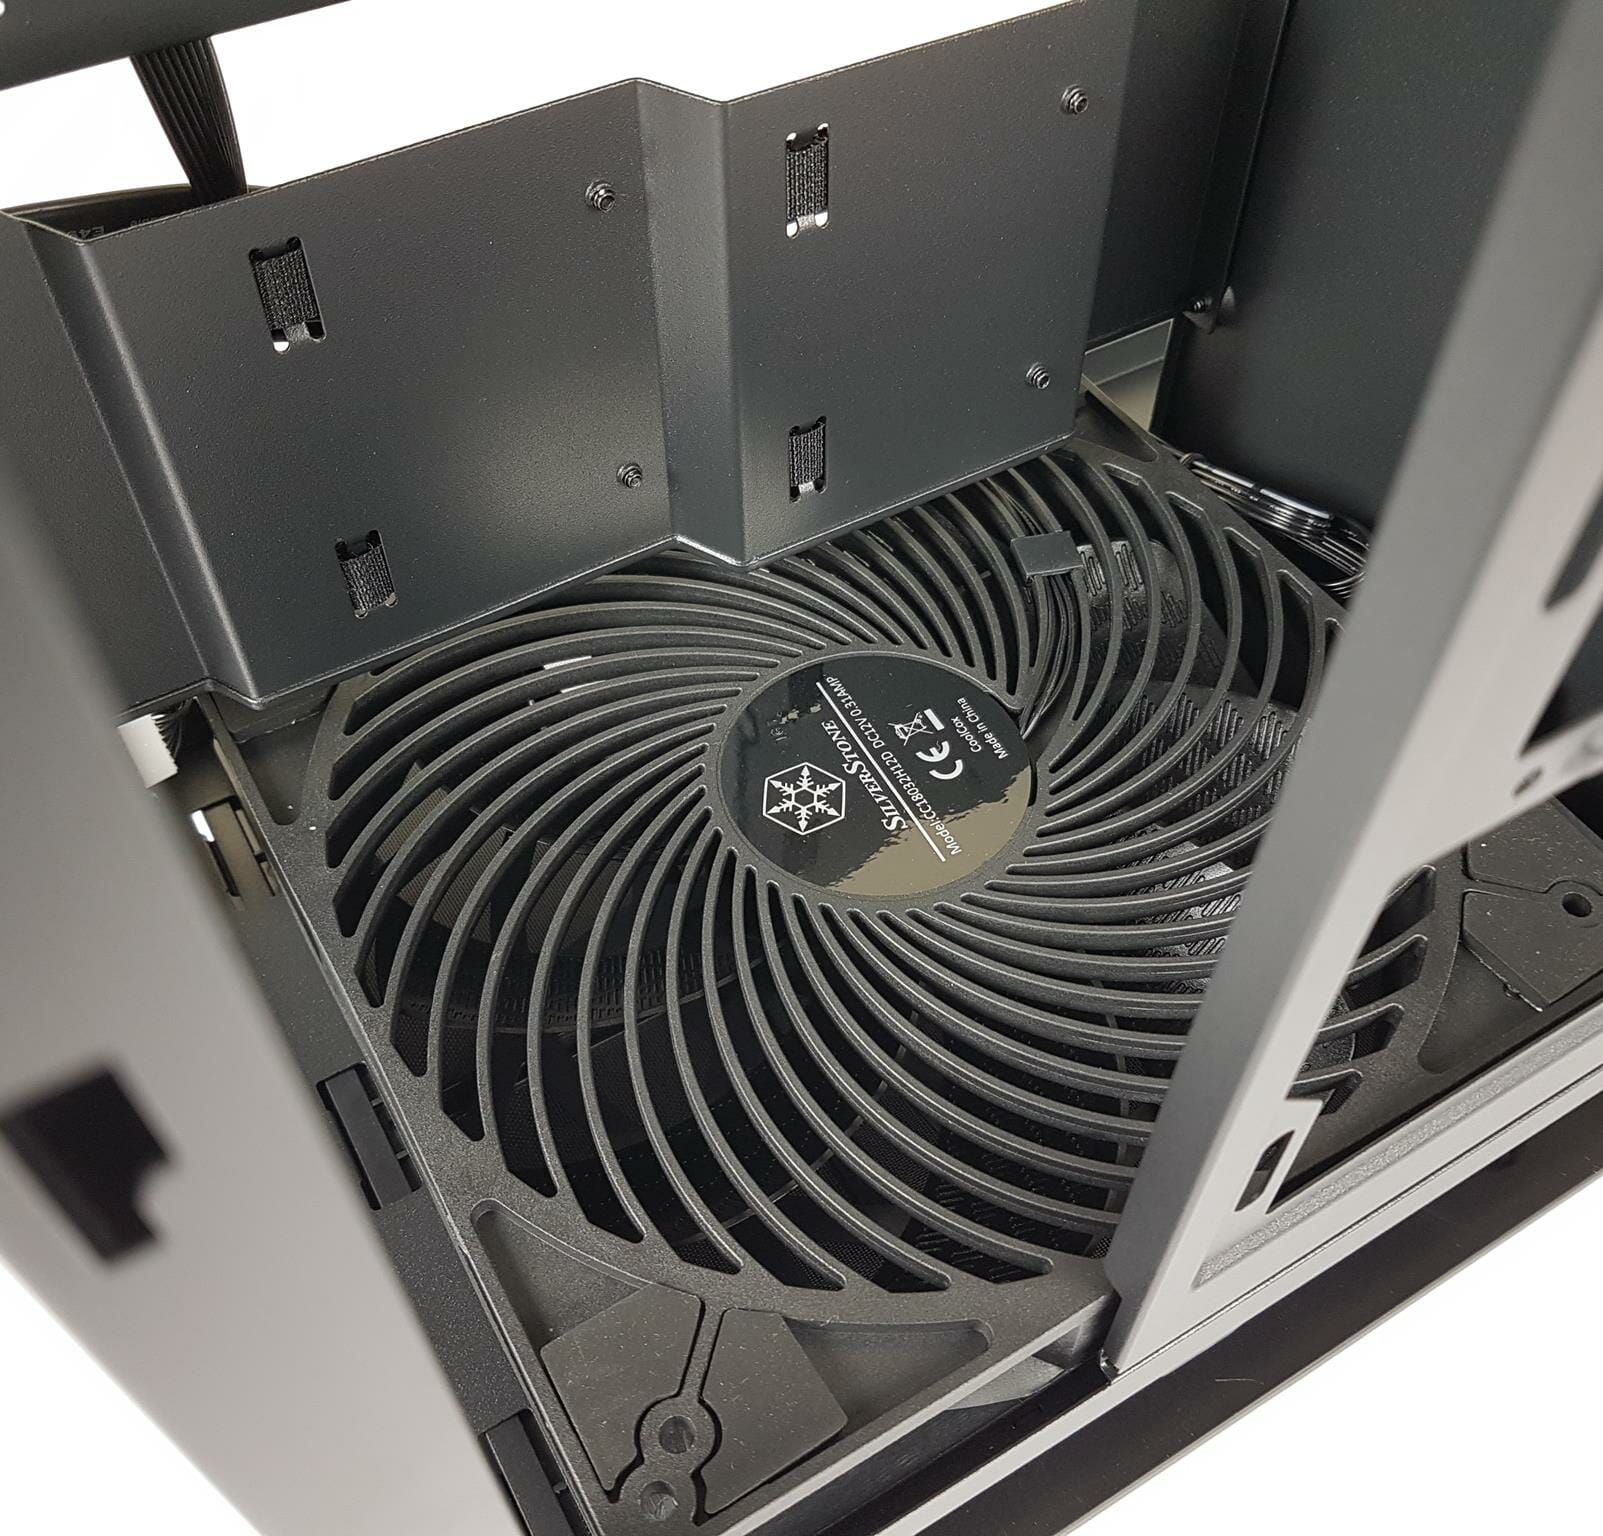
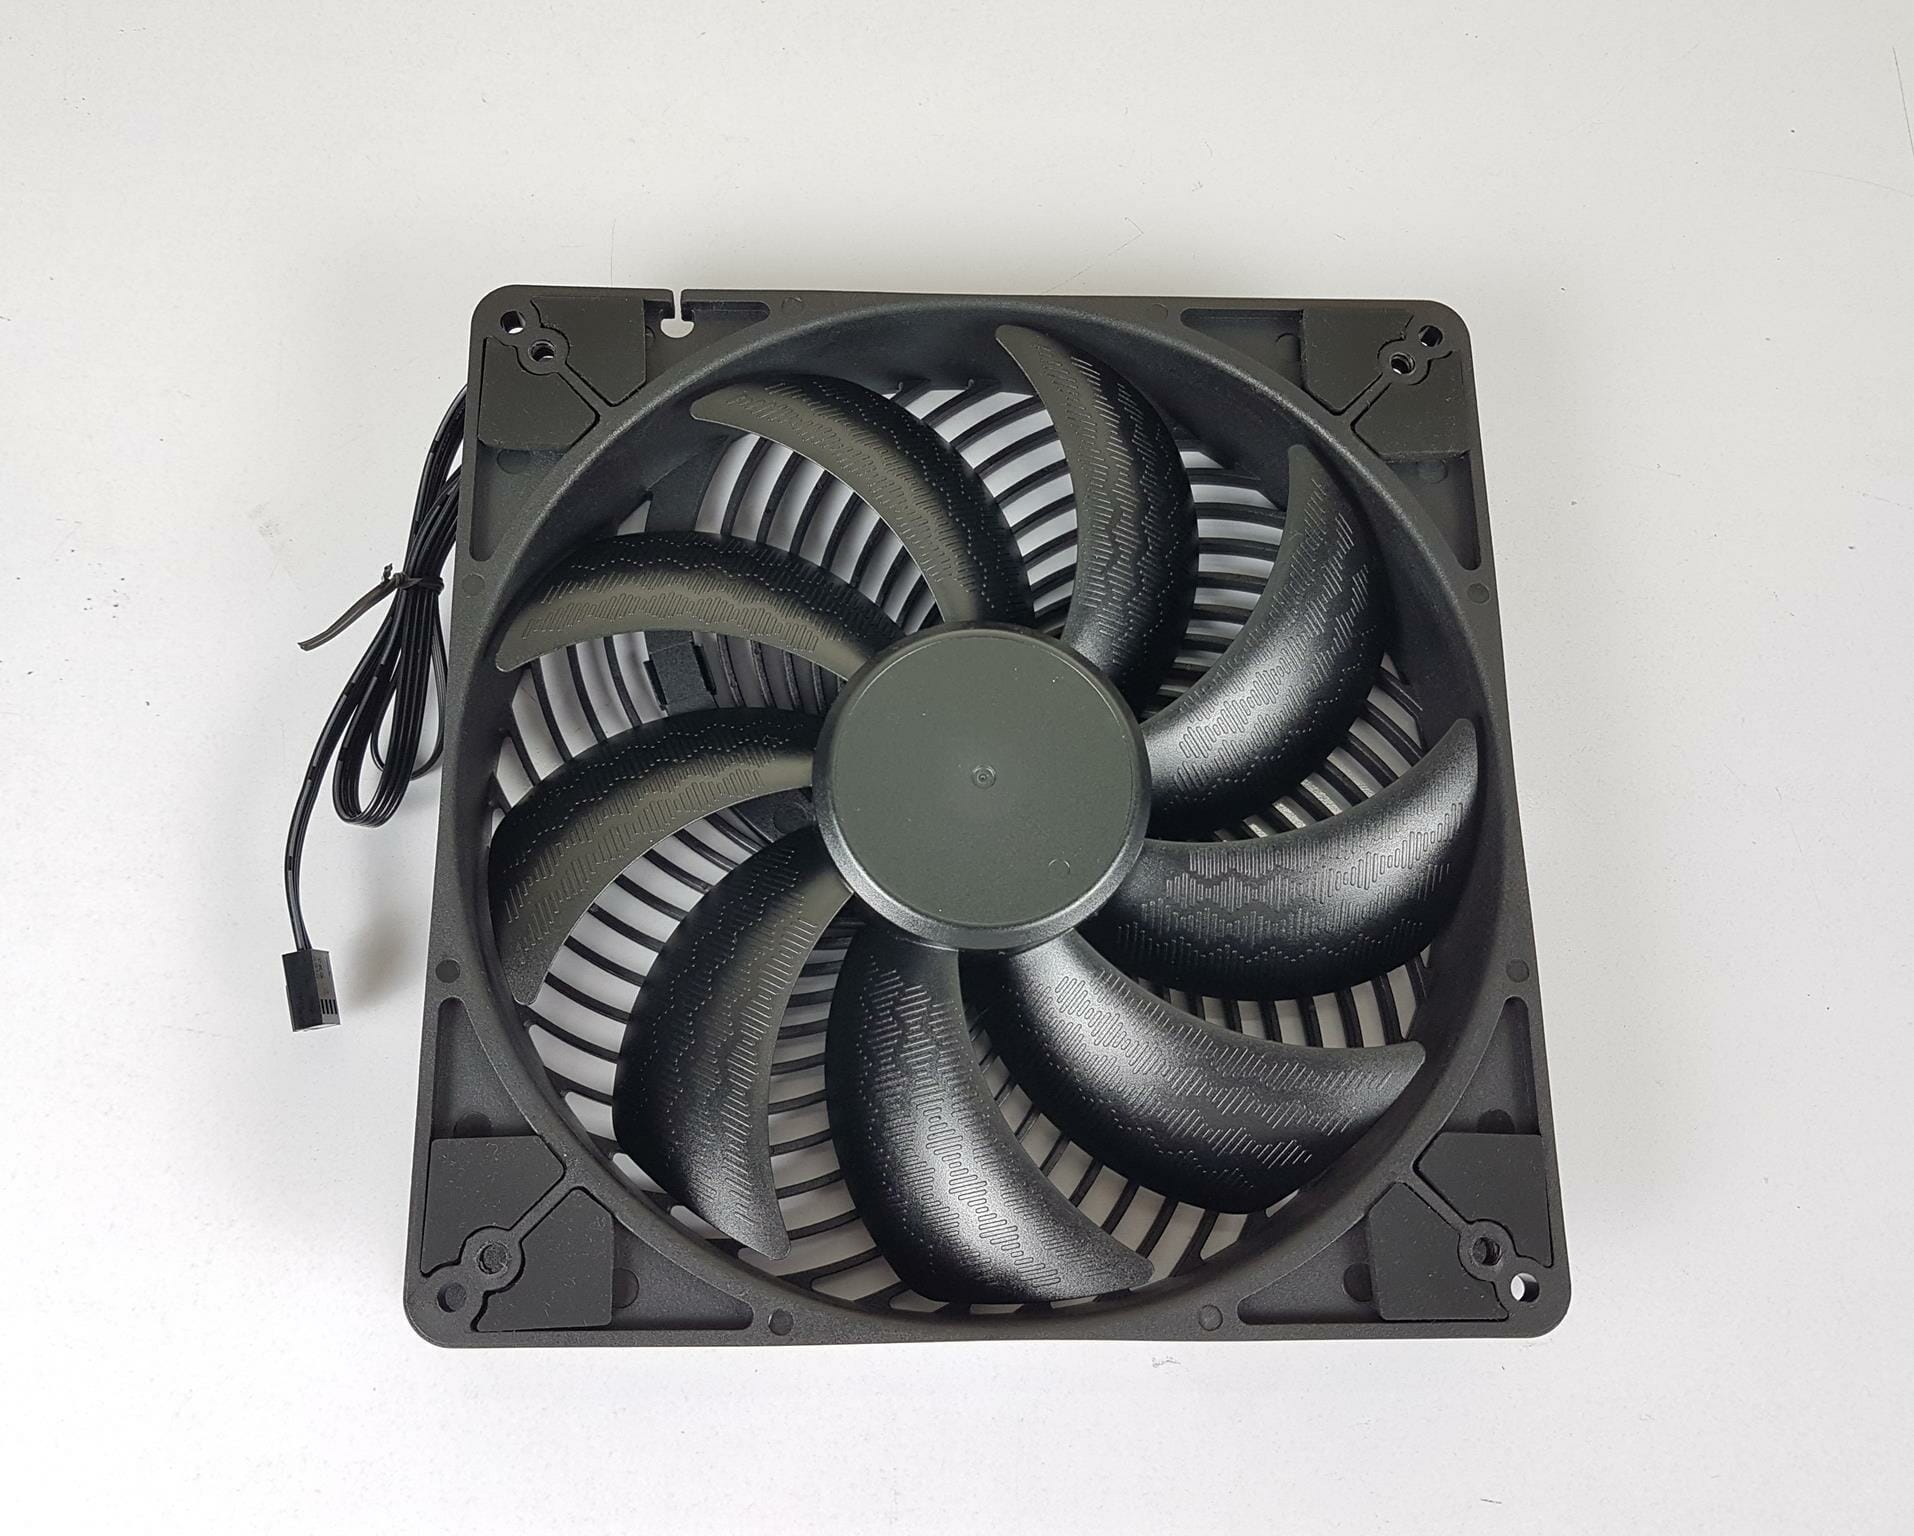
The SilverStone is using the Air Penetrator 184i Pro fan in this case. This is a 180mm fan installed on the base to pull the fresh air and push it toward the top for ventilation. Hence the term Stack Effect.
The fan has 9x blades with textured patterns on them. The frame is made of plastic material and is quite sturdy. The mounting corners have dual cut-to-shape anti-vibration pads. Please note the dual mounting holes. The fan supports the 180mm and 165mm mounting provision. The Fan has a dimension of 180x180x32mm where 32mm is the thickness of the fan.
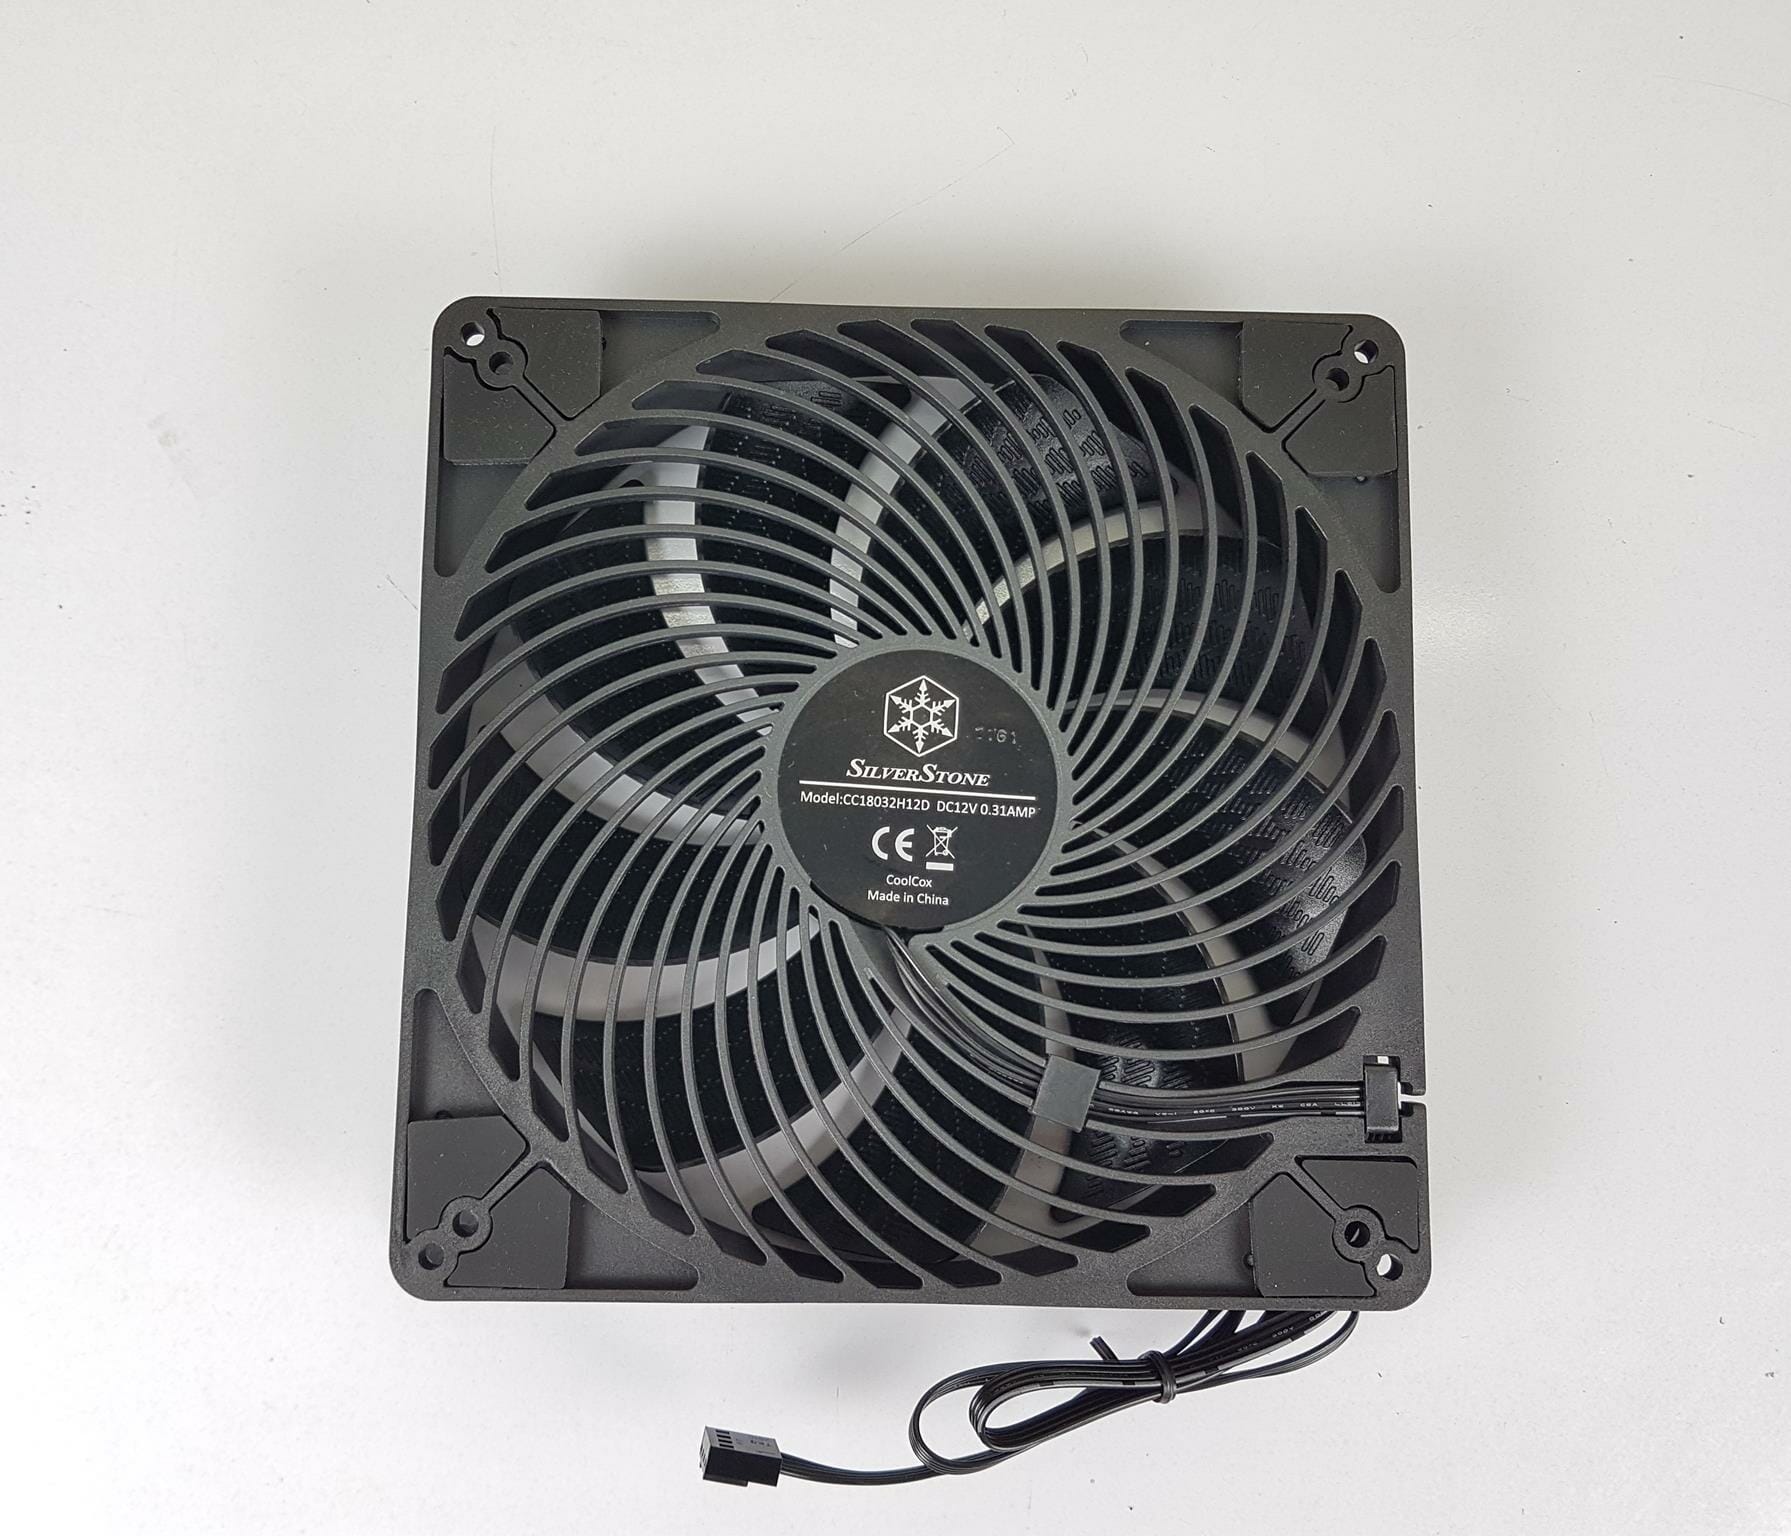
The backside of the fan has a grill to improve the focused flow of the air which is why these are called air penetrators. The fan is rated for 0.31A at 12VDC drawing 3.72W power. It is made in China.
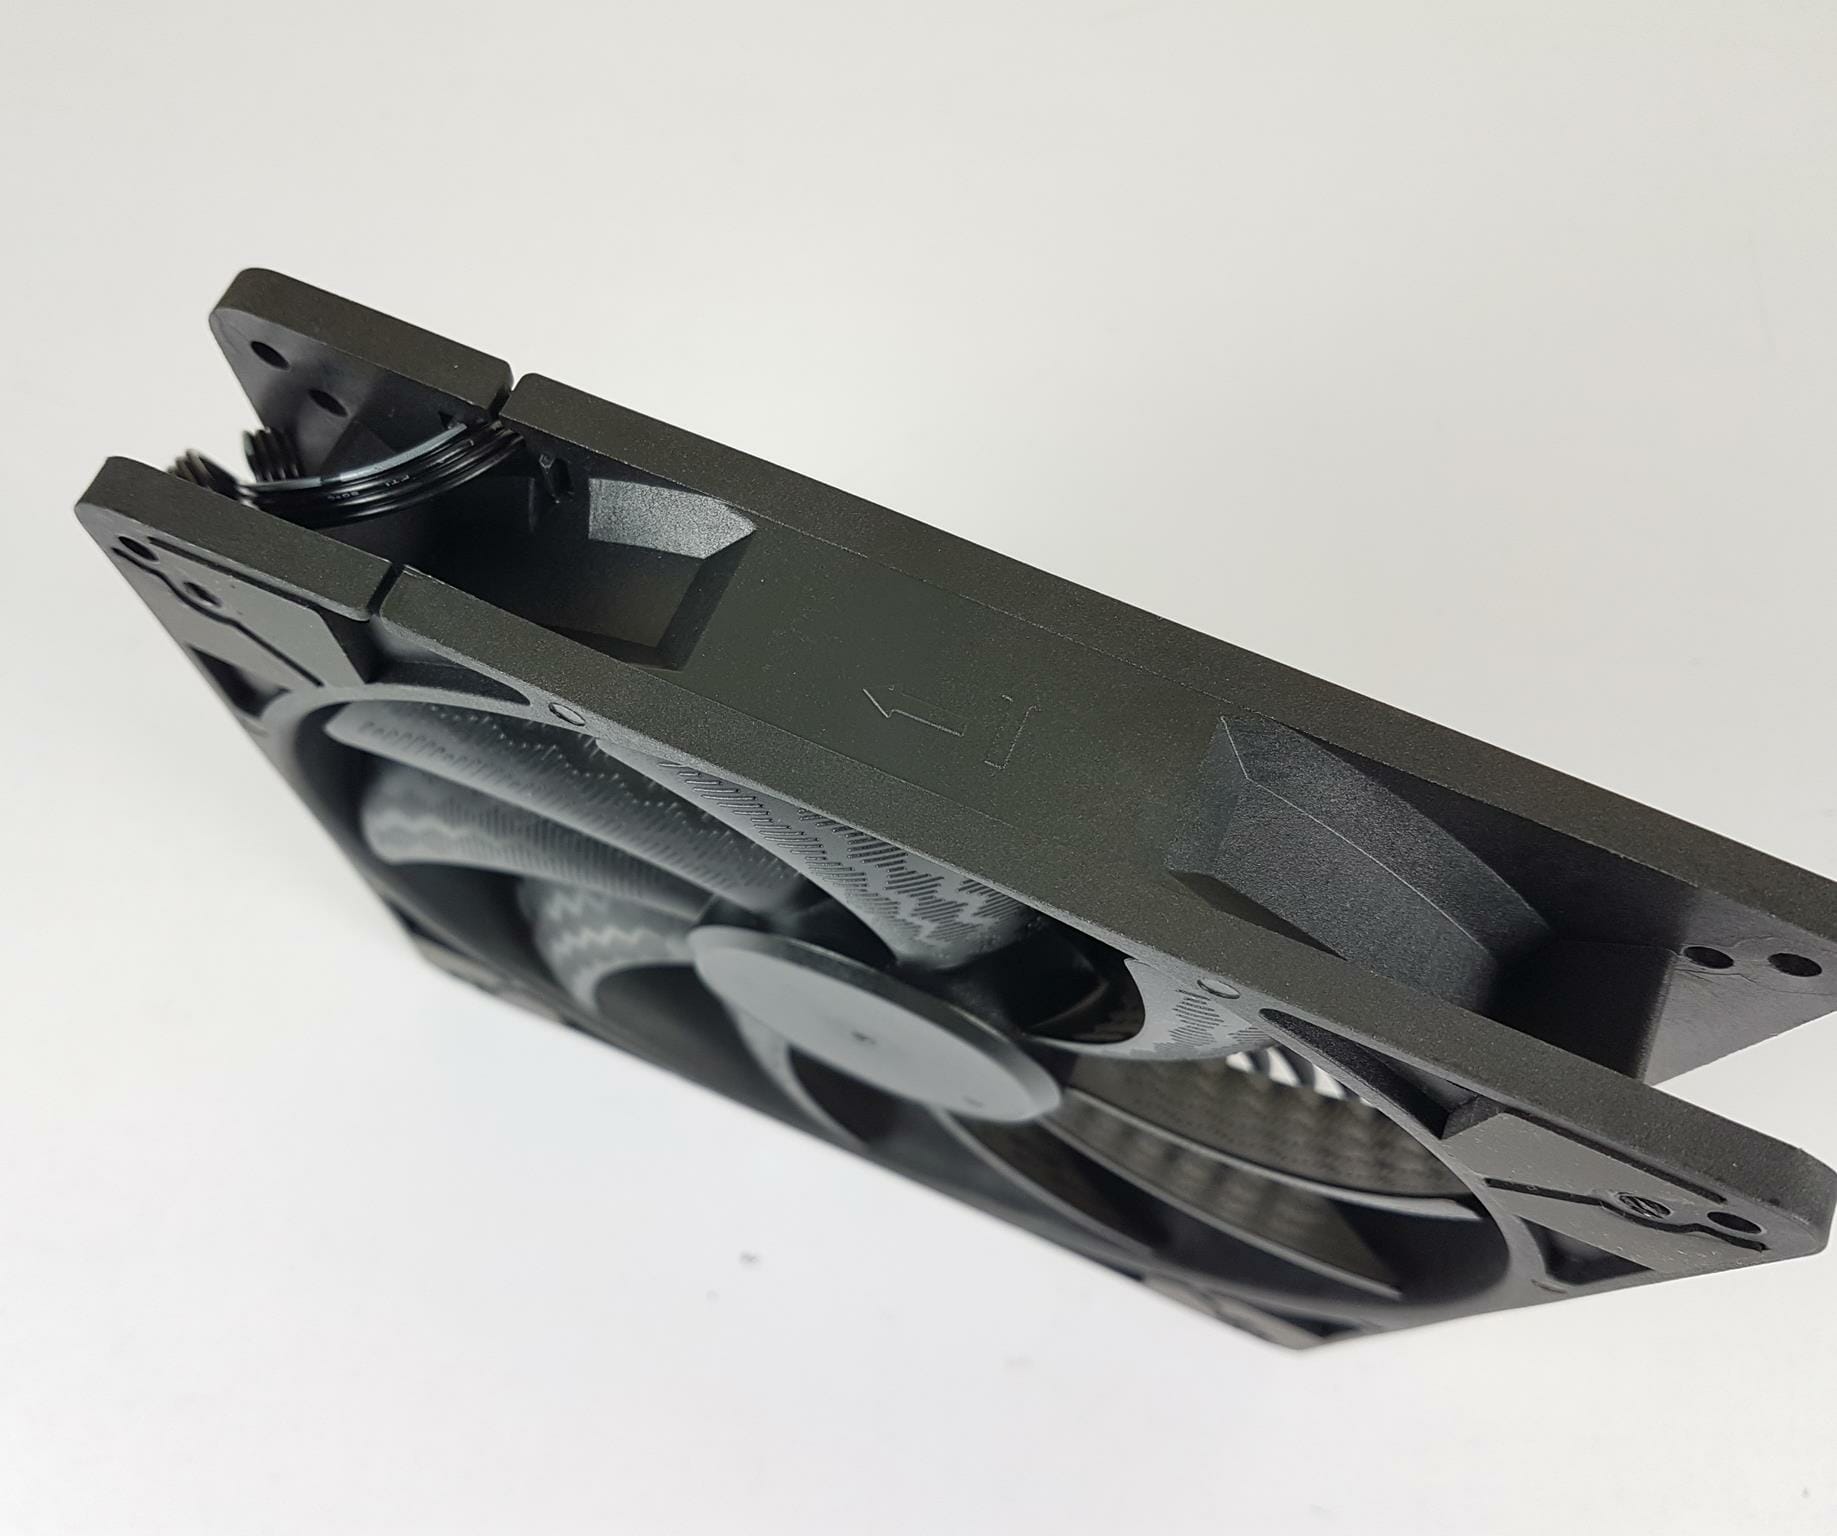
There are arrow symbols on the side of the frame showing the direction in which the blades spin and the direction of airflow through the fan.
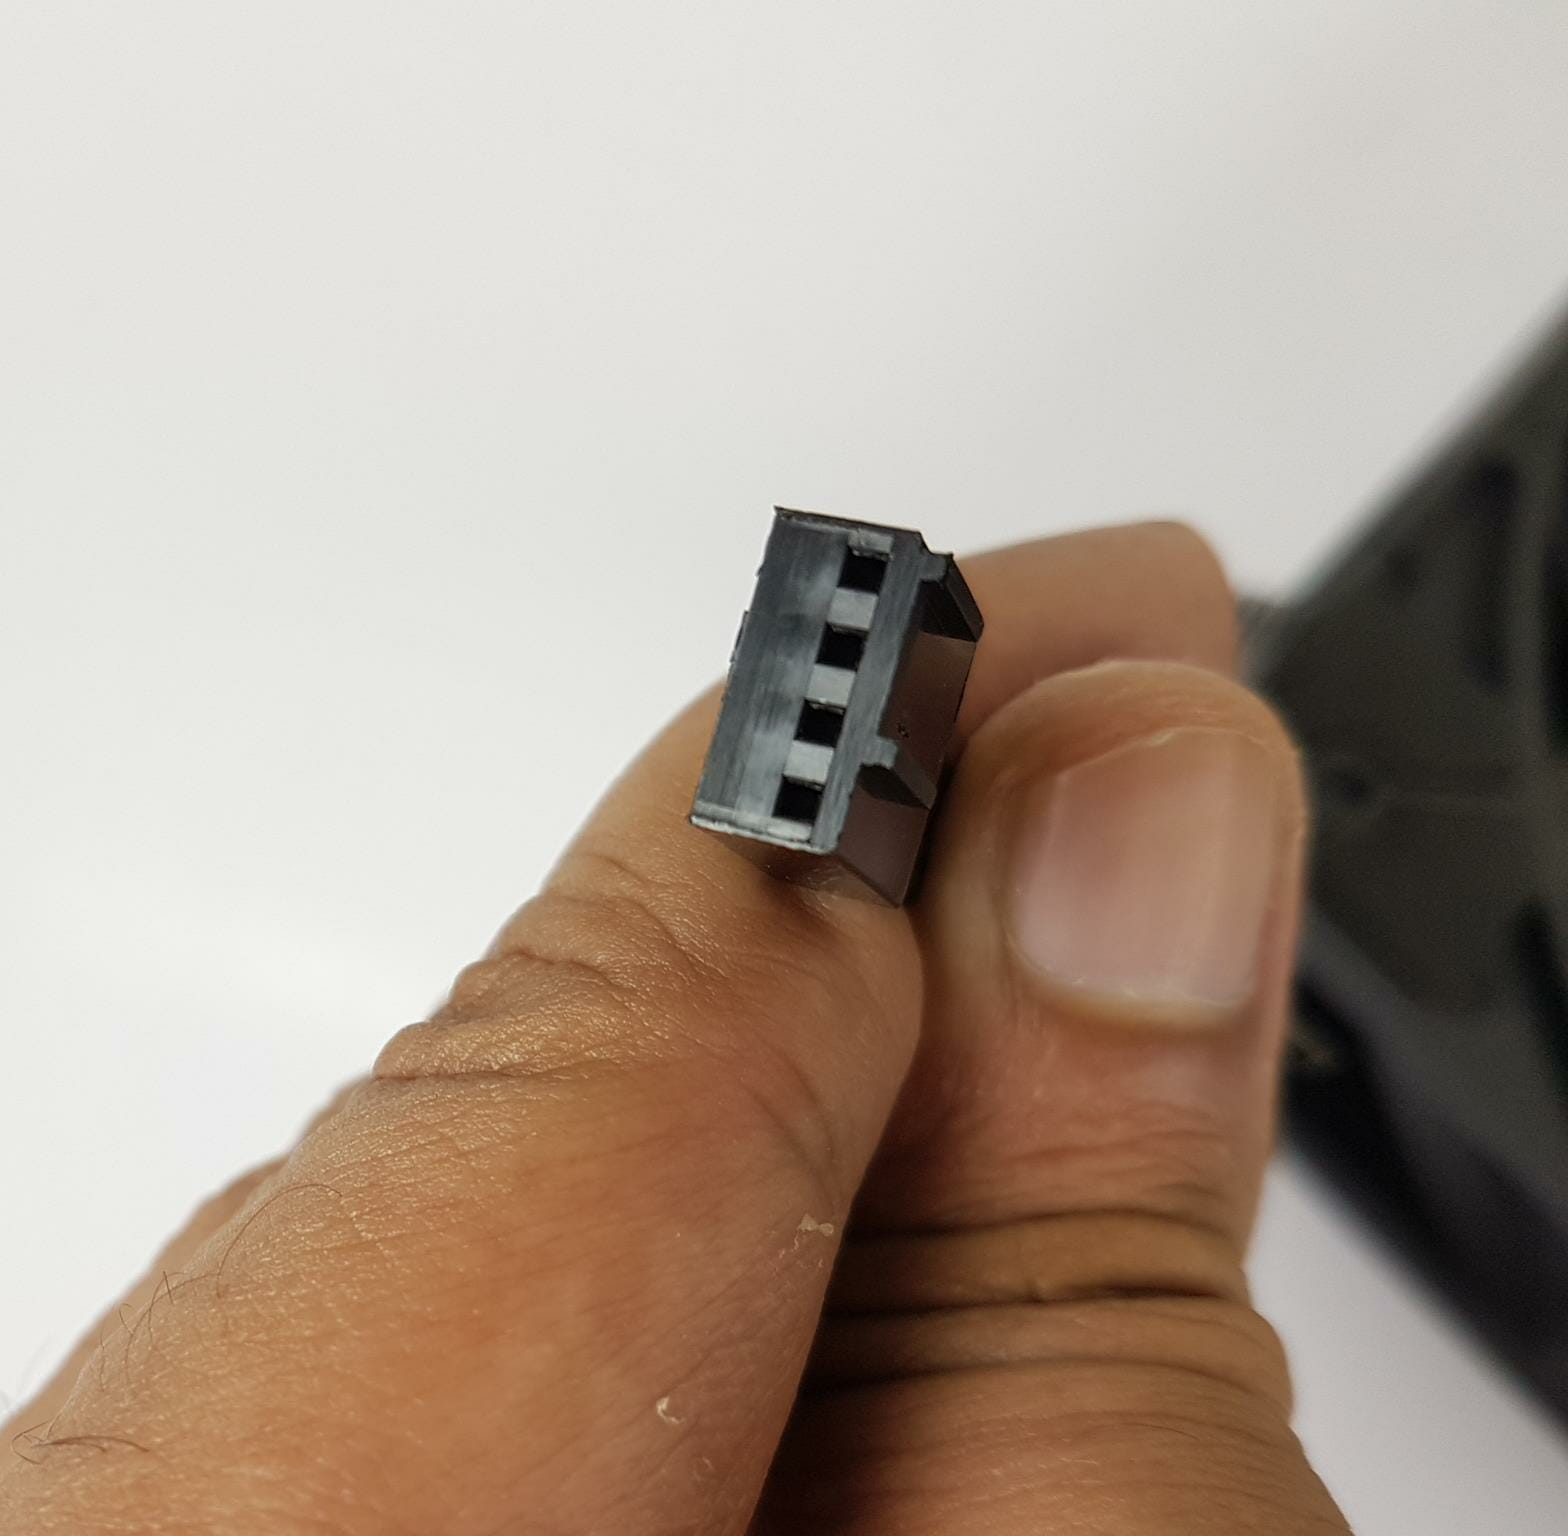
The fan is using a 4-pin PWM connector. It has a flat cable.
Following connectivity options are provided on the I/O panel:
- 1x Power Button
- 1x LED Indicator
- 1x USB Type C port
- 2x USB 3.0 ports
- Combo Audi port
Let’s take a look at the rear or what we can call the backside of the case.
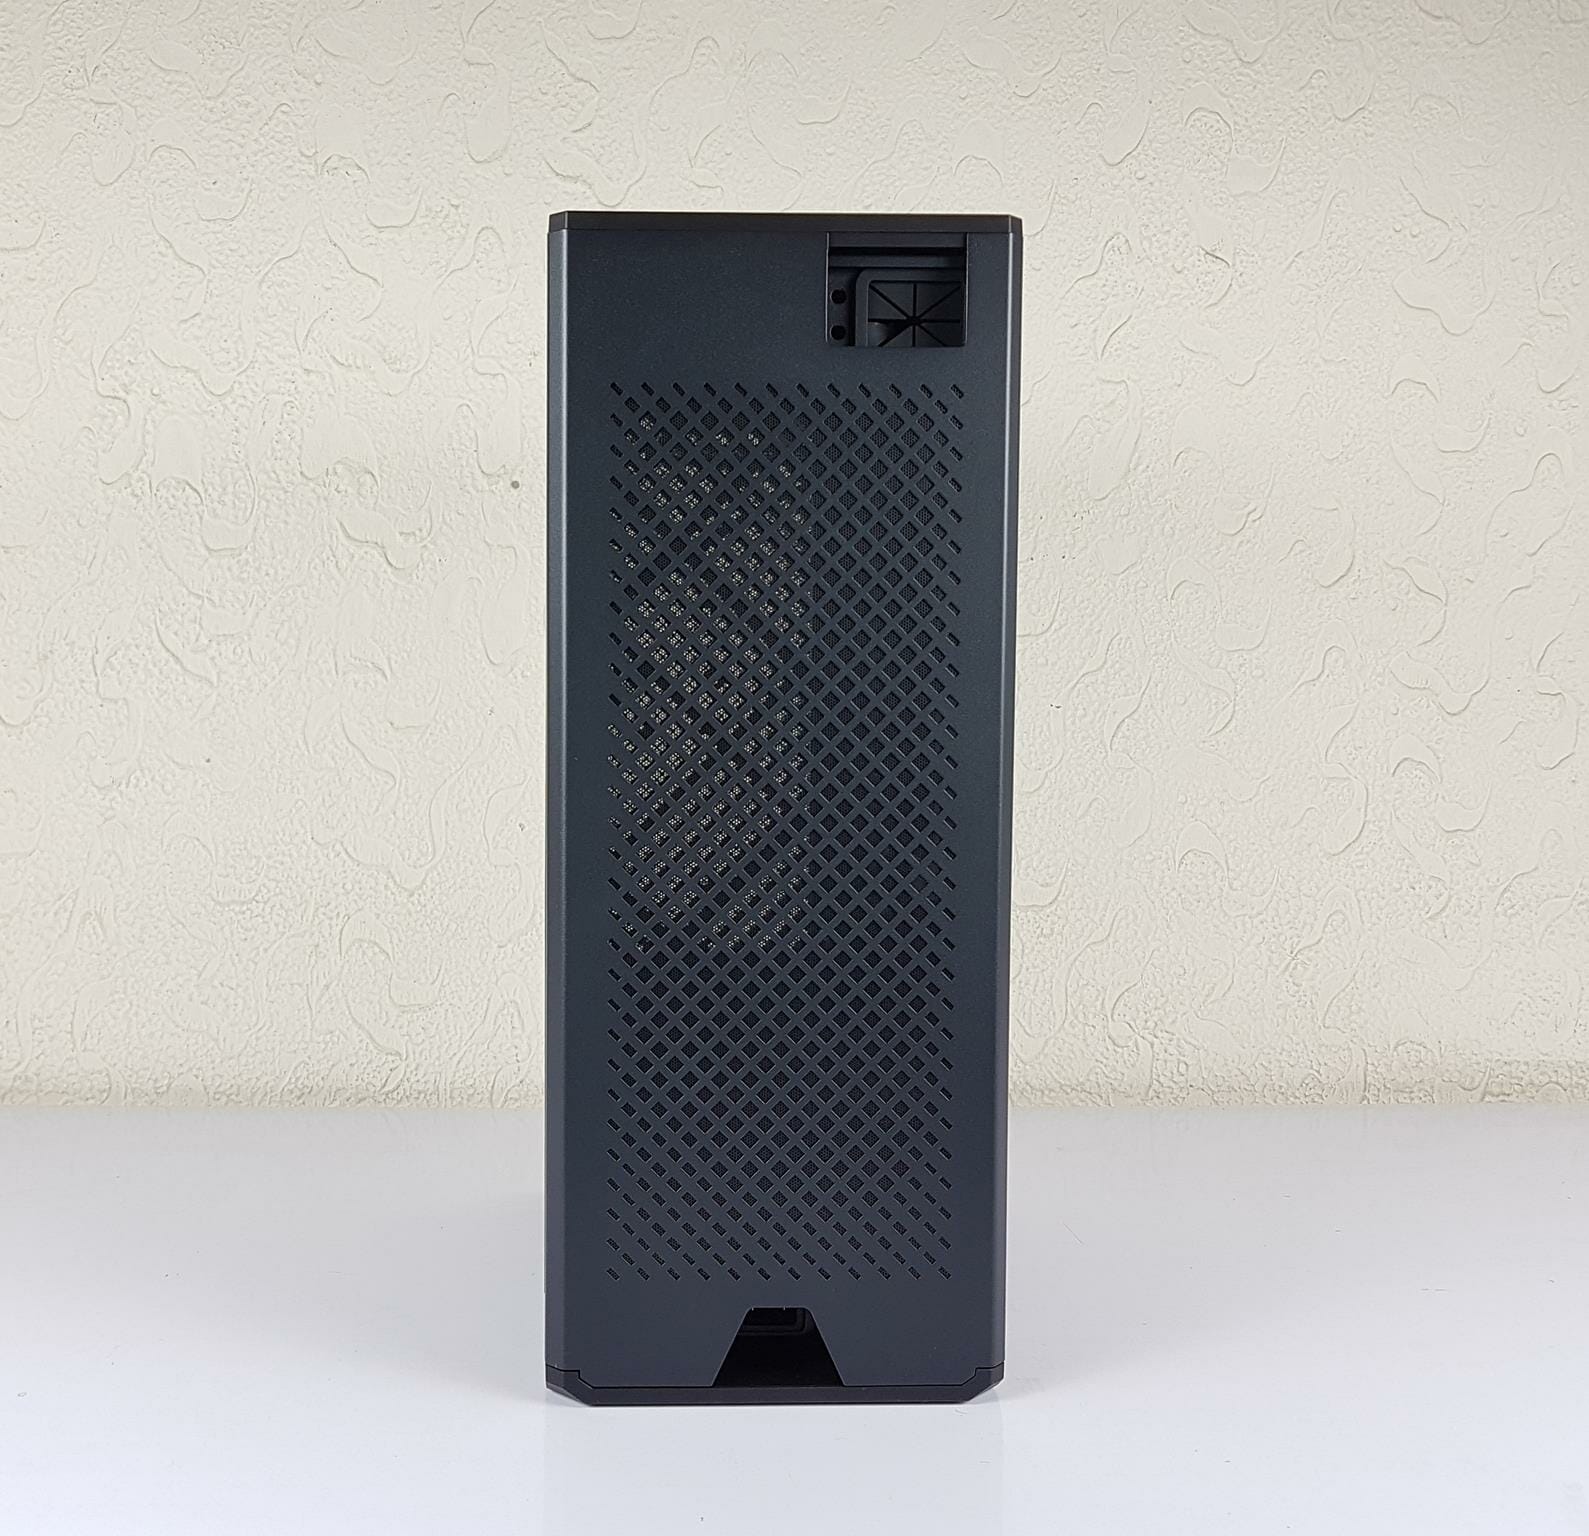
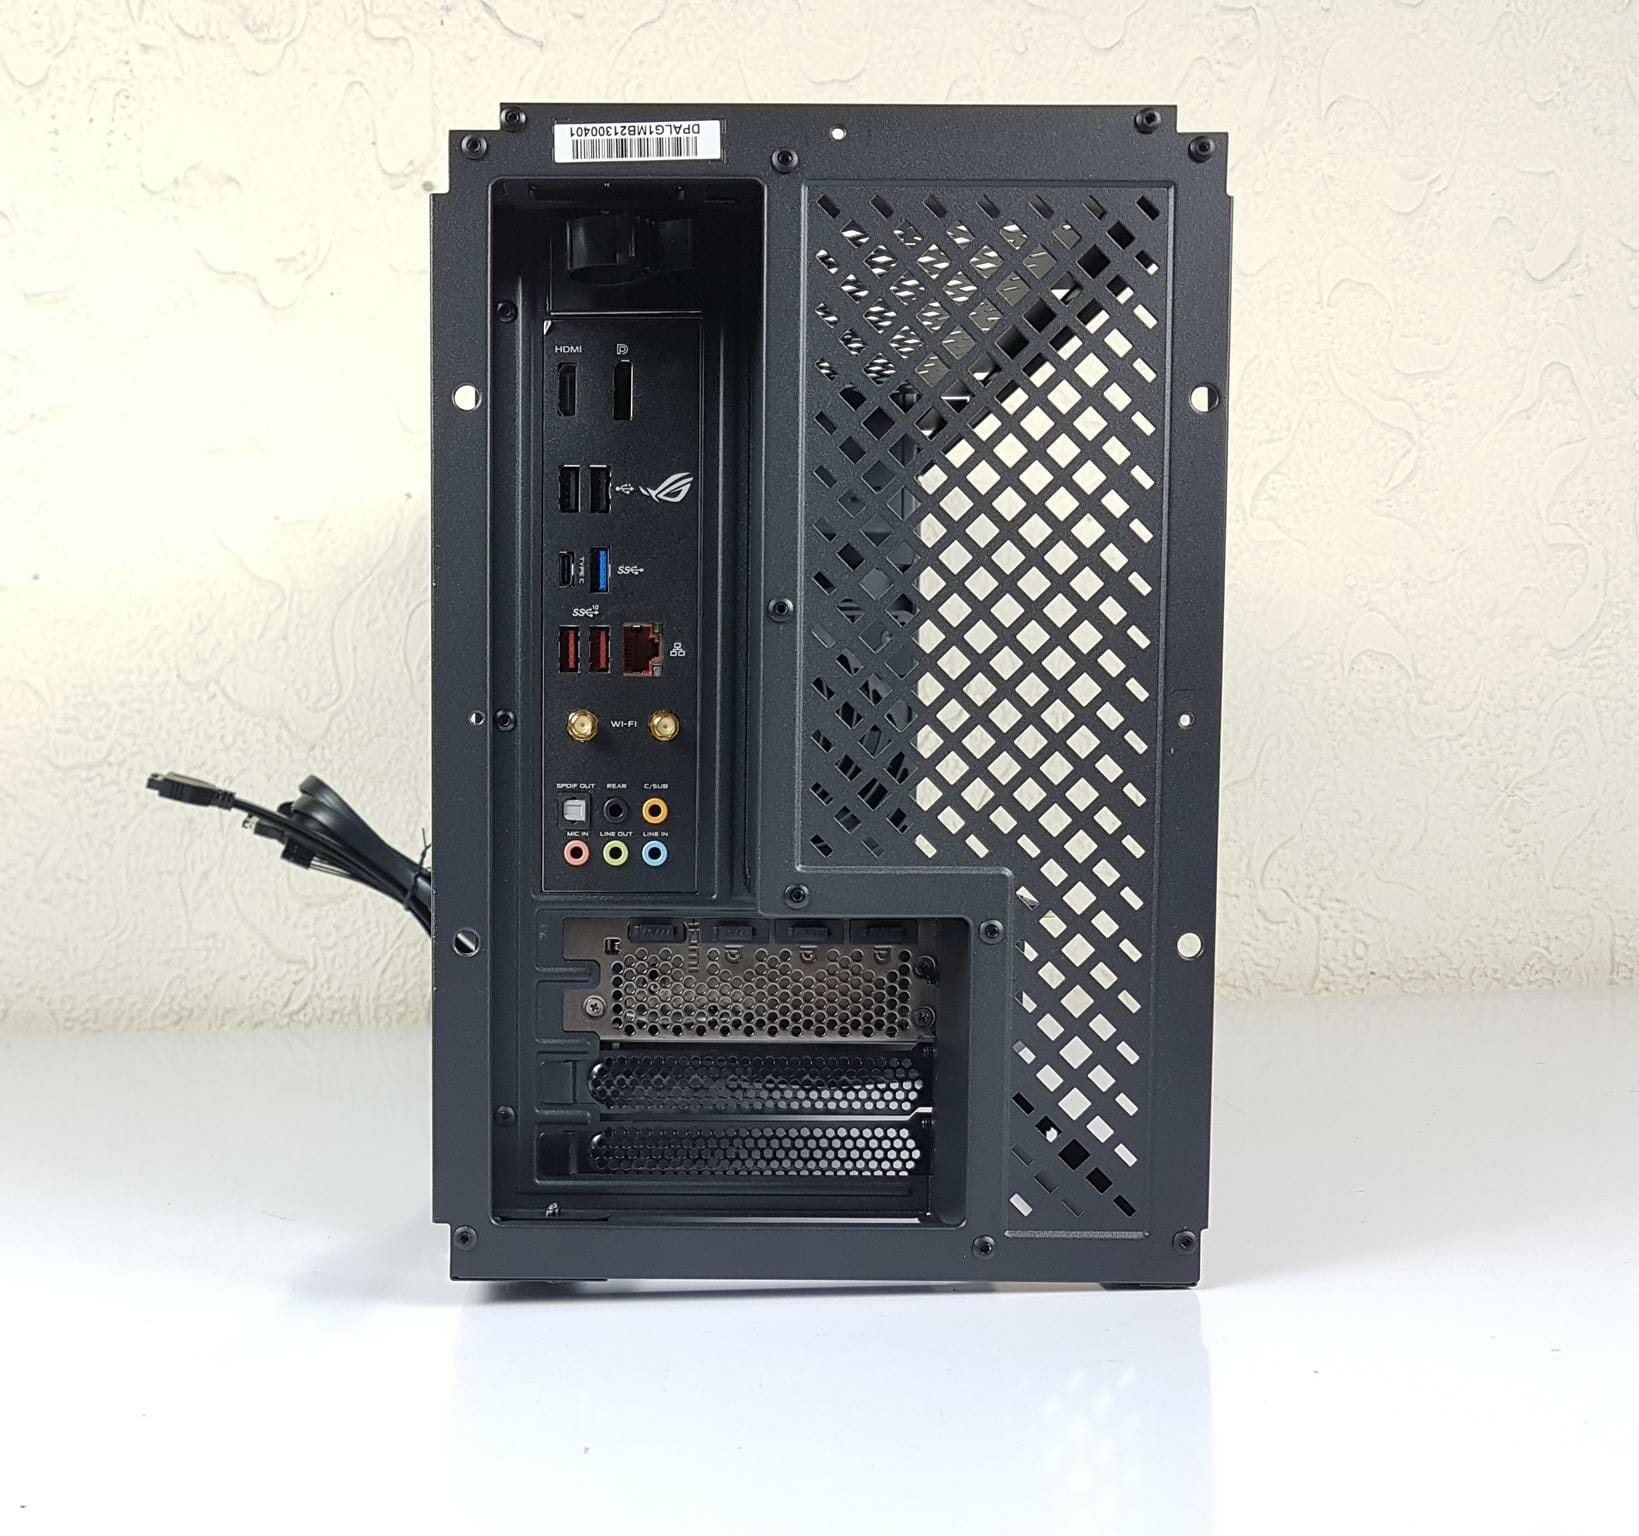
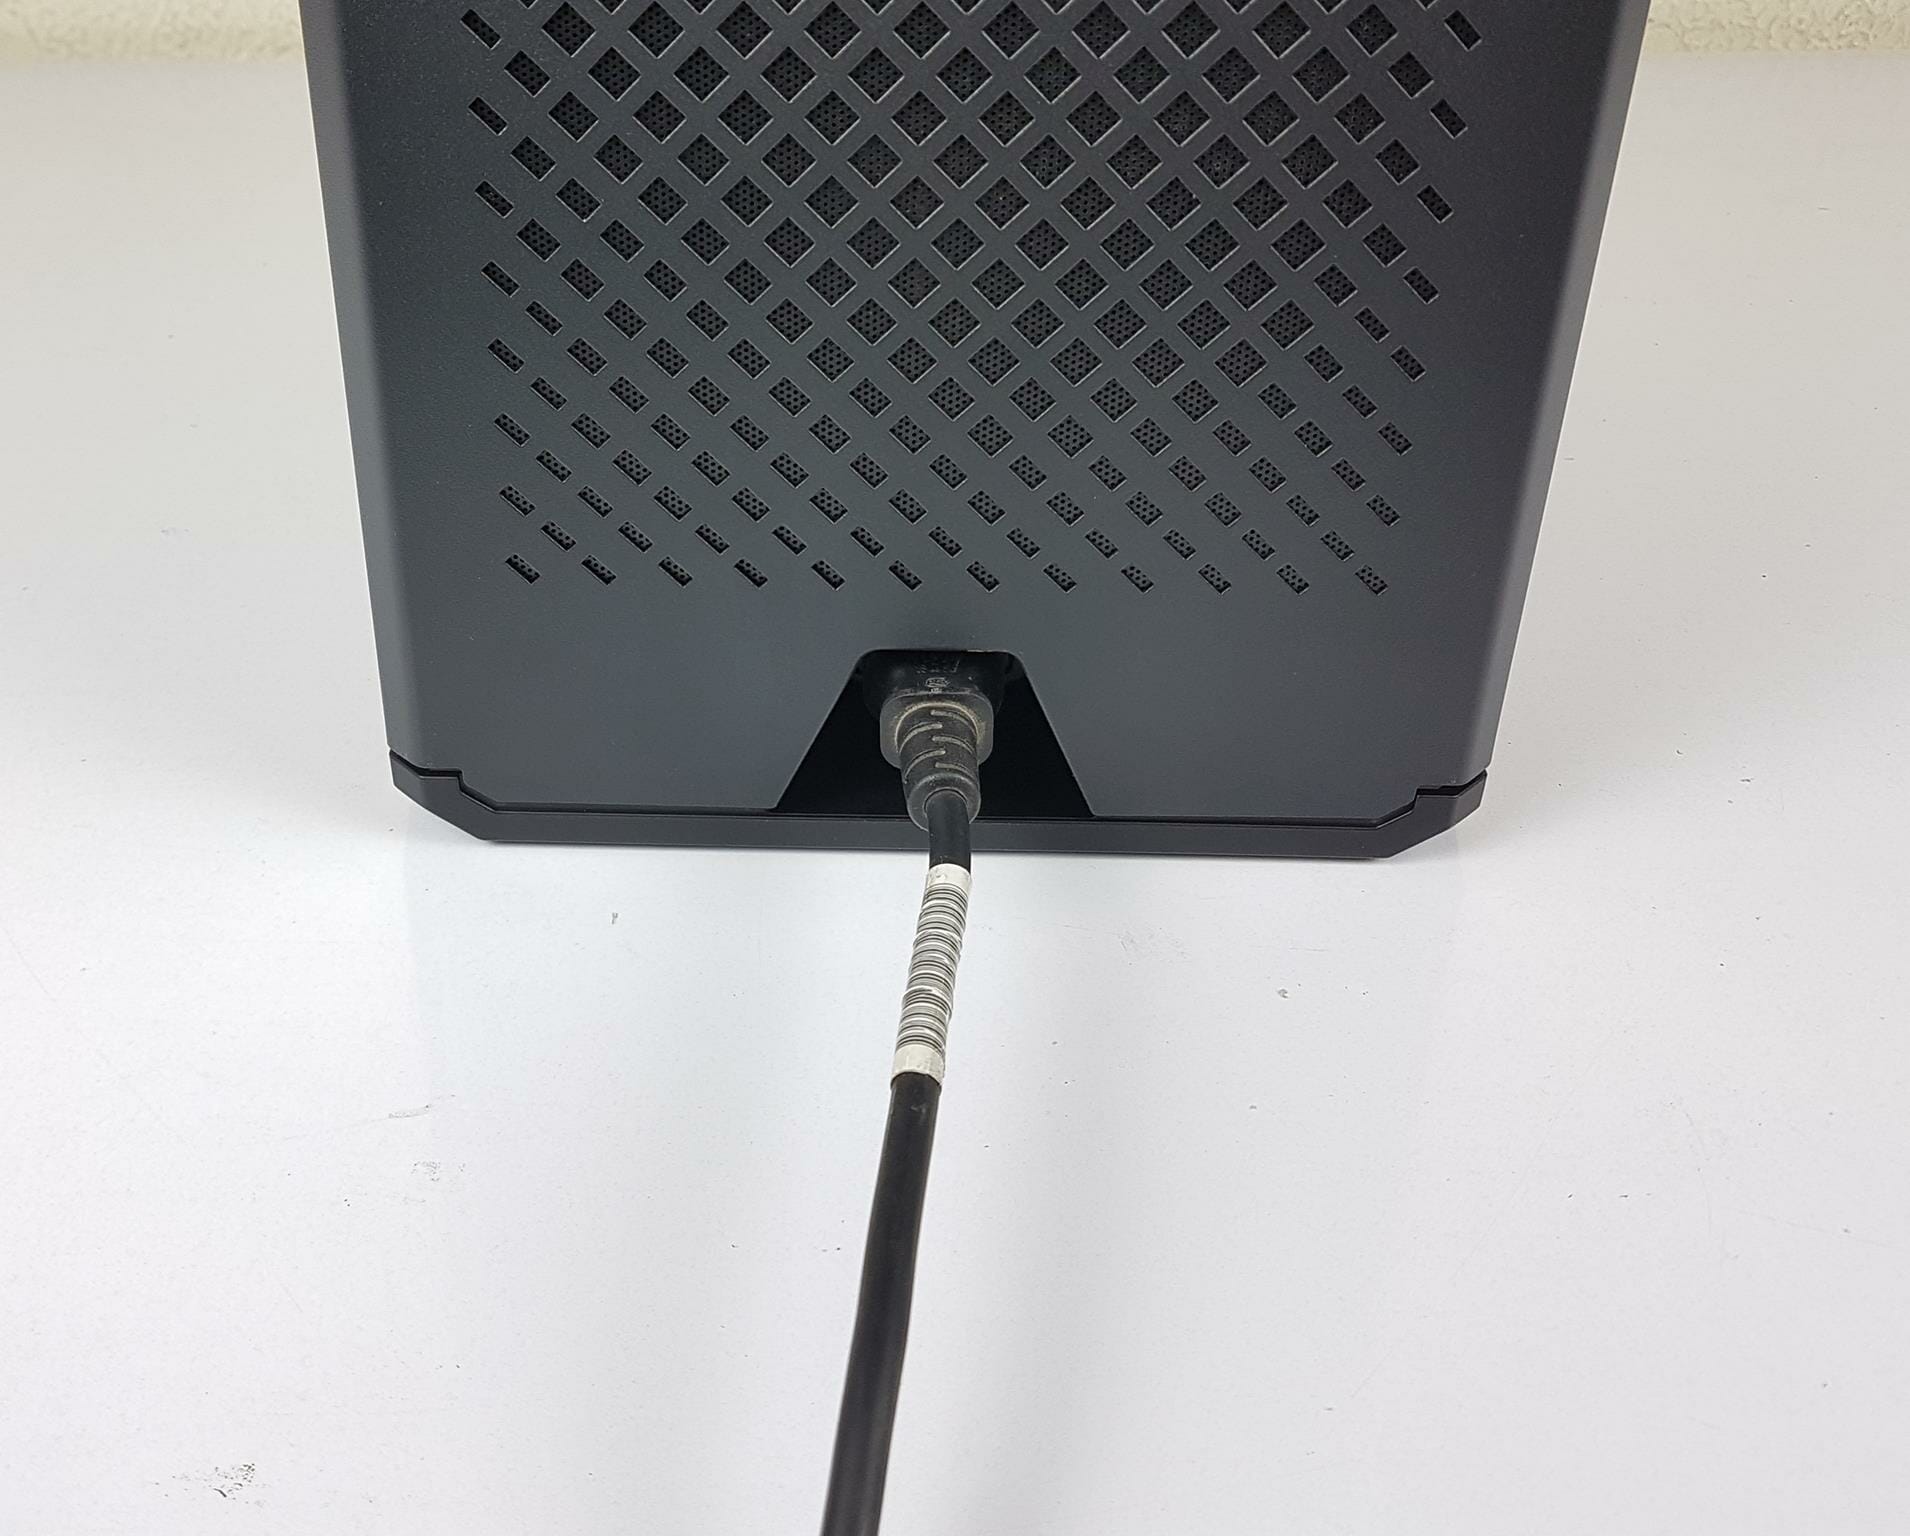
Here we have a vented steel panel covering the entire side. There is a cutout on the base and another cutout on the top. There is no branding anywhere.
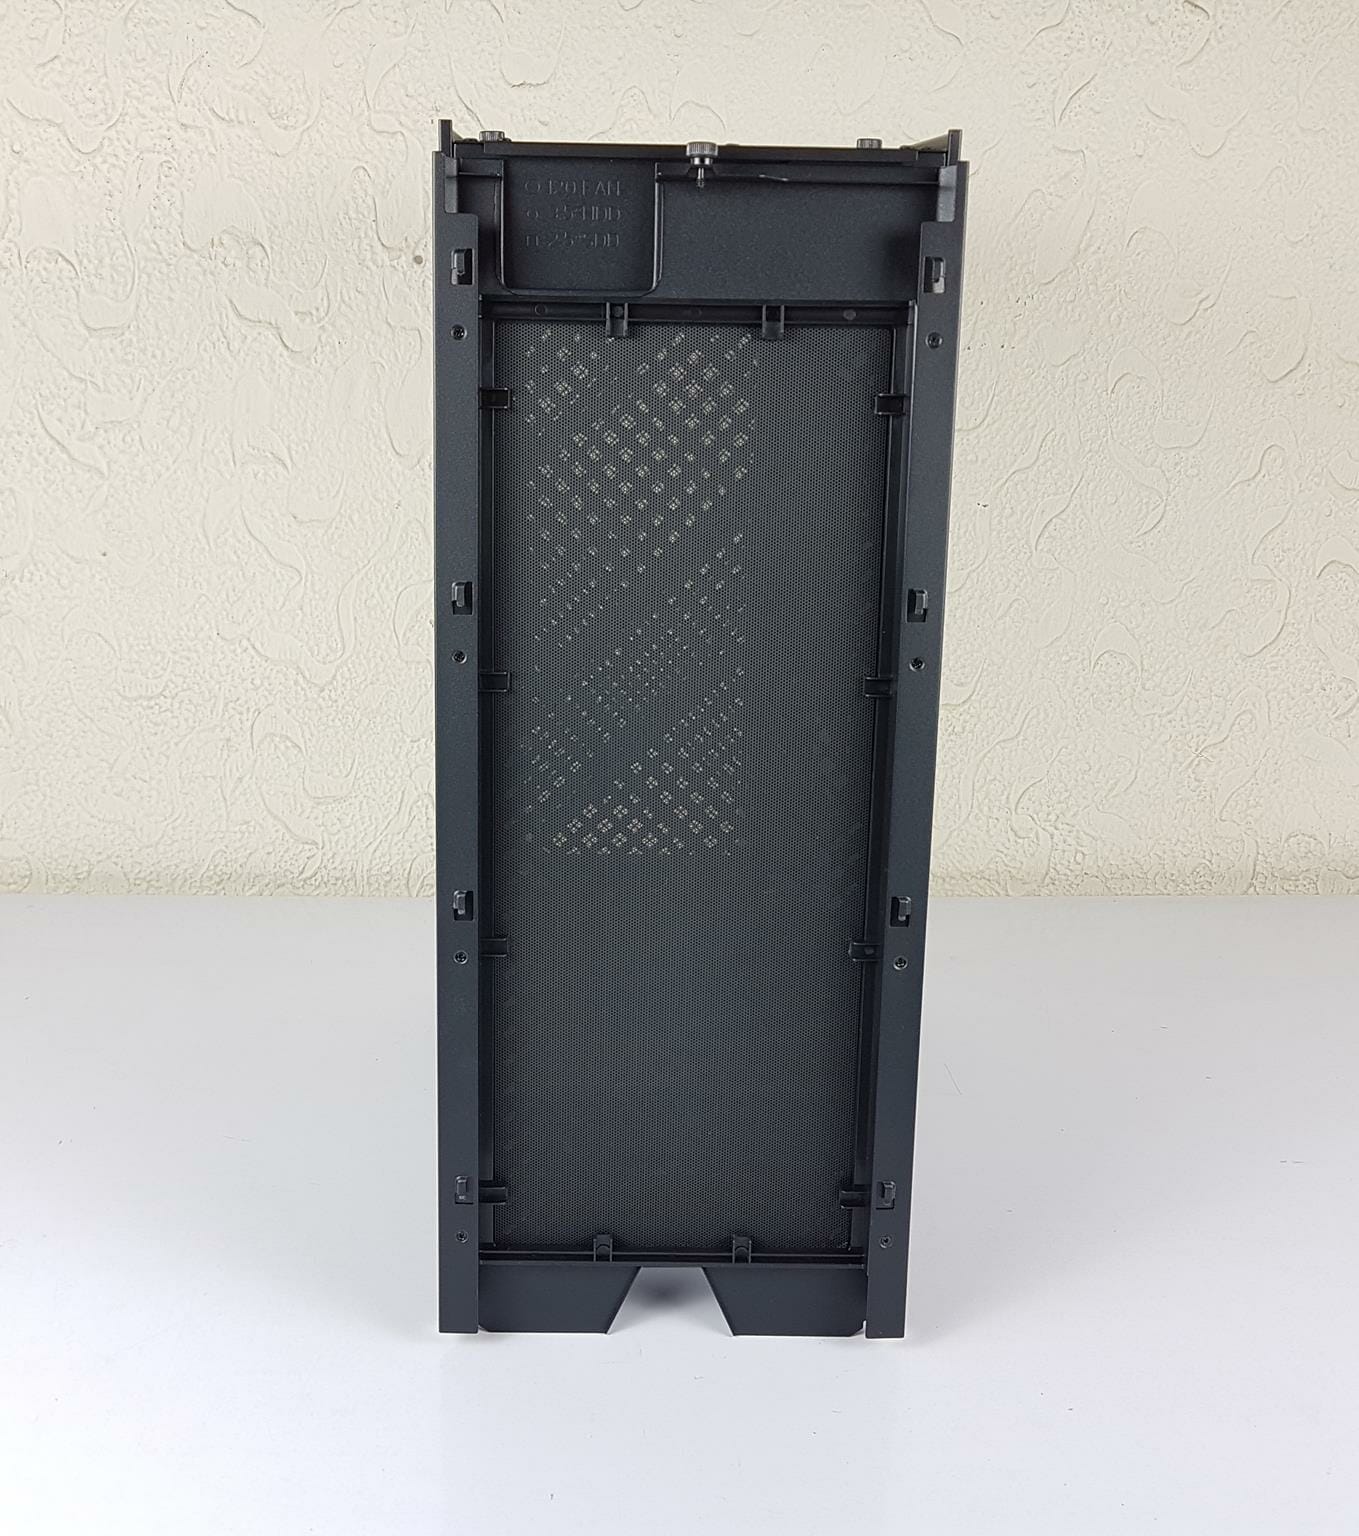
The above picture shows the backside of the front panel. We have a removable dust filter which is not magnetic.
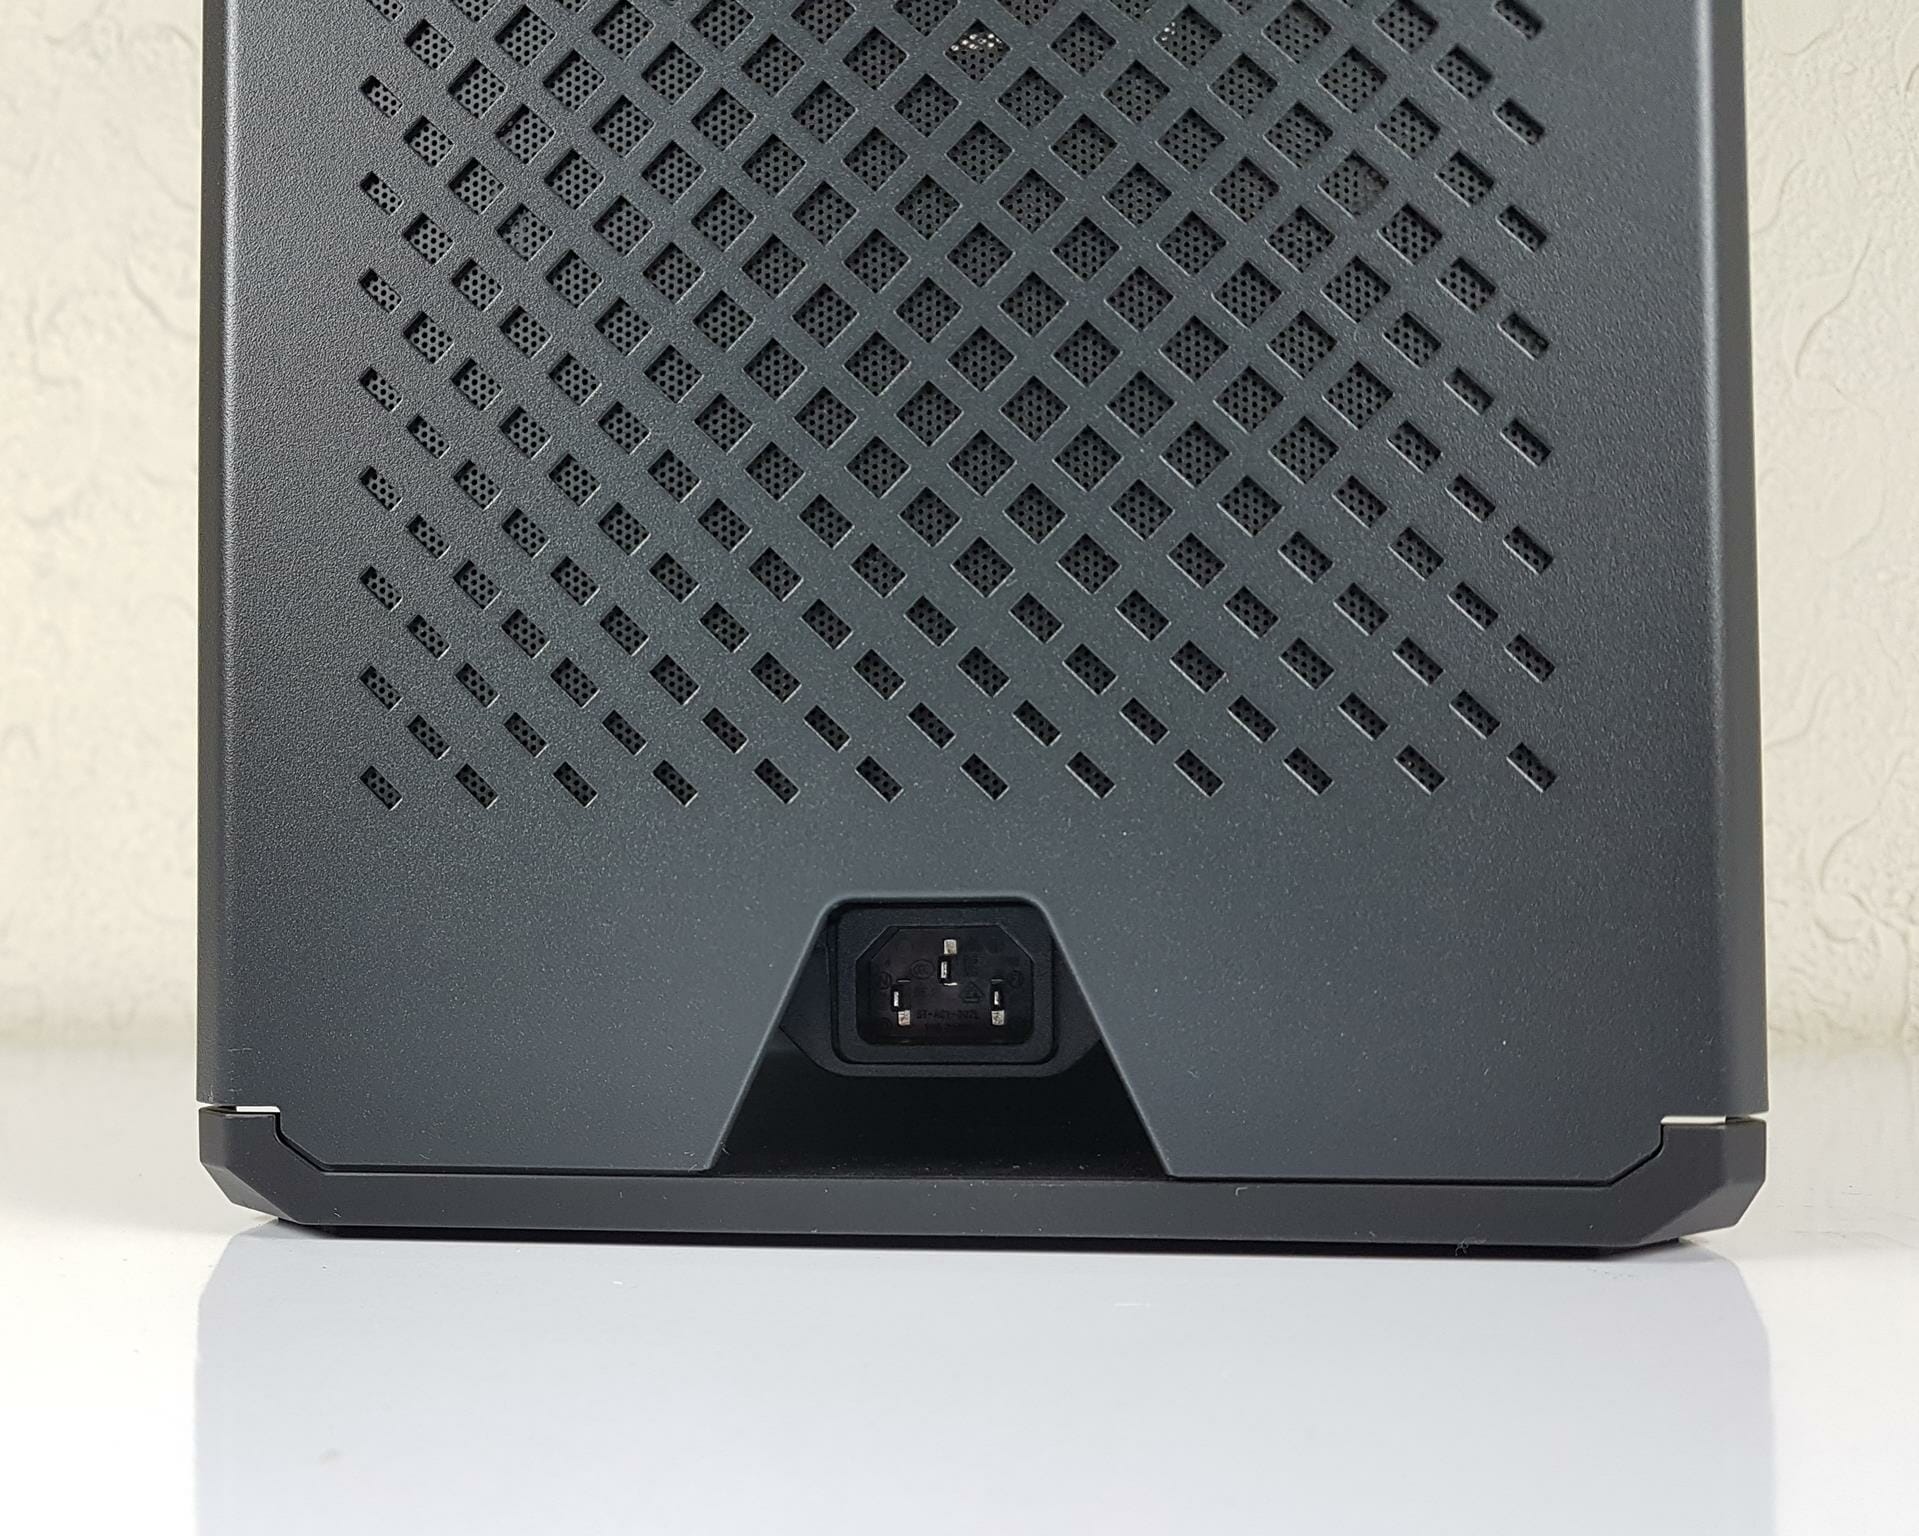
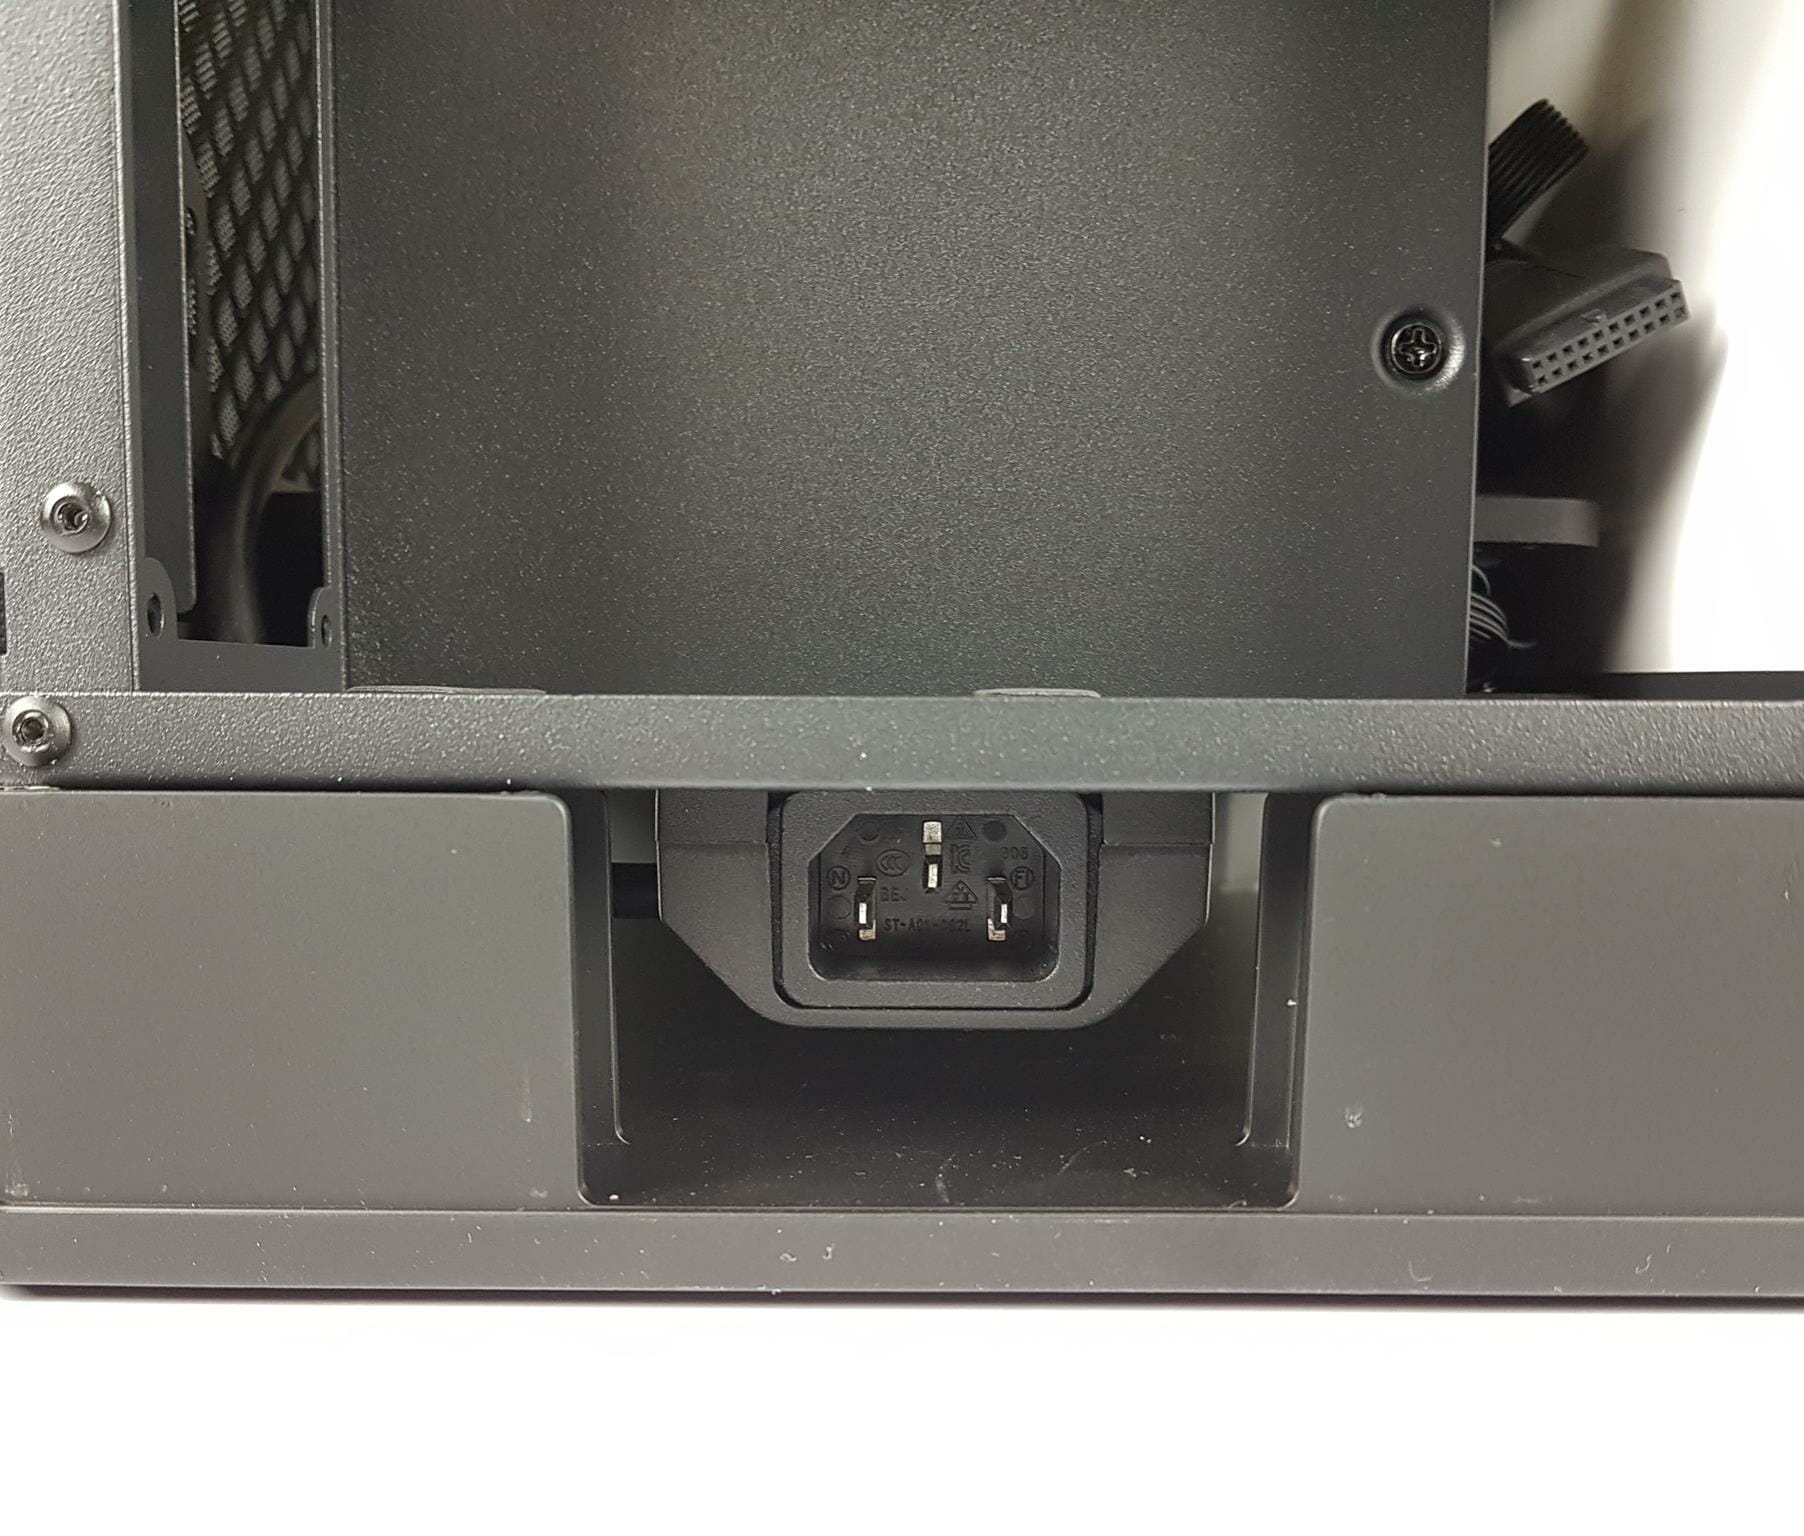
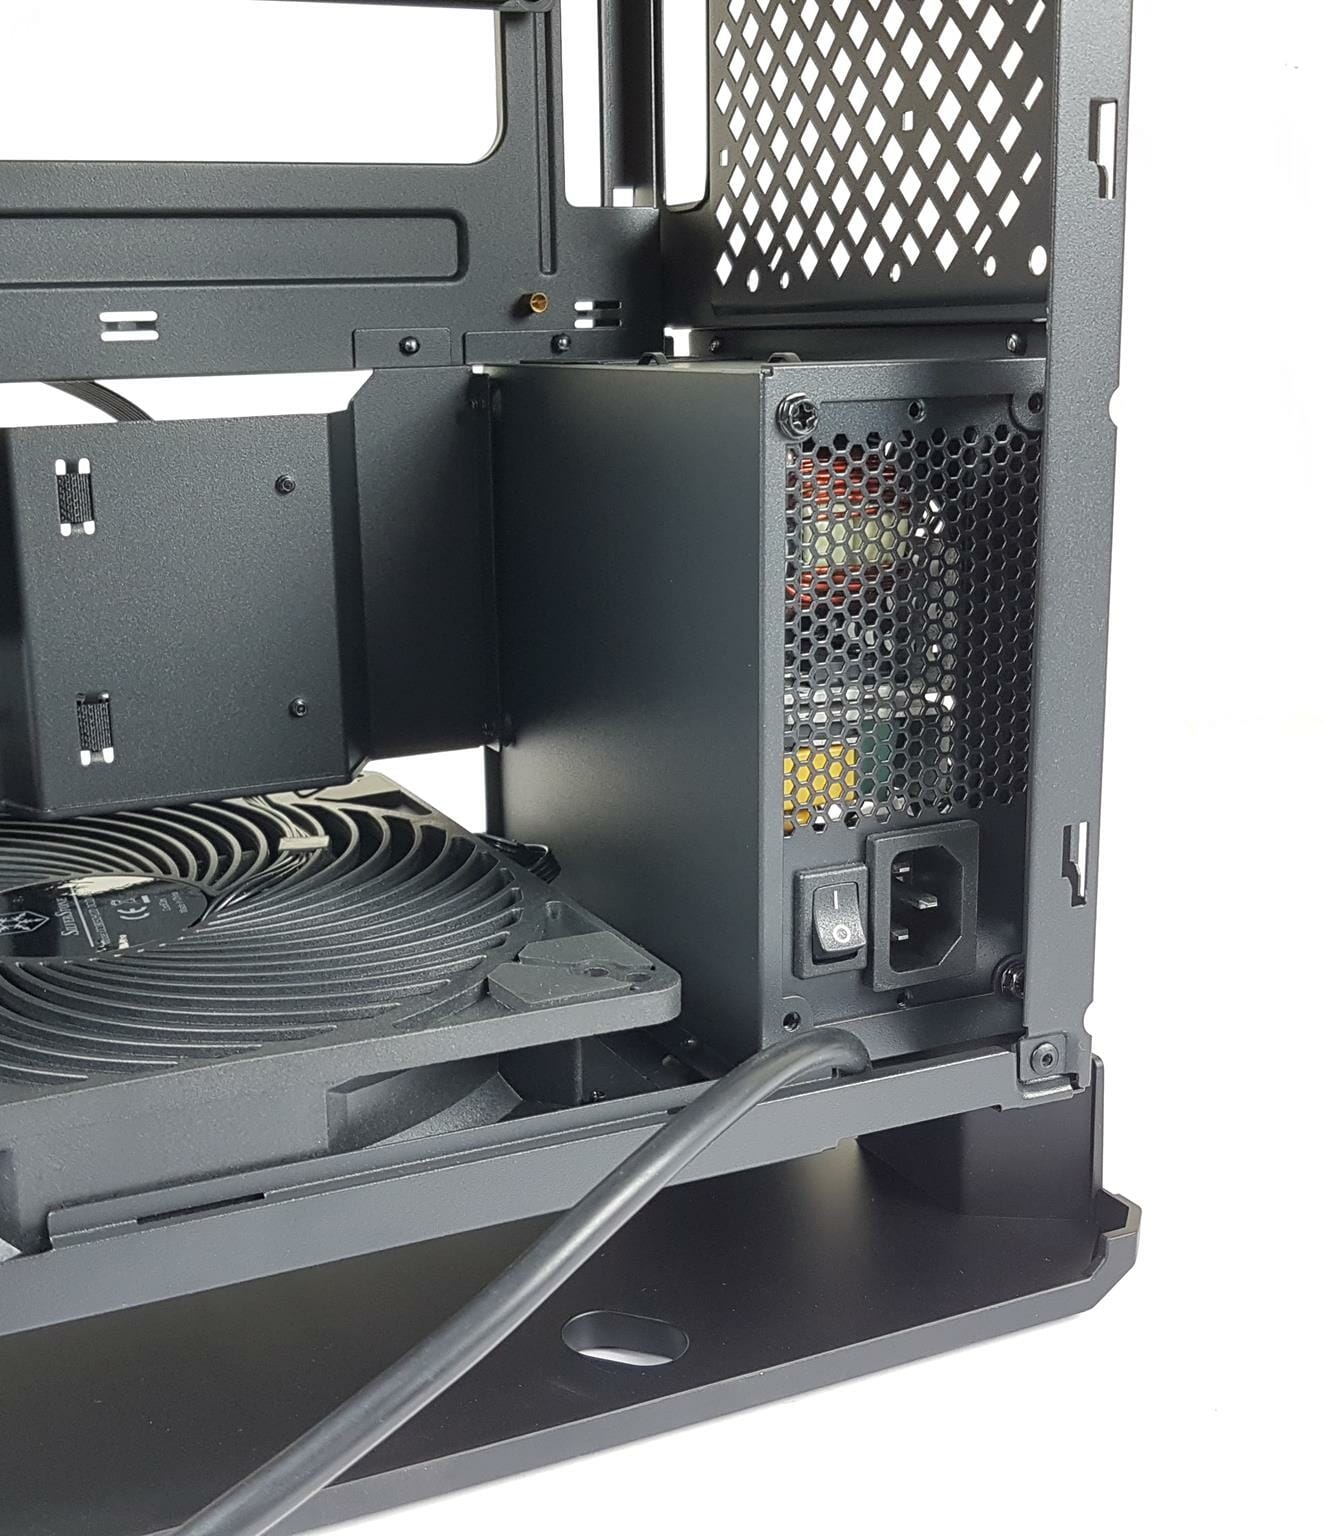
The bottom cutout is there to make room for the power plug of the PSU. It is a smart design approach without compromising the overall layout and design of the case. Though the case is micro-ATX, it is mostly designed around the mini-ITX layout.
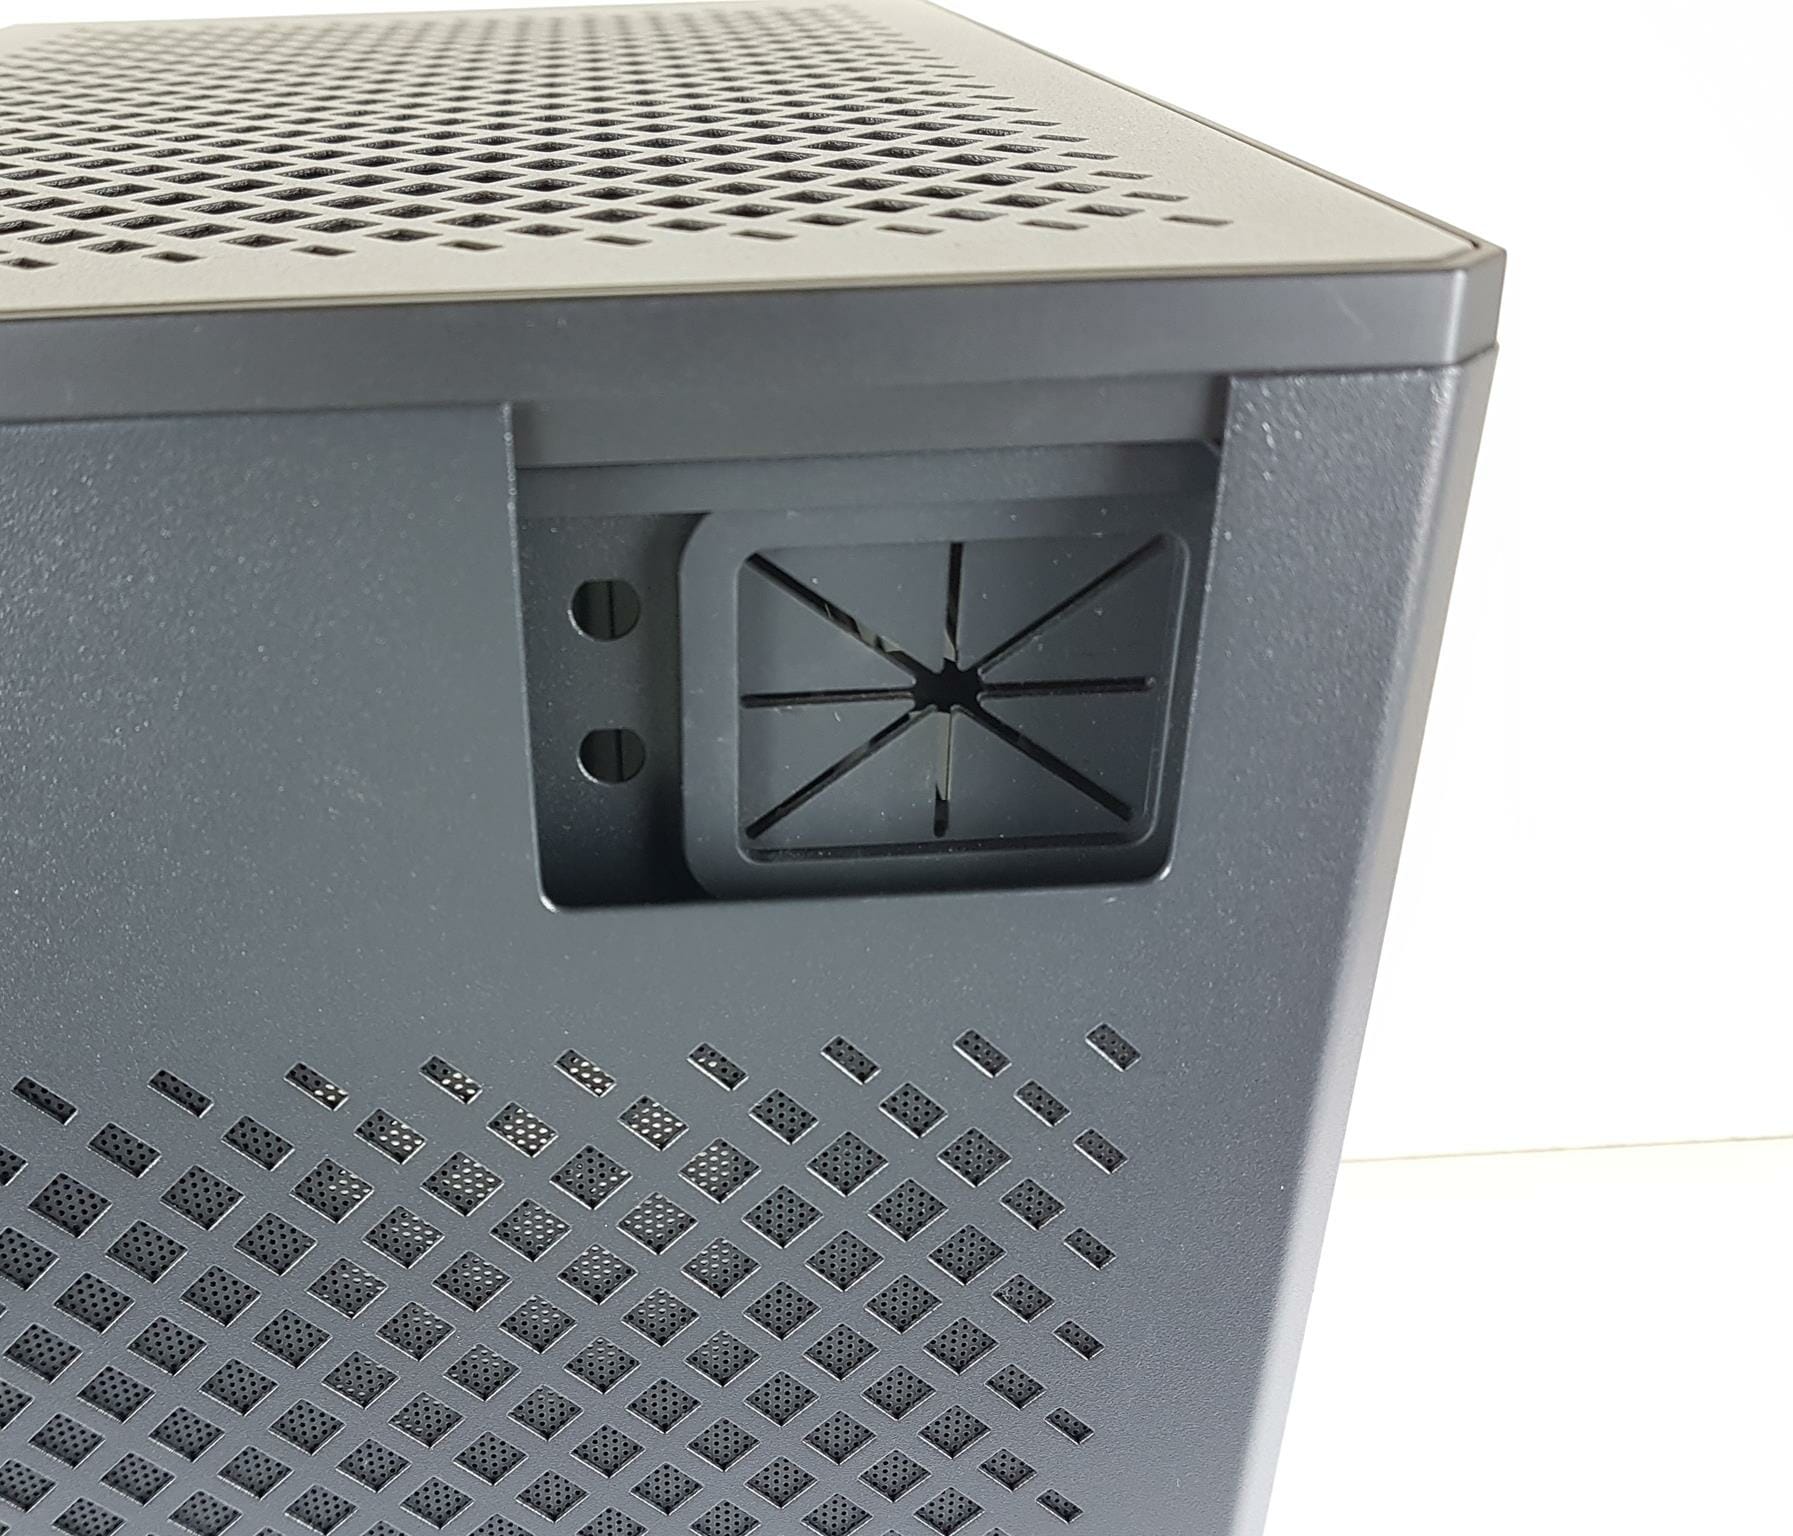
All four sides of the case have removable panels, so SilverStone has to make room for connectivity with the motherboard’s Rear IO panel. The next thing is the cable routing for the graphics cards, peripherals, the Wi-Fi antenna, etc. SilverStone has provided a cutout on the top since this is the area where the backside of the motherboard and the graphics card will be visible. The cables have to be routed through this cutout. I admire the presence of a rubber grommet here.
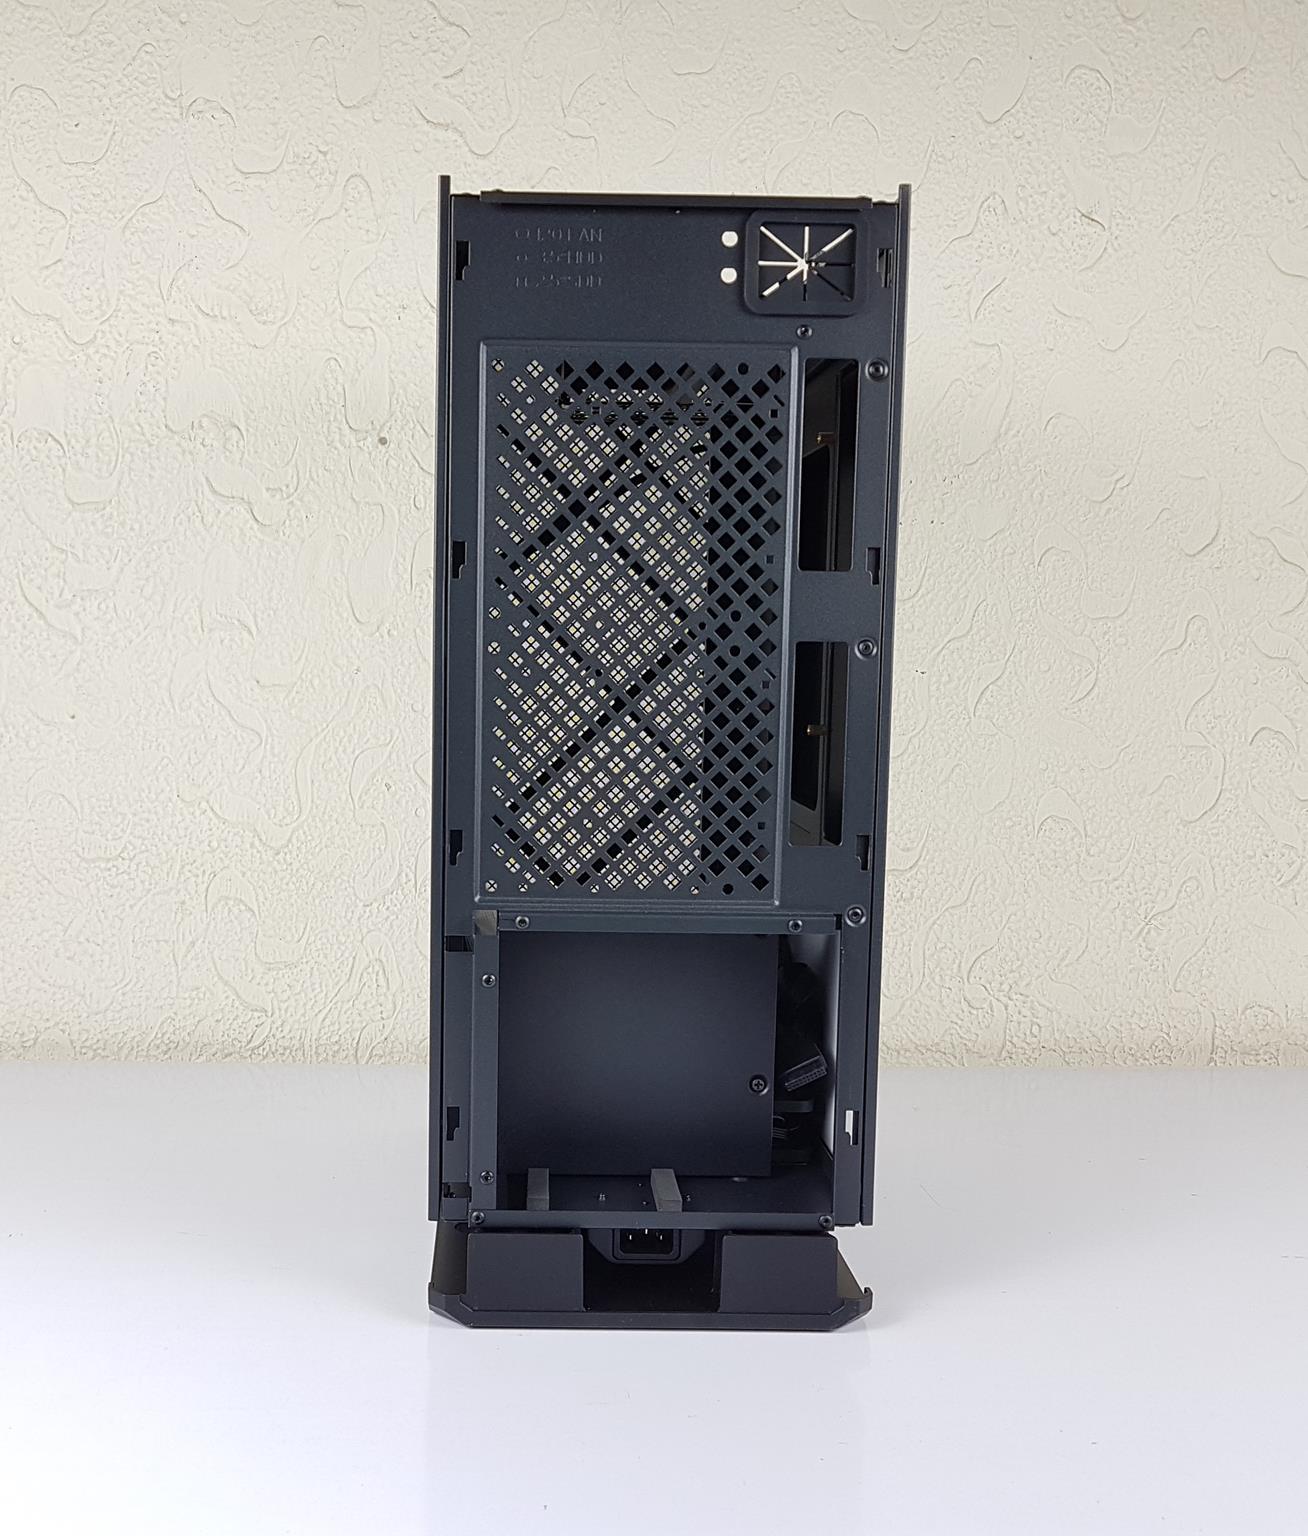
The above picture shows the backside of the case with the panel removed. We can see two large vertical cutouts right next to the vented area. This vented area can house:
- Up to 2x 120mm fans
- Up to 2x 3.5” drives
- Up to 2x 2.5” drives
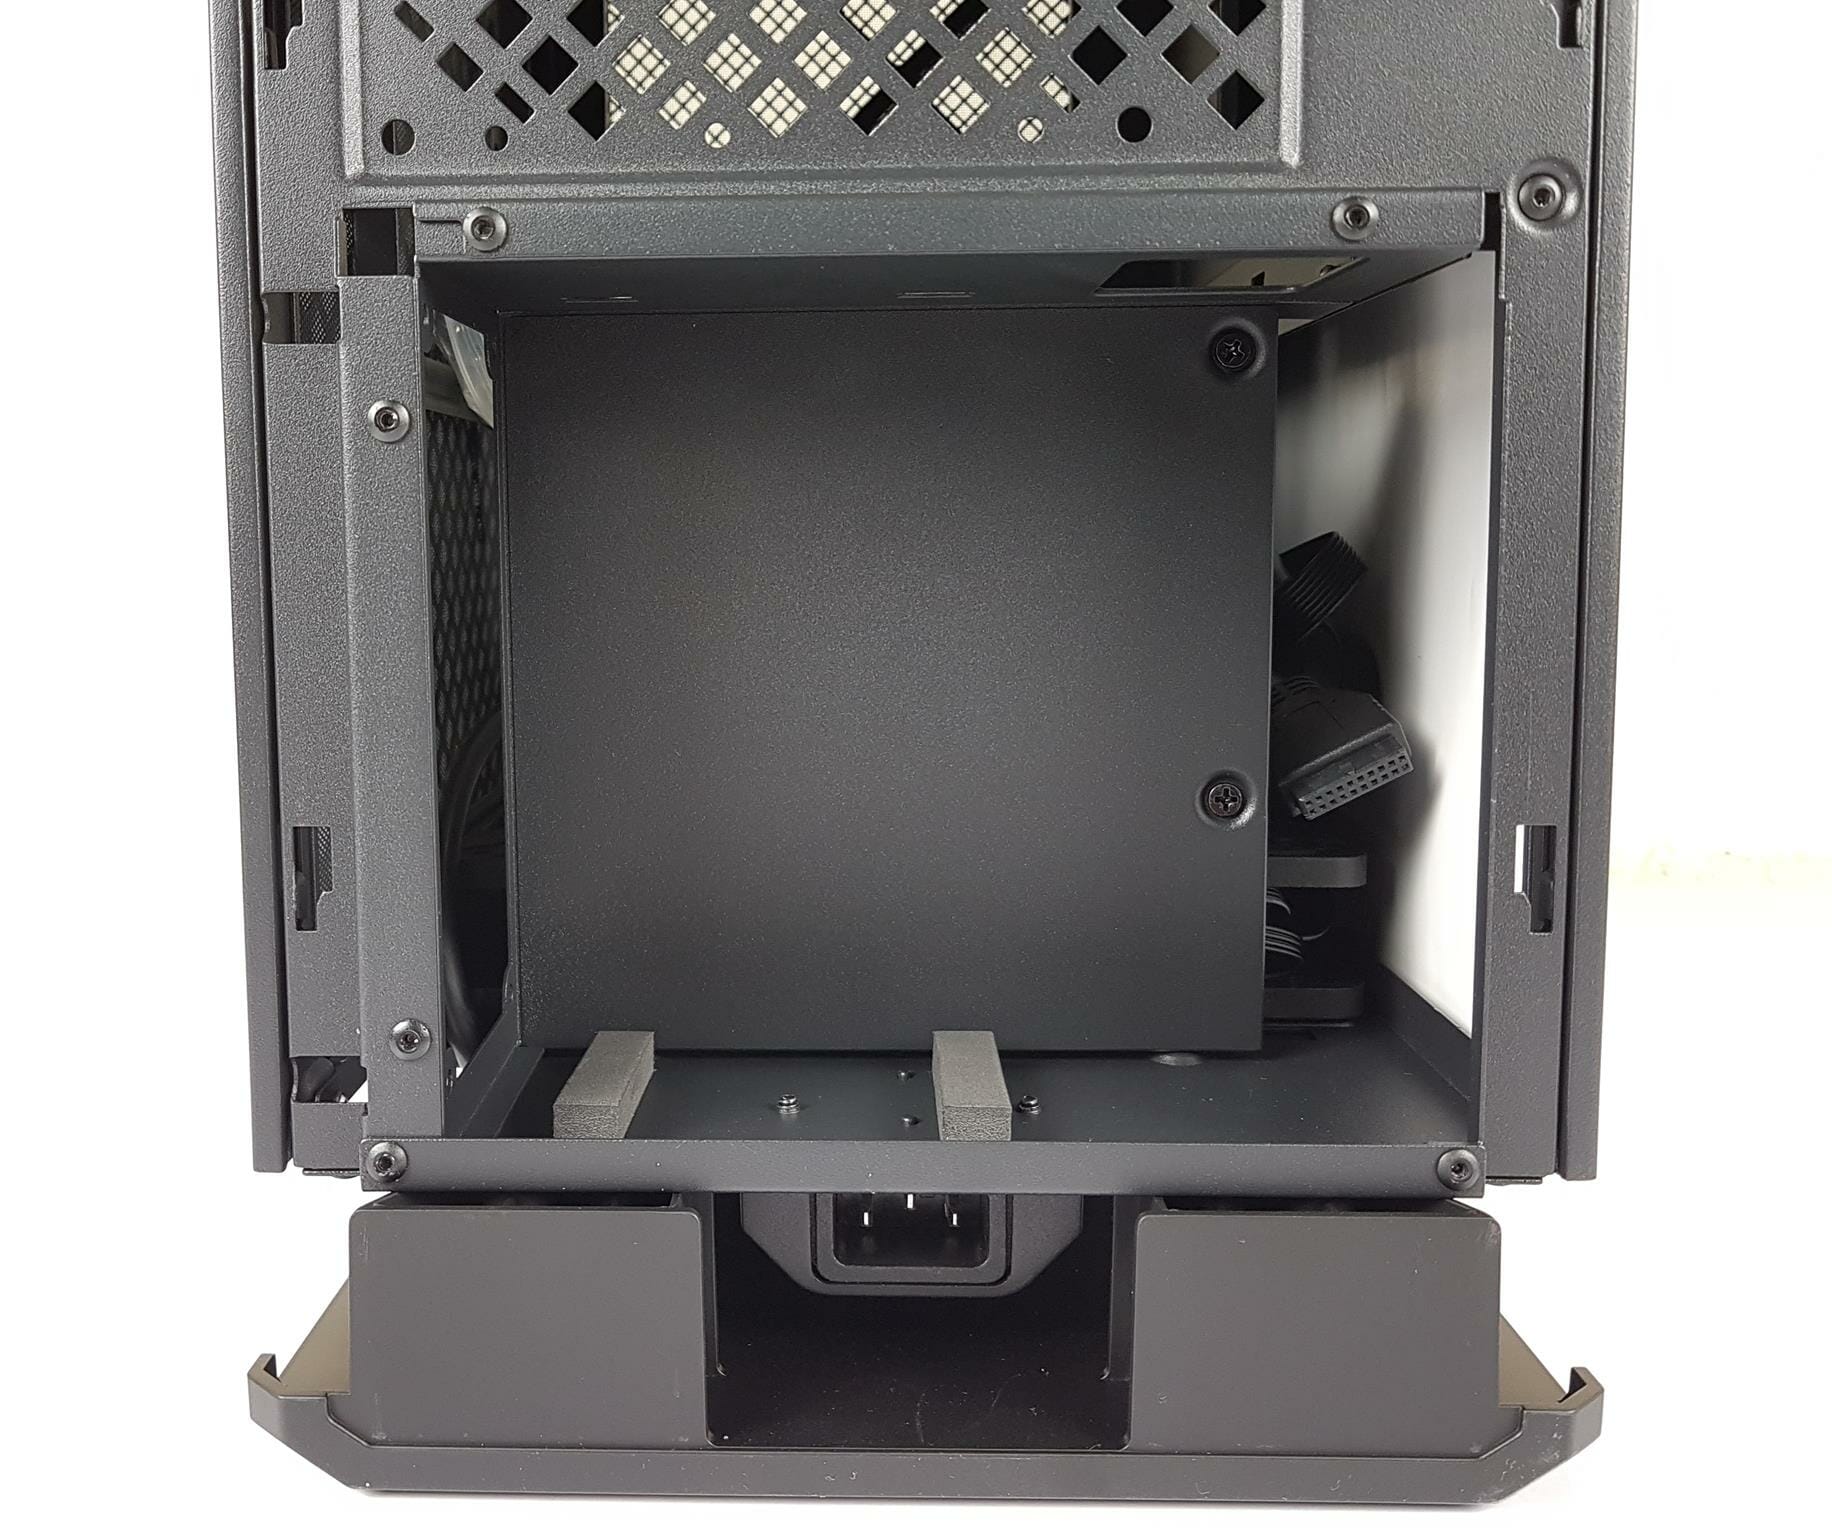
There is a large size cutout on the base for the PSU. Speaking of the PSU, this case supports SFX and SFX-L size units with a maximum length of 130mm. Since we have a support of SFX-L size PSU, the user can install serious hardware inside this case without worrying about the power supply power density requirement as we have 1000W PSU in SFX-L size in the market. In fact, SilverStone was gracious enough to send us their SX1000L Platinum PSU for the test build in the ALTA G1M which allowed us to use Intel i9 9900k and MSI GeForce RTX 3090 Gaming X Trio.
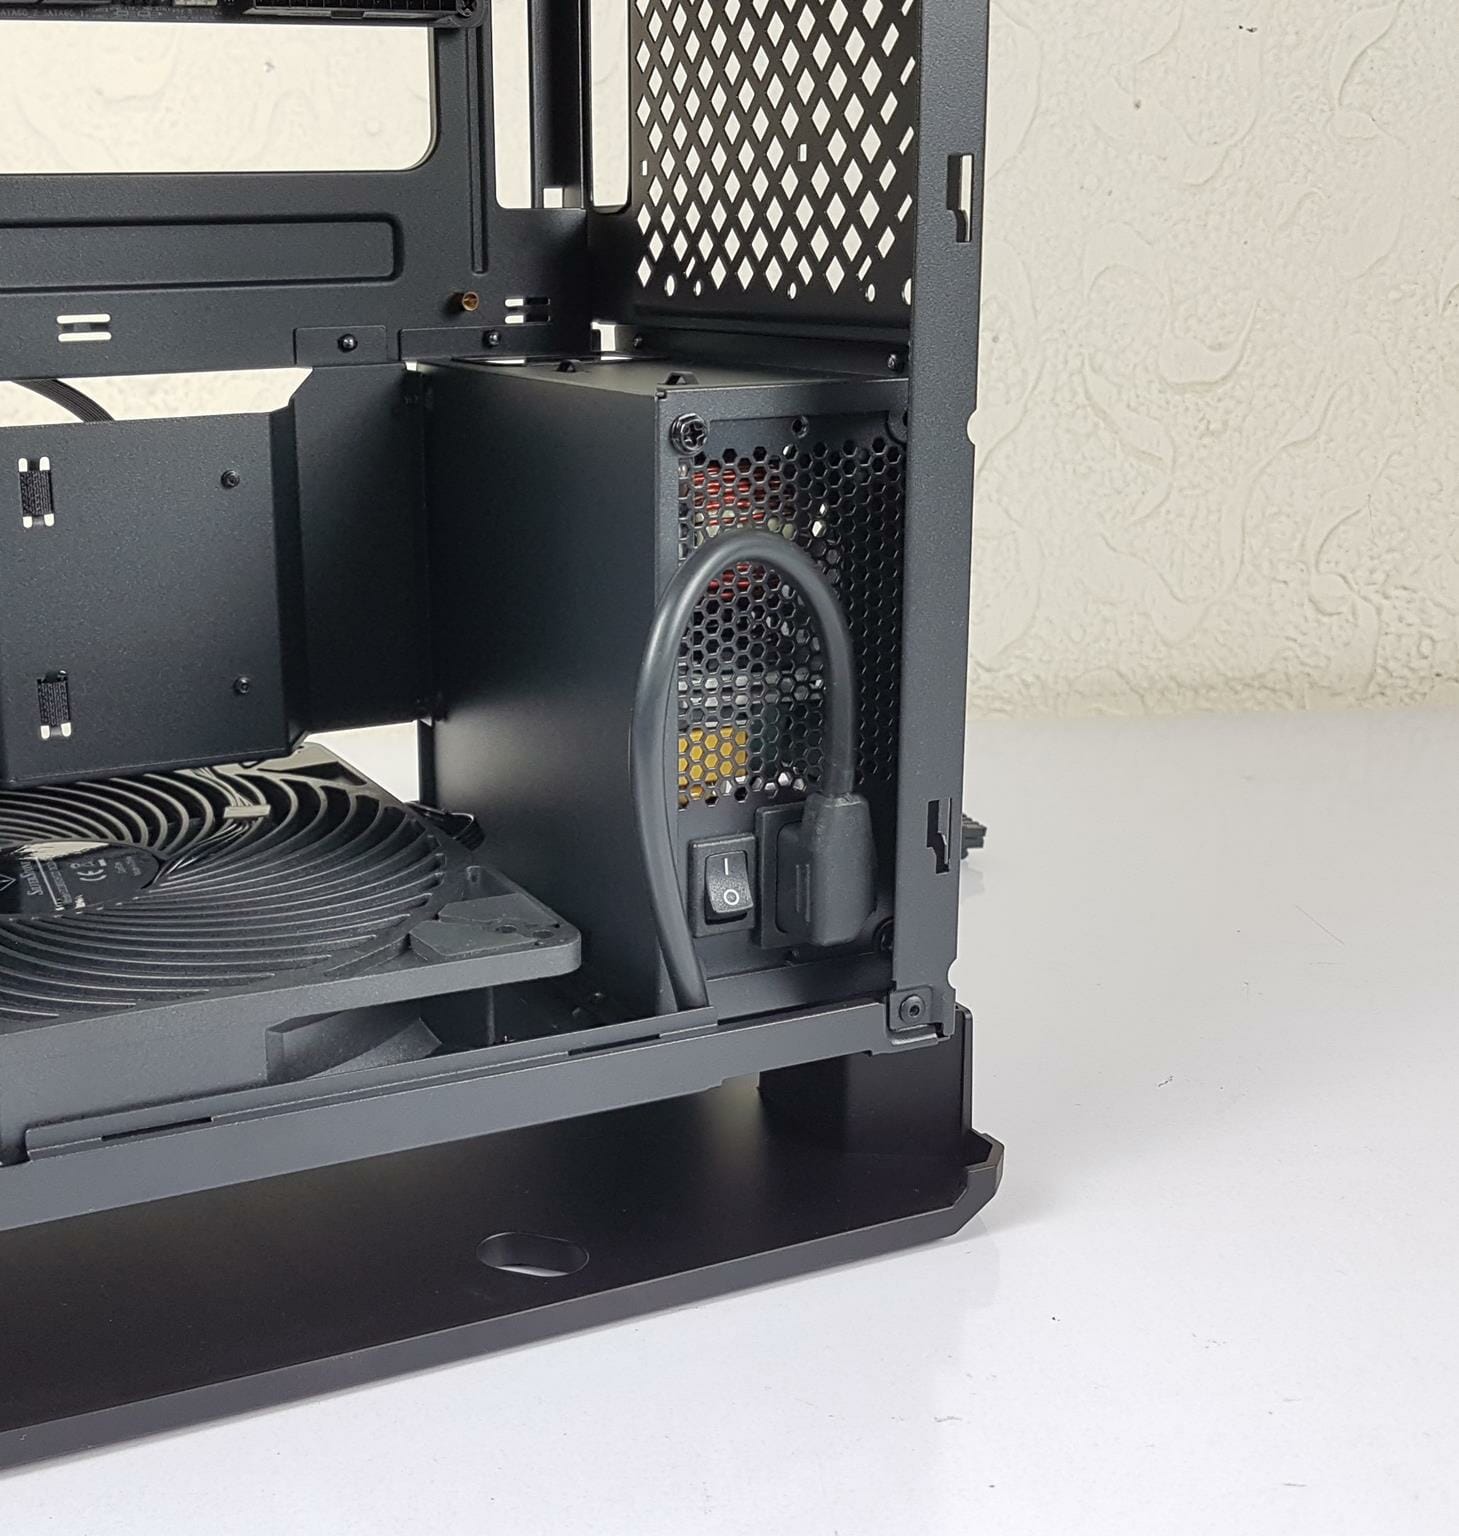
There is a 3-pin housing on the base of the case where the user can connect the power plug of the PSU power cable. The idea is simple. SilverStone has installed the connector with the 3-pin power cable in by-pass design coming out of it on the rear and making its way from the left side to the back of the PSU bay. This is exactly the design and layout which the ITX compact cases follow.
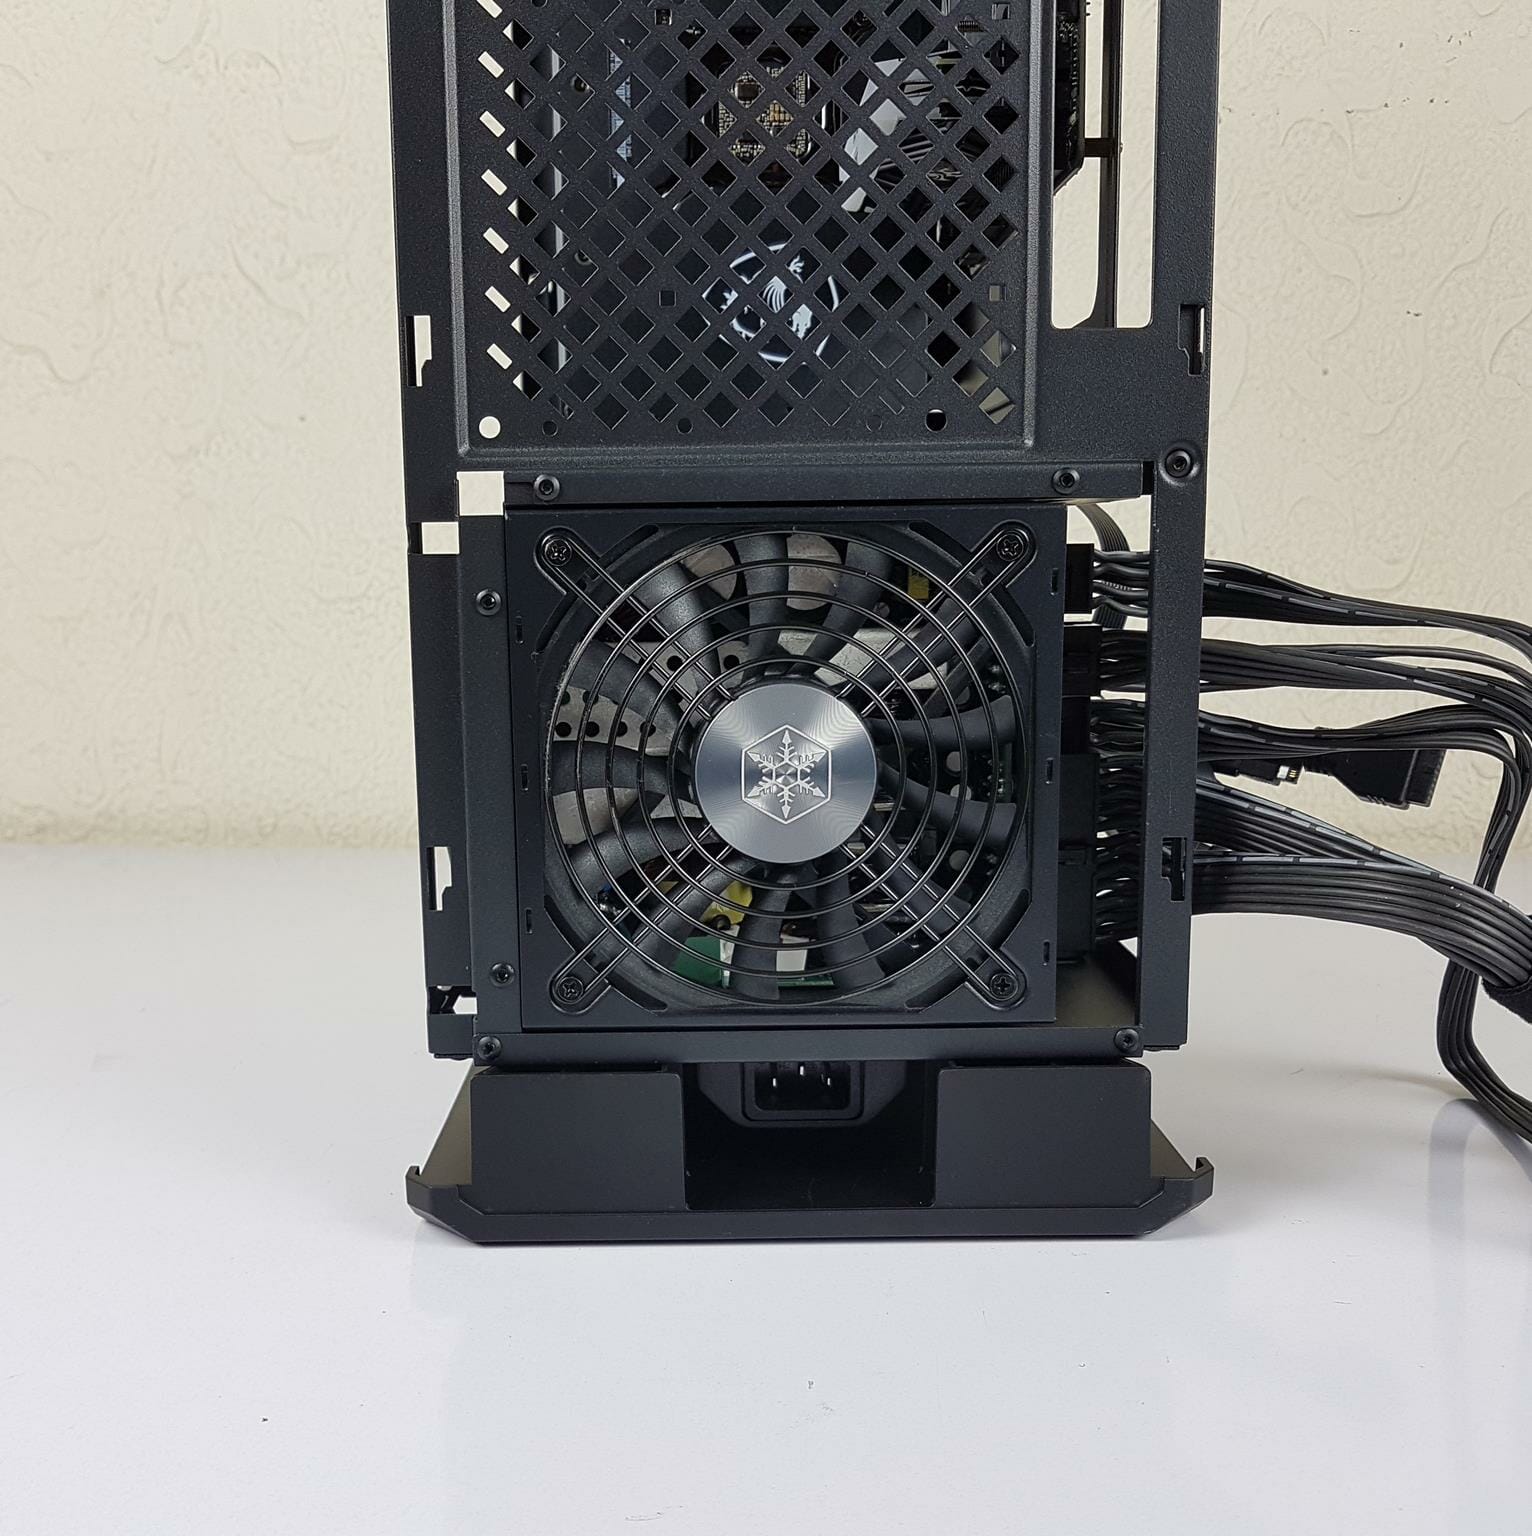
We have a bay area where the PSU can be installed. There are two full-length rubber pads on the base on which the PSU is placed. These serve to reduce the vibration from the PSU. It is recommended to install the PSU with the fan side facing outward. The fan will pull the fresh air from the vented panel and the hot air will be exhausted from the left side of the case which also has the vented panel. The cables are routed towards the right side of the case.
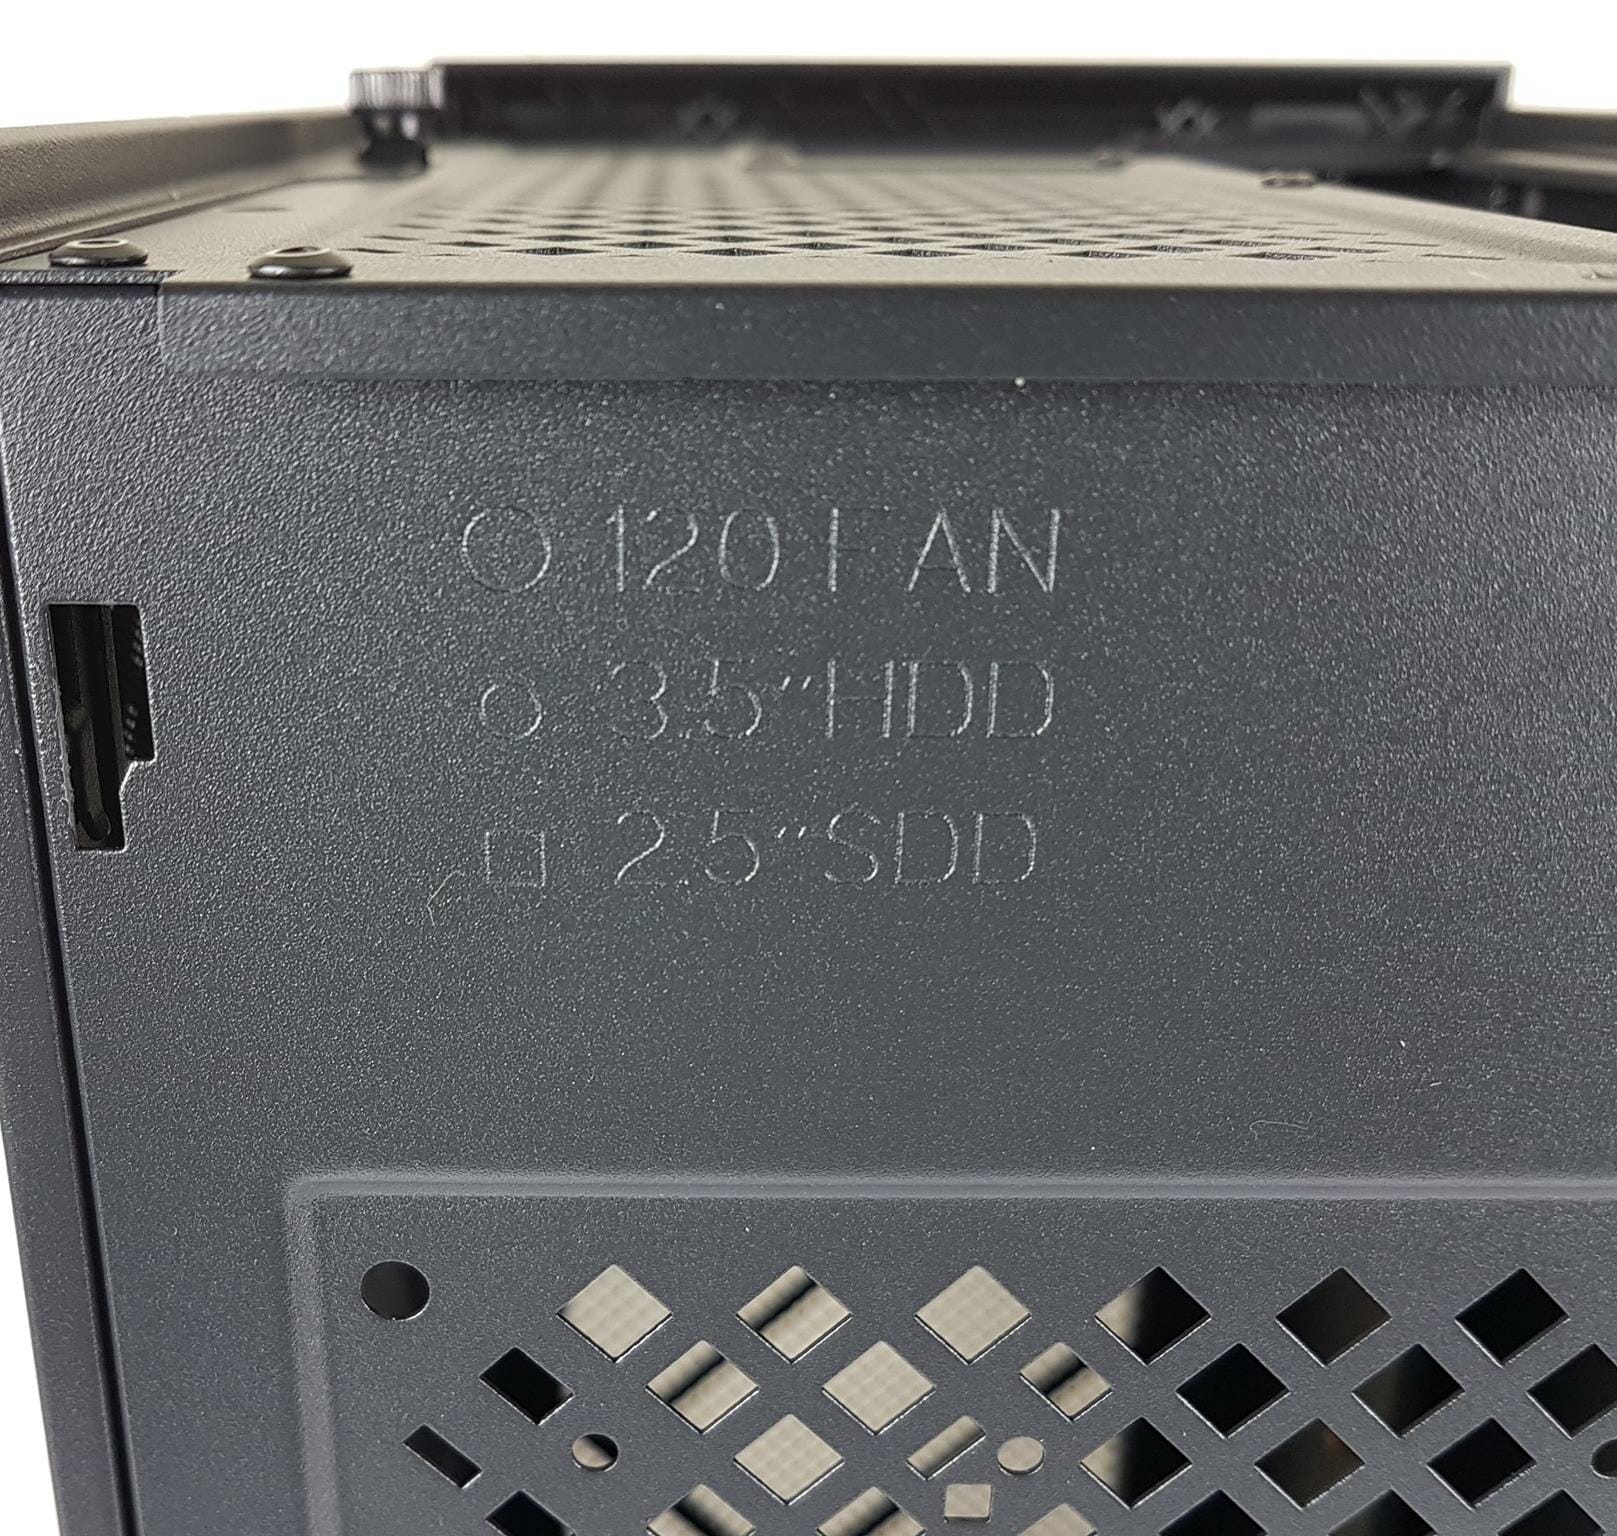
We mentioned above the possibility of mounting fans or drives on the vented steel portion. There is labeling to help the users identify the right mounting hole for each type of mounting option. So far, I am really admiring the attention to the details from SilverStone.
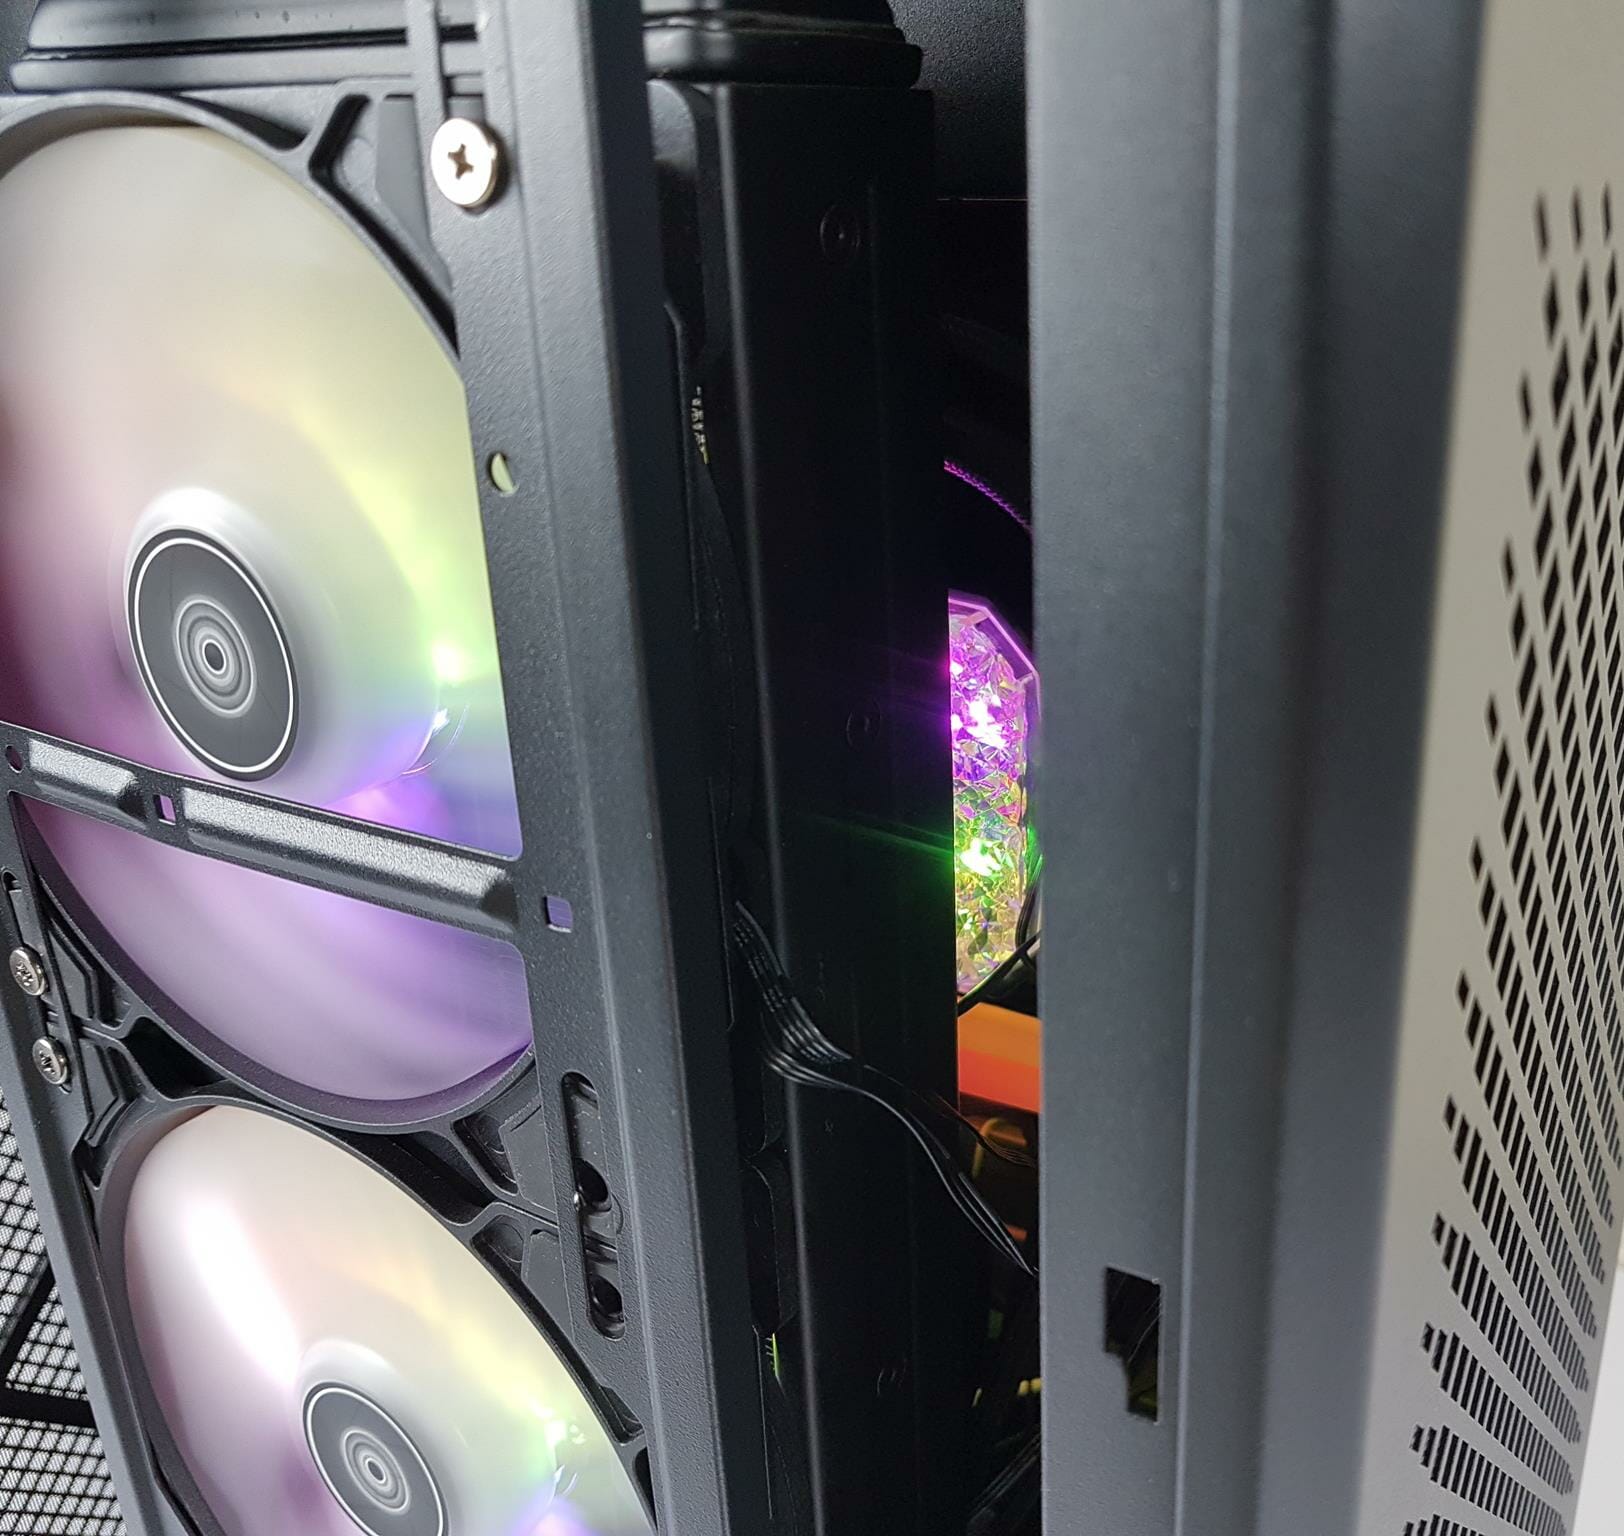
The above picture shows the view of the case top. Here we have again have a vented panel. The cool thing about this panel is that it is attached using magnets hence its removal/installation is by far the easiest and most convenient.
The above picture shows the backside of the panel. Check the 4x silver color magnets attached to the pillars on the sides. These get attached to the frame of the case for easy mounting. We have a fixed dust filter here as well.
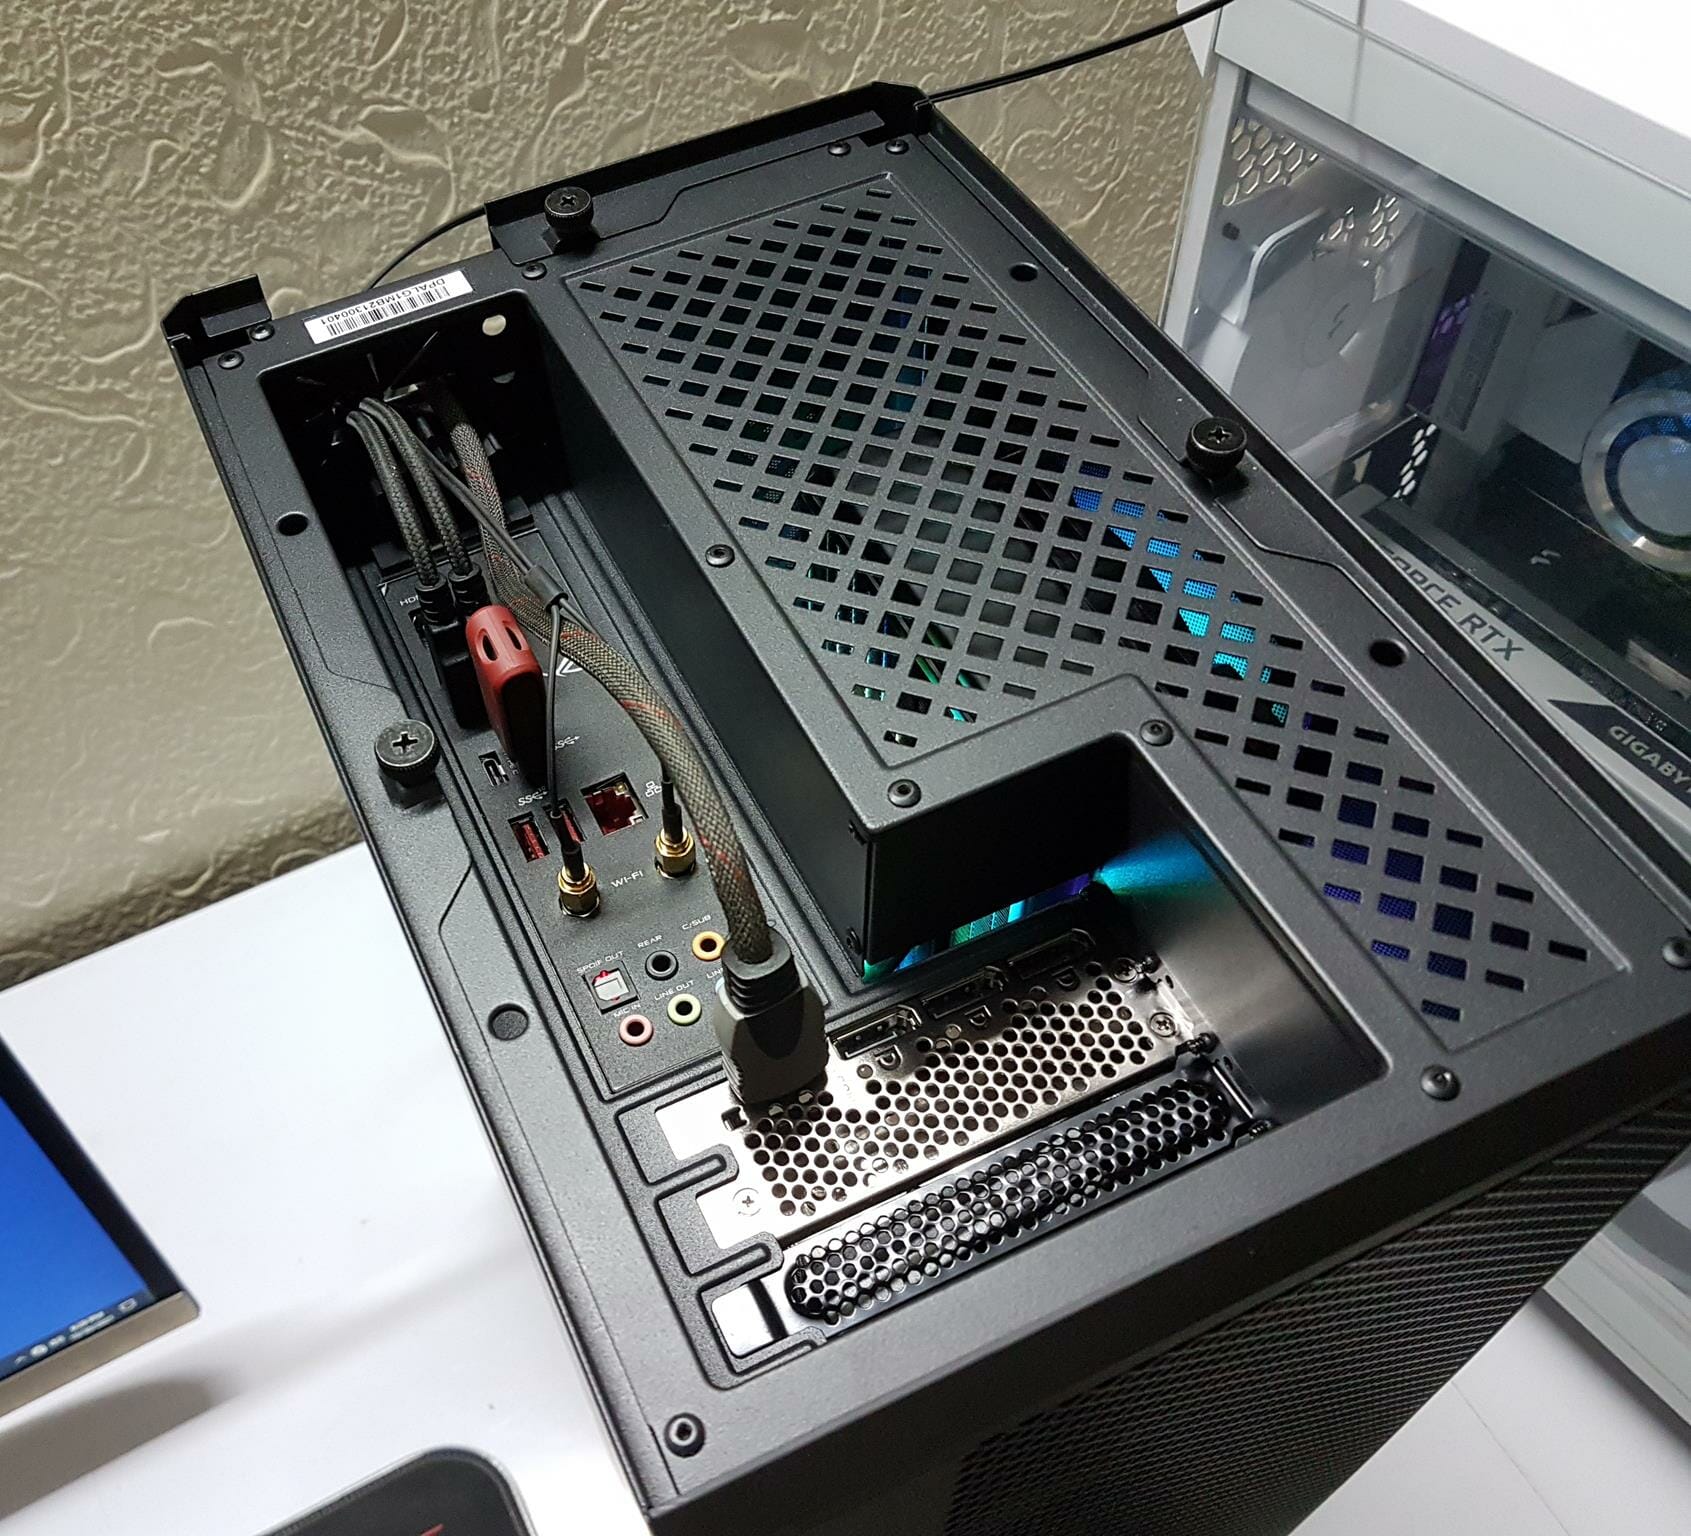
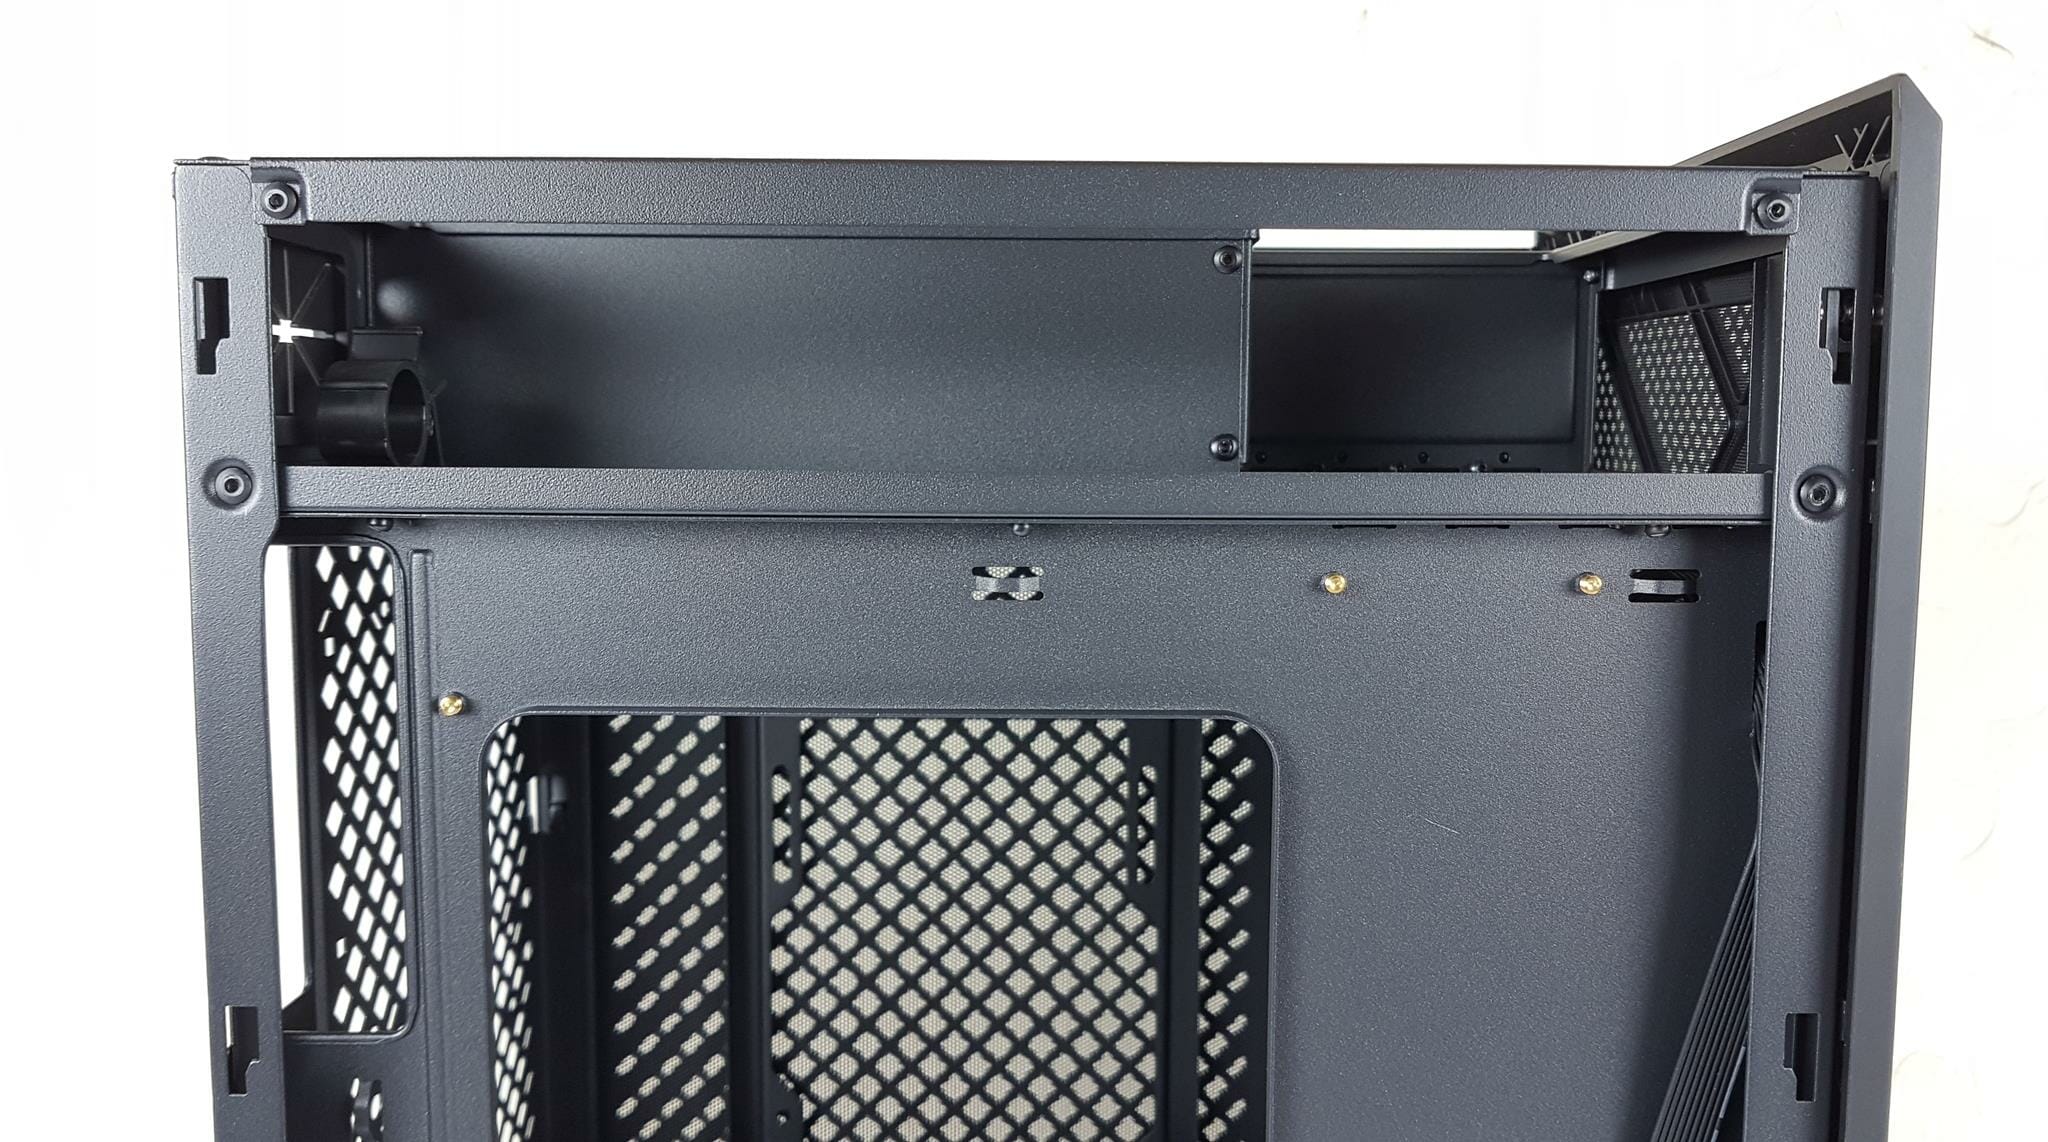
The above picture shows the top of the case with the panel removed. The case is placed on the table horizontally to take pictures and to make some sense out of it for the reader to understand. The large cutout on the left is where the IO shield of the motherboard will be placed at. We have a total vented portion on the right of this cutout. Then we have 4x PCIe slots on the base.
Also, take a note of the three captive thumbscrews. These are securing the respective side panels to the frame of the case. To remove any side panel, unscrew the thumbscrew and slide the panel up and lift it off. That simple.
There are two reasons for a magnetic top panel:
- The user would need to access the Rear IO panel of the motherboard often.
- To remove the side panel, its respective thumbscrew would need to be unscrewed.
These two reasons are very well addressed by the SilverStone design team.
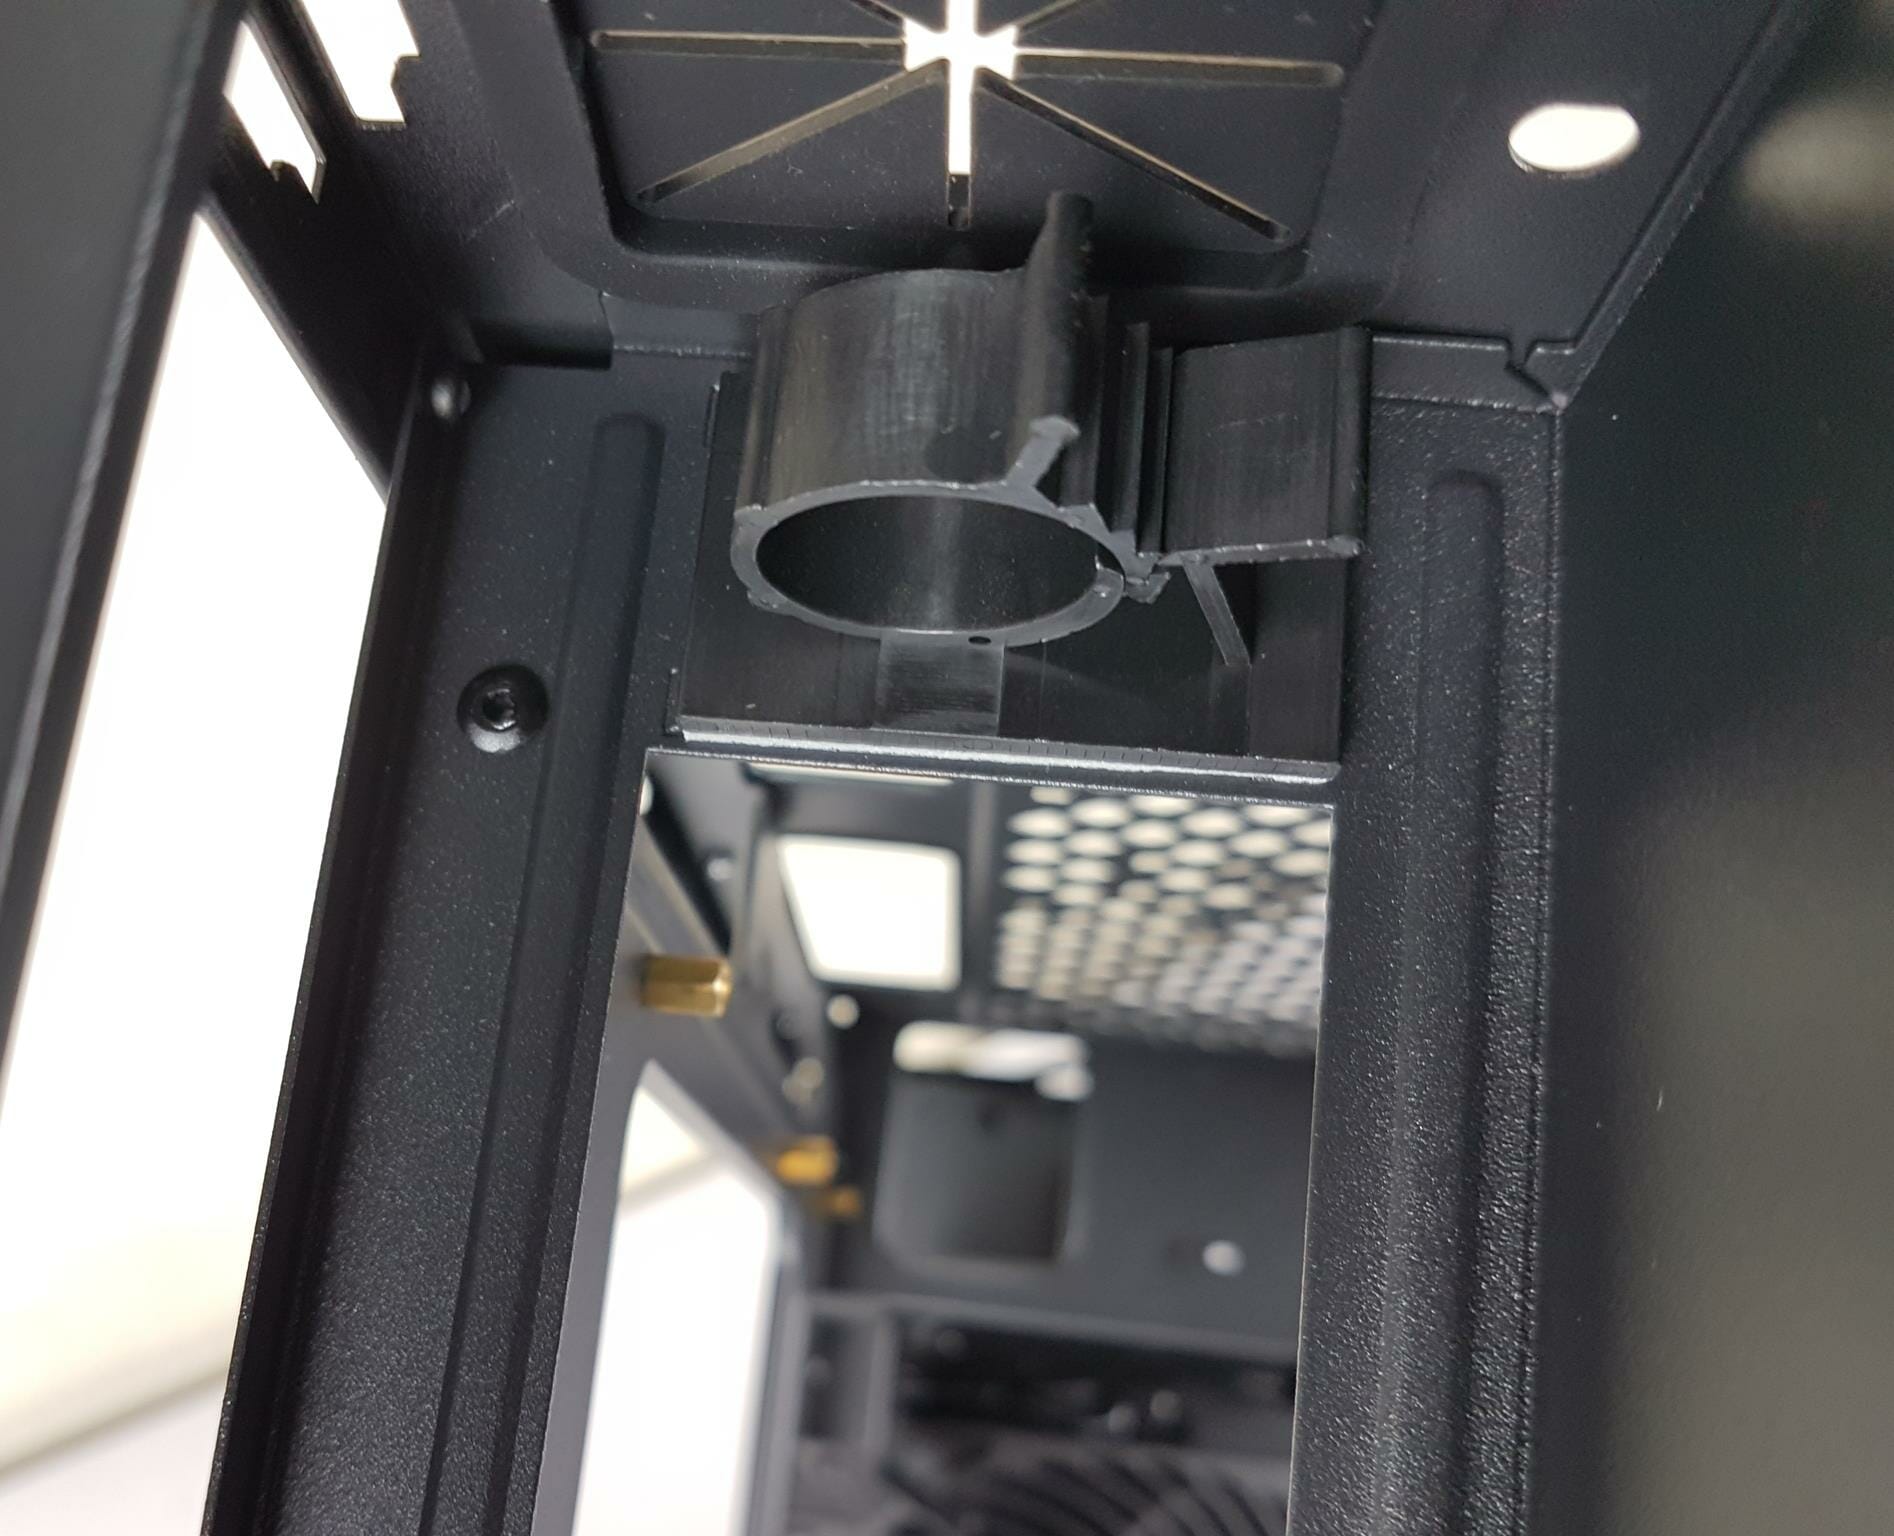
There is a plastic catcher on top of the IO cutout and right behind the cutout with a rubber grommet. This is there to catch the cables coming from the Rear IO panel of the motherboard and the graphics card while routing them out of the case.
The above picture sums up what I have mentioned above. The graphics card’s display cable, the keyboard and mouse cables, the Wi-Fi antenna cables are all routed to the catcher. I also used the USB drive with a cover to see if the top cover can be installed with it. There is plenty of depth here to cover the large-size USB drives (up to a certain length).
So far we have taken a look at the front, rear, and top of the case. It is time to take a look at both sides of the case.
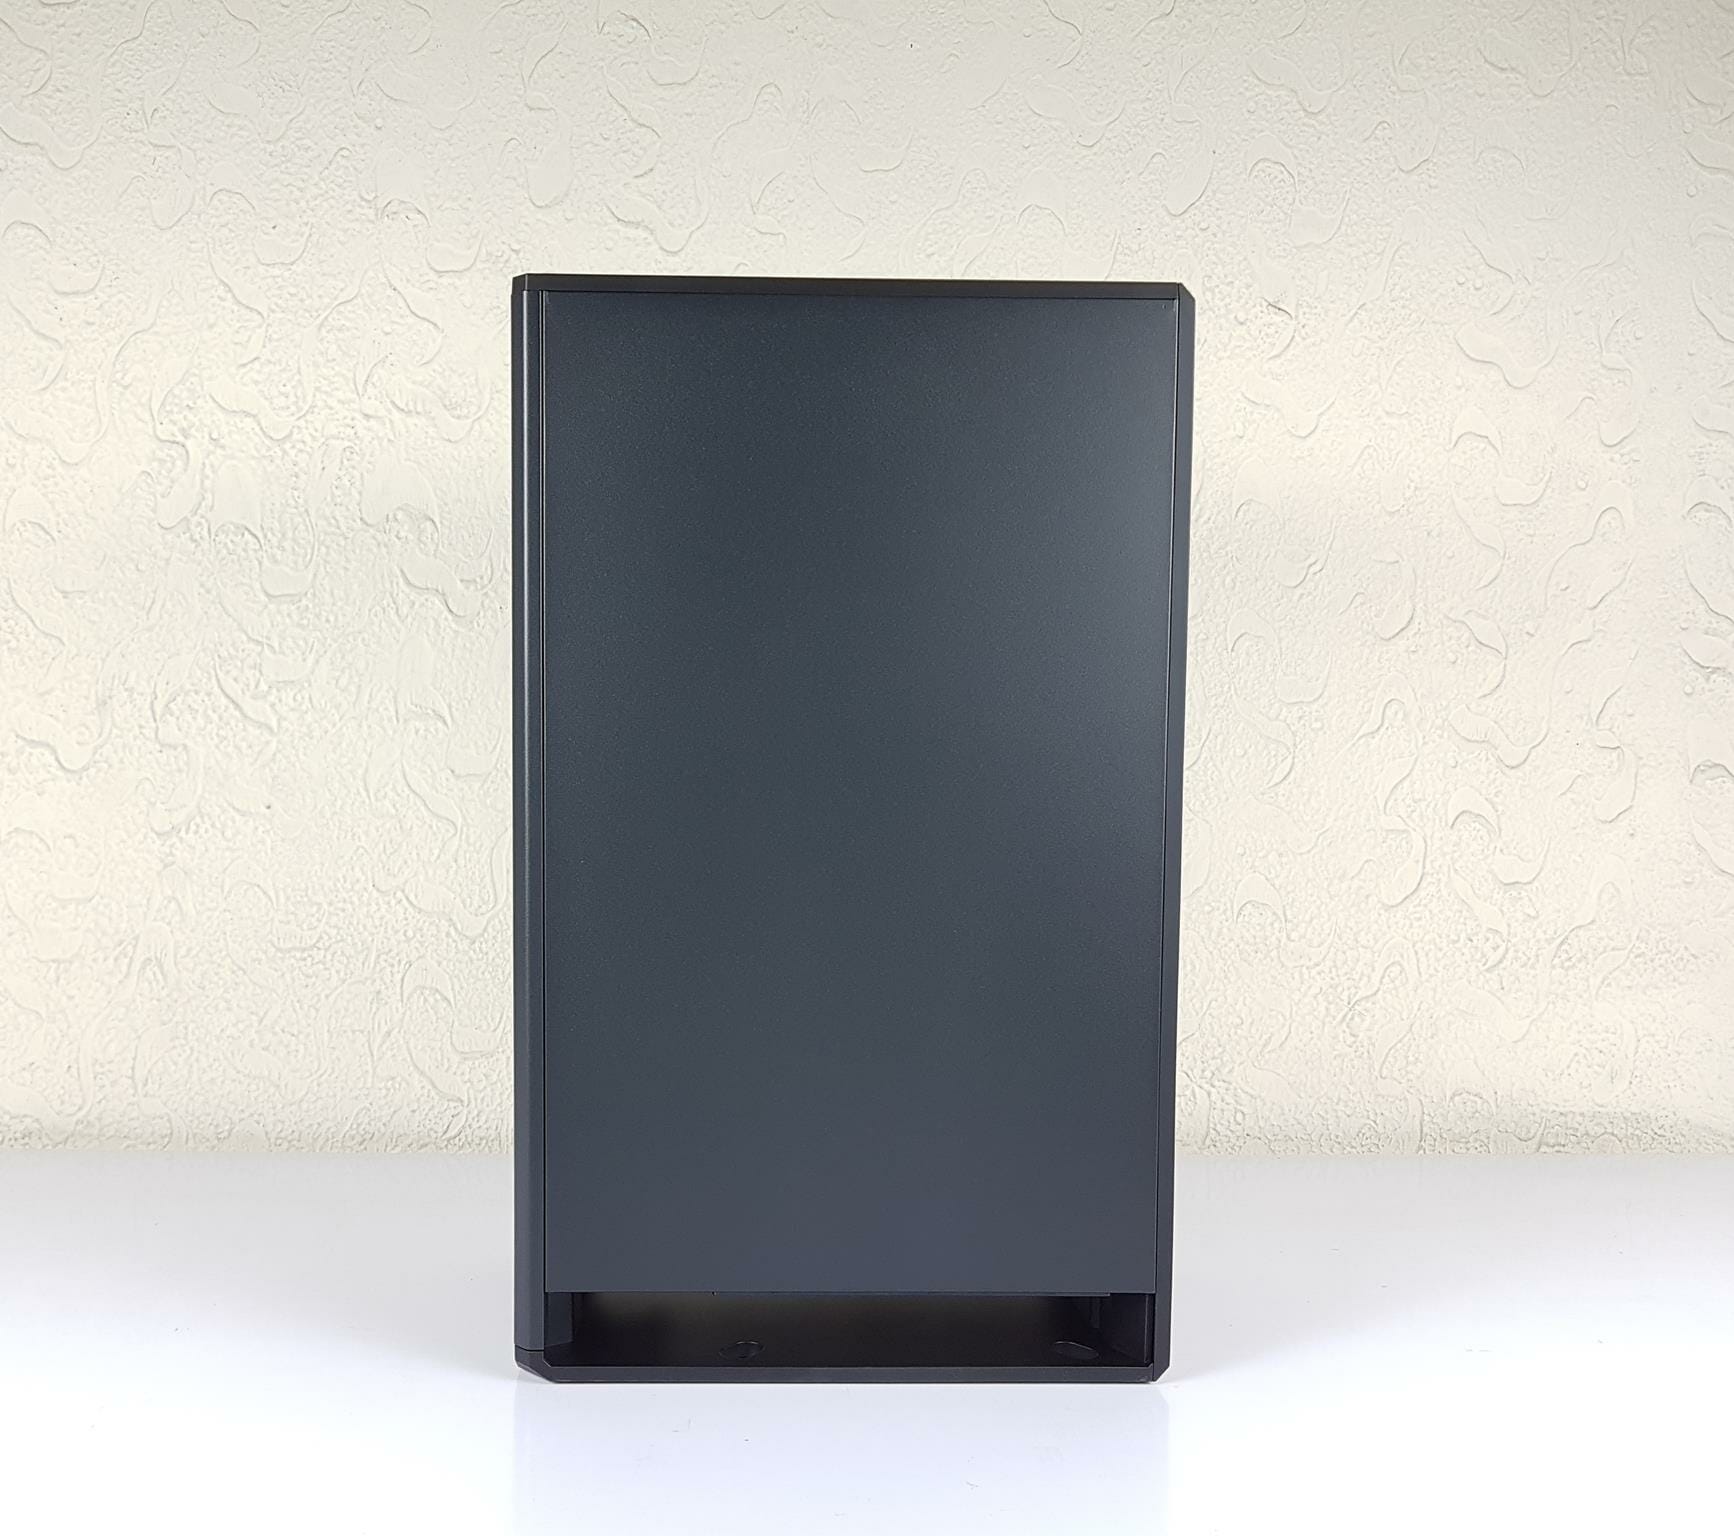
There is a solid steel-made side panel here. Look at the gap on the base between the floor and the upper deck. This is there to ensure sufficient lift for the bottom fan to intake fresh air.
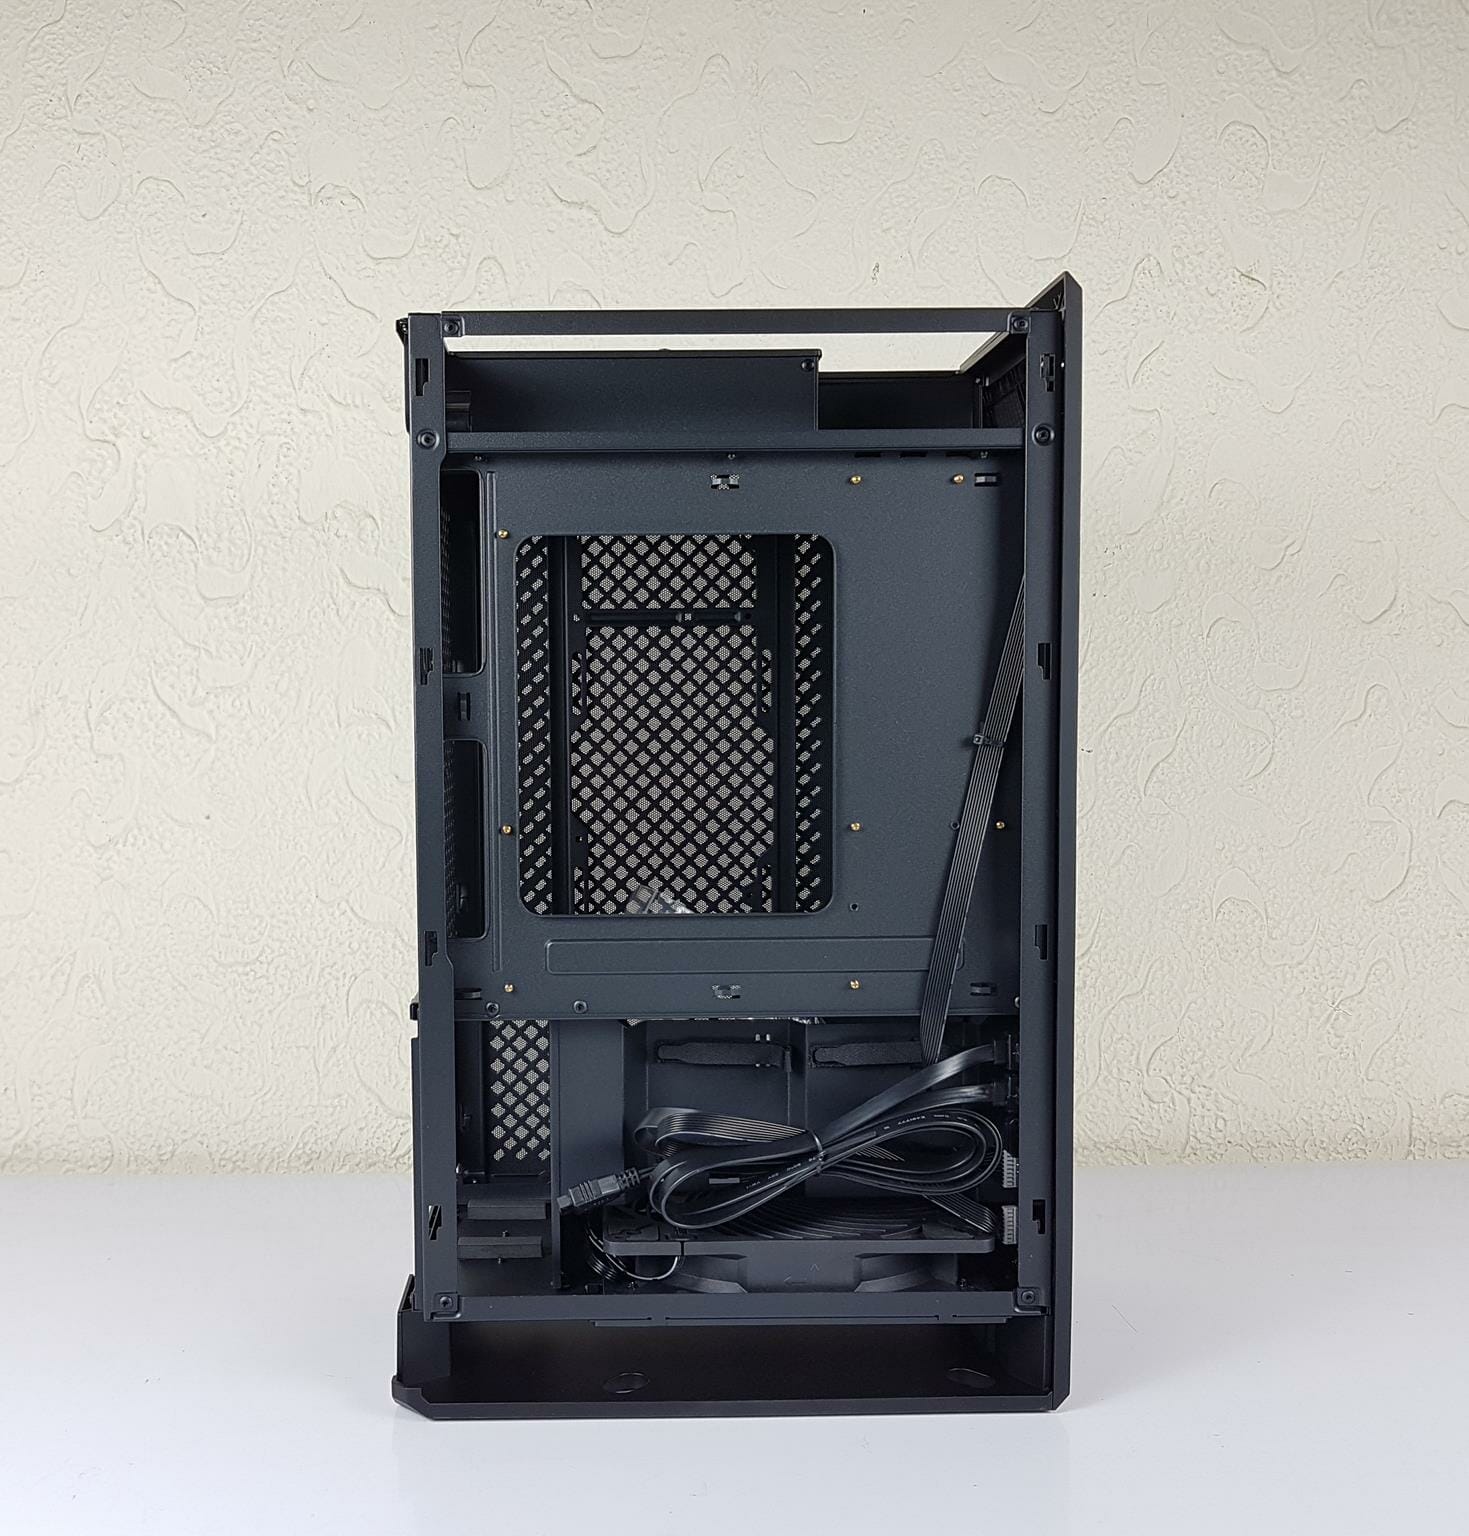
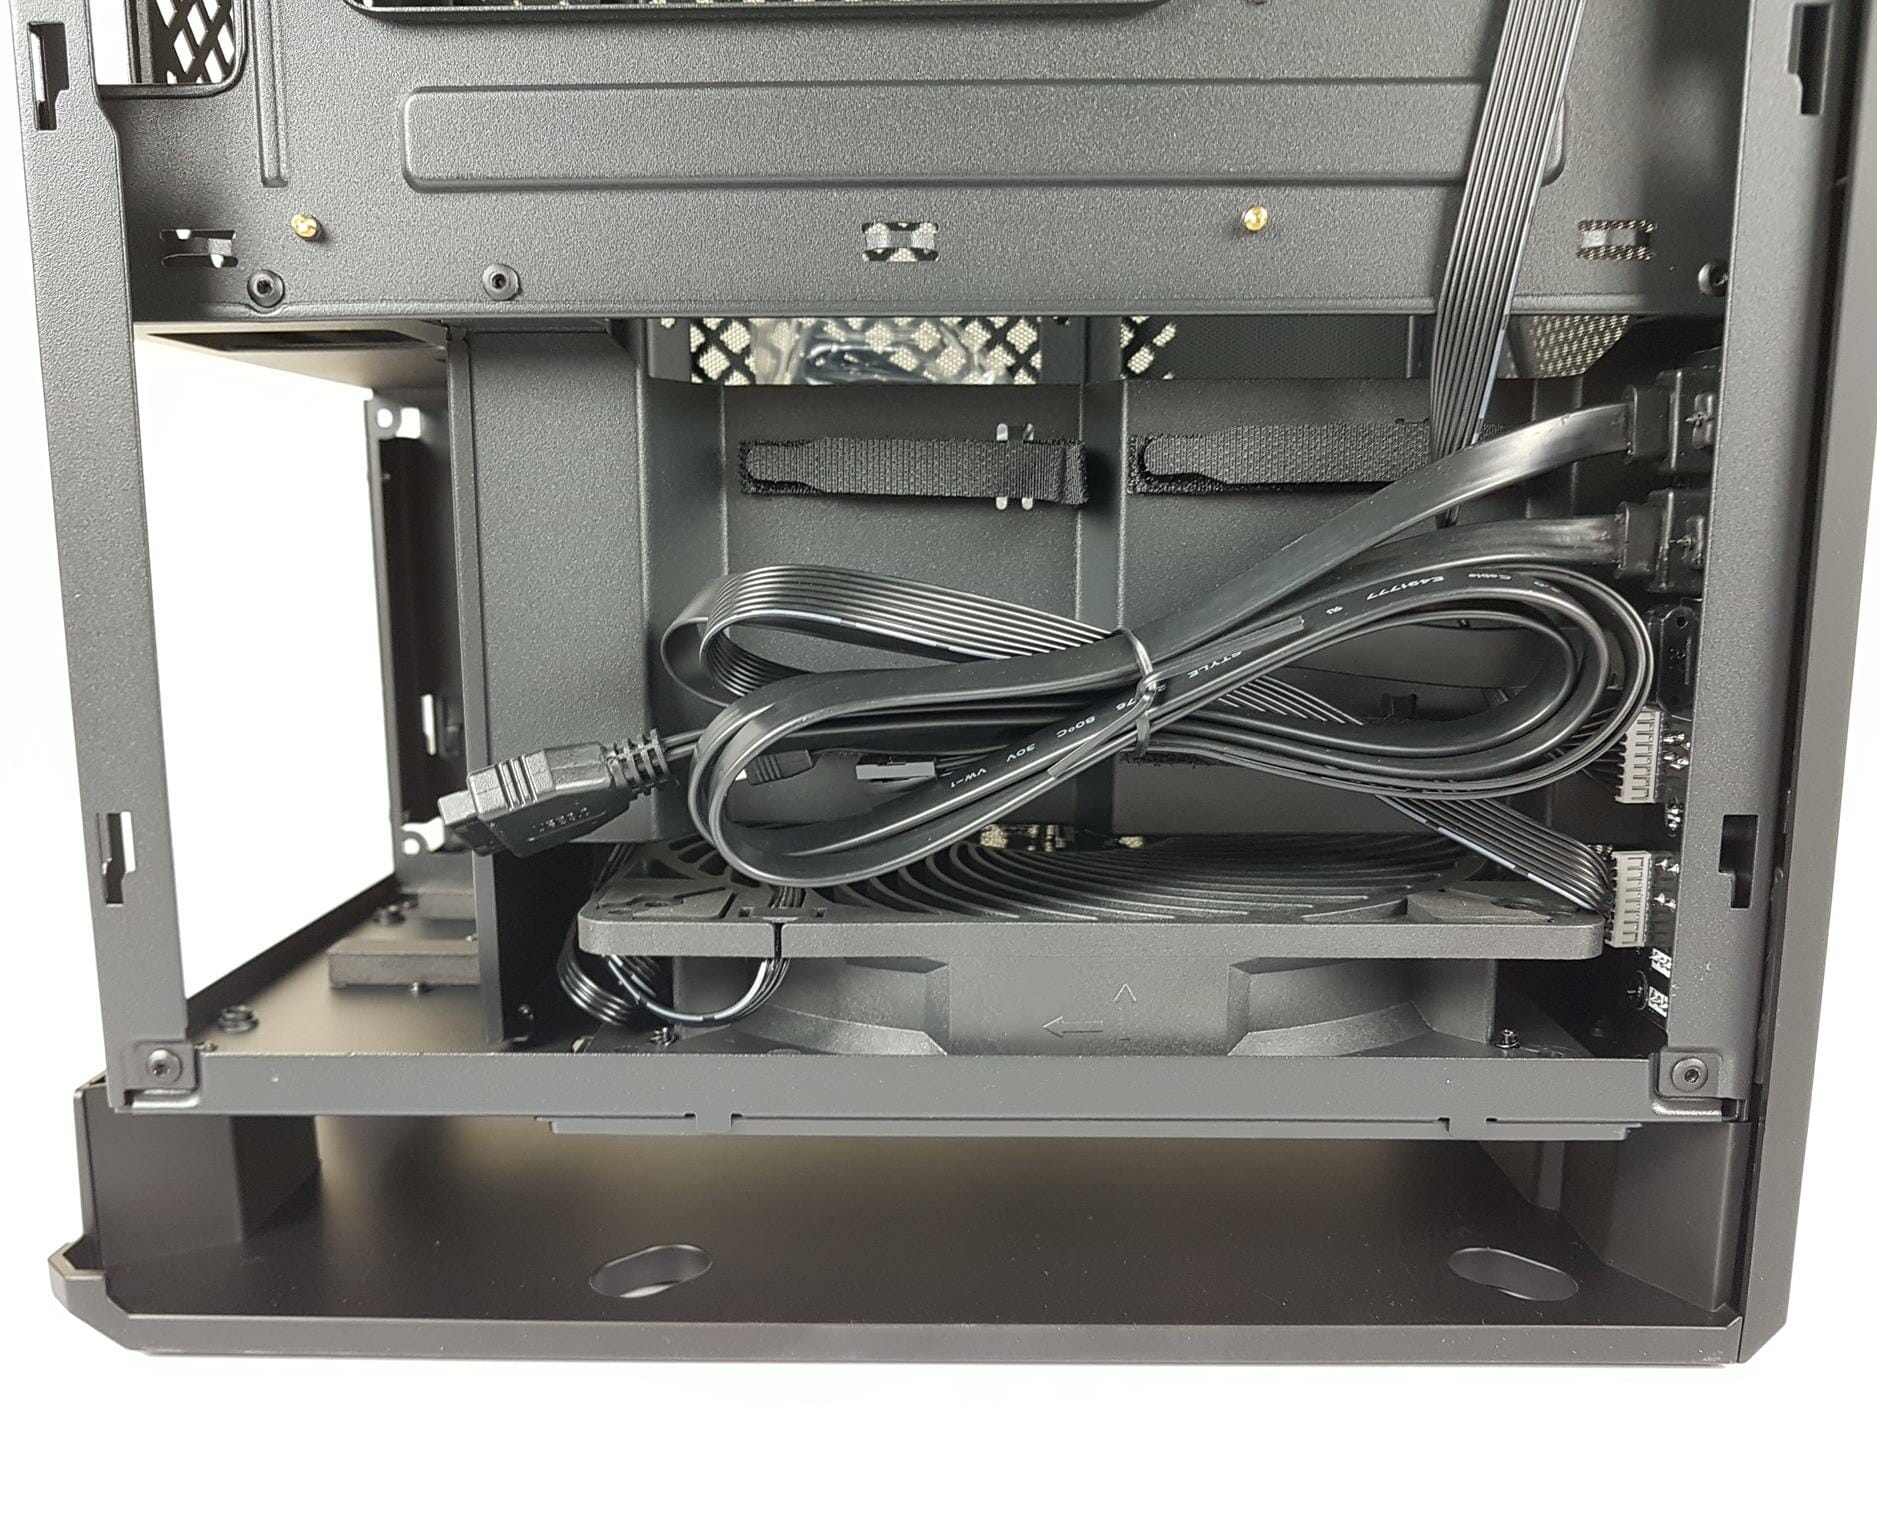
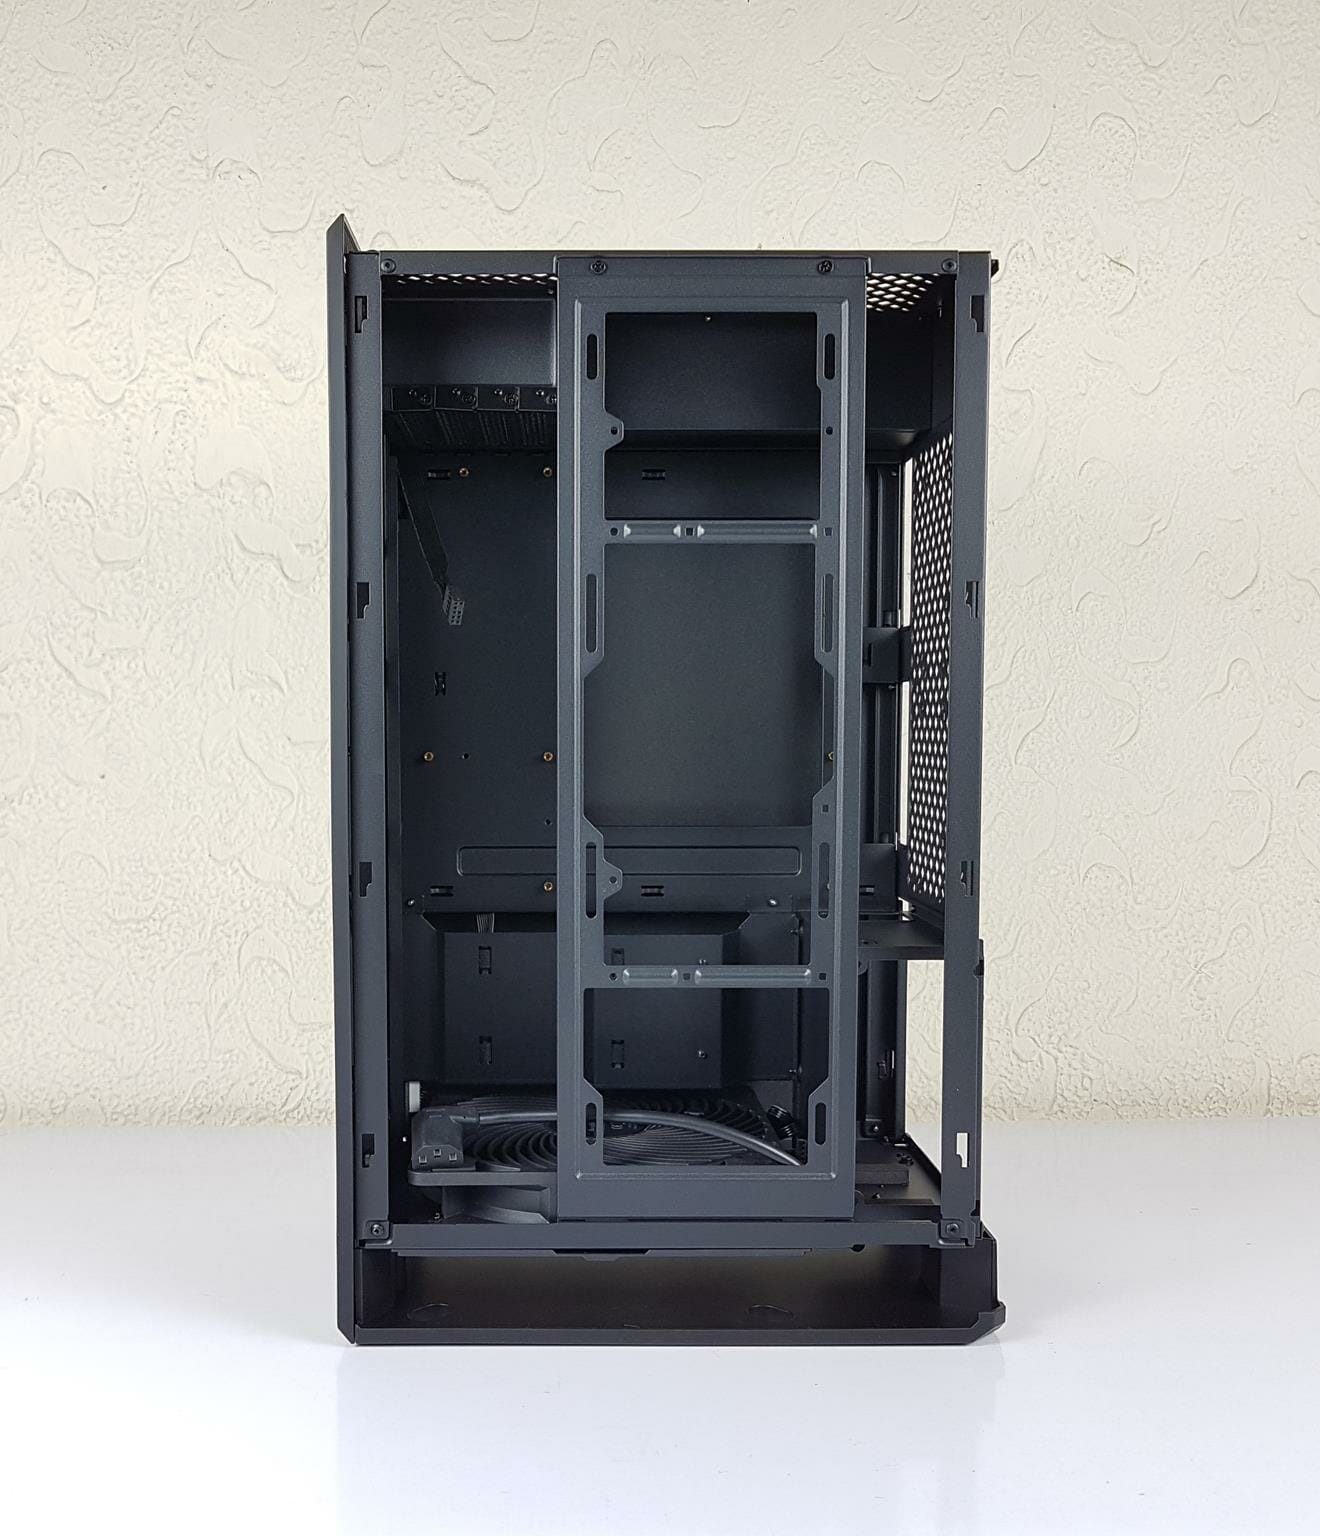
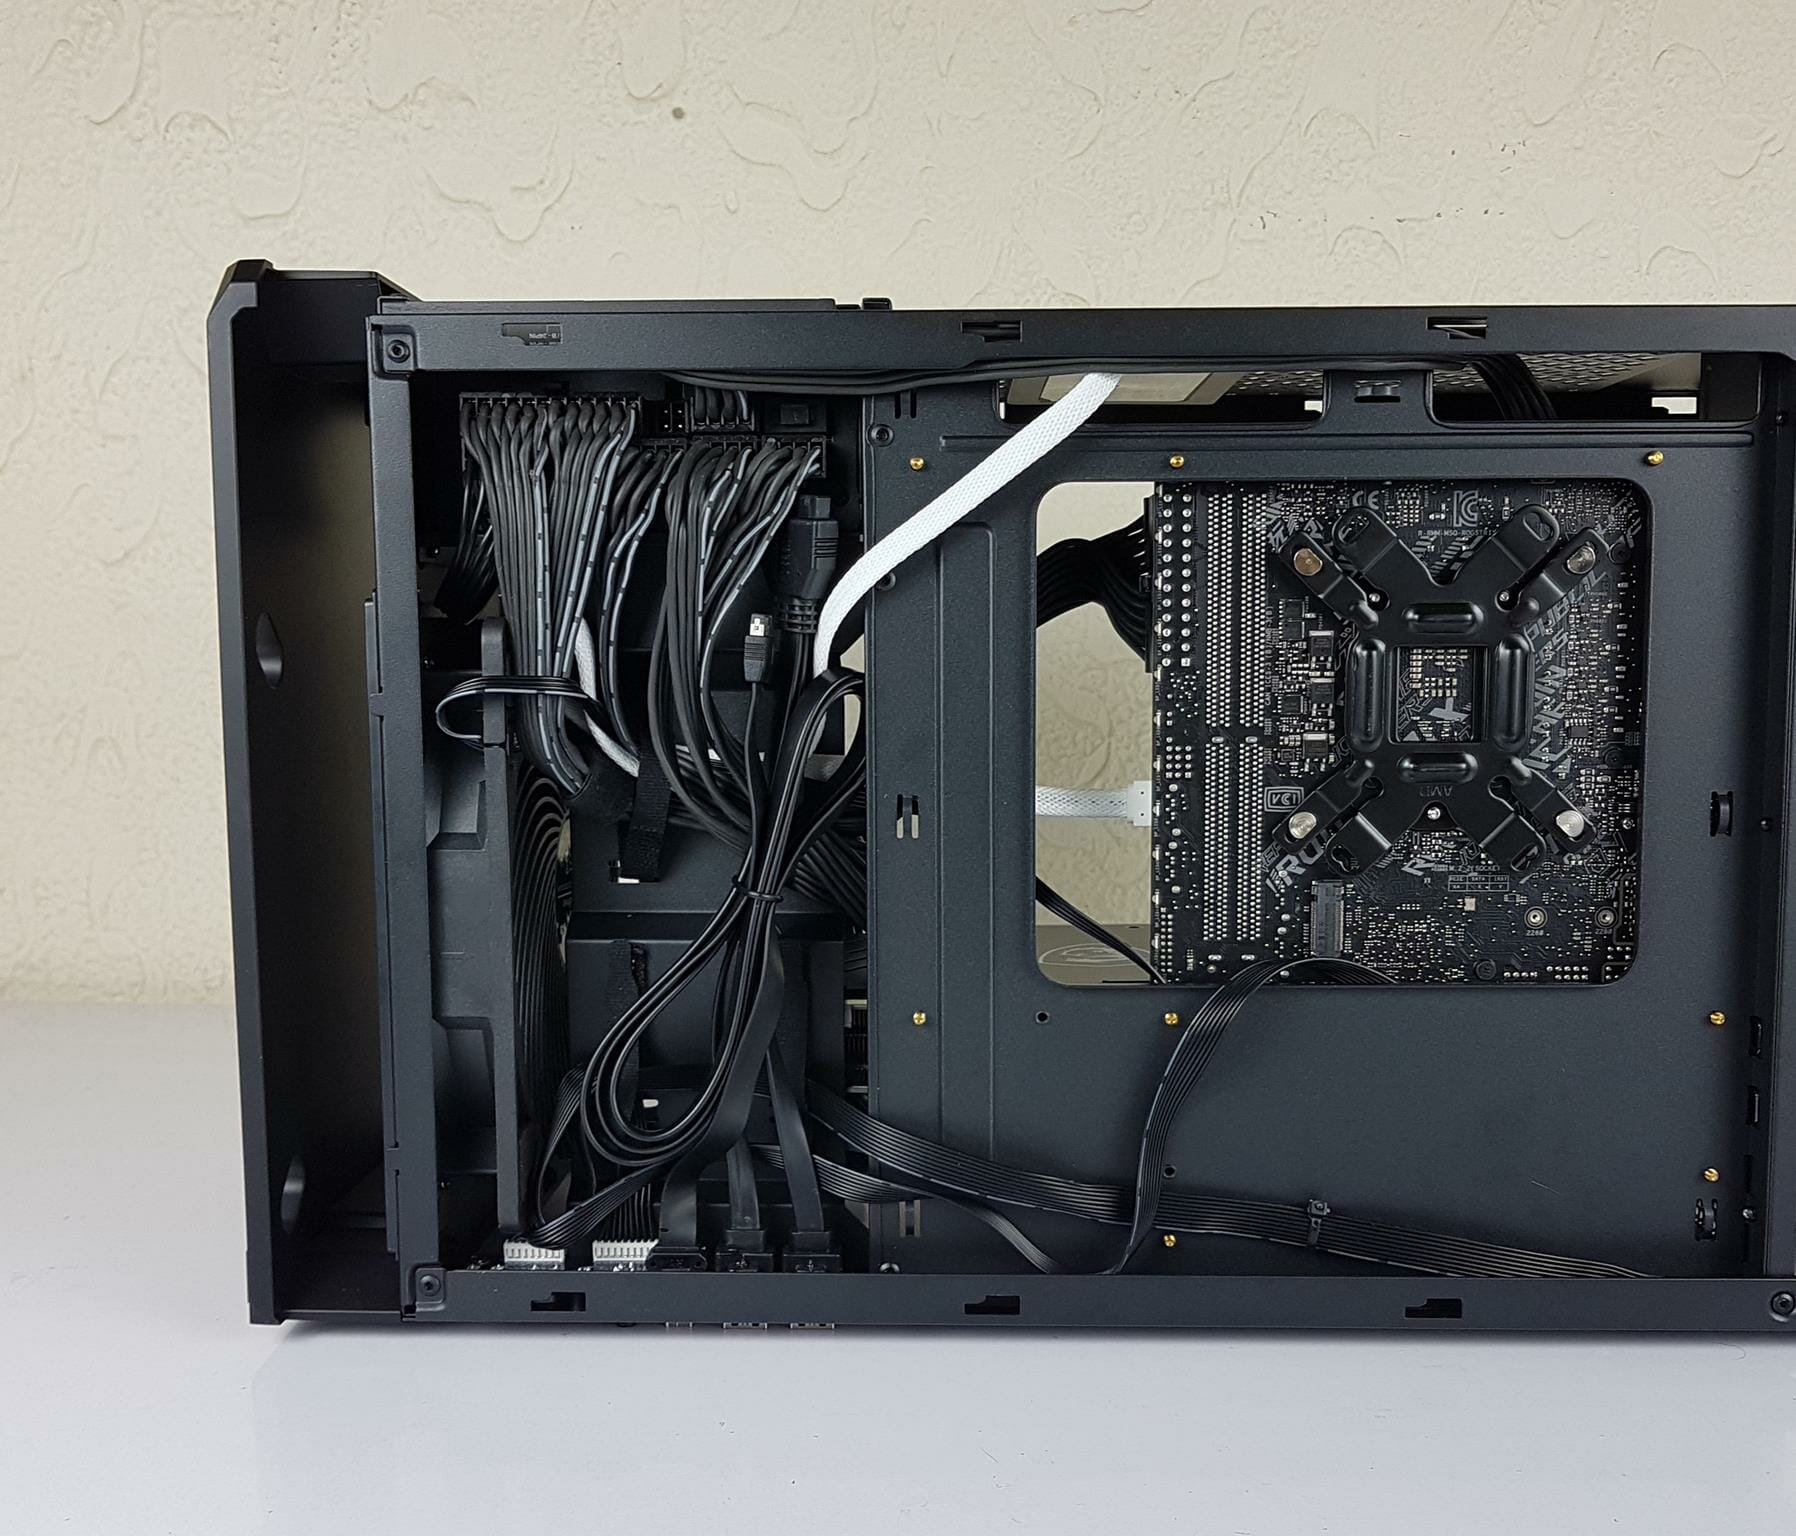
The above picture shows the side of the case with the panel removed. This is effectively the backside of the motherboard tray. We have a large enough cutout in the tray to install the CPU cooler. The base here has front IO panel cables tucked.
The underside of the front IO panel is visible on the lower right side. The cables coming out of it are nicely tucked. The HD Audio cable is pre-routed towards the top. The lower left side is where the SFX/SFX-L is installed. The cables can be routed from the cutout on the lower-left base as well as the faceplate covering them.
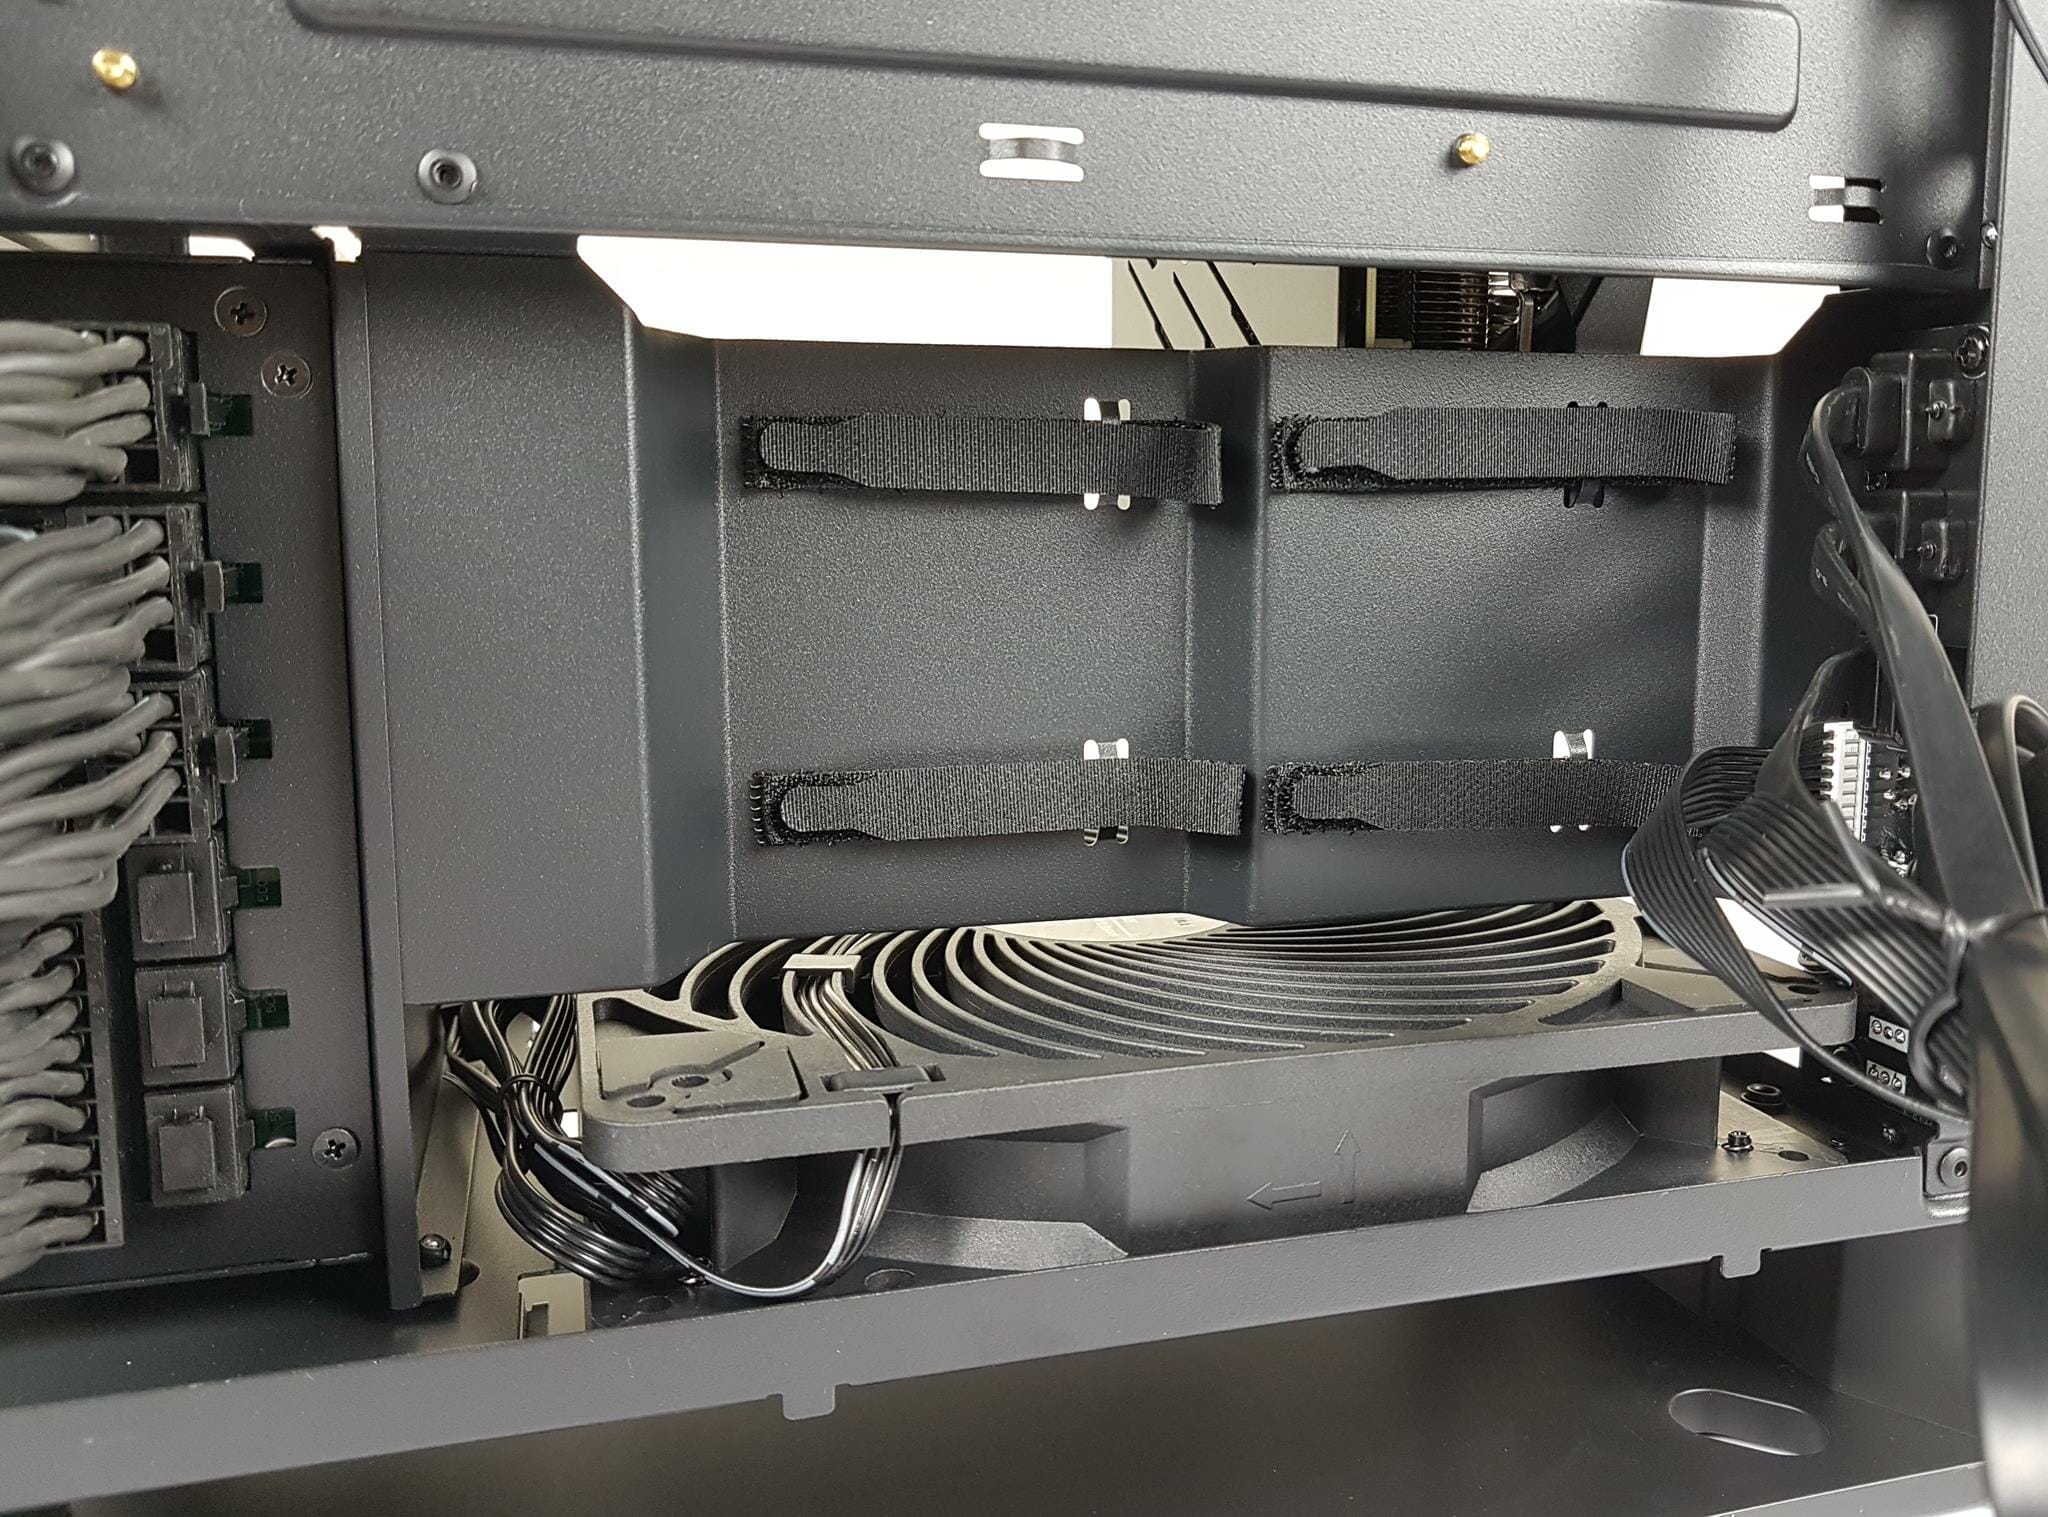
There are a total of 4x Velcro Straps to catch the cables for easy routing and management. These are really handy as we can tell from our assembling experience. Take full advantage of these when doing cable management.
The above picture shows the side view of the top section which is where the Rear IO panel’s cables along with the display cable are routed.
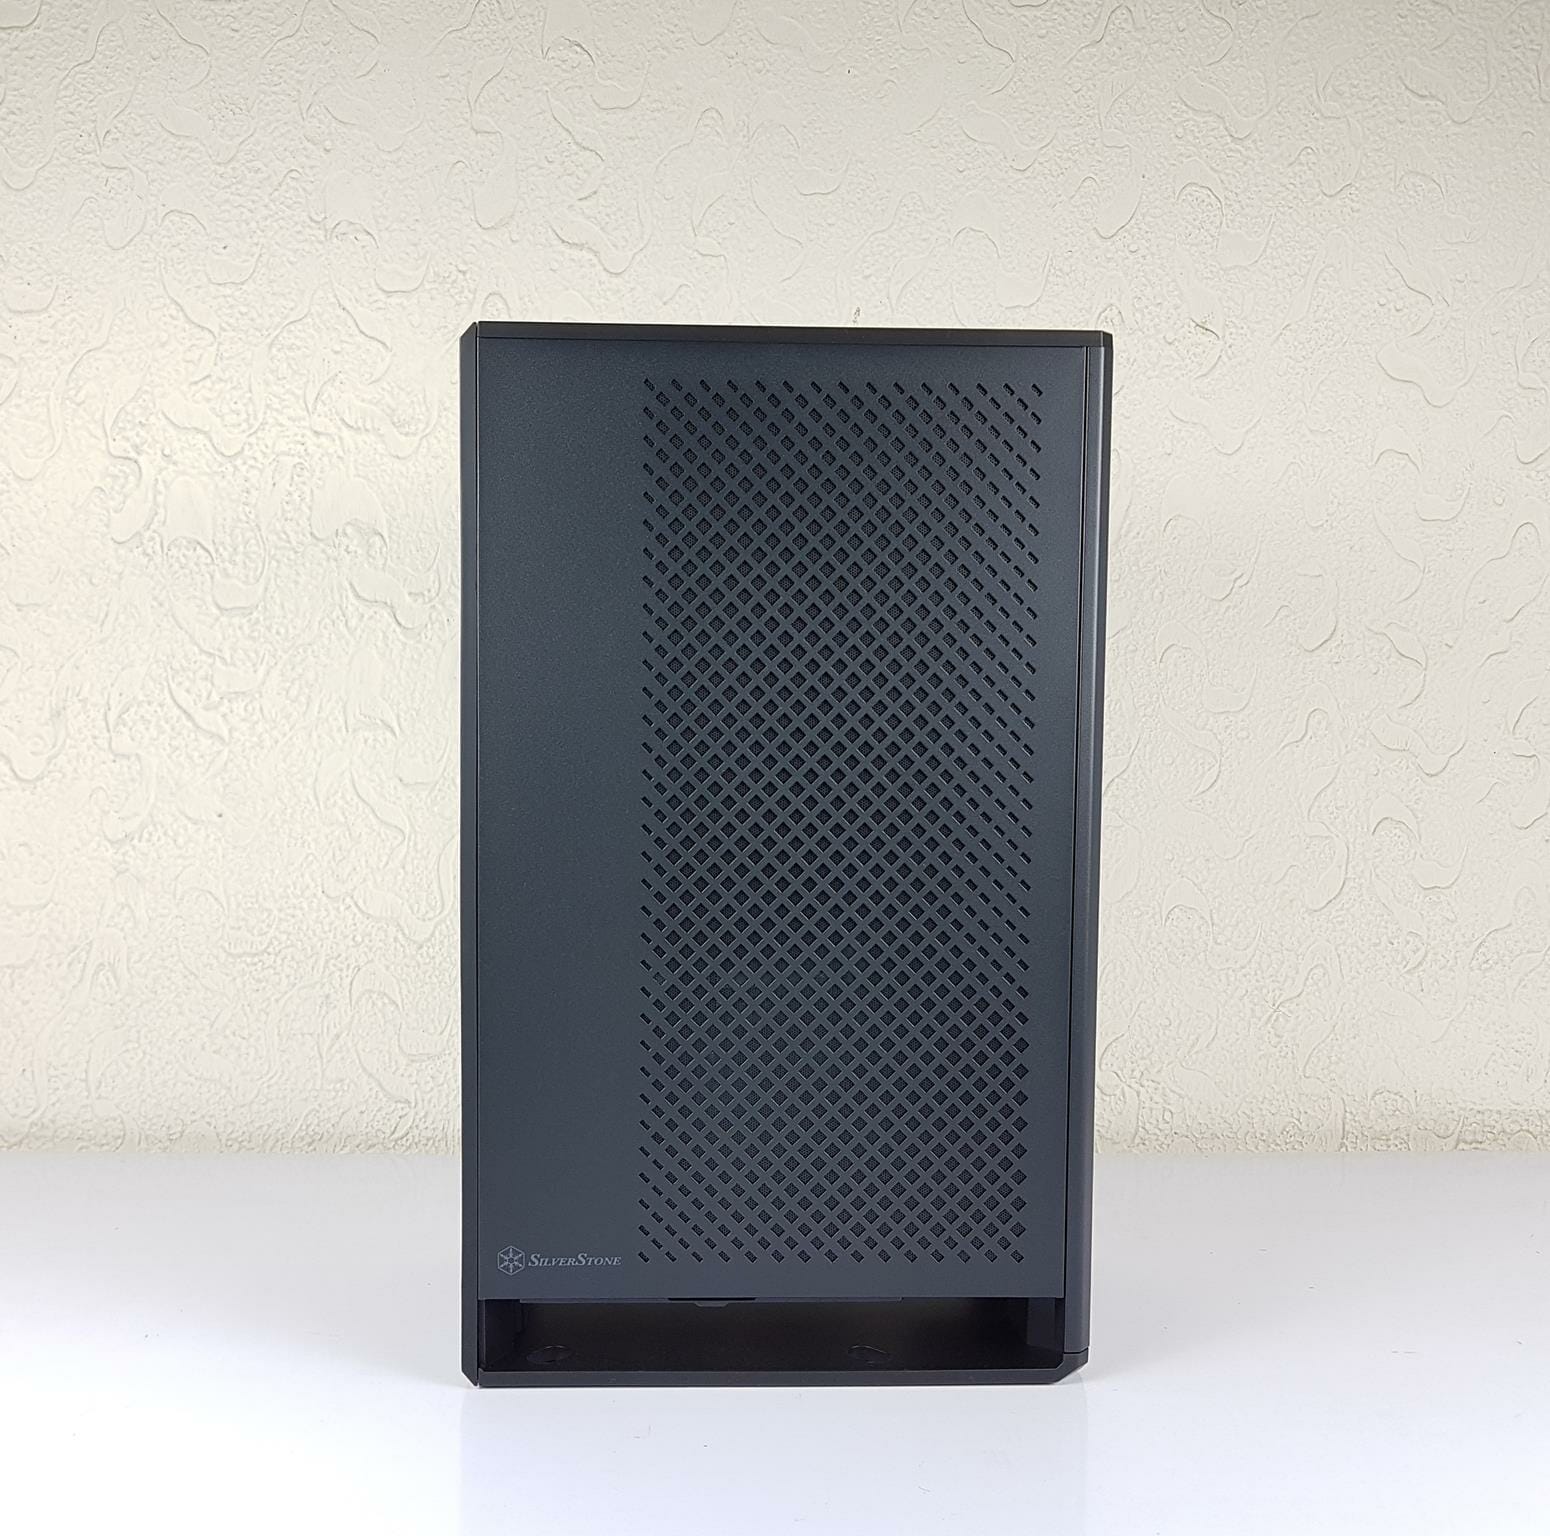
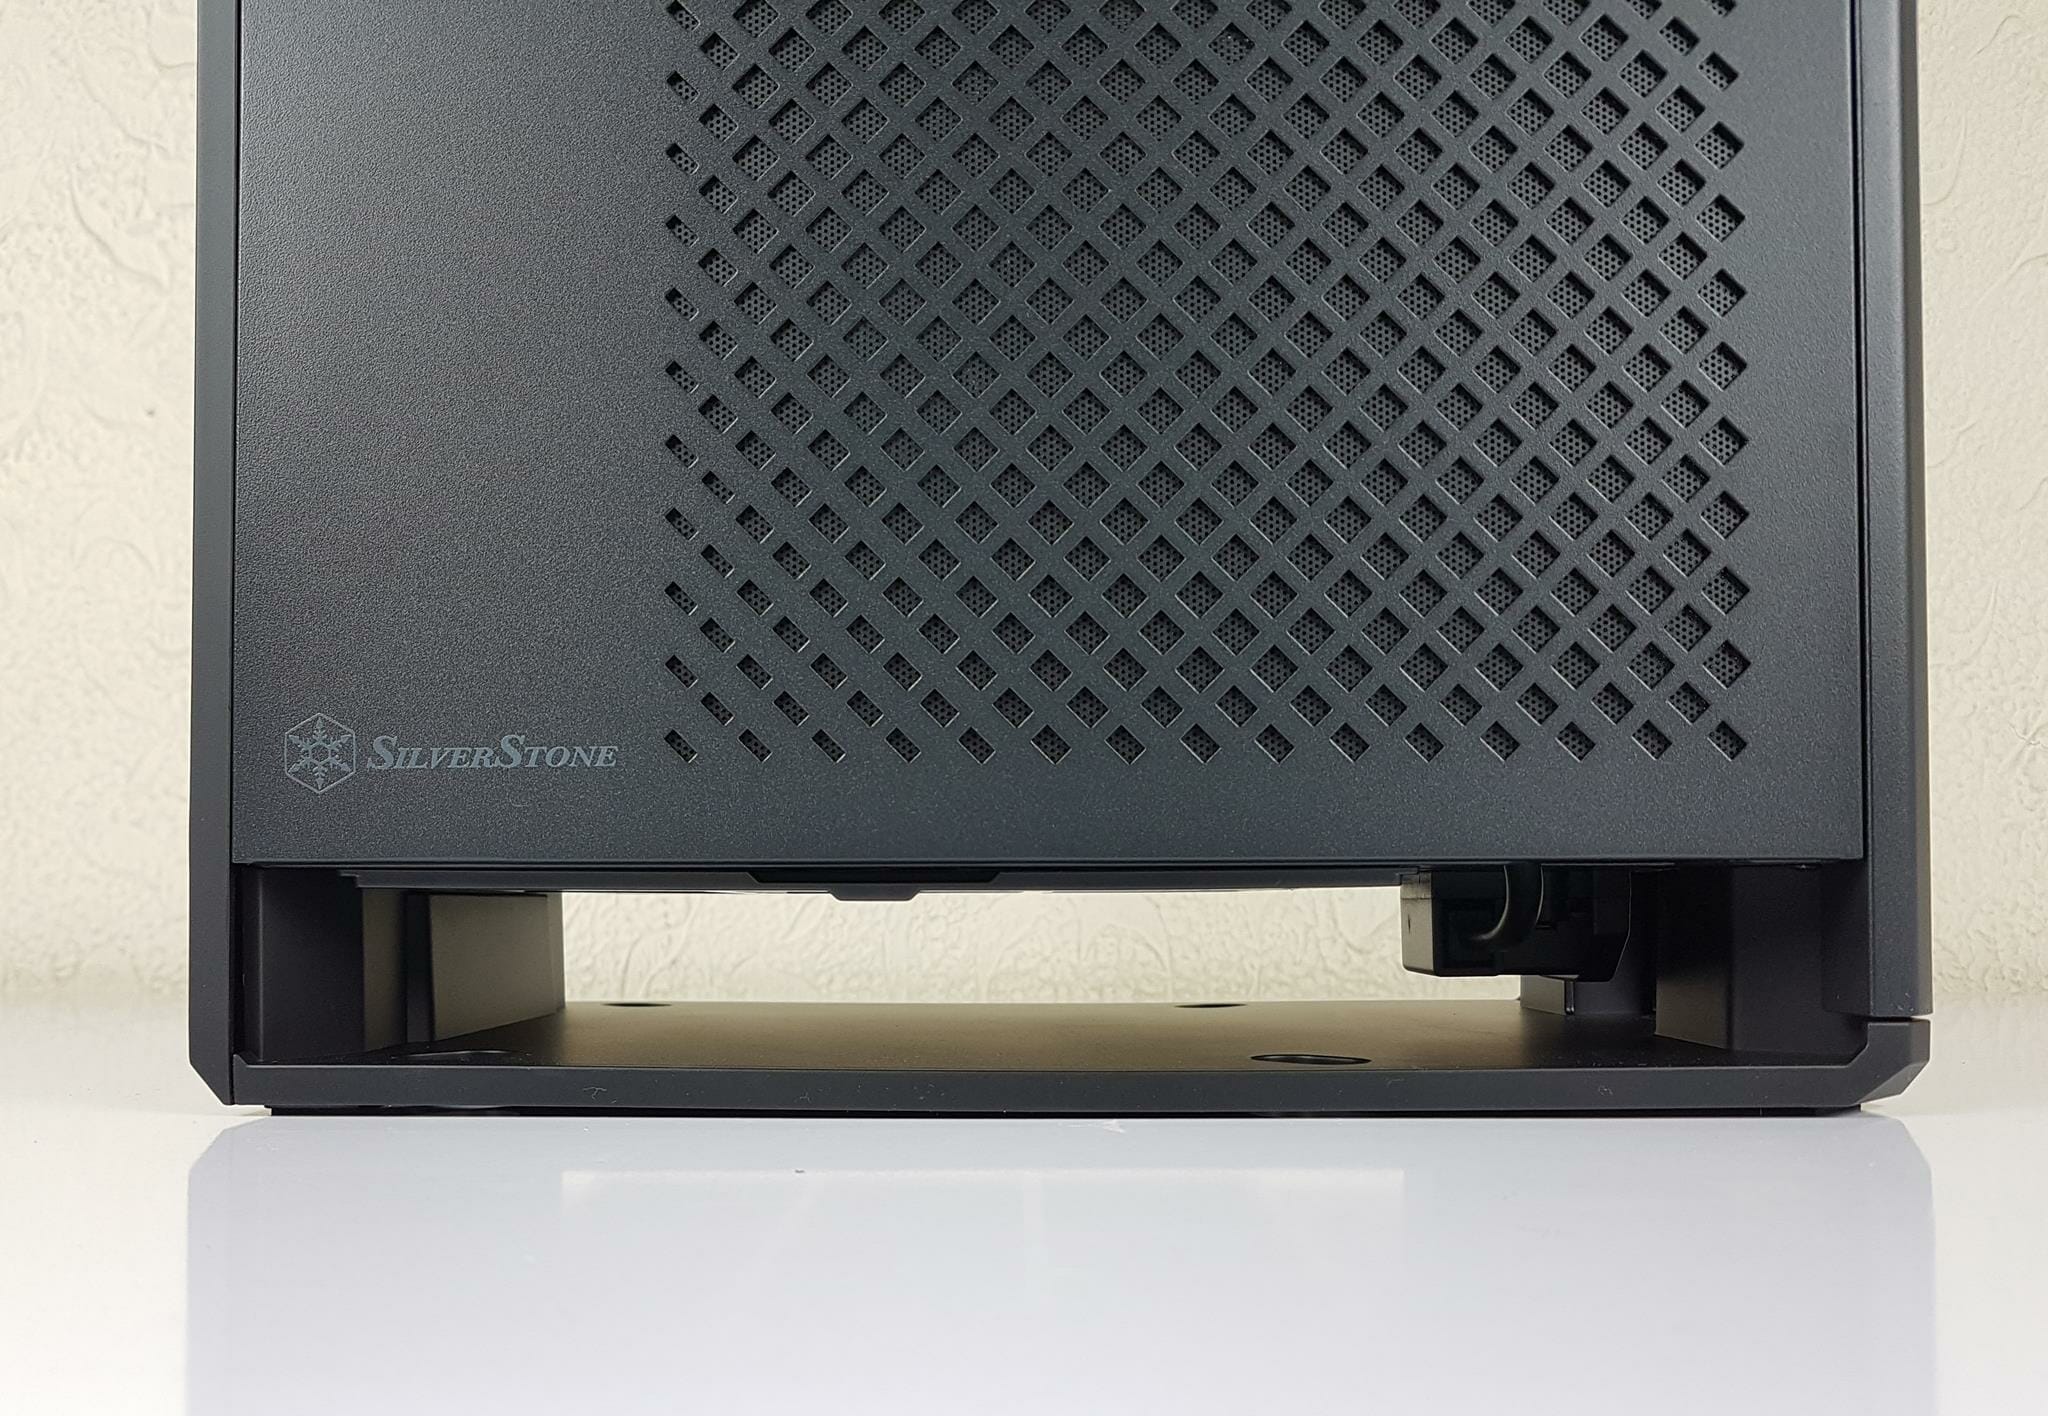
We have a vented steel panel with SilverStone branding over here. This is a bit surprising that the branding on done this side not on the front as the front would be the side facing the user as per the standard placement on the table.
There is a sufficient gap on the bottom of the case to provide enough airlift for the base mounted 1800mm fan.
There is a magnetic dust filter on the side panel.
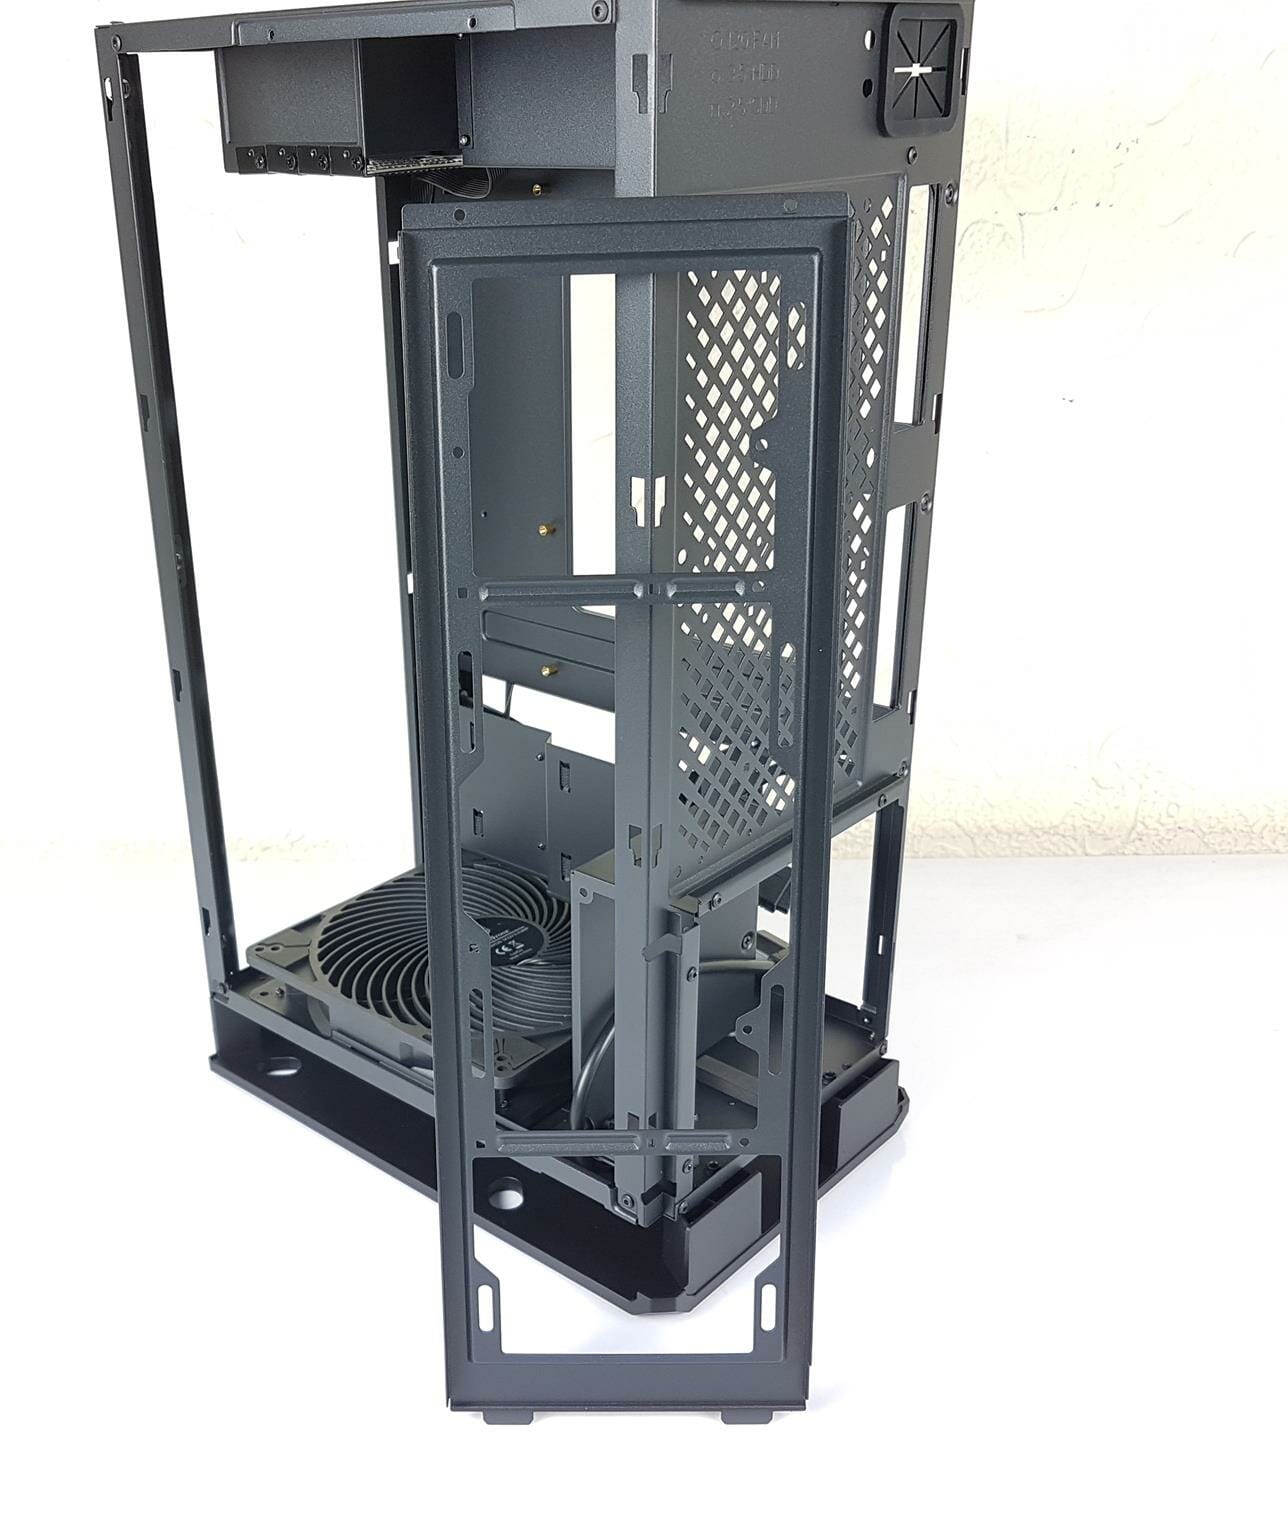
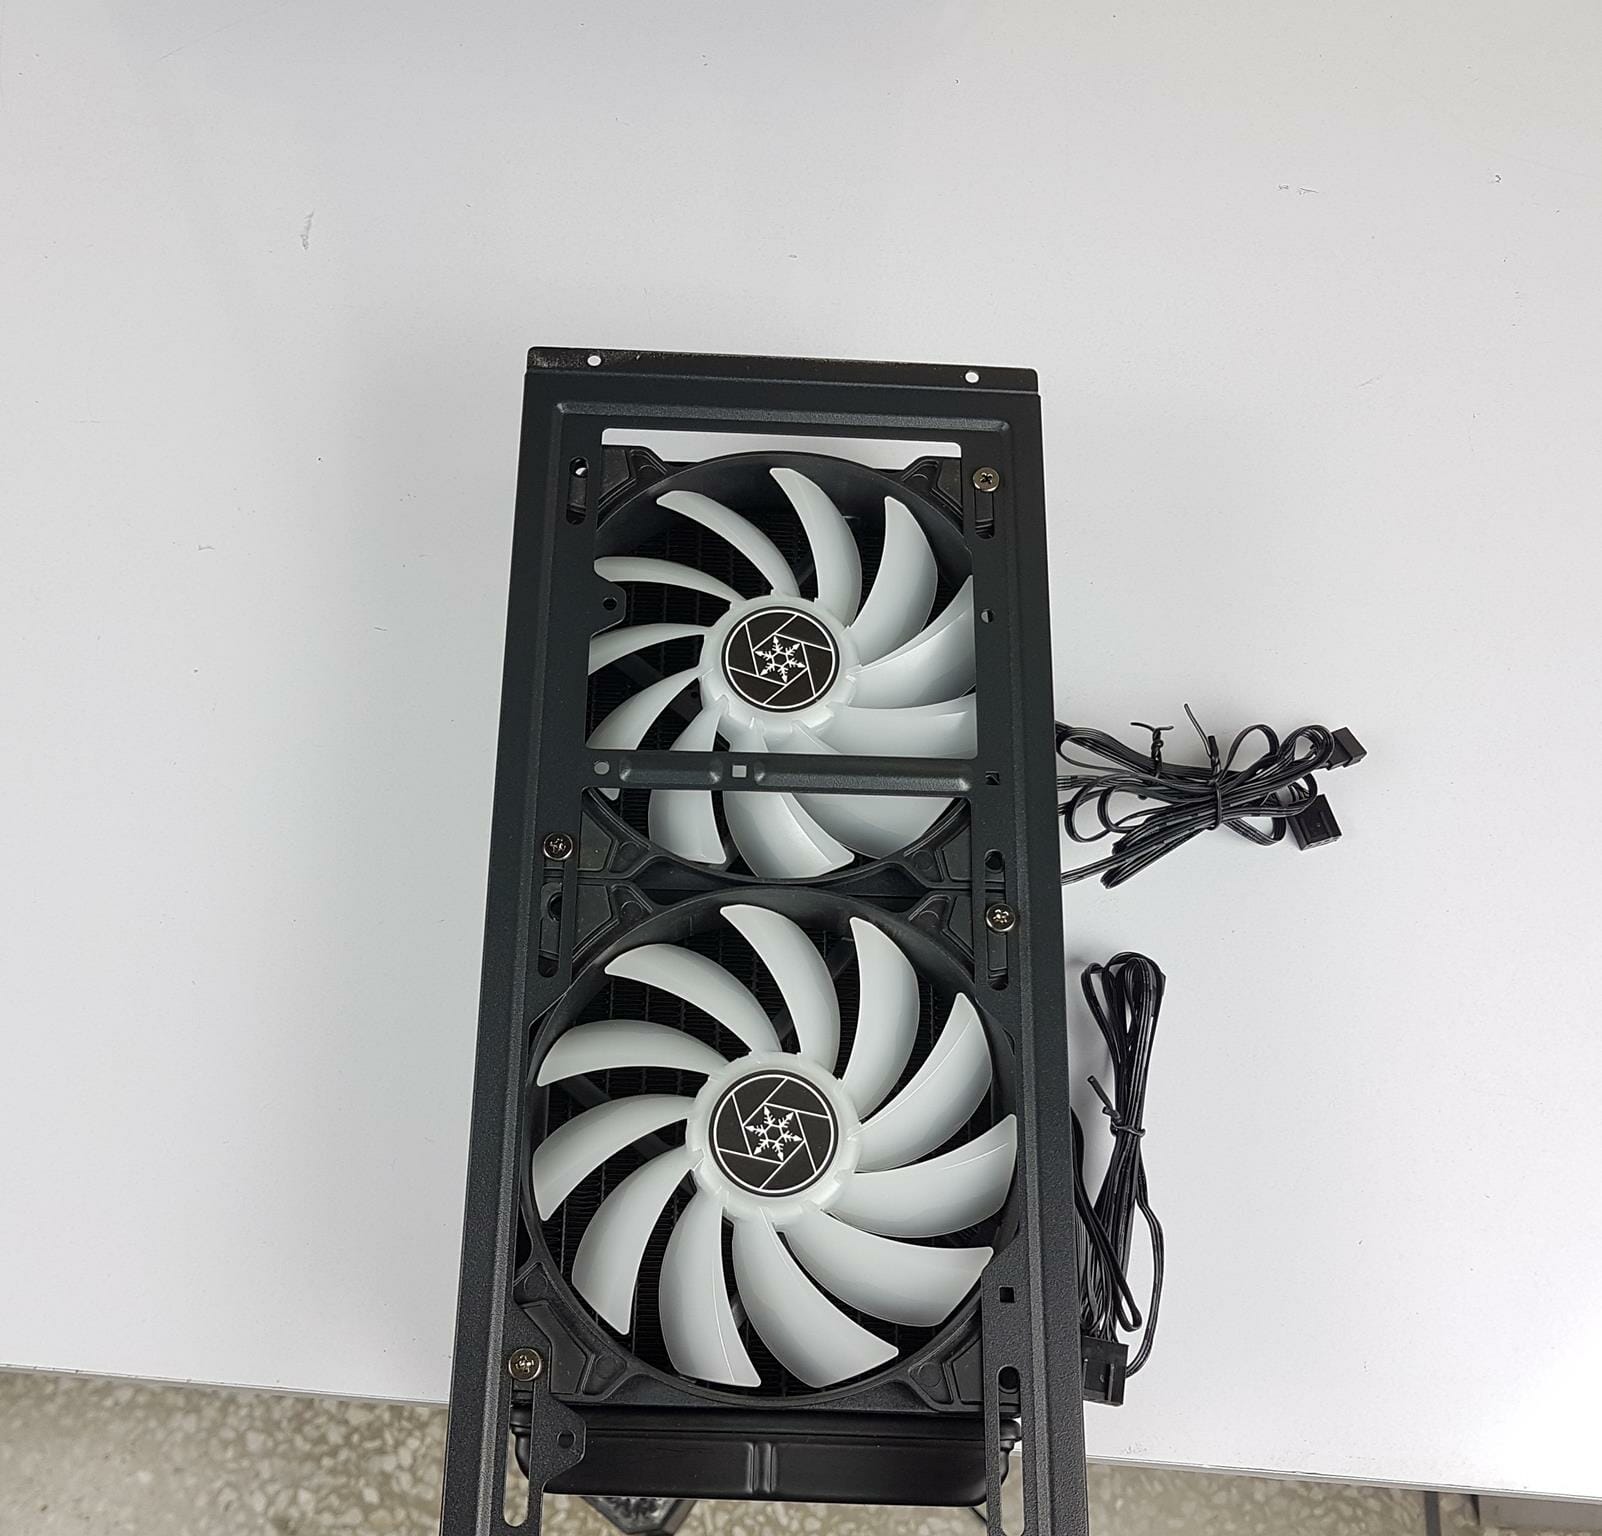
There is a bracket installed on the frame. The bracket can house a multitude of cooling and storage gear depending upon the configuration. The bracket is secured using two screws for convenient handling.
The above picture shows a close-up view of the bracket. Up to 4 configurations are possible using this bracket.
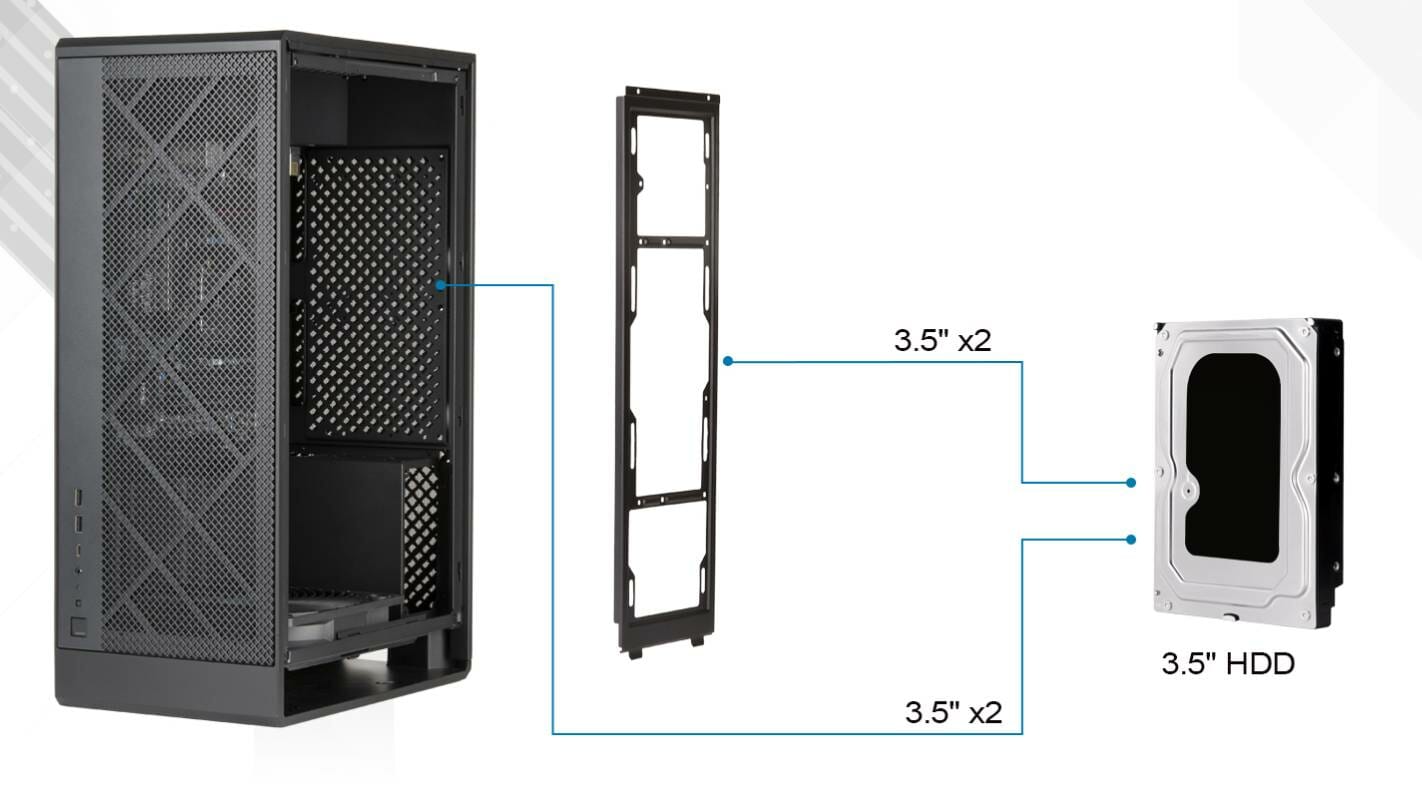
We can install up to 2x 3.5” drives on the bracket or on the vented portion in the case.
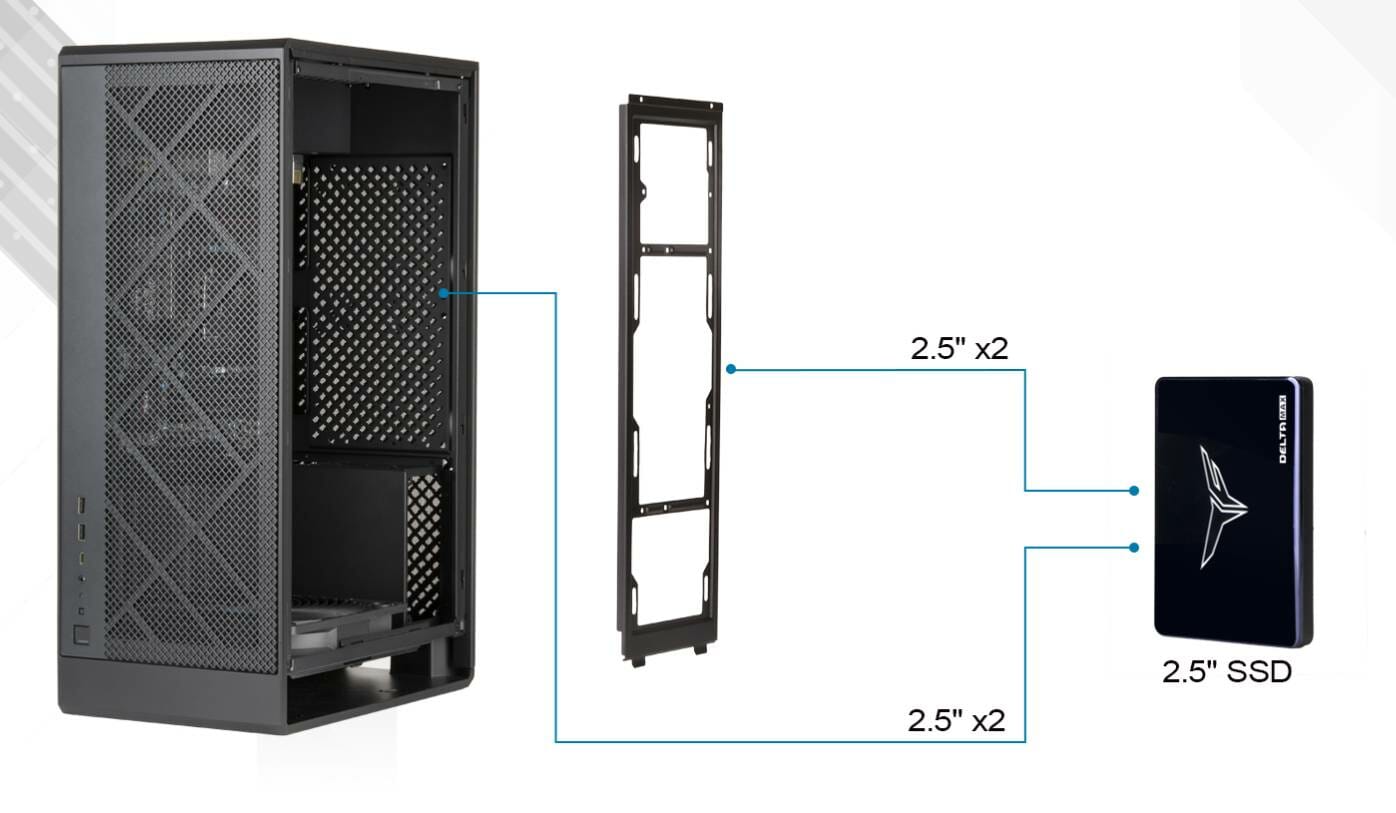
We can install up to 2x 2.5” drives on the bracket or on the vented portion in the case.
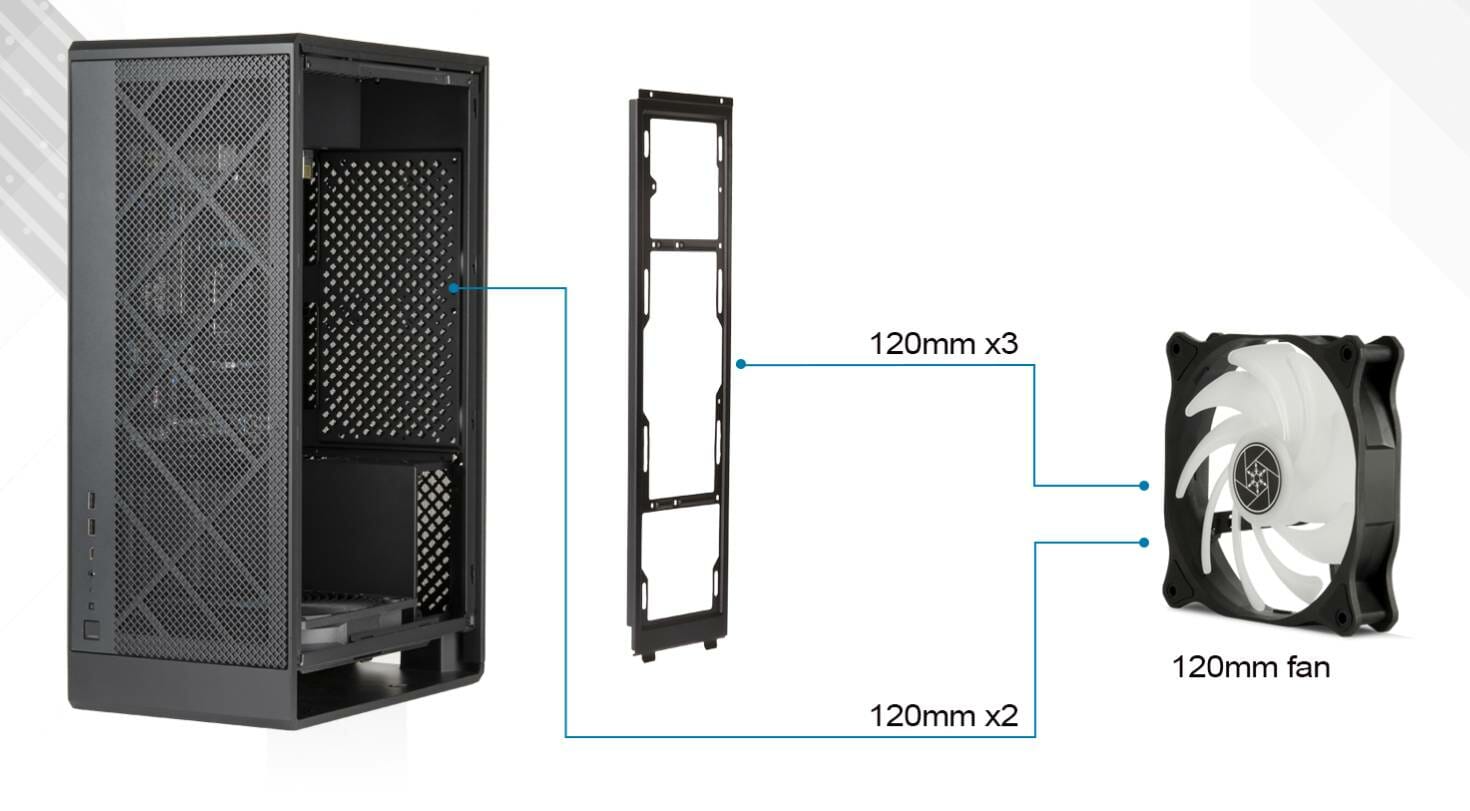
We can install up to 3x 120mm fans (no limit on thickness) on the bracket and up to 2x 120mm fans on the vented portion in the case.
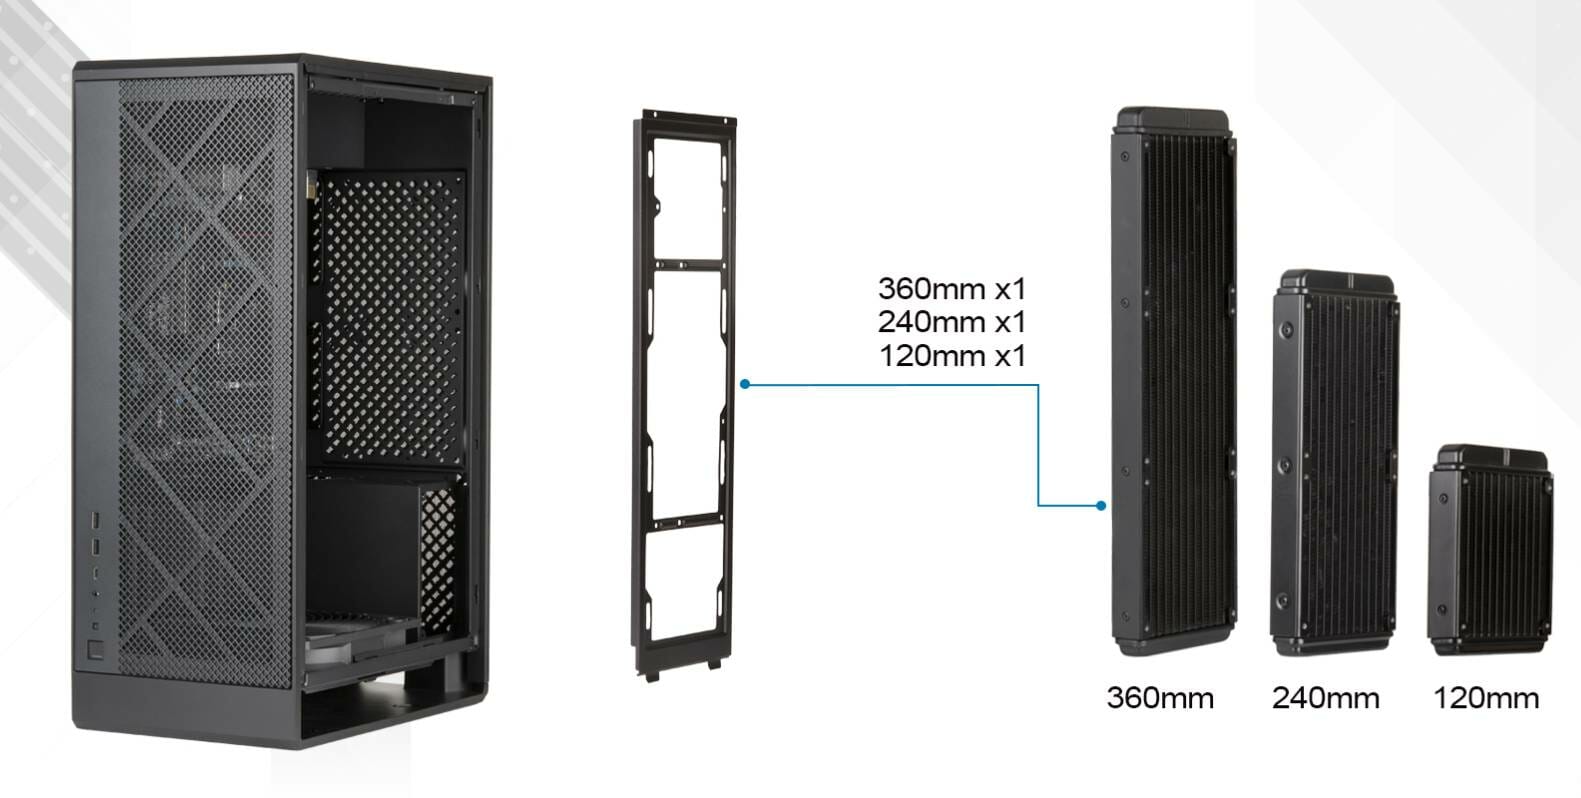
We can install a 120mm, 240mm, or 360mm radiator on the bracket.
Clearly, SilverStone has provided good support for the cooling provision in the ALTA G1M. One would need to balance out between the storage and the cooling gear.
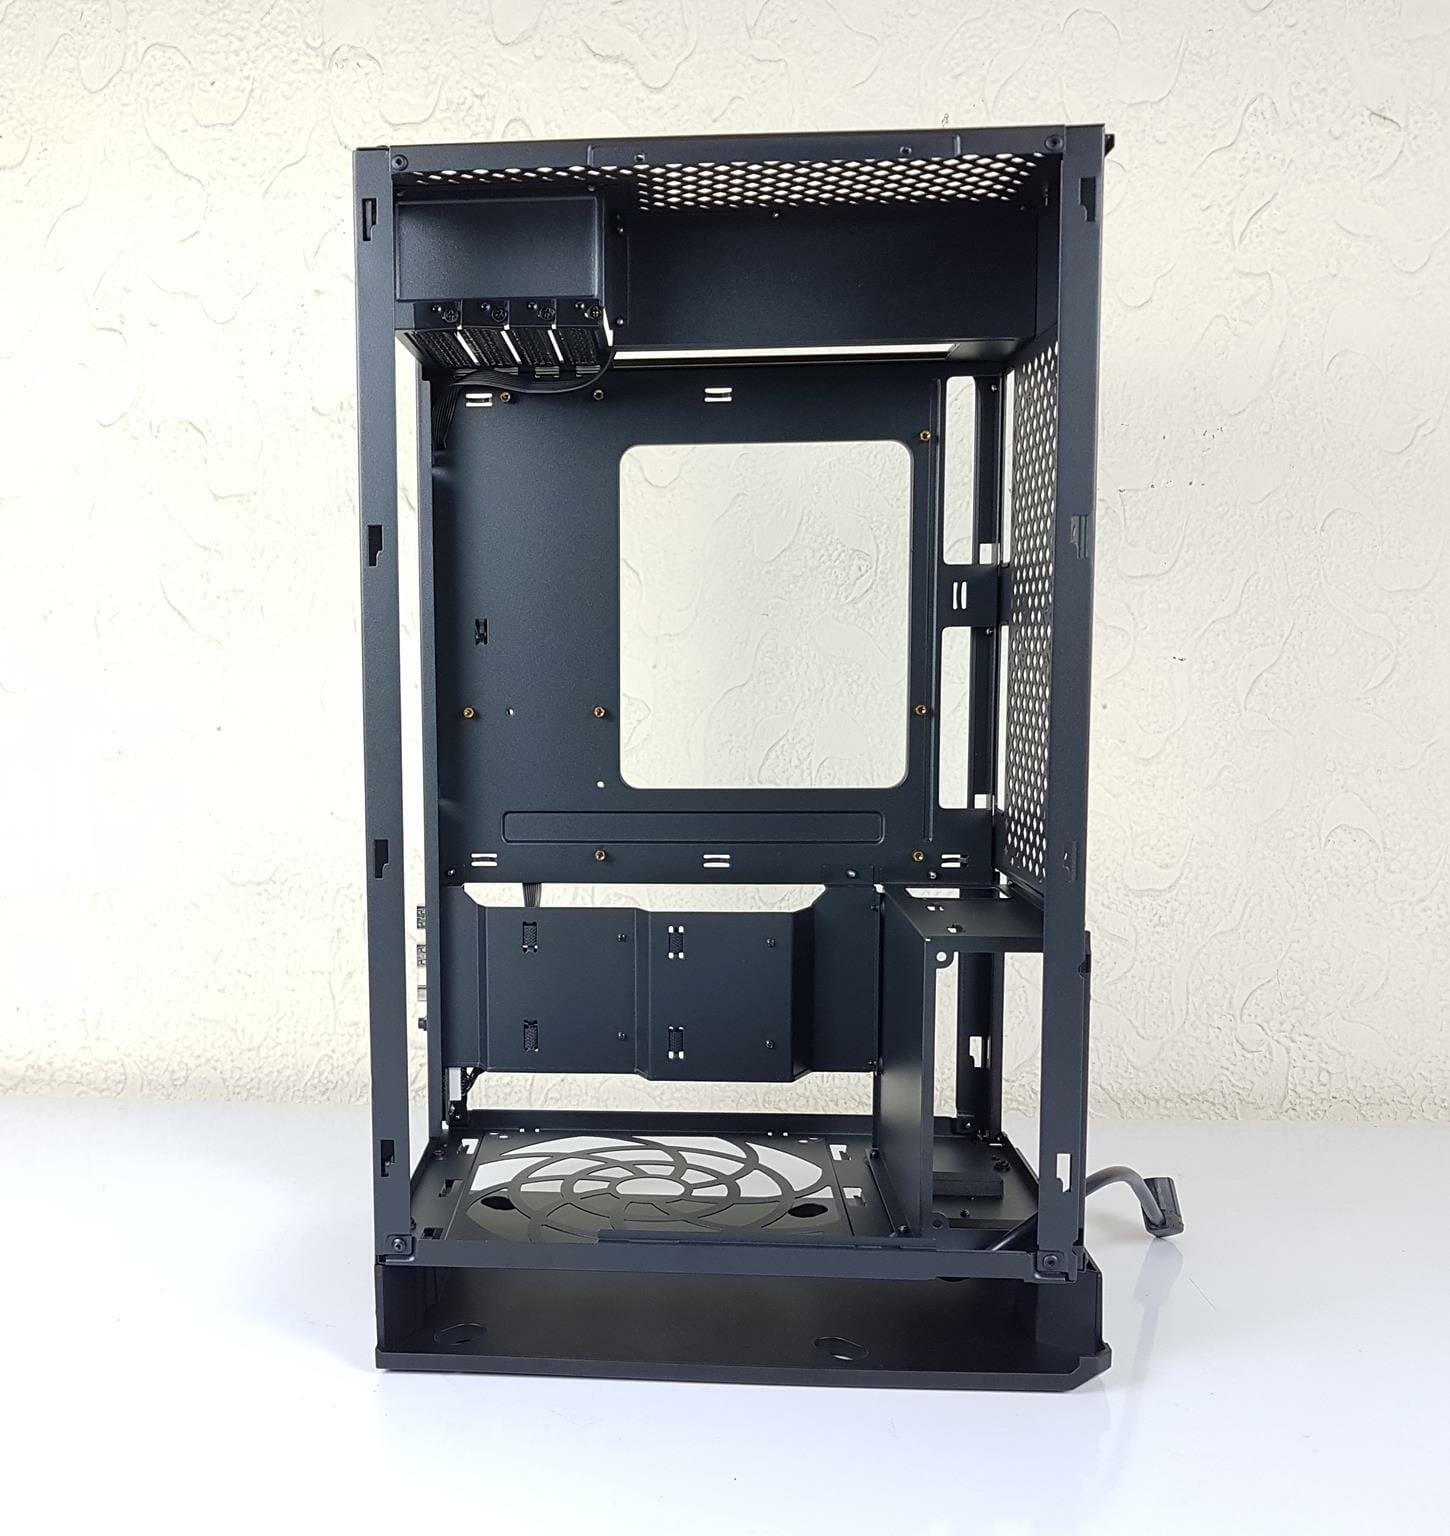
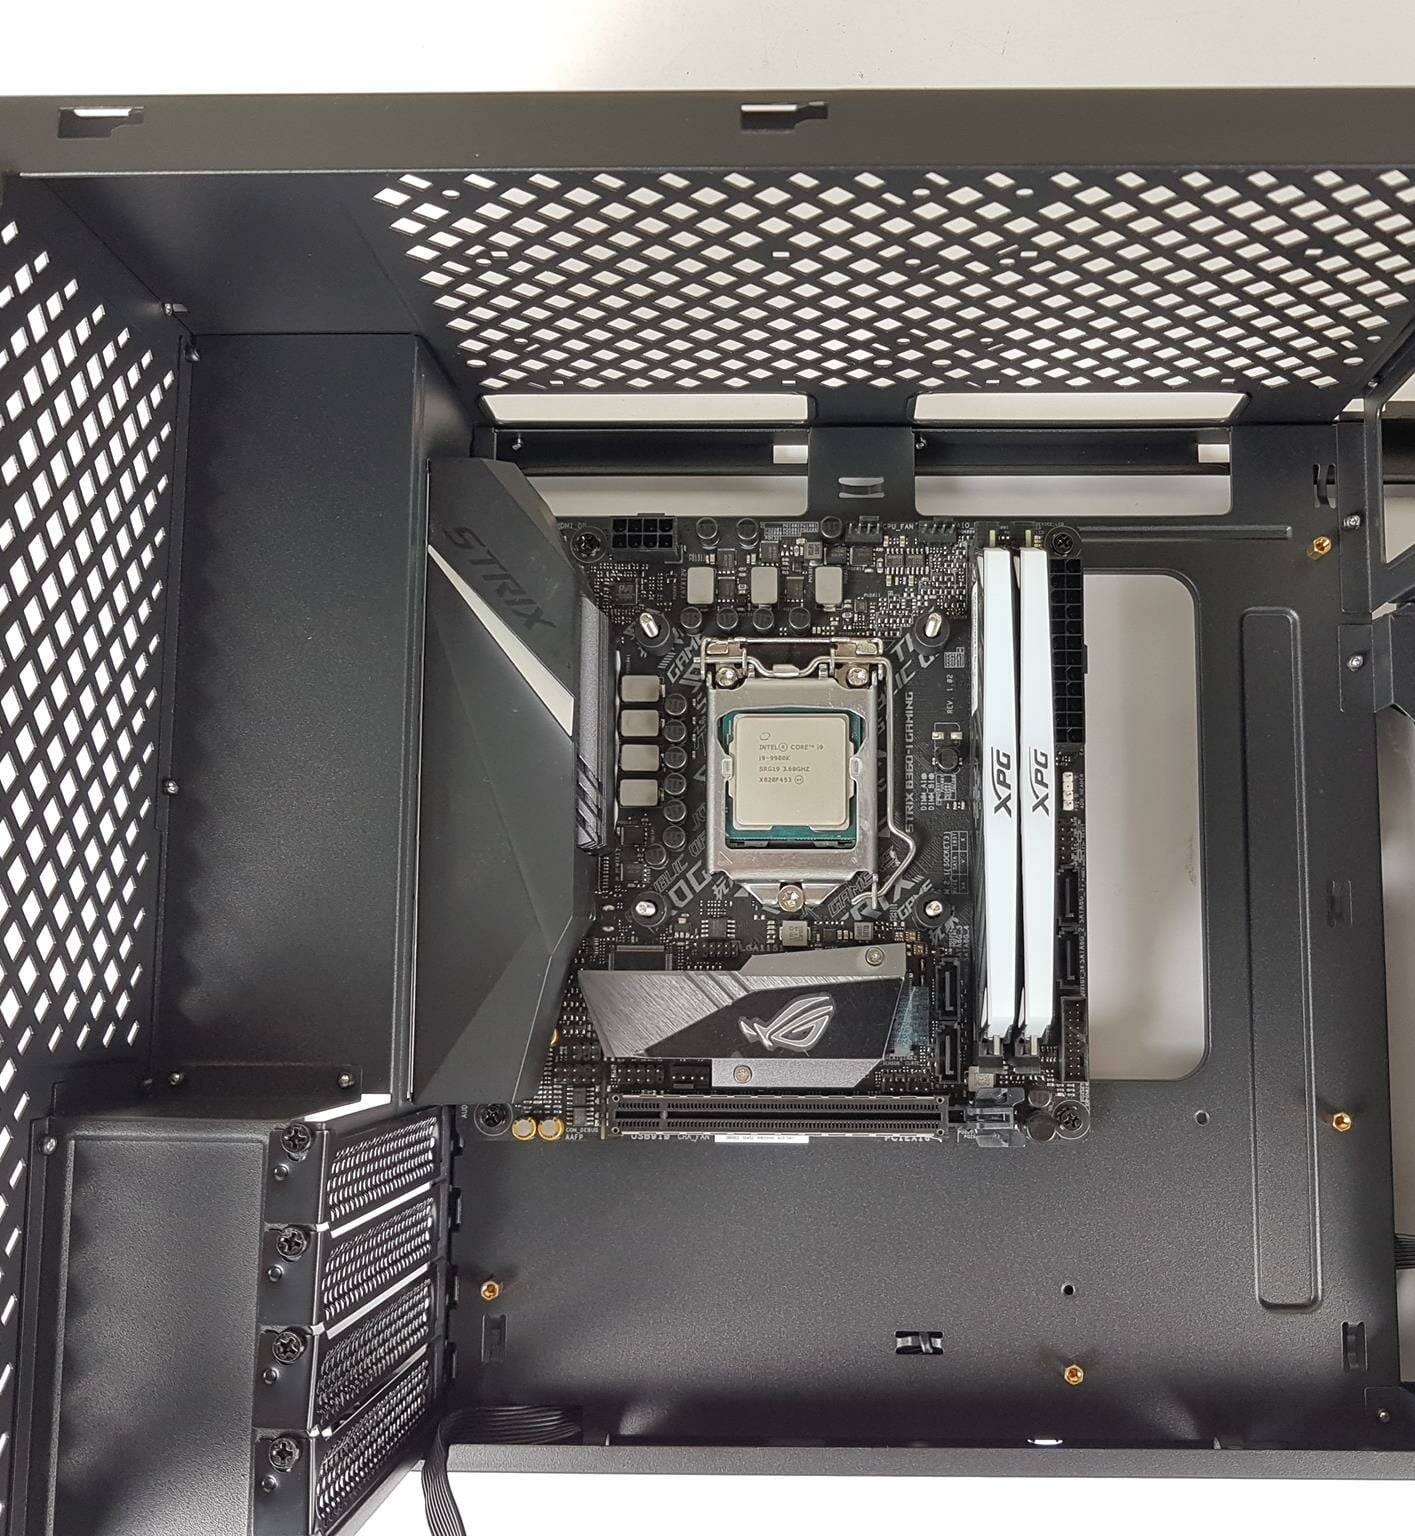
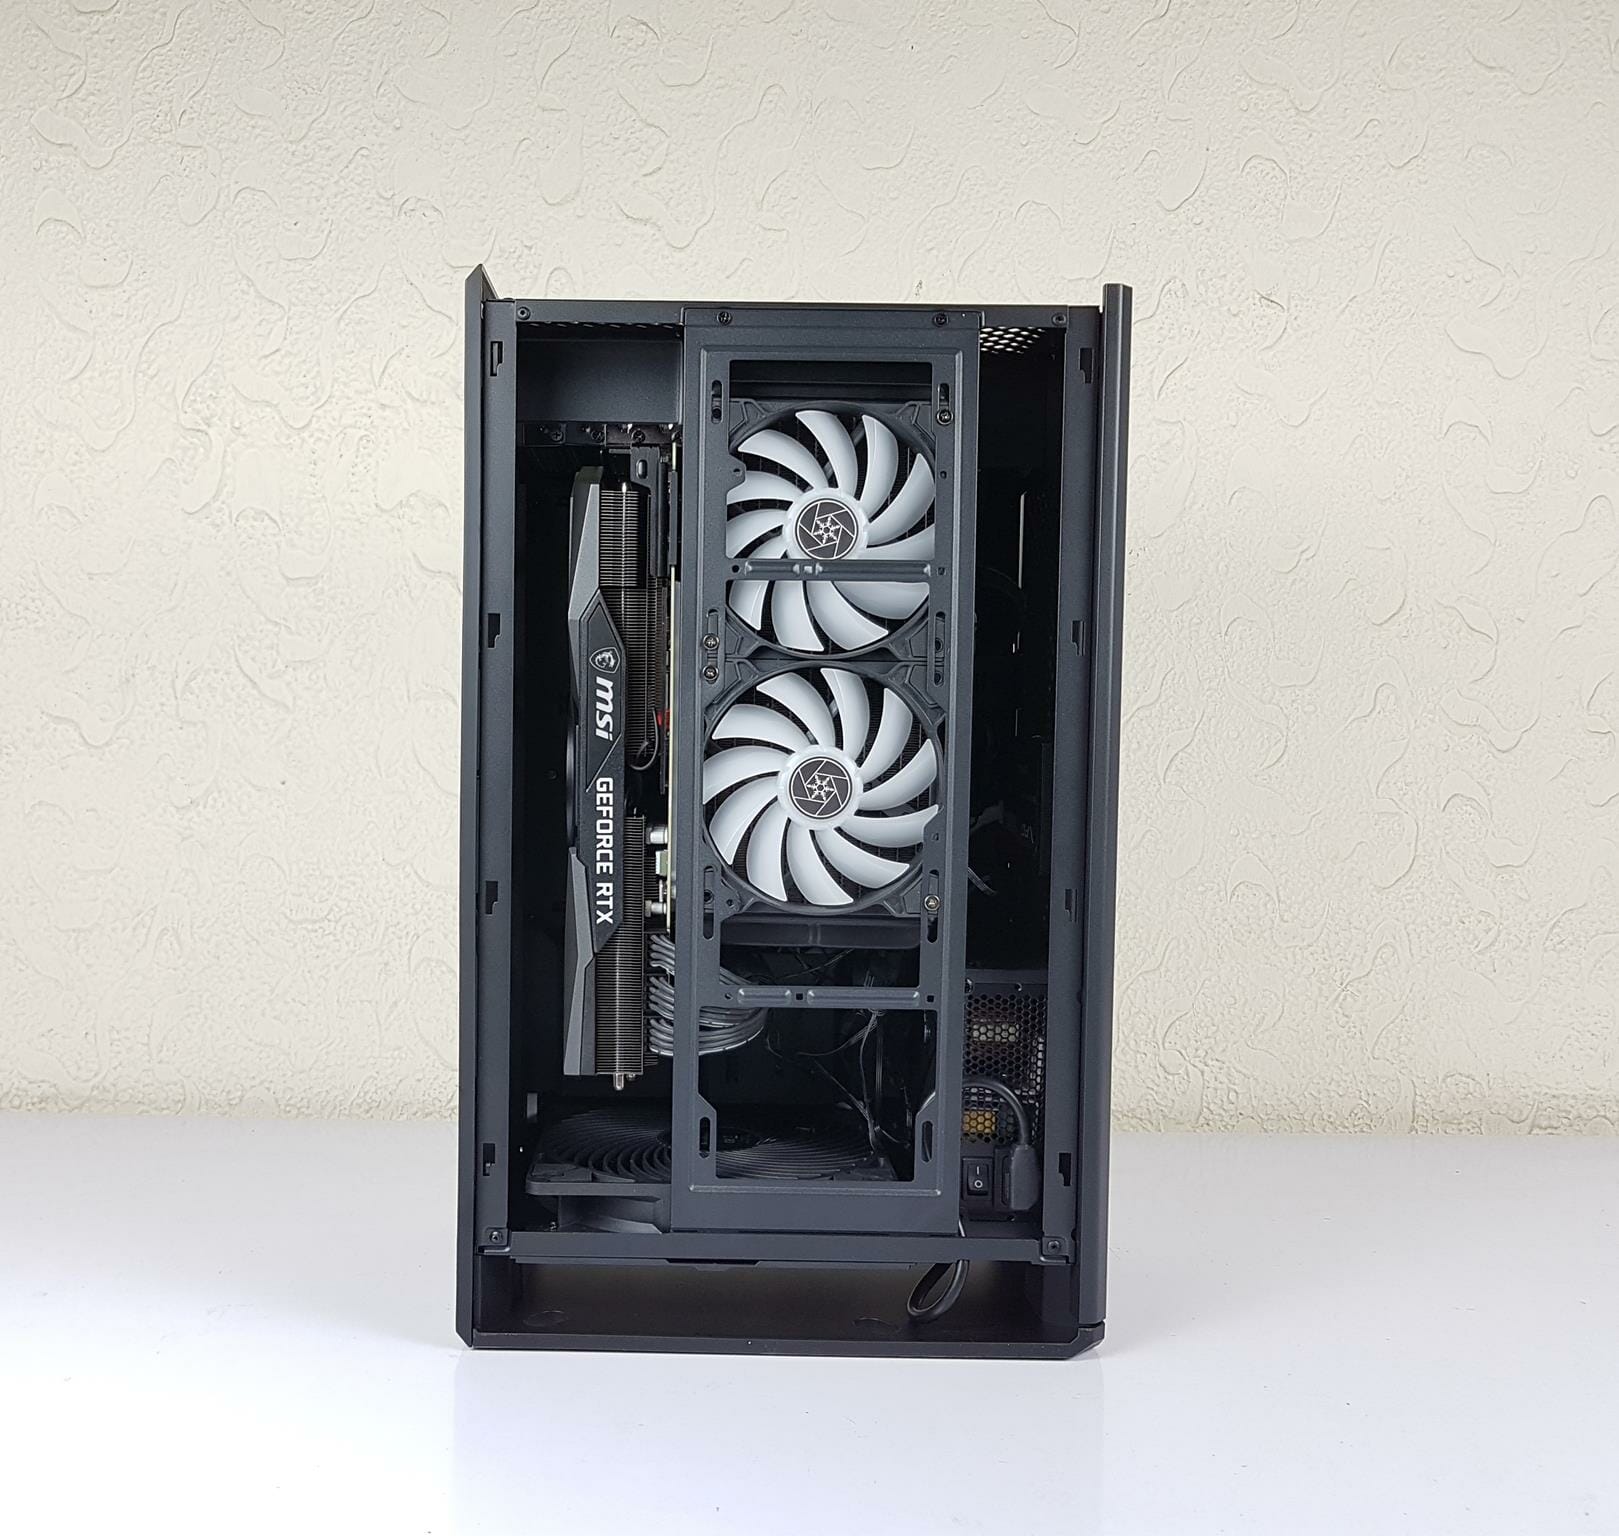
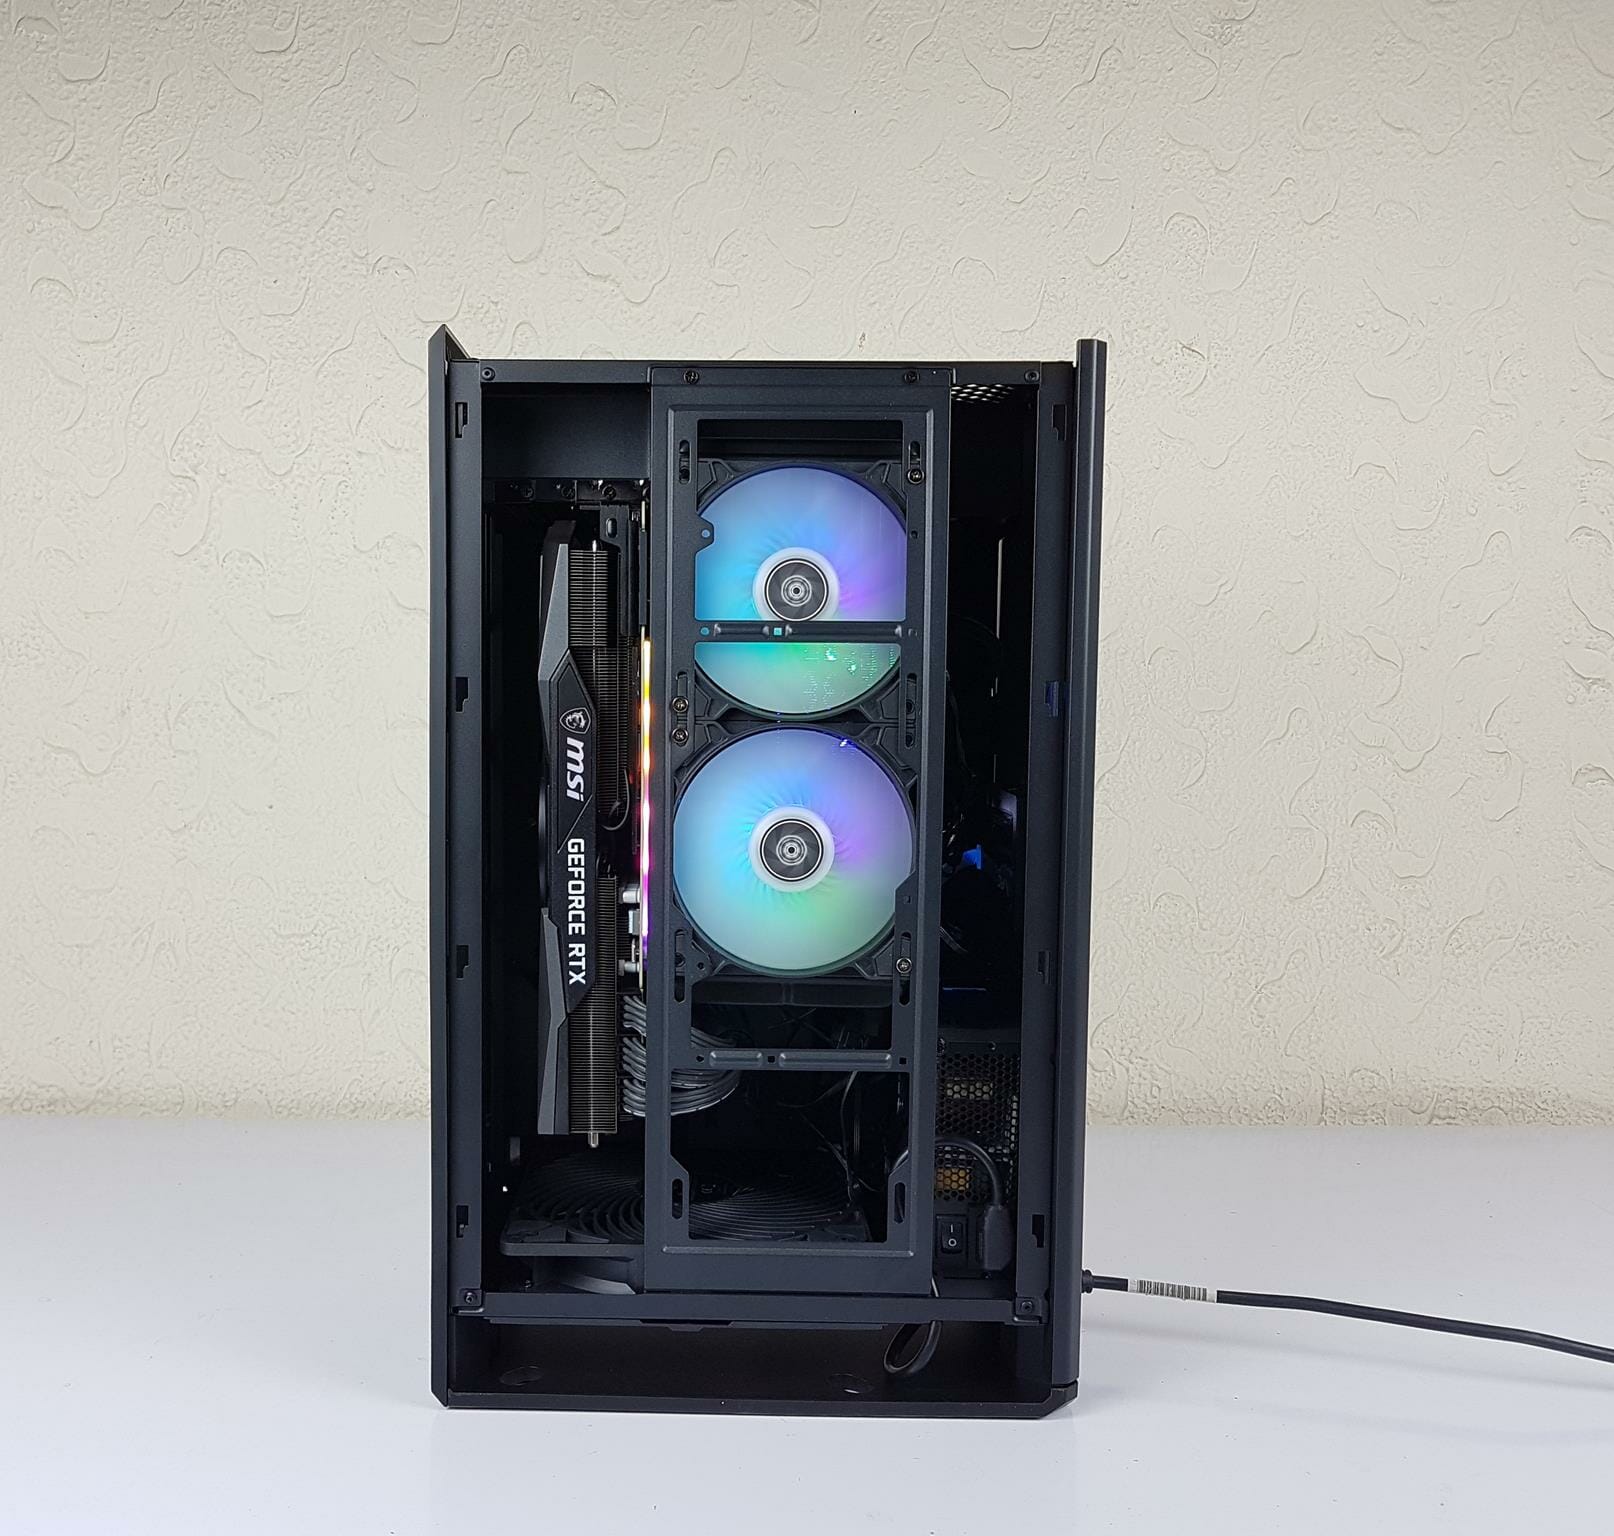
Coming back to the PC case design, the above picture shows the inside of the ALTA G1M after removing the bracket. Needless to say, we have a spacious and well-thought-out layout in the case. Since it is 90° rotated, one would need to understand the layout respectively.
8x golden color standoffs are pre-installed. The case supports a micro-ATX size motherboard (9.6” x 9.6”). It can house a mini-ITX motherboard as well which is obvious. The supported size of the mini-ITX motherboard is 6.7” x 6.7”. There one can see that a 180mm fan with 32mm thickness is provided to give plentiful airflow inside the case. The case has a positive air pressure in the stock configuration.
The ALTA G1M support a full-length graphics card with up to 4 slot width which is quite good and can house any beefy graphics card. The AIO-mounted graphics card would have considerations depending upon the type and size of the CPI cooler.
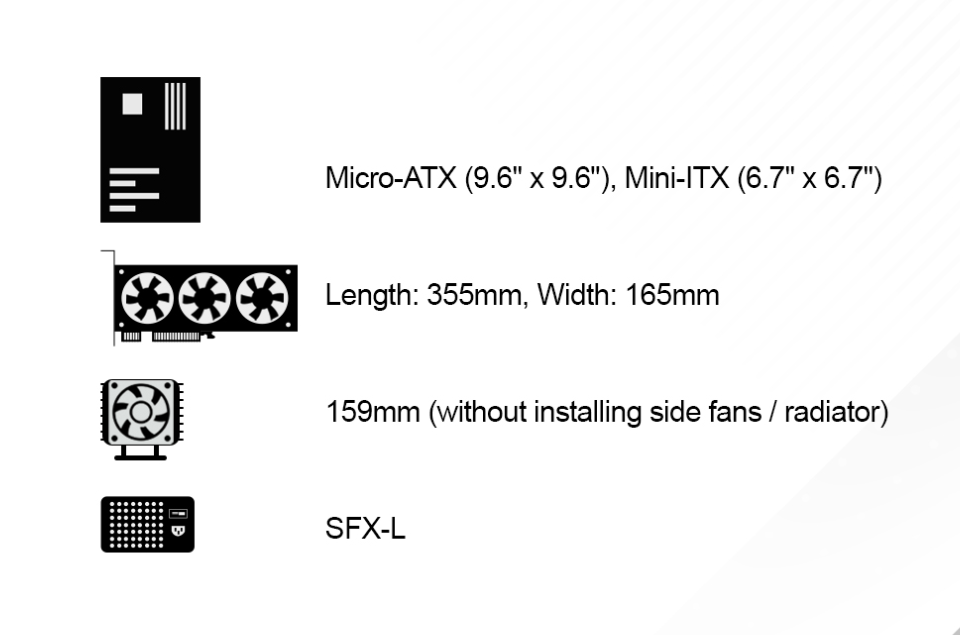
The above picture shows the compatibility and clearance of the case with respect to the major components.
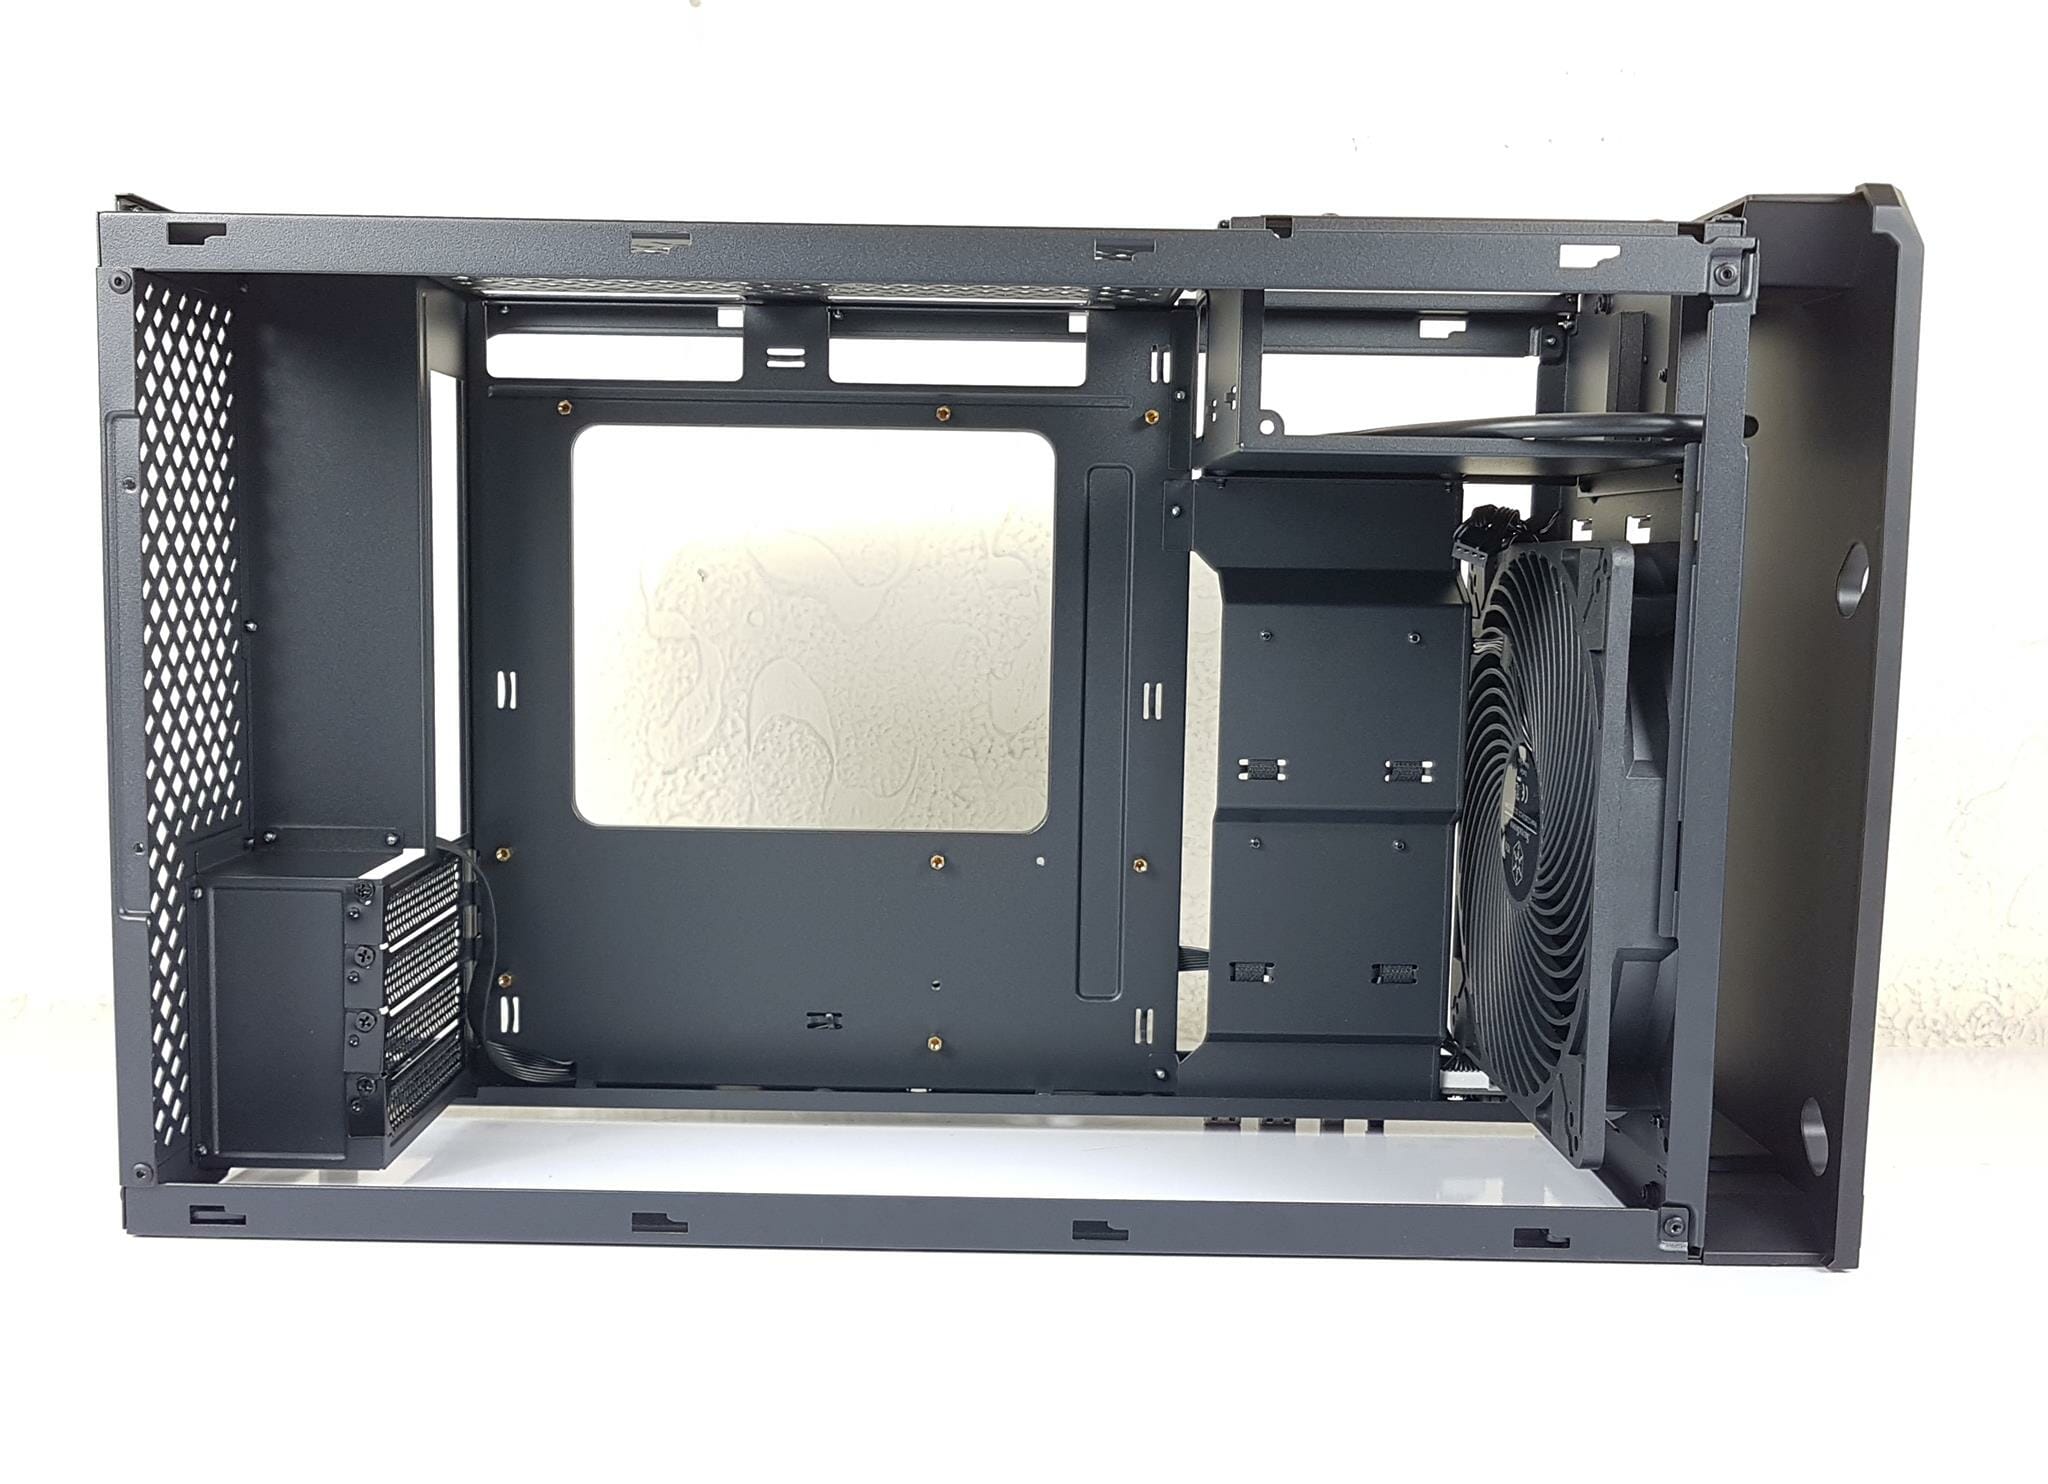
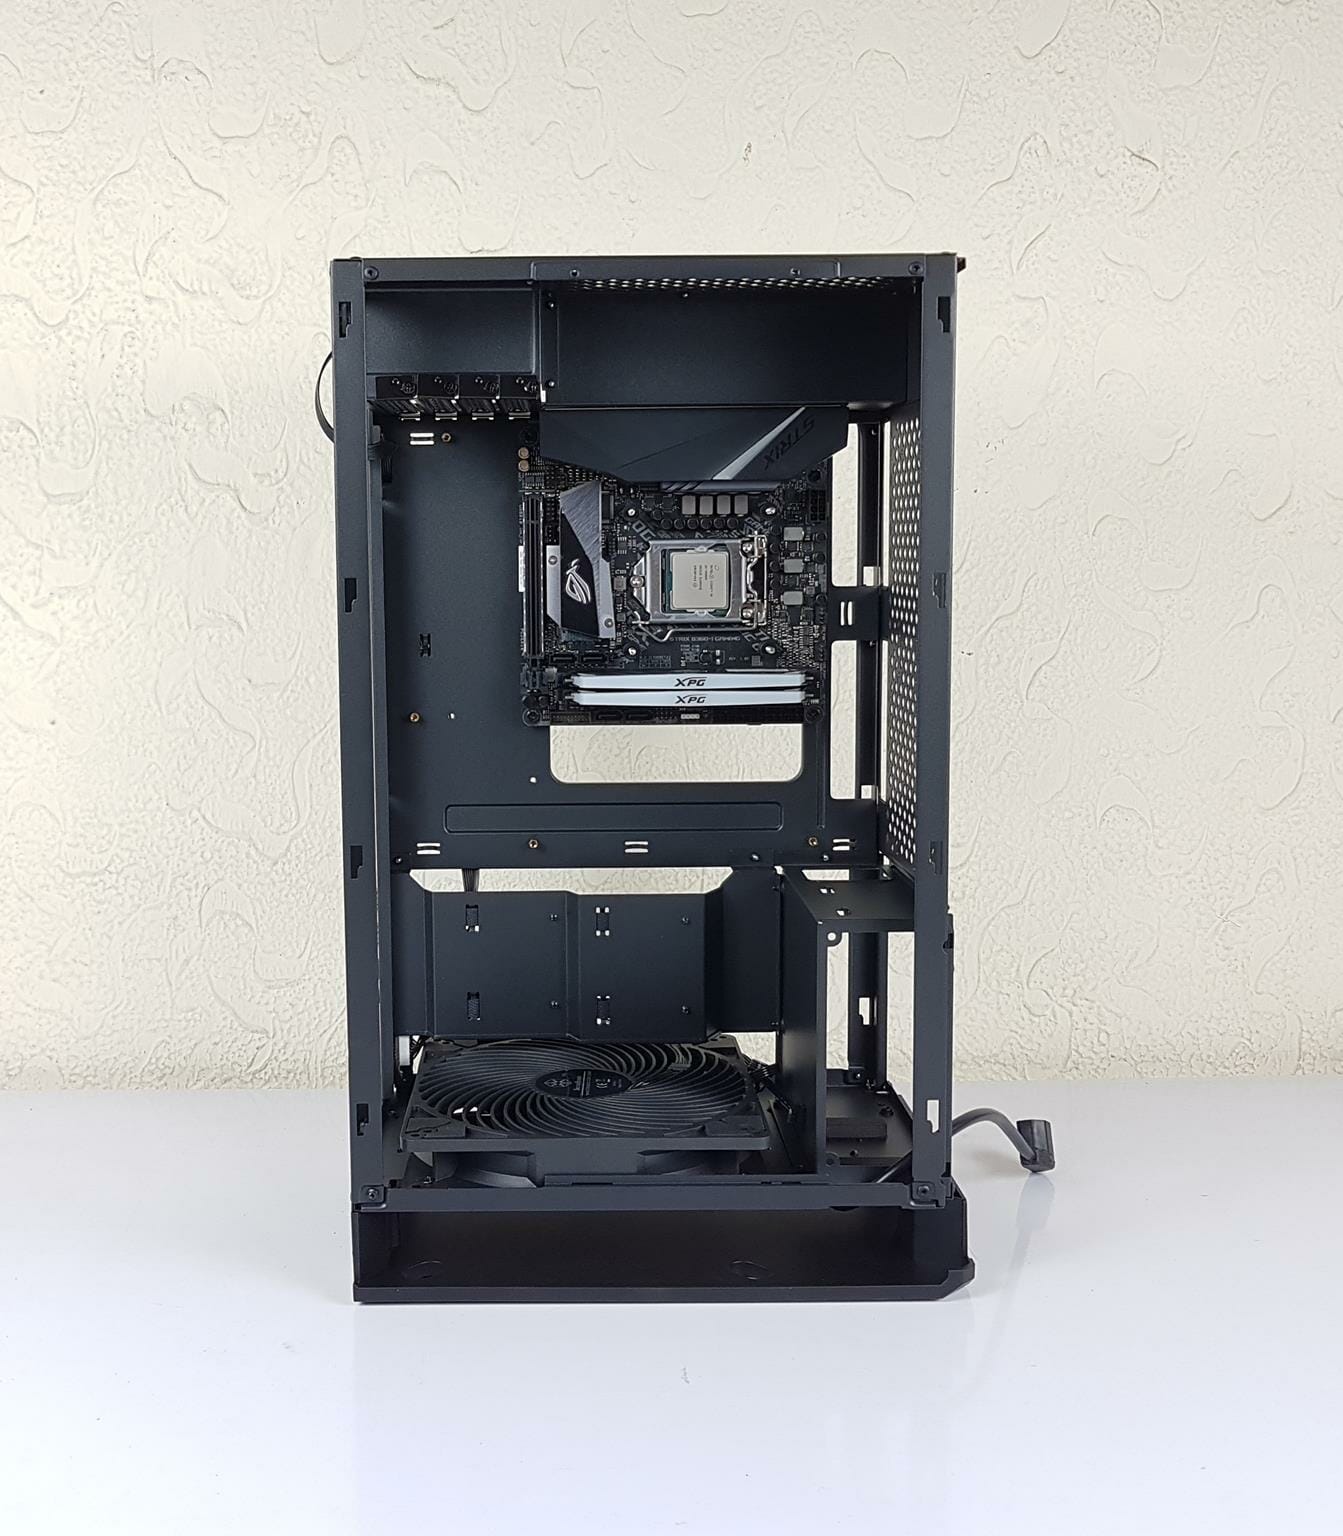
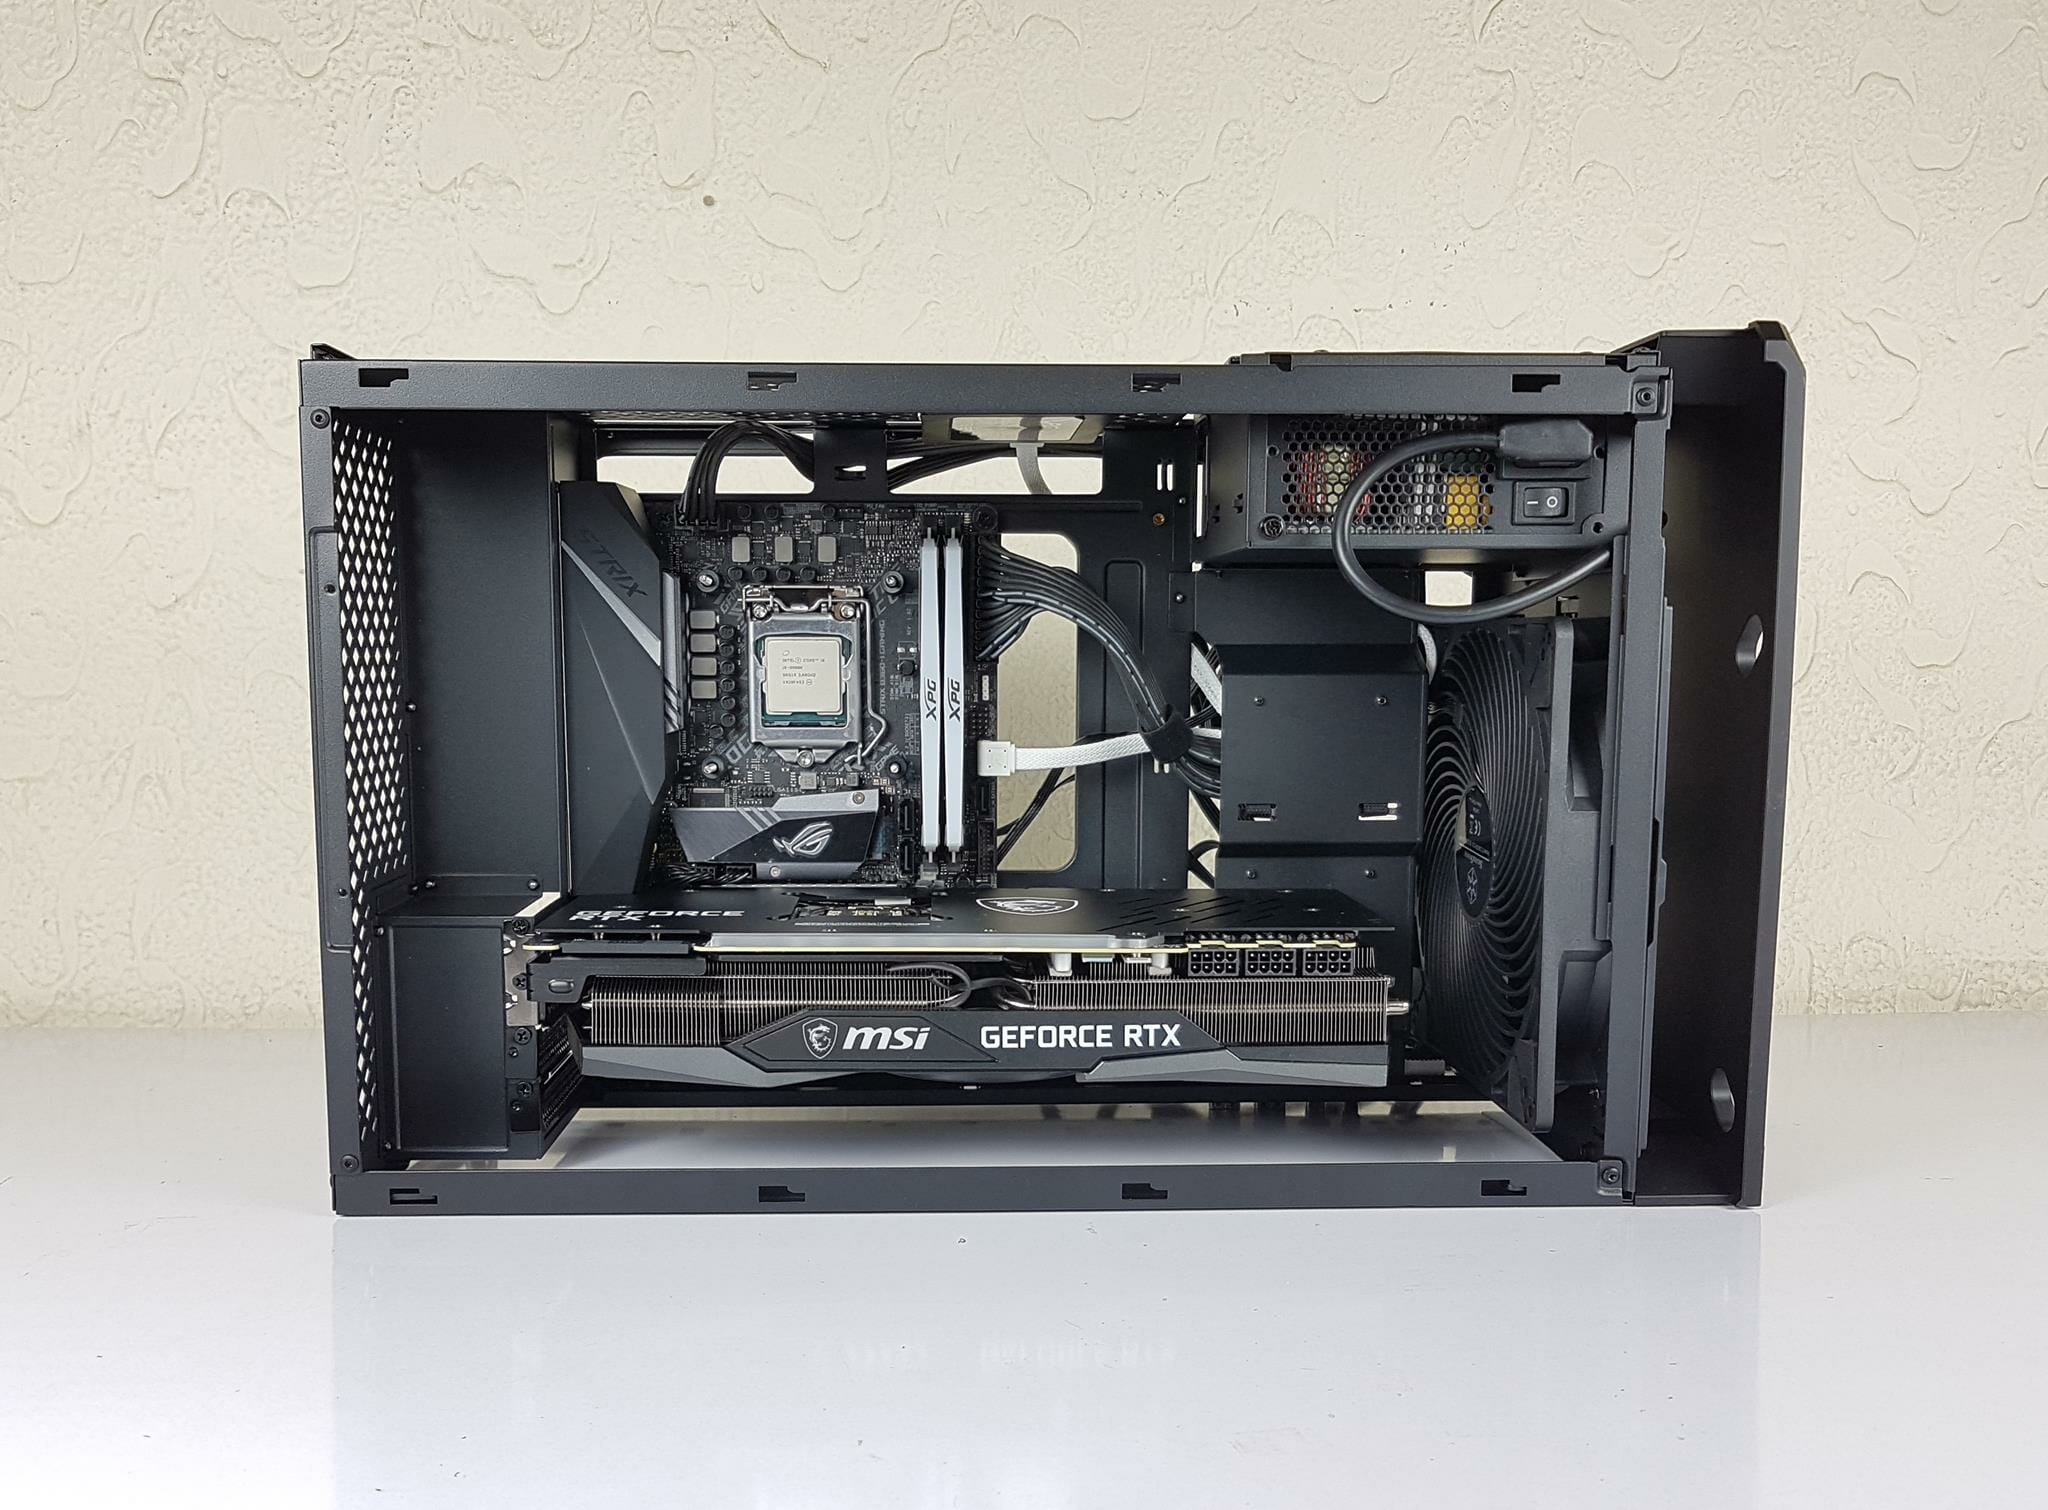
We are showing the inside of the case with the case placed horizontally on the table. Please note that this is only for the purpose of giving a clear picture and understanding of the layout. The case is not designed to be used in this position. The motherboard tray has two large-size cutouts on the top for cable routing. There is a cable cover placed between the tray and the PSU bay to hide the cables behind the cover with a provision of an opening to route the cables to the motherboard. SilverStone has designed the case such as they have provided openings and covers which would help the user in the cable management.
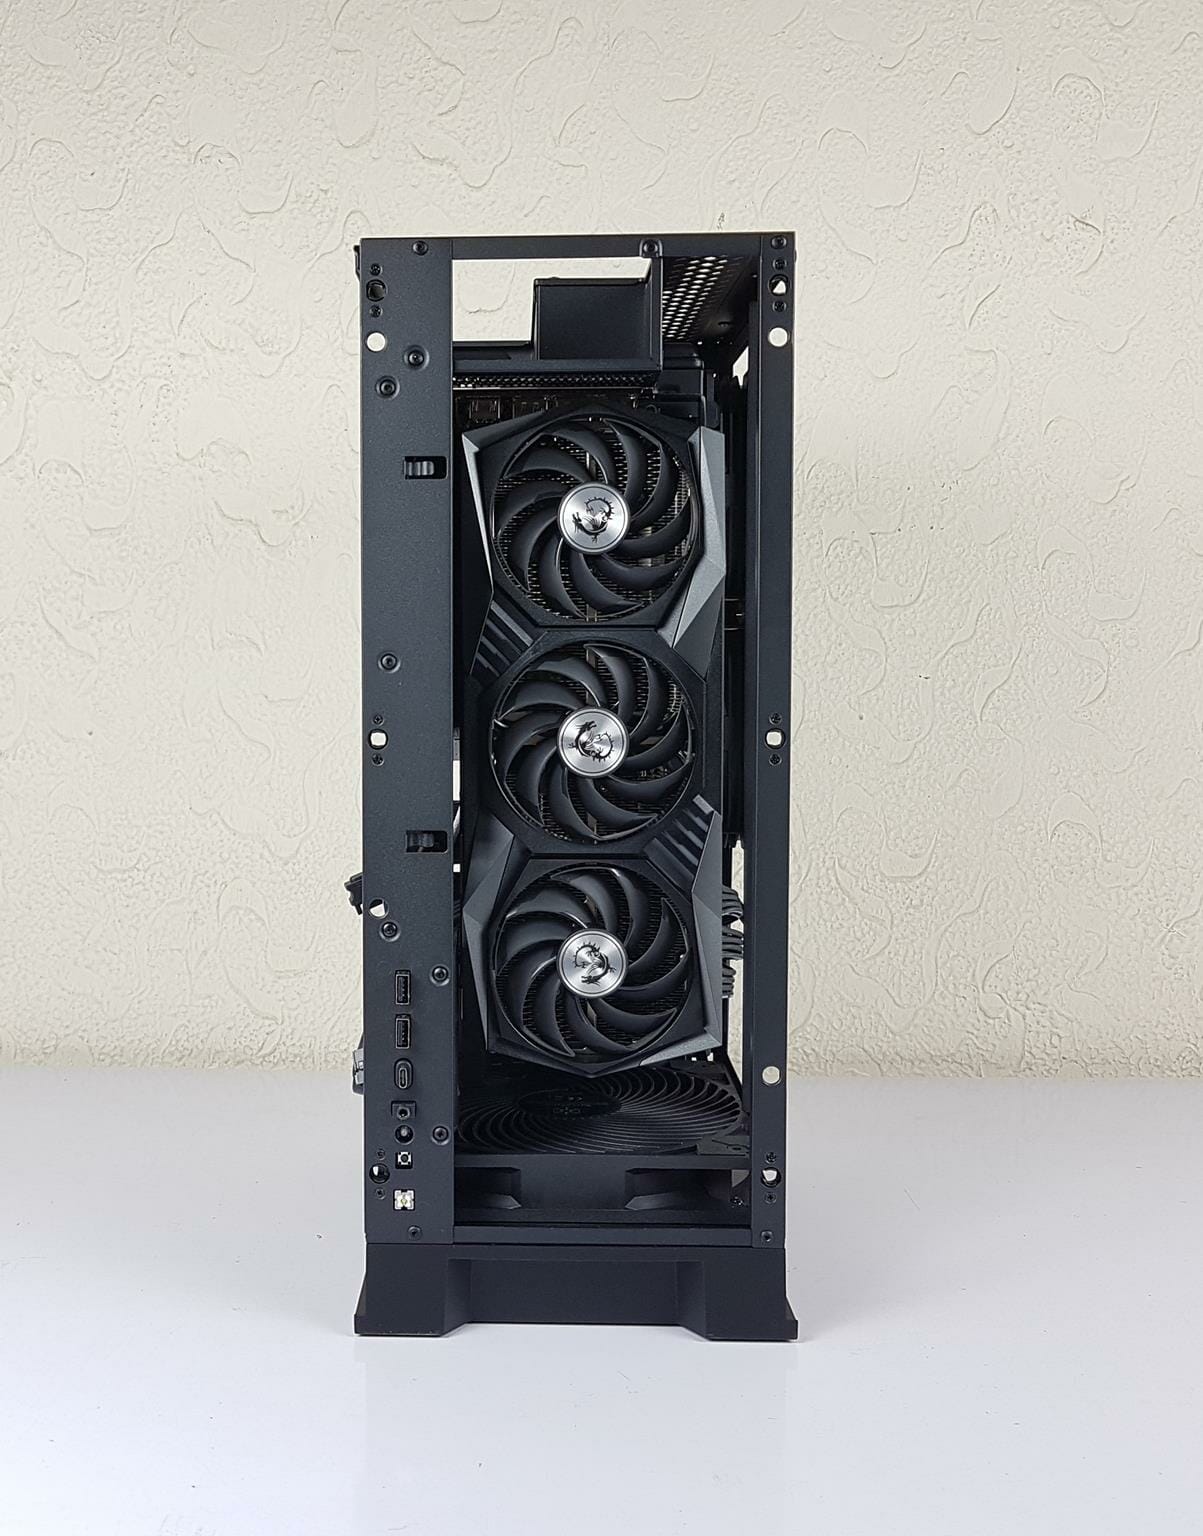
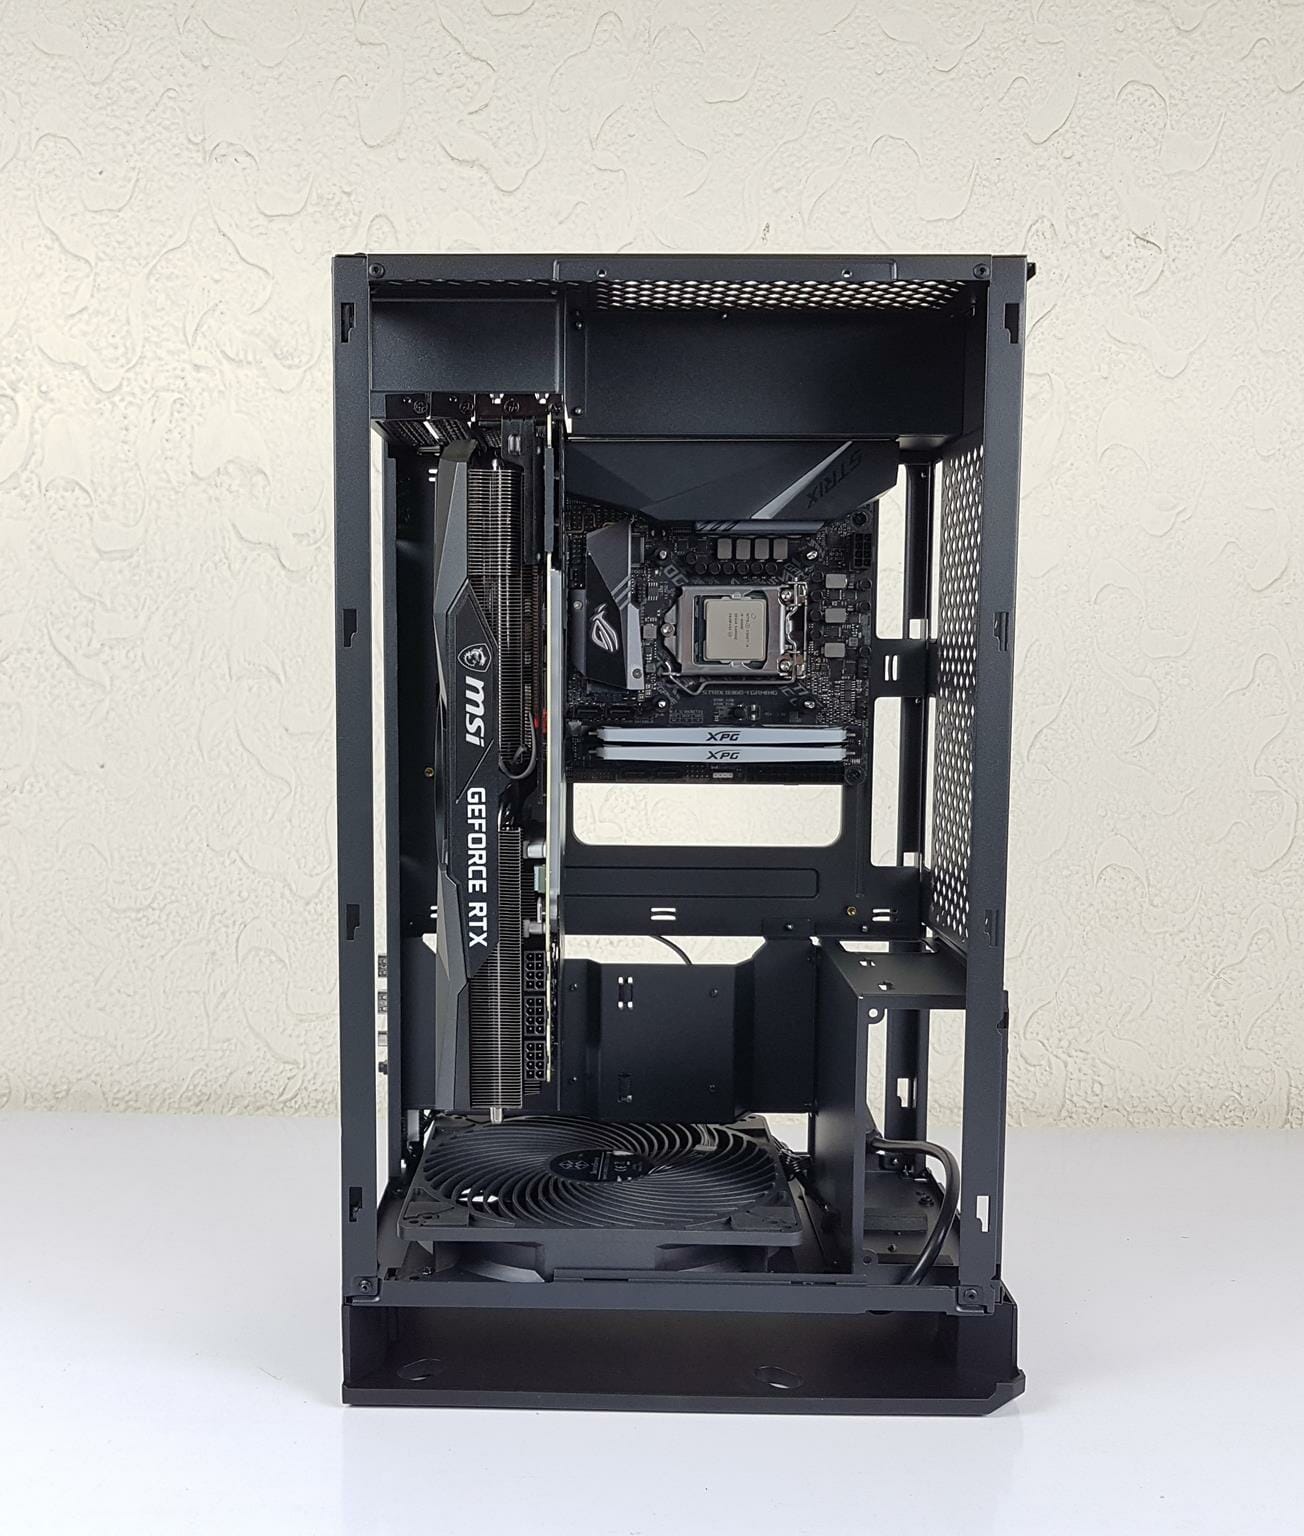
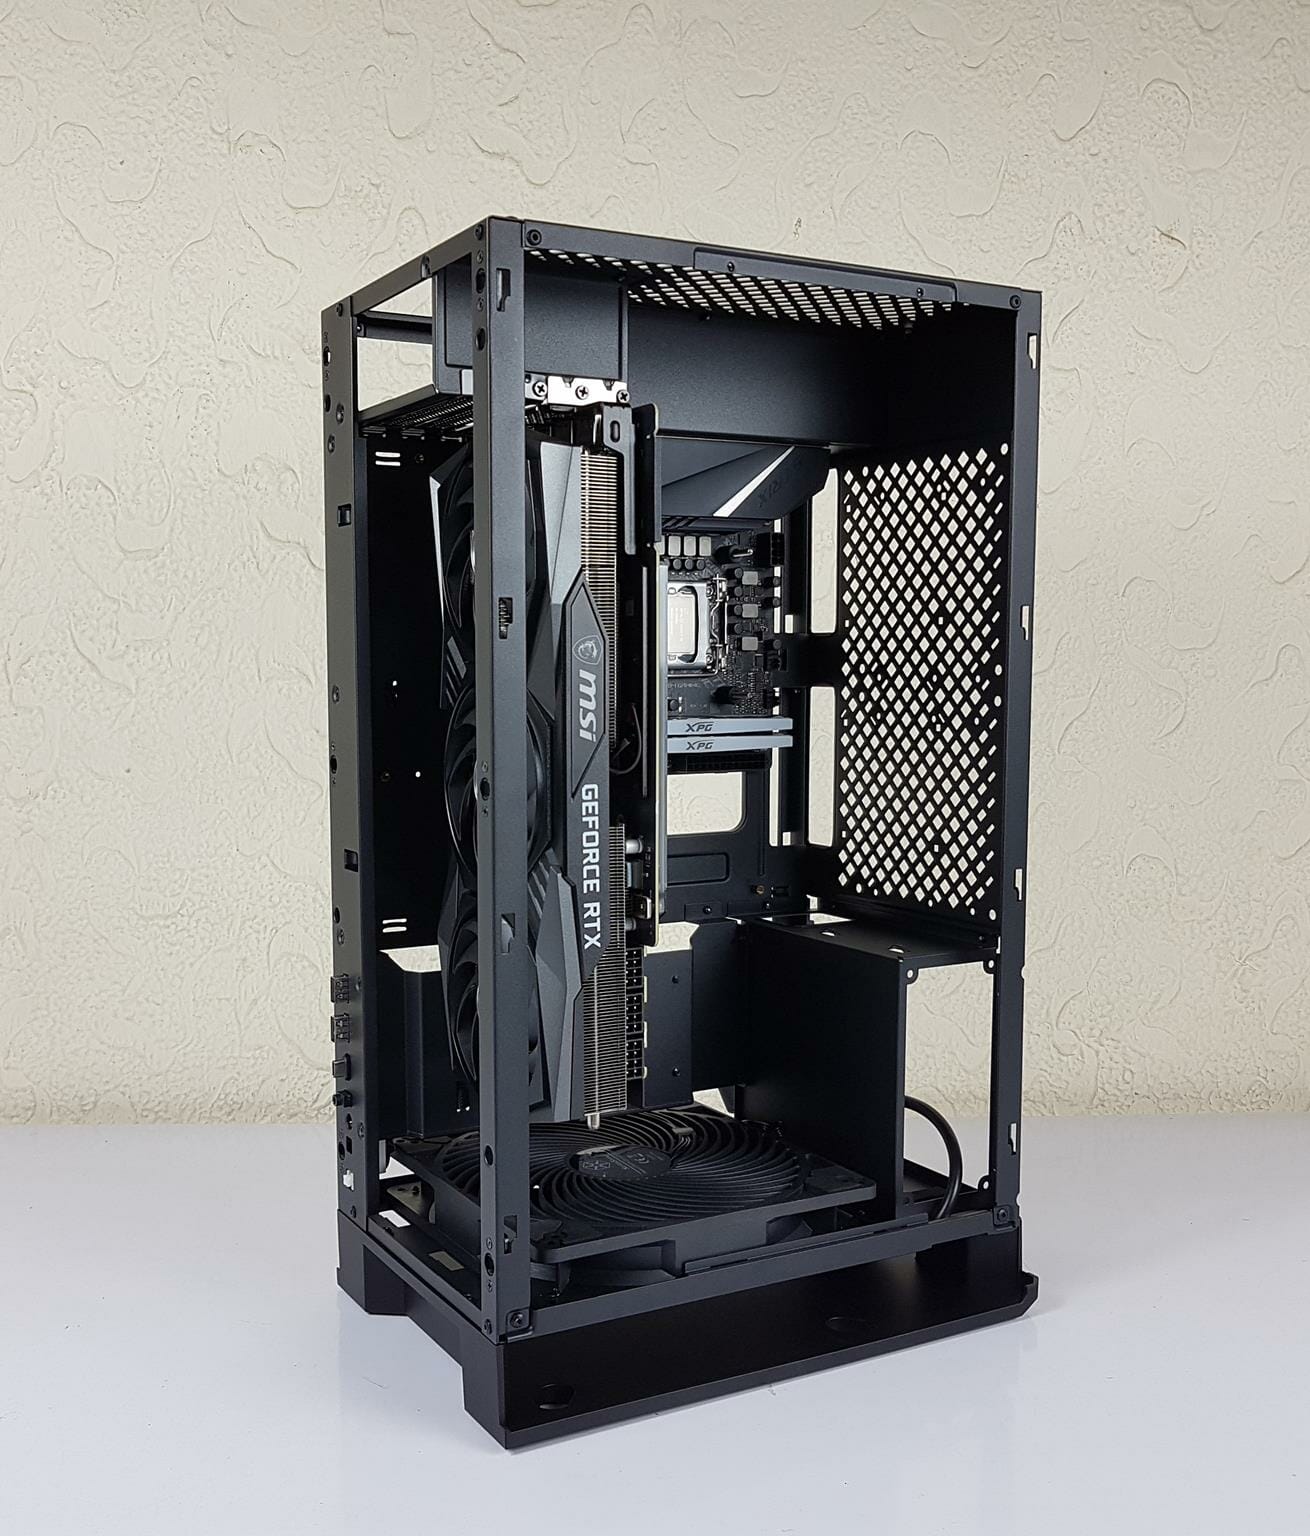
The bottom fan is facing the front edge side of the graphics card. The fans of the graphics cards will be facing the front mesh panel so that they can intake the fresh air from the front side. The case has 4x PCIe slots with removable vented covers.
The above picture will help in understanding the graphics card layout. This is the front side of the case and the fans of the card will be pulling fresh air from the mesh panel.
The above picture shows the layout with the bottom fan removed.
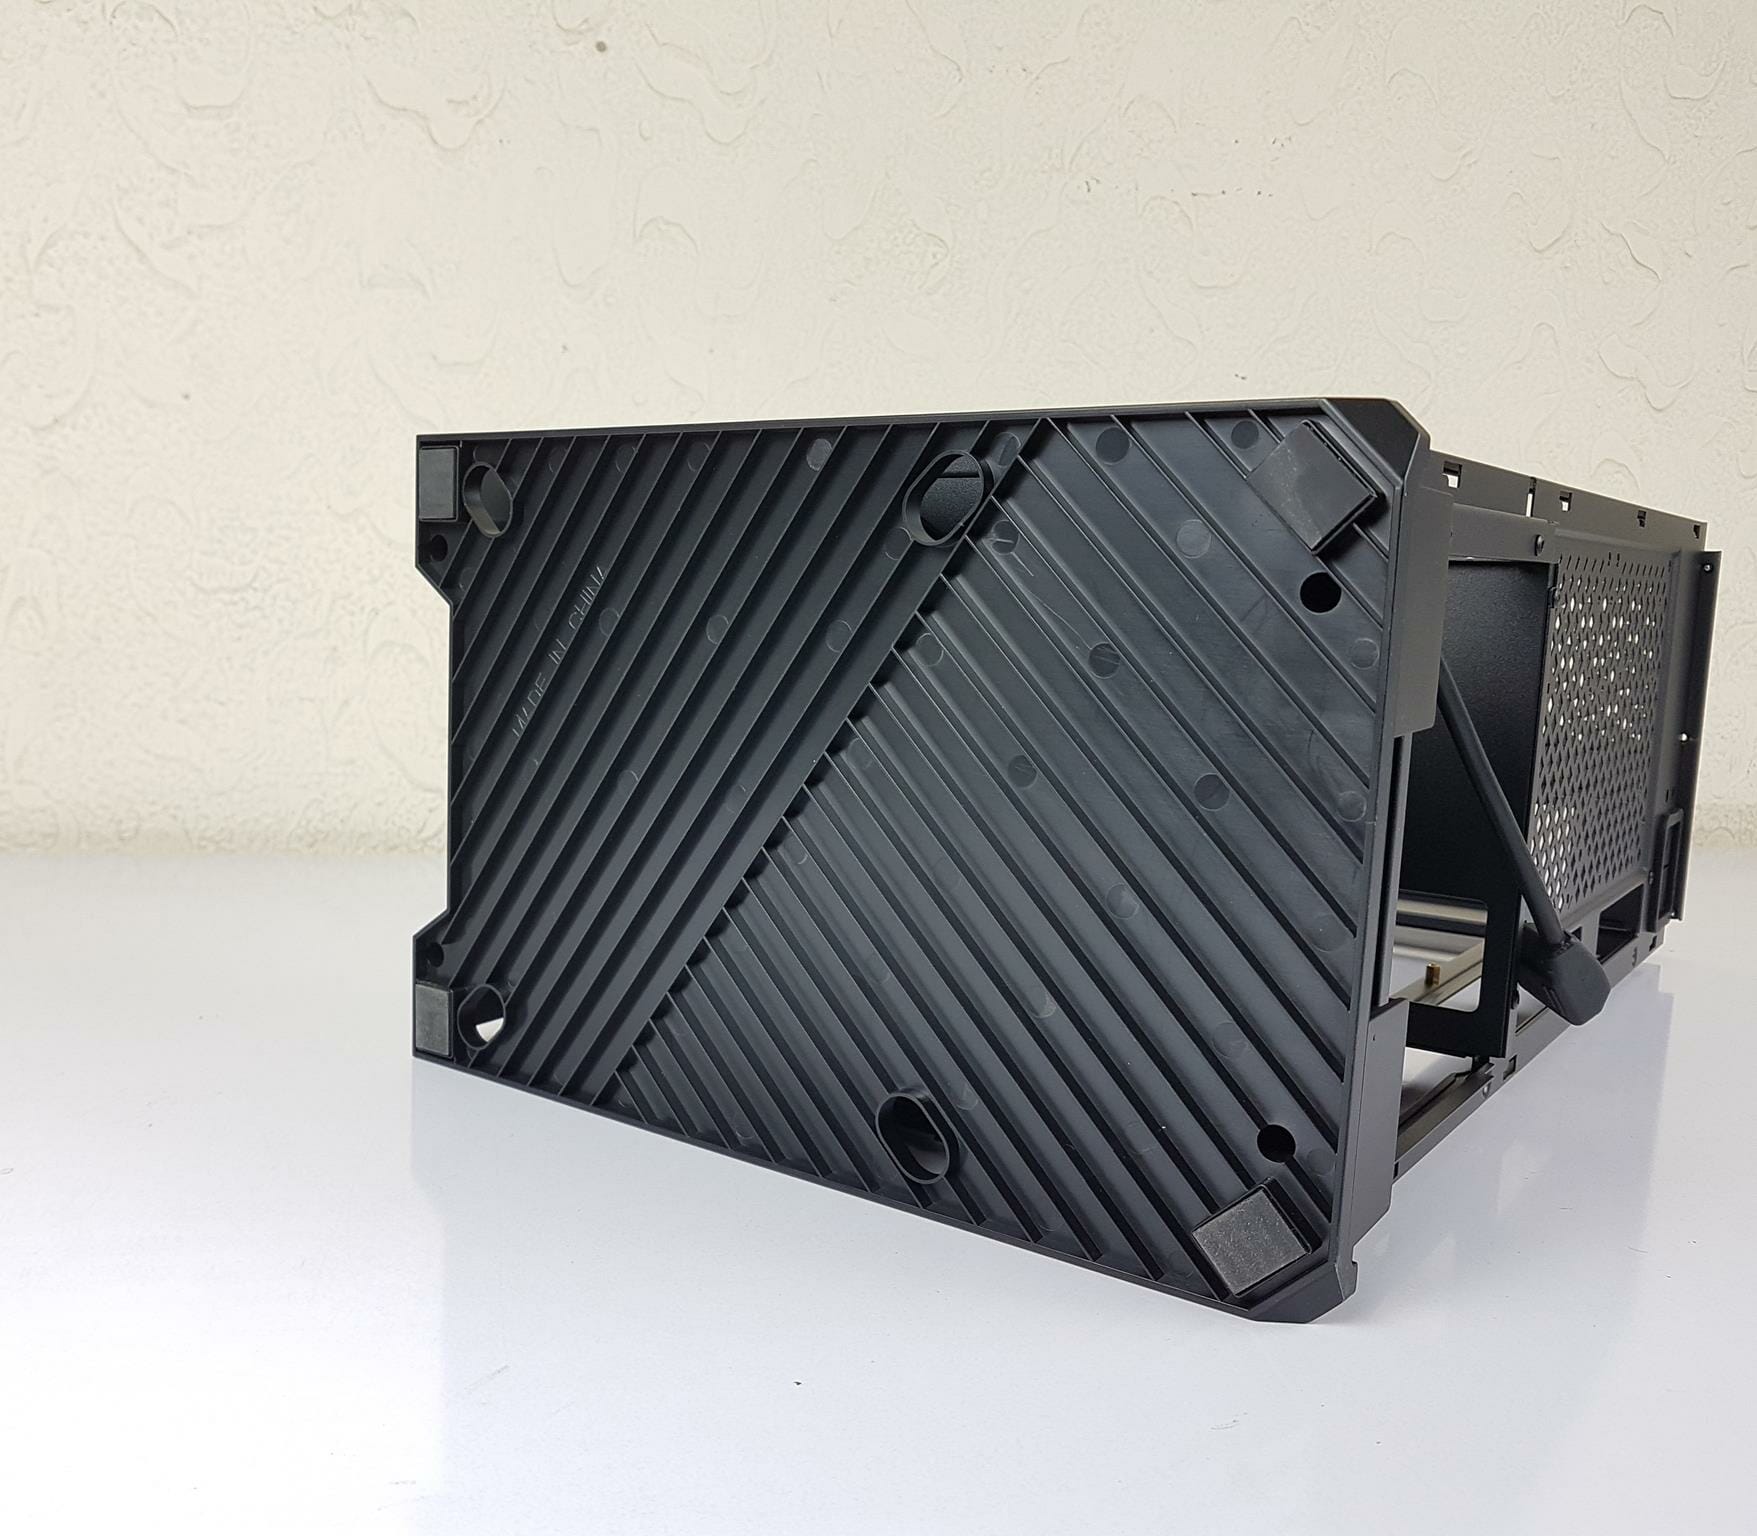
The bottom of the case has a plastic frame. We have 4x rubber pads on the underside of the frame. These would save the surface from scratching on which the case will be put on.
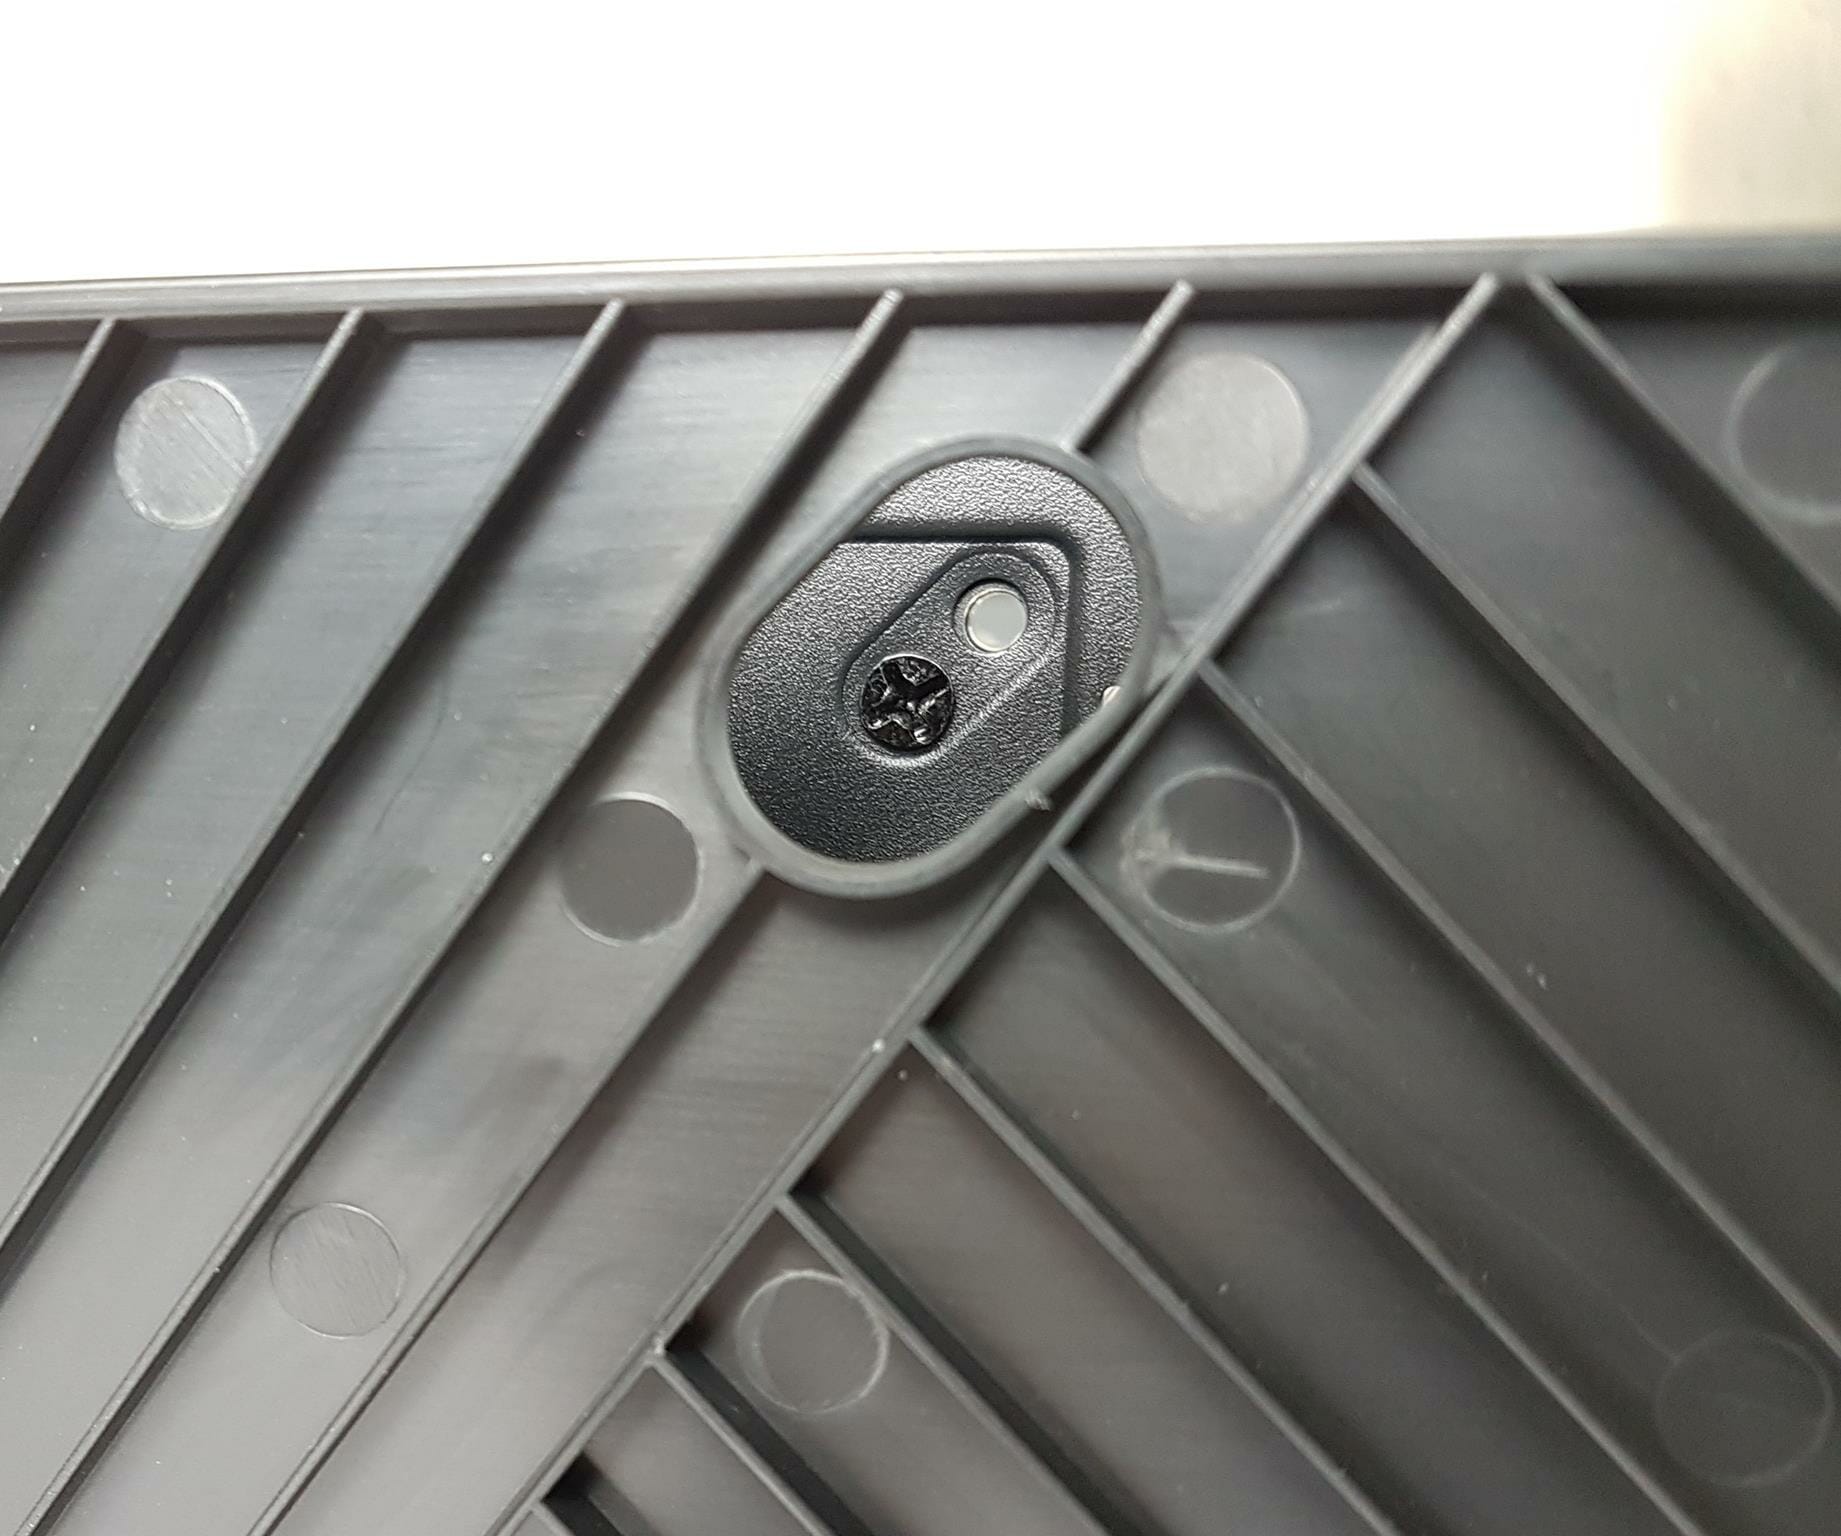
There are 4x oval shape cutouts in the frame giving access to the mounting holes of the base fan. The user can remove the base fan.
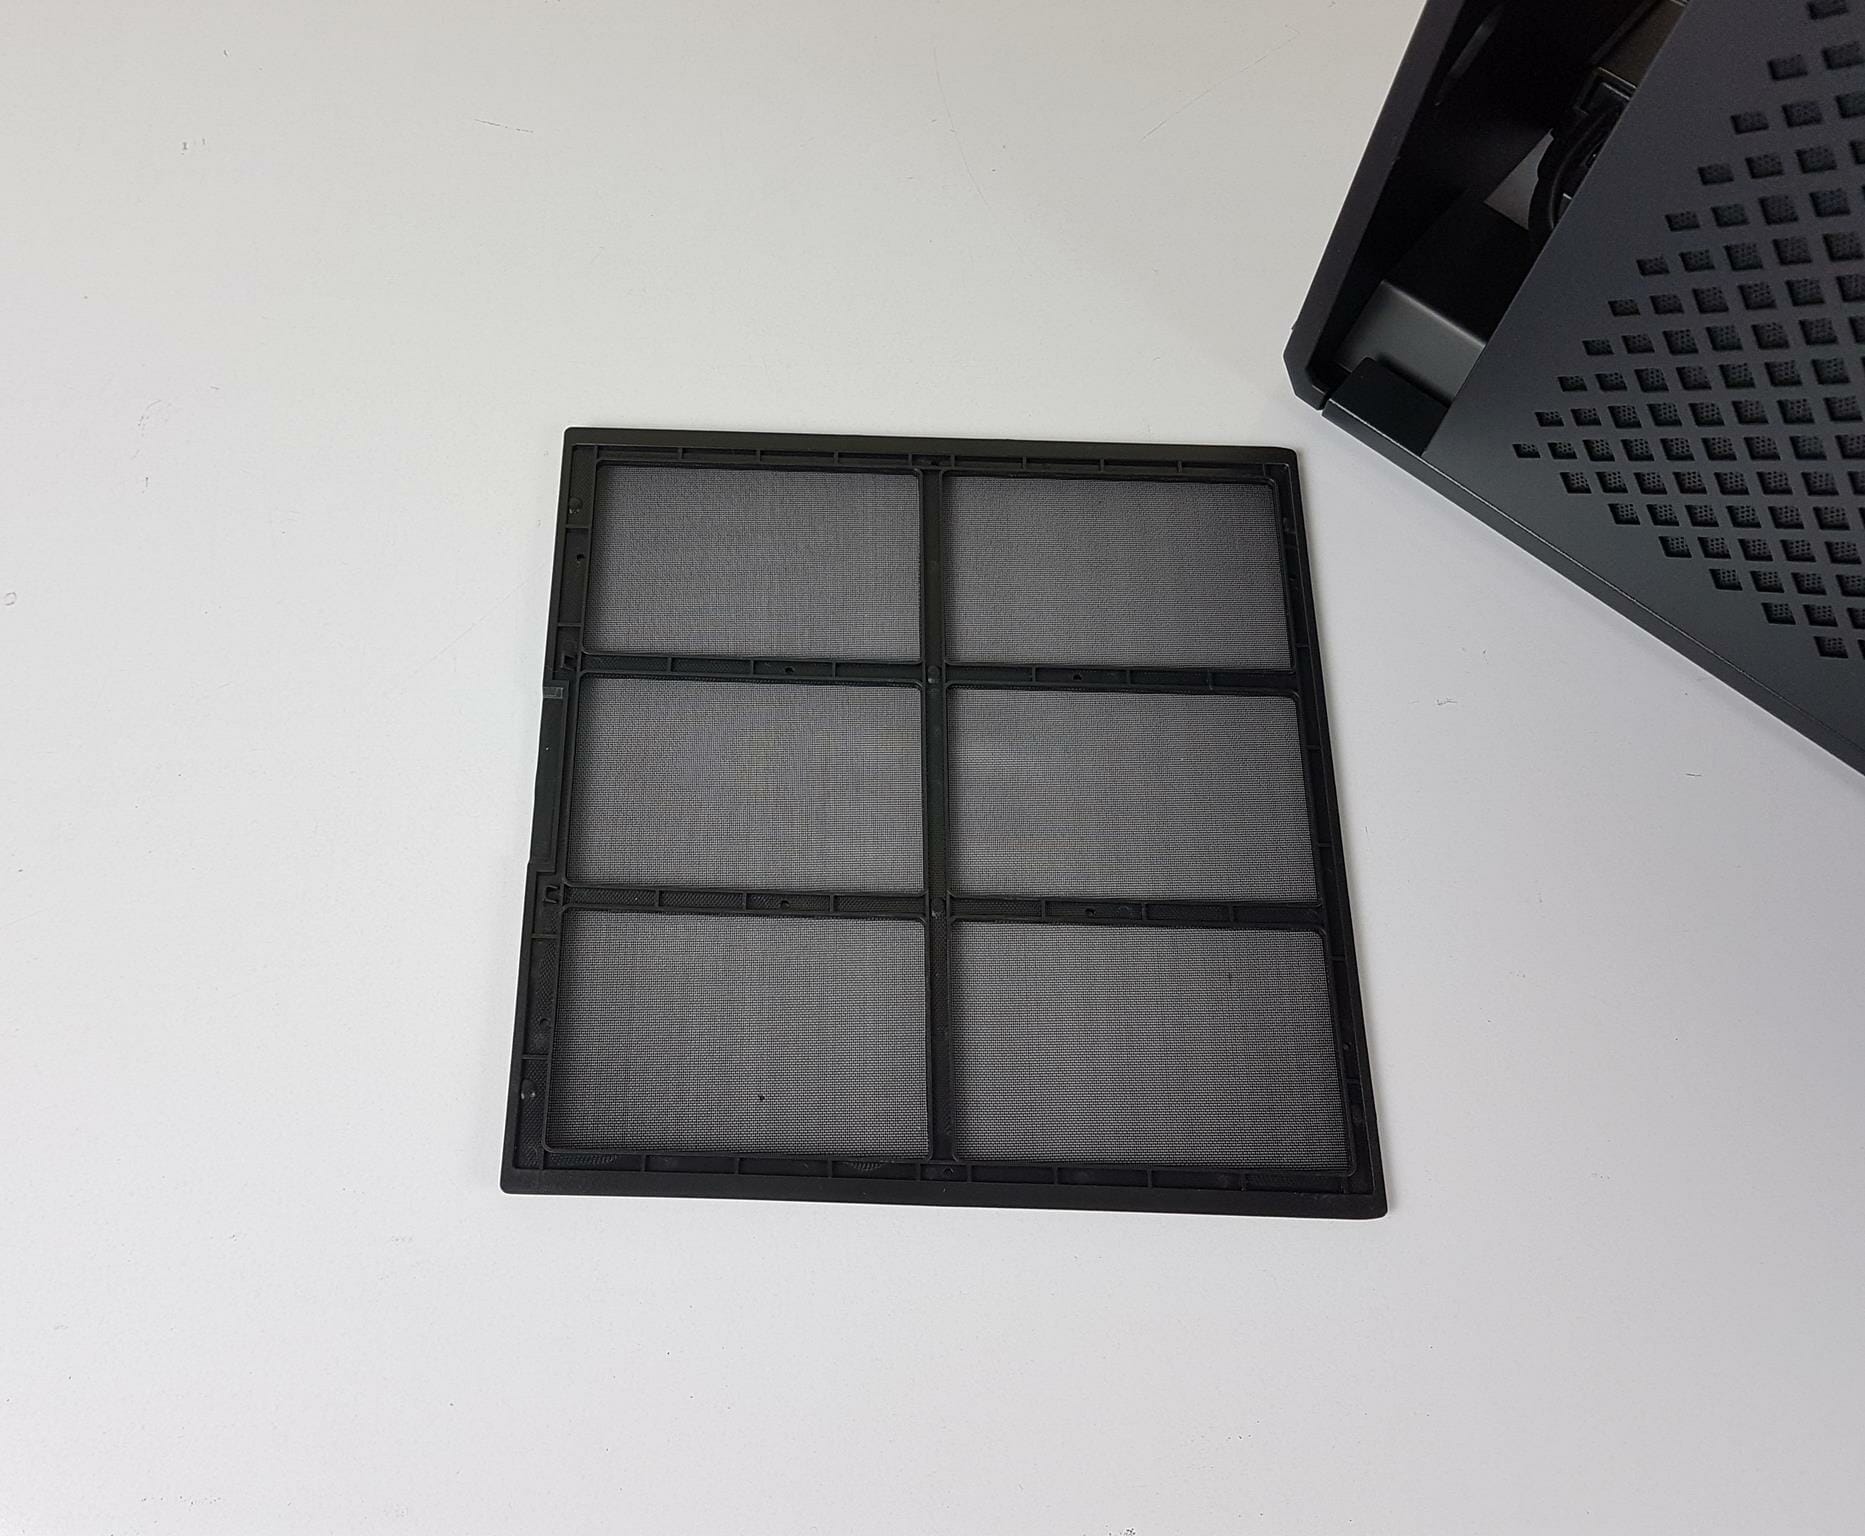
The air intake on the base of the case has a removable dust filter. This is the only dust filter out of a total of 6 filters in the ALTA G1M.
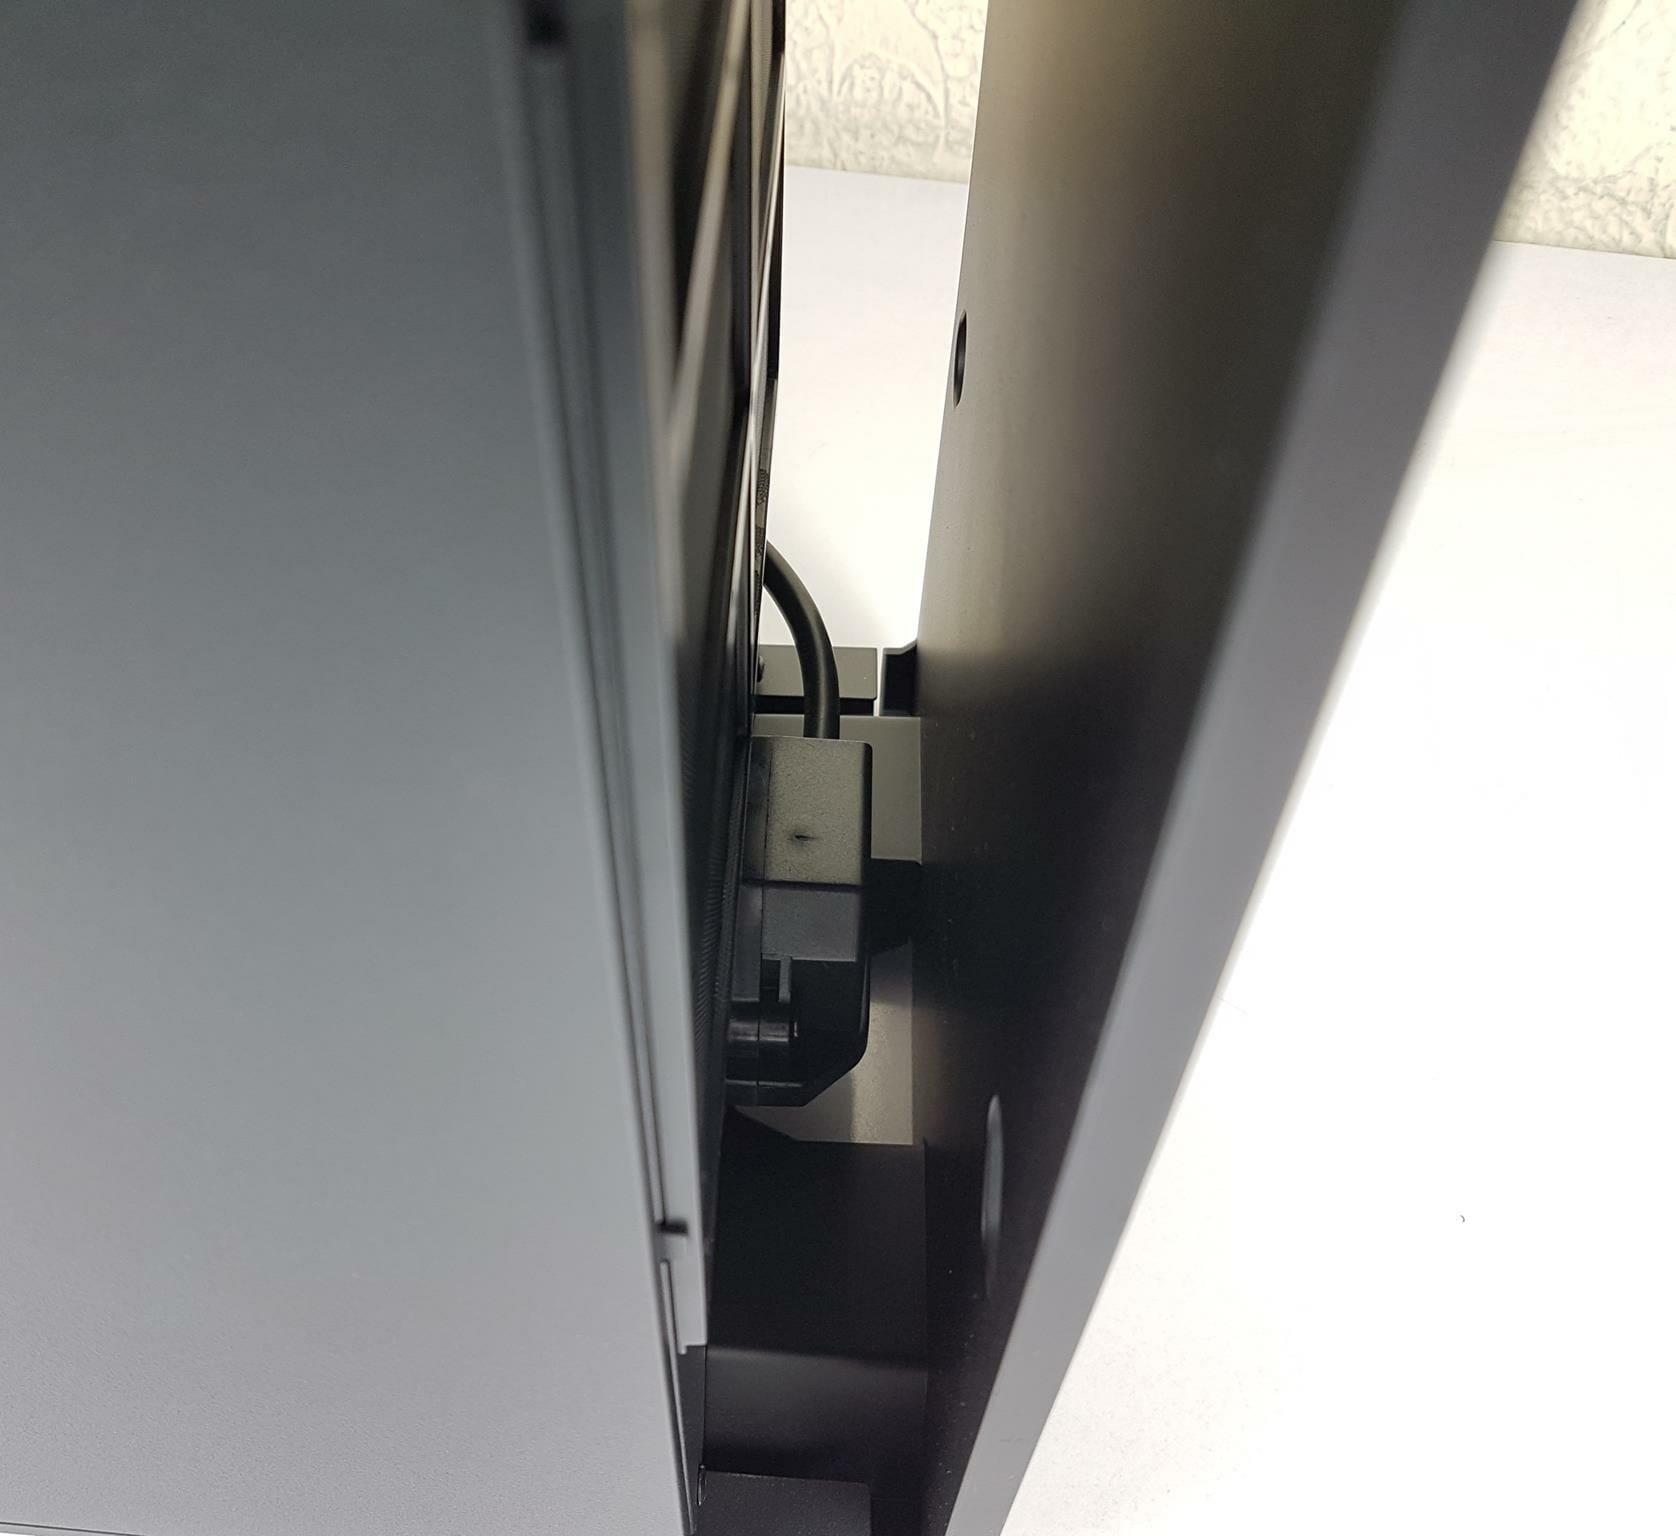
The above picture shows the pre-installed inter-connect for the PSU power plug on the base of the case.
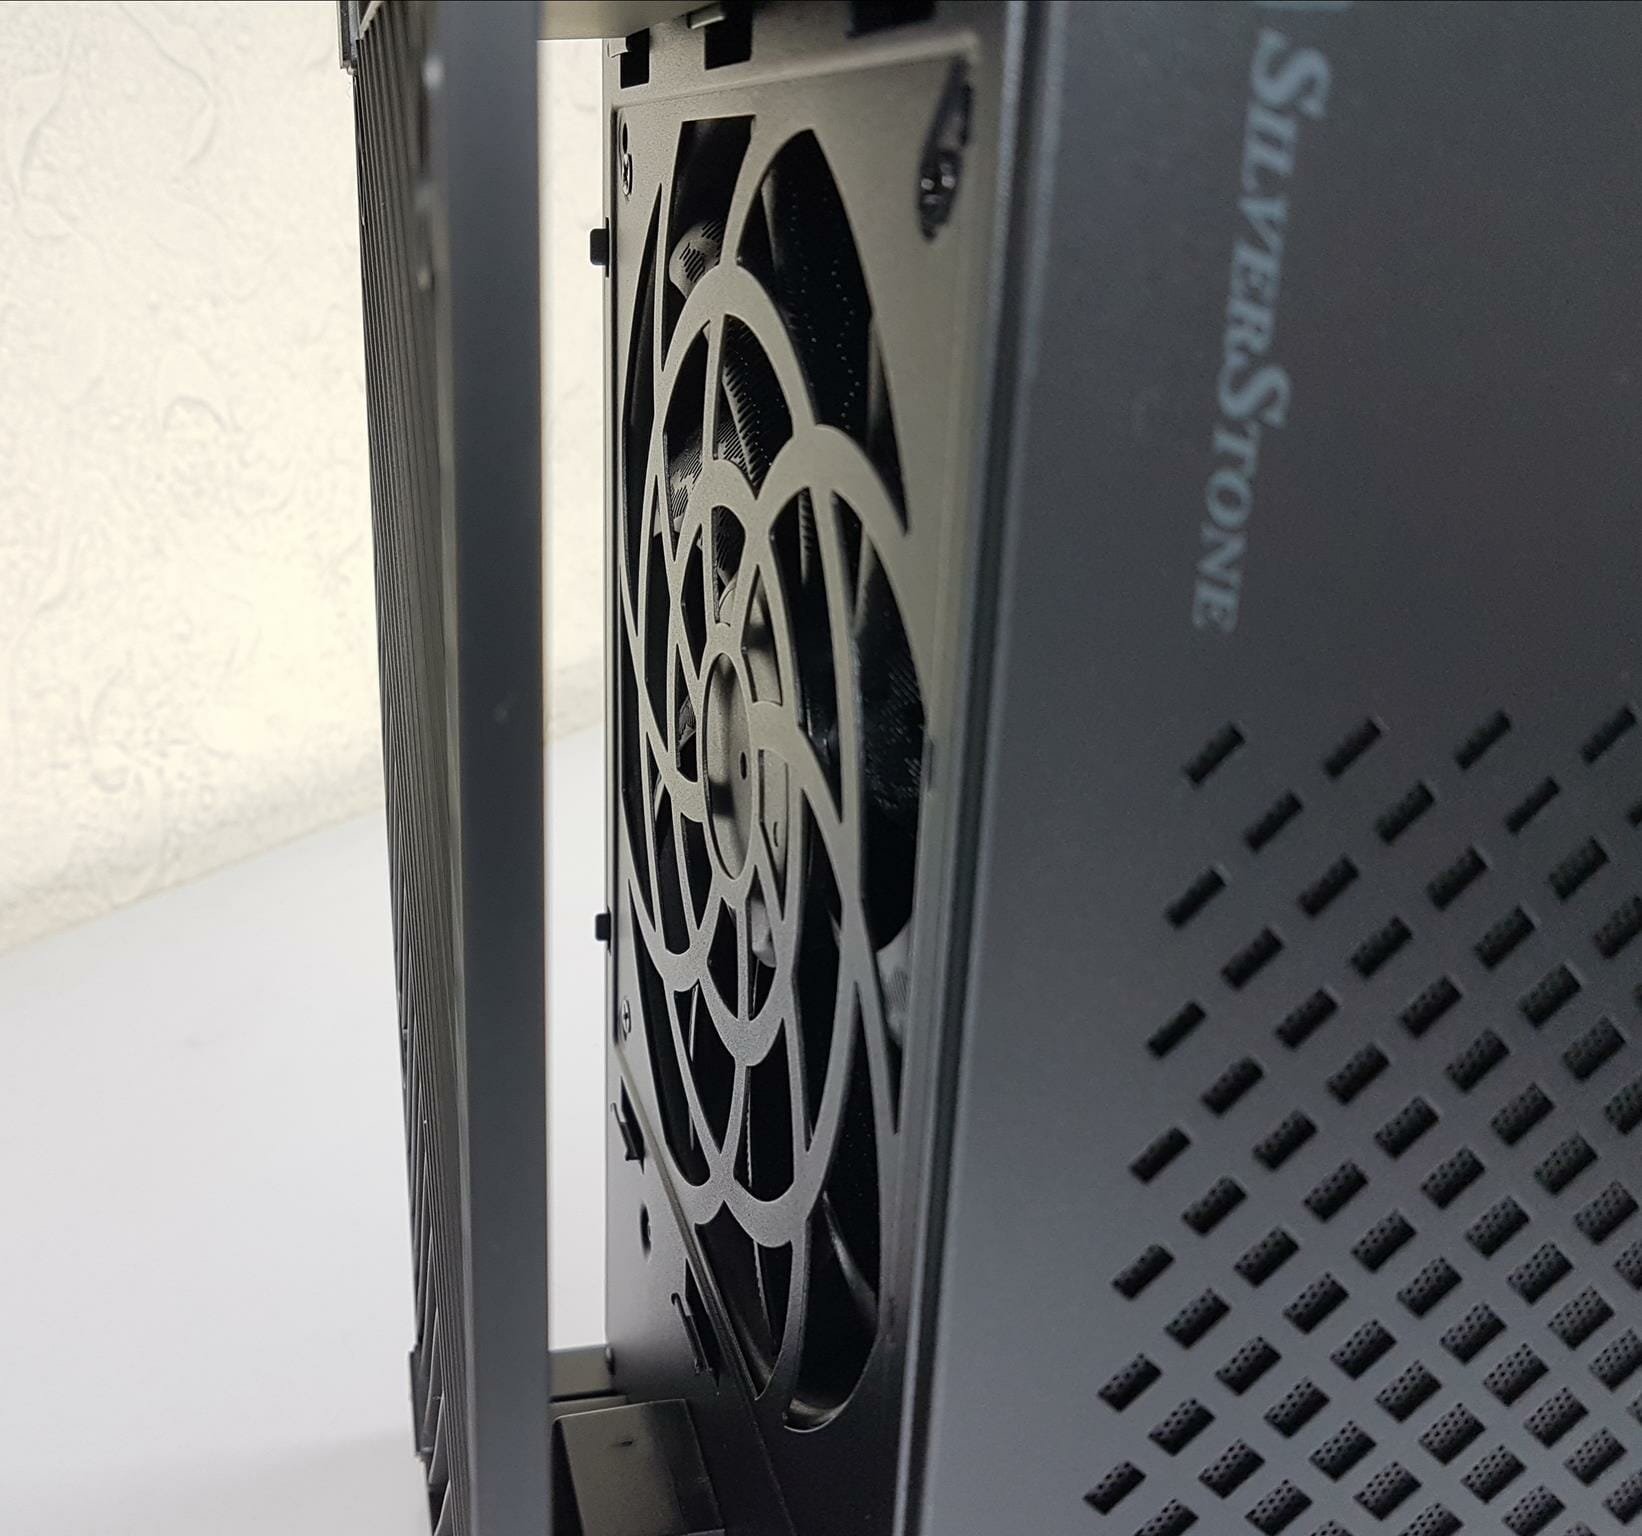
The above picture shows the vented/cutout portion/design on the base designed to support the air penetrator fan’s design. We removed the dust filter to take this shot.
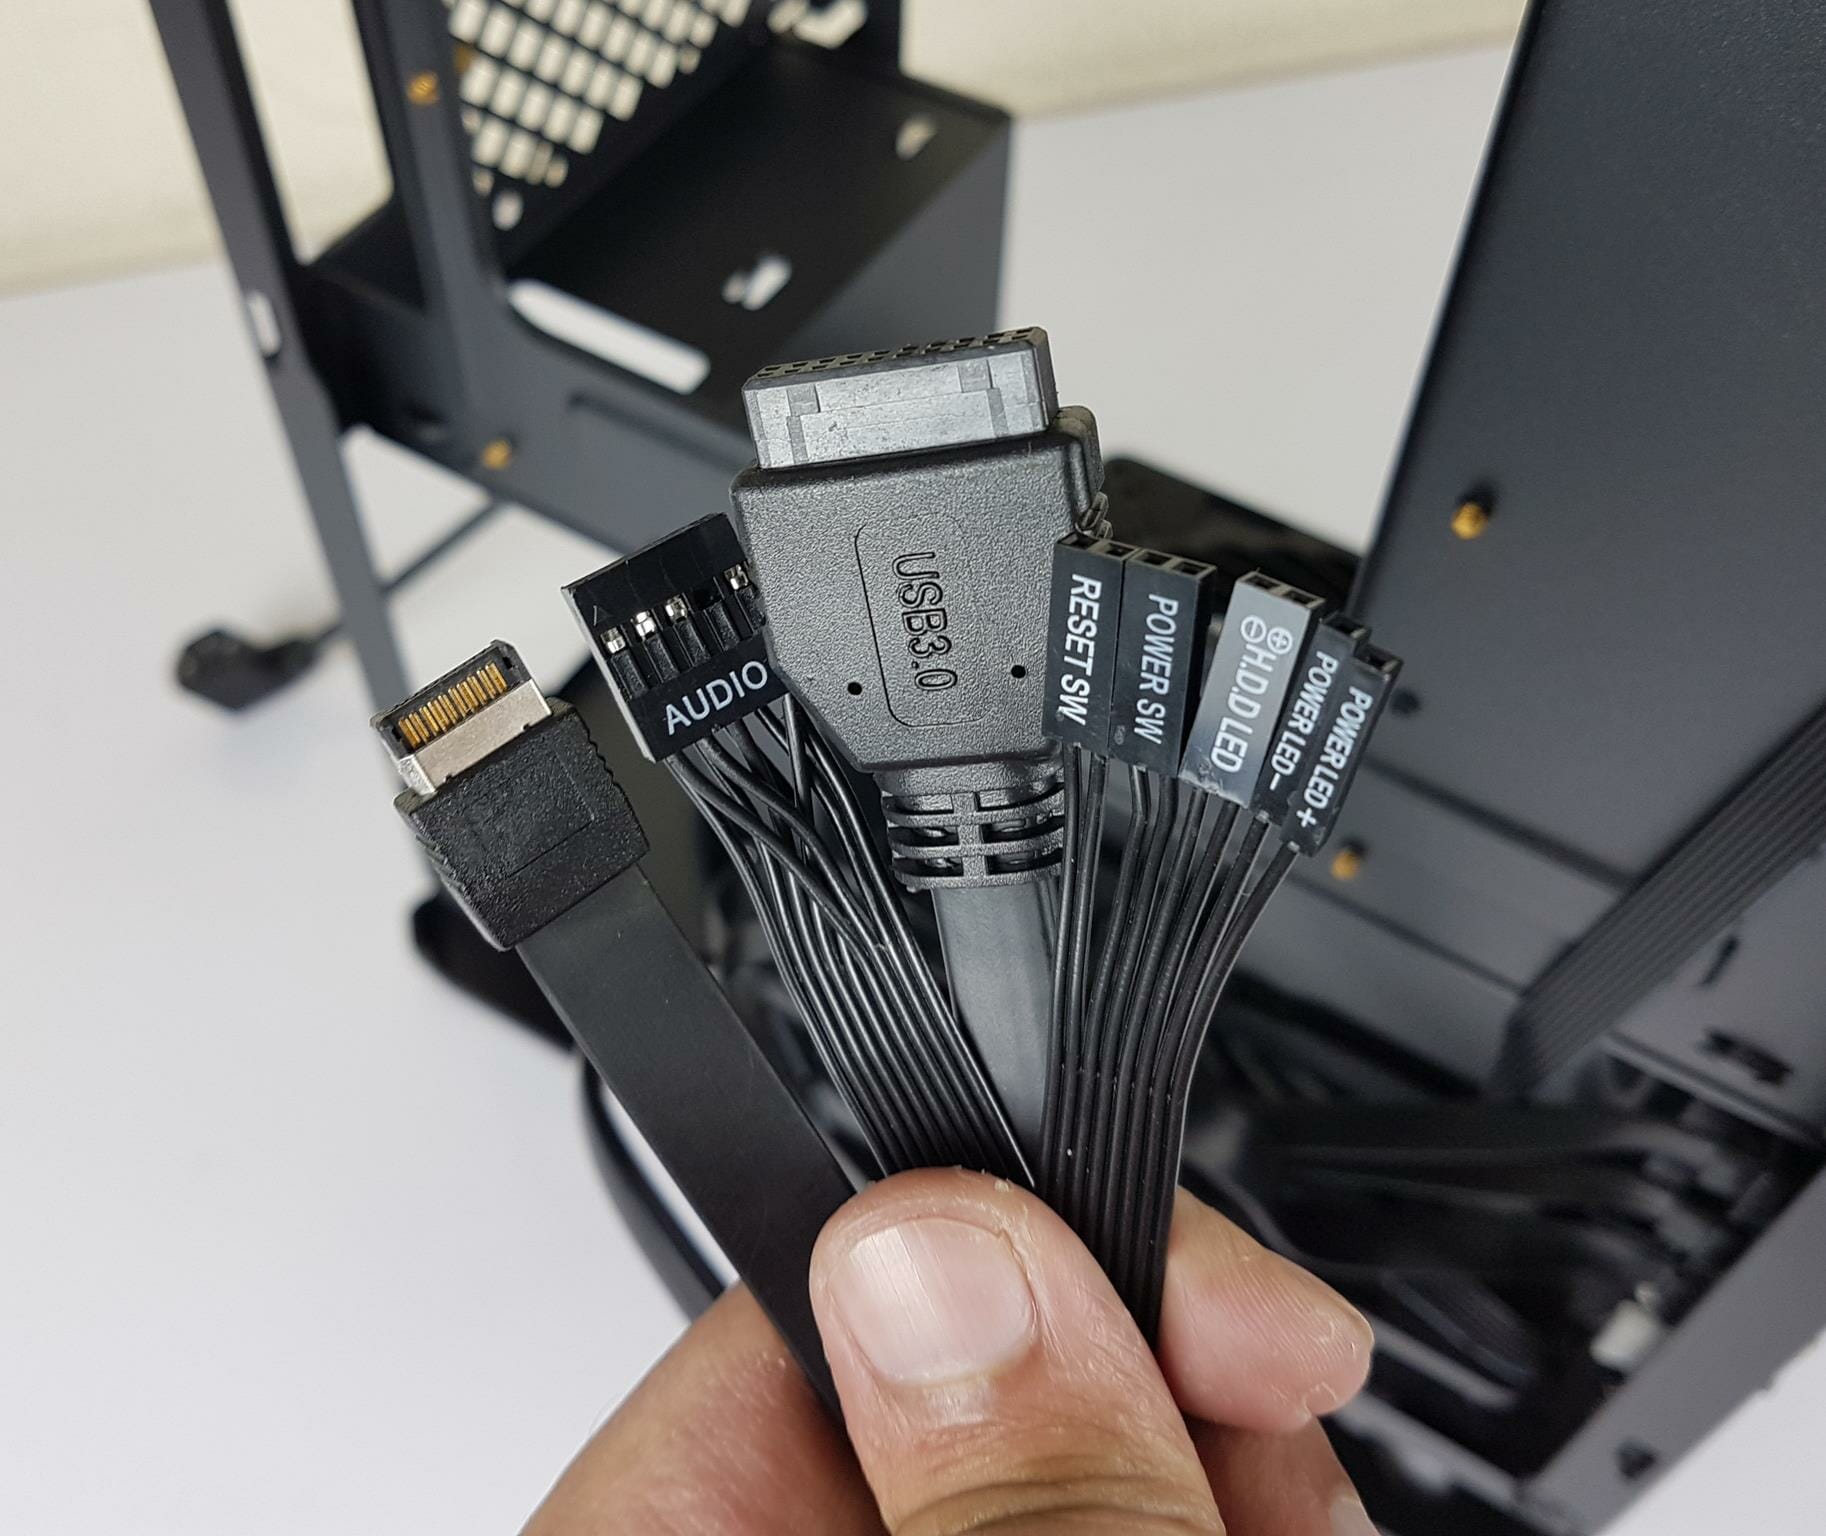
The above picture shows the front IO panel’s cables including the USB Type-C.
SilverStone SX1000-LPT PSU
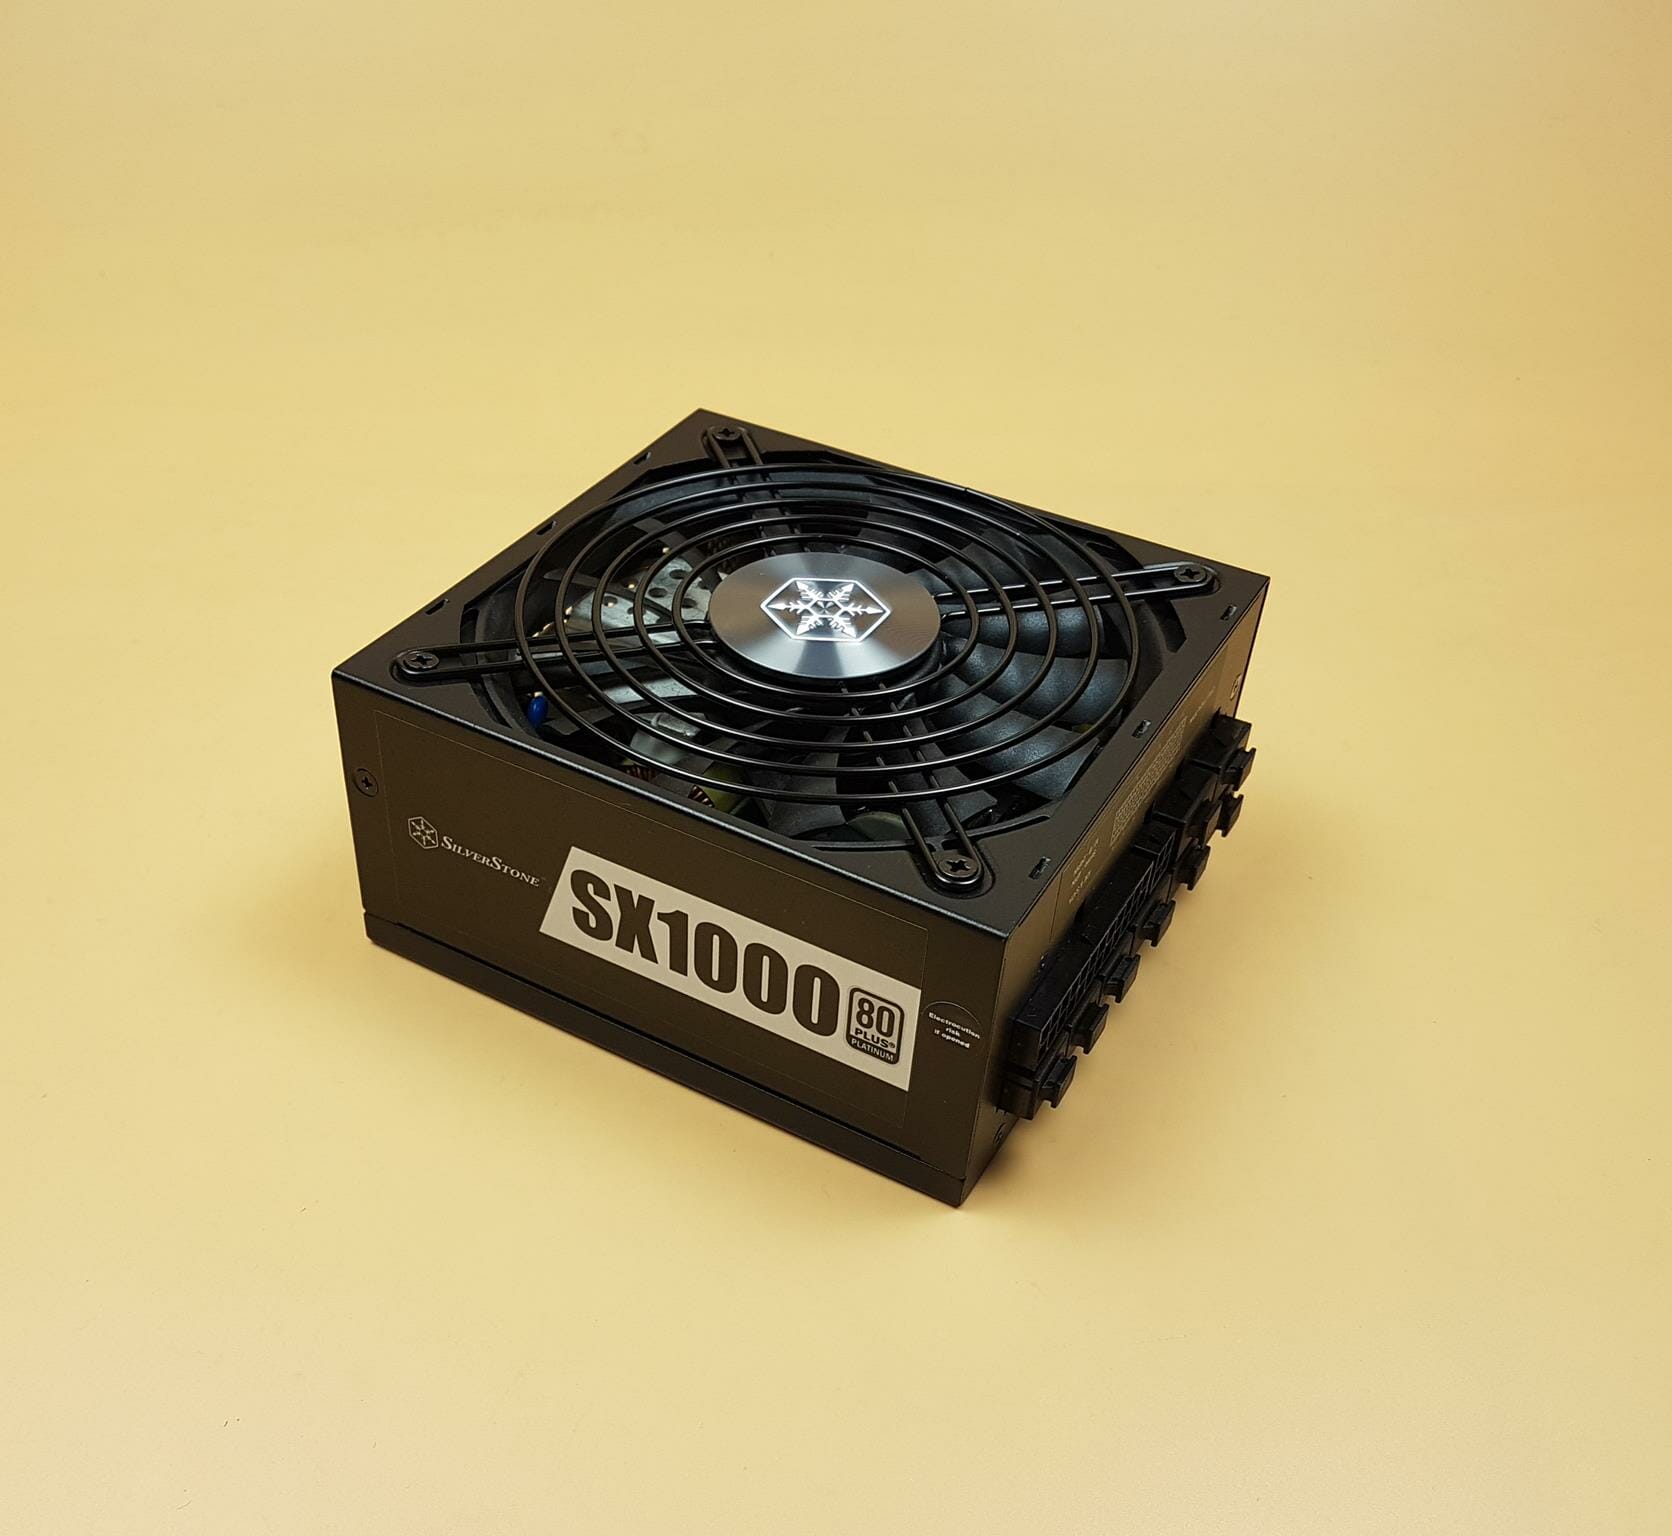
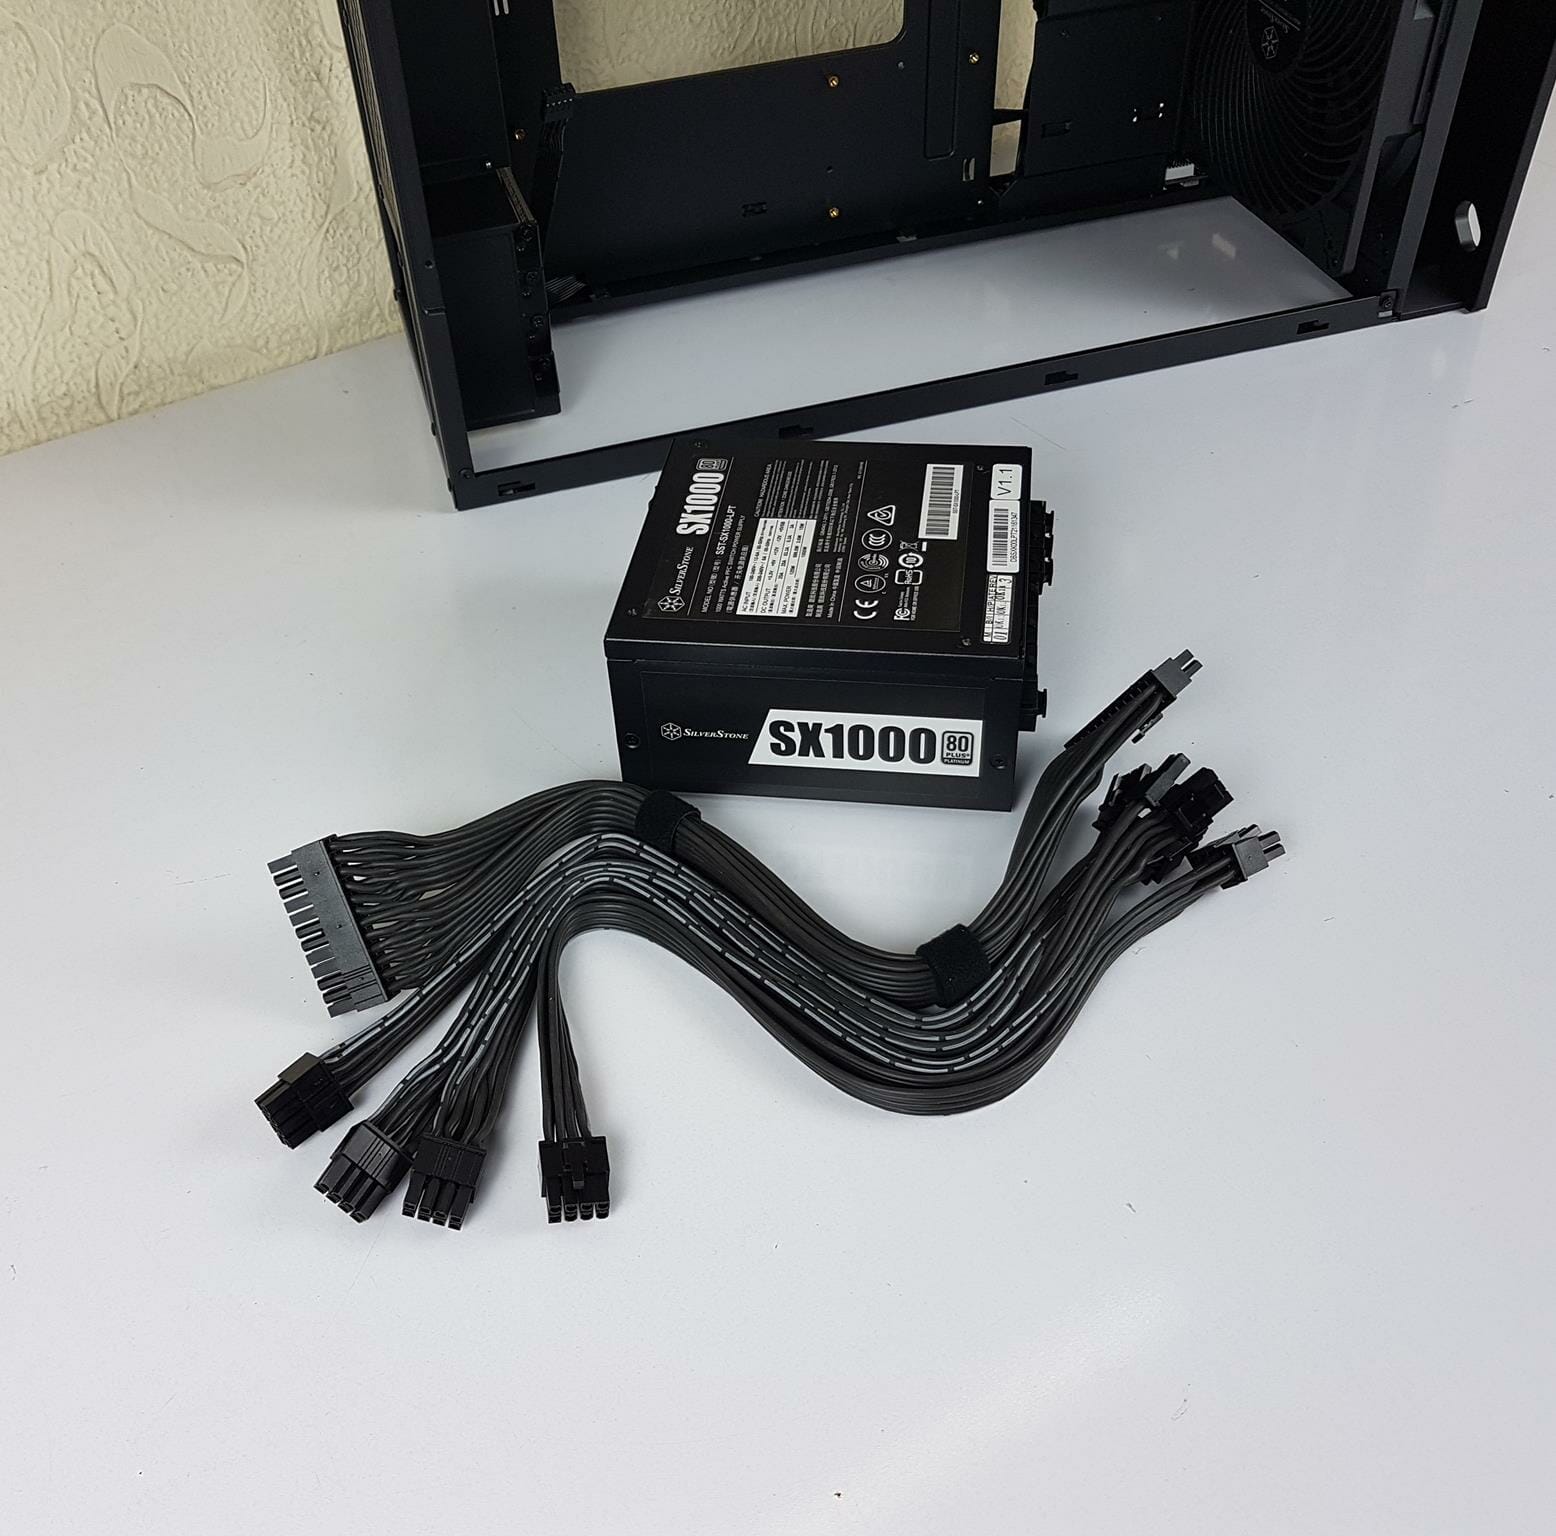
SilverStone has sent us their SX1000 Platinum series power supply along with the case at our request. This is their high-end power solution in the SFX-L size and right now this might be the only PSU in the market with high power density. Thanks to this much power density, we can now use serious hardware particularly the high power-consuming components in the SFF build.
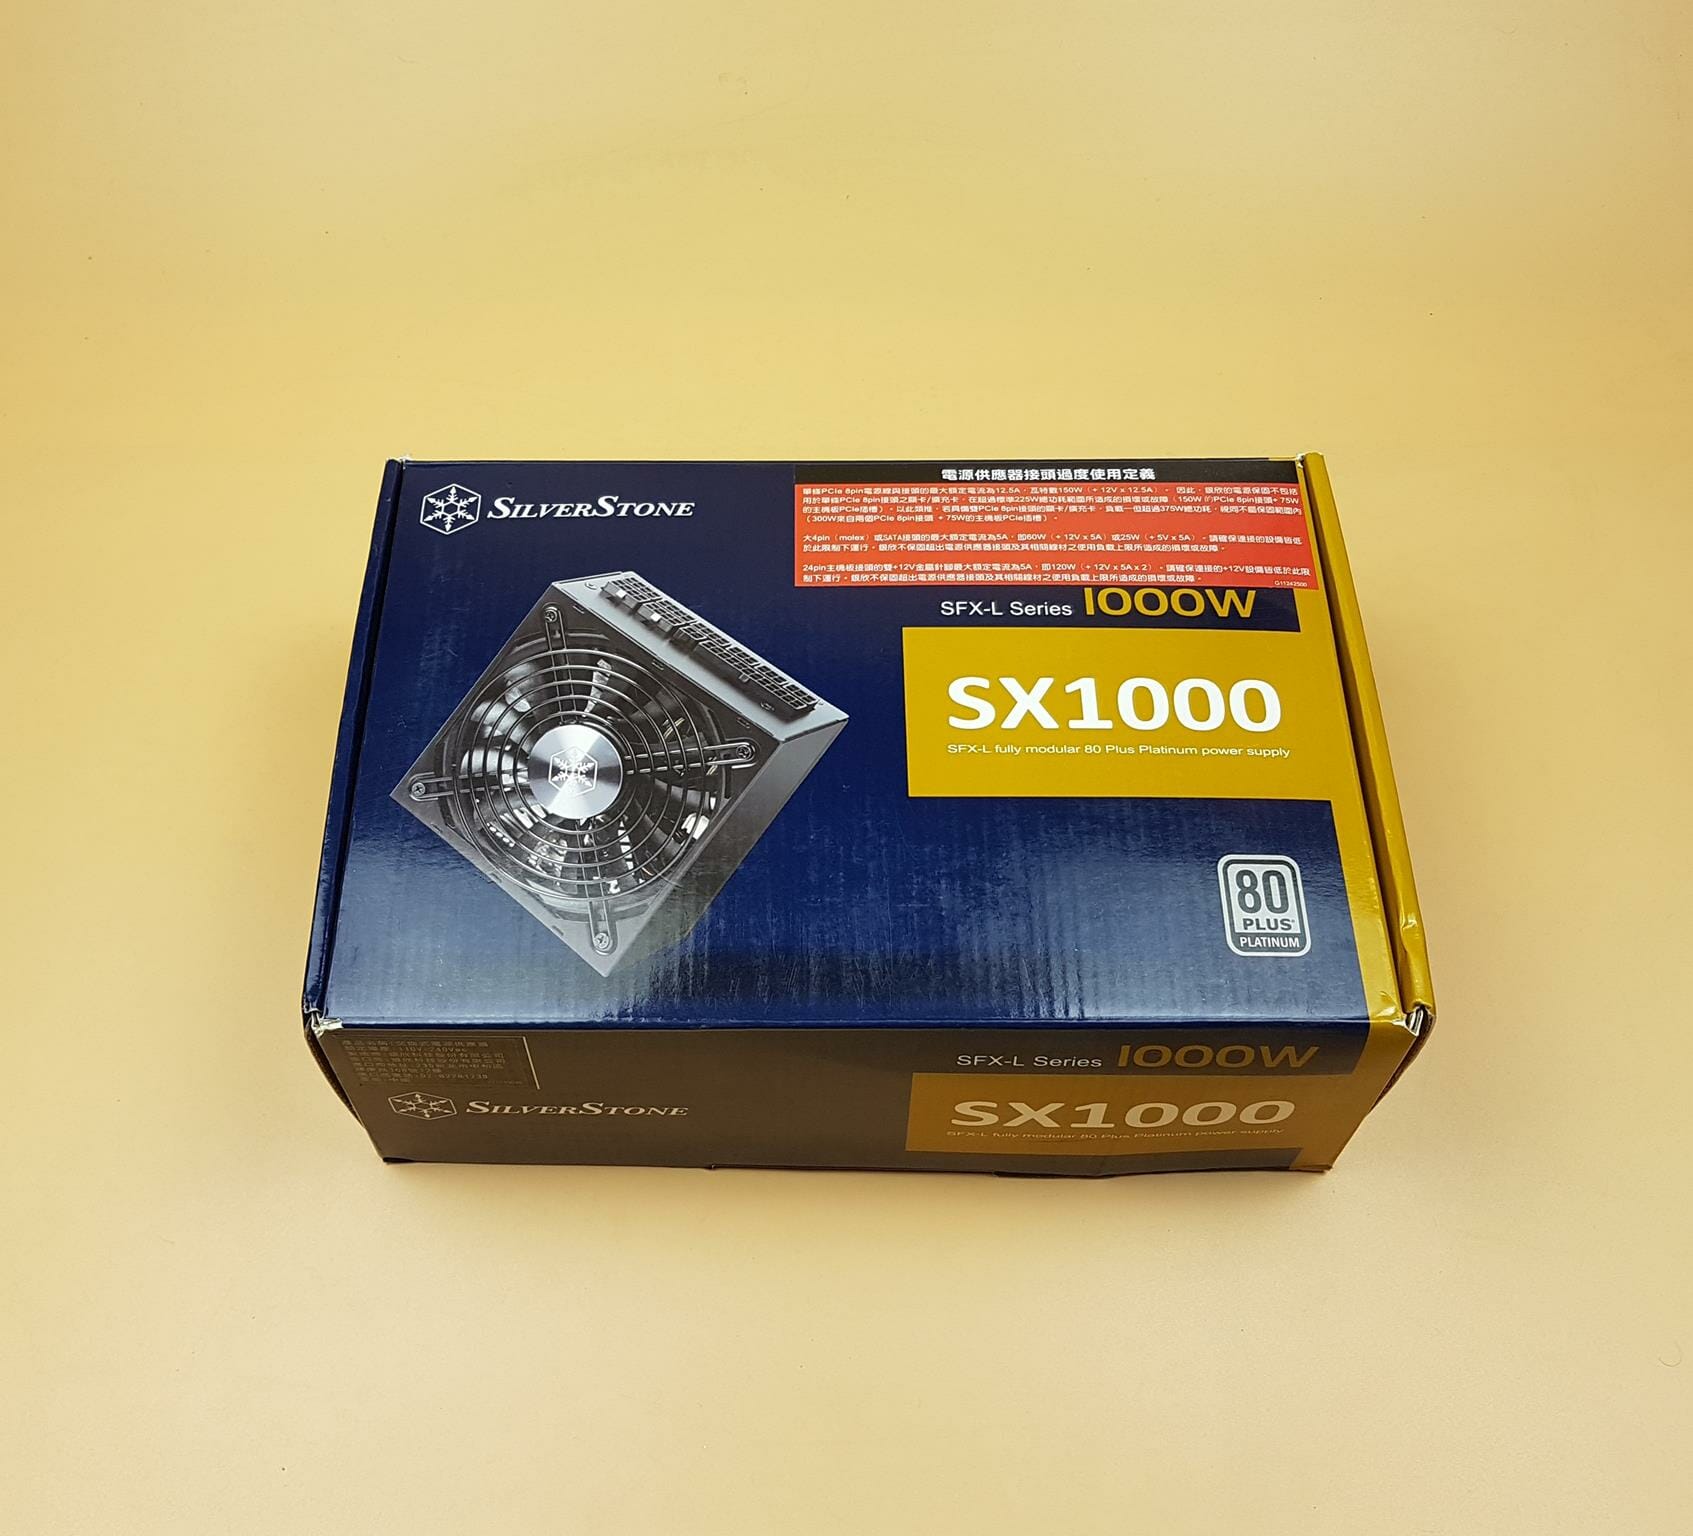
The PSU comes inside cardboard made packing box. It has the same color scheme as-is on the ALTA G1M. The PSU has 80 Plus Platinum certification.
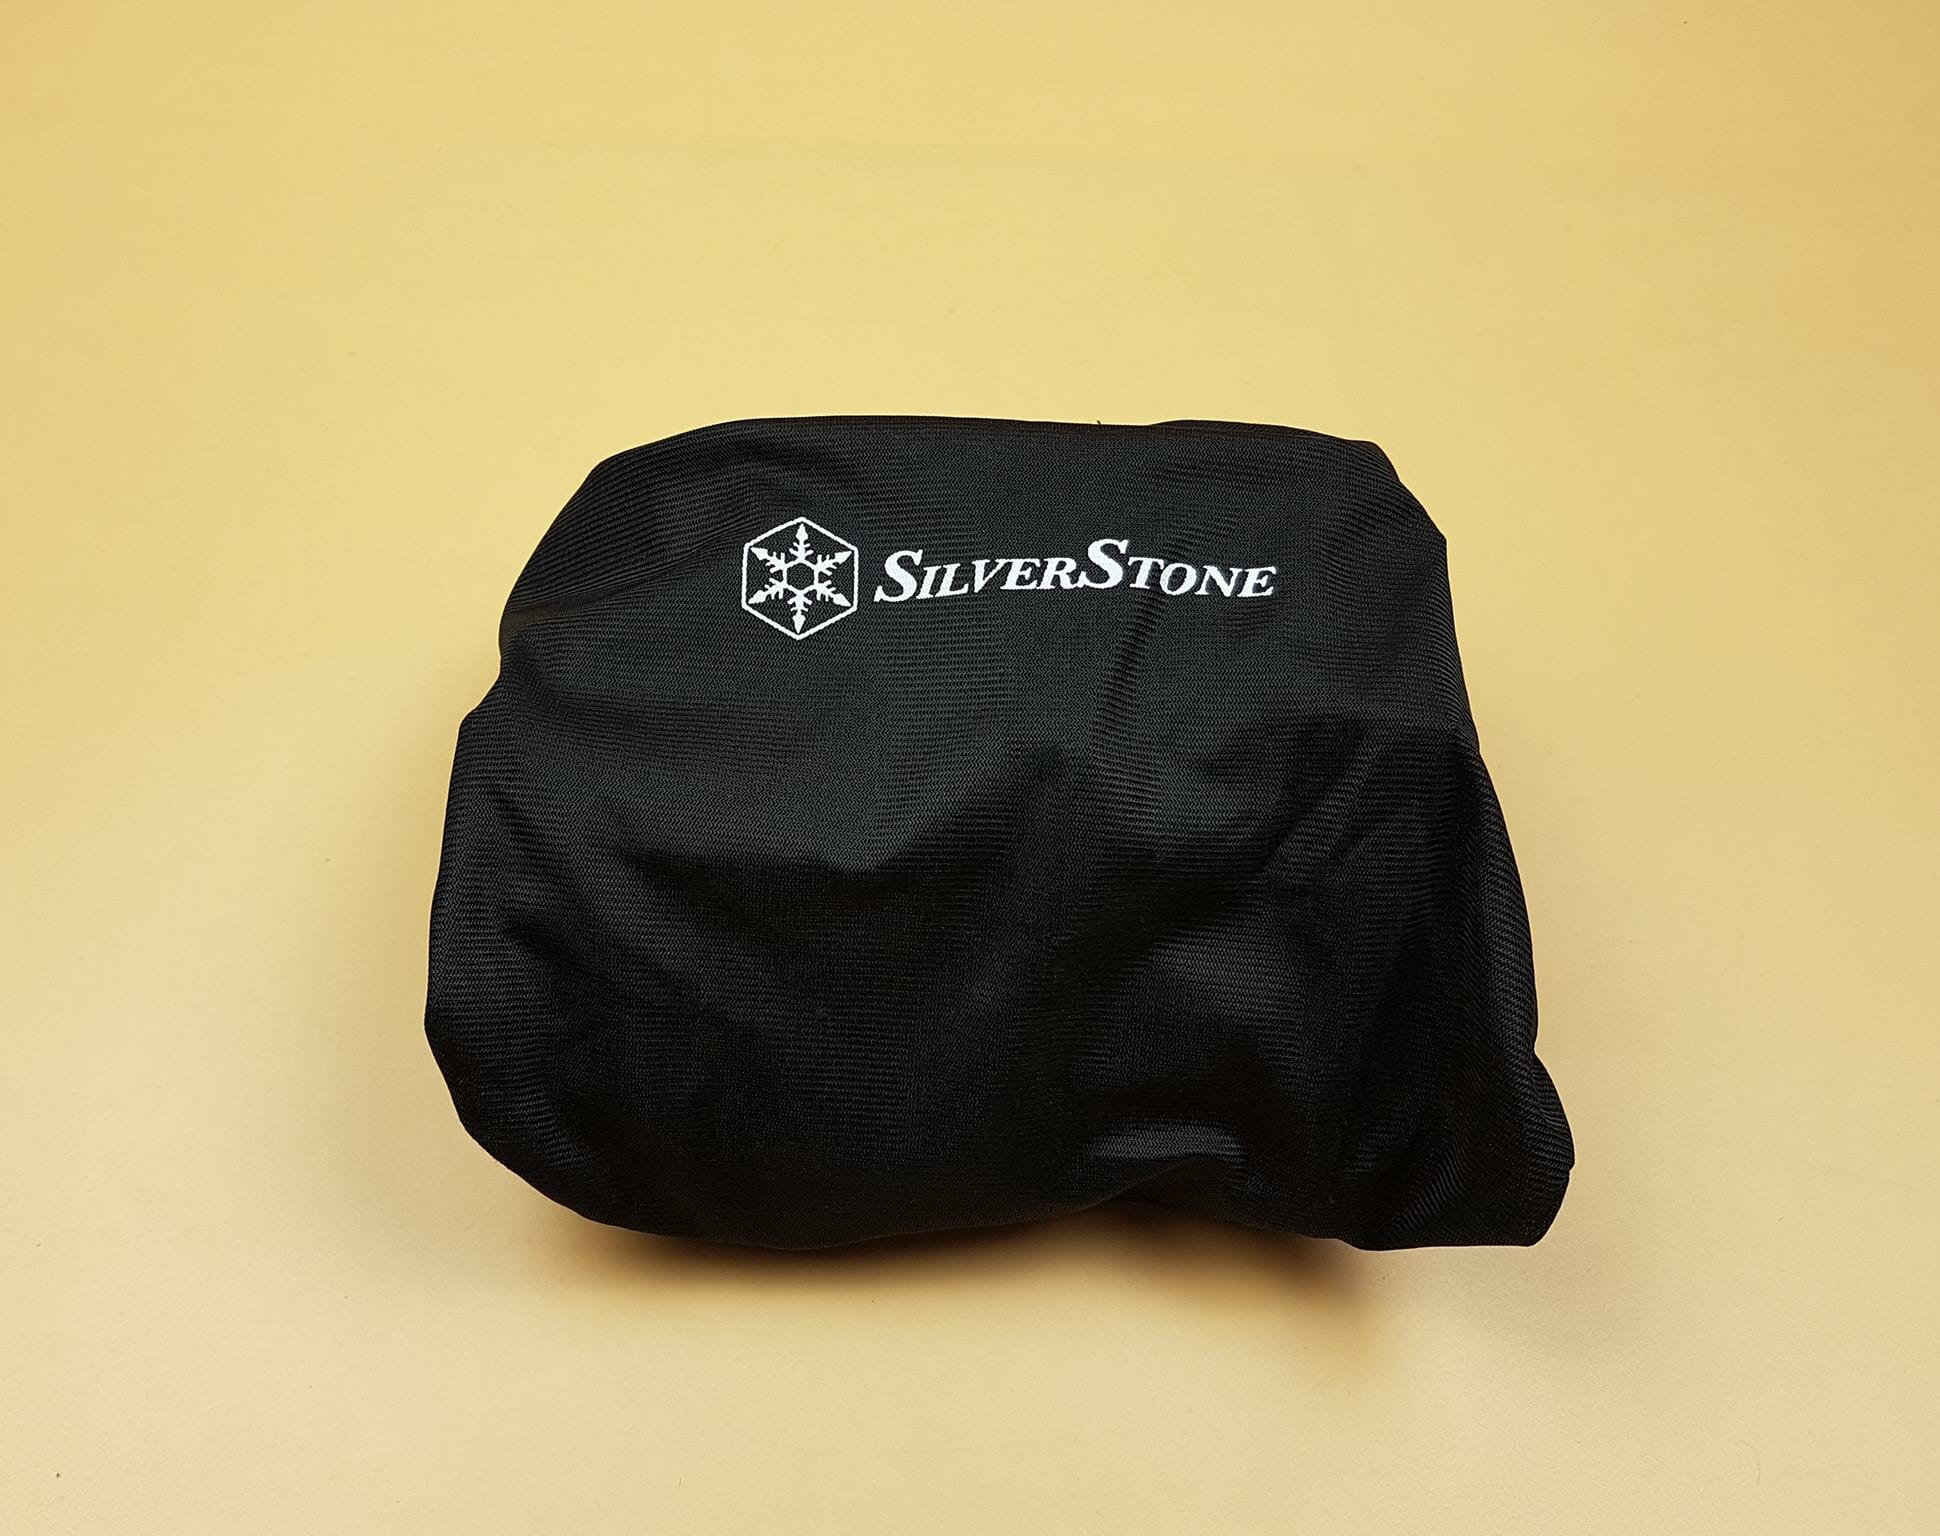
The cables of the PSU are placed inside a cloth bag.
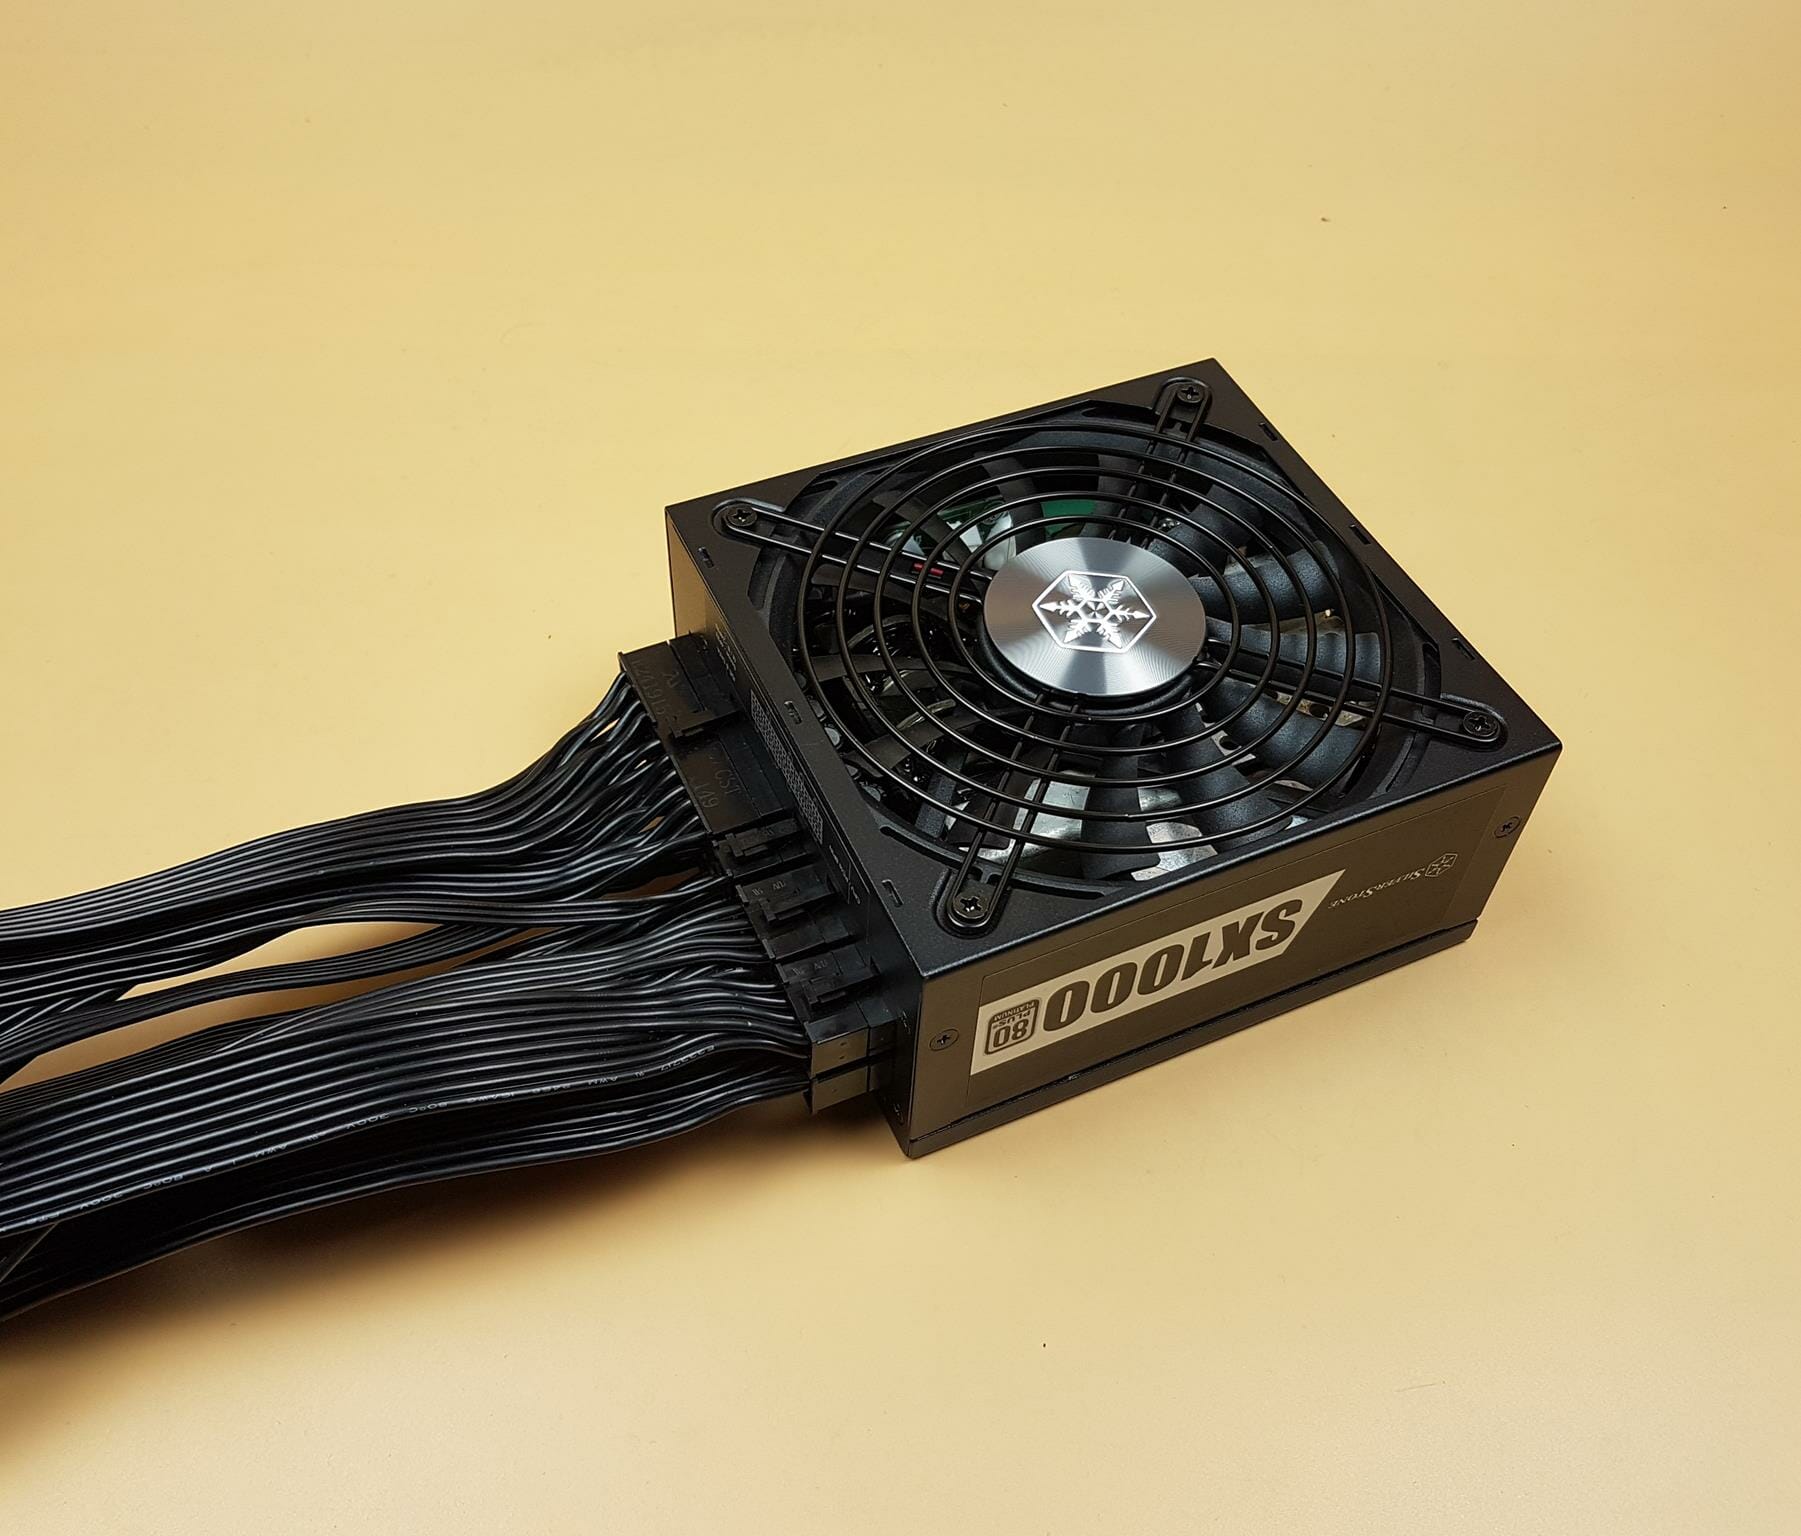
The unit has a black color housing with SilverStone branding and mentioning the model of the unit.
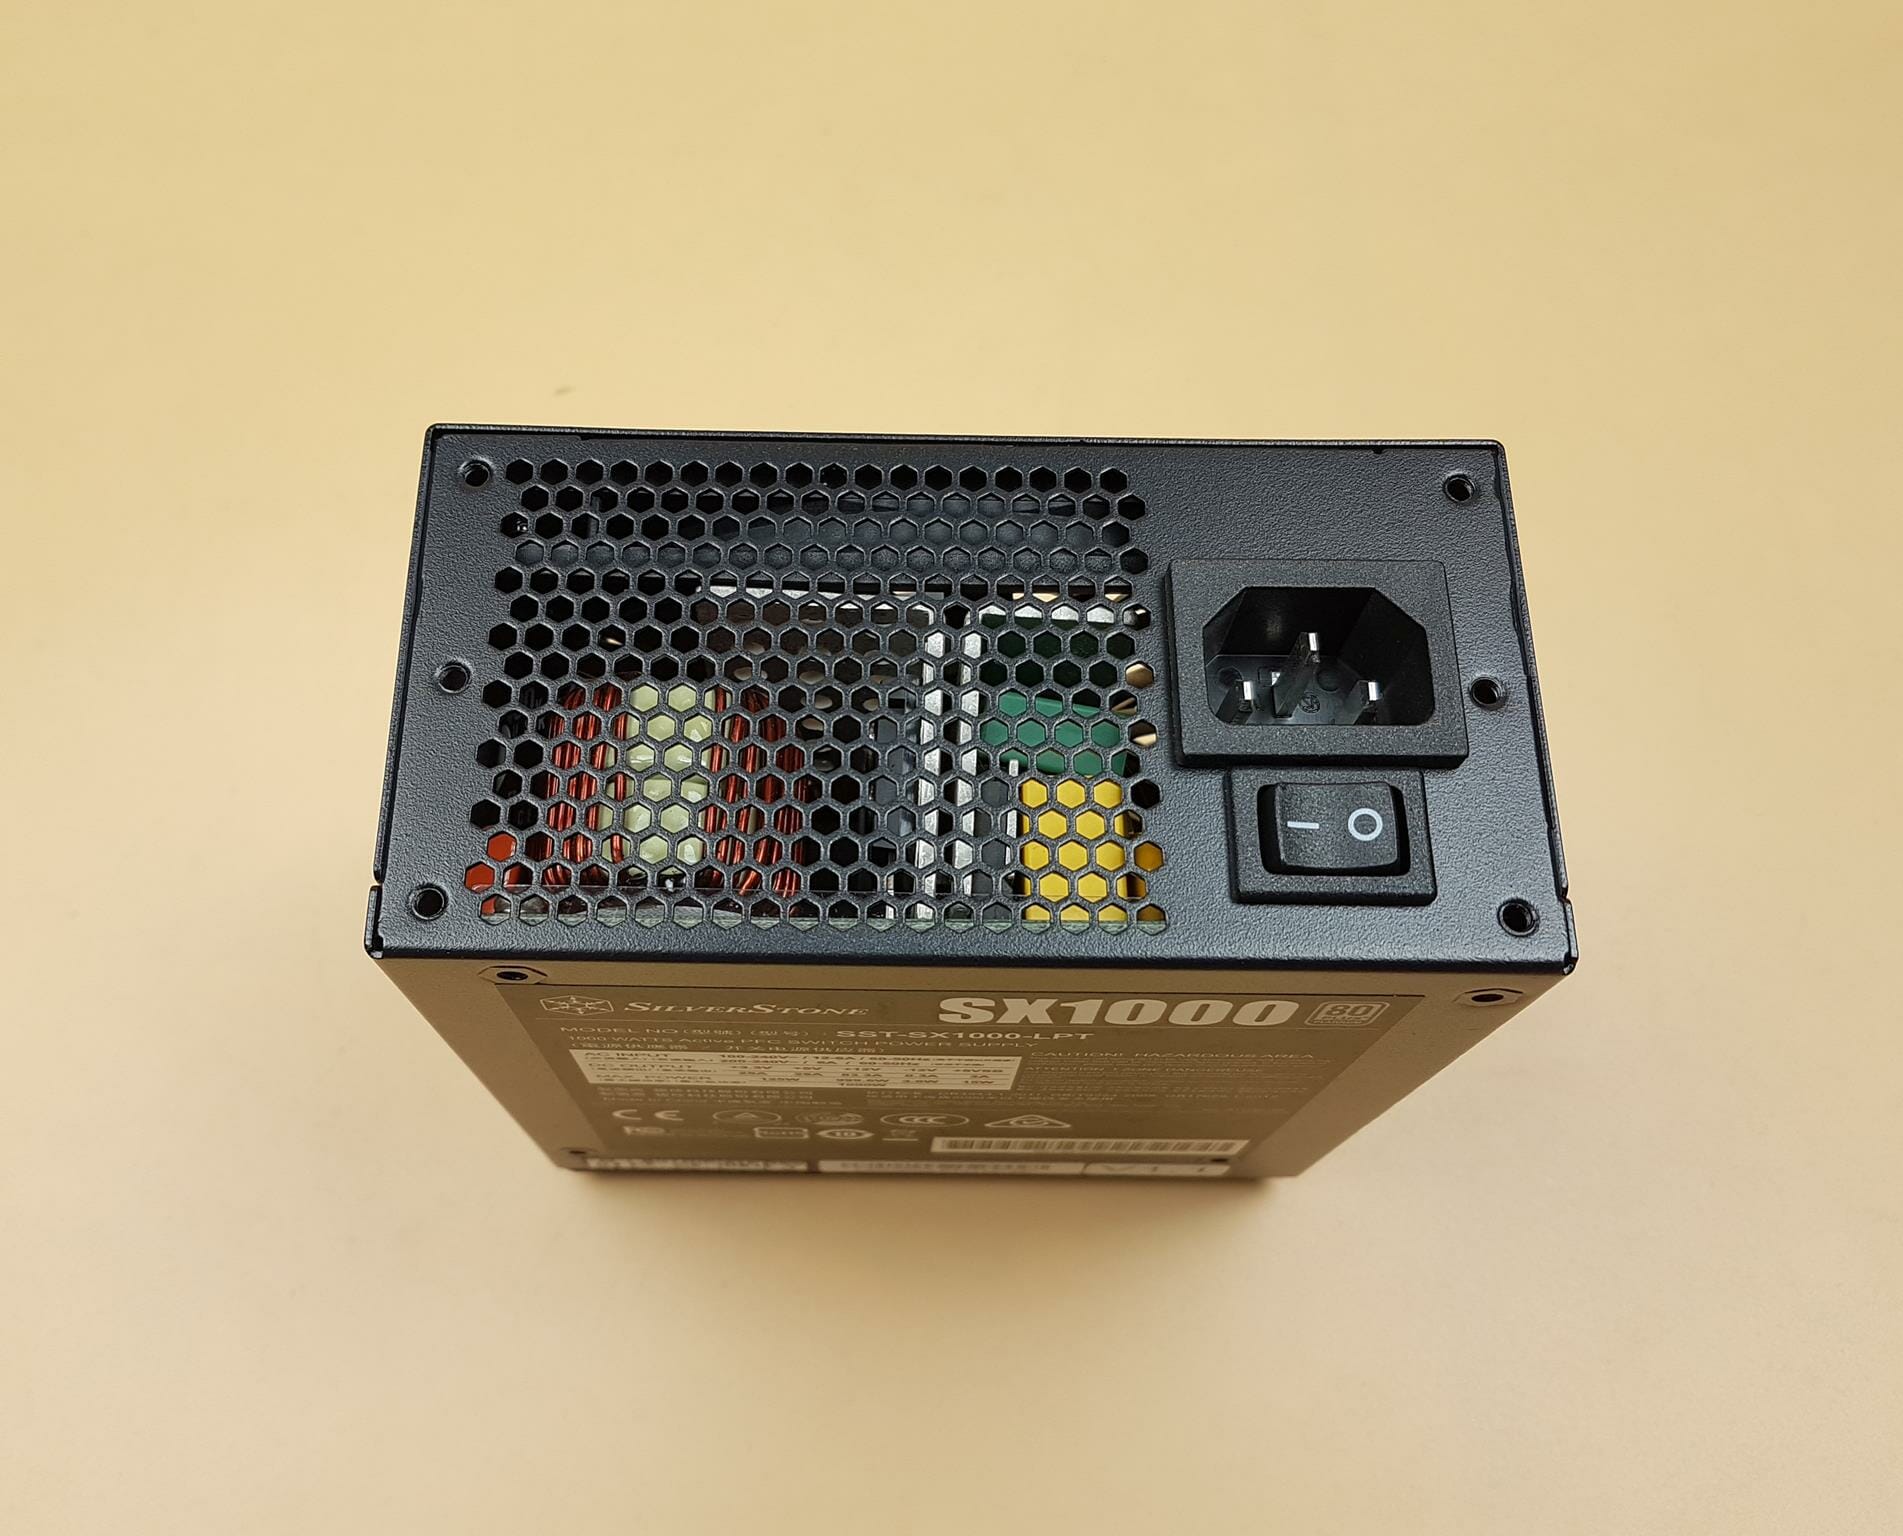
We have a 3-pin port for the power plug and a power on/off button.
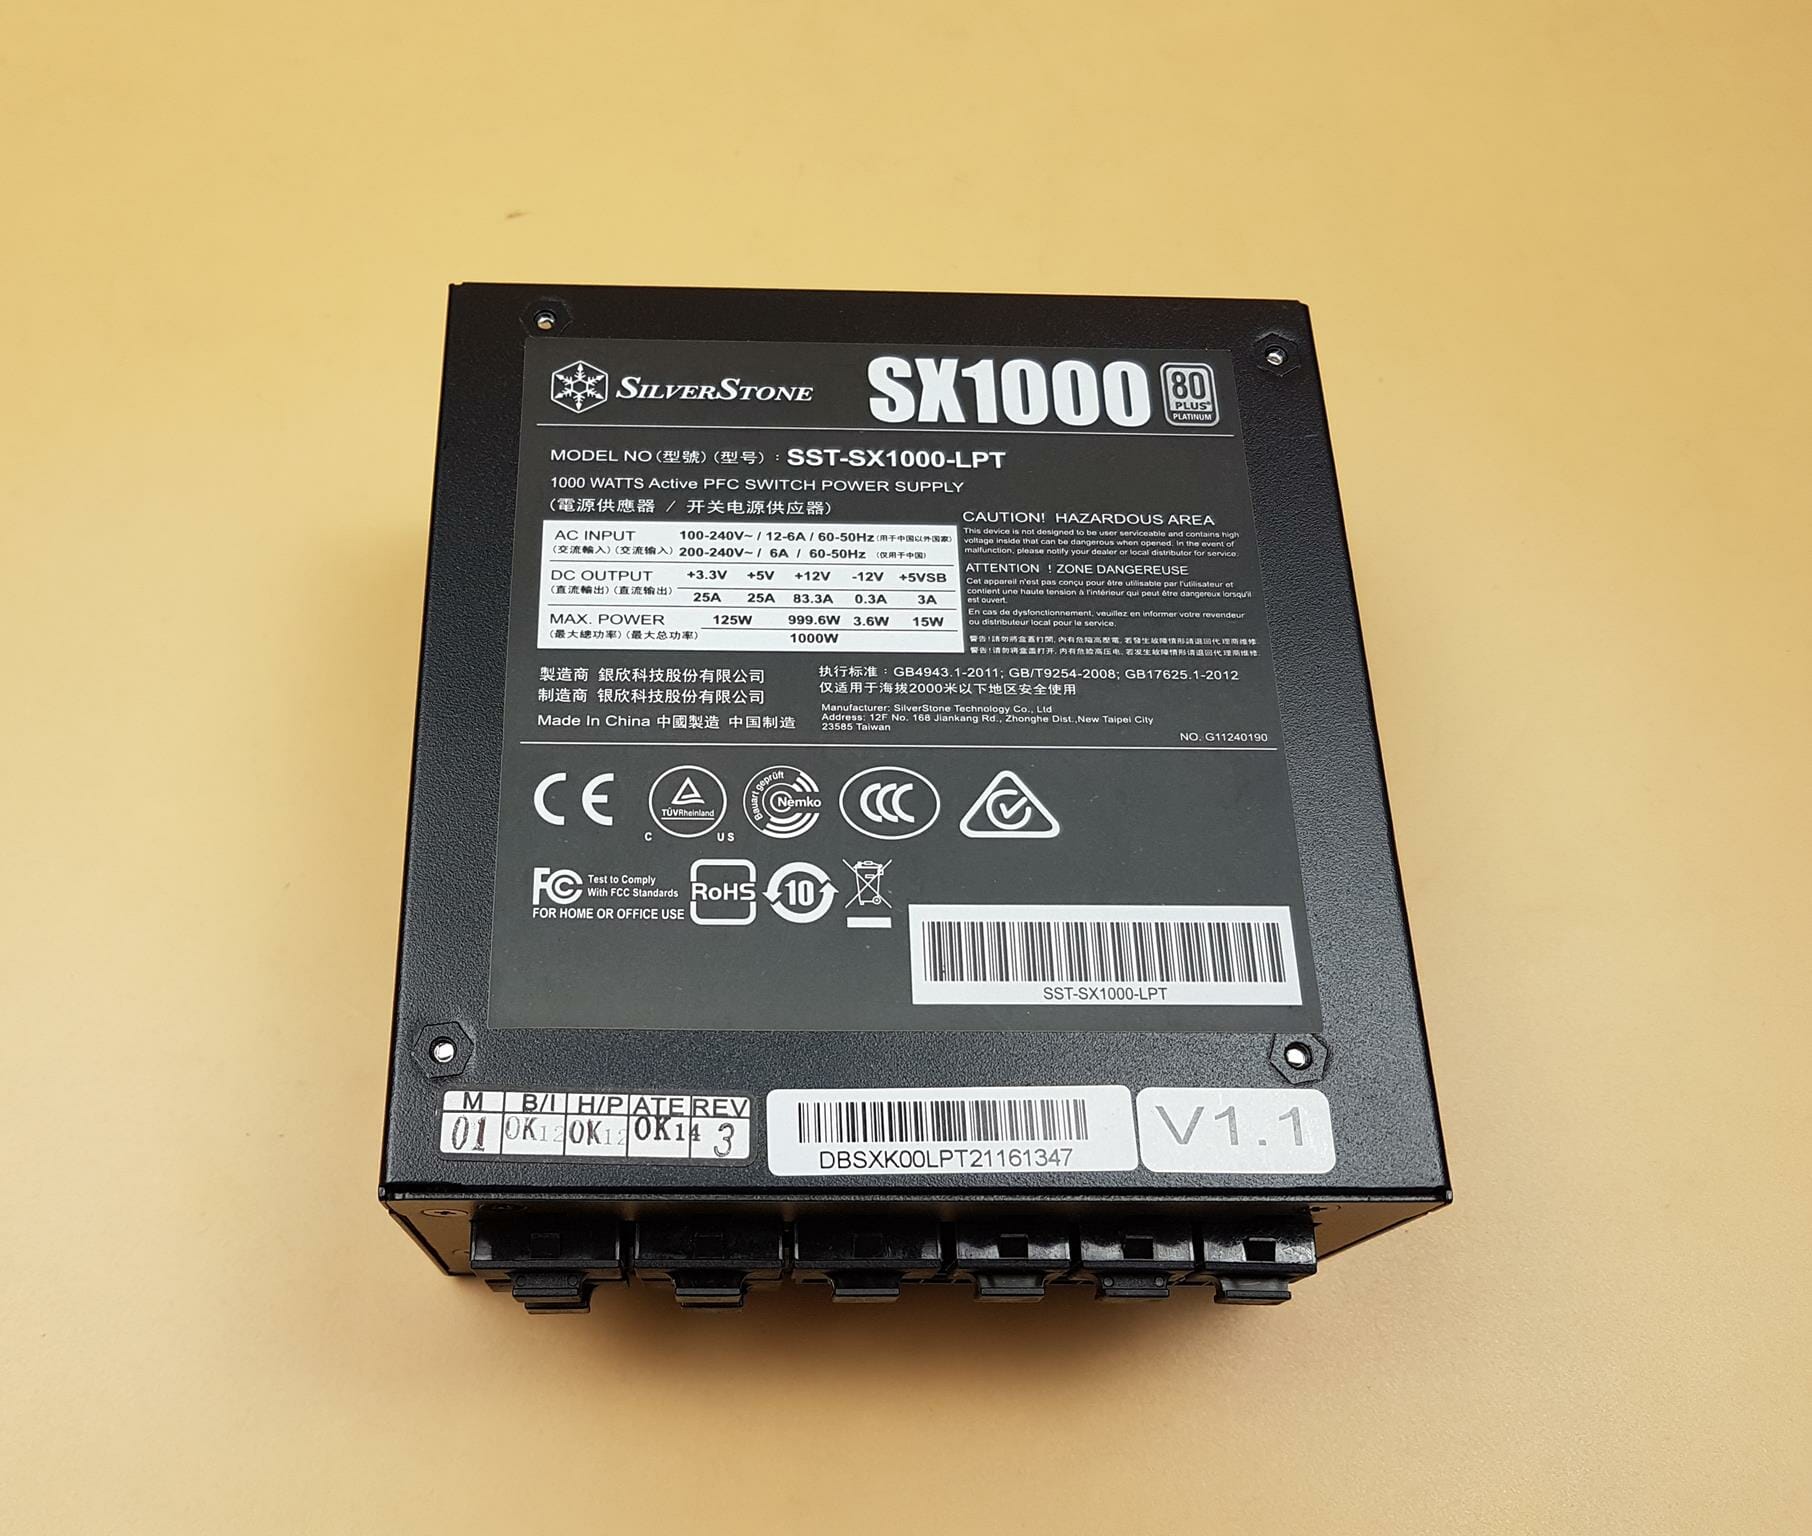
The power table is printed here. We have a single 12V rail with a maximum current of 83.3A giving an output of 999.6W. This is version 1.1 of the PSU.
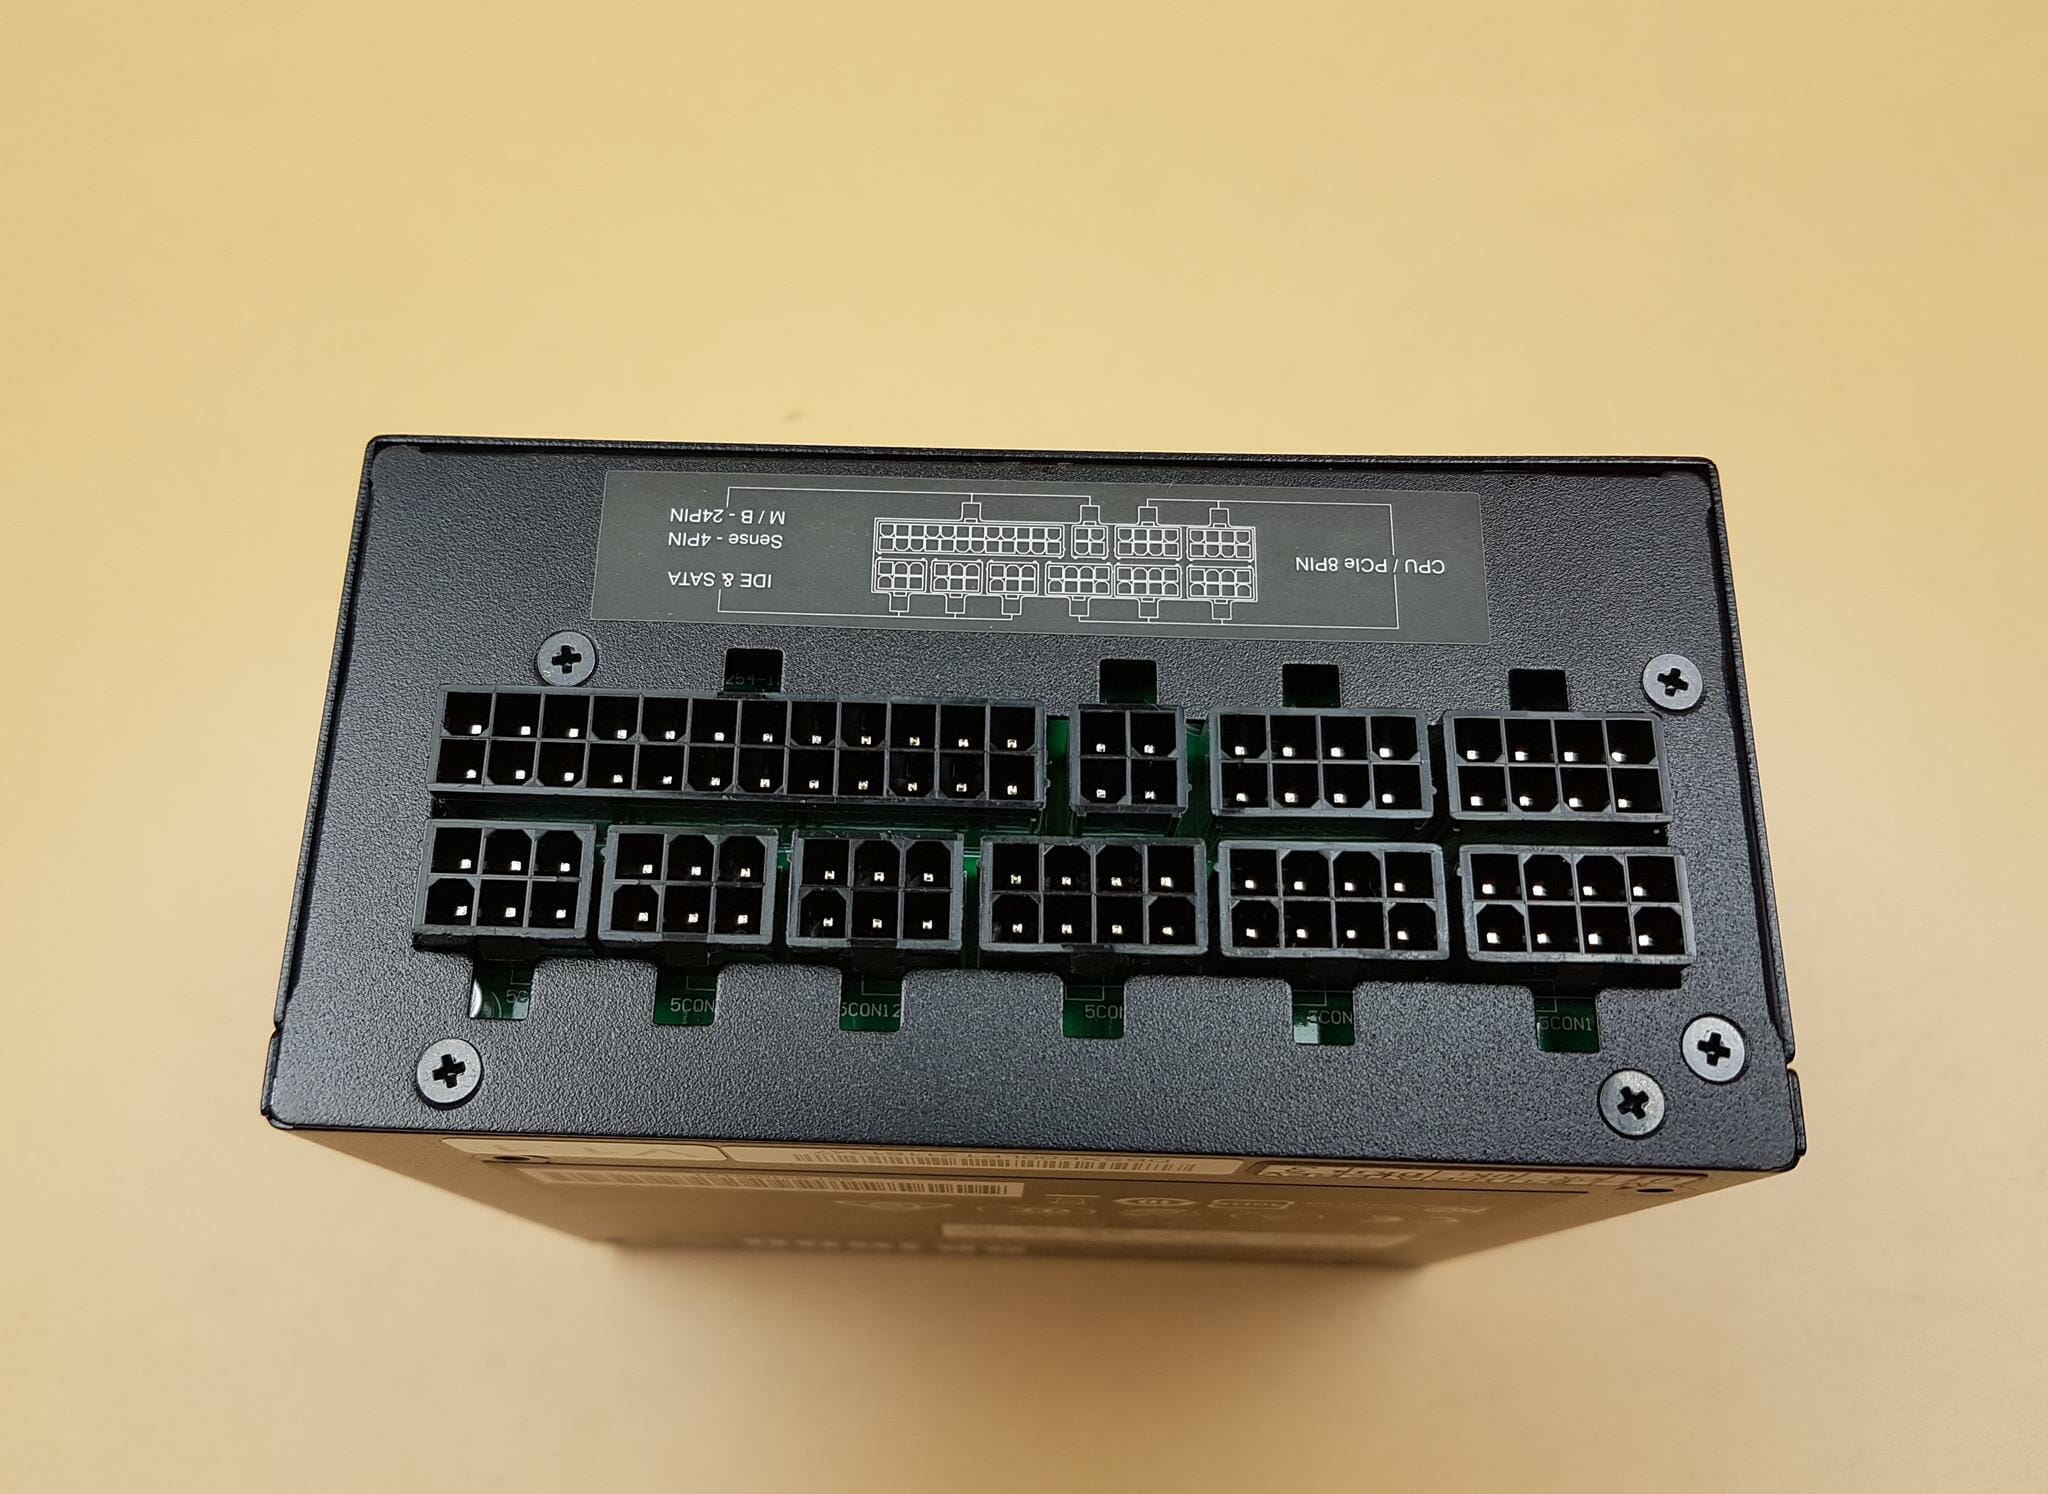
The PSU has the following connections:
- 1x 24-pin ATX with 4-pin Sense
- 5x 12V ATX/PCIe
- 3x 6-pin IDE/SATA
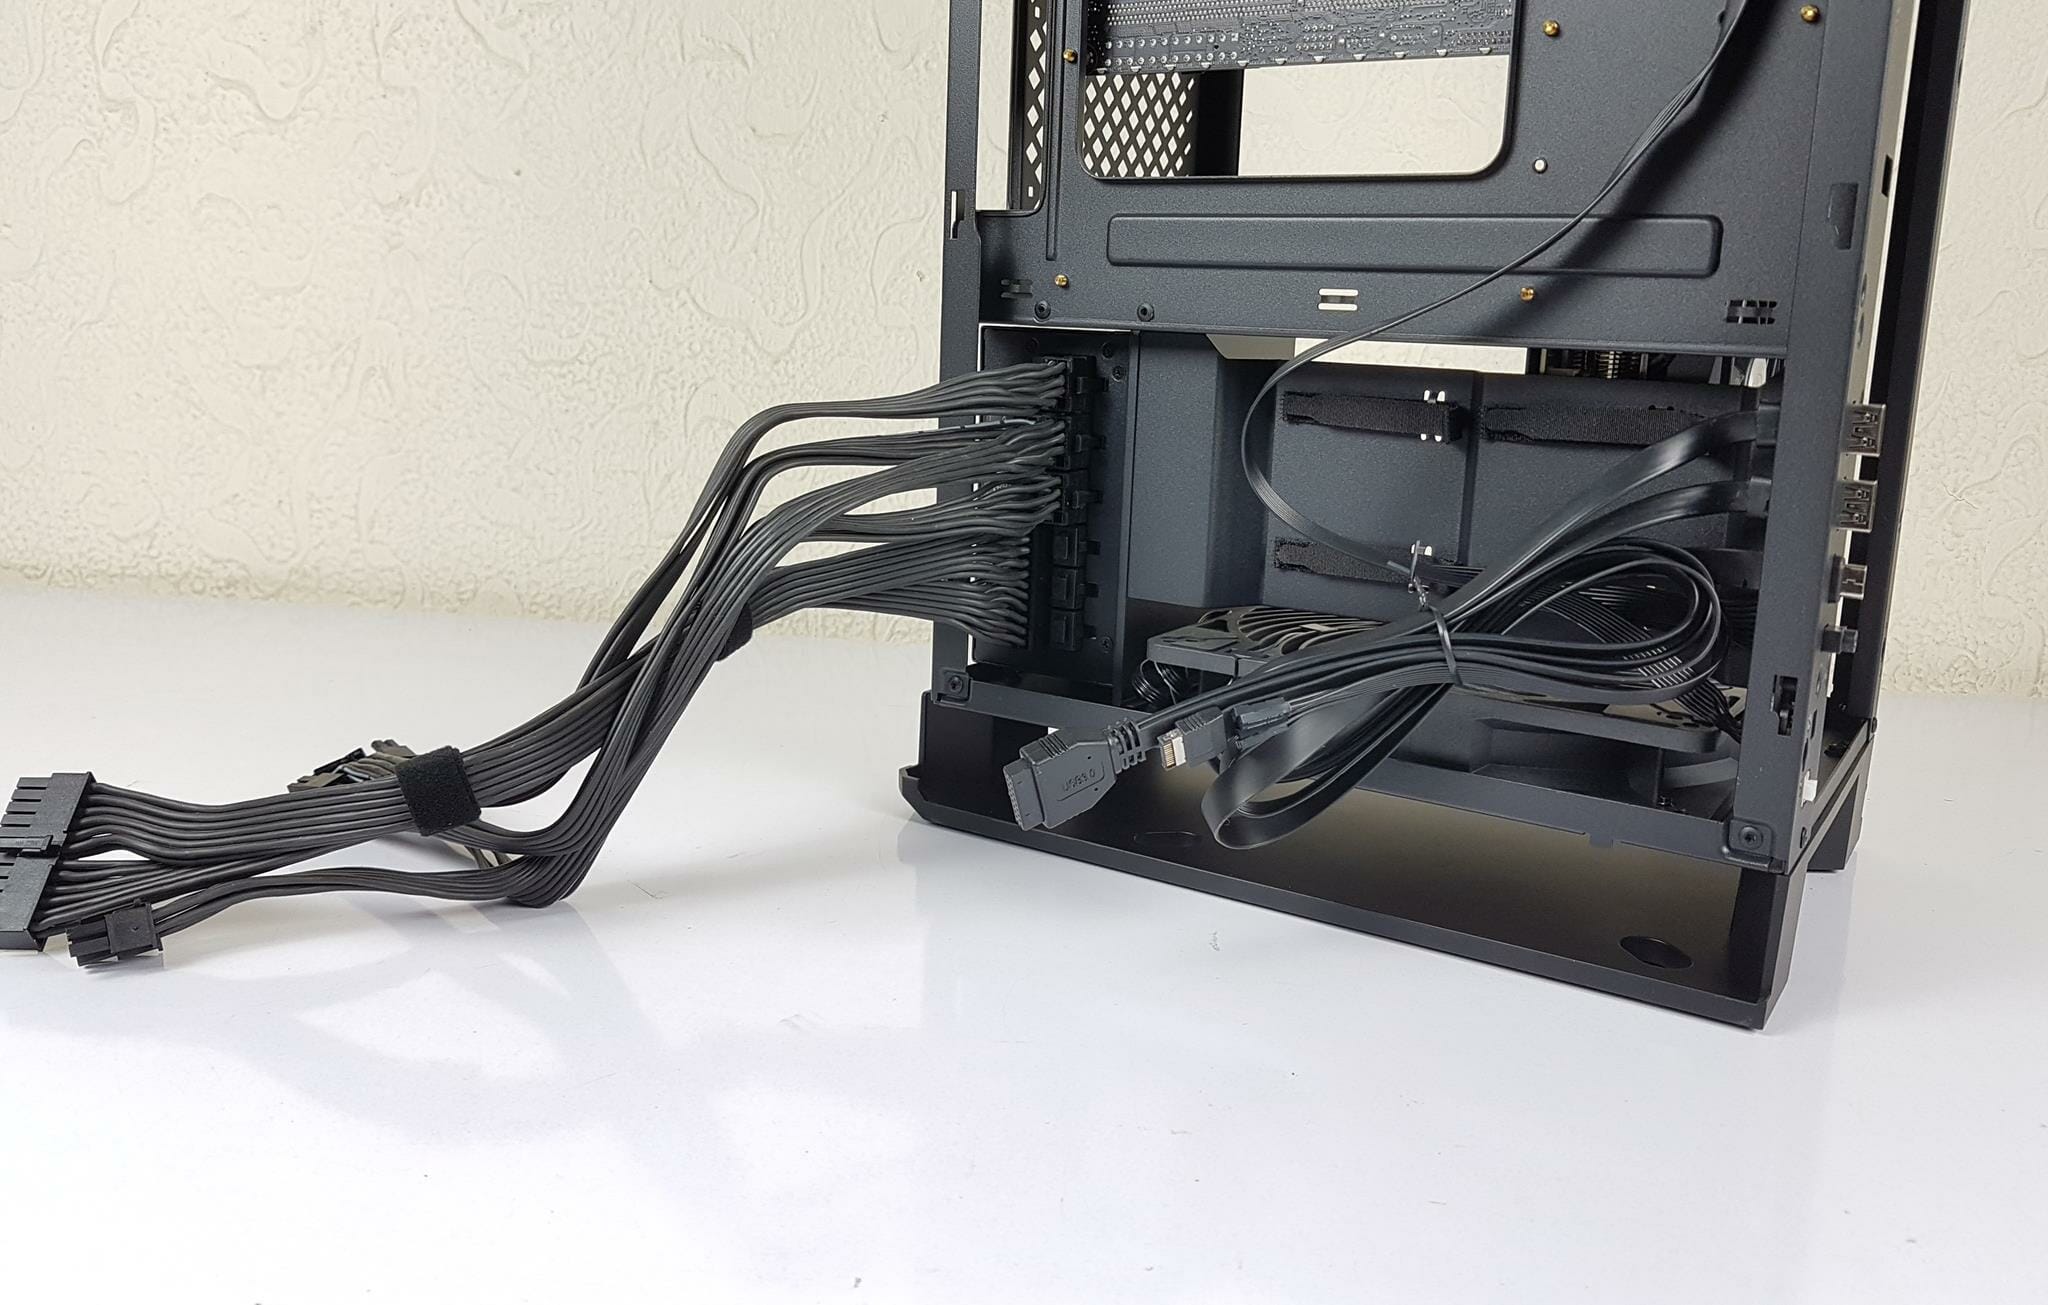
The cables of the PSU are flat in design. The above picture shows the cables connected to the unit.
Installation
Basic installation particularly with an air cooler is simple and straight forward but there are considerations with respect to the AIO and high profile RAM as well as PSU length and front-mounted 2.5” SSD brackets. Before going further, here is the list of the test build that I have used in this chassis:
- Intel i9 9900k [Stock, Auto]
- Asus Strix B360
- ADATA XPG Spectrix D41 2x8GB @ 2666MHz
- XPG 240GB SSD for OS Drive
- SilverStone iCEGEM 240P Cooler
- MSI GeForce RTX 3090 Gaming X Trio [Stock, Auto]
- SST-SX1000-LPT PSU
- SST-PP06-BE series cables
We started off with the installation of the motherboard. We did not face any issue with the motherboard’s installation.
The above picture shows the 90° orientation of the motherboard’s placement.
The SilverStone SX1000-LPT PSU was installed.
The power plug from the case is connected and the PSU’s power button is set to on position.
The fan of the PSU is facing the panel side so that it can intake the fresh air and exhaust it towards the side of the case.
We have used SilverStone PP06-BE series modular highly flexible cables (not extensions).
The SST-SX1000-LPT and PP06-BE series cables are a match made in heaven. These cables are flexible enough to be easily routed and provide neat and clean management.
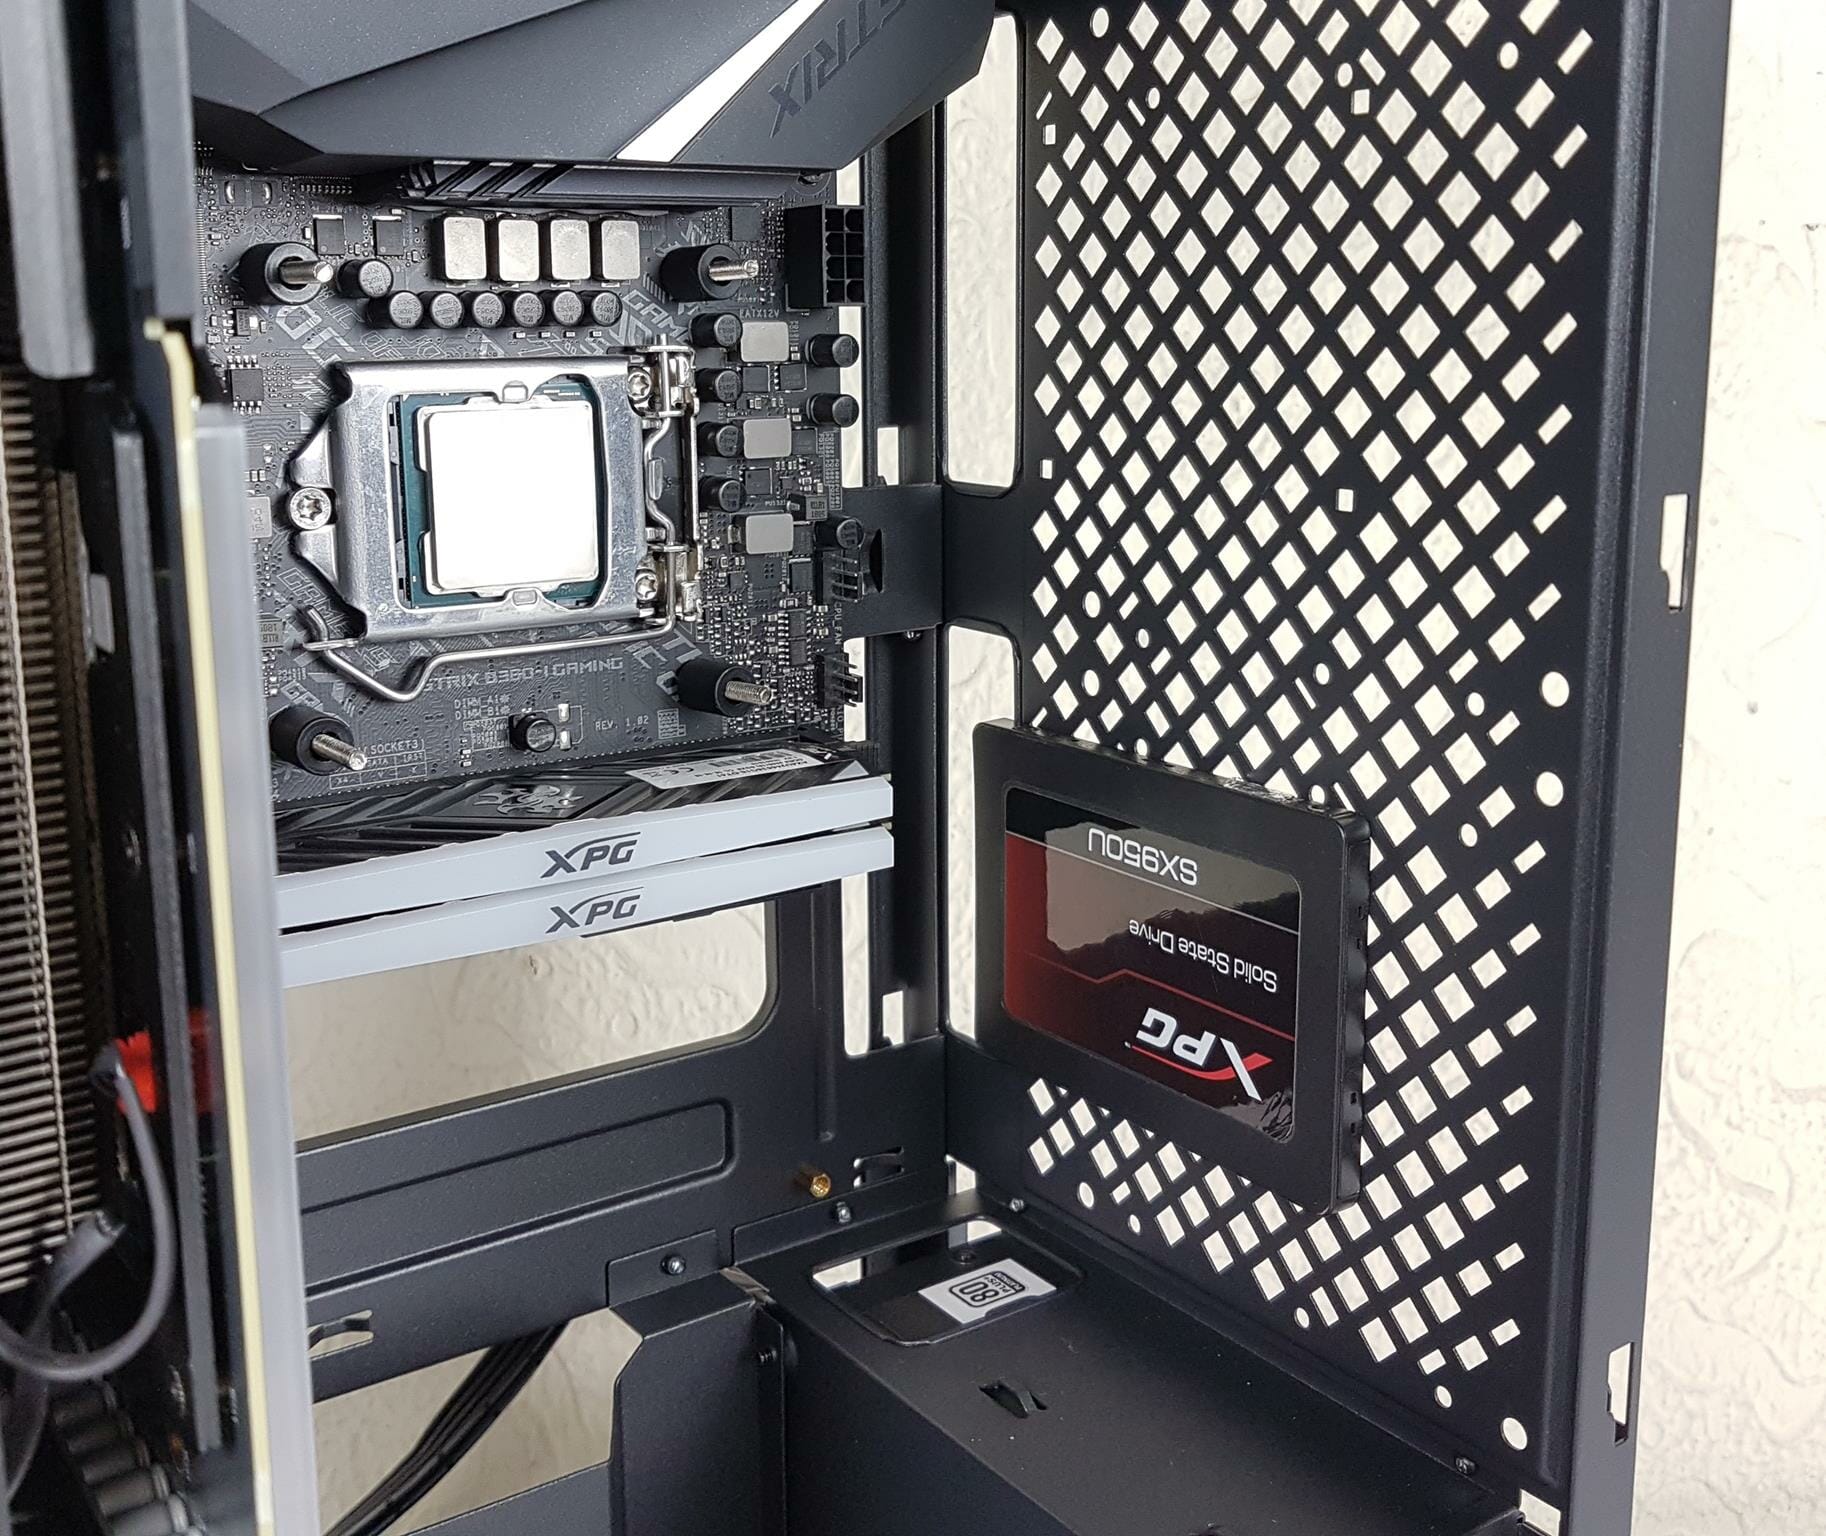
We decided to use an SST-iCEGEM-240P cooler which is a 240mm AIO so we had to install the 2.5” SSD on the side of the case.
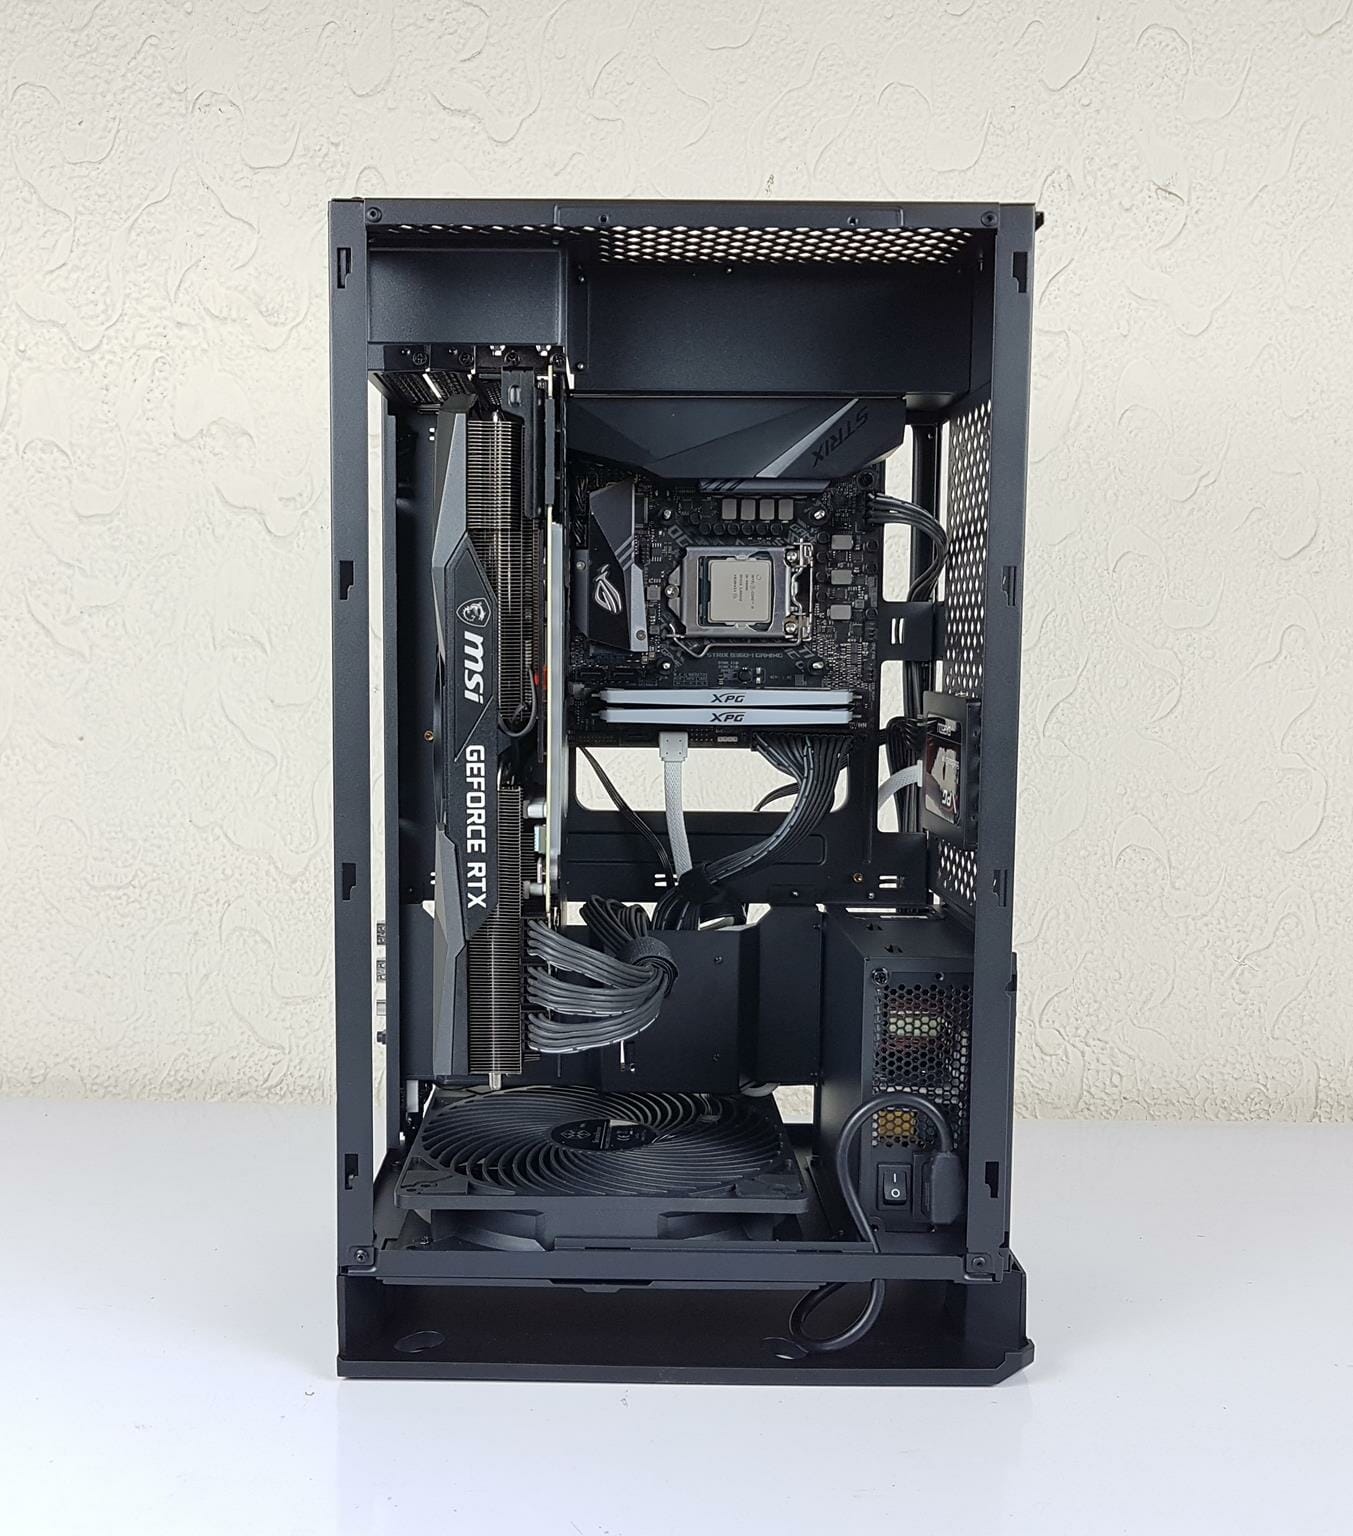
Next, we installed the beefy graphics card which is a triple slot design. The case easily handled the graphics card with no issue at all.
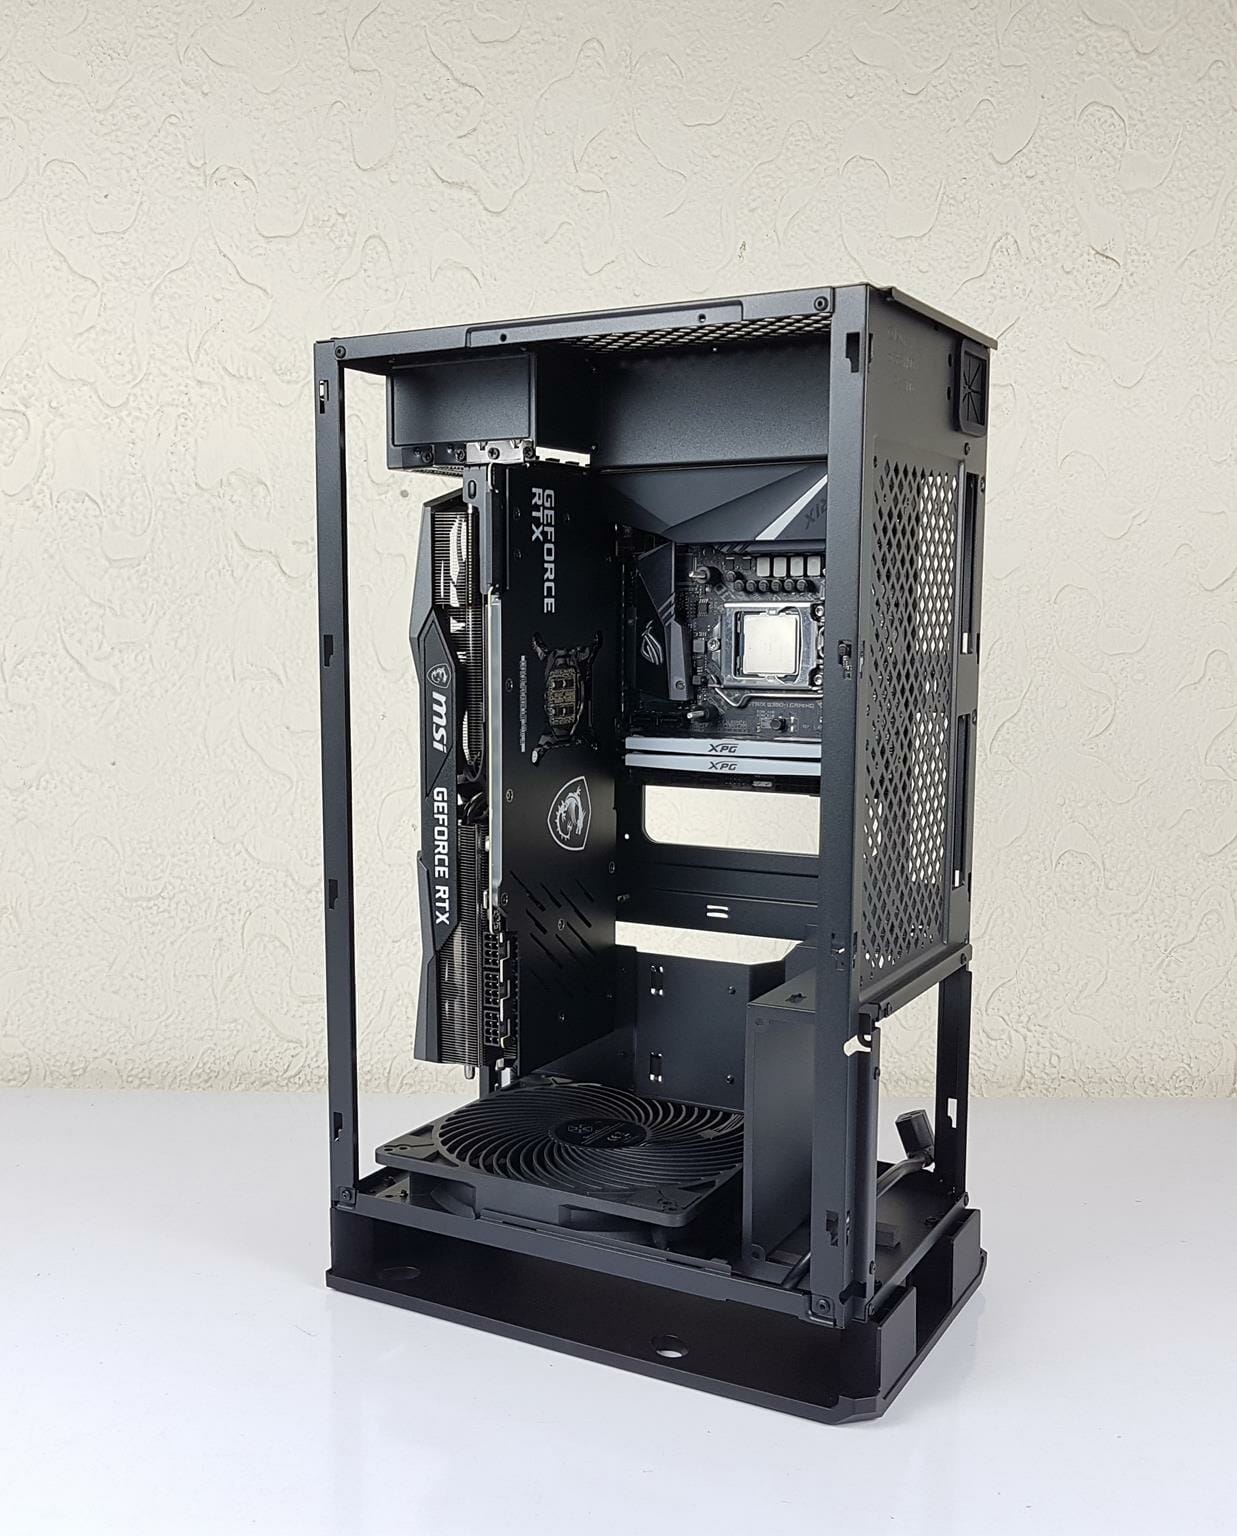
The above pictures show the side angles for the graphics card layout.
The above picture shows the Rear IO side of the motherboard and the graphics card. This is where the necessary cables will be connected to these two components and routed out from the top cutout through the catcher.
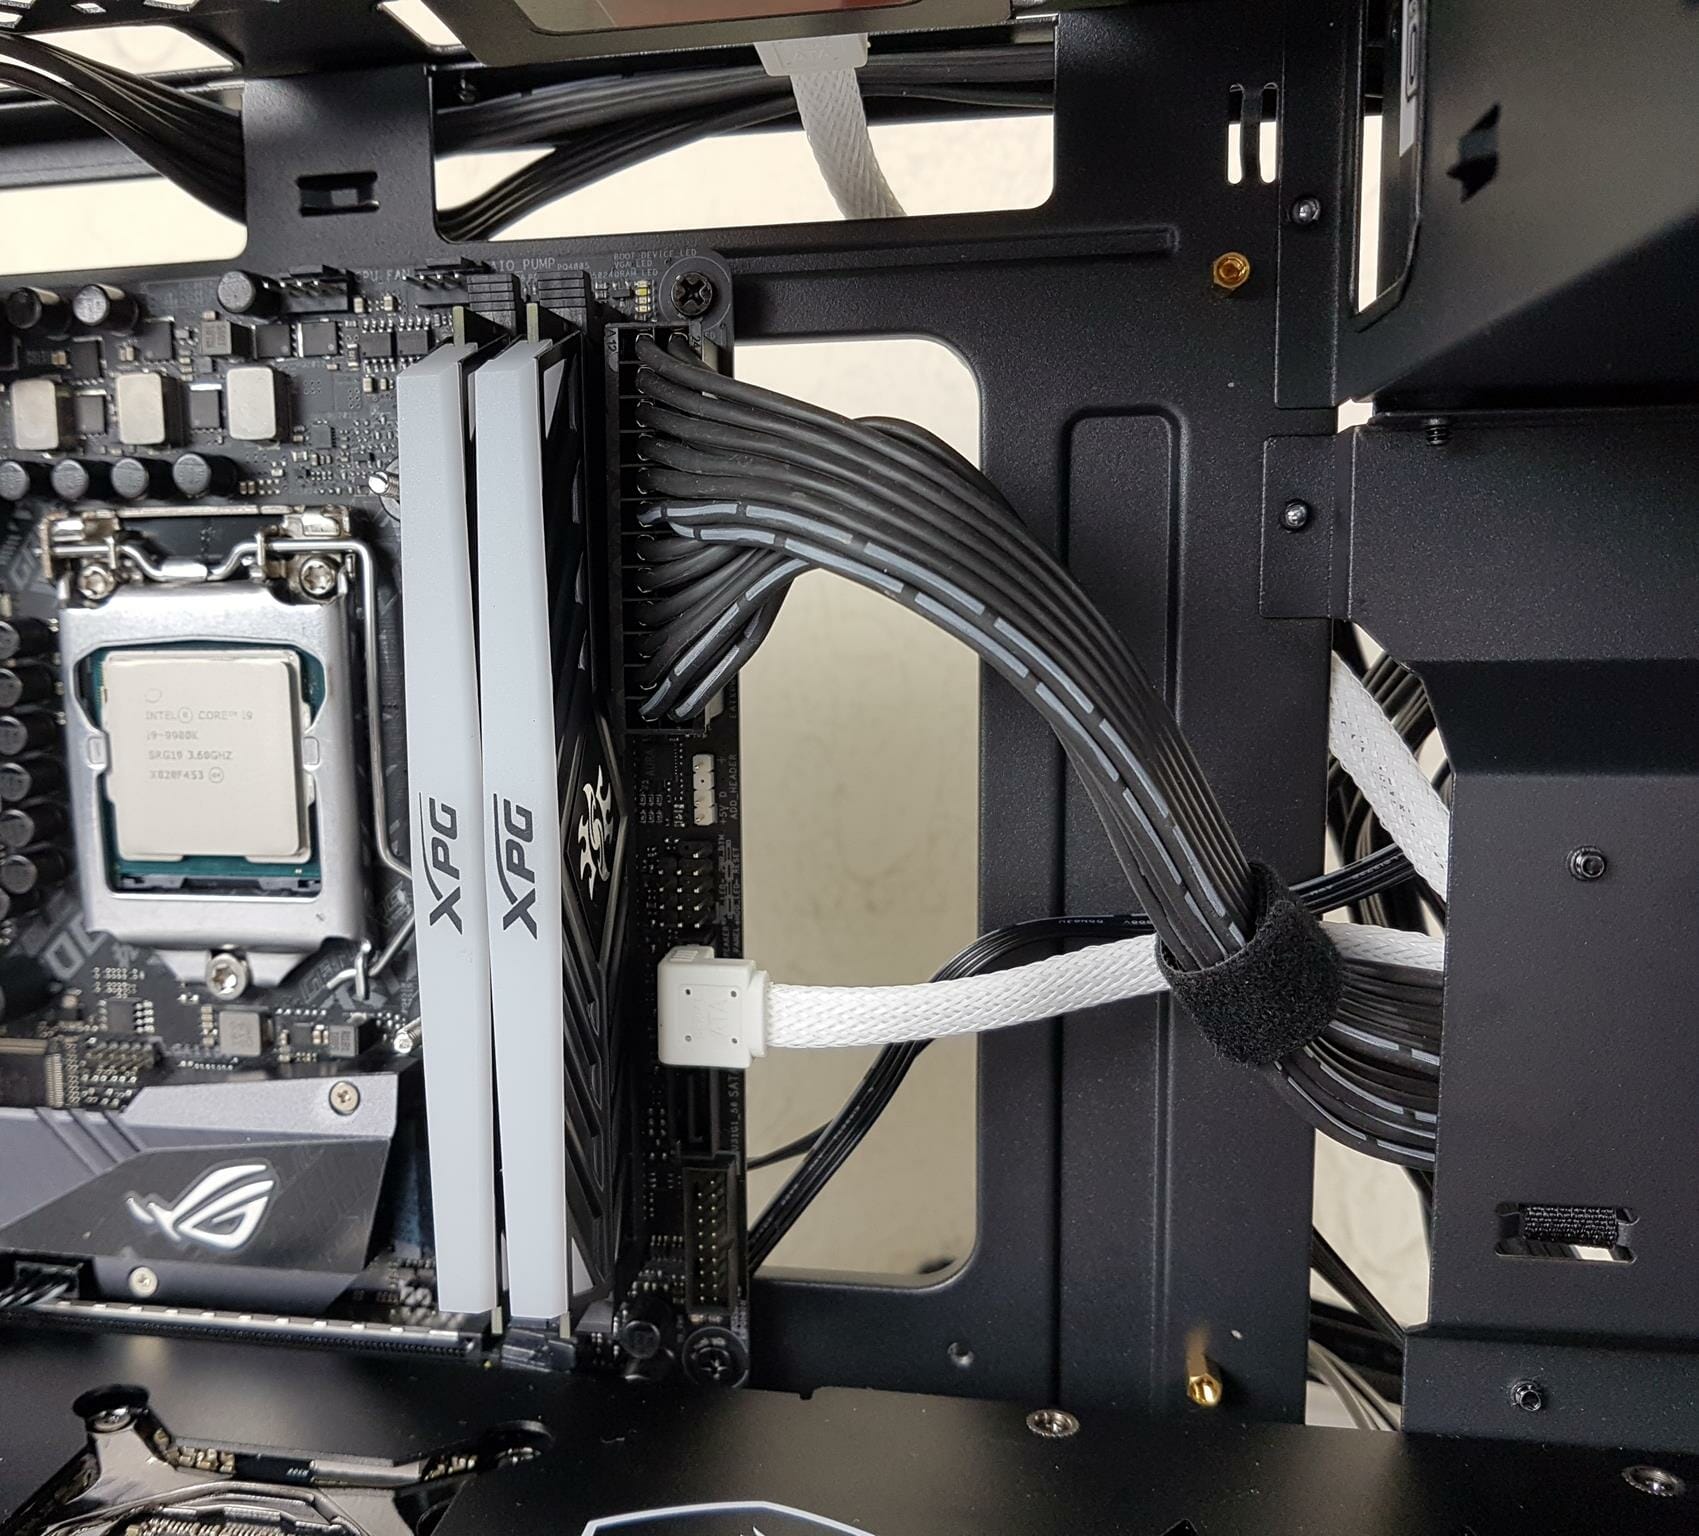
Next, we connected the cables. We have used SilverStone white color SATA cable for the SSD.
The close-up on the 24-pin motherboard cable.
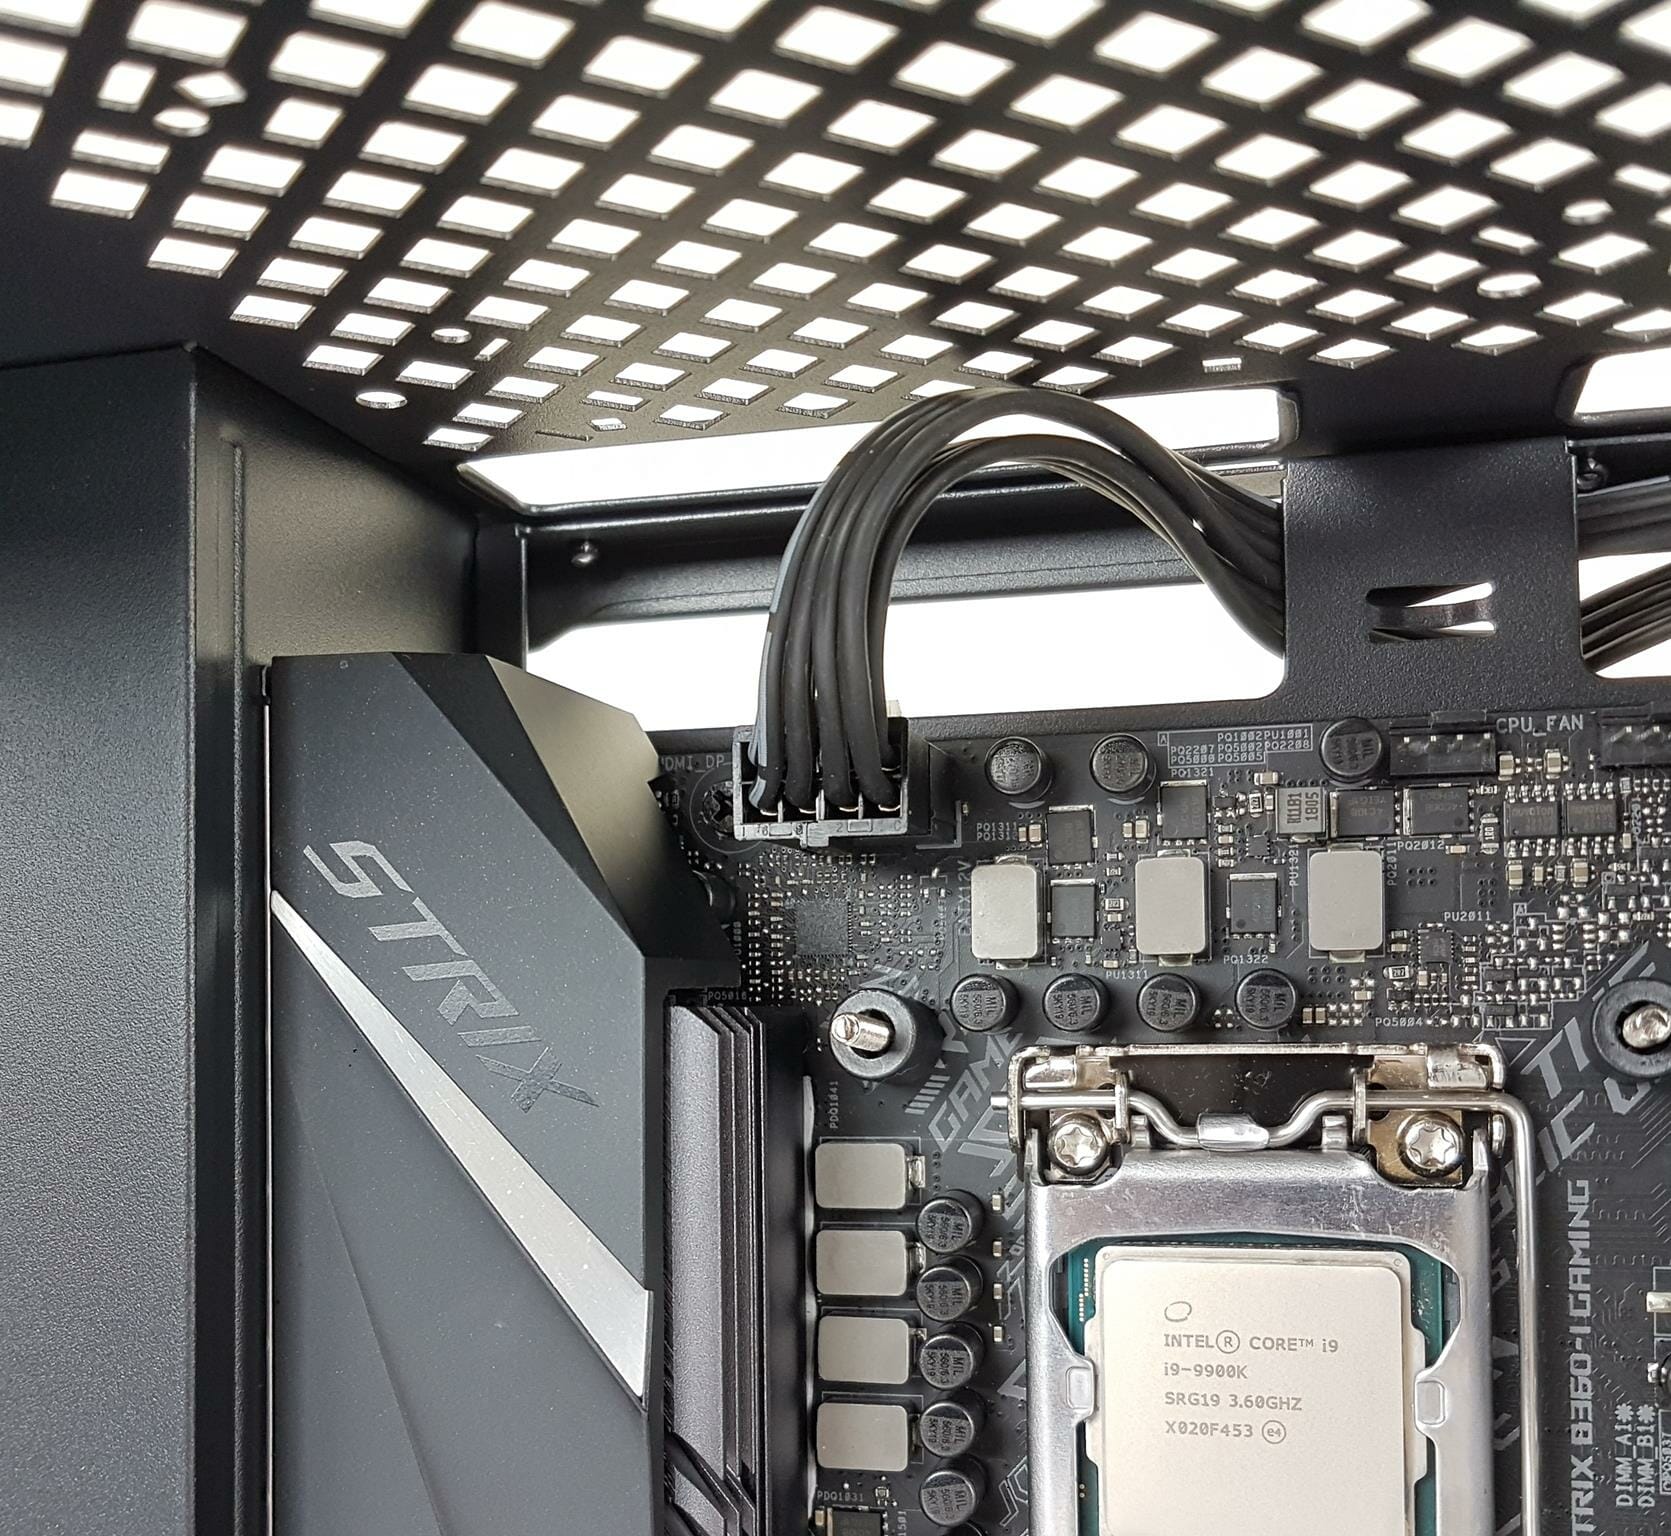
The close-up on the 8-pin EPS cable.
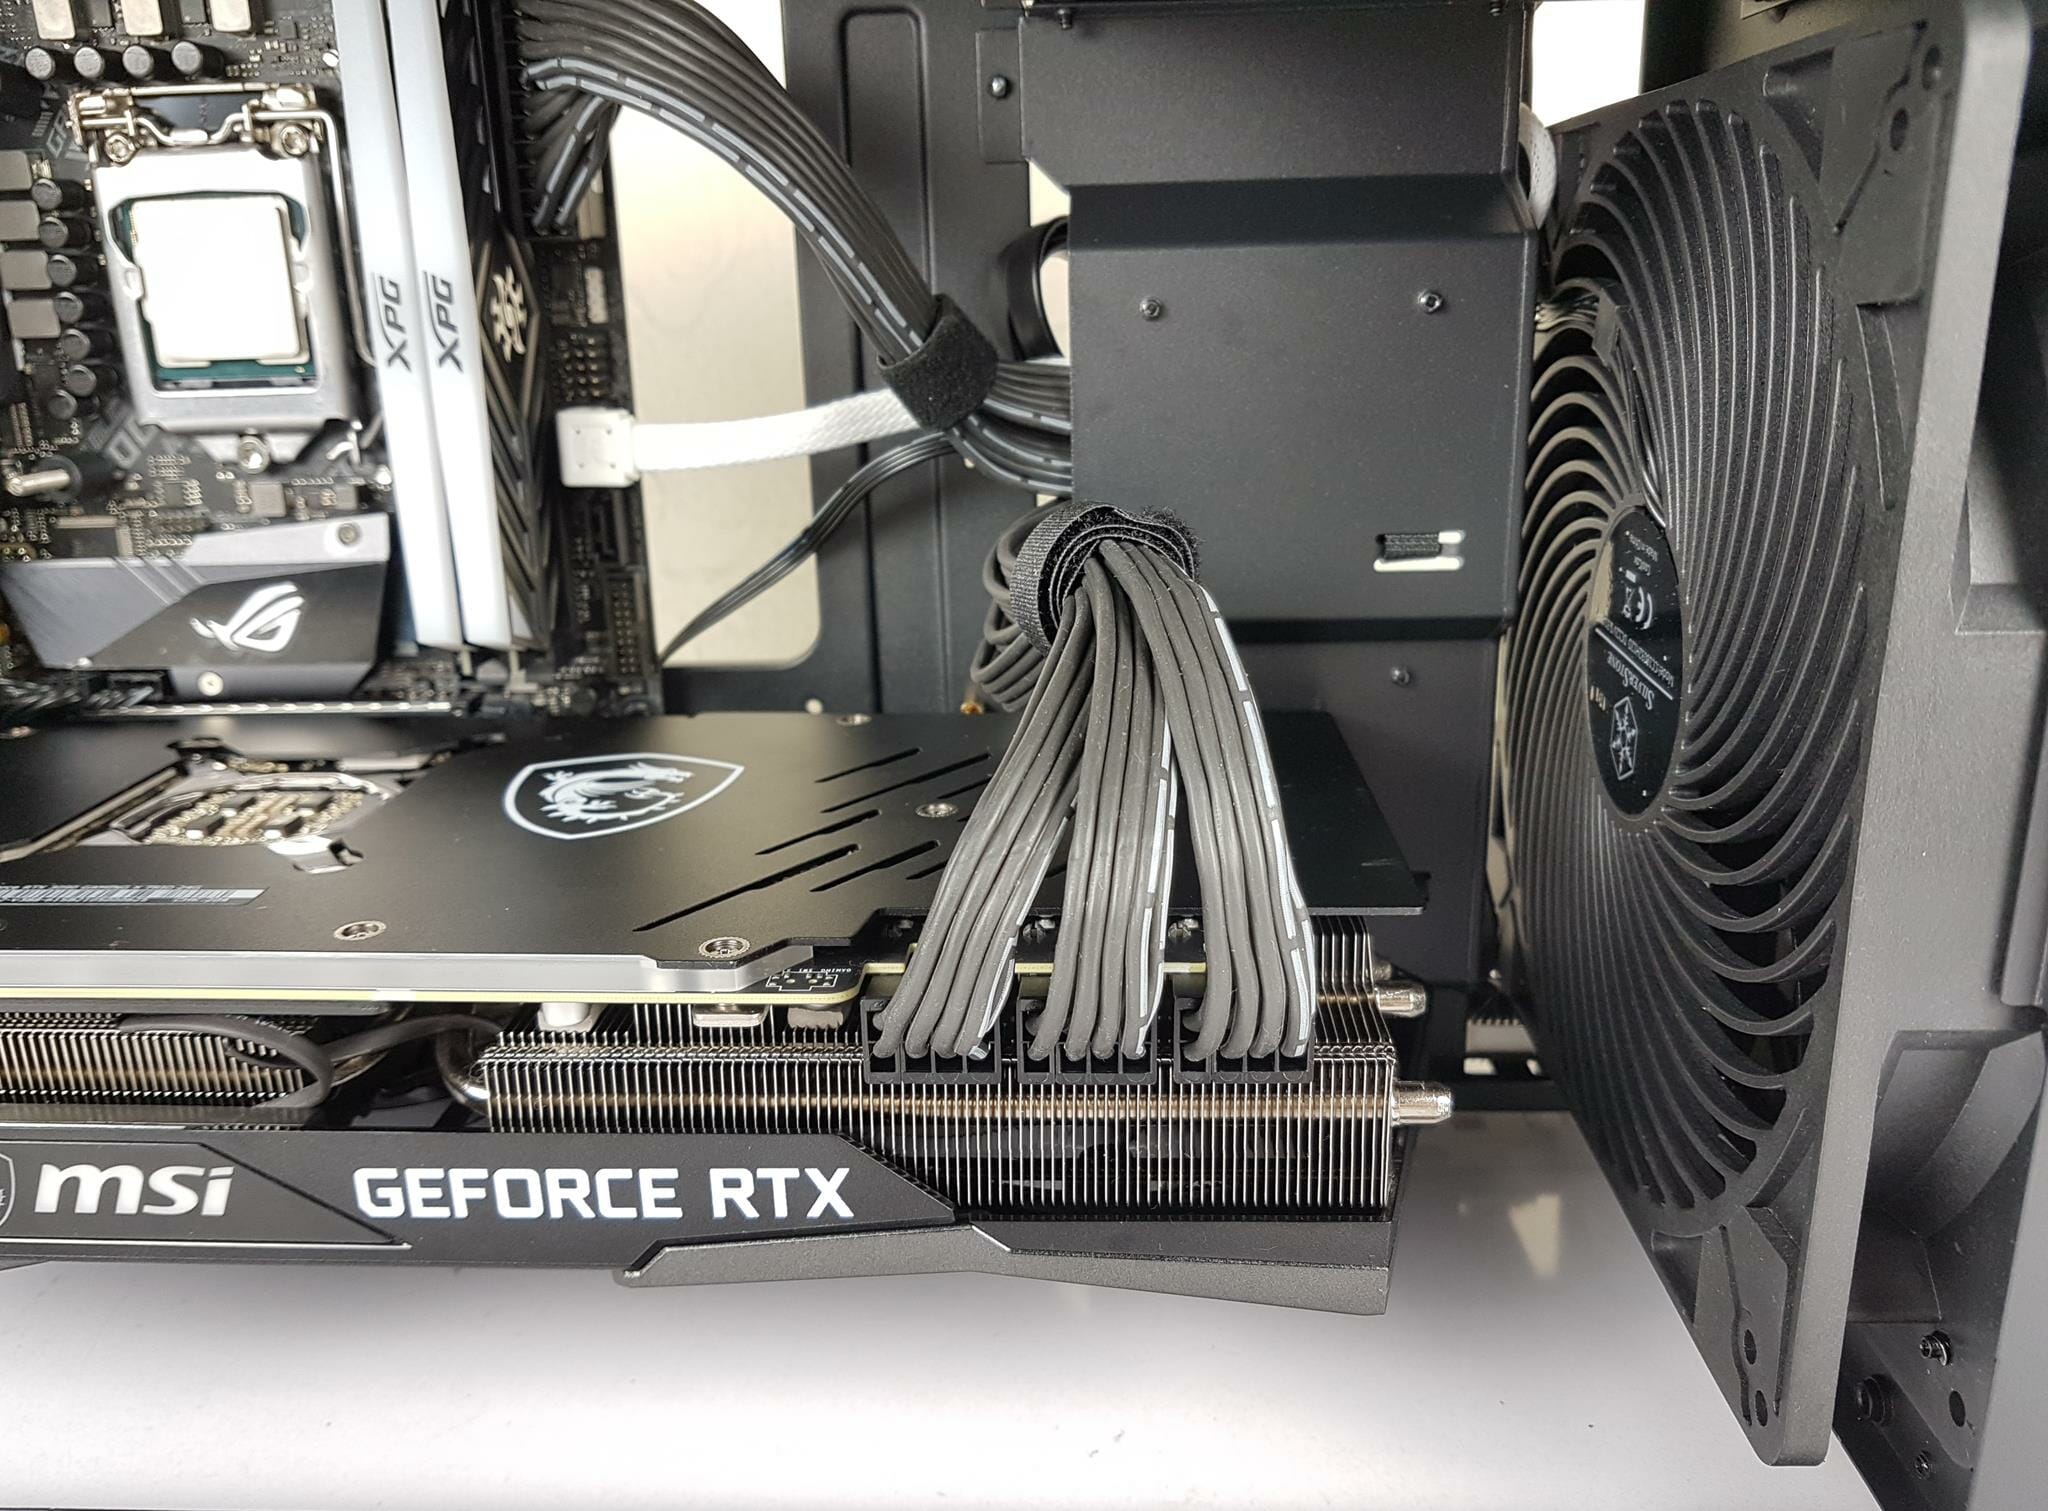
The 3x dedicated 8-pin PCIe cables were connected to the graphics card.
The above picture shows the layout of the build with the cables connected to the components.
The picture shows the backside where we managed the cables. The 4x Velcro Straps were indeed handy in catching the cables and tucking the rest of the cables on the cover.
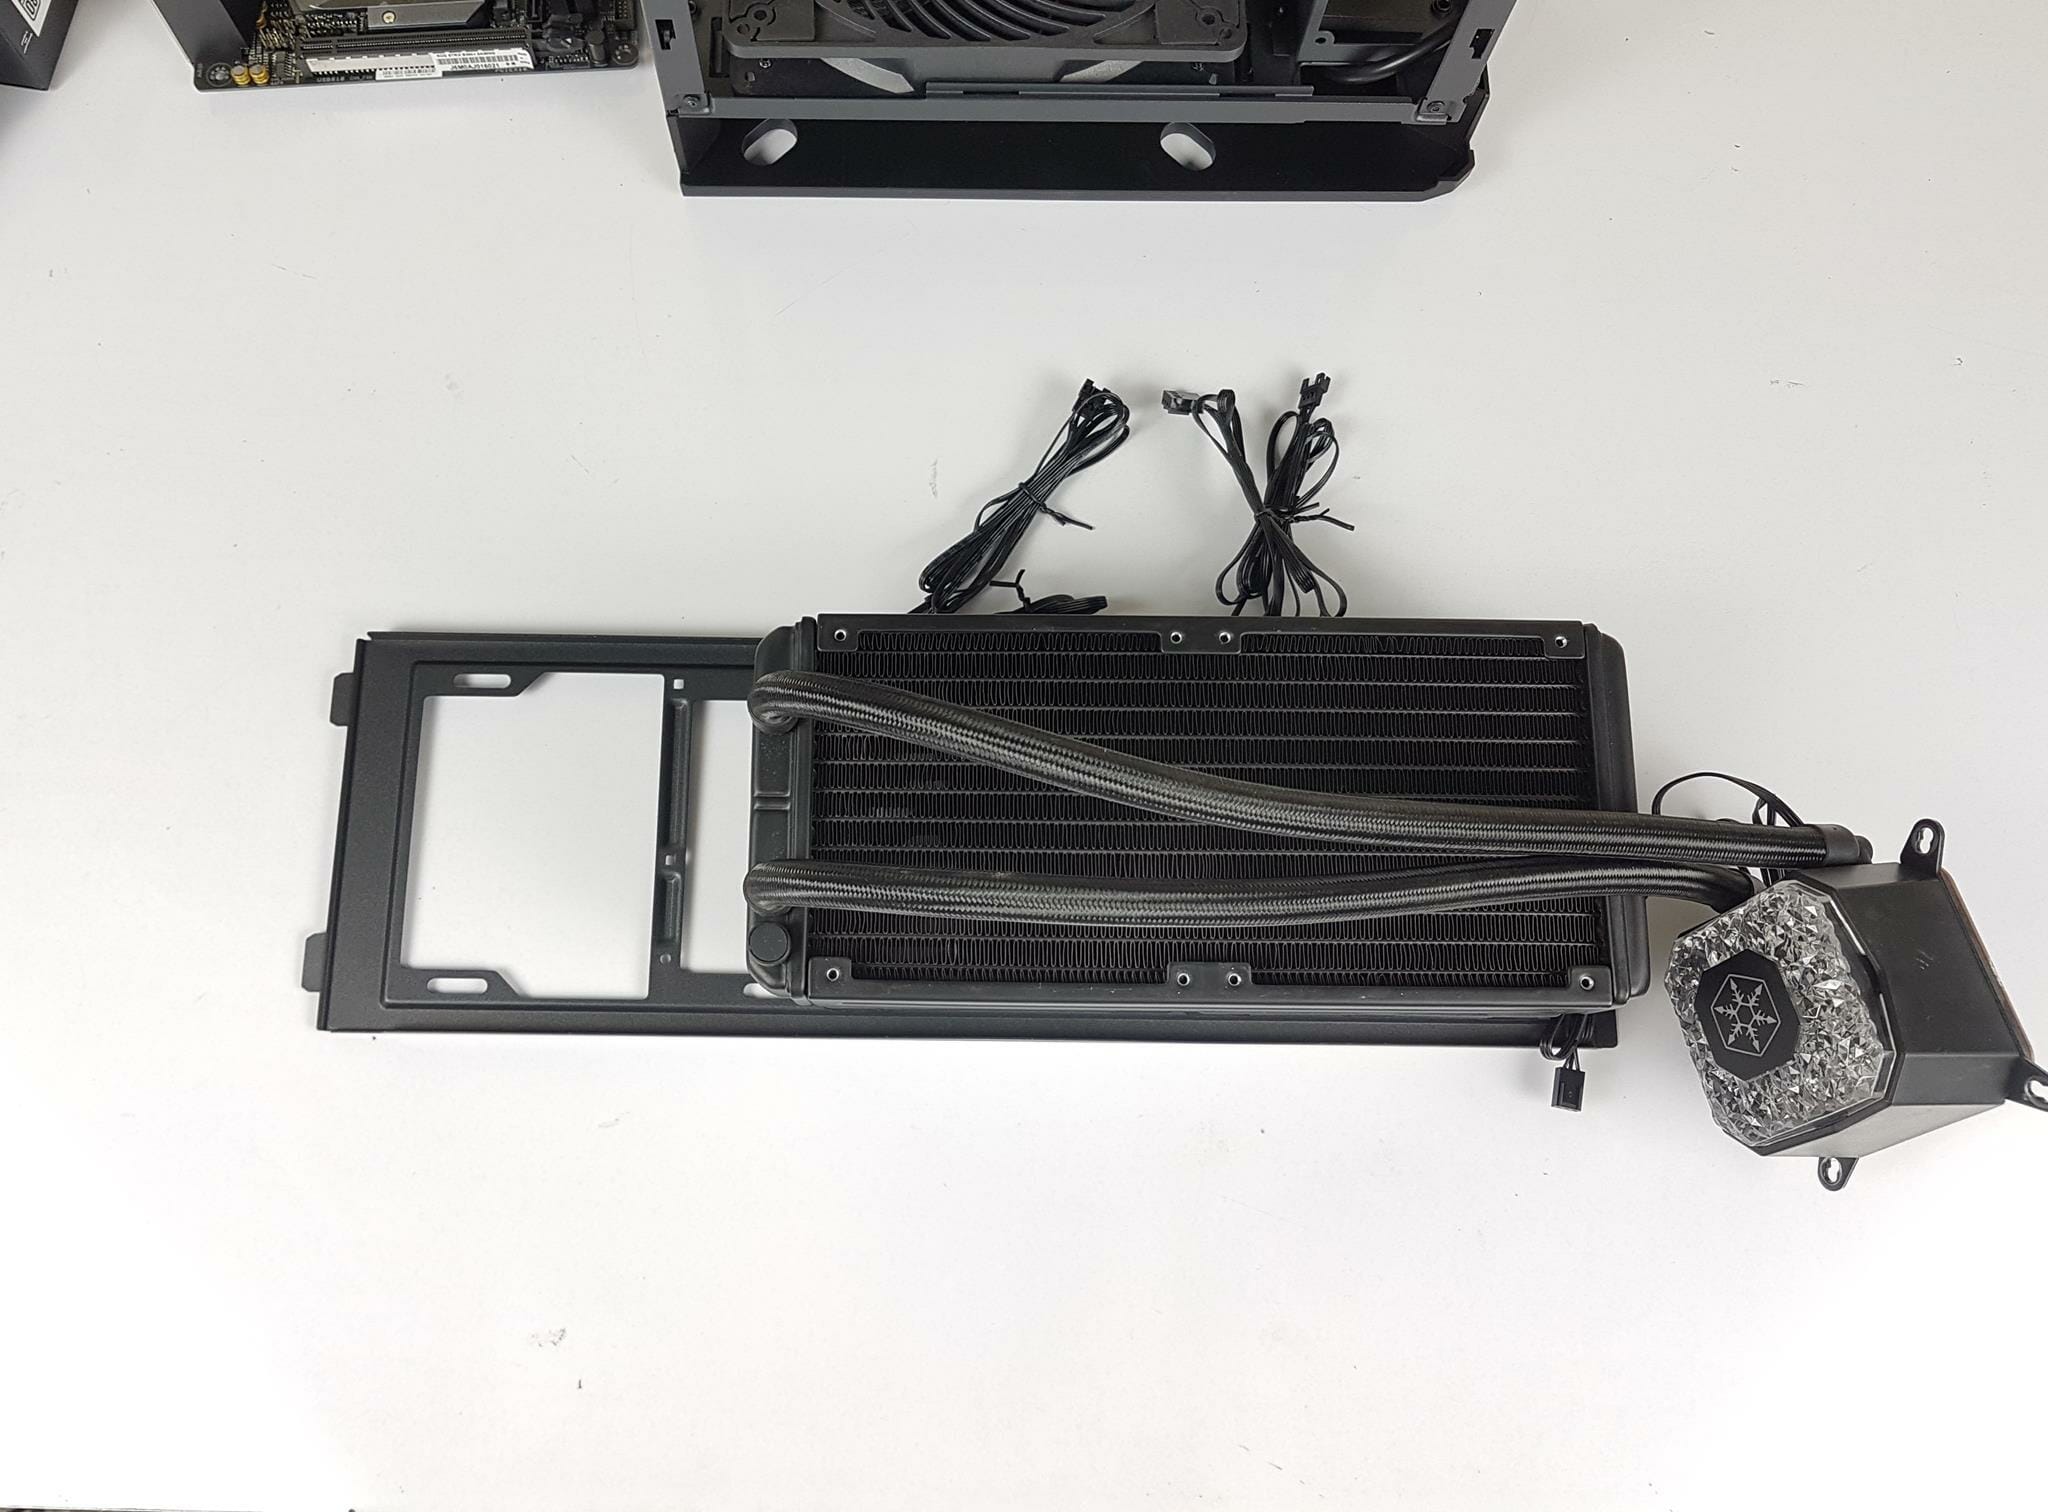
The SilverStone iCEGEM 240P was installed on the bracket. The reason we chose this cooler was its 38mm thickness of the radiator giving a total thickness of 63mm. We wanted to see if the case can handle this much thickness or not with these somewhat flexible tubes.
The top view of the bracket. The fans are installed on the underside of the bracket.
The cooler was an easy installation. We had to install the block first and then manage the cables before finally putting the bracket on the frame.
The power plug of the cable was connected at the base of the case.
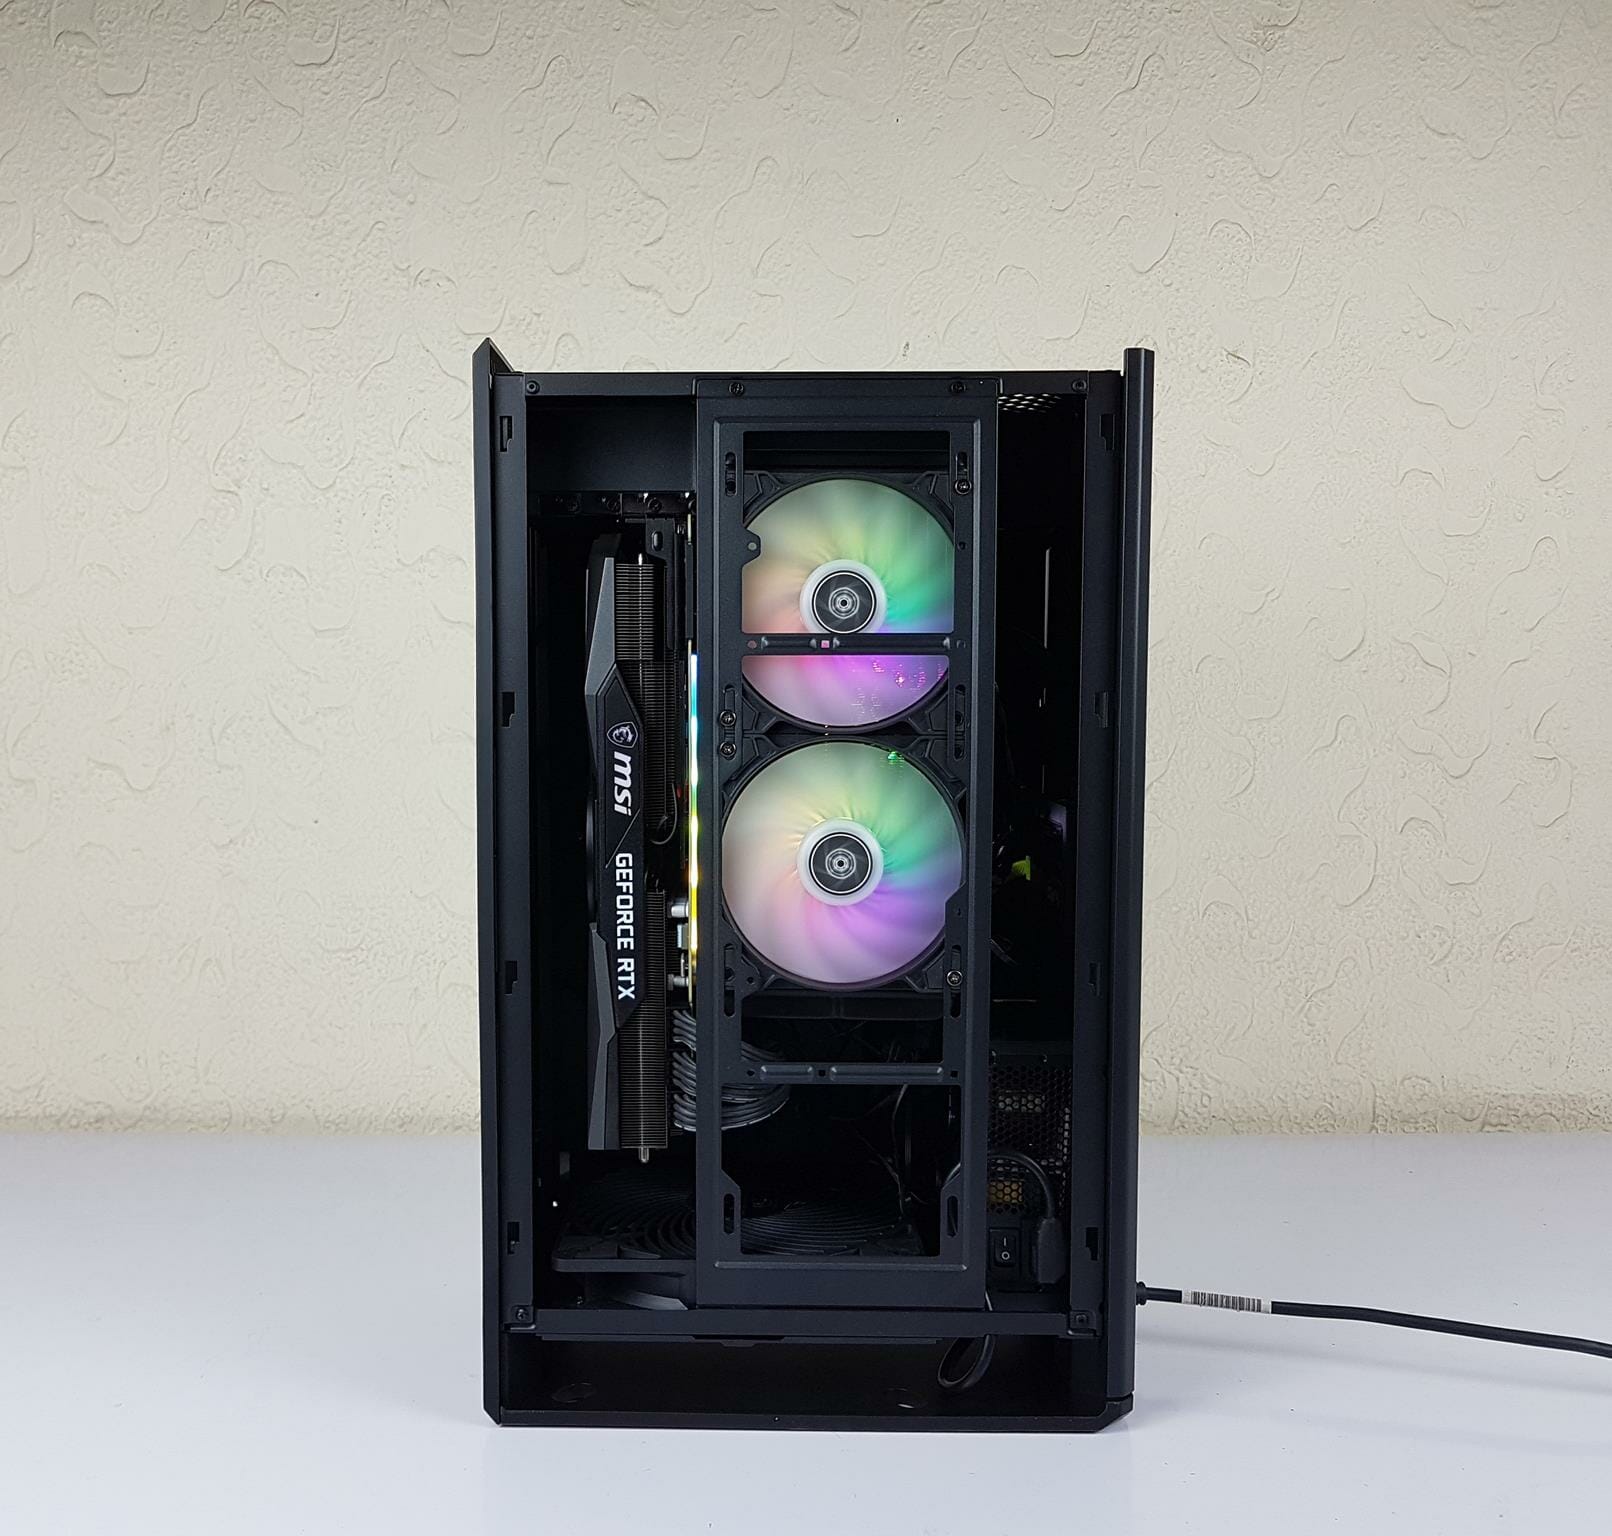
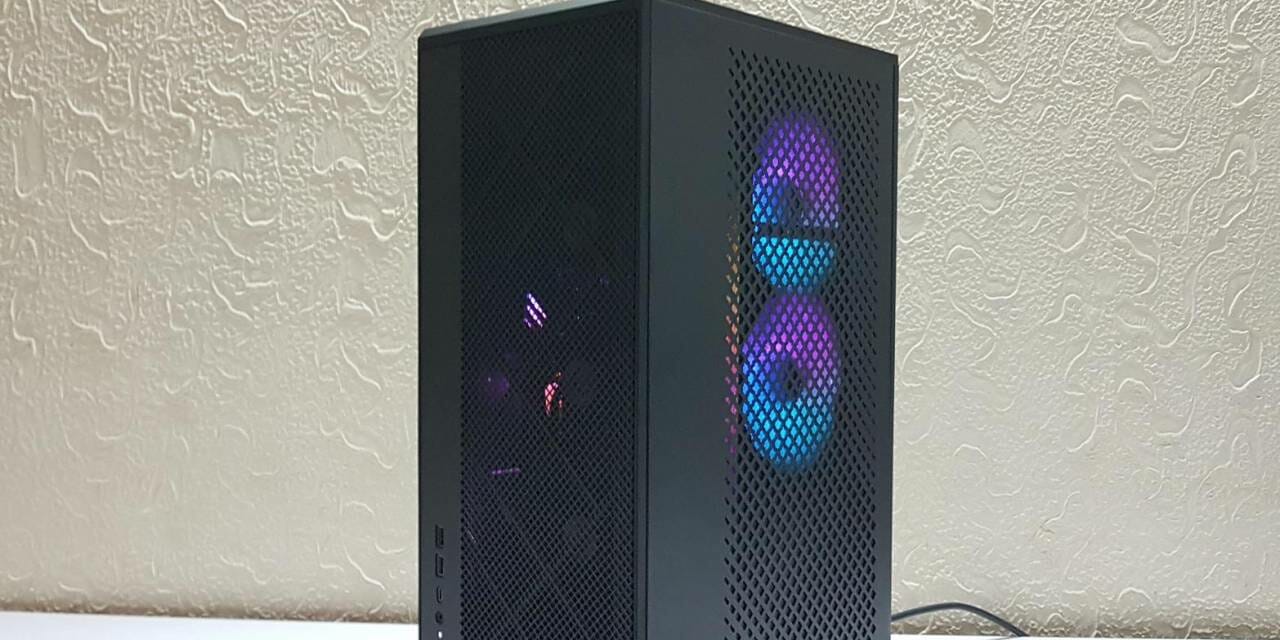
The first press of the power button gave a successful POST.
Testing
Following configurations were used to test the thermal performance:
- Thermal testing in stock configurations with all panels installed.
- Thermal testing with front/side panels removed
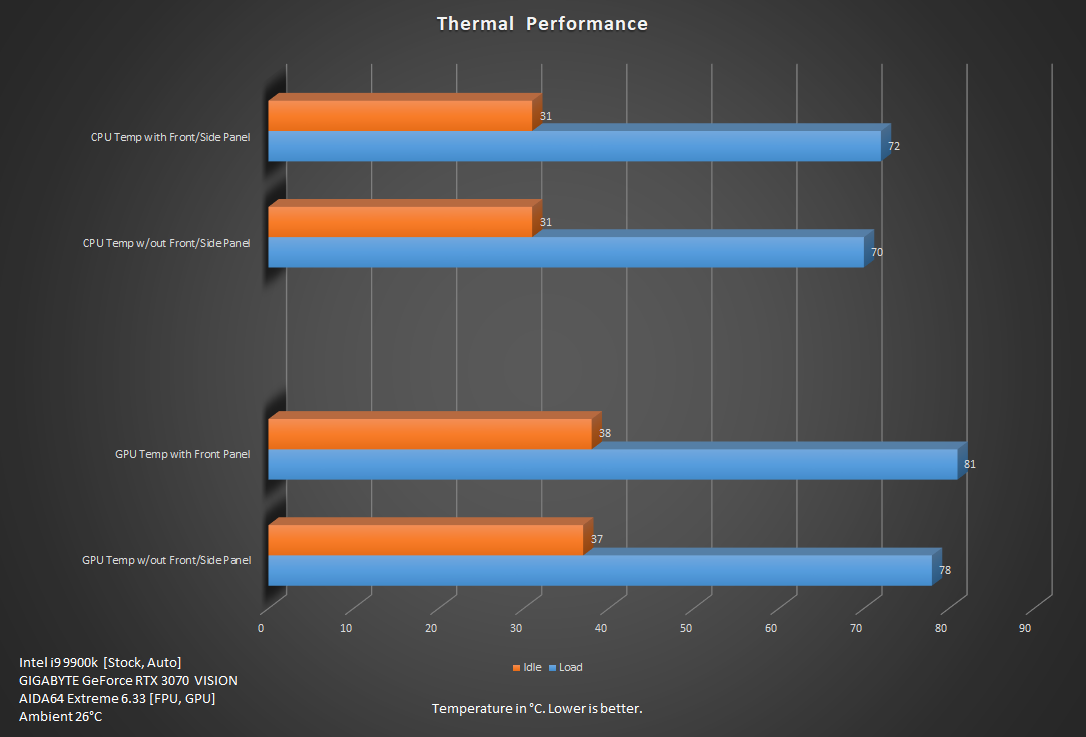
Each testing session was of 30 minutes using AIDA64 Extreme 6.33 (FPU and GPU). We are using Package Temperature and GPU Diode Temperature in the graph. The system was put on idle for 15 minutes. There was a gap of 30 minutes between both testings.
All the fans were set to run on AUTO PWM mode. The pump of the AIO was set to run at full speed. These settings were set from the UEFI/BIOS.
Result
The ambient temperature was 26°C. The CPU under synthetic load was doing 72°C. The graphics card did 81°C. When we tested this graphics card for its review, it was also doing 81°C on the open-air test bench. Next, we removed the front and side panels and redid the testing. The CPU was doing 70°C and the graphics card was doing 78°C. The temperatures were within acceptable margin.
Noise
Note that we did not run the 180mm fan on the base and the fans on the AIO at their full speed. The reason being the base fan runs louder at full speed.
The above audio file is of the recording of the complete system under load.
We would suggest making a custom fan curve for the base fan for an optimized noise profile.
Conclusion
SilverStone ALTA G1M is a cylindrical shape following the stack effect design. This case is a compact one designed for micro-ATX and mini-ITX builds and is available in white and black colors. The case is made of steel and plastic materials. It has a dimension of 200x507x307mm. The 507mm is the height of the case showing its cylindrical shape. It has a net weight of 6KG thanks to steel all around with solid build quality. The volume of the case is 31.1 liters.
The keynote is the removal of 4 side panels along with a top cover for easy access from all around to the spacious layout inside and easy maintenance. Another keynote is the provision of up to 360mm radiator in this compact design. Another keynote is the provision of an 184i Pro fan on the base. This is a 180mm air penetrator fan installed on the base to generate sufficient airflow inside the case from the bottom up to the top. The motherboard is installed in 90° orientation. The case supports up to 355mm length graphics cards with 4 slots design. There is a bracket provided on the side of the case which can house a combination of the storage and cooling gear. The top cover has magnets for easy coupling/decoupling.
The cooling provision is 120mm or 240mm or a 360mm radiator. The bracket can house up to 3x 120mm fans. The side vented area in the case can house up to 2x 120mm fans. From a ventilation point of view, the ALTA G1M has dust filters on every side except the solid side panel. There is a removable non-magnetic dust filter on the base. The rear panel has a non-magnetic removable dust filter whereas the vented side panel has a magnetic dust filter. The user can install up to 4x 3.5” drives or 4x 2.5” drives which is possible if no fan or radiator is installed.
Motherboard Compatibility: microATX (9.6”x9.6”), mini-ITX (6.7”x6.7”)
CPU Cooler Height Clearance: 159mm
Graphics card Clearance: 355m Length, 165mm width
Power Supply: 130mm length (SFX/SFX-L)
The front and top panels are made of plastic material but are quite sturdy. The rest of the panels are made of steel. One side has a slid cover whereas the rest of the panels have vents. The IO panel is located on the lower left side. Since the motherboard’s rear IO will be facing the top of the case, SilverStone has provided a catcher and a cutout on the top to route the cables like peripherals, Wi-Fi antenna, display cable conveniently through these.
Overall this is a smart and well-planned layout. SilverStone has provided openings and covers at key places which makes the cable management convenient and hides the cables properly. There is a cover facing the motherboard tray which has 4x Velcro Straps to catch the cables. These make the cable tucking and routing easier. Kudos to their design team for paying attention to the details.
The test build was an easy undertaking. We have used SilverStone iCEGEM 240P AIO which has a 38mm thick radiator and an overall thickness of 63mm. It was an easy fit. We have used SilverStone SX1000 Platinum PSU along with the PP06-BE series cables for this PSU. Thanks to this much power density, we were able to use the MSI GeForce RTX 3090 Gaming X Trio and Intel i9 9900k in the test build.
The SilverStone ALTA G1M has an MSRP of $169.99 for the black edition and $179.99 for the white edition. This case competes against the like of Phanteks EVOLV Shift series cases and carries a premium price tag which is evident as we have a solid build quality all around using steel with a 180mm 32mm thick fan on the base and the fact that this case aims at the niche segment. This compact design clears the space on the table yet has the ability to house some serious hardware thanks to support of SFX-L size PSU. The thermal performance is good but the 180mm fan is quite loud at full speed. We would suggest doing a custom fan curve to achieve optimal noise to thermal performance. This is a strong contender in the market of compact design builds using microATX/mini-ITX builds. The SilverStone ALTA G1M is a very well executed design and based on the totality of the features and adequate cooling/storage provision with nice airflow comes recommended by us.
We are thankful to SilverStone for the provision of ALTA G1M for the review. Special thanks for the provision of SX1000 Platinum.


