Can Your Steam Deck Use Cloned SSD Copies?
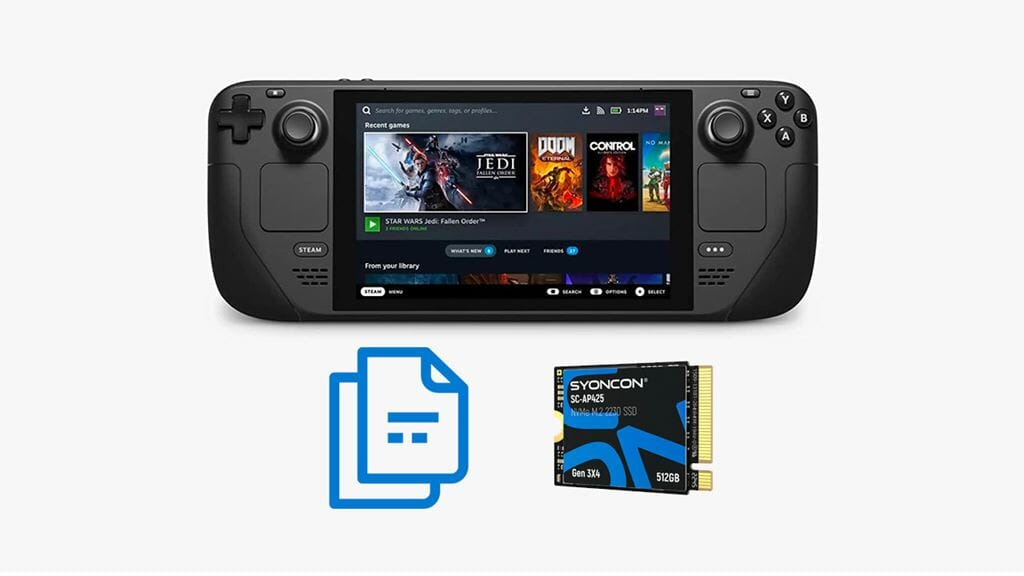
SSDs are an absolute boon on the Steam Deck. Sure, eMMC flash and Micro SD cards existed much earlier, but NVMe SSDs so far are the only portable drives that combine huge capacities and blazing-fast speeds without any inherent weaknesses.
The best part? We can swap out the SSD pretty easily for another one with different data. Or in this instance, we can use a cloned drive to conveniently backup everything that you have downloaded so far.
Current Steam Deck Upgradeability
The Steam Deck has most of its components soldered directly on board, which means that APU and memory upgrades are out of the equation. The only thing that you can really upgrade is its SSD, though that is still quite a versatile option. NVMe drives, after all, have wildly different specifications that cater to different data needs outside of simply reducing game load times.
Many Steam Deck users often go with the standard upgrade route of buying the 64 GB version, then immediately replacing the slow eMMC drive with a faster 1 or 2 TB NVMe SSD. Keep this in mind, since this will be yet another expense that you might need to add if you are going to clone the upgraded SSD with yet another backup SSD.
Pros and Cons of Cloning a Steam Deck SSD
Pros
- Preserve settings and configurations. Not only for the native OS environment but especially for different game settings since each game should have an ideal tweaked FPS target when being played on the Steam Deck.
- Preserve locally-saved games. Cloning an SSD for the Steam Deck also provides additional backup for games already installed on your system. If ever the original drives suffer from significant file corruption, you can simply switch to the clone drive without having to redownload anything.
- Share the data with other users/devices. The cloned data can be extended to other devices, letting you copy specific files such as ROMs for emulators, or even swap similar SSDs to other Steam Deck units!
Cons
- It can be quite costly. You are essentially doubling the investment just to keep an extra physical copy of your data, which could be accessed safely anyway with your game launcher accounts. Cloning SSDs for Steam Decks is basically paying more for access convenience.
- Limited to 2230-type sizes. Steam Deck does not use the more universal 2280 form factor (gum size), which is the most commonly used size for M.2 compatible devices for PCs. Instead, it uses something that is roughly half the size, to accommodate the size restrictions of the handheld PC.
Preparing for Cloning
Before doing any of the available Steam Deck SSD clone methods:
- Choose the appropriate NVMe SSD model for transfer. As always choose an SSD that is equal or higher in capacity. To save a bit of a budget, you can choose “slower” PCIe 3.0 drives with at least 2000 MB/s speeds, as using these will not affect game loading times or OS responsiveness in any tangible way (compared to the very slow 80 MB/s eMMC card).
- Get an NVMe enclosure unit. Cloning via the Steam Deck itself may be possible, but you still want the extra option of doing it externally. The connection compatibility must provide at least 10 Gbps speeds to better use NVMe SSD sequential data speeds.
- Plug it temporarily into an extra M.2 slot on the motherboard (turn off the PC first). If you don’t have an NVMe enclosure unit and still want to proceed with the cloning externally. Take note that this effectively prevents you from cloning the SSD natively on the Steam Deck.
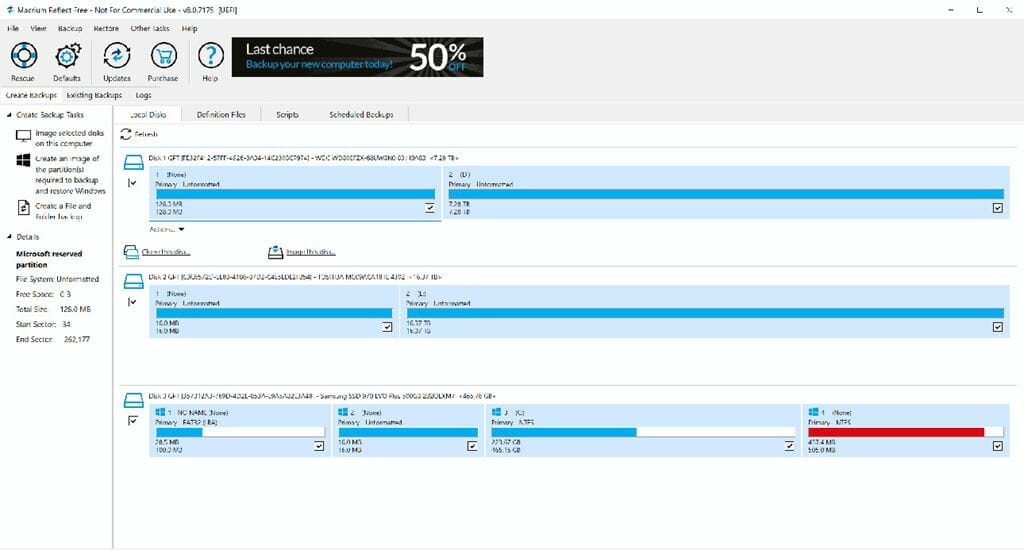
- Choose your preferred cloning software tool. You can choose the more convenient option of just using Steam Deck’s internal cloning tool. But if you plan to clone via Windows, our best recommendations would be either Macrium Reflect or EaseUS Todo Backup.
Step-by-Step using Steam Deck Itself
- Install the extra SSD properly inside the enclosure unit.
- Plug the now-external-SSD directly into your Steam Deck.
- Go to the Steam OS desktop, open the Steam Deck User menu, and select “System”
- Under System, select “Konsole.”
- Inside the Konsole text prompt, type the command “sudo dd if=/dev/nvme0n1 of=/dev/sda oflag=sync bs=128M status=progress.”
- Type your password as required by the next command line.
- Wait for the operation to complete.
- You can now safely turn the Steam Deck off to switch to the cloned SSD as needed.
Step-by-Step using External Connection (via Macrium Reflect)
- Prepare two NVMe enclosures, one each for the original and the clone.
- Remove the SSD from your Steam Deck. Install both SSDs into their respective enclosures and keep note of which is which.
- Plug both in separate dedicated USB ports (do not use a hub).
- Launch Macrium Reflect, and click the “Backup” tab.
- Select the original SSD you want to clone, then click on “Clone this disk.”
- Under the “Destination” area, click “Select a disk to clone to,” selecting the extra SSD.
- Click the two “Next” buttons. Double-check if you got the two drives correctly before proceeding.
- Click the “Finish” button.
- Type a name for your cloned SSD, then click “OK.”
- Click “Continue” to commence the cloning procedure.
- Unplug the two SSDs safely (click on the USB menu in the Task Bar, then click the drive you want to safely remove before actually disconnecting them).
- You can now install the cloned SSD to your Steam Deck.
Tips and Pointers
- Keep the Steam Deck adequately charged (at least 25%) whenever you plan to clone your SSD. This is to lessen the risk of corrupting the data during such critical data copying operation (thereby wasting your time by needing to copy the entire drive all over again).
- Most of the recommended clone software tools above have internal data integrity verification features. But if you ever want to be more thorough, you can still use tools such as CrystalDiskInfo, or simply use the native error checker of Windows.
- While one backup is usually already enough for SSDs, you can still opt to clone more than one disk. Beyond just having more backups, it can be particularly convenient for archival-type game collections, where progression and save files are unimportant (more devices = more convenient).

