


Best Budget Acoustic Solutions to Improve Gaming and Streaming Audio
How to Improve Audio Quality in Any Room Without Expensive Gear
Why Room Treatment Beats Expensive Microphones
Ask any gamer or content creator how to upgrade their audio, and most will point straight to gear—XLR mics, audio interfaces, preamps, maybe even noise gates or plugins. It’s a common trap: assuming that expensive gear equals better sound. But here’s the catch—your mic only captures what your room gives it.
If your space is full of hard surfaces, bare walls, and echo, no mic will fix that. Even the best hardware can’t clean up the messy reflections and background noise bouncing around your room. This is where many tech-savvy creators miss the mark.
The smarter investment? Acoustic treatment. Well-placed acoustic panels can make a $100 mic sound like a $500 one. They absorb unwanted reflections and clean up your recordings at the source. This upgrade is game-changing for streamers, podcasters, and gamers working from home—and far more cost-effective than chasing gear upgrades.
Real-world tests back this up. In a treated room, an entry-level mic like the Audio-Technica AT2020 can outperform high-end mics in untreated spaces. It’s not magic—it’s physics. And if you’re serious about clean Discord calls, sharp in-game comms, or pro-sounding videos, treating your space should be step one.
The Science Behind Room Acoustics
So, what’s actually happening in your room that ruins your sound?
Let’s break it down. Standing waves create uneven bass, making your voice sound boomy or thin depending on where you sit. Early reflections bounce off nearby surfaces and blur the clarity of your audio, especially in tight spaces like gaming corners. And flutter echo—that fast, metallic ring you hear when clapping—can turn even a great mic into a disaster for streaming or recording.
Frequency response also takes a hit. Your mic picks up not just your voice, but how it interacts with the space. That’s why some recordings sound “roomy” or “muddy” even with decent hardware. These problems aren’t caused by your mic—they’re caused by the room.
Gamers and content creators often notice this during voice chats, streams, or recordings. The audio sounds hollow, inconsistent, or just not clear enough. Fixing that isn’t about upgrading gear—it’s about controlling how sound moves through your space.
Budget-Friendly Acoustic Treatment Options
You don’t need a studio-sized budget to fix these issues. There’s a range of acoustic products that cater to performance and aesthetics—ideal for tech-driven setups.
Start with acoustic panels for mid-to-high frequency absorption. They’re your go-to for reducing echo and sharpening voice clarity. Mount them on walls next to and behind your mic or monitors. In small setups, just a few well-placed panels can make a noticeable difference.
Bass traps help smooth out low-end resonance in gaming rooms with subwoofers or heavy bass. Place them in corners where bass energy builds up. They’re especially useful if your setup shares space with others or is close to shared walls.
To keep your sound natural—especially if you’re recording voiceover or content—diffusers scatter sound rather than absorb it, keeping the room from sounding dead or flat. They’re great for adding spatial depth and can be used behind your recording position or on the ceiling.
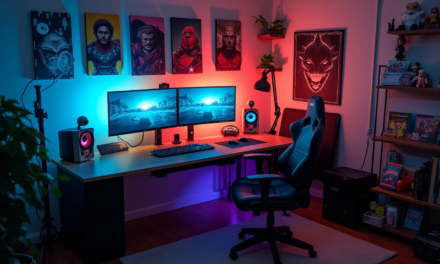
The best part? Many modern treatments are designed to look good. There are panels with RGB elements, custom-printed designs, or sleek black-on-black aesthetics that match high-end gaming rigs and workstations. You don’t have to sacrifice style for sound quality.
Optimizing Your Tech Setup Around Acoustics
Acoustic treatment isn’t just about what you put on your walls—it’s about how you arrange your gear around it. A good mic in the wrong spot will still sound bad. So if you’re setting up a gaming or content creation rig, a few small adjustments can make a big difference.
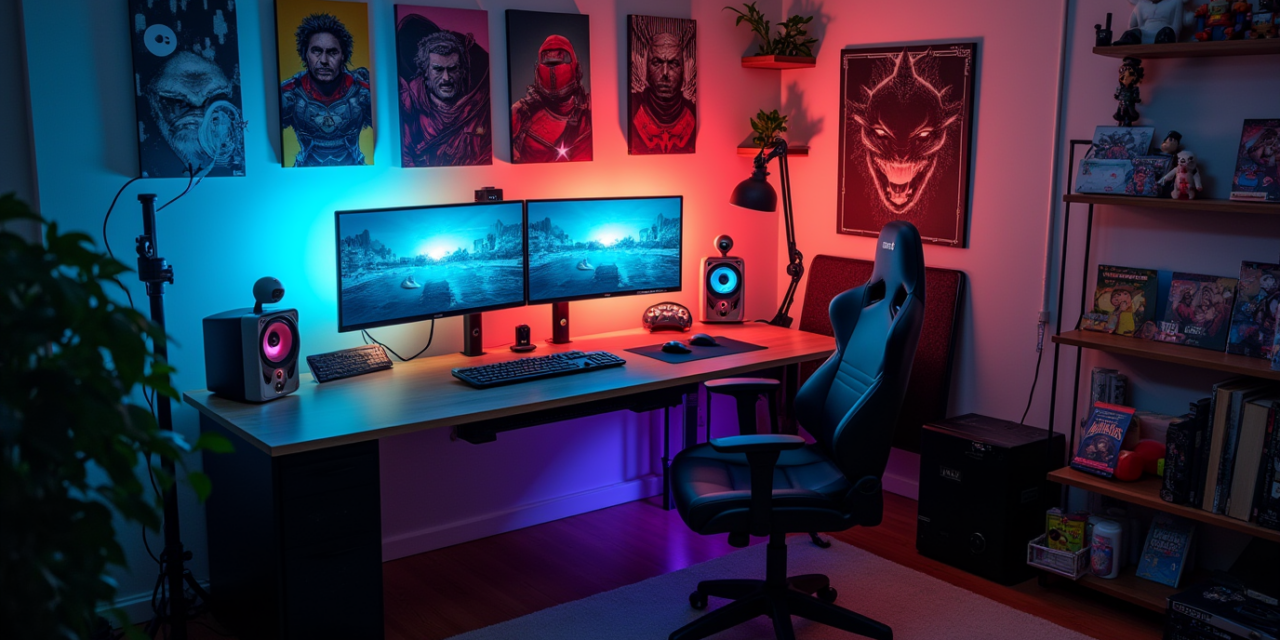
Mic placement should always consider nearby surfaces. Keep it away from bare walls, corners, and reflective desks. Position acoustic panels at the first reflection points—usually the wall behind your monitor and to the sides of your desk. That’s where your voice hits first before bouncing back into the mic.
Speaker placement matters if you’re using studio monitors or desktop speakers. Avoid placing them directly against the wall. Aim for ear level, an equal distance from your head, with space behind them. Acoustic panels or diffusers on the wall behind can prevent muddy playback and improve stereo imaging—great if you do editing or voice work.
For multi-use setups, like streaming plus gaming plus meetings, create acoustic zones. Treat the area behind your mic more heavily, but keep the rest of the room flexible. A few mobile panels or desk-mounted options give you control without locking your space into one function.
DIY vs Professional Solutions
Can you treat a room with DIY materials? Sure. But should you? That depends.
DIY panels—made from rockwool, moving blankets, or foam—can work to some extent, especially for budget builds. They’re cheap and customizable, but often lack consistency in performance and looks. They also take time and effort to build, mount, and test.
Professional acoustic panels offer tested absorption ratings, better materials, and finished looks that fit into modern setups. They’re also easier to mount, more durable, and less likely to crumble or sag. If you care about appearance (and you probably do, if you stream or work on cam), pro options are worth it.
Cost-wise, DIY might save you 30–40% upfront, but professional solutions save time, give more predictable results, and are more scalable as your setup grows. The investment pays off if your space is client-facing or you rely on production quality for your content.
Measuring and Testing Your Audio Improvements
You don’t have to guess whether your treatment is working—measure it. Tech-savvy creators already use software for tuning their displays, optimizing temps, and benchmarking hardware. Why not do the same for your sound?
Start with free tools like REW (Room EQ Wizard), or basic spectrum analyzer plugins in your DAW or video editor. You can record test tones, clap tests, or simple voice samples before and after treatment. Look for reduced reverb tails, flatter frequency response, and cleaner waveform shapes.
Even mobile apps give rough room analysis using your phone’s mic. While not studio-accurate, they’re great for casual testing and adjustment.
Compare recordings with and without panels. Play back your voice at the same settings and listen for harsh reflections, echo, or muddiness. As you tune your room, your audio should start sounding tighter, warmer, and more direct—without changing a single piece of hardware.
Before you drop money on your next microphone or interface upgrade, look at your room first. A few smart acoustic tweaks can unlock way more performance from your own gear. For gamers, streamers, and tech lovers who care about quality, this is one of the most effective (and underrated) upgrades you can make.


