Alphacool Eisbecher D5 Reservoir/Pump Review
Introduction
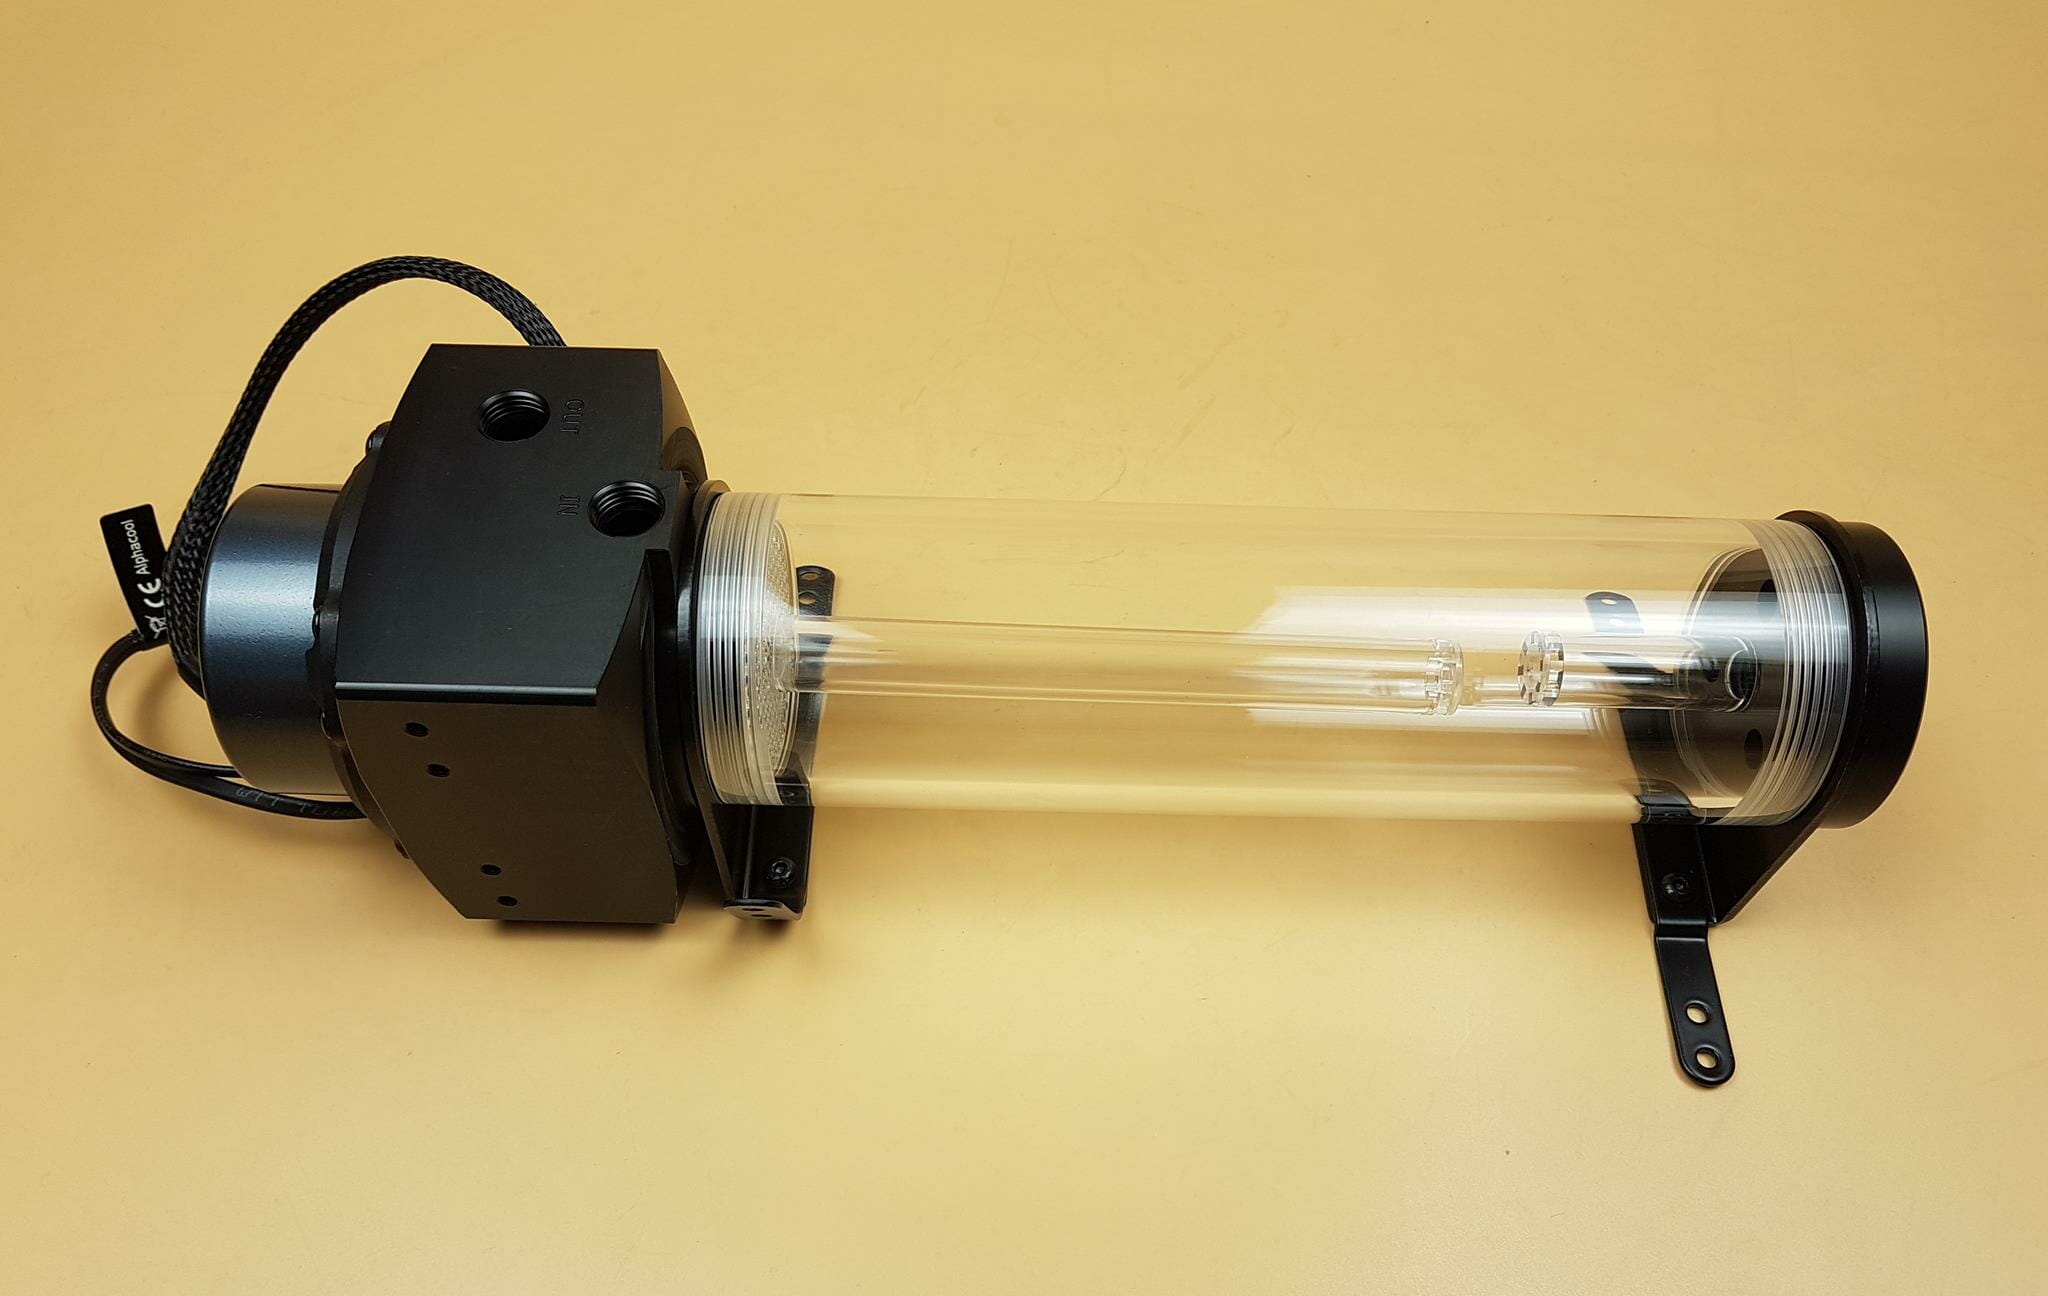
Previously, we took a look at the Eisbecher D5 AURORA Acetal/Glass 250ml reservoir. This time we are taking a look at the Alphacool Eisbecher D5 250ml pump/reservoir unit. As noted earlier, the AURORA version does not include the pump but the Eisbecher D5 includes the Alphacool’s powerful VPP755 v3.0 PWM pump. Another keynote is the material difference. The AURORA version has a glass tube whereas the Eisbecher D5 has a Plexi tube. There is no integrated digital RGB LED strip in the standard Eisbecher D5. The reservoir has riser tubes for the waterfall effect.
The unit was listed at €103.00 at the time of review.
Packaging and Unboxing
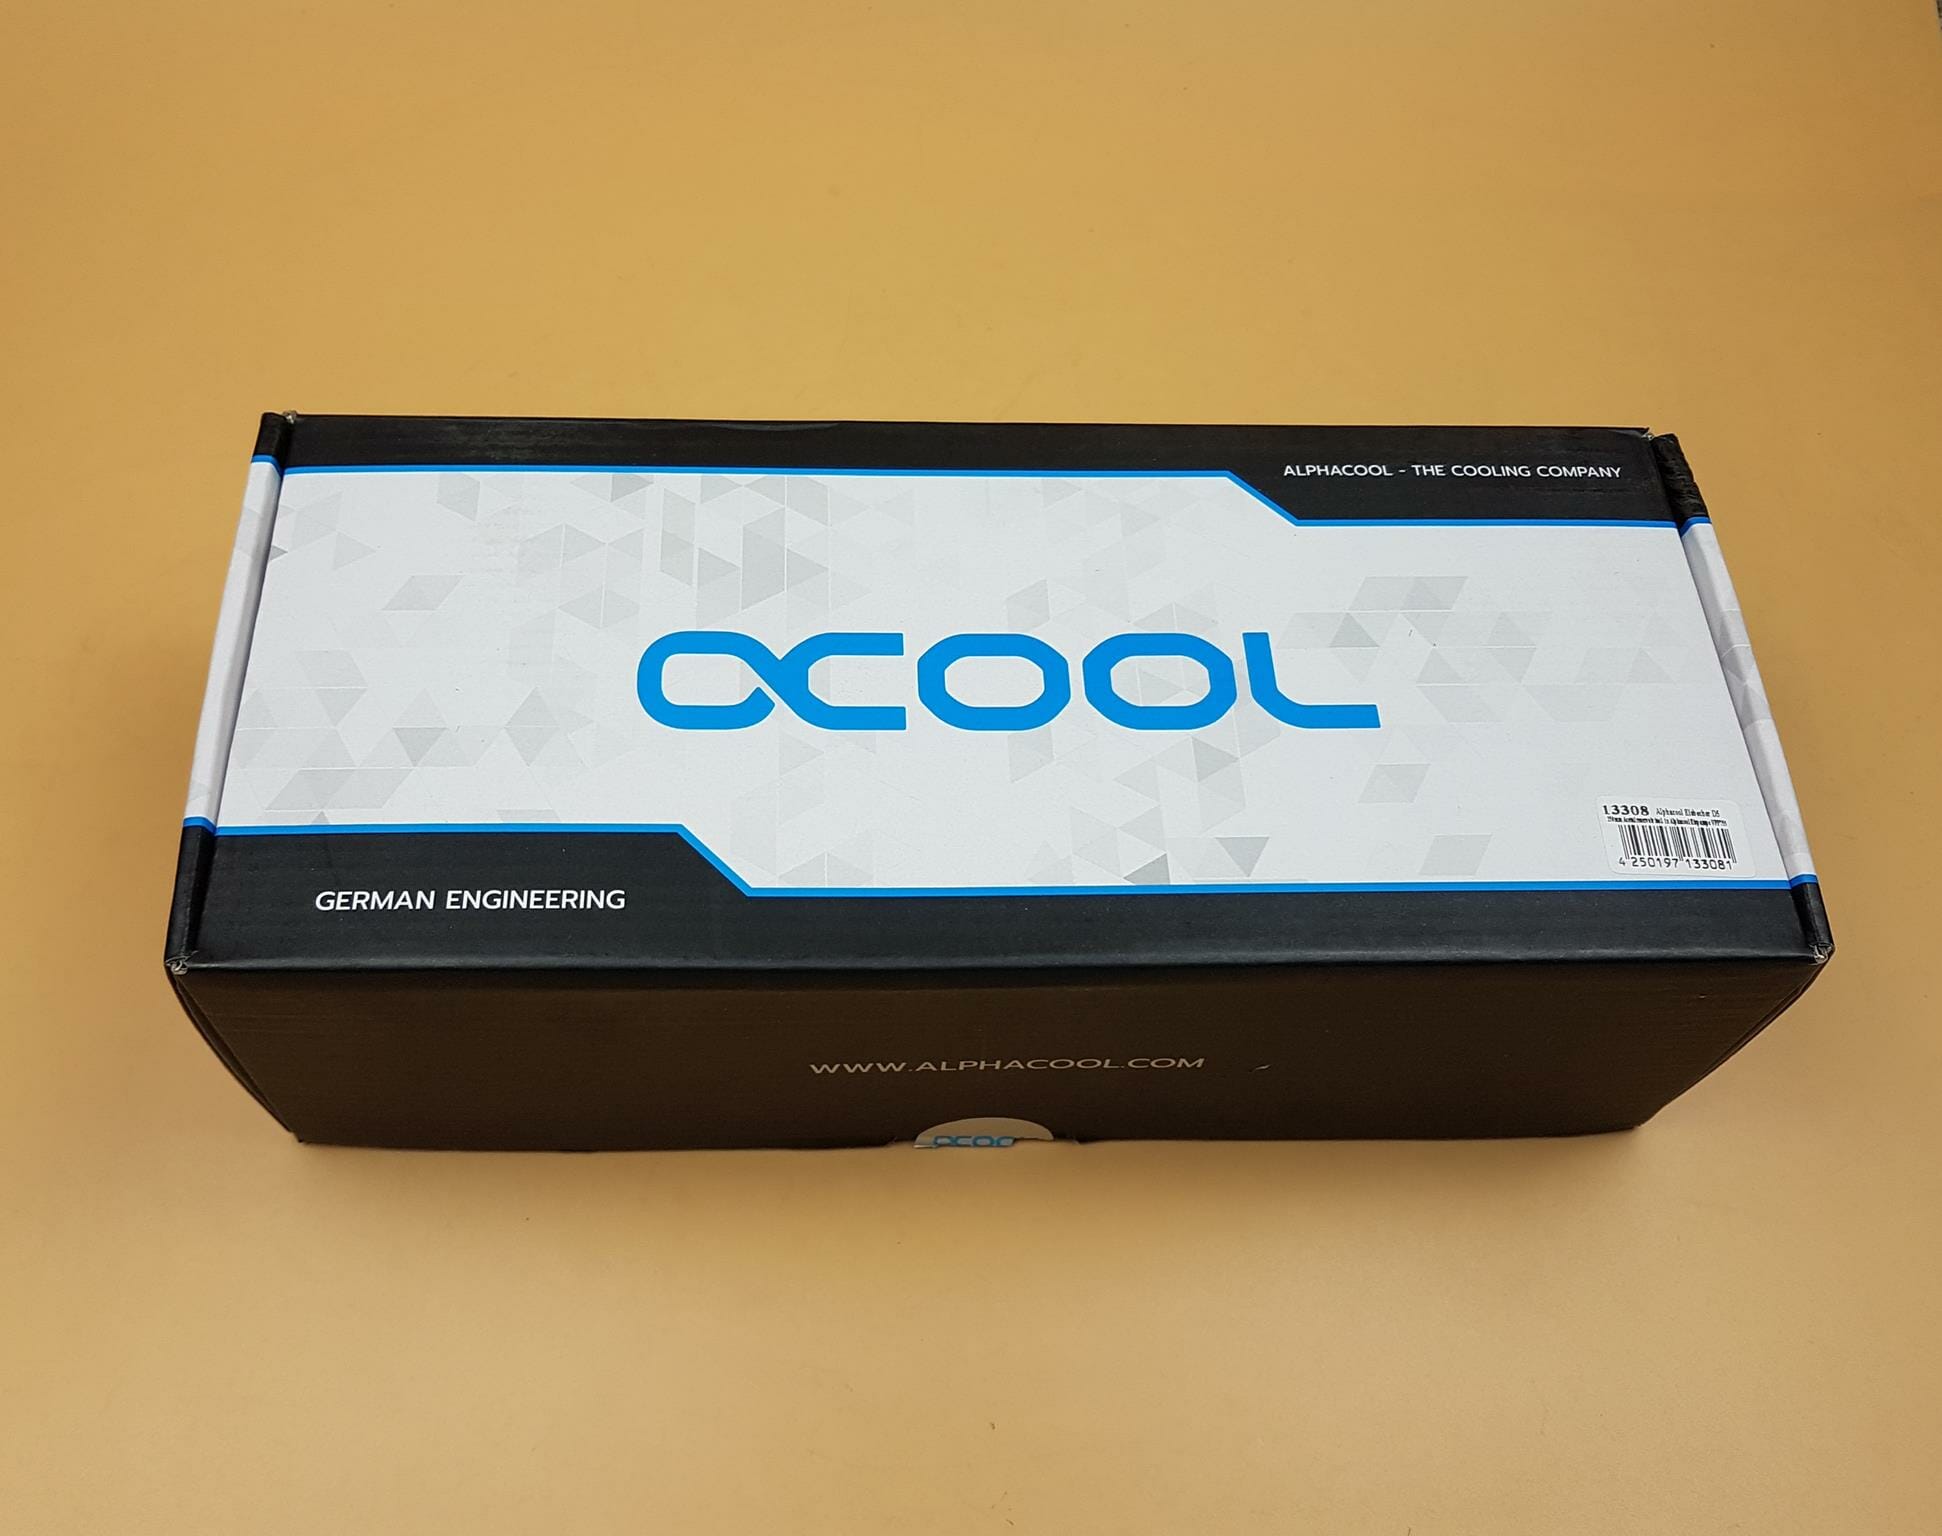
The unit is shipped inside a white/black color cardboard box with minimal design.
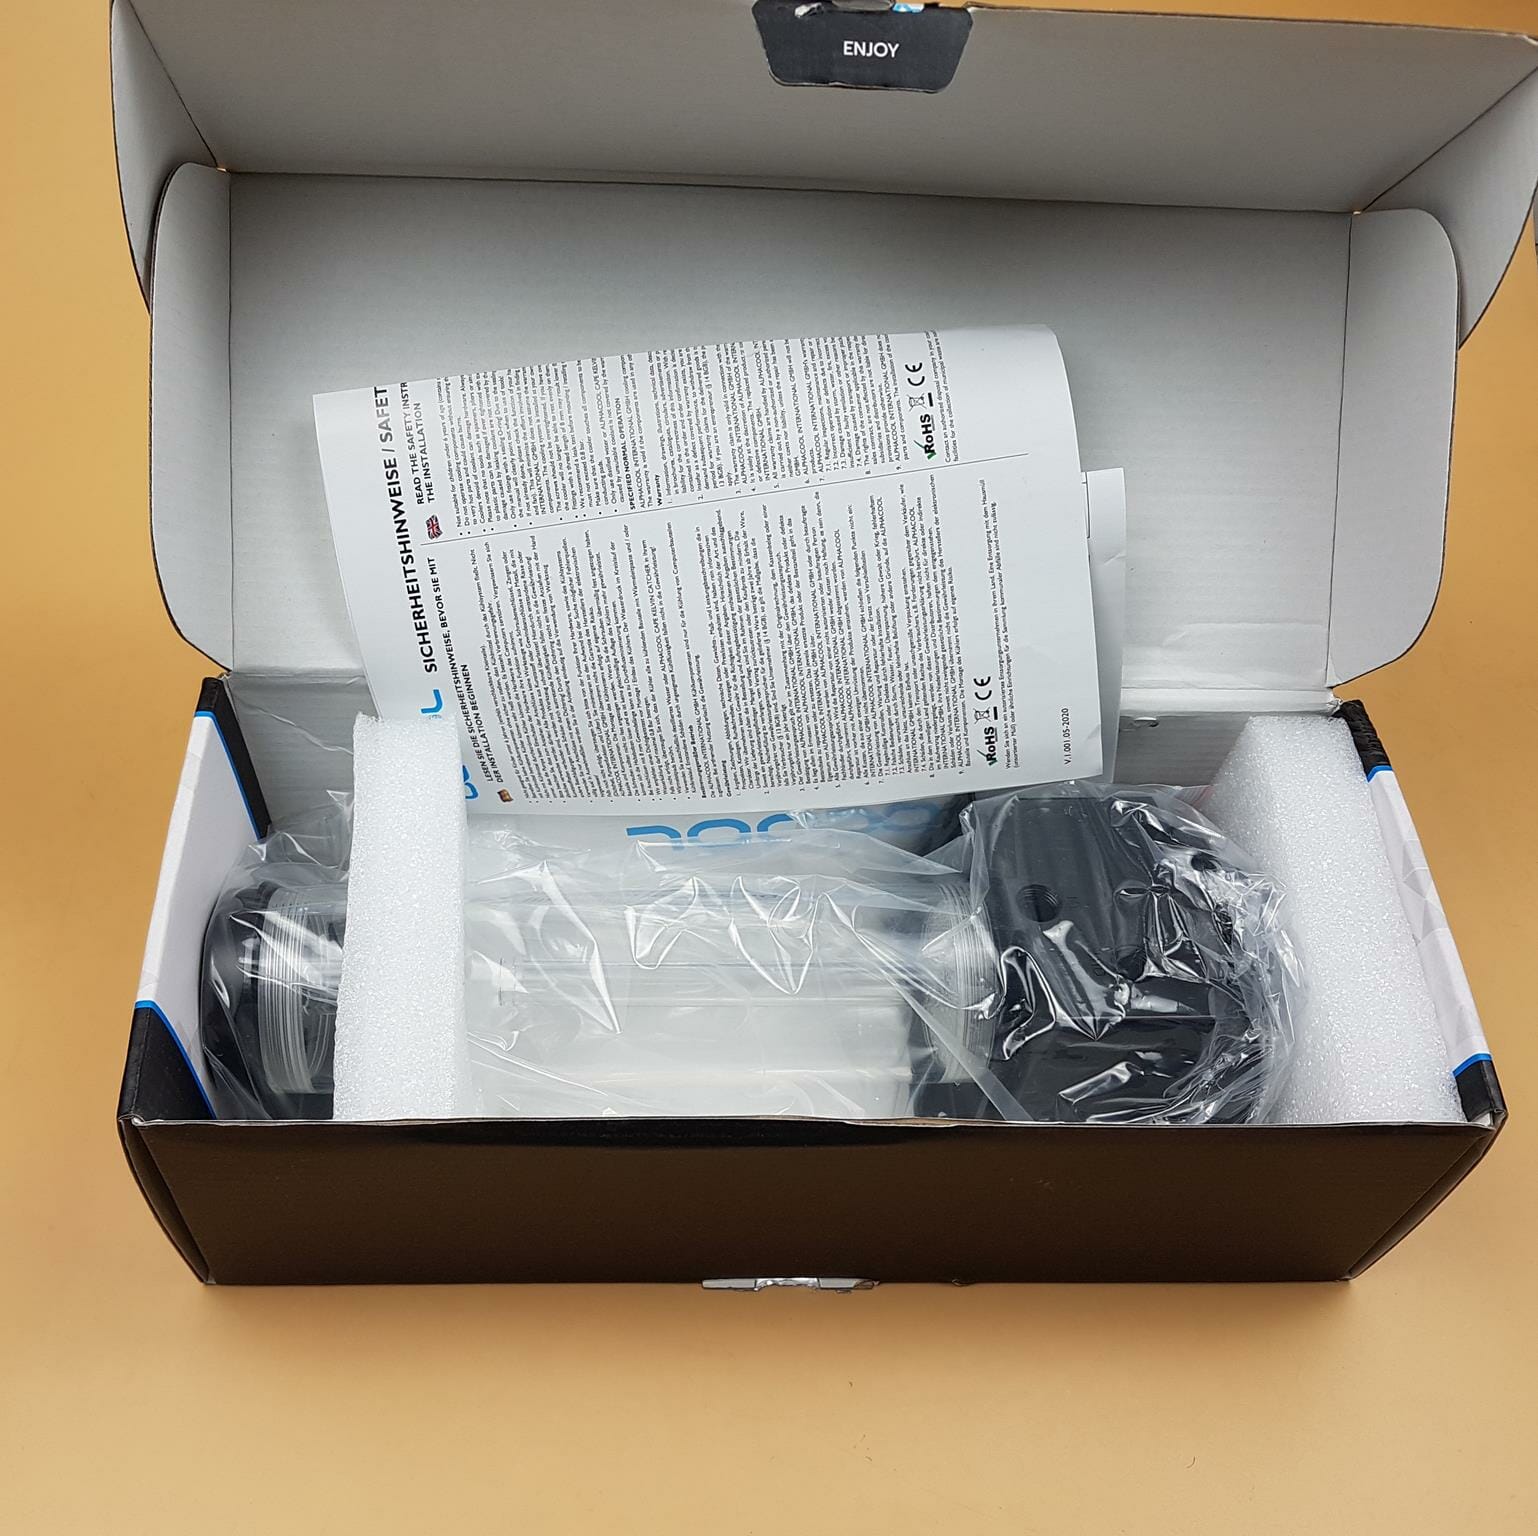
The reservoir is tucked between two Styrofoam pads for safe shipping and handling. The accessories are placed in a separate container.
Contents
Let’s take a look at what is bundled with the reservoir.
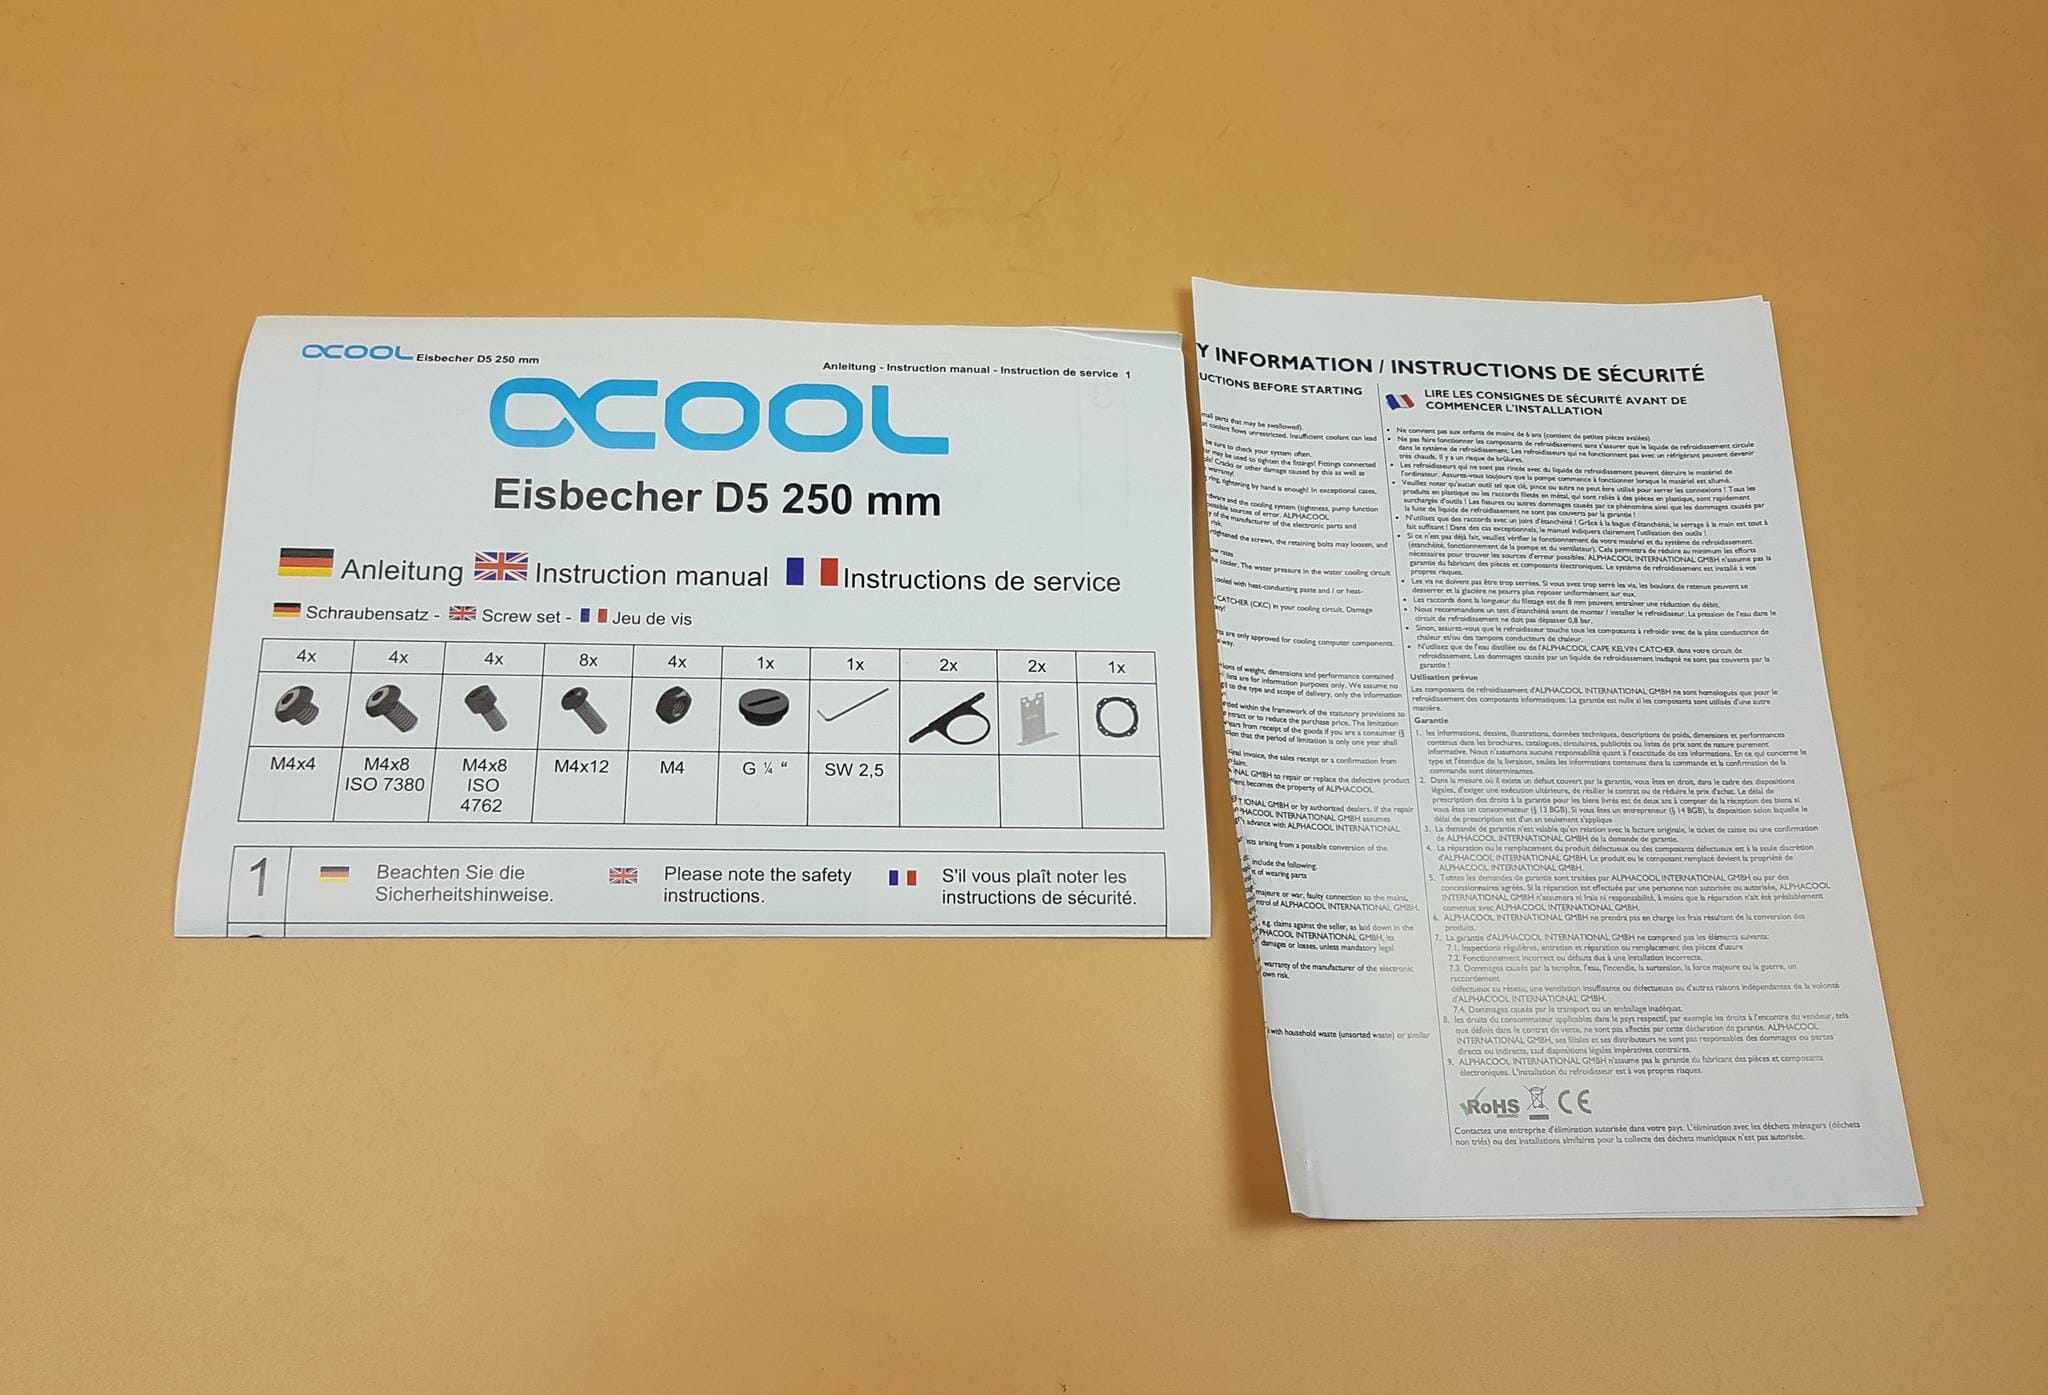
Alphacool has provided a user guide for the installation/preparation of the unit.
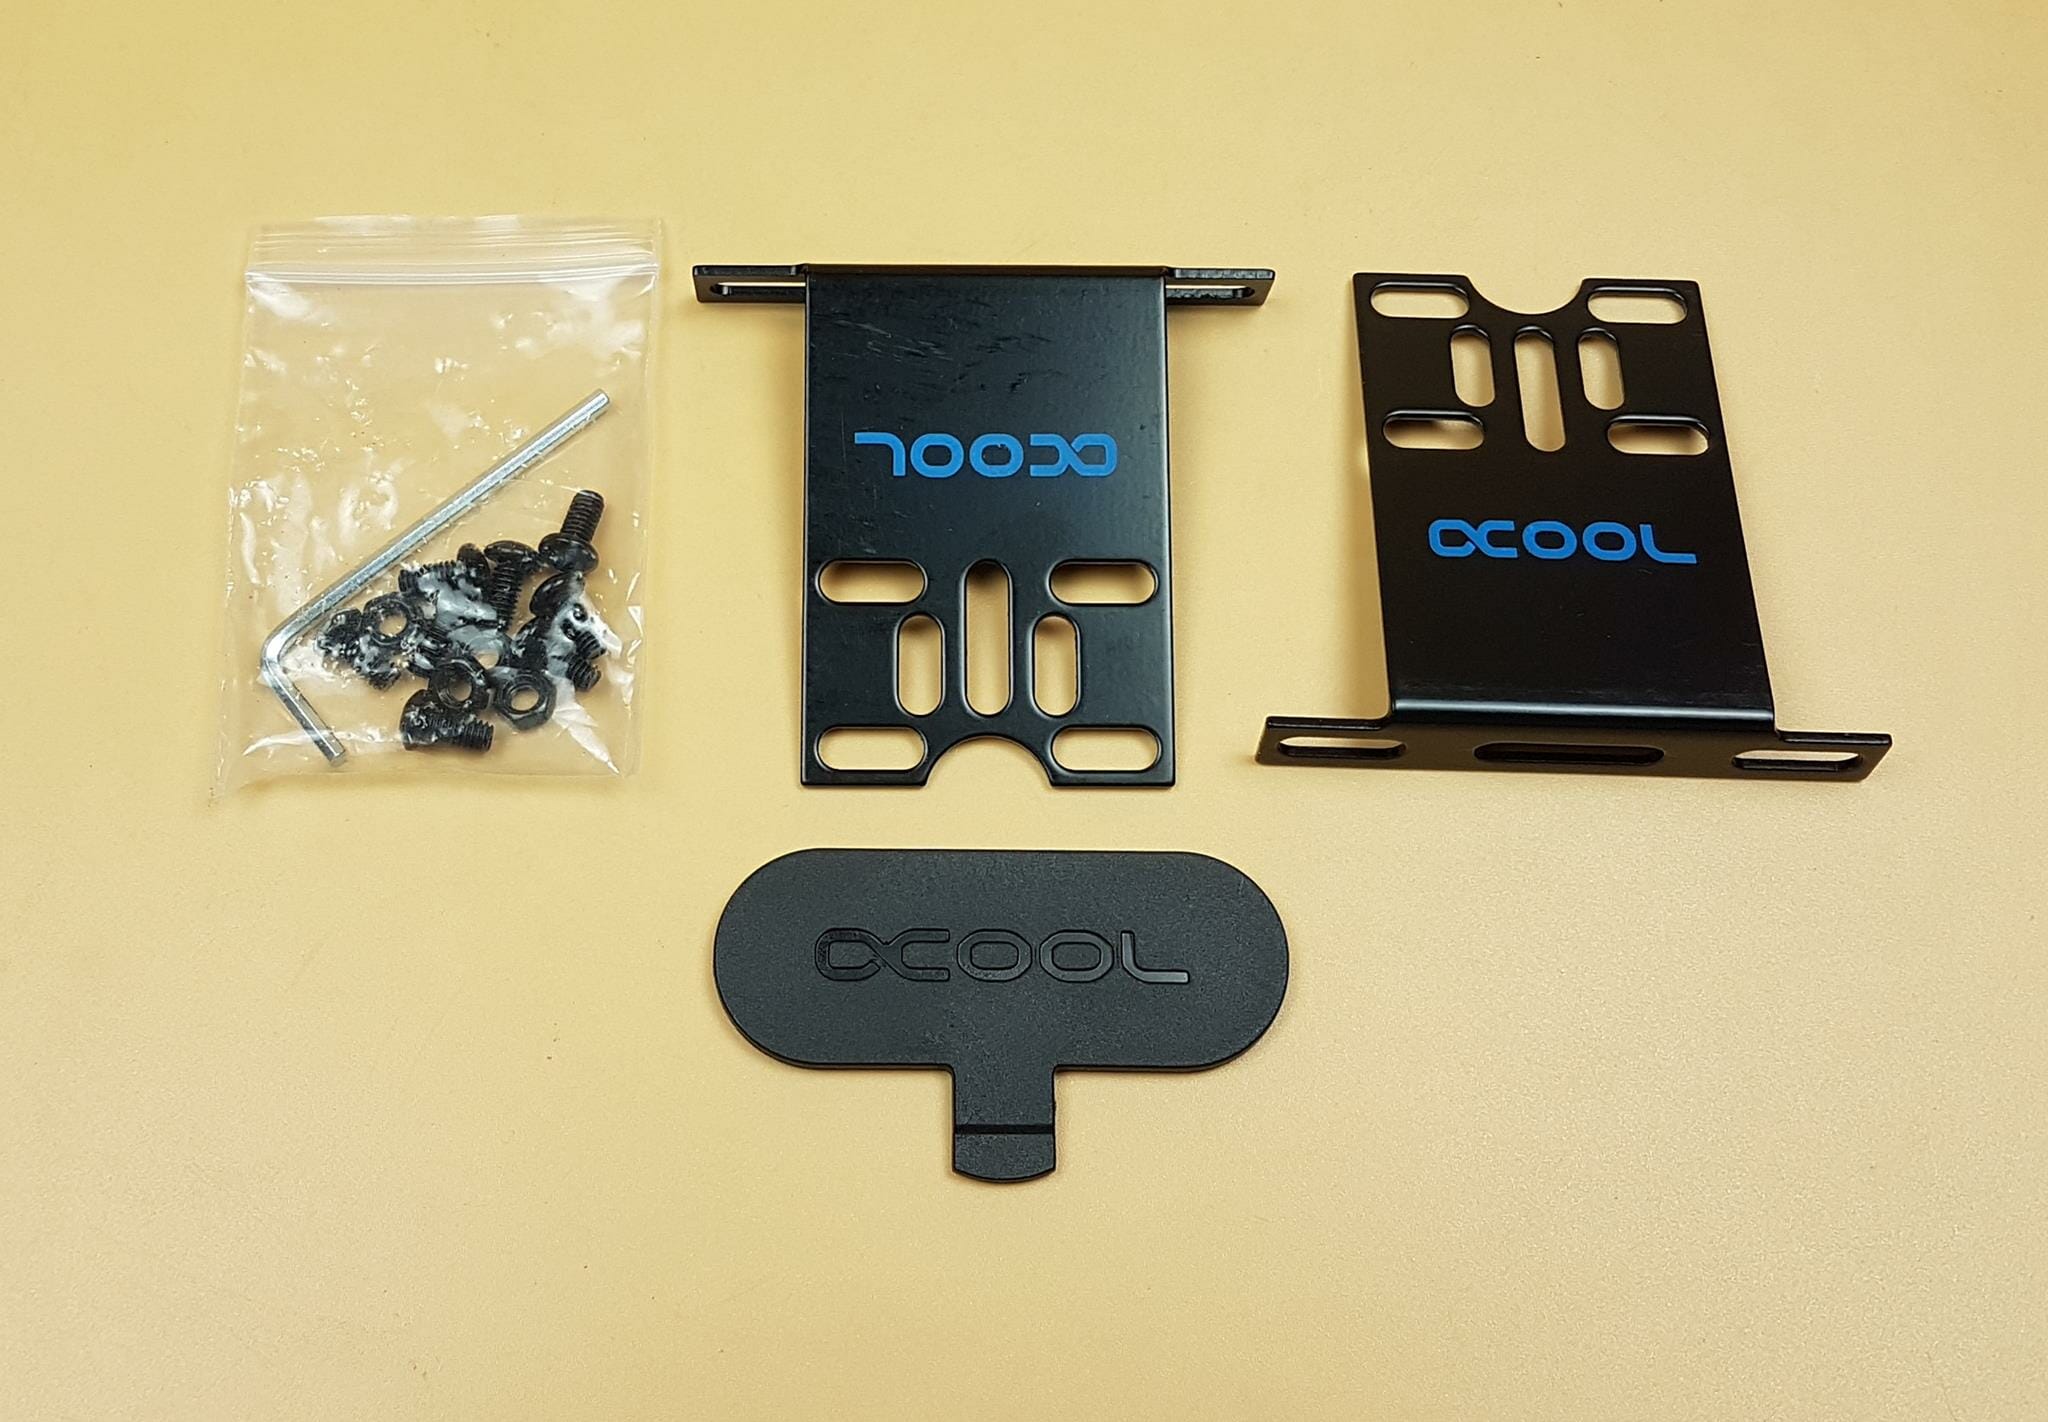
We have:
- 1x Screw Plug Tool
- 2x Stand brackets
- 1x Allen Key
- 8x M4x12mm Screws
- 8x M4x8mm Screws
- 4x M4 Nuts
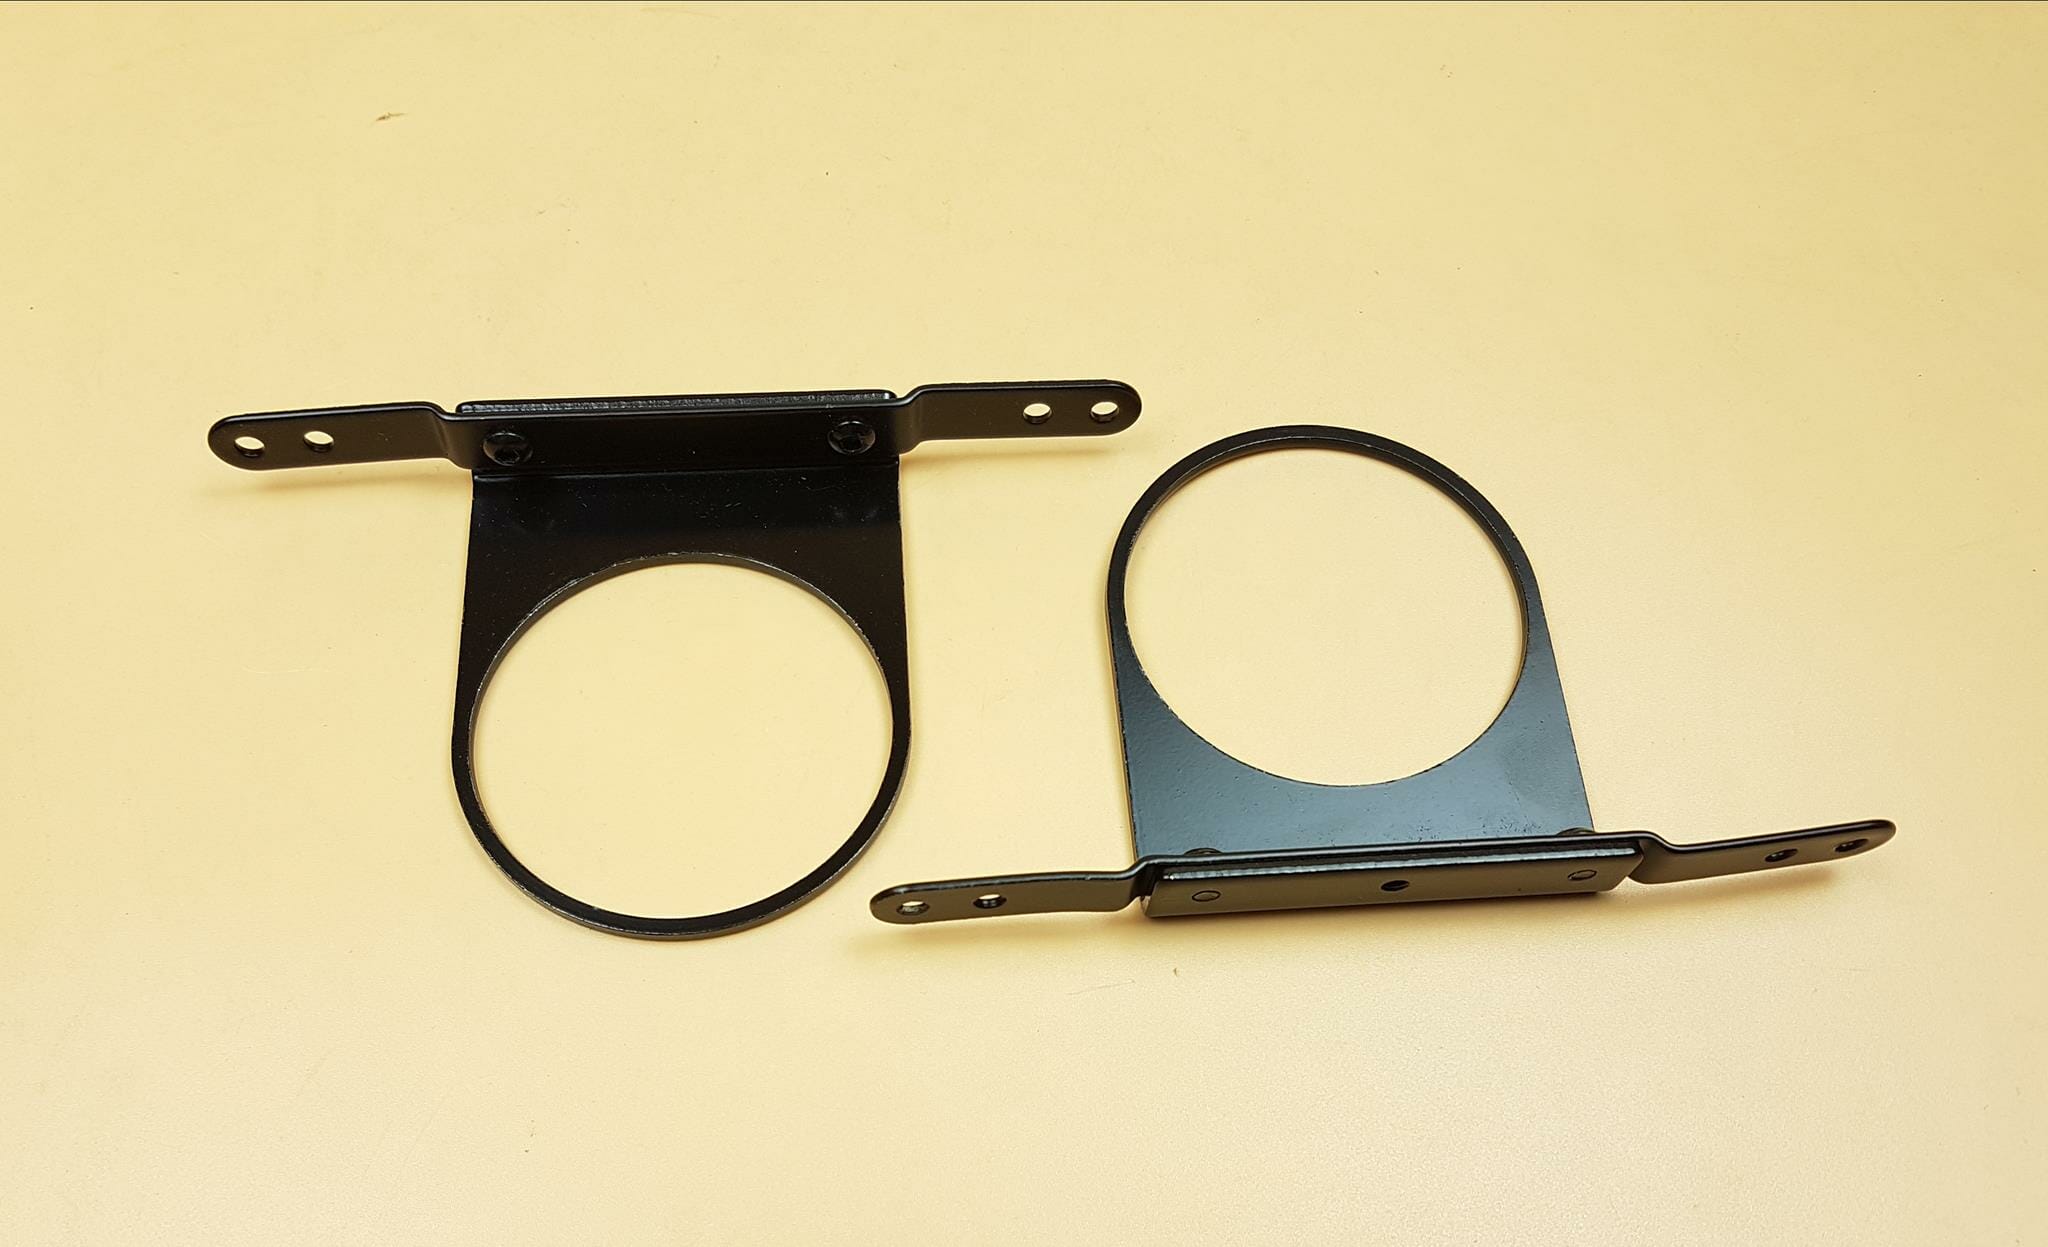
There are two ring-mounted brackets supporting 120mm and 140mm fan mounts. These enable the unit to be installed on the radiator or any surface with 120mm/140mm mounting holes. These brackets are pre-installed on the reservoir tube. We took them off to show them. One of the brackets has a bent leg which we straighten out.
Closer Look
Let’s start taking a closer look at the block.
The Eisbecher D5 250mm version has a larger reservoir made of plexi/POM materials. The Plexi is 60mm in diameter and has a capacity of 360ml of coolant. The dimension of the unit with brackets without a stand is 277.5x136x80mm. The dimension with a stand without bracket is 324×87.5x80mm. The 120/140mm brackets are pre-installed on the two rings. The user can remove these rings by removing the reservoir main tube. The thickness of the reservoir tube is 5mm and ID is 50mm. Take a look at the bottom ring bracket. One of the sides is bent. QC needs to up their game!
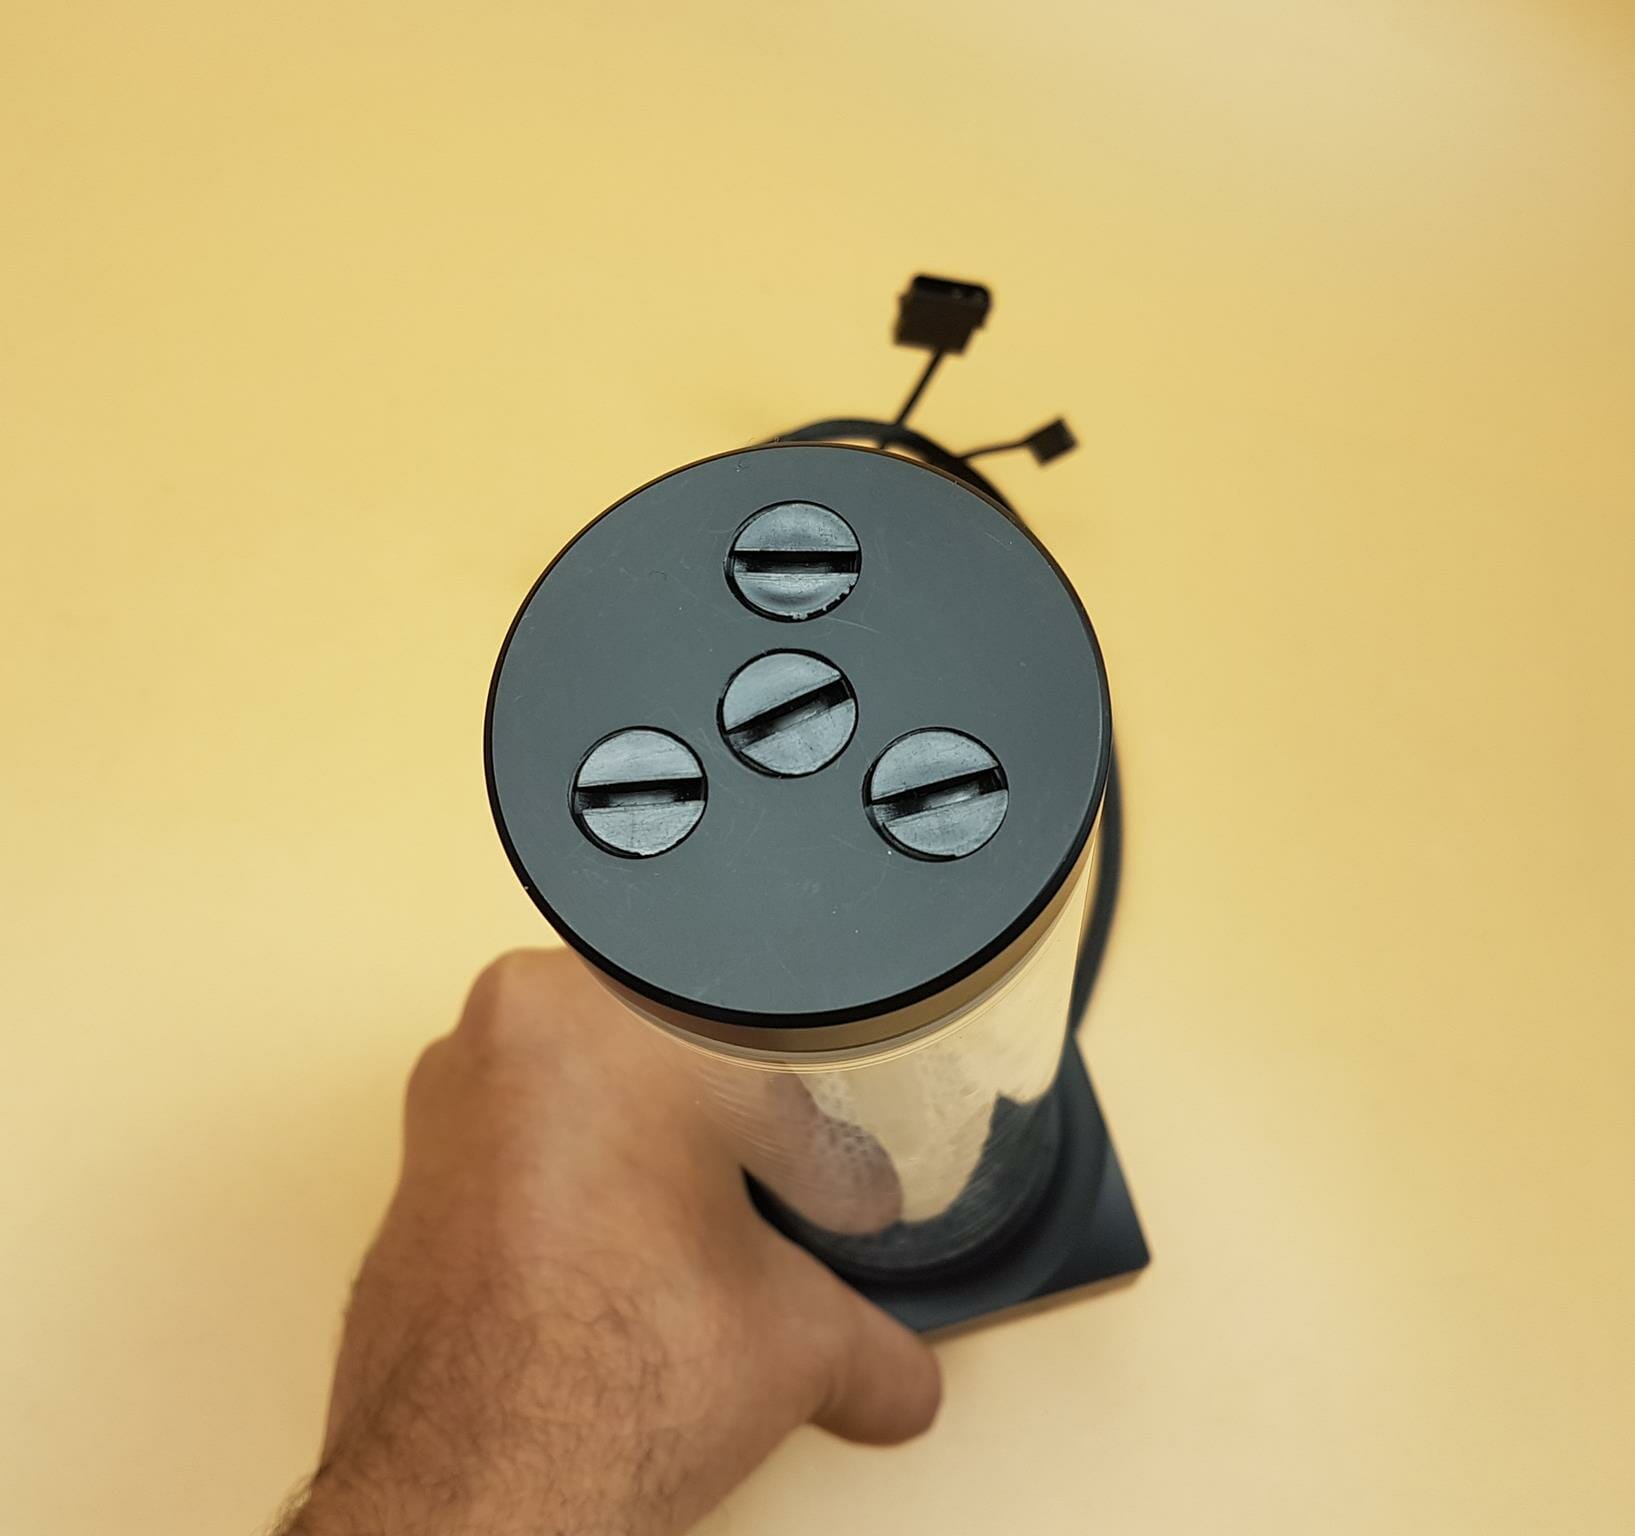
The top lid of the tube has 4 G1/4” threaded ports. The center one is the dedicated return inlet port. The rest three are for refilling but can be used as a return inlet. Using the other three ports will not give the waterfall effect. The plugs on the ports are flushed which is a good design but these ports have a bit more depth and you may need a G1/4” extension fitting for the middle port in case you want to use non-Alphacool fittings or want to use the top middle port for return inlet loop. I have used Alphacool straight compression and rotary angled fittings bundled in the kit and they both fit on the top ports just fine. The top lid can be removed as well as the tube can be removed from the base as well easily.
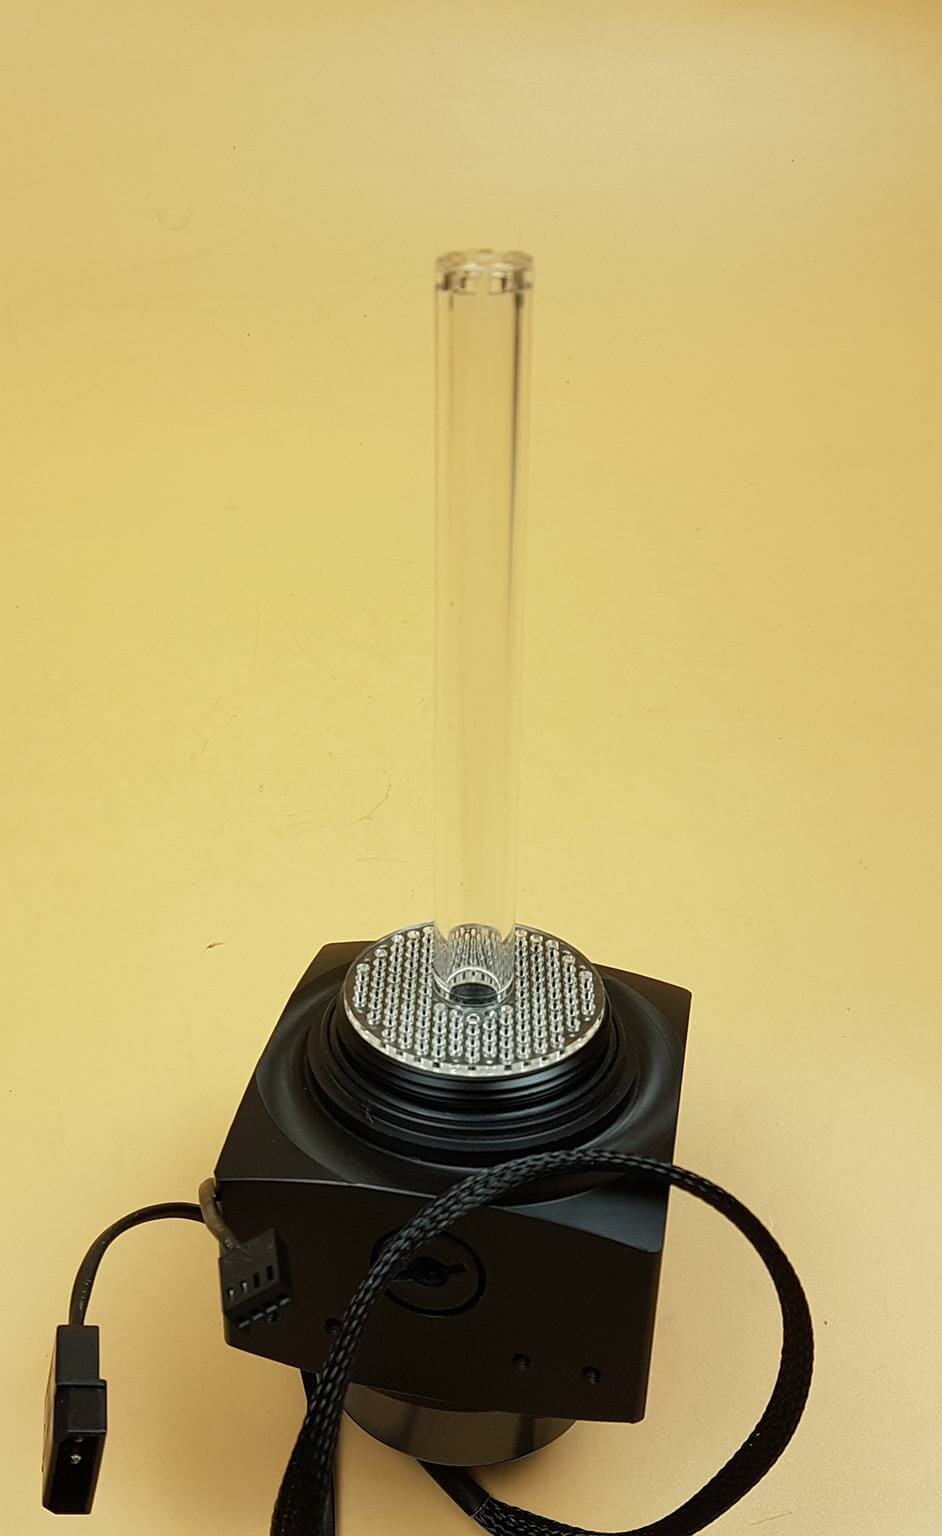
This reservoir features a riser tube that is 140mm in length to give a waterfall effect. This is done by using the cutouts on the top of the riser tube to give a sprinkle effect of the coolant coming out from the top nozzle. Keep in mind that at the pump’s full speed, the top inlet tube could make the water splash quickly which would make some noise and a few drops could spill out from the top G1/4” ports if they are uncovered.
The bottom part of the reservoir located on the top of the pump socket has a vented Plexi plate. This is to stop bubbles from going inside the pump socket. While this for sure blocks the large size bubbles, the microbubbles still slip through it. The above pictures are showing the bubble plate. The lower inlet tube is going through the middle of this plate securing it over the socket.
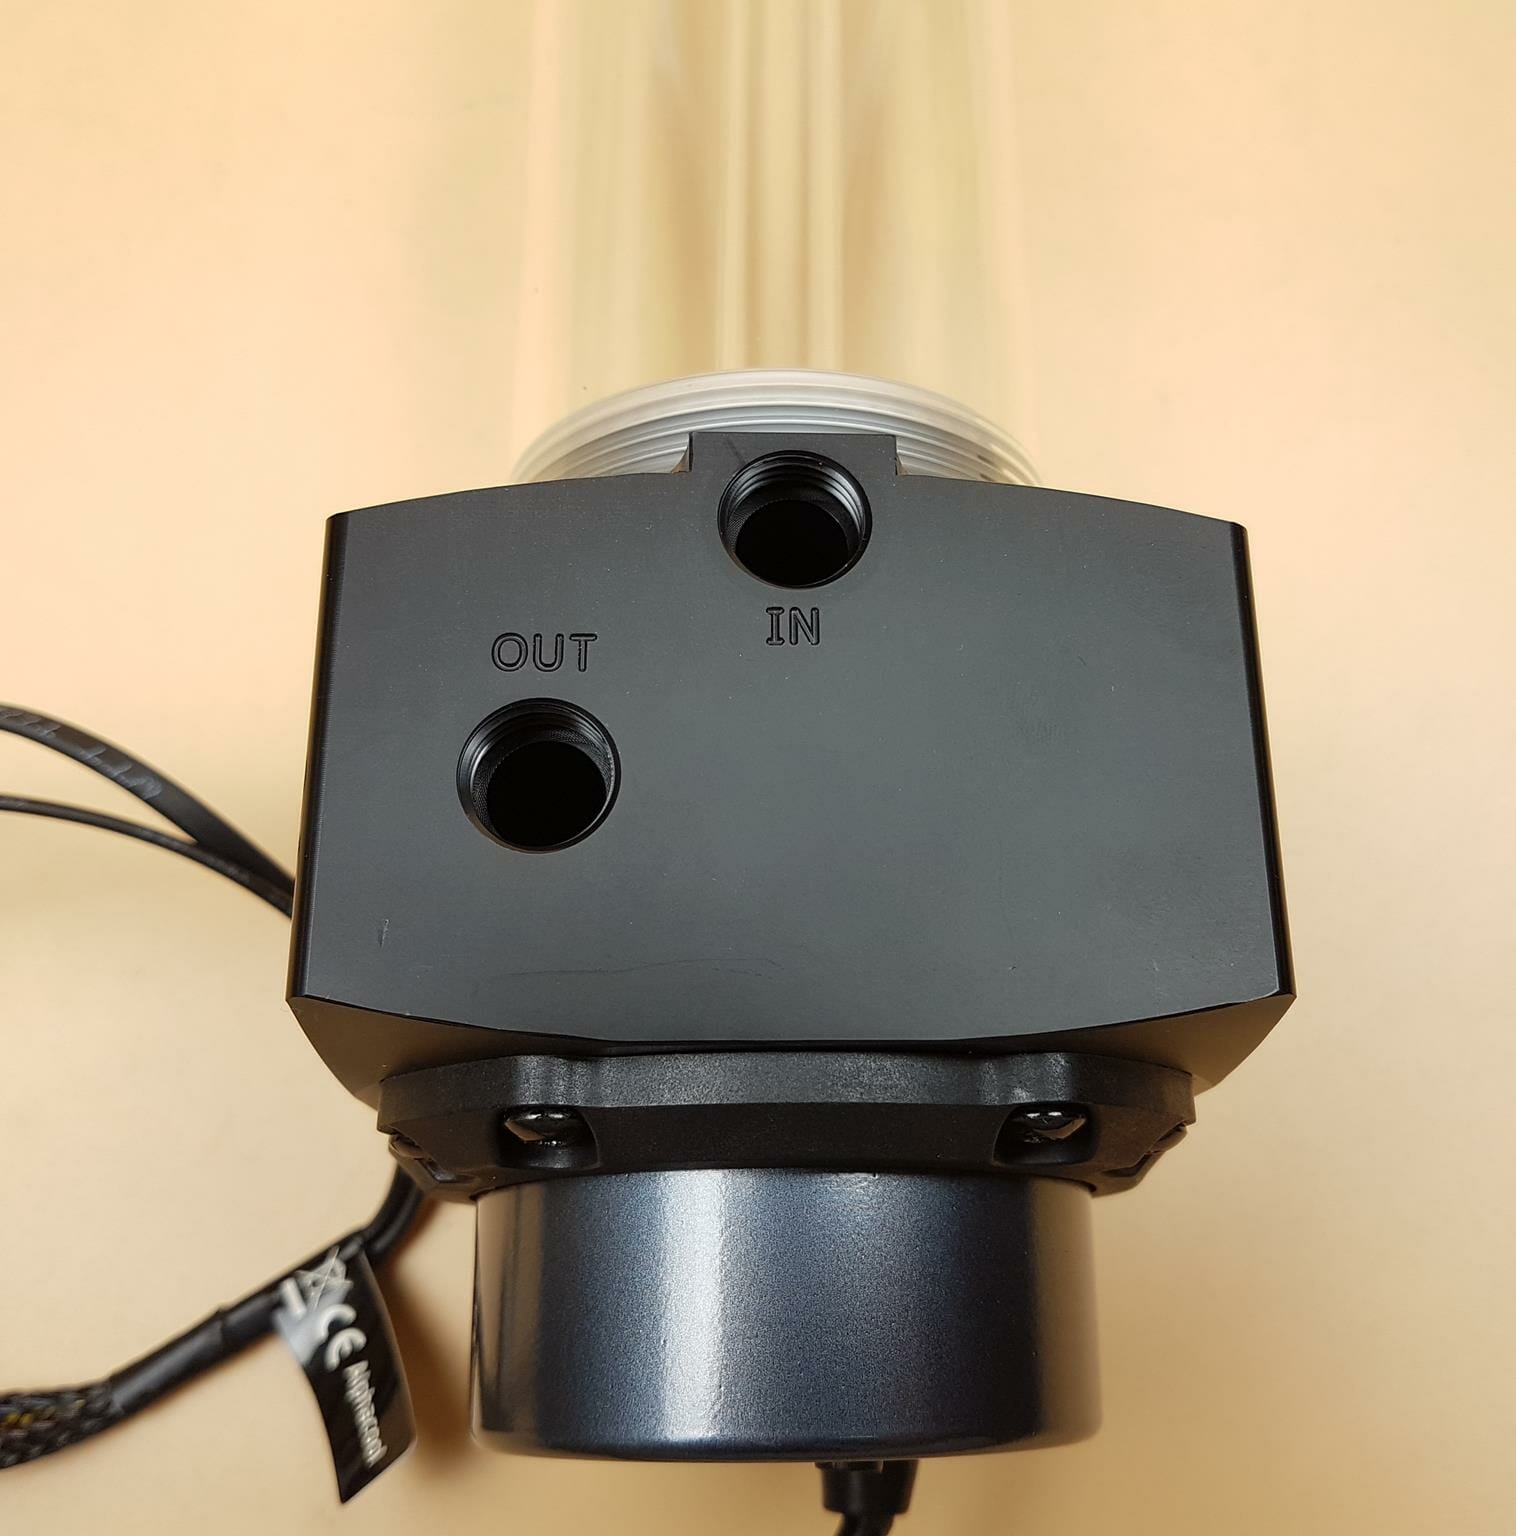
The base of the reservoir has dedicated IN and OUT ports which are also G1/4” threaded. The user should pay attention during the loop configuration to use the proper port for its dedicated function.
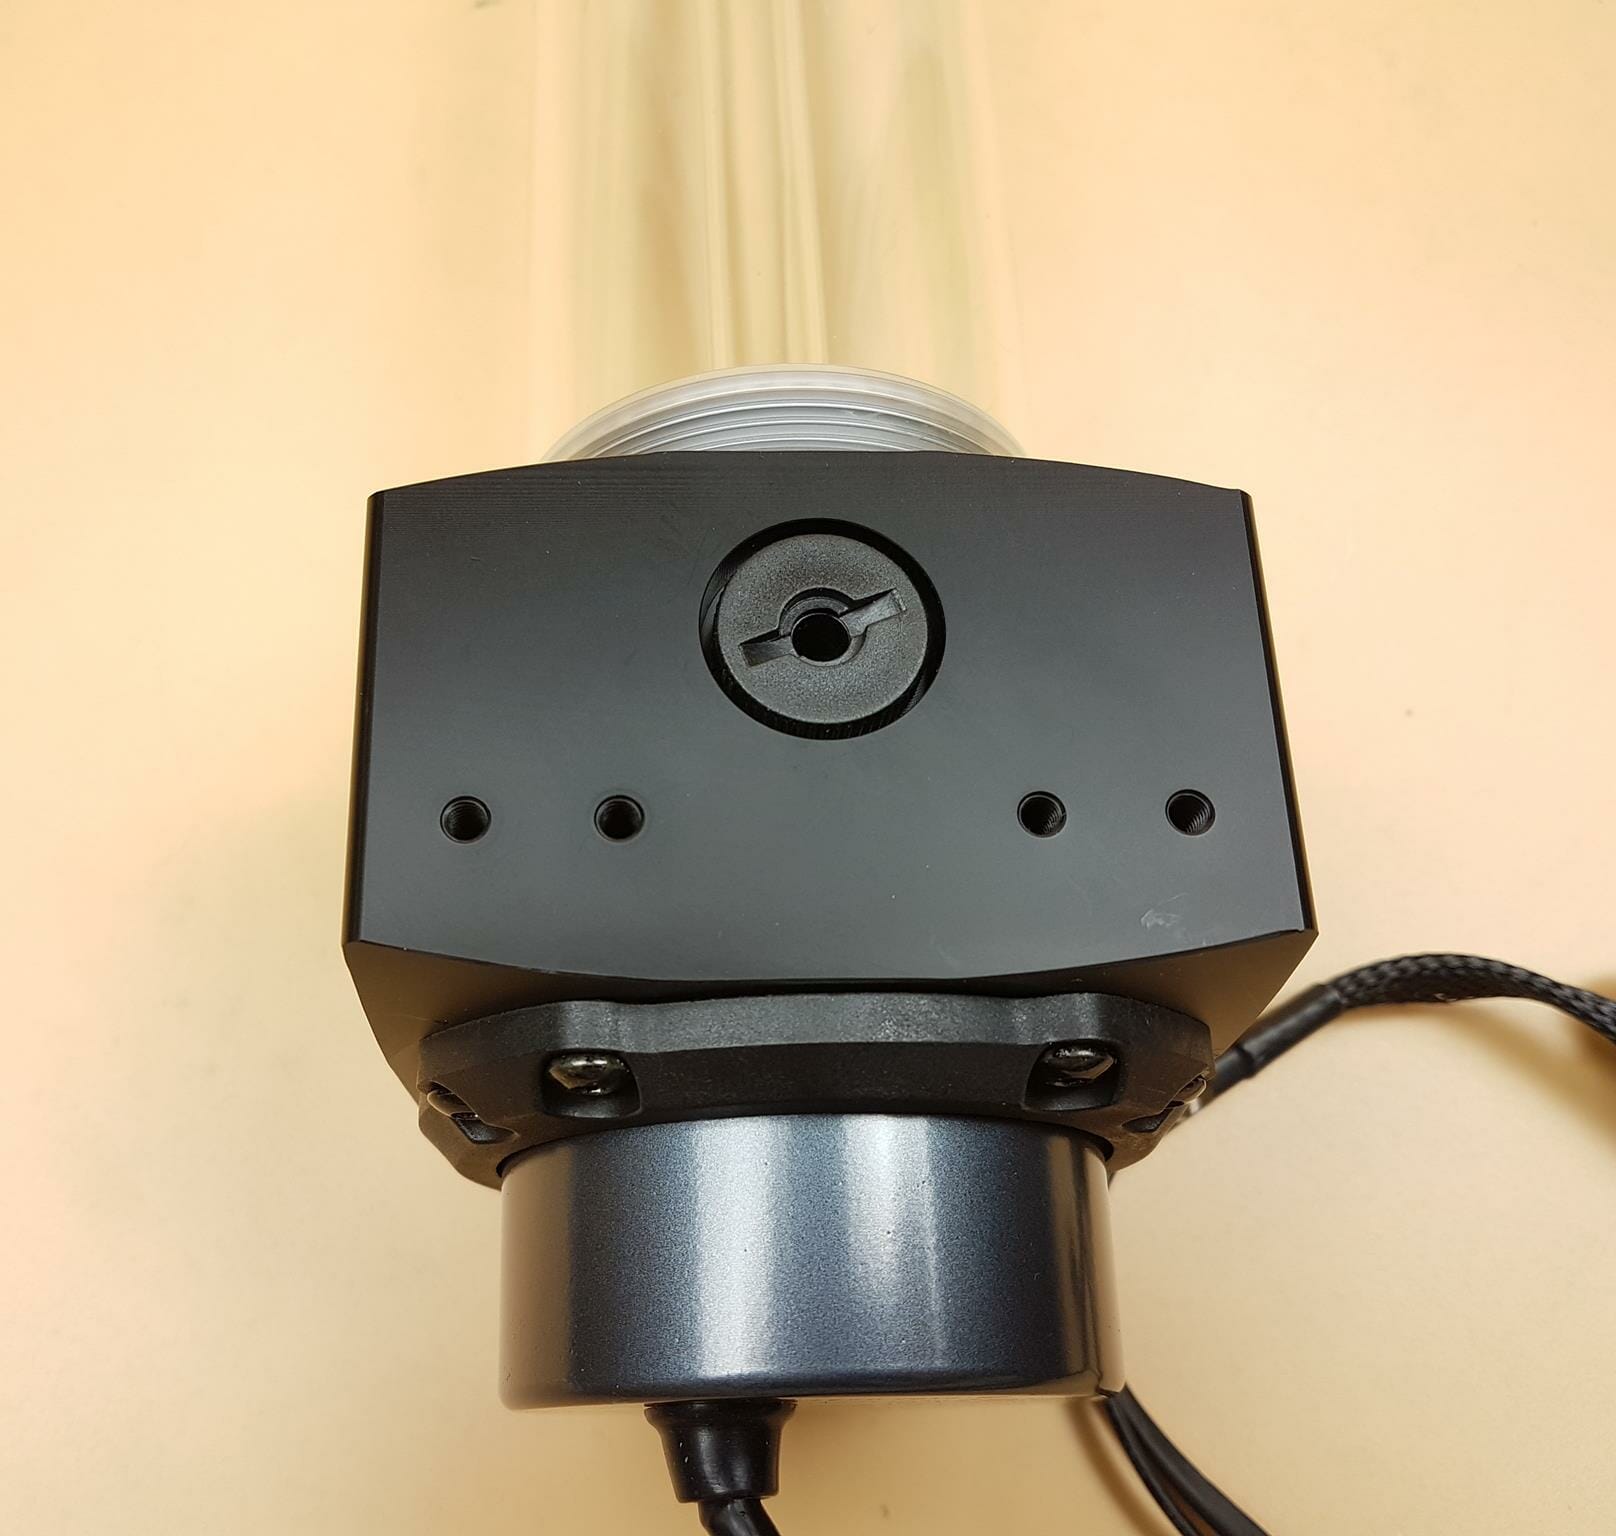
There is another G1/4” threaded port on the rear of the base of the unit. The user can set up the drain port here though it is optional.
There are 4x mounting holes below the port. This is where the supporting brackets are installed.
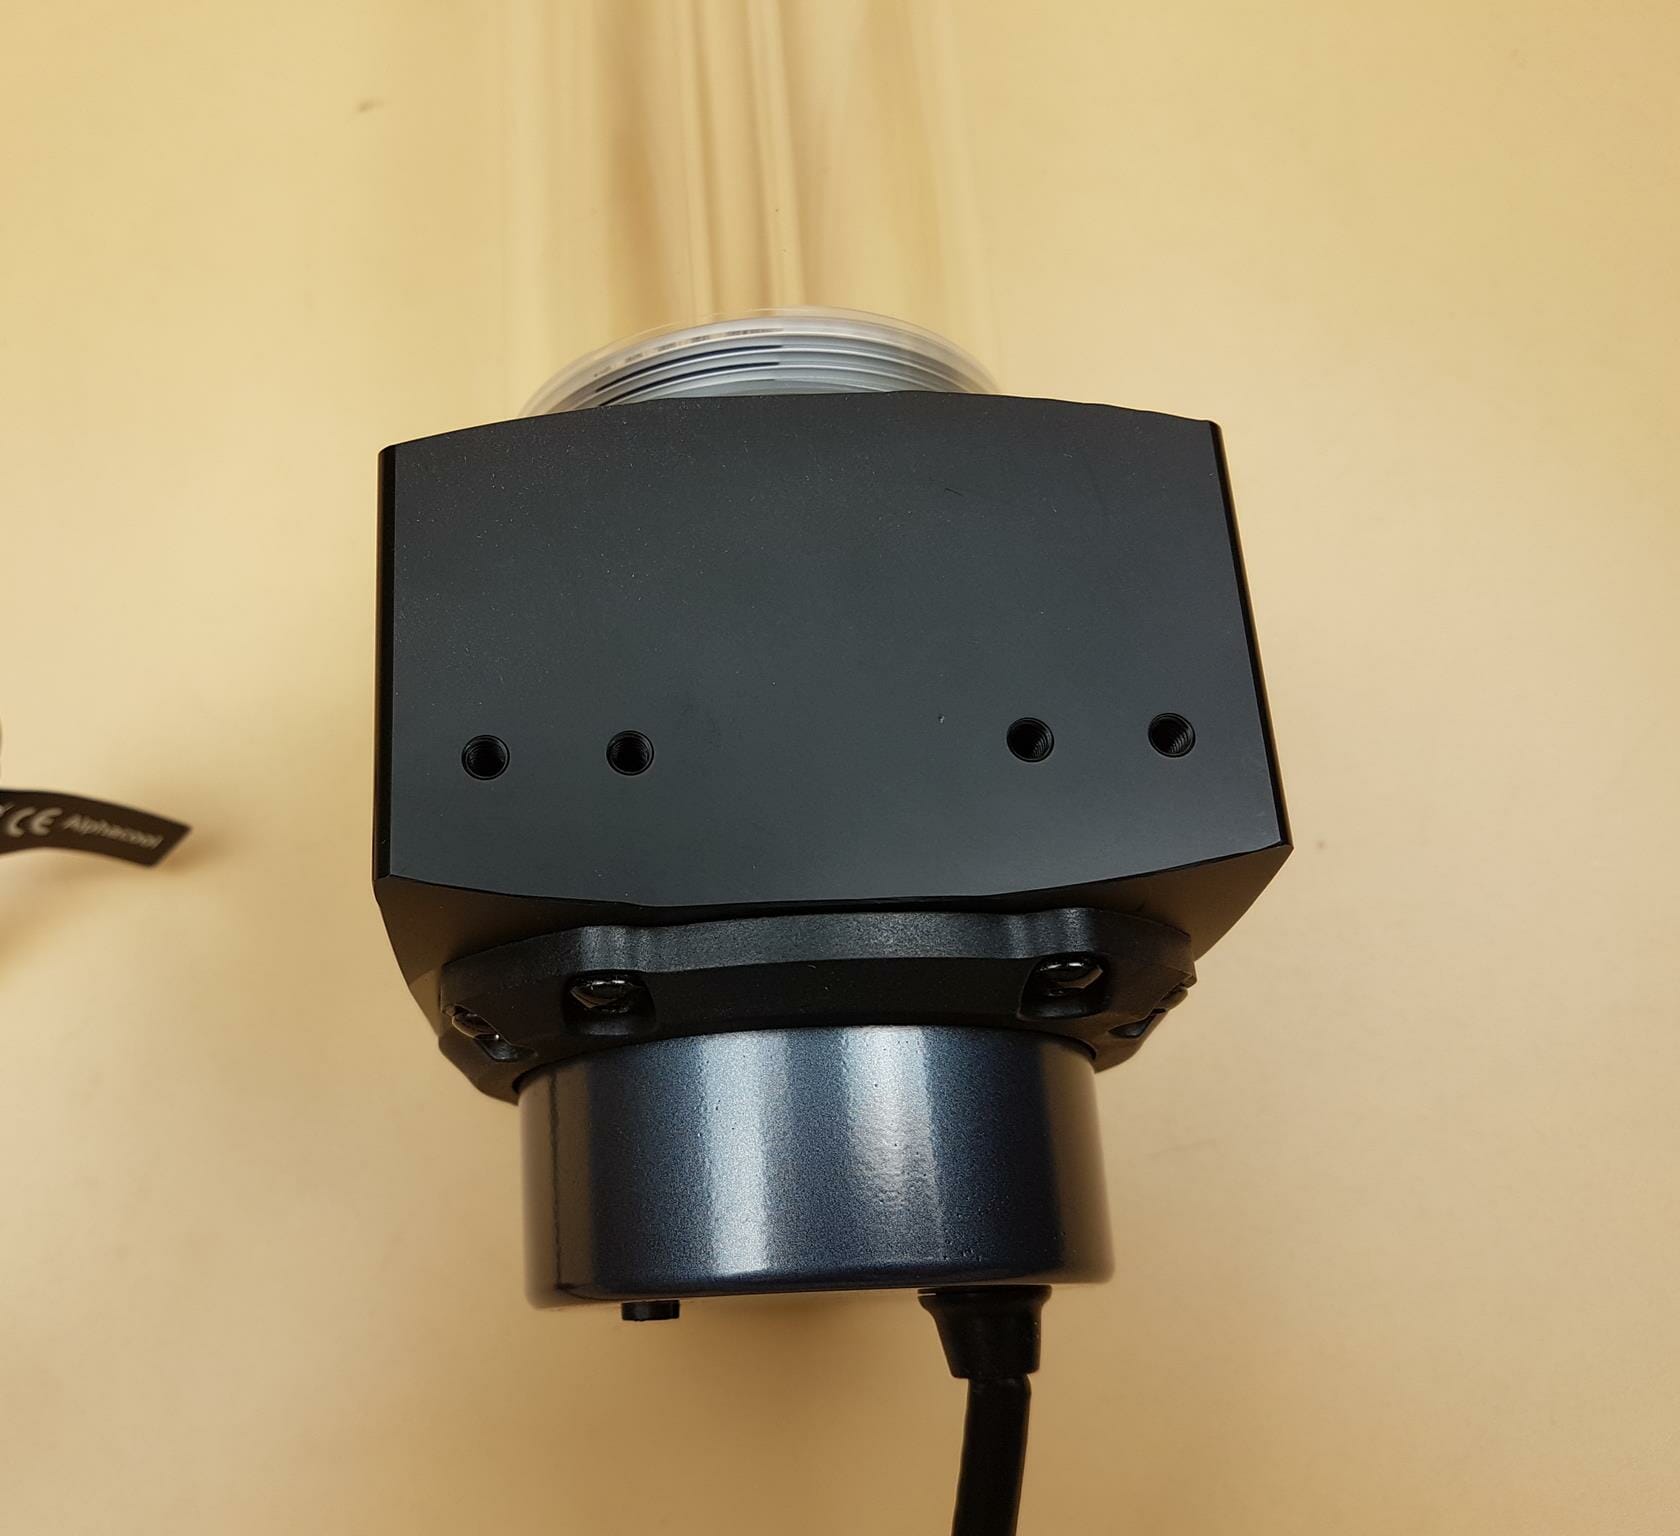
The above picture shows the other side of the base of the unit. There are 4x mounting holes as well where the supporting brackets are installed.
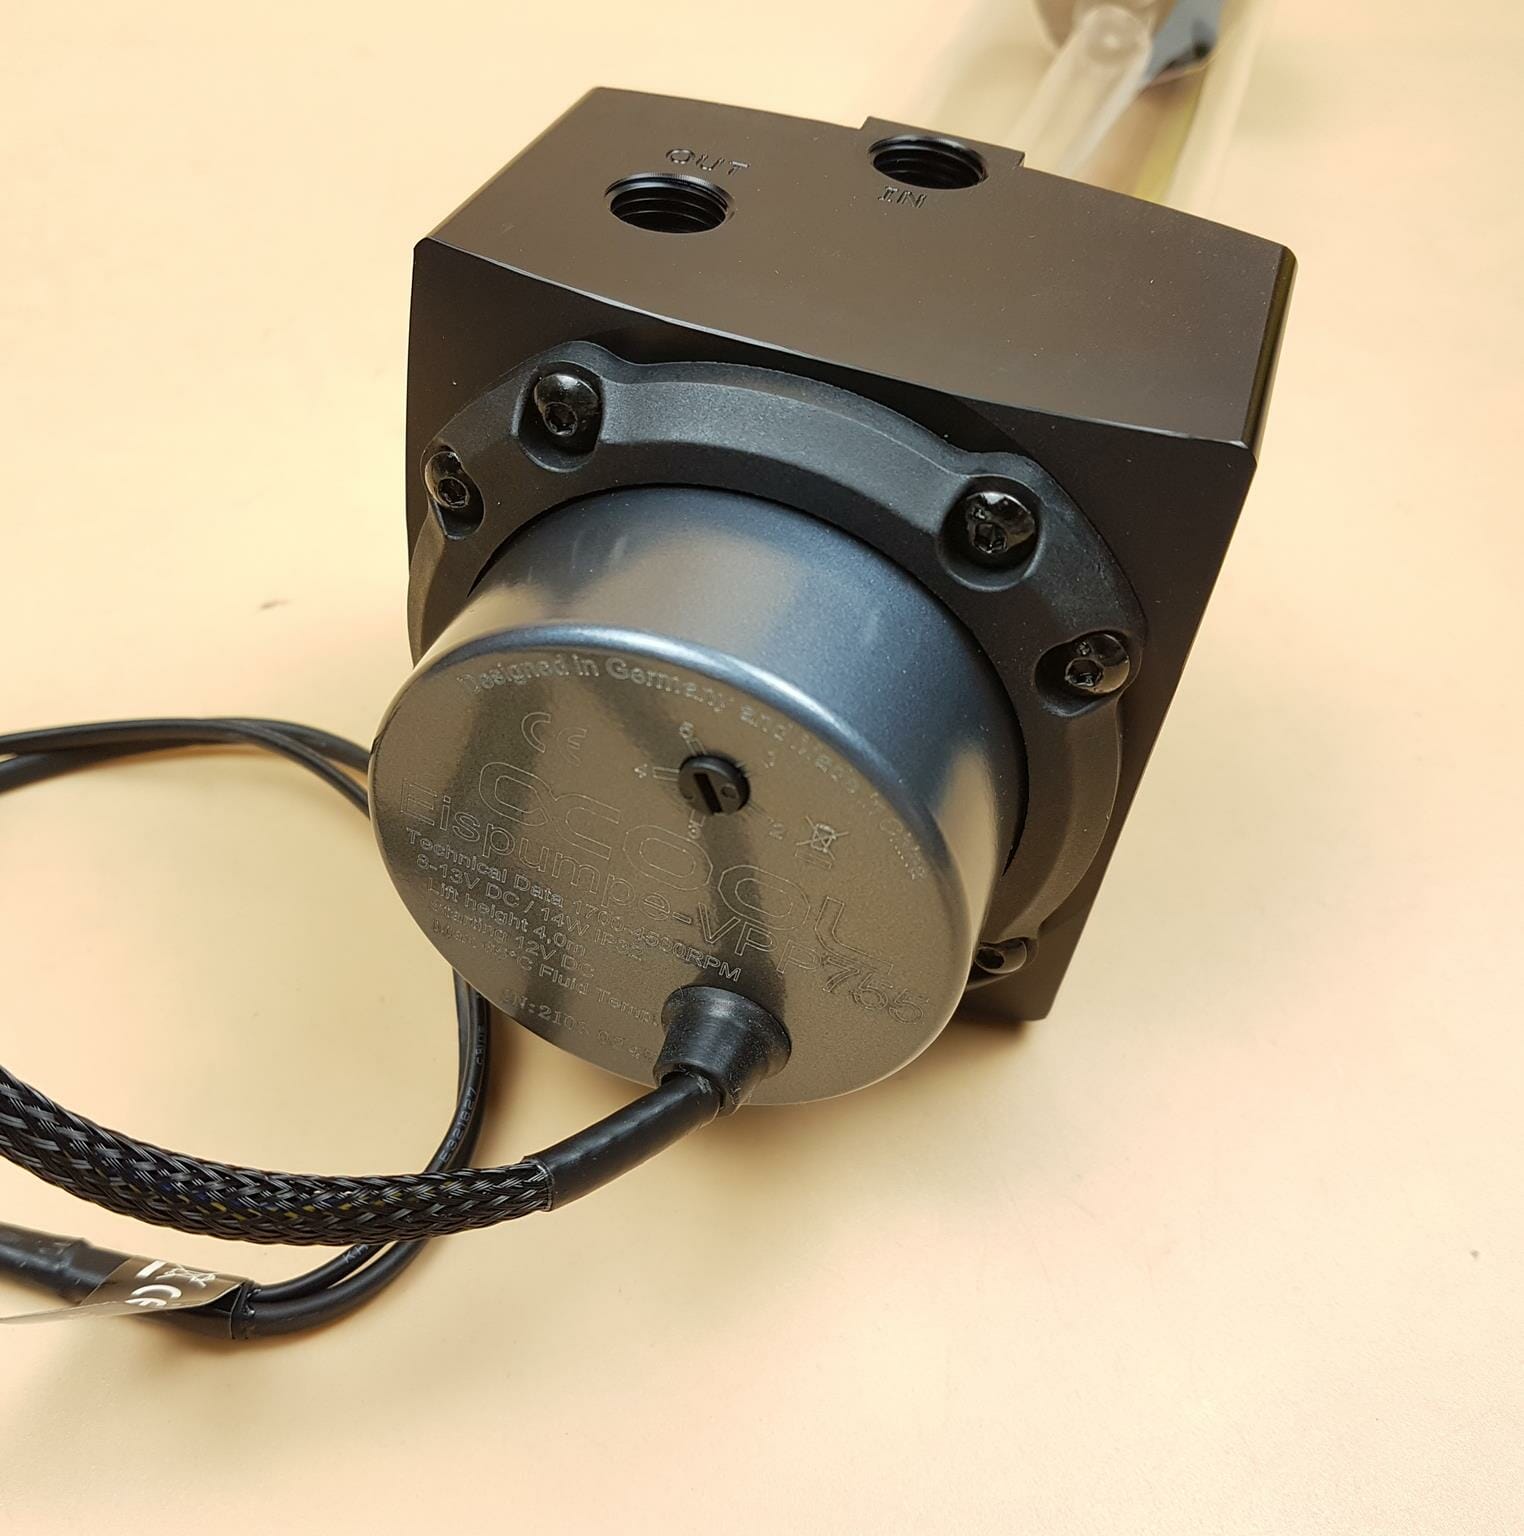
The Alphacool Eisbecher D5 comes with Alphacool Eispumpe VPP755 pre-installed. There is a ring bracket holding the pump at the base of the reservoir. Removing the 8 screws will release the pump from the pump socket and the mounting ring.
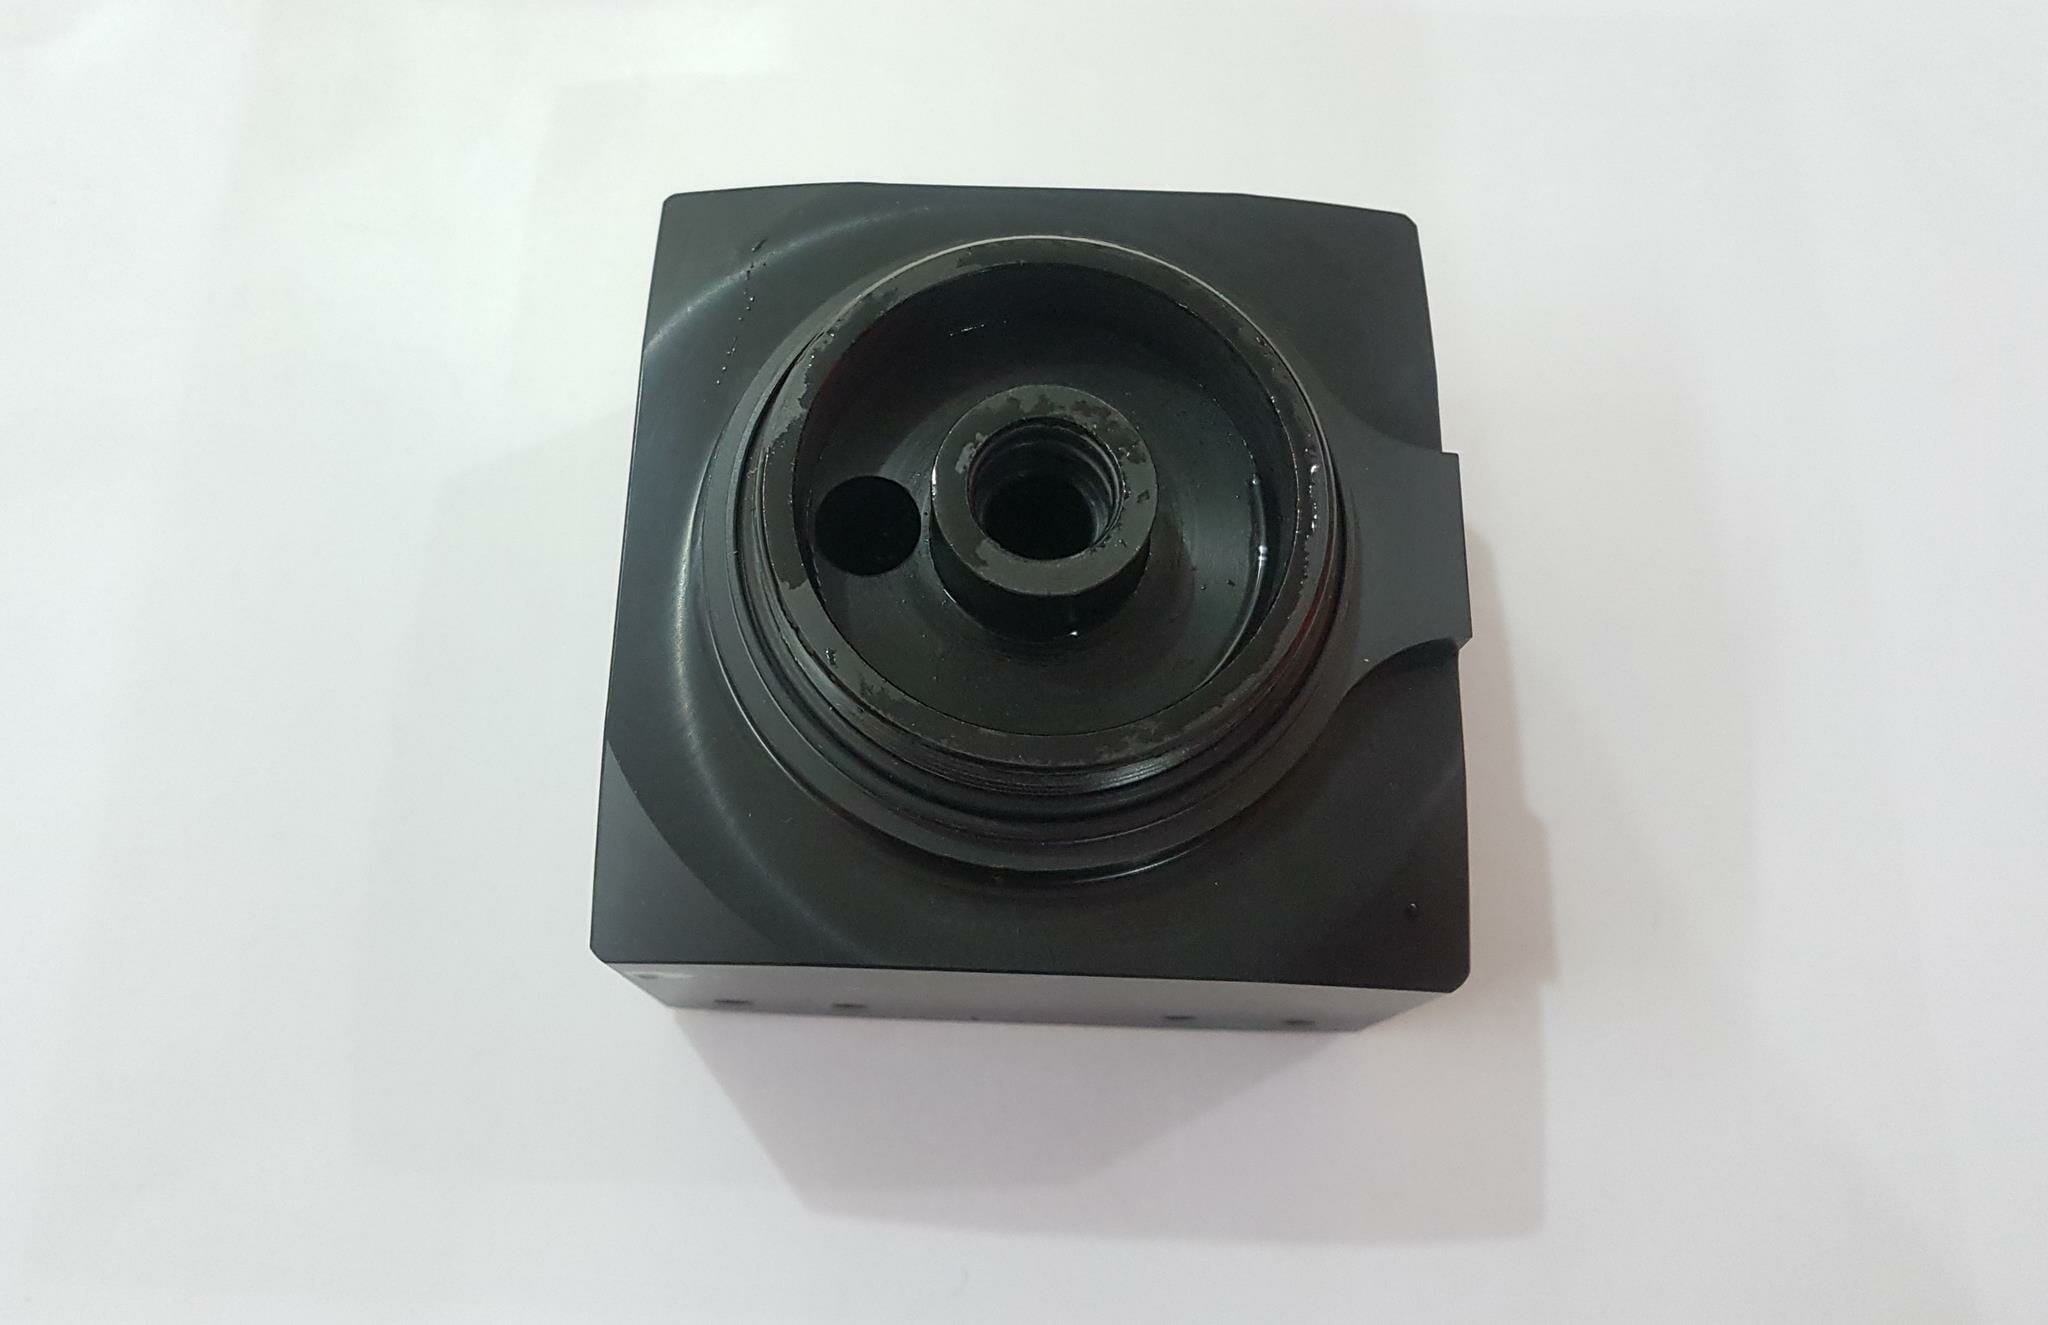
The above picture is showing the top side of the pump socket after disassembling the unit. It is wet as the unit was opened after the testing. The middle raised port is the return port. The coolant from the dedicated port on the front side of the socket marked as In would flow the coolant through this port up inside the lower return inlet tube. The hole on the main floor is the outlet one. This is where the coolant goes towards the pump.
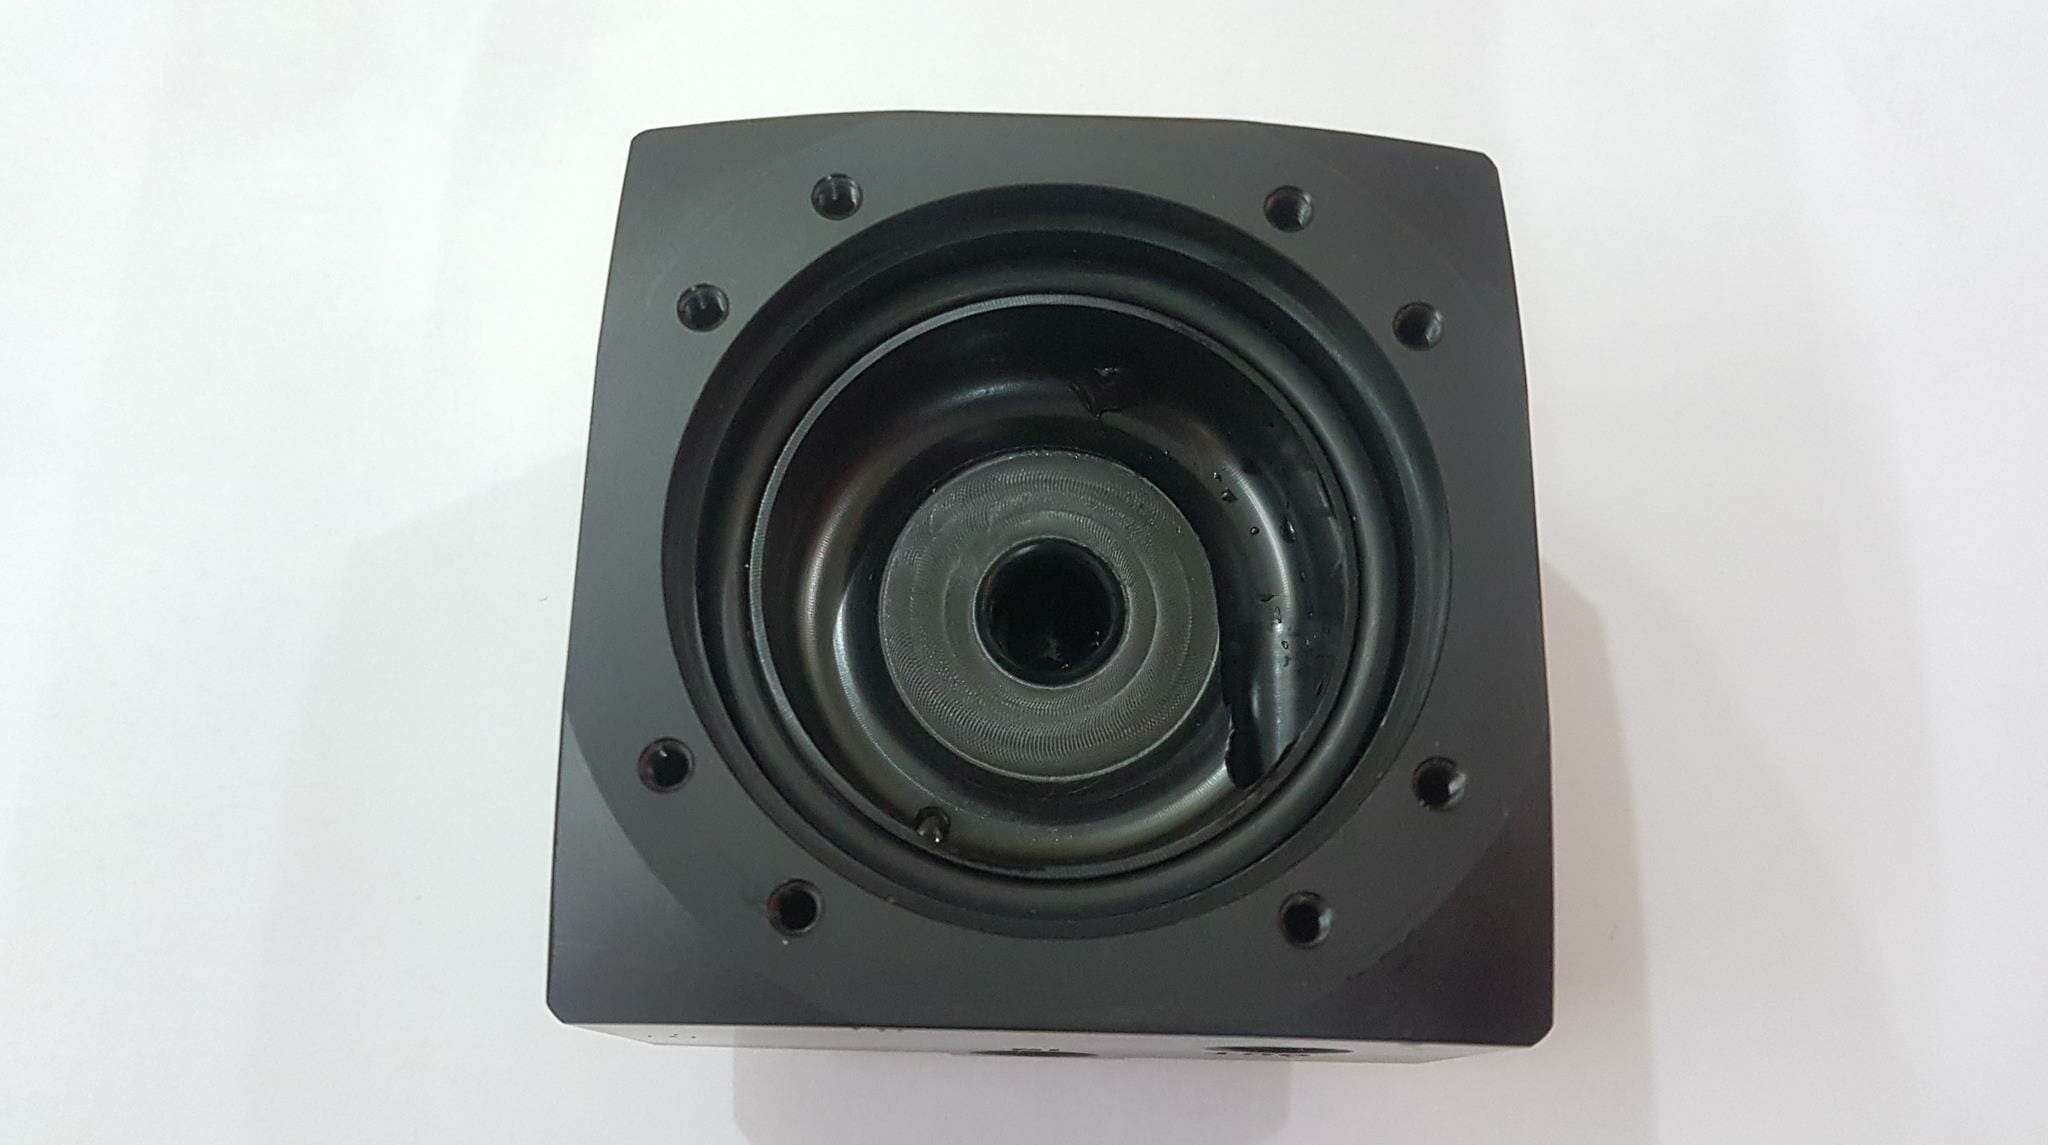
The above picture is showing the bottom section of the socket after removing the pump. A thick O-Ring is visible on the inner edges. Looking closely, you will find a cutout parallel to the surface of the socket. This is where the coolant from the top side is coming to the lower section.
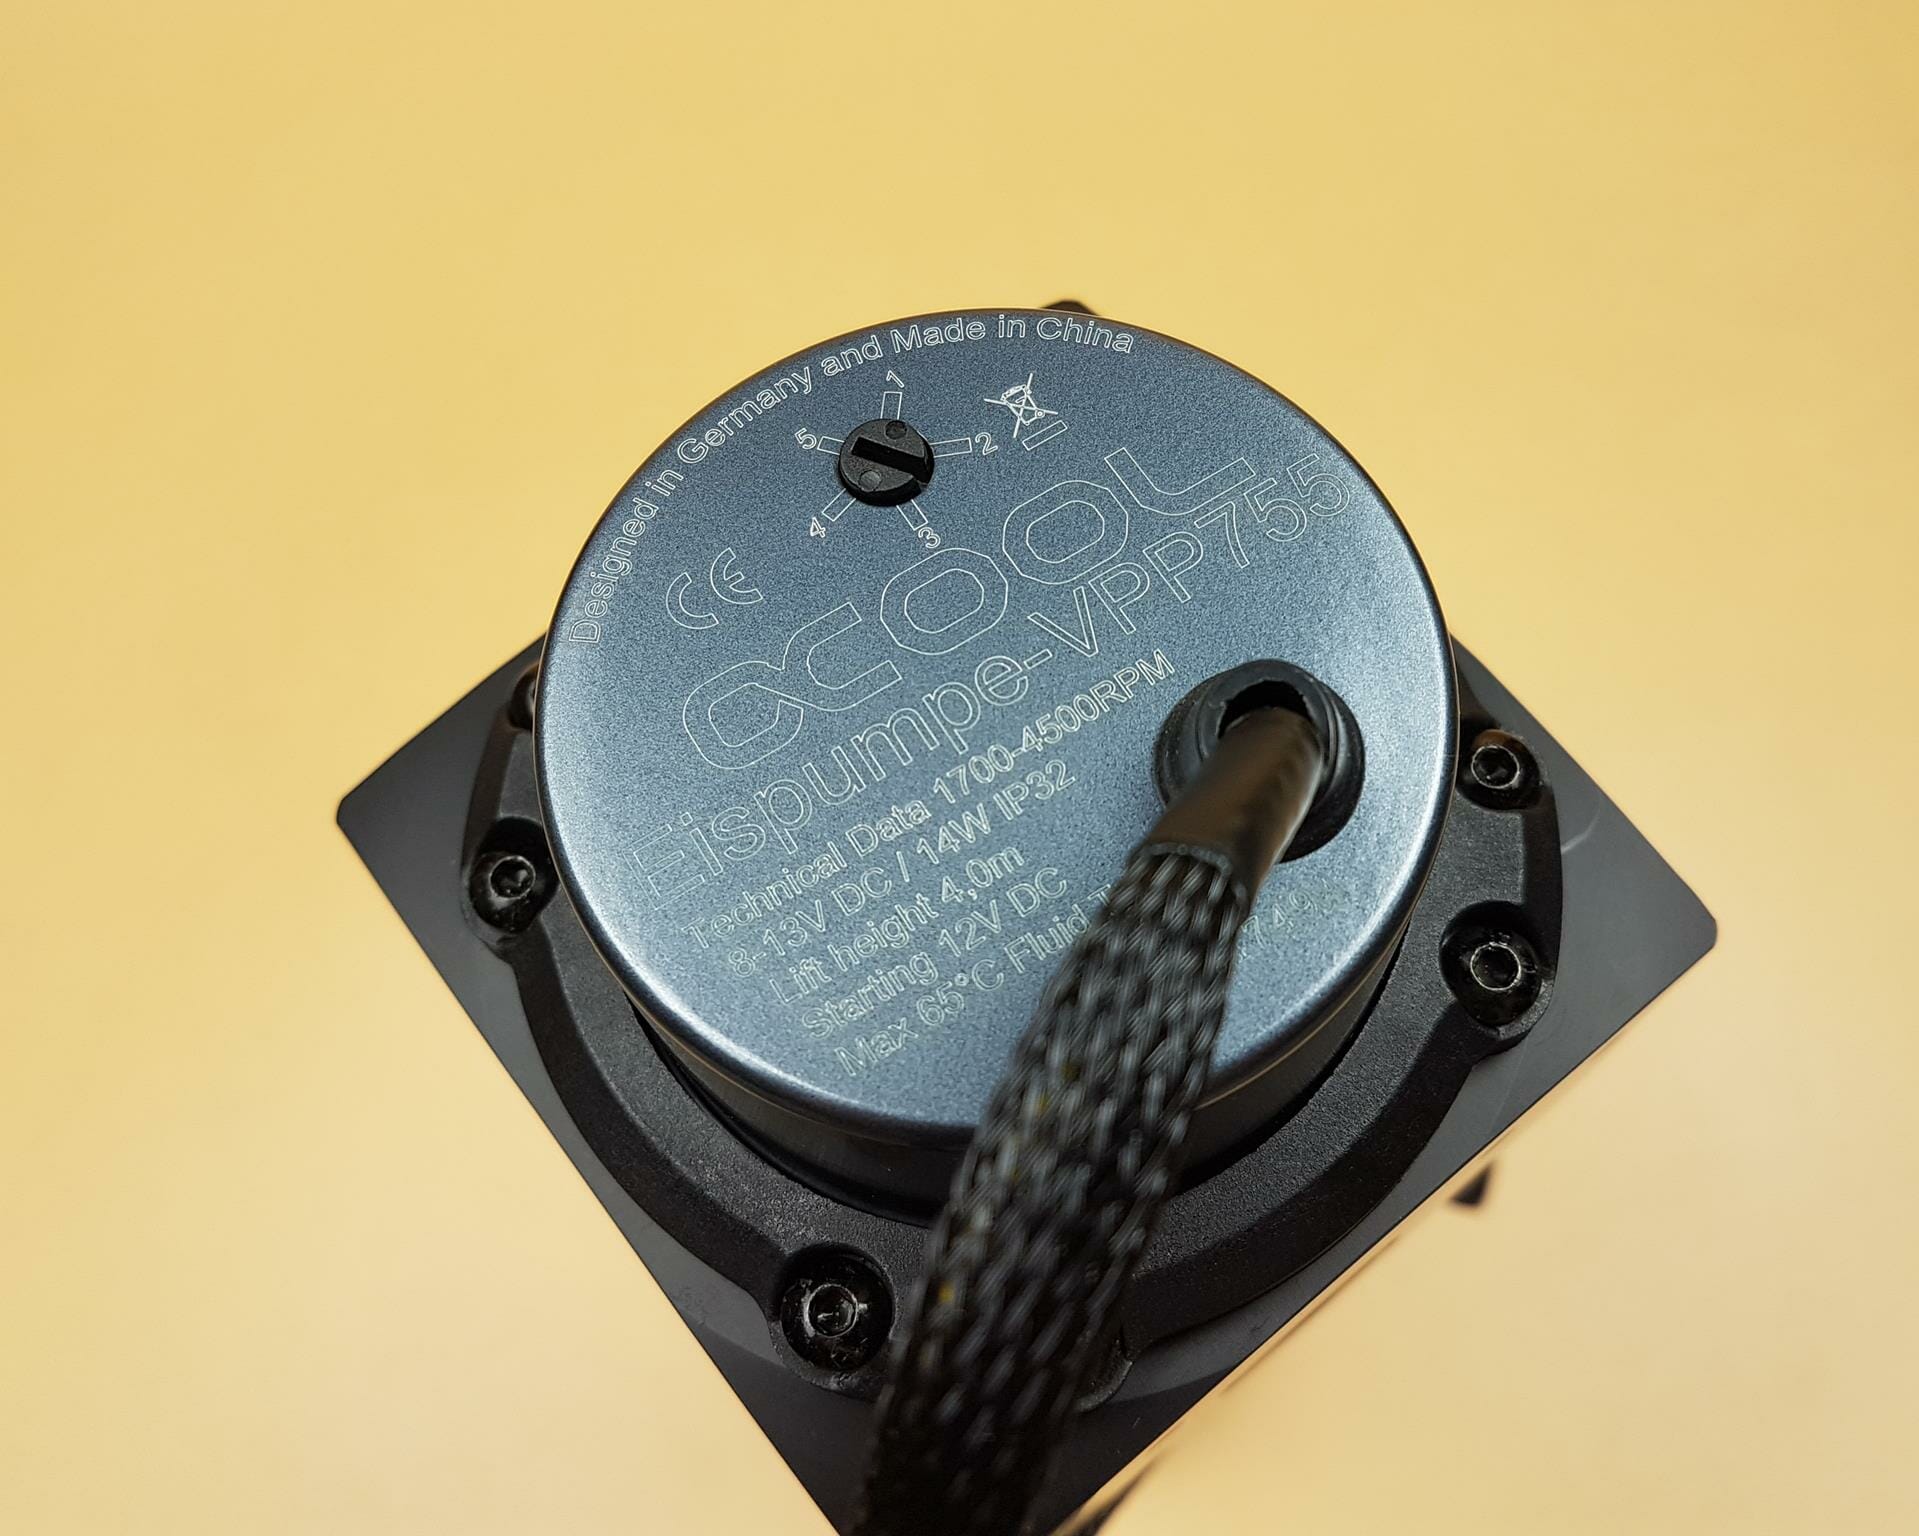
The above picture shows the base of the unit with the pump pre-installed. This is Alphacool Eispumpe VPP755 v3.0. There is a manual speed adjuster with pre-defined 5 levels or stages of speeds numbered from 1 to 5. By default, it is on the number 5 which is the highest speed of the pump. Here is the related speed range against each stage:
| Stage (Number) | Speed (RPM) |
| 1 | 1800 |
| 2 | 2500 |
| 3 | 3200 |
| 4 | 3900 |
| 5 | 4500 |
Here are the specifications of the pump:
| Voltage | 12VDC |
| Power Consumption | 14W |
| Permitted Voltage | 8-13VDC |
| Pressure at 12V | 4 m water column |
| Maximum flow | 350 l/h |
| Maximum coolant temperature | 65°C |
| Power Connection | 4-pin Molex and 4-pin PWM |
| Material | Acetal |
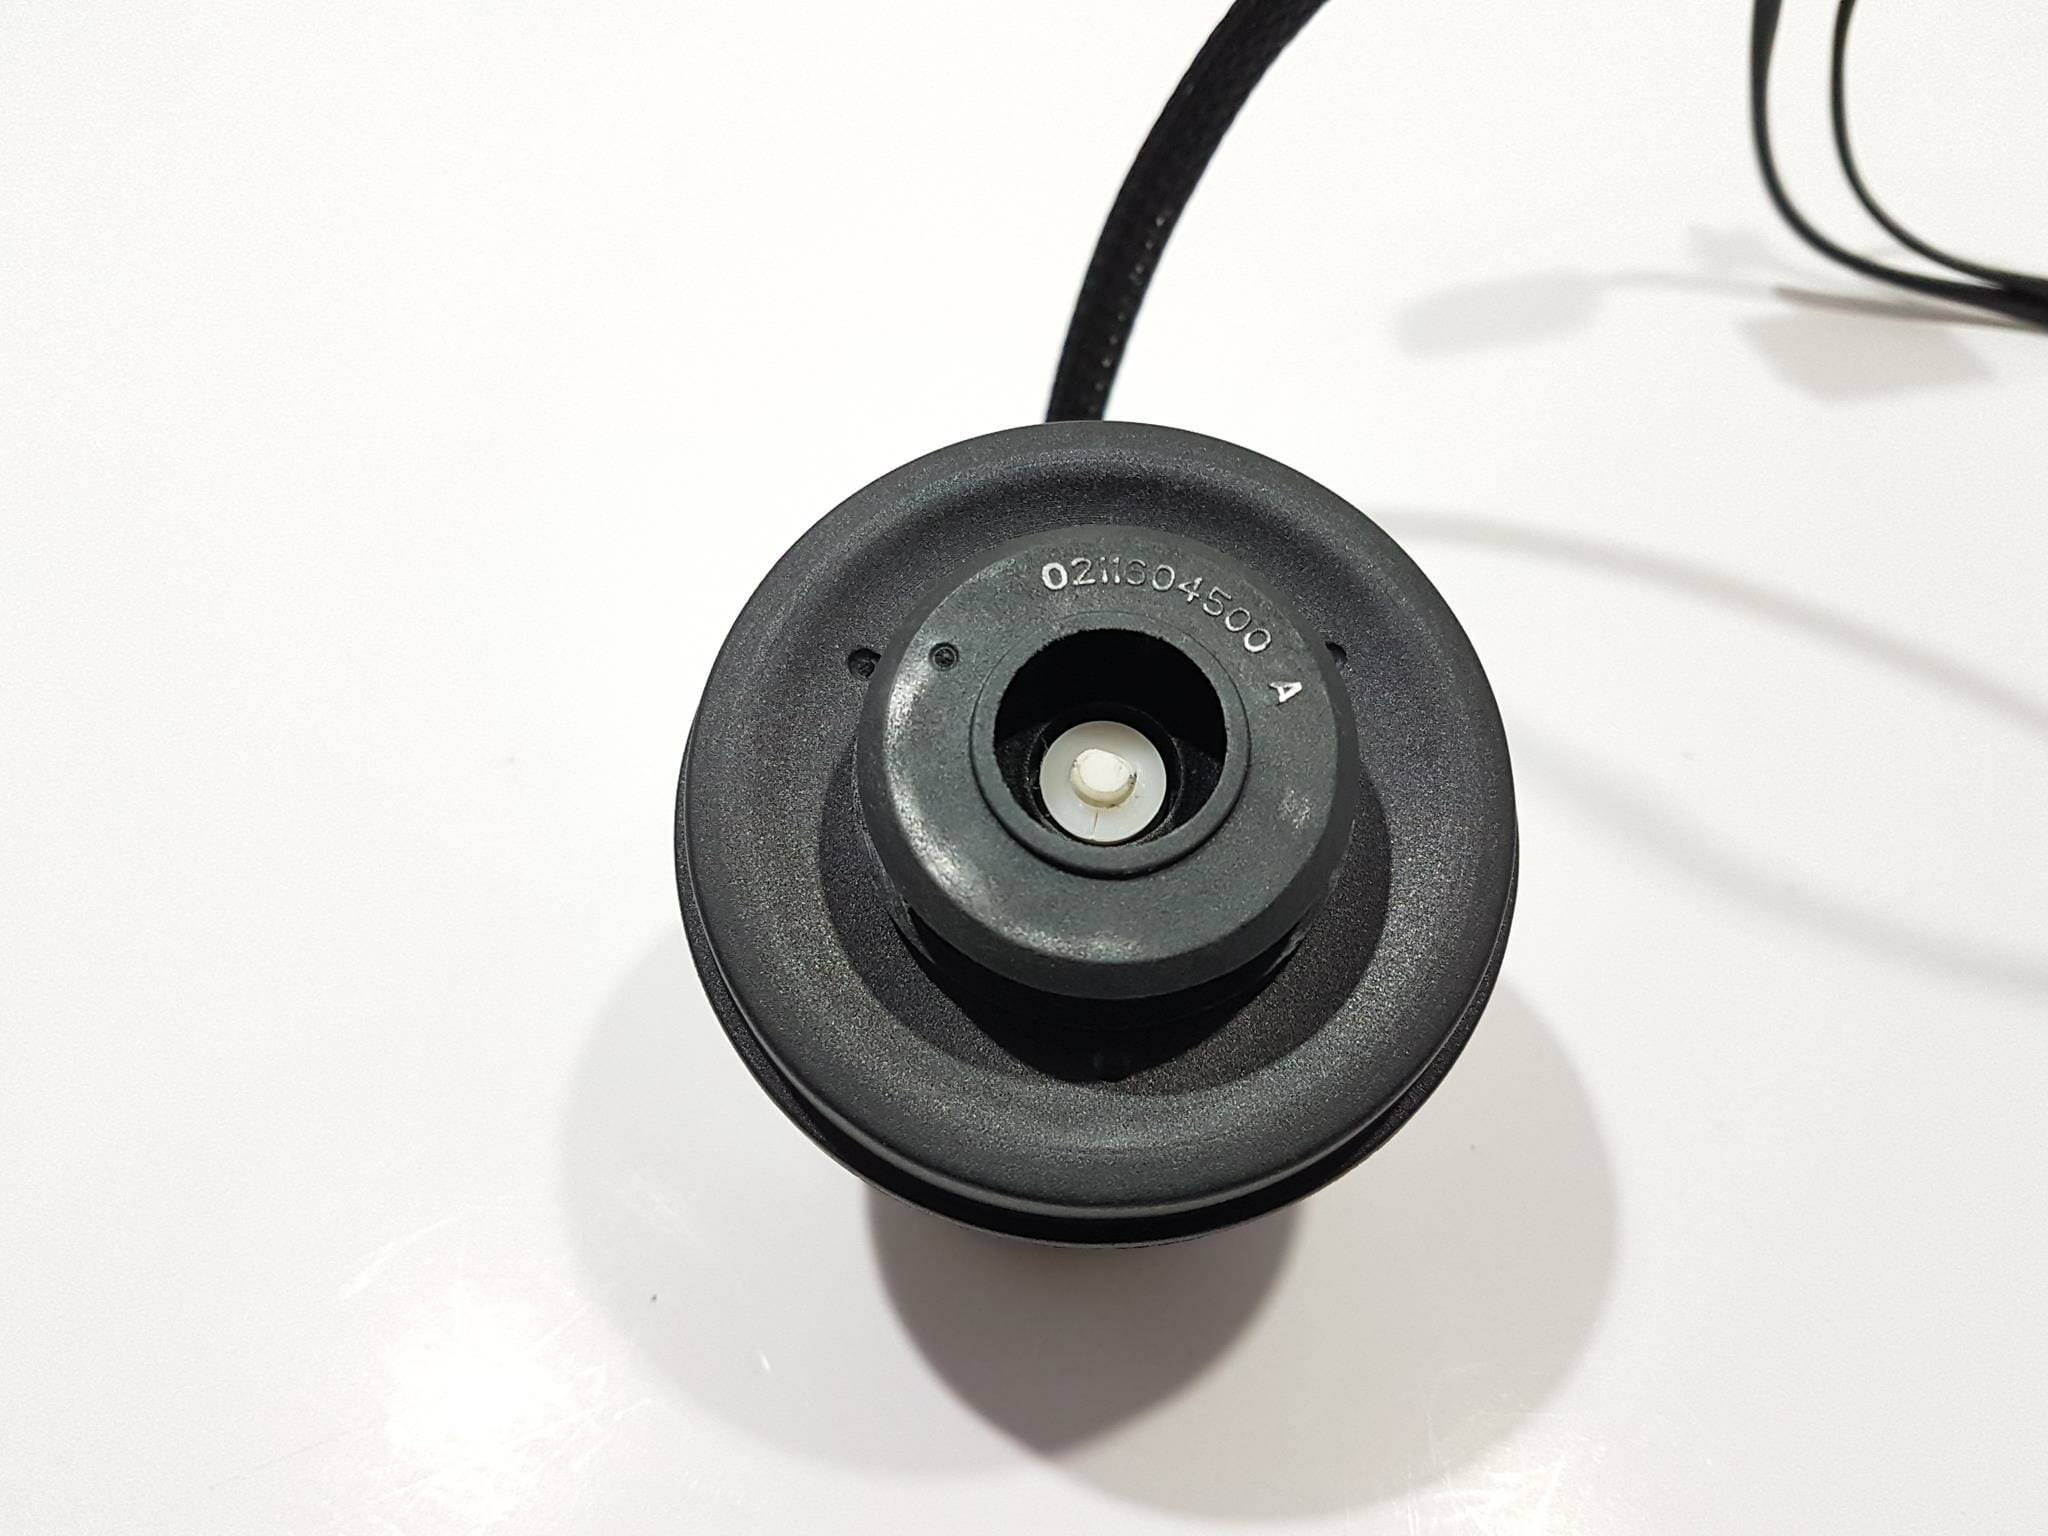
The above picture shows the top view of the pump itself. This is a 3rd revision pump from the Alphacool named VPP755 v3.0. It is based on the D5. The main improvement over the previous generation is the power consumption. This pump operates at 14W for the same flow rate which is quite remarkable.
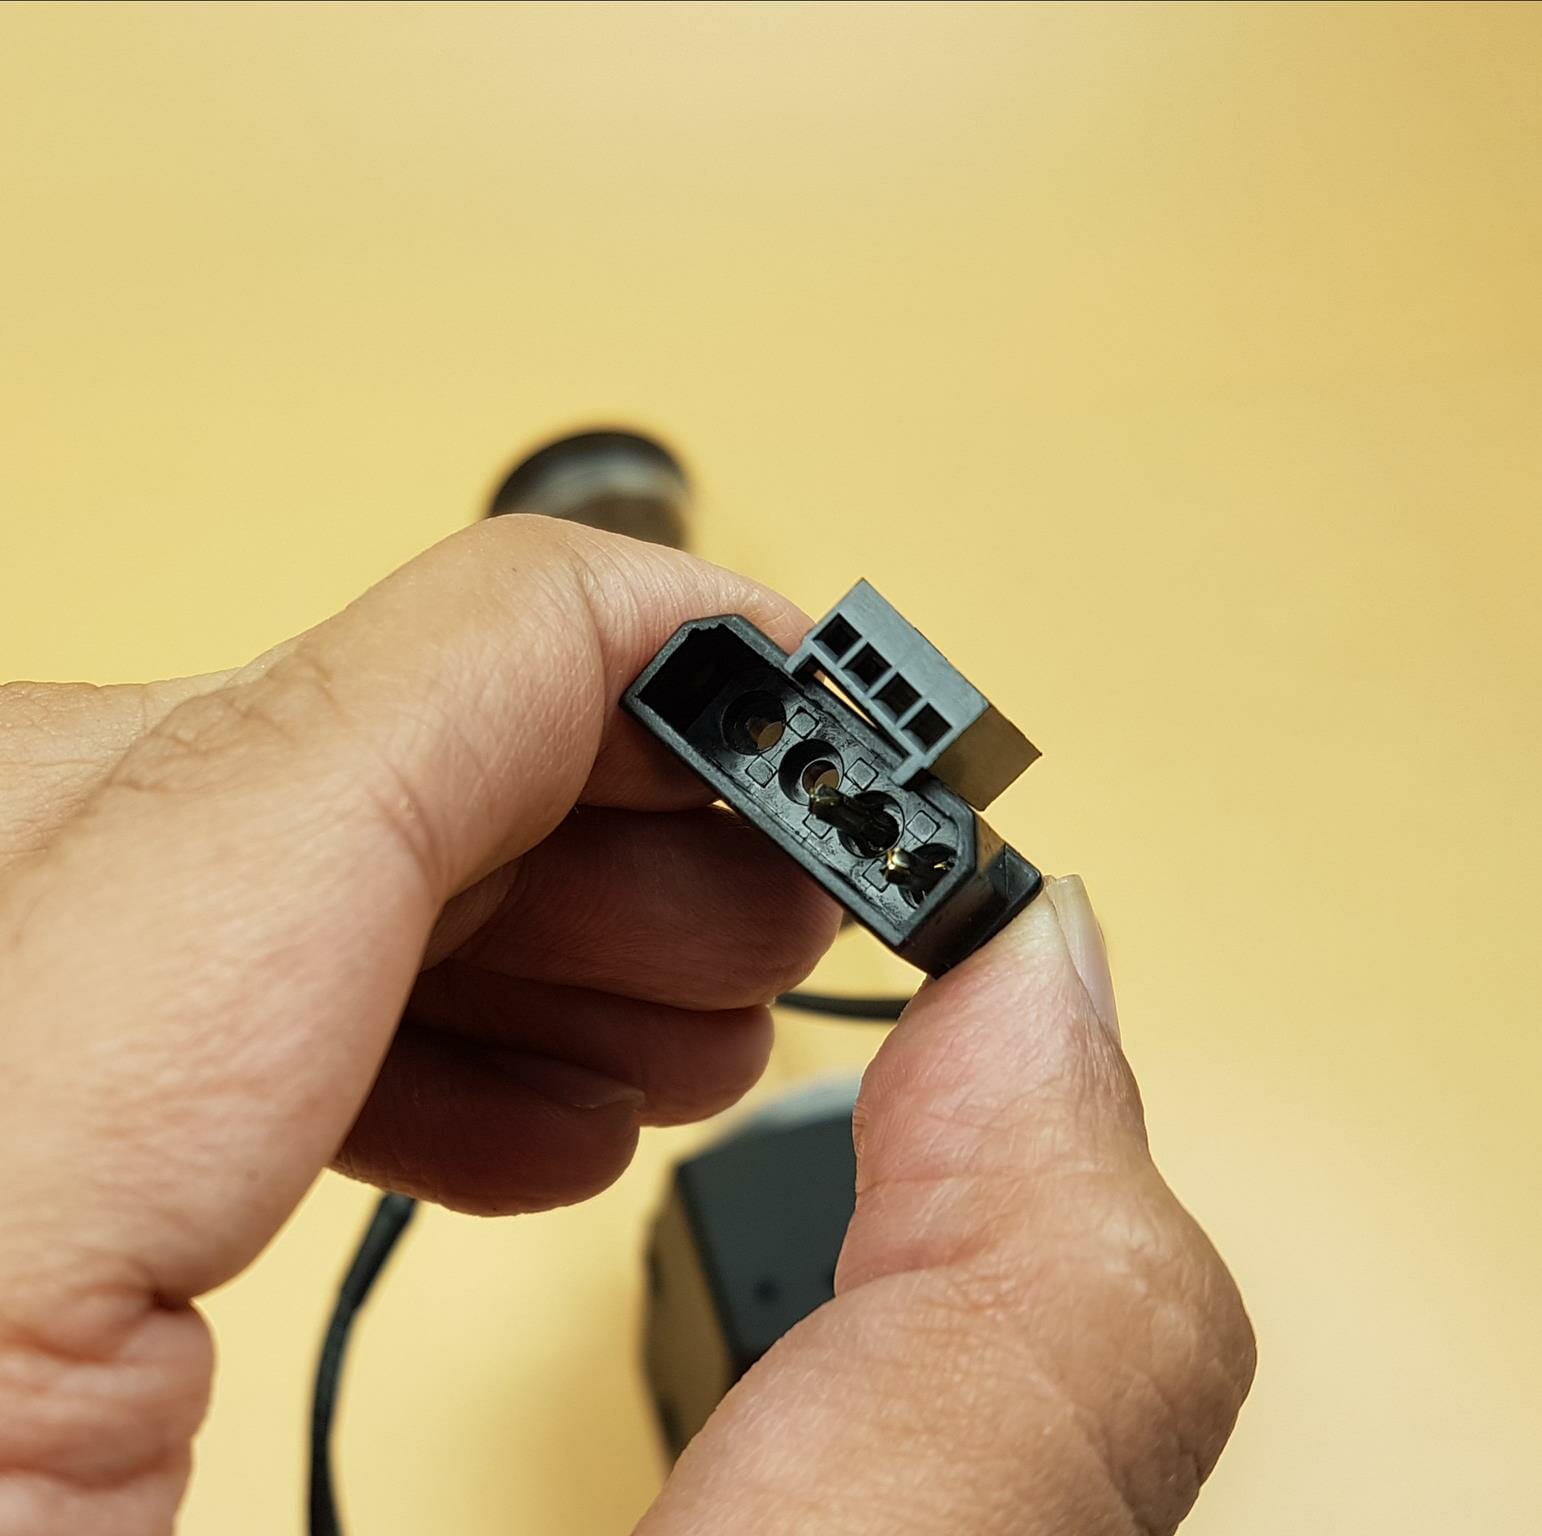
There are two sleeved cables coming out of the pump’s housing. One is the 4-pin Molex connector cable and the other one is the 4-pin PWM cable. The length of the Molex connector cable is 188mm and that of the PWM cable is 502mm. One of the pins was loose and came off when we connected the connector with the PSU. It seems like QC department needs to up the game at Alphacool!
The pump has a hybrid control. The user can either connect the Molex connector to power the pump at the full speed for which the default position of the speed adjuster is at 5. Alternatively, the user can also connect the PWM connector to the motherboard and regulate the speed from the UEFI/BIOS or supported program. Please keep in mind that when using PWM control, set the manual adjuster at 5 positions so that the pump’s full speed range can be accessed.
I have monitored the speed at the various percentages of speed range from within the BIOS. For each percentage, 5 minutes were given for each value to see if there is any spread or a closer margin in the reported speeds. Here is the result:
| Percentage (%) | Minimum Speed (RPM) | Maximum Speed (RPM) |
| 20 | 2621 | 2673 |
| 30 | 2749 | 2812 |
| 40 | 2973 | 3013 |
| 50 | 3237 | 3284 |
| 60 | 3524 | 2582 |
| 70 | 3802 | 3846 |
| 80 | 3901 | 4041 |
| 90 | 4103 | 4153 |
| 100 | 4411 | 4500 |
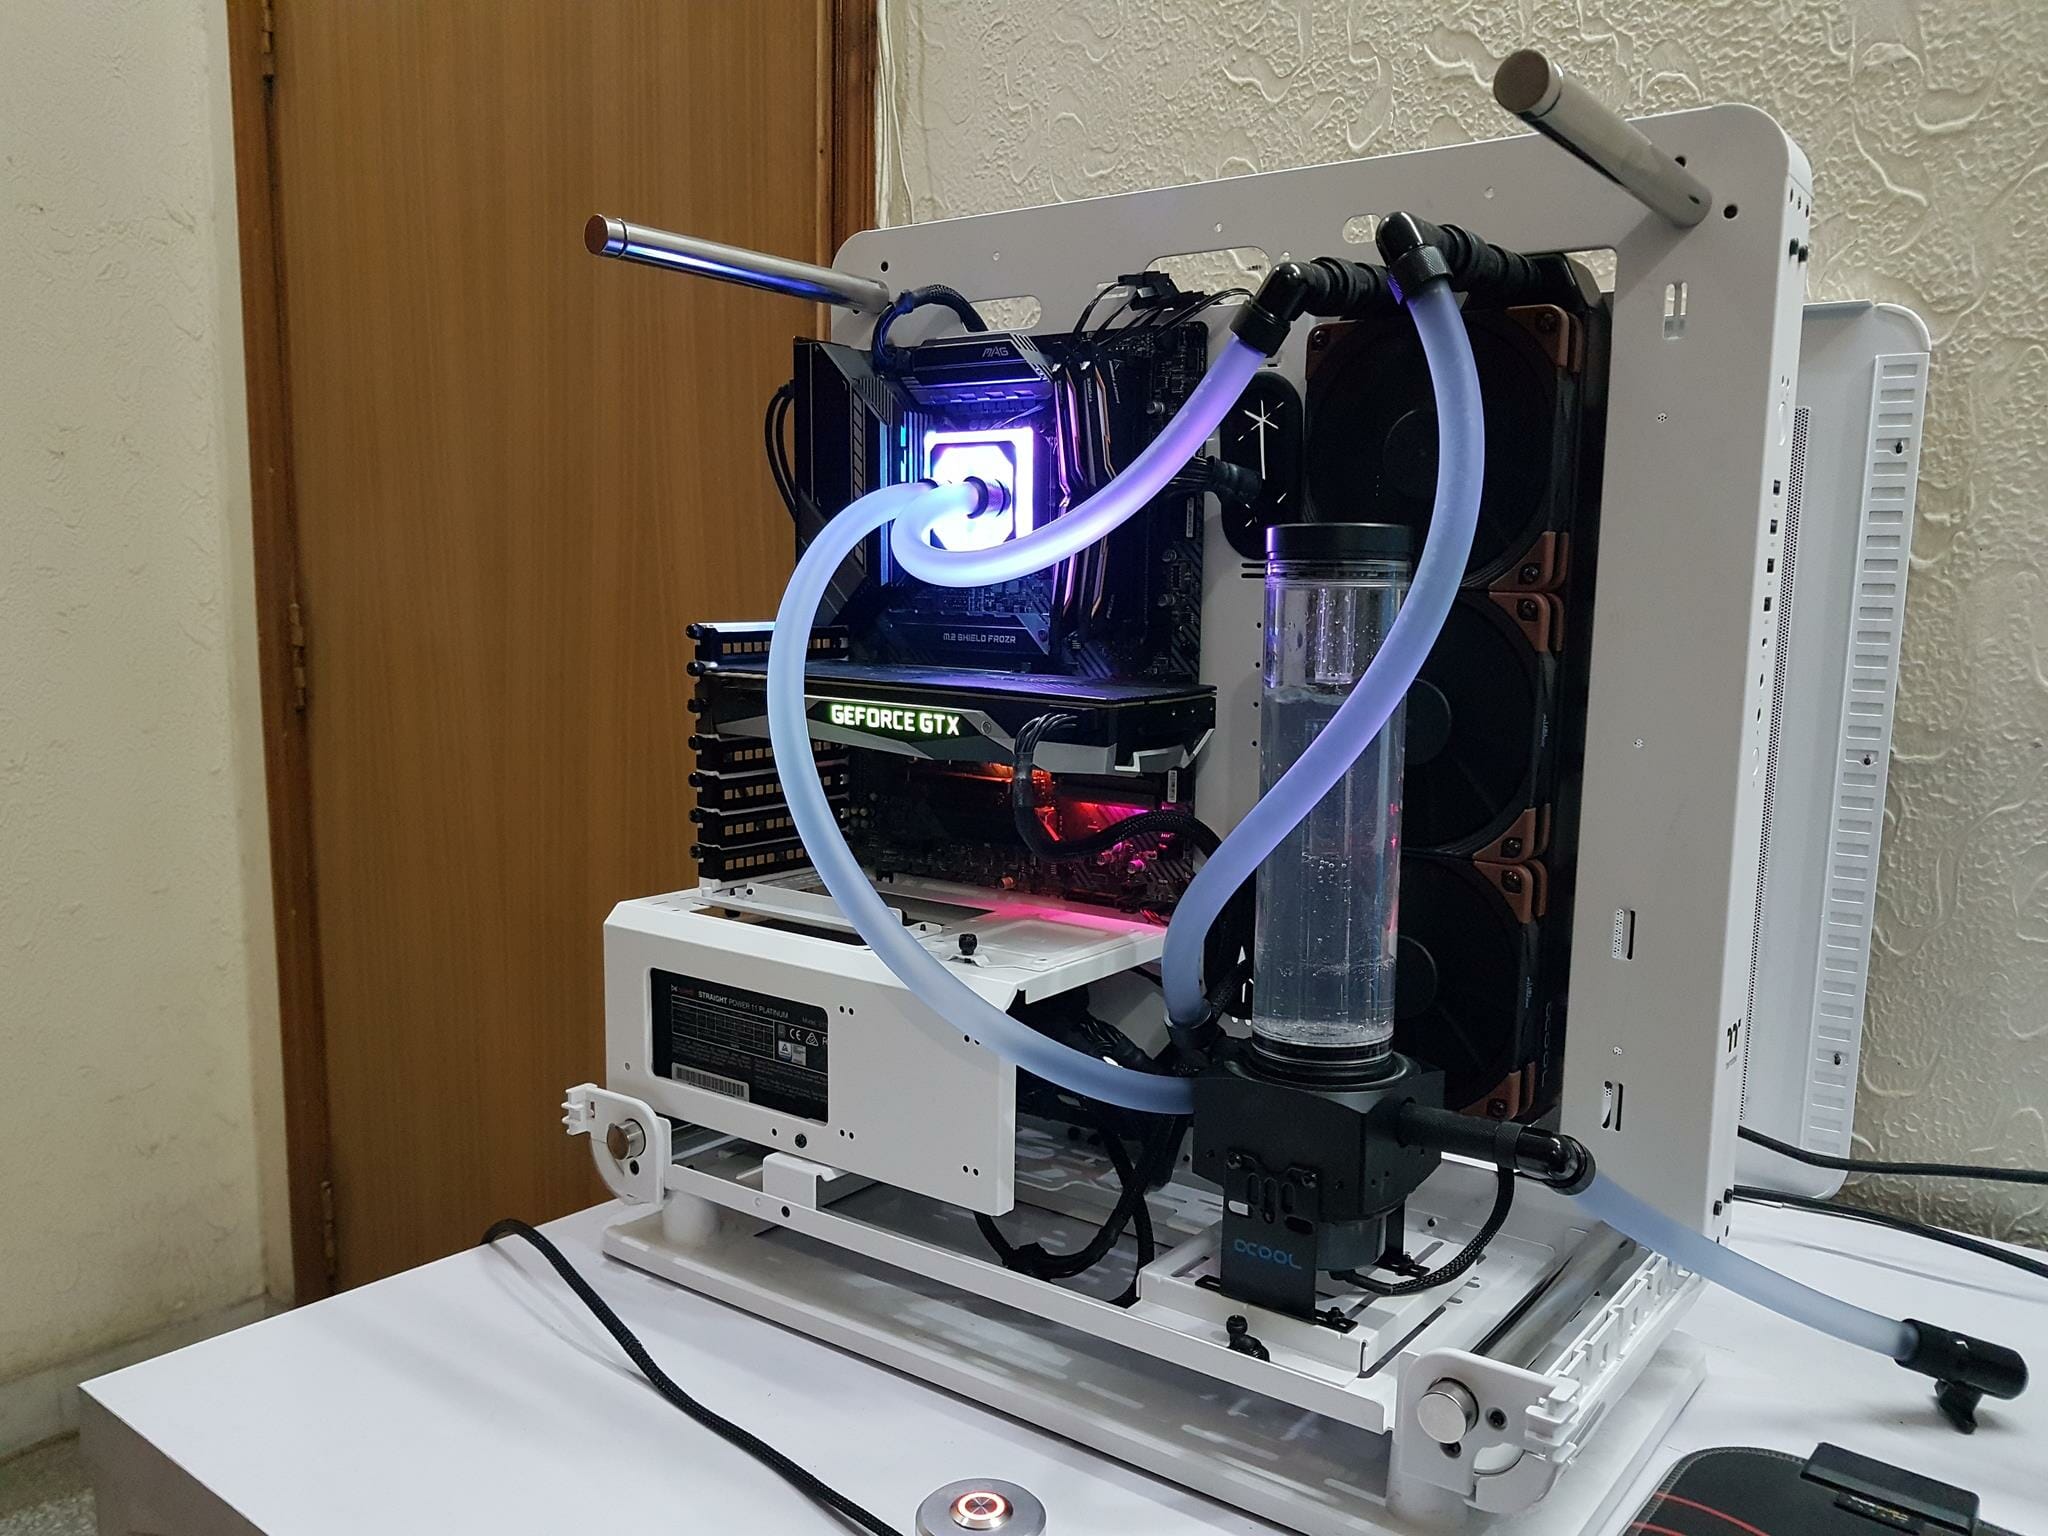
The unit was used for the testing of the Alphacool Eisblock XPX AURORA and multiple radiators in the loop designed for the testing. There is no dedicated test for the reservoir itself. The pump was not loud.
Conclusion
The Alphacool Eisbecher D5 250ml is a reservoir and pump combo unit. The Eisbecher D5 comes with a plexiglass tube. This is among some of the key differences when compared with the AURORA version. The Plexi is 60mm in diameter and has a capacity of 360ml of coolant. The dimension of the unit with brackets without a stand is 277.5x136x80mm. The dimension with a stand without bracket is 324×87.5x80mm. The top and the base are made of POM material.
We have a total of 7x G1/4” threaded ports. Four ports are on the top of the reservoir body whereas 3x ports are in the pump socket. These 2x ports have a dedicated Inlet and Outlet function and they are clearly labeled for that. The top middle port on the top is the main inlet port from the top for the waterfall effect. The plexiglass tube is 60mm thick and it has two riser pipes inside. One riser pipe is on the top frame and the one is at the base. These riser tubes are there to provide the water flow effect.
This unit comes with Alphacool Eispumpe VPP755. It is a PWM pump that can also be powered using the Molex connector providing a hybrid control. The pump also has a manual adjuster which is a button that can set the speed of the pump up to 5 levels with 5 being the maximum speed level. The pump is rated for up to 4 m pressure level at 12V. The power consumption of the pump is 14W making it more efficient than the predecessor. The maximum coolant temperature support is 65°C.
Alphacool has provided the necessary mounting hardware for the convenient installation of the unit. They have also provided stand brackets so that the unit can be placed at the base of the PC case. There are ring-mounted fan brackets as well supporting the 120mm and 140mm mounts. One of the pins on the MOLEX connector was loose and came off when the connector was connected to the PSU. Though it is nothing for the tech-savvy guys with the right tools, this could be an issue for novice users. I wish manufacturers start using SATA connectors more often than the MOLEX ones.
Alphacool Eisbecher D5 250ml is listed at €103.00 at the time of the review which is a nice one given that this unit has an integrated pump as well. The unit has a solid build quality with some key features as mentioned above and serves the purpose very well. It comes recommended by us.
We are thankful to Alphacool for giving us the opportunity to review the Eisbecher D5.


