ARCTIC BioniX P 120 A-RGB Fans Review
Introduction
If you know about the world-famous MX-4 then you already know of ARCTIC! They started in 2001 with the name ARCTIC Cooling and have evolved into a much more popular and reliable cooling solution provider now known as ARCTIC. Their bases of operation are in Switzerland, Germany, Hong Kong, and the USA with the availability of their products in over 45 countries. Quiet cooling without performance compromise is their motto. Their product lines include CPU Coolers, Case Fans, Thermal Pastes, Charging solutions, Audio solutions, and monitor stands to name a few.
The P series fans from ARCTIC are famous all around for their silent operations and good performance. ARCTIC has released the BioniX P 120 A-RGB fans recently with some key distinctions as compared to the standard fans. Though the idea is not new the execution is almost perfected. The idea is to reduce the cable clutter with fans being totally modular i.e connected directly to each other and only one cable needed at either end of the connected fans. Obviously, you would need a minimum of two fans to achieve this synchronization. ARCTIC is offering a single fan pack and 3-fans pack with the A-RGB controller. A-RGB means these fans pack some stunning addressable RGB light show which can be controlled either using the dedicated controller (only comes with 3-fans pack) or using the 3-pin 5V header on the motherboard.
Item: BioniX P 120 A-RGB 3 Fans Pack
Manufacturer: ARCTIC
Pricing: MSRP € 22.99 for a single fan
MSRP € 54.99 for a 3-fans pack
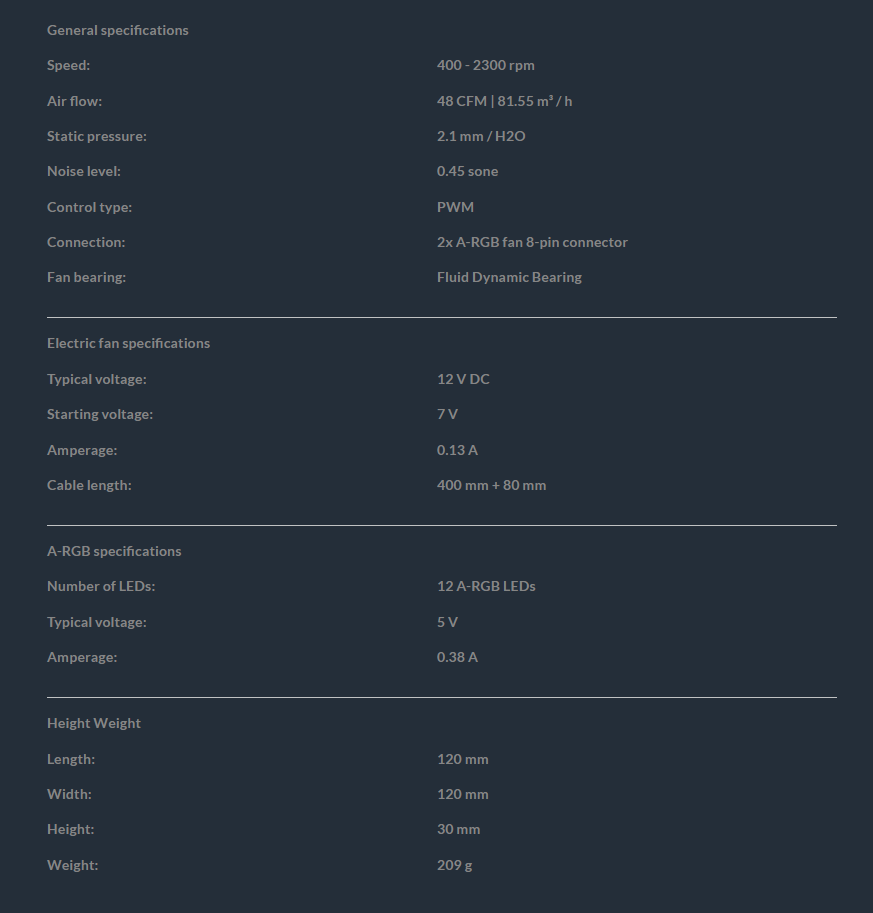
Specifications
Packaging and Unboxing
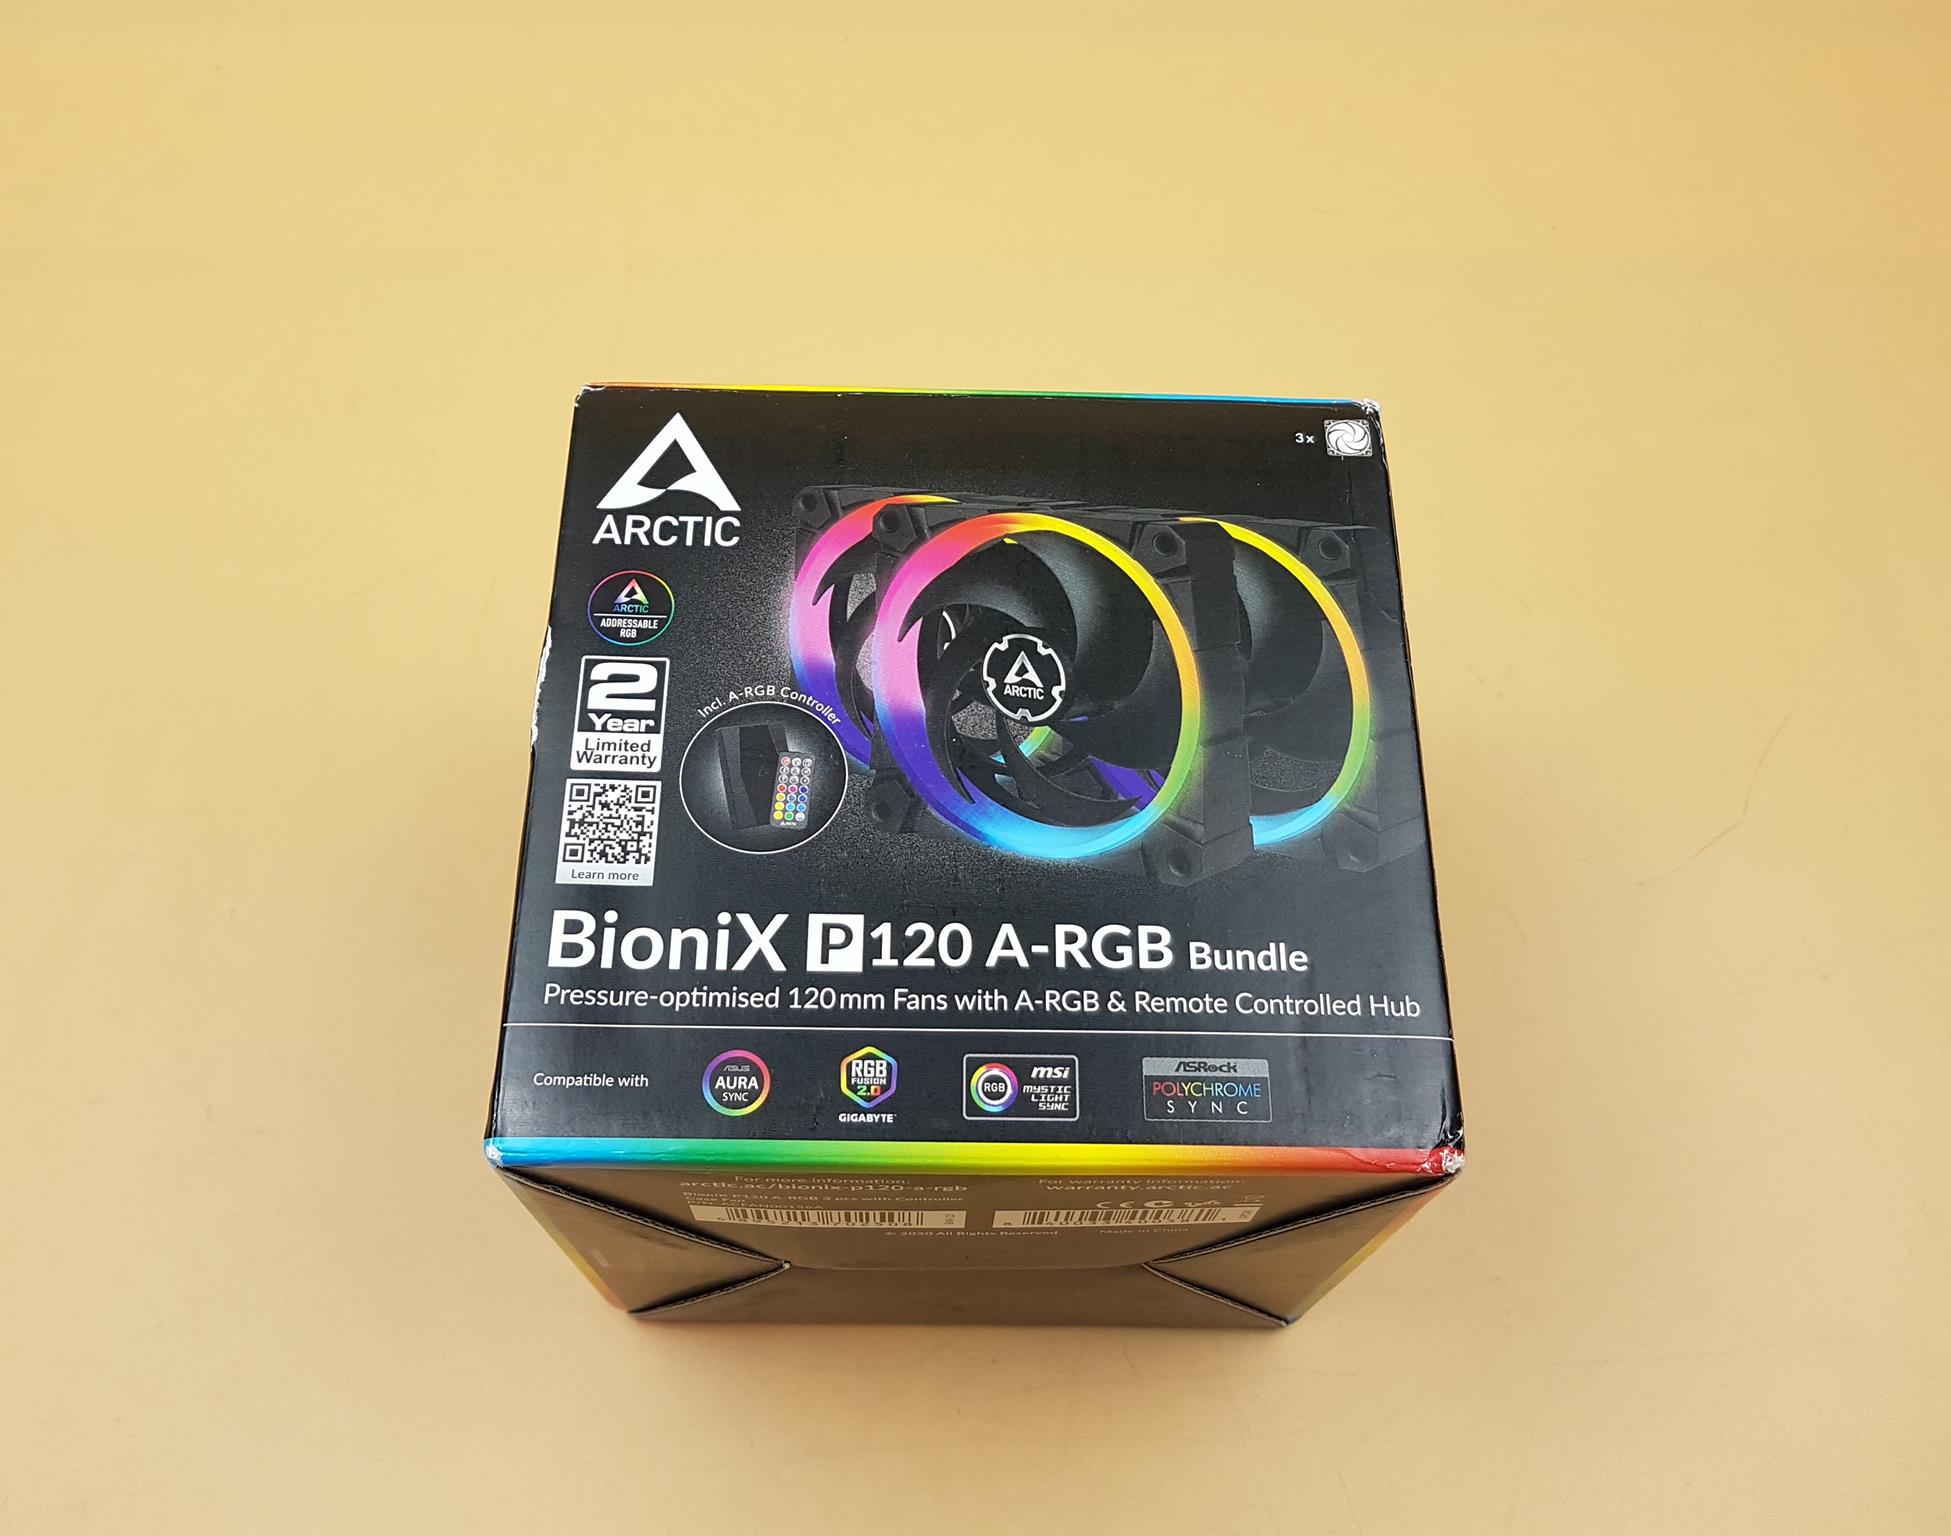
The fans are shipped inside cardboard box packing in ARCTIC theme.
The box highlights A-RGB lighting on the fans. The lighting is compatible with:
- ASUS ARUA SYNC
- ASRock POLYCHROME SYNC
- MSI MYSTIC LIGHT SYNC
- GIGABYTE RGB Fusion 2.0
ARCTIC is offering 2 years warranty on these fans.
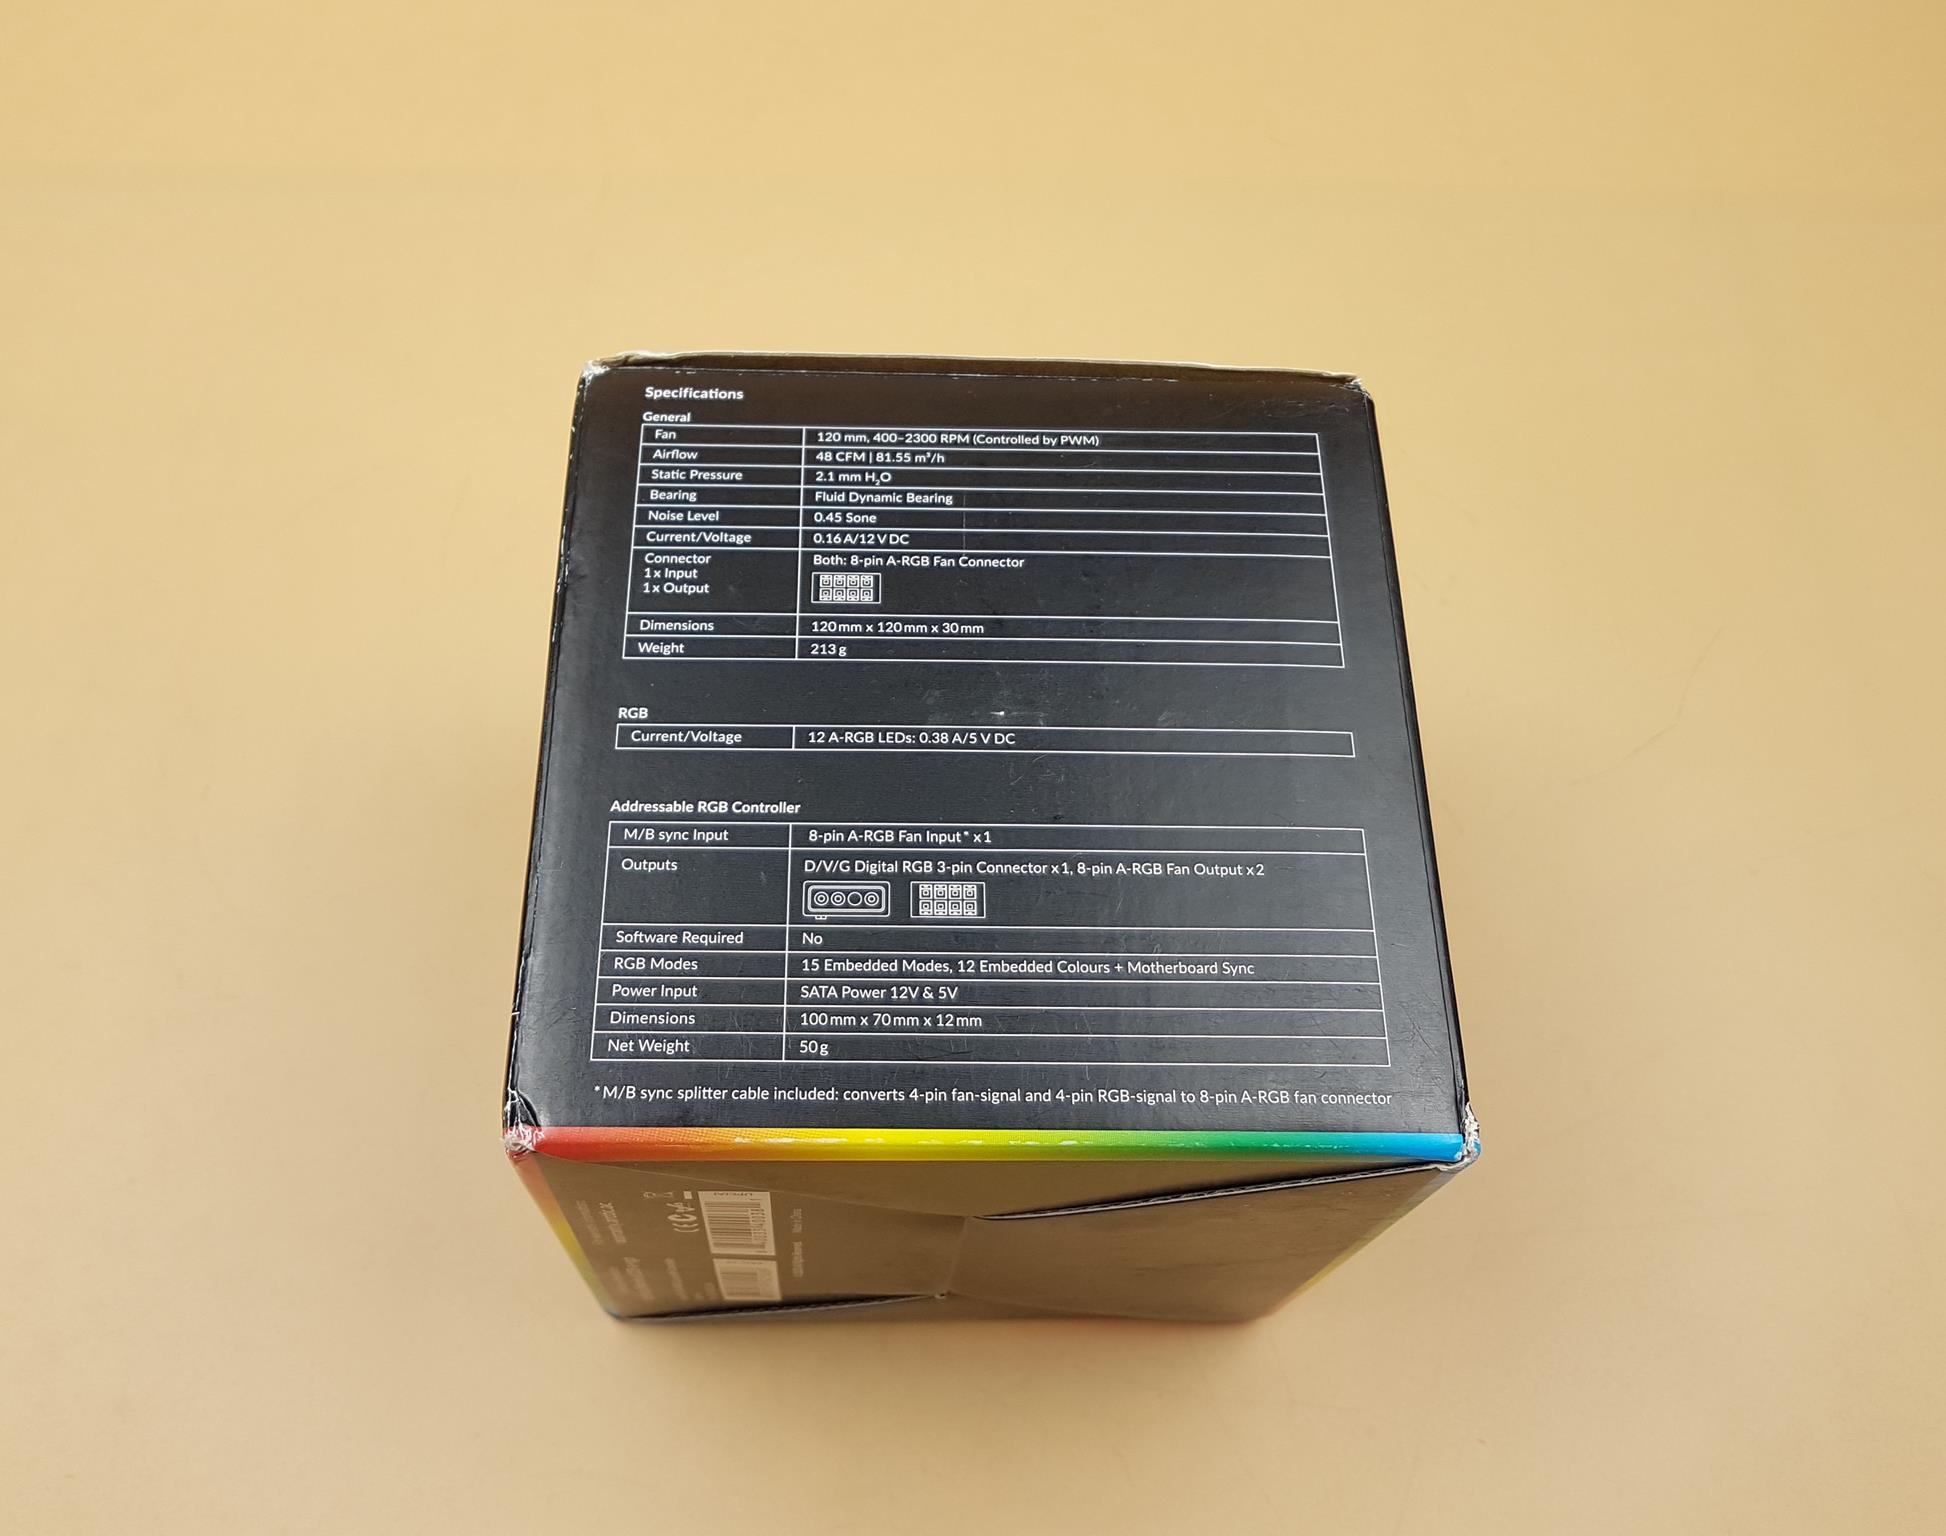
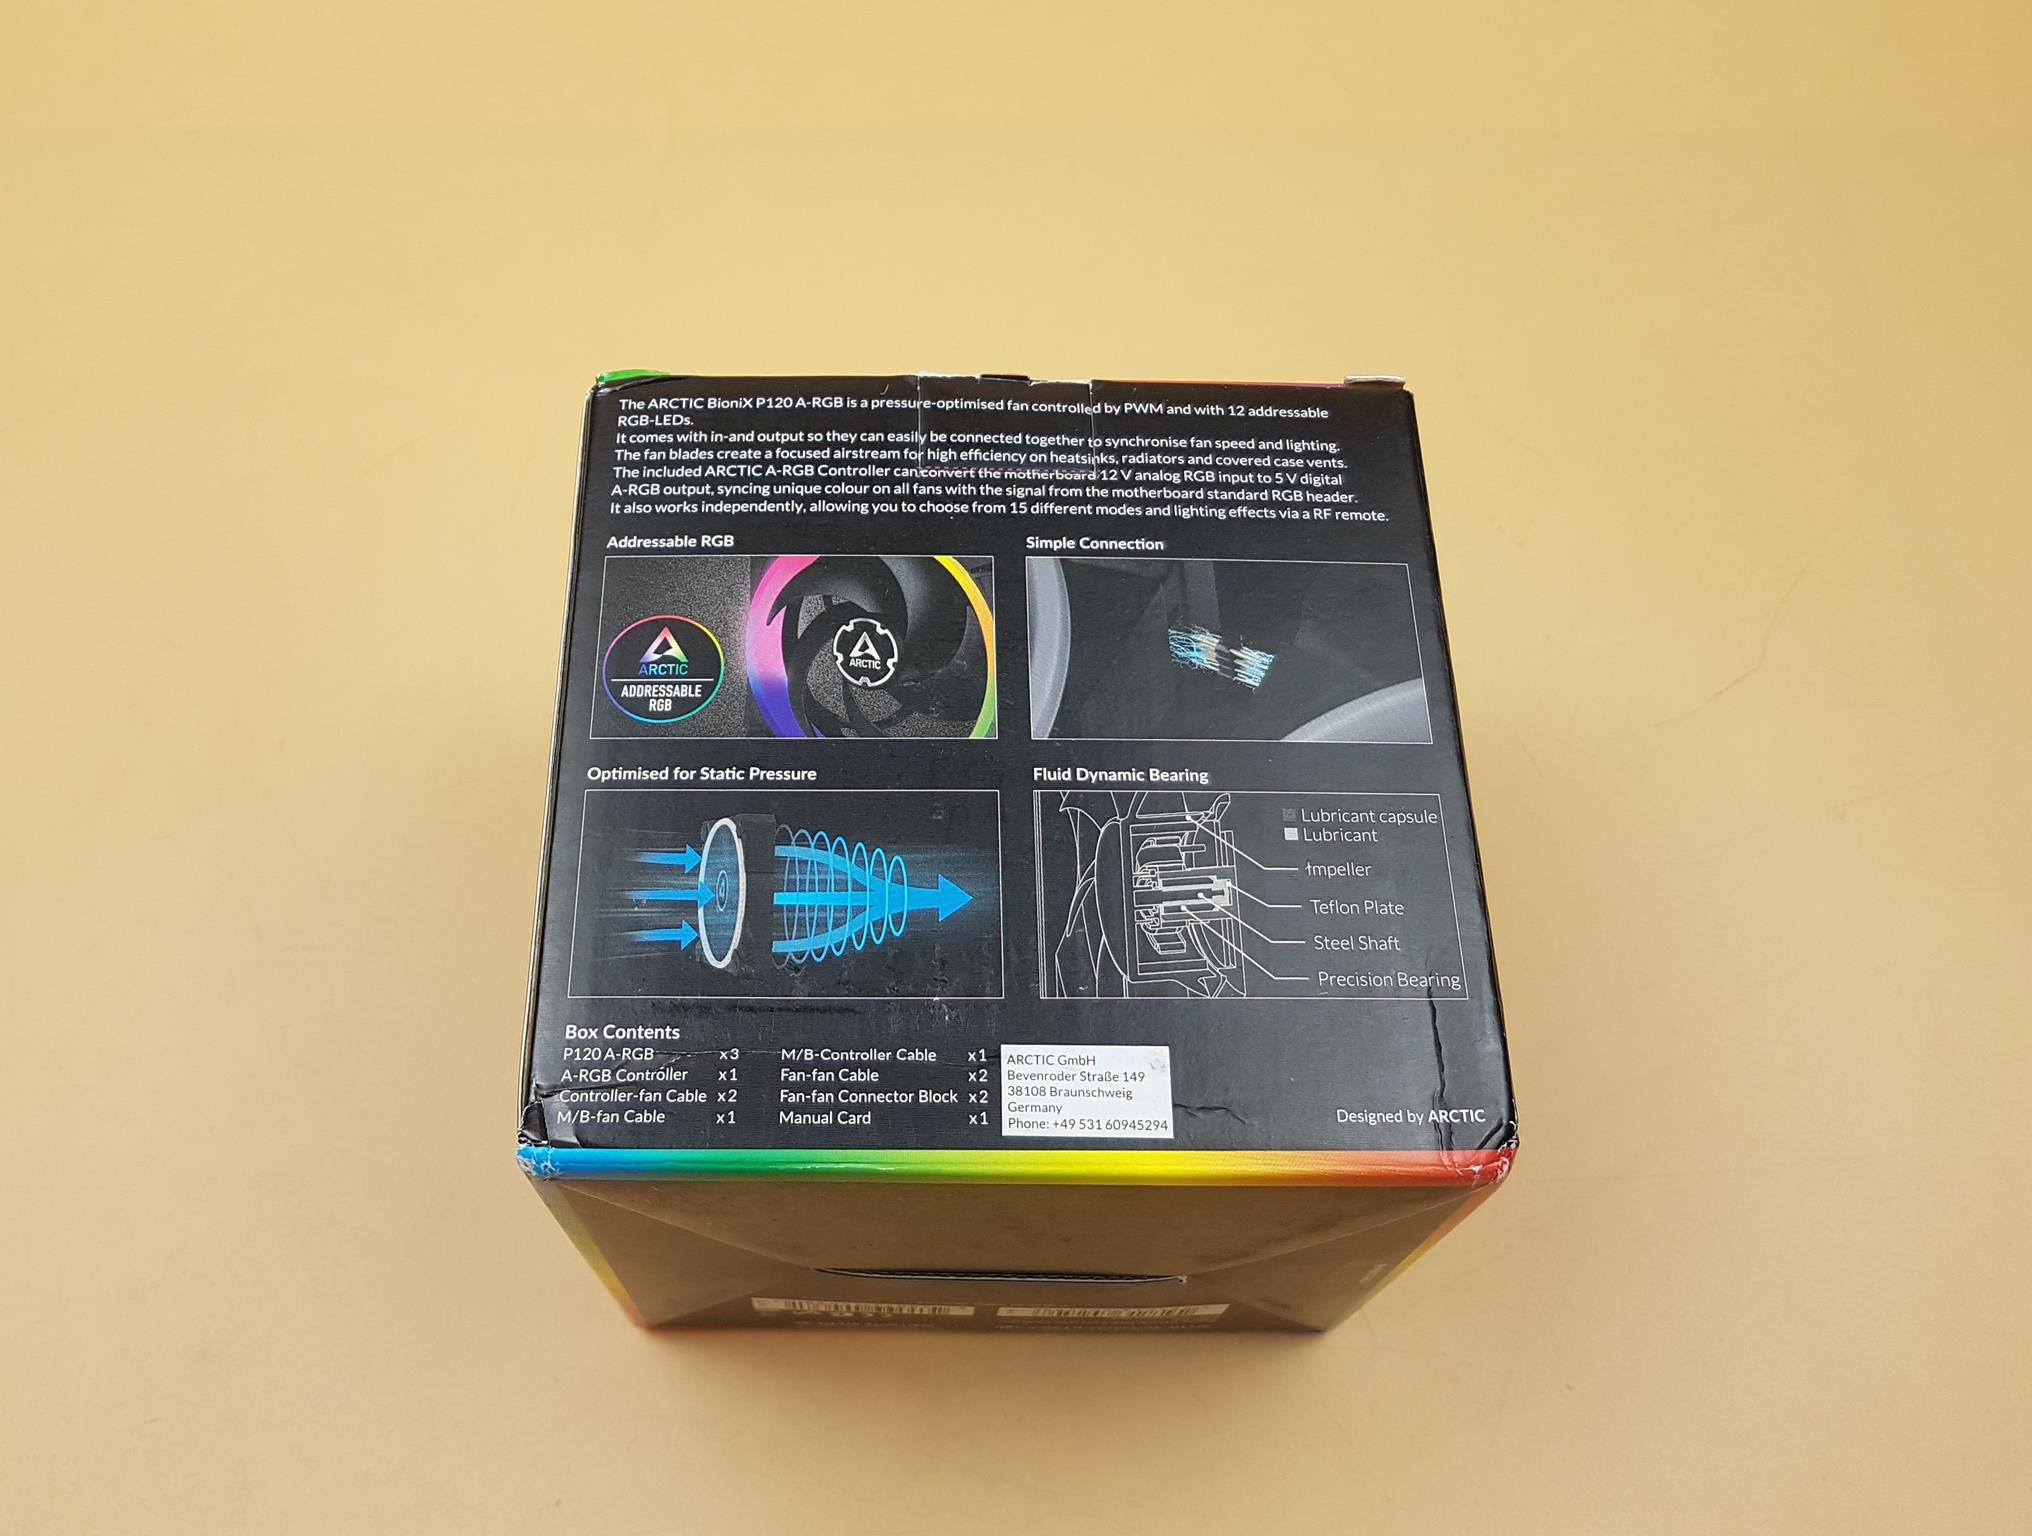
Specifications are printed in a tabular format. Check the connector type. These fans have 8-pin input/output connectors. There is no standard 4-pin PWM or 3-pin A-RGB connector on the fans. We will address these in the Closer Look section below.
The salient features are highlighted here. The contents of the box are also printed.
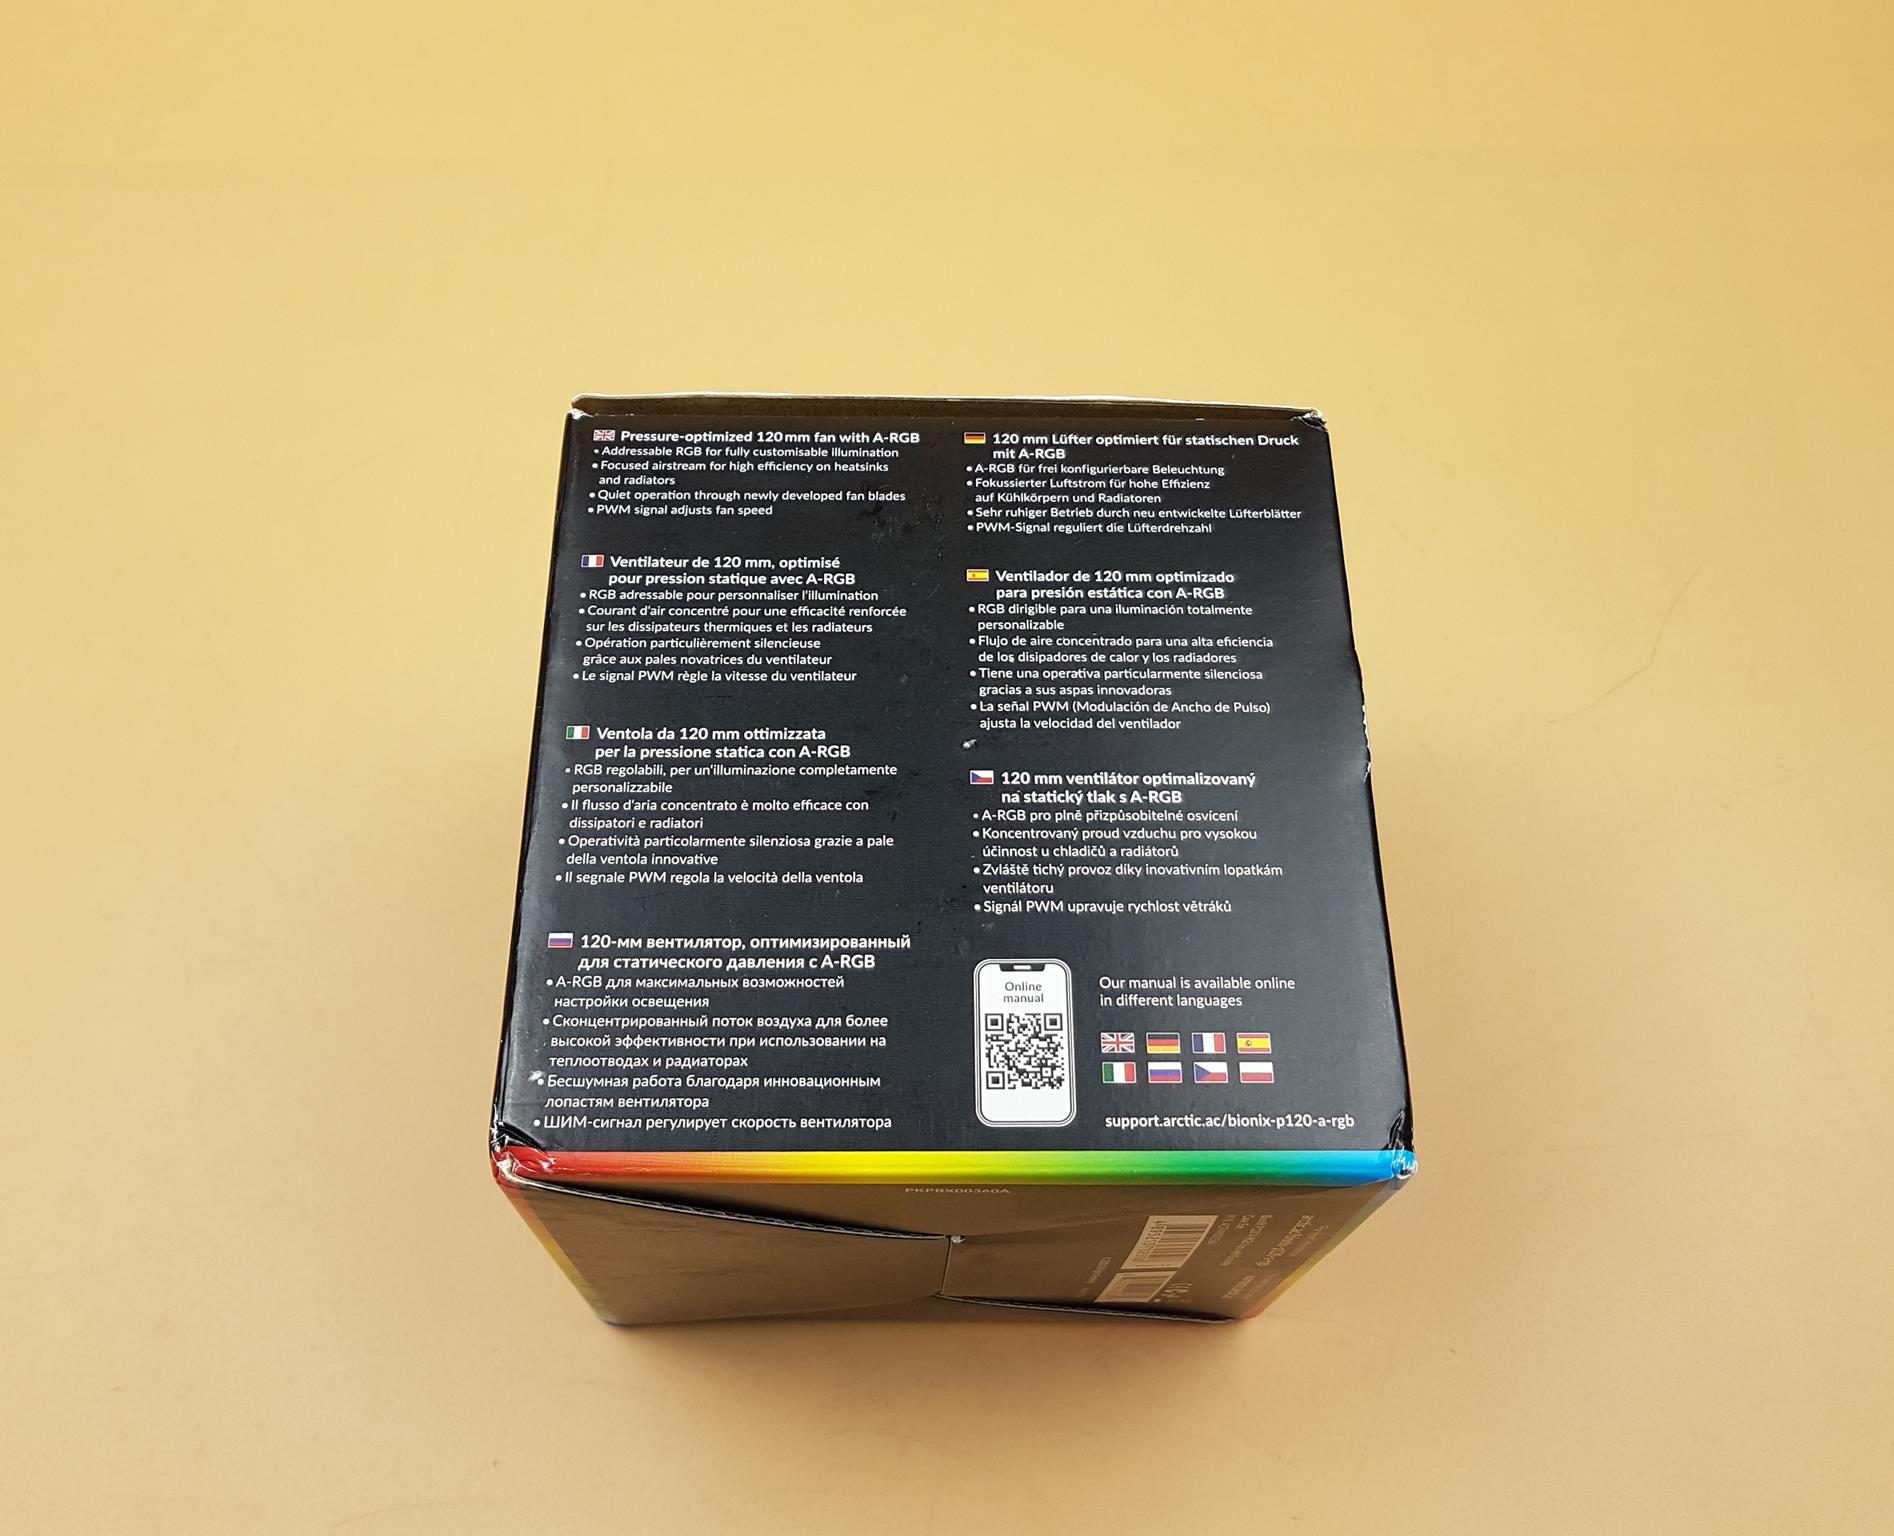
The salient features are printed in 7 languages. As is the case with ARCTIC products, there is no user manual provided in the box. There is a scan code that will redirect to the manual on their website.
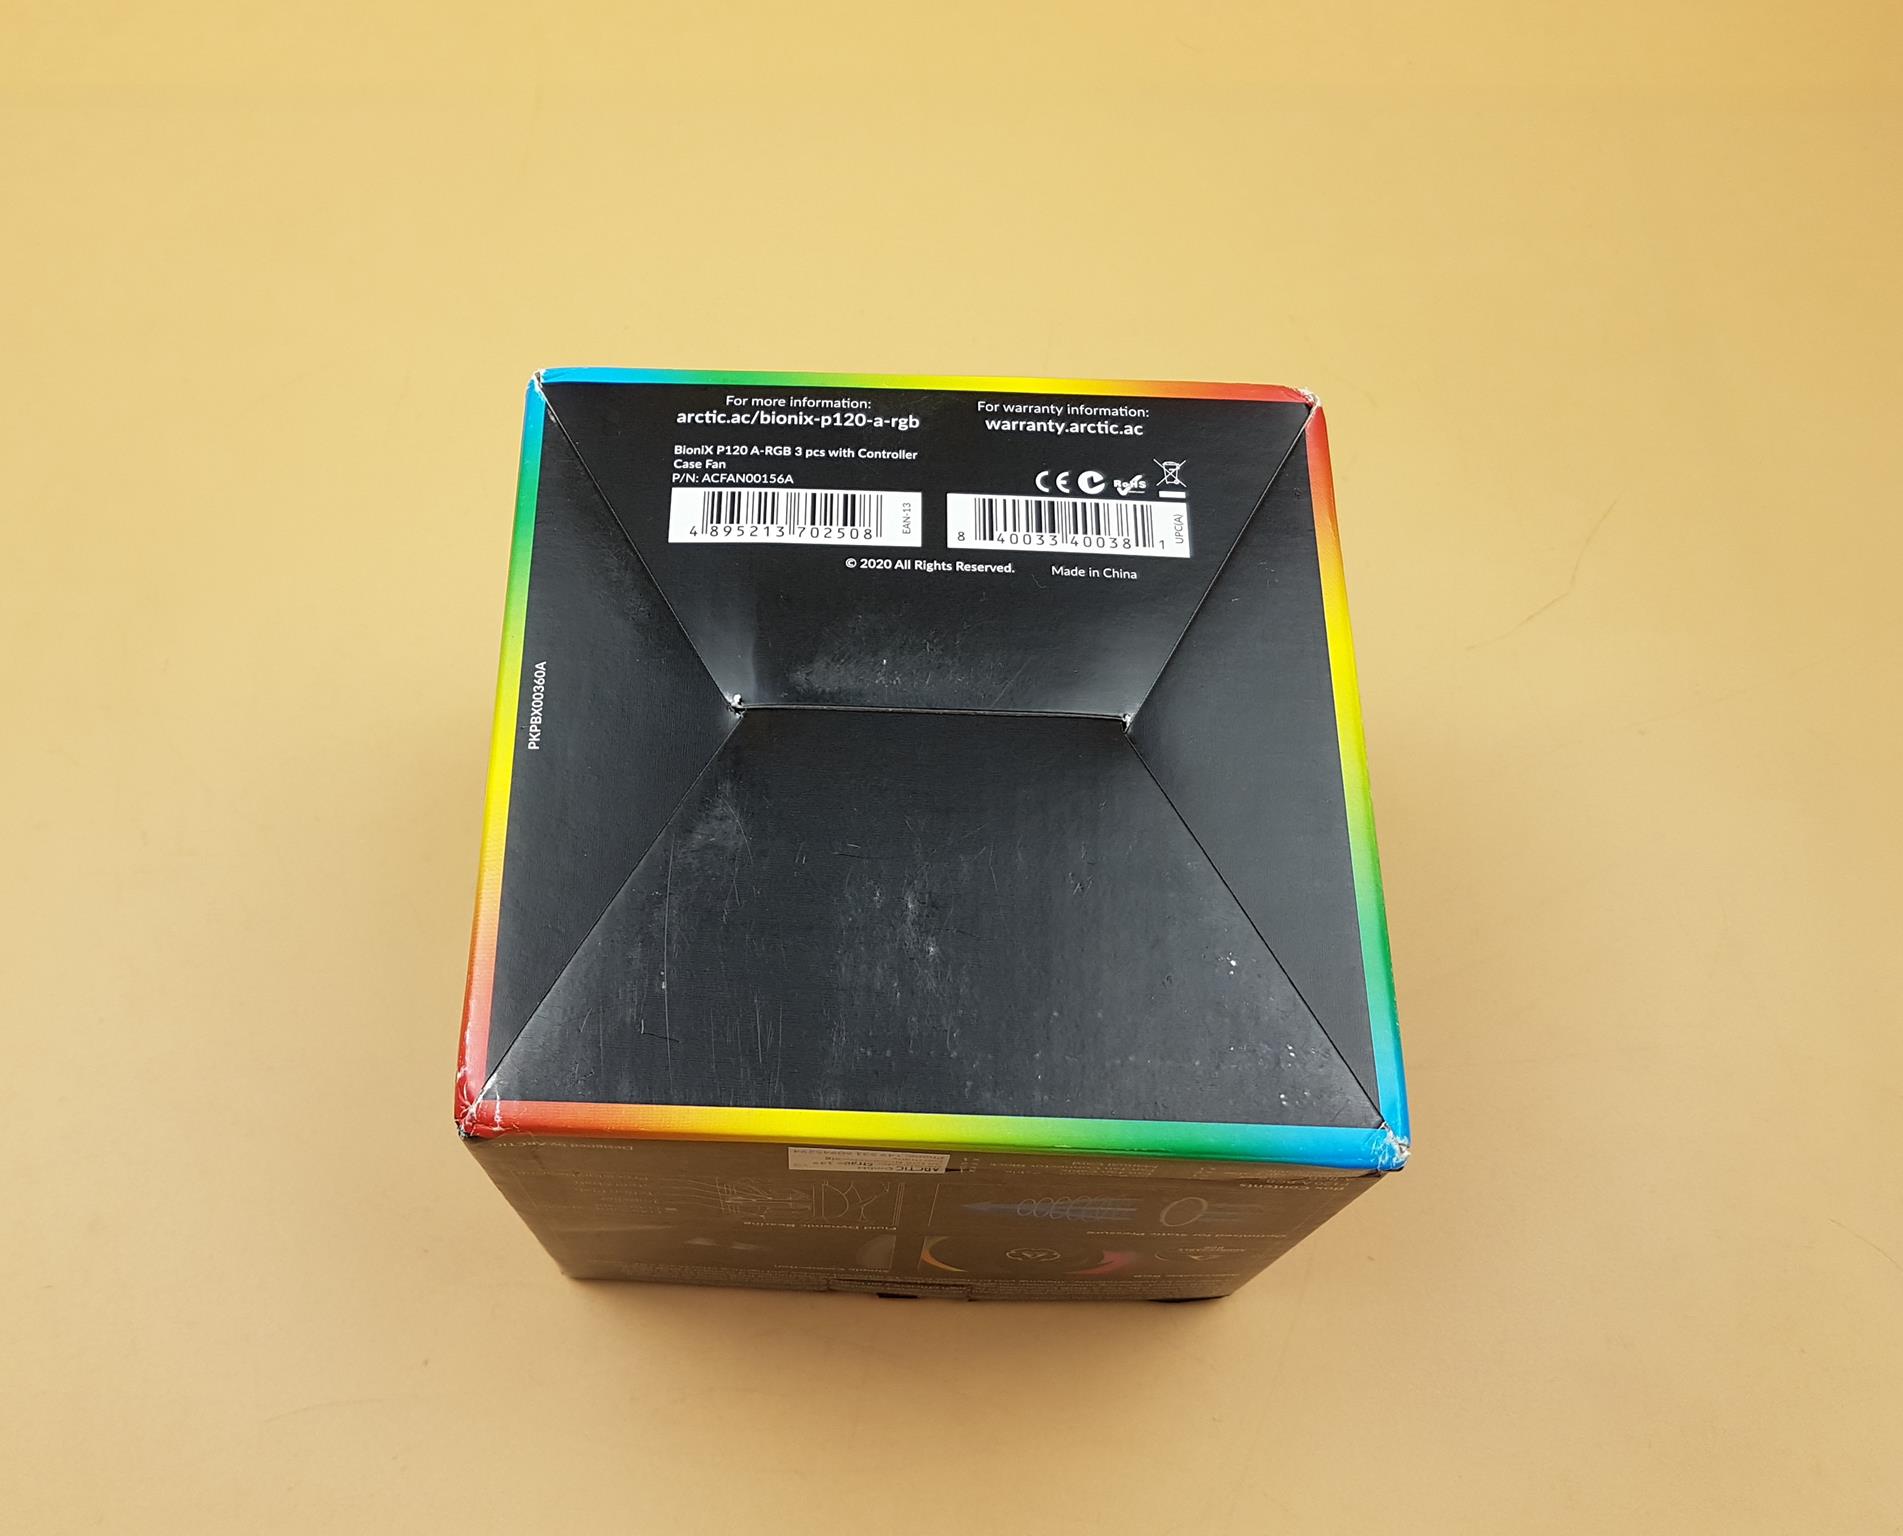
The EAN and UPC info labels are printed. The fans are made in China.
Opening the box will show the fans and the accessory box stacked up in the main packing box. The brochures are placed on the top.
What is included?
The following is provided in the box:
A scan code on the manual card for the online detailed user manual is provided.
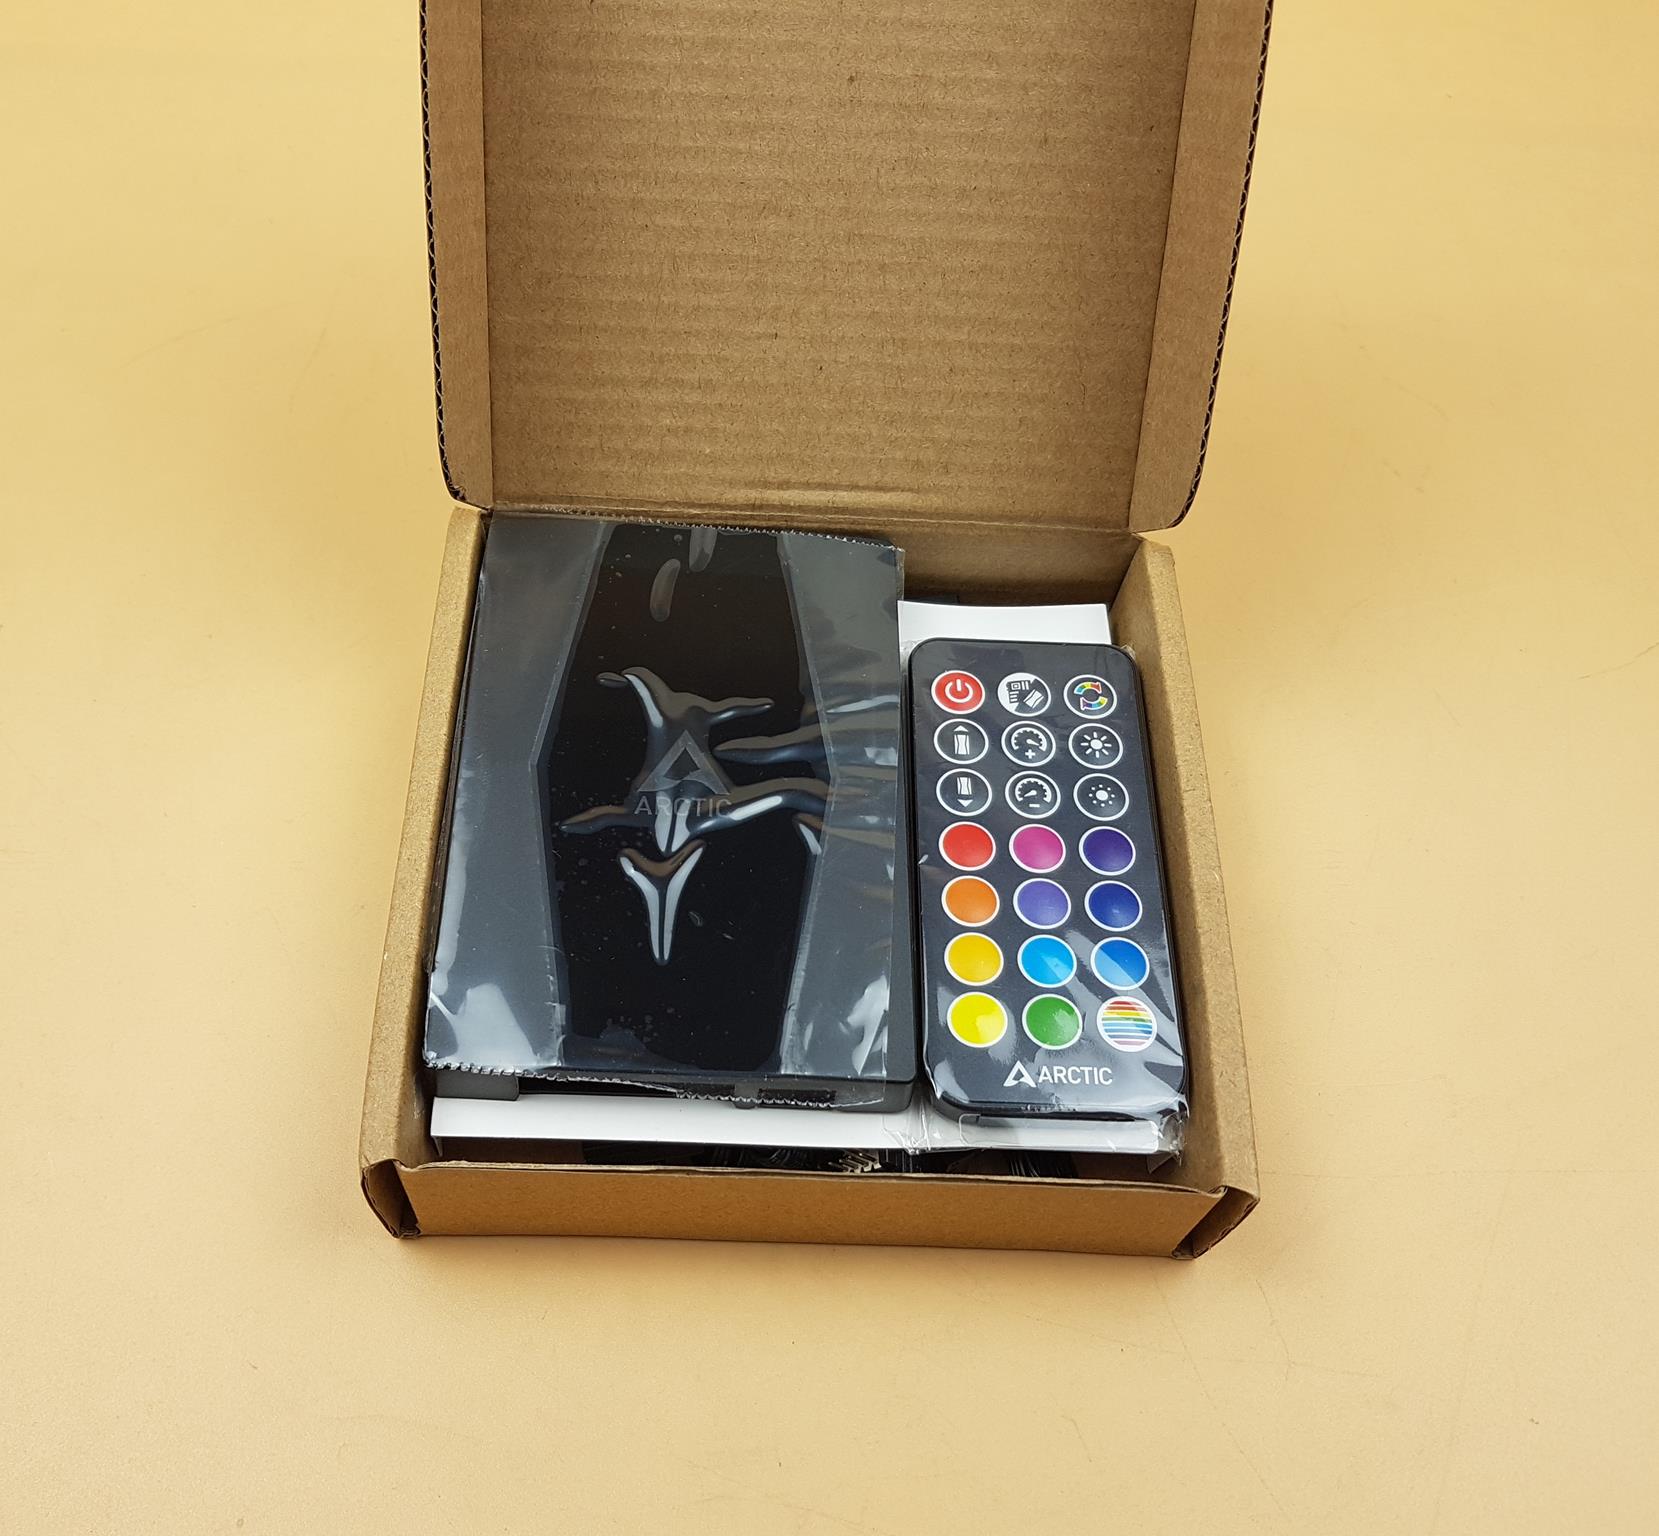
The accessories are placed inside the brown color cardboard box.
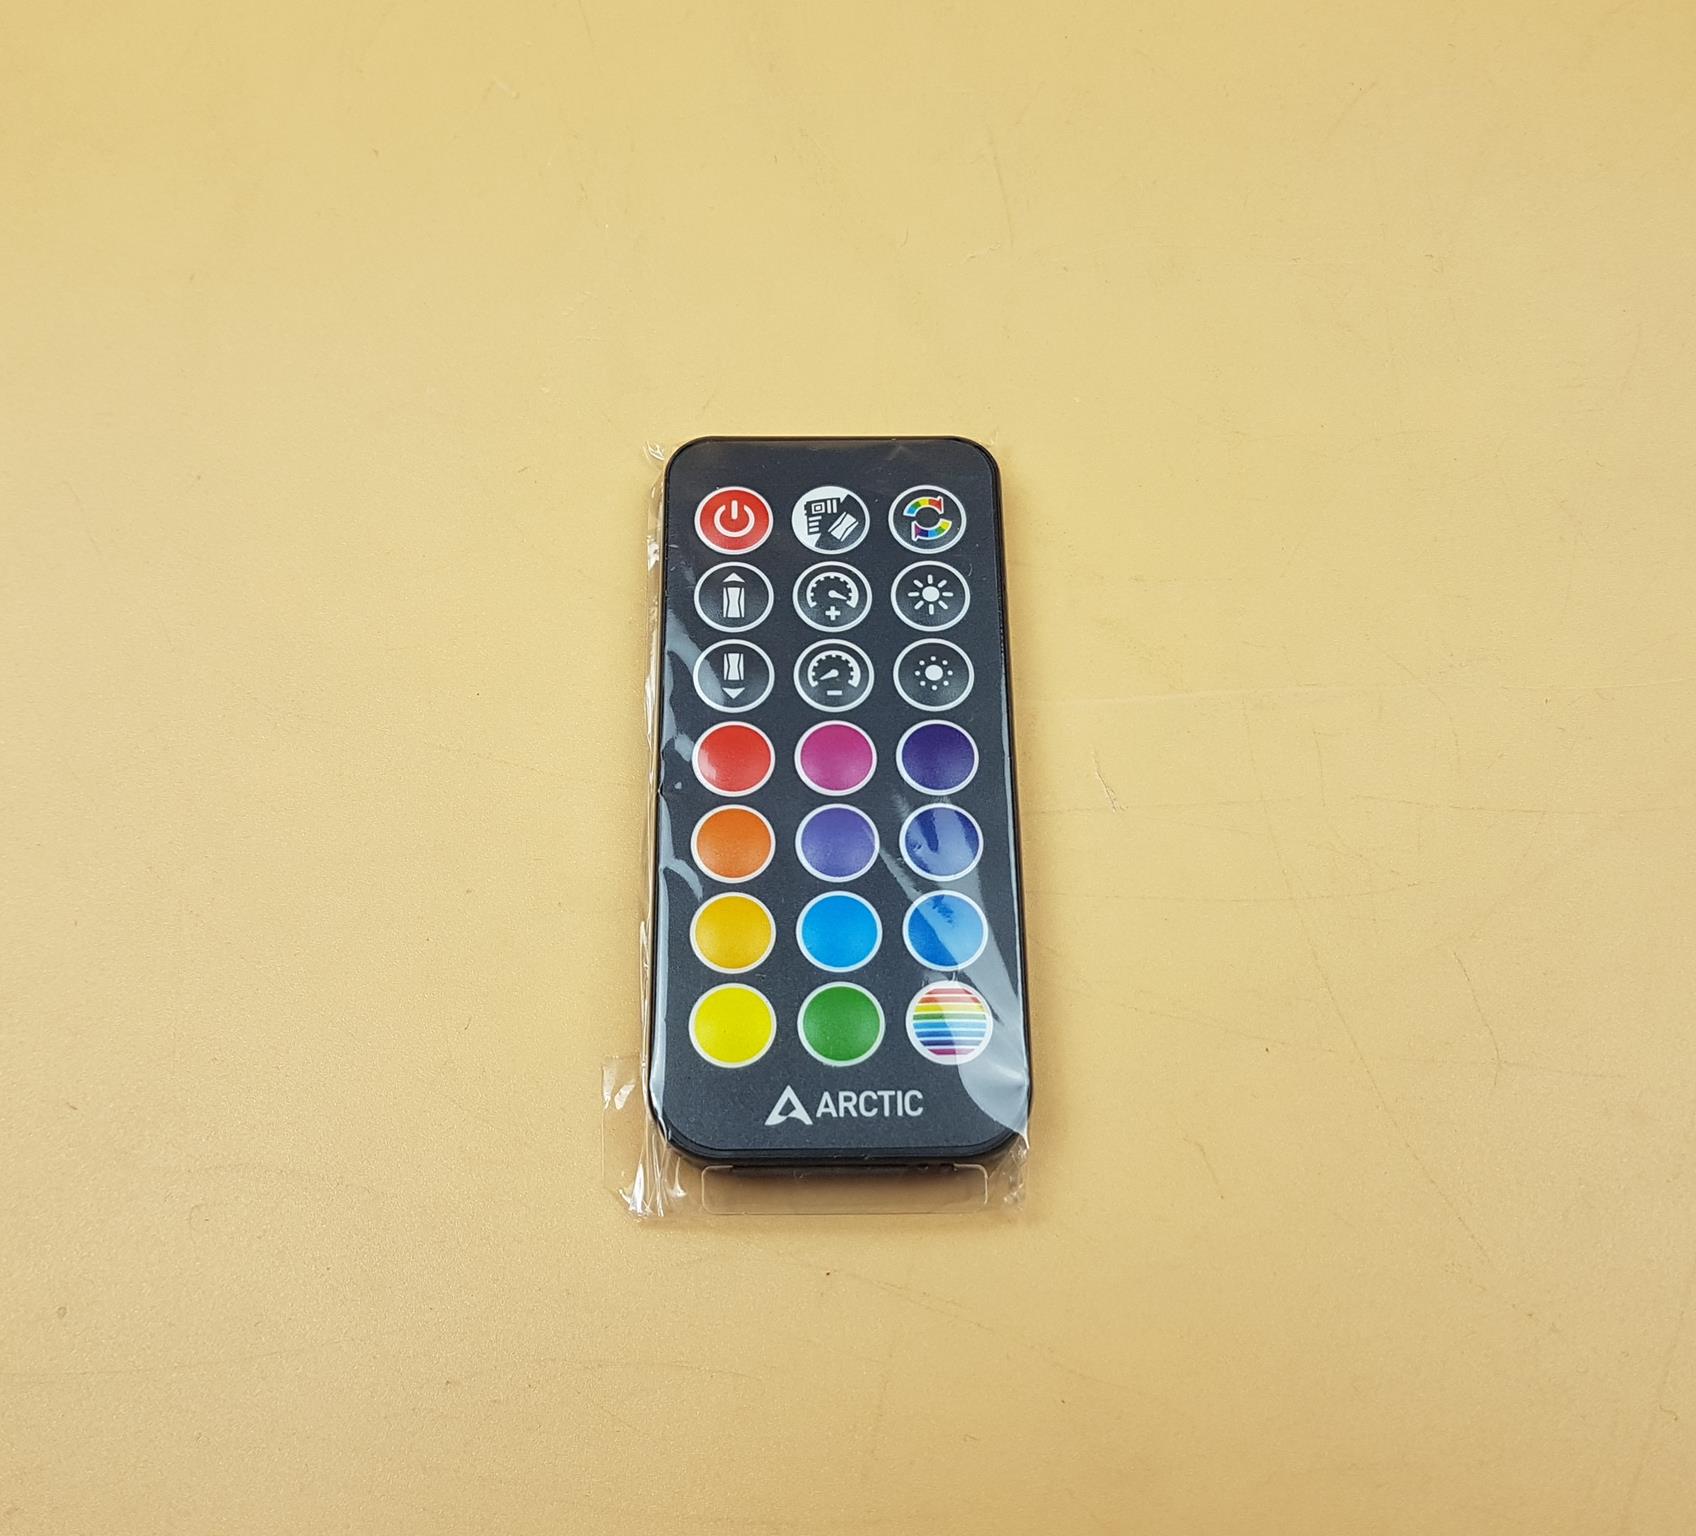
The box has the controller and remote control placed on the top. The cables and screws are on the underside.
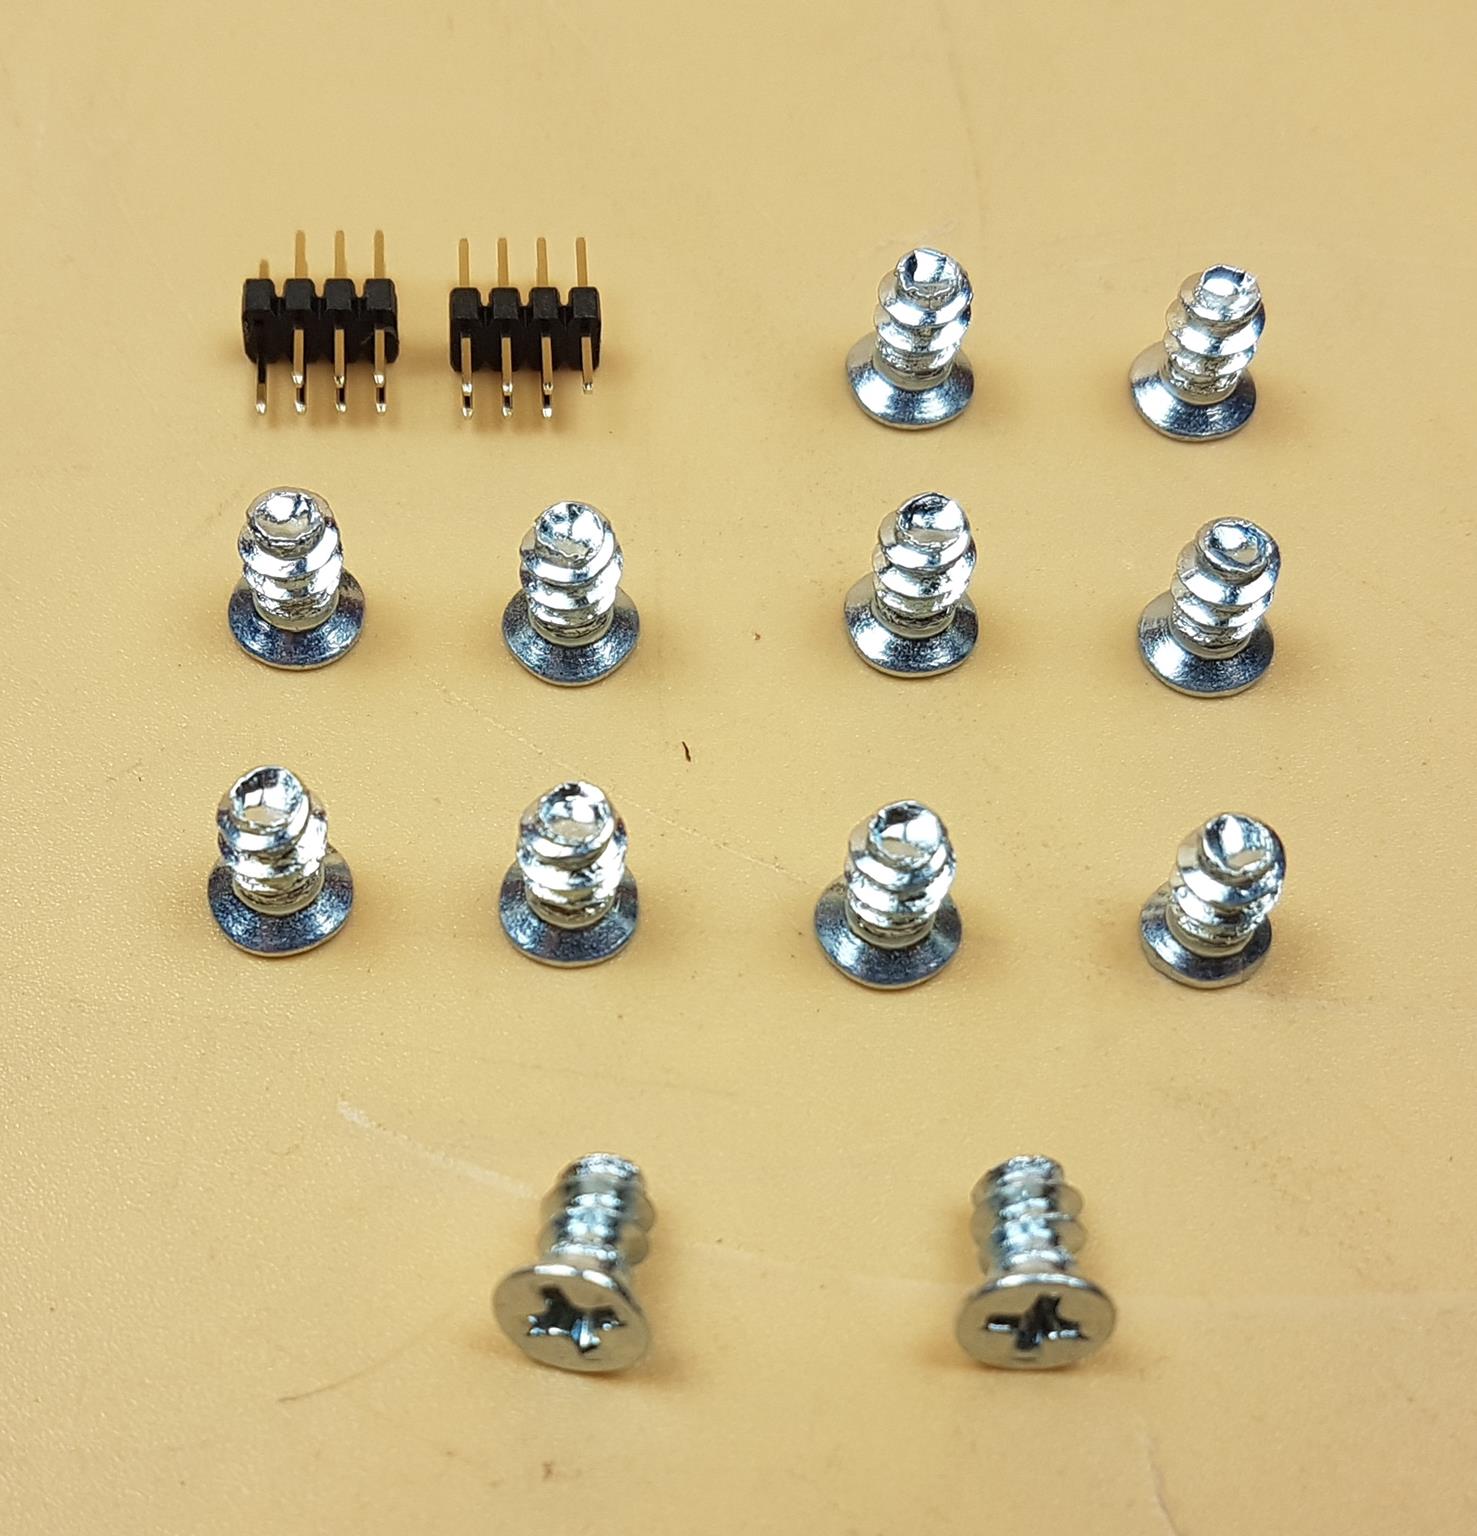
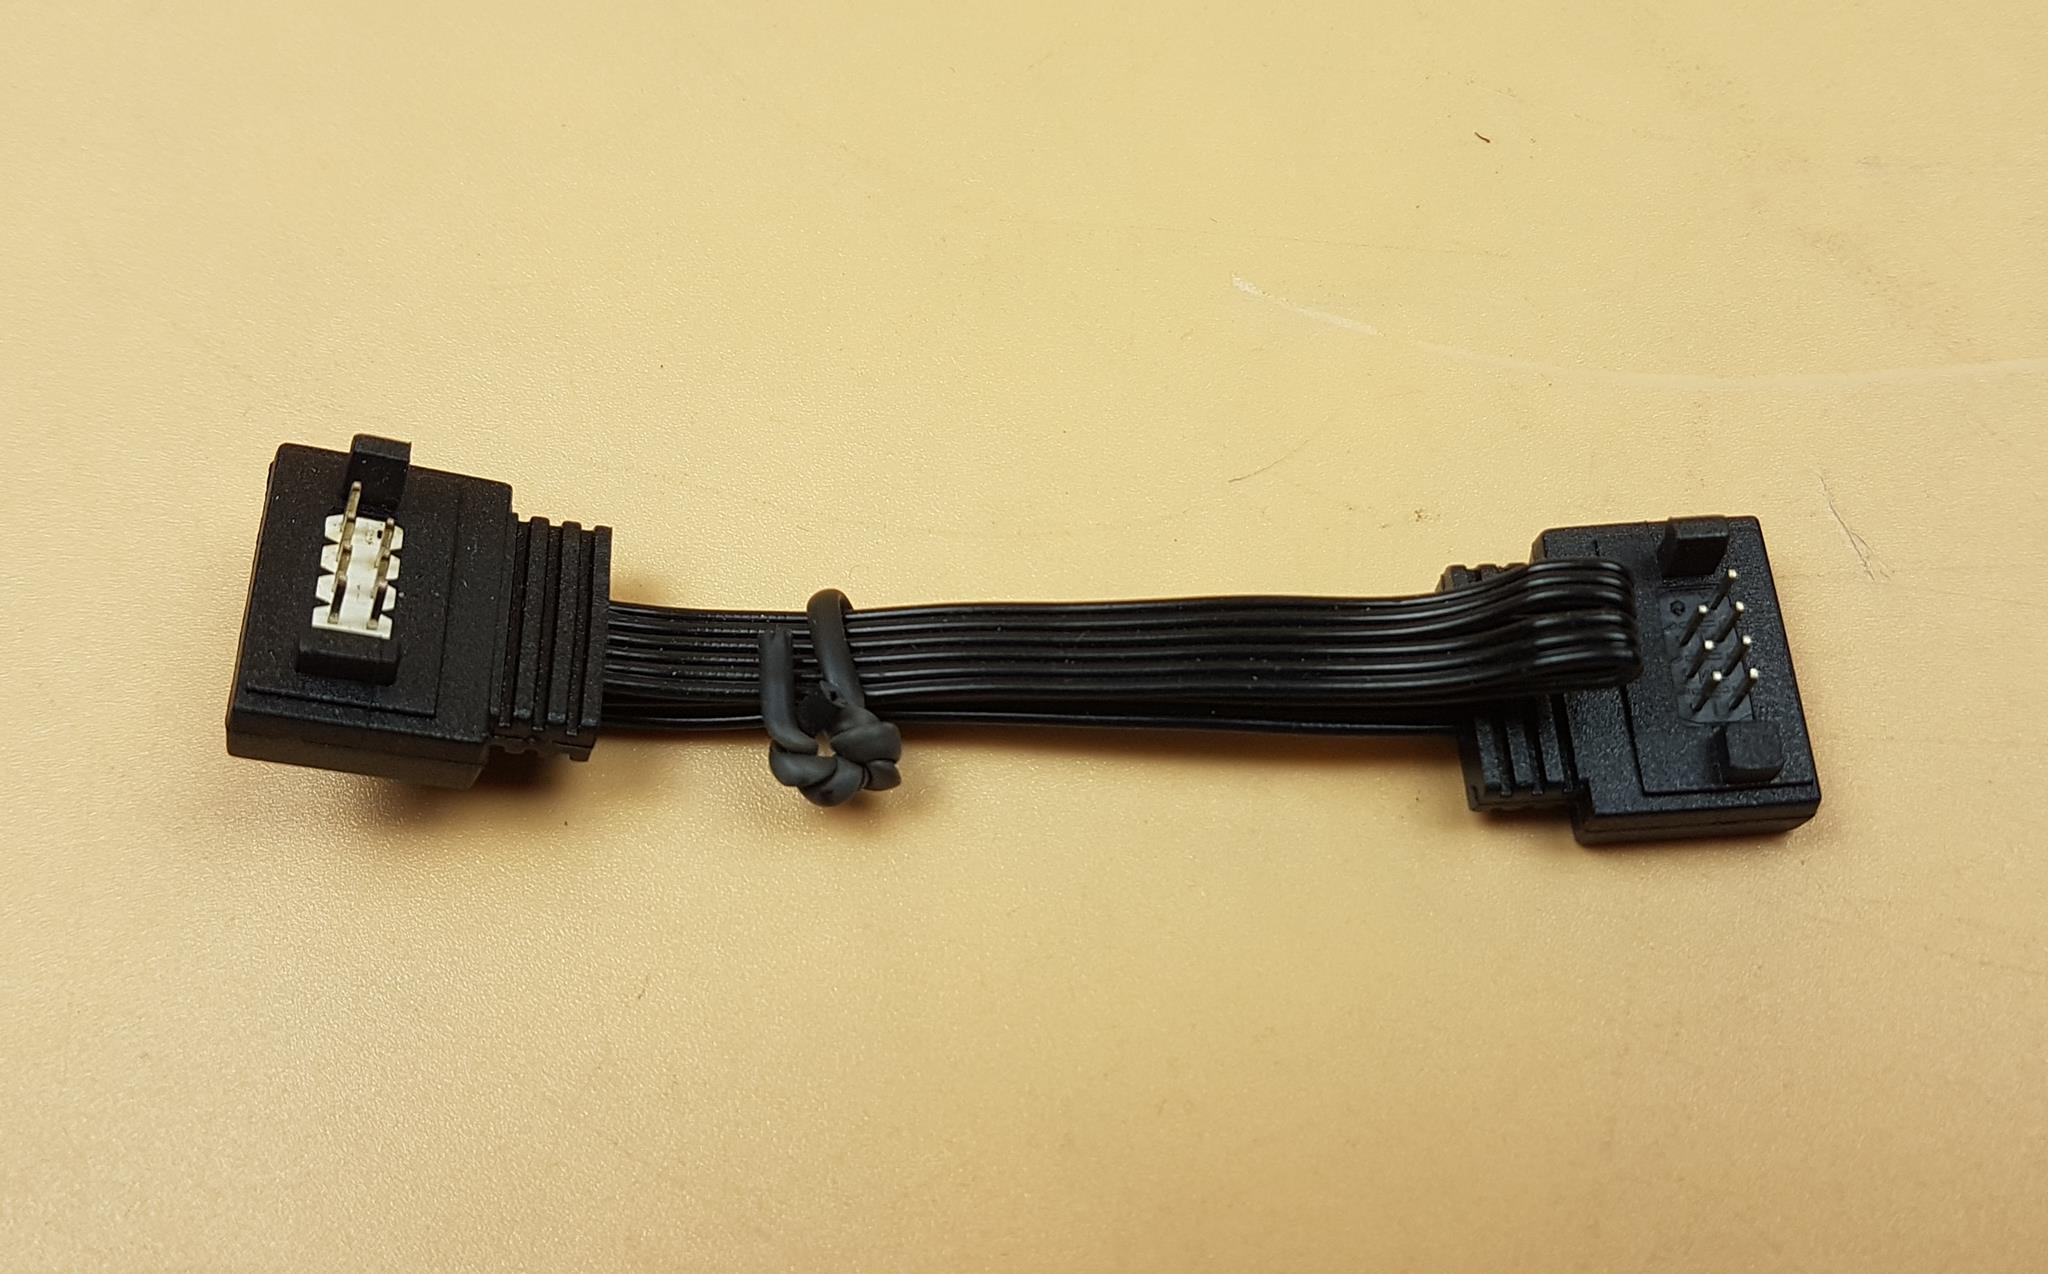
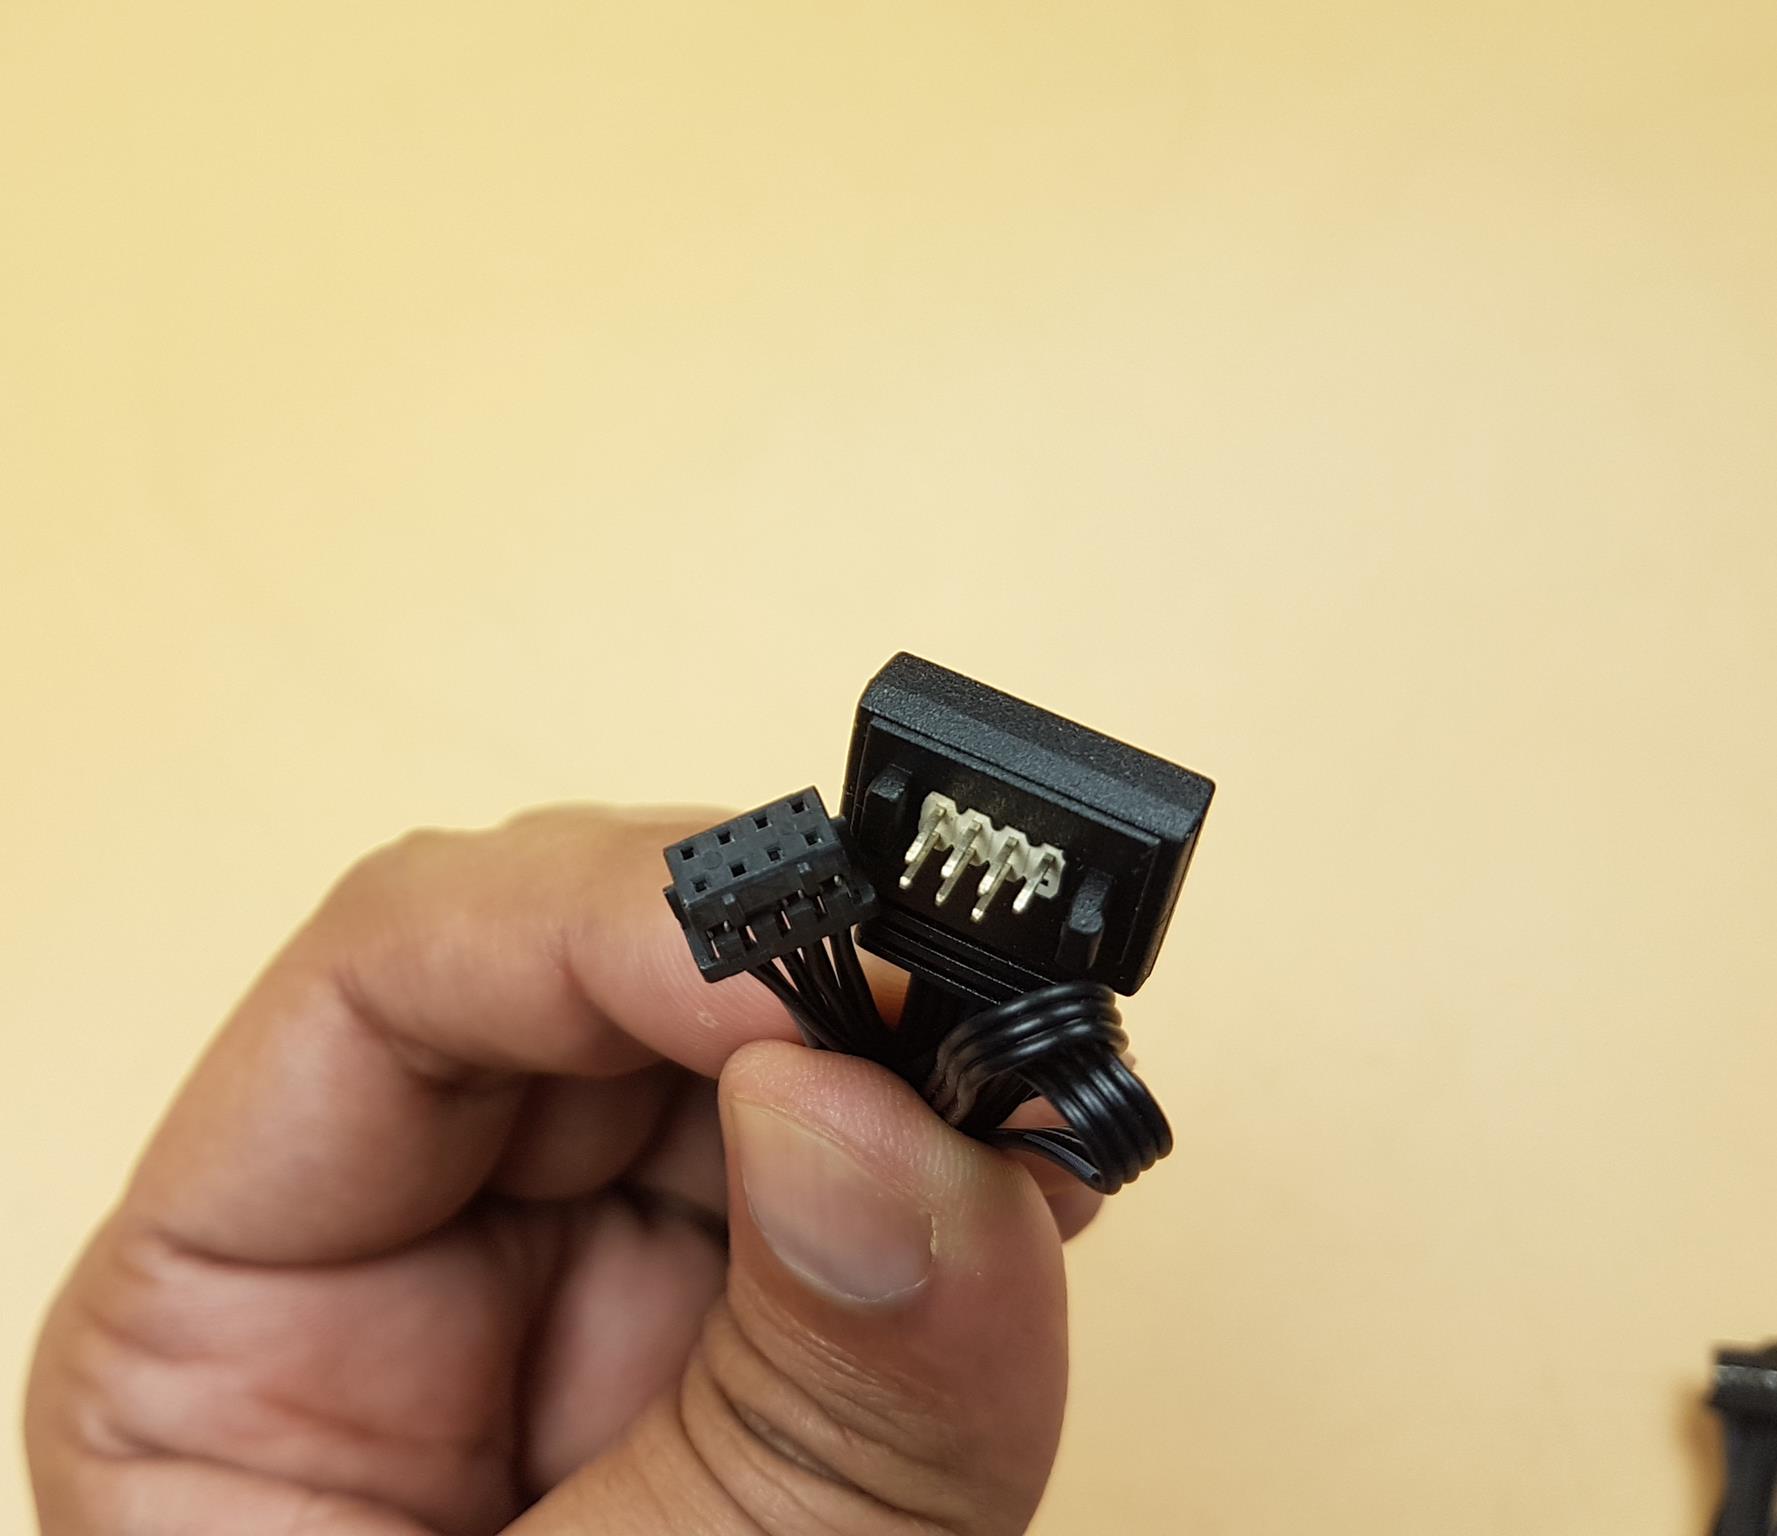
ARCTIC has provided 12x silver color self-tapping screws to install the fans on the chassis. There are two 8-pin interconnect blocks. These are the key holder in the design of these fans. These blocks are used to connect the fans to each other without using any cable. Their design is such as each side has 7-pins laid out so that one can use these on the Input and Output connectors on the fan irrespectively.
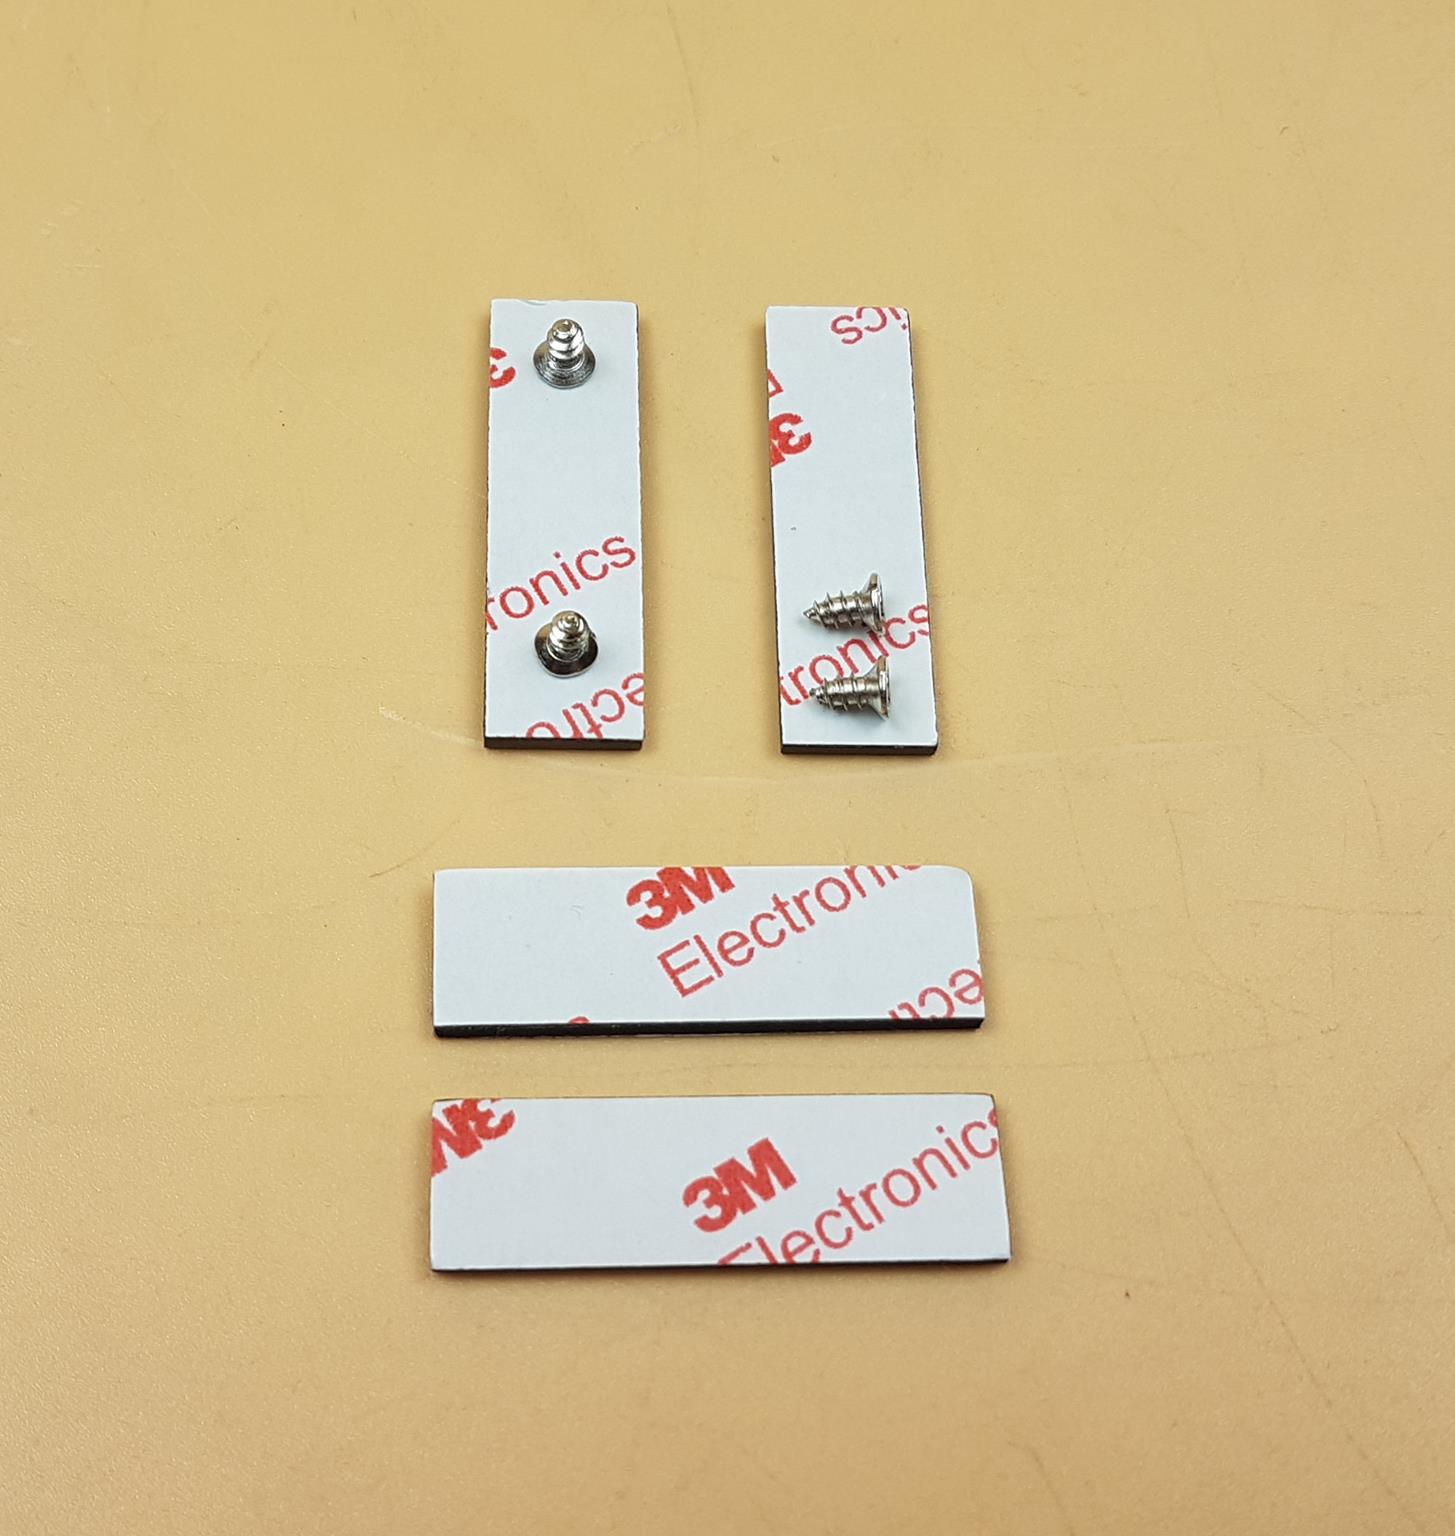
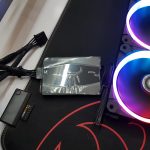
ARCTIC has provided 2x double-sided adhesive EVA pads to install the controller in the chassis. They have also provided 2x single-sided magnetic pads for the same but convenient installation in the chassis. There are 4x screws that the user can use to install the controller on the drive bracket etc.
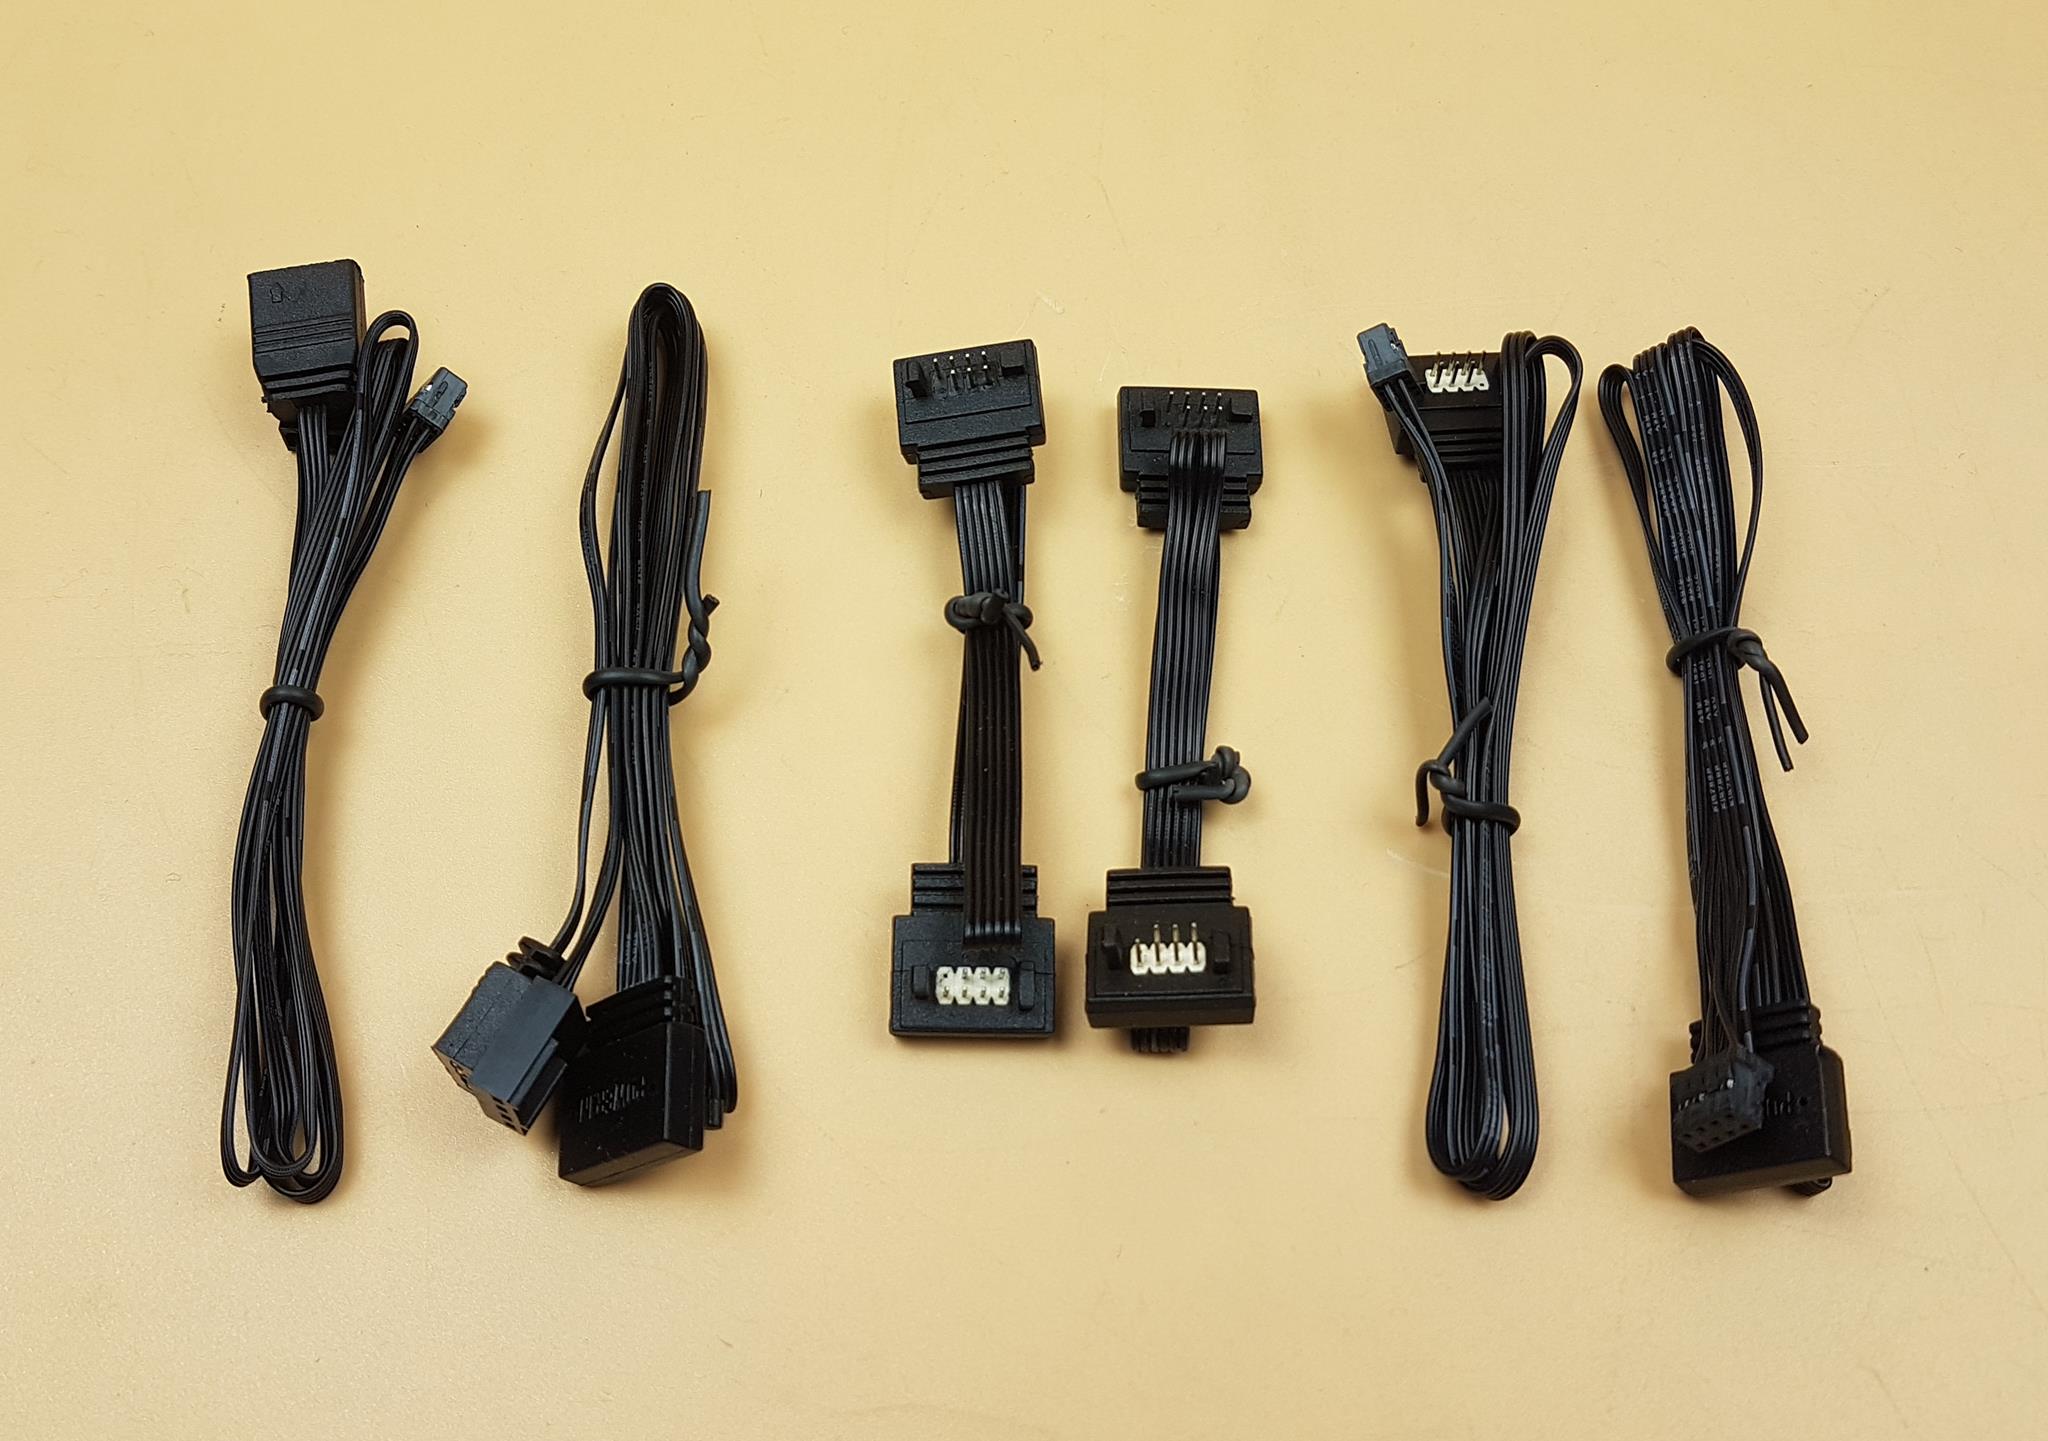
There are a plethora of cables provided for connectivity. We will take a look at them shortly.
Closer Look
It is time to take a look at the fans and the controller.
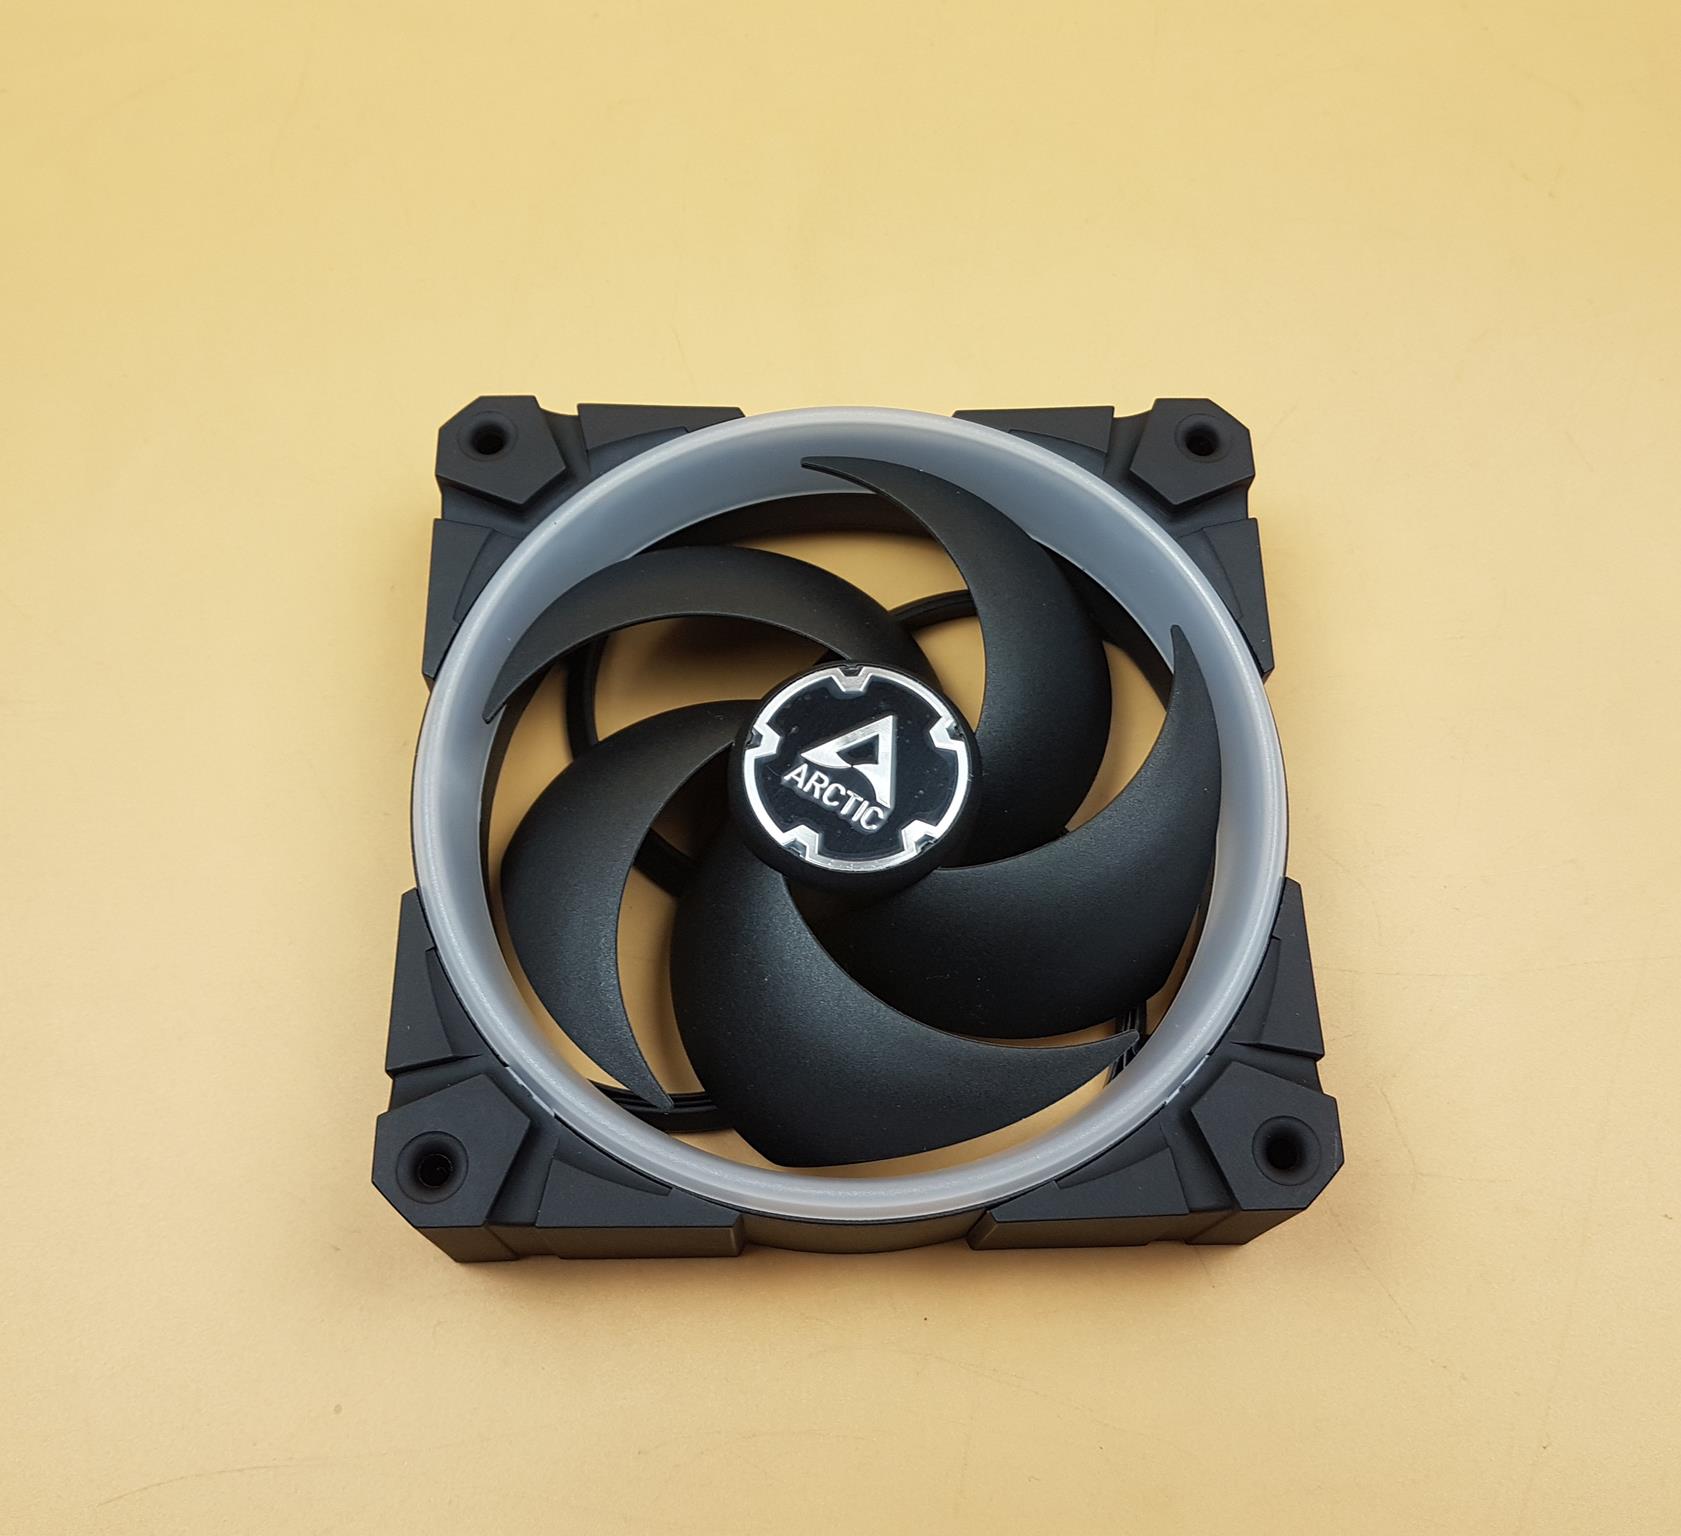
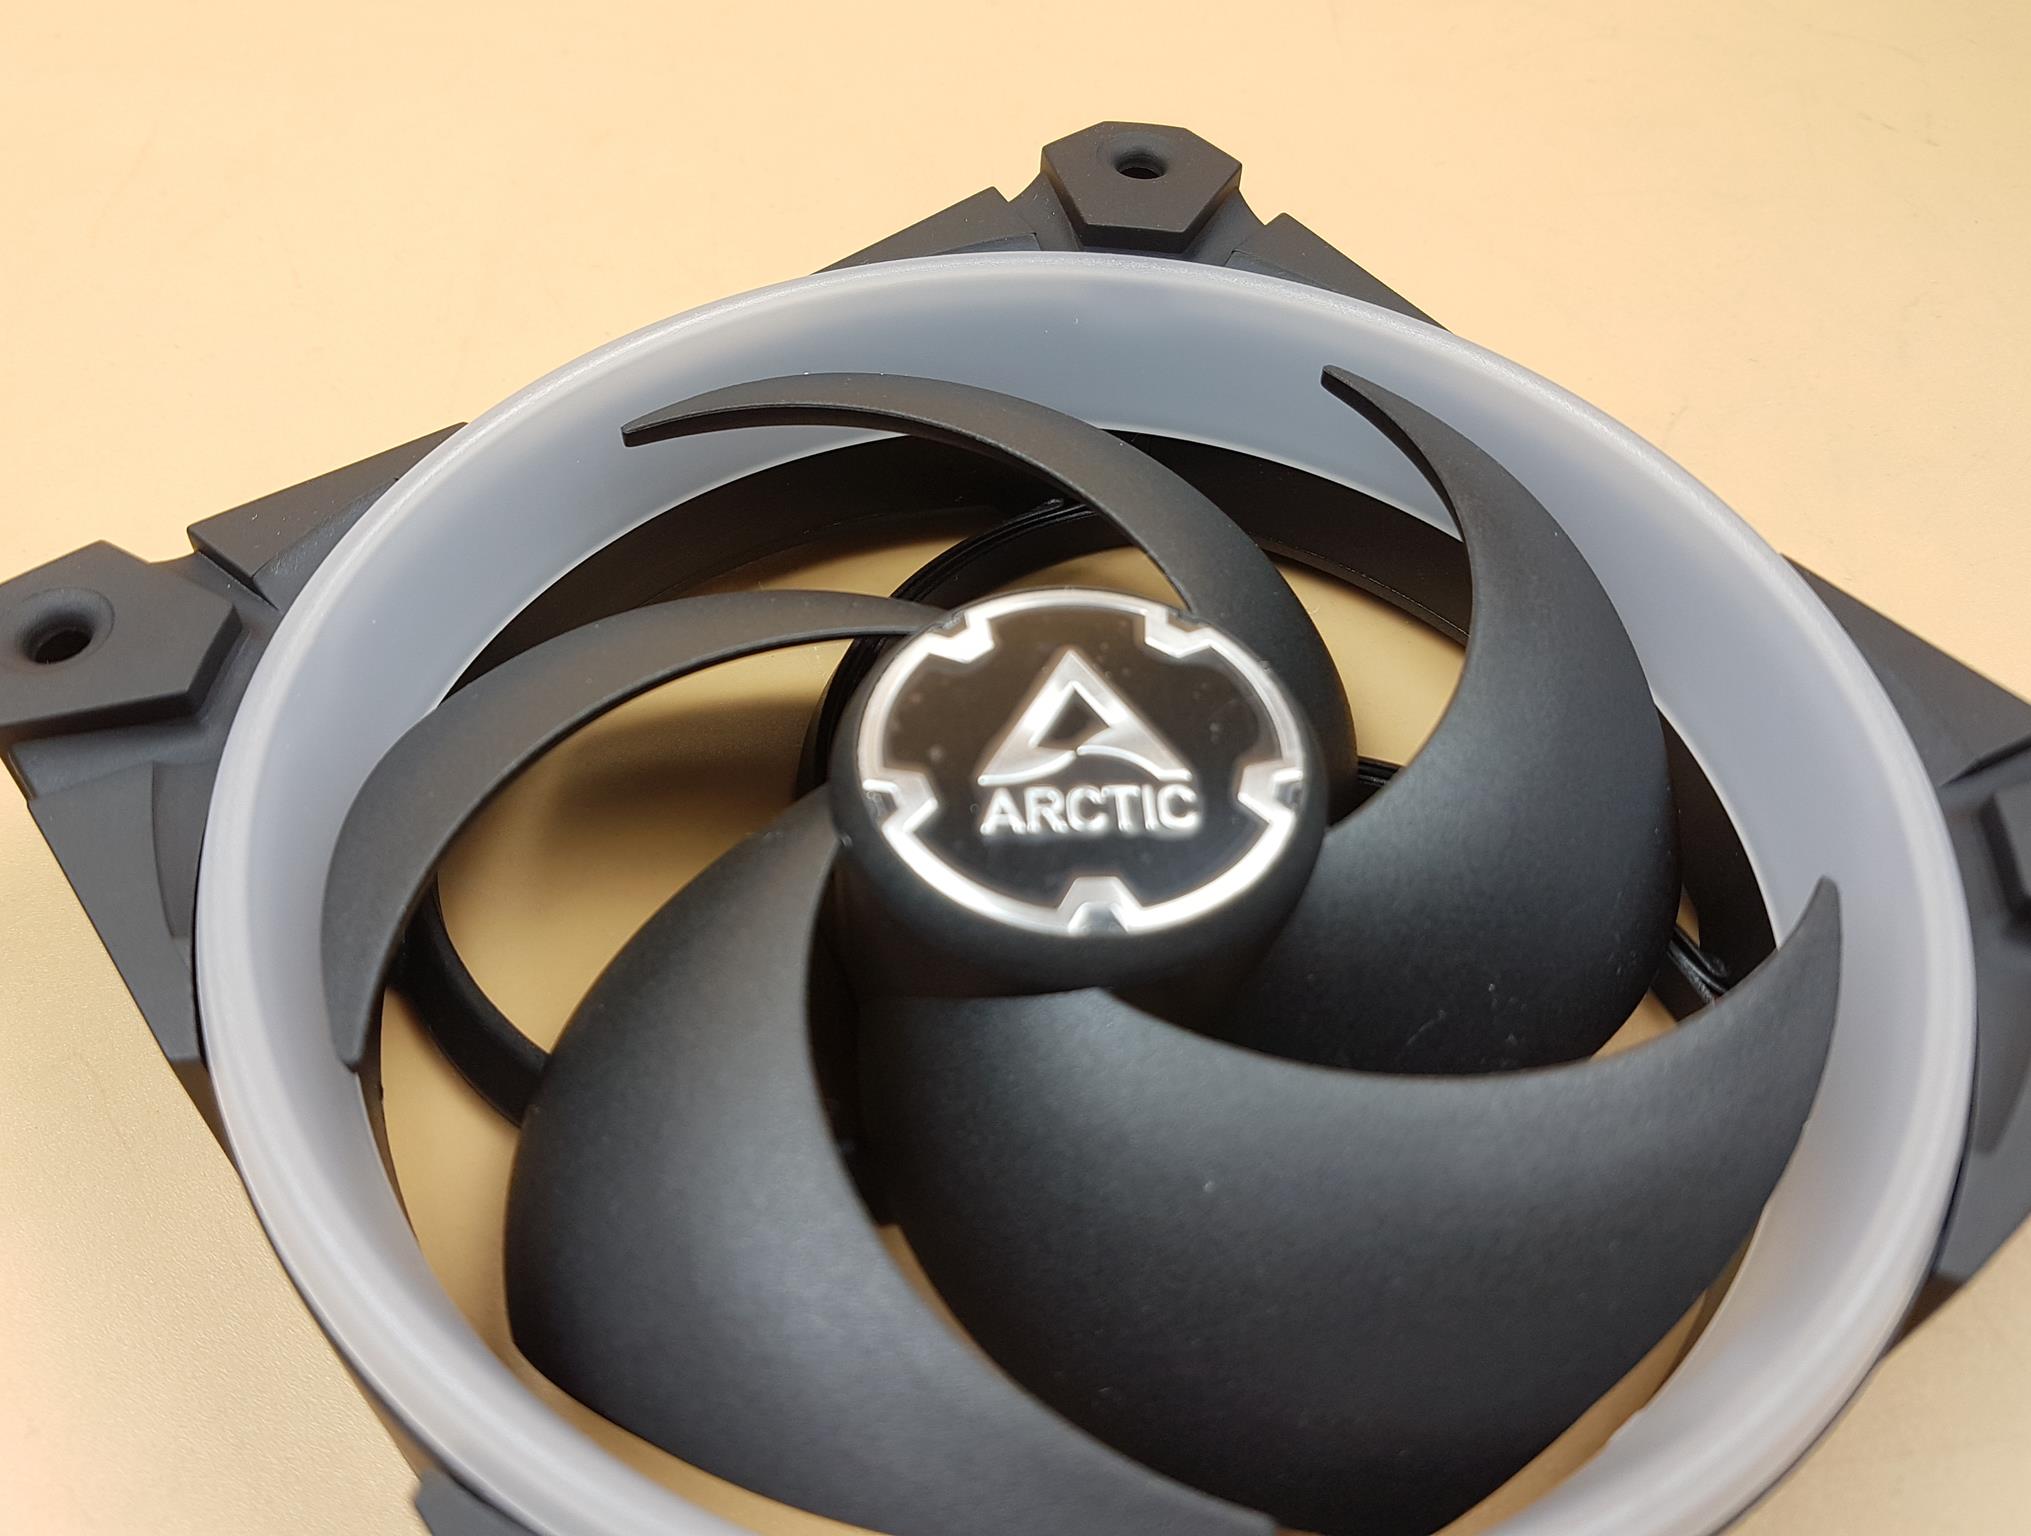
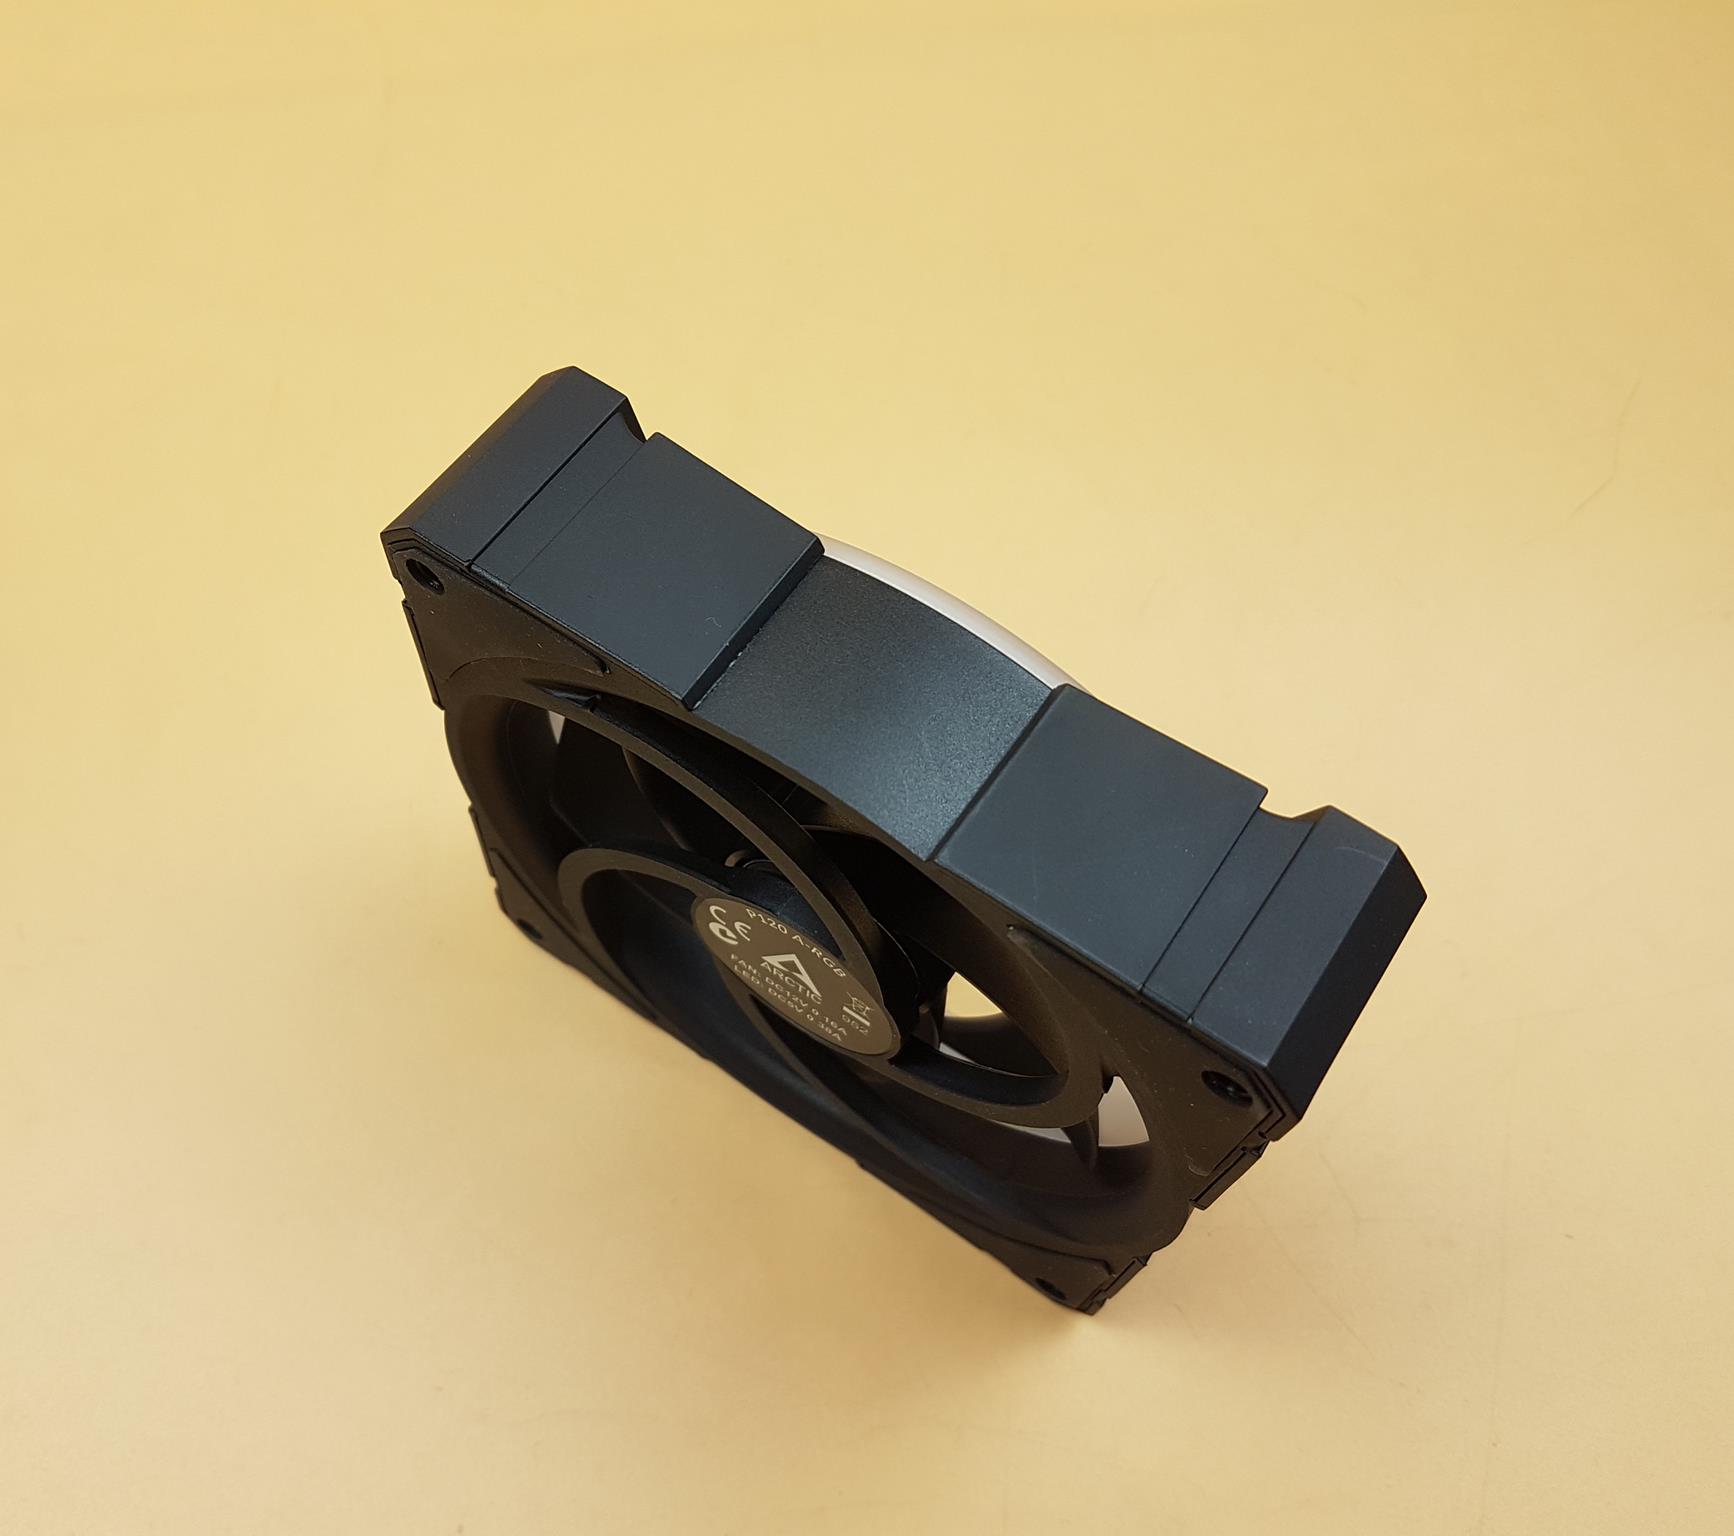
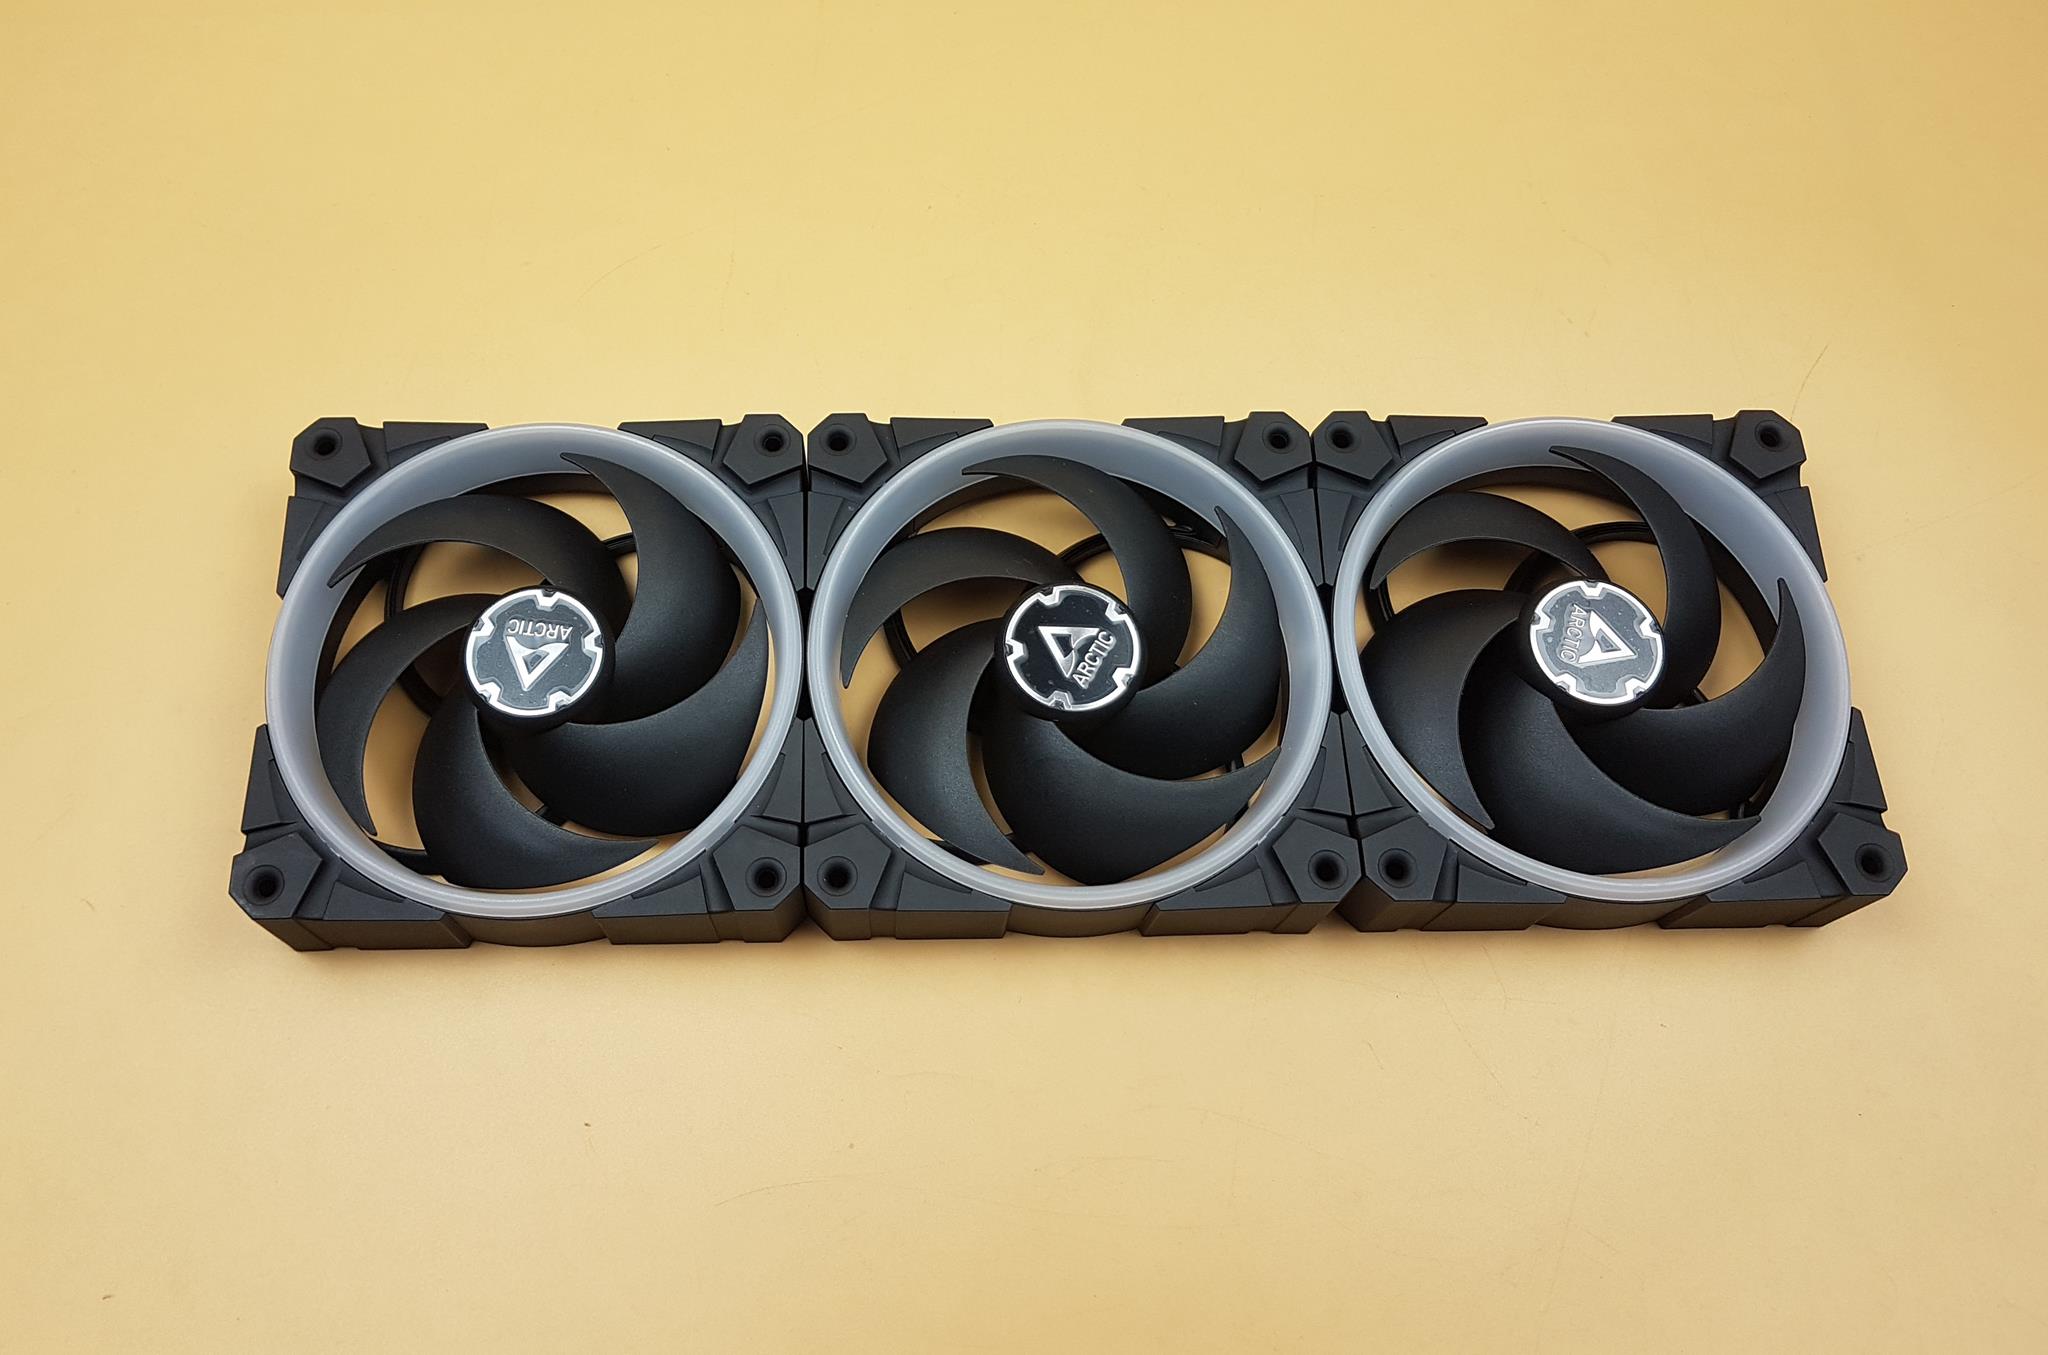
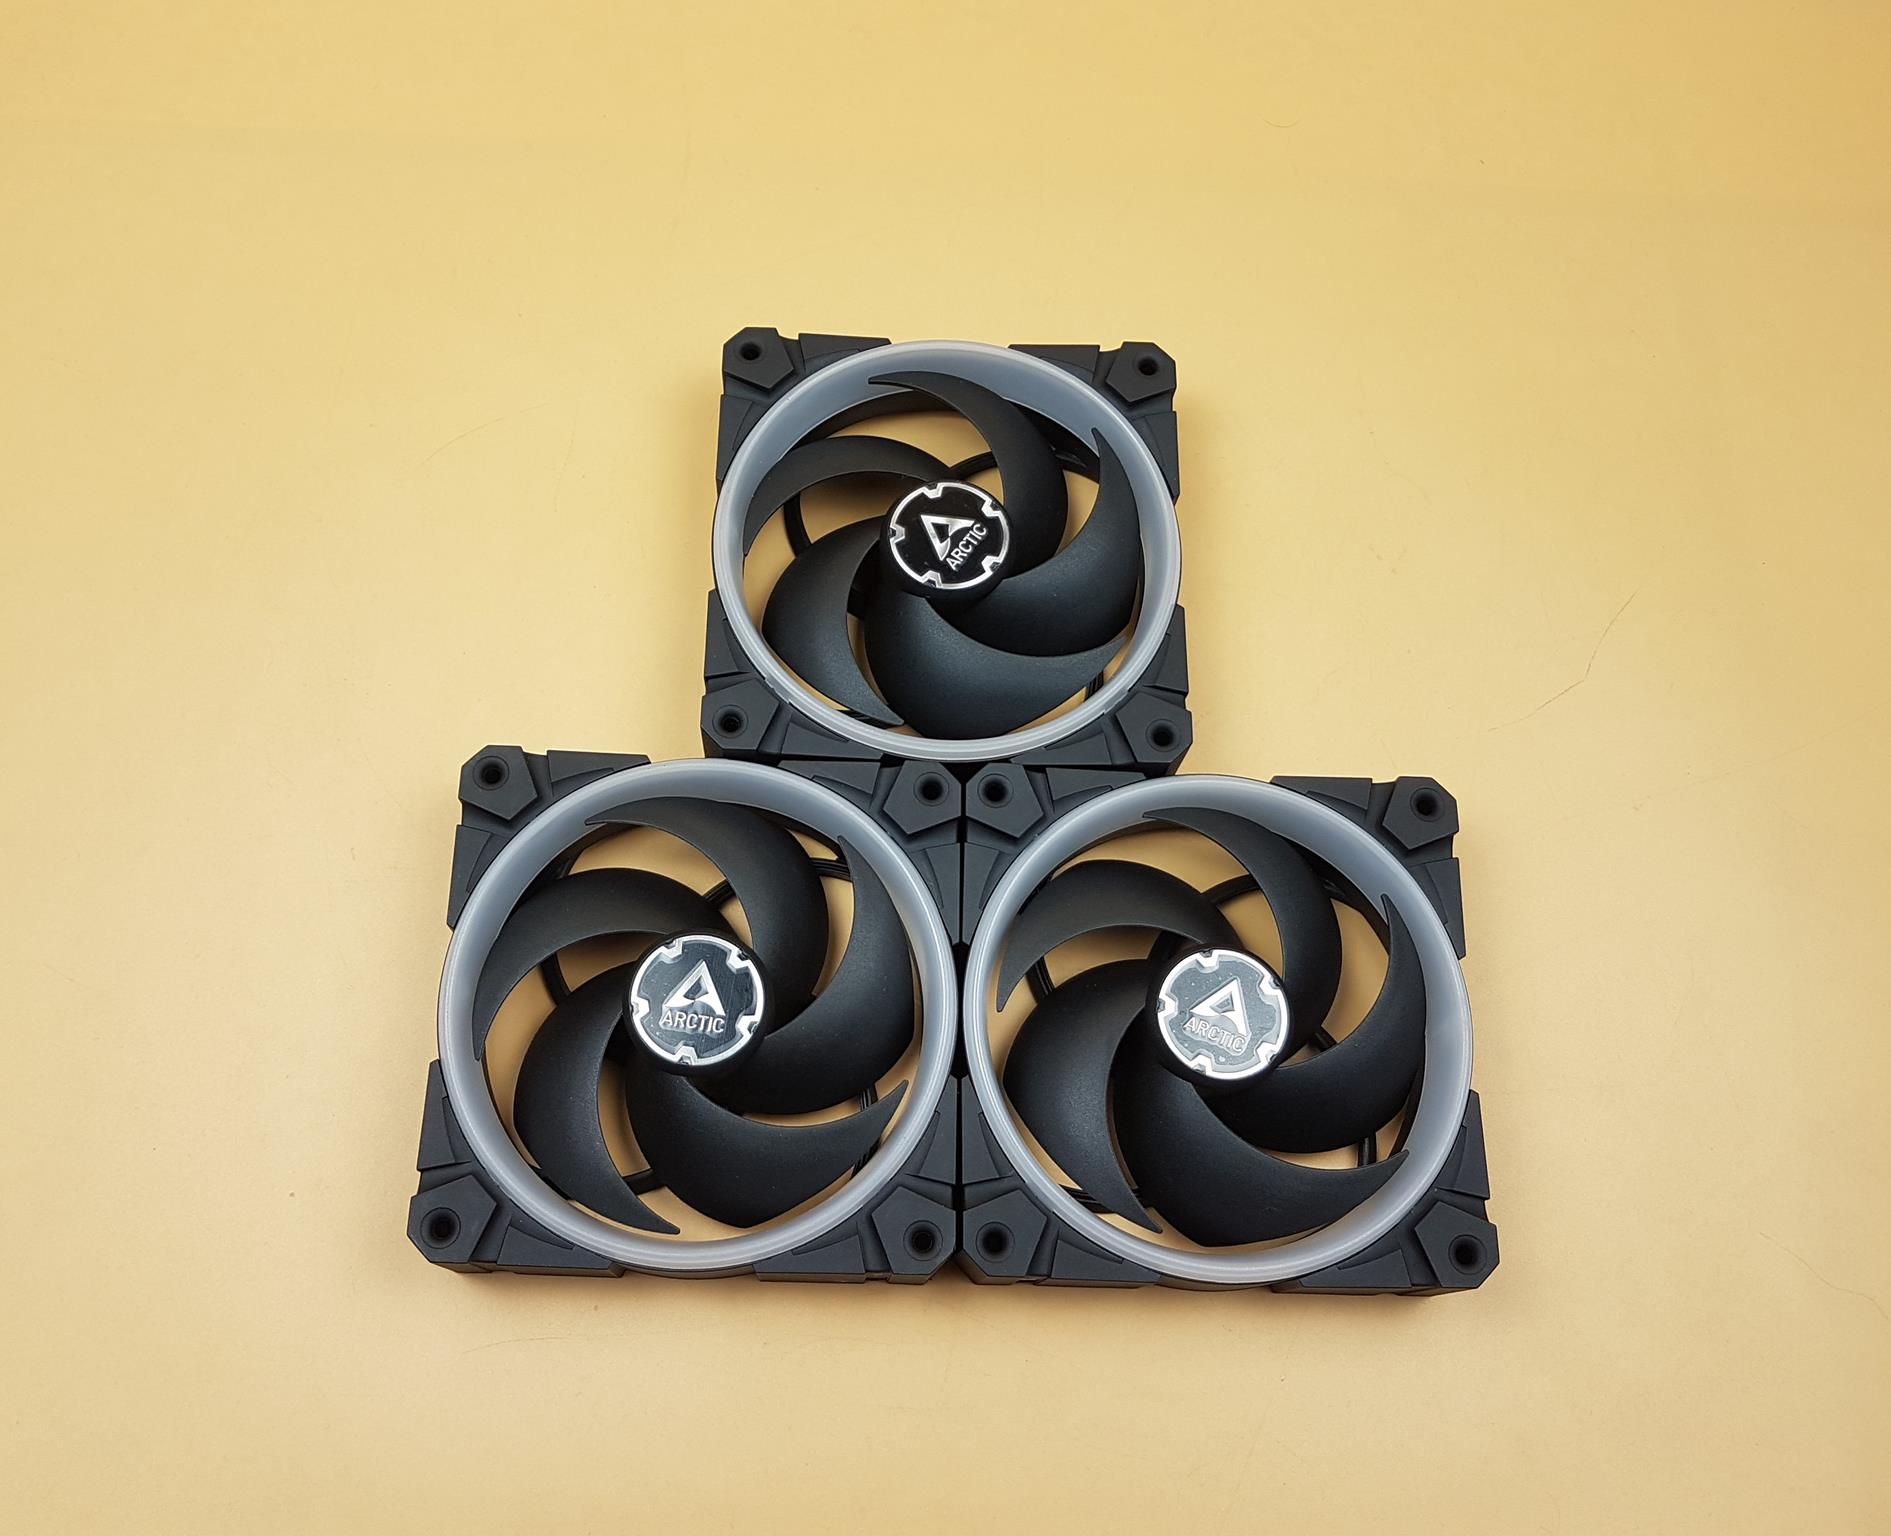
We have a black color housing of these fans in a stylish design. We are still seeing the same 5-blades design which is optimized for high air pressure. The center of the fan has ARCTIC branding. There is a thick frosted diffuser ring running on the entire inner side of the fan. While the frame of the housing makes the fans in a square shape, the center is in a circular shape. You might not get the idea of how thick the actual mounting corners of the housing are but the 30mm height or thickness of the fan is enough to indicate that. The fans usually have a 25mm thickness.
The above picture shows a close-up of the ring. The ring is implemented in such a manner that its height protrudes from the sides of the frame.
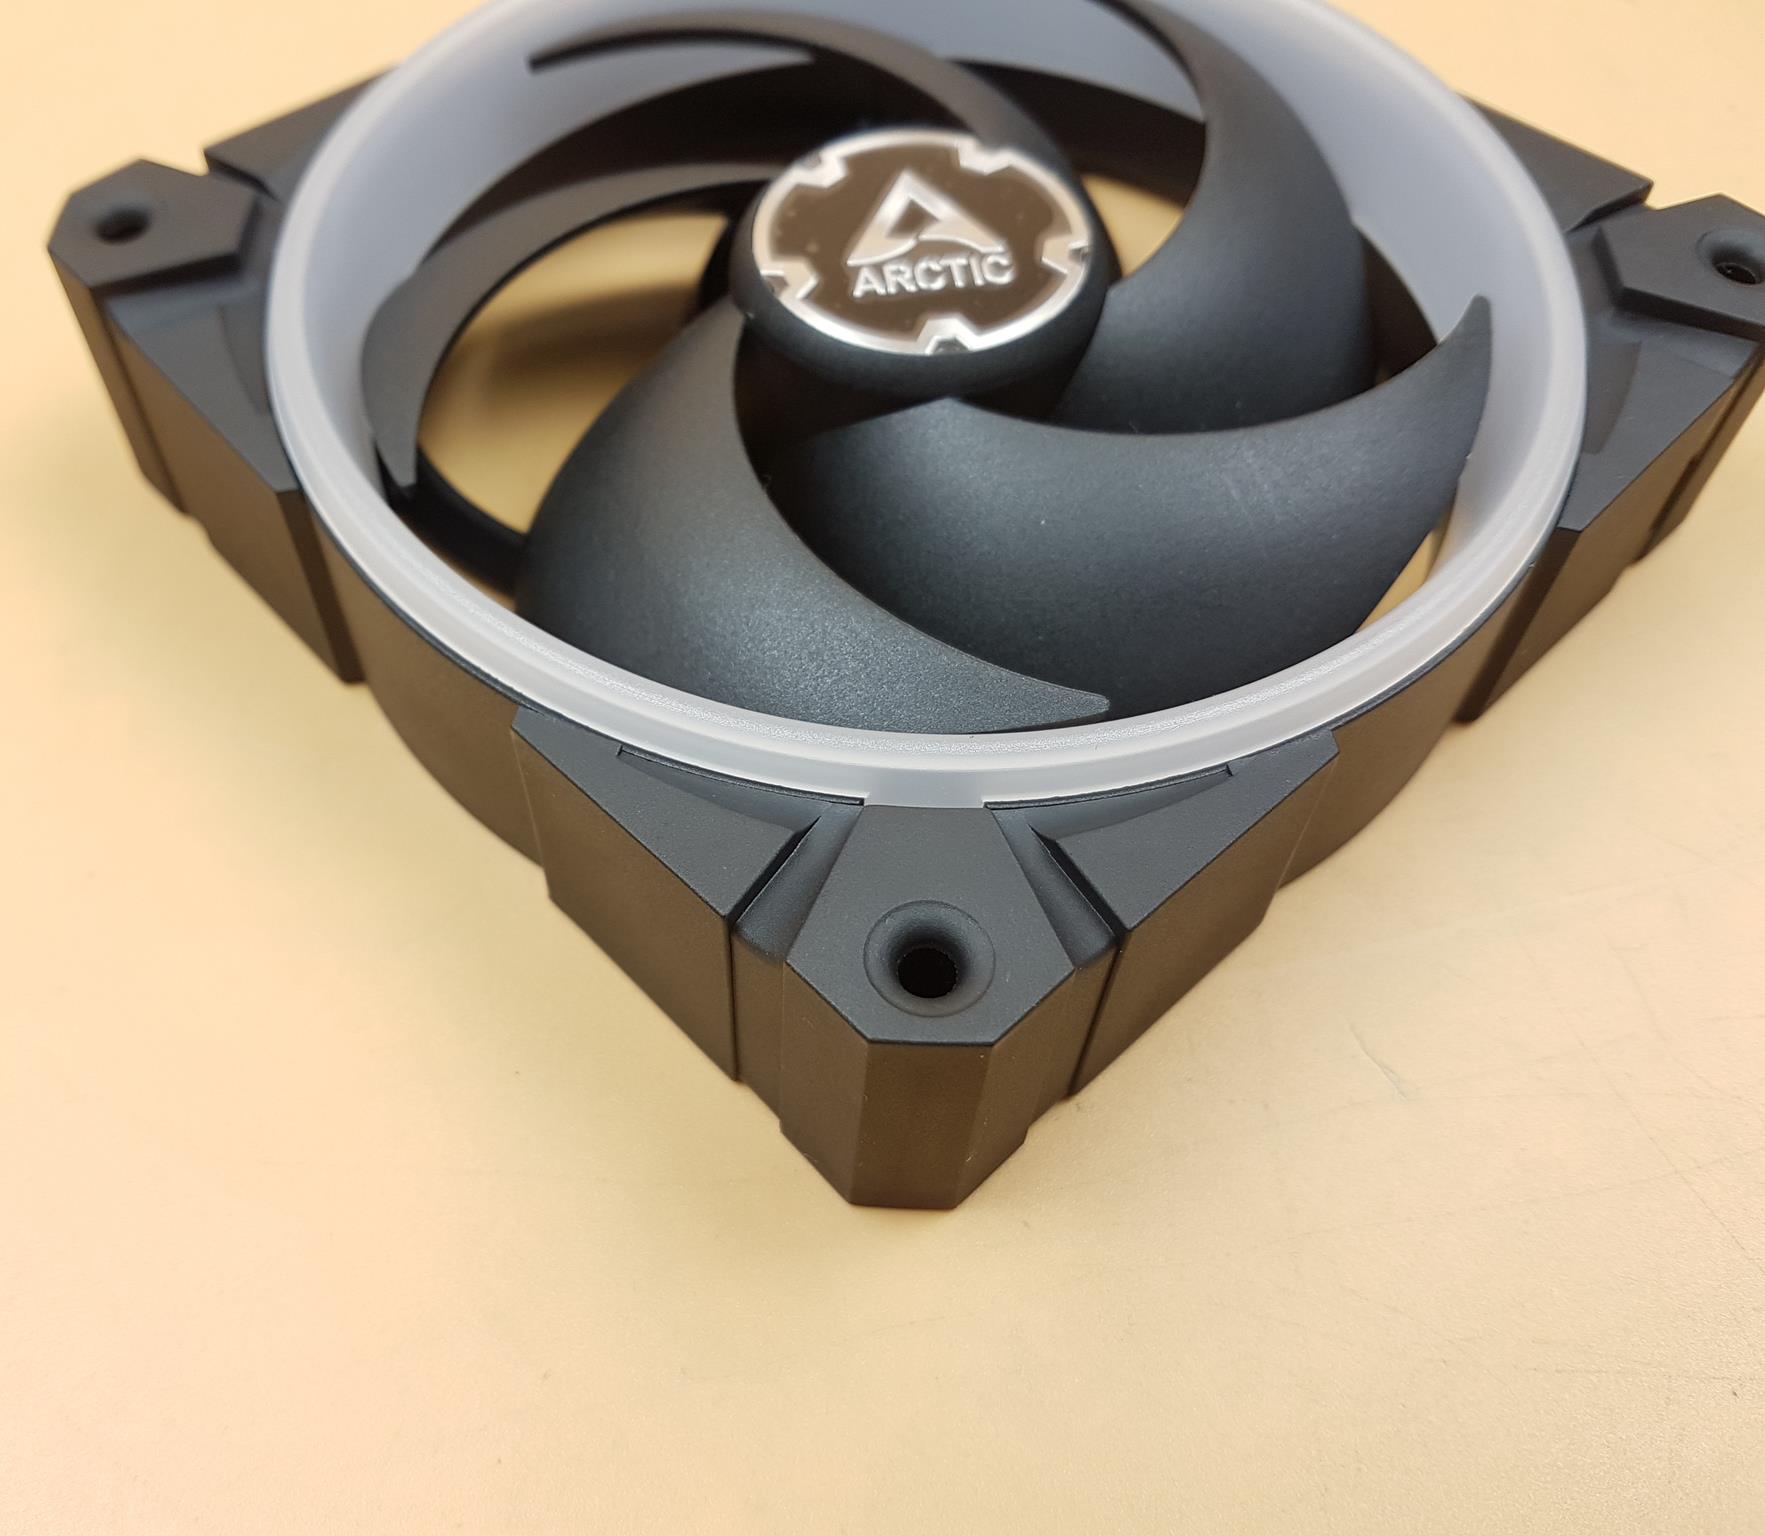
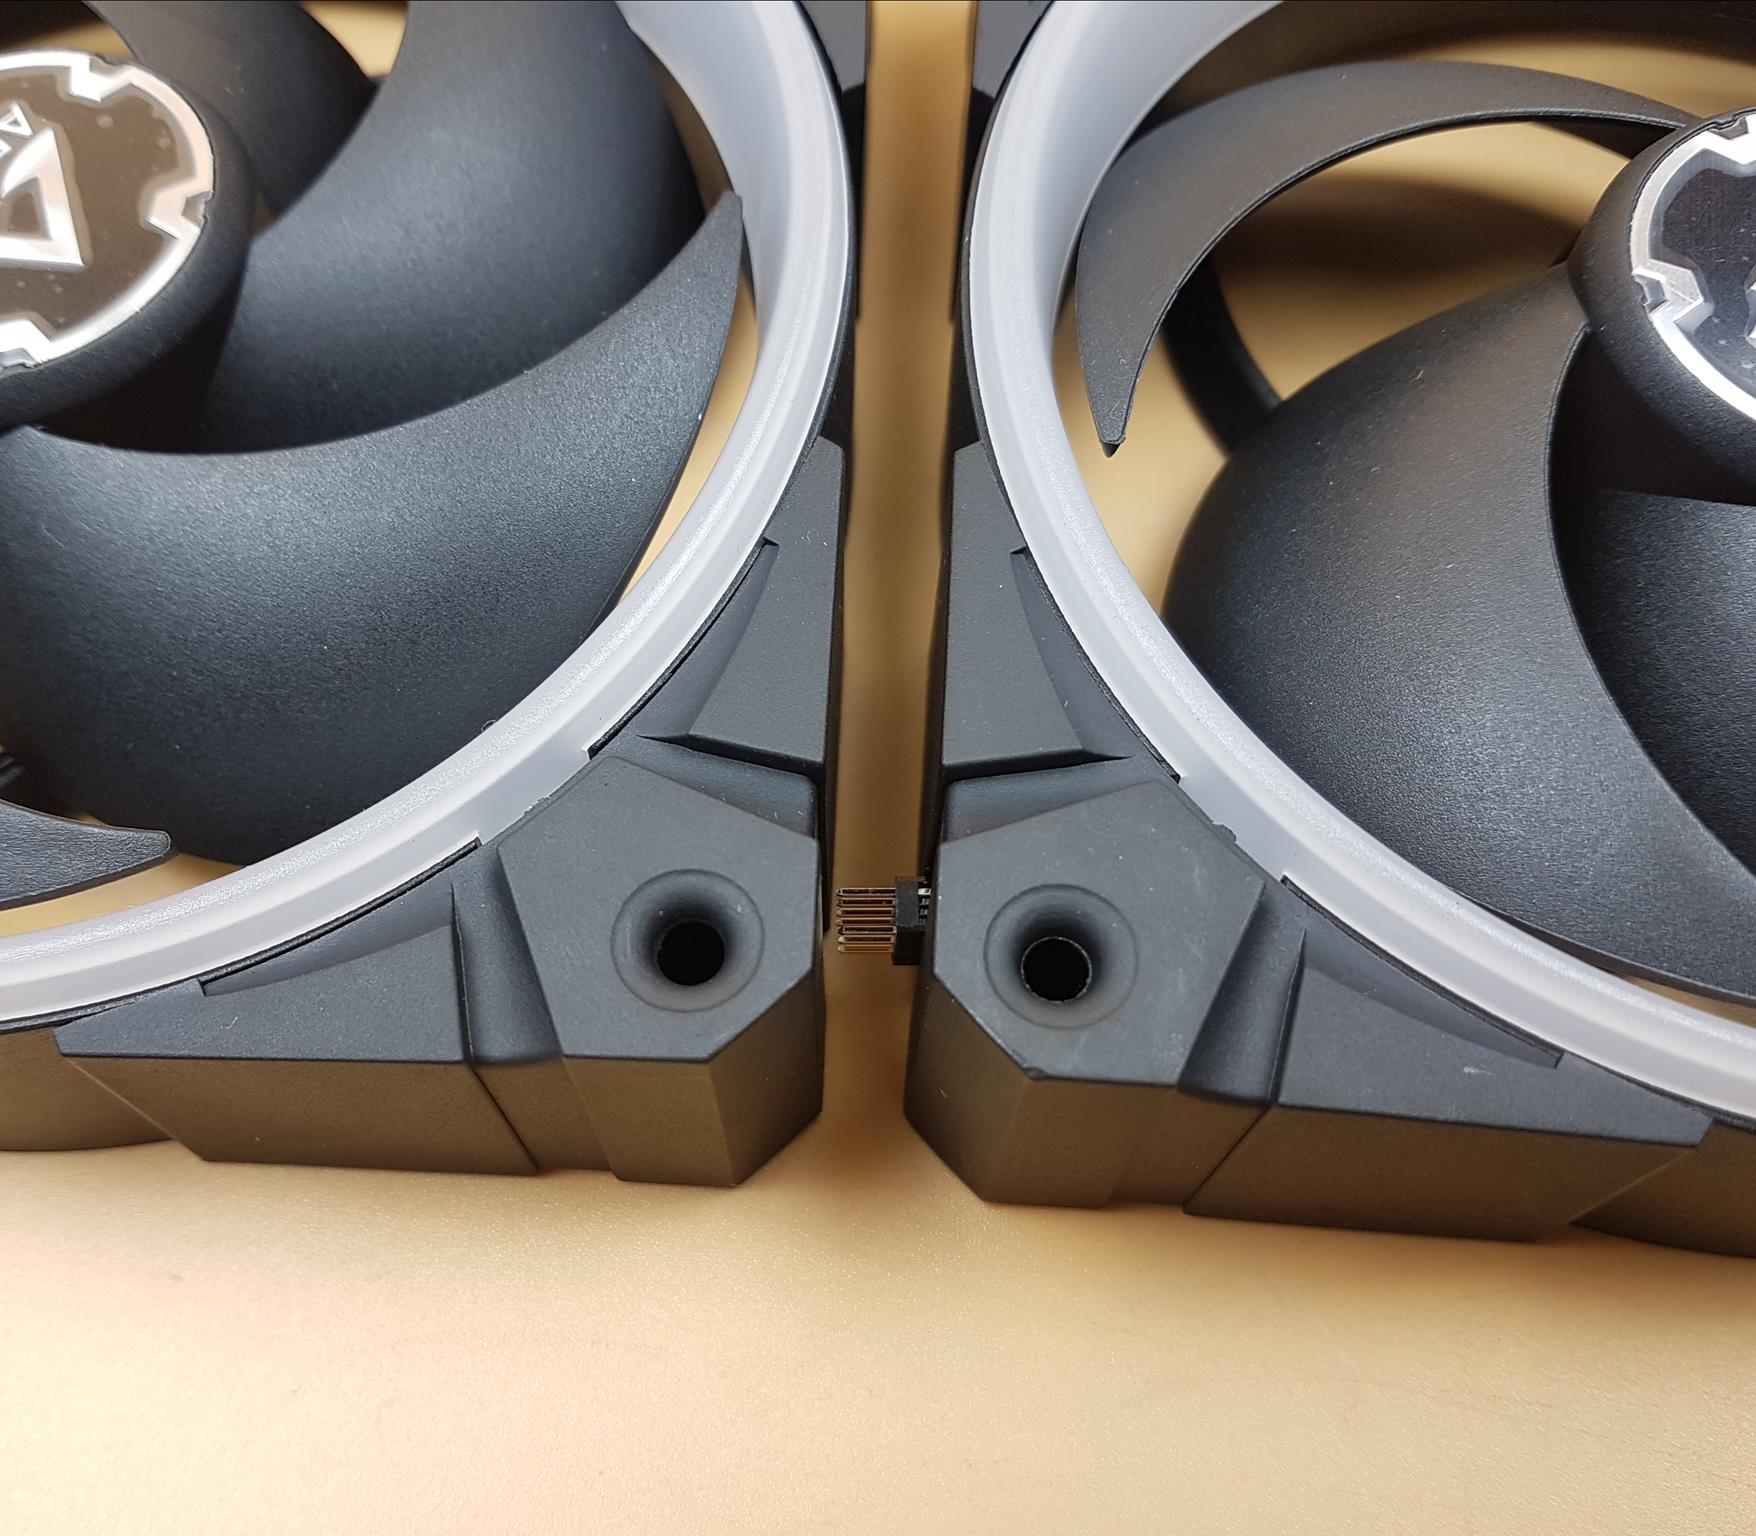
Looking closely at the mounting corner, there is no anti-vibration pad on this side which makes sense given the design of the frame. The point that will be making contact with the chassis is the backside of the fan. Though this would imply that we have to use these fans in push configuration by design.
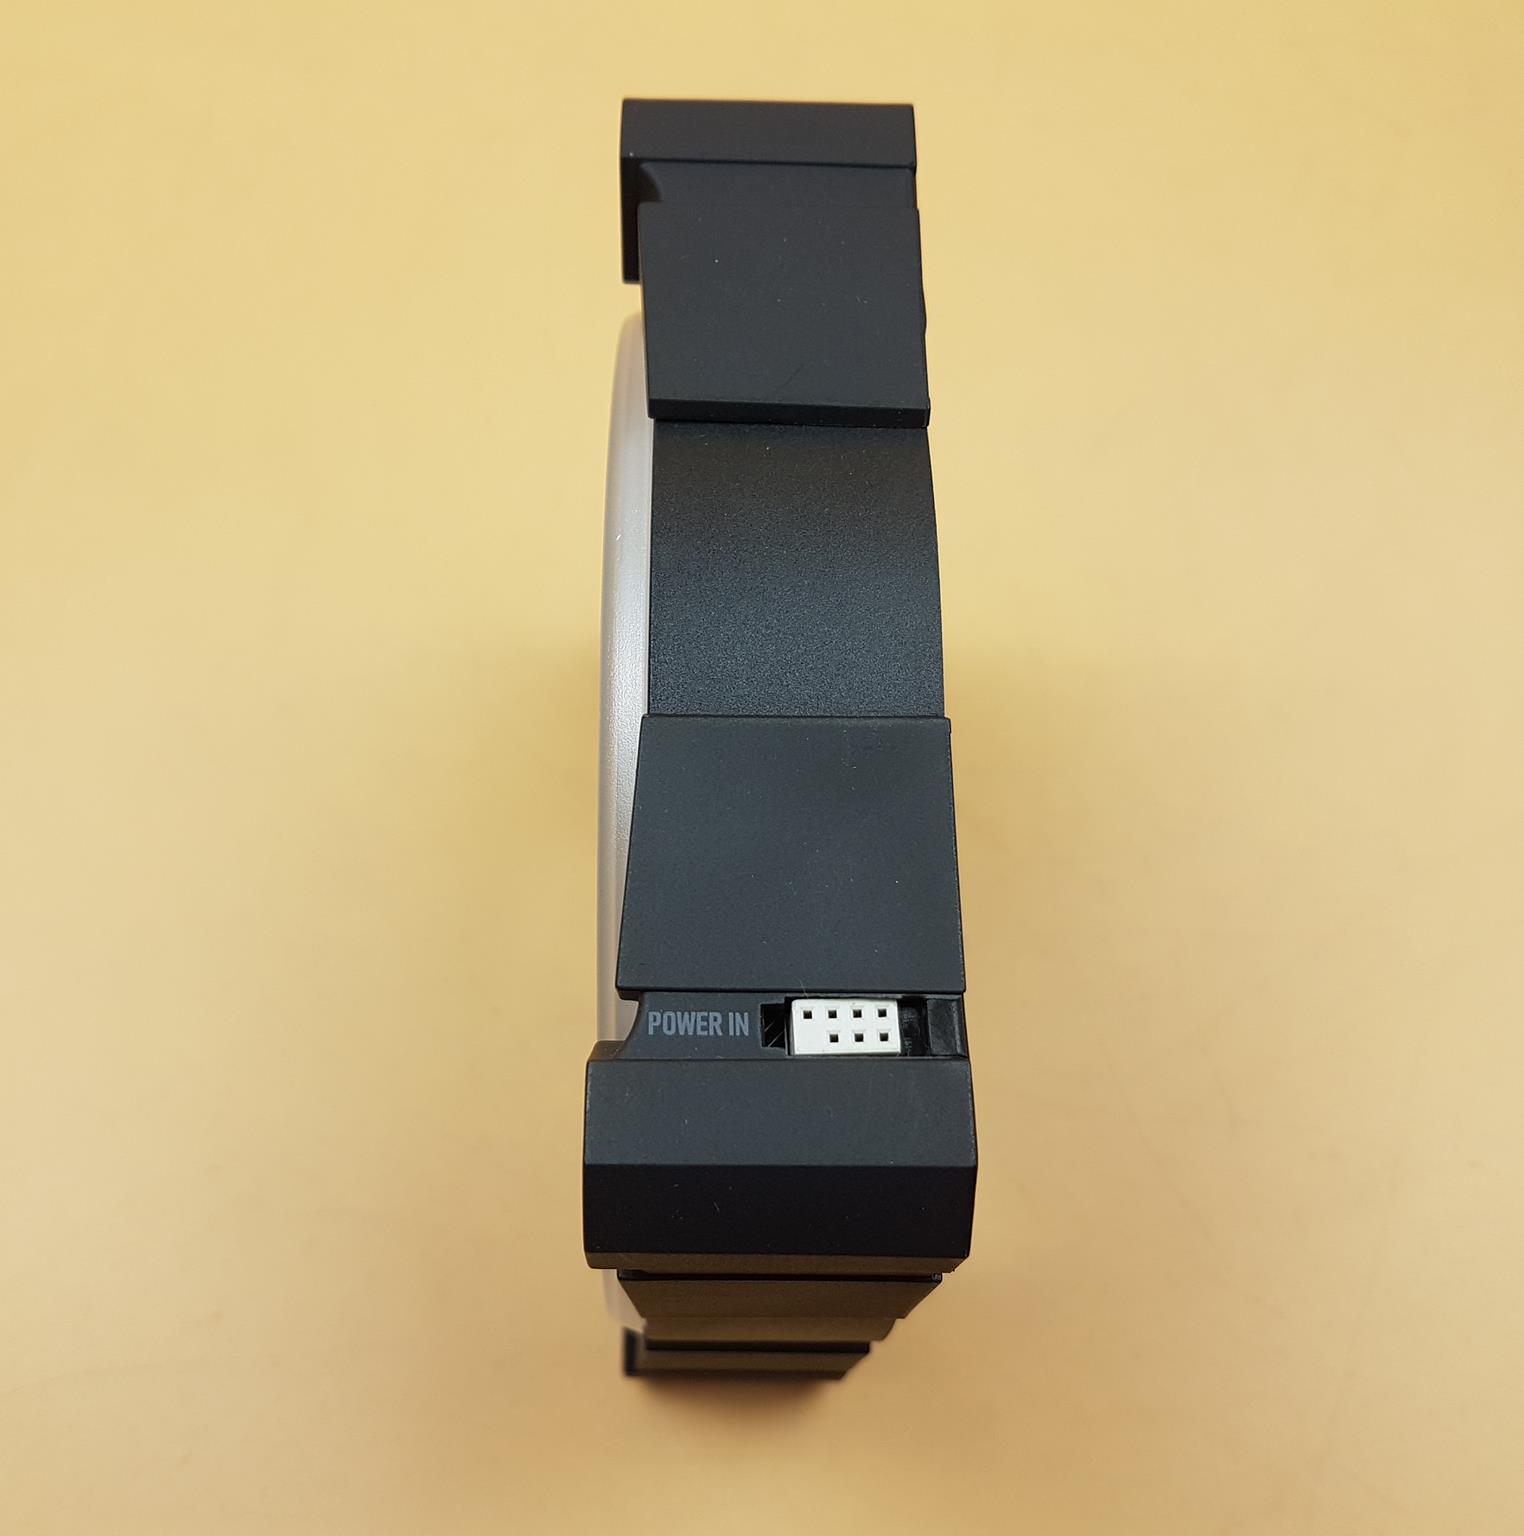
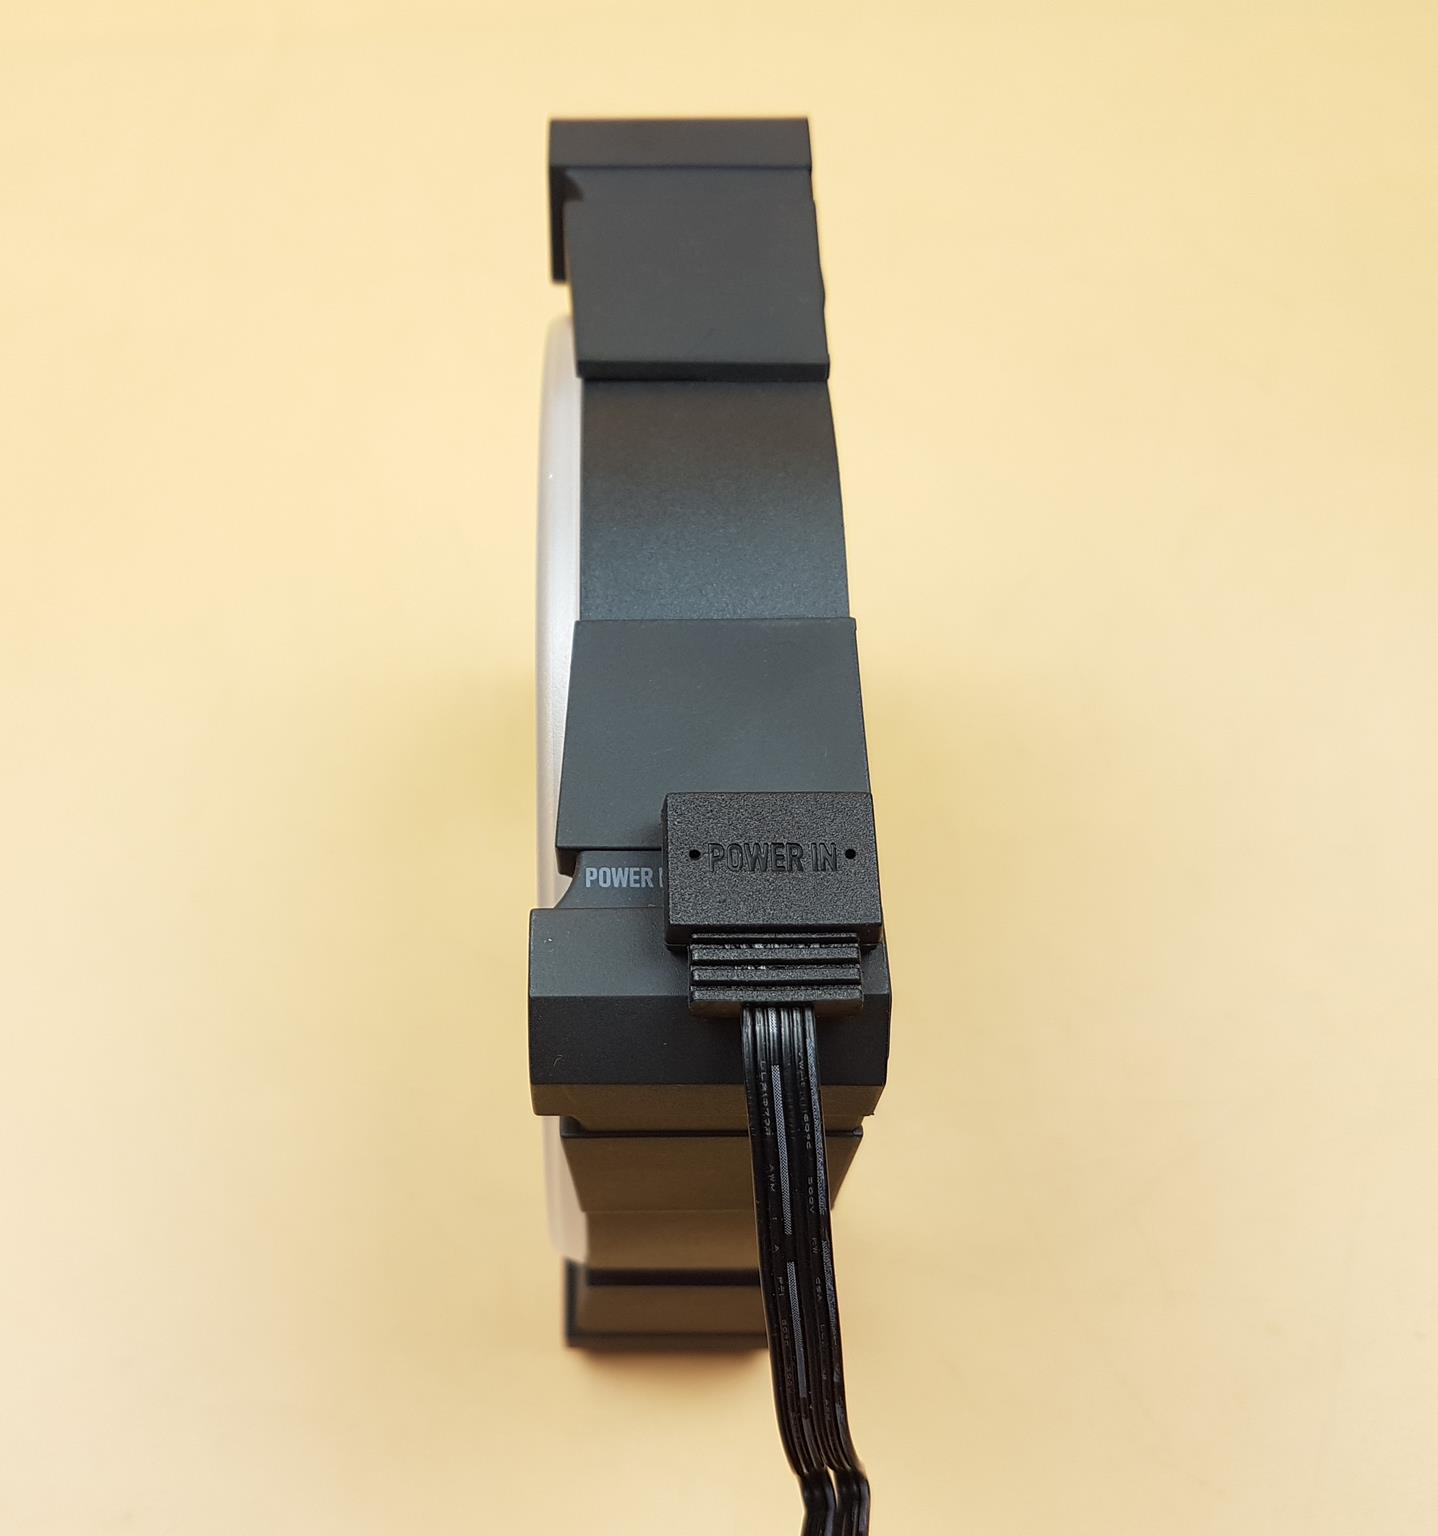
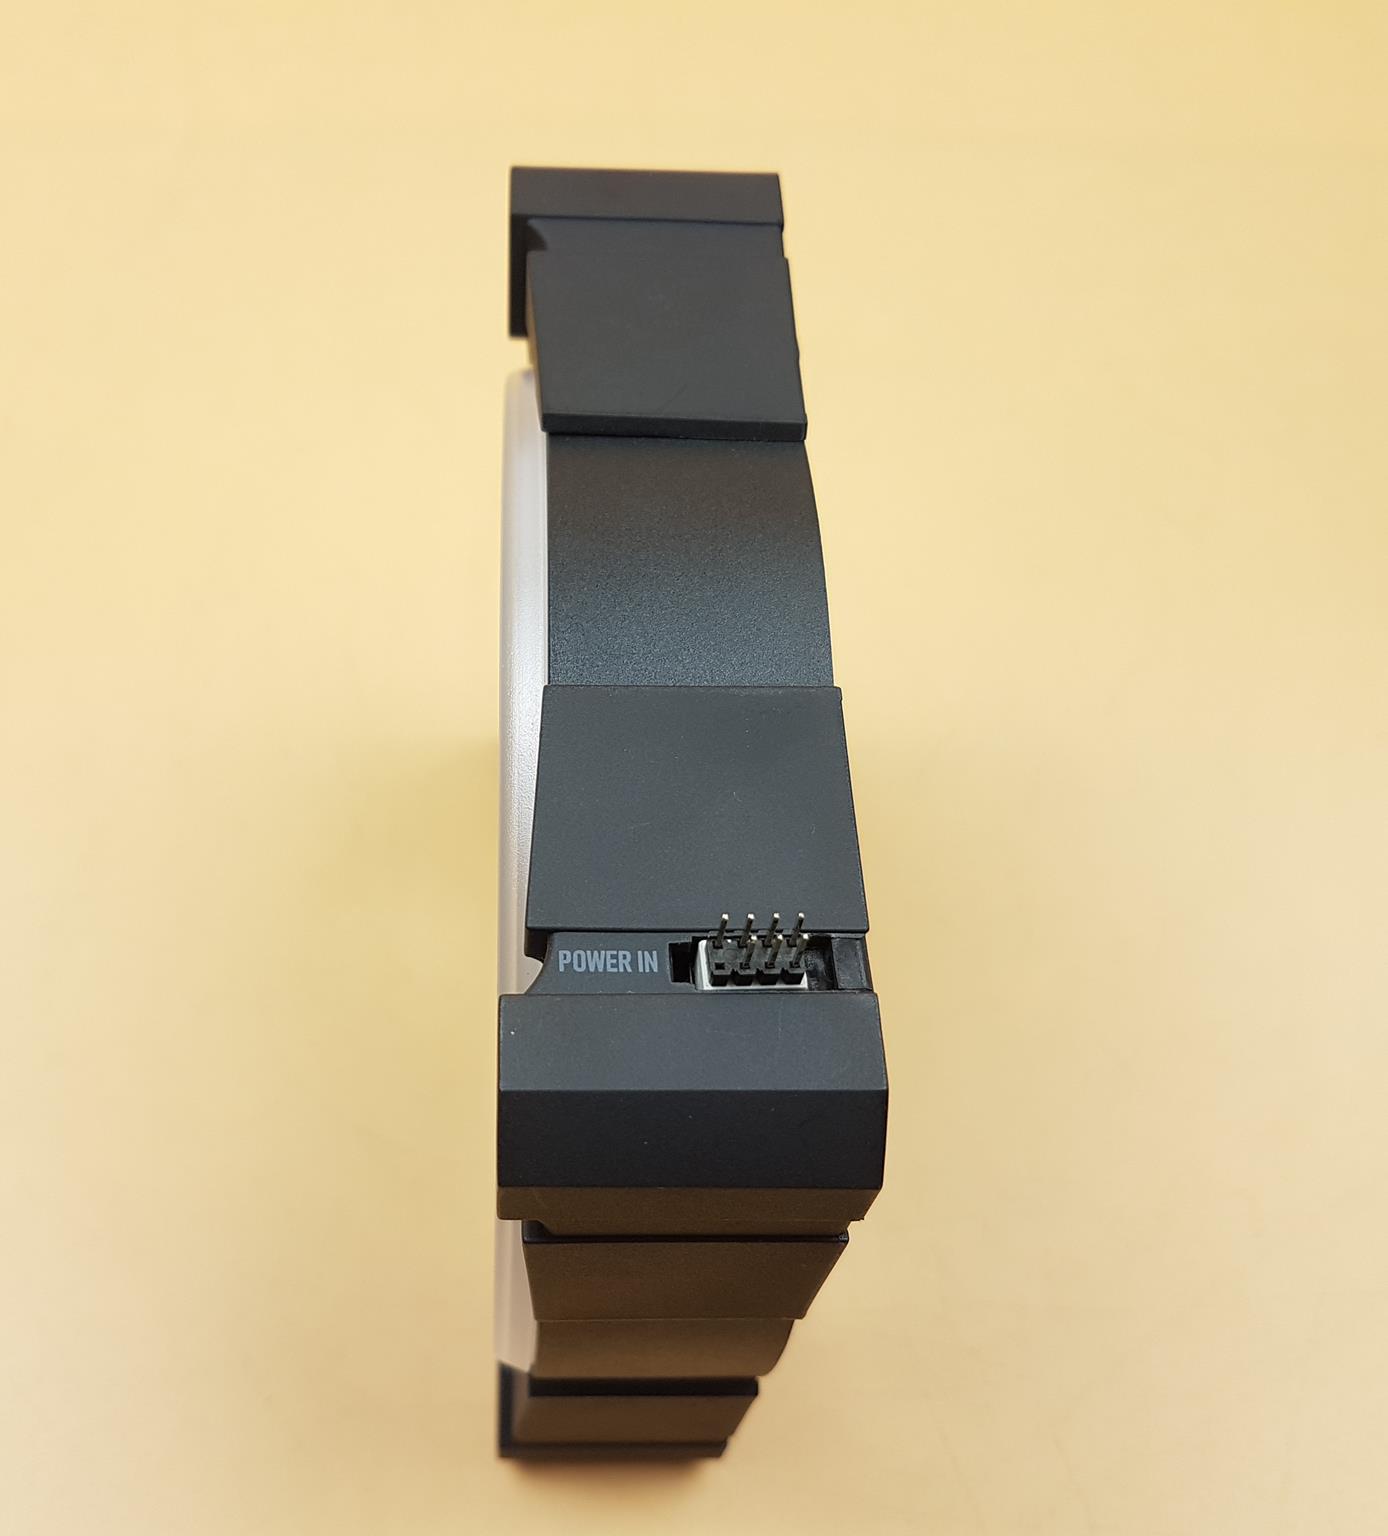
Take a look at the side of the fan. Now, we can see the thickness of the fan, particularly on the mounting corners. The overall build and finish quality are good. There is a white color header labeled “POWER IN”. This is where you can connect either the bundled white connector cable or use the fan connecting blocks in case using more than one fan. Please take note that only a white color cable connector can be used on the POWER IN.
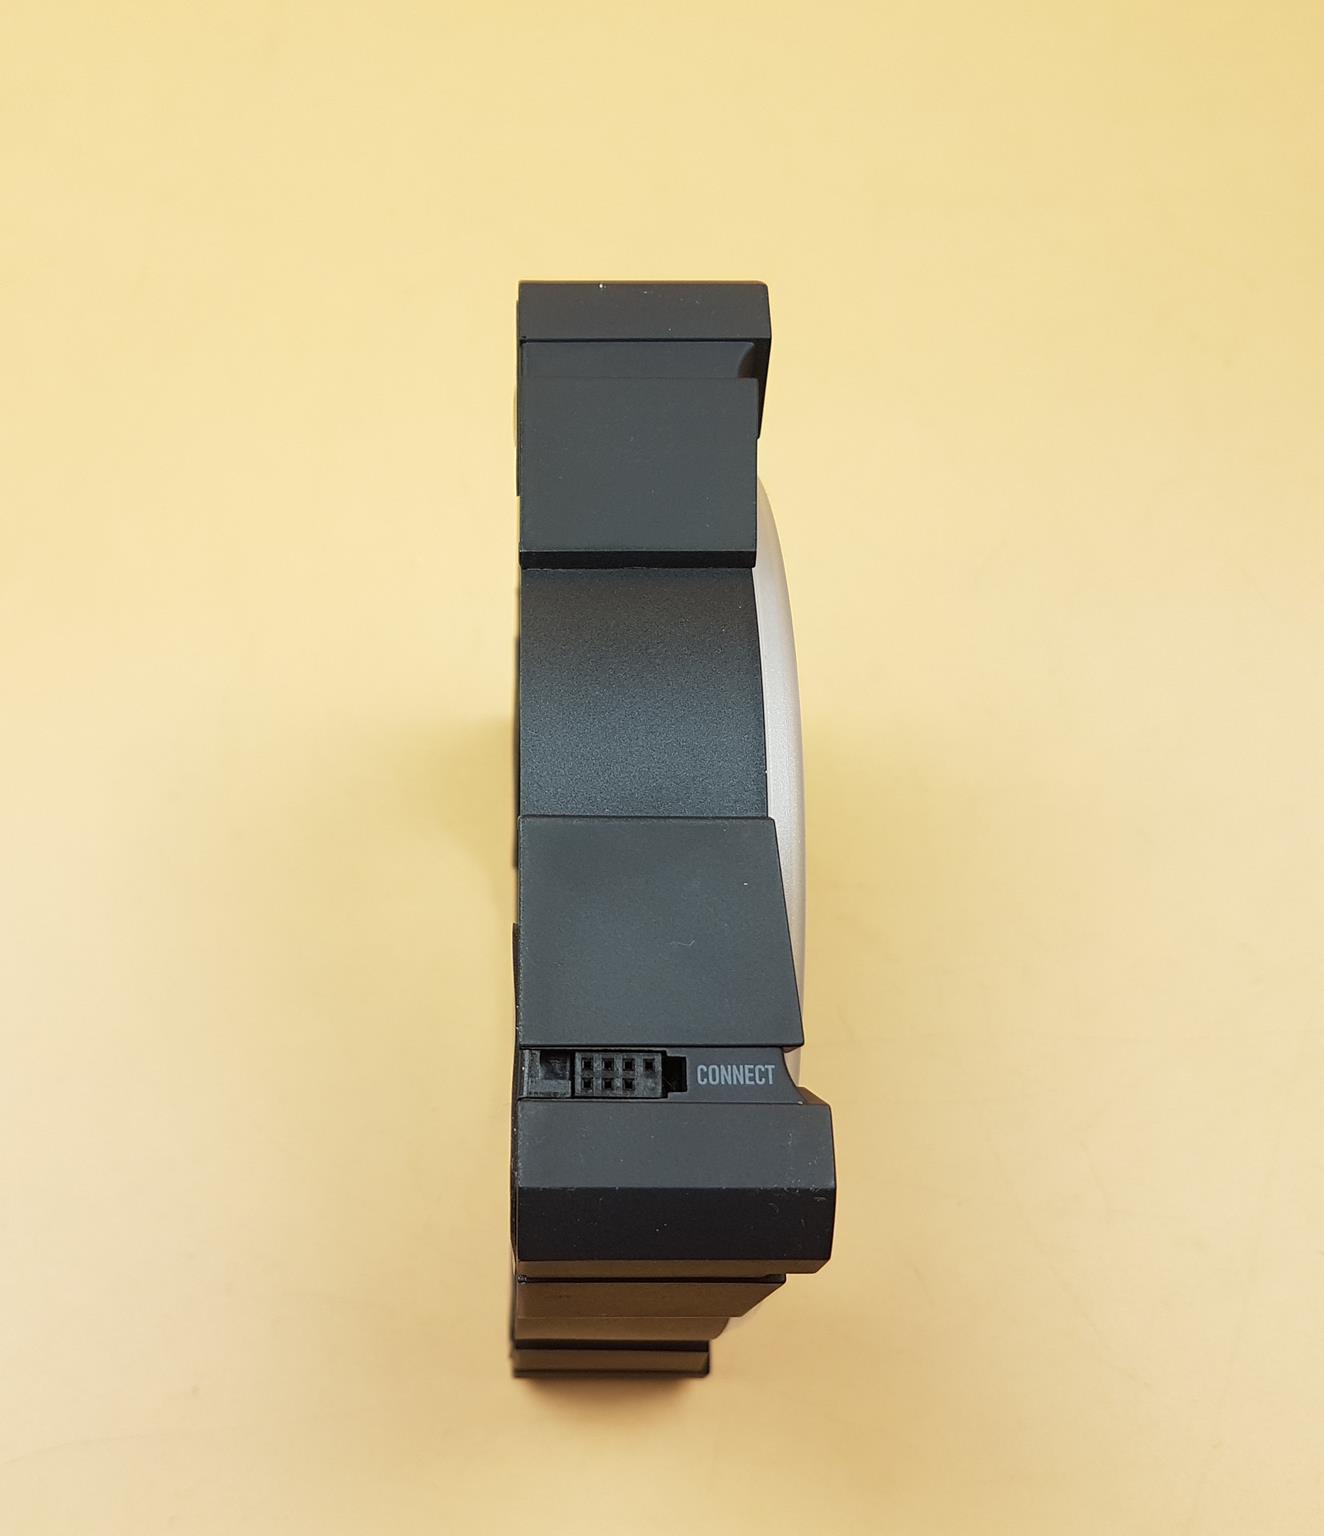
The other or opposite side of the fan housing has a similar layout but here we have a black color connector labeled “CONNECT”. We can connect the black color connector cable to this header. The ARCTIC BioniX P120 A-RGB is fully modular and has two connections, a power-in, and a connector output. ARCTIC uses an 8-pin connector for this, which forwards both the fan and lighting signals. By combining both input signals, ARCTIC has reduced the cable clutter and need for splitter cables or hubs as well.
The other two sides of the fan have a plain but similar layout. There is no branding or any connectivity option here.
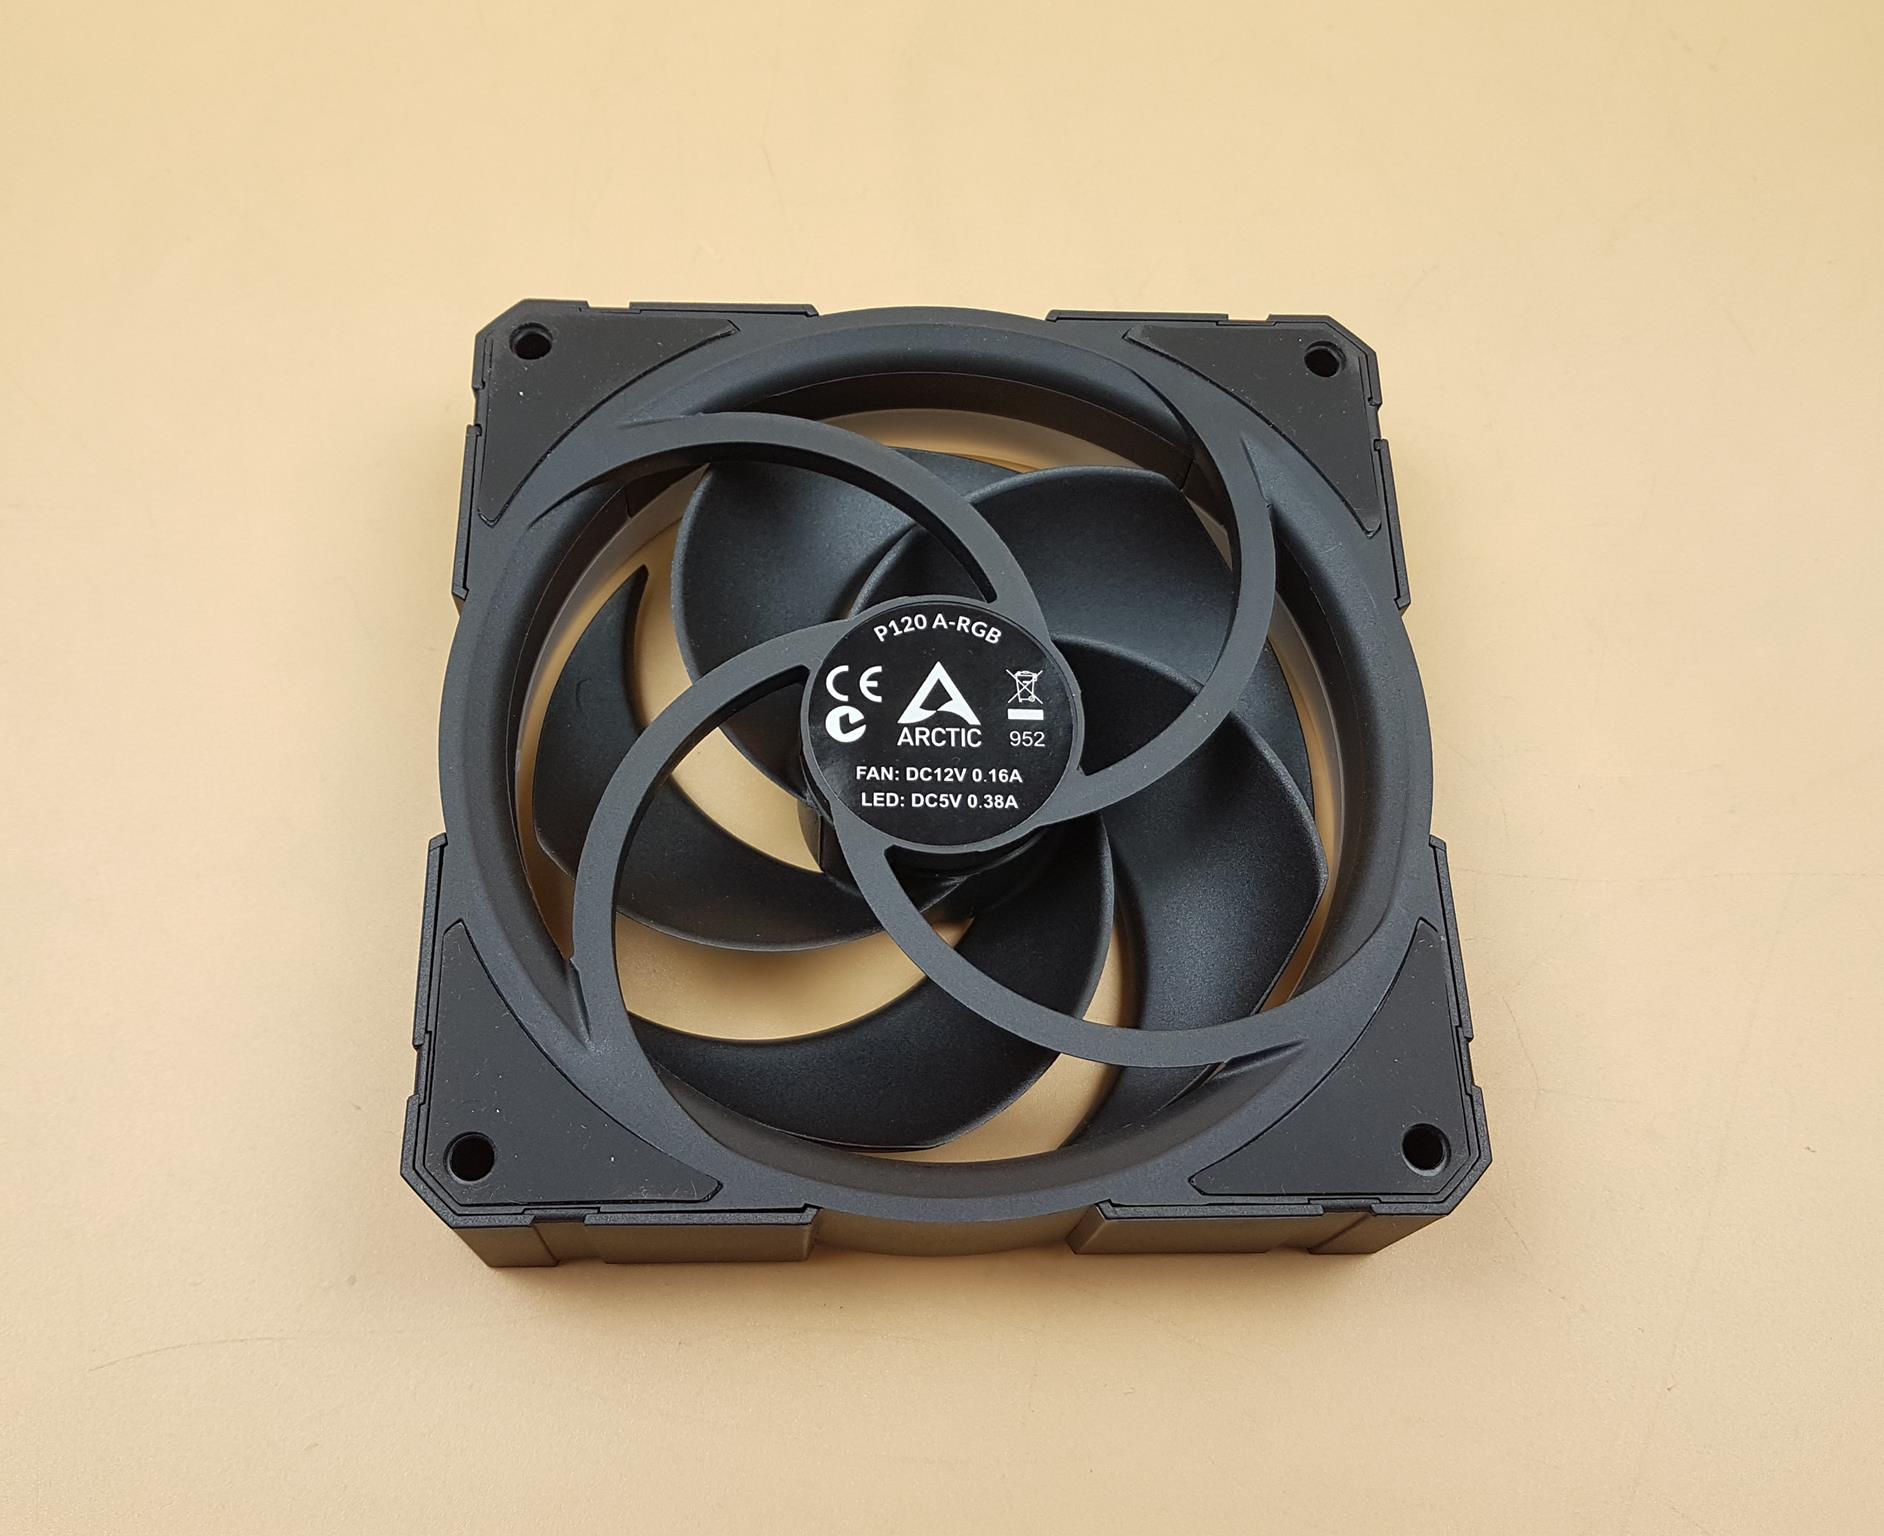
There is a 4-arms assembly on the backside holding the fan motor and blades to the frame. The thickness of the circular frame is because of 12 A-RGB LEDs around the frosted ring running on the frame. There is a black color sticker on the center with the power rating of the fan with respect to the fan motor and LEDs. These fans are using Fluid Dynamic Bearings. ARCTIC has mentioned that they have used a combination of alloy/lubricant developed in Germany to reduce the friction within the bearing. This in turn would generate less heat and improves efficiency. This will increase the service life of the fans.
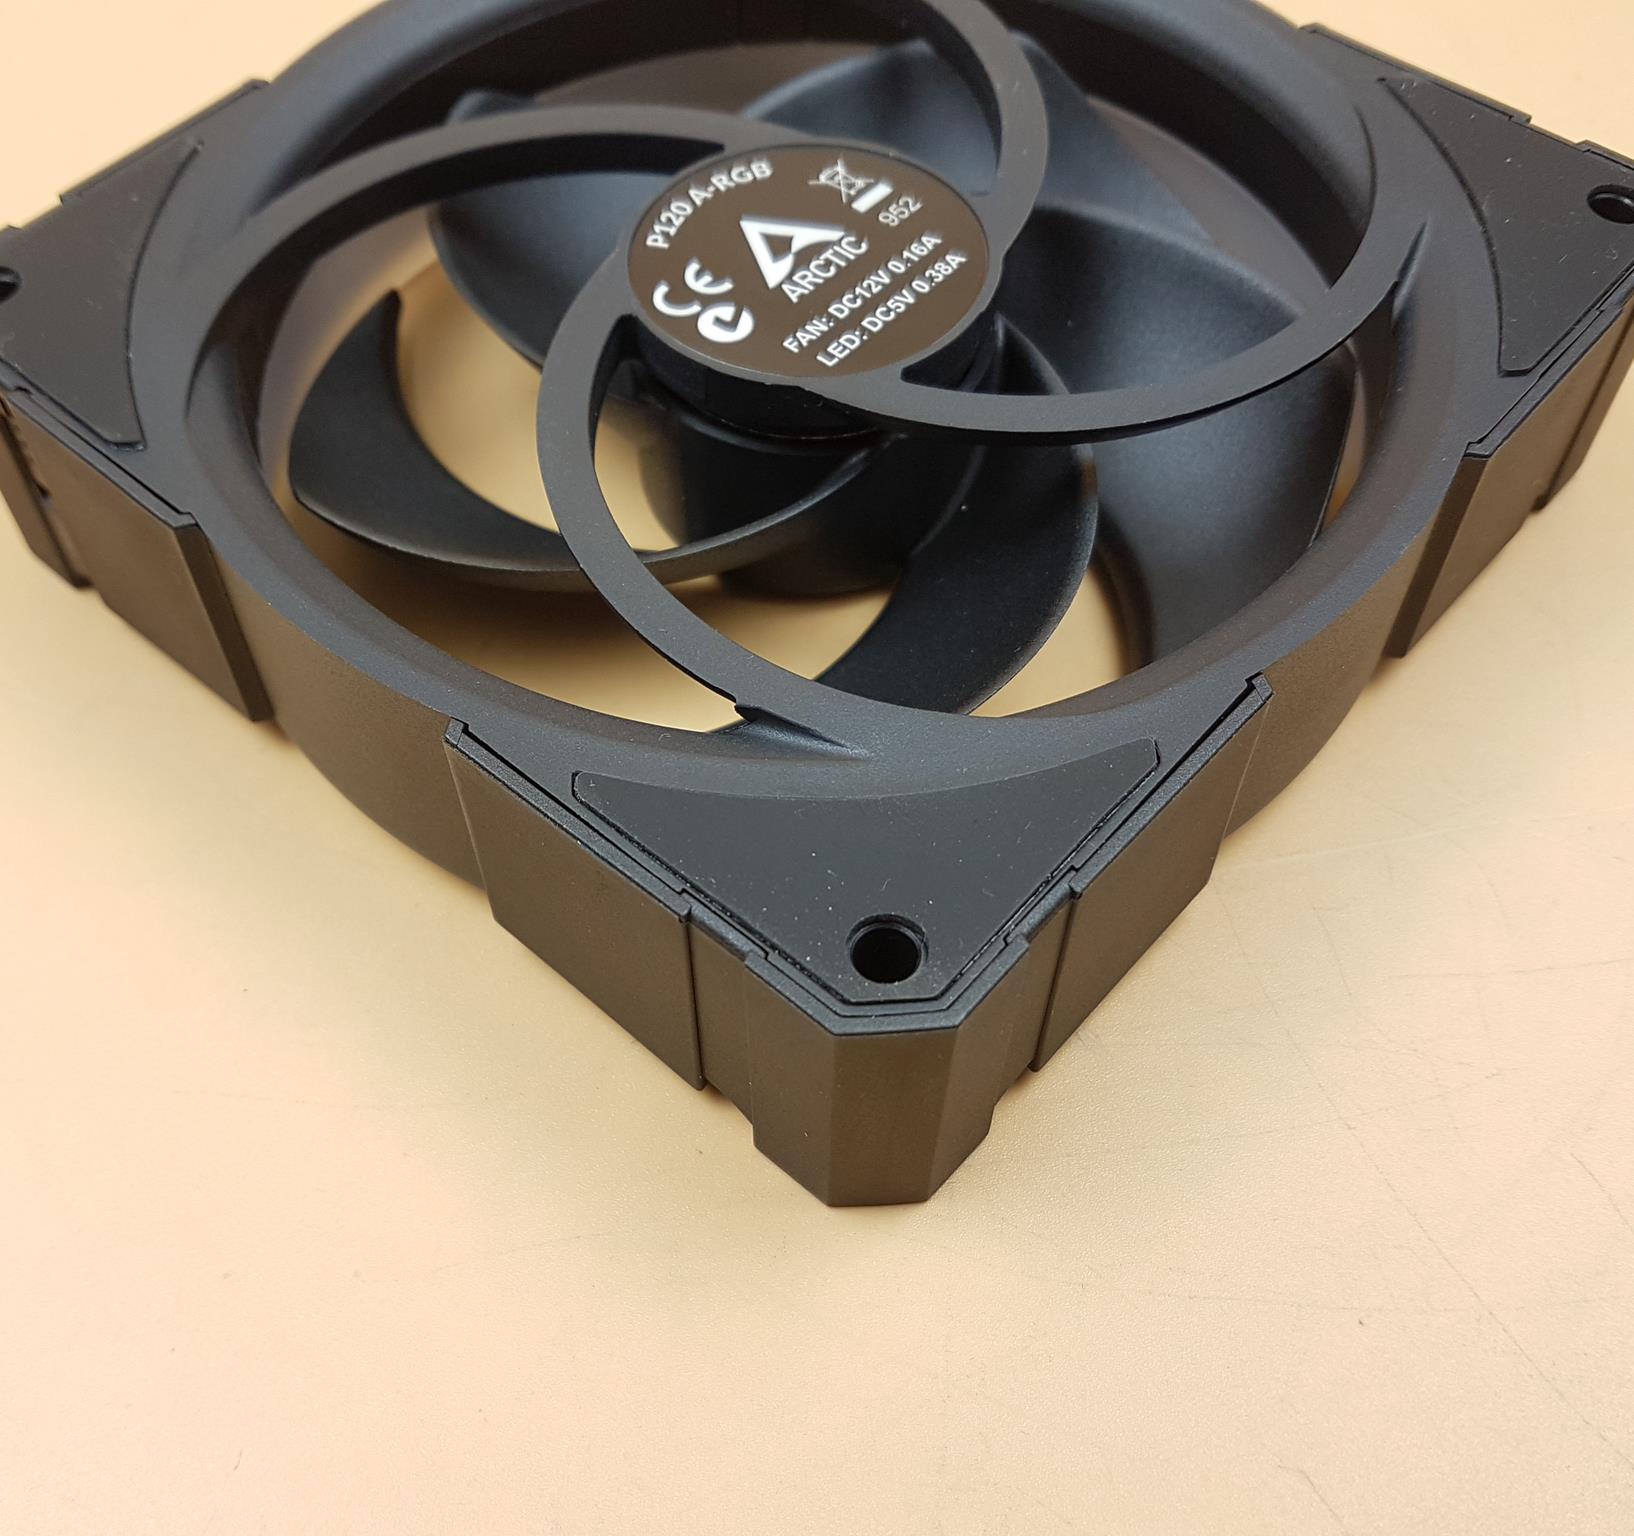
Each mounting corner has a cut-to-size anti-vibration pad. These pads are also black in color. The motor of these fans is using sinus magnetization which generates 5% of the commutation vibrations of a conventional DC motor. The anti-vibration pads on the backside of the fans further decouple the vibrational noise.
Let’s take a look at the controller.
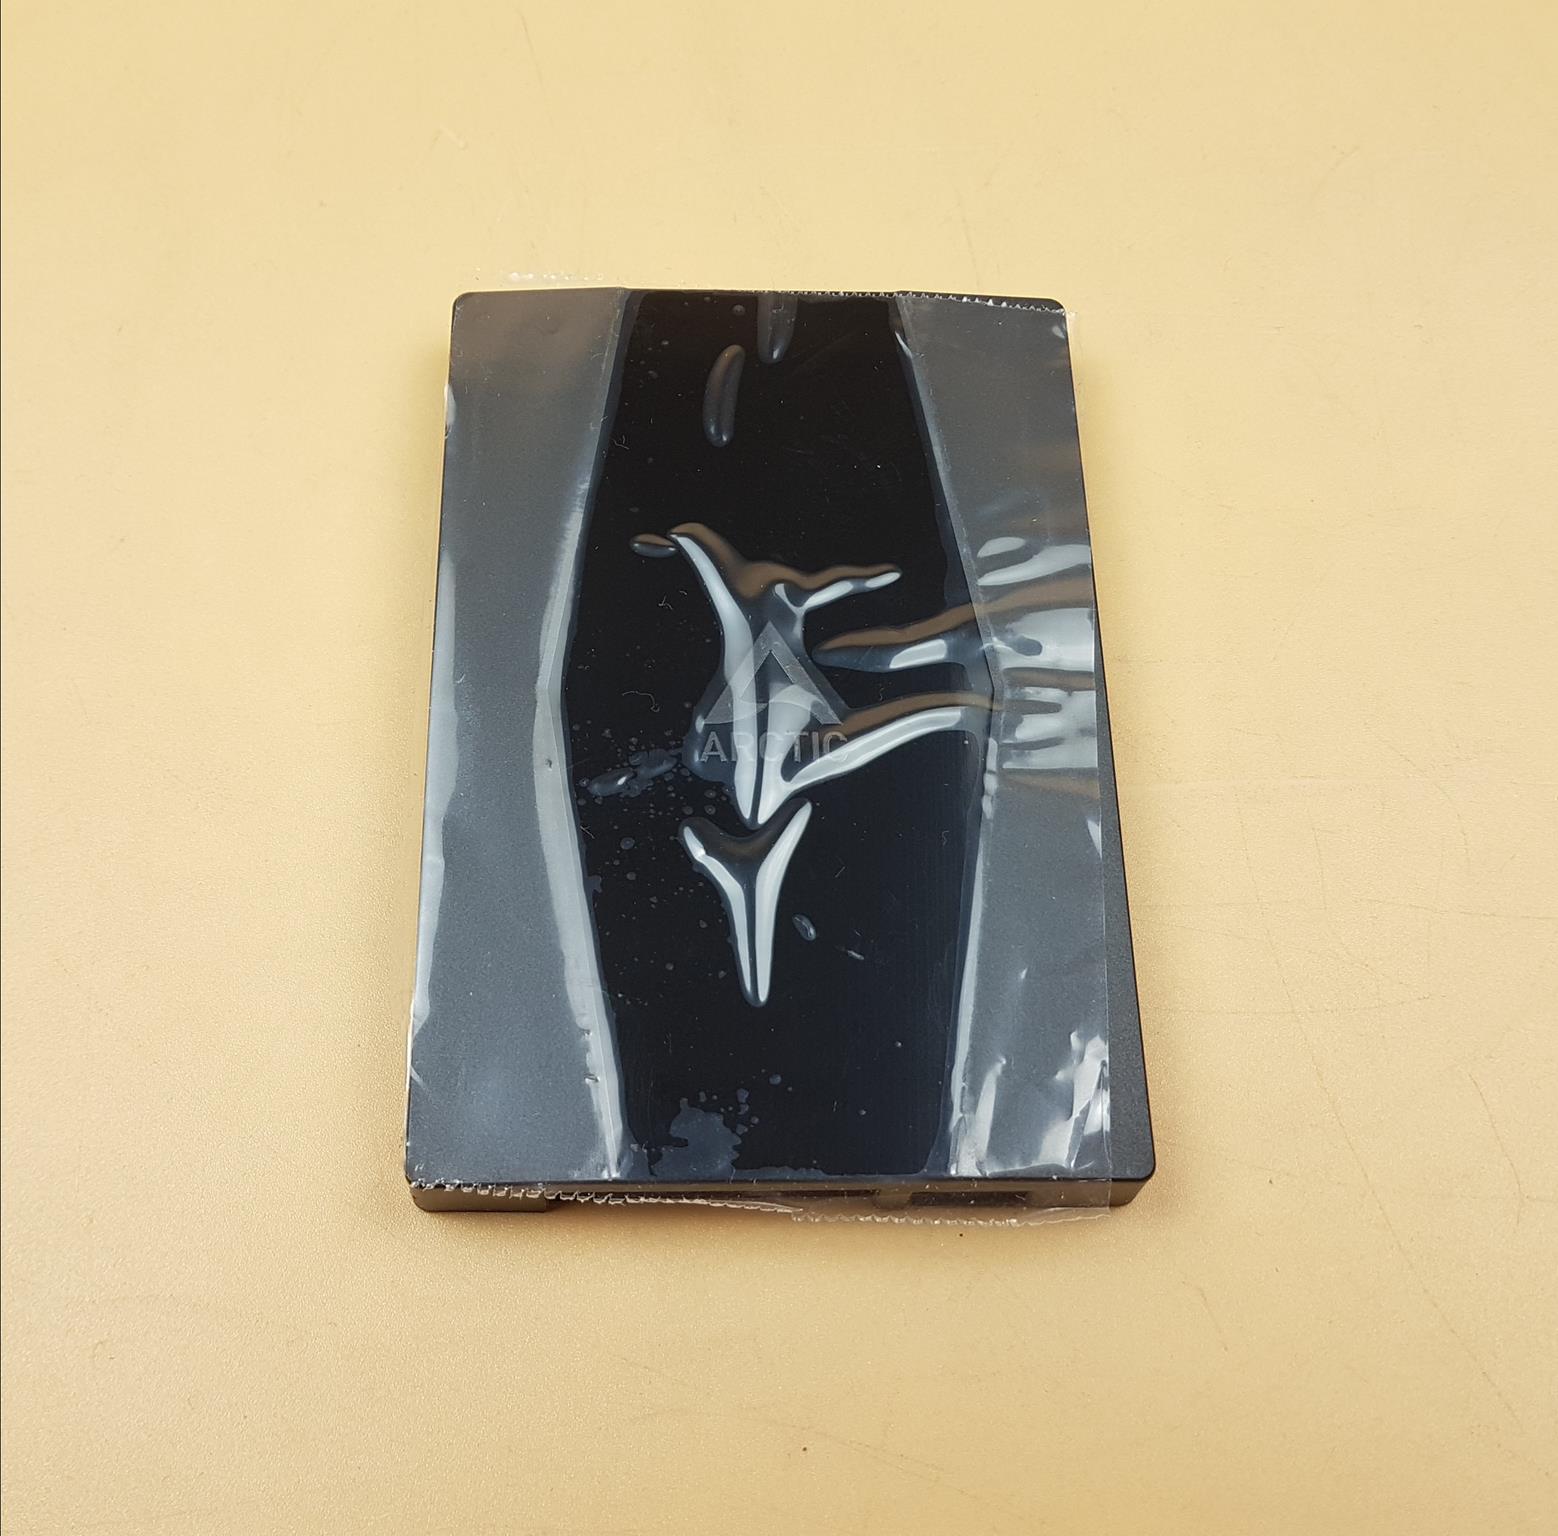
ARCTIC is using the same A-RGB controller which we saw on their Freezer 50 air cooler. The dimension of the controller itself is 100x70x12mm where 12mm is the height of the controller. The top of the control box has a two-tone finish with the center having a glossy finish. There is ARCTIC branding in the center.
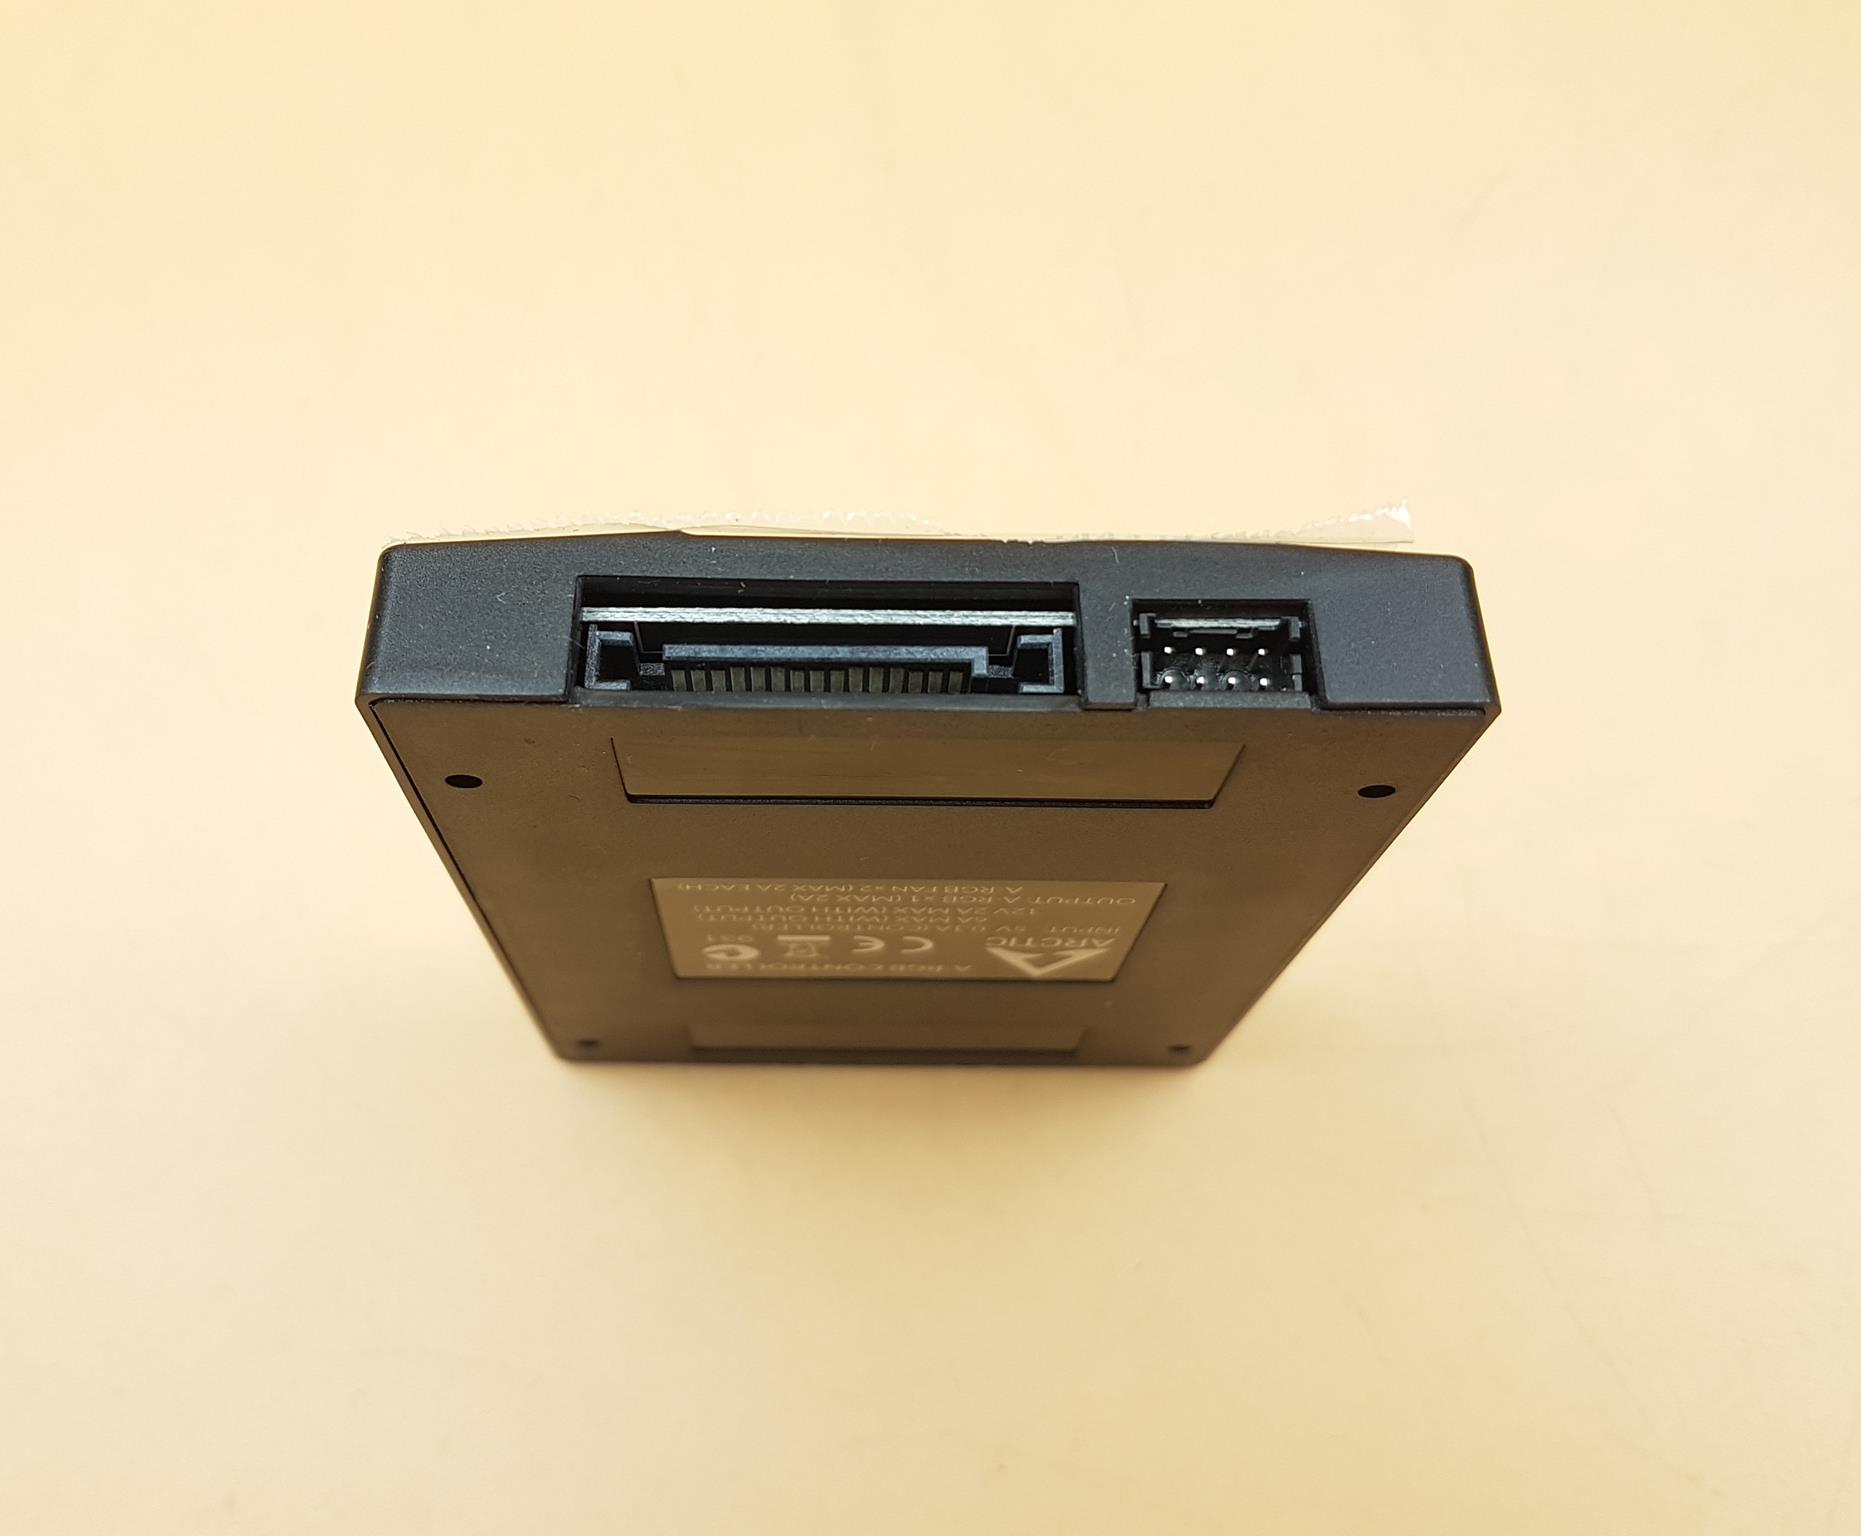
The controller is SATA powered (12V and 5V). You would need to connect the SATA connector from the PSU to the control box. The second header is the 8-pin A-RGB Input for which the dedicated cables for Motherboard syncing are provided in the box.
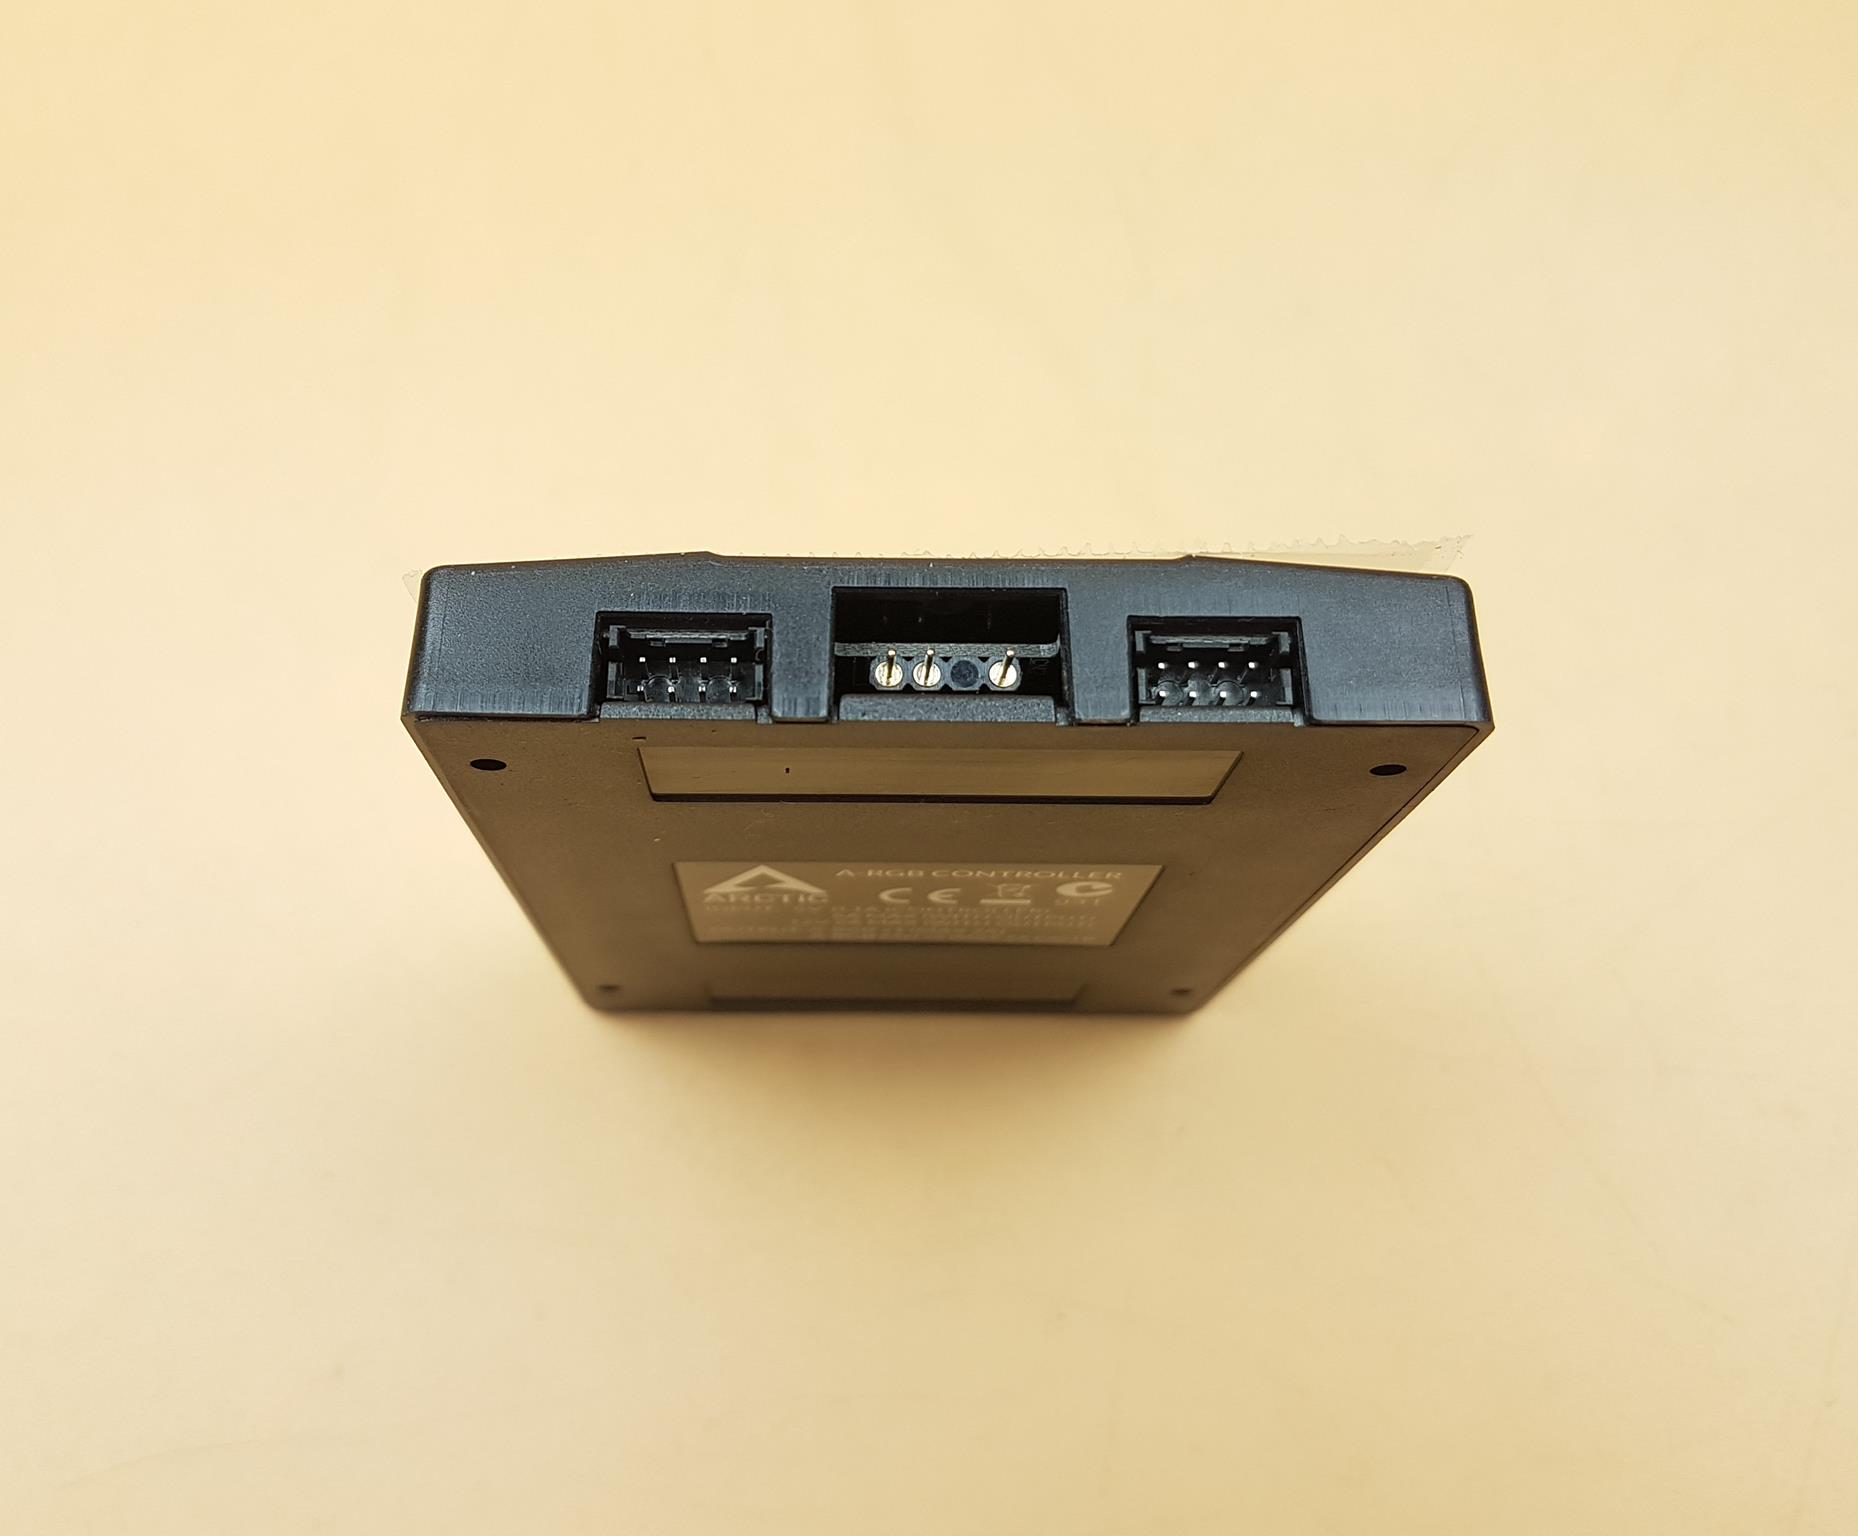
We have two 8-pin A-RGB output ports and a standard 3-pin A-RGB port. Each 8-pin A-RGB port of the controller can have up to 5 A-RGB devices connected to it.
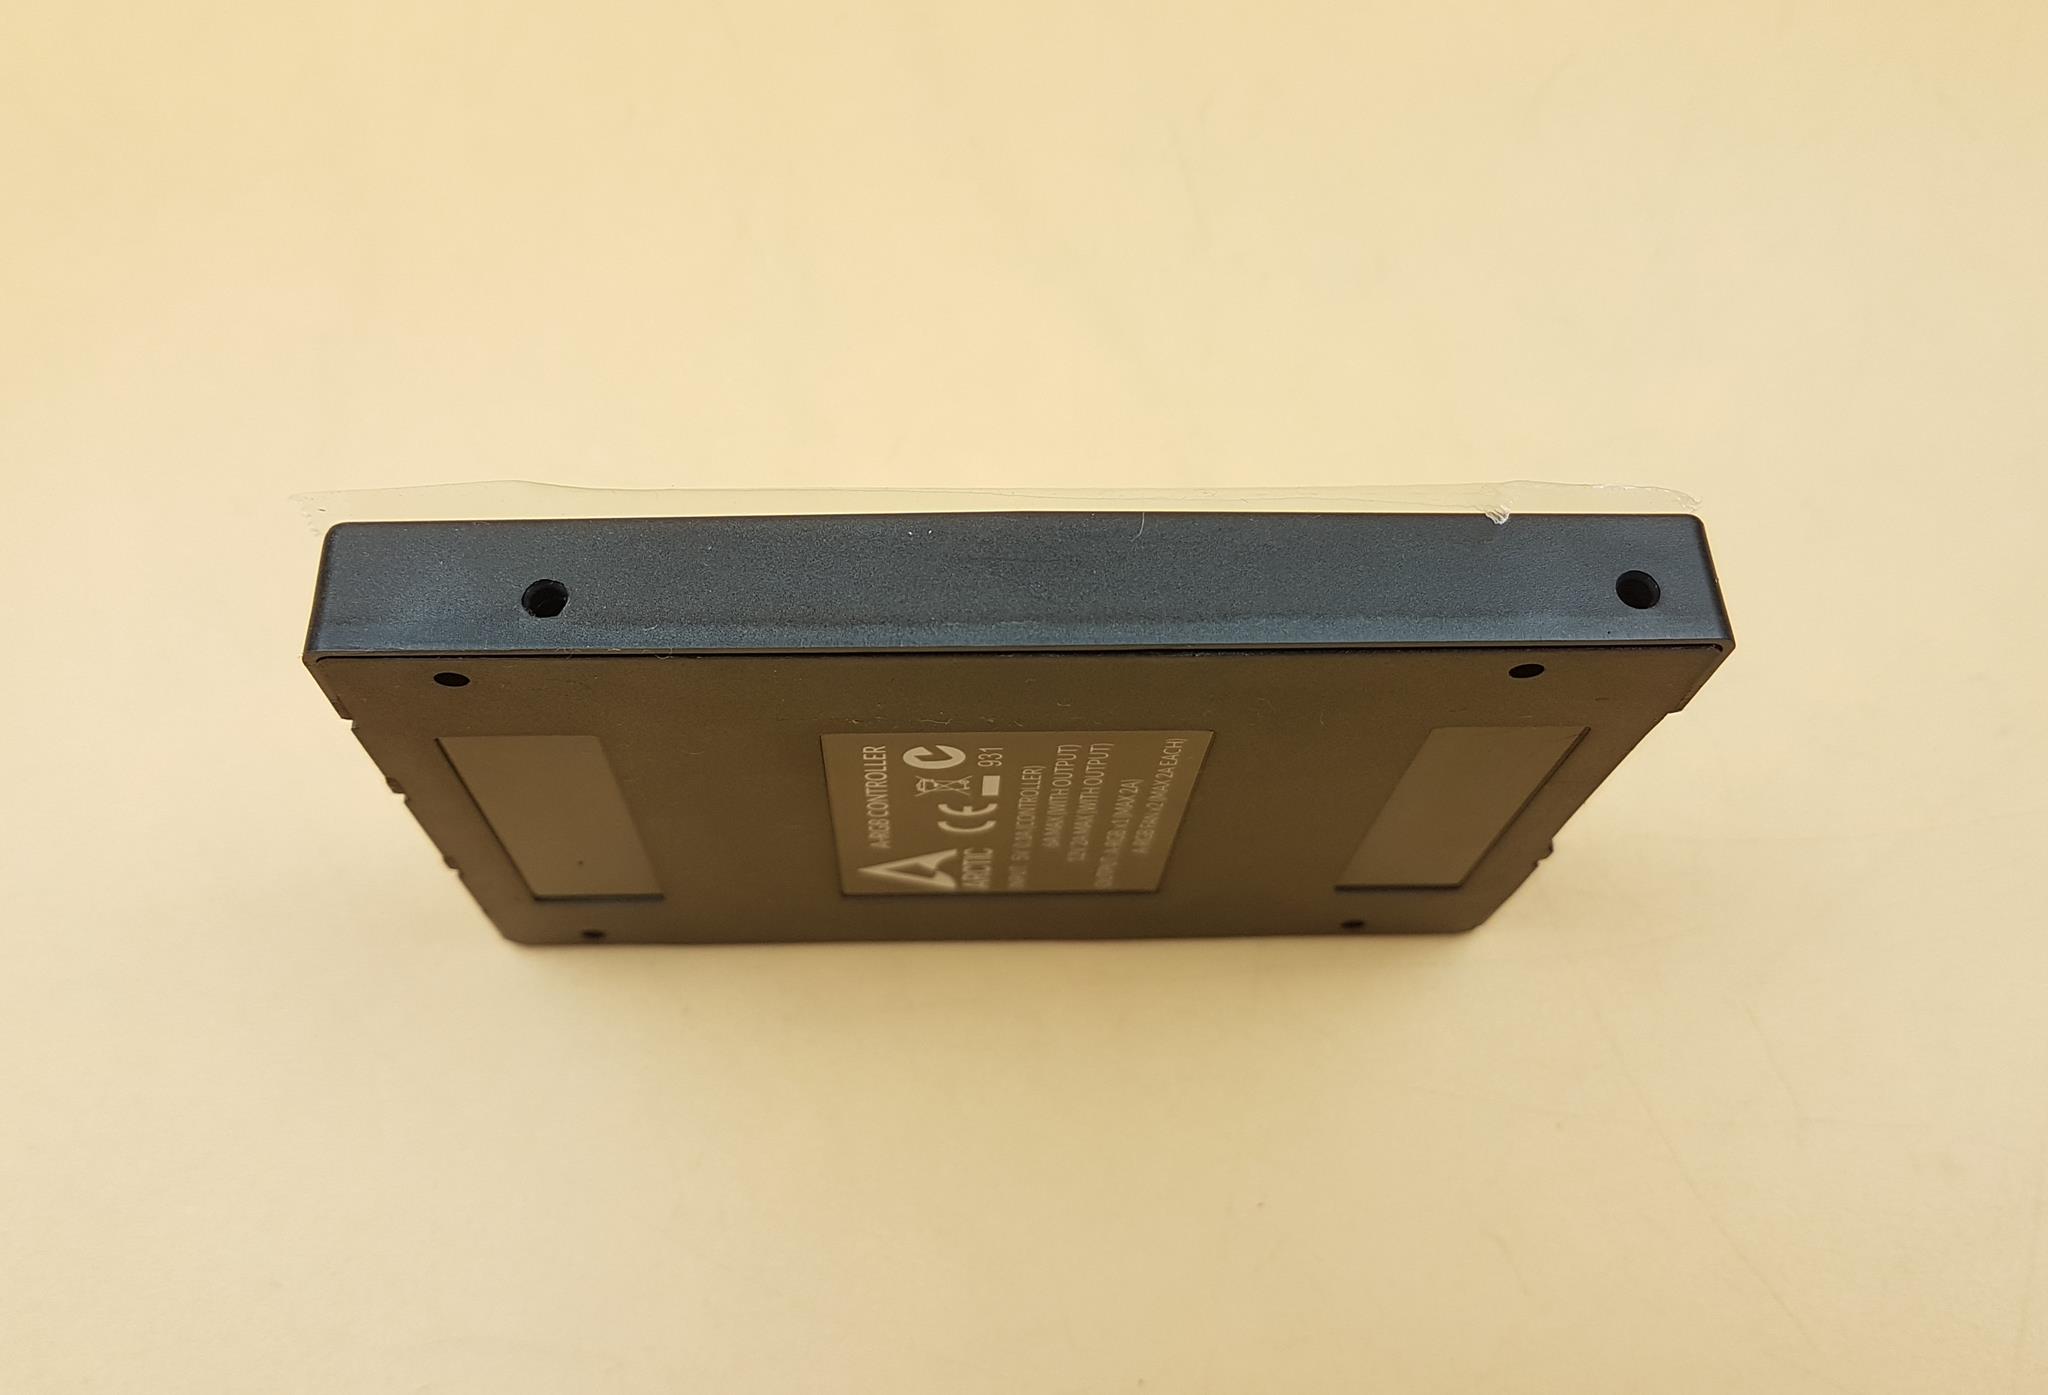
Each side of the control box has mounting holes. The user has an option to install the control on the drive caddy/box either on the side or top-mount.
The backside of the controller shows the power rating of the unit. There are 4x mounting holes to top mount the controller on the drive caddy or compatible spacing area in the chassis. The rectangular black color areas on the top and bottom are where the user can use the double-sided or single-sided adhesives.
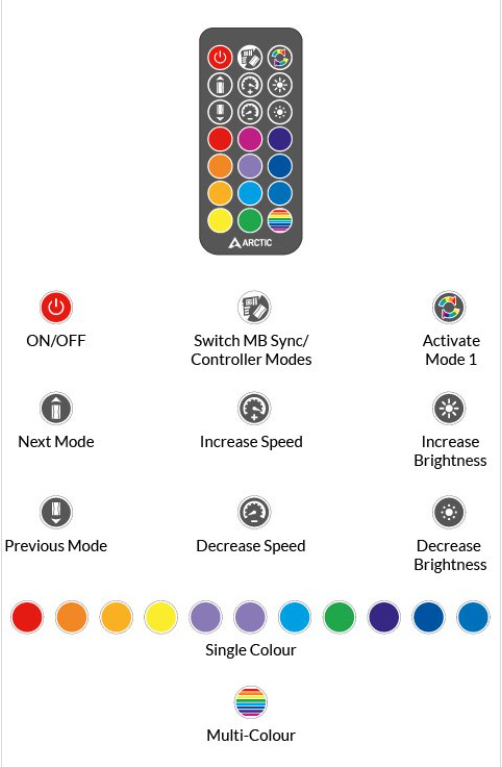
ARCTIC has provided a remote control using RF mode to wireless control the A-RGB lighting of the BioniX P 120 A-RGB fans. The user can also control the speed of the fans using the dedicated buttons on the remote control.
The above picture illustrates the use of the buttons on the remote control.
The controller retains the last loaded configuration which is suggestive there is an onboard memory chip for that. There are 15 pre-defined lighting modes on the controller.
Let’s take a look at the cables.
The above cable is called Fan-Fan cable. This cable connects two BioniX P 120 A-RGB fans and ensures a certain distance between them. It has one white color connector and the other black color connector. The white color connector is connected to the POWER IN header of one fan and the black color header is connected to the CONNECT header of the other fan.
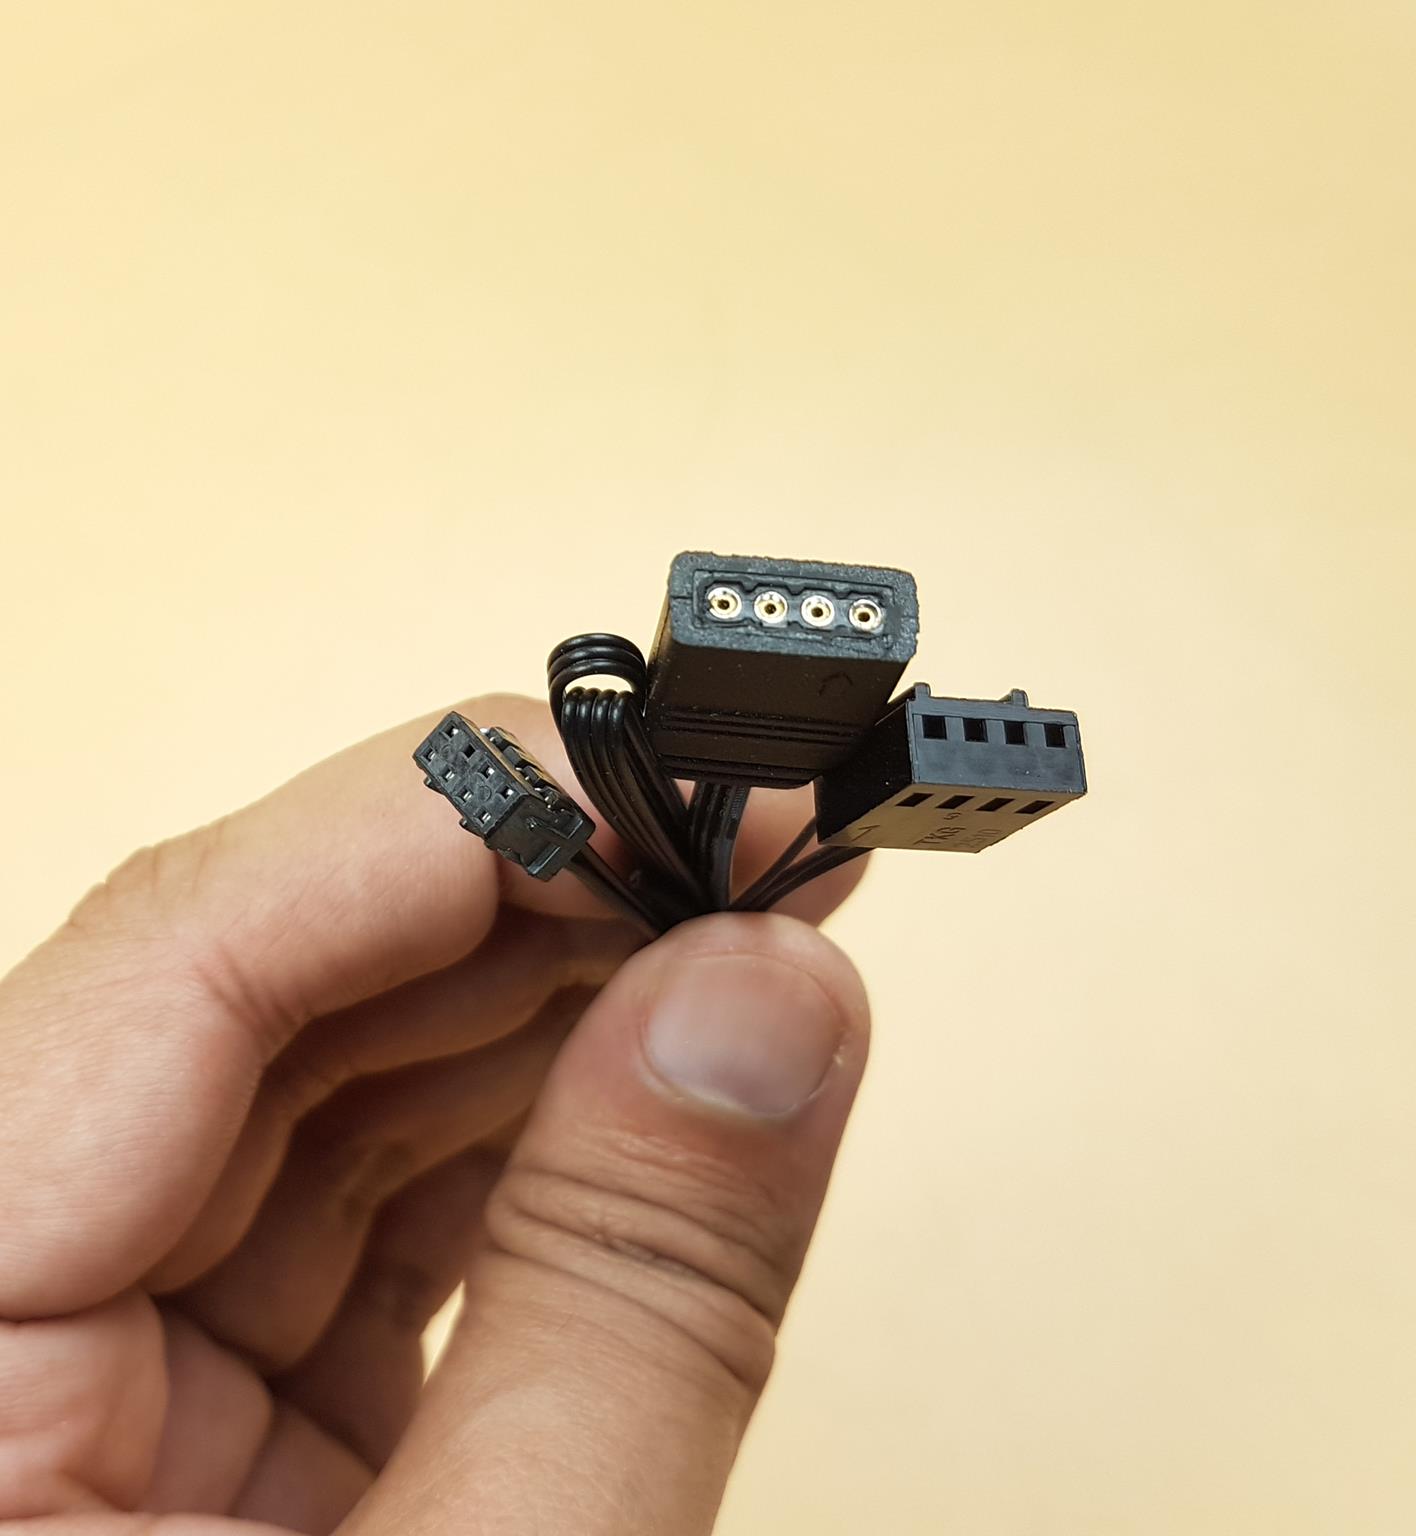
The above cable is called Controller-Fan cable as it allows the fan to be connected to one of the two 8-pin A-RGB outputs of the dedicated controller to enable the A-RGB function. This cable can be used in conjunction with the above Fan-Fan cable.
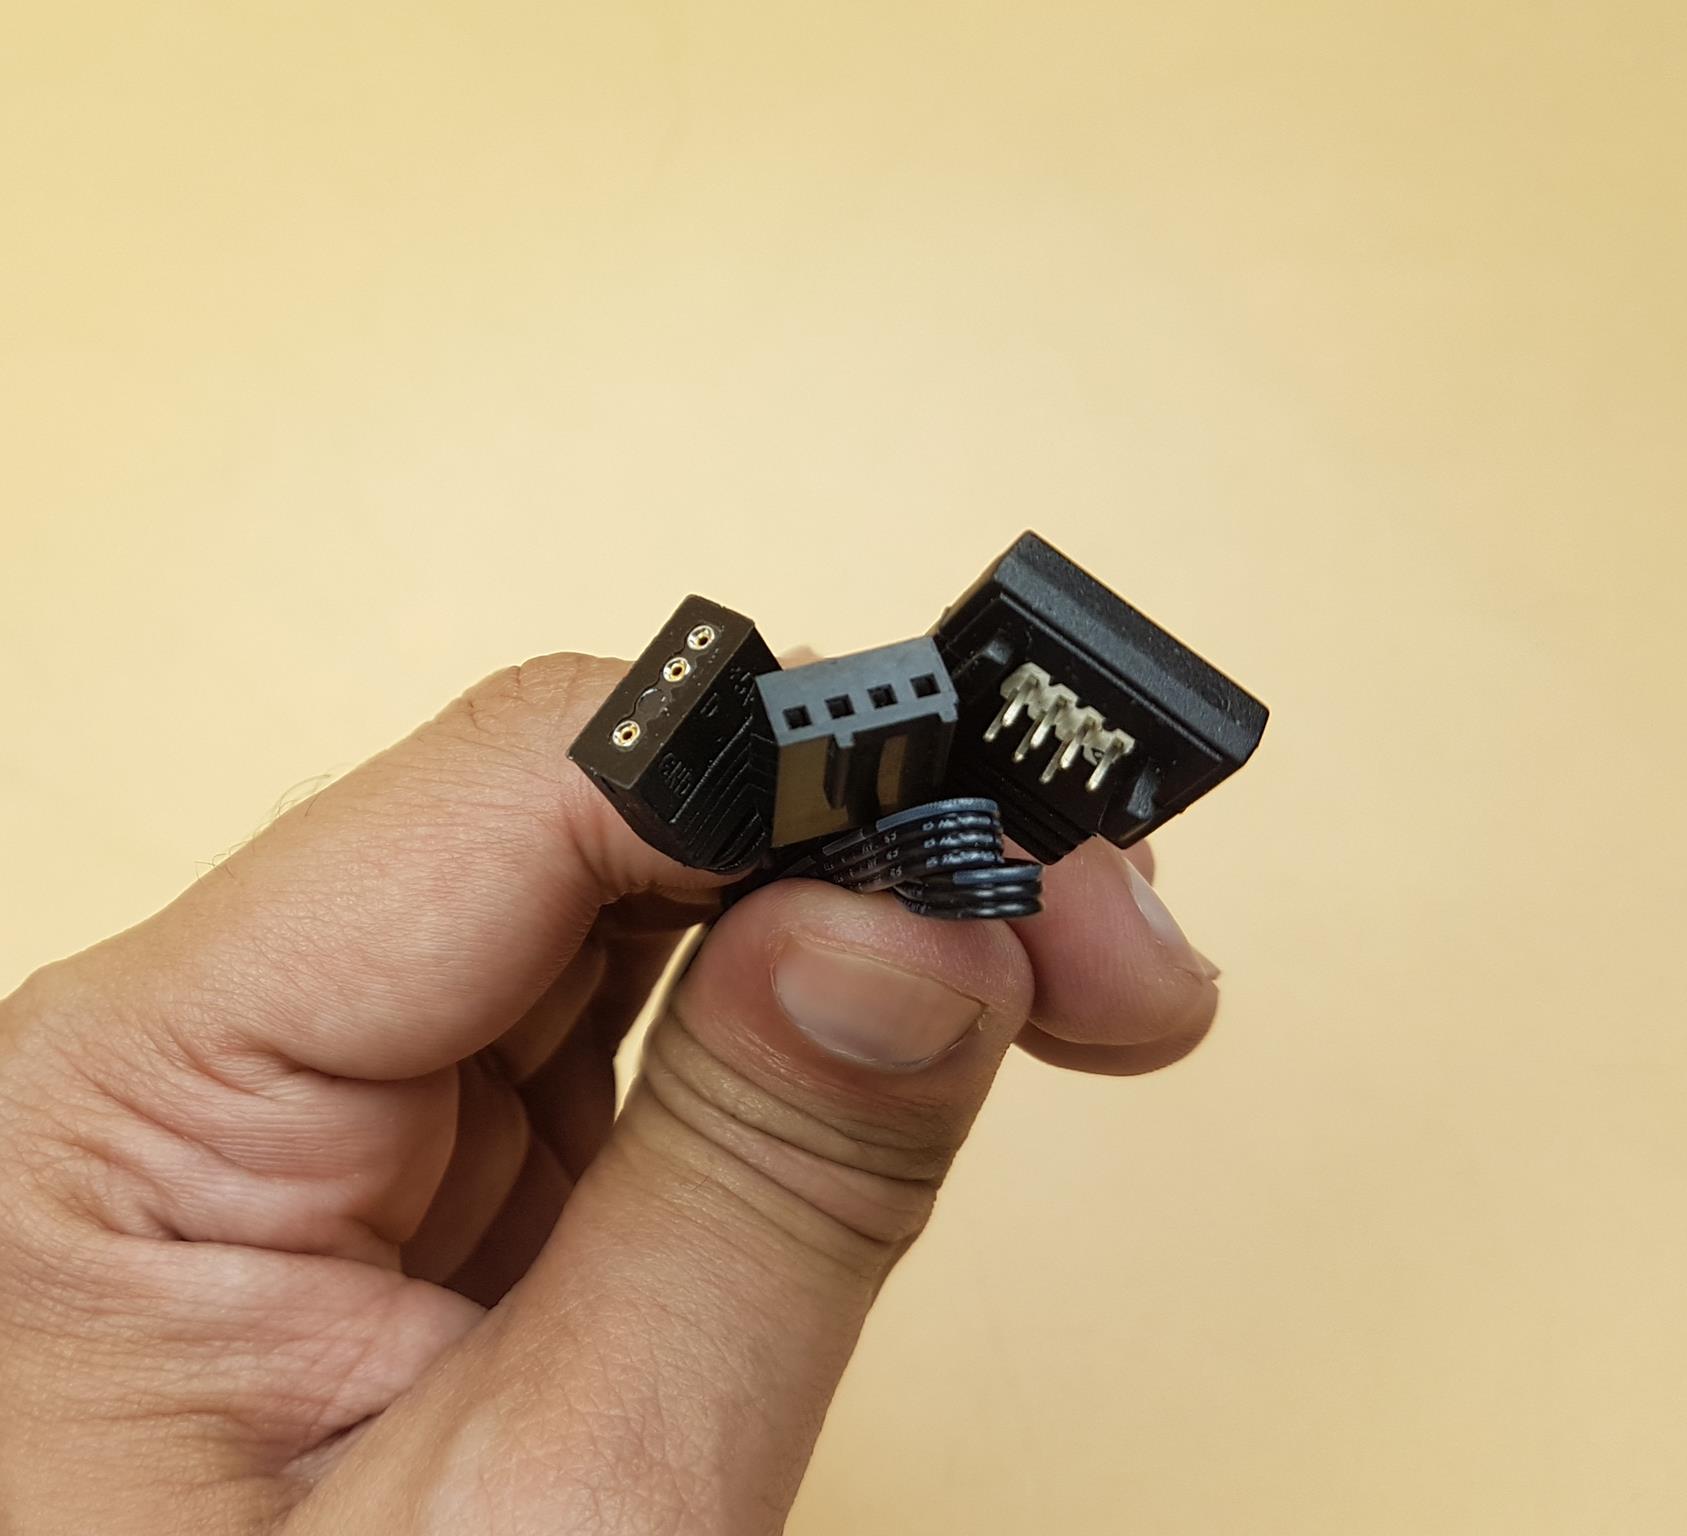
The above cable is called Motherboard Fan cable. The user can directly connect the fans to the motherboard’s 4-pin PWM header and a standard 5V header on the motherboard. This way the user can control the speed of the fan using the UEFI/BIOS or utility and can control the lighting of the fans using the motherboard’s dedicated software utility like MSI MYSTIC SYNC which we have used to test the lighting control. If plugged directly on the motherboard, up to 5 fans can be daisy-chain on each motherboard ARGB header.
The above cable is also called the Motherboard Fan Cable but with one key difference. This cable connects the motherboard to the controller. In this configuration, the fans have to be connected to the controller. The user can control the speed and lighting of the fans either using the controller or through the motherboard by switching the control source to the motherboard using the remote control.
How to Setup BioniX P 120 A-RGB fans?
There are multiple ways in which the fans can be connected to the controller or the motherboard and their interconnectivity as well.
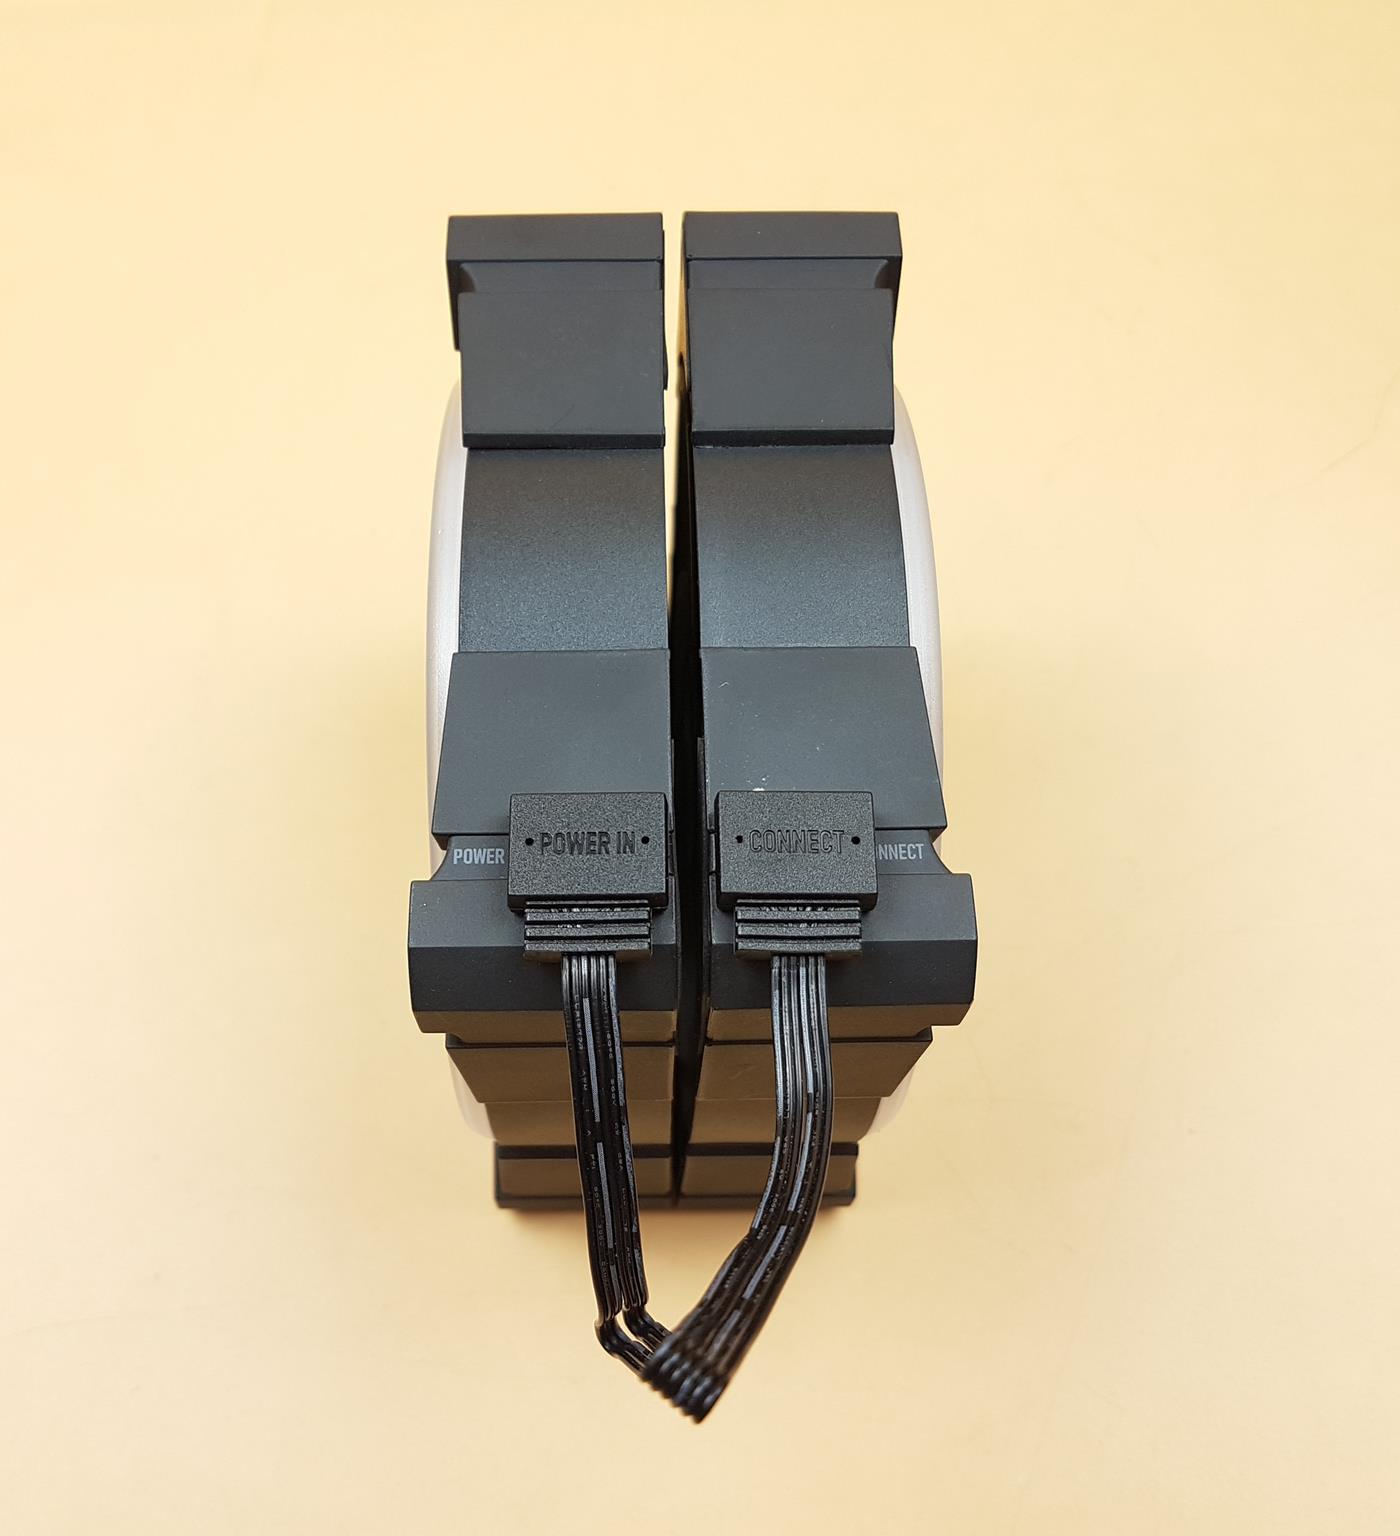
The above picture shows that we have connected the white connector of the Fan-Fan cable to the POWER IN header of one fan.
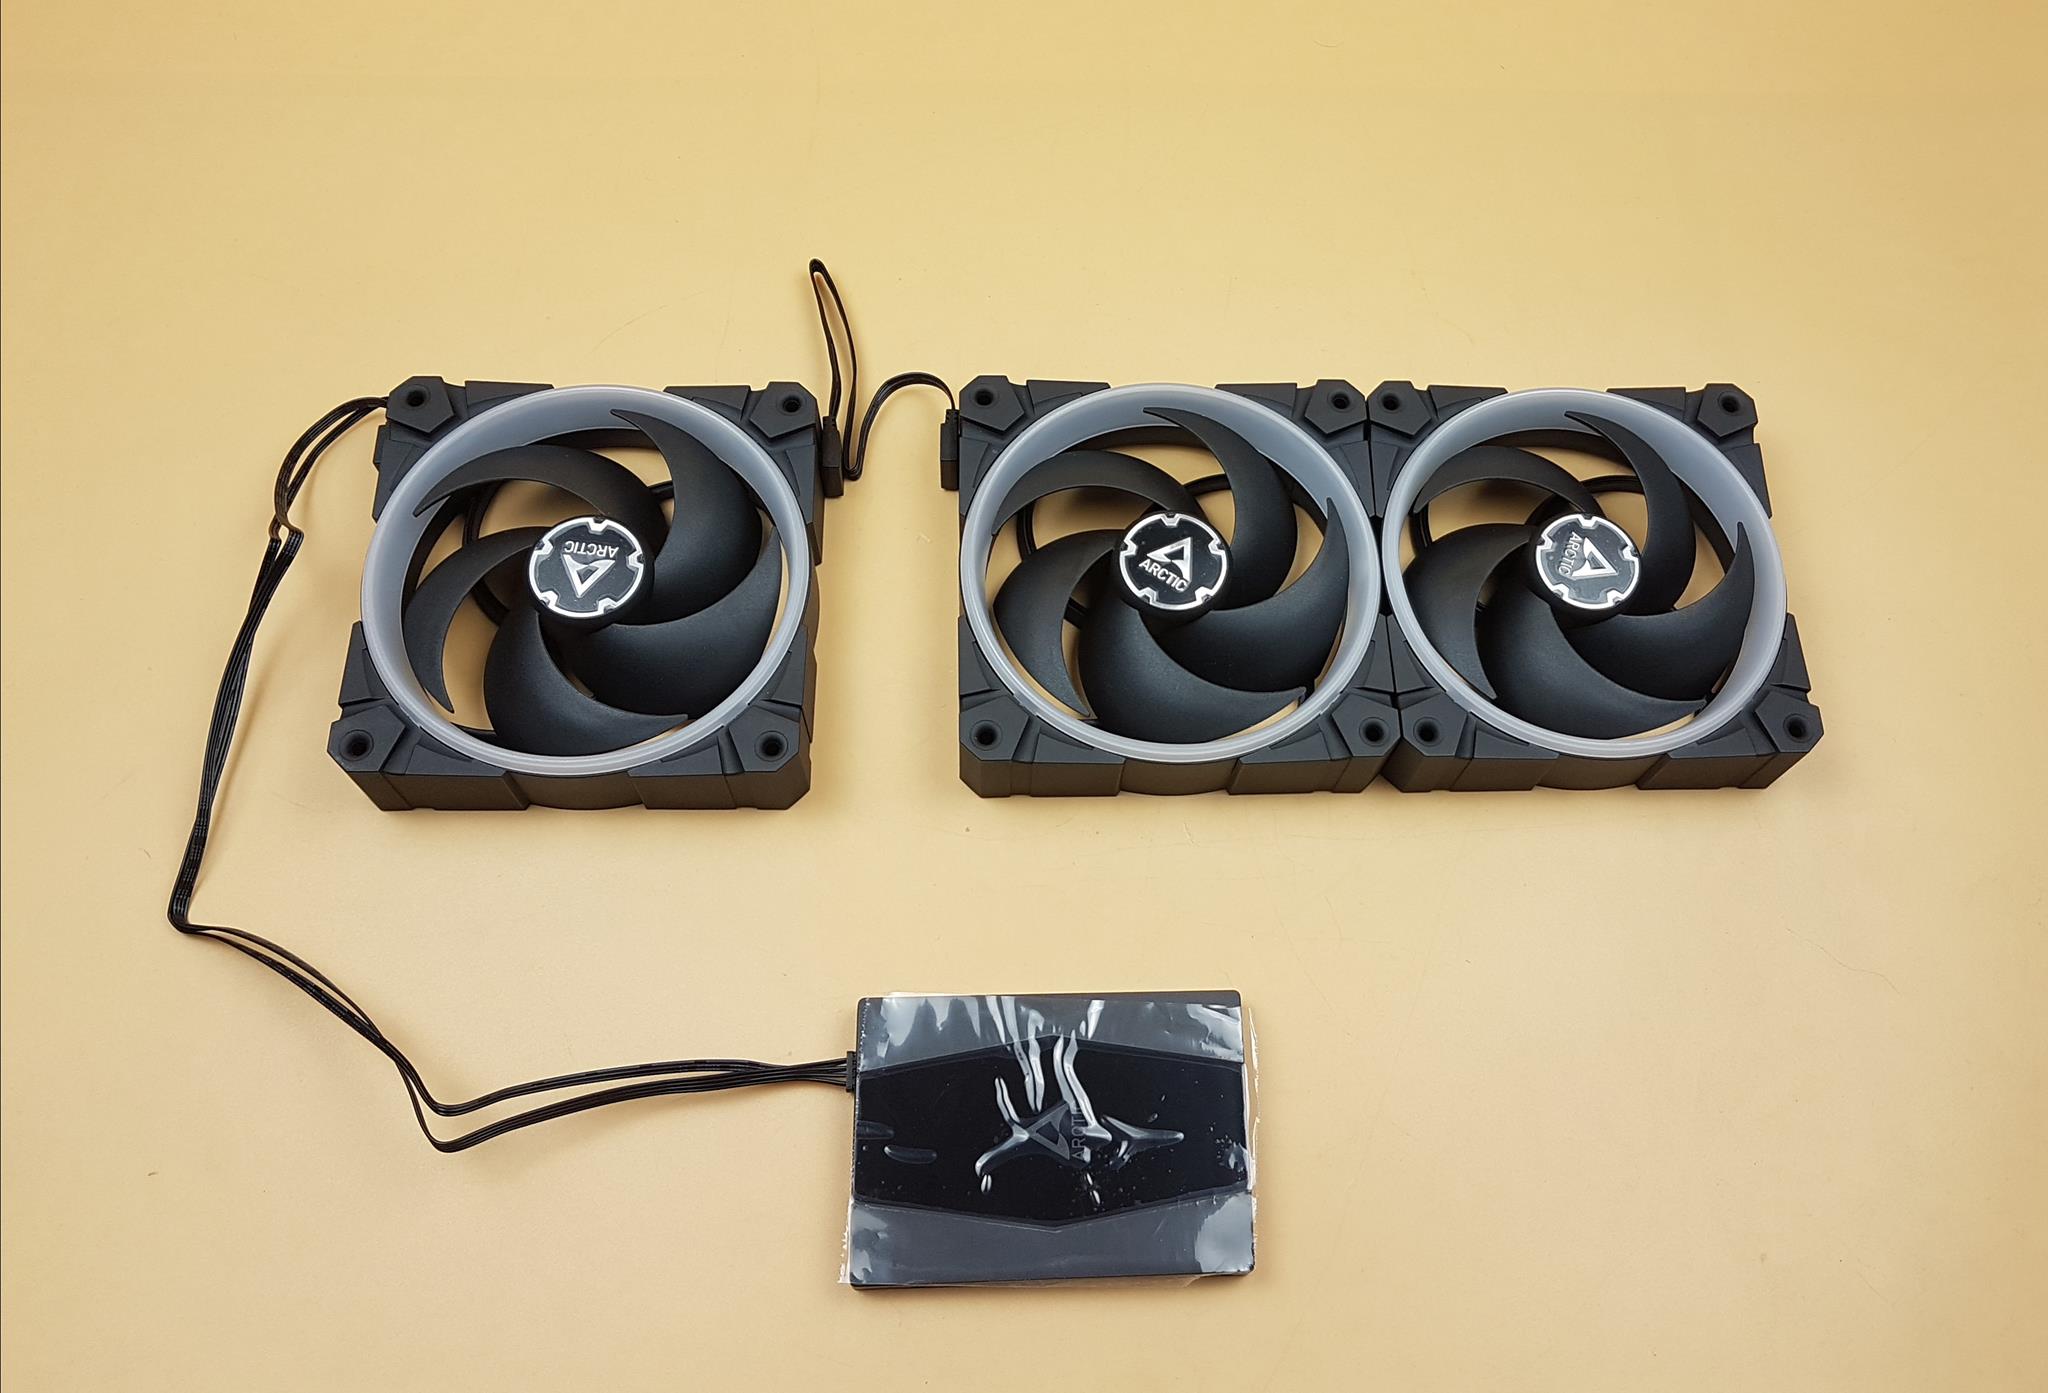
Then we connected the black color connector of the same Fan-Fan cable to the CONTROL header of the other fan. Now, both fans are inter-connected. This configuration allows to have certain space between the fans and is applicable in scenarios like using one fan on the rear and 1-3 fans on the top depending upon the provision. We can daisy chain the top fans without cables but we need to have cable connectivity between one fan on the top and the other fan on the rear. This is for example only.
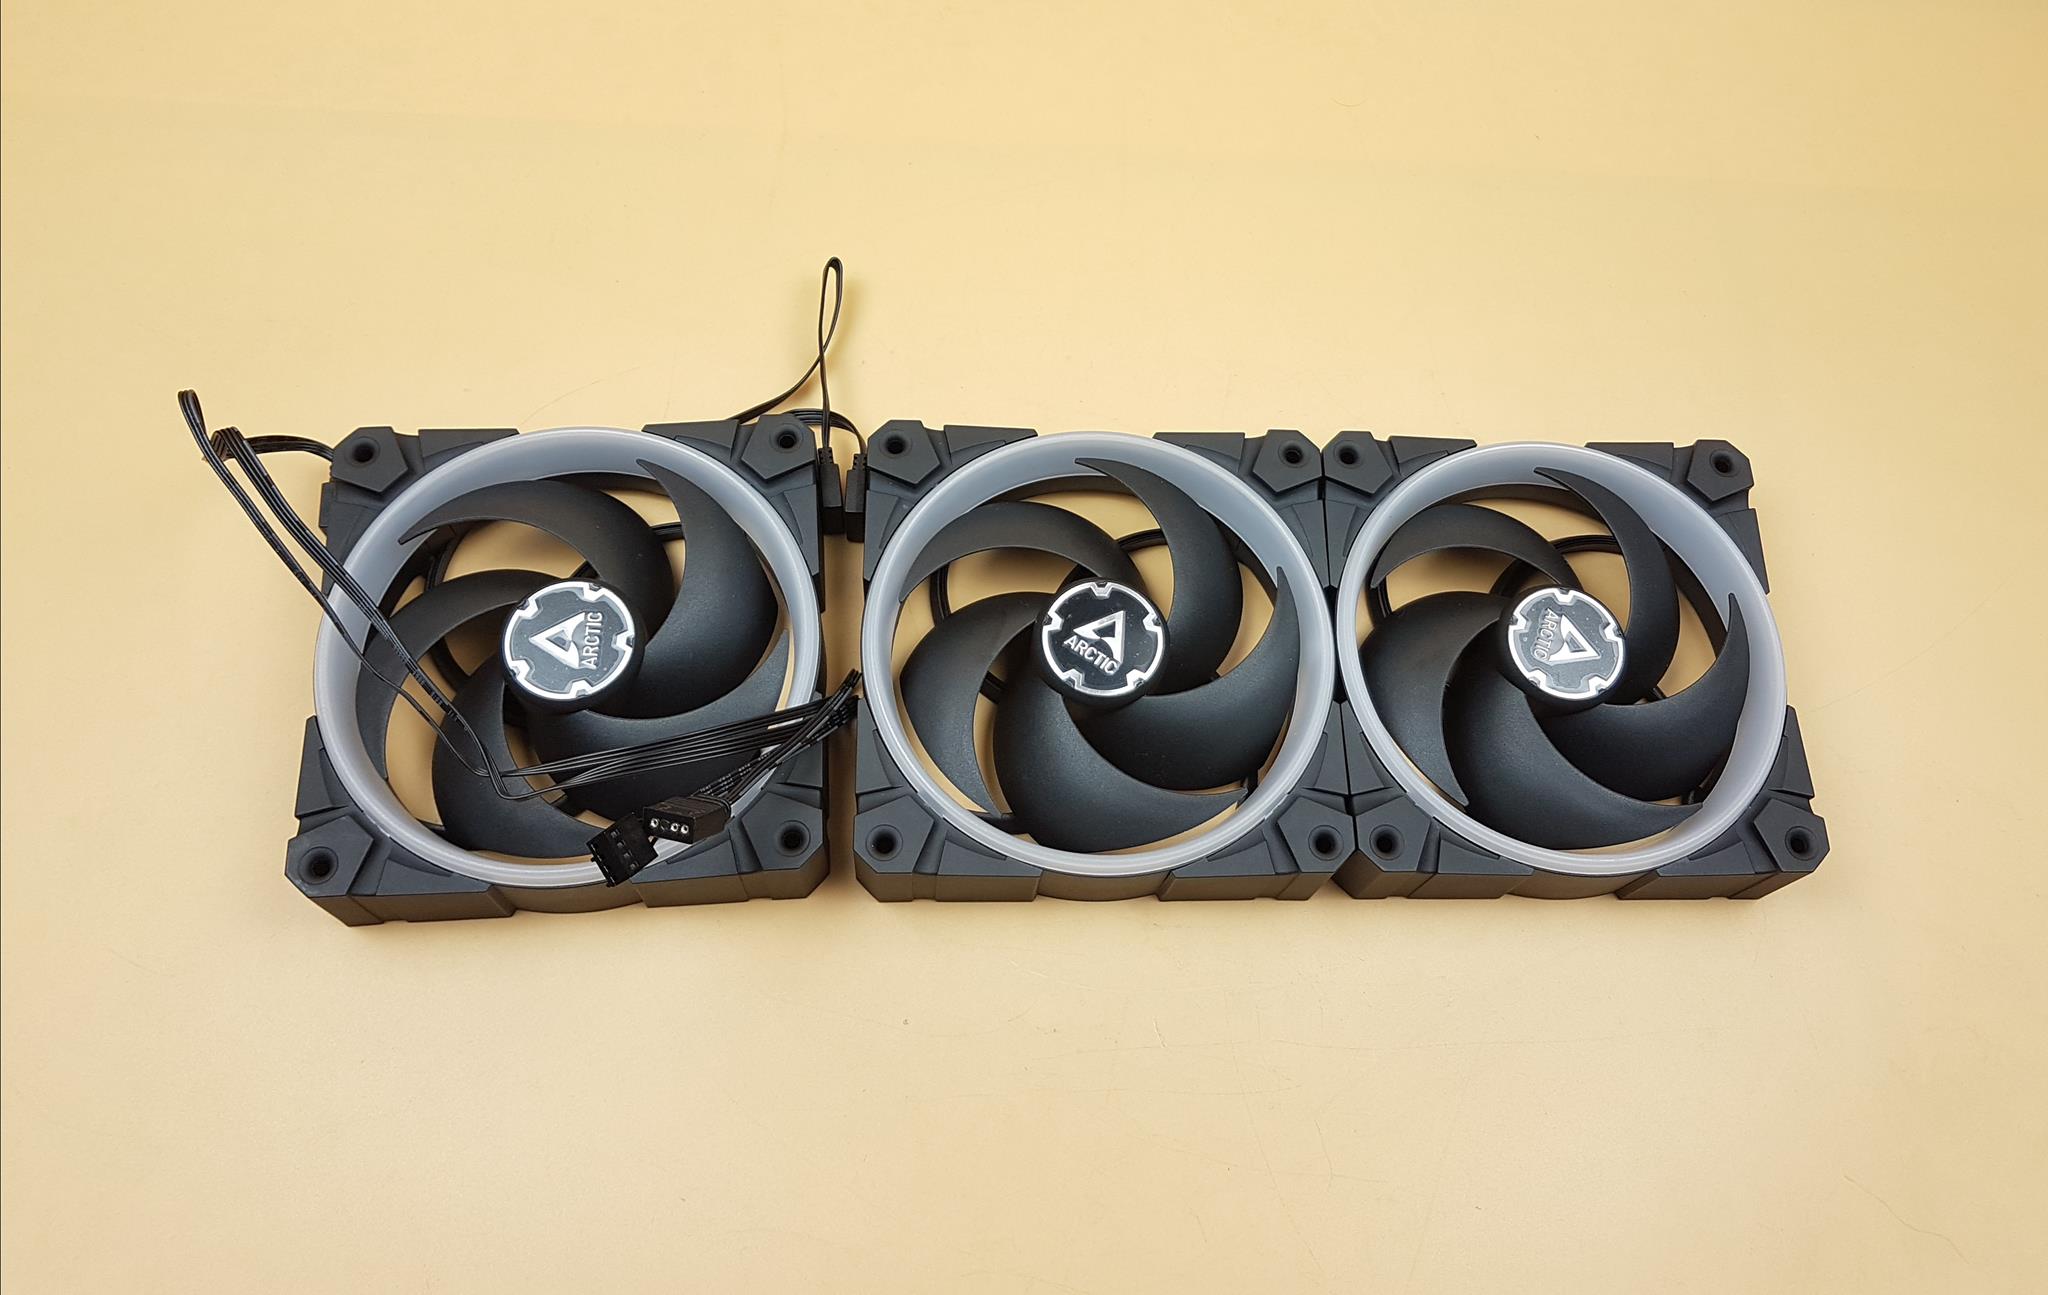
When fans are to be installed on the radiator or in a series on the front or on the top of the chassis, it is preferable to have them daisy-chained using the Fan Blocks (7-pin interconnecting pins). This would reduce the cable clutter as we would then need to connect only one cable as per the requirement.
The above picture shows how to connect two fans using the fan block. This is for illustration purposes. The block pin-out is designed in such a manner that one end matches the white header layout and the other end matches the black header layout on the fan.
The above picture shows three BioniX P 120 A-RGB fans daisy-chained using the Fan Blocks. It is that simple and effective presentation and handling. Fans are connected to each other. All we need to do is connect a cable on the end and have the cable’s other end to the controller or the motherboard.
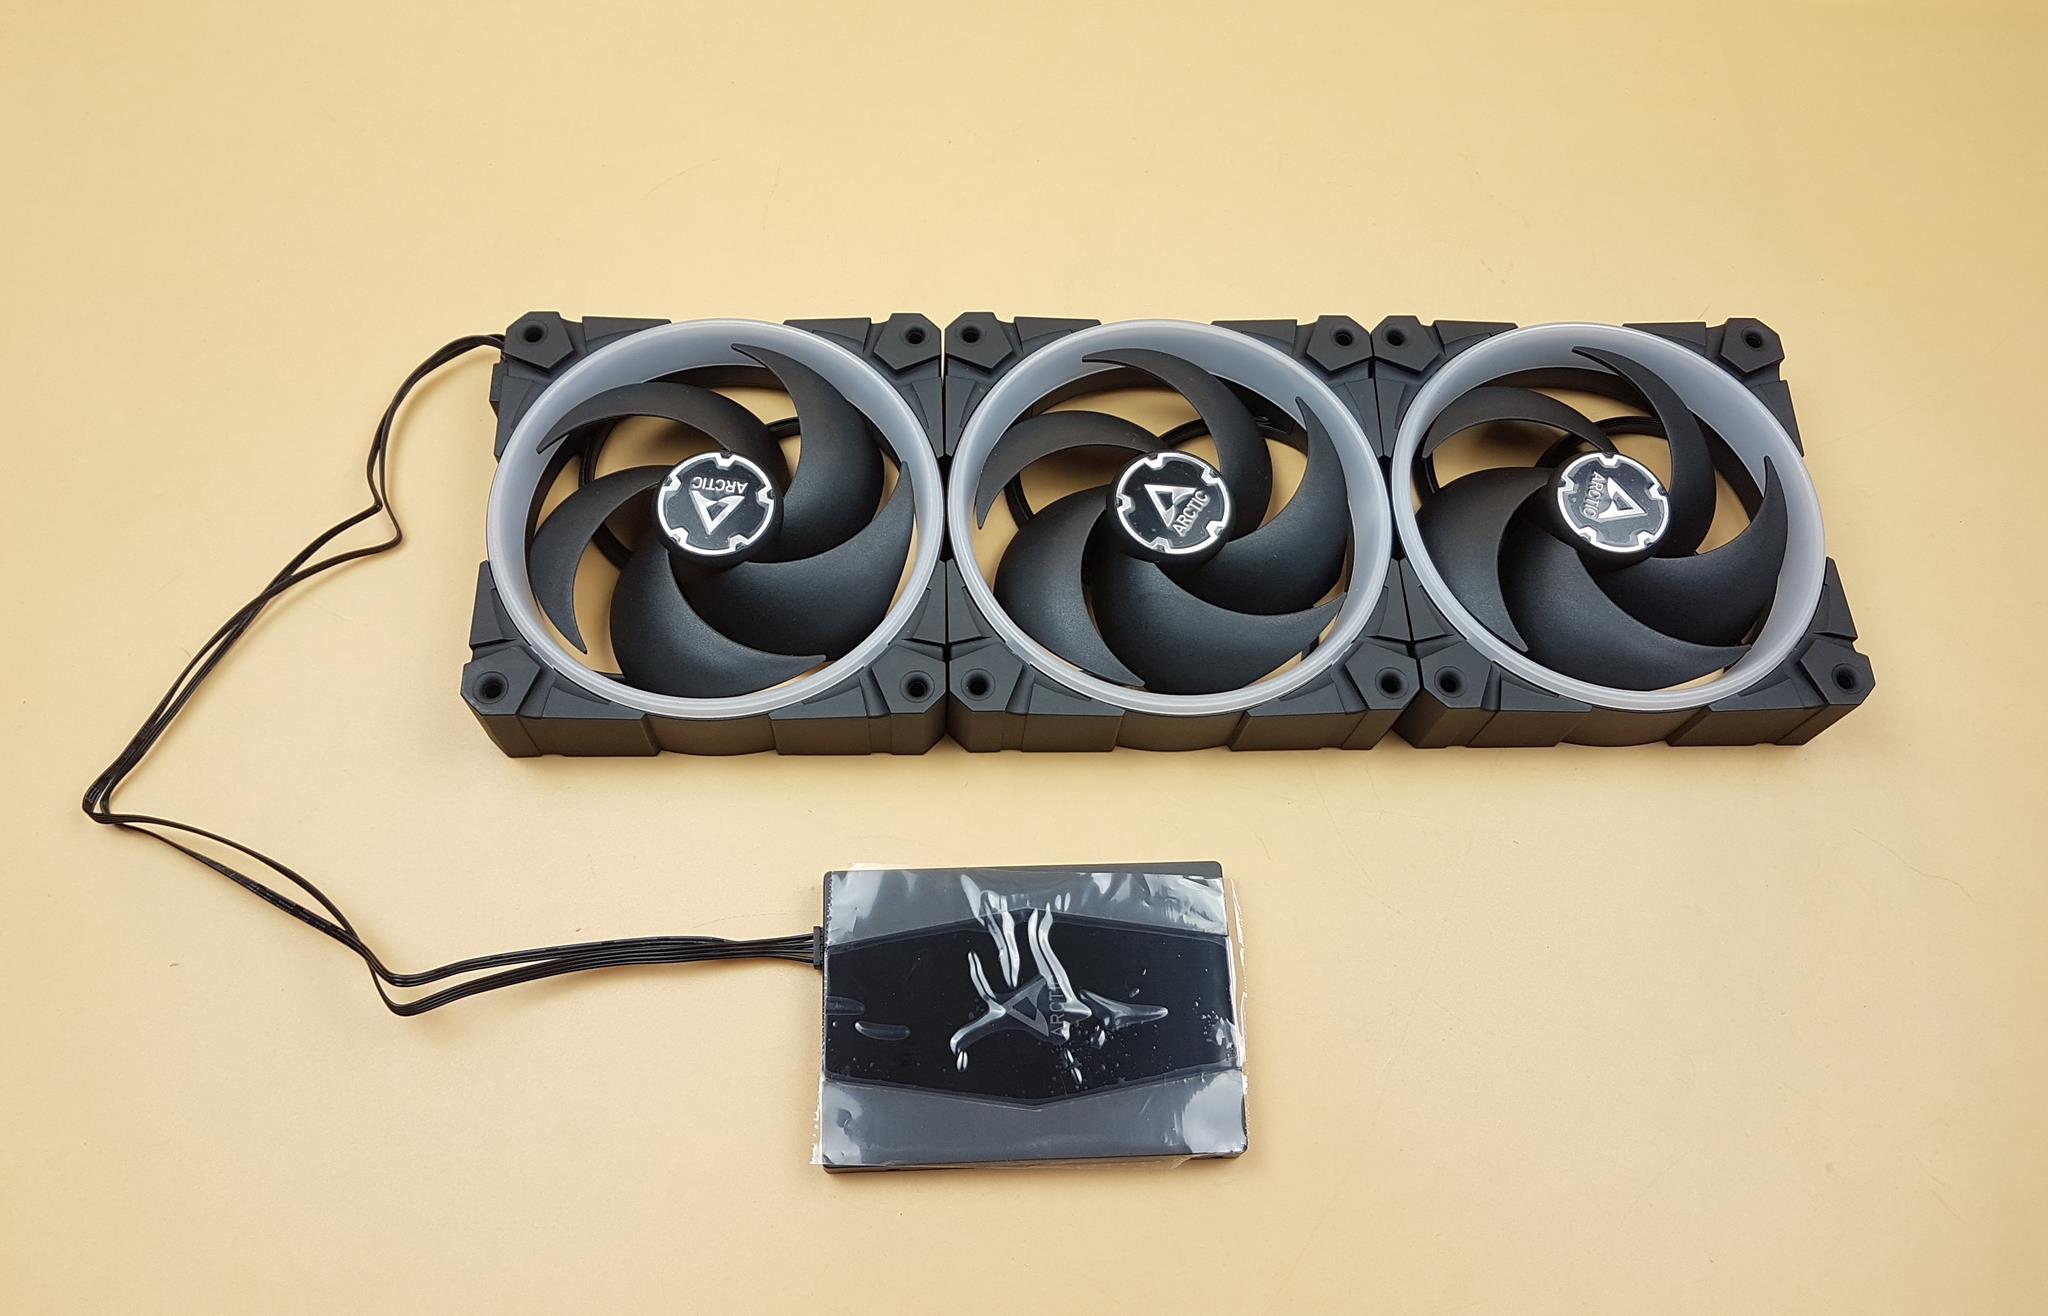
The above picture illustrated my point on the preceding para. All three fans are connected to each other using the fan blocks and then a single cable is connecting these fans to the controller.
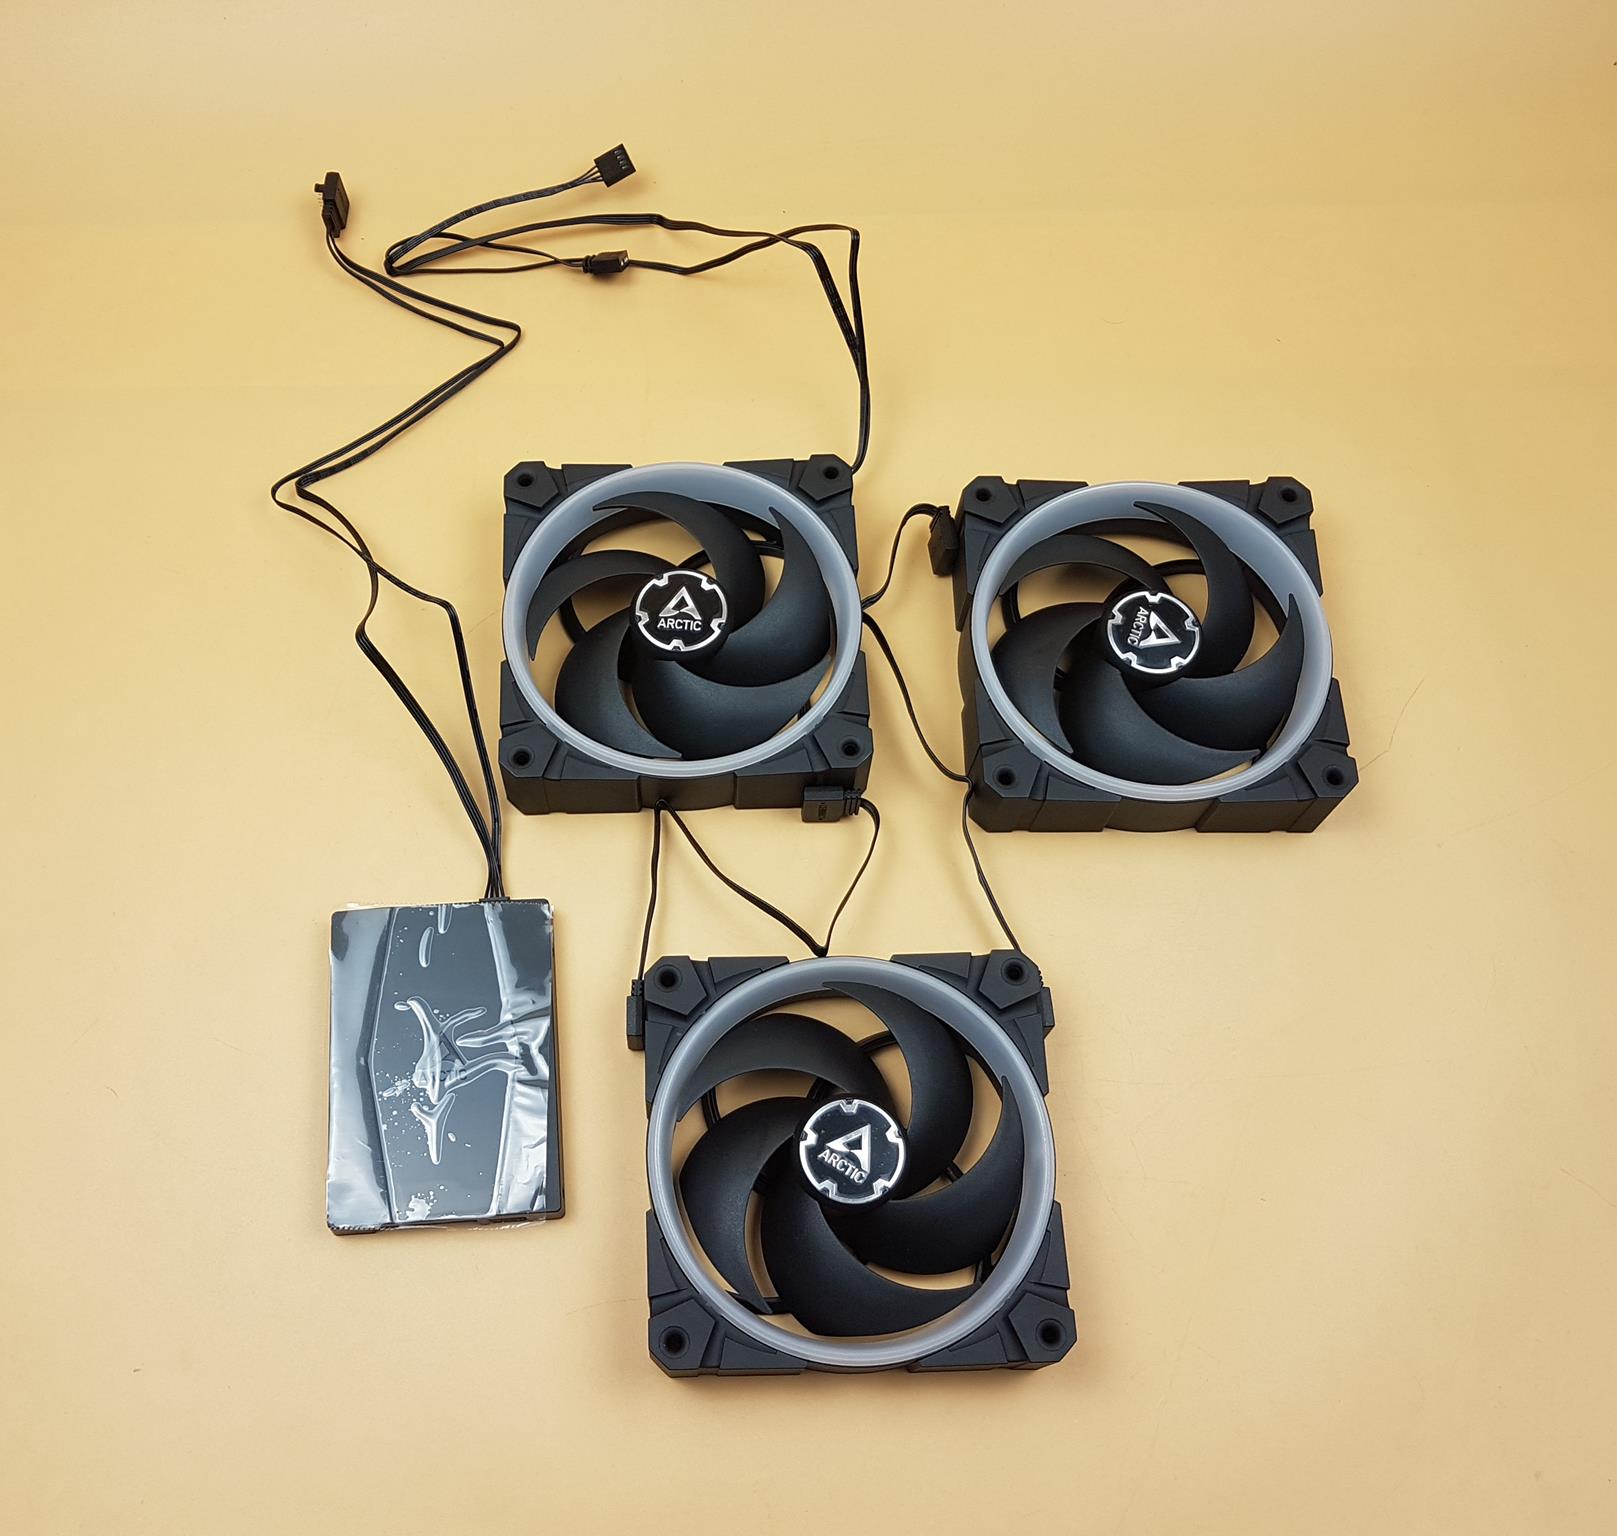
The above picture illustrates that two fans are connected to each other using the fan block and one fan is connected to them using a Fan-Fan cable which in turn is connected to the controller. This illustration perfectly describes what I mentioned above. The one fan goes on the rear of the PC chassis and the two fans on the top of the PC chassis. The connectivity of the fans to the controller can come from any end fan.
The above picture illustrates that we can connect the daisy-chained fans directly to the motherboard using the dedicated cable for this purpose.
The above picture shows that three fans are connected to each other using Fan-Fan cable to have some space among them and later we can connect them either to the controller or to the motherboard. Flexibility is there for us by the ARCTIC!
A-RGB Lighting
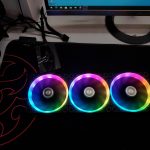
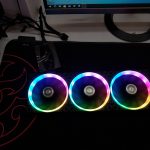
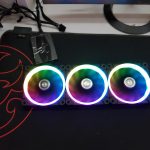
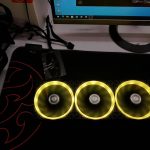
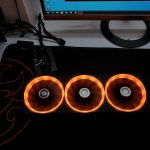
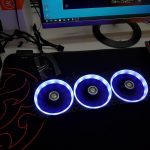
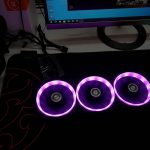
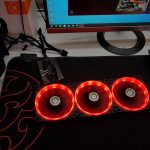
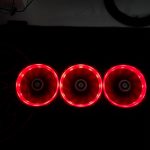
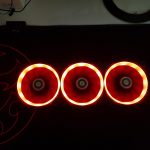
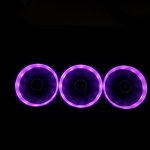
Here are a few pictures for your eyes pleasure:
Testing
The following test bench is used for thermal performance testing: –
- ASUS ROG Strix Z390-E Gaming Motherboard
- Intel i9 9900k [Stock, Auto]
- ARCTIC Liquid Freezer – II 240
- Ballistix Elite 16GB DDR4 @ 3000MHz
- Nvidia GeForce GTX 1080 FE
- Lexar 250GB NVMe SSD
- bequiet! Straight Power 11 850W Platinum PSU
- Open-air Test bench
Following software were used for testing and monitoring.
- Asus Real Bench v 2.56
- Core Temp
Here is the settings table for testing:
| Voltage (V) | Auto |
| Clock (MHz) | Auto |
| Turbo Boost | Enabled |
| C-States | Auto |
| Speed Step | Auto |
| Thermal Paste | Noctua NT-H1 |
| Test Run Time | 30 minutes |
| Idling Time | 10 minutes |
| Fan Speed | 100% PWM Duty Cycle |
| Pump Speed | Connected to the AIO Pump header to run at 100% speed |
Not every run of the stress test may yield the same result. This could well be due to many factors like mounting pressure, thermal paste application, varying ambient temperature. Not to mention the silicon differences even among the same category of the chips. Hence, it is pertinent to mention the testing methodology along with the specifics.
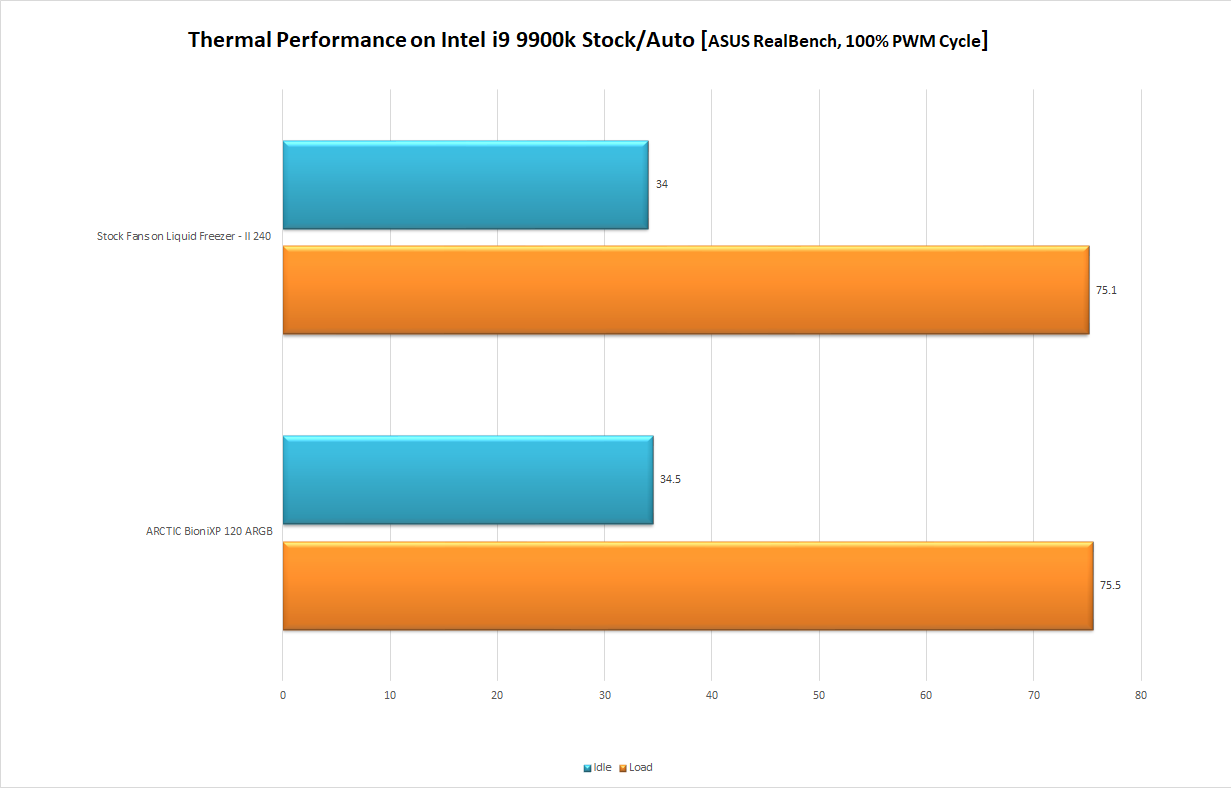
For comparison, we have tested the stock P fans on the ARCTIC Liquid Freezer – II 240 and compared their performance against the ARCTIC BioniX P 120 A-RGB fans.
Let’s take a look at the results.
100% Duty Cycle
Both fans have performed similarly and are within the error of margin. The ambient was 30°C.
Here is a table showing RPM range and corresponding airflow measurements:
| PWM Duty Cycle (%age) | Speed (RPM) | Airflow (CFM) |
| 20 | 750 | 15 |
| 30 | 989 | 22 |
| 40 | 1221 | 28 |
| 50 | 1434 | 35 |
| 60 | 1609 | 41 |
| 70 | 1788 | 47 |
| 80 | 1961 | 53 |
| 90 | 2083 | 60 |
| 100 | 2265 | 66 |
Acoustic
The fans at 100% of their speed were doing approximately 51 dB(A) at an ambient of 33 dBA.
Conclusion
ARCTIC has entered a light show segment with the launch of their BioniX P 120 A-RGB fans. These fans are available in a single fan pack and a 3-fans pack with the controller. ARCTIC has taken a different design approach with these fans for seamless interconnectivity. Though the idea is not new but they have executed it in almost a perfect manner. Say bye-bye to the cable clutter as ARCTIC has introduced fully modular fans. The basic design element is the same as is on their P series fans which is a wise move. Each fan measures 120x120x30mm where 30mm is the thickness of the fan. Each fan weighs 209 gm.
Each fan has a black color square shape housing. There is a circular-shaped ringed design diffuser running in the inner wall of the housing on the entire length. Each fan has 12 A-RGB LEDs for some vivid lighting. Since we have 30mm thickness or the height of the fans, we would need longer screws for the radiator. These screws are not provided in our box but can be sourced from their support service. ARCTIC has informed that these were missing from the first batch but they are now shipping with the new batches. The backside of the fan has 4x anti-vibration pads pre-installed on the mounting corners. The motor of these fans is using sinus magnetization which generates 5% of the commutation vibrations of a conventional DC motor. These fans are using Fluid Dynamic Bearings. ARCTIC did not mention the service life of these fans.
ARCTIC has taken care of every connectivity detail well concealed inside the housing of the frame. There are only two headers on the frame. One header is in white color labeled POWER IN and the other header is in black color labeled CONNECT. The cool point is that there are two inter-connect pins called fan blocks using which we can connect up to 3 fans without any cable. Alternatively, we can use Fan-Fan cable to connect these fans. They have combined the PWM signal and A-RGB signal using a single interface which is a smart implementation. The ARCTIC BioniX P 120 A-RGB fans are rated for speed of up to 2300 RPM with a maximum airflow of 48 CFM and maximum air pressure of 2.1 mmH₂O and noise level of 0.48 sone. The airflow rating is mediocre, to say the least, and makes these fans more suitable for PC chassis ventilation.
ARCTIC has provided a dedicated controller with a plethora of supporting cables. The user has an option to daisy chain the fans and connect them directly with the motherboard. Alternatively, one can connect the daisy-chained fans to the controller and control the speed and lighting aspects using the RF remote control. The third way is to connect the controller with the motherboard allowing the user to switch the control to either source. We are dependent on the bundled cables to control the speed and lighting of the fans. This is the only downside of this design. Since the fans are fully modular and don’t have standard connectors for that matter. The supporting cable has standard 4-pin PWM and 3-pin A-RGB connectors. These fans are compatible with ASUS AURA SYNC, MSI MYSTIC LIGHT SYNC, GIGABYTE RGB Fusion 2.0, and ASRock POLYCHROME Sync. I have tested the fans’ lighting on the MSI MAG Z490 TOMAHAWK motherboard and the fans were responding to the selected lighting modes. The lighting was working fine on the controller as well.
The ARCTIC BioniX P 120 A-RGB are listed at MSRP of €54.99 for a 3-fans pack with a controller and €22.99 for a single fan pack without a controller. We have tested these fans on ARCTIC Liquid Freezer II – 240 AIO cooler for a synthetic stress test on Intel i9 9900k. There was as such no difference between the stock fans on the Liquid Freezer II – 240 and the BioniX P 120 A-RGB fans in terms of thermal performance. Keep in mind that this cooler has P series 120mm fans as well. ARCTIC is offering 2 years warranty. I love the idea behind the execution of this very design. The ARCTIC BioniX P 120 A-RGB fans based on the features set, modular design, same thermal performance as is on the P series fans, and vibrant A-RGB lighting, comes recommended by us.


