ARCTIC Z+1 Pro Extension Kit Review
Introduction
Manufacturer: ARCTIC
Product Page: ARCTIC.com
Purchase: $39.99 at the time of review from Manufactures Website
A little bit about ARCTIC: As an international company, our expertise extends over noise reduction in PCs to consumer electronics products. ARCTIC acts as an umbrella brand and combines the various product areas COOLING, SOUND, EQUIPMENT, and POWER.
In 2001, we initiated the trend towards quiet cooling systems for desktop PCs and have since become one of the leading manufacturers in this sector. Since 2010, we use the know-how of many years of IT experience to expand our portfolio with consumer electronics. In the course of expansion ARCTIC COOLING finally evolved into ARCTIC.
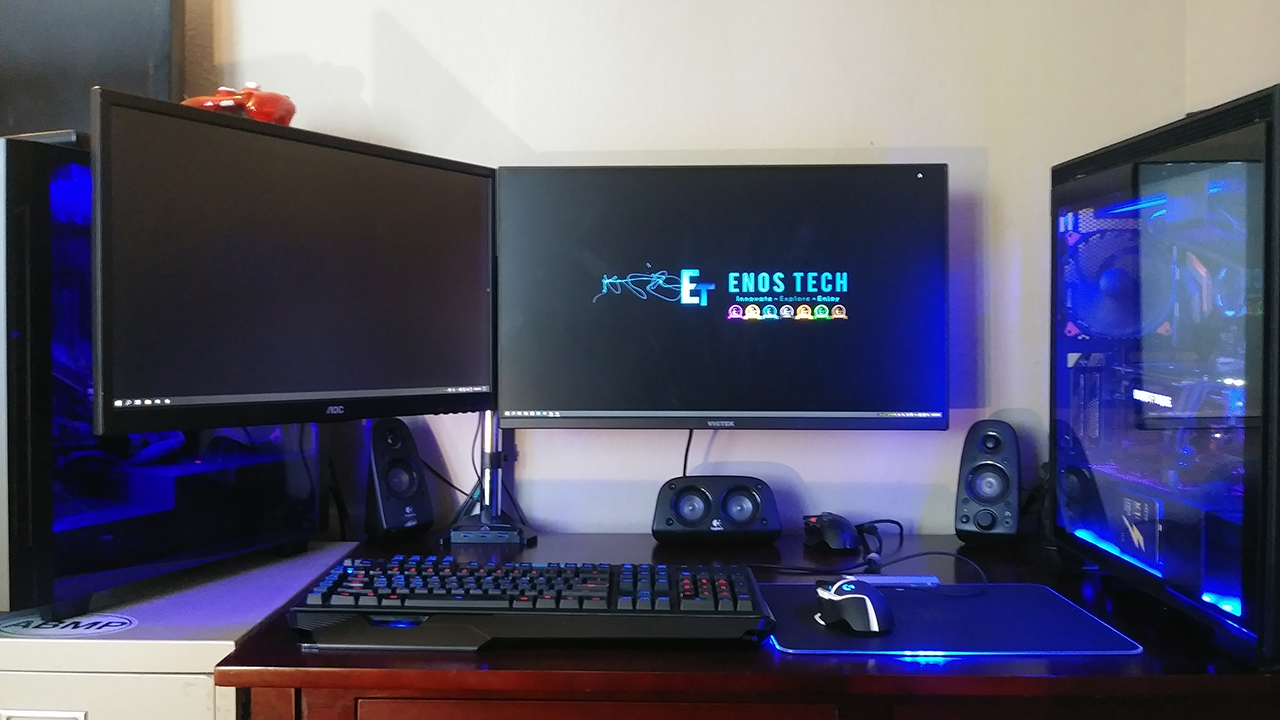
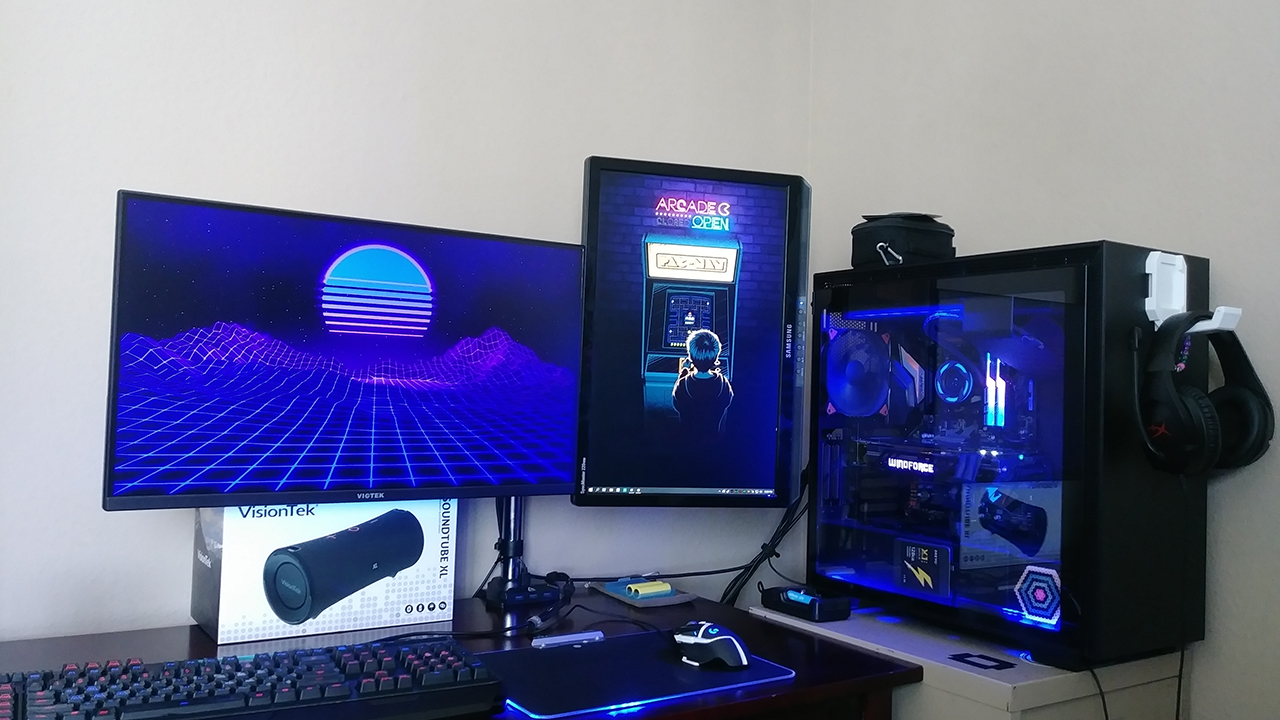
Today I am taking an extended look at ARCTIC monitor mounting hardware with the Z+1 Pro Extension Kit for a second monitor installation on the Z1 Pro (gen3) I recently propped up my Viotek GFT27DB a 27″ 16:9 panel. This is the perfect solution for someone who has decided on one of ARCTICs many compatible mounts for their main panel and has decided to add a second panel to their workflow. So let us get it unboxed and take a look at installation and a few ways I have set the Z1 Pro (gen3) and Z+1 Extension Kit combo up to maximize my day to day tasks of writing and editing with gaming sprinkled in.
Specifications
- Tilt: +/- 15°
- Swivel: 180°
- Rotation: 360°
- VESA Standard: 75×75 / 100×100
- Maximum Monitor Weight: 15 kg (22 lbs) per mount
- Classis 16:9 monitor size: up to 43“
- Ultrawide monitor size: up to 49″
-
Compatible with: Z1 Pro (Gen 2), Z2 Pro (Gen 2), Z1-3D, Z2-3D, Z1 Pro (Gen 3), Z2 Pro (Gen 3), Z3 Pro (Gen 3), Z1-3D (Gen 3), Z2-3D (Gen 3) mounts.
Closer Look
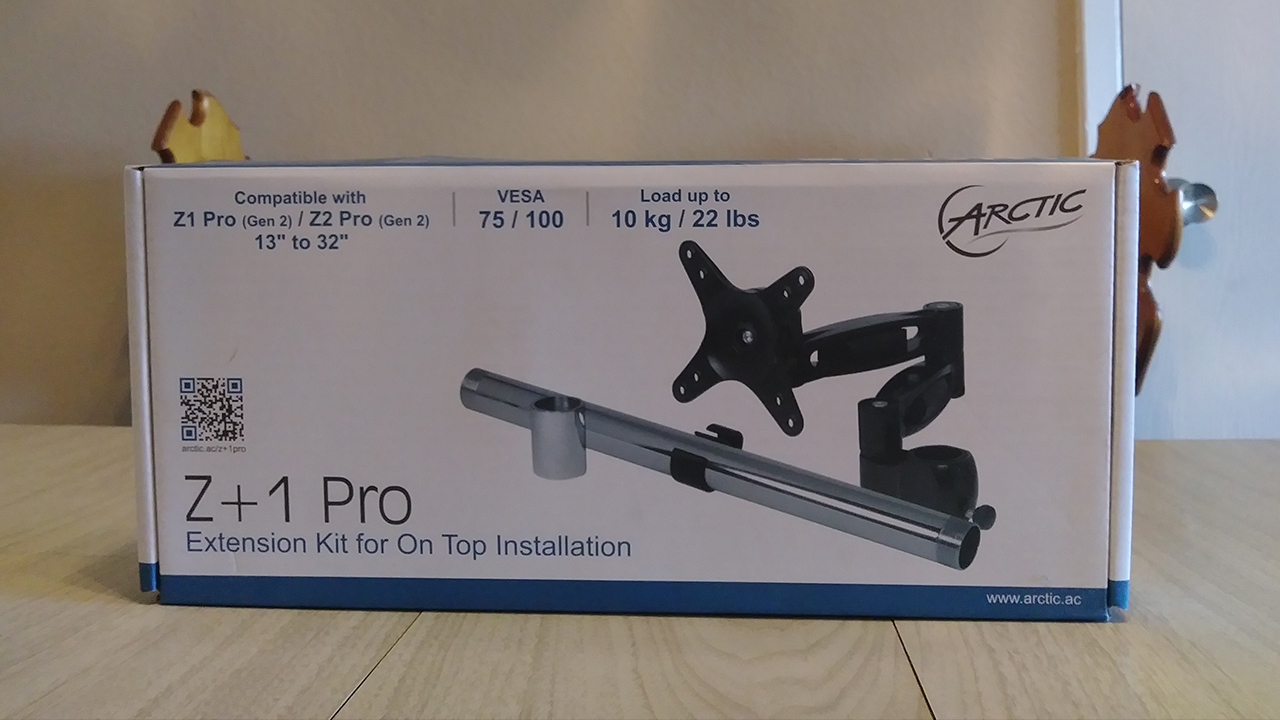
Here on the front of the box, you will see the product name Z+1 Pro Extension Kit for On Top Installation. This does not mean you need to install your second monitor on top of your primary though you can do so. It just means that this kit installs over the top of the main kit. You can adjust the ARCTIC mounts for basically any desk set up and comfort need.
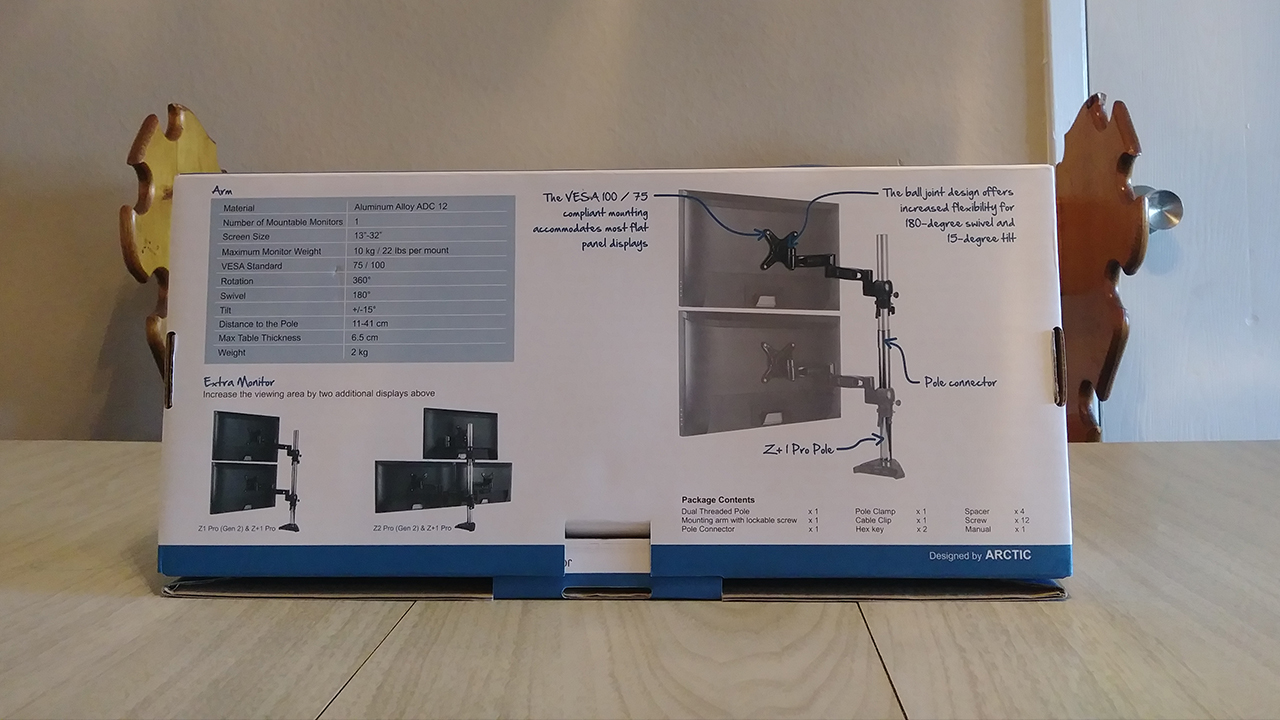
Around back you will get a list of specifications and a few examples of how to set up the unit.
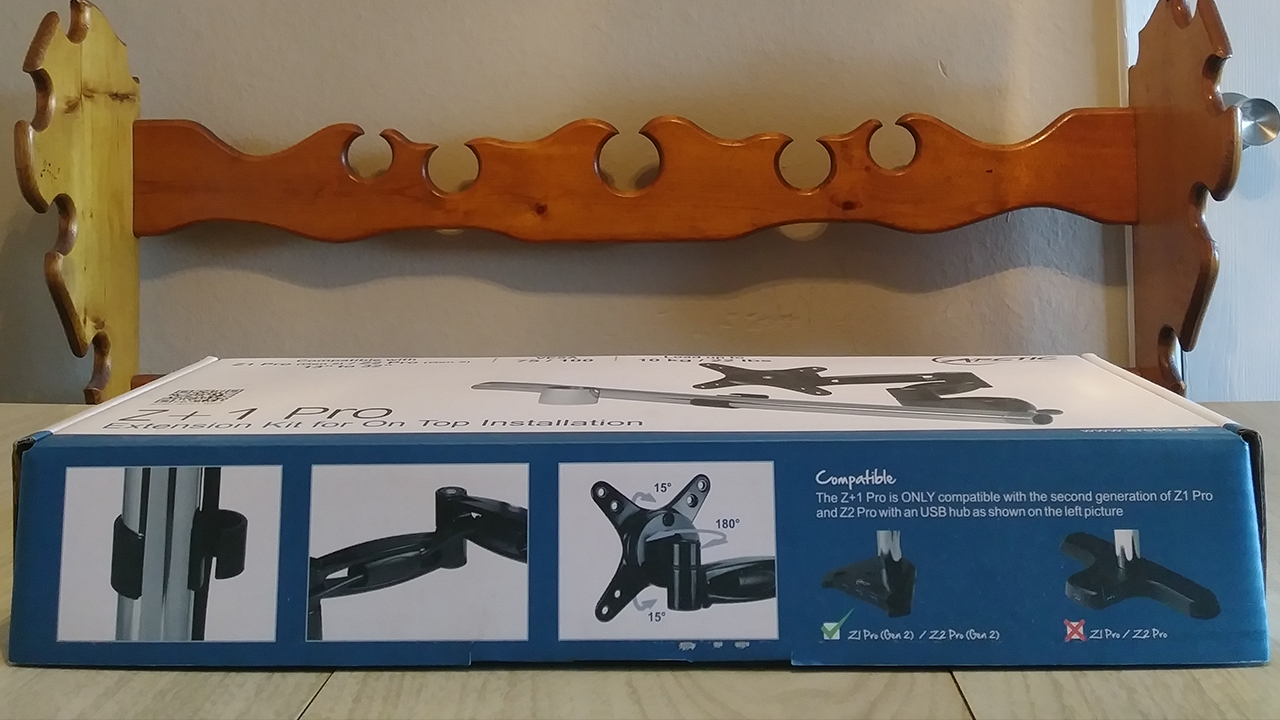
On the side are a few more photos of features such as the cable clip, swivel action arm and the rotation and swivele angles and degrees.
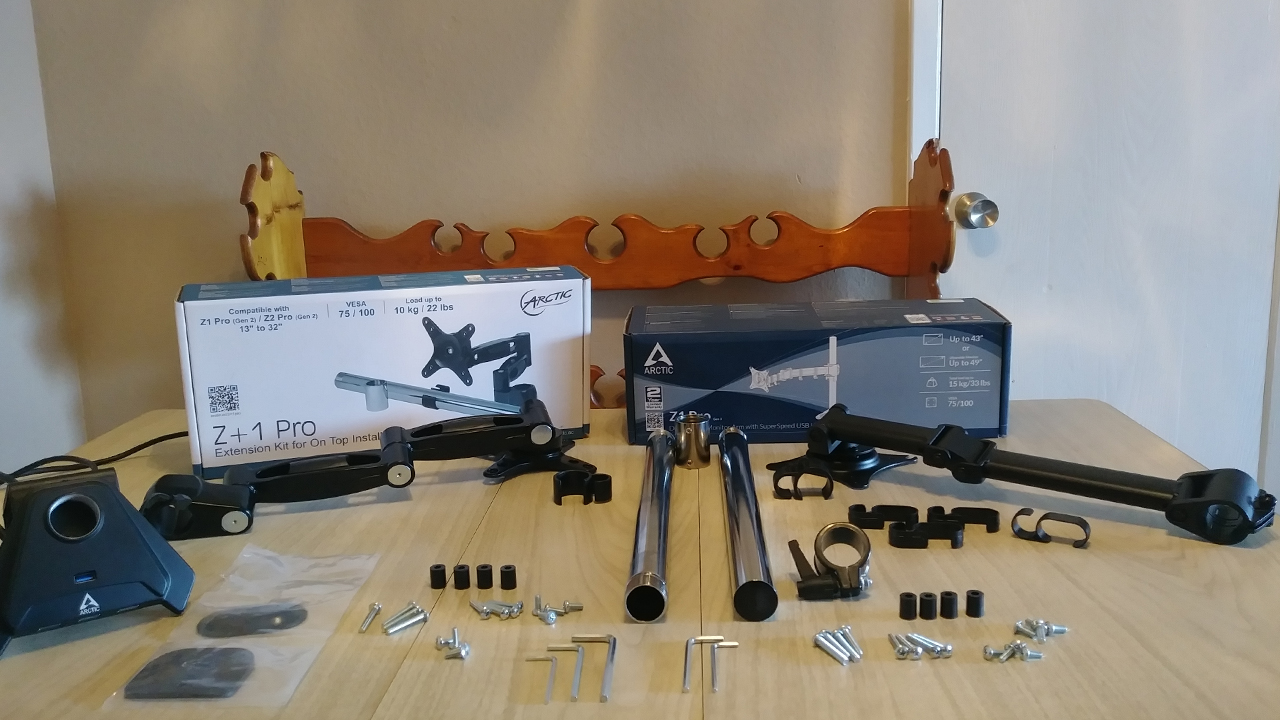
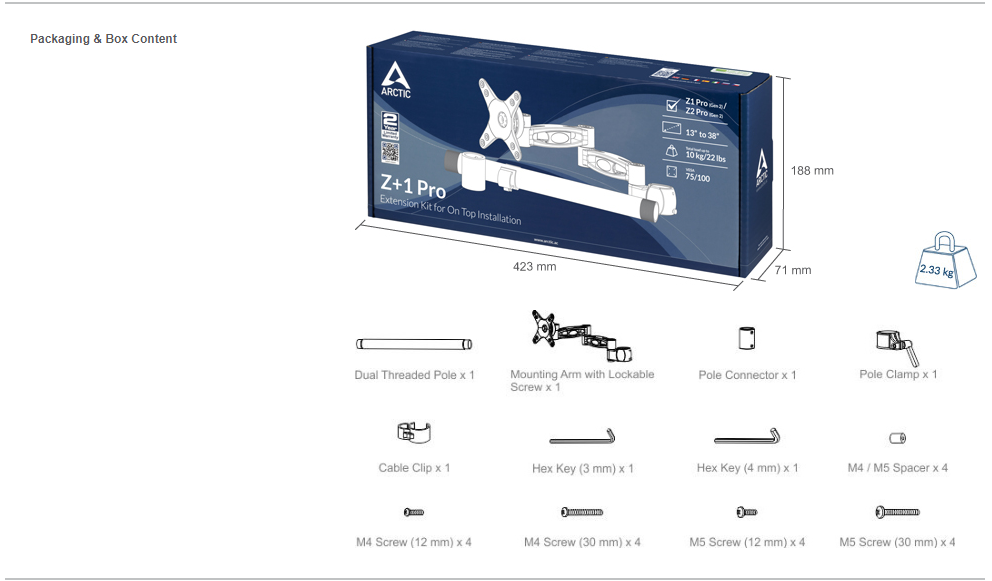
Here I have everything laid out for both the Z1 Pro (gen3) and Z+1 Extension kit. As I stated in my Z1 Pro (gen3) review I had a huge data loss and had reshot all my photos a little hurried mixing a few parts up in this shot. Below is a photo directly from the product page showing exactly what is included in this kits box.
Installation
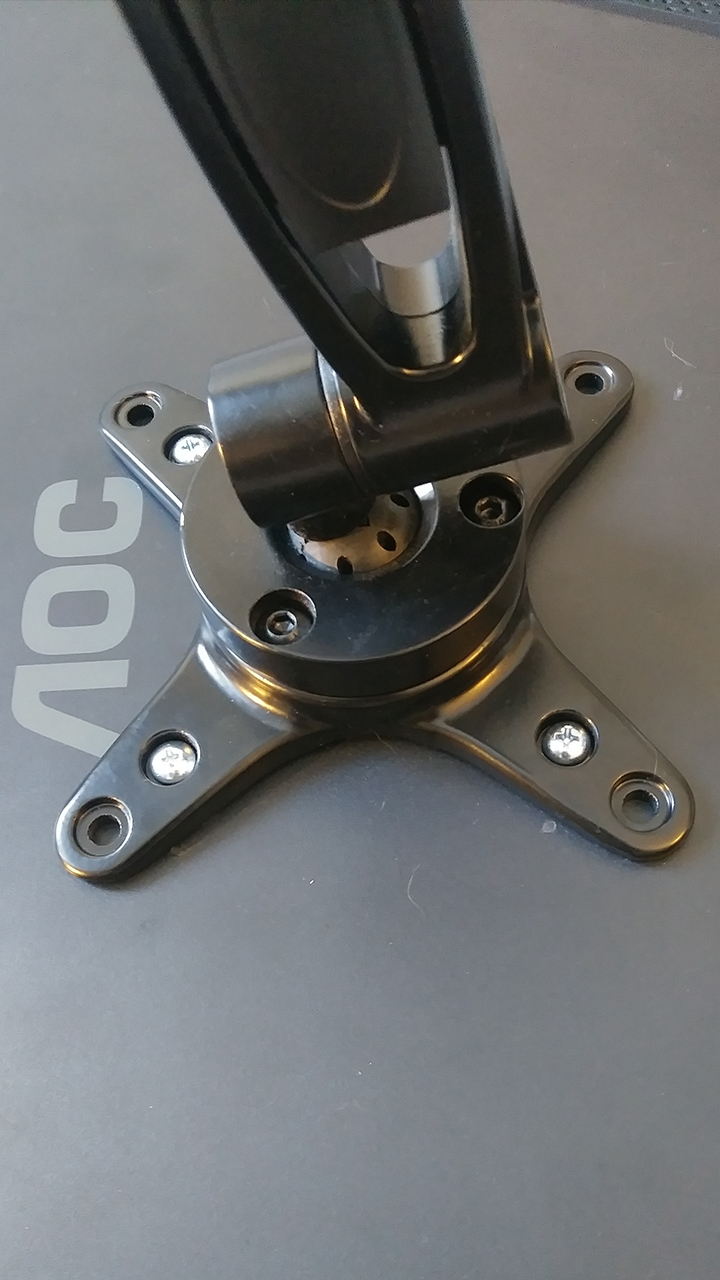
This part is pretty straight forwards, you will want to find the right spacers and screws or in my case just the shorter (M5 Screw 12mm) screws and get your monitor installed on the arm.
After you have your secondary monitor setup, you will want to move your primary monitor to the side so you can work on adding the extension kit. Here you will want to add the Pole Connector for the second pole if that is the route you are taking. You can install both arms on the original Mounts pole if so desired as you will see below.
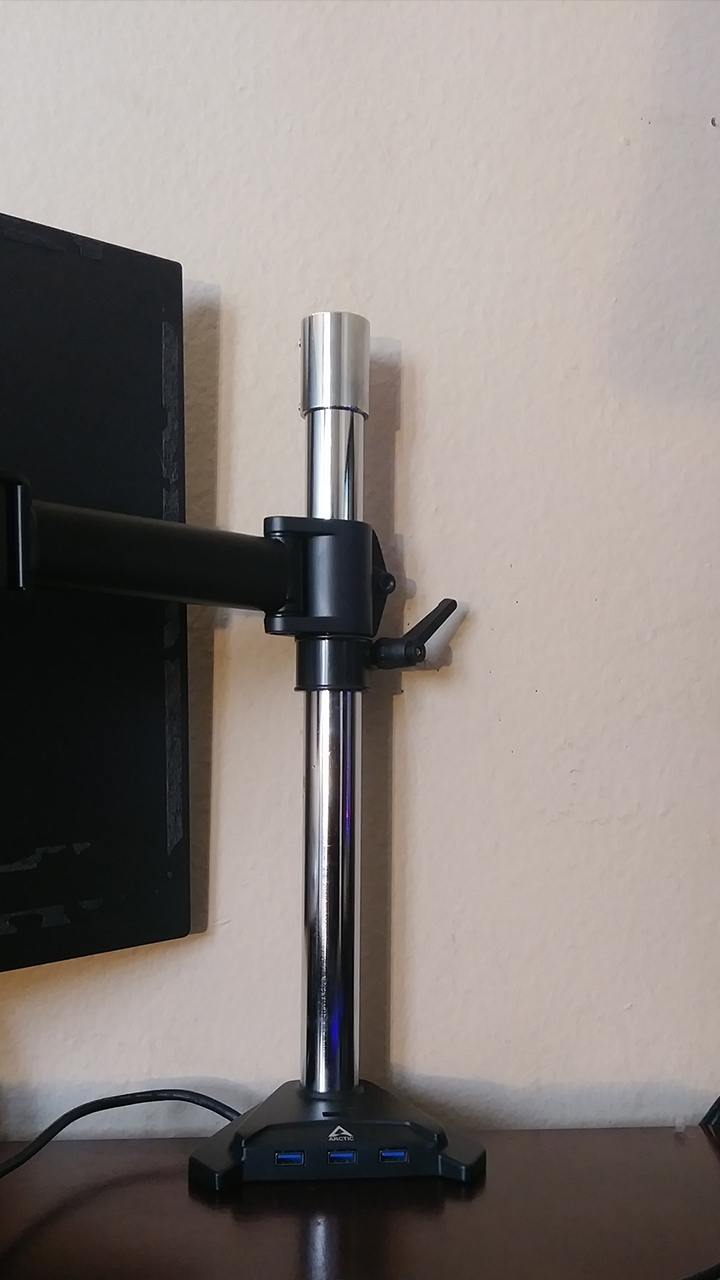
Next, you will want to add your second Pole by inserting it into the Pole Connector and twisting it tight. Also, note I have the Pole Clamp installed below the first arm. Forgot to move it for the new photos and this is where it sets on my minimal build and use of both arms in the last shot.
Last you are going to want to install the Pole Clamp at the height you desire and tighten it on and then add the Z+1 Extension Arm ontop of it. I know I forgot, shame me in the comments I am sorry.
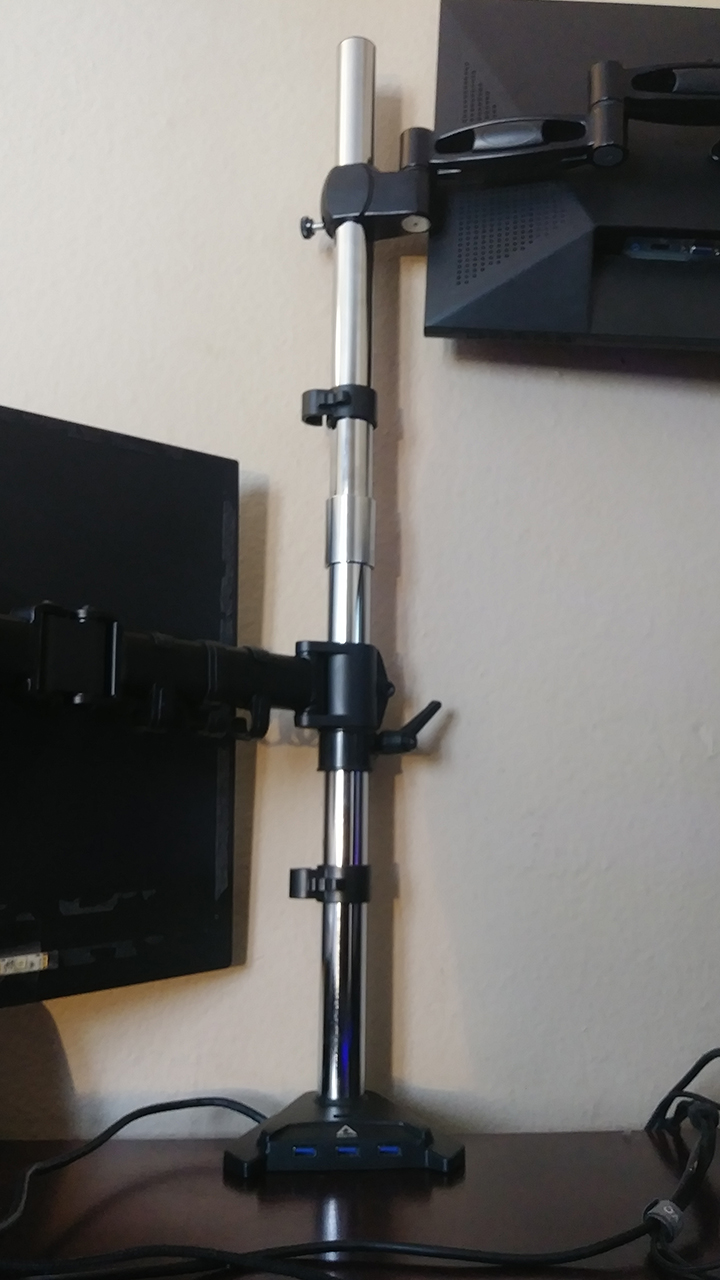
After you get your height and all other adjustments figured out you can then add the Cable Clips for routing your cables and keeping things neat and clean.
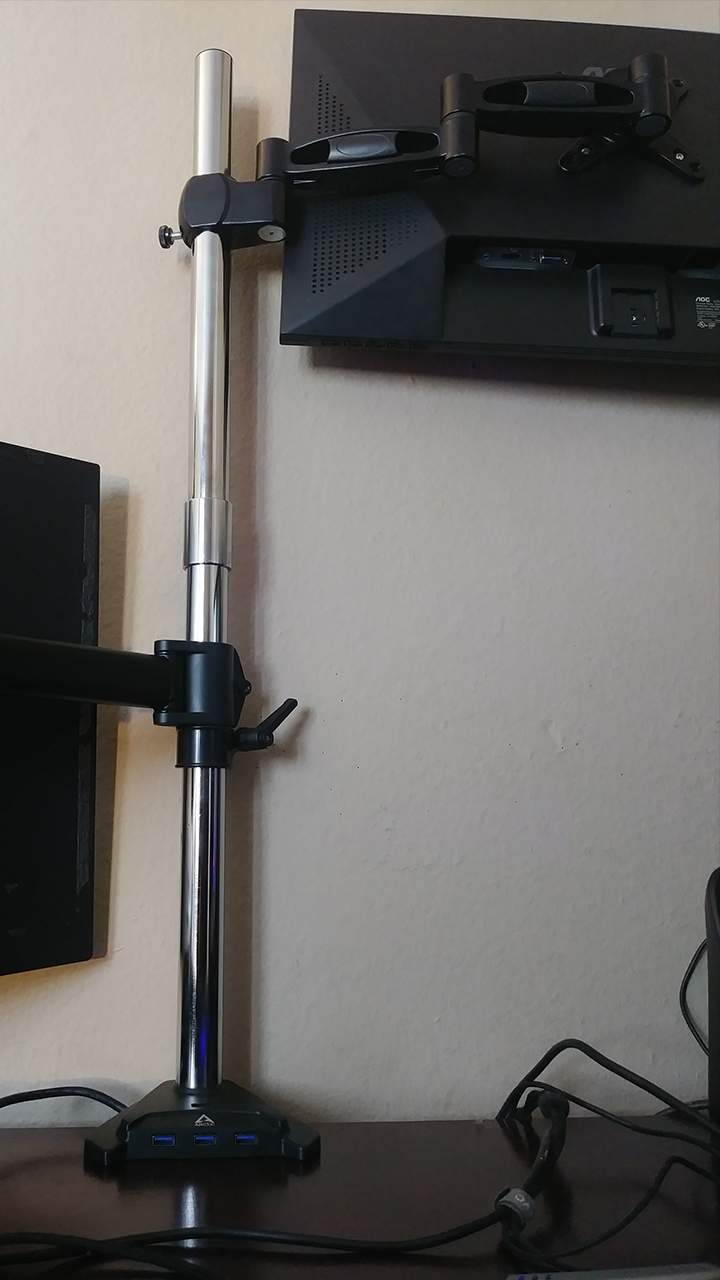
For setting up one monitor above the other (one 27″ and the other 24″) this is about the spacing I needed to get everything comfortably into place.
Here is how things look with one monitor above the other. I found this one useful when I was using two systems but I would recommend lowering the monitors all the way down to the desk with this set-up. I found the top monitor to be a bit rough to look at when working for longer periods.
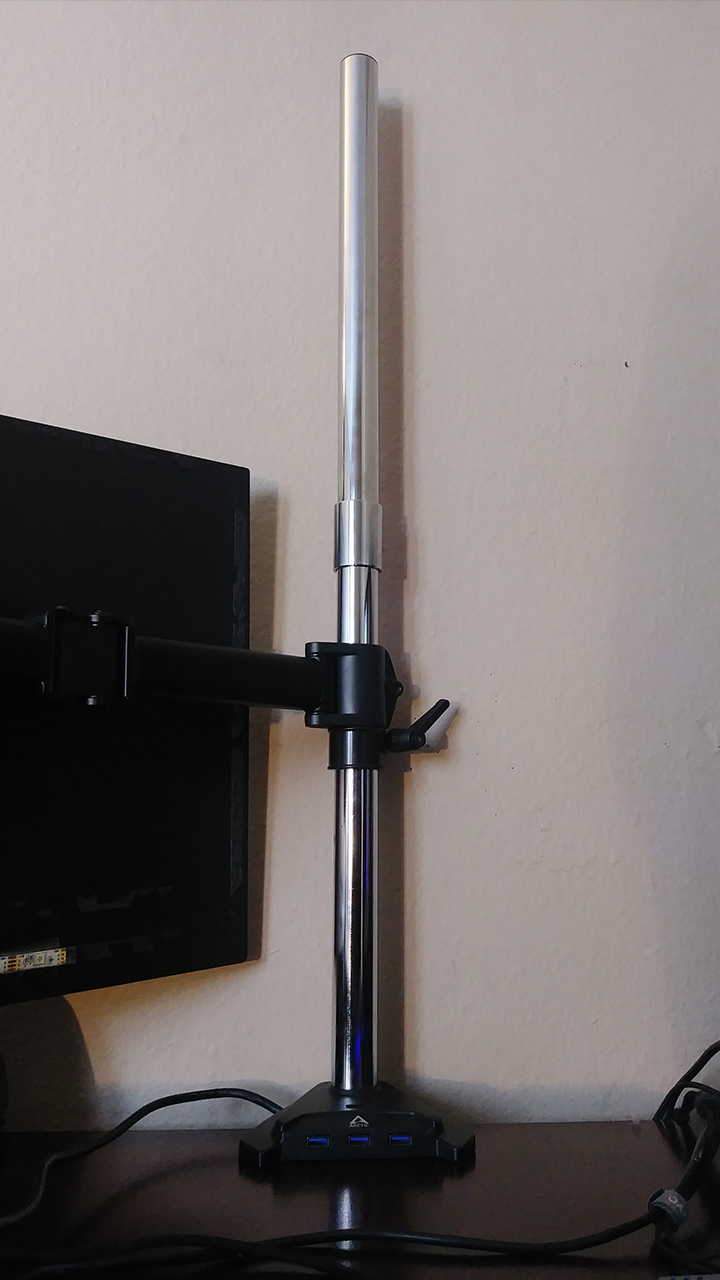
Now here I removed the extra Pole and Pole Clamp reducing the height of the mount and maximizing my space to the side a bit more. I found this very useful when I had another build in place for work, or repair since doing so left the monitor right next to the computer being worked on making cable management really easy for a work station that is constantly changing.
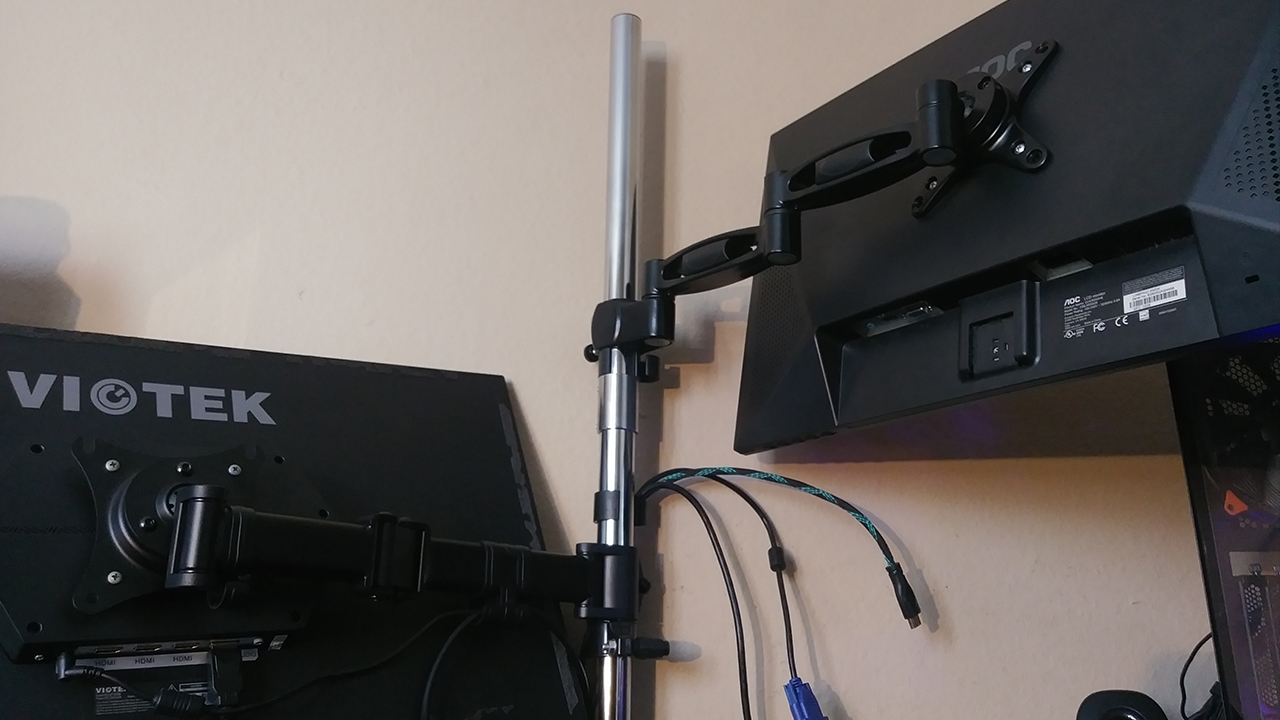
And lastly, this one is for the streamers out there and I imagine coders and web designers will find it useful as well. I have settled into this as a very comfortable monitor setup for my main workstation. I often need extra space when writing an article, editing photos or video and when I am gaming I like to have my Discord, browser with guides, or OBS window for streaming. All around this has opened my desk way up allowing me product box size space under my monitor!
Final Thoughts
Performance
Again I am grading Performance in ergonimics and convenience, with that said the ARCTIC Z+1 Extension Kit hits both of those markers solid. Adding a second monitor to the already installed Z1 Pro (gen3) was a breeze, and once everything was set up and in place, the change in my day to day comfort and workflow was very noticeable. I was able to align my dual monitor setup into a more comfortable and usable layout that allowed me longer work sessions with way less neck and shoulder strain. This is exactly what you want when you decide to get a custom monitor mount. You are aiming to enhance your user experience and comfort, and the Z+1 Extension kit is very good at allowing users maximum control over their work-space while freeing up desk real-estate.
Design
Just like with the Z1 Pro (gen3) the build quality is above all the rest that I have tried to date. Not only is the overall structure of the Extension Kit very sturdy it is also minimal and sleek in design. Allowing for easy adjustments without fear of it collapsing on you or changing directions or angles. The solid steel pole and arm allow for maximum stability while you manage micro-adjustments with the included Hex Keys and hex screws built on the arm. There is also another Cable Clip that attaches to your steel pole for managing cable runs down the sides or back of the pole(s) to help control cable runs and their clutter.
Value
Coming in at $39.99 sets the ARCTIC Z+1 Extension Kit at a very comfy price to pay for a second monitor arm for your desk space. The included hardware in the package covers all the needed bases as far as I can tell and allows the mounting of a large range of monitor sizes and aspect ratios. I enjoy the design that went into making such a sturdy arm that can be managed while completely isolating your adjustments if you need to move your monitor up or down and don’t want your arm to adjust while doing so. No worries just tighten the Arms hex screws and then do what you need with the height with little worry as to loosing how you have your monitor centered. The same goes if you need to move the arm itself and don’t want the height to adjust and get in the way.
All in all the ARCTIC Z+1 Extension Kit is a top-quality add-on mounting solution for anyone, again the design is not overdone and will not make a fuss on your desk or draw a lot of attention outside how neat, clean and clear your set up and desk are. Just like with the Z1 Pro (gen3) the Z+1 Extension Kit allows you to recover very useful desk space a second monitor and its stand would needlessly use up, all while giving you complete ergonomic control over your monitors for maximum comfort. Making this a MUST HAVE product from ARCTIC for our dual monitor power users out there.


