ARCTIC Z1 Pro Monitor Arm Review
Introduction
Manufacturer: ARCTIC
Product Page: ARCTIC.com
Purchase: $59.99 at the time of review from Manufactures Website
A little bit about ARCTIC: As an international company, our expertise extends over noise reduction in PCs to consumer electronics products. ARCTIC acts as an umbrella brand and combines the various product areas COOLING, SOUND, EQUIPMENT, and POWER.
In 2001, we initiated the trend towards quiet cooling systems for desktop PCs and have since become one of the leading manufacturers in this sector. Since 2010, we use the know-how of many years of IT experience to expand our portfolio with consumer electronics. In the course of expansion ARCTIC COOLING finally evolved into ARCTIC.
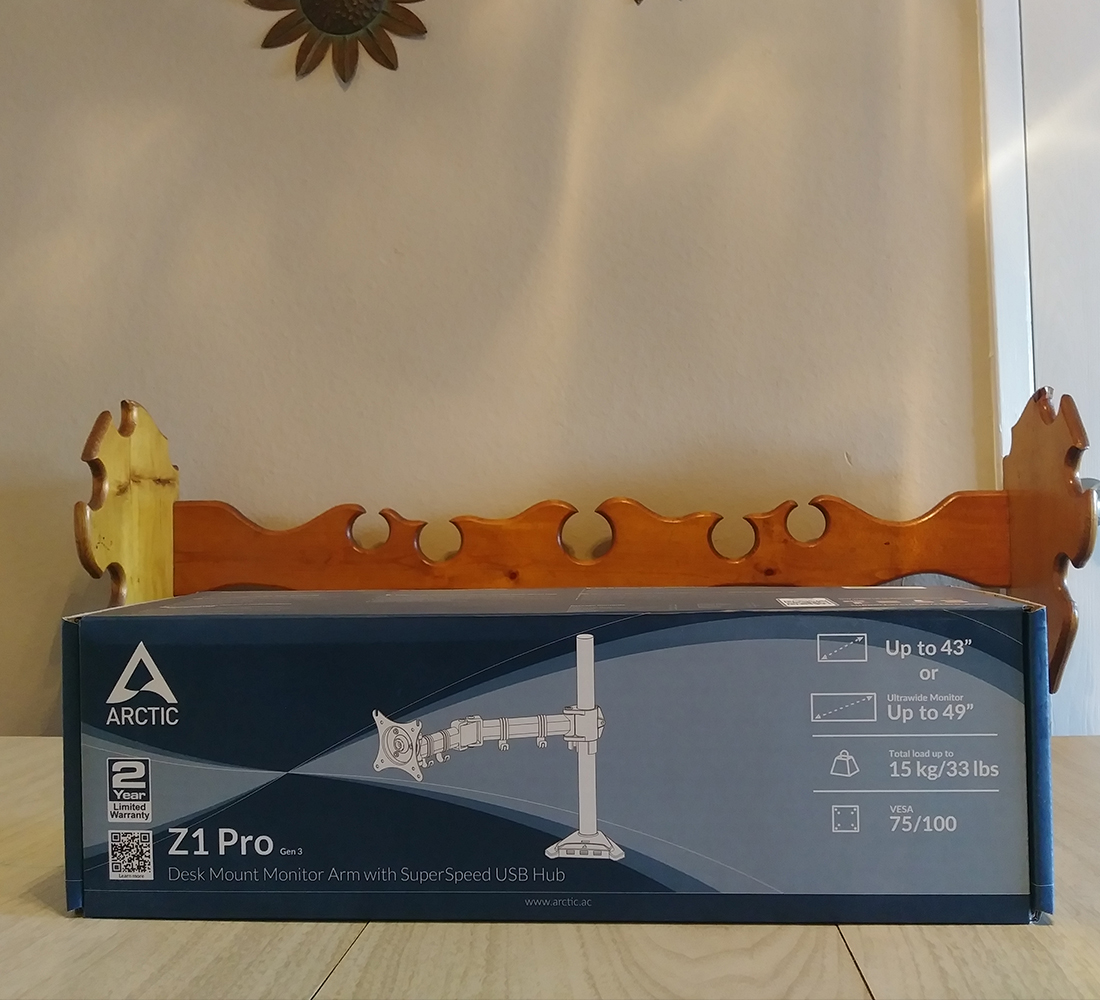
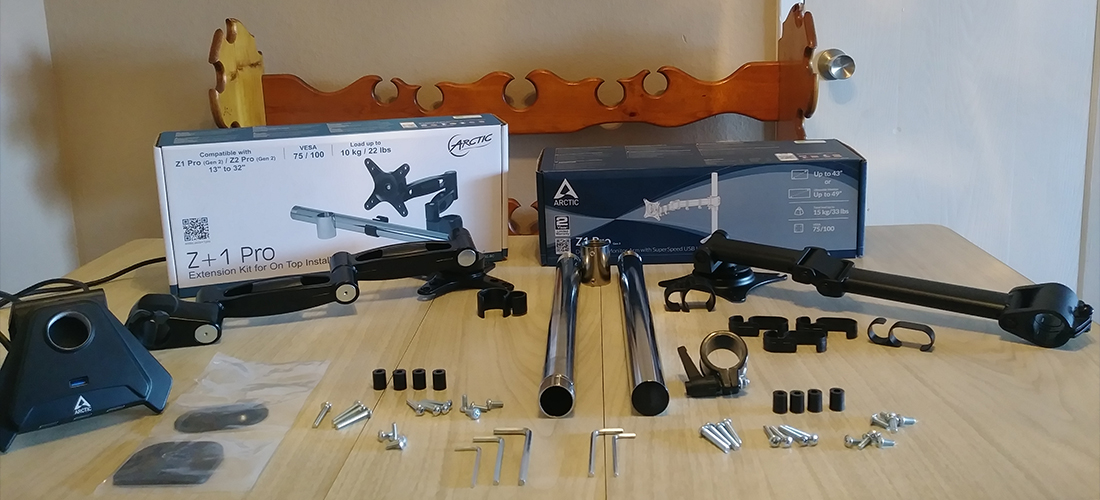
Today I have the pleasure to take a look at another product I was surprised to see ARCTIC producing a monitor arm, the ARCTIC Z1 Pro (gen3) monitor arm to be exact. Touting features such as 4x USB 3.2 Gen 1 with DC Power allowing you to connect and charge devices with even longer cables with zero issues, and superb build quality. Installation and usability seem to be the peak of ARCTICs thought process when designing this product. So let us set up and take a look at this solid monitor arm meant to replace those wobbly stands.
Specifications
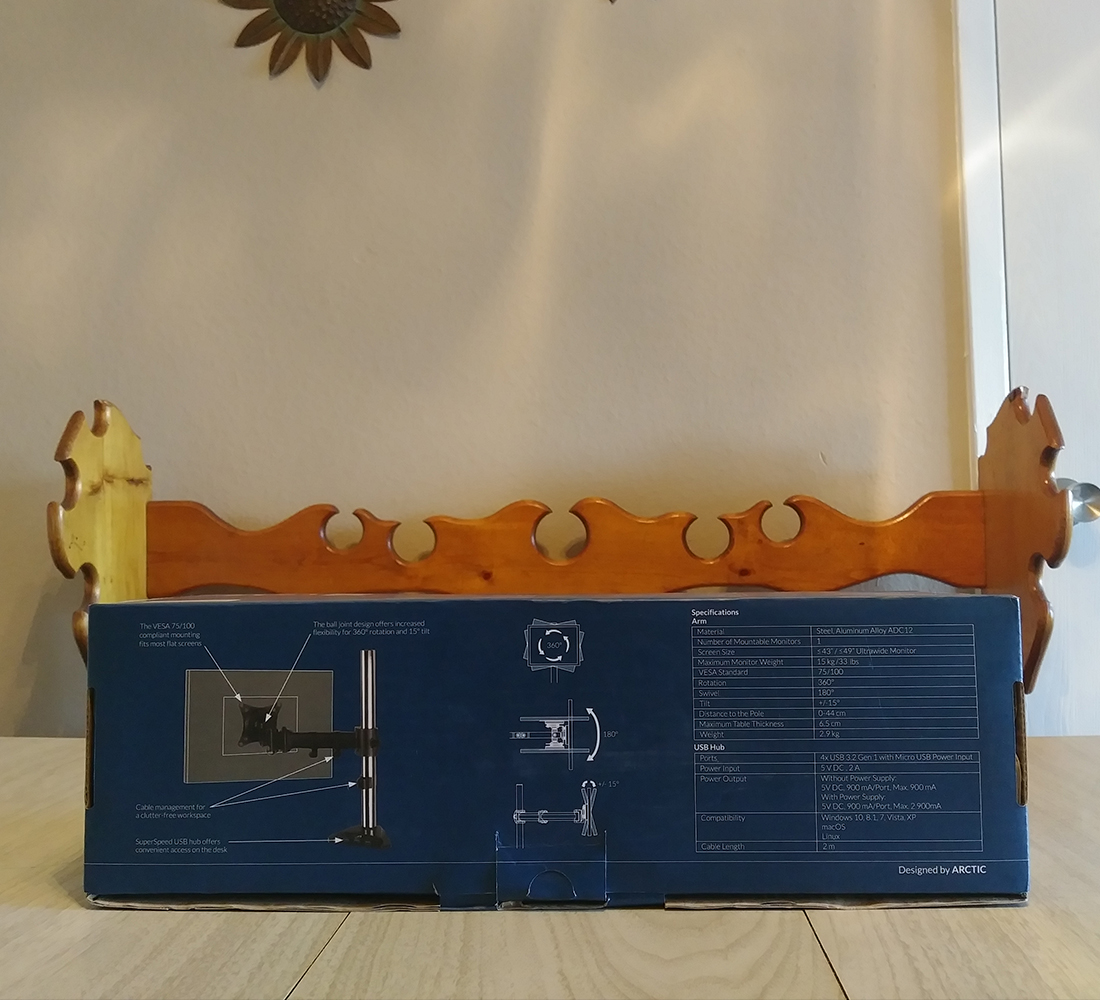
- Material: Steel, Aluminum Alloy ADC12
- Color: Matt black
- Tilt: +/- 15°
- Swivel: 180°
- Rotation: 360°
- VESA Standard: 75×75 / 100×100
- Maximum Monitor Weight: 15 kg (33 lbs) per mount
- Classis 16:9 monitor size: up to 34“
- Ultrawide monitor size: up to 38″
- Compatibility: Windows 10, 8,1, 7, Vista, XP
macOS
Linux - Ports: 4x USB 3.2 Gen 1, with DC Power Jack
- Cable Length: 2m
Closer Look
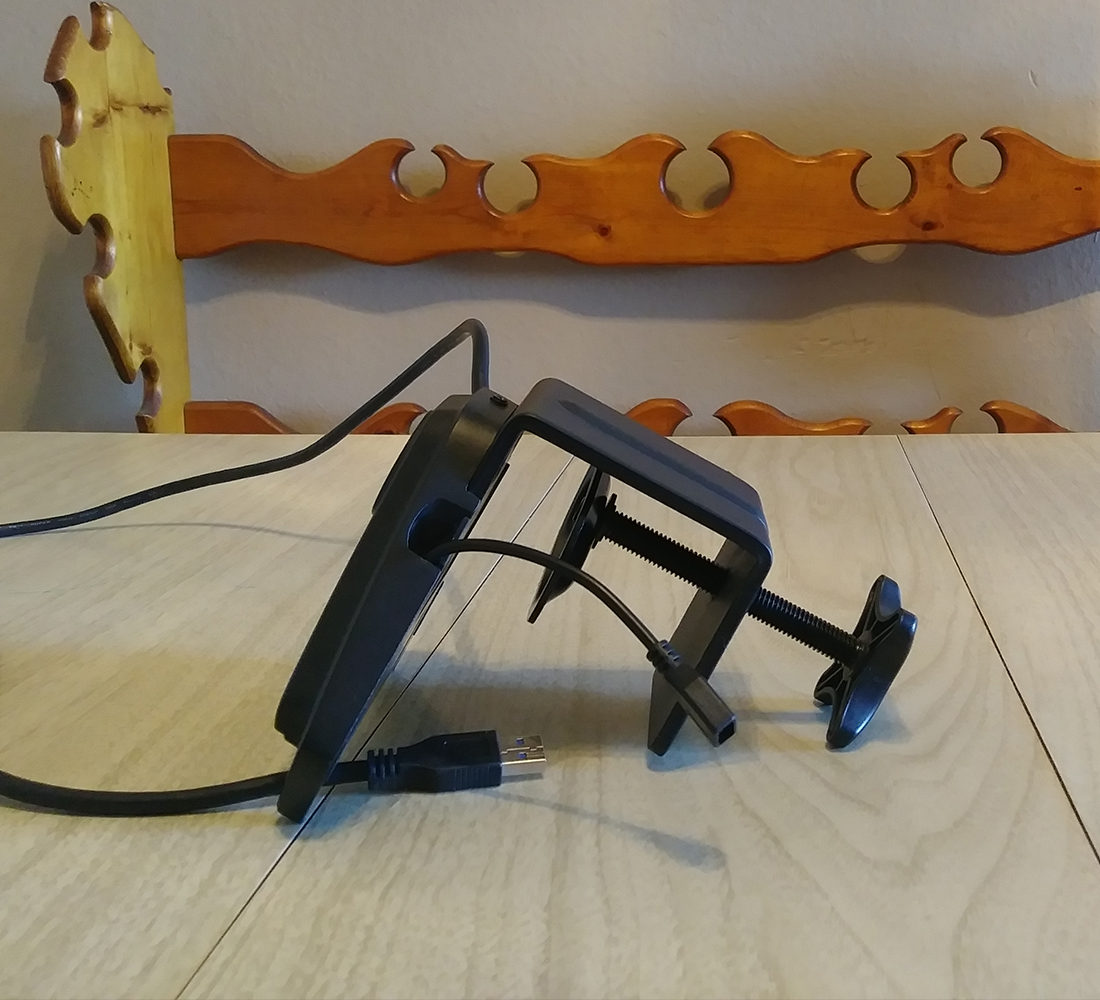
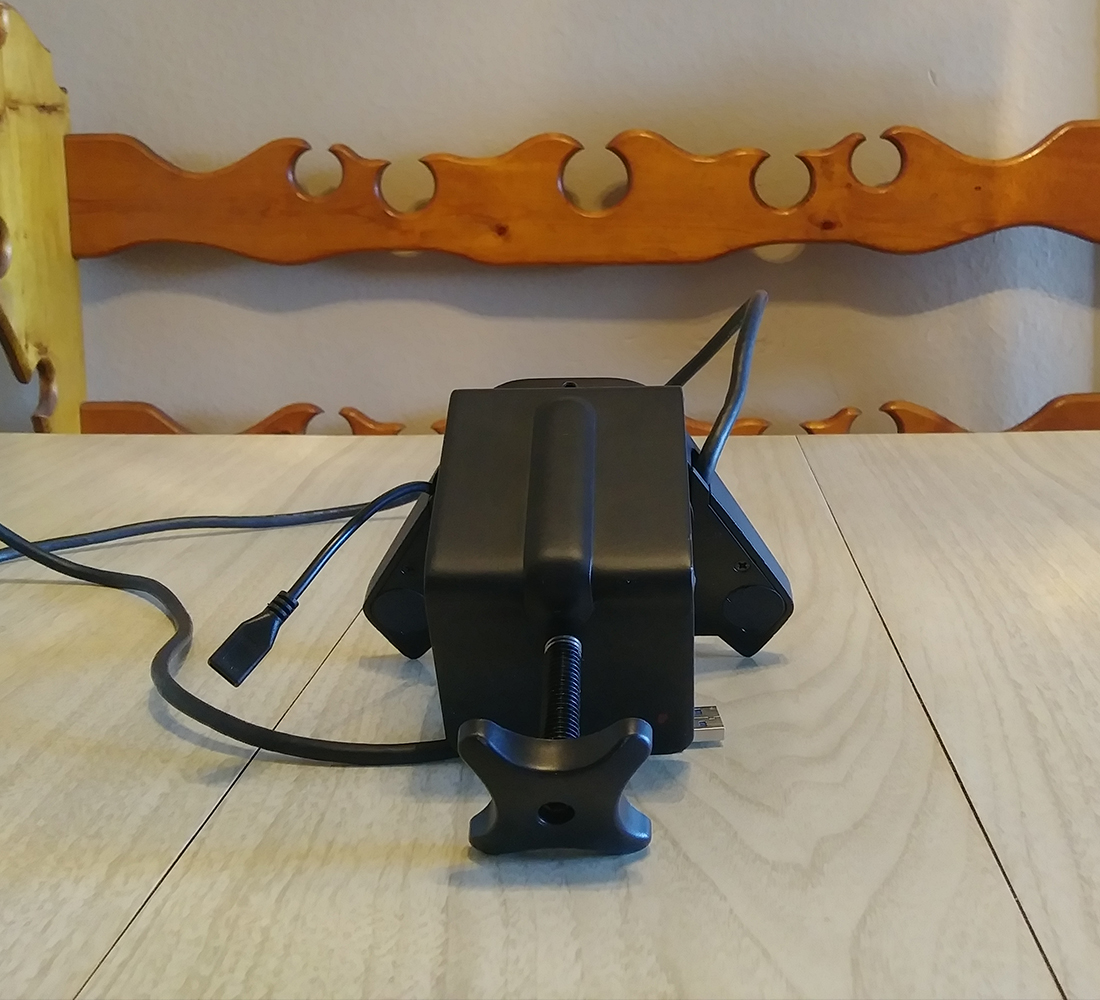
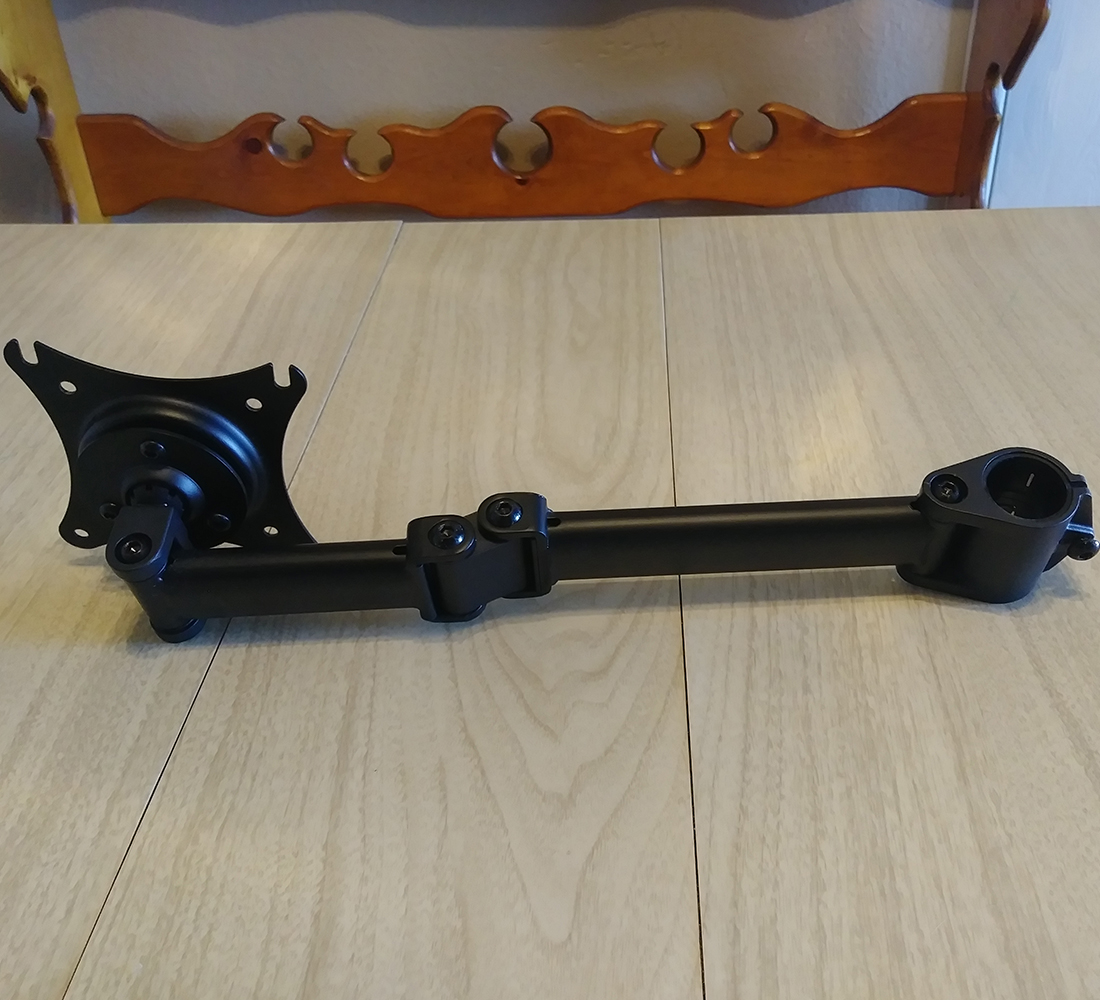
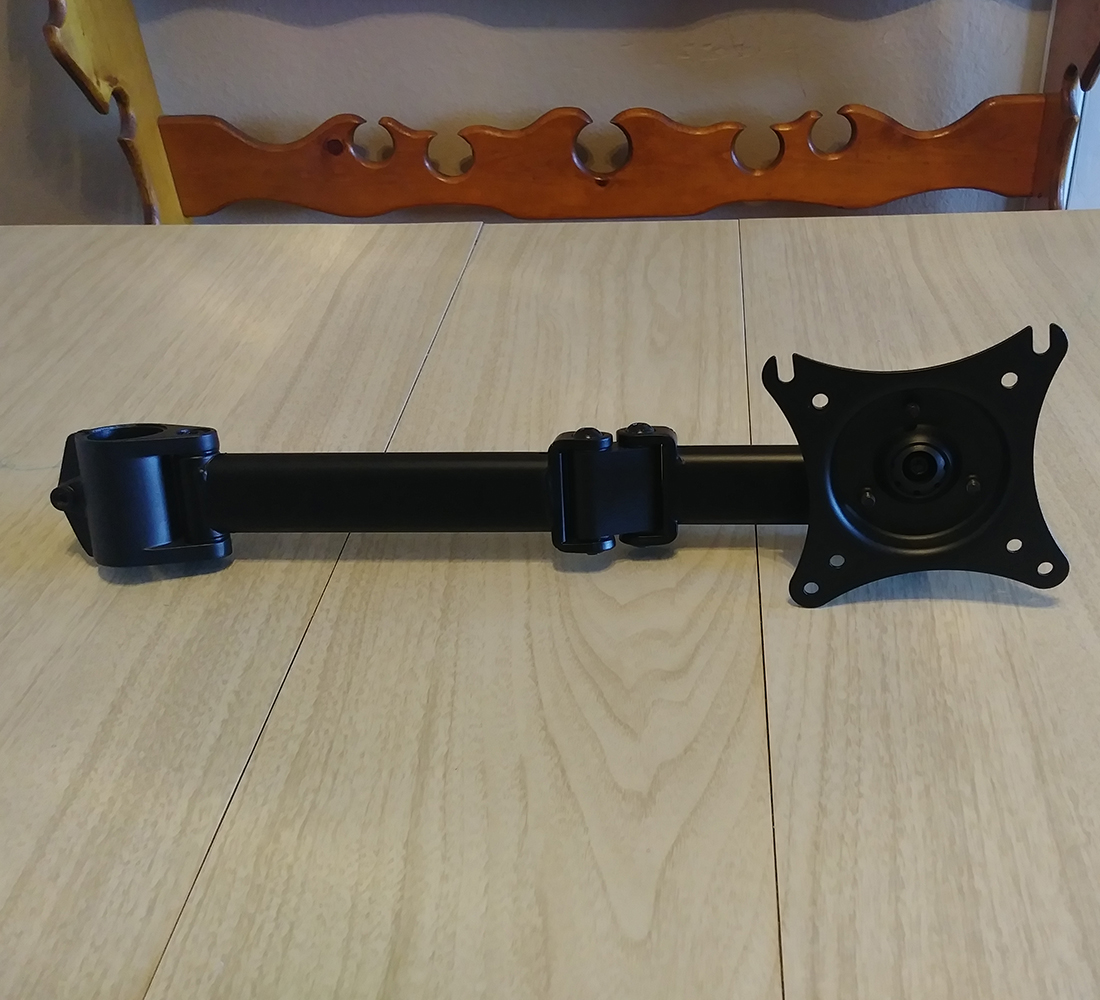
Installation
Final Thoughts
Performance
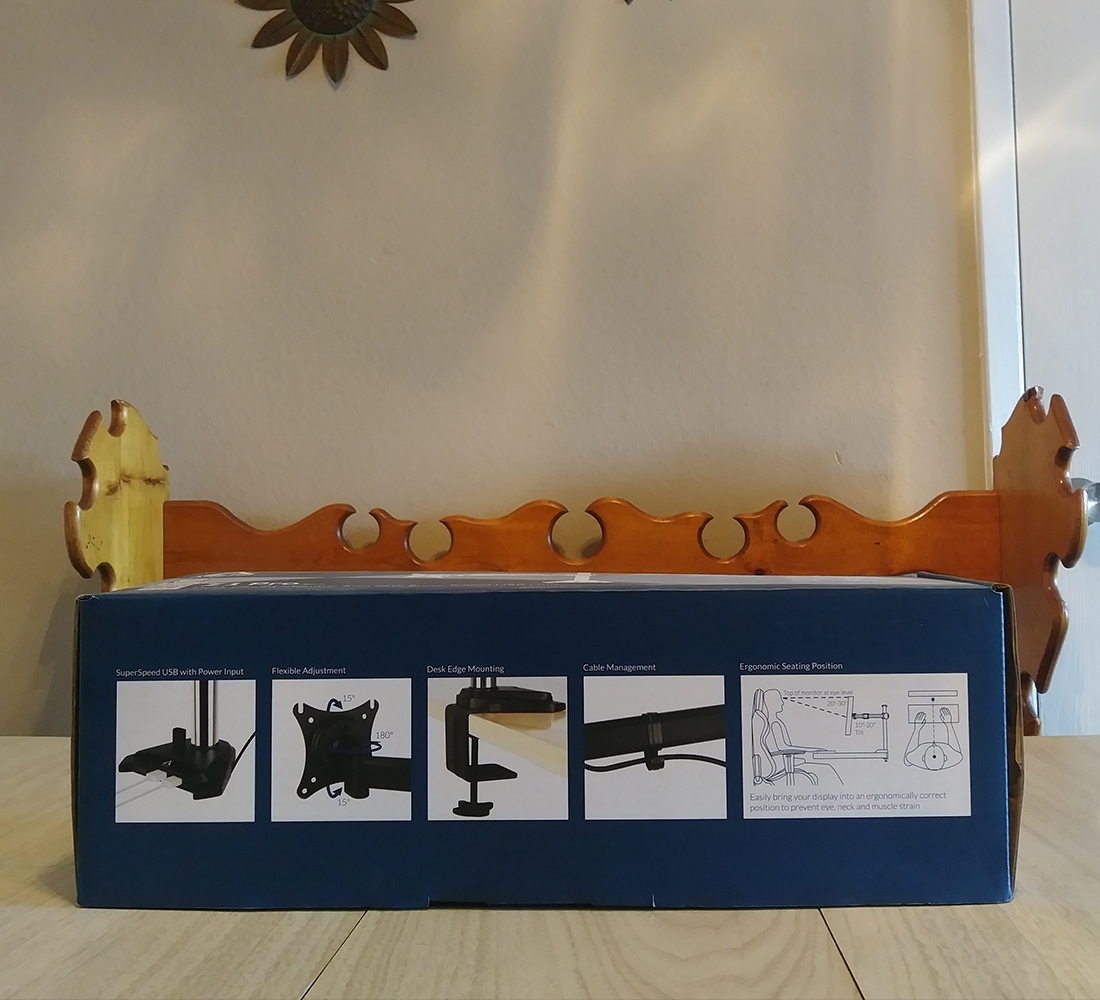
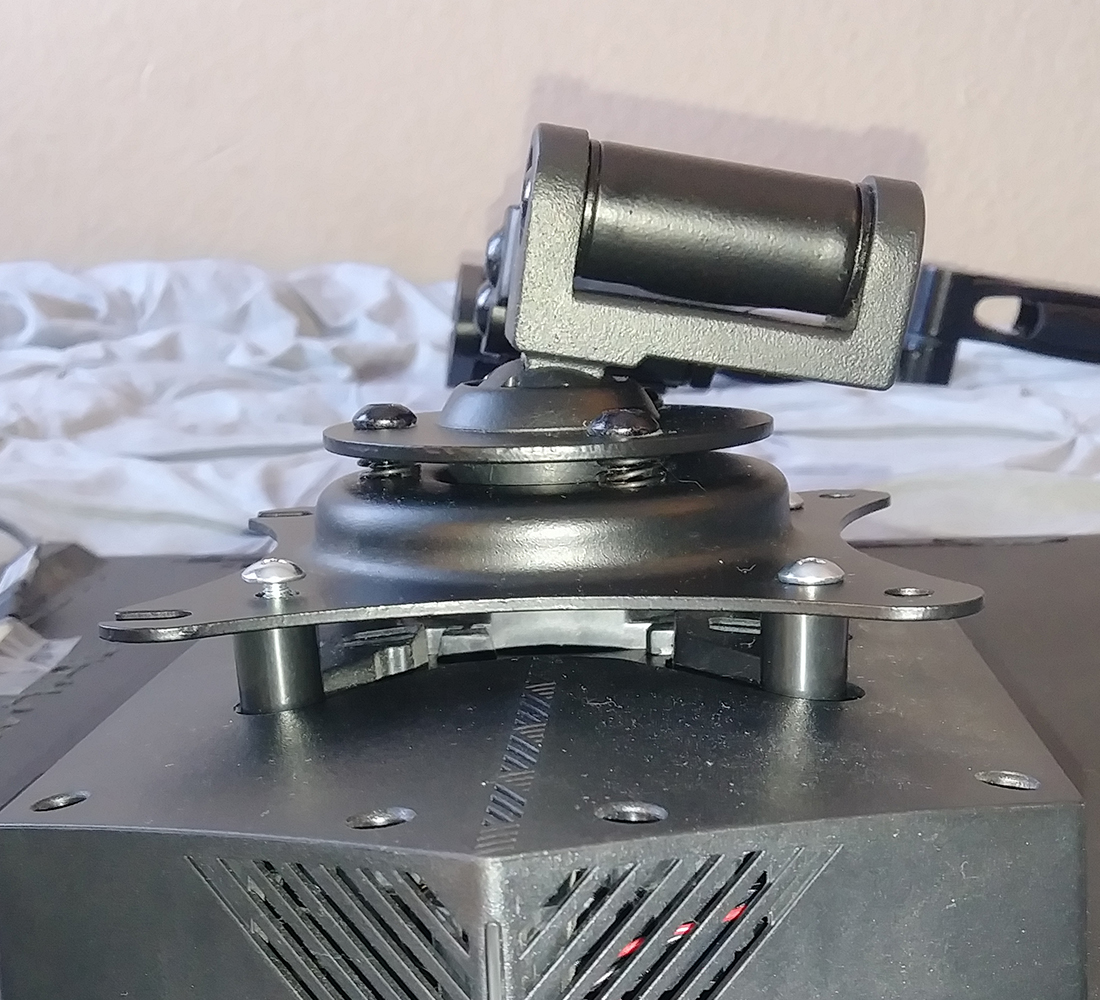
Performance in this metric is ergonomics and convenience. The ARCTIC Z1 Pro (gen3) has both of these in spades, covering all of your potential ergonomic needs for mounting a monitor properly at your workstation. Allowing for a full range of height, side to side movement depending on where you swing the arm to the +/- 15% Tilt, 180-degree Swivel and 360-degree Rotation you can get your monitor comfortably set up how you need in no time.
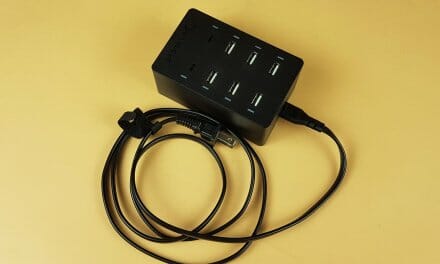
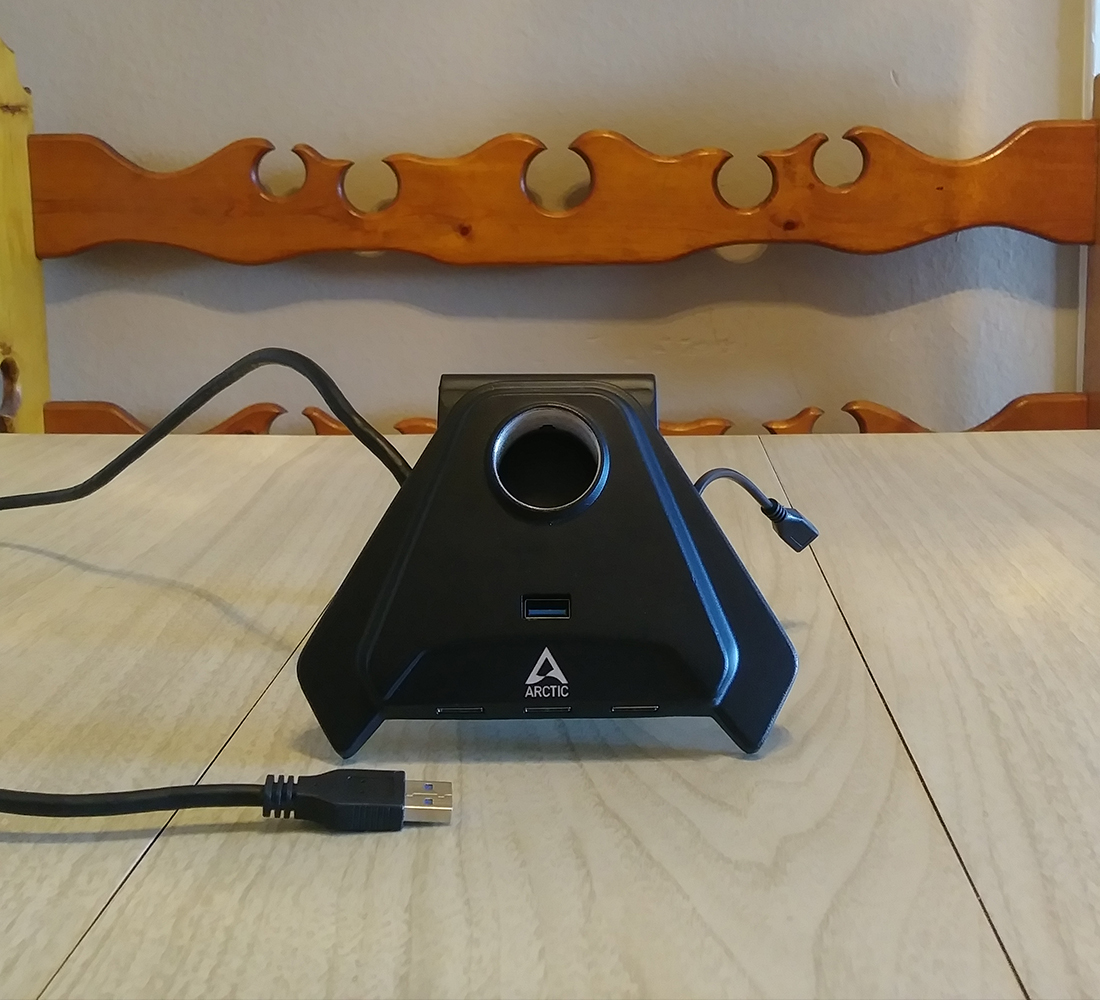
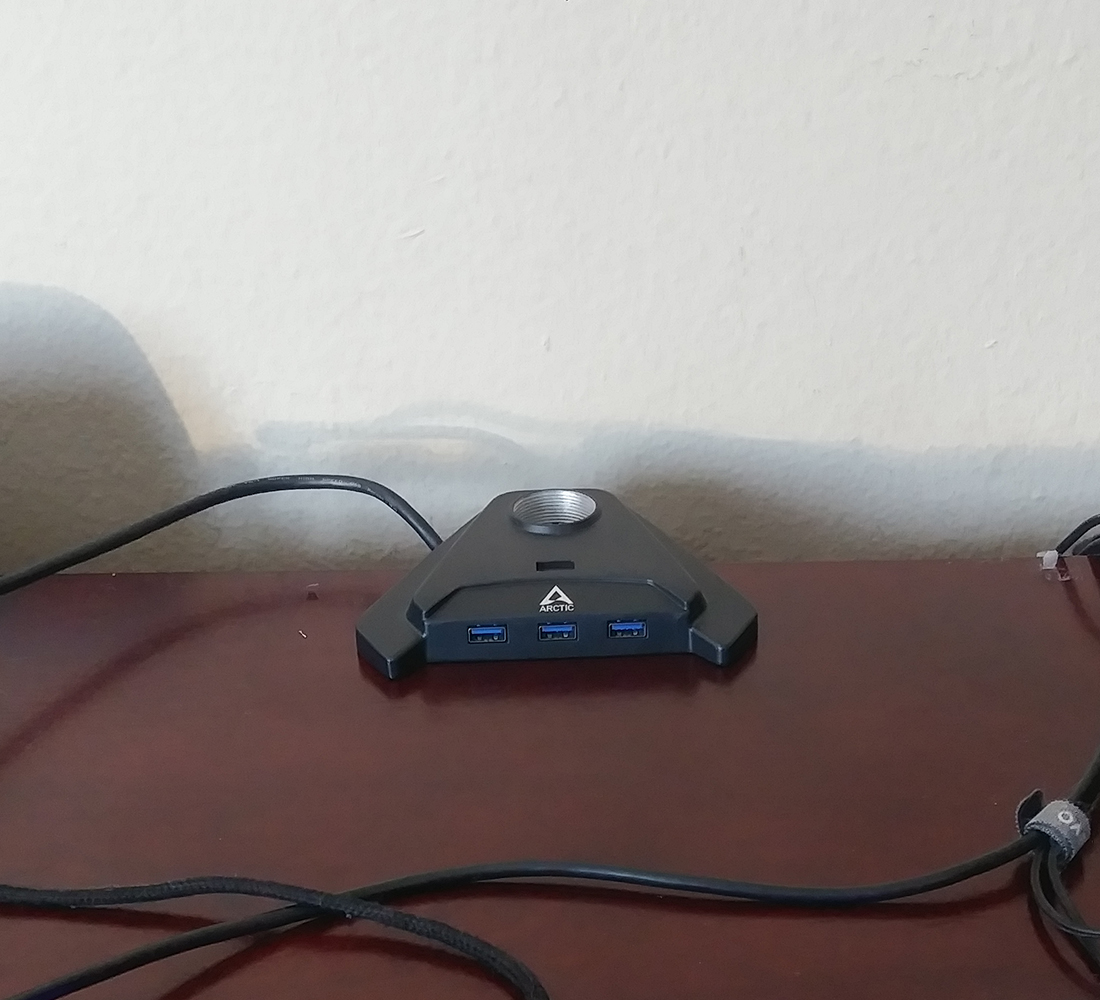
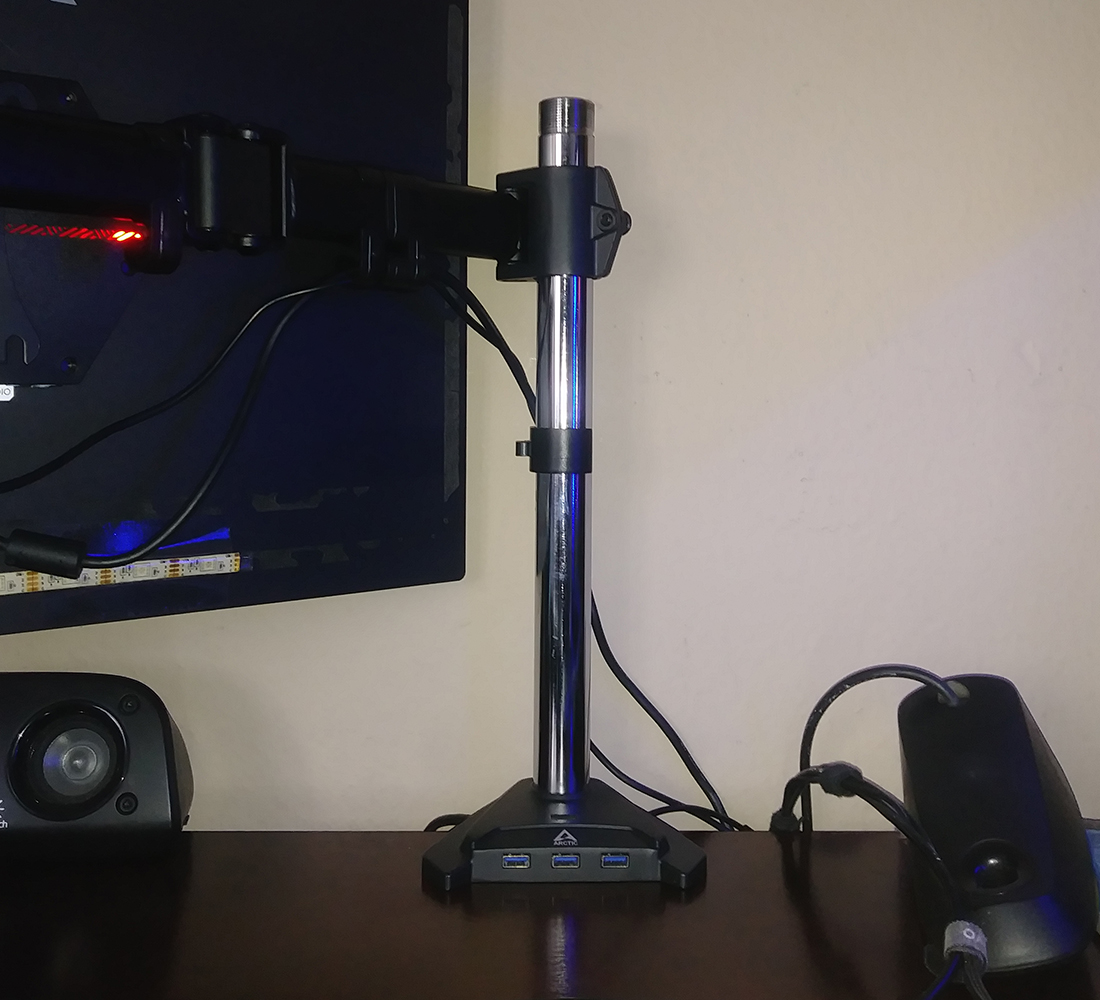
In the convenience department, the solid structure of the Z1 Pro (gen3) coupled with the high speed 4x USB 3.2 Gen 1 with Micro USB Power adds a handful of USB ports right at the back of your desk so you have no need to fiddle with the back or top of your computer. These can come in handy for a multitude of reasons, and for just about any PC user. For myself, it makes file transfer very convenient when needed and adds a nice little powered spot to plug a controller with a VERY long cable in for my kids to play some games without the worry of them tugging at the back of the computer with the cable. Normally I cannot use this cable with some front USB ports on cases. There never seems to be enough power down the 10ft cable I have for that use unless plugged directly into the back of the computer. No problem here the Micro USB Powered hub seems to handle it all just fine.
Design
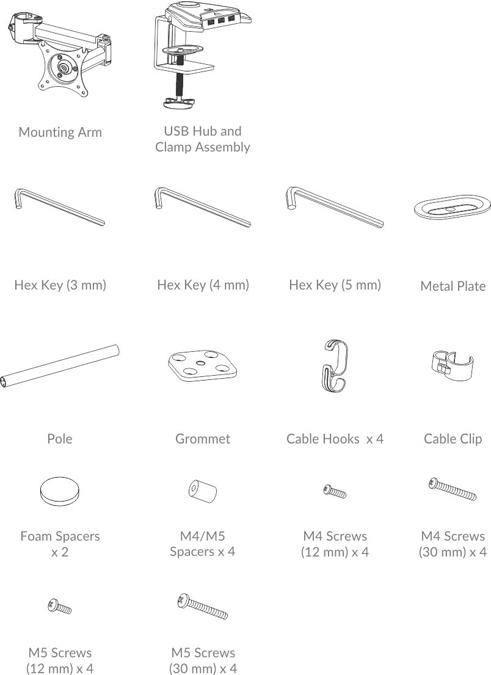
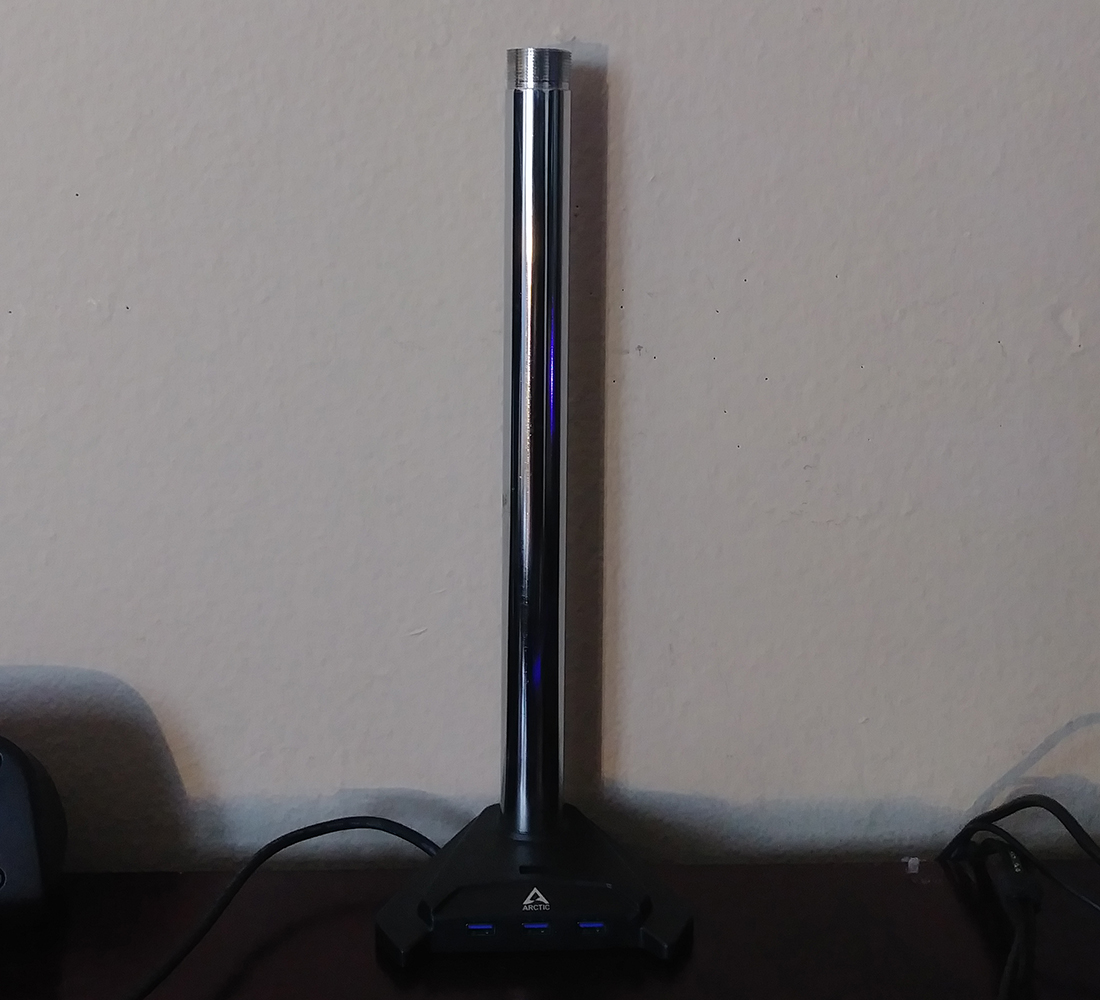
The overall design of the ARCTIC Z1 Pro (gen3) is very nice and minimal. No pain in the but and quite an unpredictable scissor arm design here to deal with, where at any point your arm can decide to twist tilt or collapse. The solid Steel Pole with the metal base and arm allows for a more firm one at a time adjustment instead of trying to twist and squeeze a spring-loaded design to your will. The 4x Cable Hooks and 2x Cable Clips included are more than enough to completely run your cables behind everything to keep things neat and clean as well.
Value
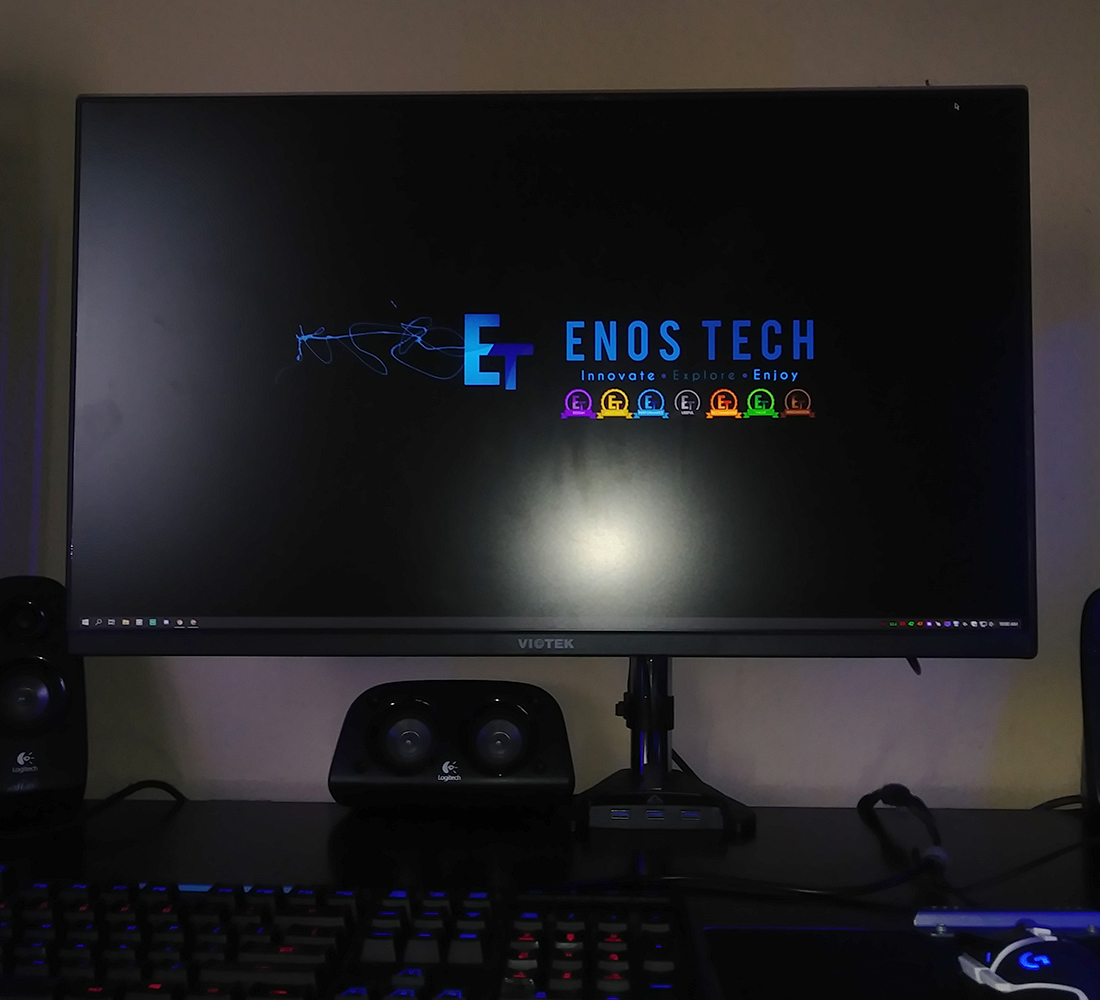
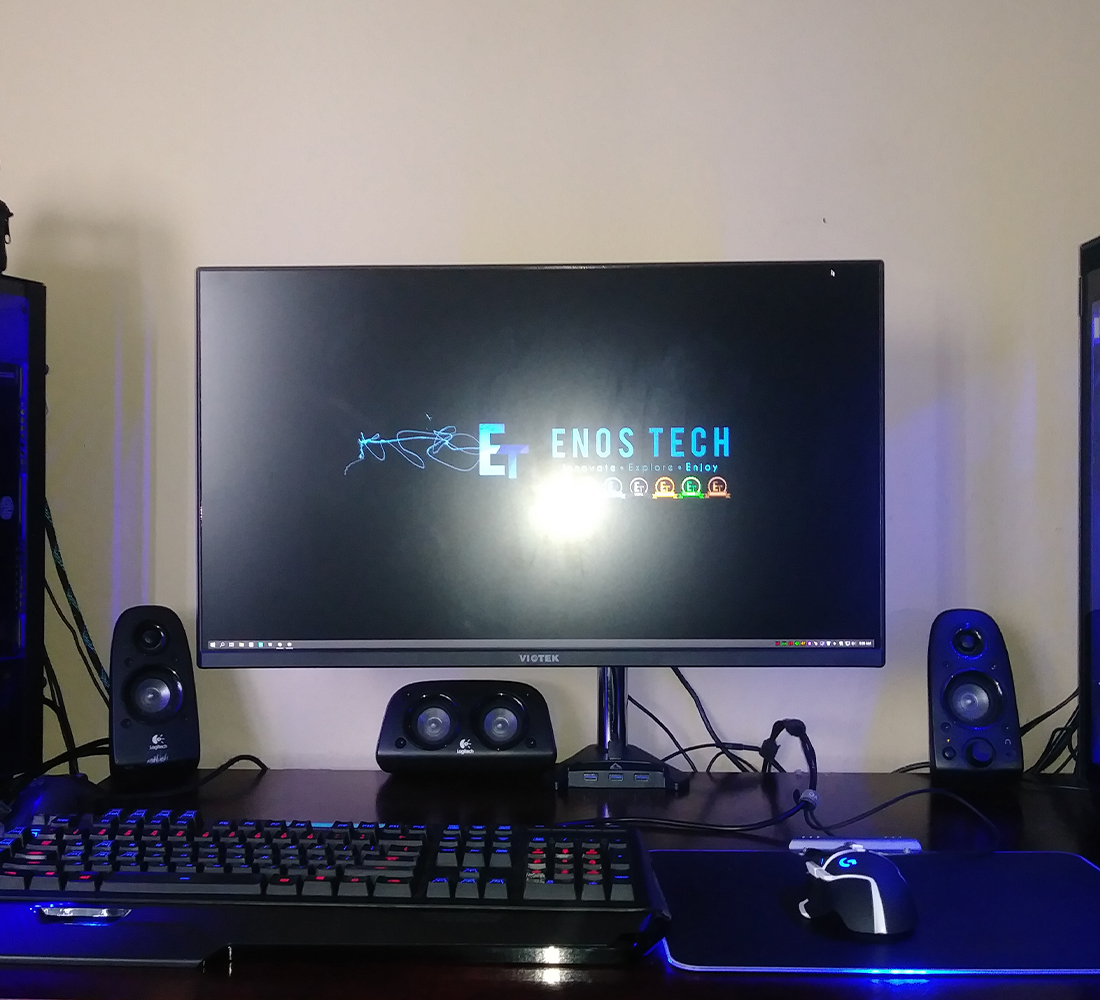
Coming in at $59.99 sets the ARCTIC Z1 Pro (gen3) around $10-20 more than other single monitor arms I have tried to date, with that said though it is in a league of its own when compared to these other more basic and cheaply made arms. From the base to the height pole all the way to the arm connecting to your monitor is made very sturdy. The Monitor Arm itself can be as flexible or stiff as you would like for your set up needs. All the components that take the weight of your monitor(s) yes this is made for extension kits in mind as well! You can put up to 2 of the Viotek GTF27DB 27″ monitor that I tested on this arm with no worries still remaining a few pounds (about +/- 14lbs) under the full mounts weight specifications.
I really enjoy the design that allows you to completely isolate your adjustments if you need to move your monitor up or down and don’t want your arm to adjust? No worries just tighten the Arms hex screws and then do what you need with the height with little worry as to loosing how you have your monitor centered. The same goes if you need to move the arm itself and don’t want the height to adjust and get in the way.
I really like the design of the 4x USB 3.2 Gen 1 ports, they don’t feel cheap and like they will easily wear out from use. The micro USB power is a huge helper allowing you to plug much longer cabled devices into your monitor stand rather than fiddling with the back or top of your case. Not only that but no port wear on your case or motherboard from a cable hanging out of it, this mount simply lets you run a cable across your desk, or just reach out and plug a USB drive-in. I really like the addition of the top USB port pointing up. This is a wonderful port for those who might use a webcam for streaming or conference calls, allowing you to use the mounts included cable management to handle the cable of the webcam and neatly run it down to the port its plugged into.
All in all the ARCTIC Z1 Pro (gen3) is a top-quality monitor mounting solution for pretty much anyone, the design is not overdone and will not make a big stand out party on your desk which is what you want in a professional setting. The Z1 Pro is also very minimal allowing you to recover so much usable desk space that you loose from monitor stands, all while giving you ergonomic control that will allow you to adjust things to your comfort. Making this a MUST HAVE product from ARCTIC.
I want to thank ARCTIC for sending over the Z1 Pro (gen3) sample for review.

