DeepCool Baronkase Liquid Black AIO PC Gaming Case Review
Introduction
- Manufacturer: DeepCool
- Product: Gamer Storm Baronkase
- Purchase: £94.99 At the time of review
Deepcool is known for offering some very unique cases. The first two that come to mind, are, of course, the Tri-stellar and Quad-Stellar cases. If you have not seen this, I highly suggest you google them and have a look at them as they are quite amazing and have had some great builds done inside them. Deepcool offers more products than just cases, they also offer a number of CPU coolers, both of the AIR and AIO Varieties. You can also find accessories, Power Supplies, fans and more from available from the folks at Deepcool. Offering many products will allow their fans to more easily keep with a unique theme throughout their build. As with a lot of companies at the present time, Deepcool is offering a plethora of RGB products and making sure they are compatible with as many other manufacturers as possible. For instance, some of their Captain coolers are compatible with the RGB functions on Asus, MSI, ASRock and Gigabyte motherboards meaning you can sync them together so the RGB flows through the whole system as one.
| Materials | SPCC(thickness: side panel:0.7mm, Glass: 4mm, Front panel:1.2mm) |
| Product Dimension (LxWxH) | 423×215×470mm |
| Weight | Net Weight:10 kg; Gross Weight:11 kg |
| I/O Panel | 2×USB3.0 /Audio(HD)×1/Mic×1/Manual Controller for RGB |
| Motherboards | ATX/MATX/MINI-ITX |
| Drive Bays | 5.25” Drive Bays×0; 3.5“/2.5” Drive Bays×2; 2.5“Drive Bays×3 |
| Expansion Slots | 5 |
| Cooling Fans | Pre-installed: Rear: 1×120mm fan; Top: 1×120mm RGB fan Optional: Front: 2×120 or 1×140; Top: 2×120/ 2×140mm Bottom: 2×120mm in case of PSU installed at top |
| CPU Cooler Compatibility | 168mm height limit /Liquid Cooler: 120mm radiator liquid cooling system pre-installed at the top; Optional: 120mm radiator at rear; 120/240/140/280mm radiator at the top |
| Power Supply Support | ATX PS2 (maximum length: 200mm at the bottom, 160mm at the top) |
| Graphics Card Clearance | Maximum 340mm length |
| Carton Dimension | 497×282×506mm |
| Water Block Dimensions | 92.5×93×85mm(L×W×H) |
| Radiator Dimensions | 154×120×27mm(L×W×H)(aluminium material) |
| Fan Dimensions | 120×120×25mm RGB Fan |
| Fan Speed | 500±150-1800±10%RPM (4Pin) |
| Fan Air Flow | 69.34 CFM (MAX) |
| Fan Noise Level | 17.8~30dB(A) |
| Fan Bearing Type | Hydro Bearing |
| Fan Rated Voltage | 12VDC |
| Fan Rated Current | 0.32A |
| Fan Power Consumption | 3.84W |
| Pump Connector | 3Pin |
| Pump Operating Voltage | 6~13.8VDC |
| Pump Rated Voltage | 12VDC |
| Pump Speed | 2300±10%RPM |
| Pump Current | 0.2A(MAX) |
| Pump Power Consumption | 2.4W |
| EAN (WH) | 6933412713401 |
| P/N (WH) | DP-MATX-BNKSWH-LQD |
| EAN | 6933412713395 |
| P/N | DP-MATX-BNKSBK-LQD |
Closer Look
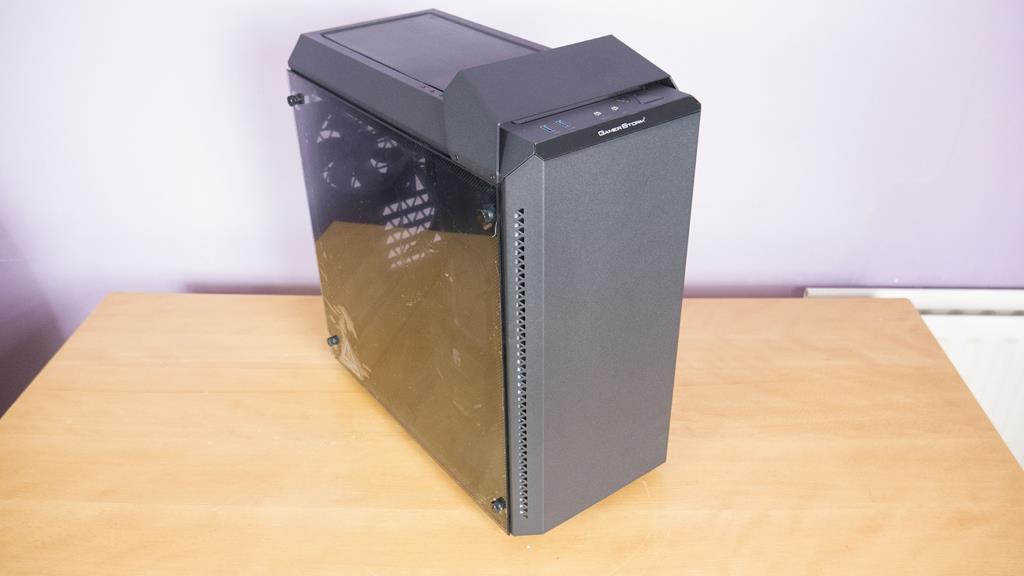
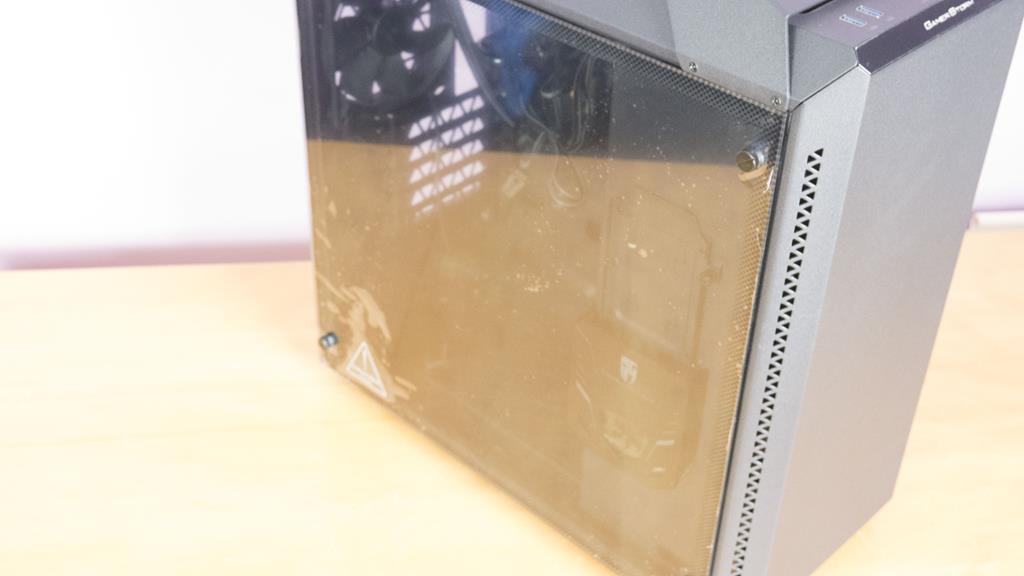
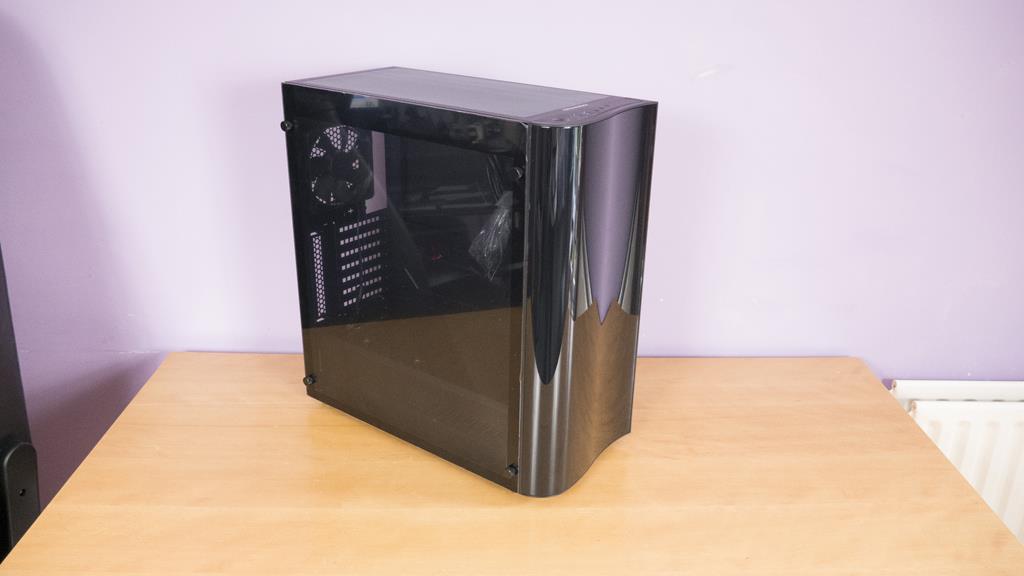
From the outside, the Deepcool Gamer Storm Baronkase looks quite impressive. While it may seem weird, the additional bar that is mounted over the top of the case actually makes it look a bit more appealing.
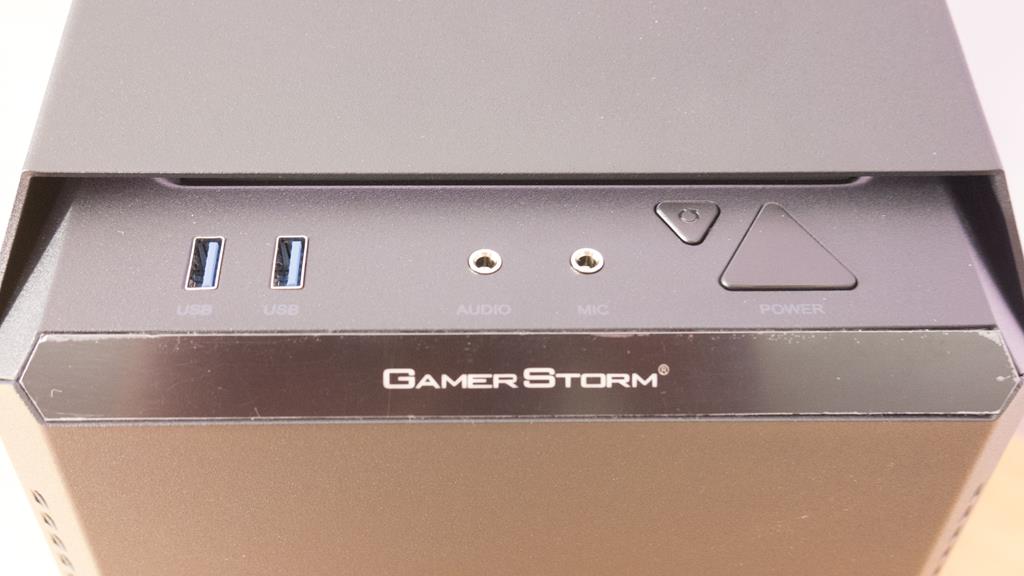
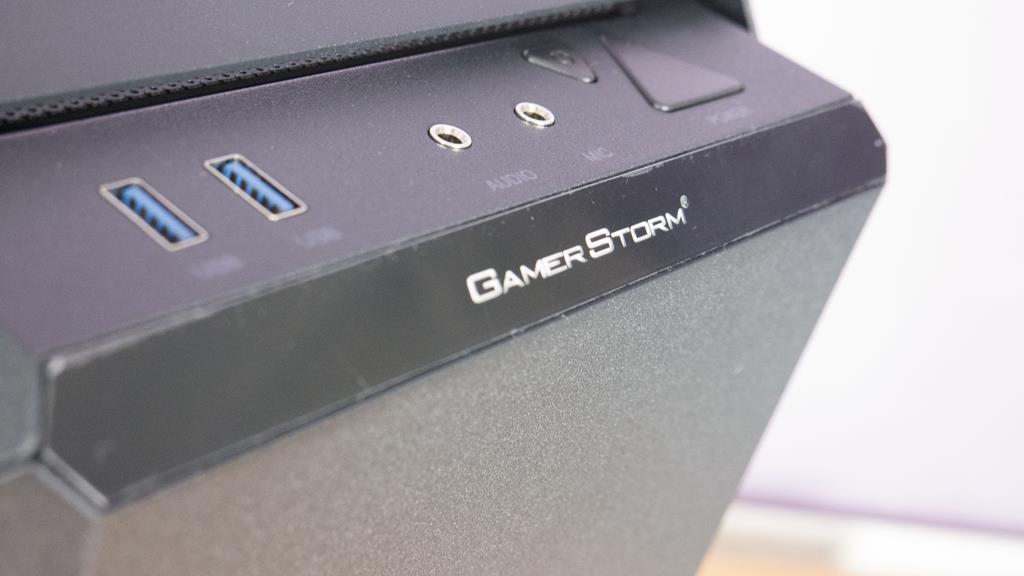
The front IO features 2x USB 3.0 ports, headphone and mic inputs as well as power and reset buttons.
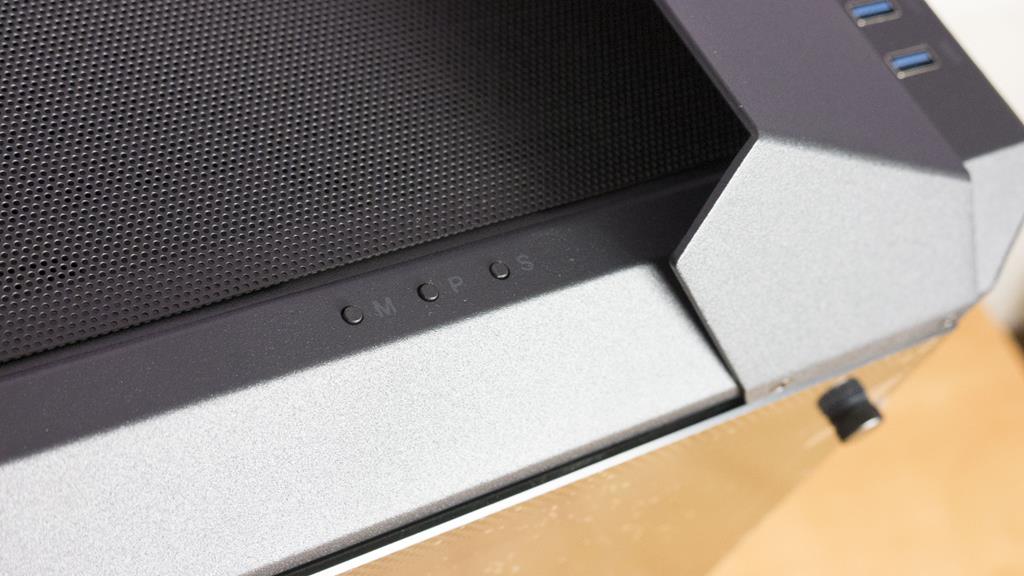
These 3x little buttons will allow you to change the RGB LEDs, they stand for (M)ode, (P)ower and (S)peed.
The full tempered glass side panel is sure to be a hit. This will allow you to see everything inside the build and help you to show off your hardware.
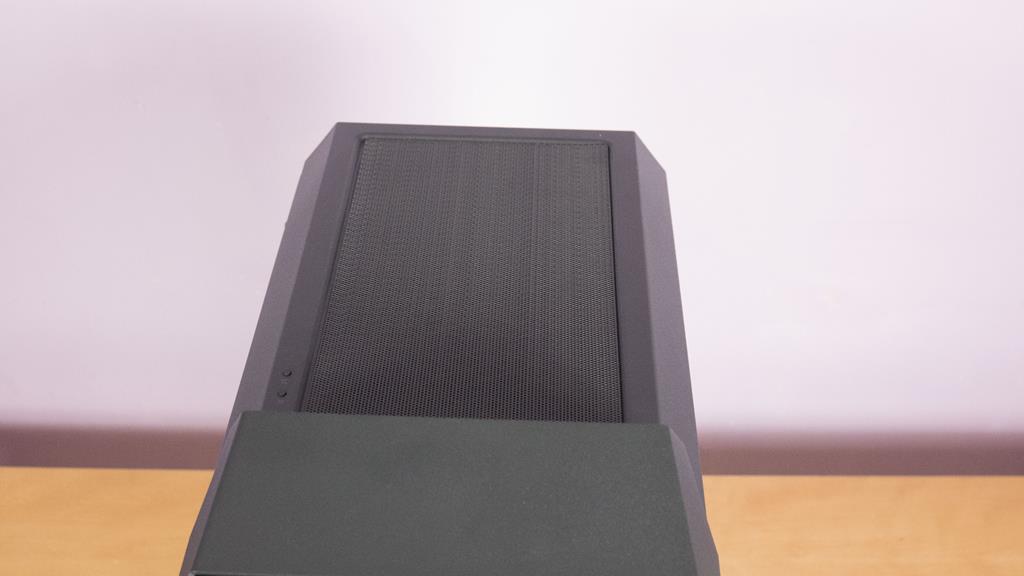
The top of the Baronkase features a nice mesh dust filter to try and ensure your PC stays as cool and clean as possible. The mesh area should allow for enough air to come in/out to keep things cool while not allowing to much dust to makes its way inside the case.
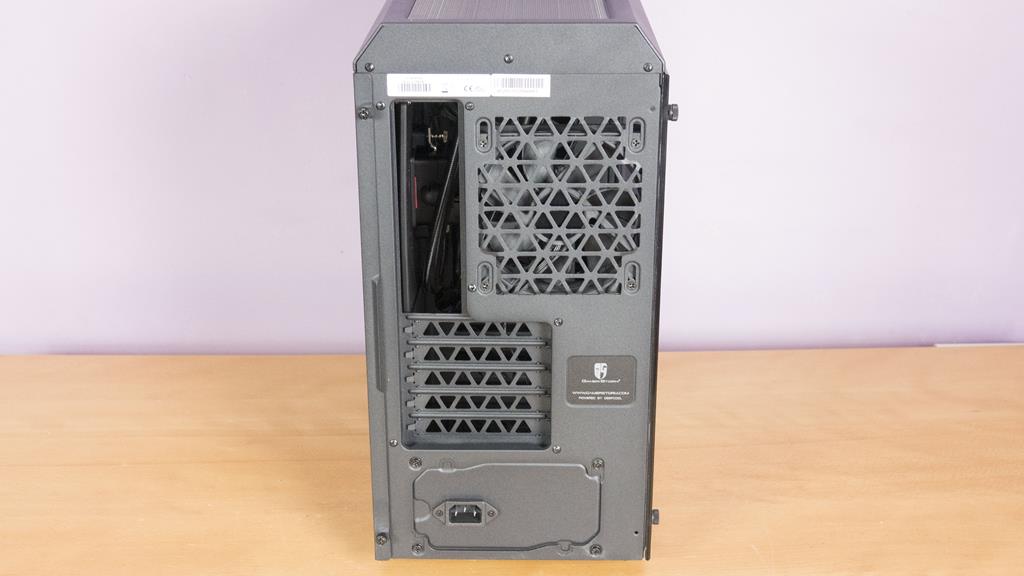
The Baronkase is designed with M-ATX motherboard in mind even though you can fit a normal sized ATX board in it. However, things such as the 5x PCI expansion bays and PSU placement will quickly show you that this case prefers M-ATX motherboard quickly.
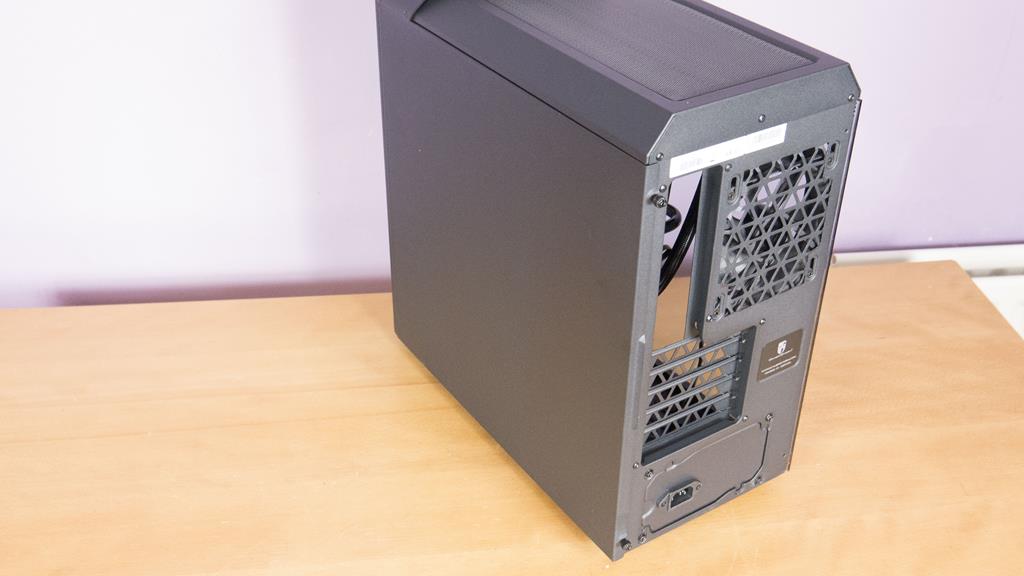
The secondary side panel is blank with nothing going on, as is the case with most cases these days.
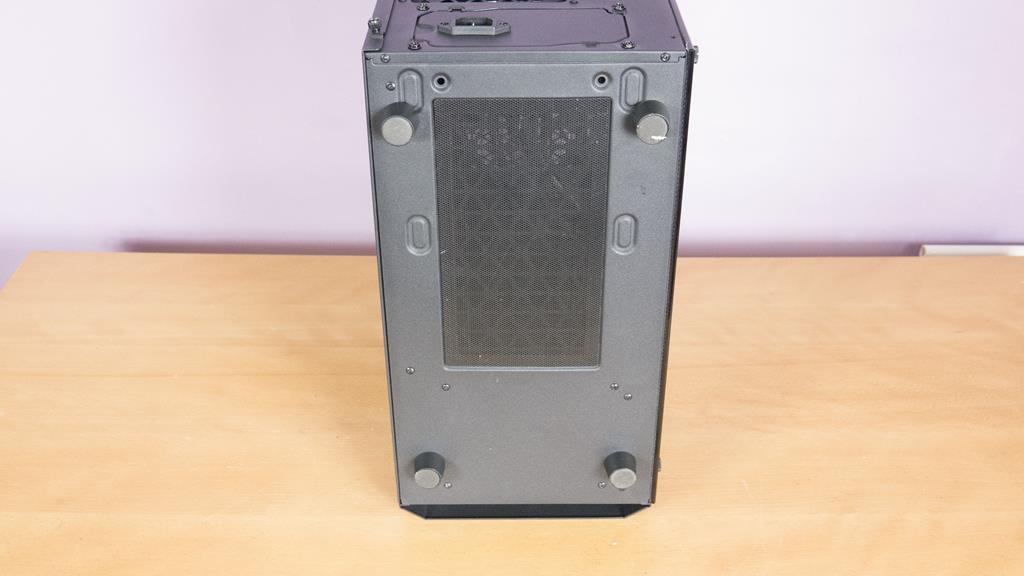
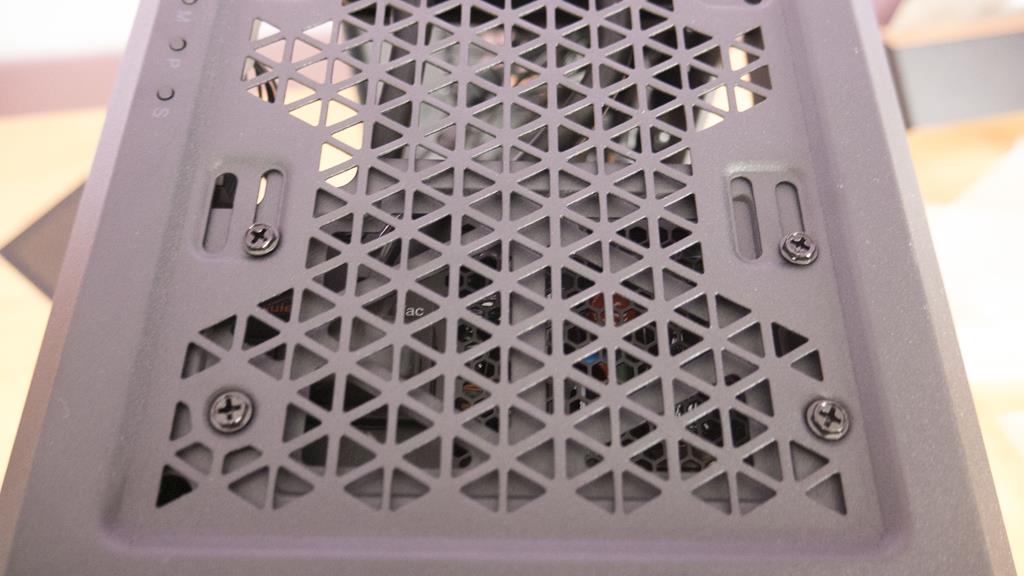
The bottom of the case has 4x nice sized feet to raise it off the ground. There is also another nice mesh ventilation area. This one is for those of you who will install an M-ATX motherboard in the Baronkase and will put your PSU on the floor of the case. Those who wish to install an ATX motherboard will have a separate place to put their PSU which we will see shortly.
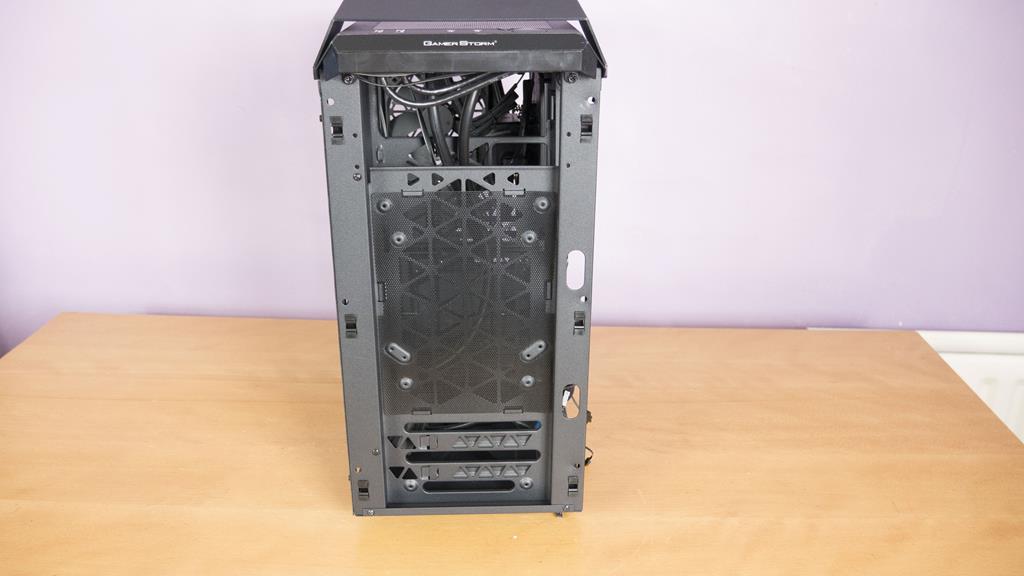
Taking the front panel off reveals space for some additional fans.
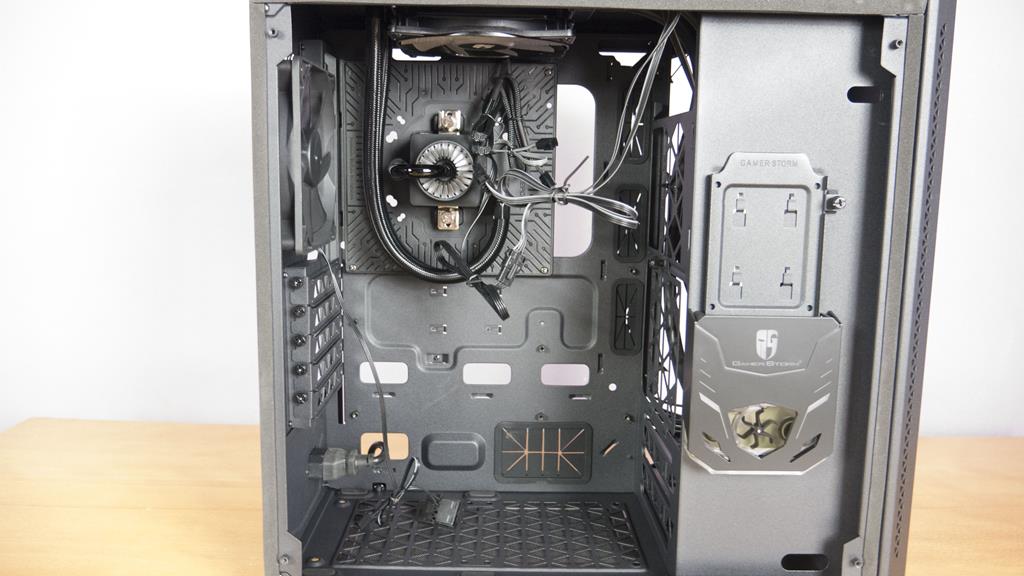
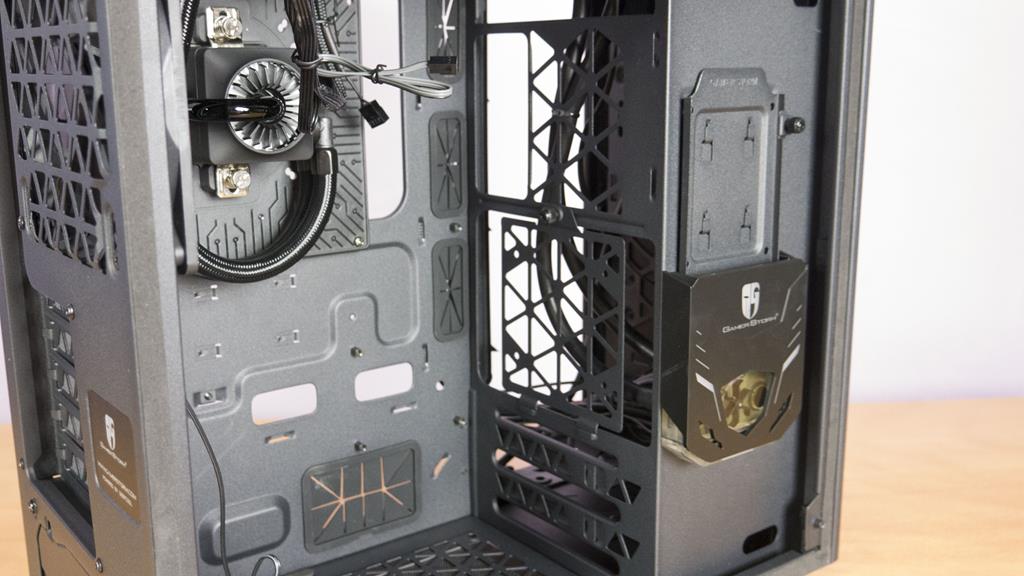
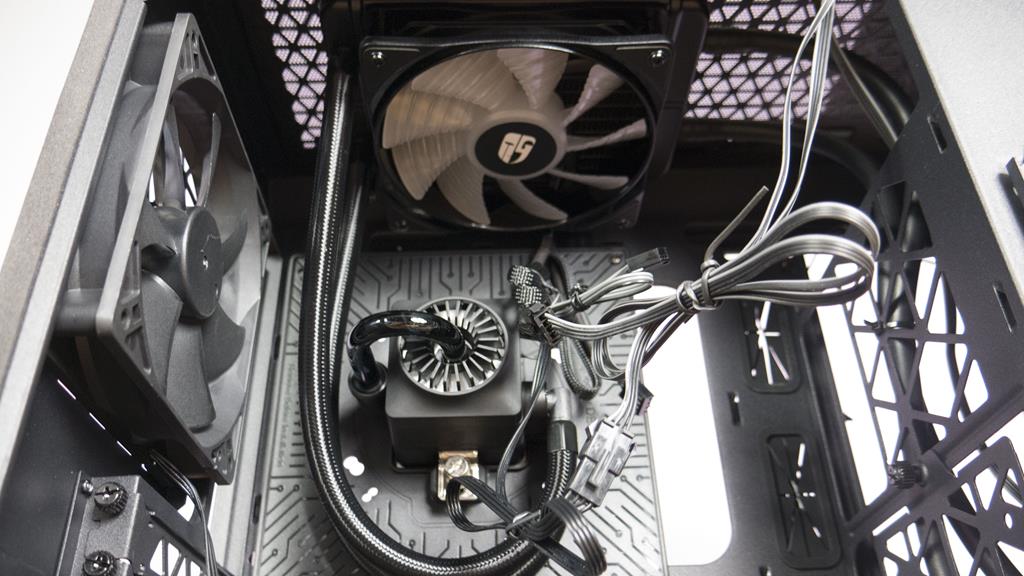
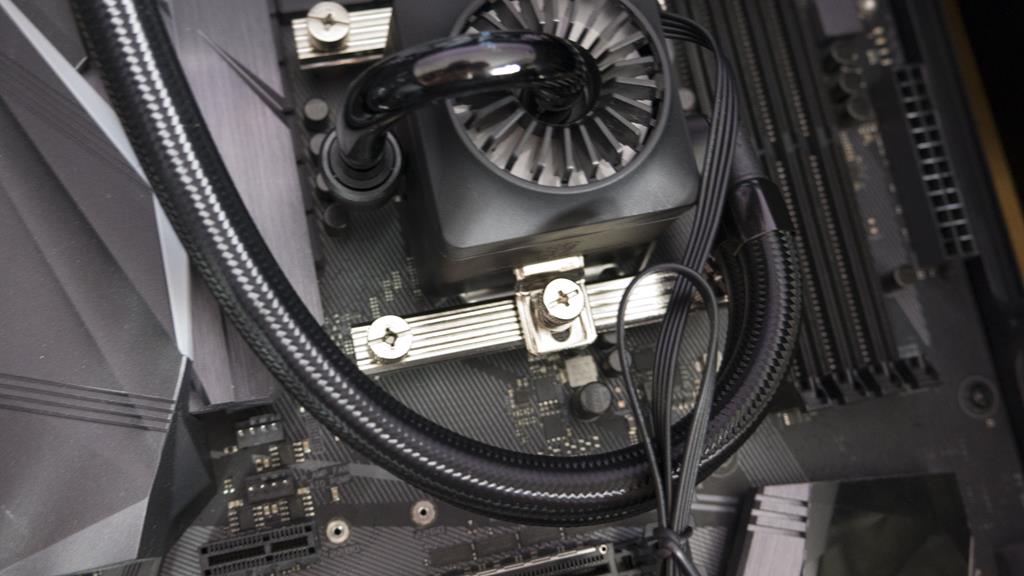
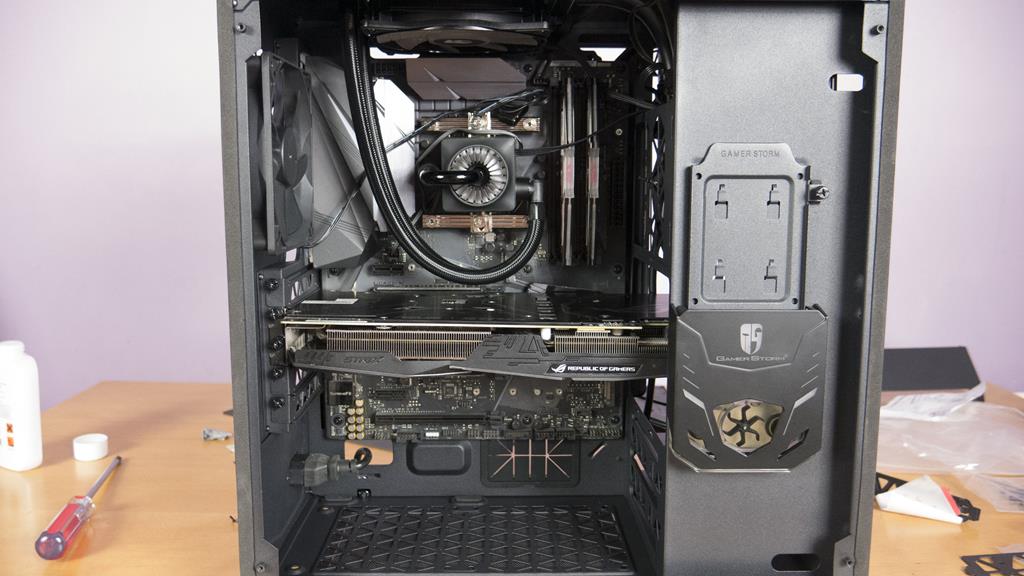
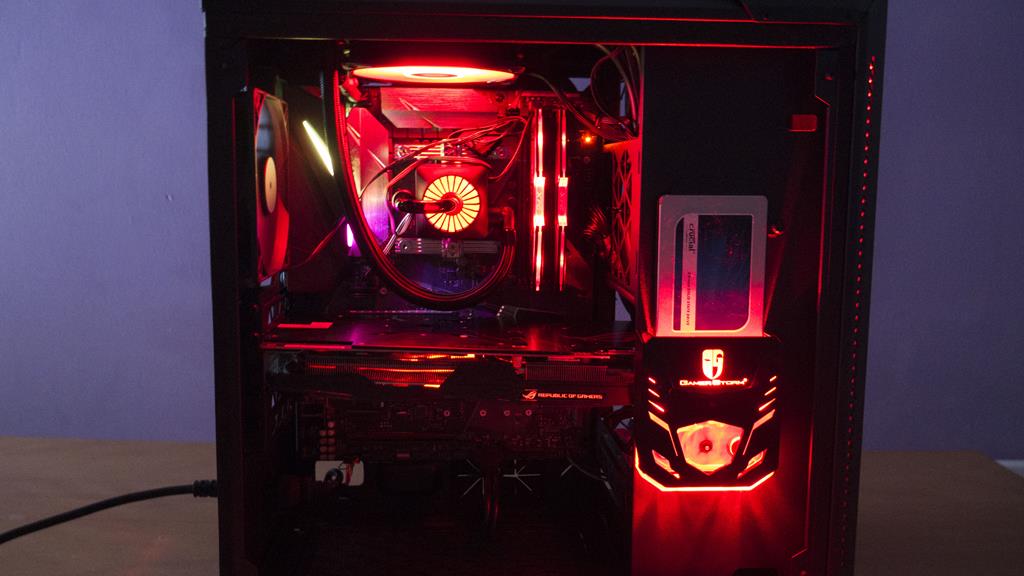
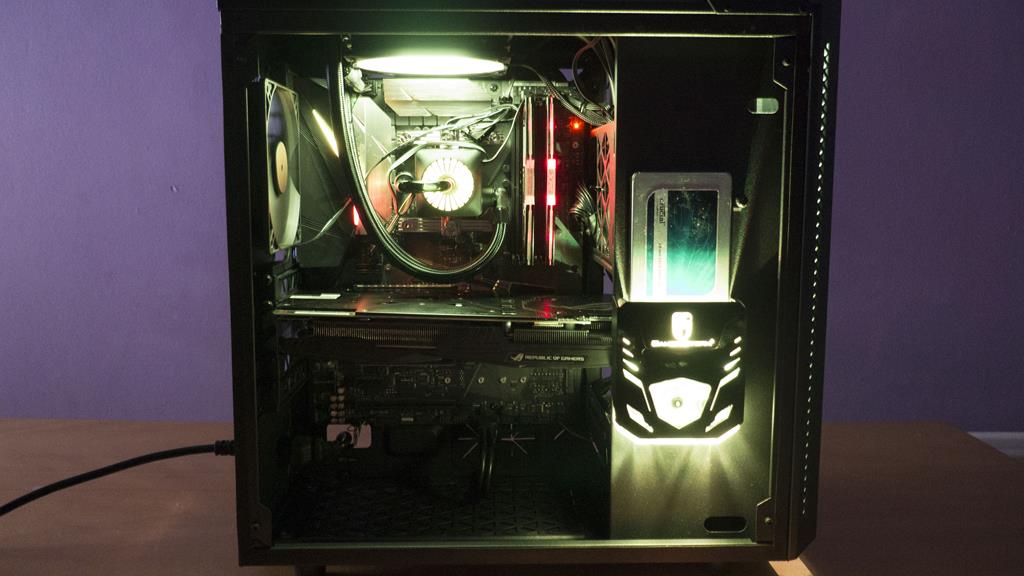
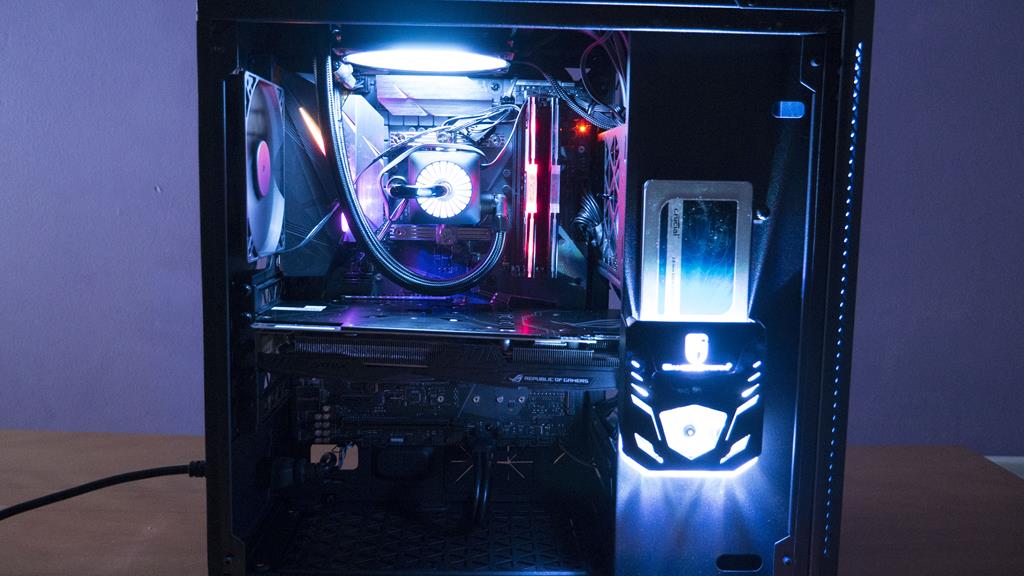
The main selling point of the Baronkase is, of course, the pre-installed liquid cooling unit. Deep Cool has added a 120mm AIO to the case which also includes a flow meter! What’s even better is the fact that the fan, pump and flow meter all feature RGB LEDs for further customization and to help match whatever other components you wish to put inside.
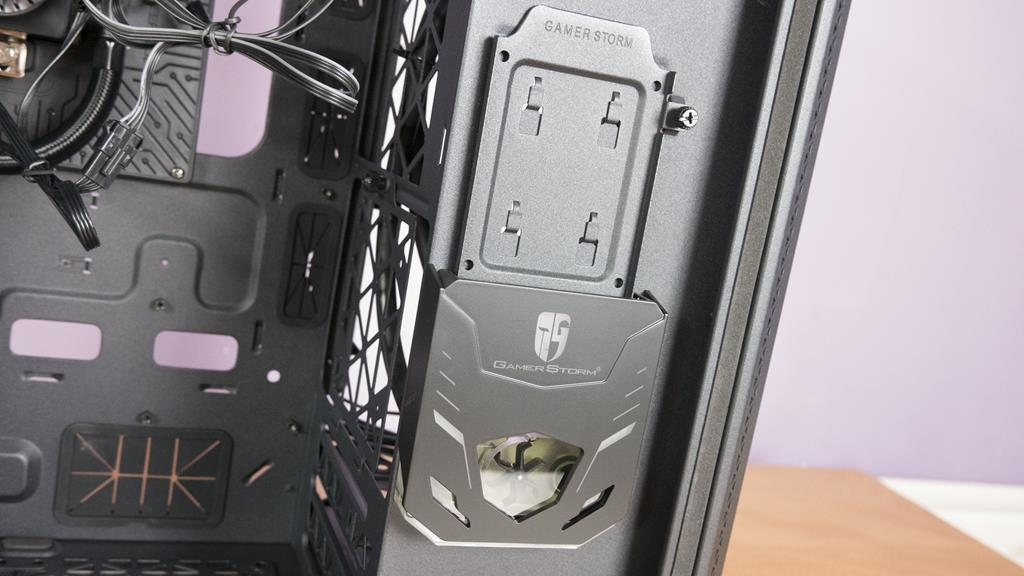
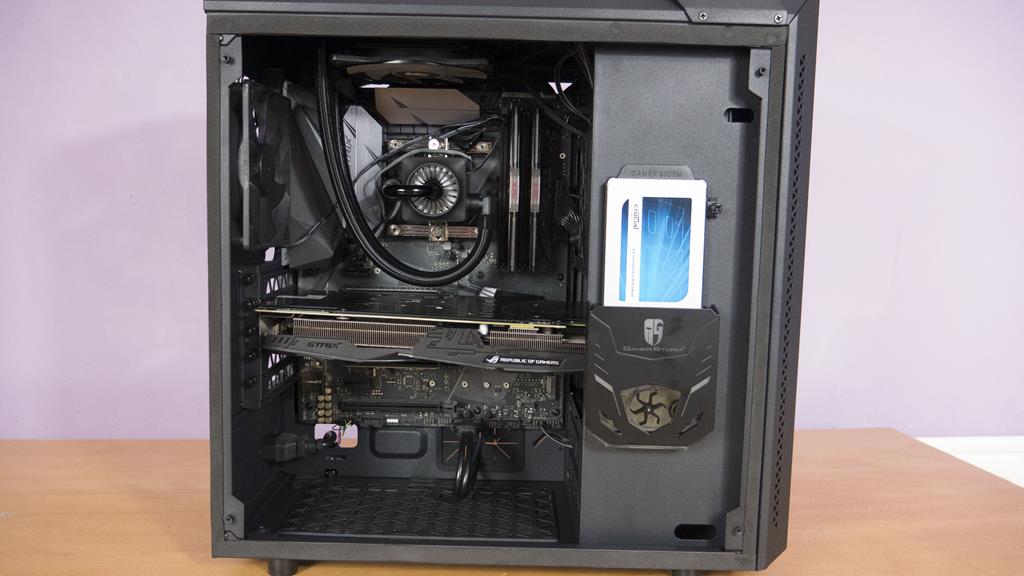
Just above the flow meter is a 2.5″ SSD mount so you can show off your favourite SSD with ease.
There is a removable plate on the Baronkase that once removed, allows users to install a GPU of up to 340mm in length.
The cooling part of the AIO in the Baronkase is a 120mm CaptainEX RGB AIO cooler with an additional flow meter. It would have been nice to see a bigger version of this case that offers a 240mm version of this cooling unit but as far as I am aware, one does not yet exist.
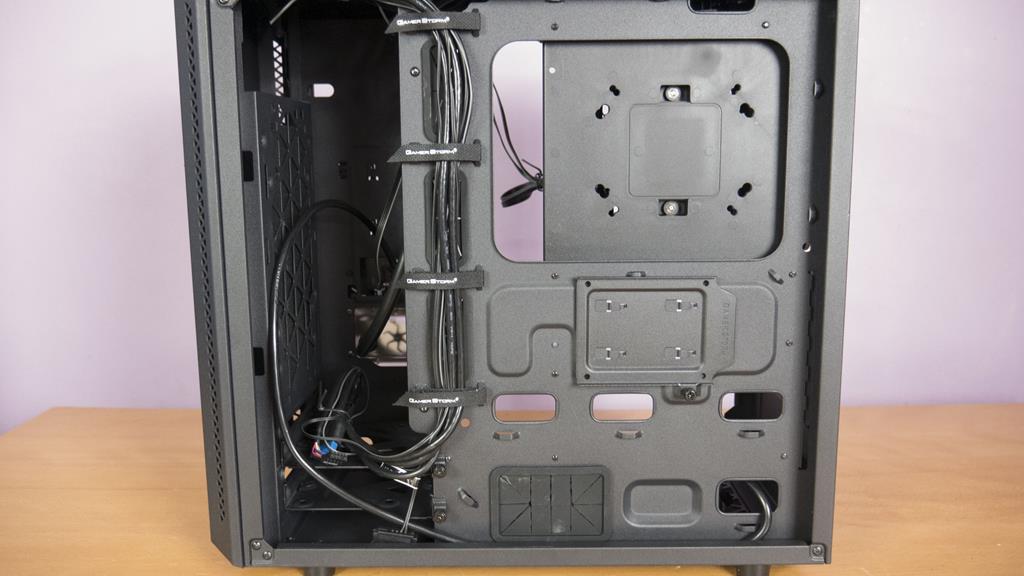
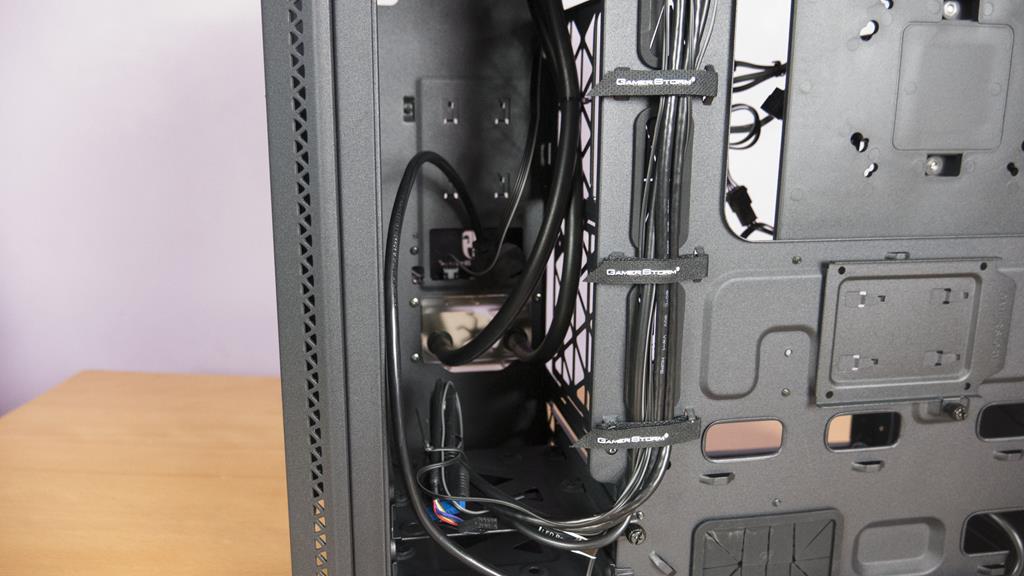
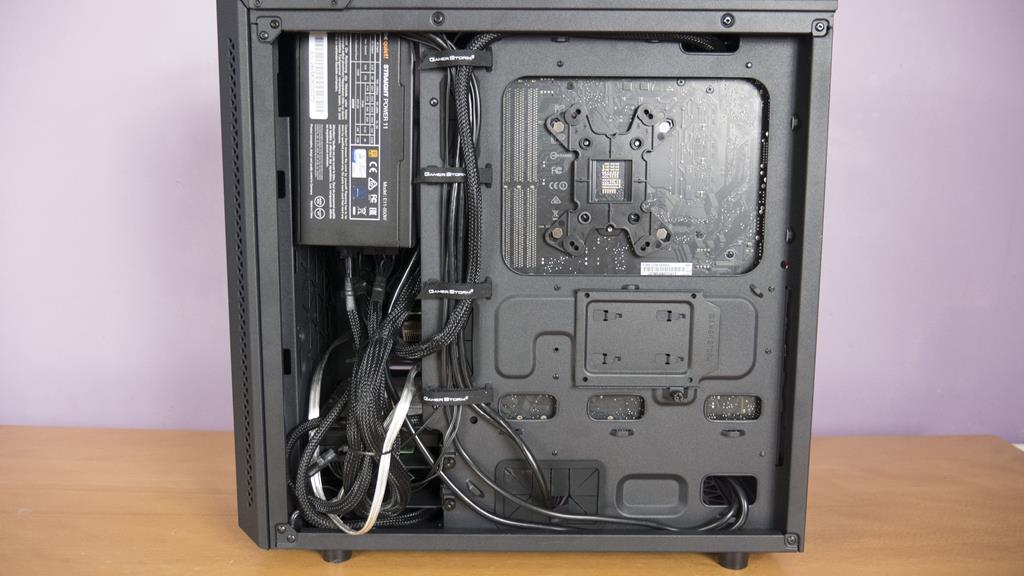
Deepcool has done some nice cable management on the backside to get you started. There is also another 2.5″ SSD mount on the backside of the motherboard tray. Also, there are a pair of HDD mounts towards the front of the case that you can also mount an SSD into.
The area to the front of the case may look like a waste of space but it is protecting and housing the water cooling tubes for the flow meter. Also, in a moment you will see what else uses up a bit of this room.
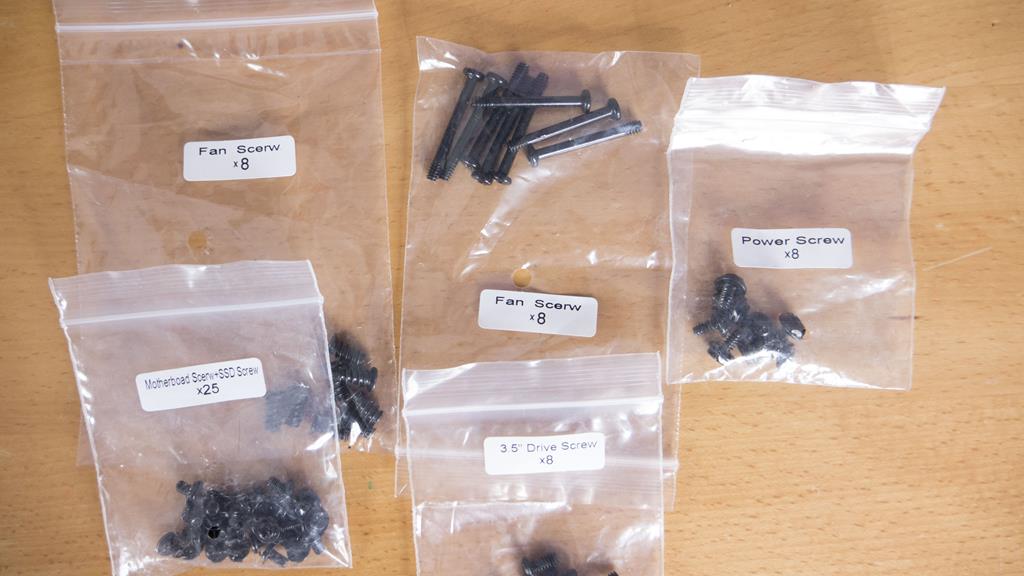
The Baronkase comes with a load of screws, all conveniently labelled so you can get everything installed in no time.
PSU Installation
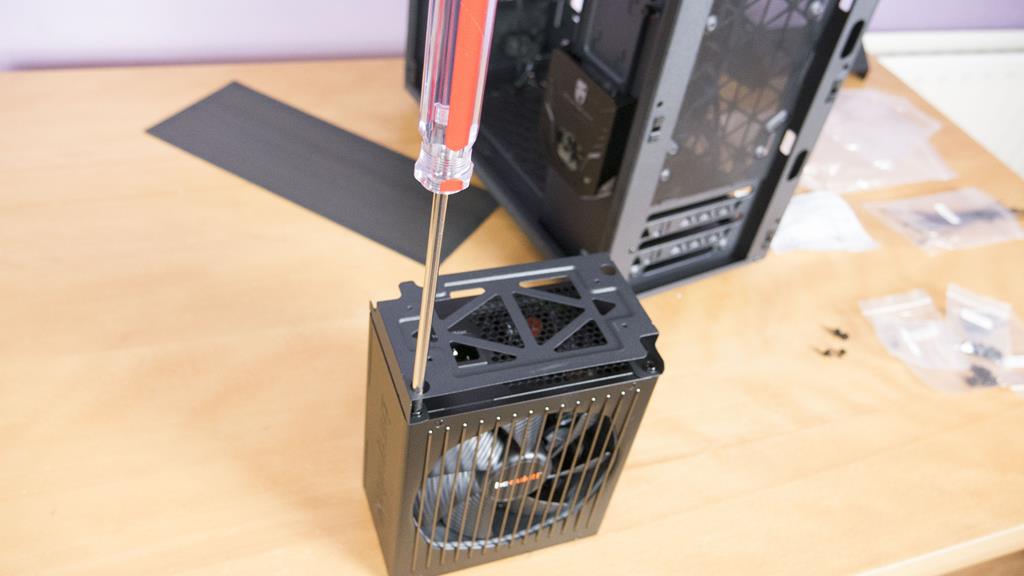
Users looking to install a full-size ATX motherboard, in this case, will have to mount the PSU to the front, and not the bottom floor of the case. To do so, you will need to mount the PSU to the bracket before putting it in the case.
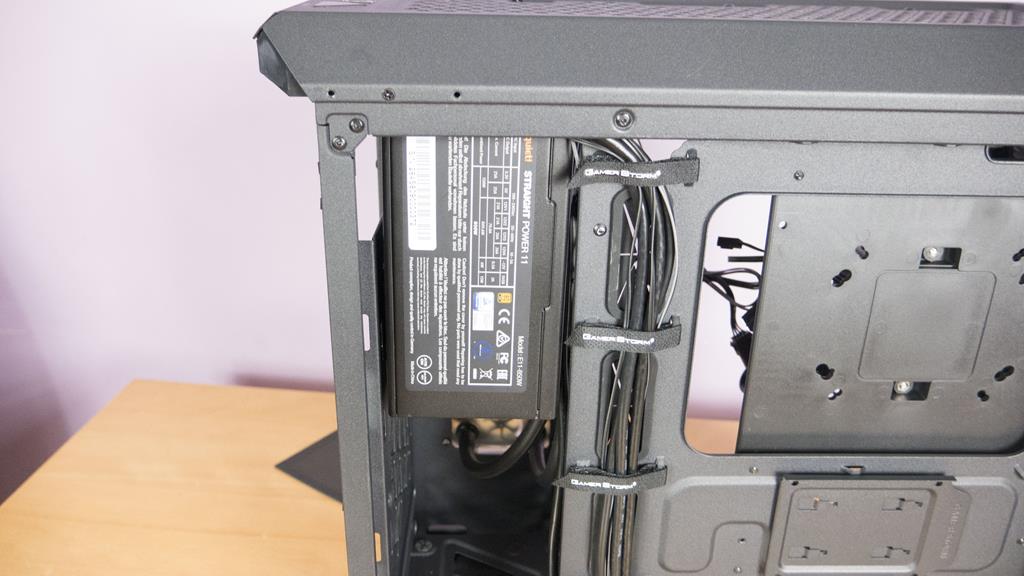
Next, you will need to install it towards the front of the case. It does get a bit tight in there but you shouldn’t have any issues installing a normal sized ATX PSU. Deepcool recommends up to 160mm in length for installing a PSU in the top of the case.
Cooler Installation
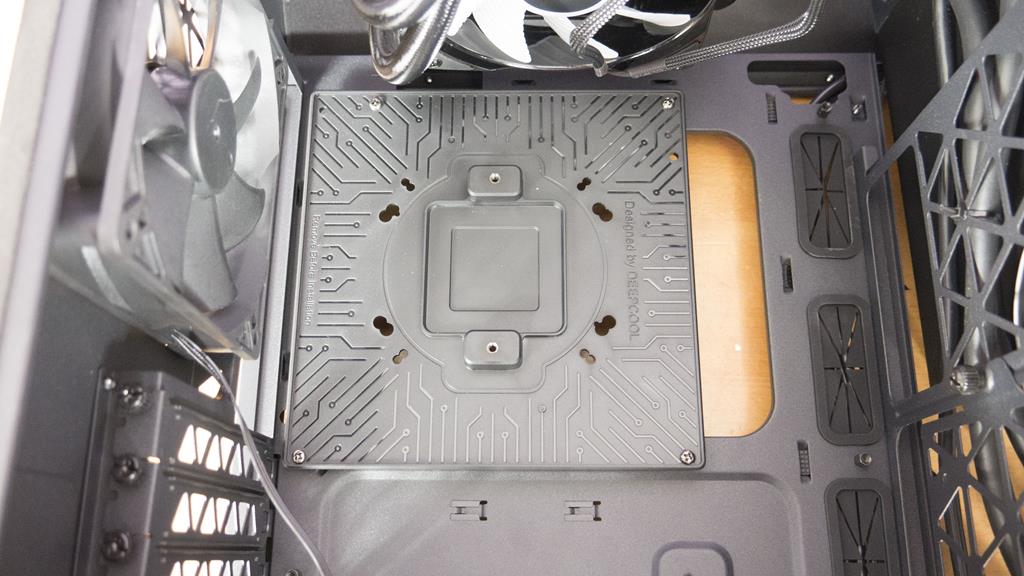
First thing you will want to do is remove the pump from the plastic backplate that it is attached to, you will then want to remove this as well.
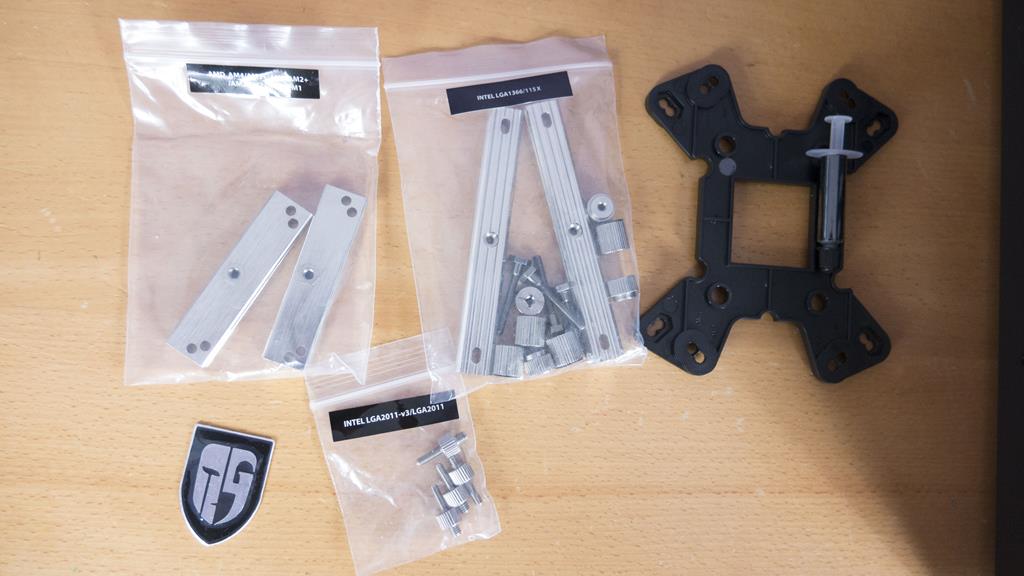
Next up, make sure you have the right mounting parts to match the type of motherboard/CPU you’ll be installing.
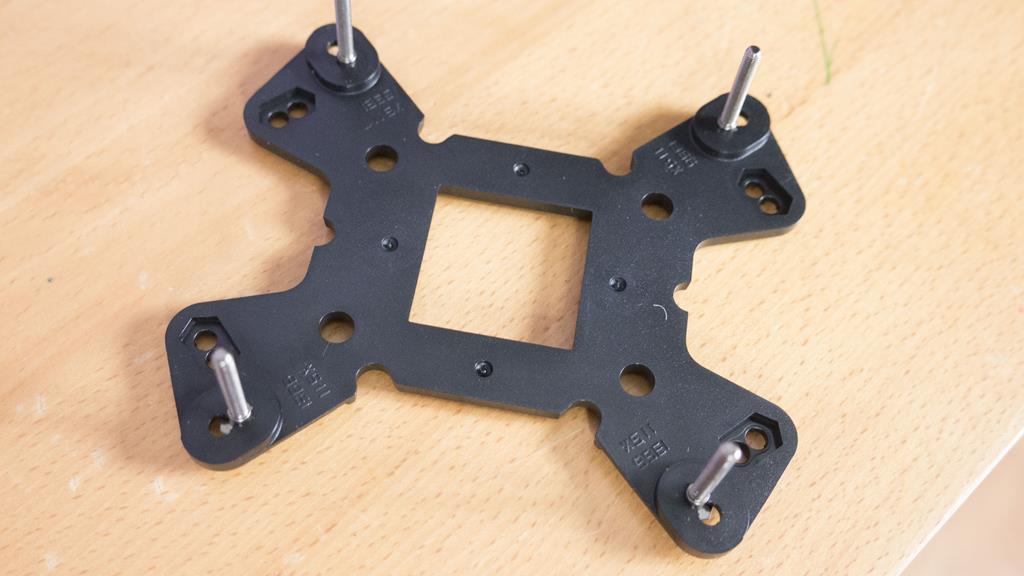
For the purpose of this review, we went with a Z270 motherboard on the Intel 1151 socket. First, get the backplate and then put the mounting screws through the correct holes.
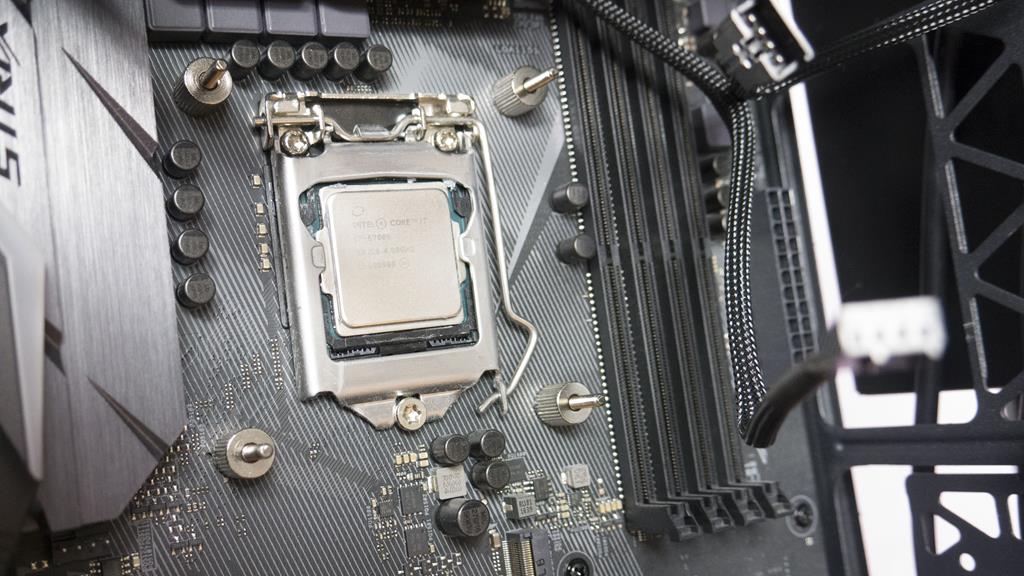
Next, put the screws through the holes on the motherboard and secure them all into places with the thumb screws.
Next, you want to put the retention bars on and secure them into place with a couple more thumbscrews.
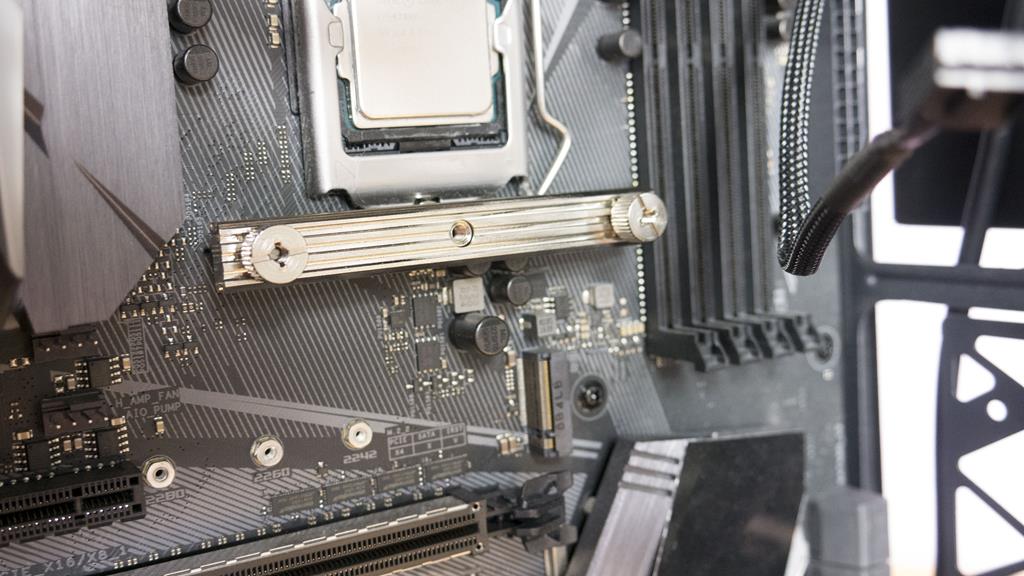
Now it is time to mount the pump to the retention brackets. Once all this is done, you should be just about up and running!
This is the main feature of the case and we were a tiny bit concerned about how it would perform and just how cool it would keep our CPU. Using our trusty 6700K, it managed to keep it within respectable temps, albeit a bit on the high end for our personal preference. As mentioned, this case would have much better suited a 240mm AIO variant, especially for those looking to do a high-end build inside it. The cooling performance is going to heavily rely on the CPU you are using and whether or not that CPU can be tamed by a 120mm AIO.
Final Build
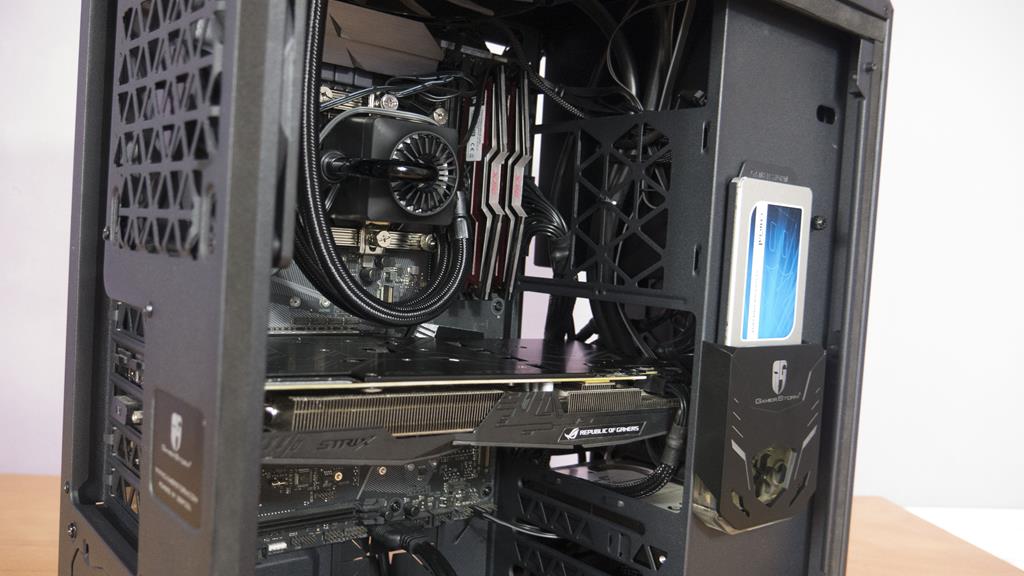
Once everything is done and you can relax, you will be left with a very nice looking build. However, I am not going to lie and say that this was extremely easy. I’m also not going to say it was hard, but it definitely took a bit of time and patience to get everything installed. For the purpose of this review, I wanted to go with the ATX motherboard as this was going to be the most challenging option and truly show off what the Baronkase is capable off. Also, you will notice that our graphics card does hide behind the flow meter. This worked out well for us as it also hid the power cables connecting it. Whether Deepcool did this on purpose or it was a happy coincidence, I’m not going to moan as it looks great! All in all, the build went well and as you can see, there is still quite a bit of room left in the case so things aren’t too cramped.
The RGB features of the fan, pump and flow meter also went over quite well. While some may not care for it, I really enjoy being able to set what colour my system is set to or even turning them off when needed.
Another thing that was nice to see was how clean the backside of the motherboard tray was left. Most of the cables needed either fit down the one main routing area or, they get hidden under the PSU when it is mounted in the top of the case.
Conclusion
Performance and Design
The Deepcool Gamer Storm Baronkase is definitely unique in the fact it is the only case we’ve ever seen with a pre-installed AIO. While there were some original concerns on this, especially as it’s only 120mm, they were mostly put to rest. While it did manage to keep our 6700K within respectable temps, they were a tad higher than we would normally care for. However, the inclusion of the flow meter which also included RGB lighting is a cool feature. The only thing we could really ask for is changing it to a 240mm variant of their Captain AIO, this would offer much better performance and would be more suitable to the types of builds most will want to do in a case of this nature. Cooling aside, the case is quite nice and while it wasn’t the easiest to build in, there did turn out to be plenty of room when all was done. Mounting the PSU to the top was a bit of a pain as you had to remove the outside handle first, but it wasn’t a massive issue. Depending on the length of your PSU and GPU, you may run into issues as they may get in each other’s way, this is just something to be wary of when looking into the BAronkase. As you can see, we didn’t have issues ourselves but weren’t far away from them. Deepcool decided to forego including any intake fans which we feel is always a big mistake for case manufacturers and really is the only proper downside to this case, especially seeing as to how the case is all set up for a nice pair of 120mm fans in the front.
Value
Since it’s release a year ago, the price has come down around £15 which makes the Baronkase a worthy purchase for the money. Coming in currently at £95 from the folks at Scan.co.uk, the Baronkase is a good all around case. Those looking to go with a 1320mm AIO will be happy to find one already included with additional flow meter. The overall look of the case is appealing and considering what it has to offer, you really can’t go wrong. The Captain 120EX RGB AIO will cost you around £60 on its own so for an extra £35, you get a rather unique case with some cool features. While the Baronkase is definitely better suited to M-ATX motherboard, those wanting to use a full-size ATX board just need a tiny bit of patience and all will be well.
Many thanks to Deepcool for sending in a sample of their Gamer Storm Baronkase Liquid PC Case!

