GAMDIAS CHIONE P3 – 360U Liquid Cooler Review
Introduction
GAMDIAS is a manufacturer of PC hardware. Their product lines include PSU, PC Cases, PC Cooling, Thermal Pastes, Controllers, gaming peripherals, gaming desks, and gaming chairs. They also carry products for streaming users. They have been in the industry for 11 years now. They have showcased their new liquid cooler at Computex 23 named CHOINE P3 – 360U and we are testing this cooler this time around. The CHIONE P3 – 360U has some interesting set of features that we will list below (taken from their website). This cooler is compatible with Intel LGA1700, AMD AM5, and AMD TR4 sockets out of the box and GAMDIAS has provided mounting hardware for all the supported sockets including TR4. This is the first cooler that I have experienced using same standoff screws or studs for all Intel Sockets excluding LGA20xx. Other manufacturers are providing different standoff screws for Intel LGA1700 socket. This cooler is joining the ranks of a few solutions in the AIO market that offer an integrated display screen and an embedded fan for VRM cooling. Besides, there is a USB-based AEOLUS control box and AEOLUS M3 fans included in the box. It is mentioned on GAMDIAS website that this cooler is rated for 290W ±10% TDP.
Below are salient highlights of this cooler. We have taken these from GAMDAIS website.
- IPS LCD Screen
- Customize LCD Background (png / gif / jpg)
- Micro-embedded Fan for Motherboard Cooling
- CHIONE CAST Software
- LCD Screen Orientation
- Control Lighting Effects / Brightness / Speed / Direction
- Show System Information (with customized image)
- Motherboard sync ARGB
- Durable Teflon Tube with Aesthetic Nylon-braided Tube Sleeve
- High Static Pressure Hydraulic PWM fan
- USB AEOLUS Box
- Support LGA 1700 / AM5 / TR4
Product: GAMDIAS CHOINE P3-360U
Price: $239.9 USD [Price from GAMDIAS Marketing]
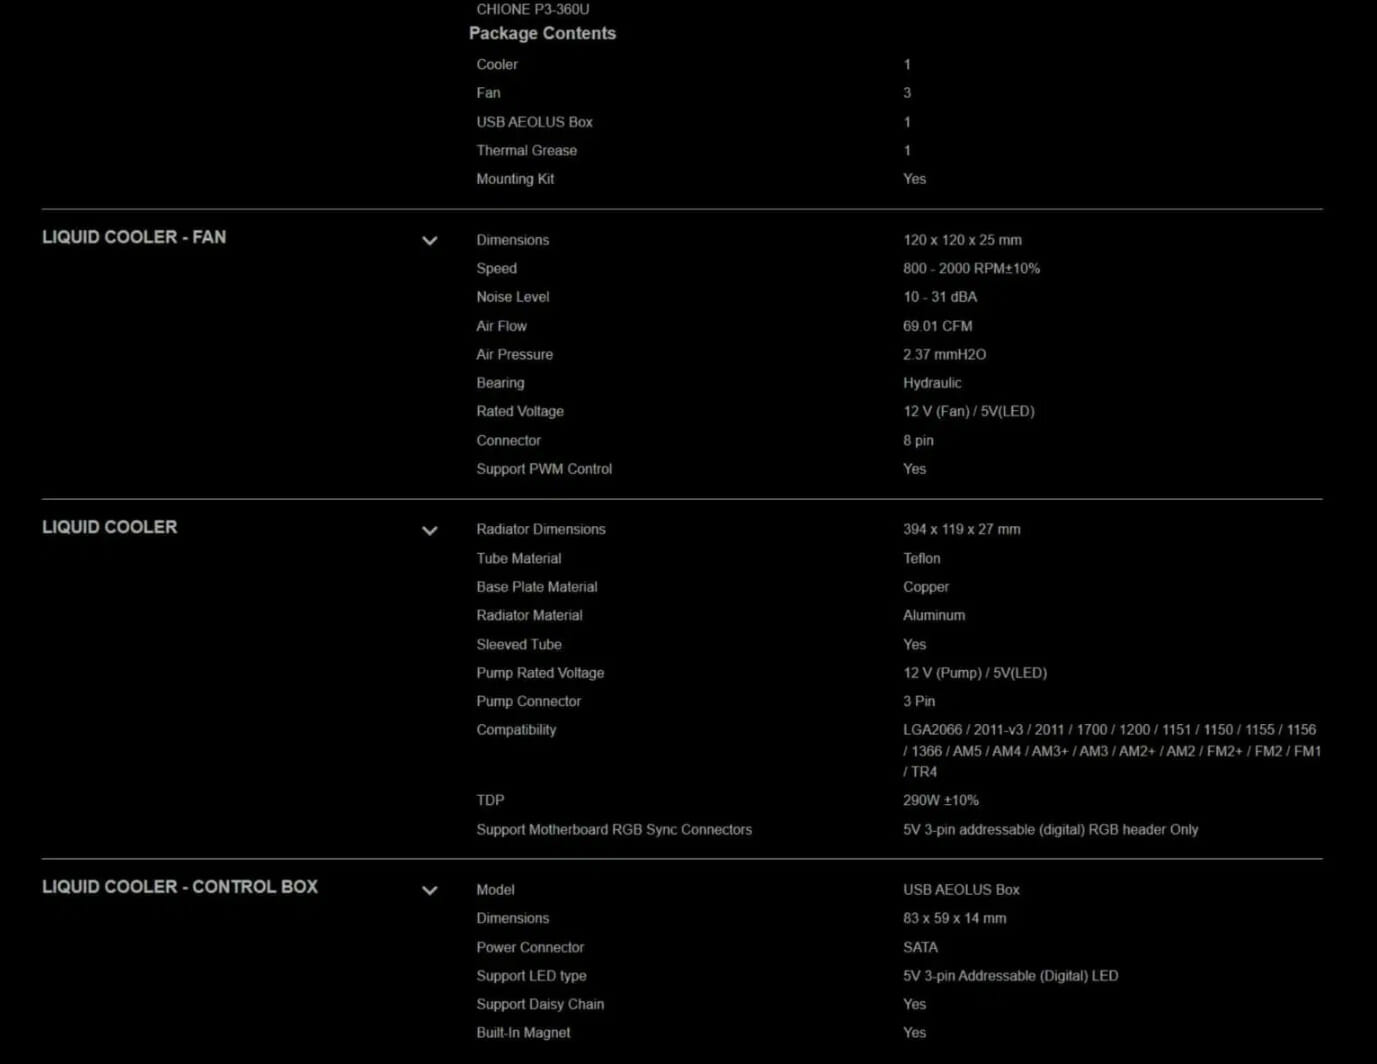
Specifications
Packaging and Unboxing
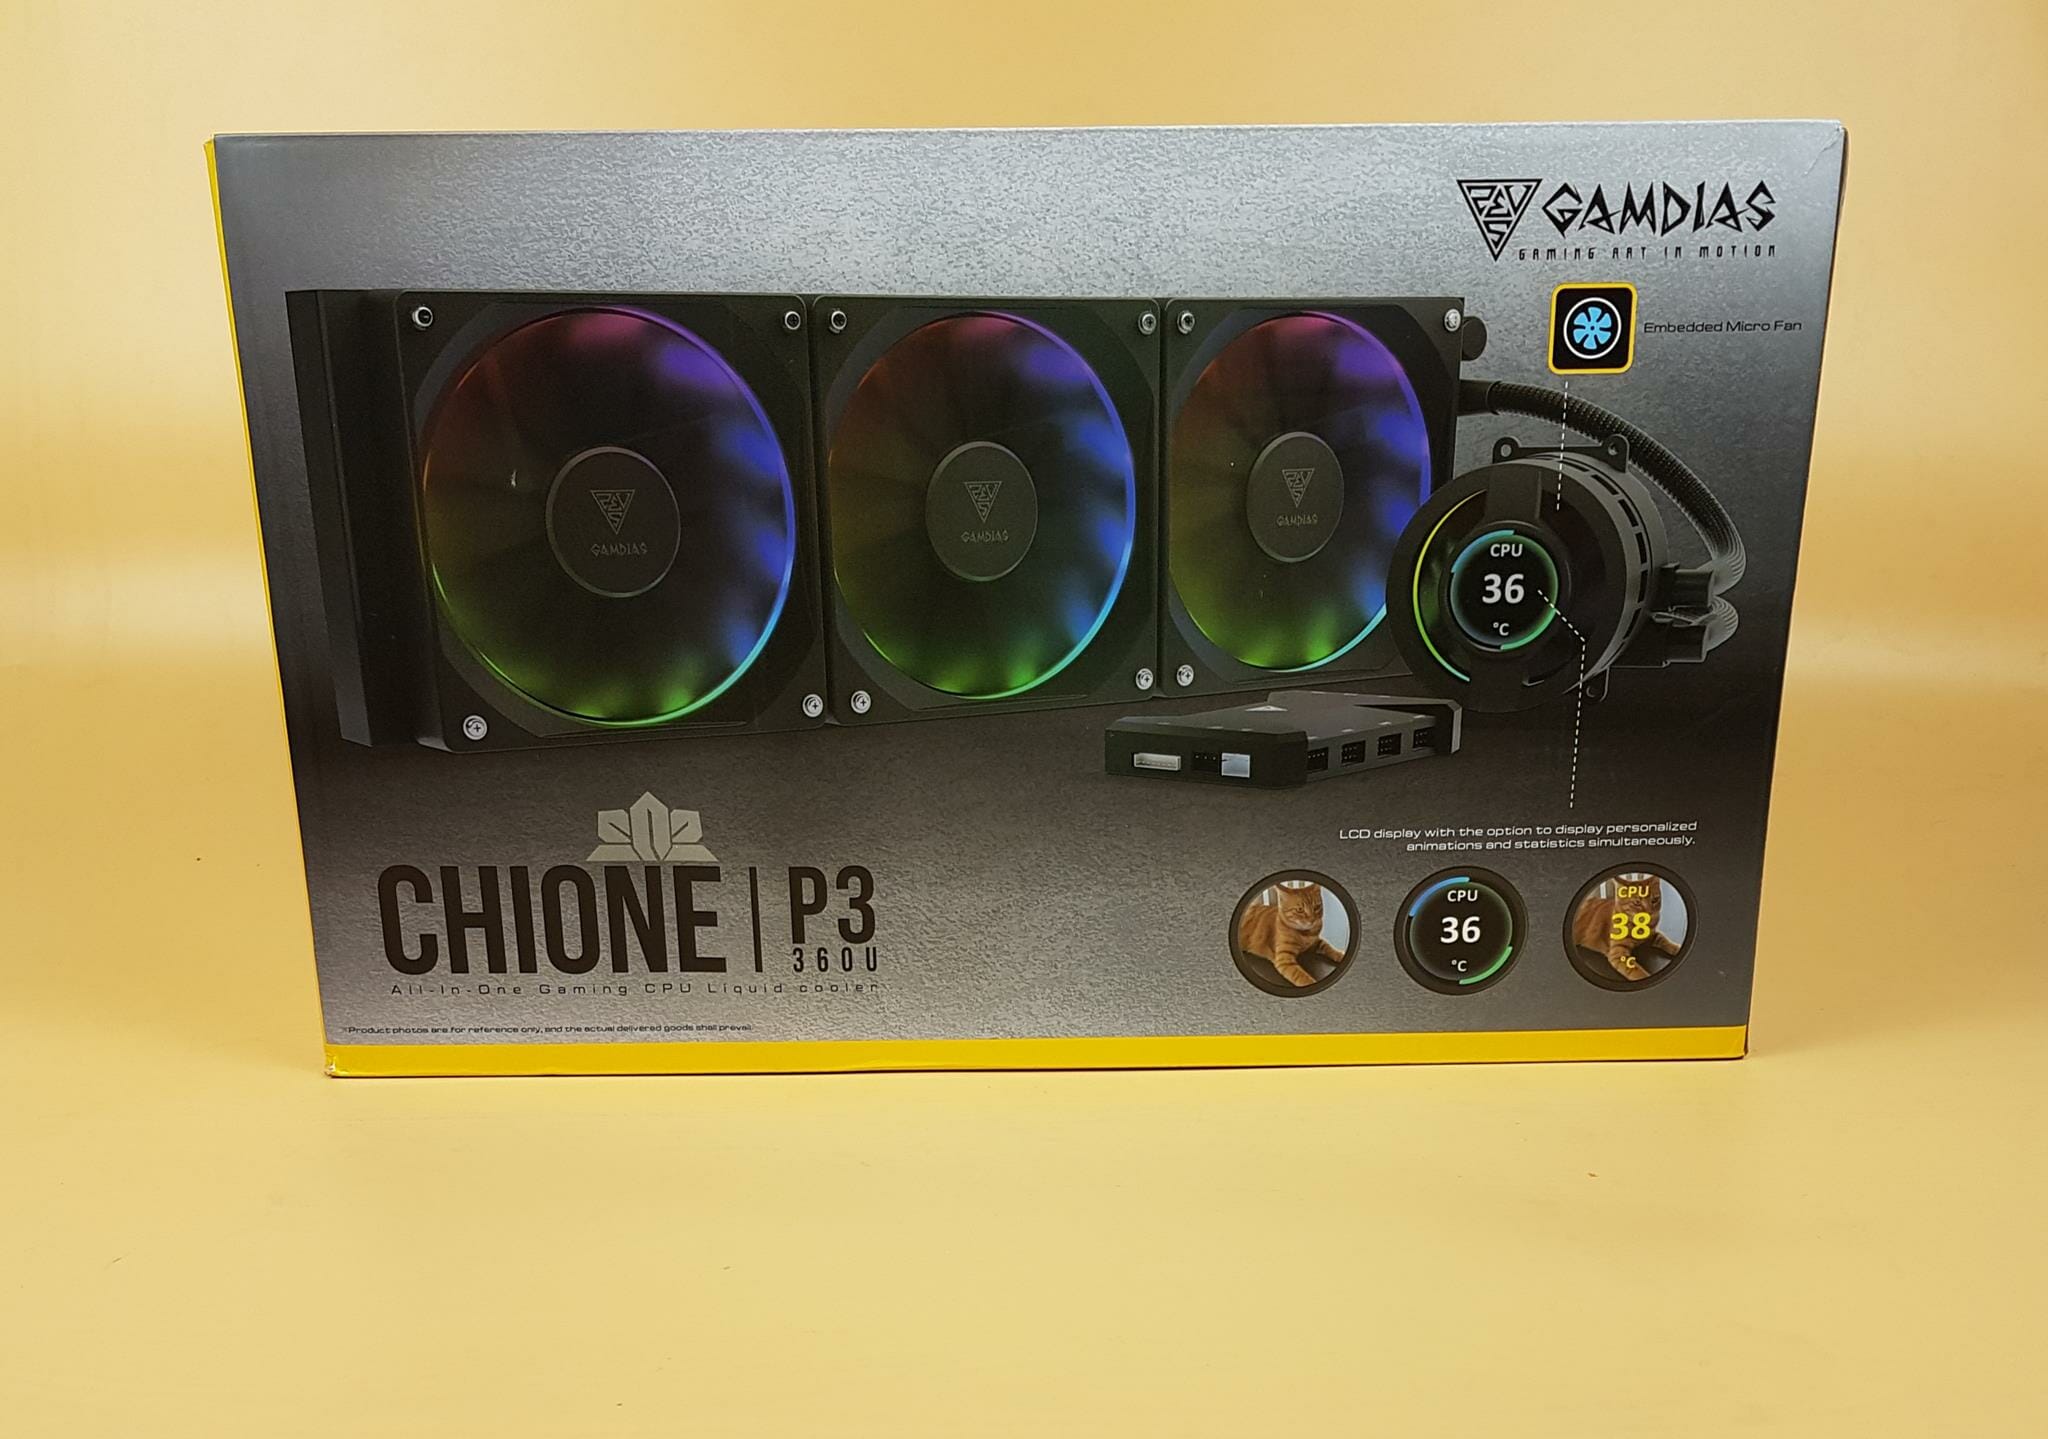
The cooler is shipped inside a cardboard made packing box. Oh, and I did not know that cat has a CPU inside. Pun Intended. There is not much information provided over the front. There is a picture of a complete unit and the focus is on LCD screen with its customization plus an embedded fan.
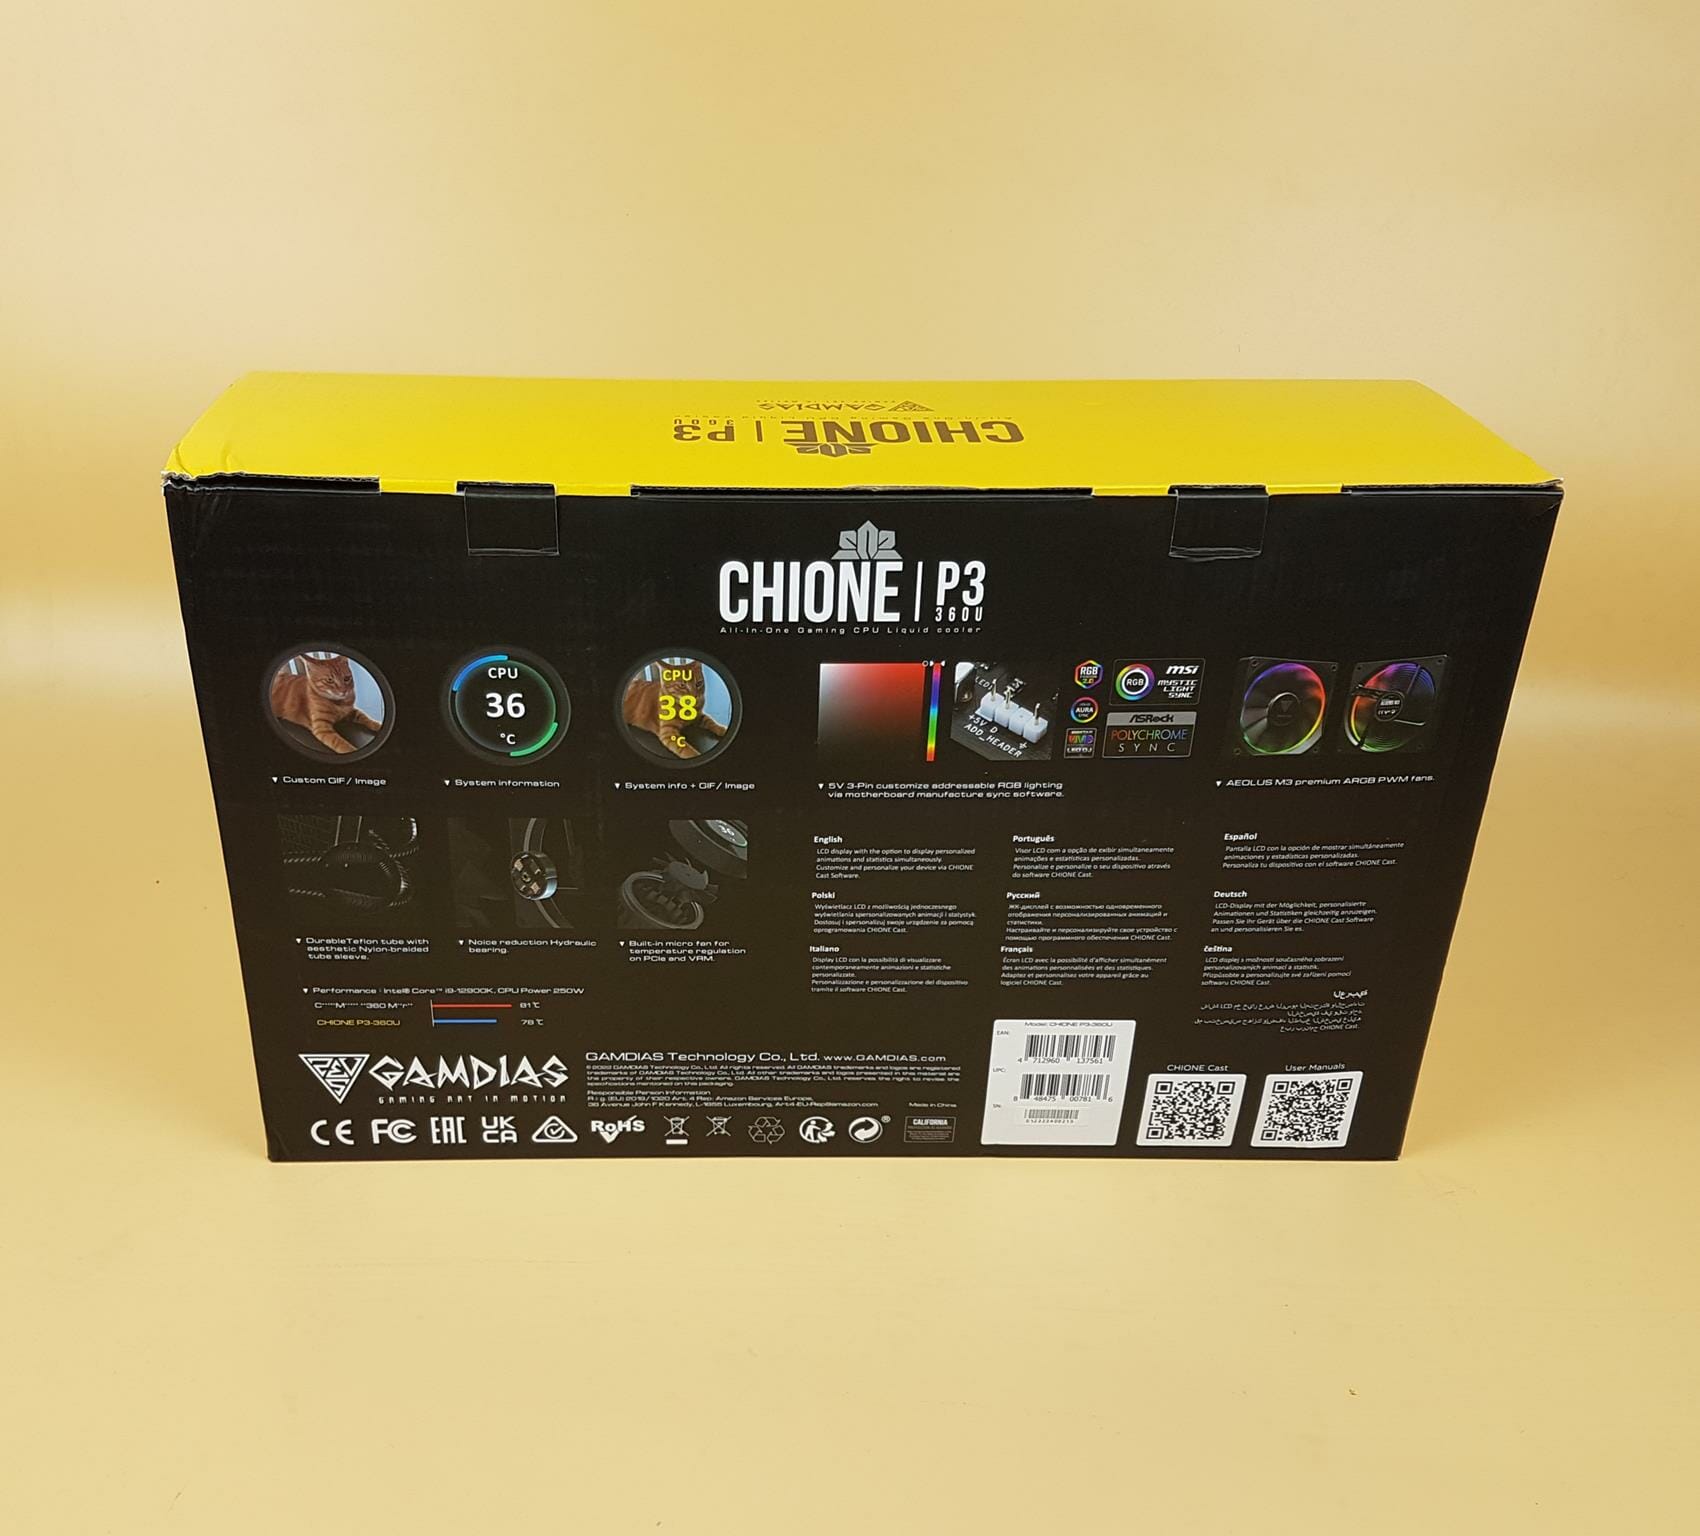
This cooler’s RGB lighting is compatible with:
- ASUS AURA SYNC
- GIGABYTE RGB FUSION 2.0
- MSI MYSTIC SYNC
- ASROCK POLYCHROME
- BIOSTAR LED DJ
Interestingly, a comparison is shown here between a Cooler Master AIO and this unit from some internal testing showing P360U performing better. Personally, I don’t like this approach from any brand.
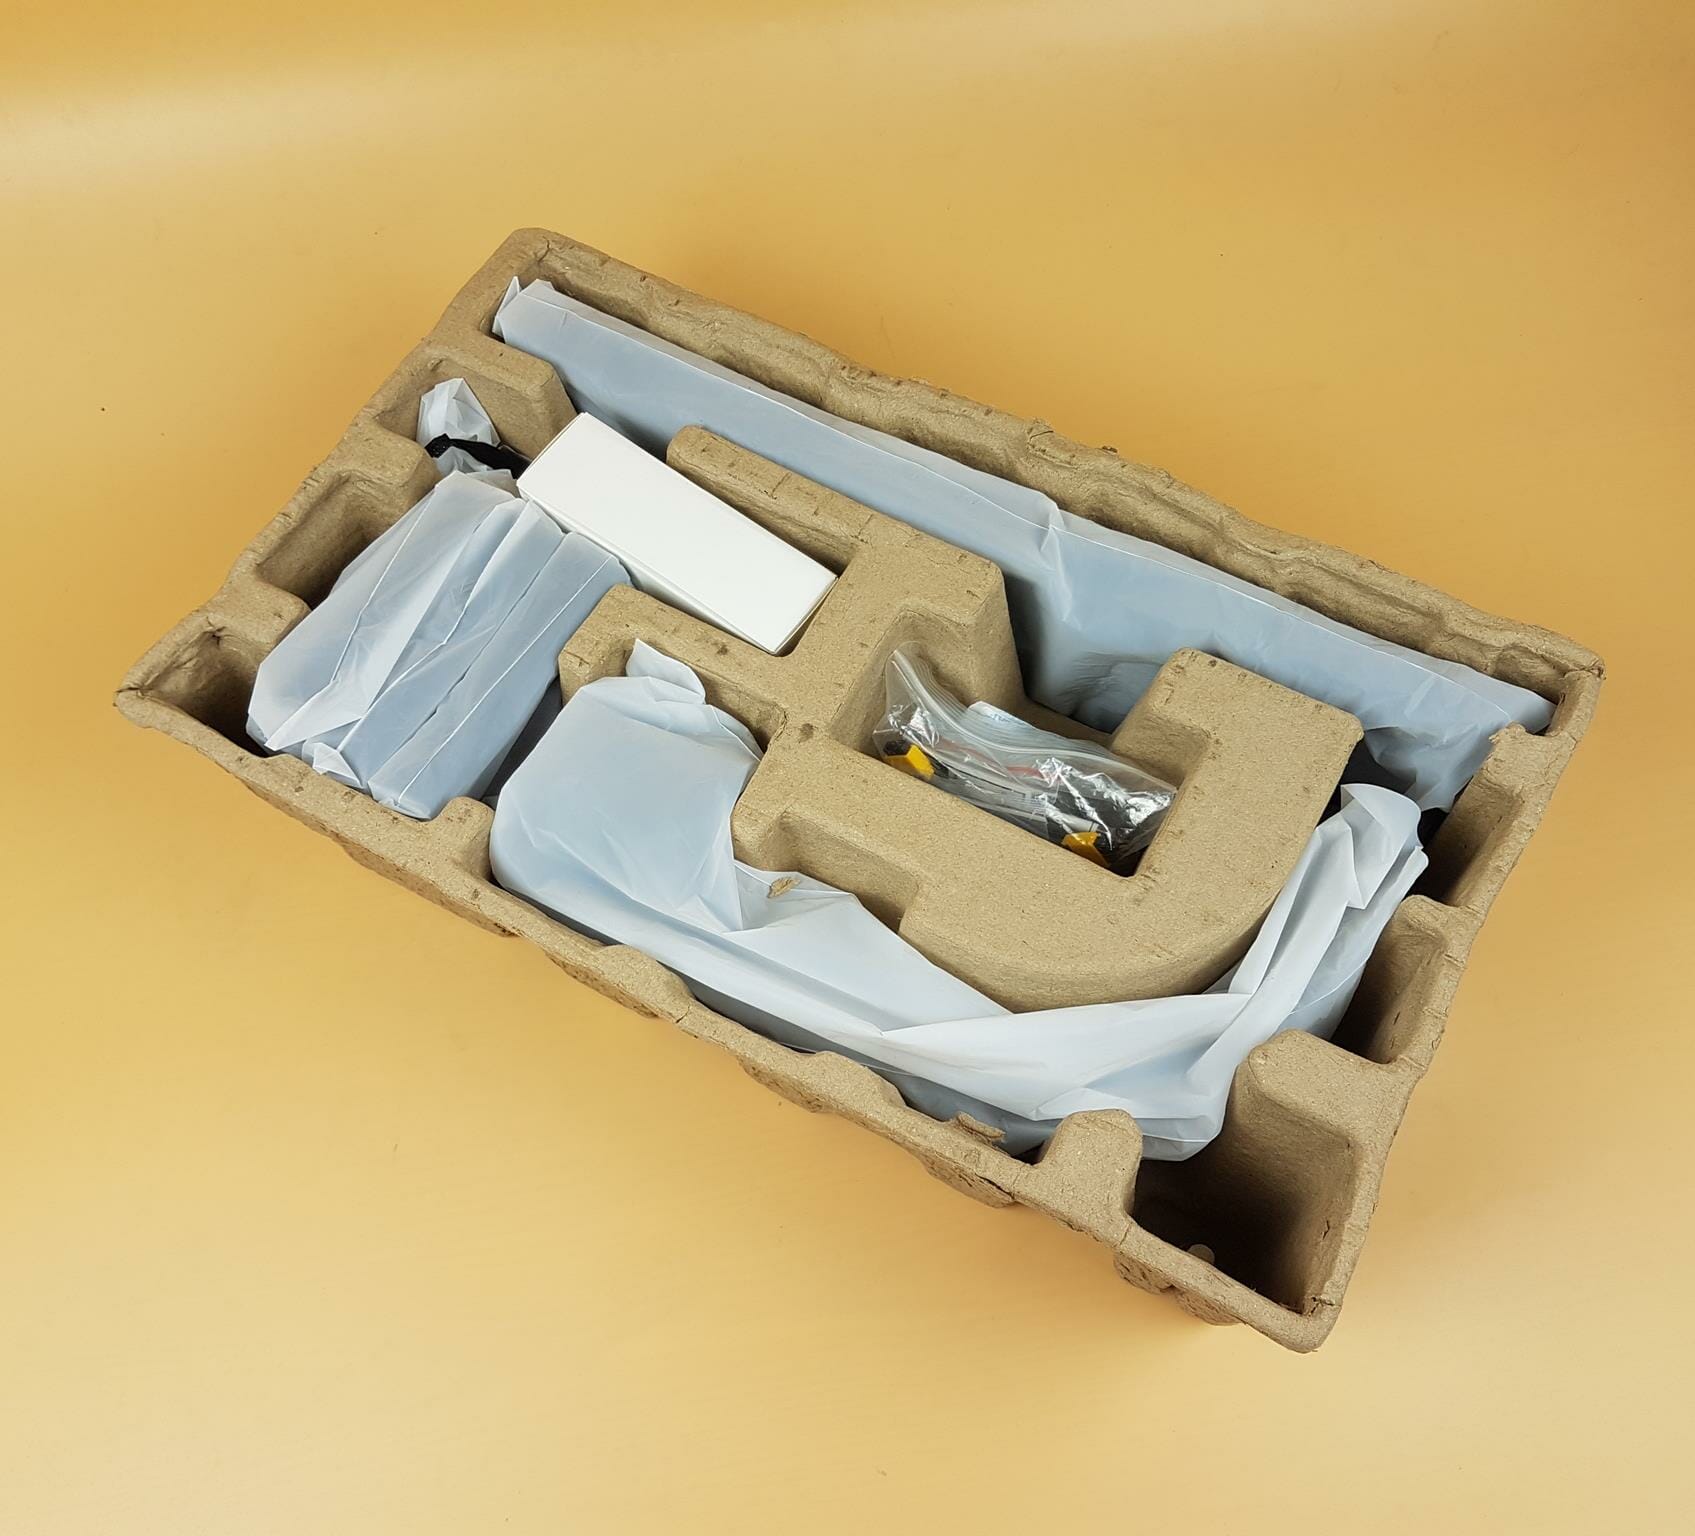
All contents are nicely placed inside an egged carton or in another cardboard made container. This prevents damage during shipping where possible.
Accessories
It is time to take a look at what is included in the box.
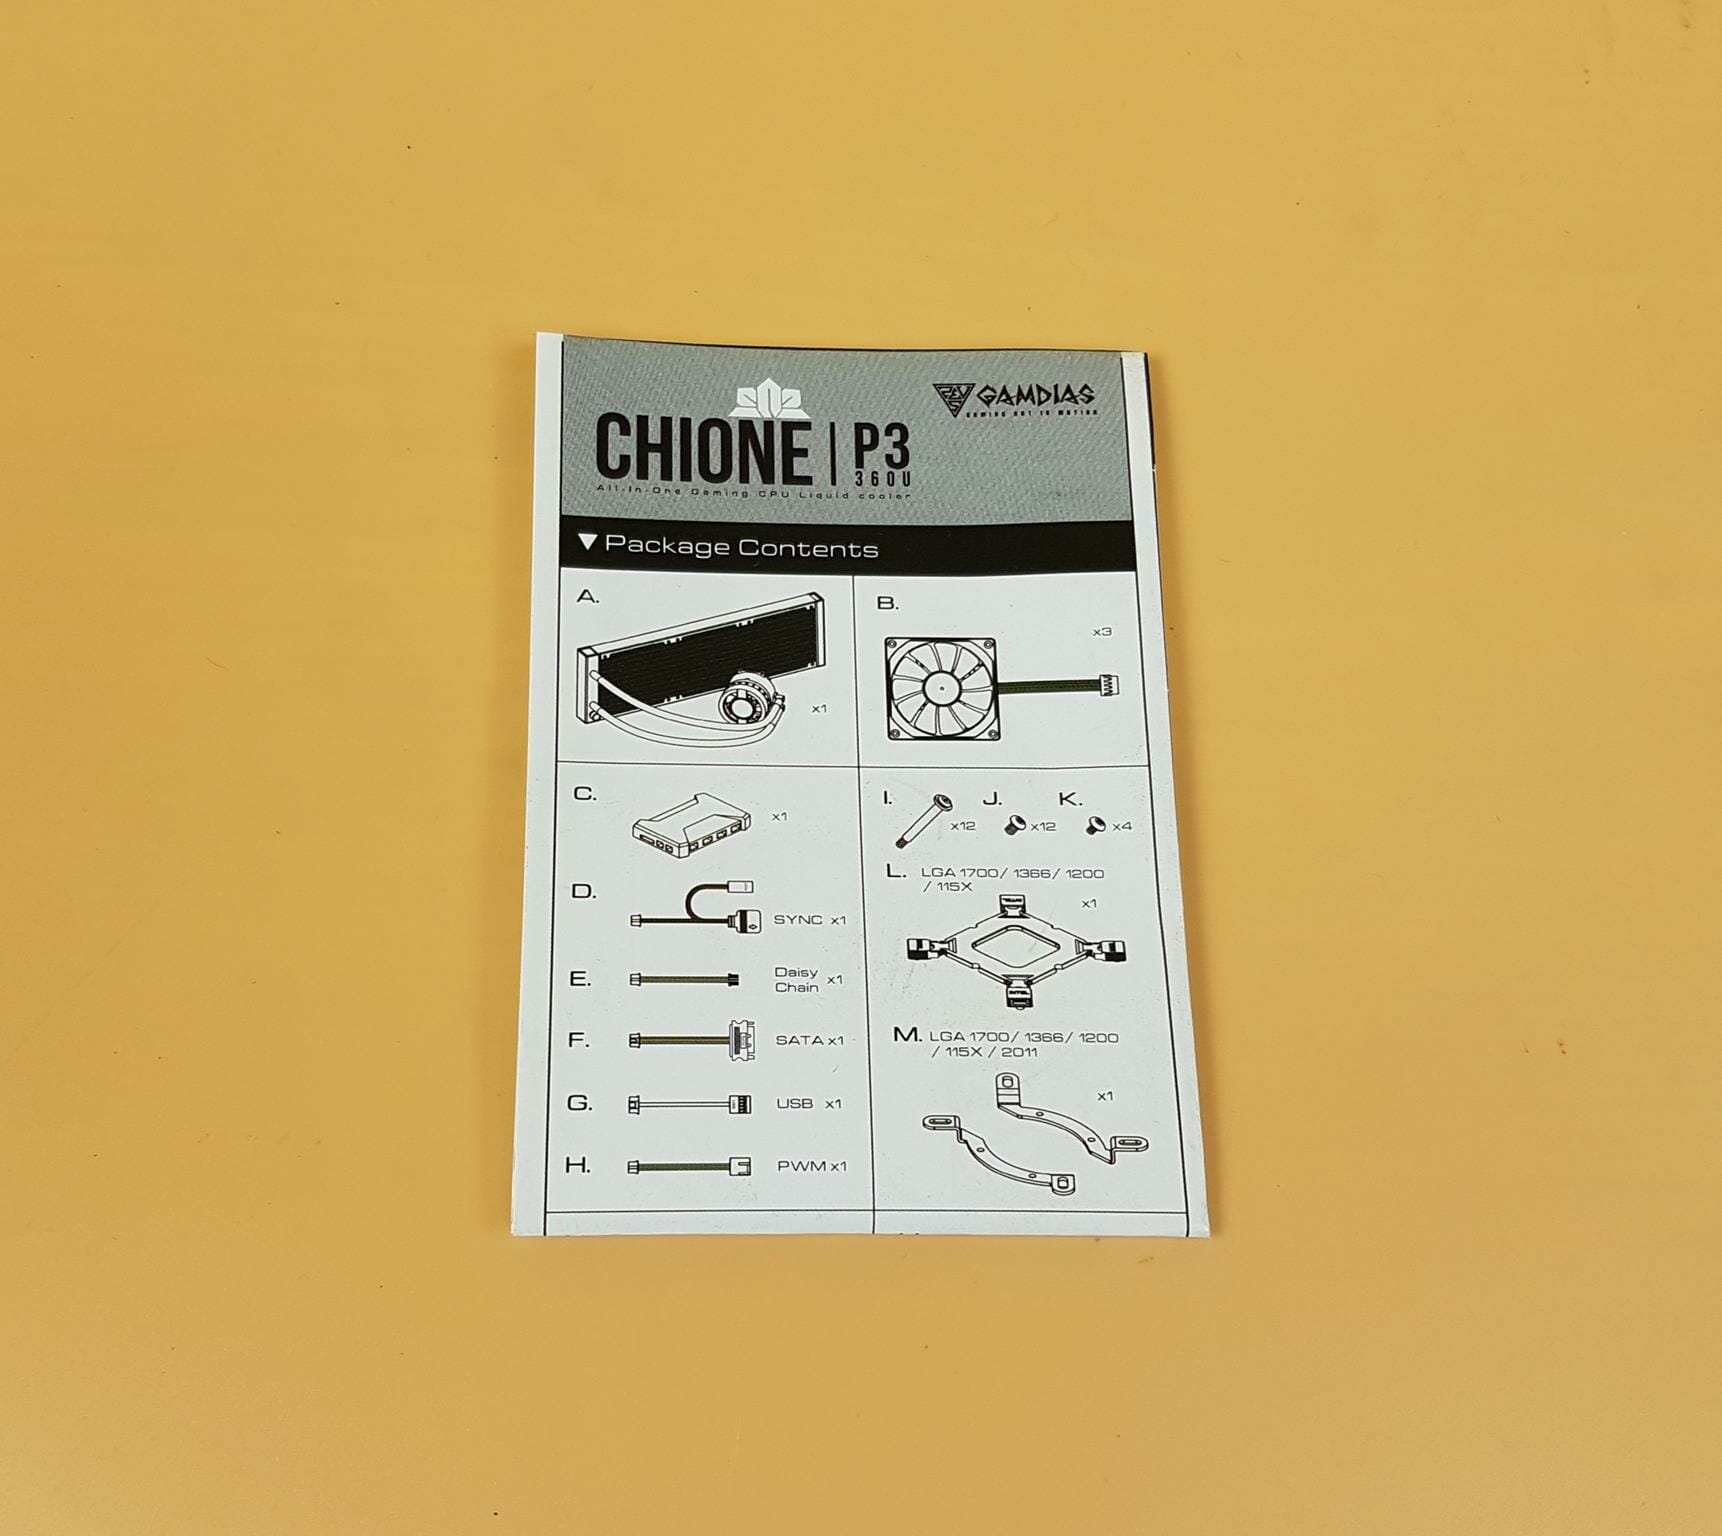
There is a printed user guide showing illustrations about installing this cooler on the sockets.
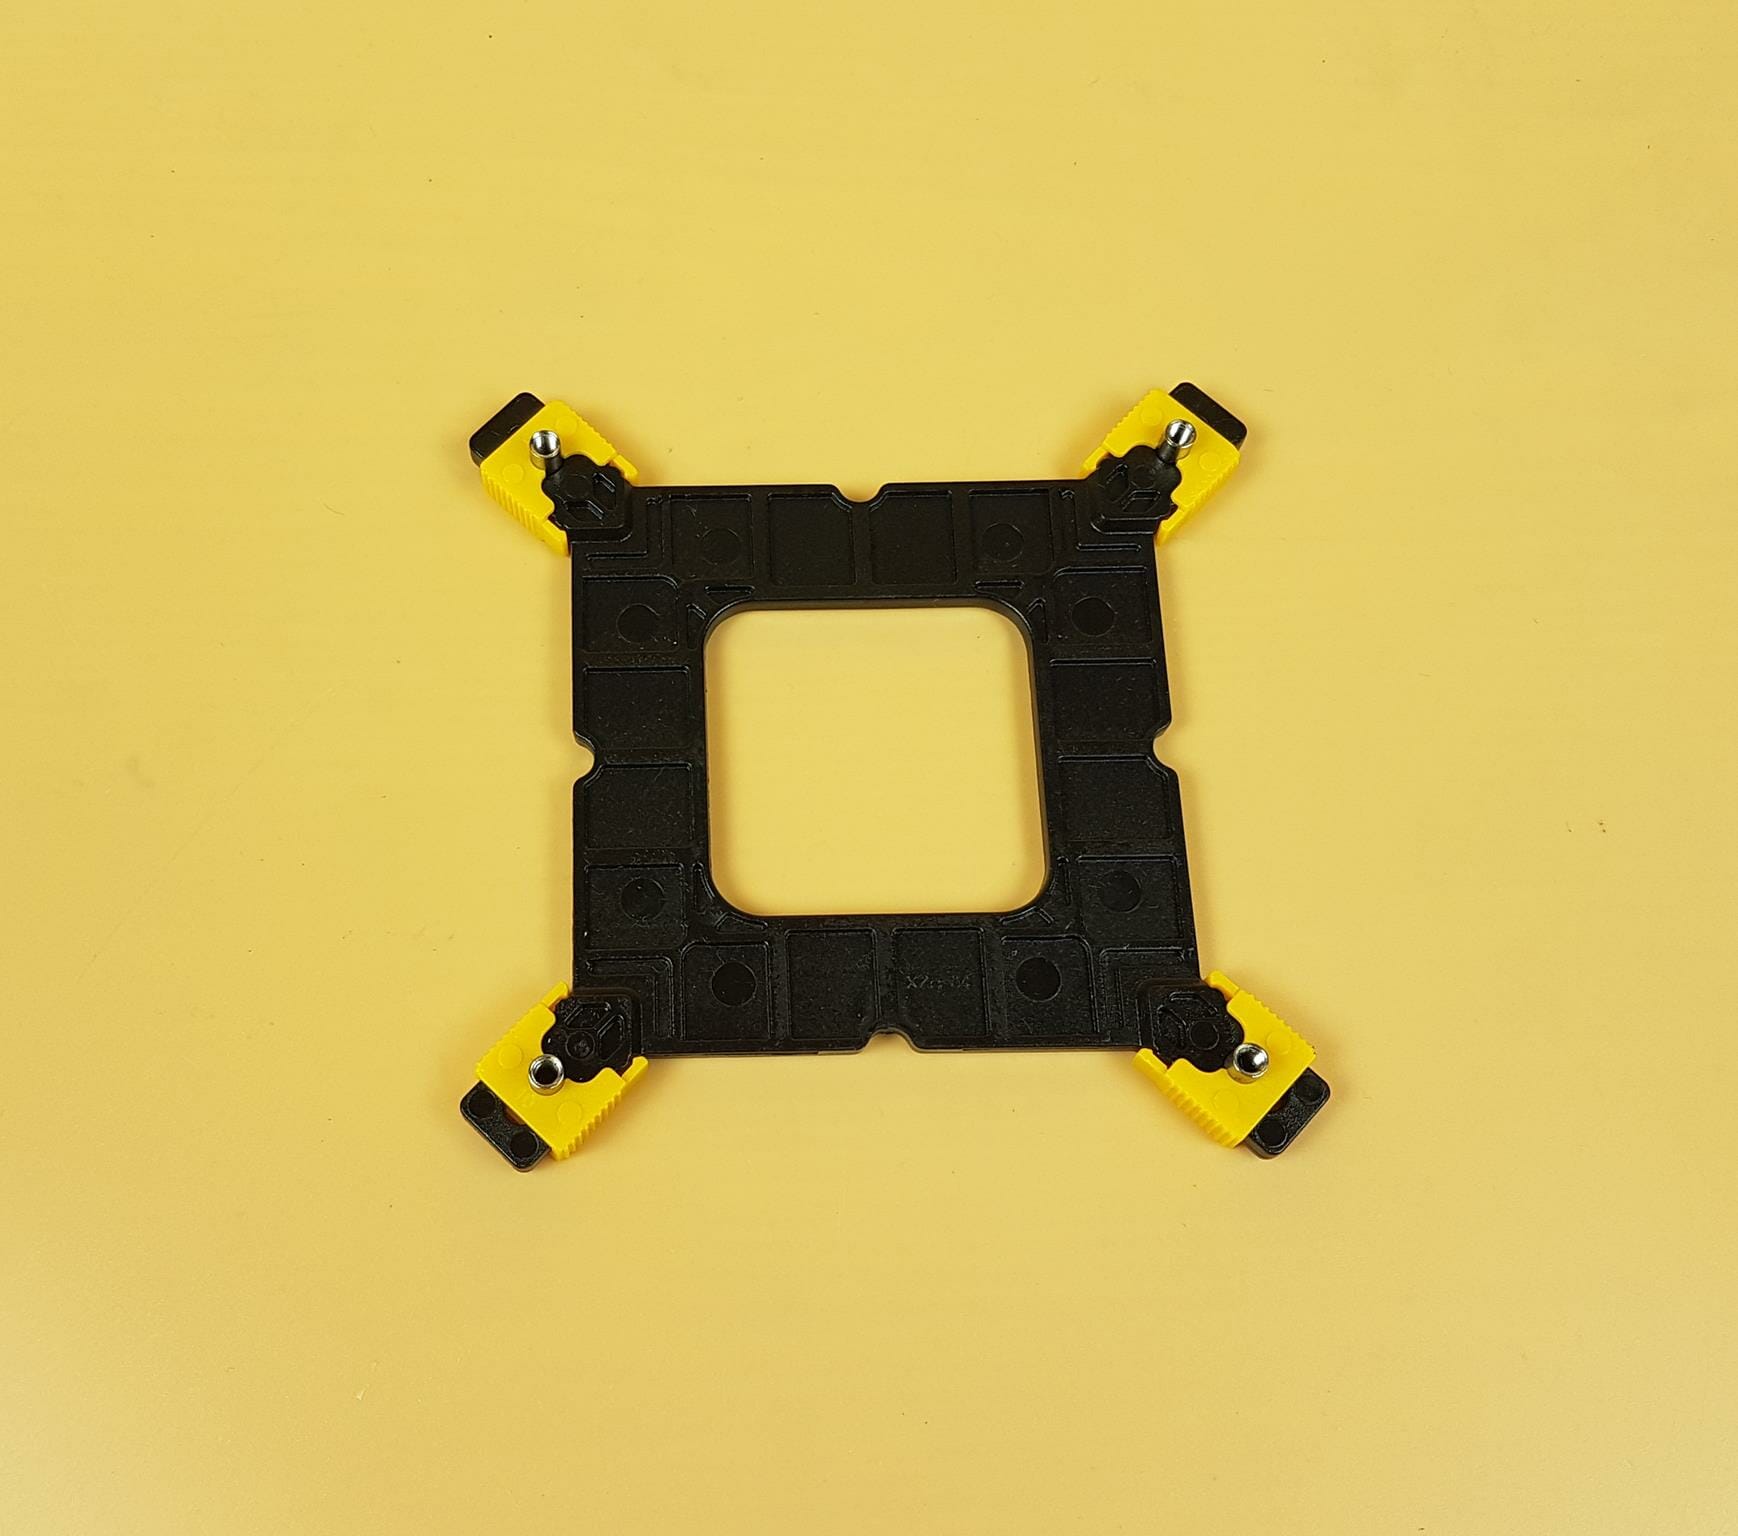
There is a universal backplate that has yellow color lockers on the arms. Intel socket numbers are printed on the arms making it easy to prepare the backplate accordingly.
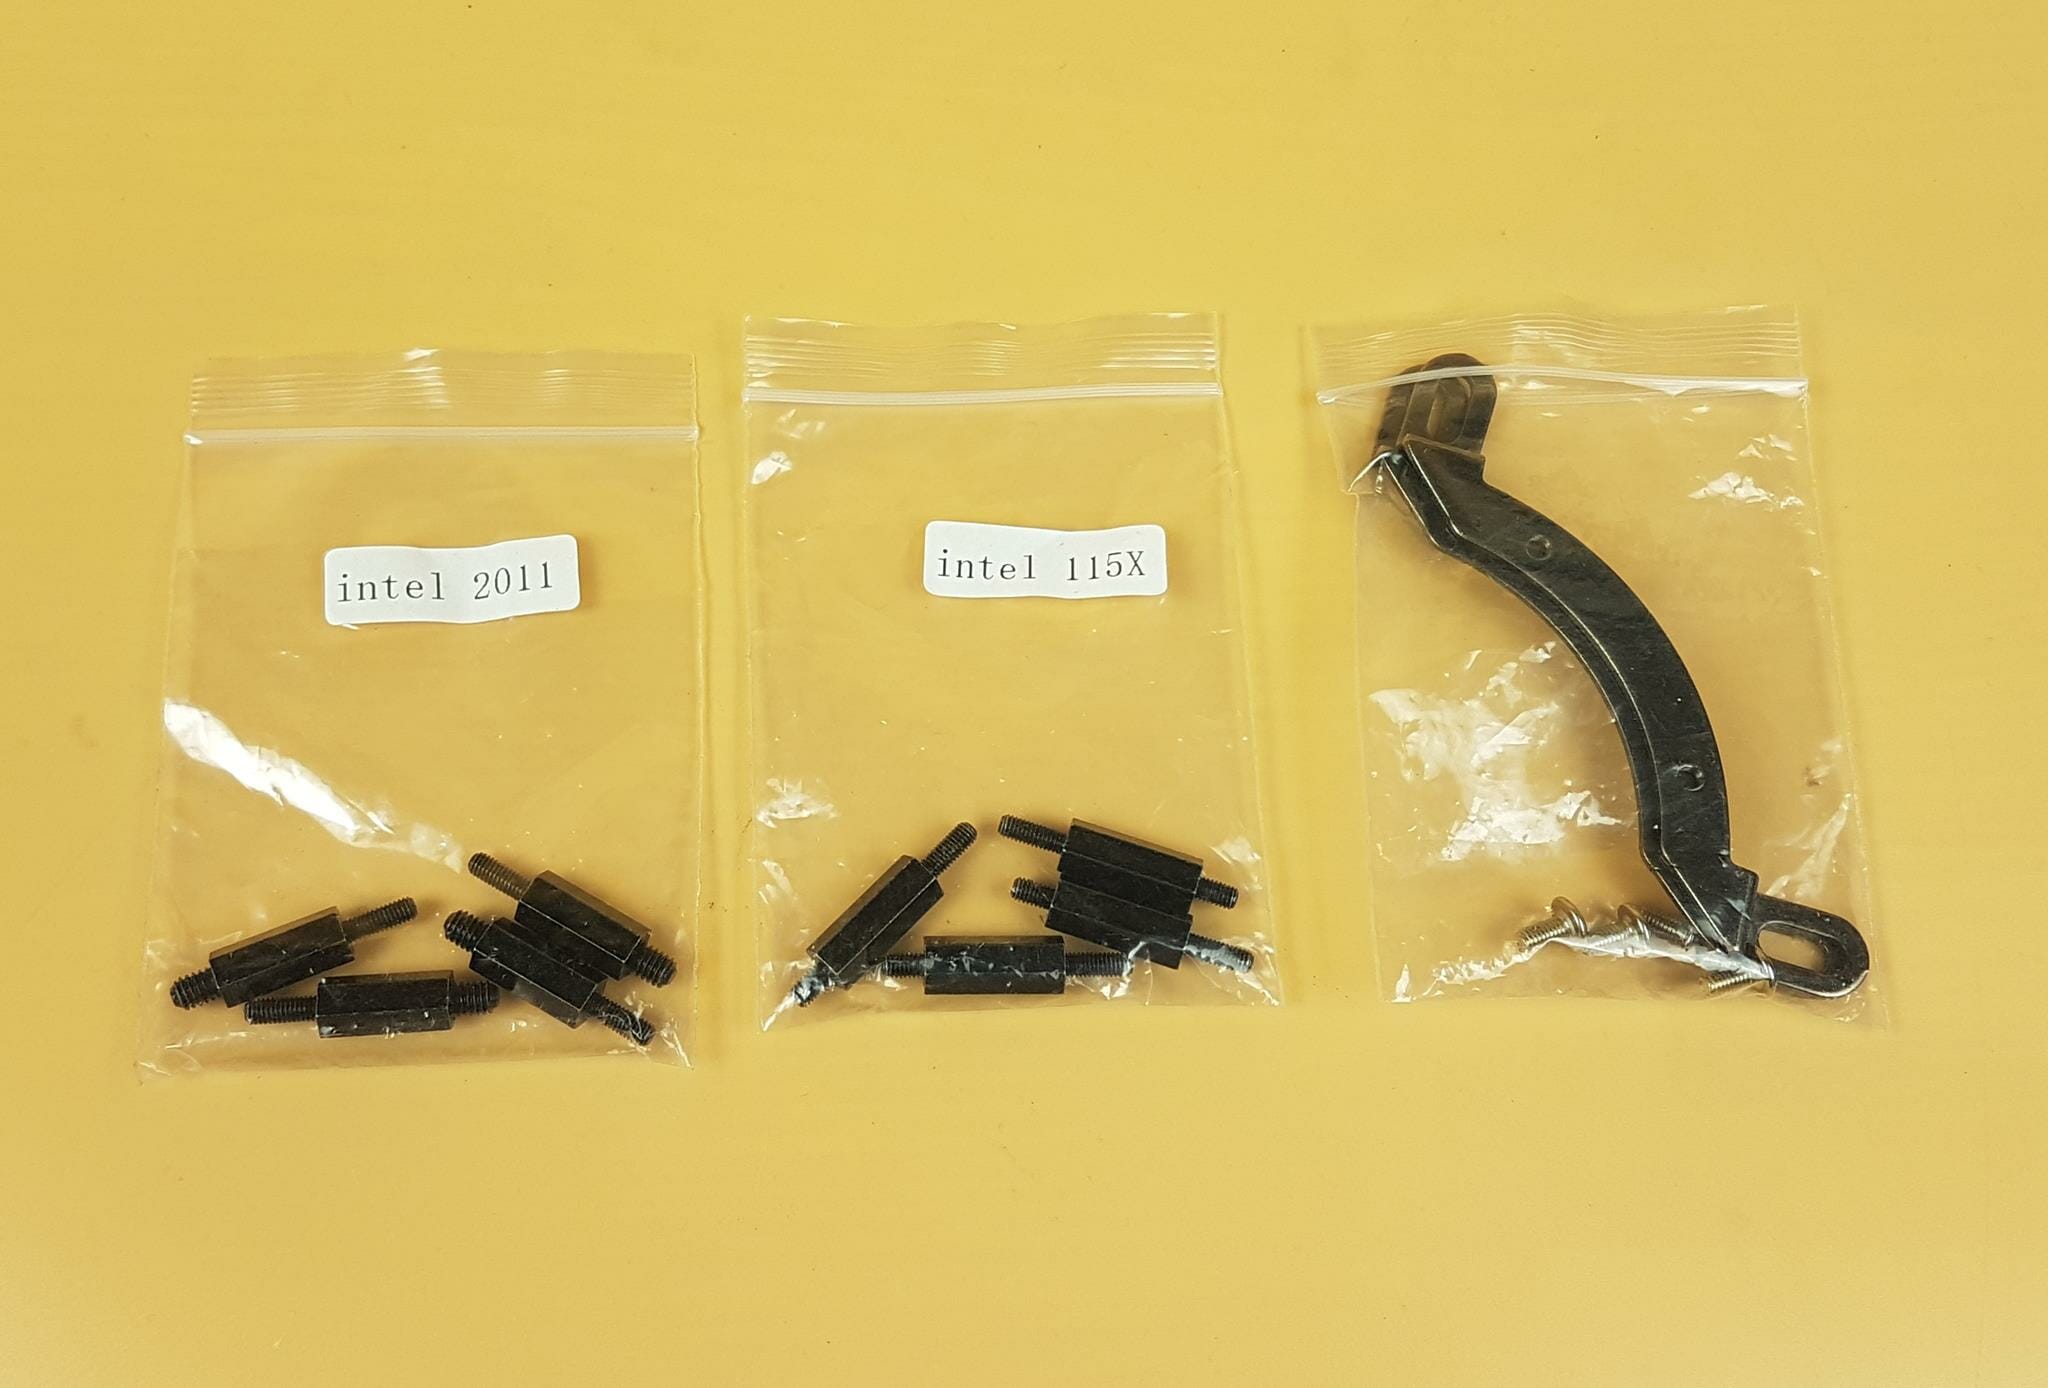
There are:
- 2x Intel Mounting Brackets
- 4x Screws to install these brackets
- 4x Intel 115x Standoff screws
- 4x Intel 20xx Standoff screws
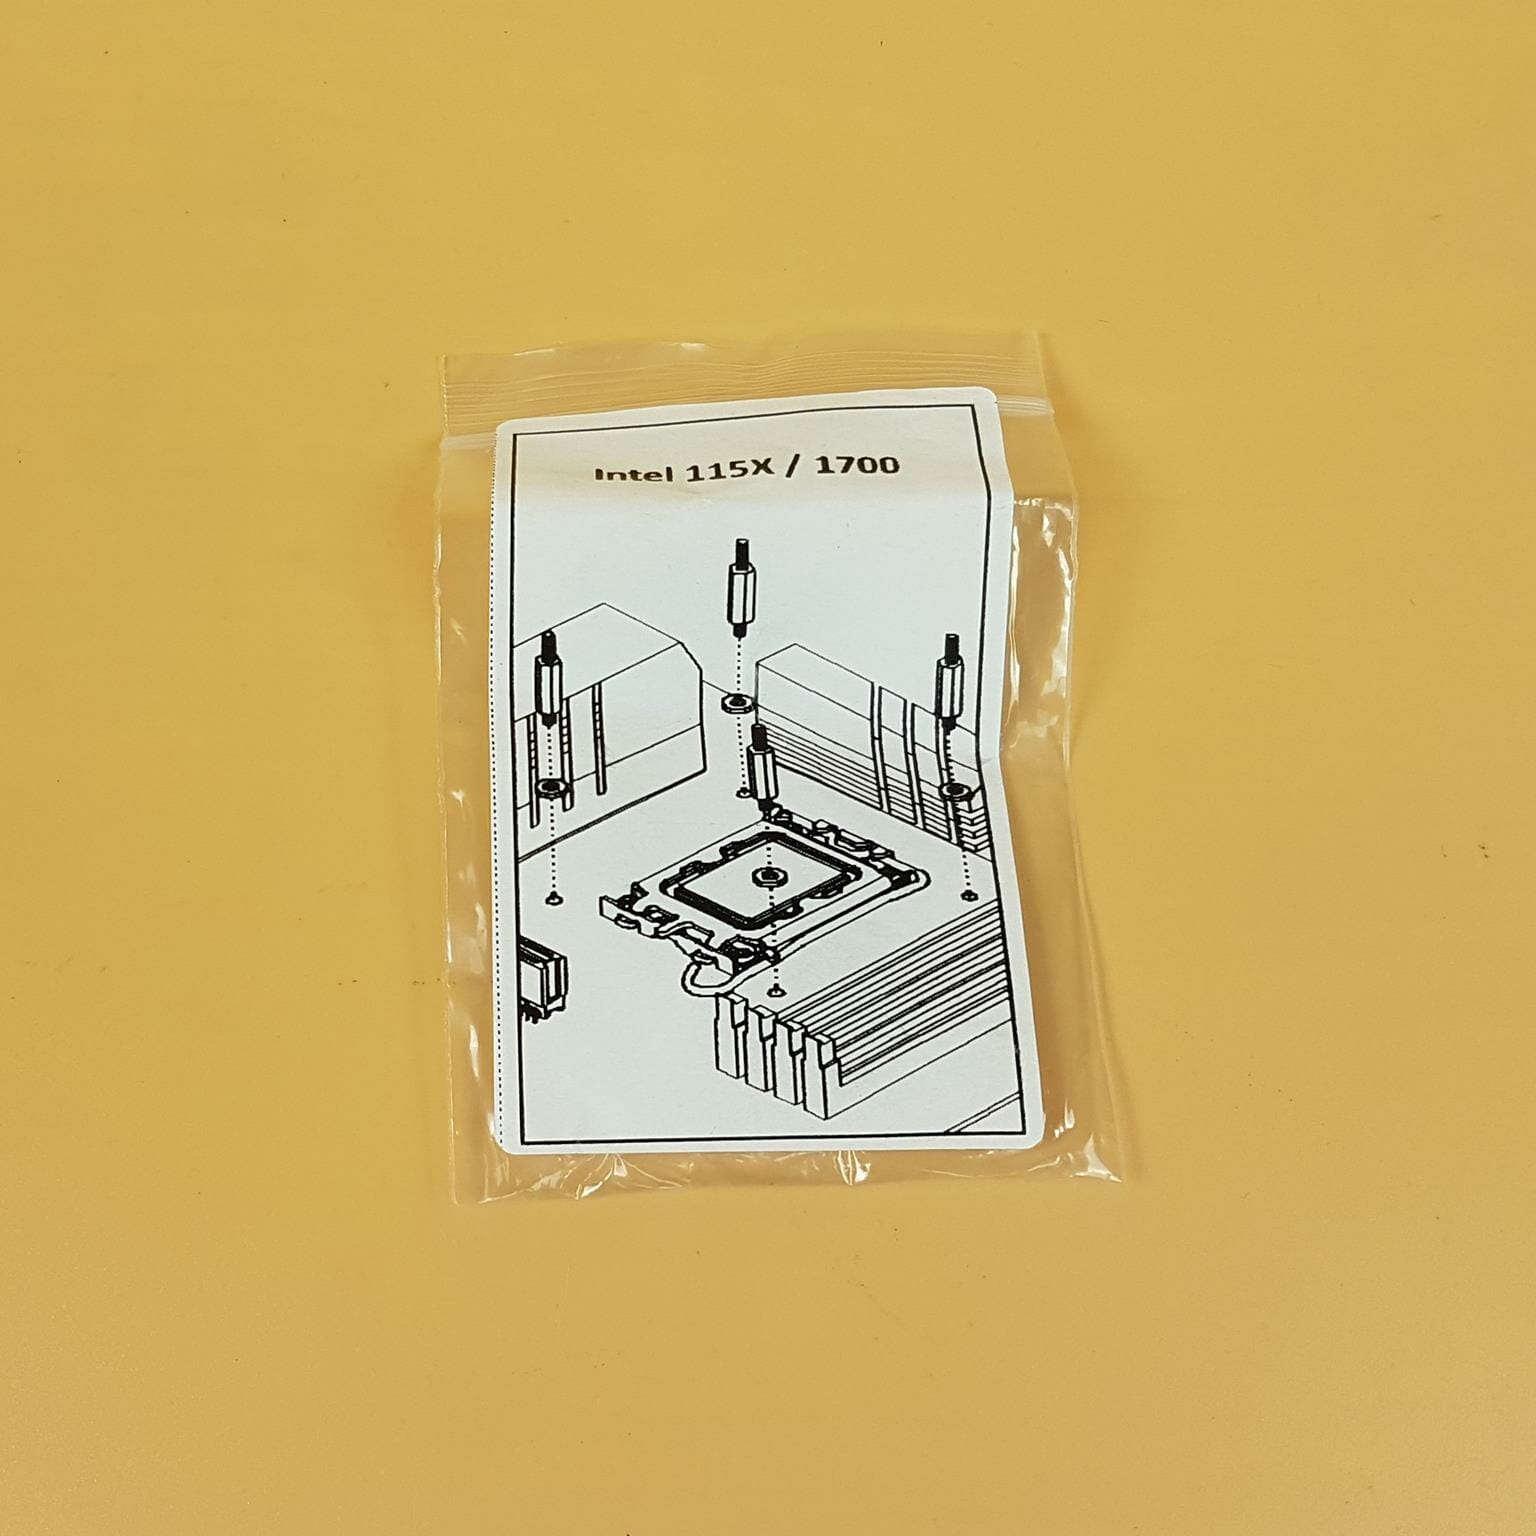
GAMDIAS has provided washer-type spacers for Intel sockets. These have a thickness of approximately 3.46mm. I am wondering if these spacers are to be used for all Intel sockets then what is different for the Intel LGA1700 socket?
There are:
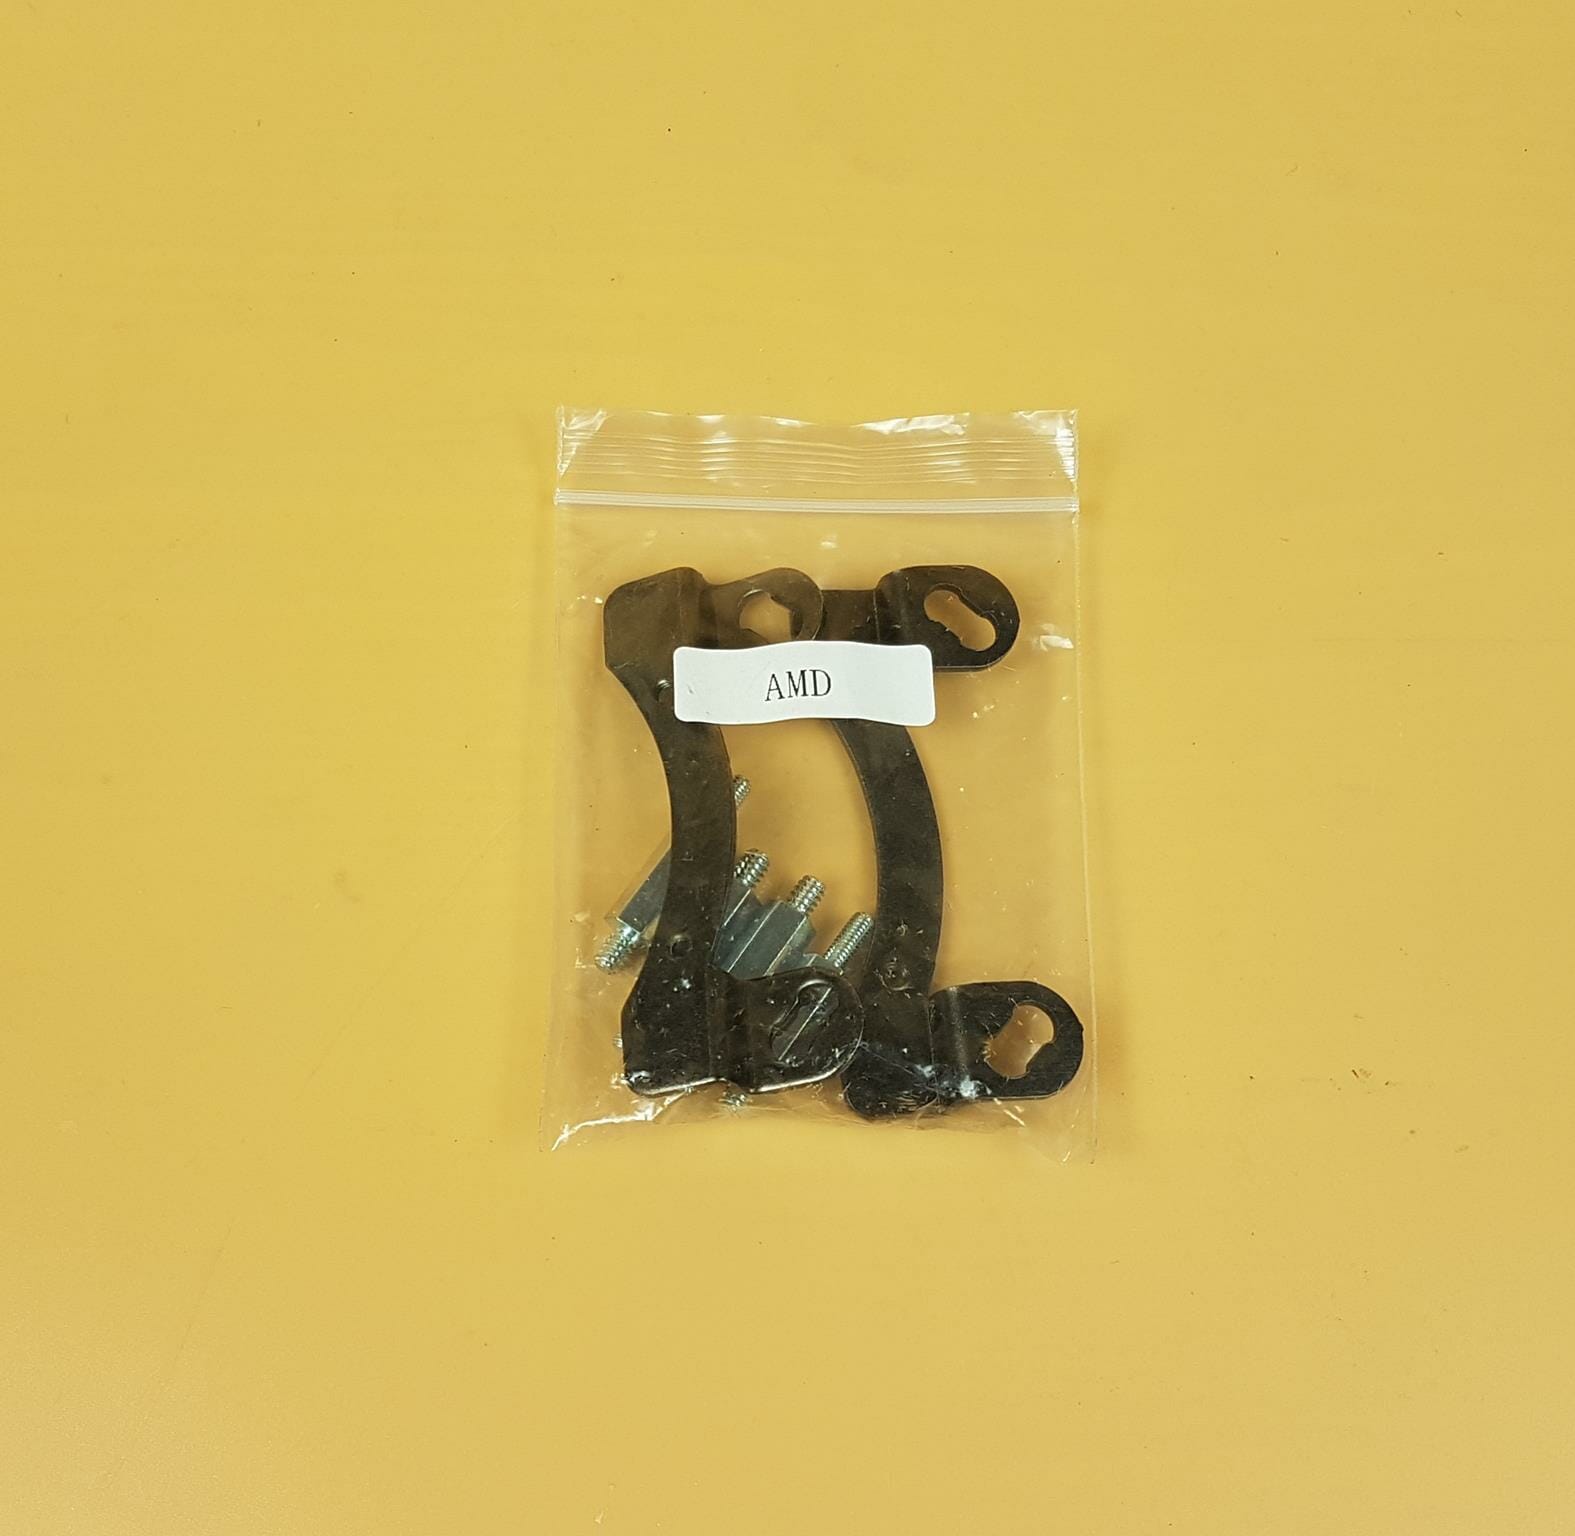
- 2x AMD Mounting Brackets
- 4x Silver color Standoff Screws
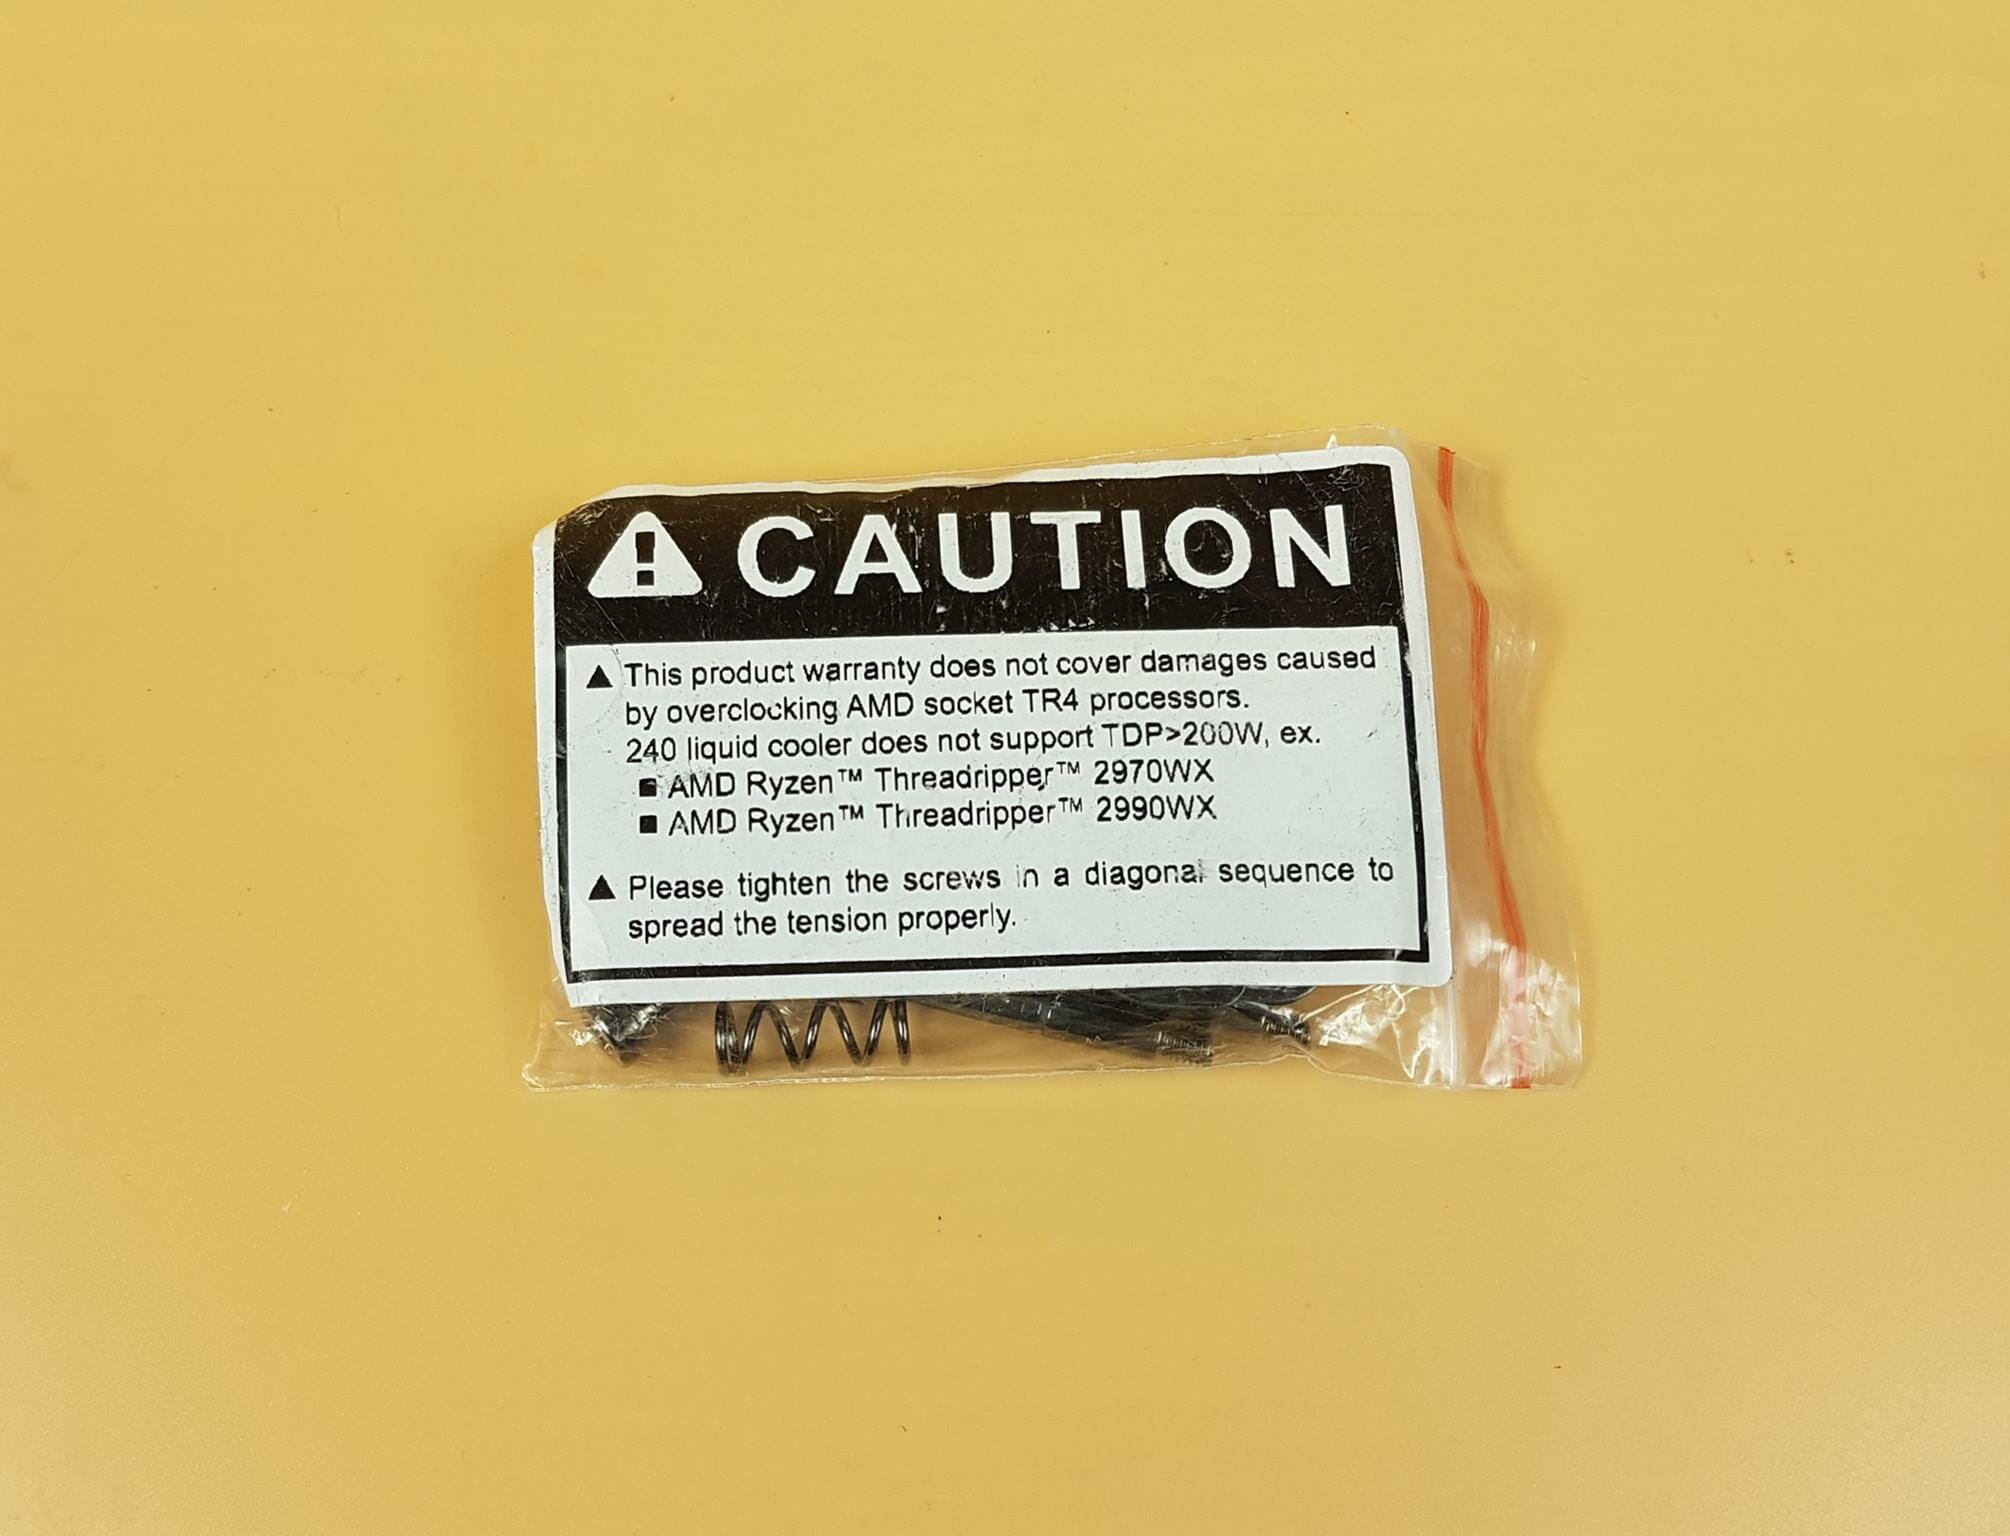
There is a label on the TR4 hardware container. This tells us that the 240mm version of this cooler has a maximum of 200W TDP whereas the 360 is mentioned to have 290W TDP. This delta is rather large.
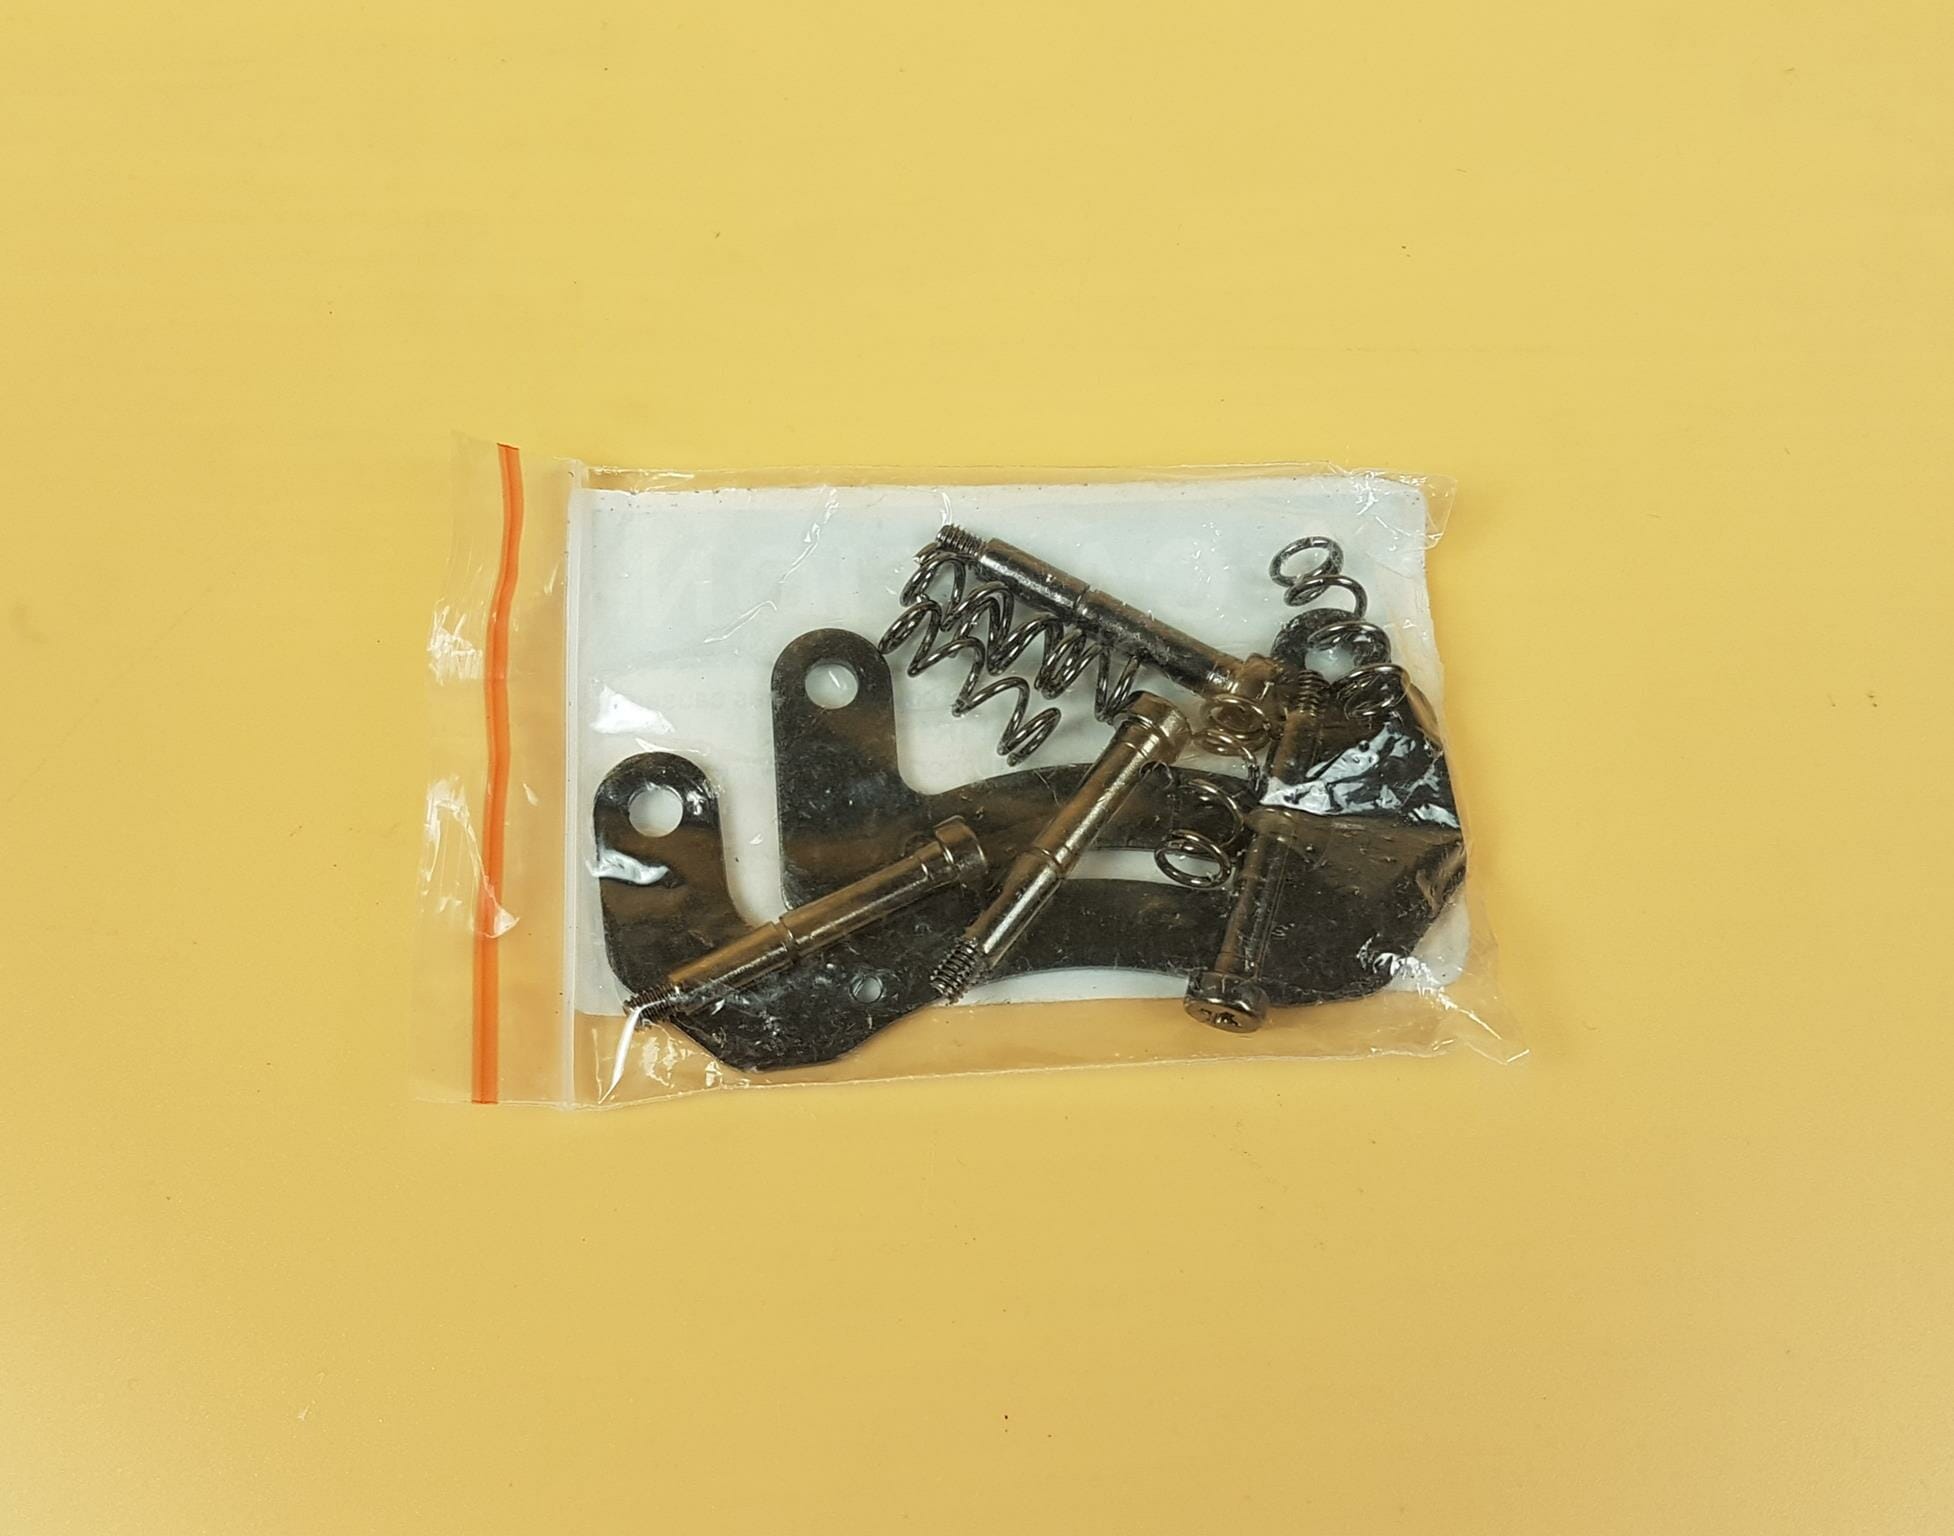
There are:
- 2x TR4 Mounting Brackets
- 4x Pillar Screws
- 4x Springs
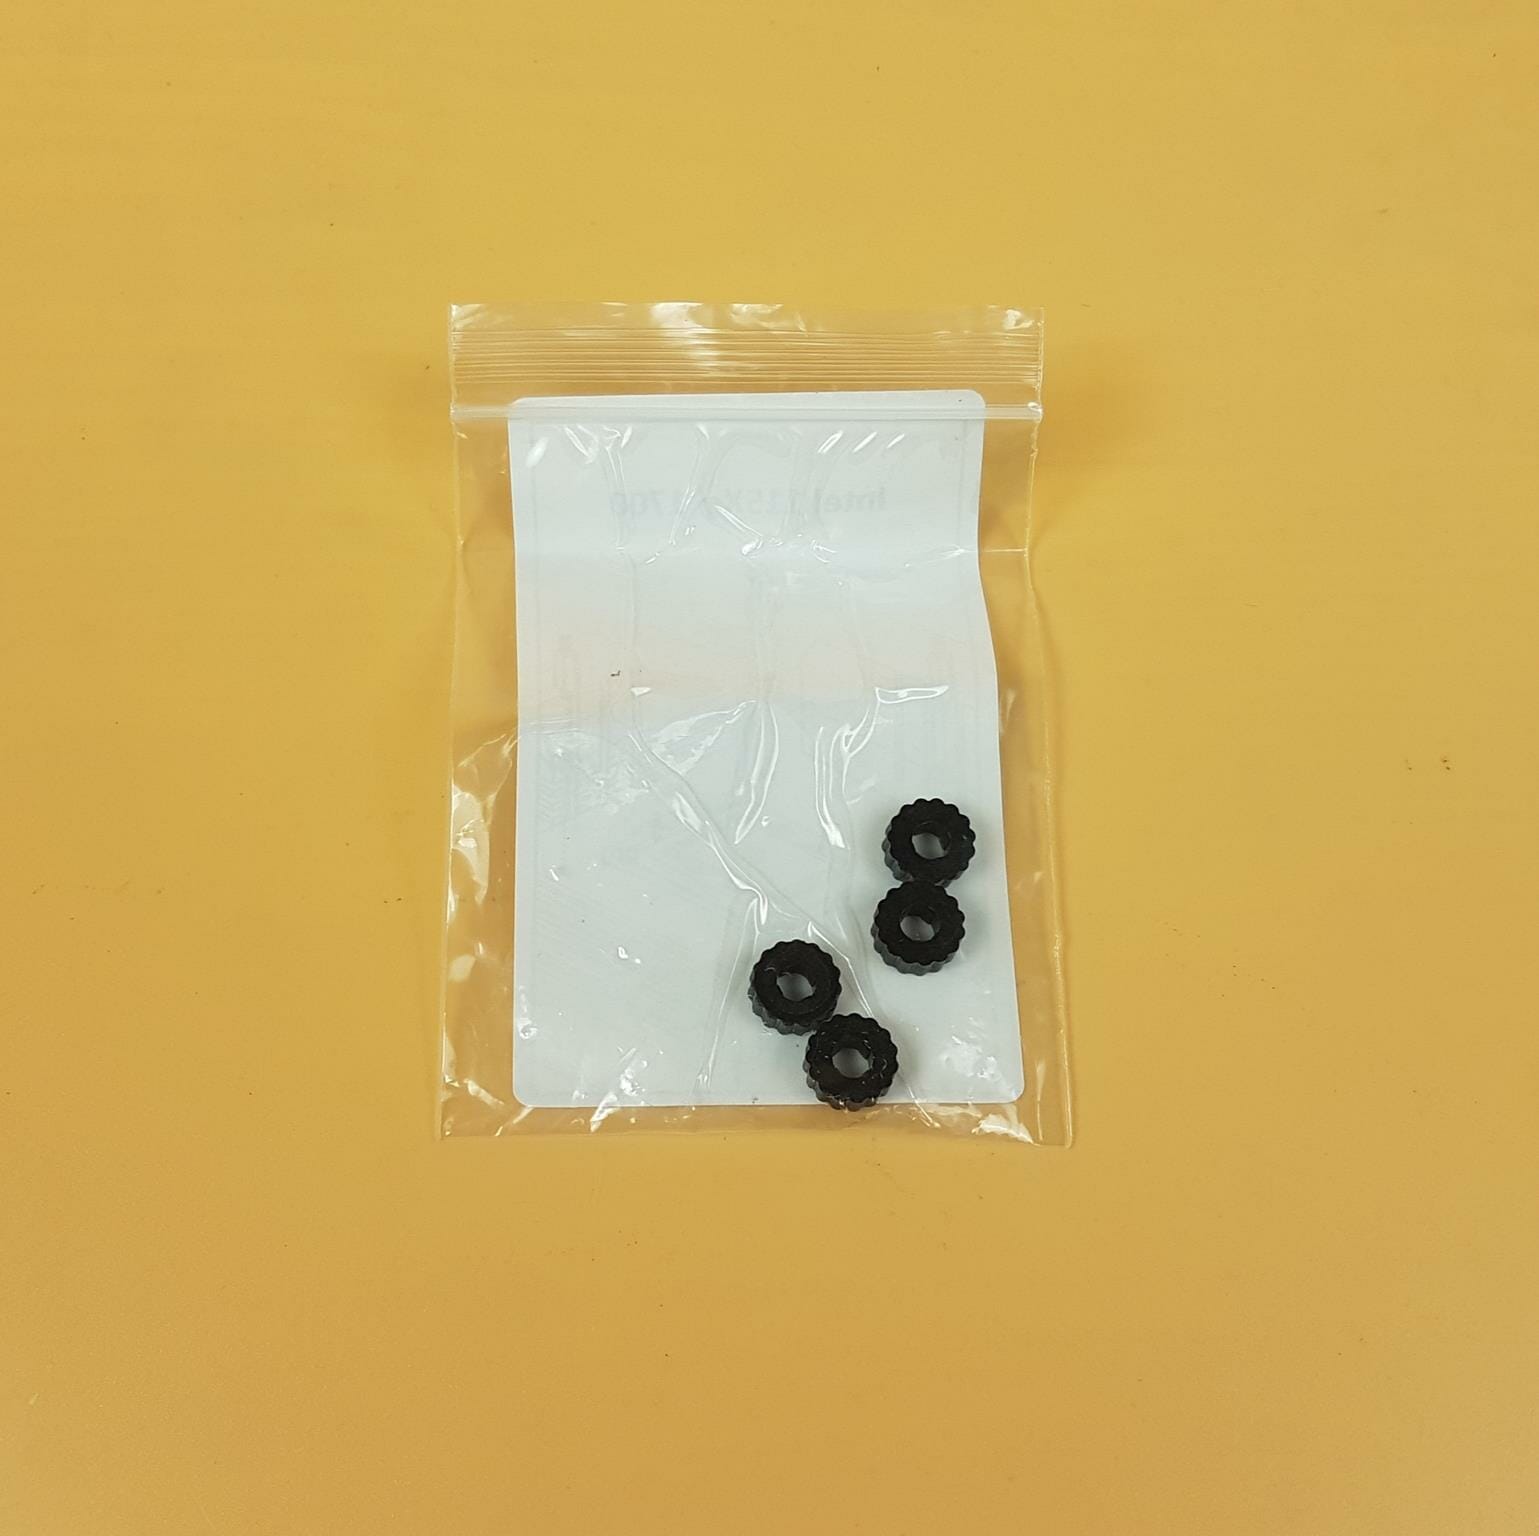
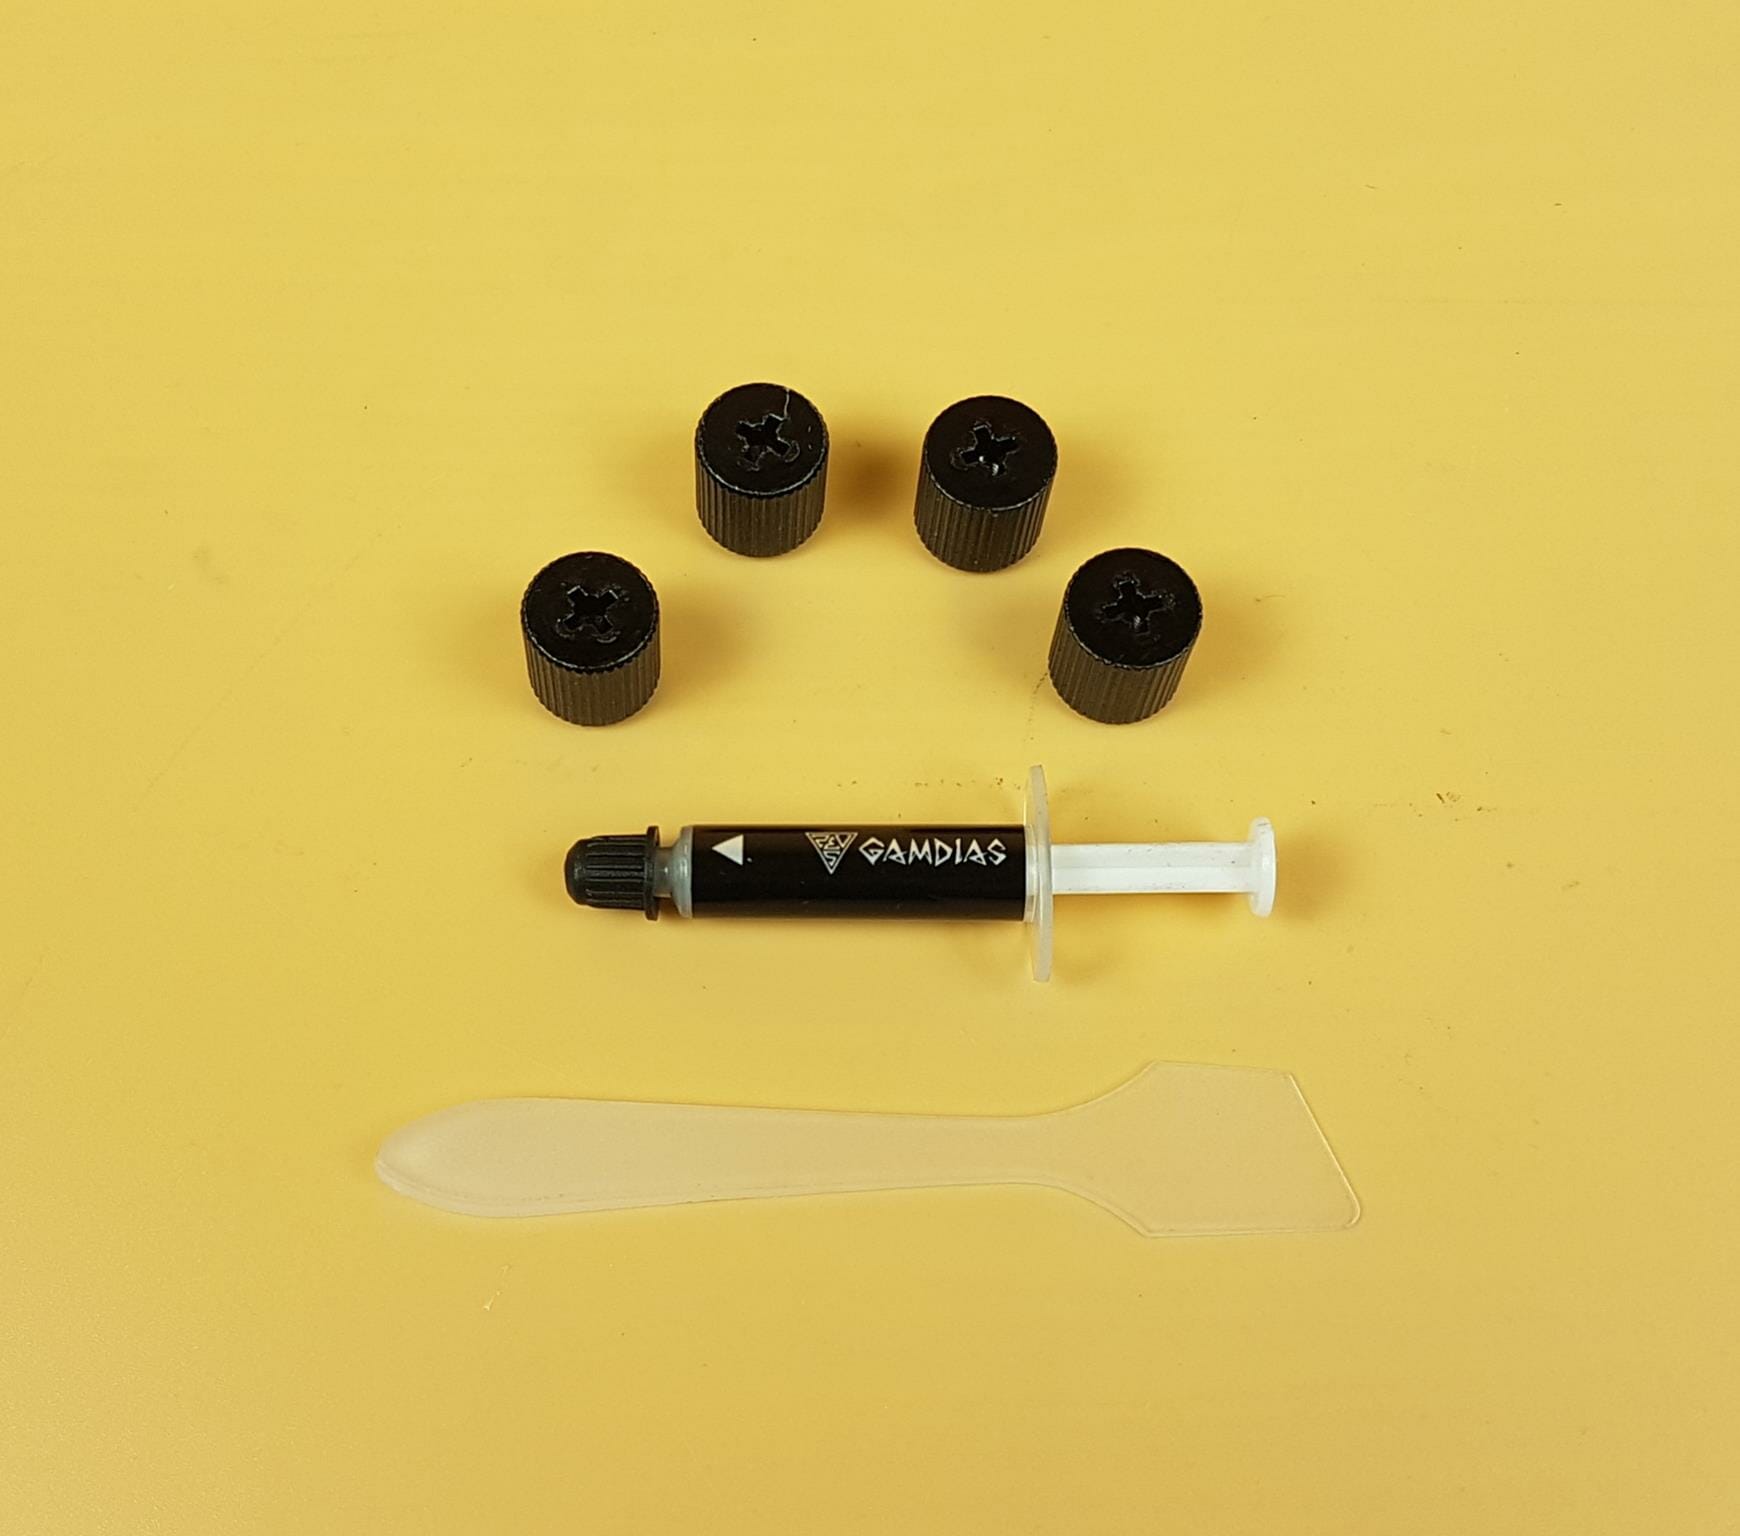
There are 4x thumb nuts and 1x thermal paste tube.
There are:
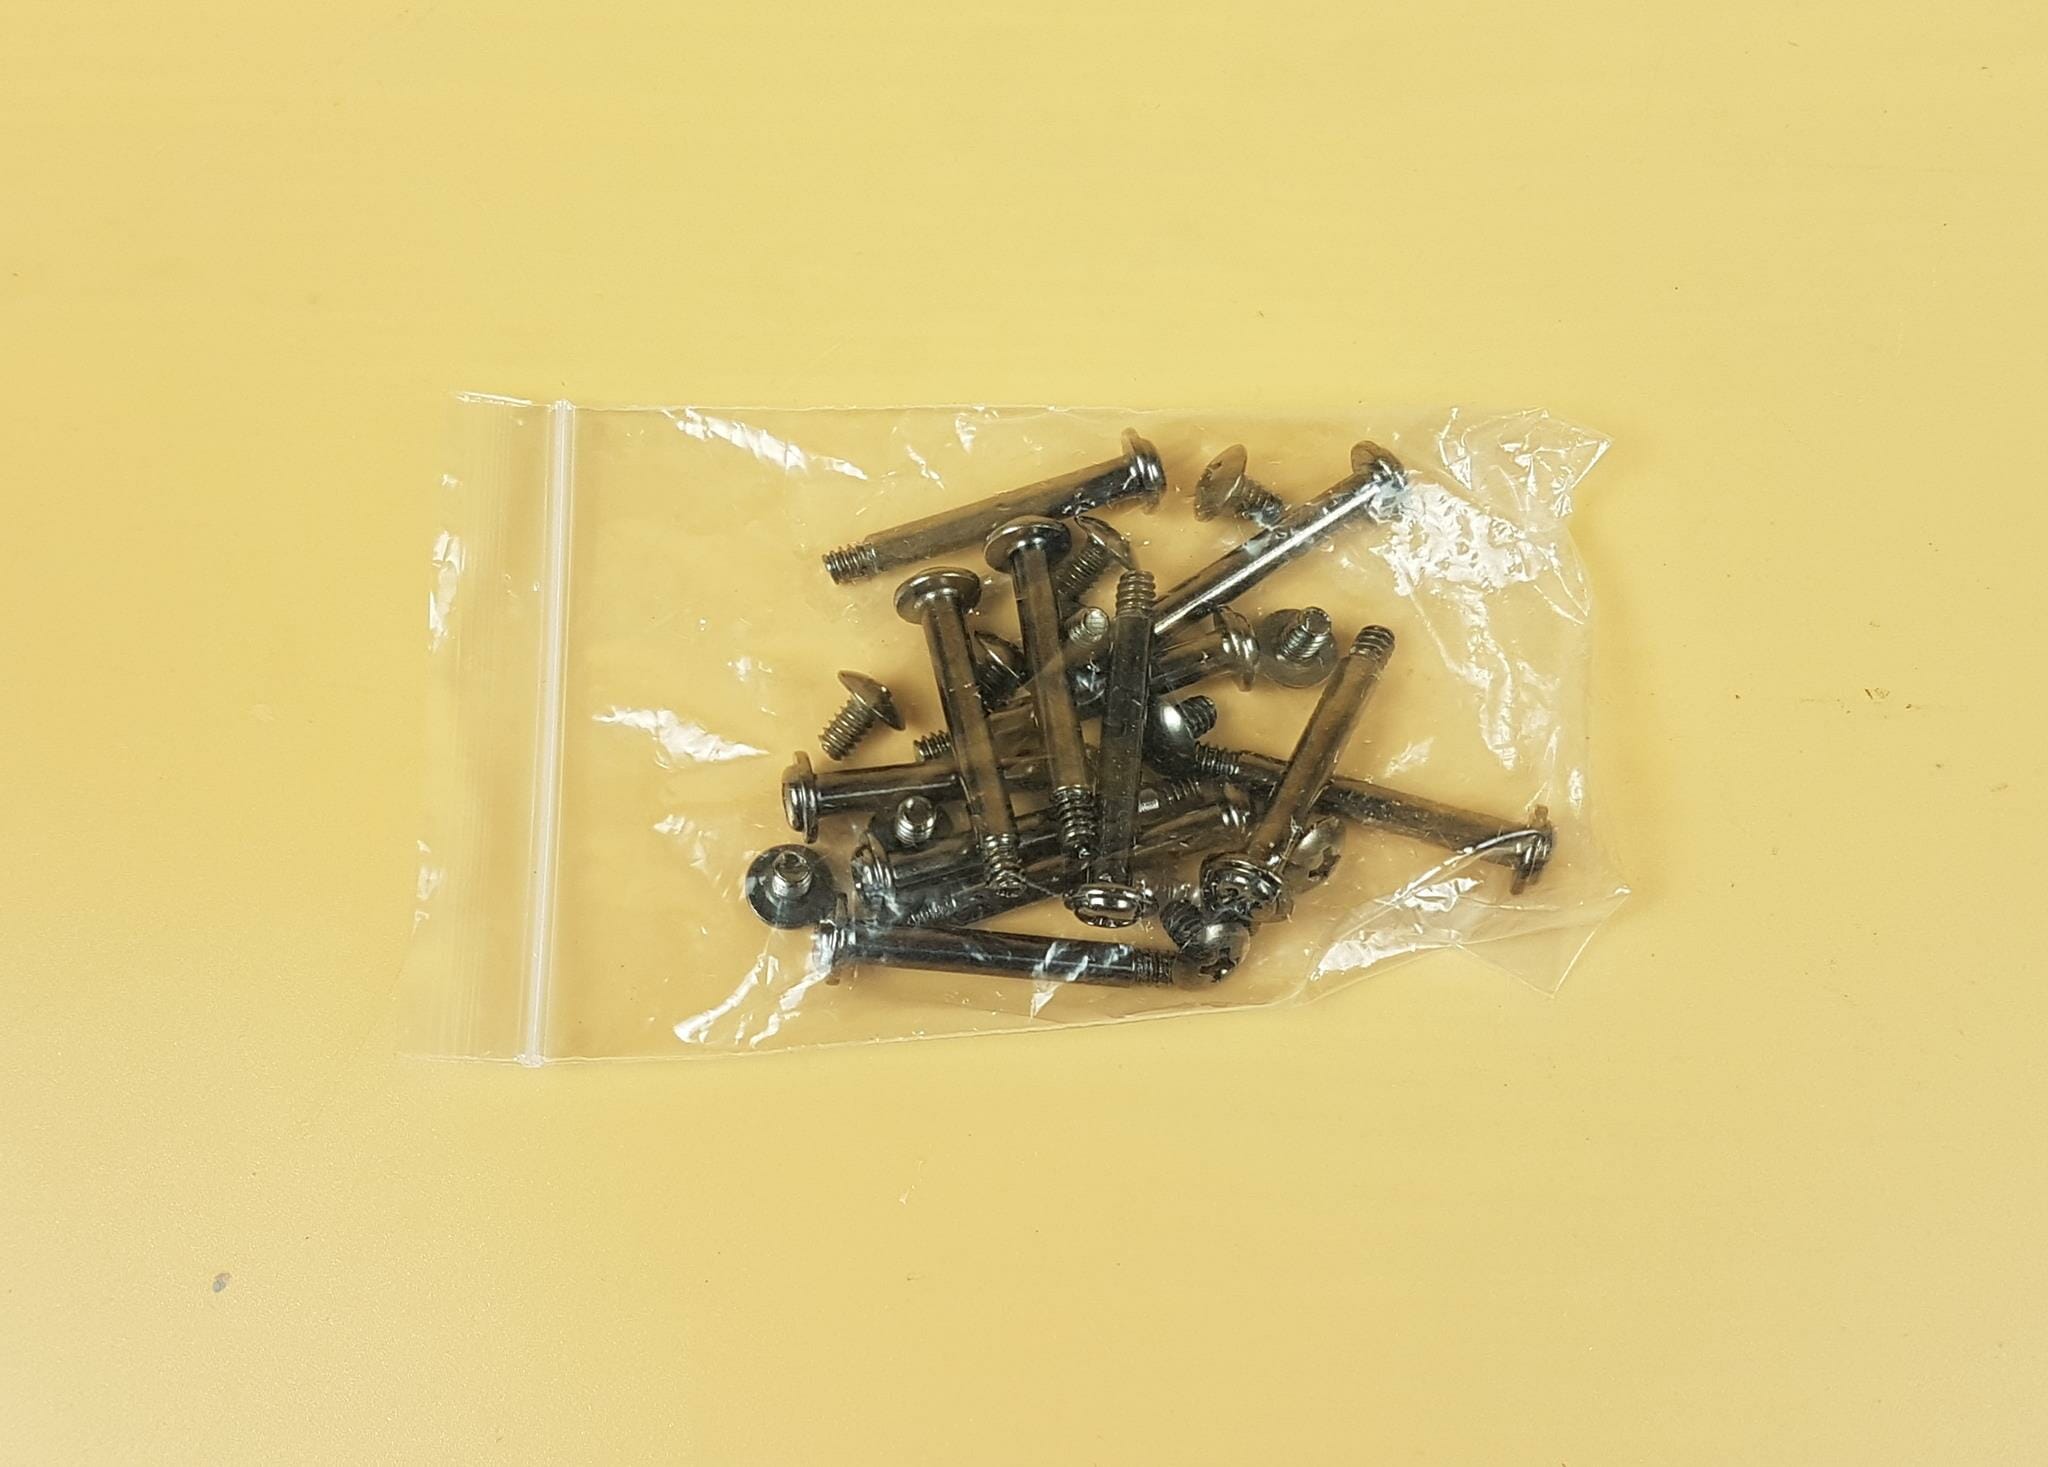
- 4x Fan Screws
- 4x Radiator Screws
There is a white color accessory box in which the AEOLUS Control Box and cables are provided.
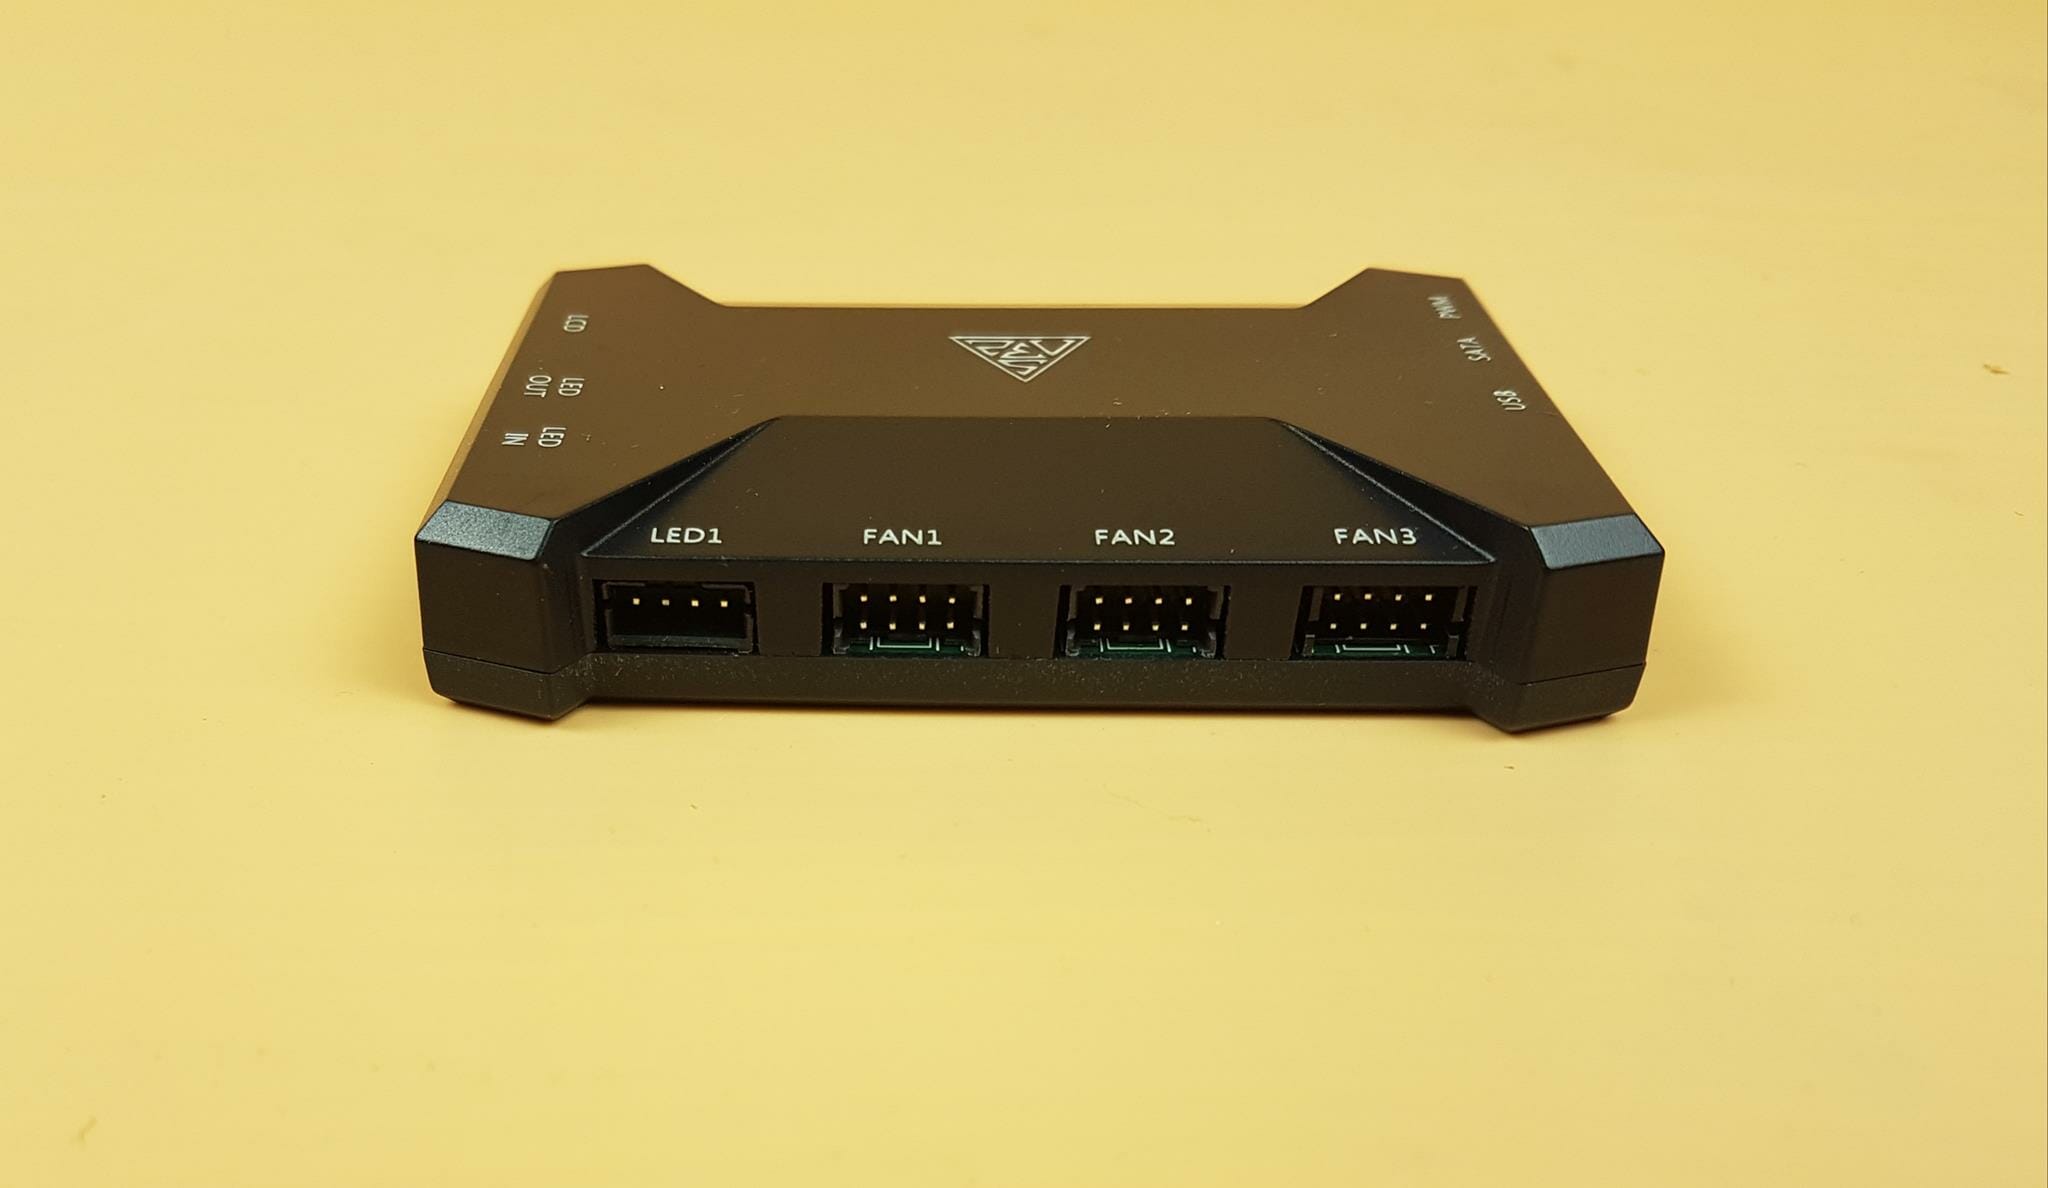
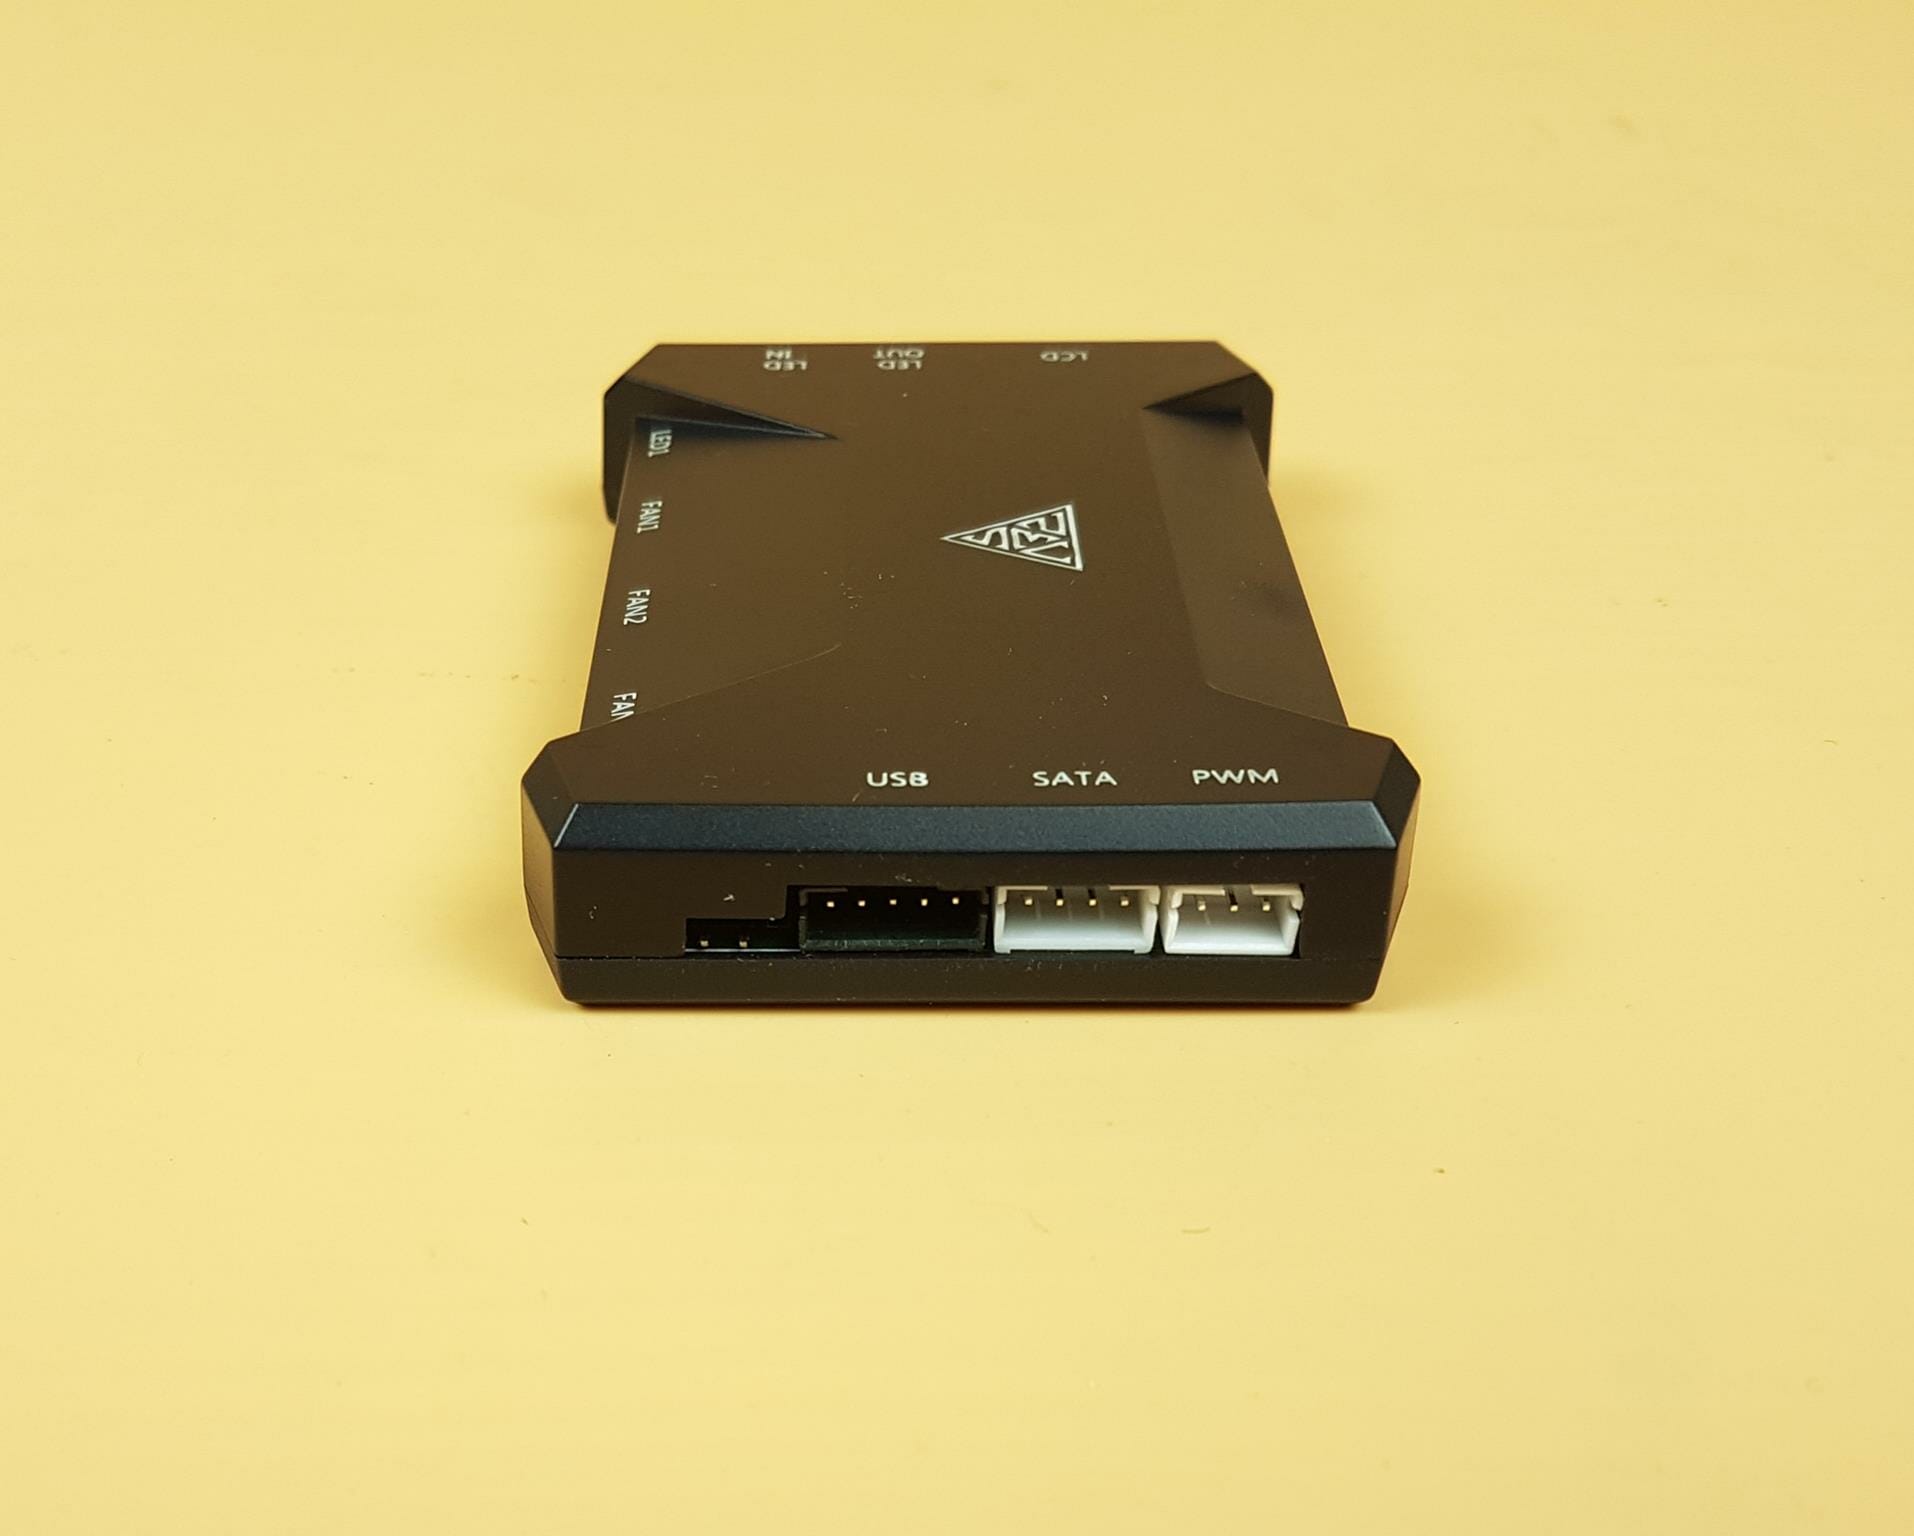
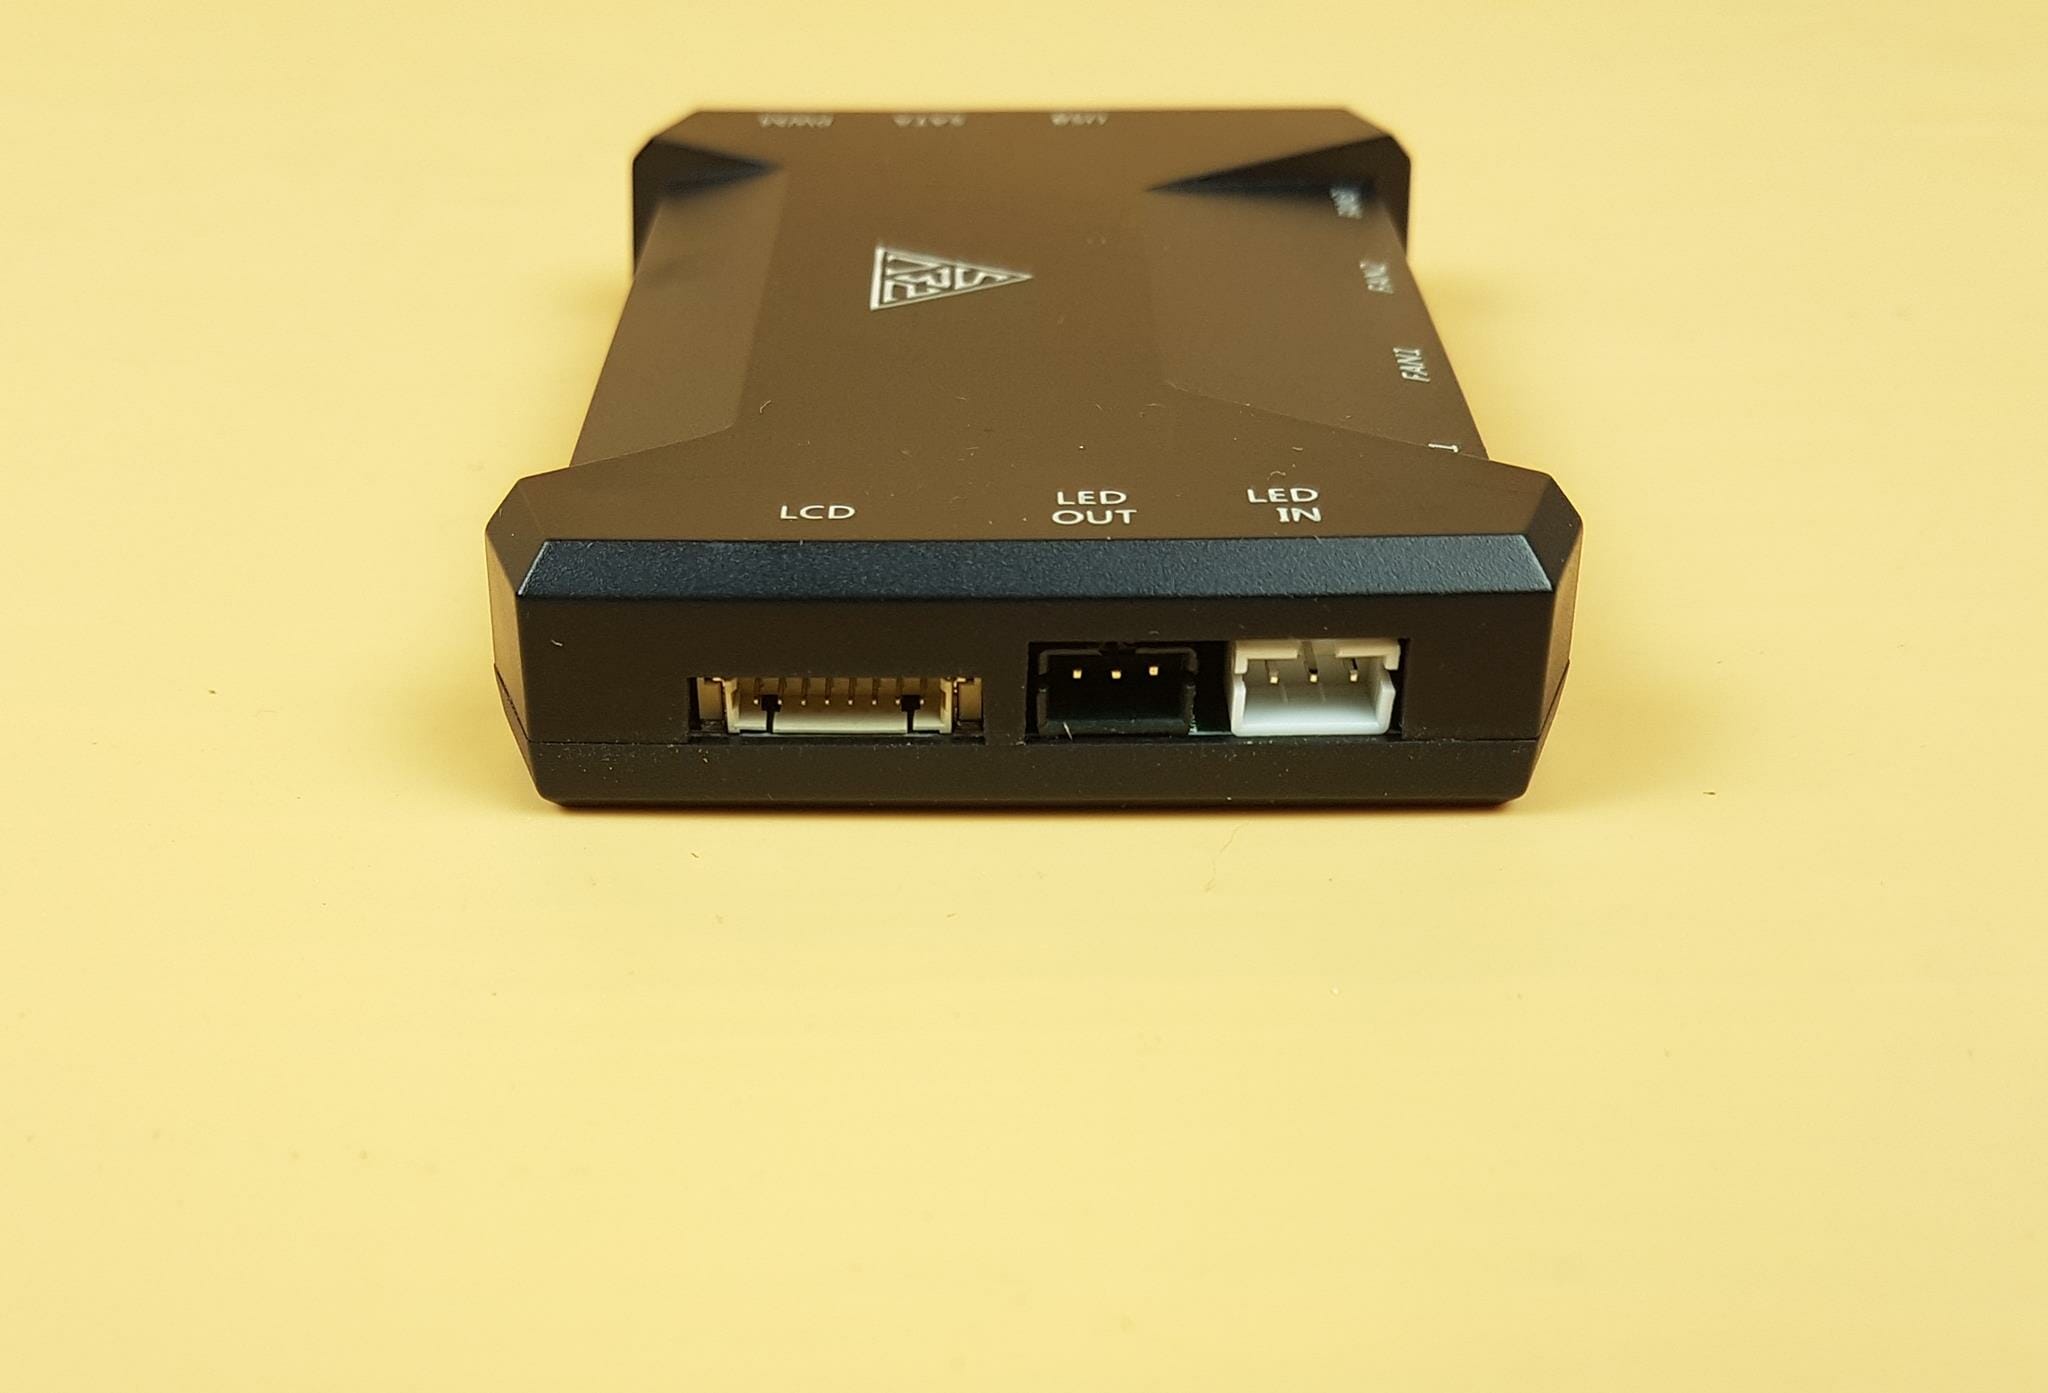
GAMDIAS has provided a USB-based AEOLUS control box with this cooler. Housing of this controller is made of plastic material and it has a dimension of 83x59x14mm. The USB name is enough to tell us that we are talking about LCD Screen and its customization using a USB 2.0 (9-pin) header on the motherboard. Taking a look at the above picture we can see a 4-pin 12V RGB port to which a user can connect a LED strip. Then there are three 8-pin ports to which the AEOLUS M3 fans are connected. This means fans are using proprietary connectors and are dependent on this control box.
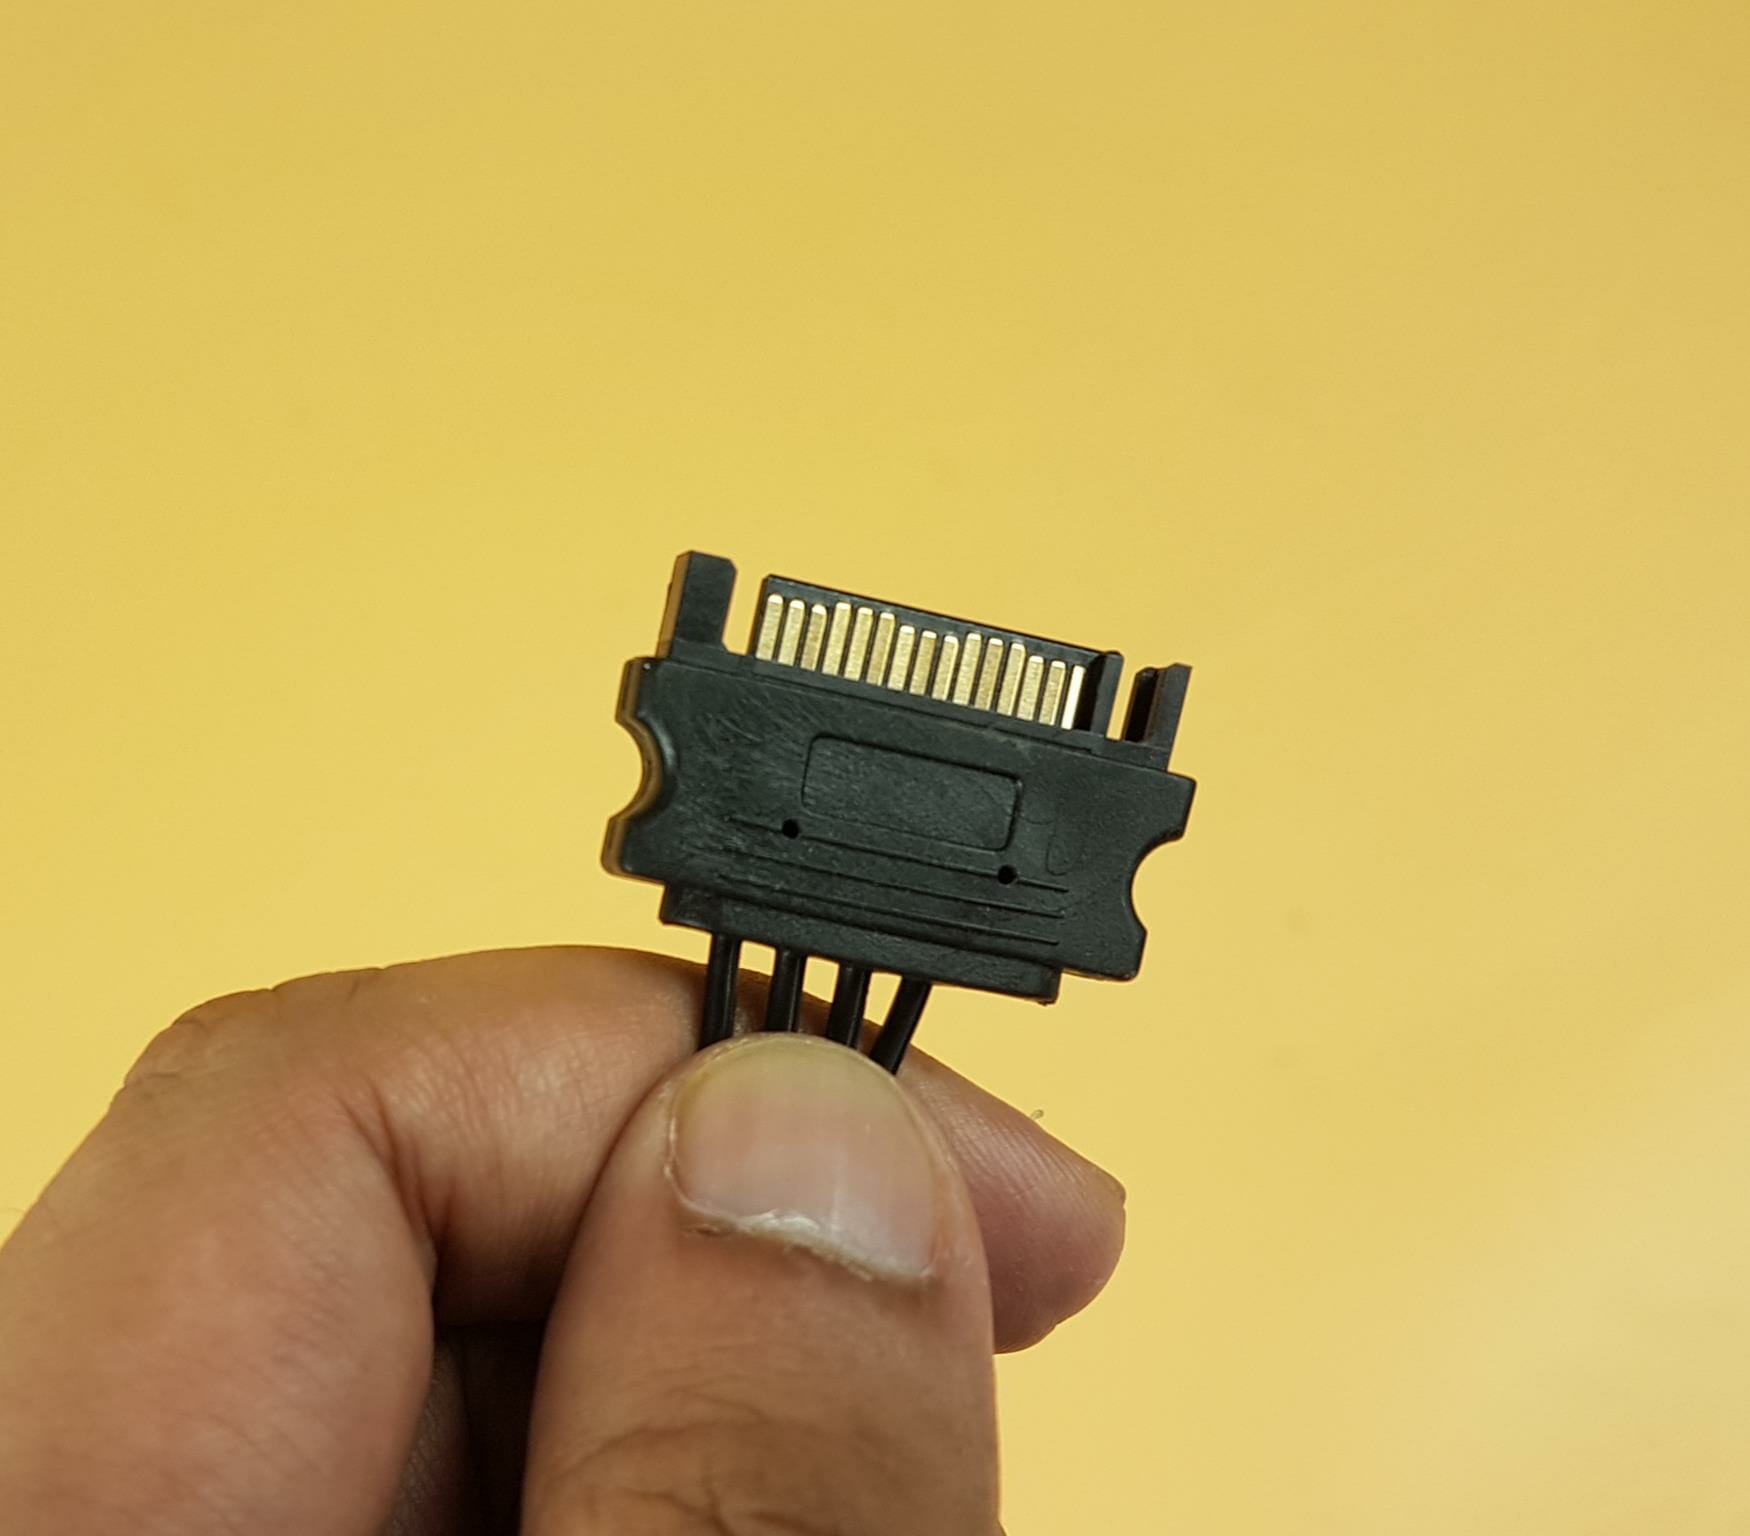
There is a 5-pin USB port over. This is where the bundled USB cable is connected to. Next is a 4-pin SATA port. This controller is SATA powered. Then there is a 3-pin PWM port. GAMDIAS has provided a PWM cable as well. There is a two pin port on the left of the USB port. I think this is for front panel’s 2-pin connector that is optional though I am not sure and I did not investigate it.
There is an 8-pin port to which the LCD cable coming from the pump housing is connected. Then there is a LED Out port which is used to daisy-chain this control box with another AEOLUS control box. The provided A-RGB cable is connected to LED In port.
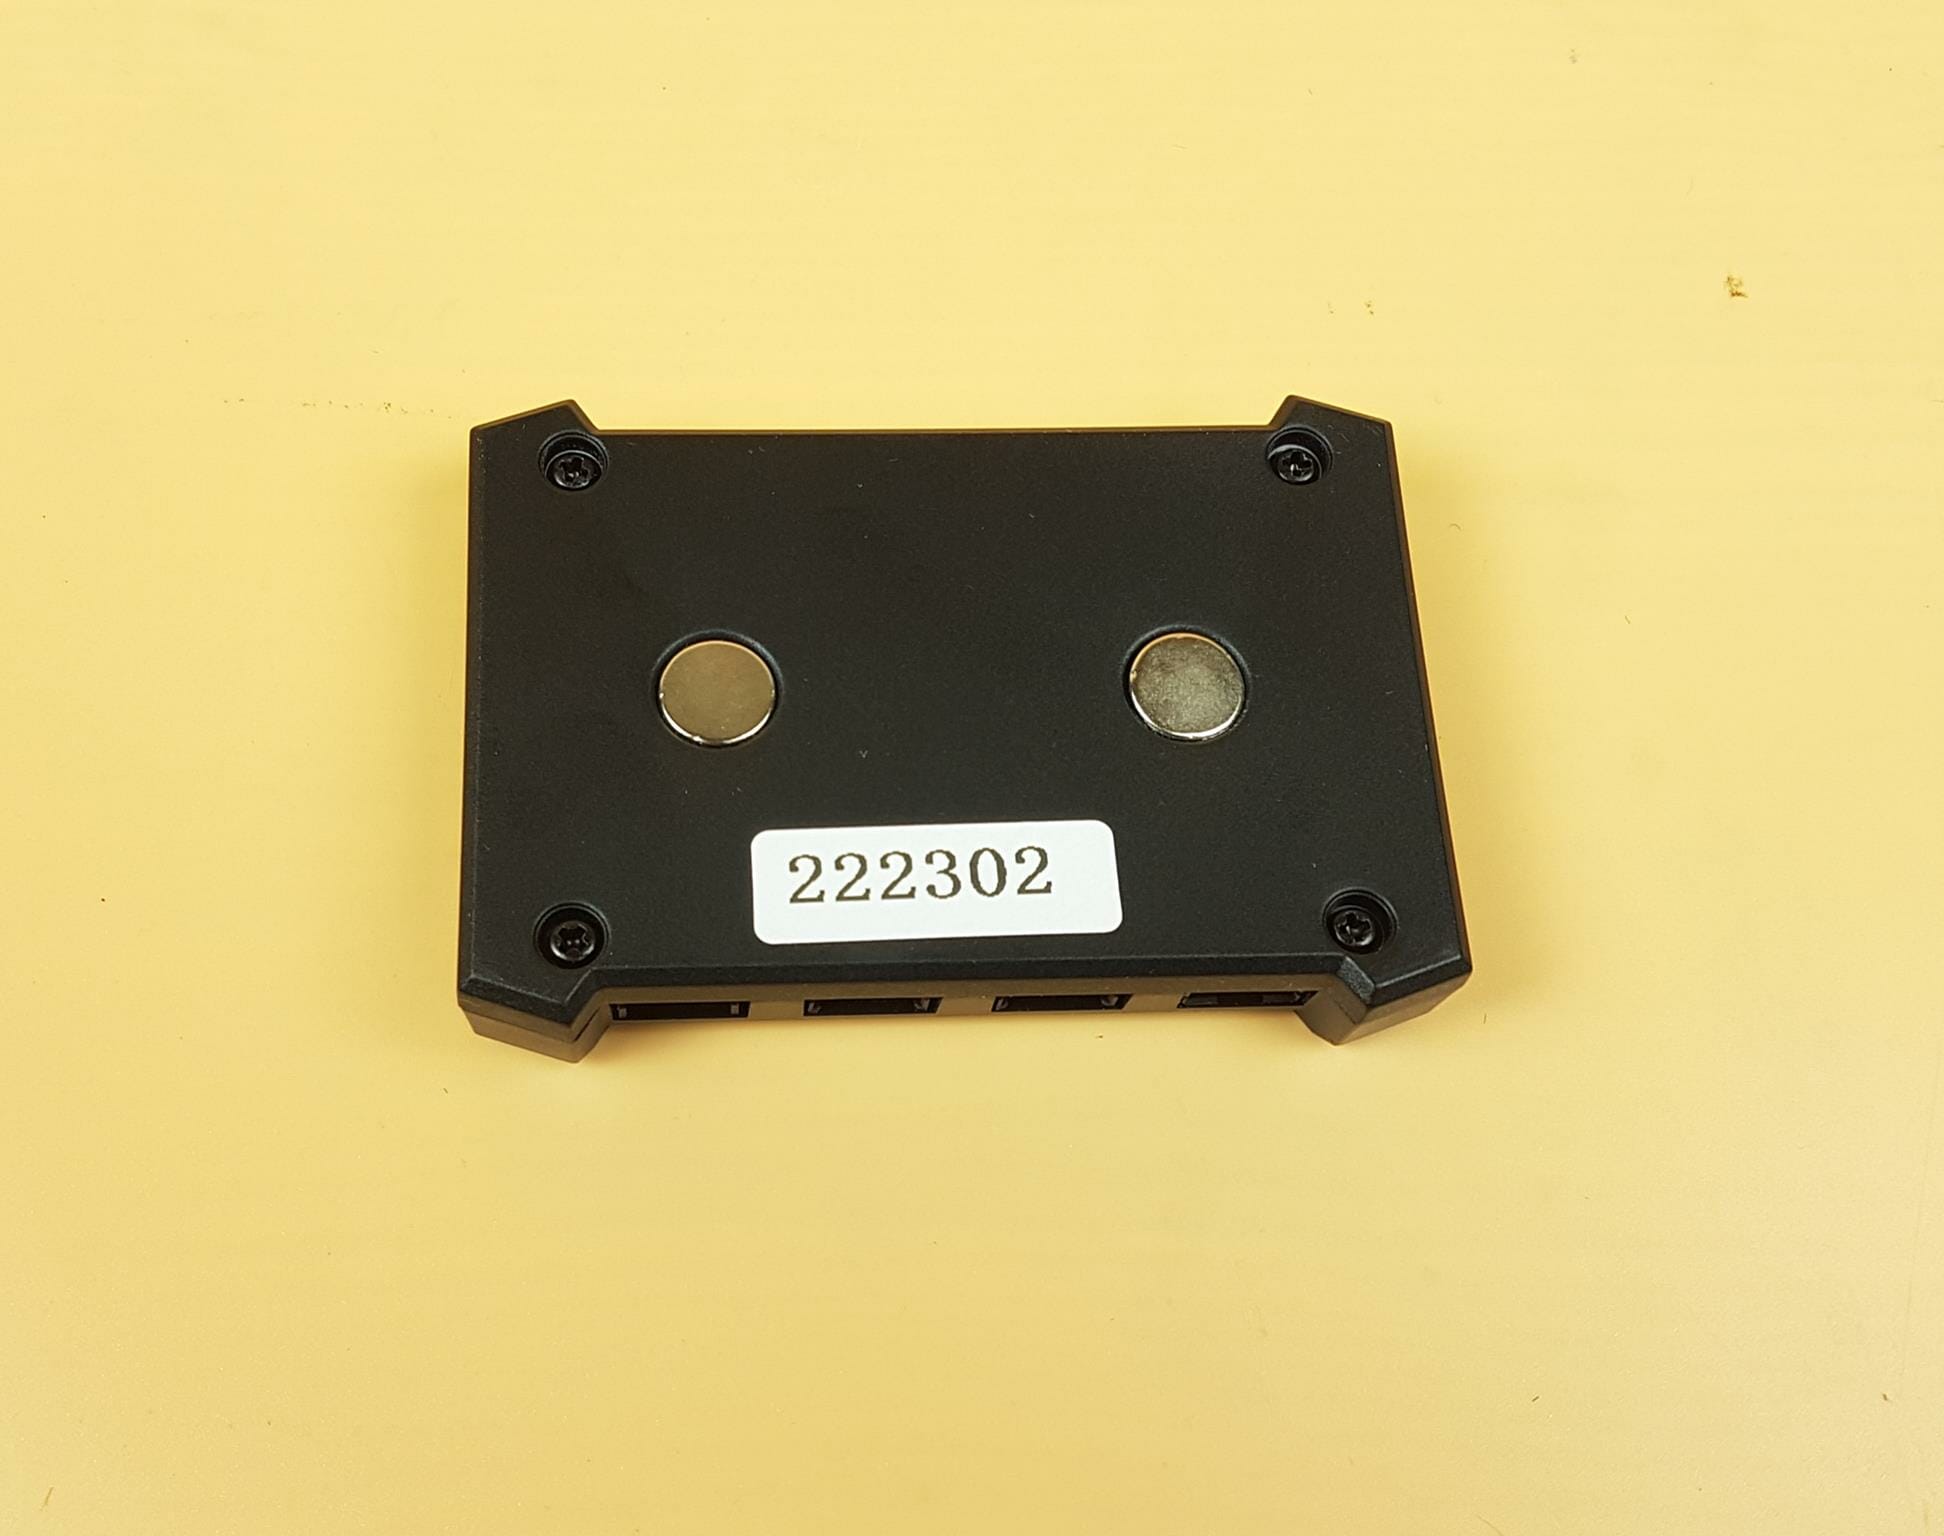
The backside of this housing has two magnets that make it easier to install this control box in the PC Case.
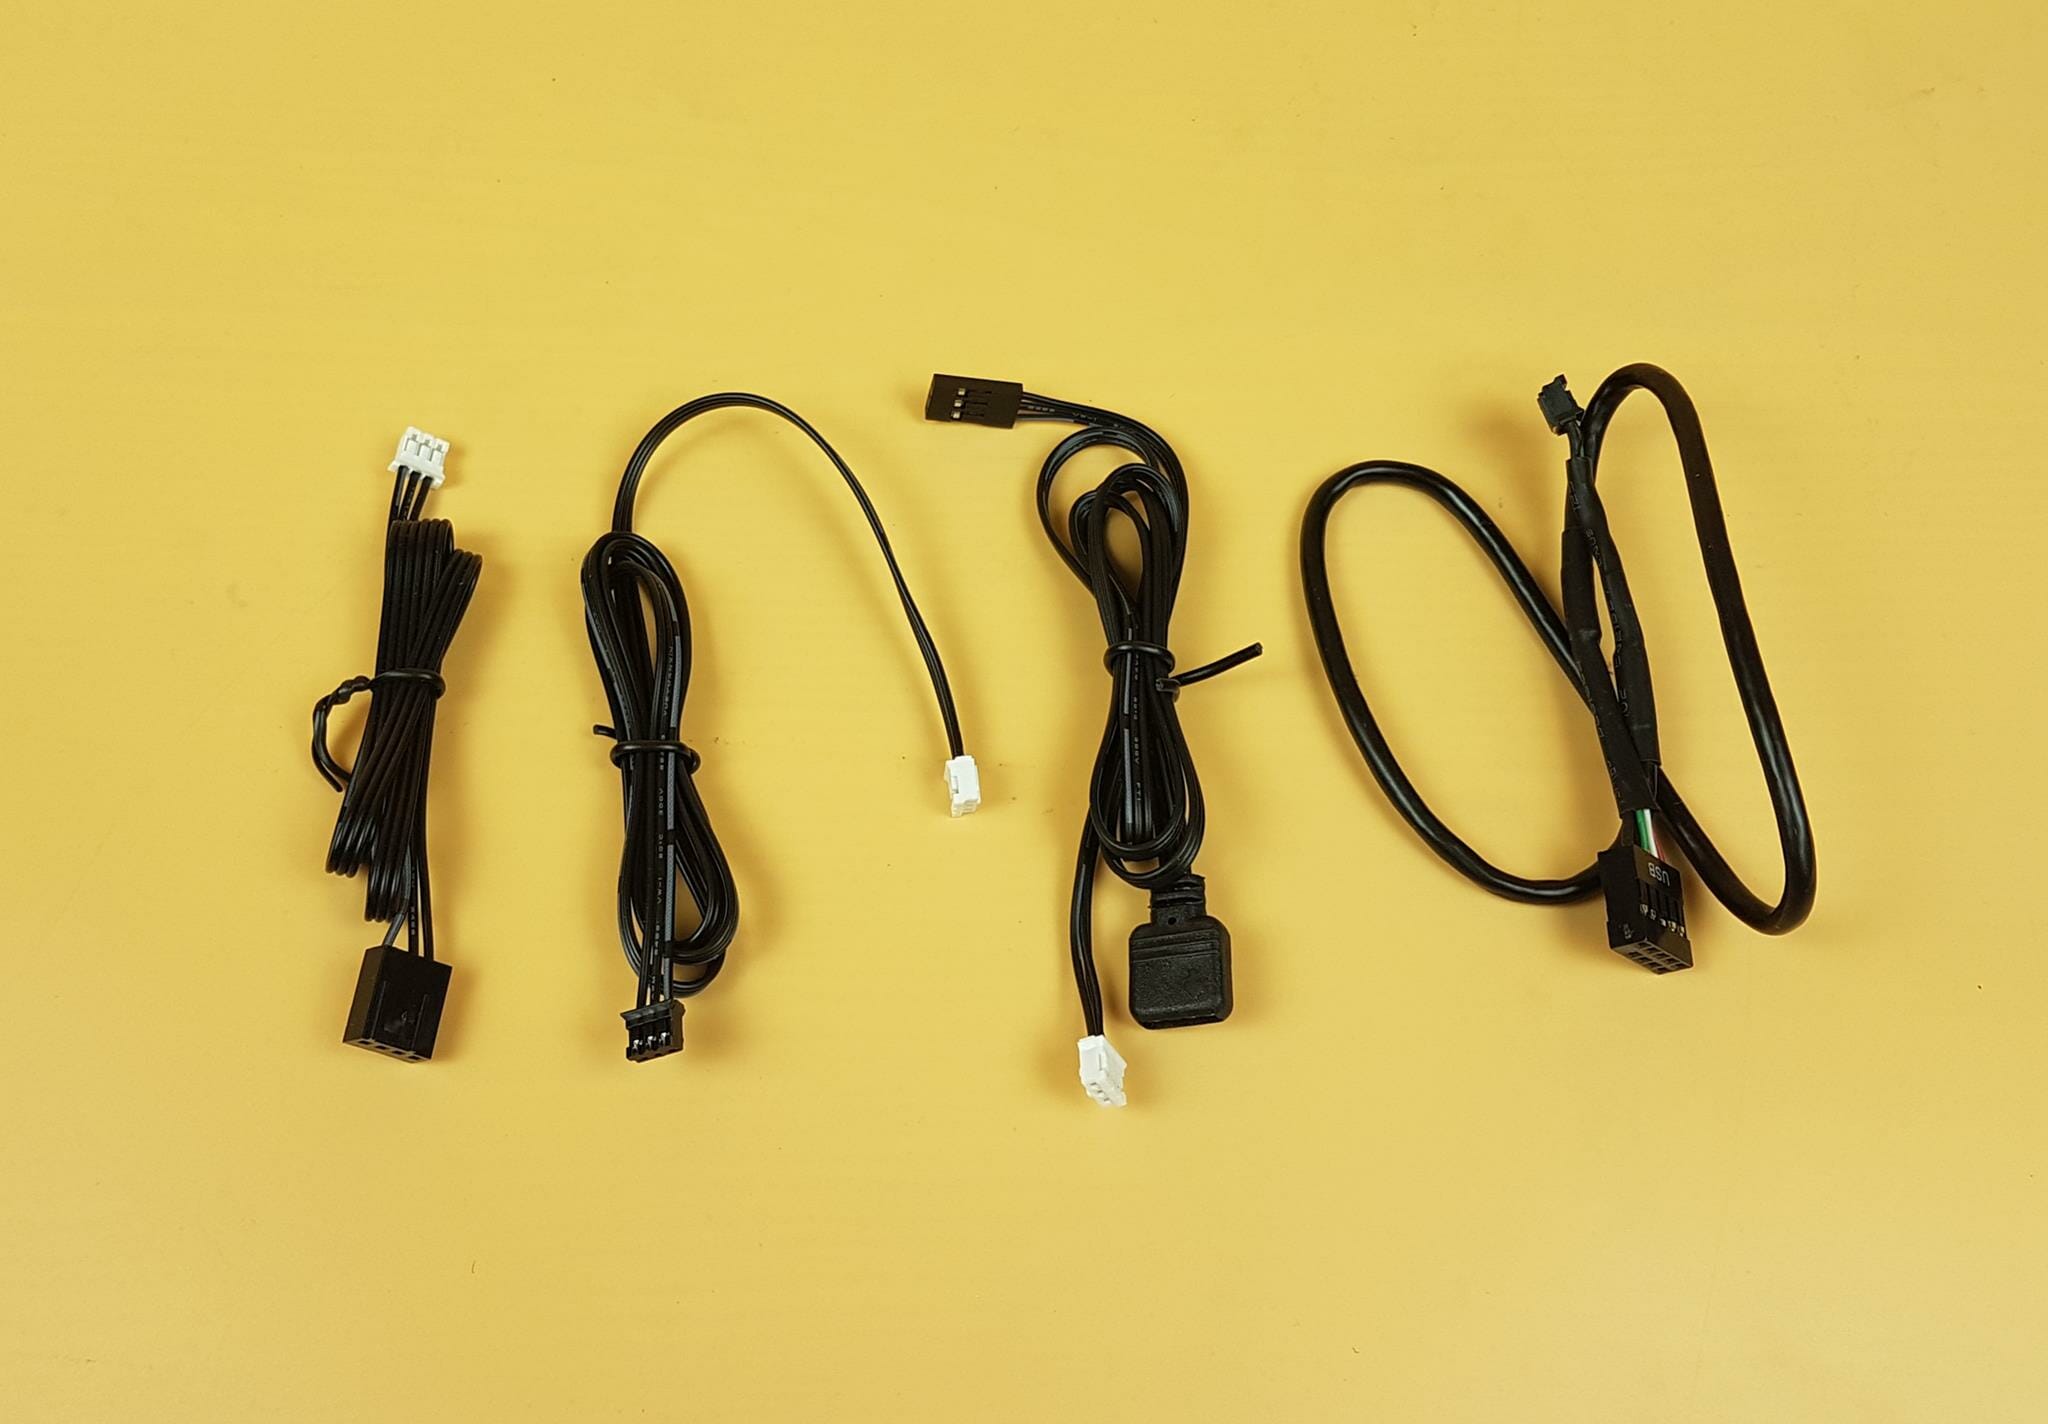
The bundled cables include:
- 1x Fan PWM Cable
- 1x Cable to daisy-chain two control boxes
- 1x A-RGB cable having a standard female connector using a 3-pin interface on 5VDC
- 1x USB Cable
As mentioned above, this controller is SATA powered for which a SATA cable is provided as well.
Closer Look
Here is what GAMDIAS has to say about their cooler. “The CHIONE P3 high-performance liquid cooler is a 360mm radiator AIO fine-tuned for next-generation cooling and equipped with a personalized LCD display. The AIO features a highly customizable IPS LCD display, a motor pump with a high-performance three-phase drive, an optimized cold-plate design, a micro-embedded fan within the pump head, and three fine-tuned AEOLUS M3 PWM fans to offer top-notch cooling power on any setup.”
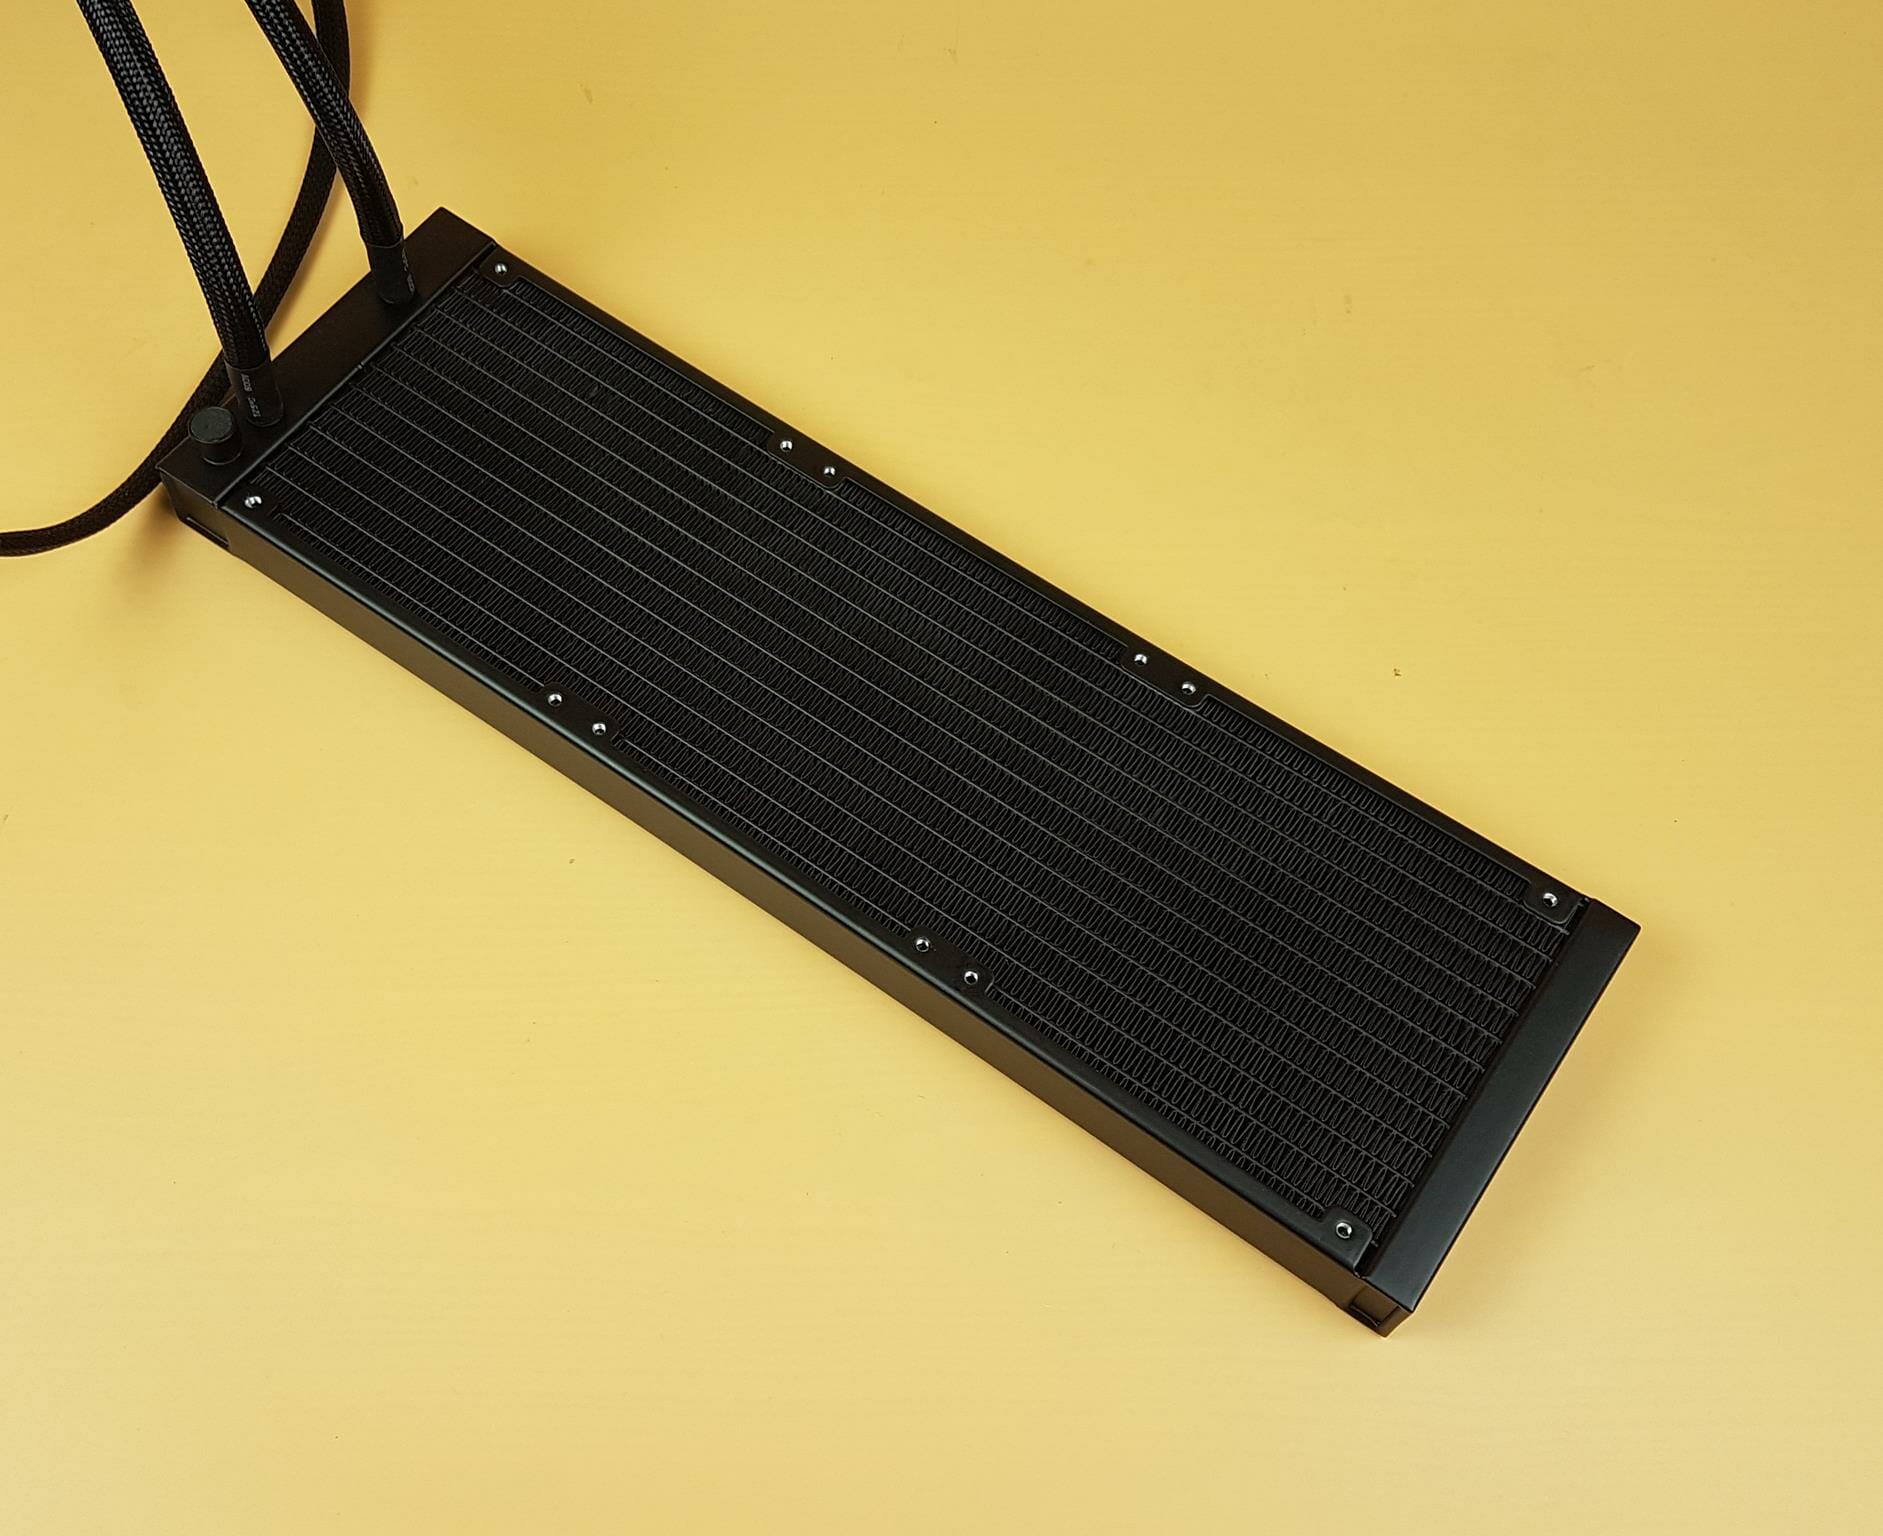
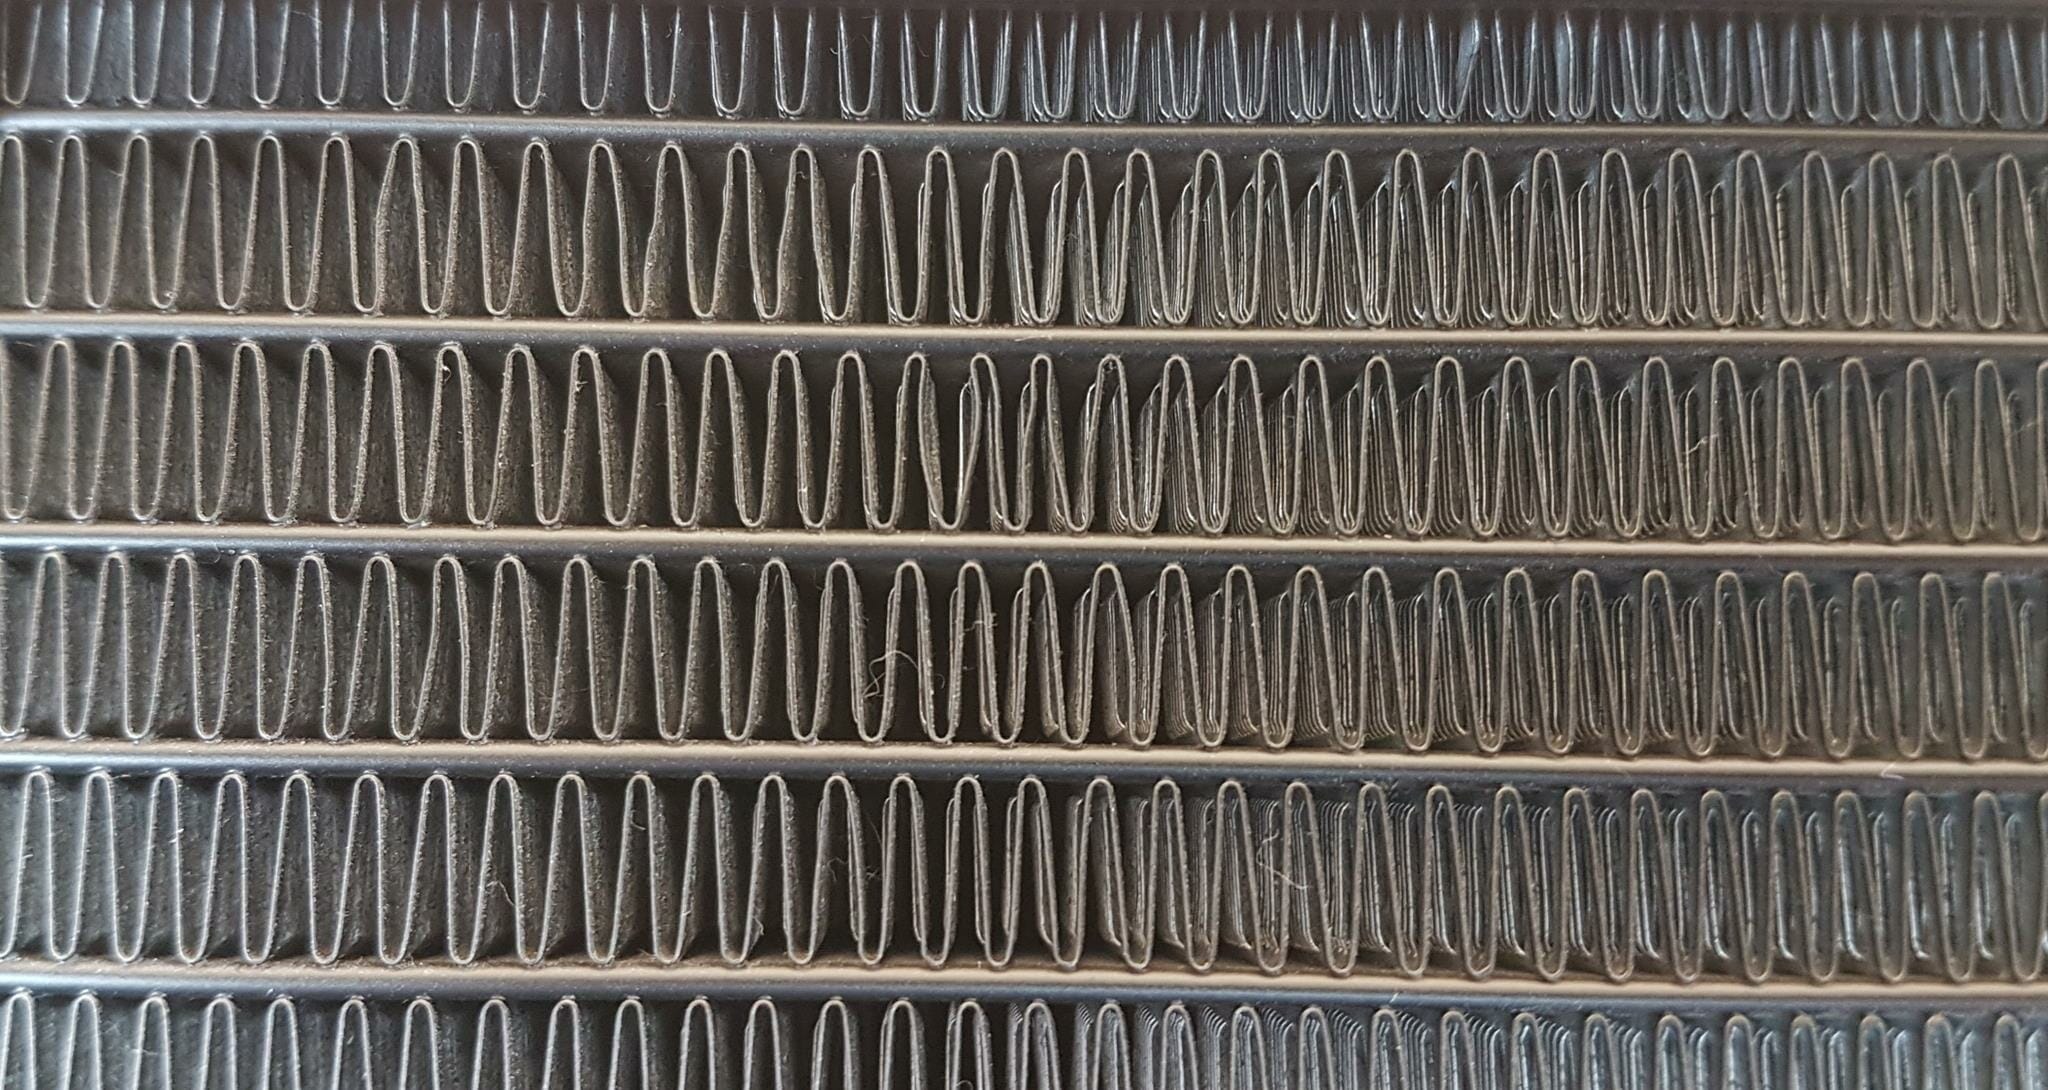
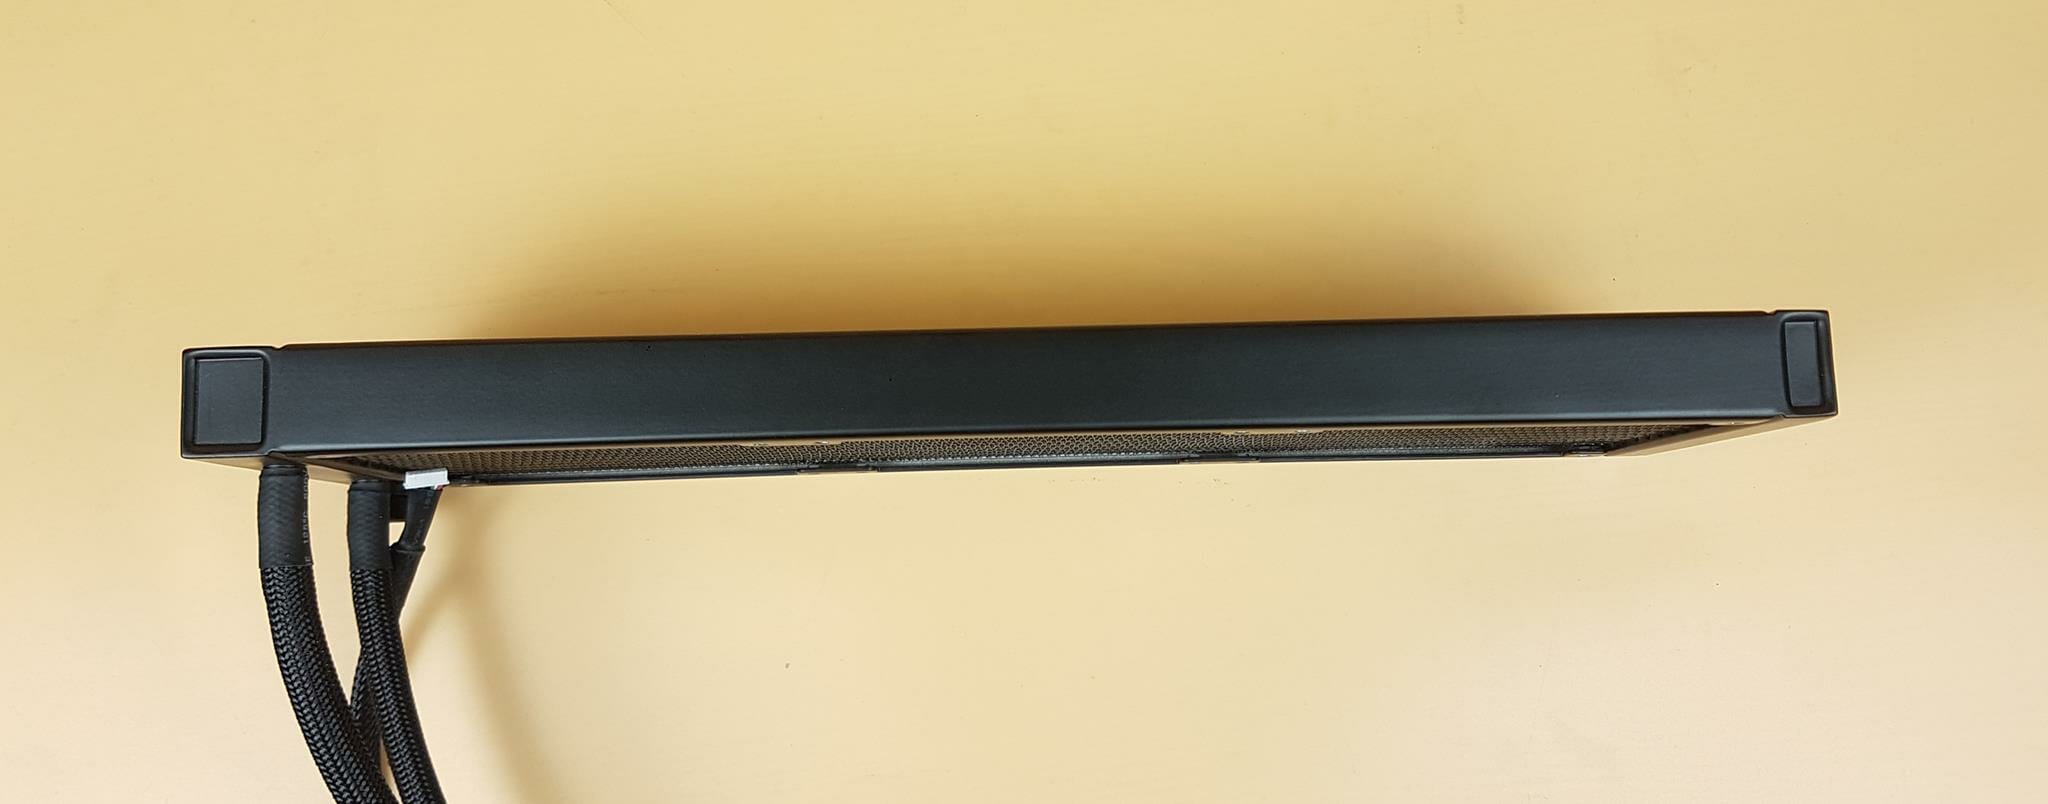
As is the case with other AIOs, this unit also comes with an aluminum-made radiator that has a dimension of 394x119x27mm. After installing 25mm thick fans, the overall height would be 53mm approximately. This radiator has an FPI count of 18 and has 12 channels for coolant flow. Our digital caliper told us that this radiator has a 119.97mm width. Well, seems like it is still within the margin of error and tolerances.
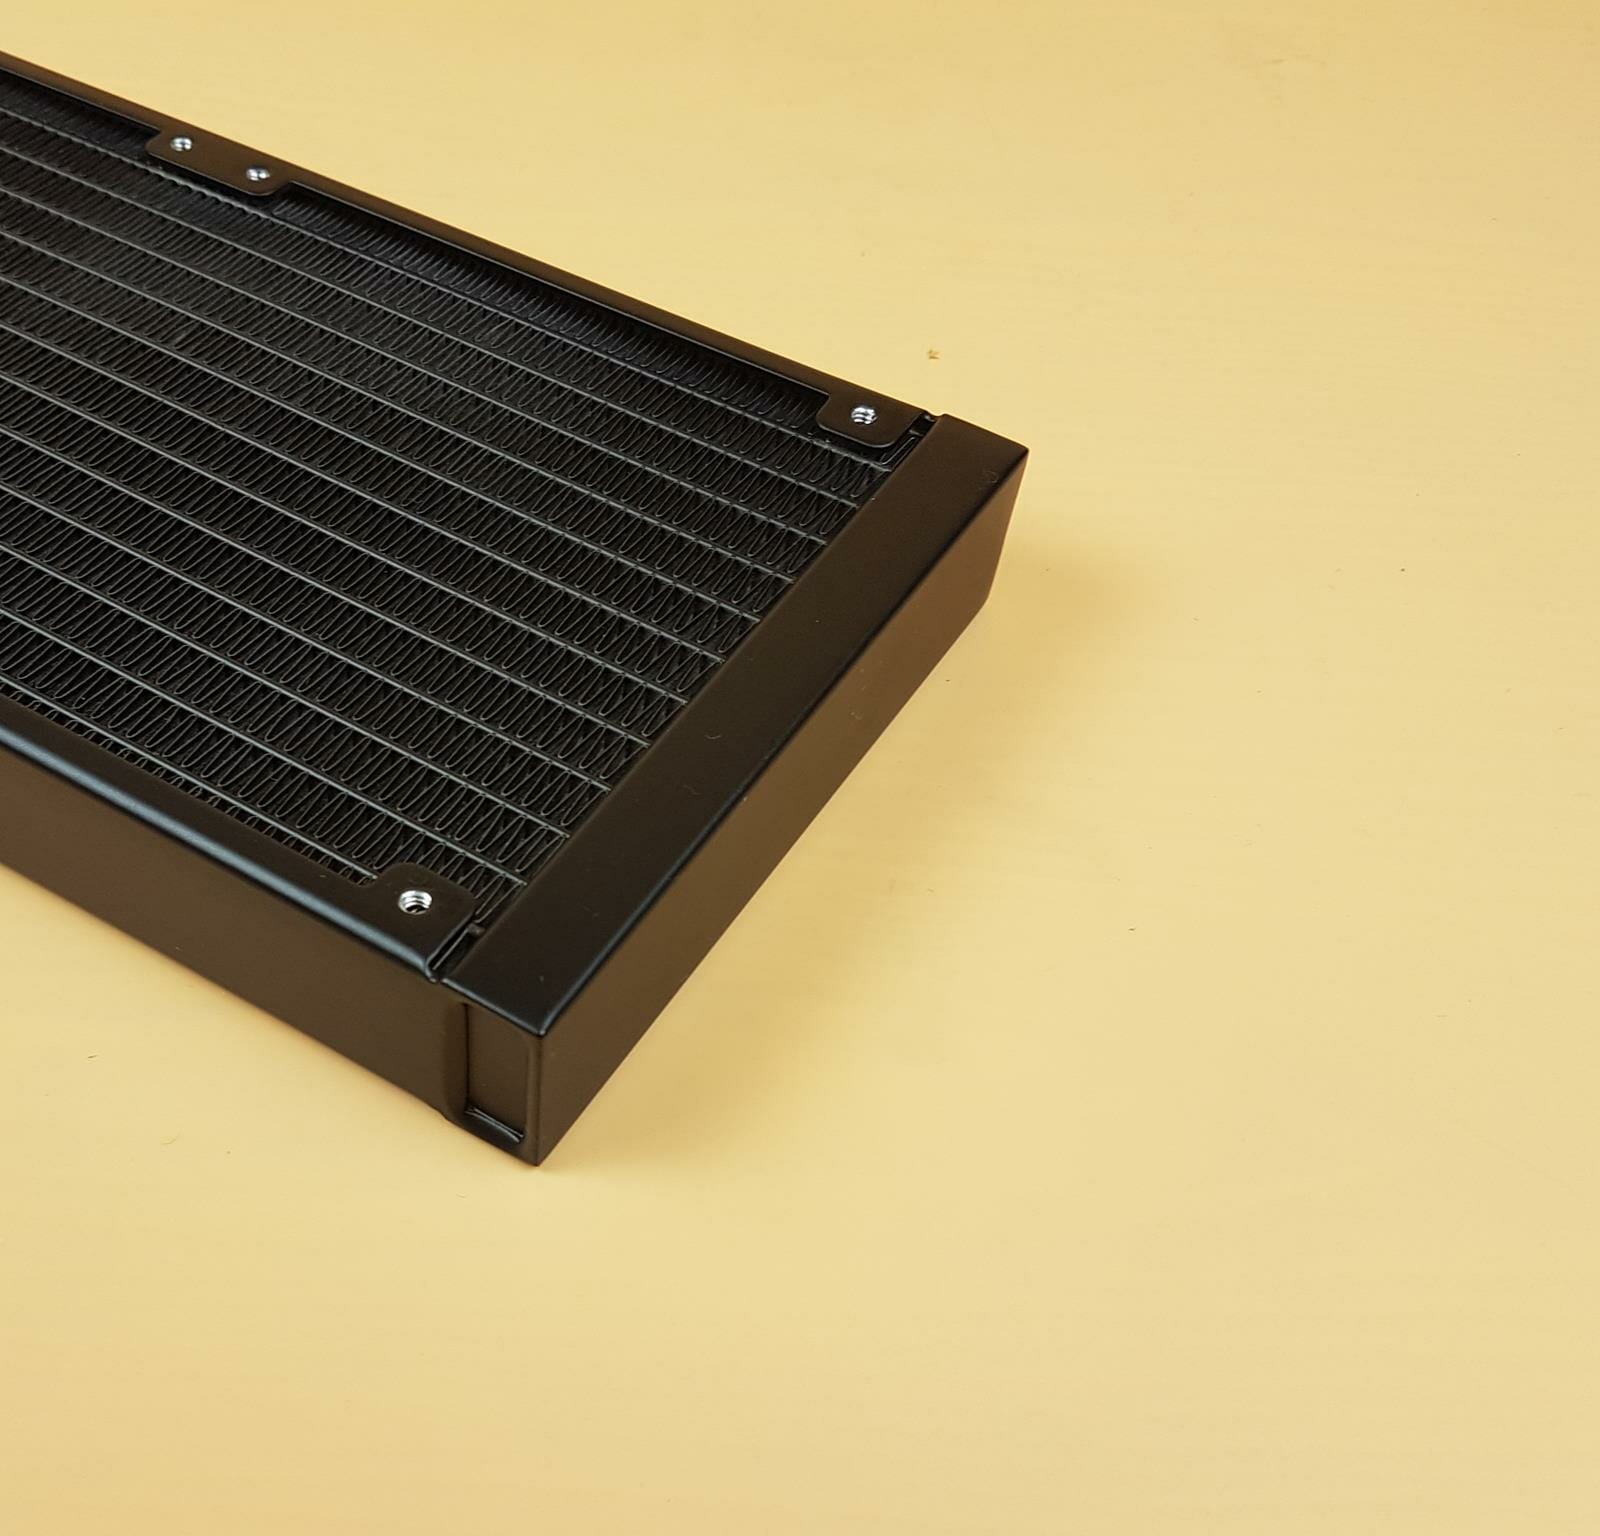
This radiator has a rectangular layout on the far block. There is no branding over there.
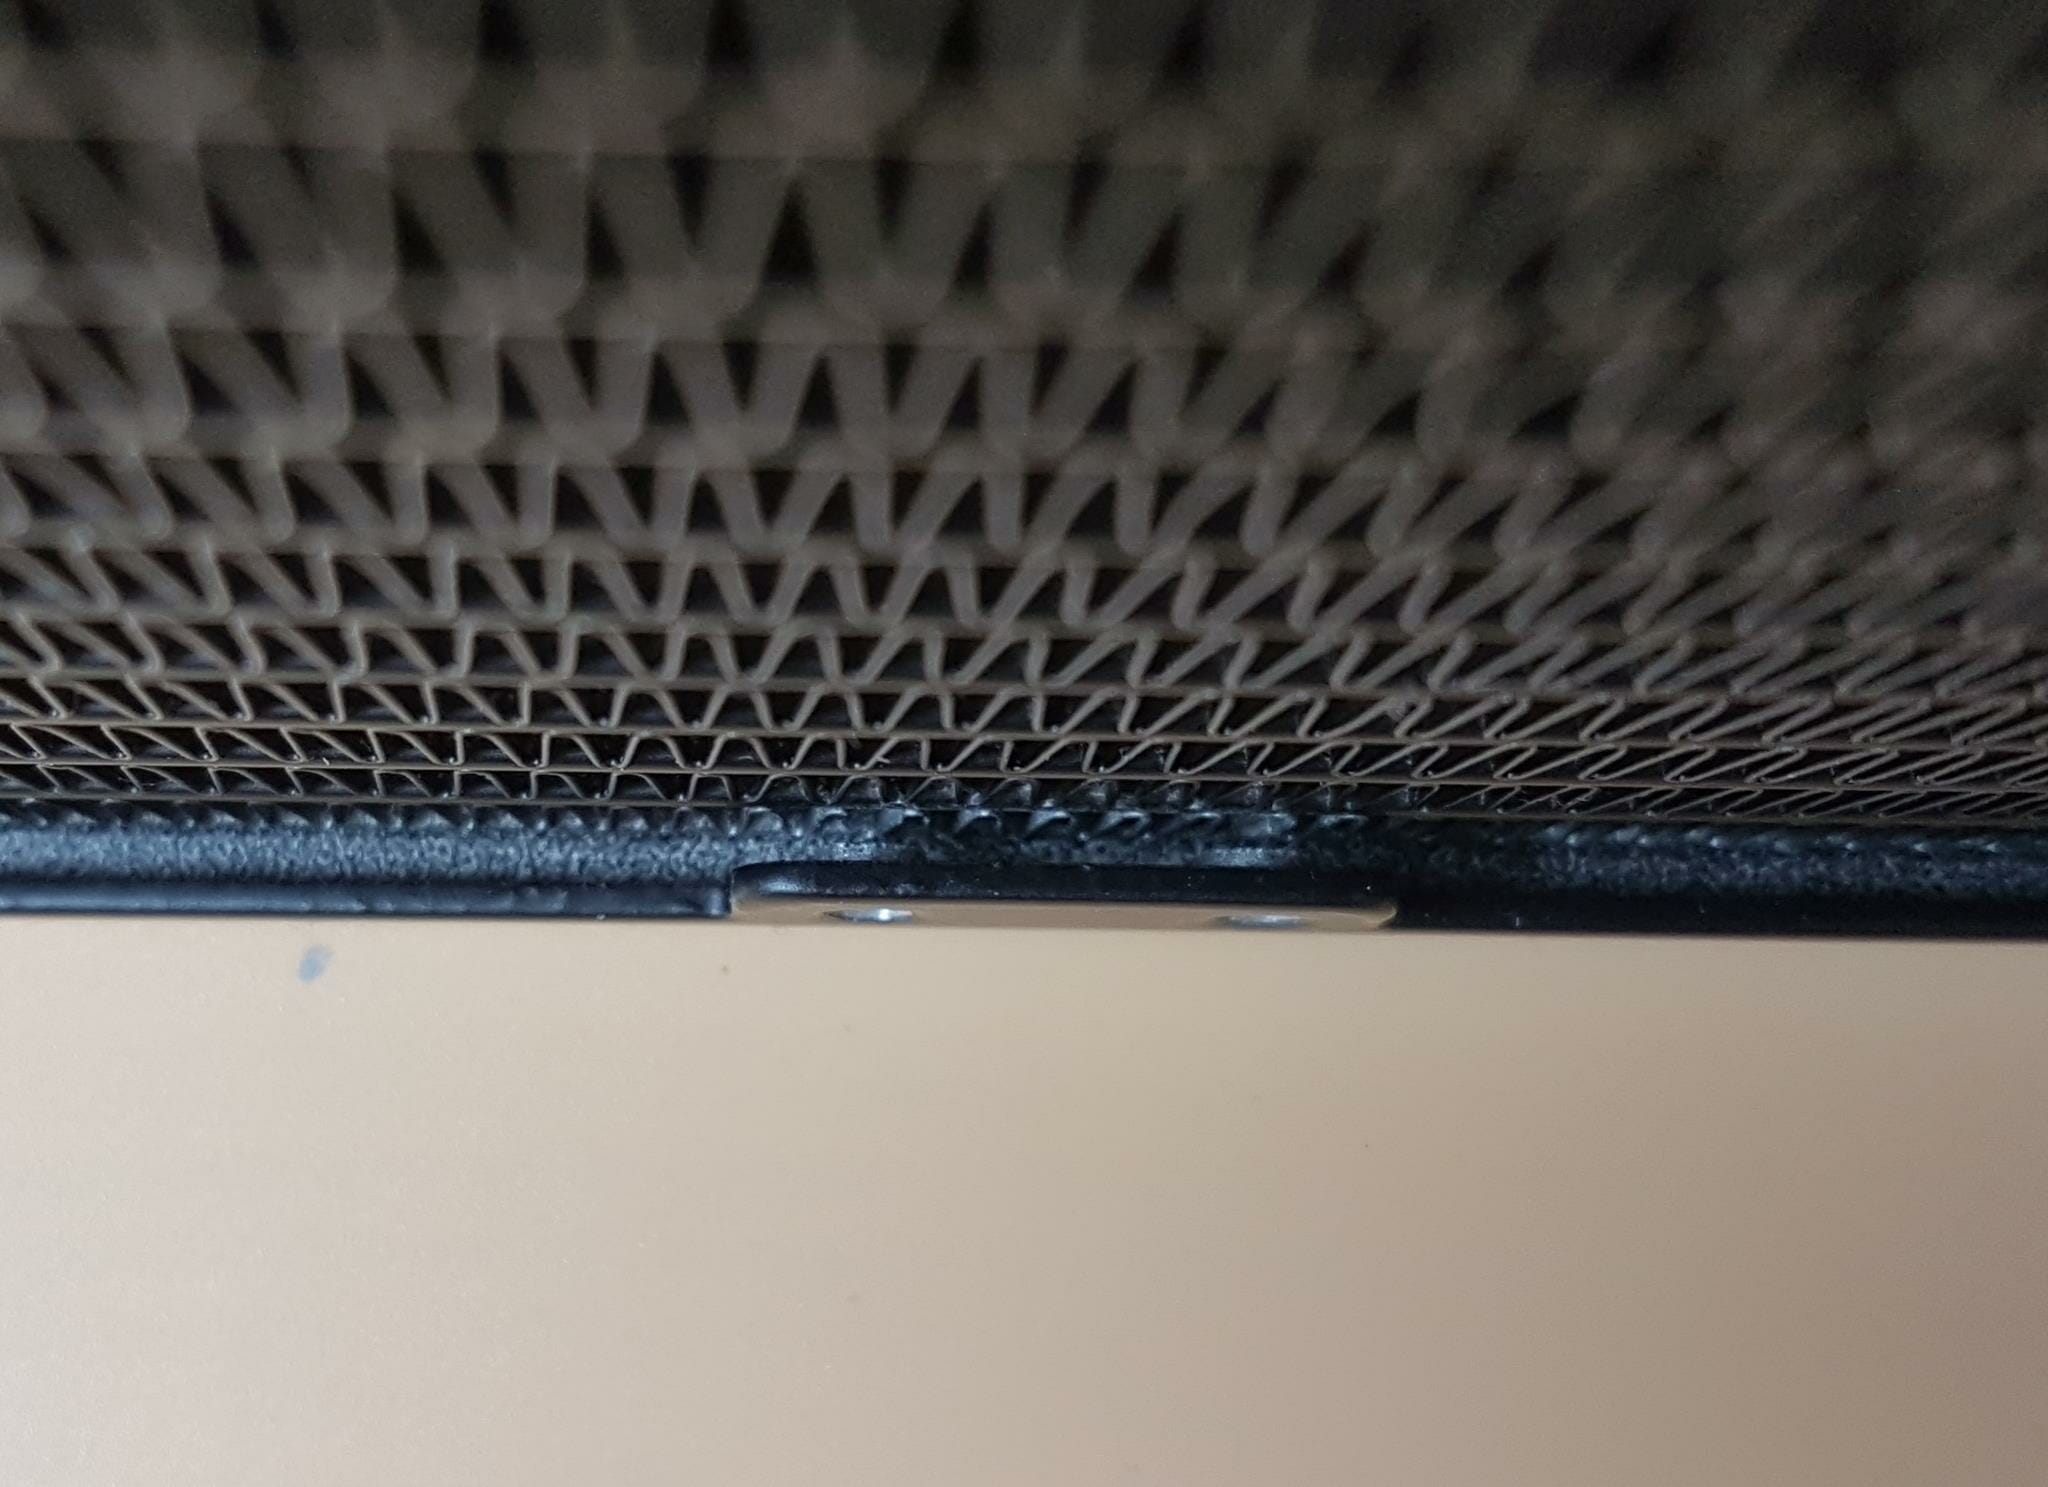
Overall fin stacking job is satisfactory.
Looking at the side frame of this radiator, there is no branding over here. The near block is thicker than the far block which is understandable since tubes are installed on the near end.
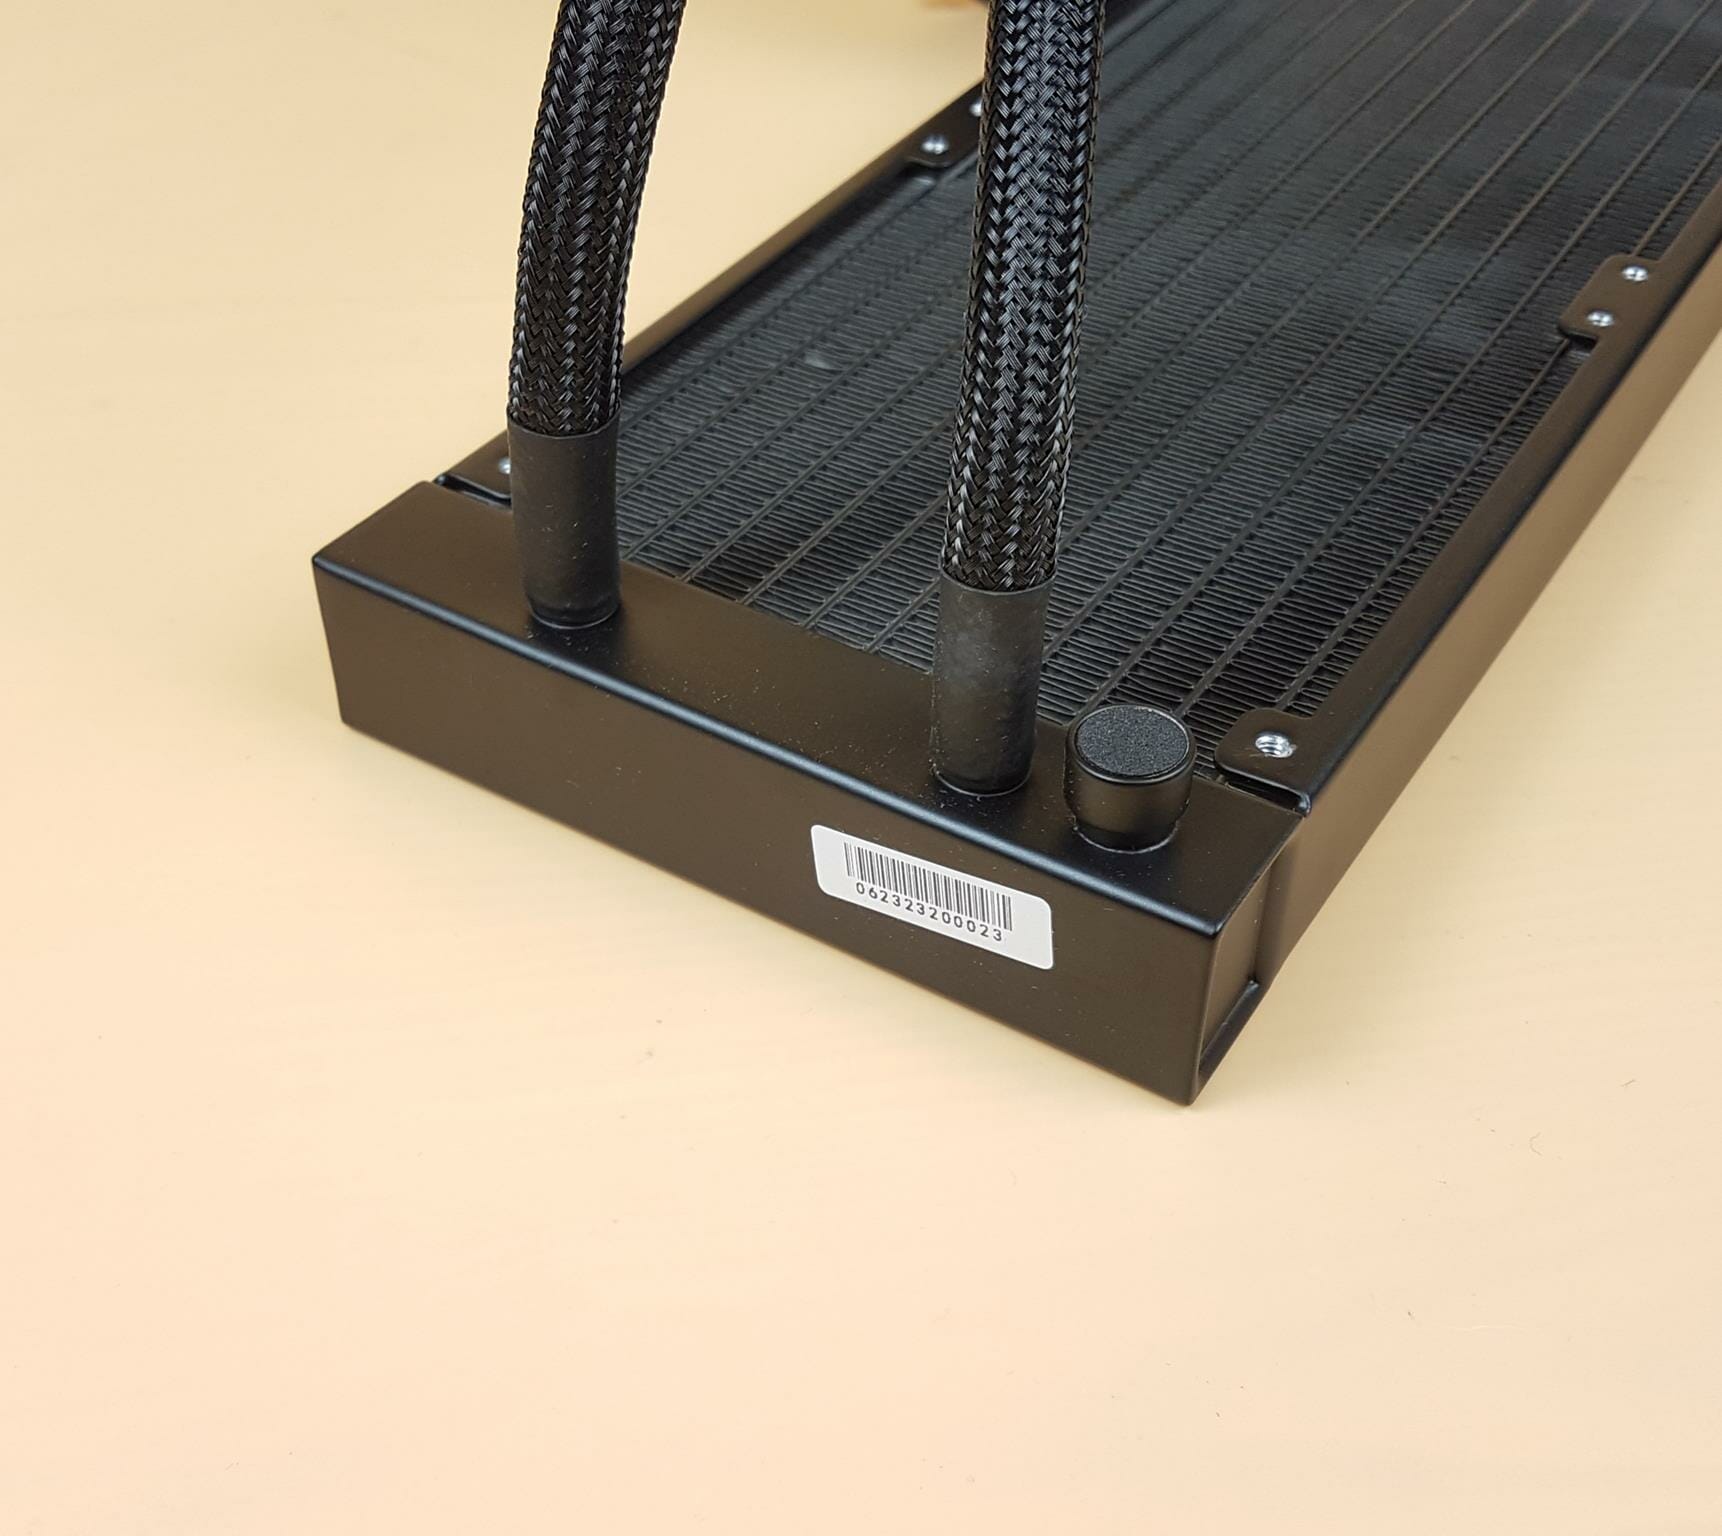
Well, I was not expecting this. A heat shrink! Why would you use a heat shrink to conceal the connections between fittings and tubes and charge USD 240? There is another cover probably on a factory use-only port. Don’t tamper with this cover or you may lose the vacuum pressure of the loop. There is what seems like a serial number sticker.
We have been showing this in almost all AIO contents that we have done. The thickness of the actual fin stack is less than 27mm of the radiator’s thickness. There is no protective plating under the mounting holes of the frame. As long as you are using GAMDIAS-provided screws, there should not be any issue. Plus this gap would also provide clearance for the threaded portion of the screw.
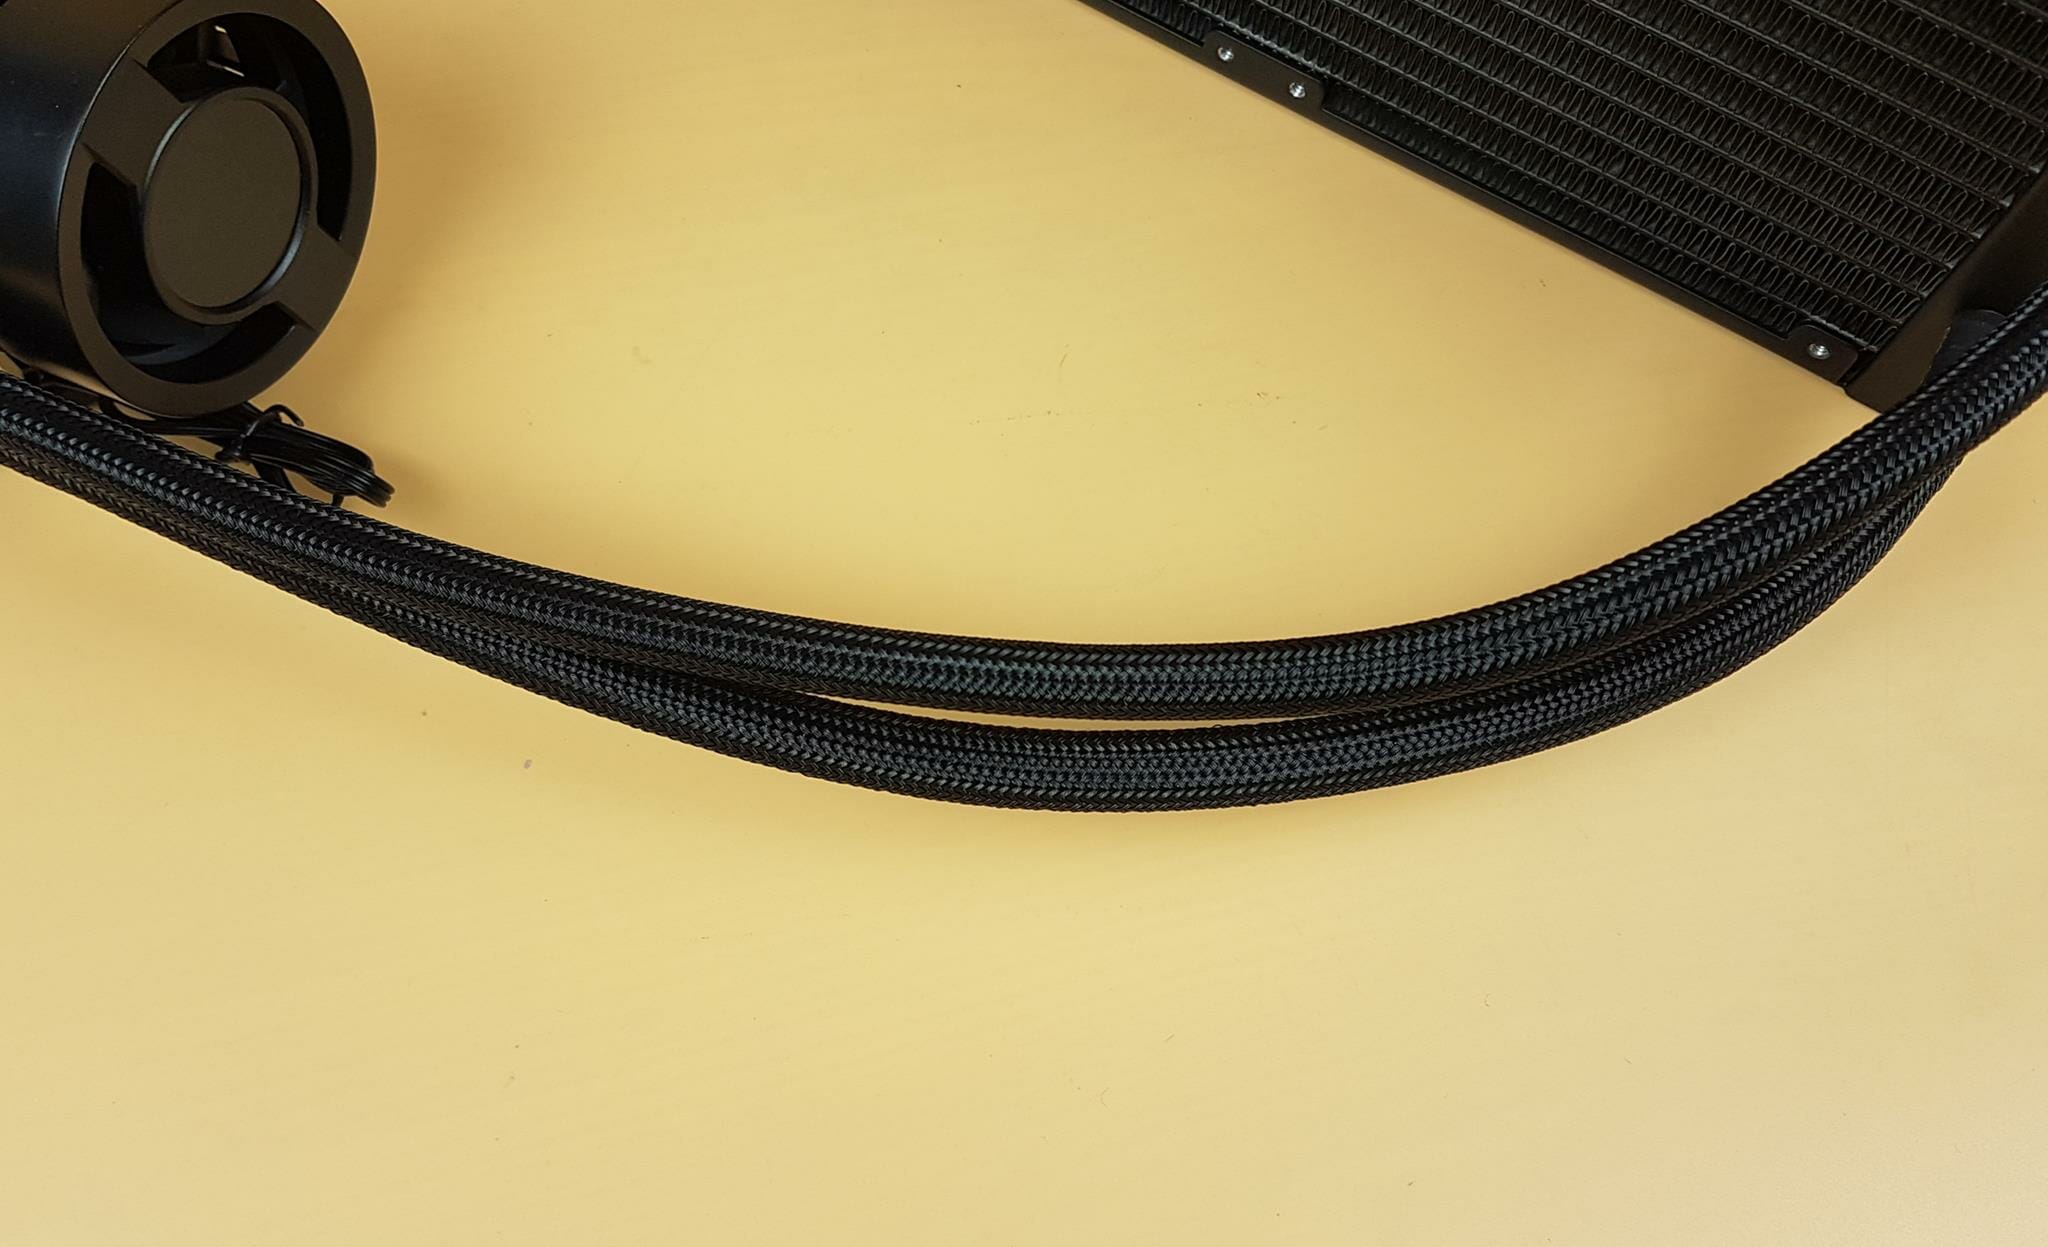
GAMDIAS is using Teflon made tubes on these coolers. These tubes run to approximately 400mm. they are somewhat flexible without kinking and have mesh sleeves for aesthetics.
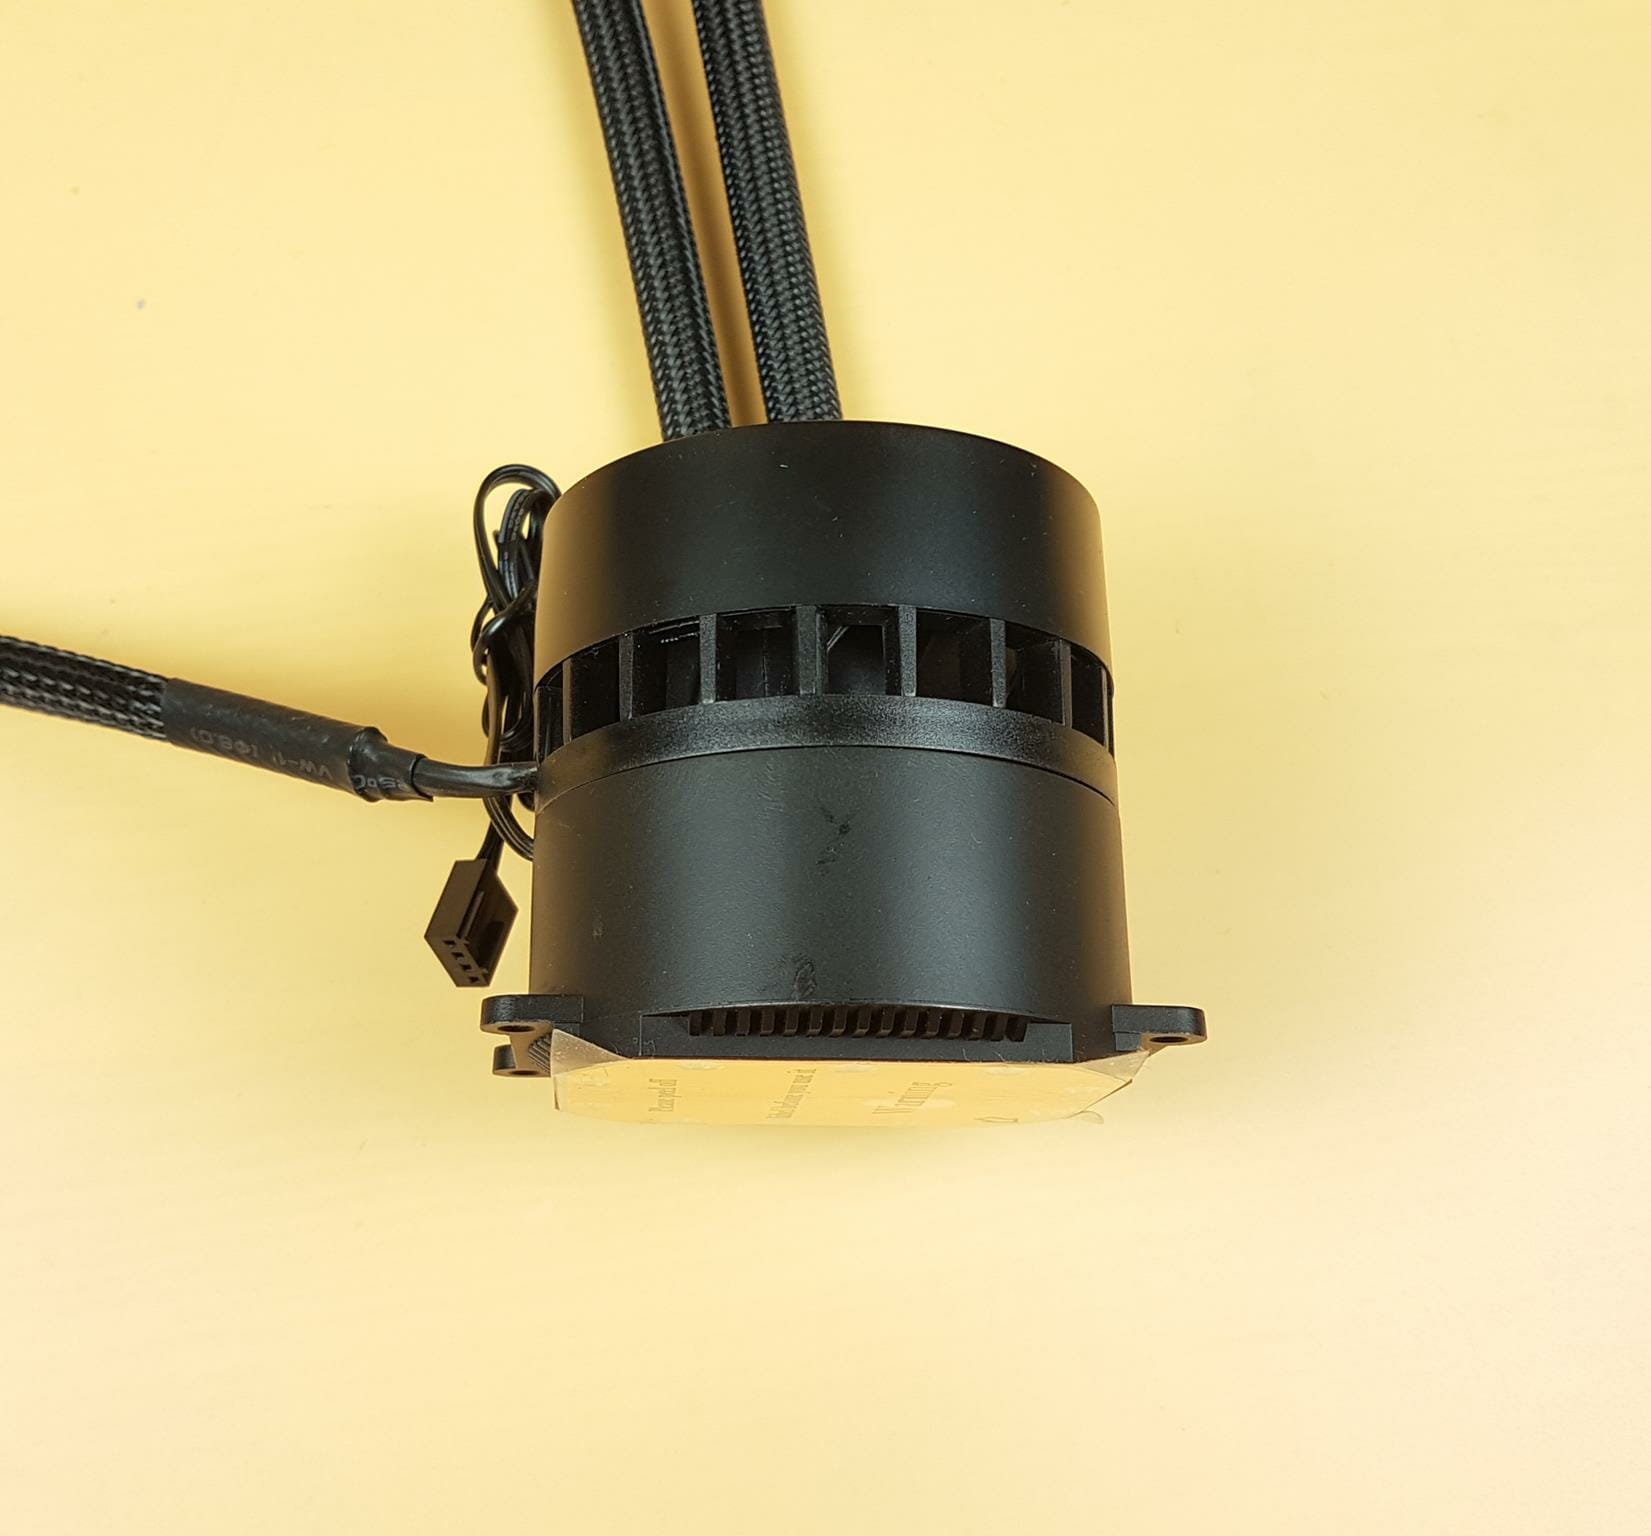
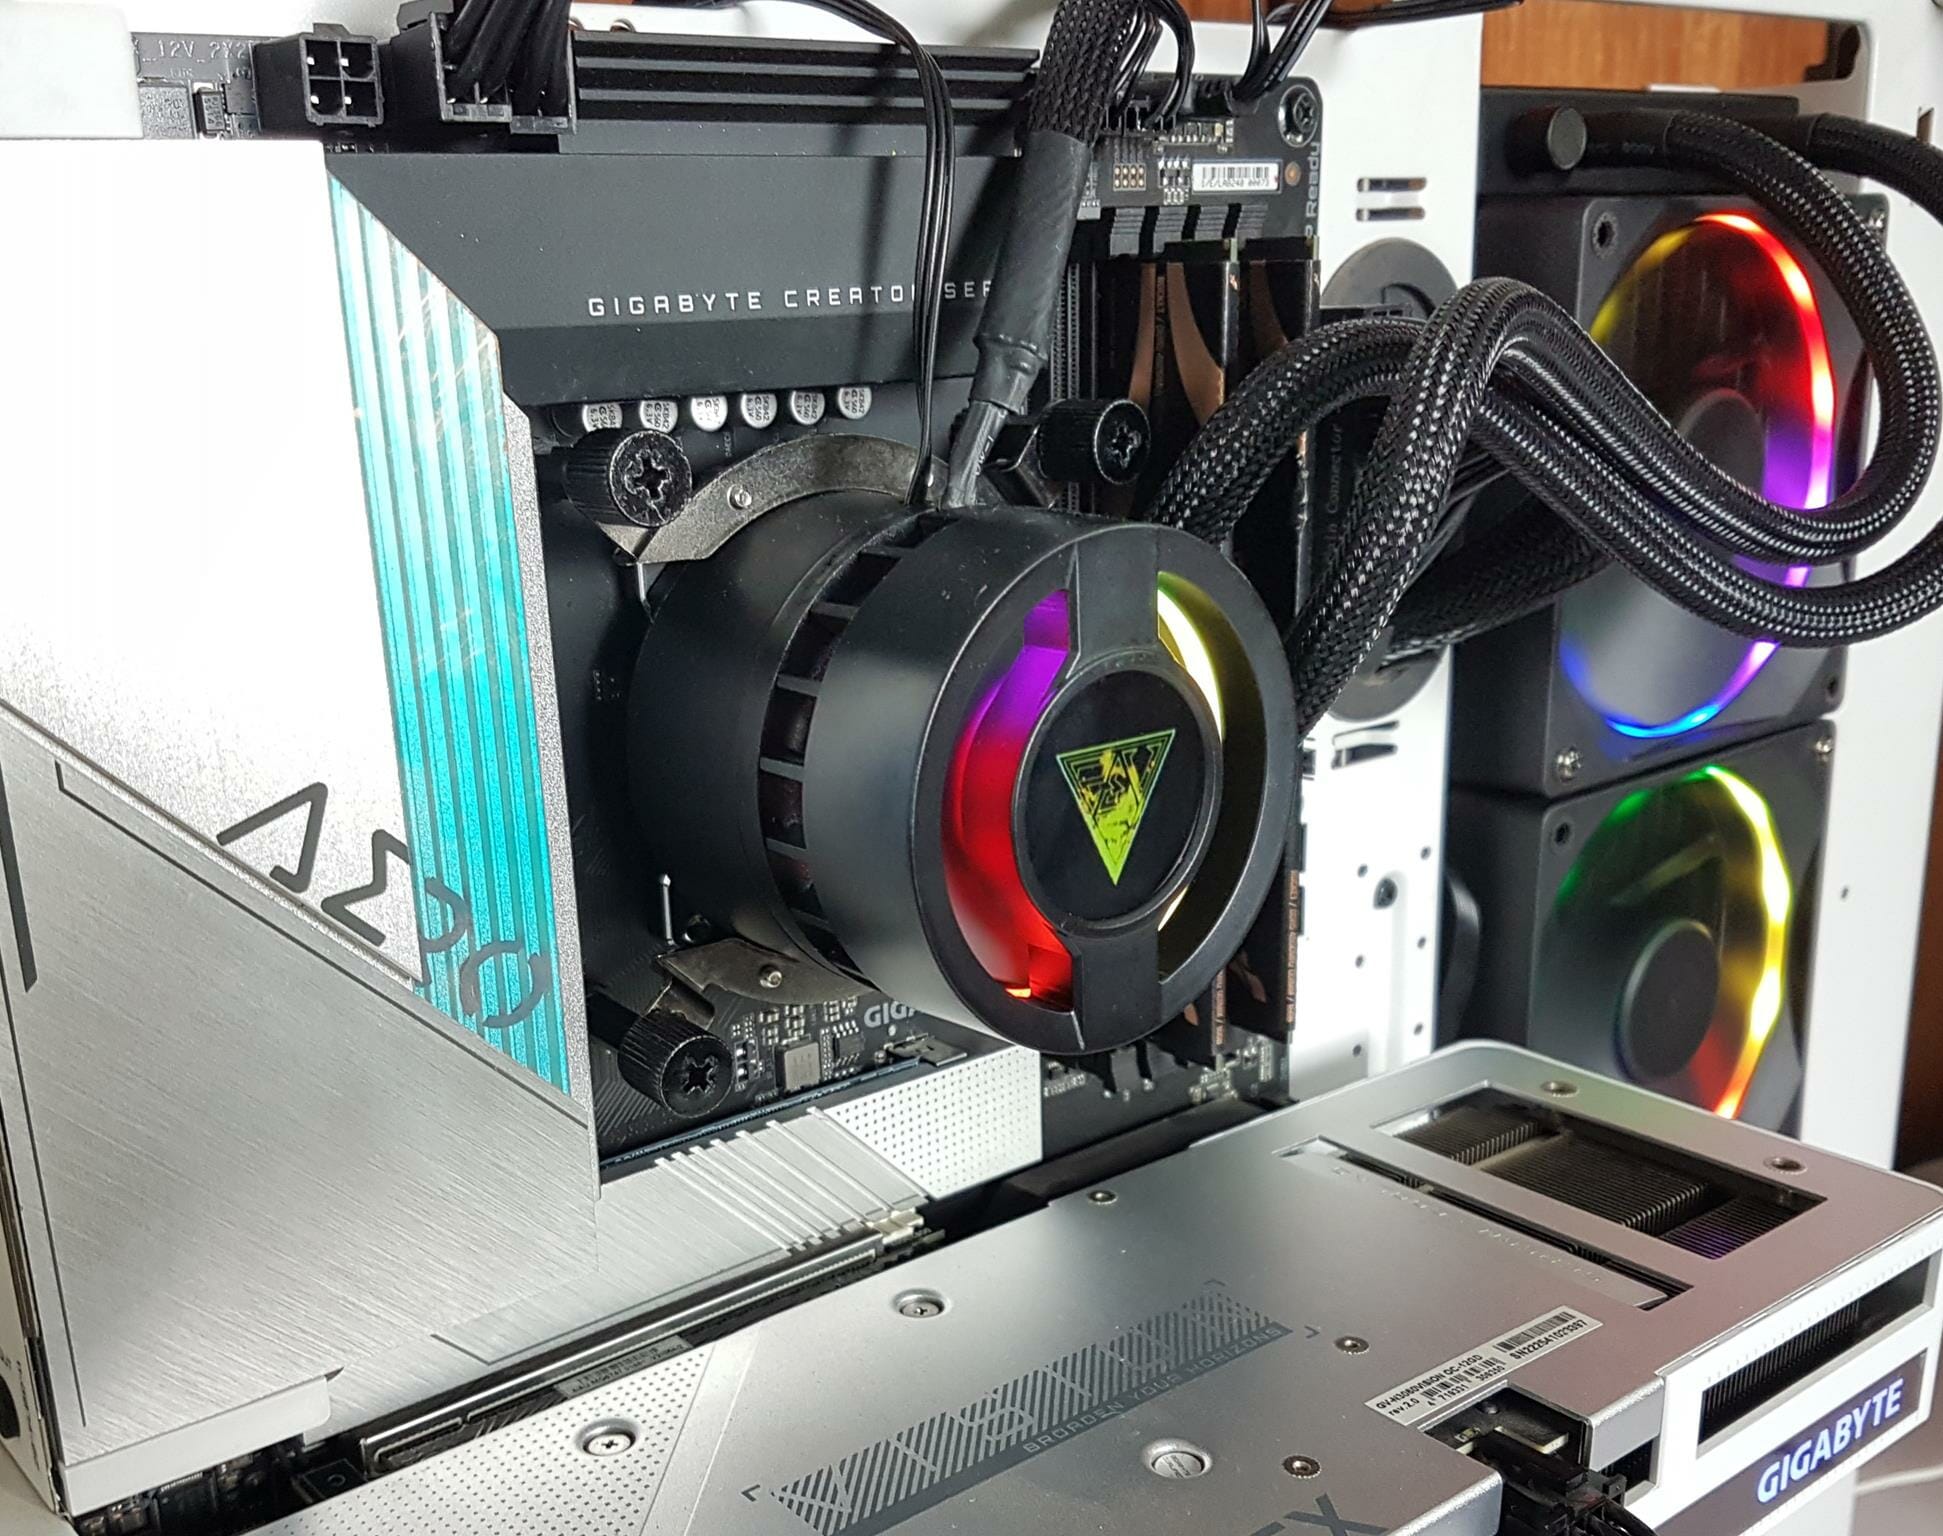
The pump housing is made of plastic material. GAMDIAS has not mentioned the dimension of this housing. As per our measurement using a digital caliper, the diameter is 69mm and the height is 69mm as well. Looking at the top is where your bucks are actually going for. There is an IPS LCD screen on the top in the center. We don’t the resolution of this screen. GAMDIAS has provided CHIONE CAST software to customize the display and control the A-RGB lighting effects. We can see a glimpse of an integrated diffuser running inside this housing. This has A-RGB LEDs underneath which light up to cover the embedded fan or in other words sit between the LCD and the fan.
We can also see the impeller of the micro-embedded fan below the LCD screen. There is no specification provided for this fan by GAMDIAS. There is no control over this fan either not even their software provides any control. Given the height of this housing and where this fan is located, we doubt it would contribute significantly to lowering the VRM temperature. The only way to know that is to disable this fan and record the thermals of the VRM fan. Repeat this process with fan enabled. Then we would know if there is actually any difference. From the design alone, this does not seem to make any difference. I think the opening on the top is left there so that this fan can draw in fresh air but not sure.
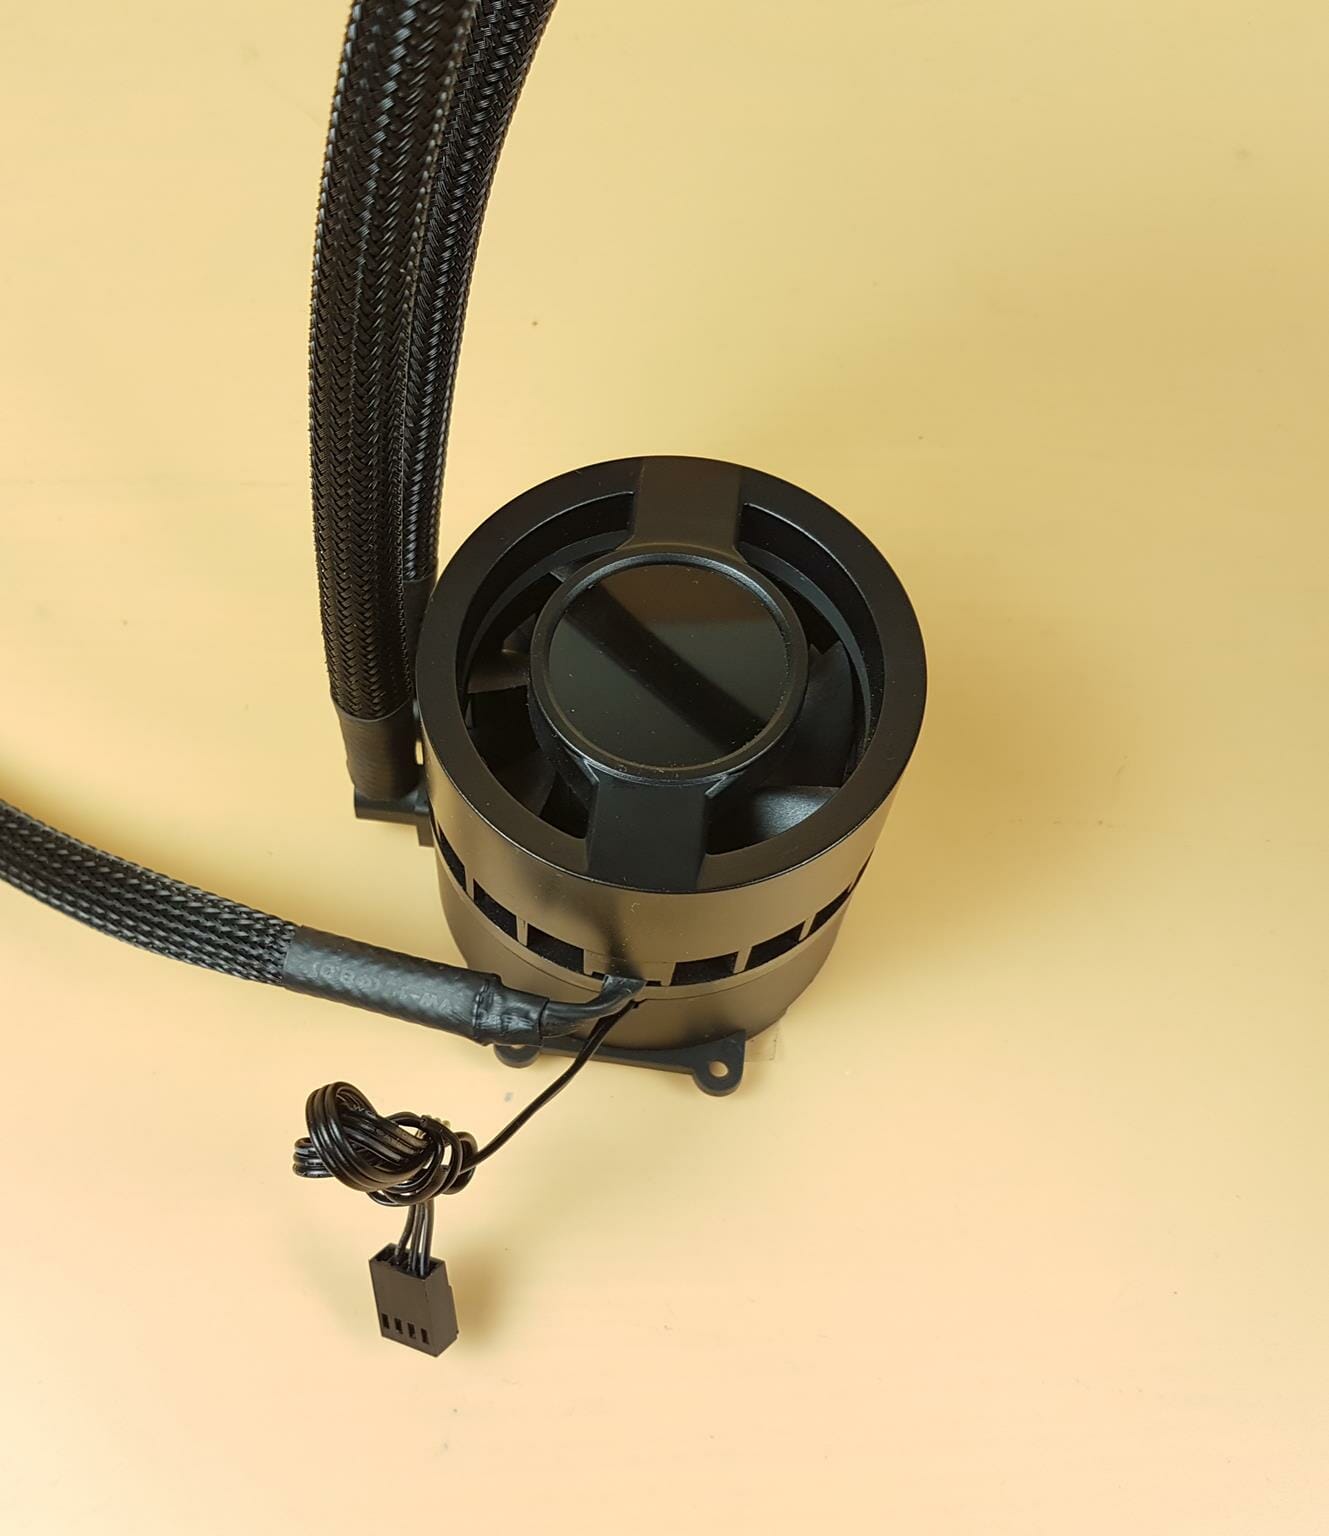
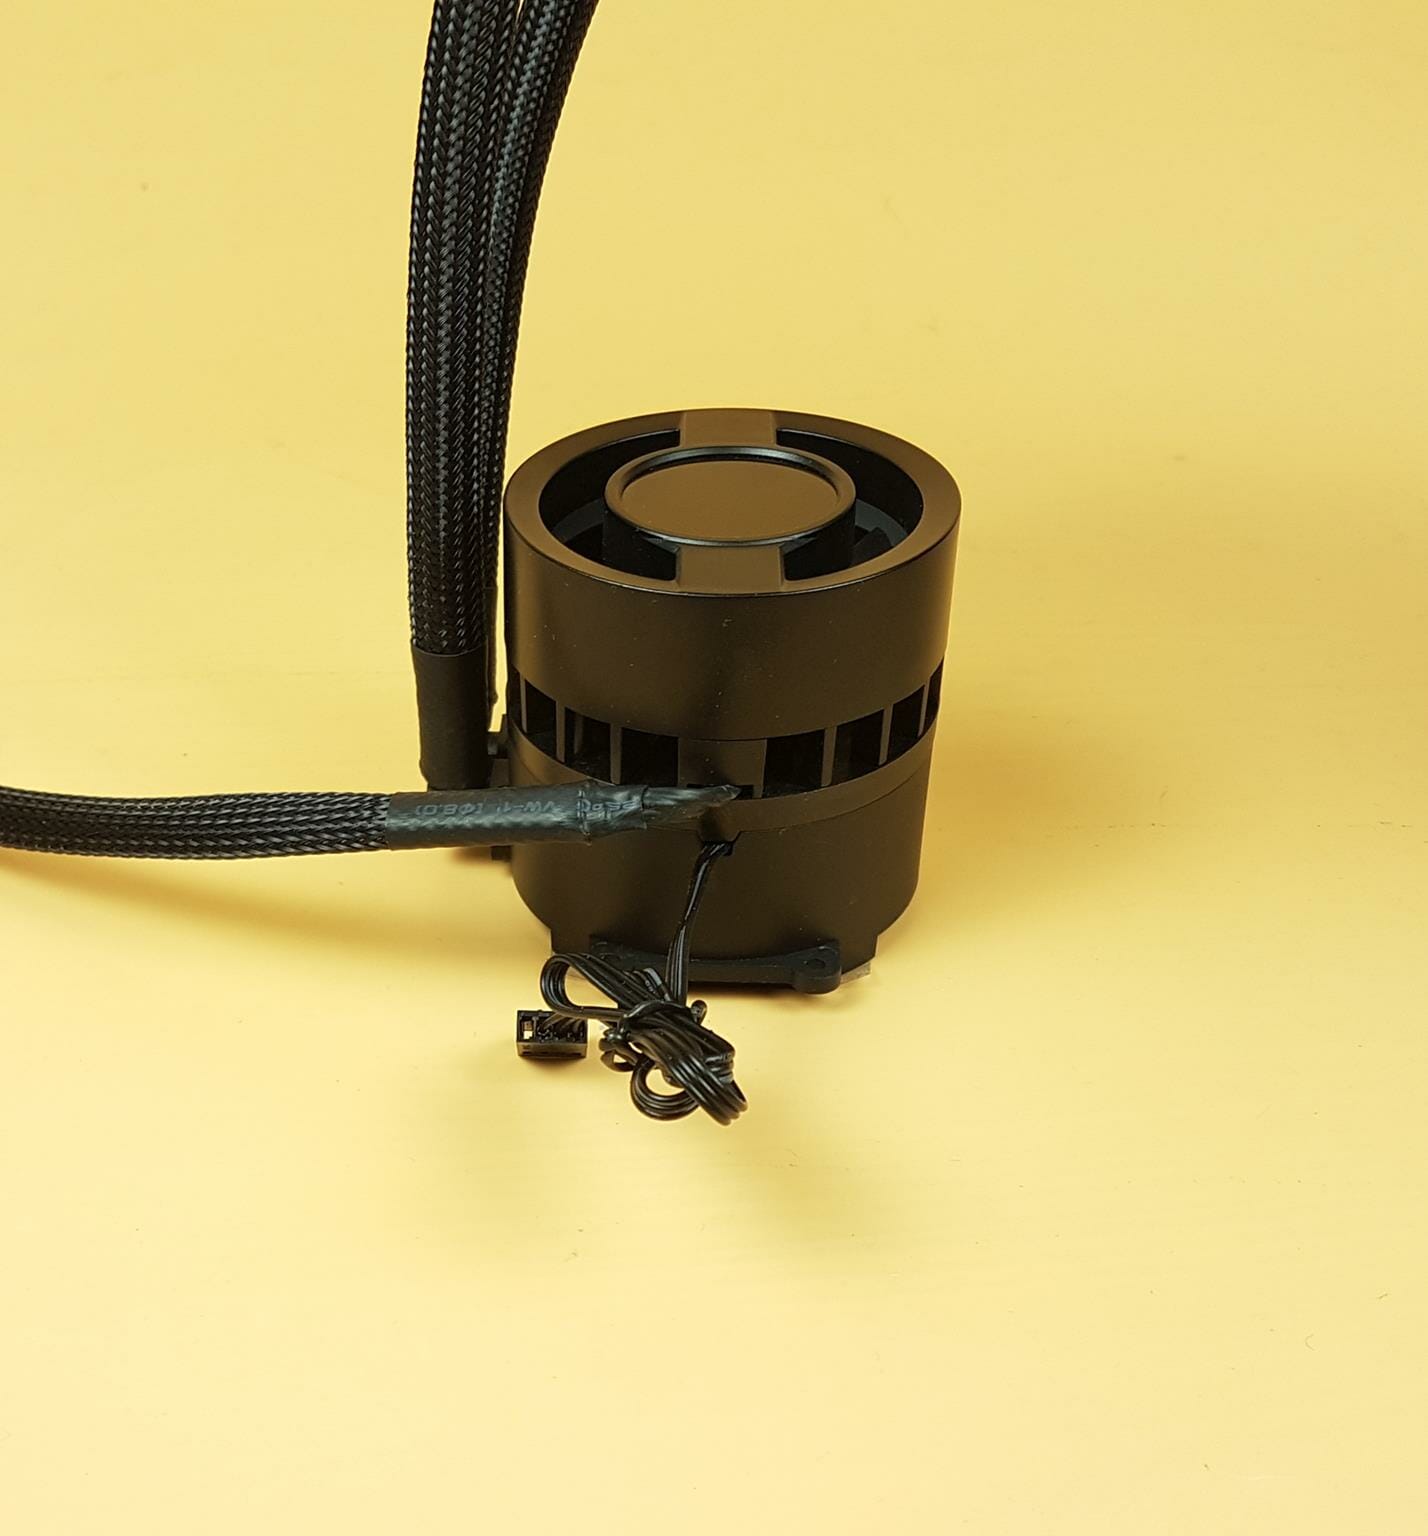
Looking at the side of this housing, we can see a bunch of cables coming out from this end. Also, take note of the cutouts or vents. These are there so that the fan can throw air out of the housing.
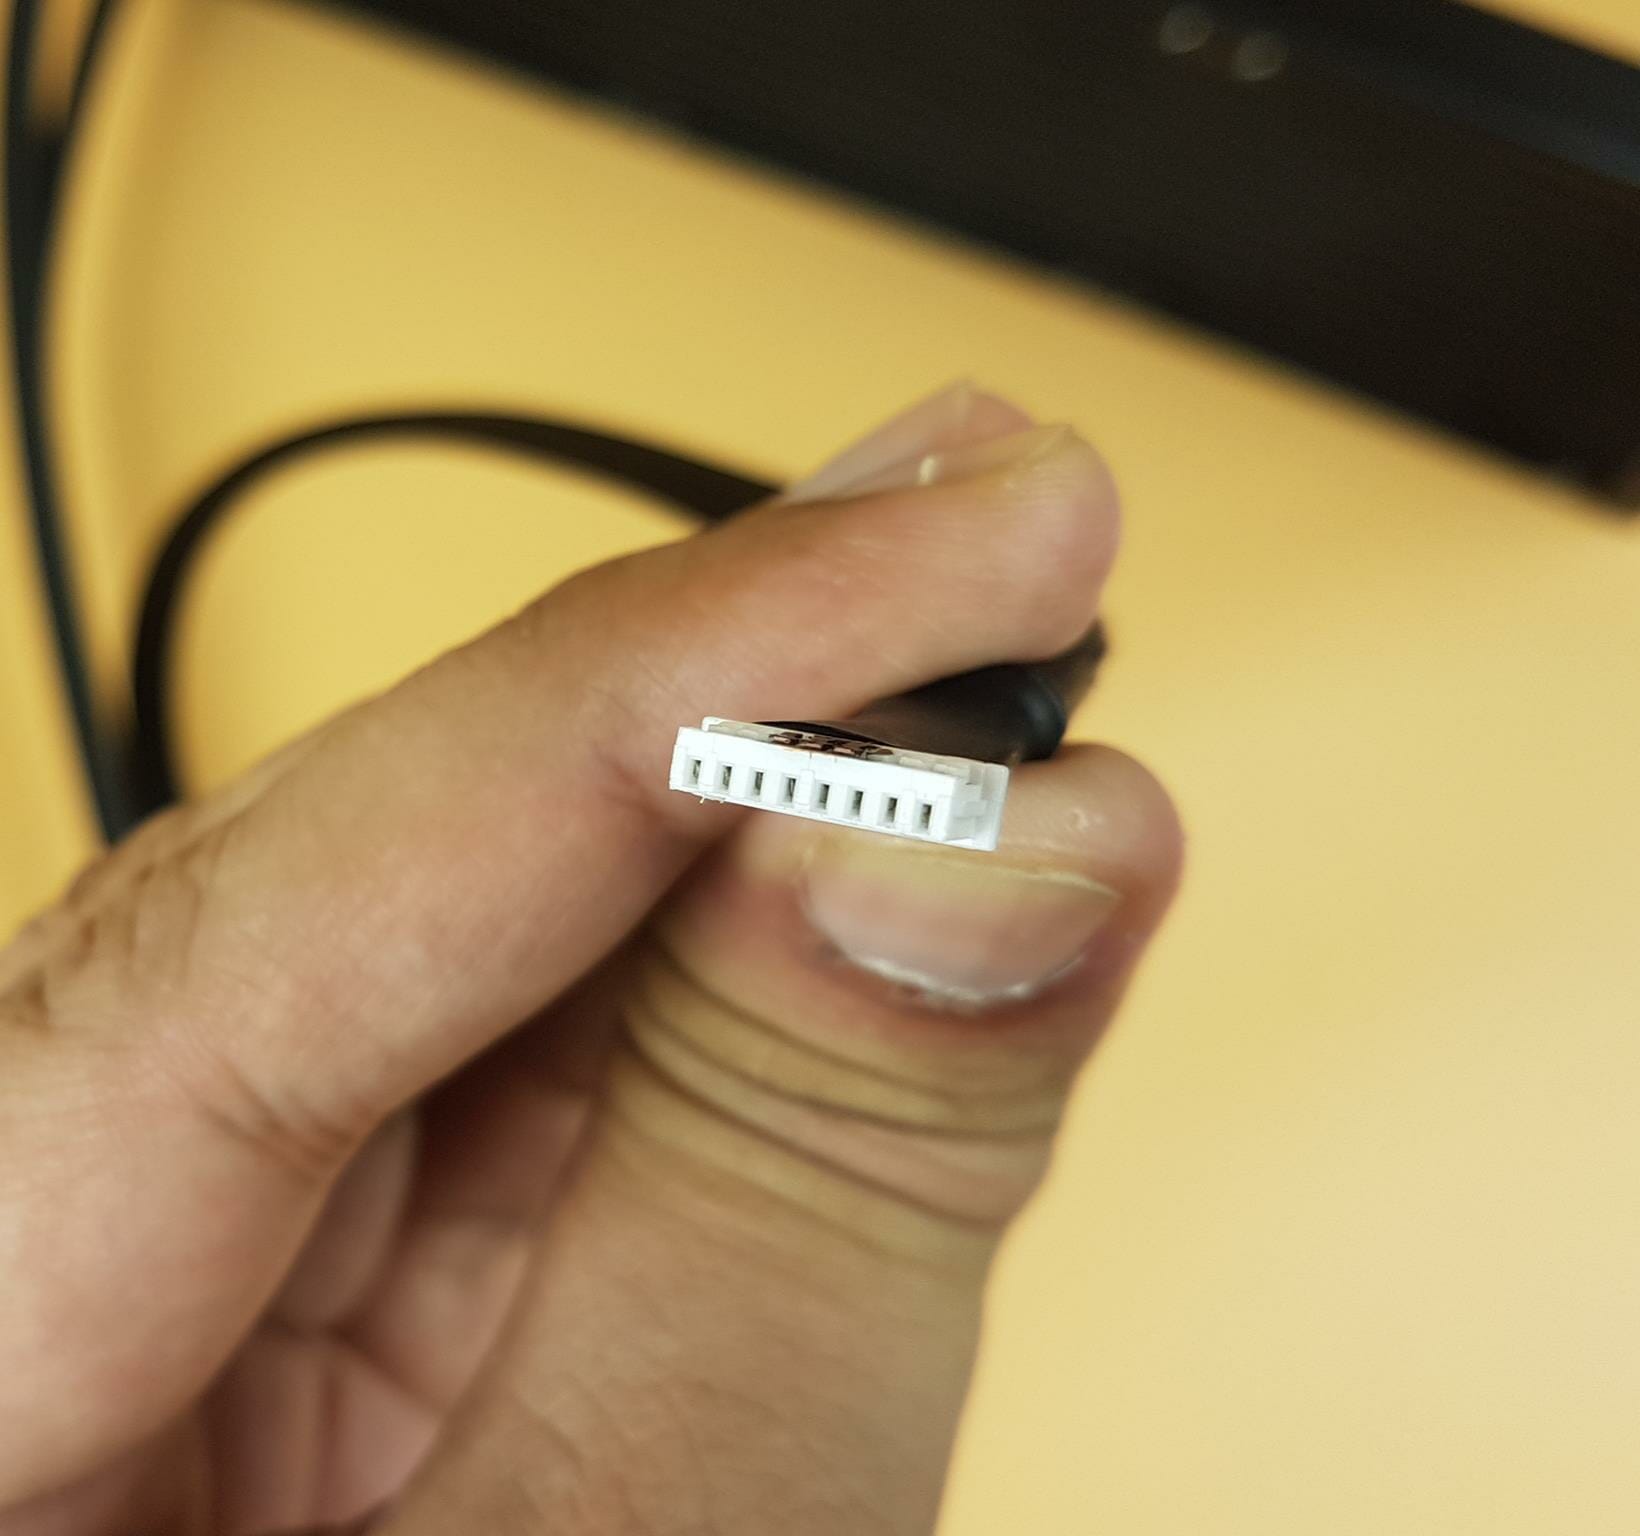
There is a sleeved cable coming out of the housing that has a proprietary 8-pin connector. This connector goes into the AEOLUS control box in the port labeled LCD.
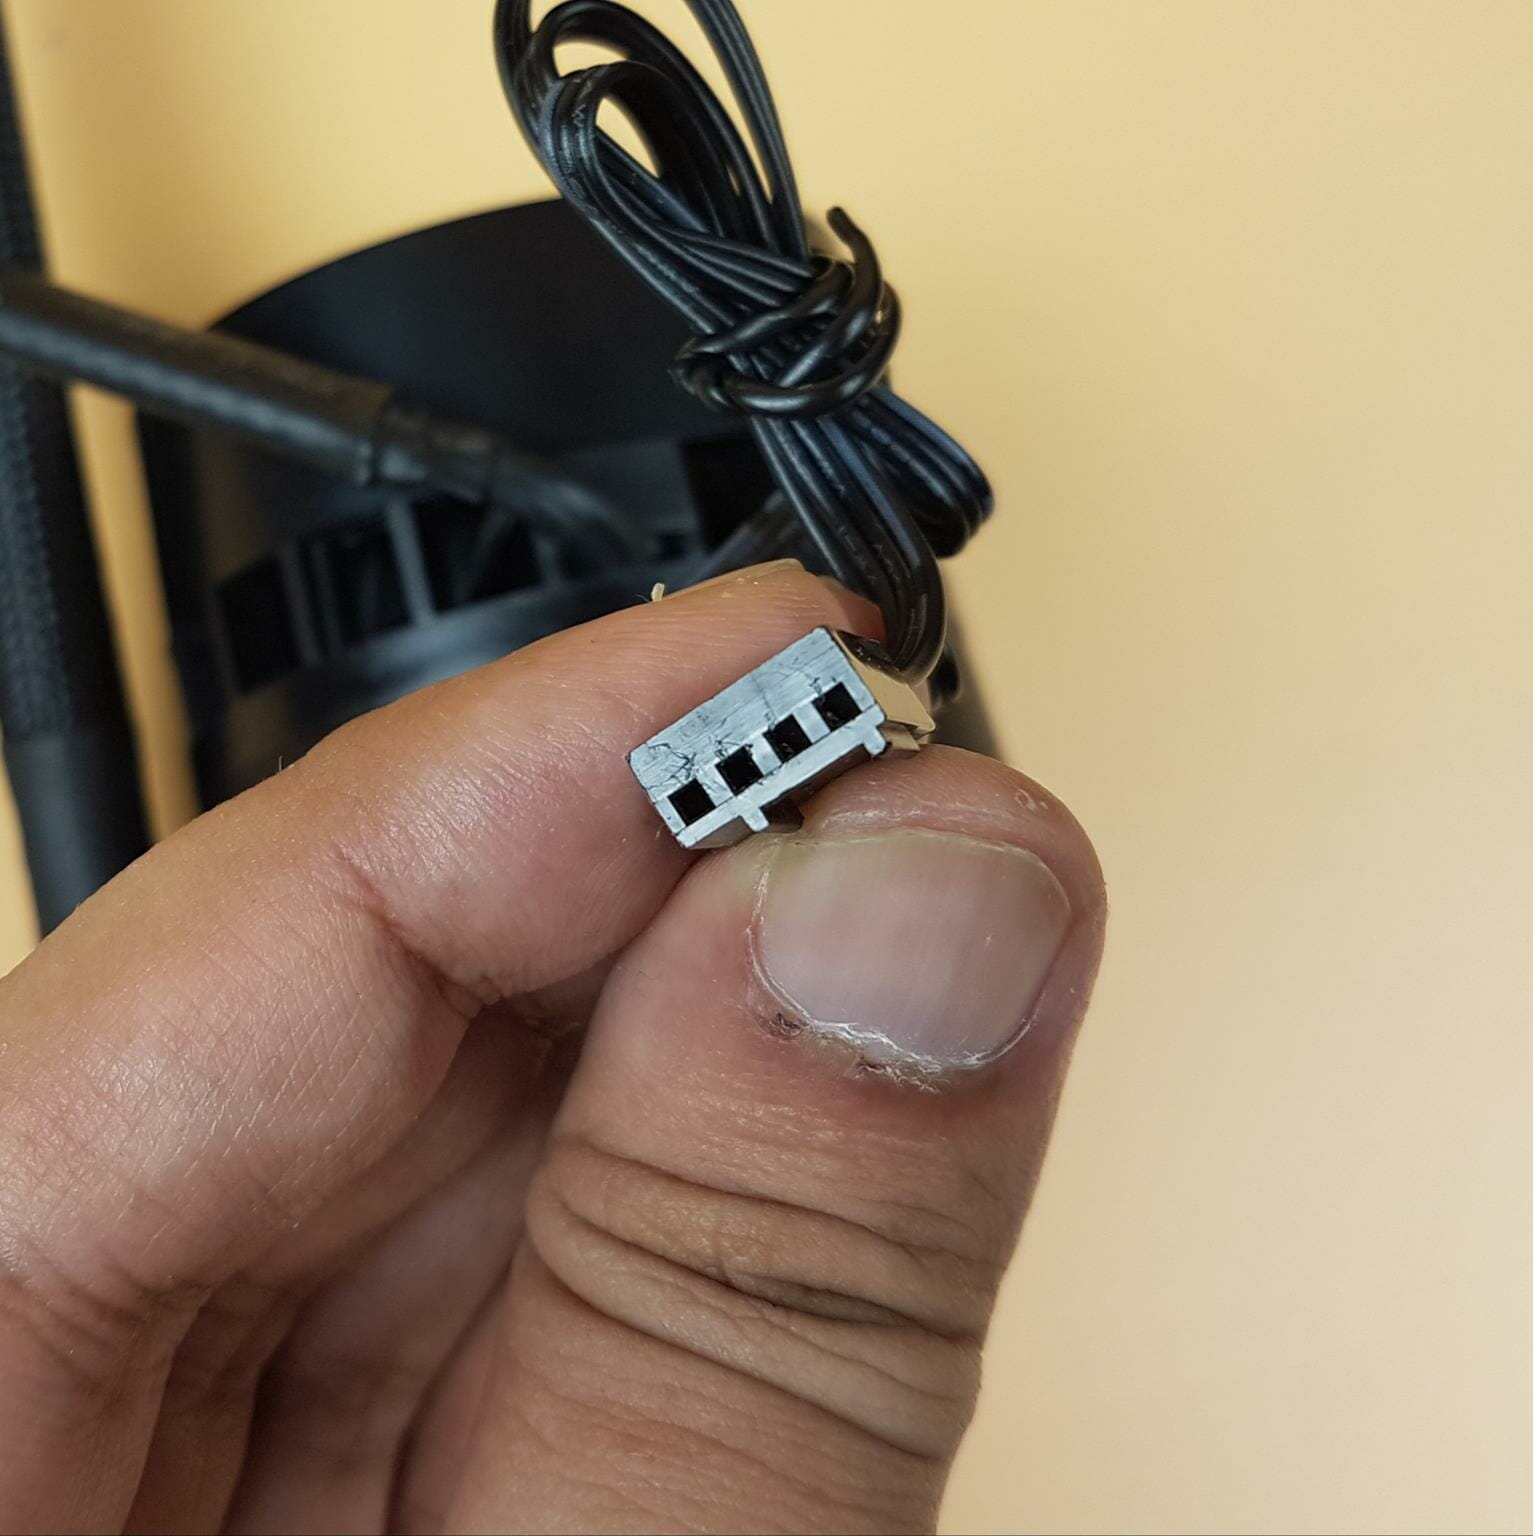
There is a 4-pin housing on the second cable. Don’t let it distract you. The housing is for the 4-pin PWM connector but they are using 3 wires which would mean this is still a DC-based control for the pump. There is a mention on GAMDIAS website that this pump is rated for 2800 RPM speed at 12VDC. Other than that, there is no specification provided for this pump.
The above picture shows another side of this housing. This is an average look on this pump housing and I would expect a better outlook when paying such a steep price.
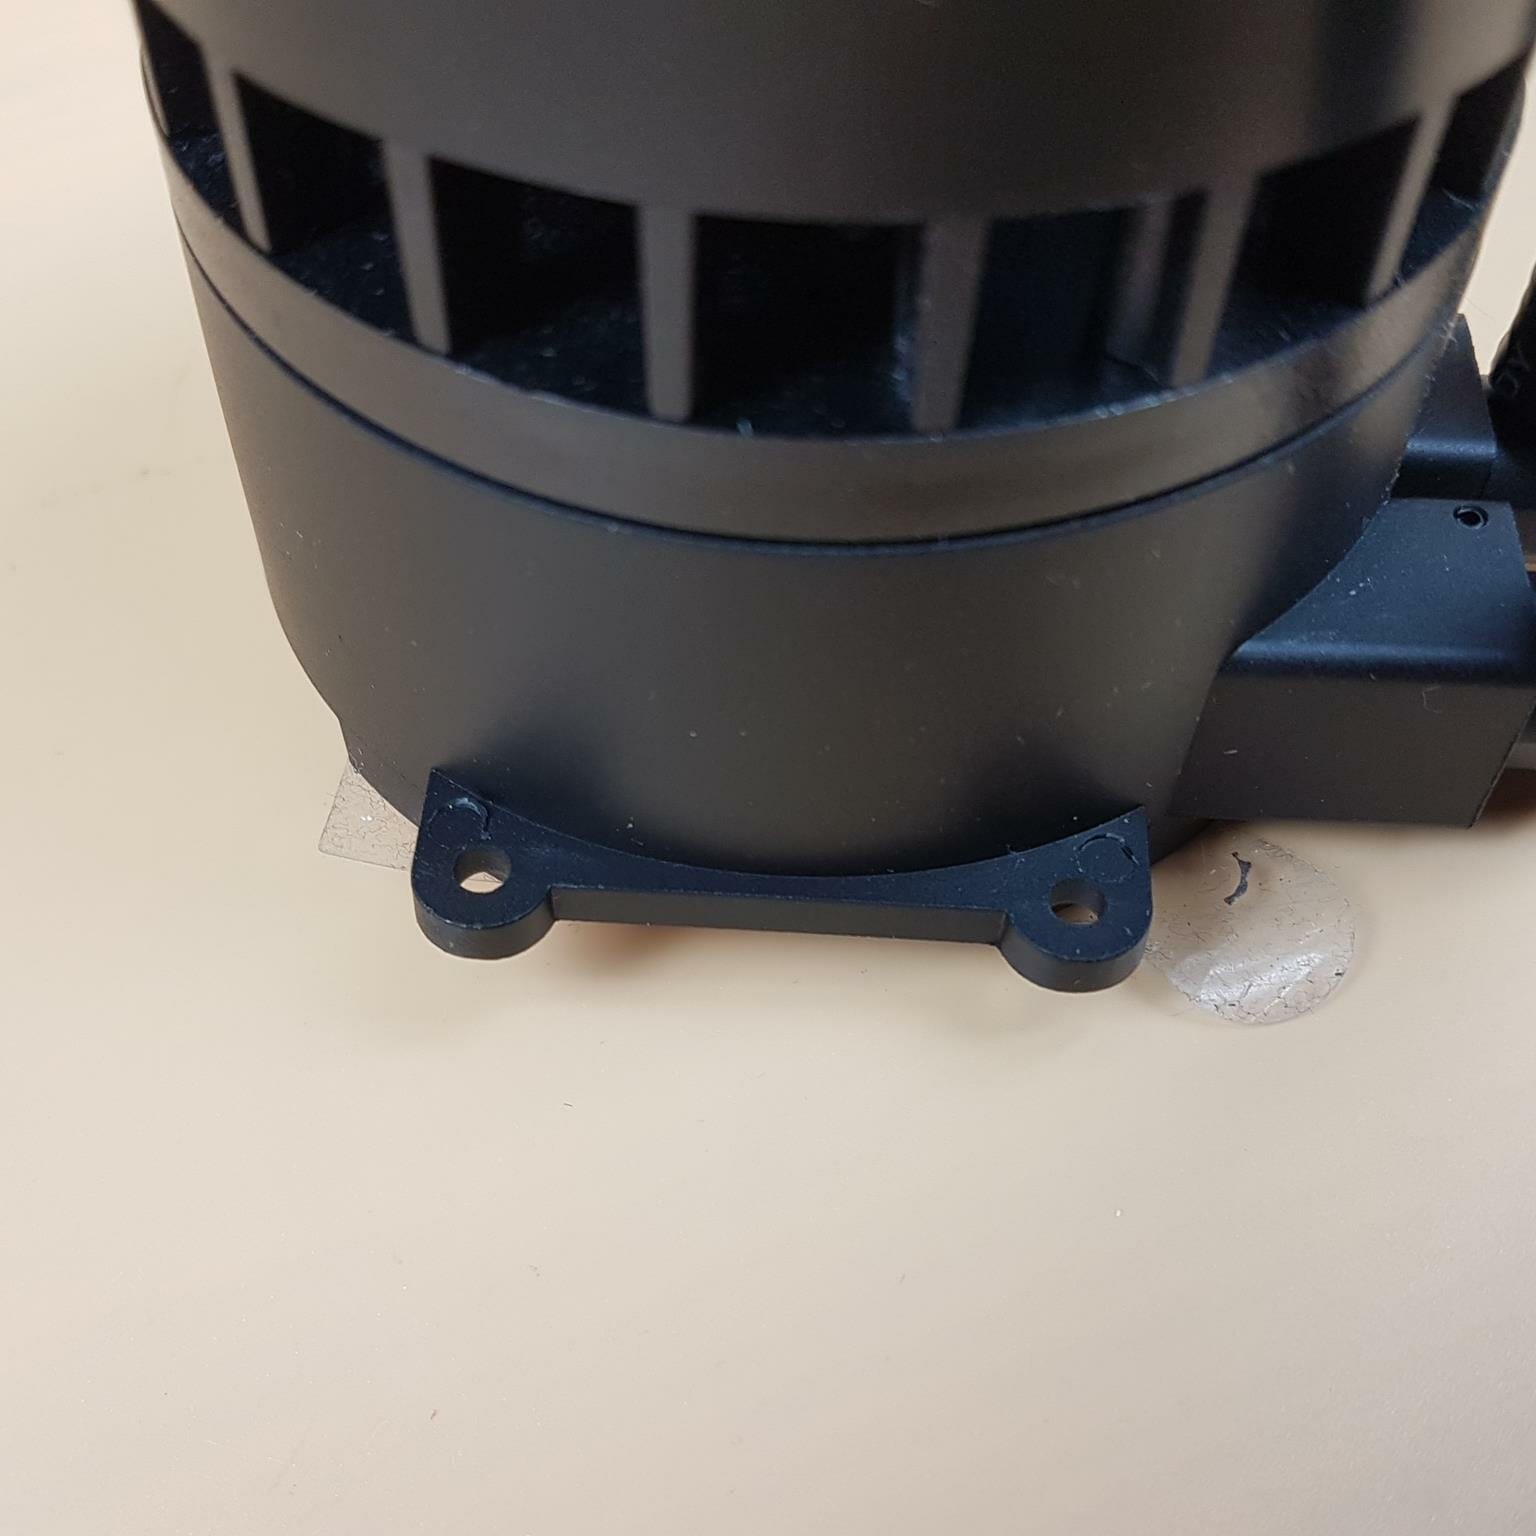
There is an area above the base which has mounting holes on the corners. This is where the mounting brackets are installed.
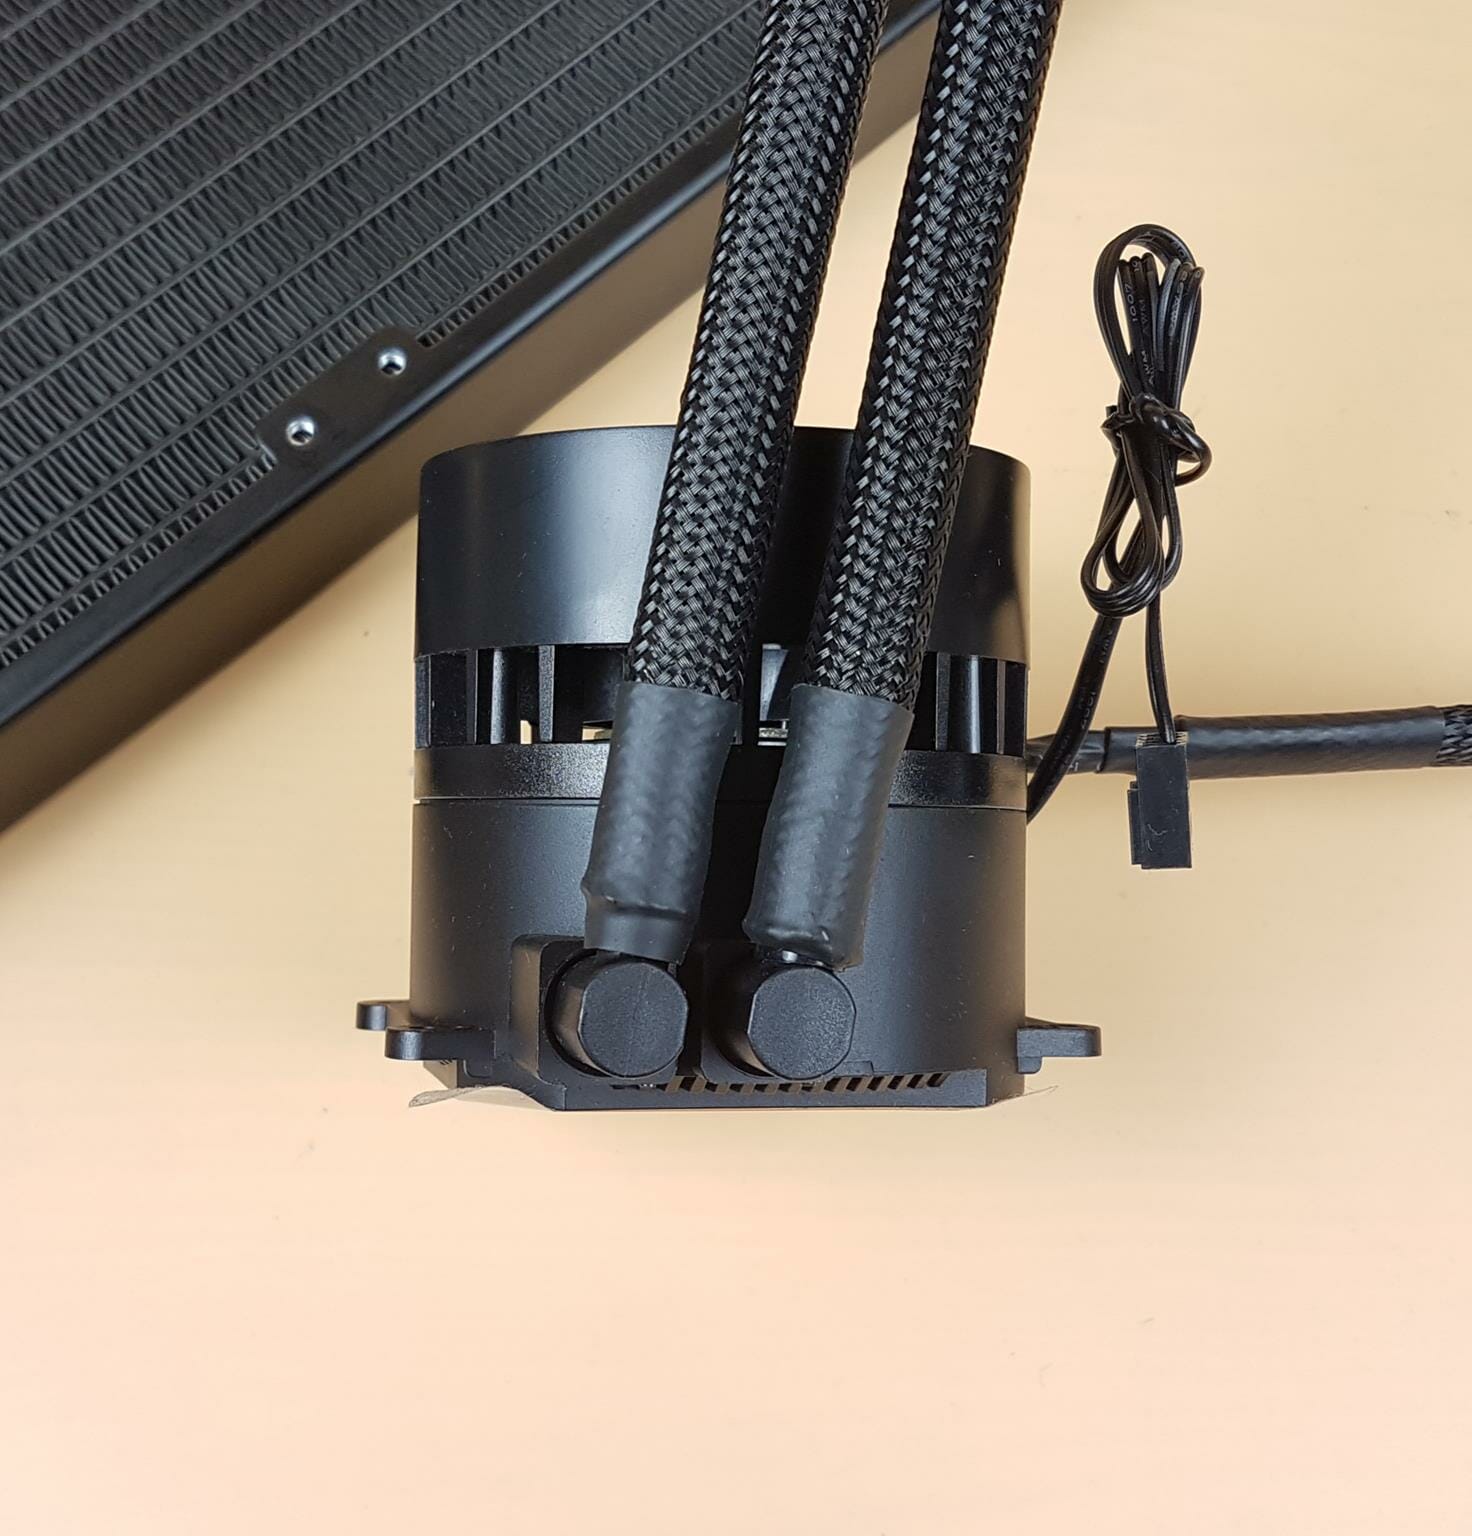
GAMDIAS has used right-angled adapter fittings on the pump housing. The tube connections are covered using heat shrinks. These fittings are not in the center as we are used to seeing in the majority of AIOs.
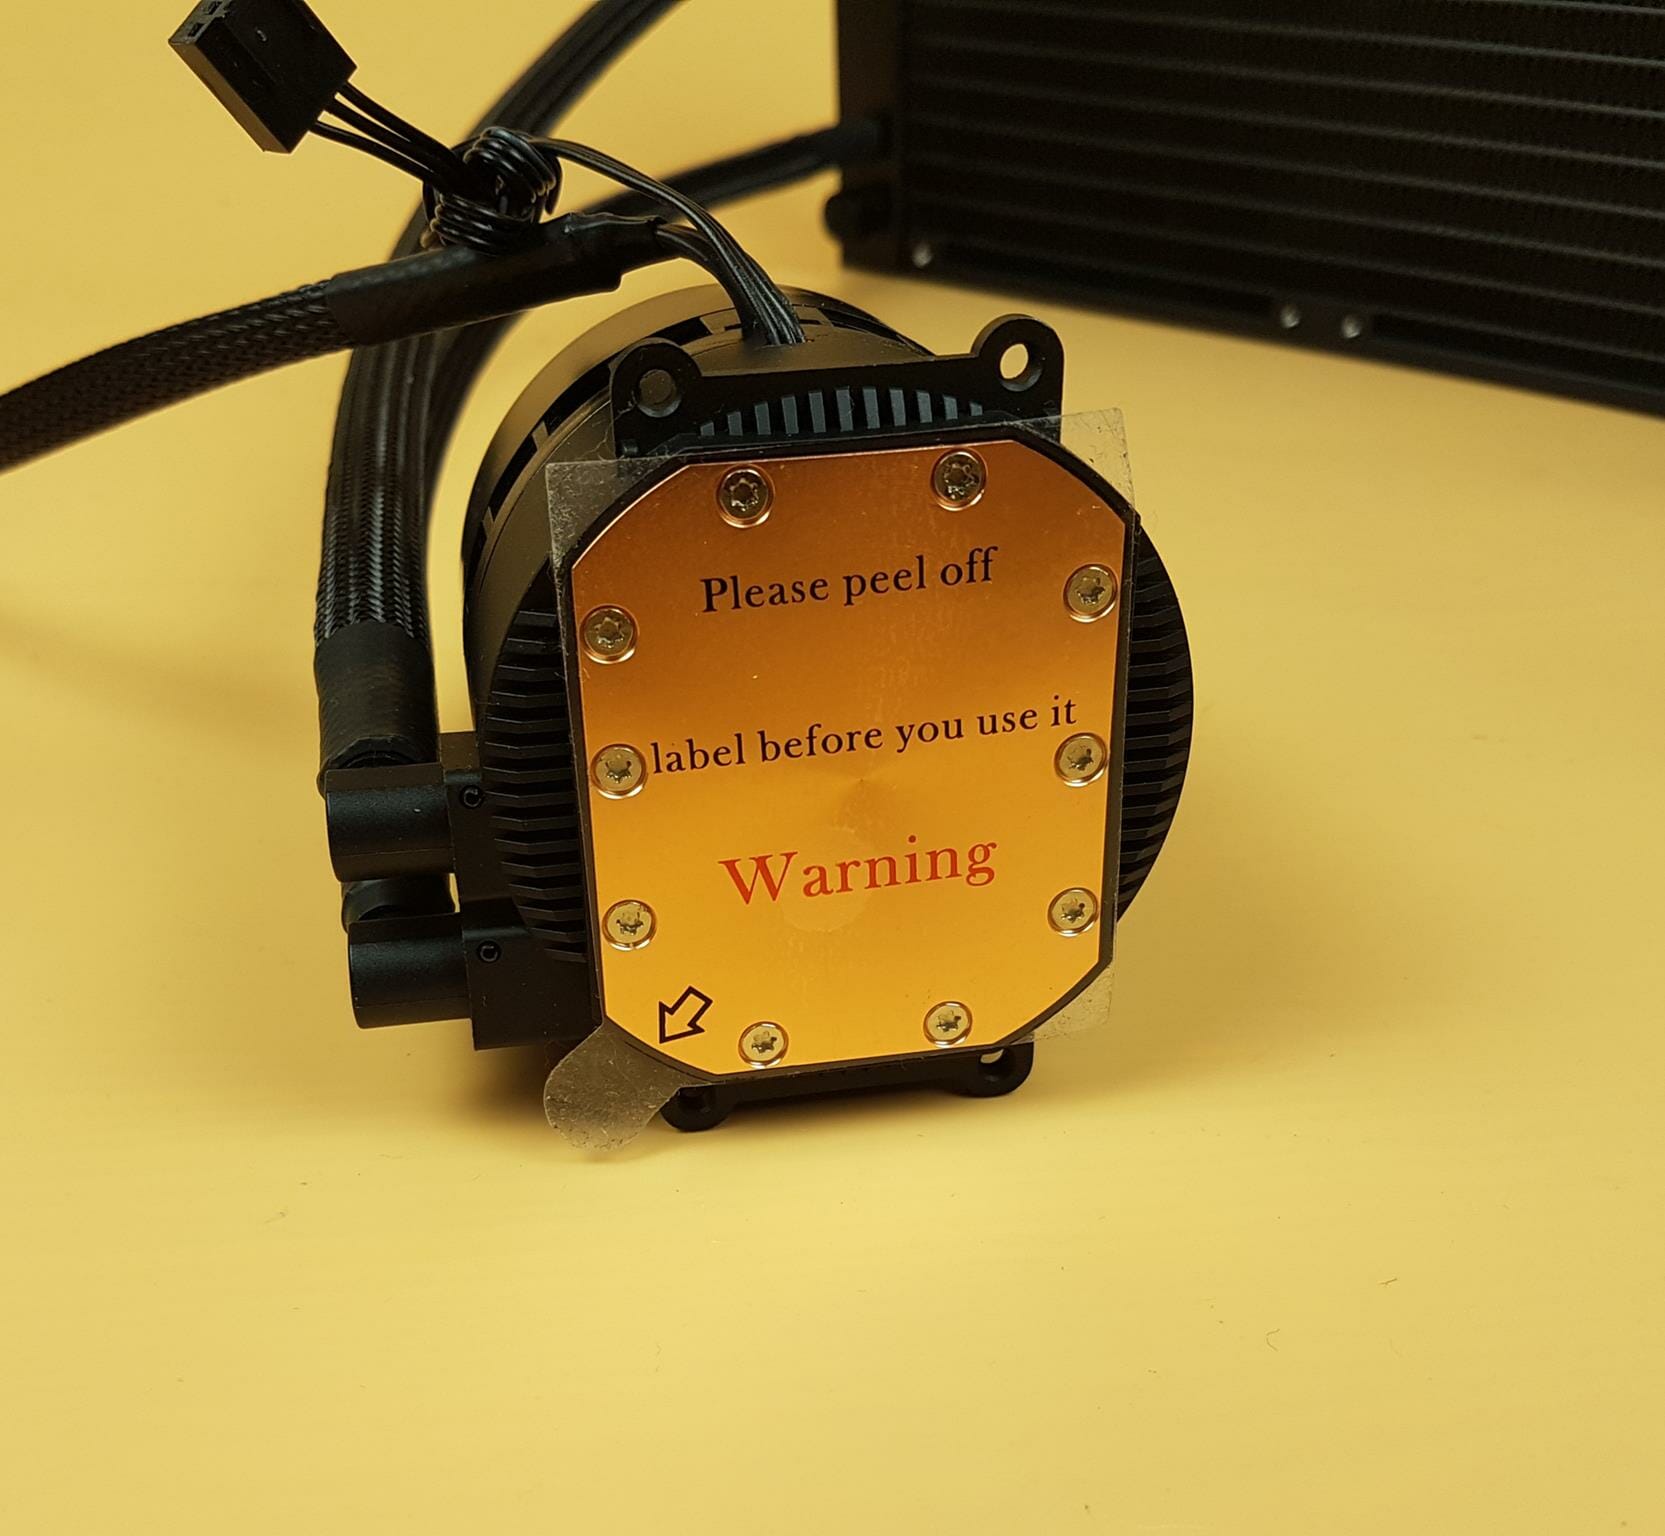
GAMDIAS is using a copper base on this cooler. This base has a size of 59x49mm approximately. A friendly reminder to take off the protective cover from this base before installing this cooler.
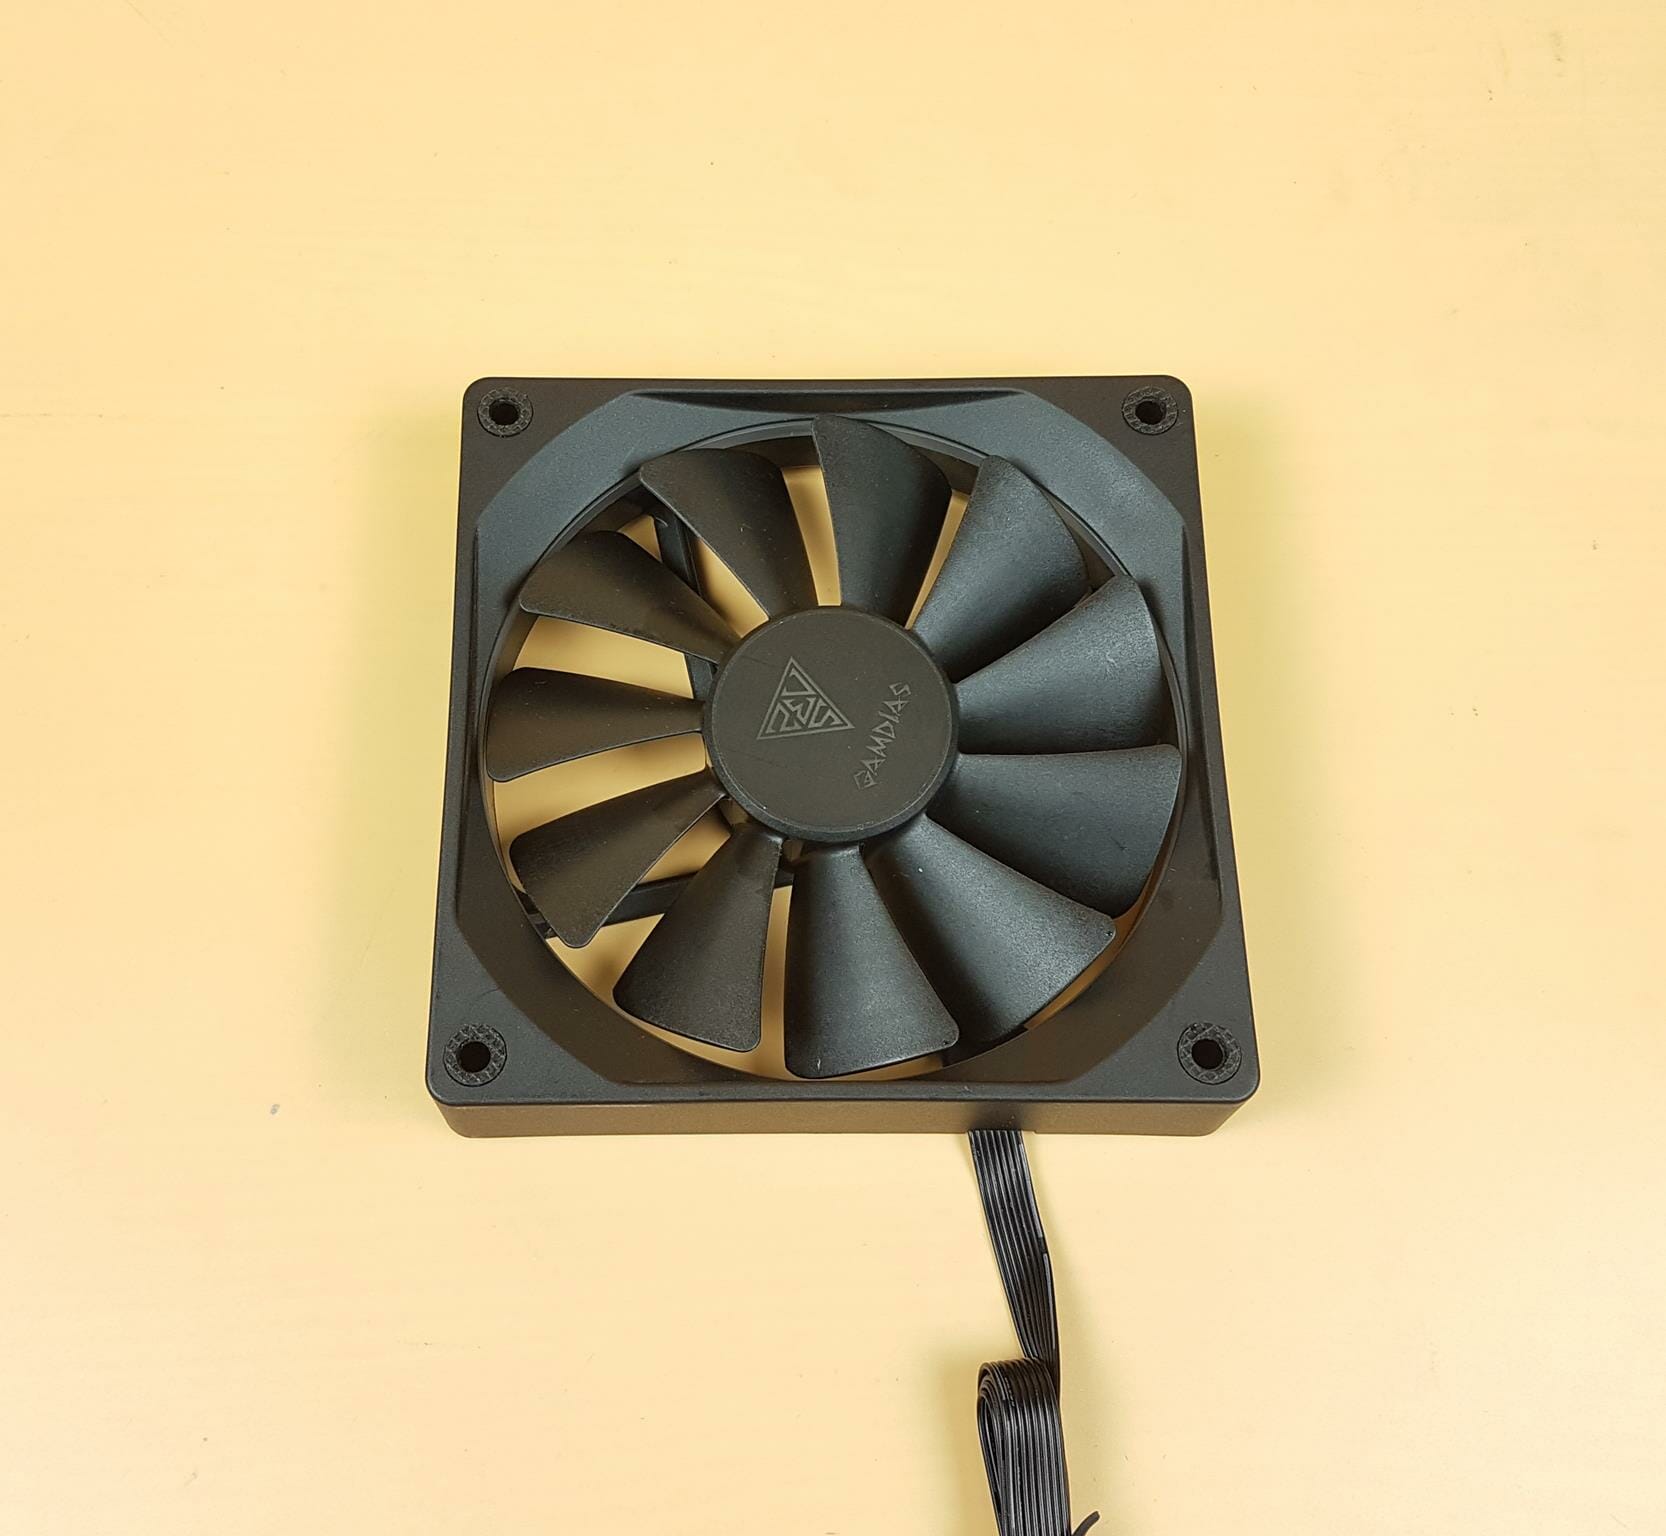
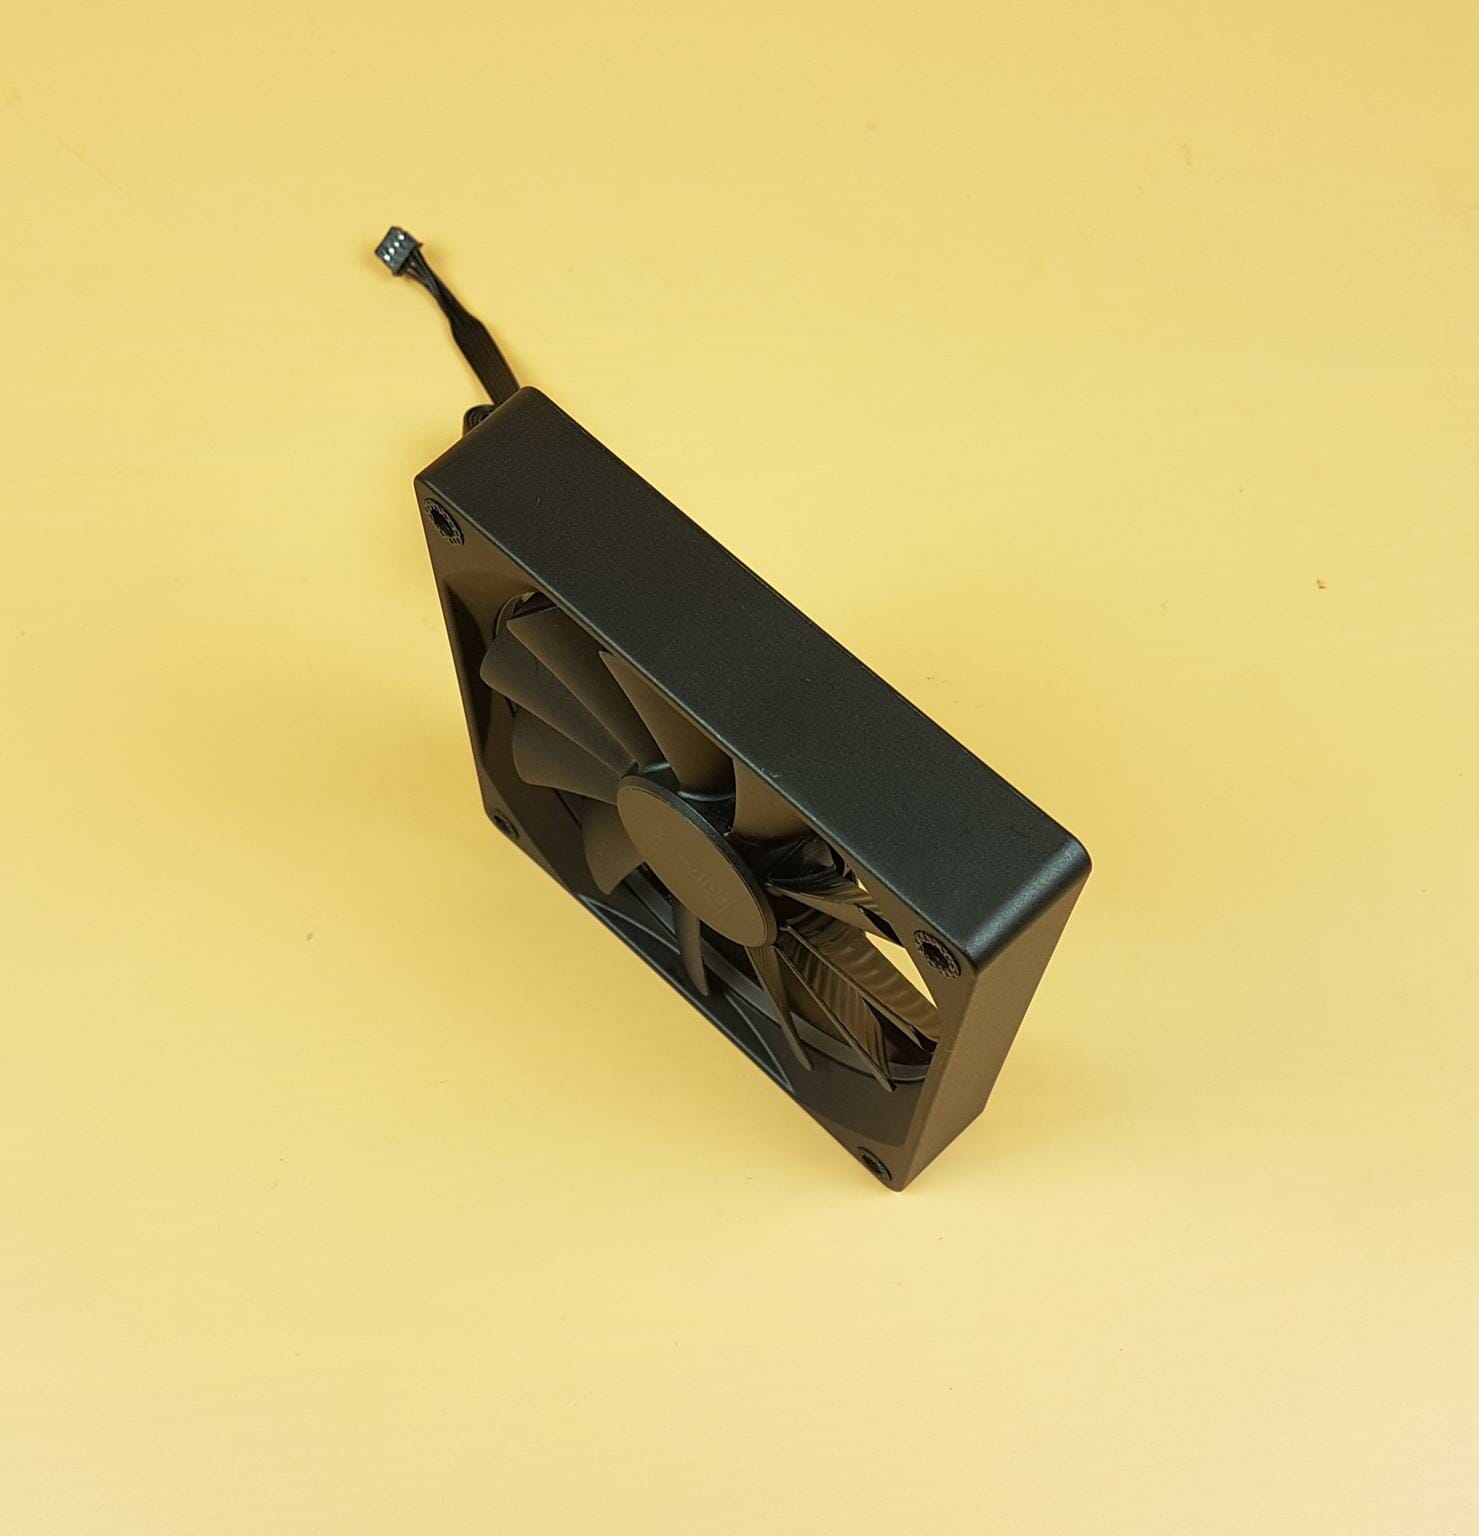
This cooler comes with three AEOLUS M3 1204R fans. One salient design of these fans is a chamfered design for air intake. The blades are in an alternate manner as well. Each fan has 11 blades. The blades are a bit protruding from the down-slope frame. GAMDIAS refers to A-RGB lighting on these fans as low-profile concentric lighting. There is a ring design diffuser running inside the main frame at the center which has a low profile outlook. Each mounting corner has an anti-vibration pad to reduce the vibrational acoustic.
These fans have a close design. The frame looks sturdy as well. There is no arrow marking that shows directions.
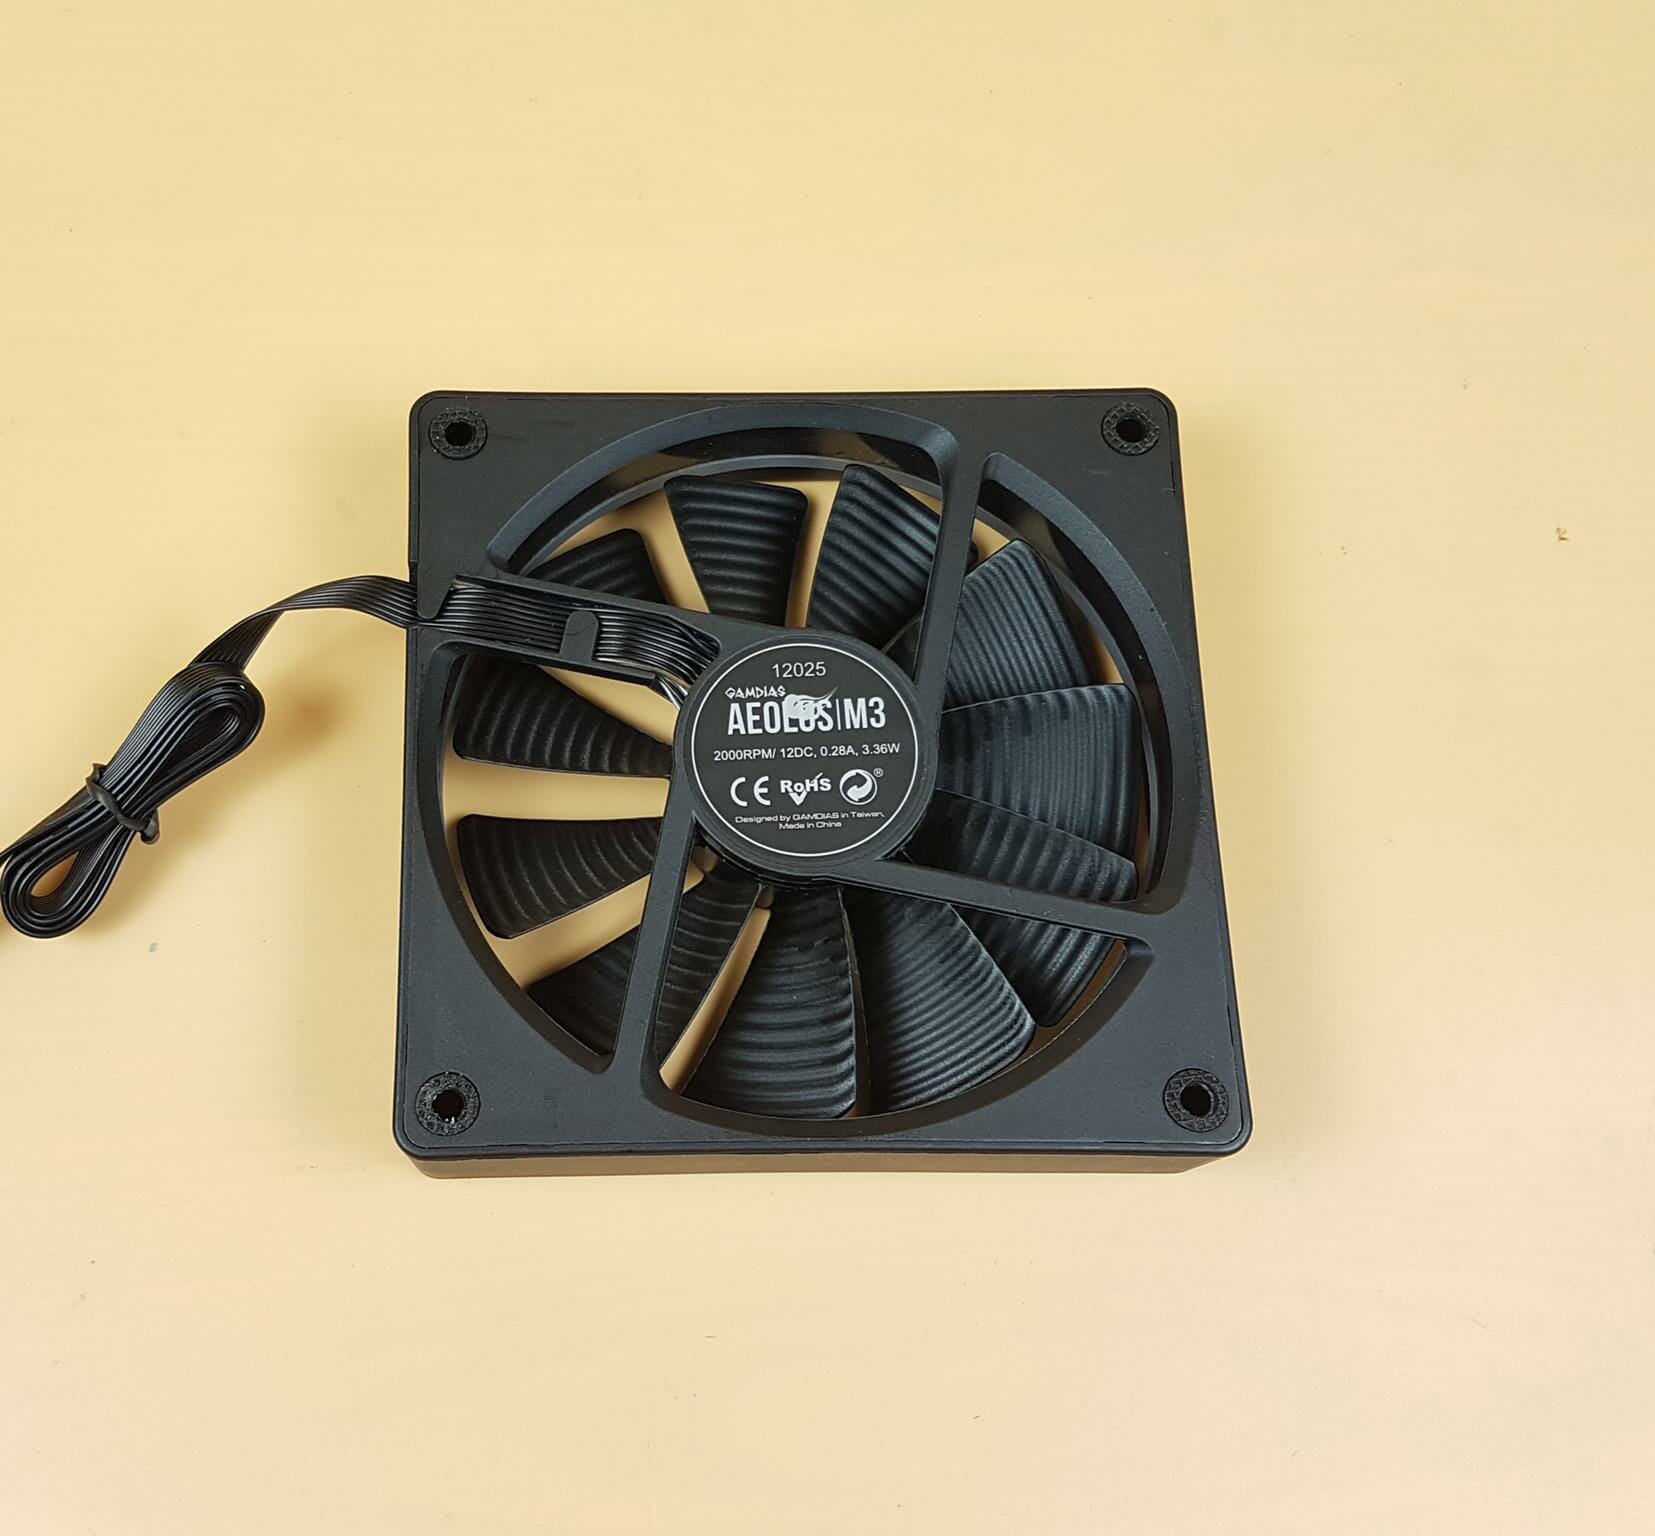
The backside of the blades has a layered design that we usually see on be quiet! fans. There is a 4-arms assembly with one arm having an inset. The wires are routed to this inset area.
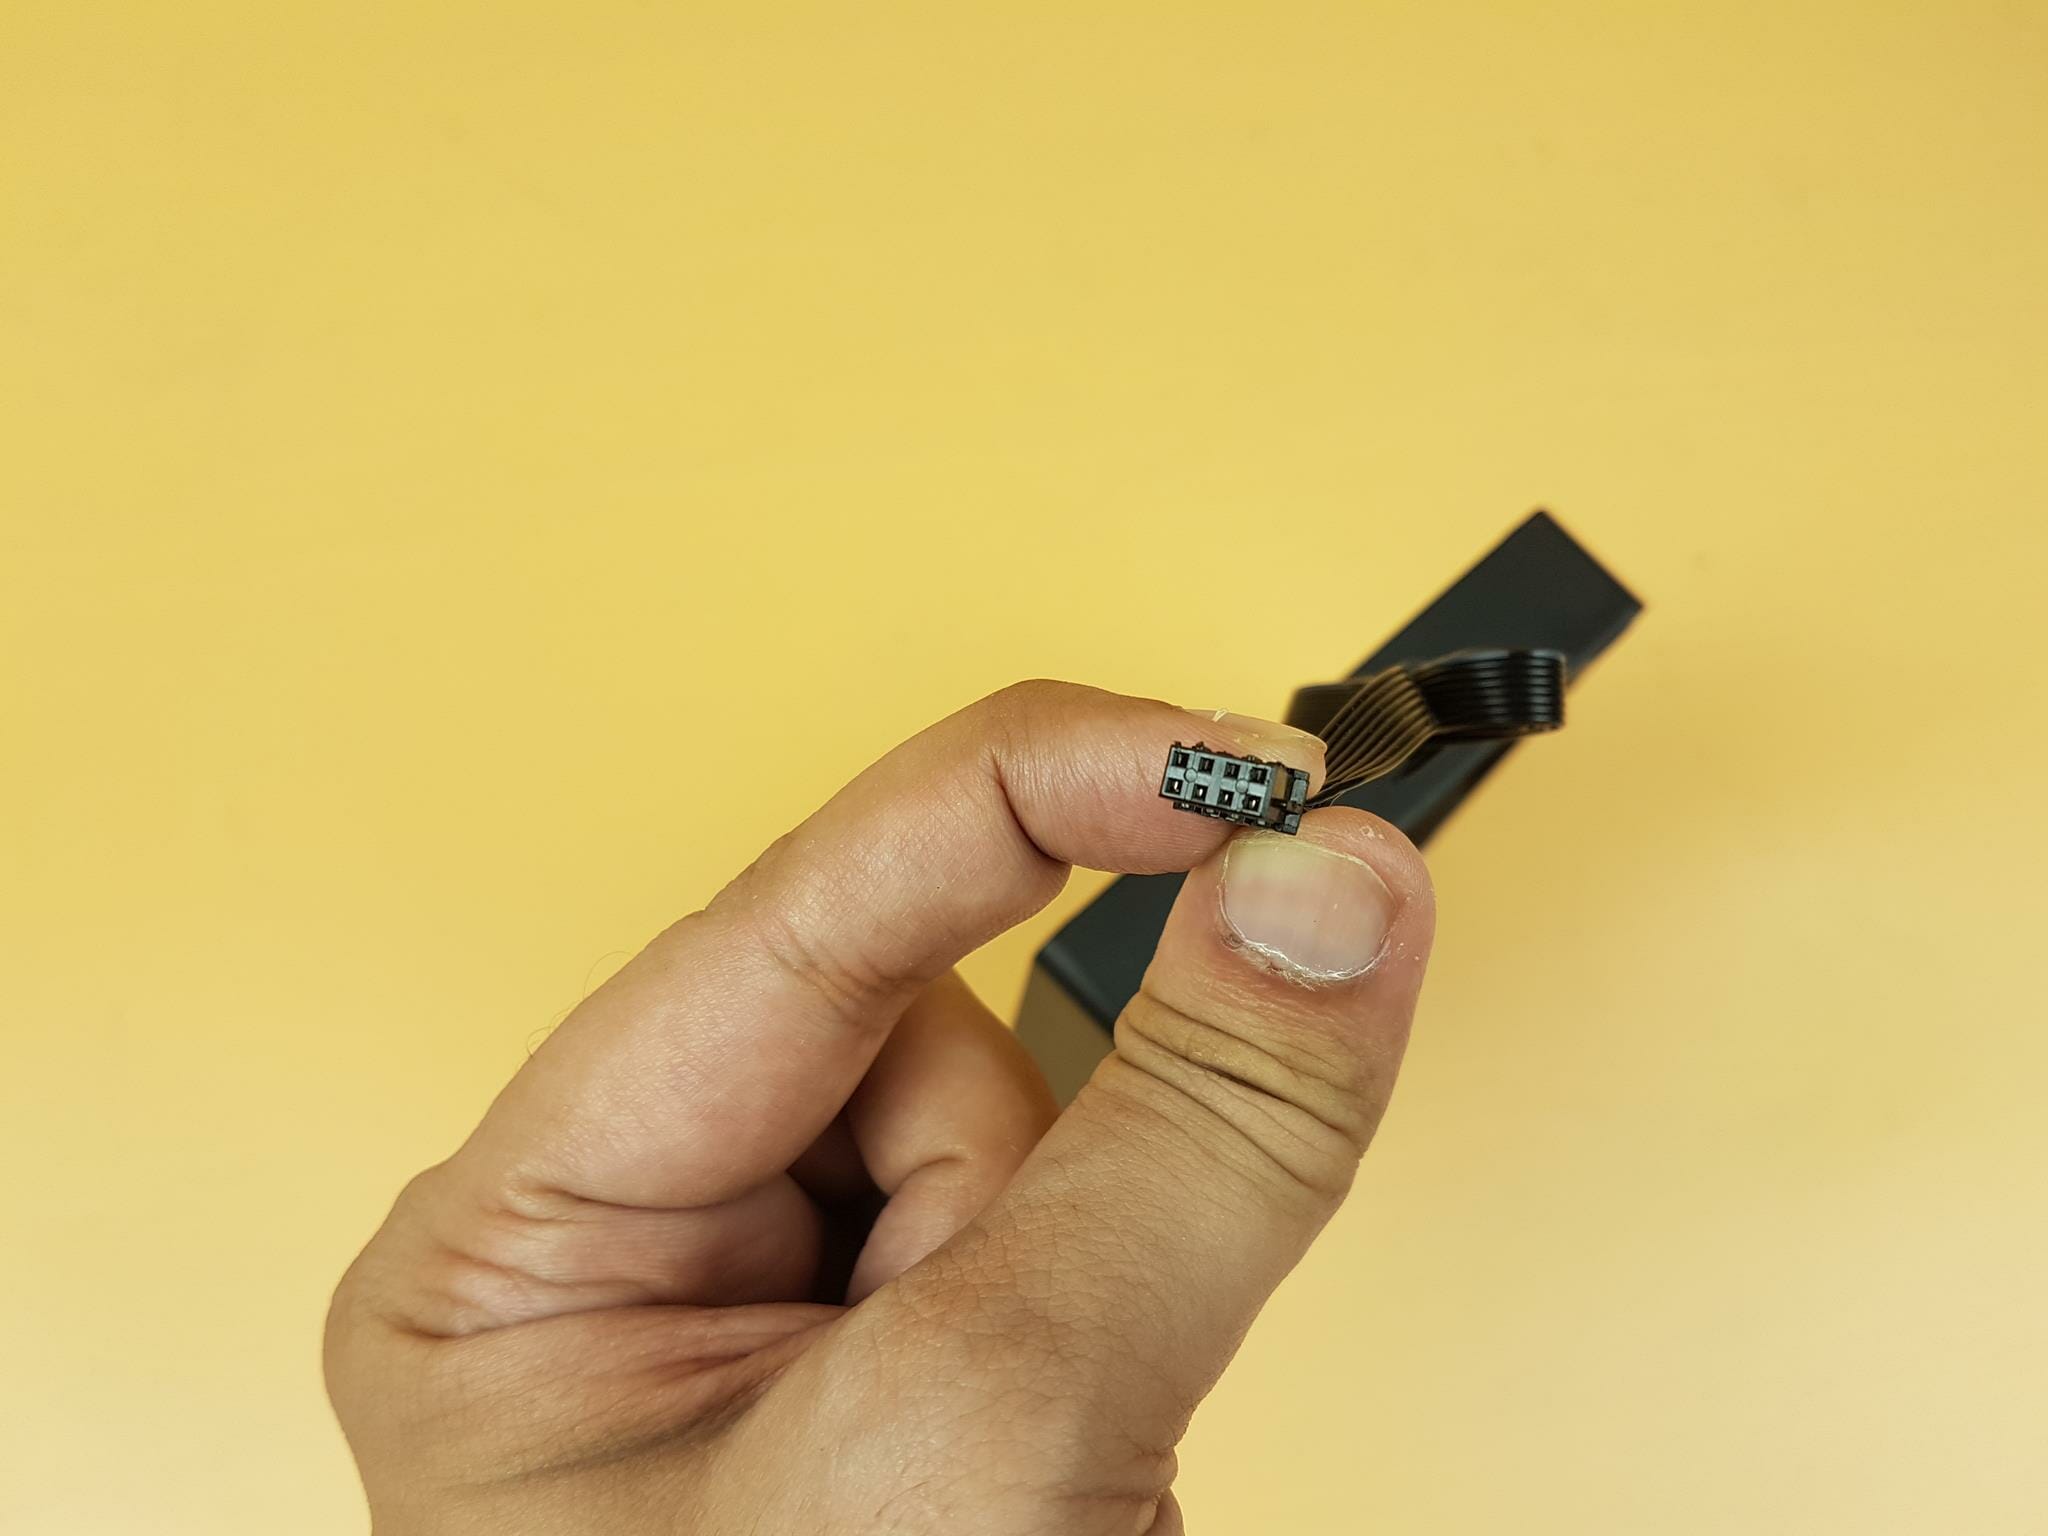
GAMDIAS is using a proprietary 8-pin connector on these fans. This means we are totally dependent on the provided control box. In case of any issue or defect in that control box would make the complete unit useless though this design sites good in GAMDIAS ecosystem. I hope their customer service is good otherwise spending USD $ 240 on such a design is unwise in my opinion.
Specifications of these fans are:
| Dimension | 120x120x25mm |
| Type | 8-pin Proprietary Connector |
| Speed | 800 – 2000 ± 10% RPM |
| Airflow | 69.01 CFM |
| Air Pressure | 2.37 mmH₂O |
| Noise | 10 to 31 dB(A) |
| Bearing Type | Hydraulic Bearing |
| Rated Voltage | 12VDC |
Installation
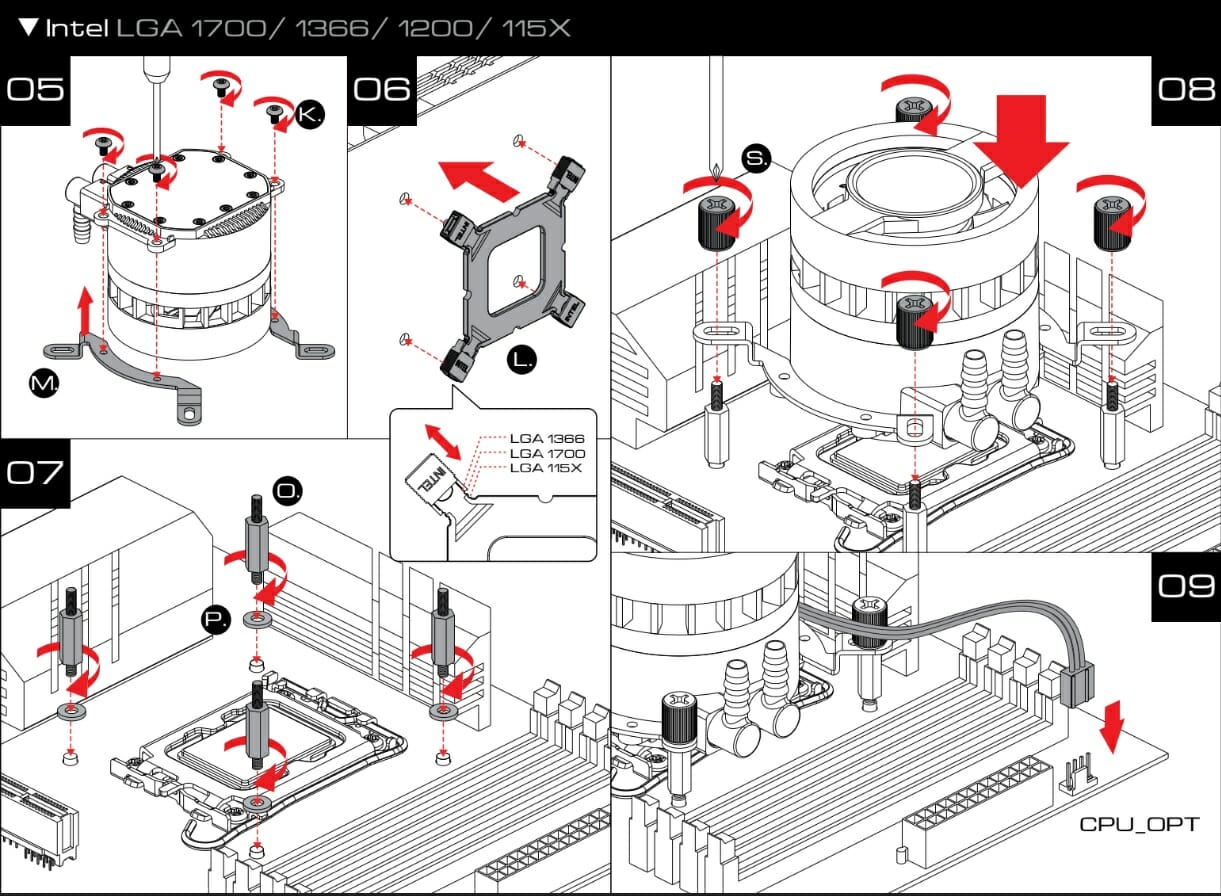
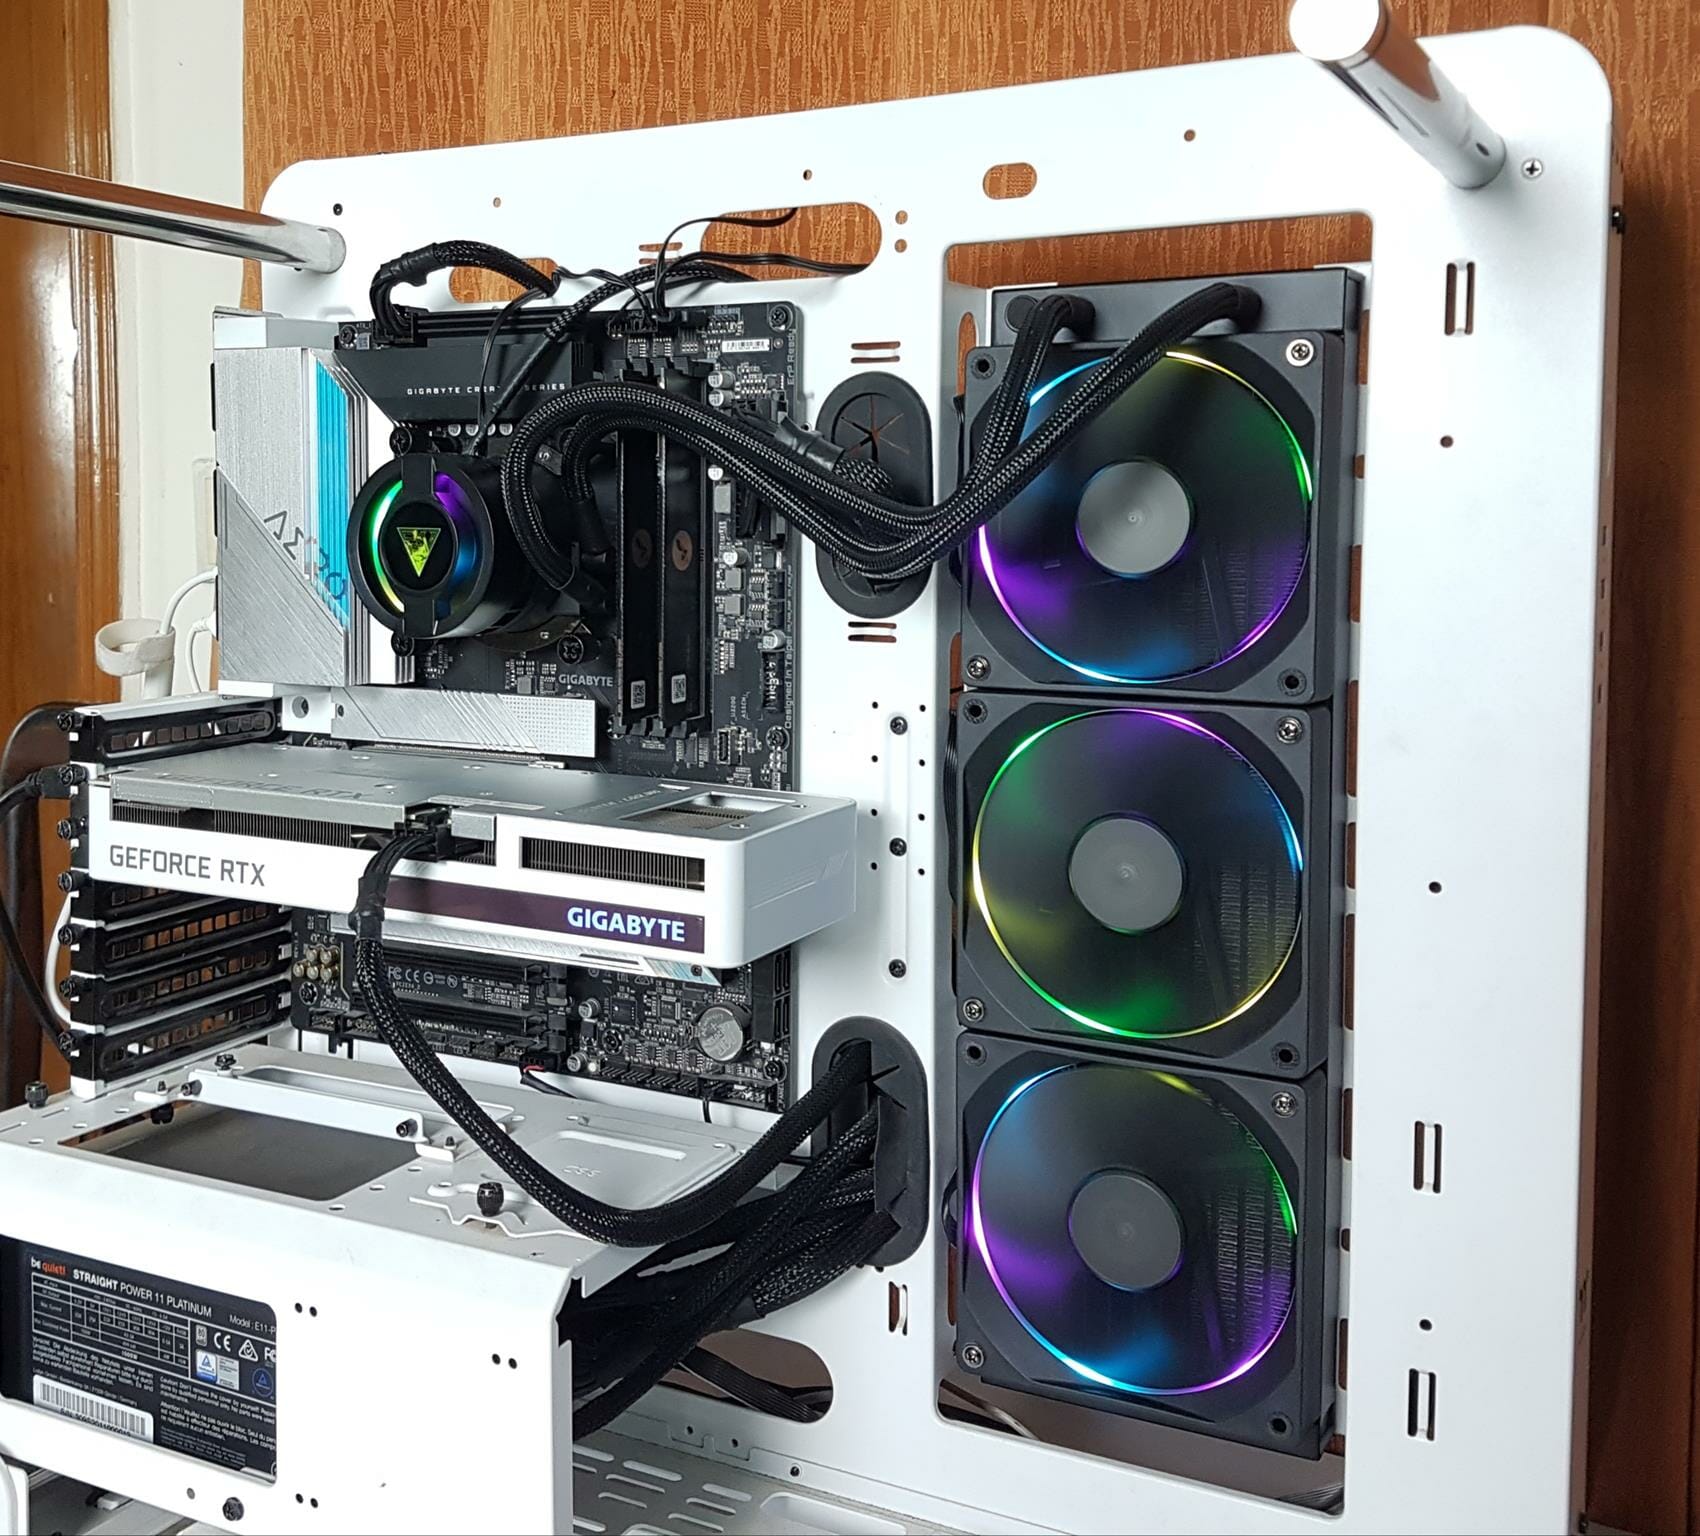
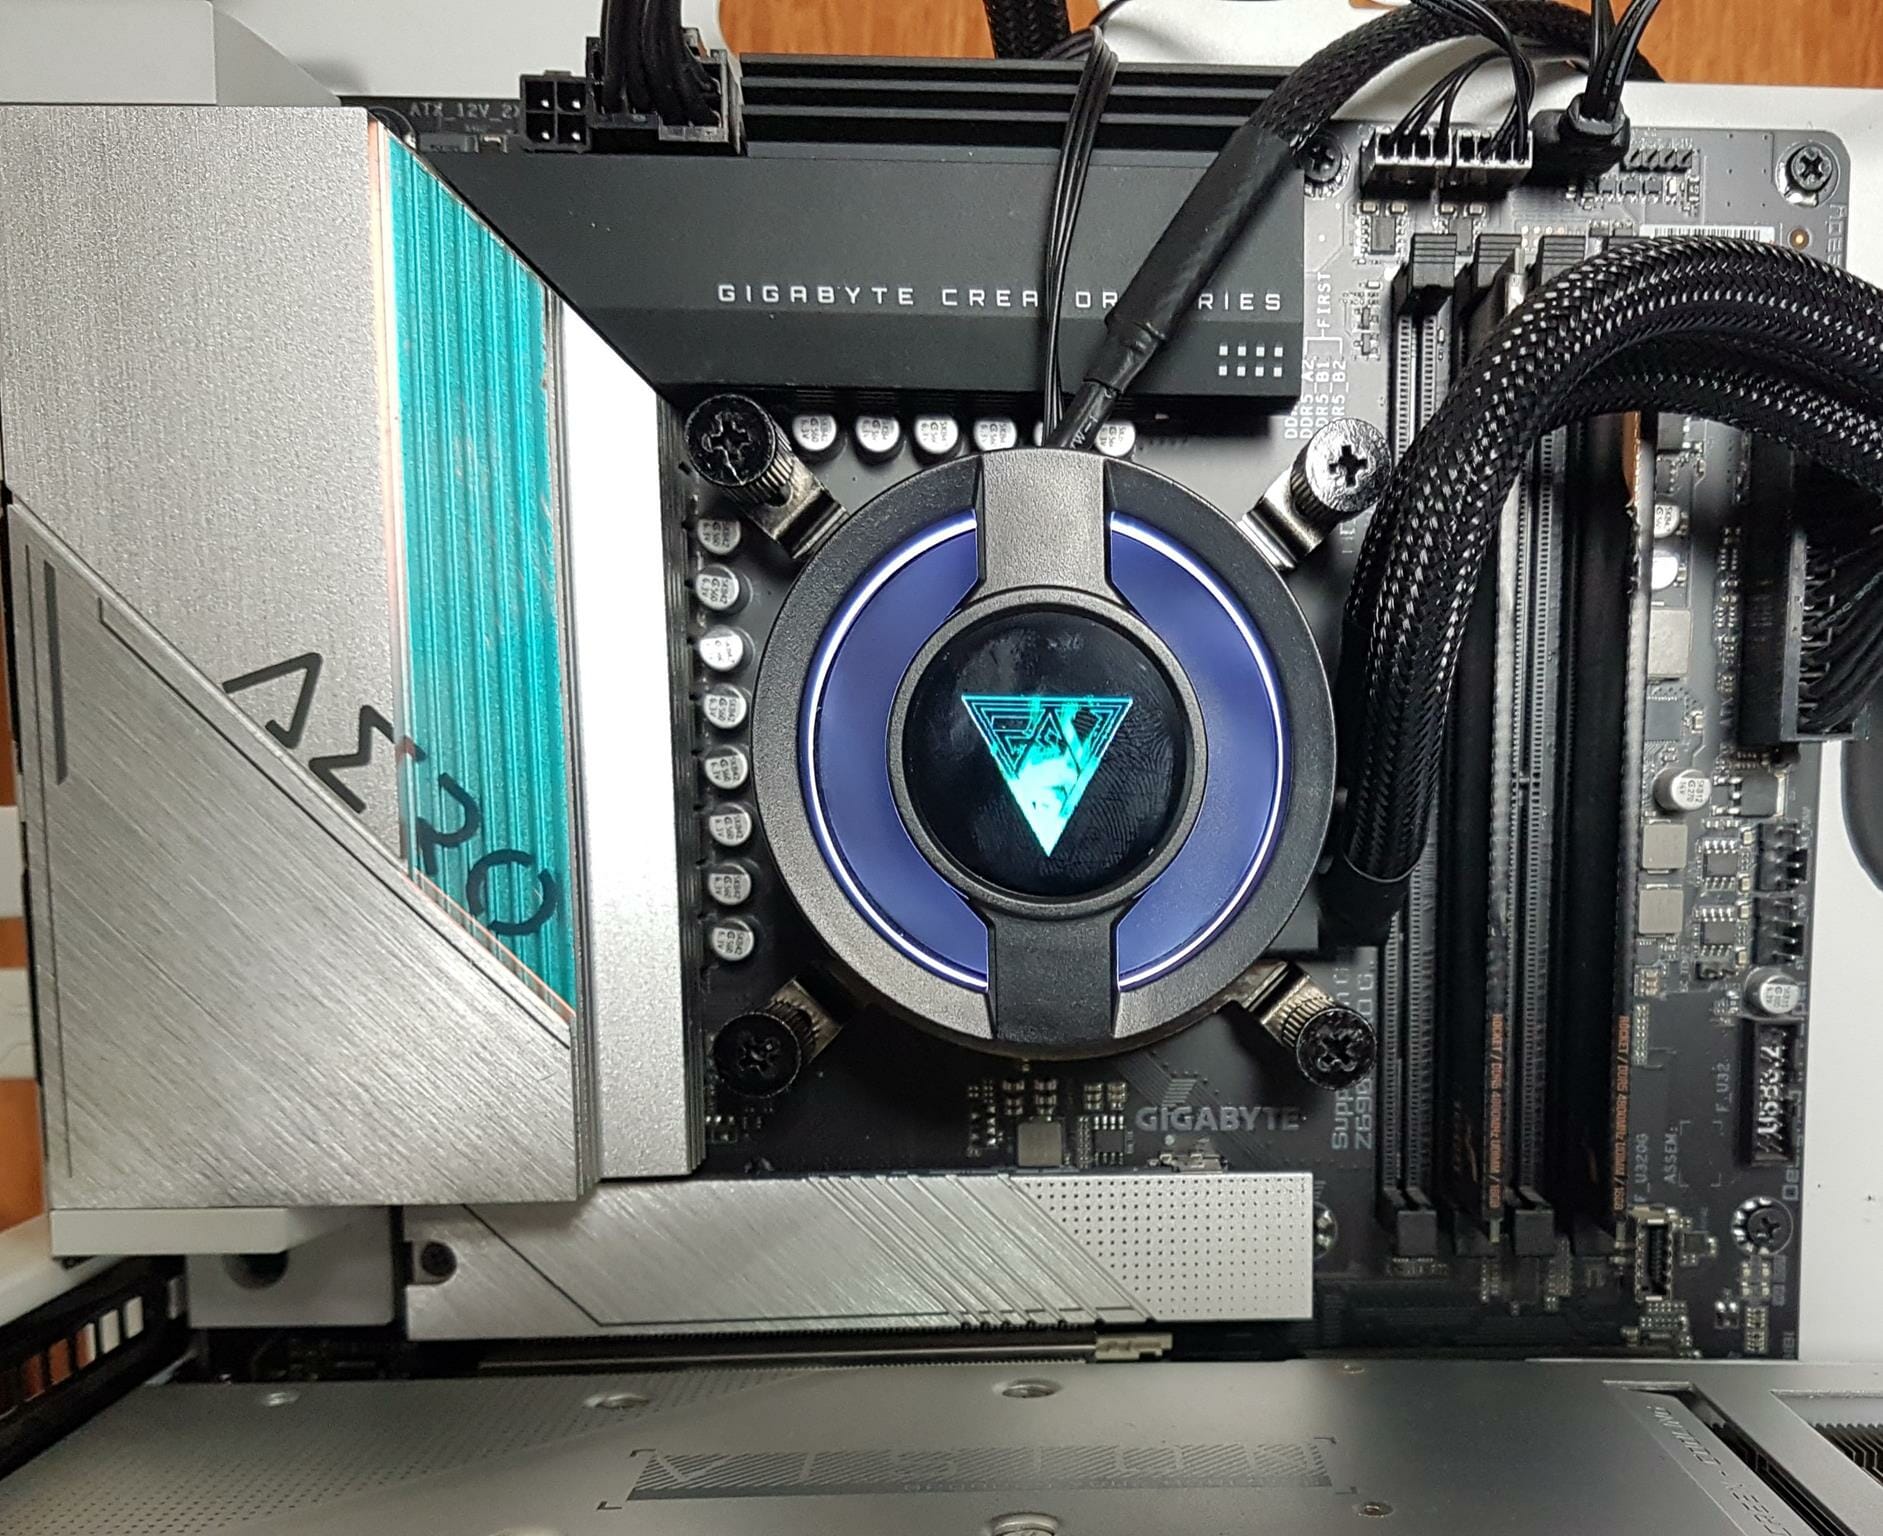
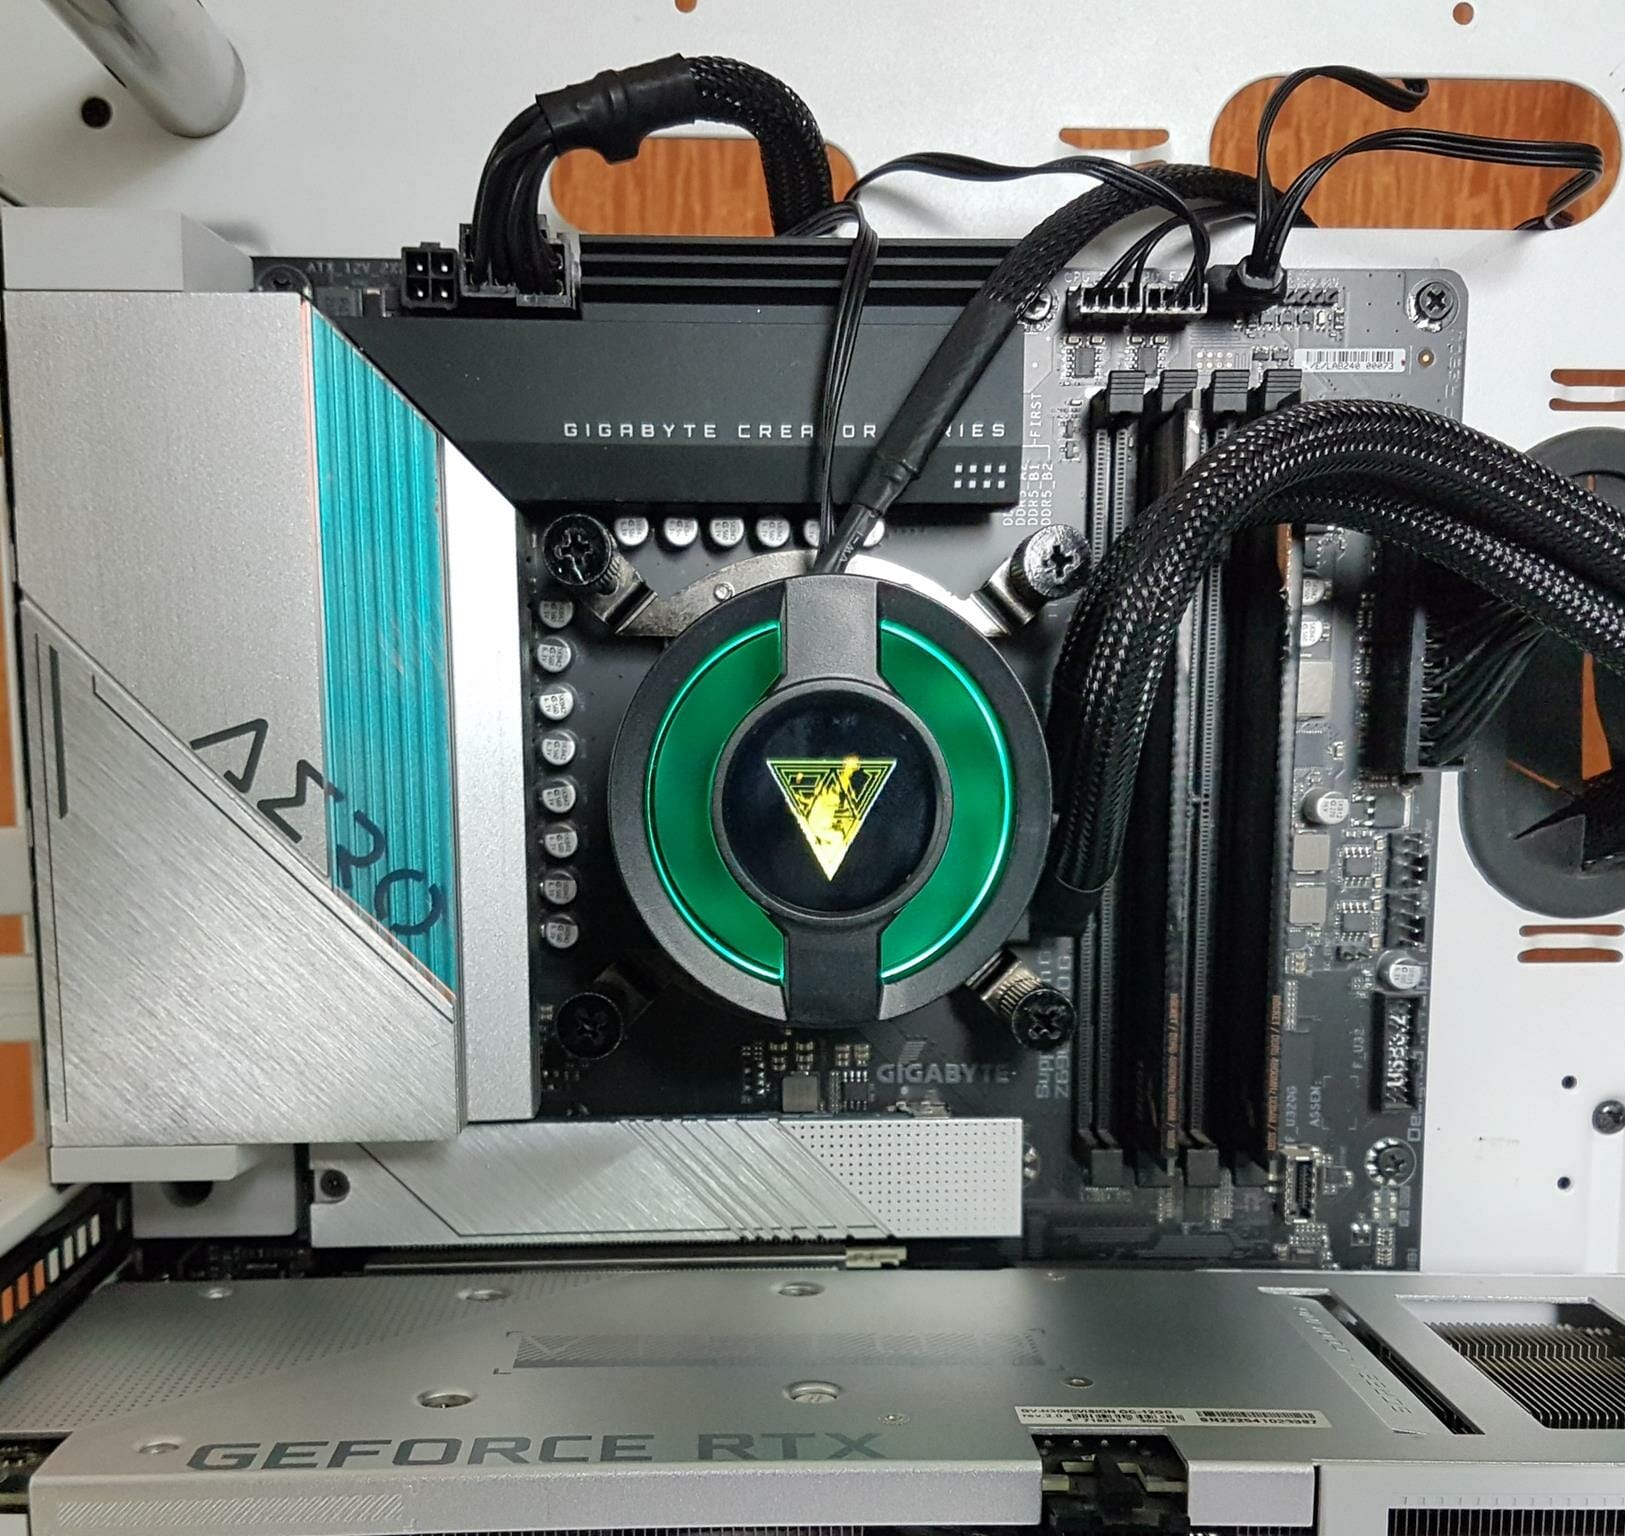
We are not covering the installation part. You can refer to the user manual for that. We only mention the issues that we observe during the installation and removal of the cooler. And we have made quite a few observations about this cooler. We have tested this cooler on an Intel LGA1700 socket using GIGABYTE Z790 AORUS ELITE AX and Intel i7 13700k. Before that, we installed this cooler on a GIGABYTE Z690 AERO motherboard. The pictures are taken from that build. However, thermal testing is done on i7 13700k. the installation of block is not a difficult job. It requires 15 items for this installation.
The printed user guide does not tell about the spacers for the stud bolts. However, they have included 3.46m thick (as per our measurement) spacers that sit between the standoffs and standoff screws. These spacers are also required to be used on Intel LGA1200 and 115x sockets.
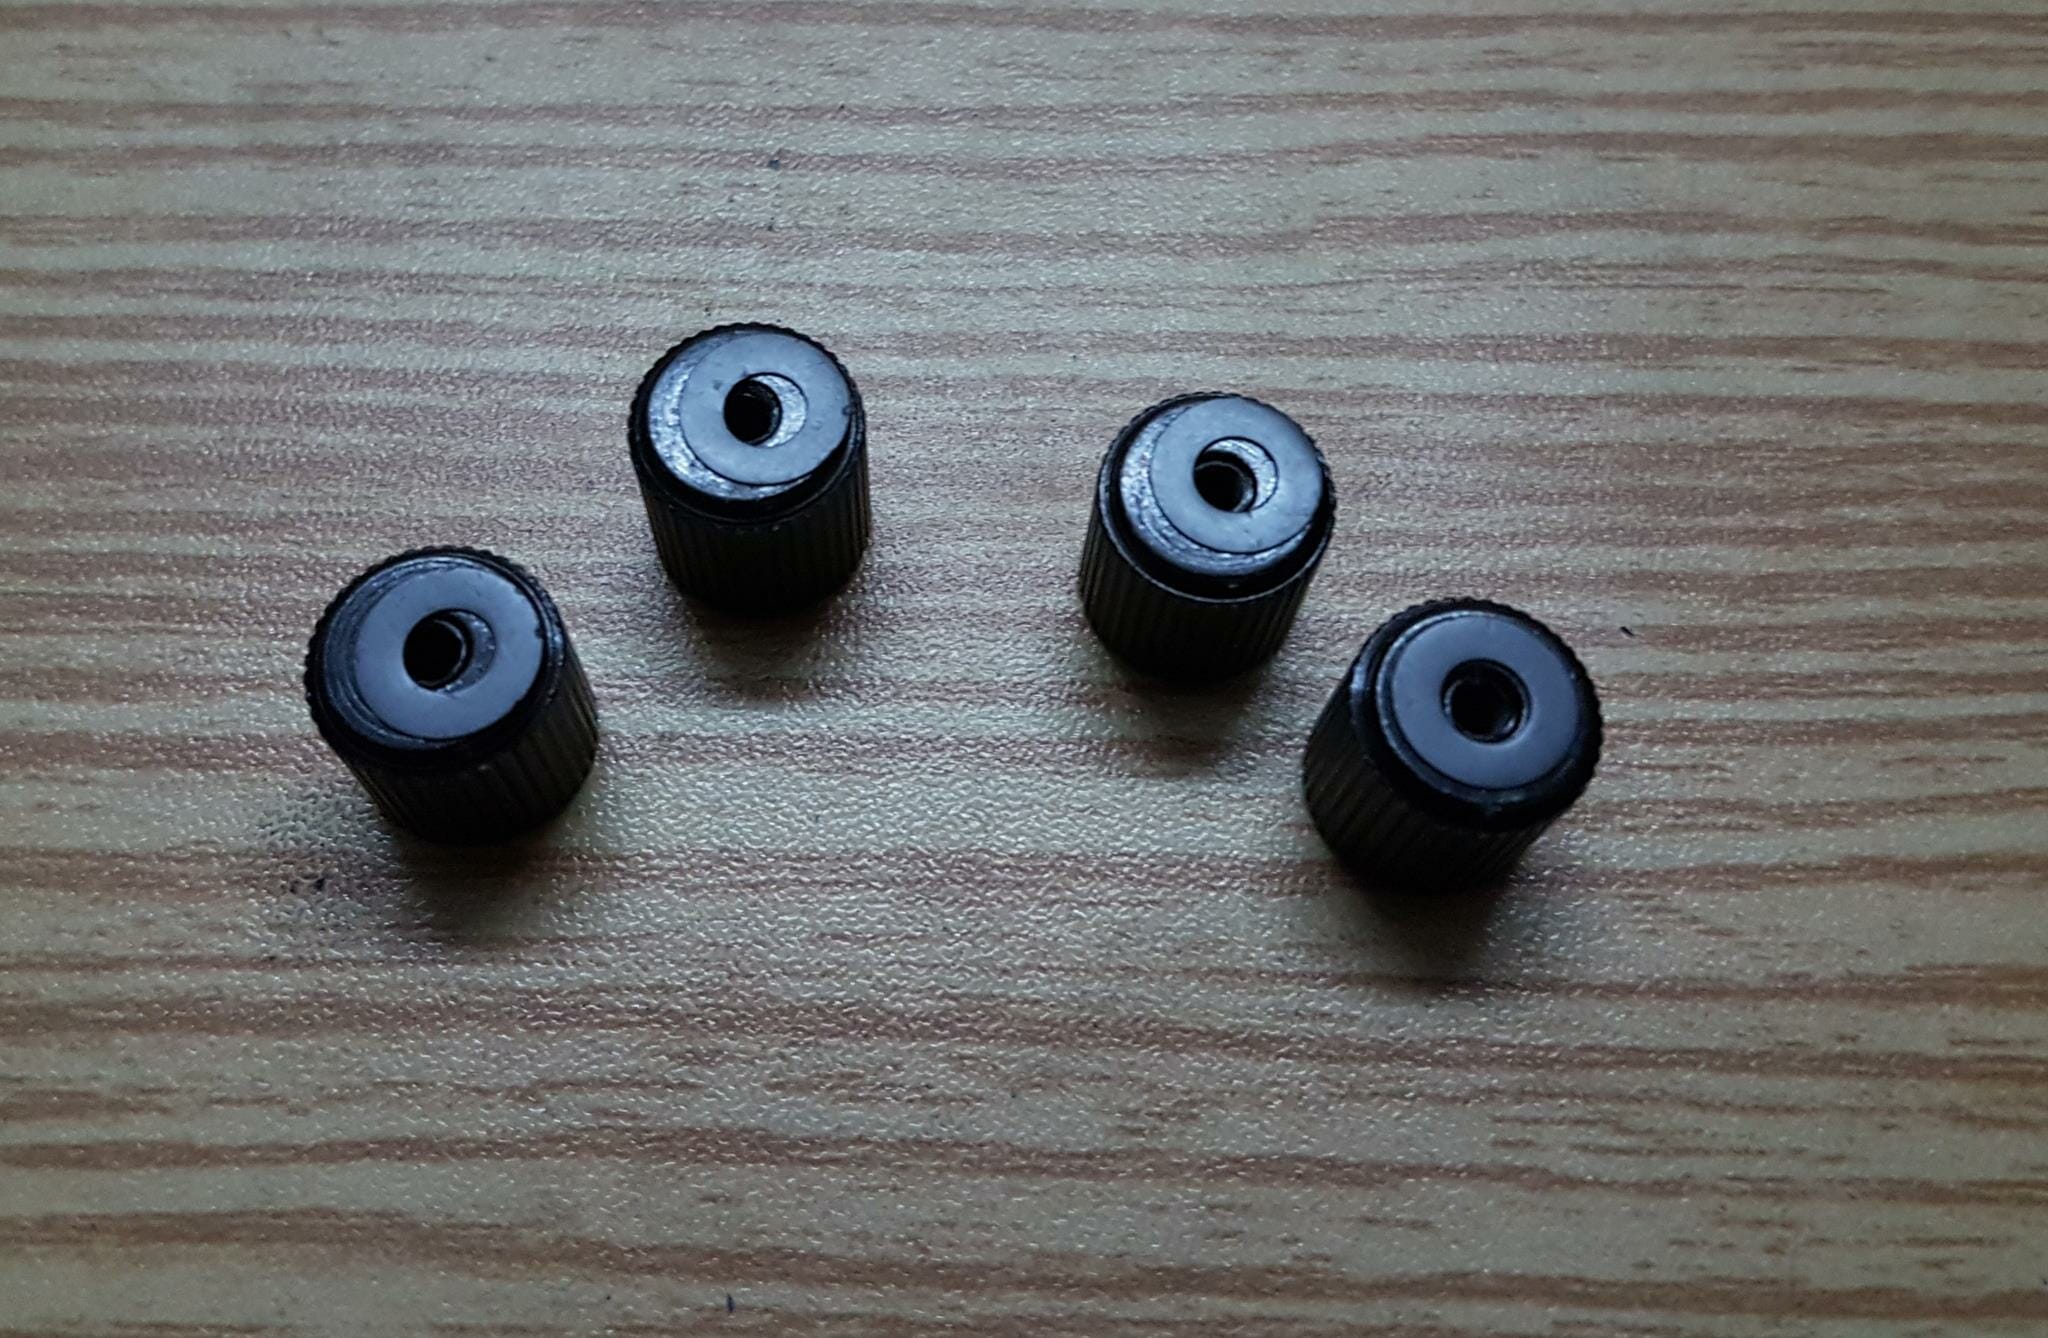
Sorry for the crap picture. As we can see there are metallic spacers pasted on the thumb nuts. Why would you paste something like this anyway? While we were removing this cooler, this is what comes off.
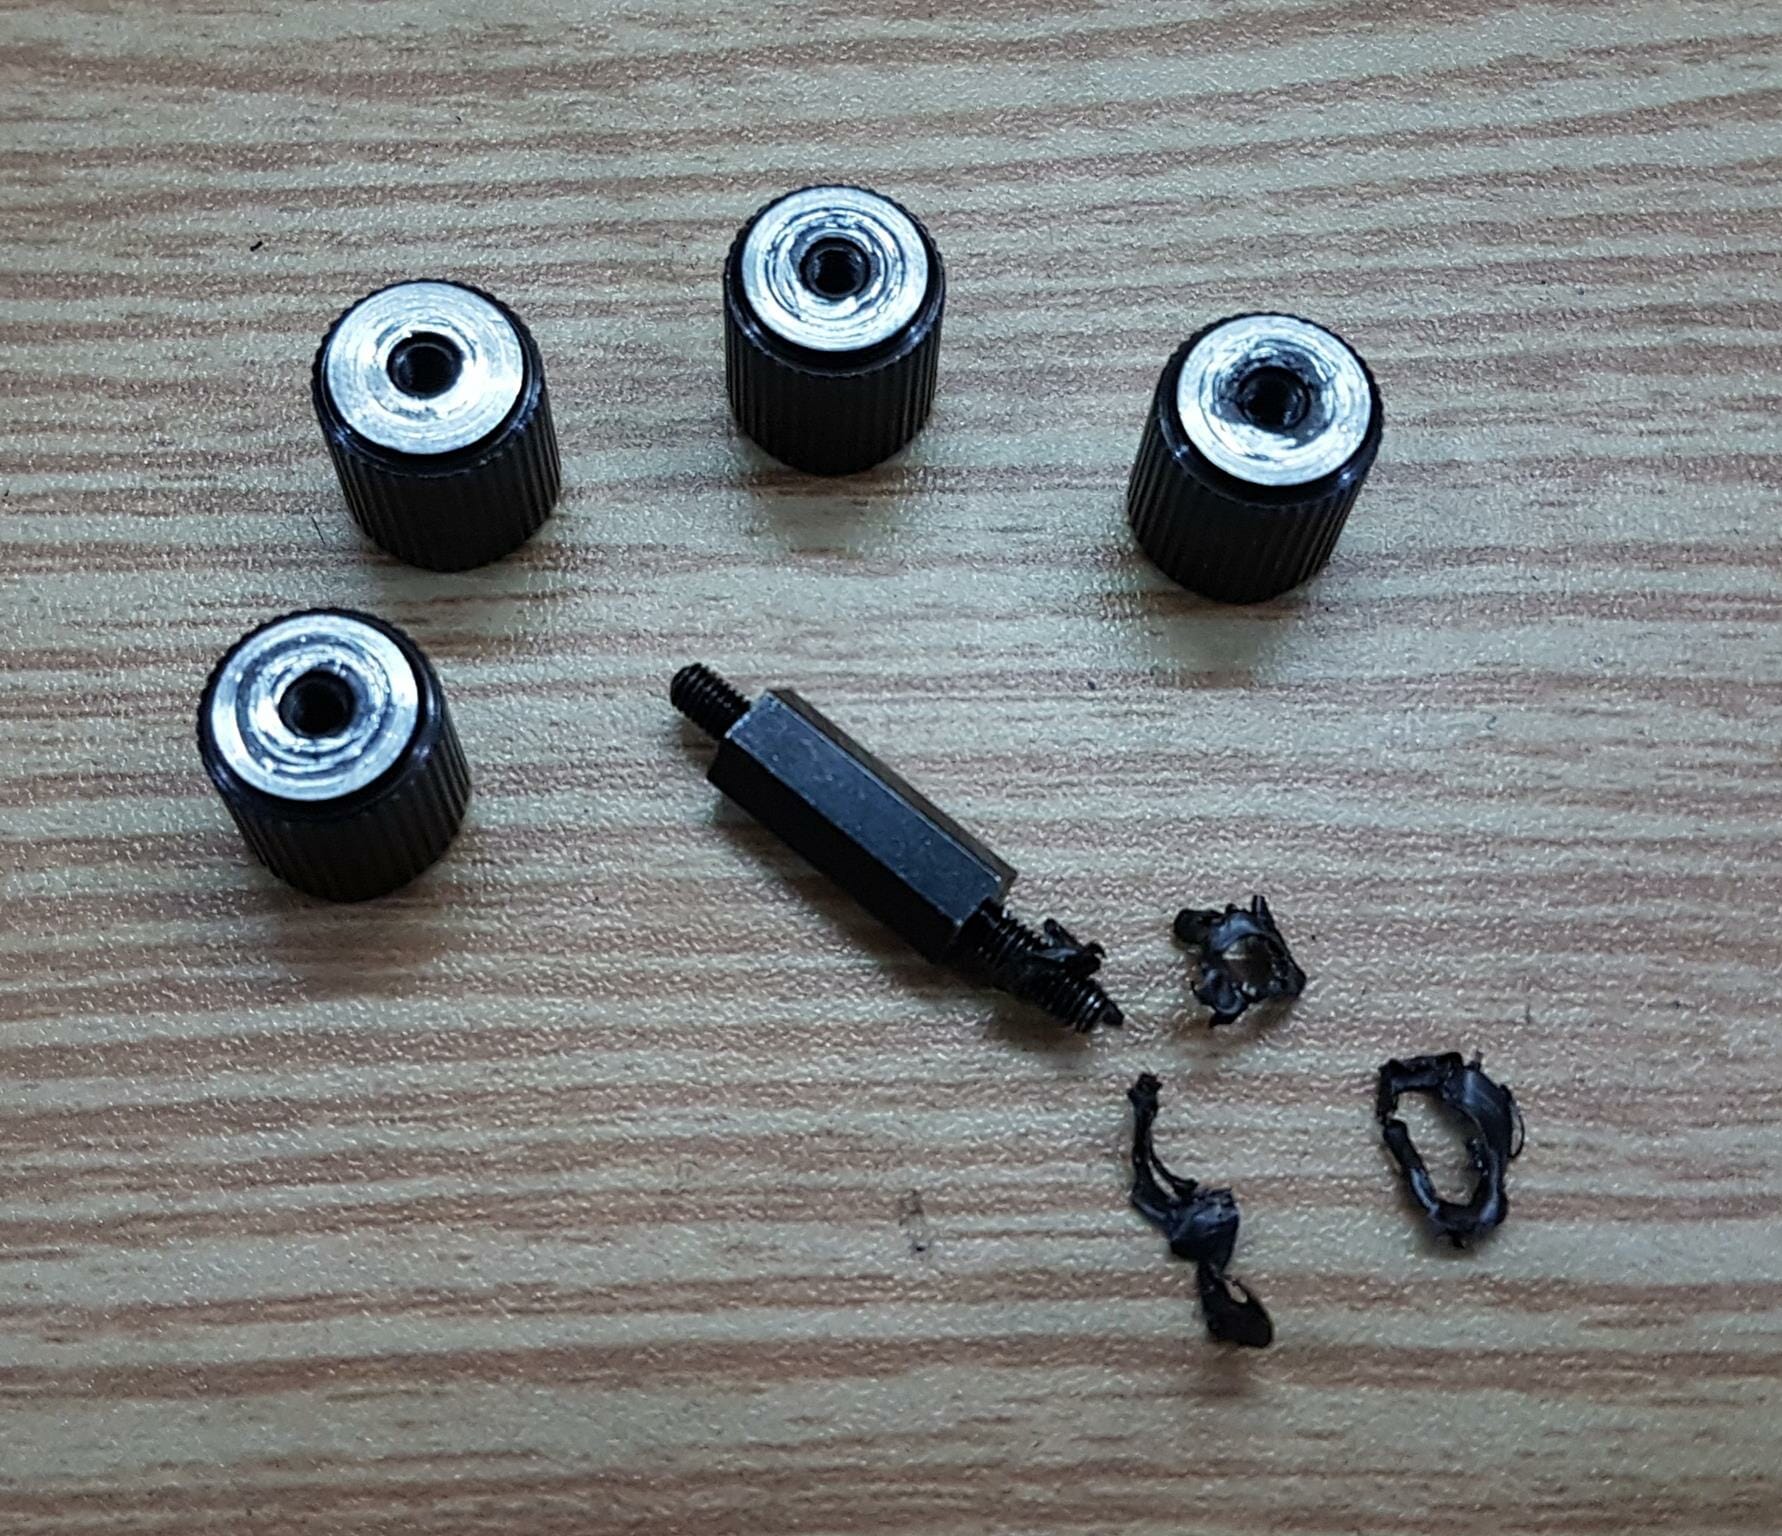
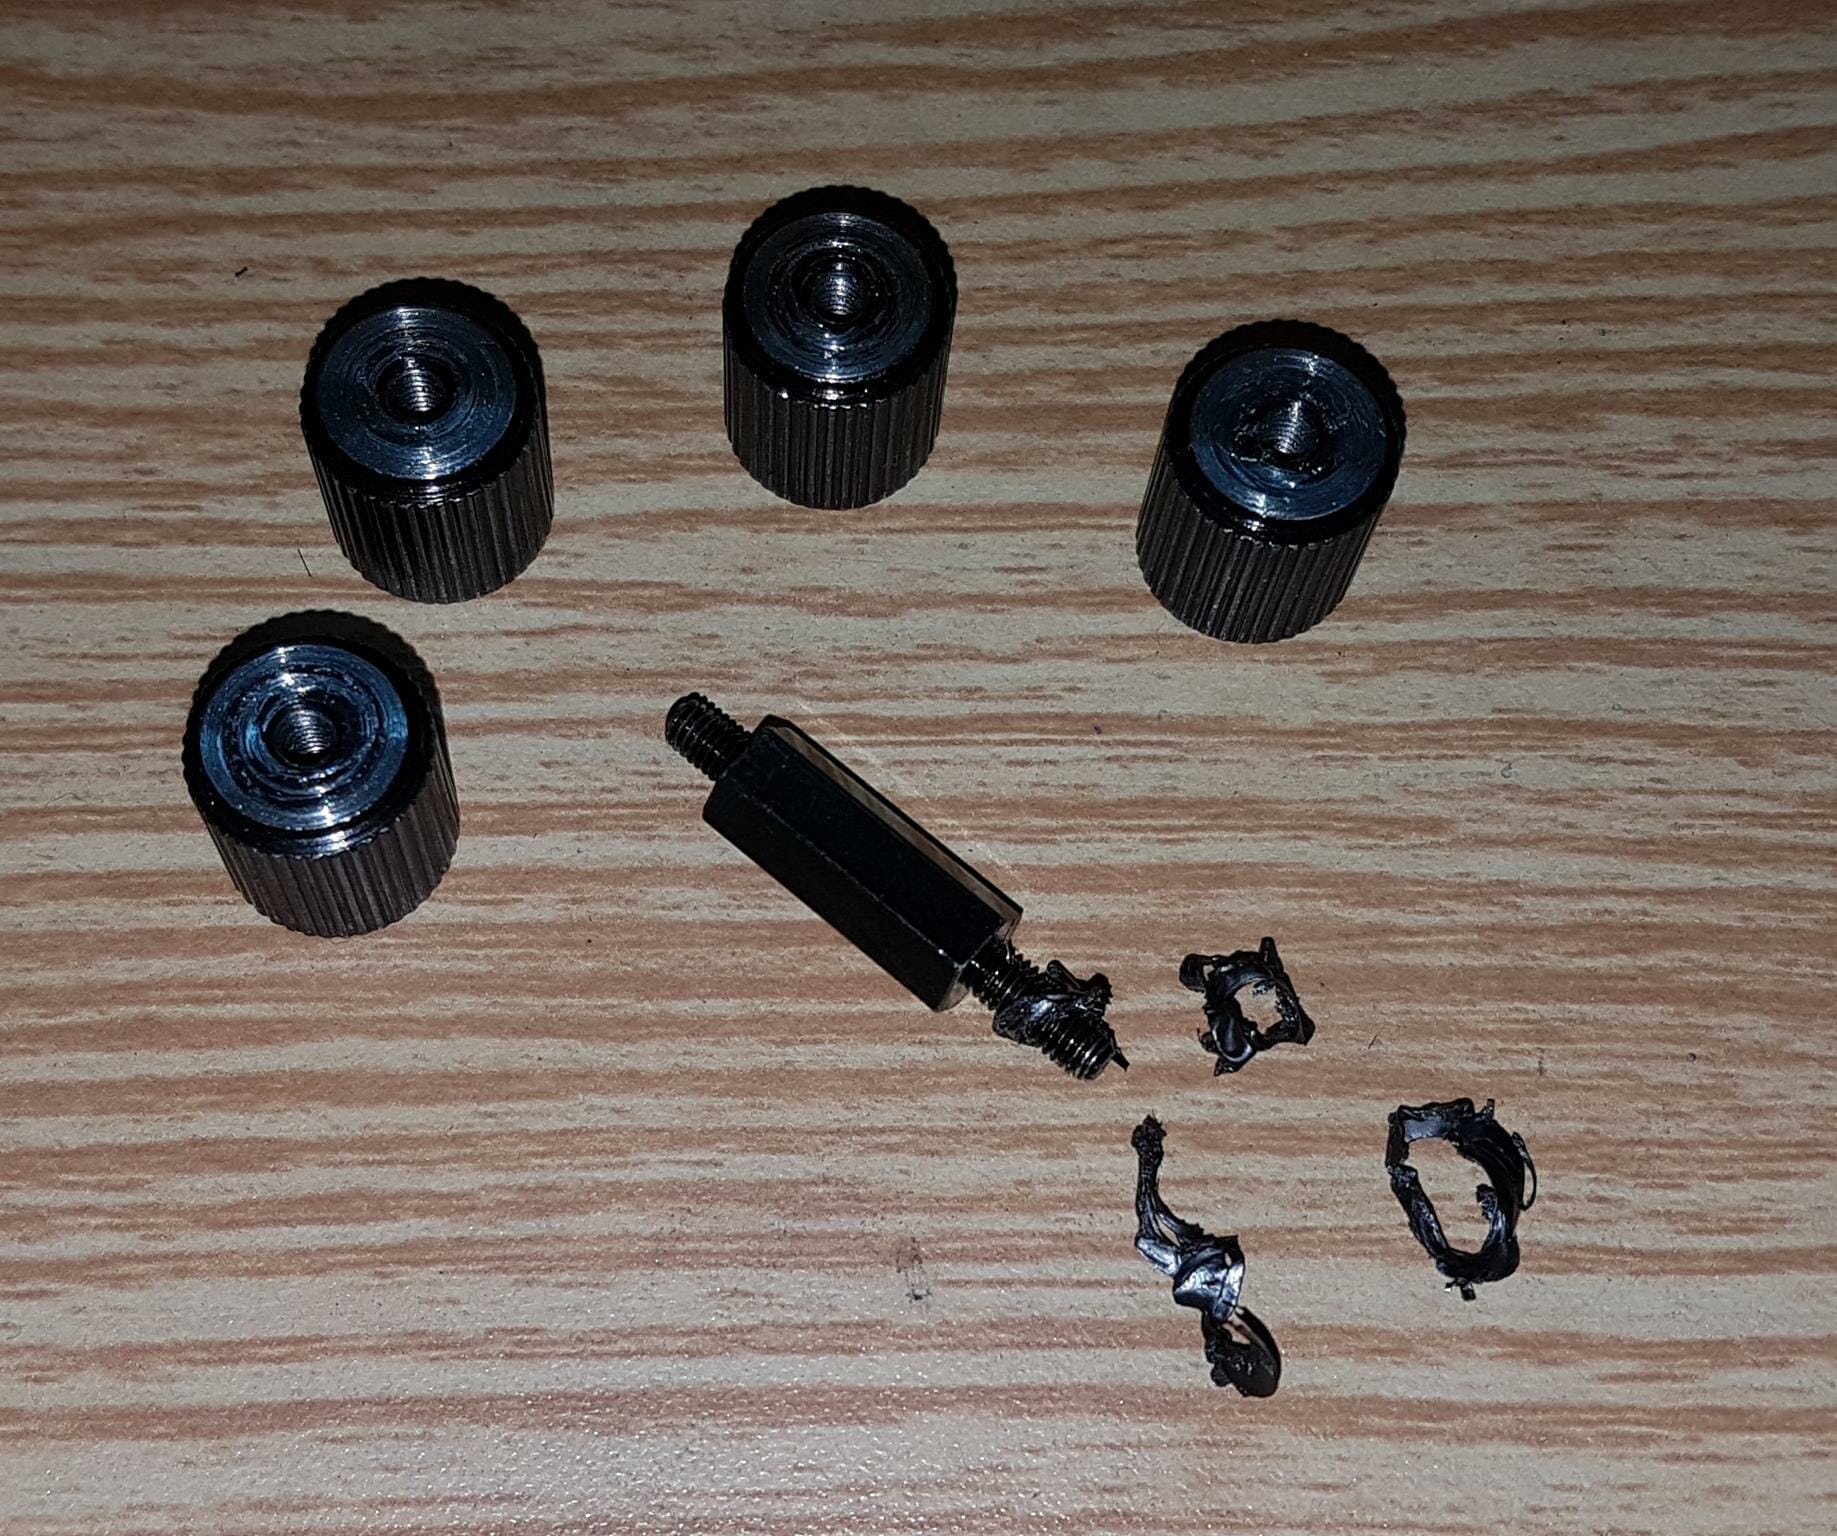
Again sorry for the crap pictures. This residue is what becomes of those metallic spacers. The chirping if left unattended and dropped on the motherboard, can easily short the PCB.
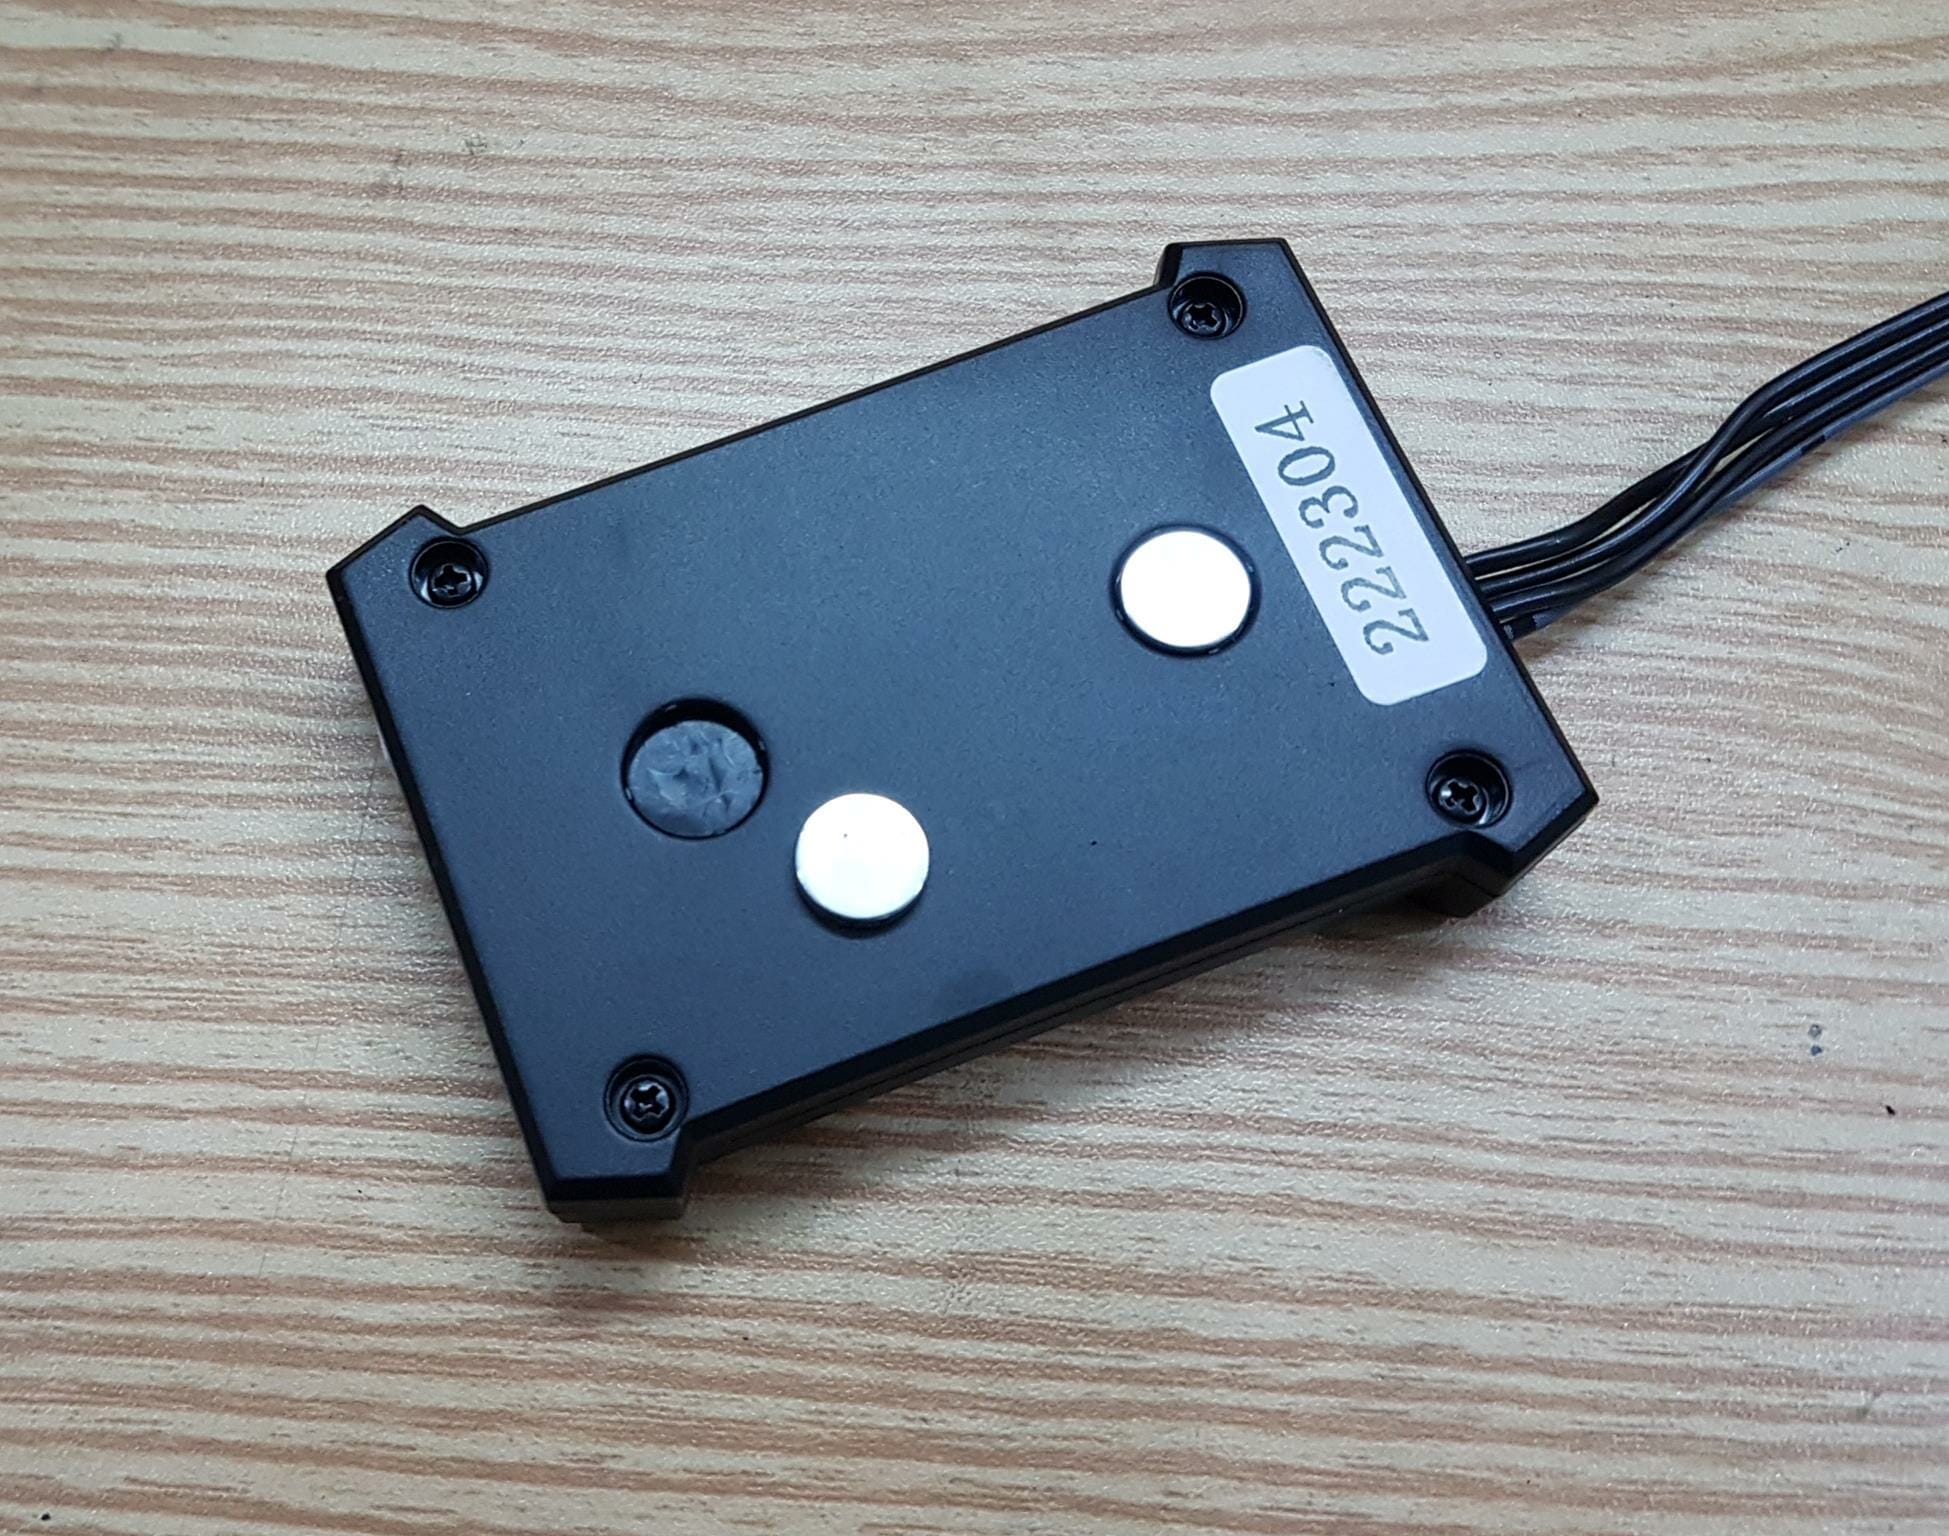
Both magnets came off the AEOLUS Control Box housing. Since there are 8 cables coming in or going out of this housing, their pressure easily pulls the box down. Magnets are so tightly attached to the PC Case that they would rather come off than slide down with the housing.
We are not done. The embedded fan and the A-RGB LEDs are taking power from the USB cable. We tested that by disconnecting the SATA cable from the control box. The fan and LEDs were still working. This is fine but here is the observation. This fan would start spinning and A-RGB LEDs would light up even if the PC is not powered on but PSU has an active power source. This should not be happening in reality. We tried to convey these observations to the brand. I am only quoting their reply on the VRM fan issue which even does not cover the A-RGB LEDs getting lit up. Here is the reply,
“The VRM fan can spill with minimal current. Even if the computer is shut down, there is still a small amount of current flowing to operate the fan. To completely cut off the power, you need to enter the PSU Settings in the BIOS and change the Erp option to Enable.”
I have only one question. Why this is not covered in the user manual and why it is designed like that?
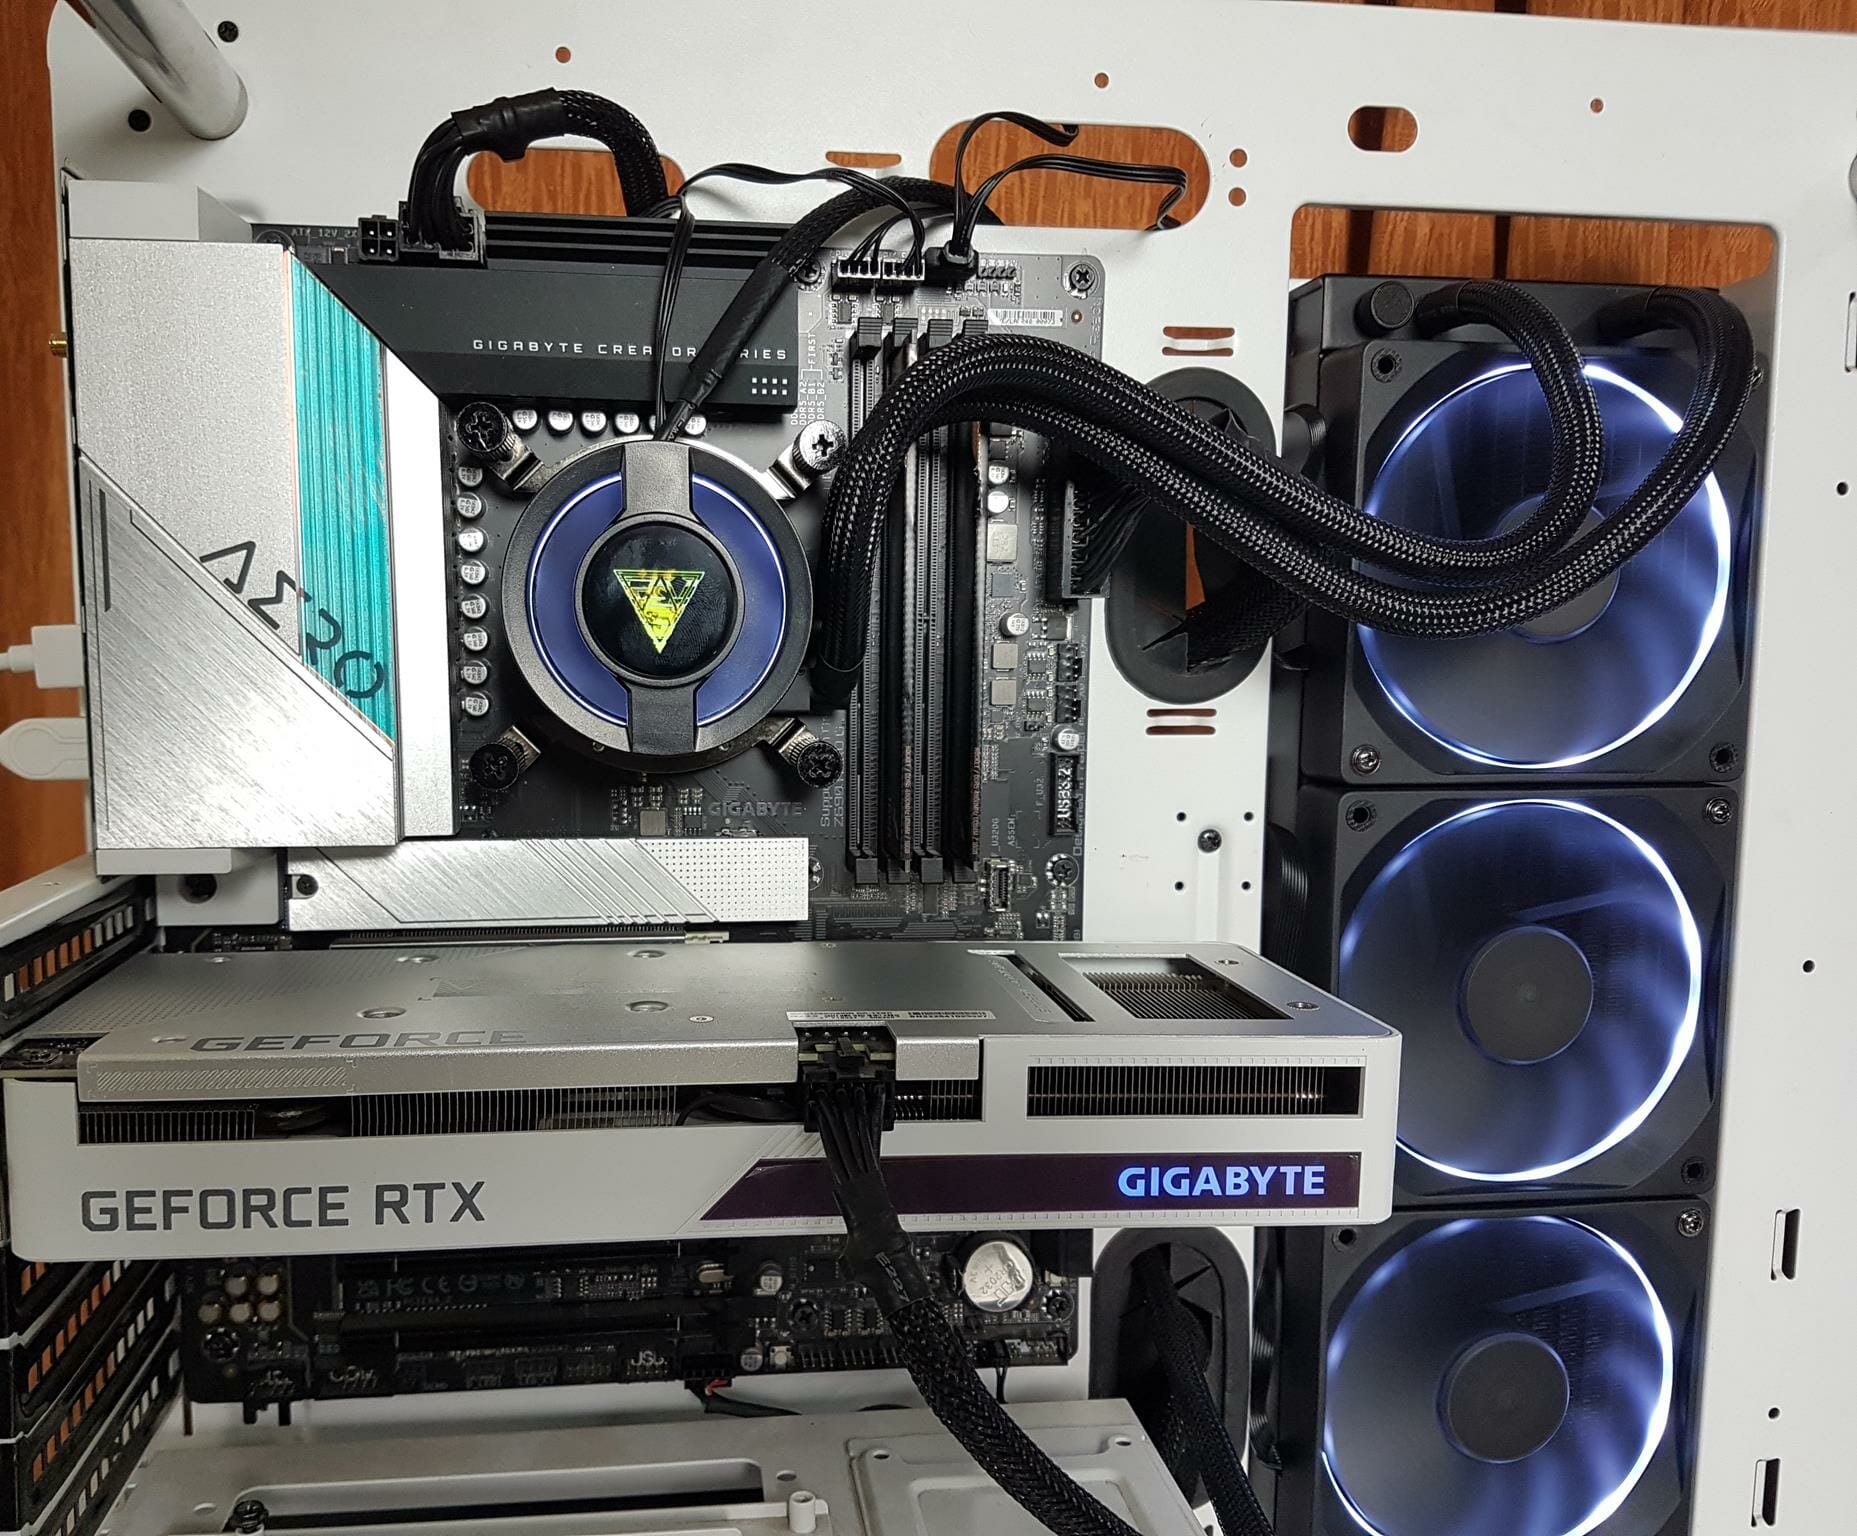
Another observation is that you would be dealing with a plethora of cables to operate this cooler. By design, everything is controlled from AEOLUS control box so any defect in that box would make the complete unit useless unless the issue is sorted out. I would not drop my bucks on such a design. Oh, and you would need a spare USB 2.0 header on your motherboard as well without which you will not be able to customize the LCD screen display. This unit has a dimension of 394x119x53mm with fans installed. Keep that in mind for the PC Case clearance. The tubes don’t obstruct the DIMM slot and PCIe slot.
LCD Screen Customization via CHIONE CAST
GAMDIAS has provided a utility named CAST to customize the LCD Screen display and A-RGB lighting effects. You can download this software from their website. Let’s explore this software.
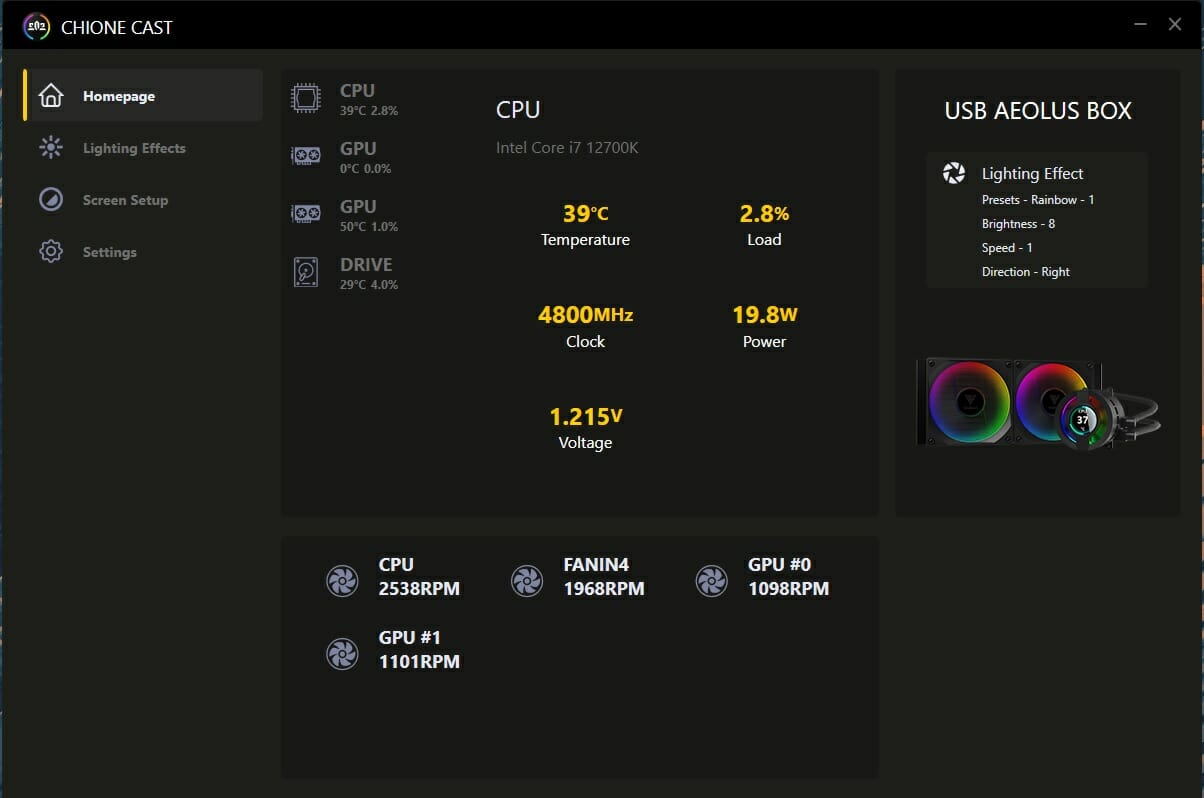
The Homepage shows some key system stats like CPU temperature, clocks, power etc. The pump was operating at 2538 RPM on full speed or technically speaking 12VDC. This is lower than the 2800 RPM rating. The fans were operating at 1968 RPM. This is a single fan report. We can see some coding against key parameters like Rainbow – 1, Brightness – 8, etc. This is easier for the coding team for the reference point but not for the users.
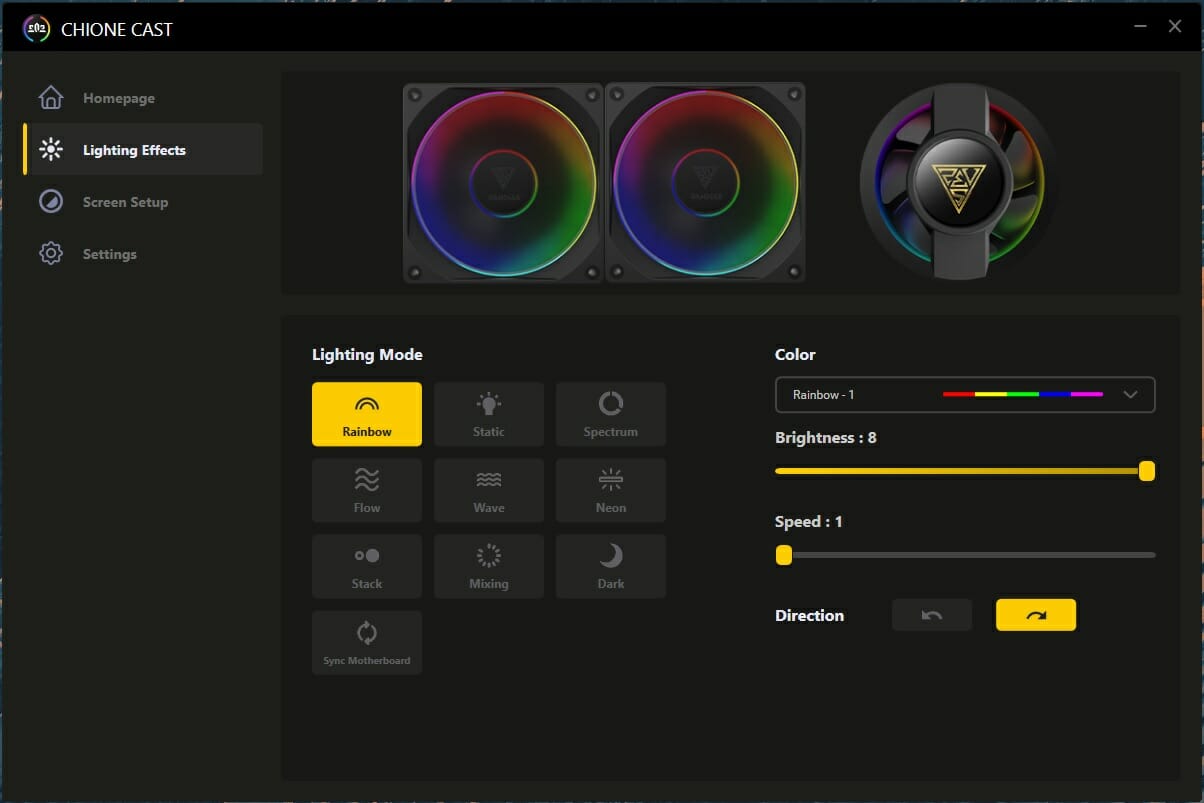
Now we are in the Lighting section of this software. Rainbow is the default mode for the fans and pump housing. Rainbow – 1 is listed under the Color. 1 here refers to the first Rainbow listed customized mode.
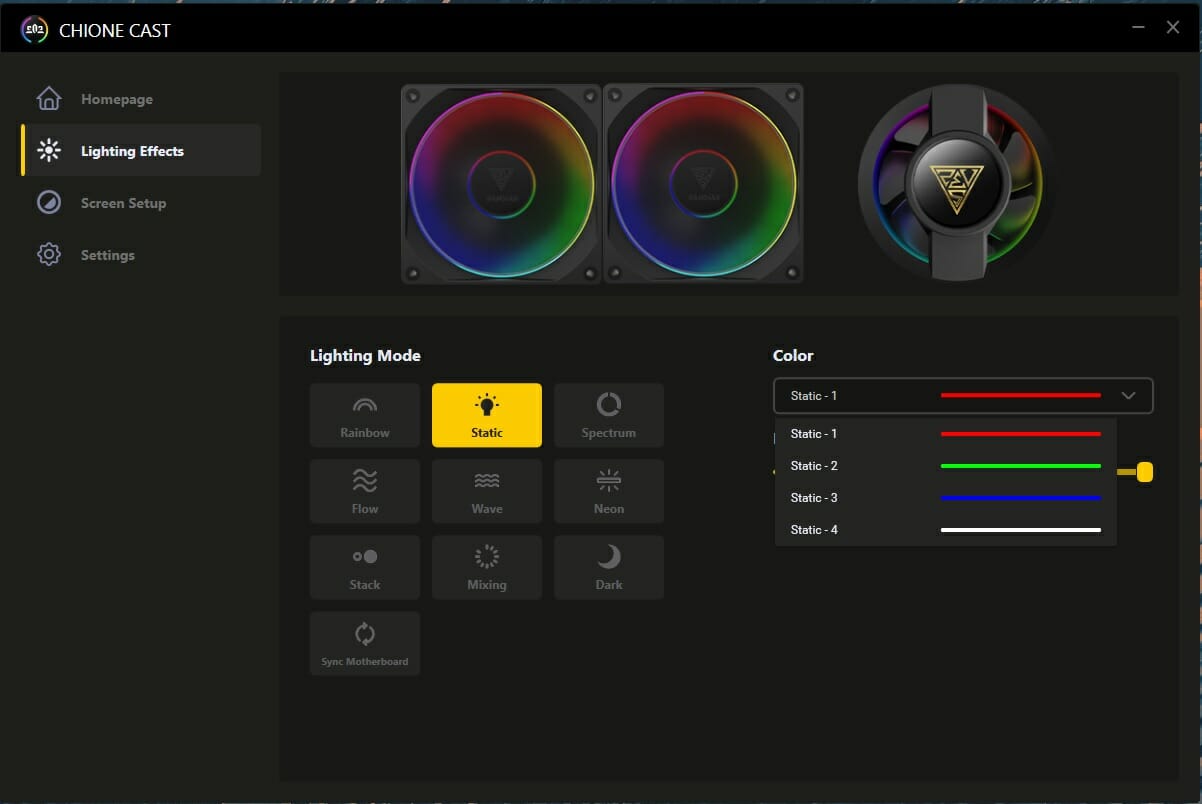
Static colors are also coded from 1 to 4. There is no color palette available for the user to select from the 16M color combinations. I would expect this from a USD240 cooler.
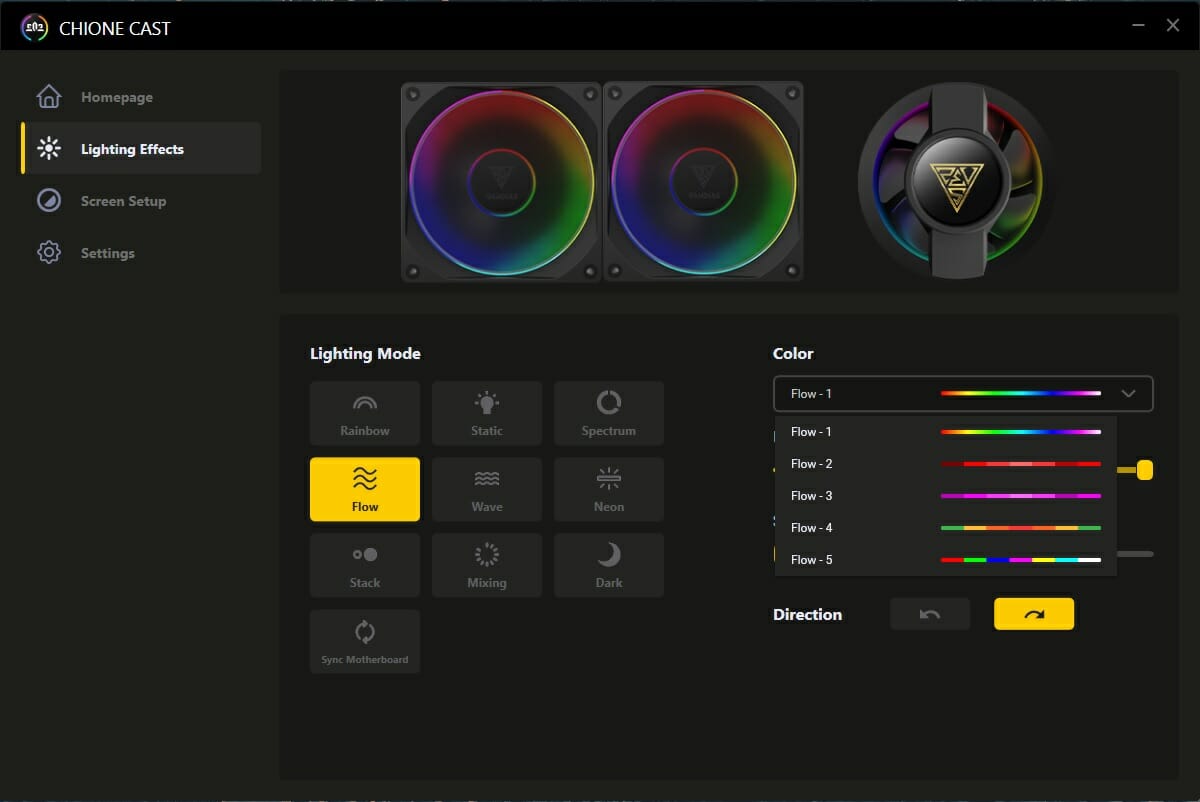
Similarly, we have many patterns under the Flow mode and each is coded in number. Click on Sync Motherboard and the A-RGB control will transfer to the motherboard. For that, the A-RGB cable should be connecting AEOLUS Control Box with the RGB header on the motherboard.
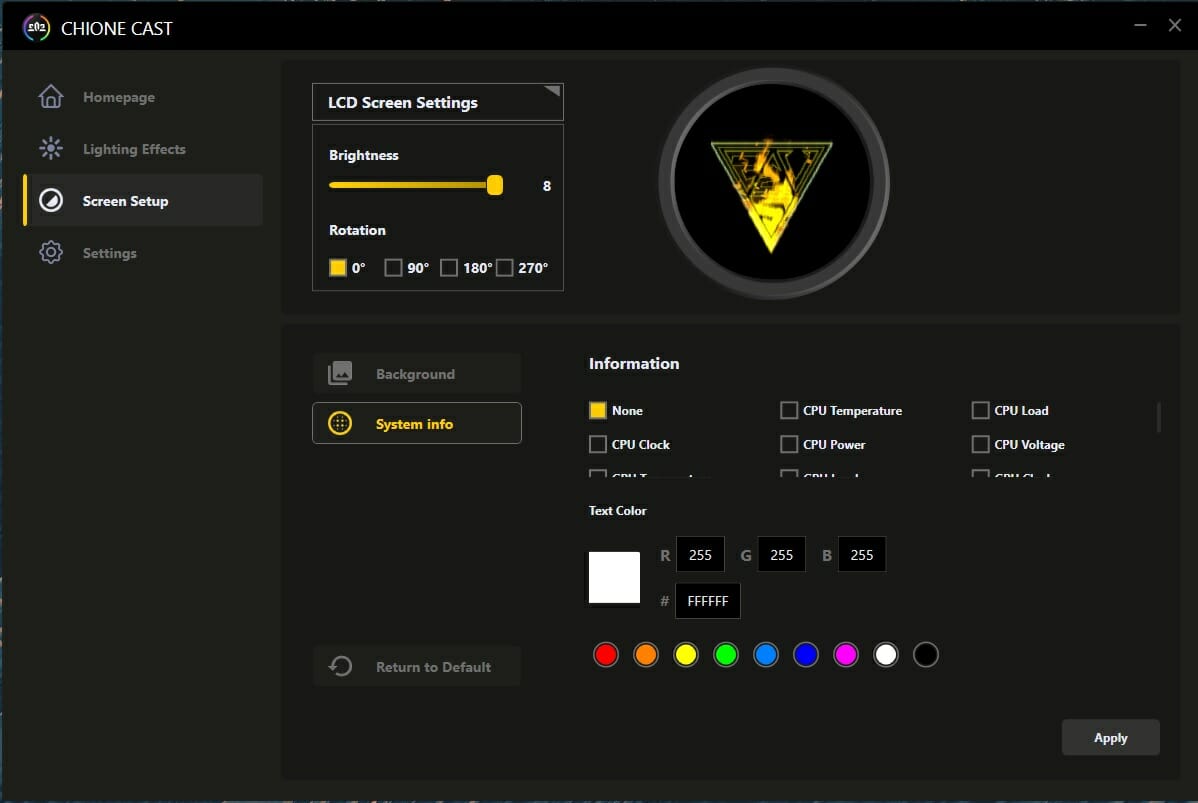
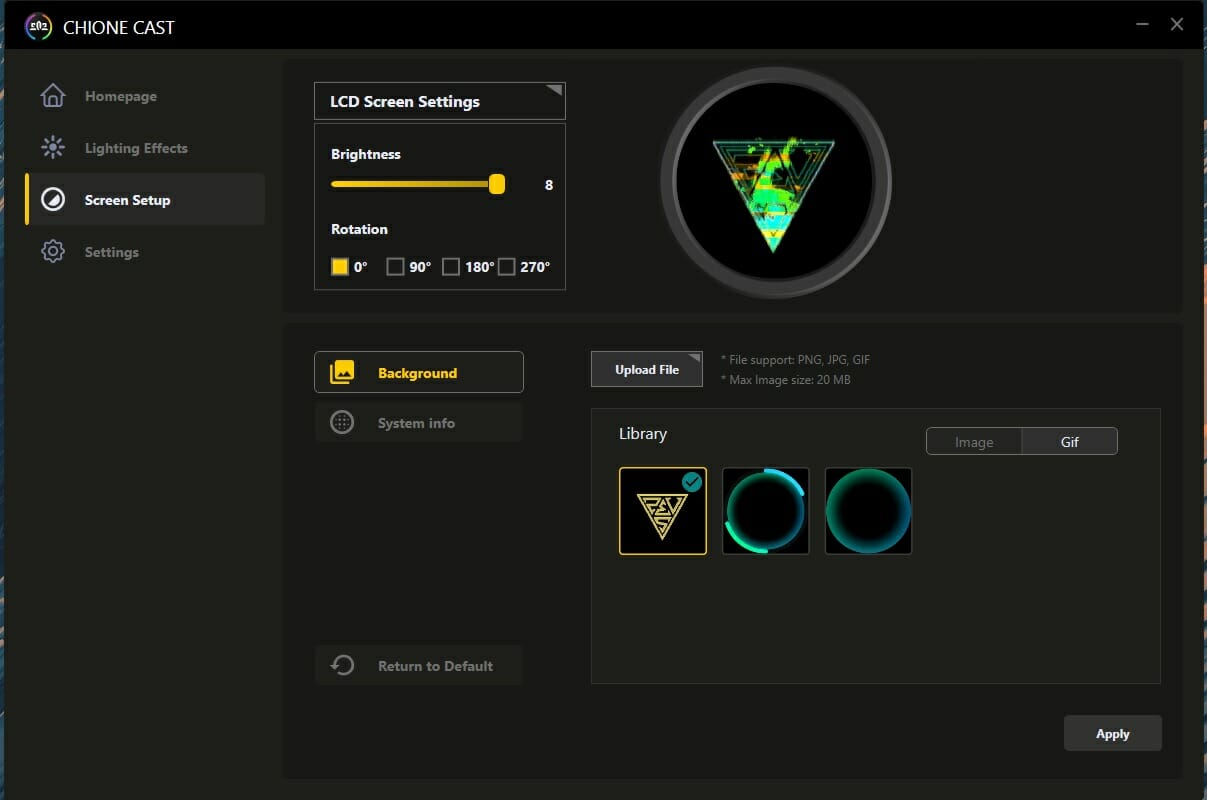
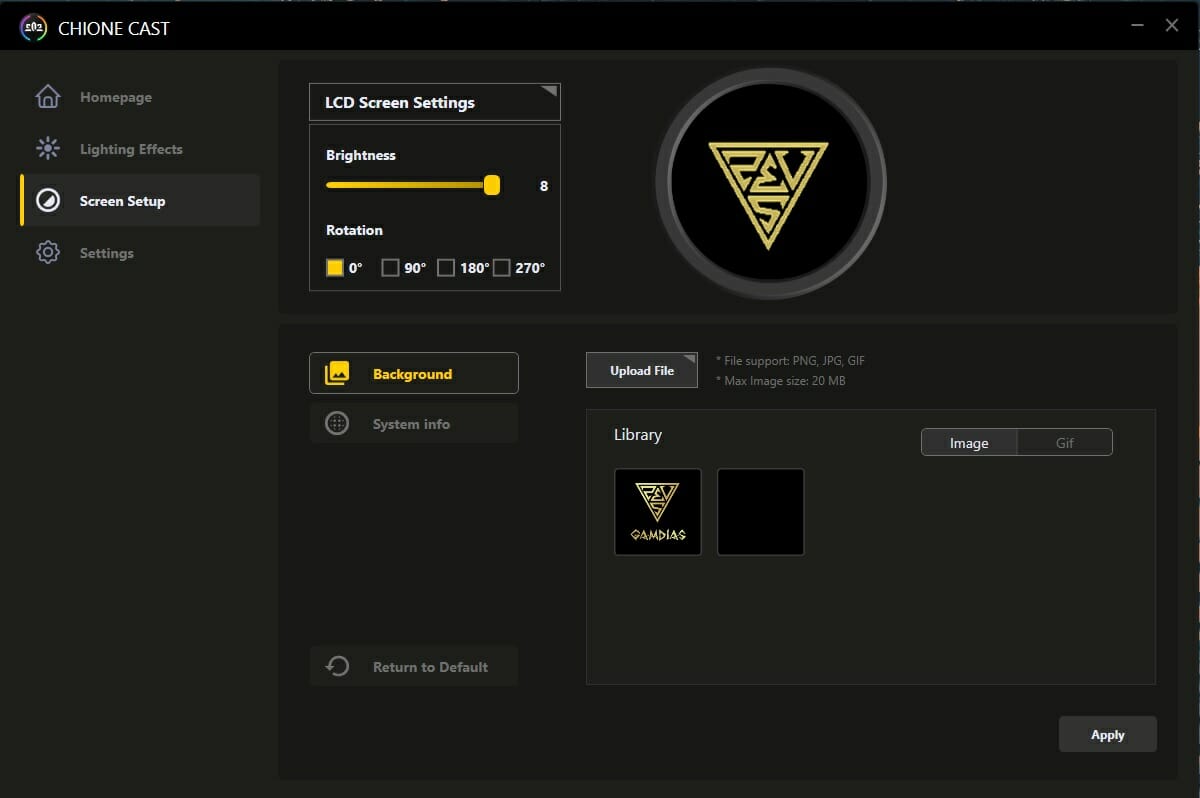
Now, we are in the Screen Setup. LCD Screen Setup options have brightness control. Now we know that Brightness – 8 was showing the brightness level and 8 here means fully bright. We can control the orientation of the display screen which would come in handy during the installation of the cooler as one can easily adjust the display with regard to the orientation of the pump housing.
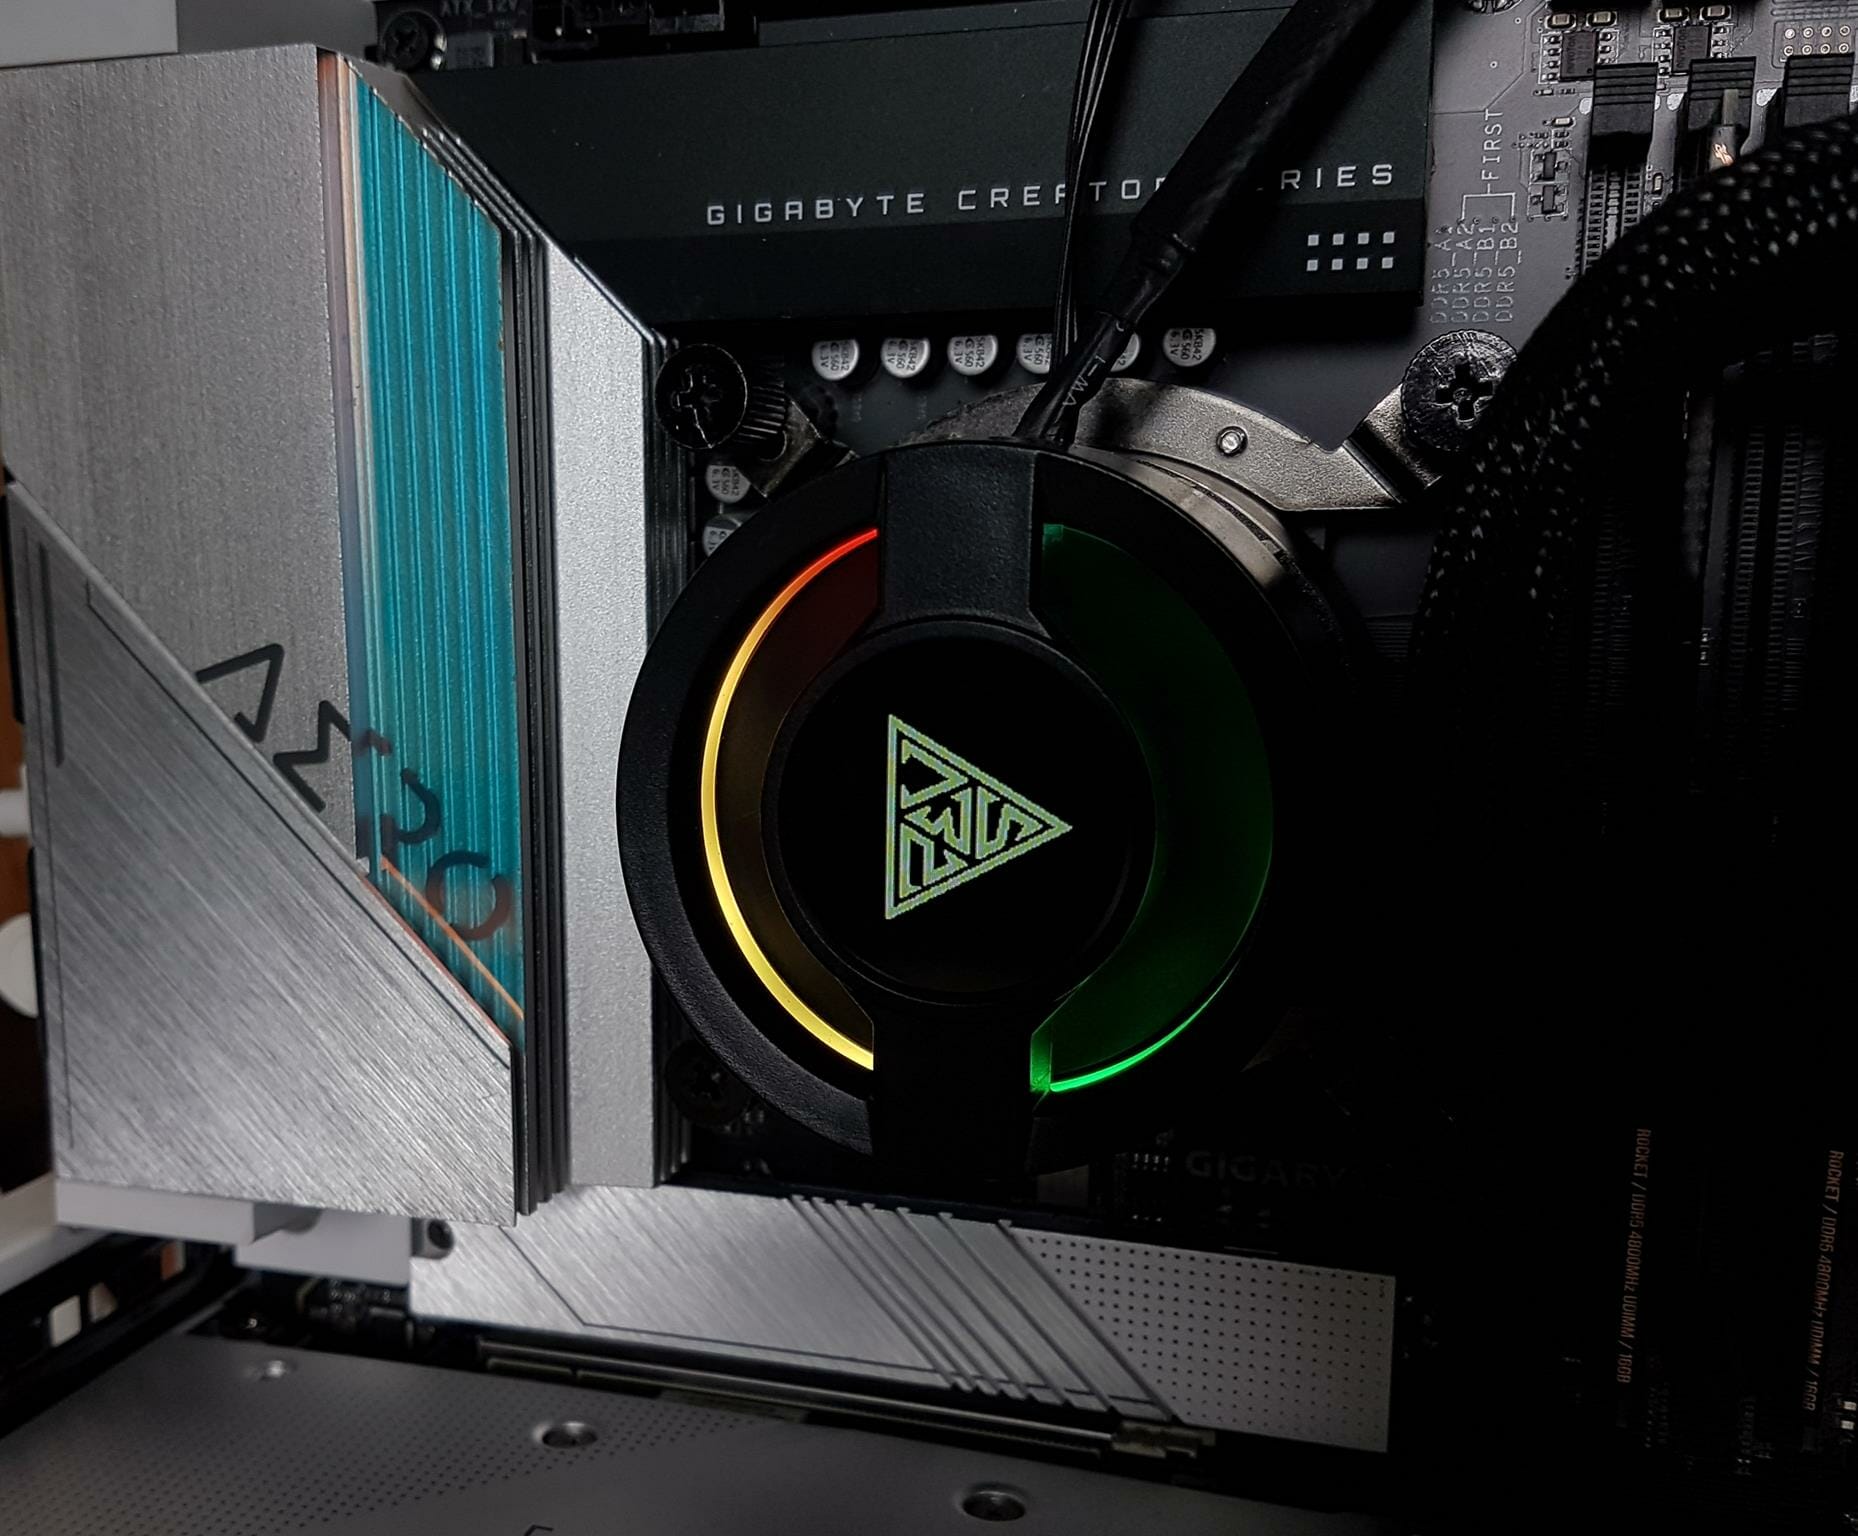
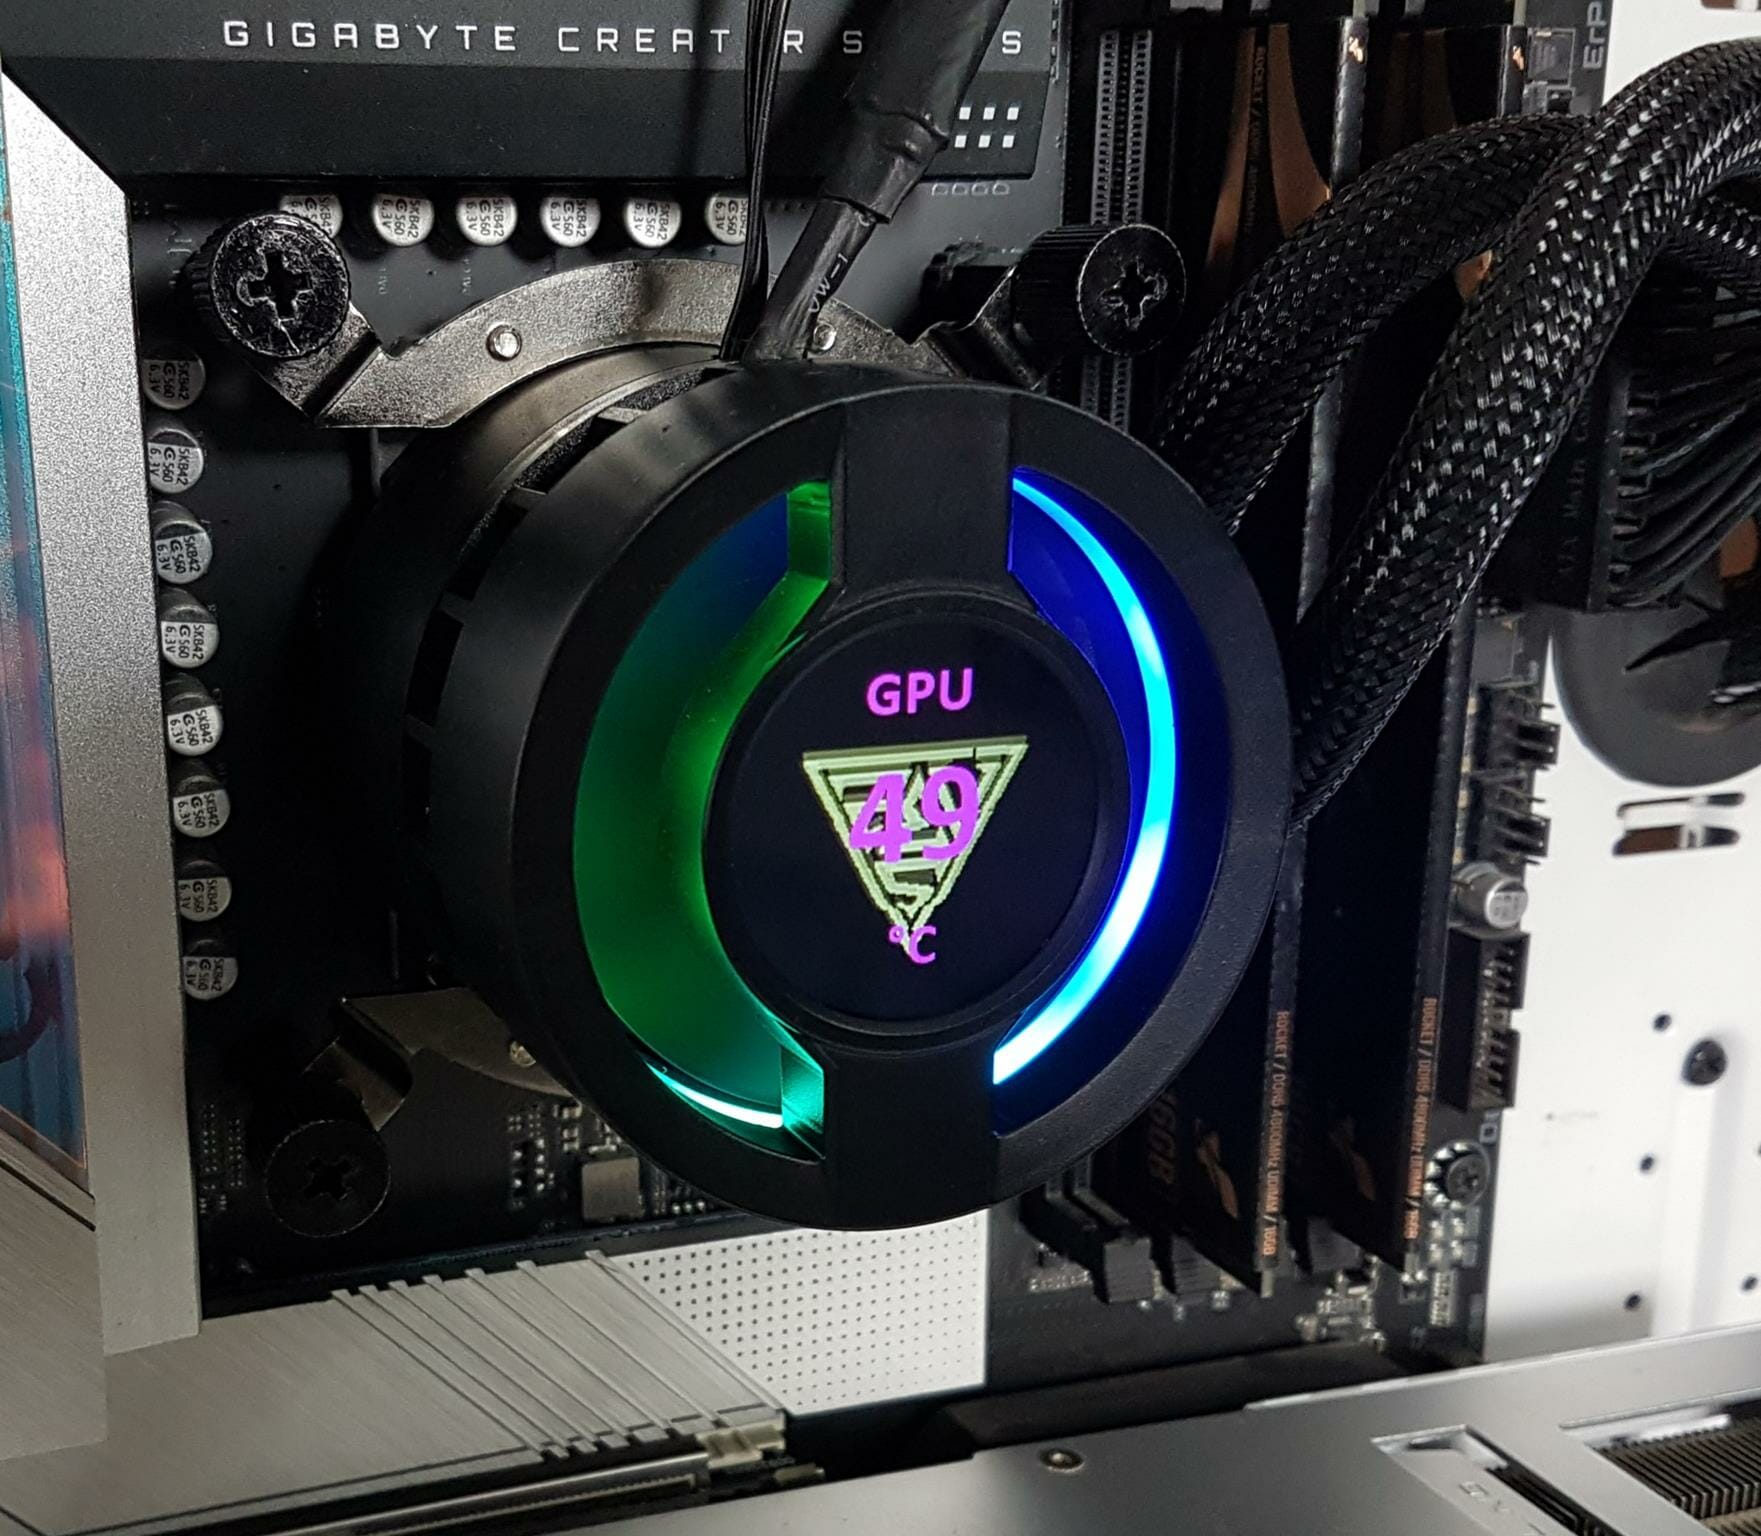
By default, there is an inverted triangle showing the GAMDIAS logo on the screen in yellow color.
Now we have rotated the screen display to the left side.
Now the display is upward.
The display is rightward.
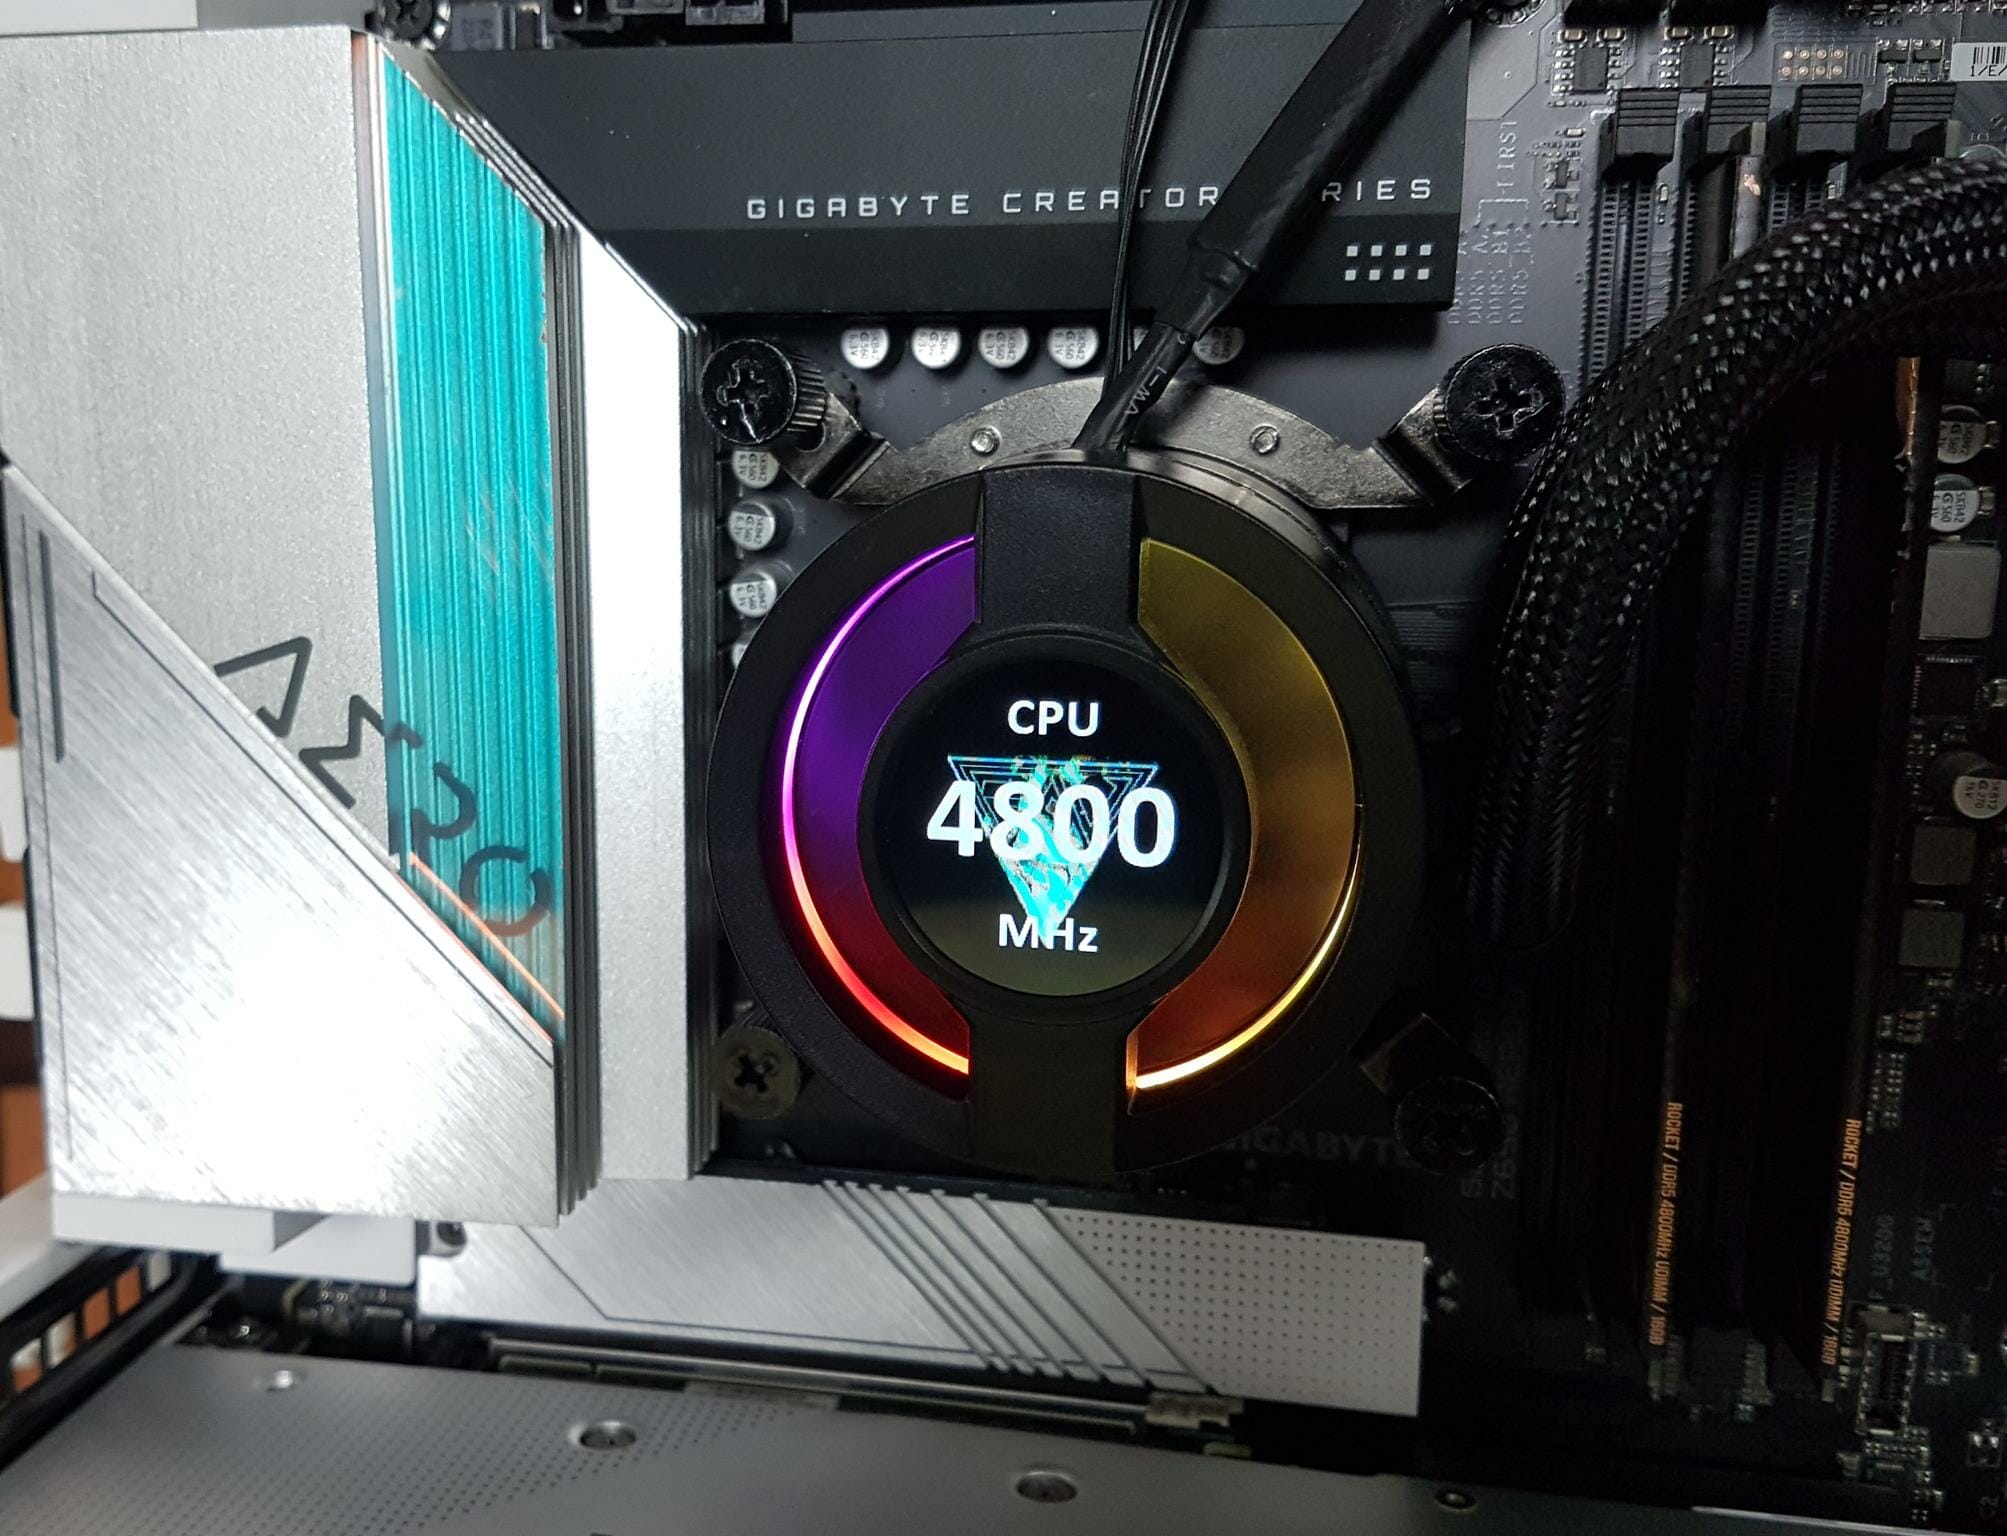
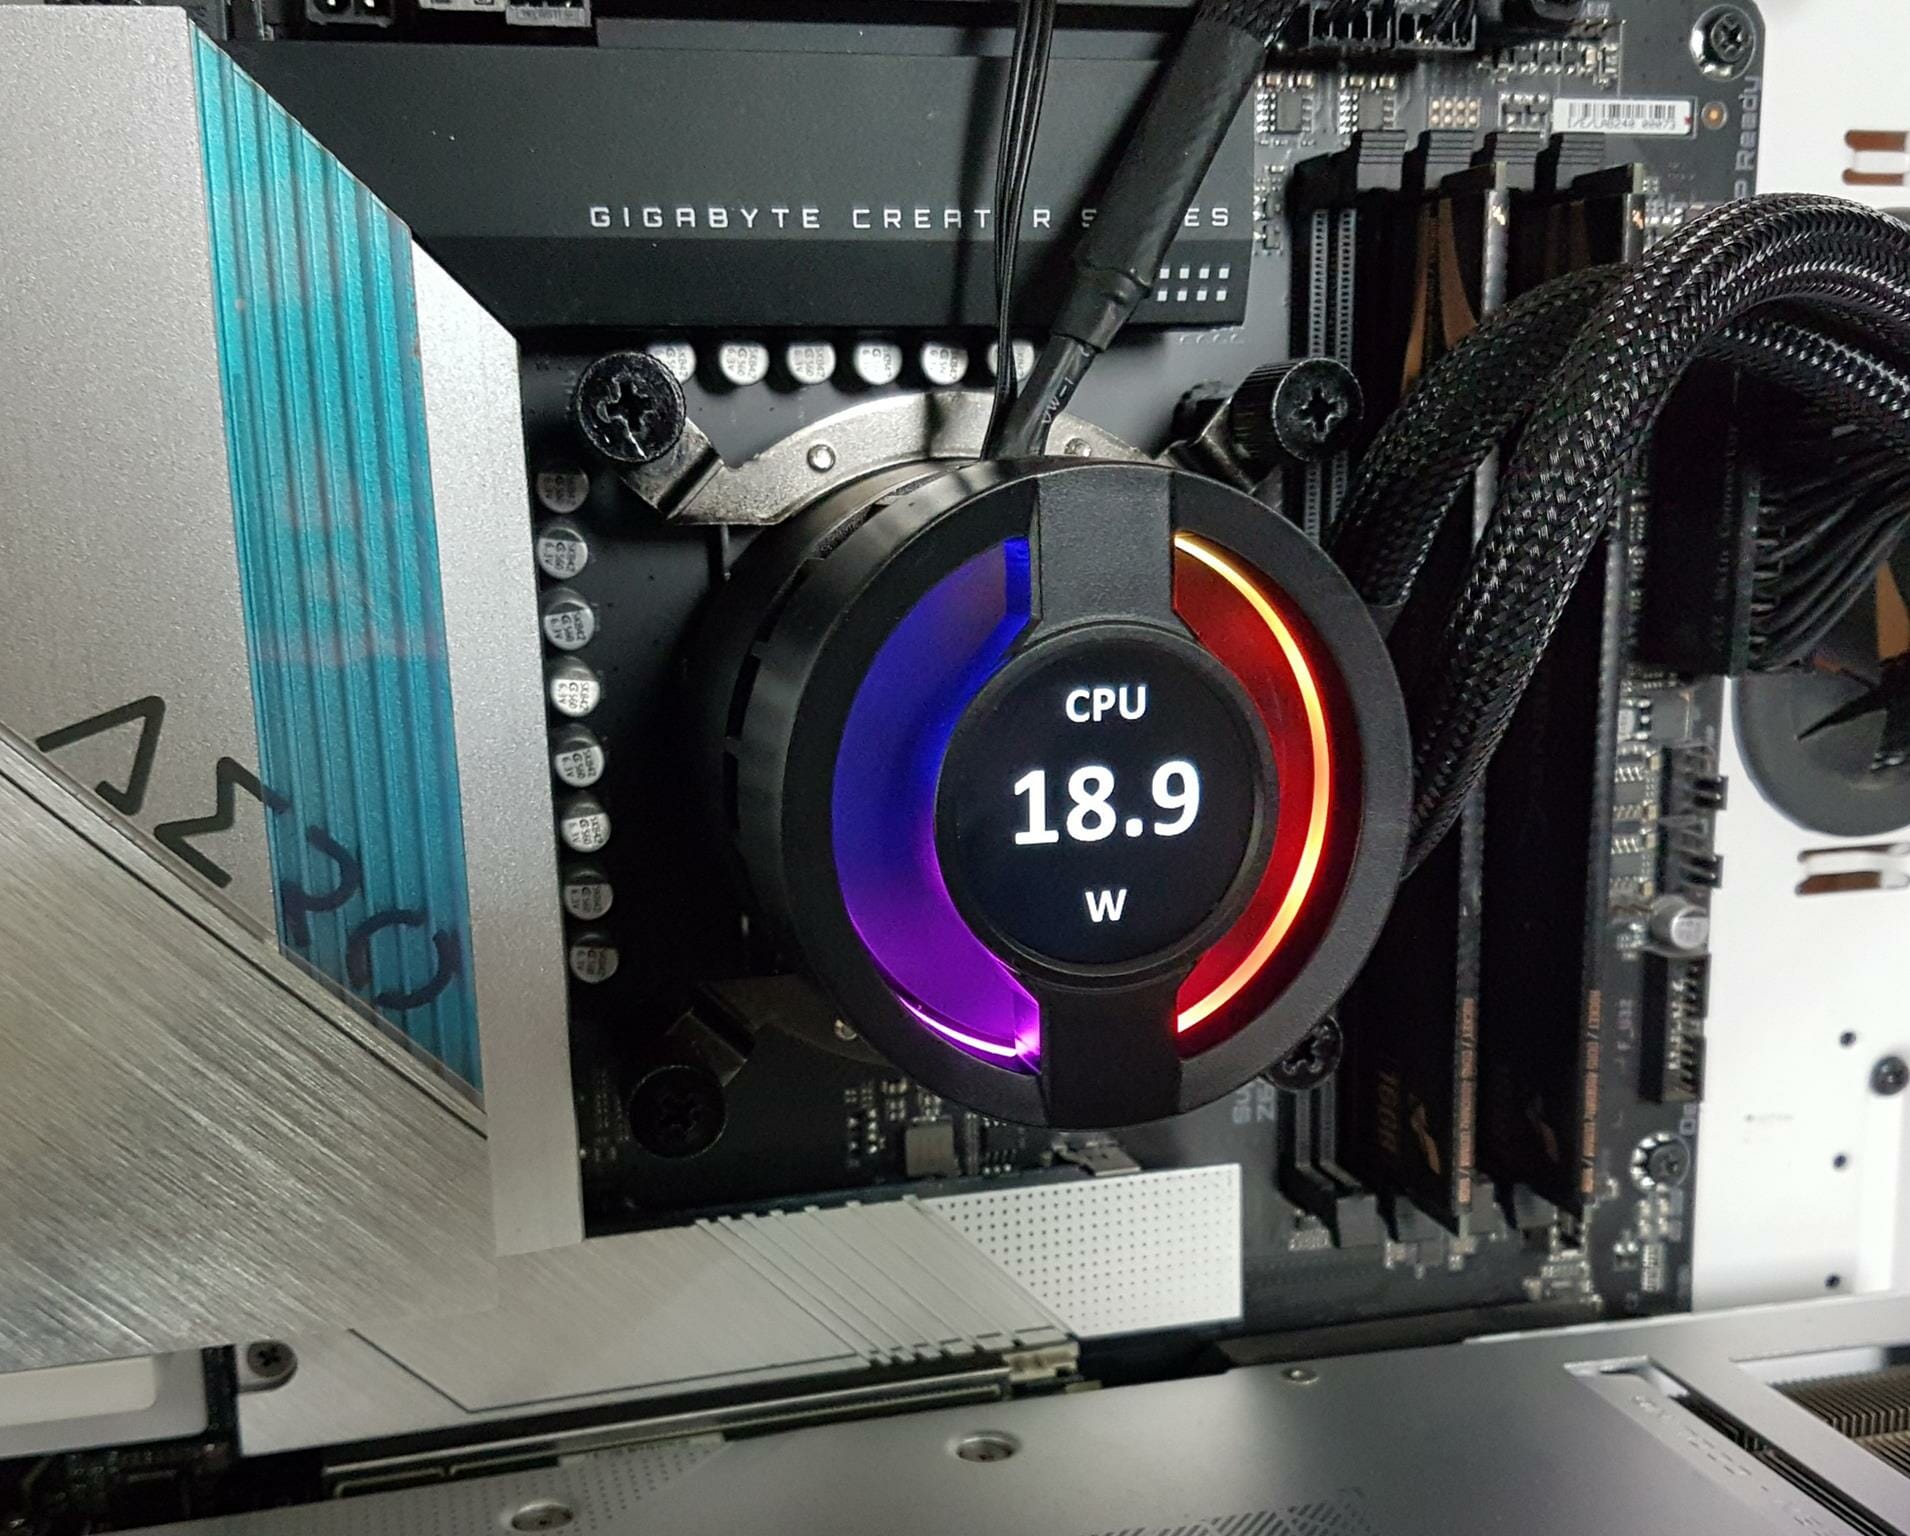
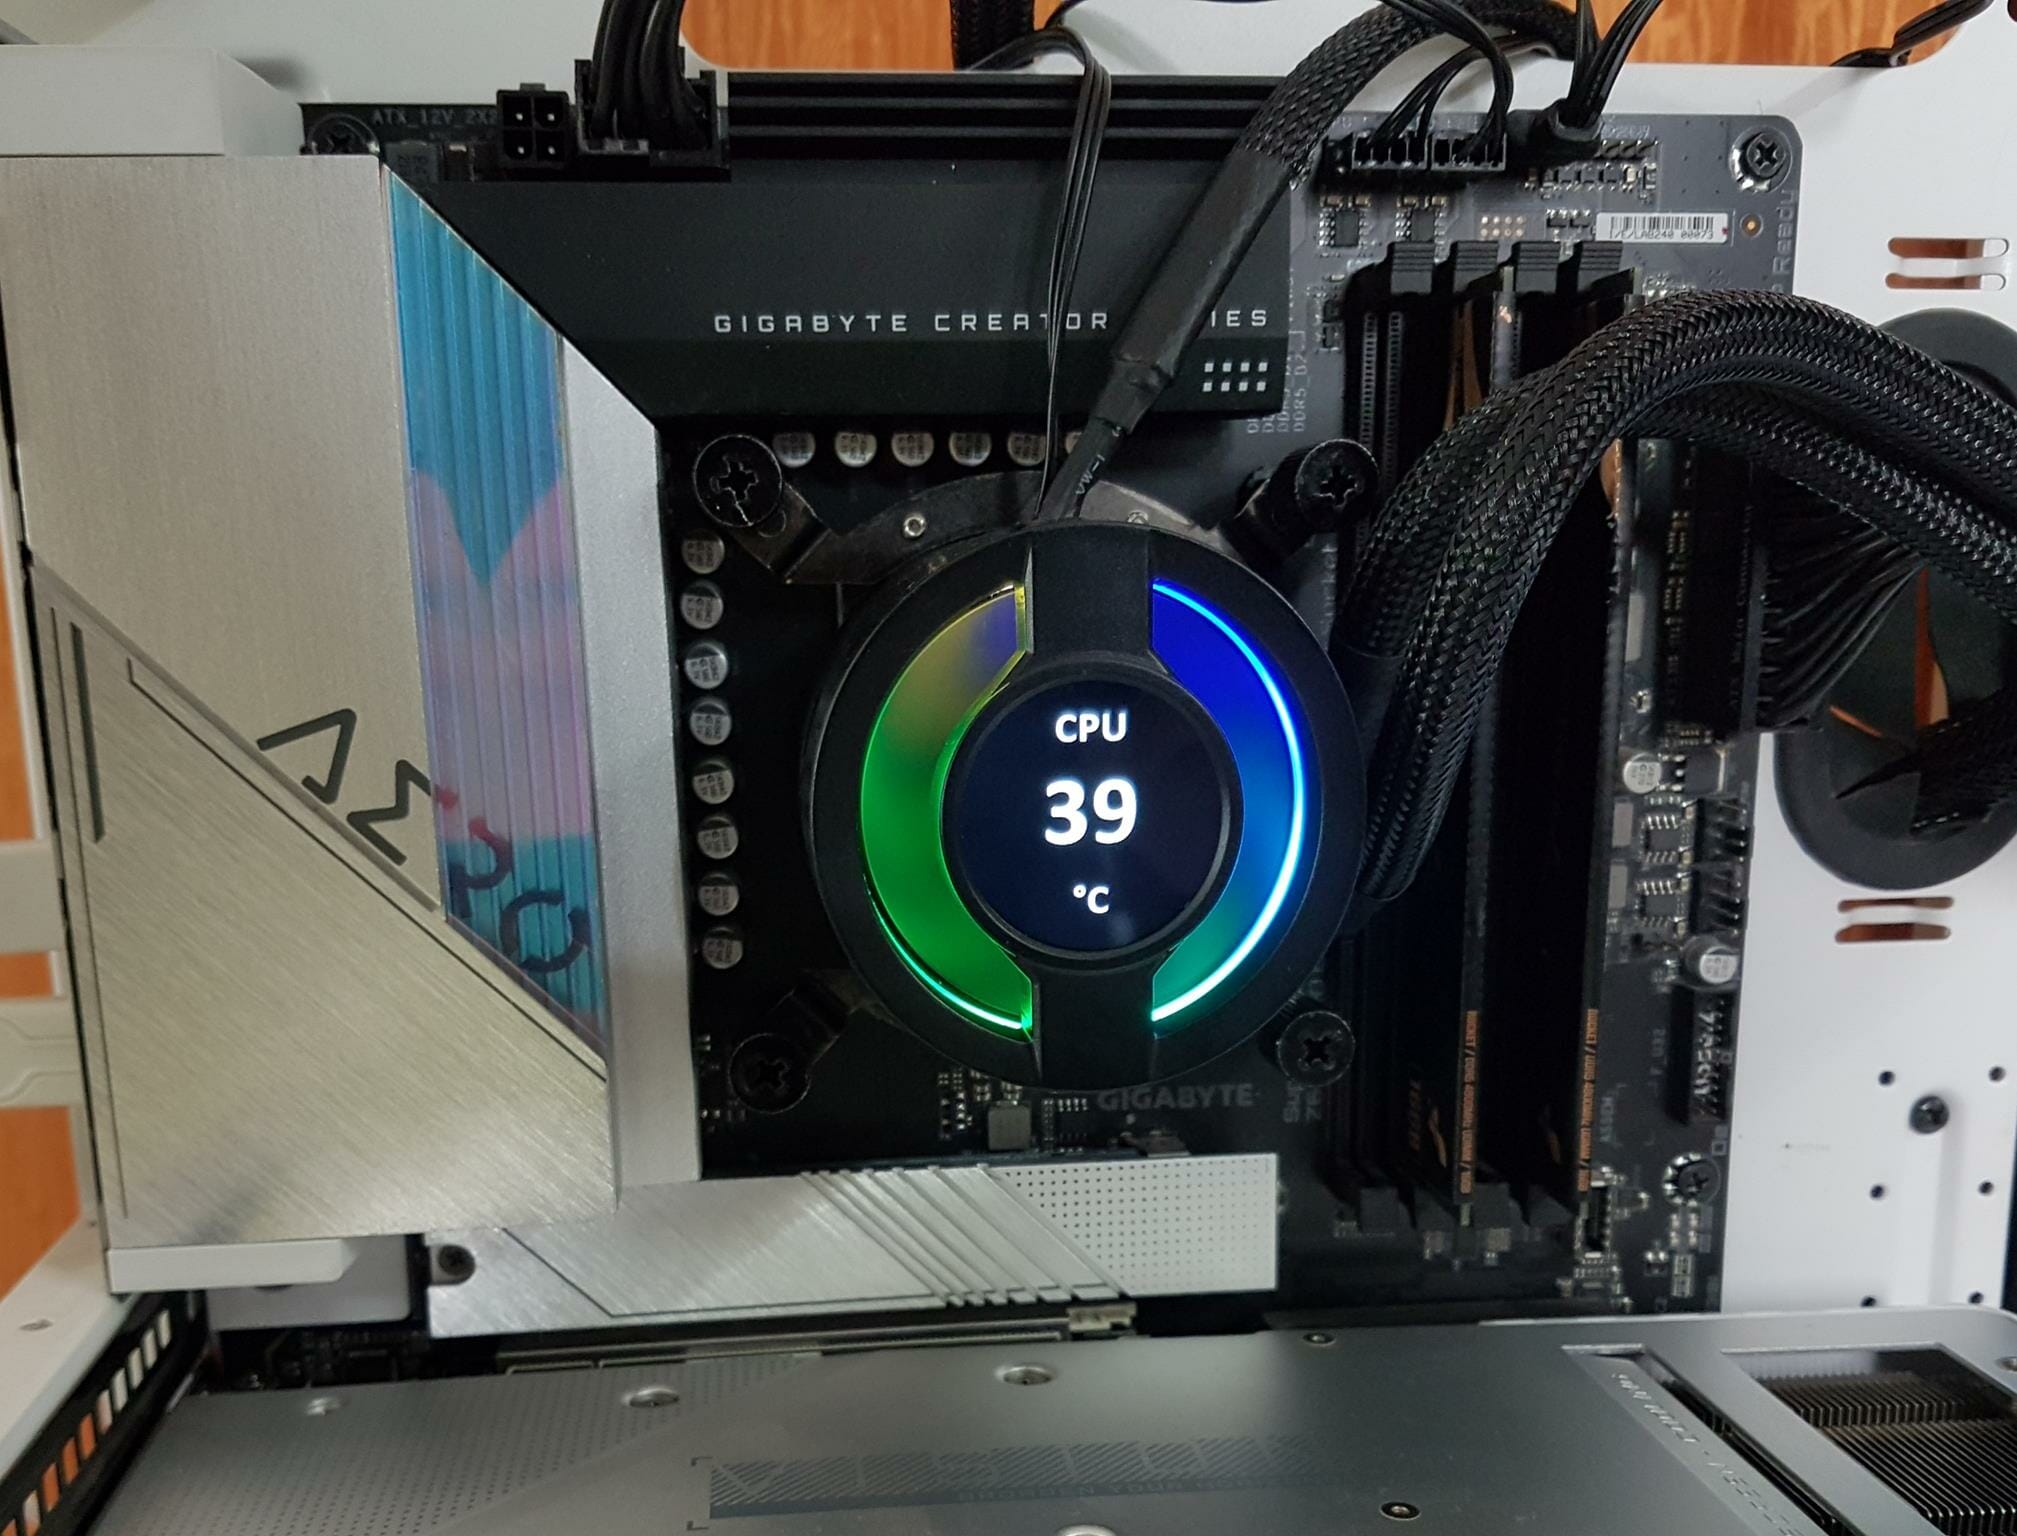
By default, None is selected in the System information section. You can choose to display listed sensors like CPU speed, CPU Temperature, CPU Power, etc. The drive’s statistics can also be displayed. But keep in mind that this screen can only output one sensor at a time. There is no provision to report multiple sensors at a time.
Here we are showing the CPU Clock speeds.
Here we are showing the power draw of the CPU.
Now, we are showing the CPU temperature.
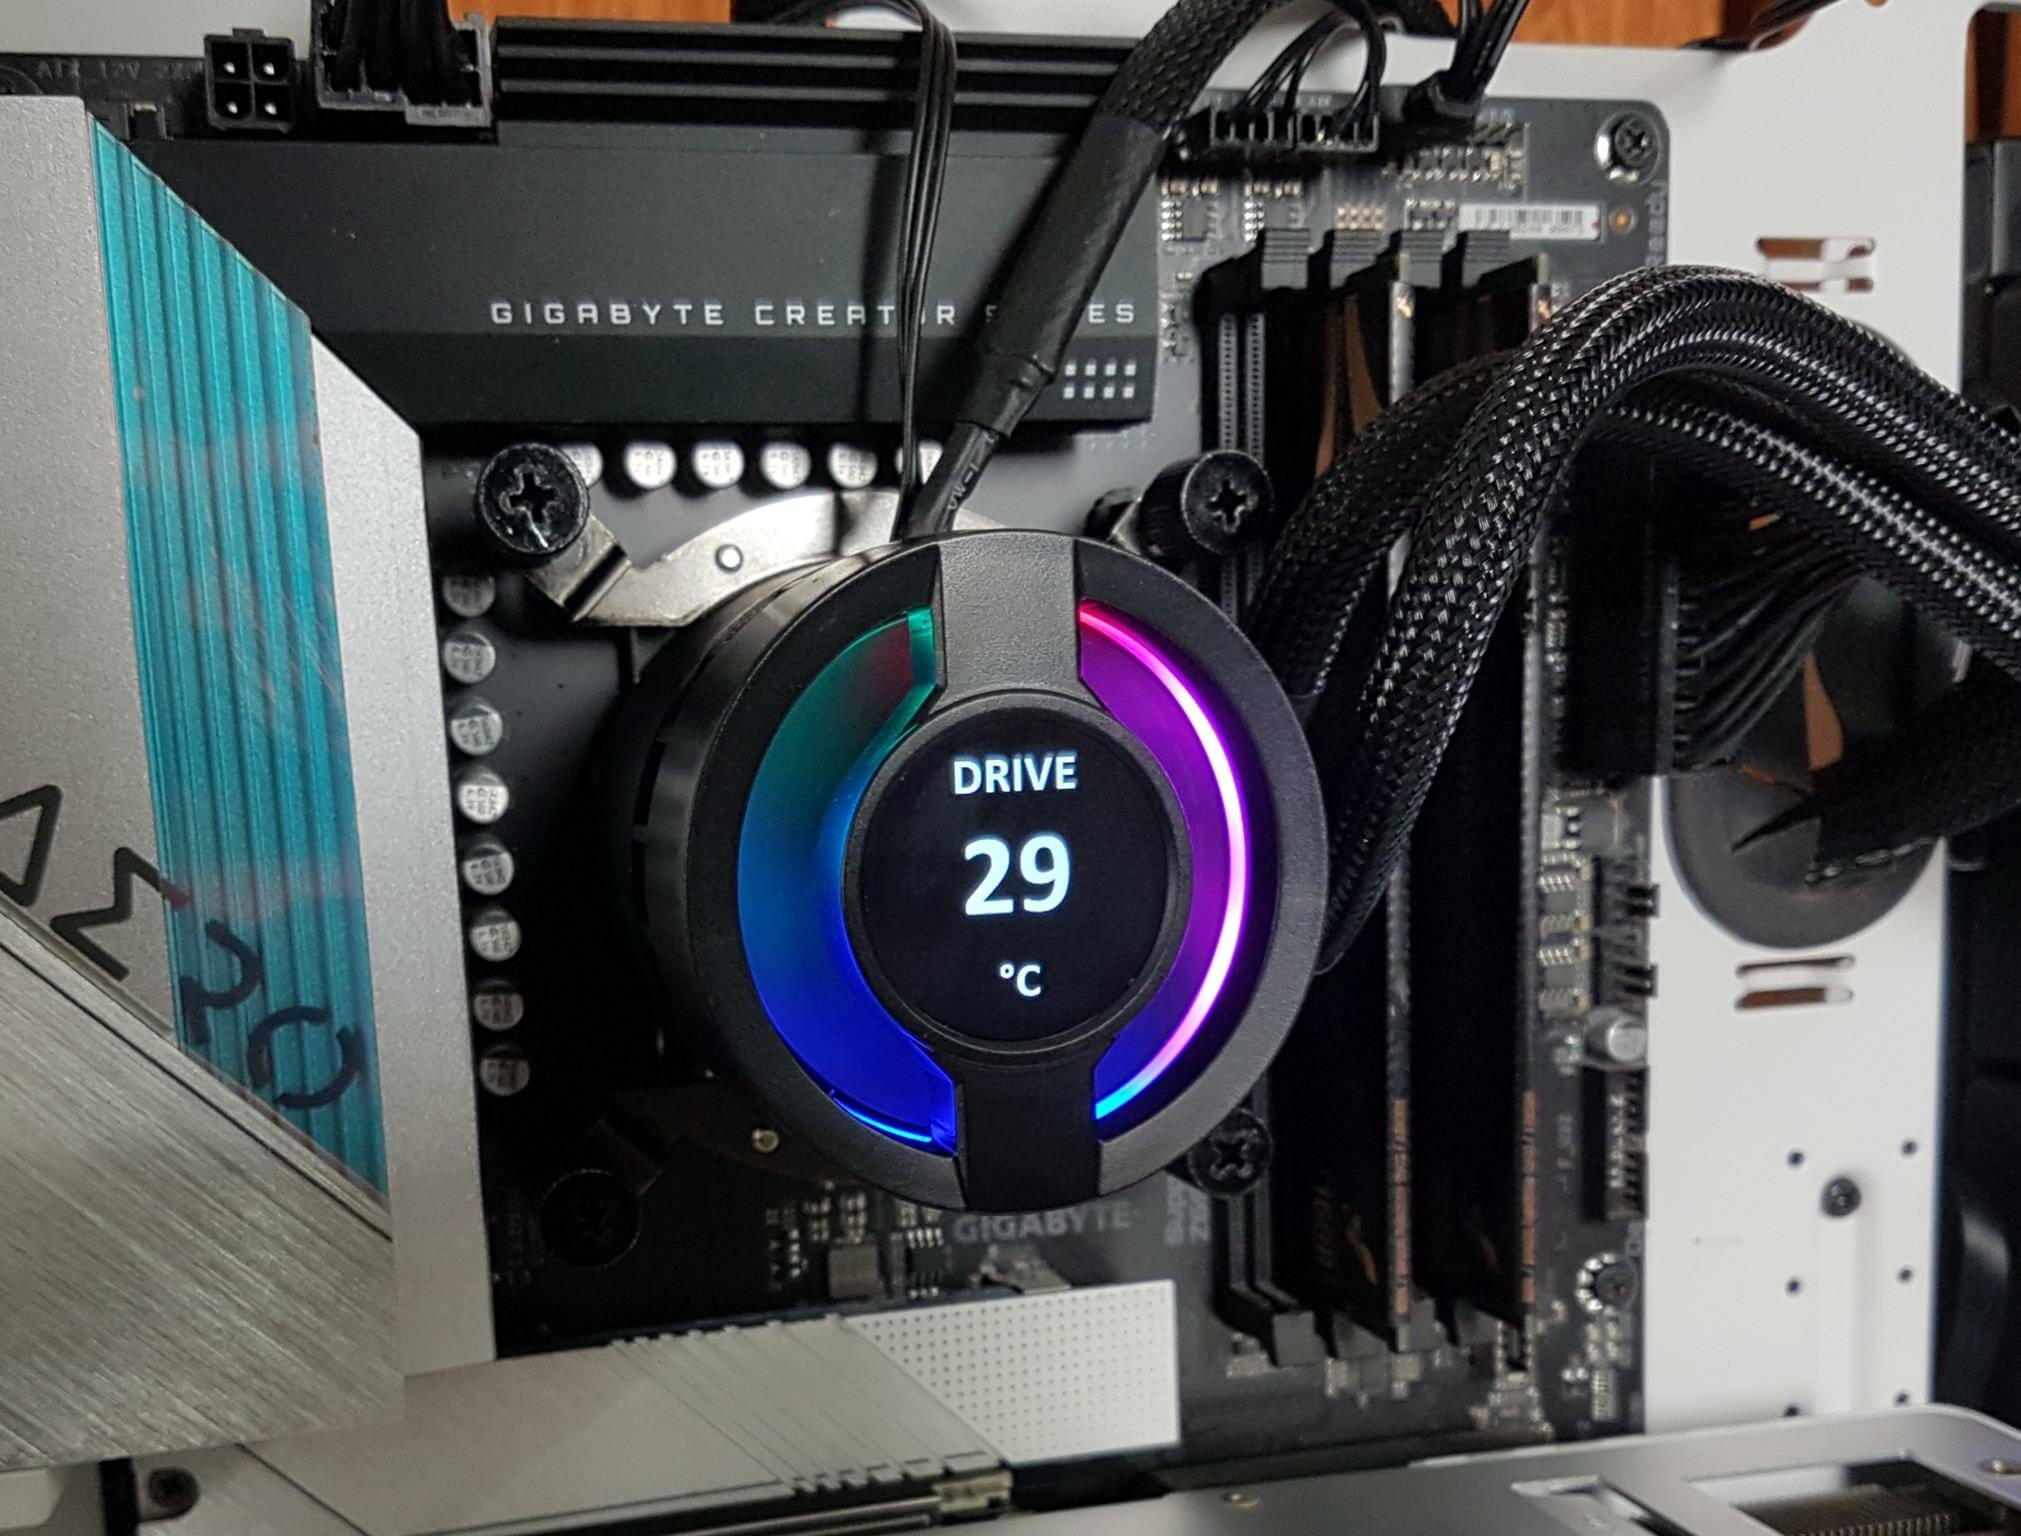
Here we are showing the drive’s temperature.
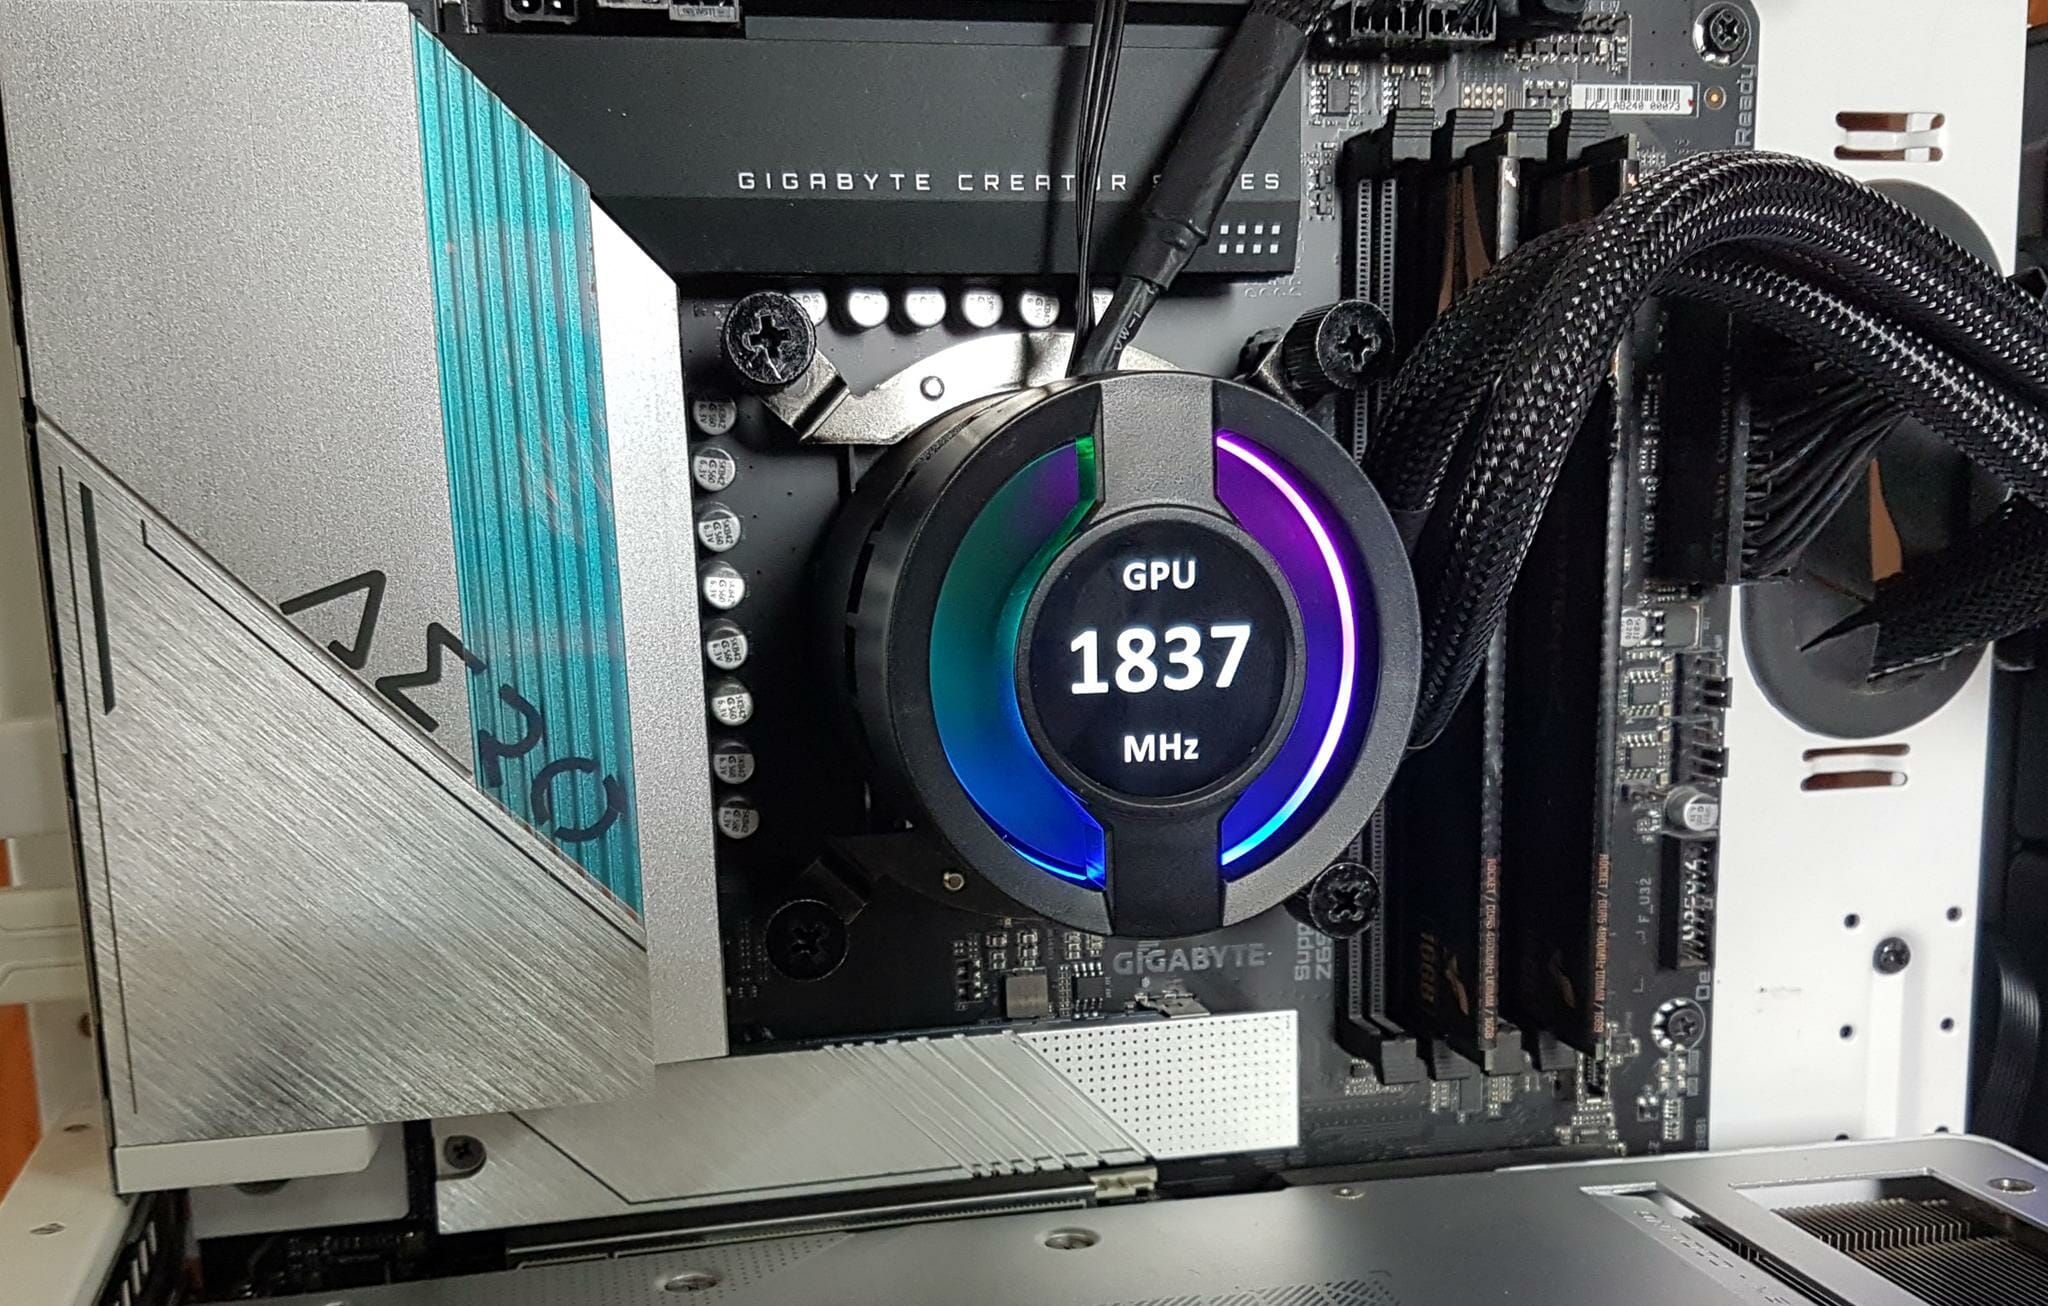
We are showing GPU clocks.
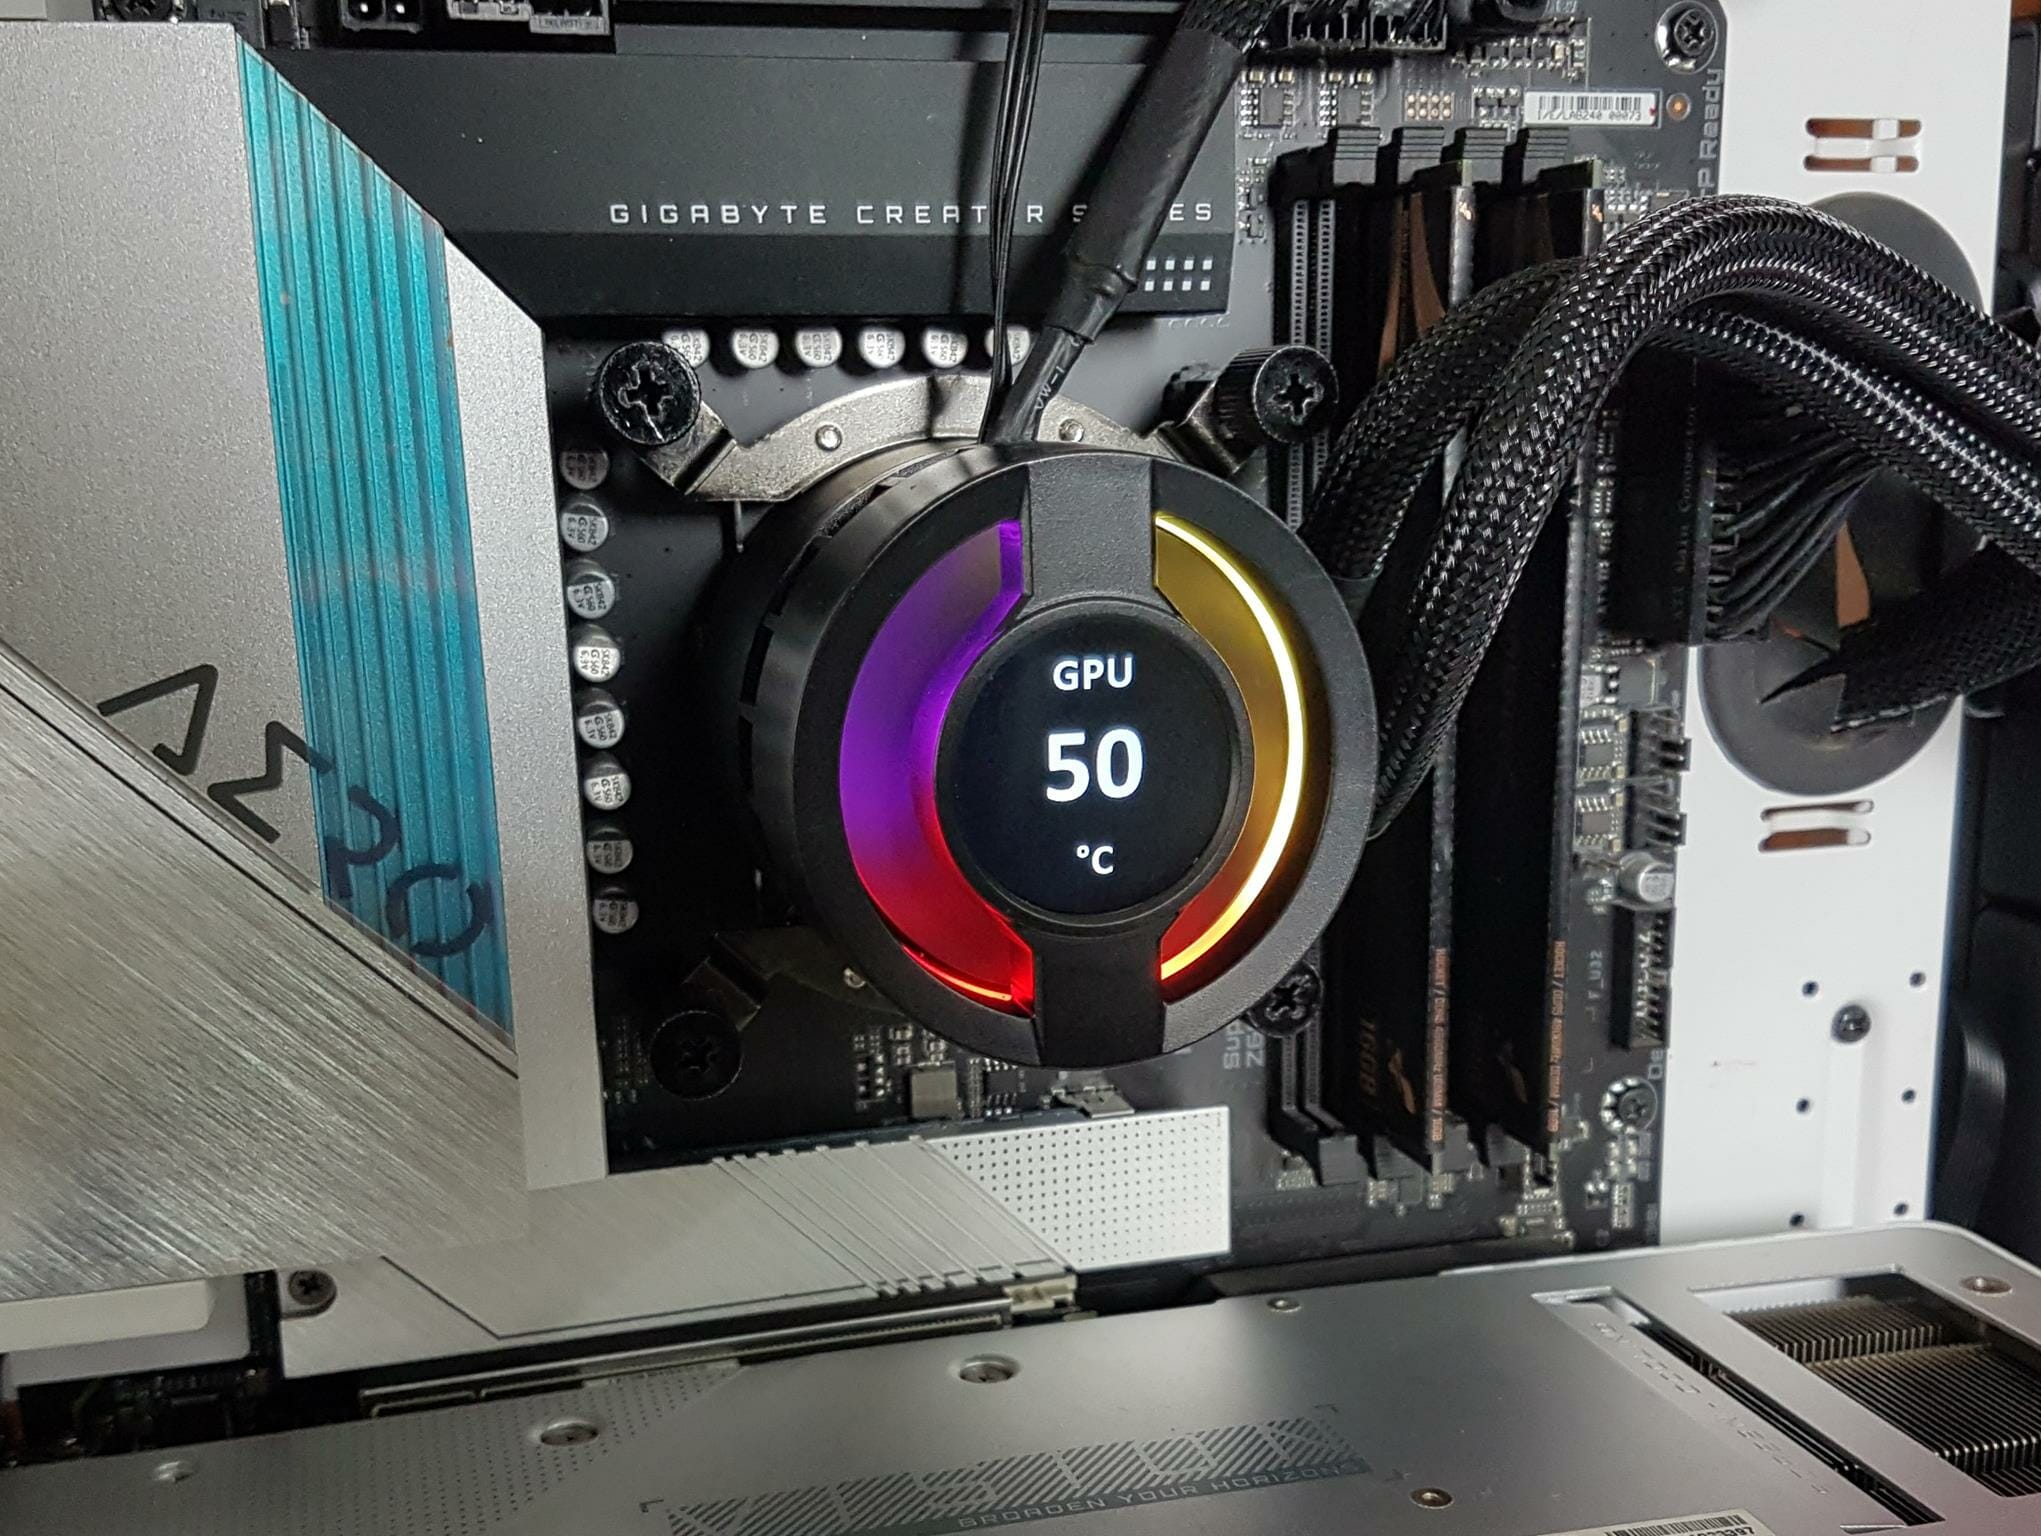
Now are showing GPU temperature.
We can change the color of the display text as well. You can also display a picture and a system sensor.
There are three backgrounds listed in this section. The default is the GAMDIAS inverted triangle logo. You can change it to the other two as well.
The above picture shows the second background selected and displayed.
The above picture shows the third background displayed.
You can also set it to display no picture at all.
You can upload an image in PNG, JPG, and GIF format with a maximum size of 20MB.
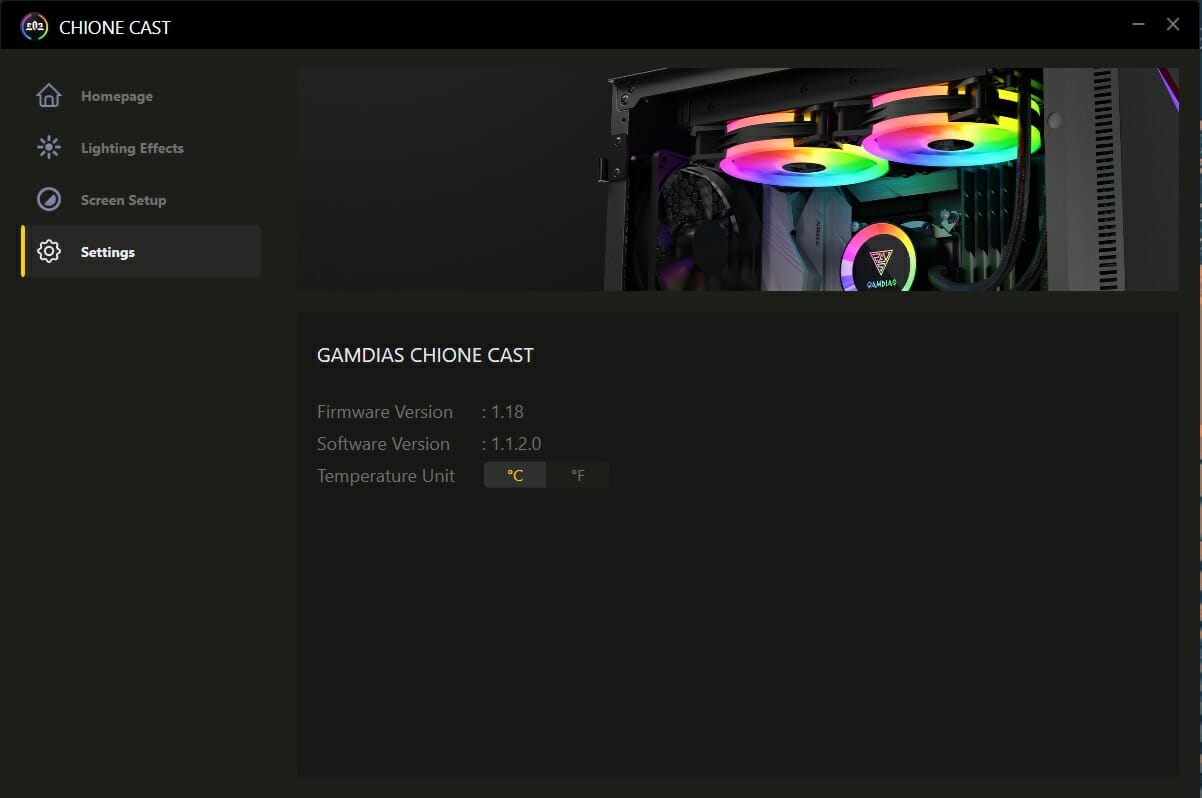
The settings menu shows the software and firmware version. You can change the temperature unit from here as well.
D-RGB Lighting
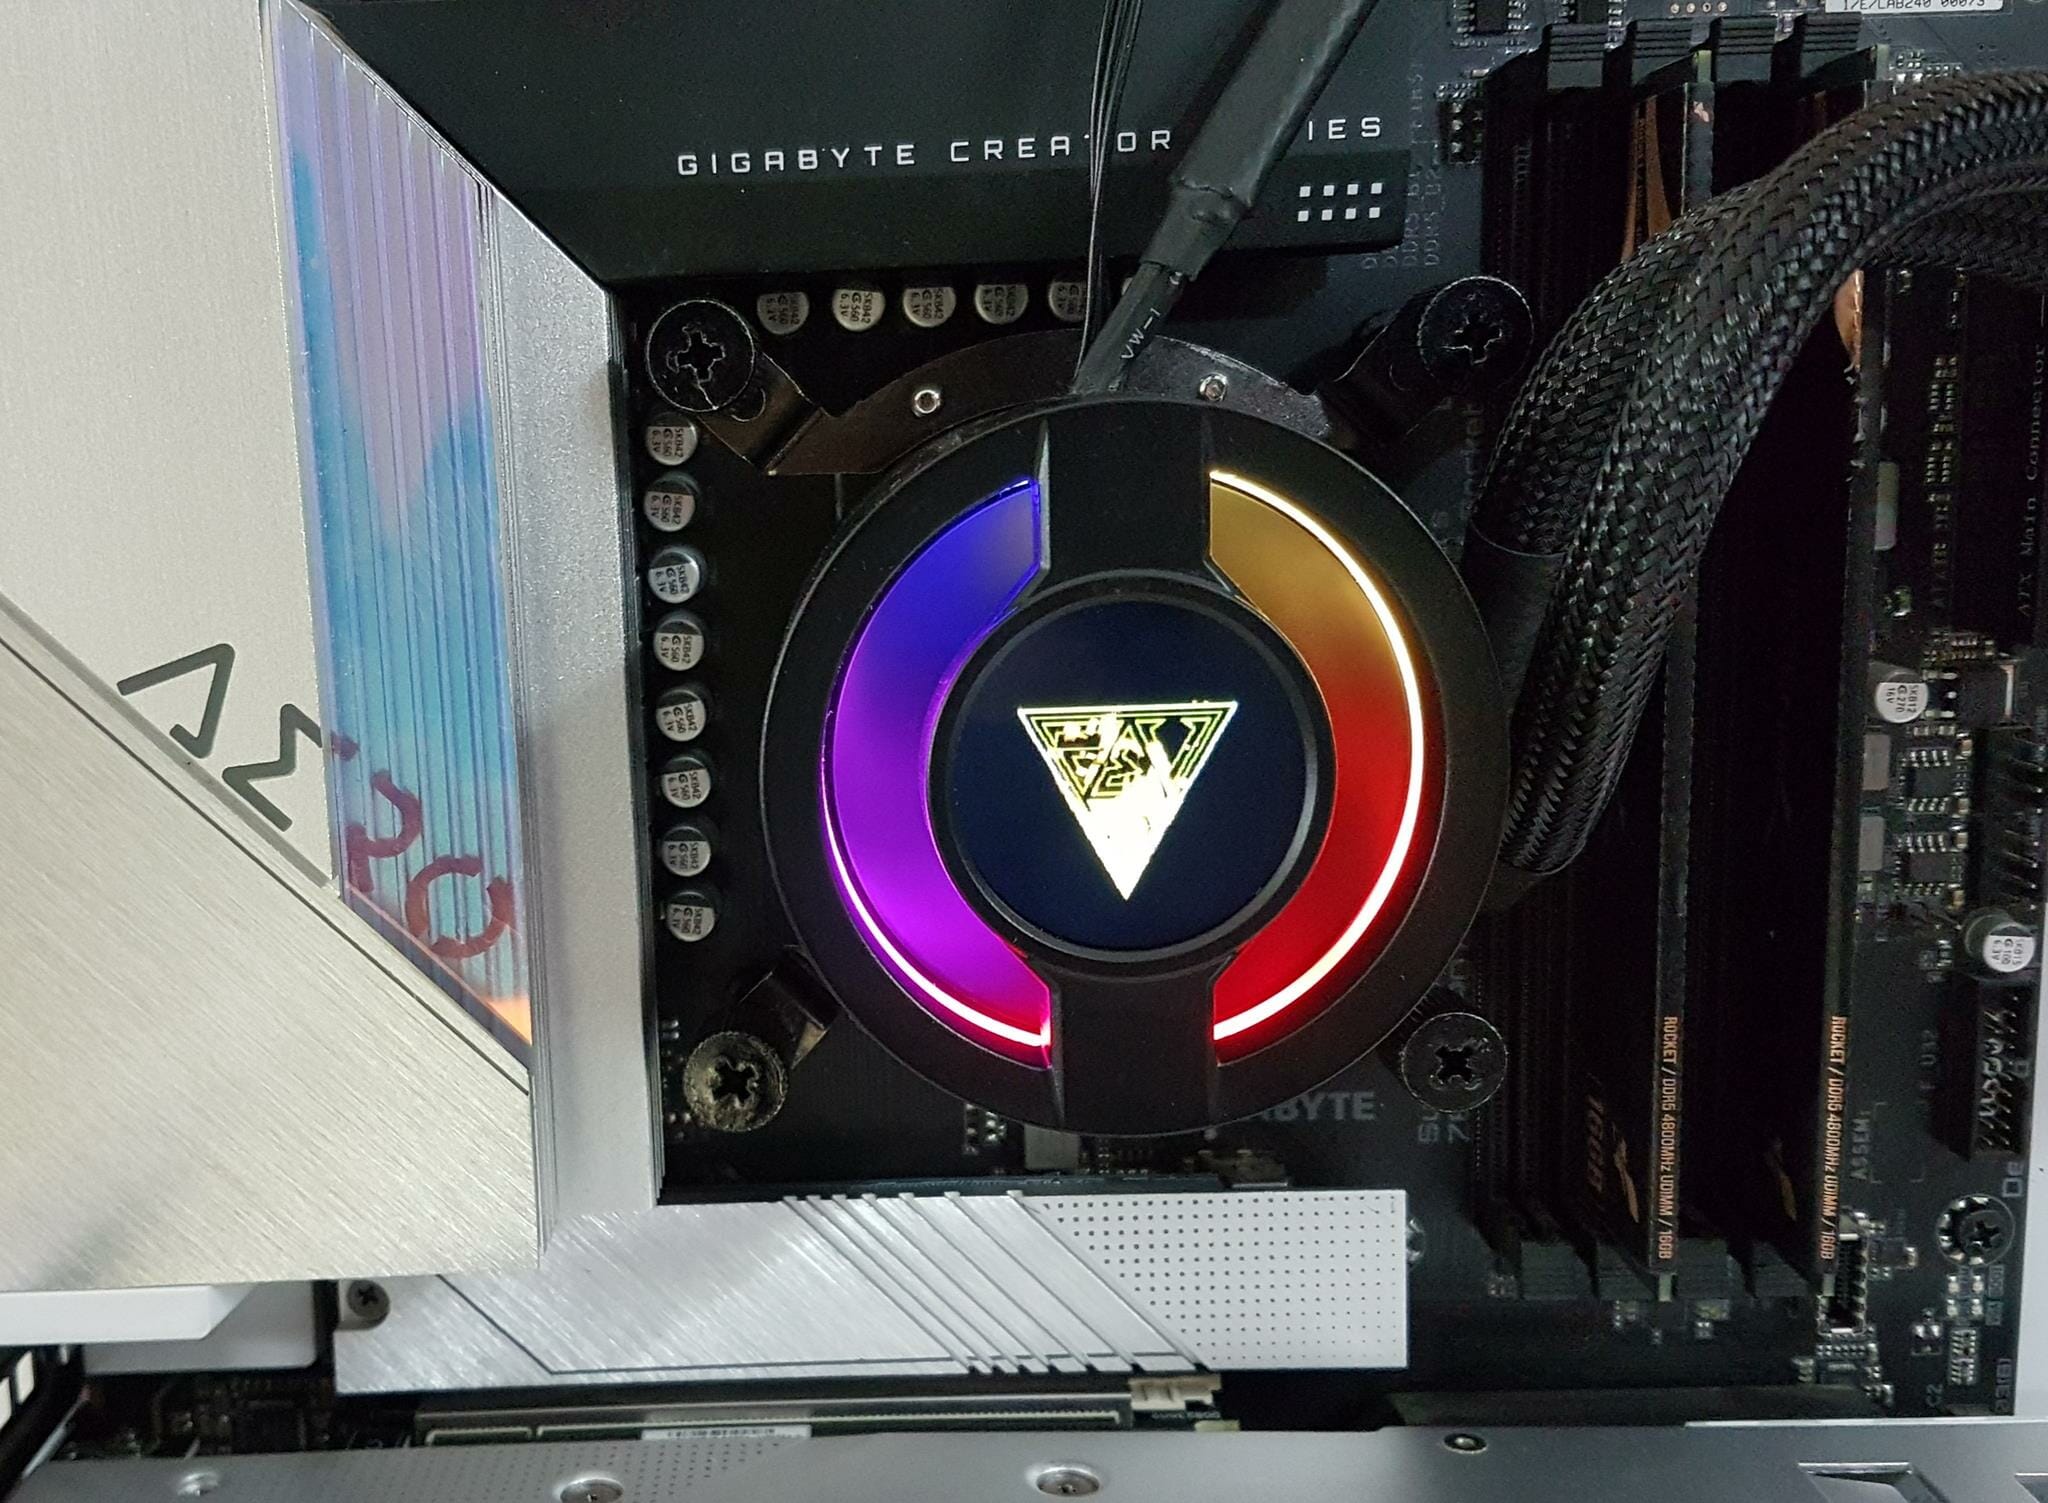
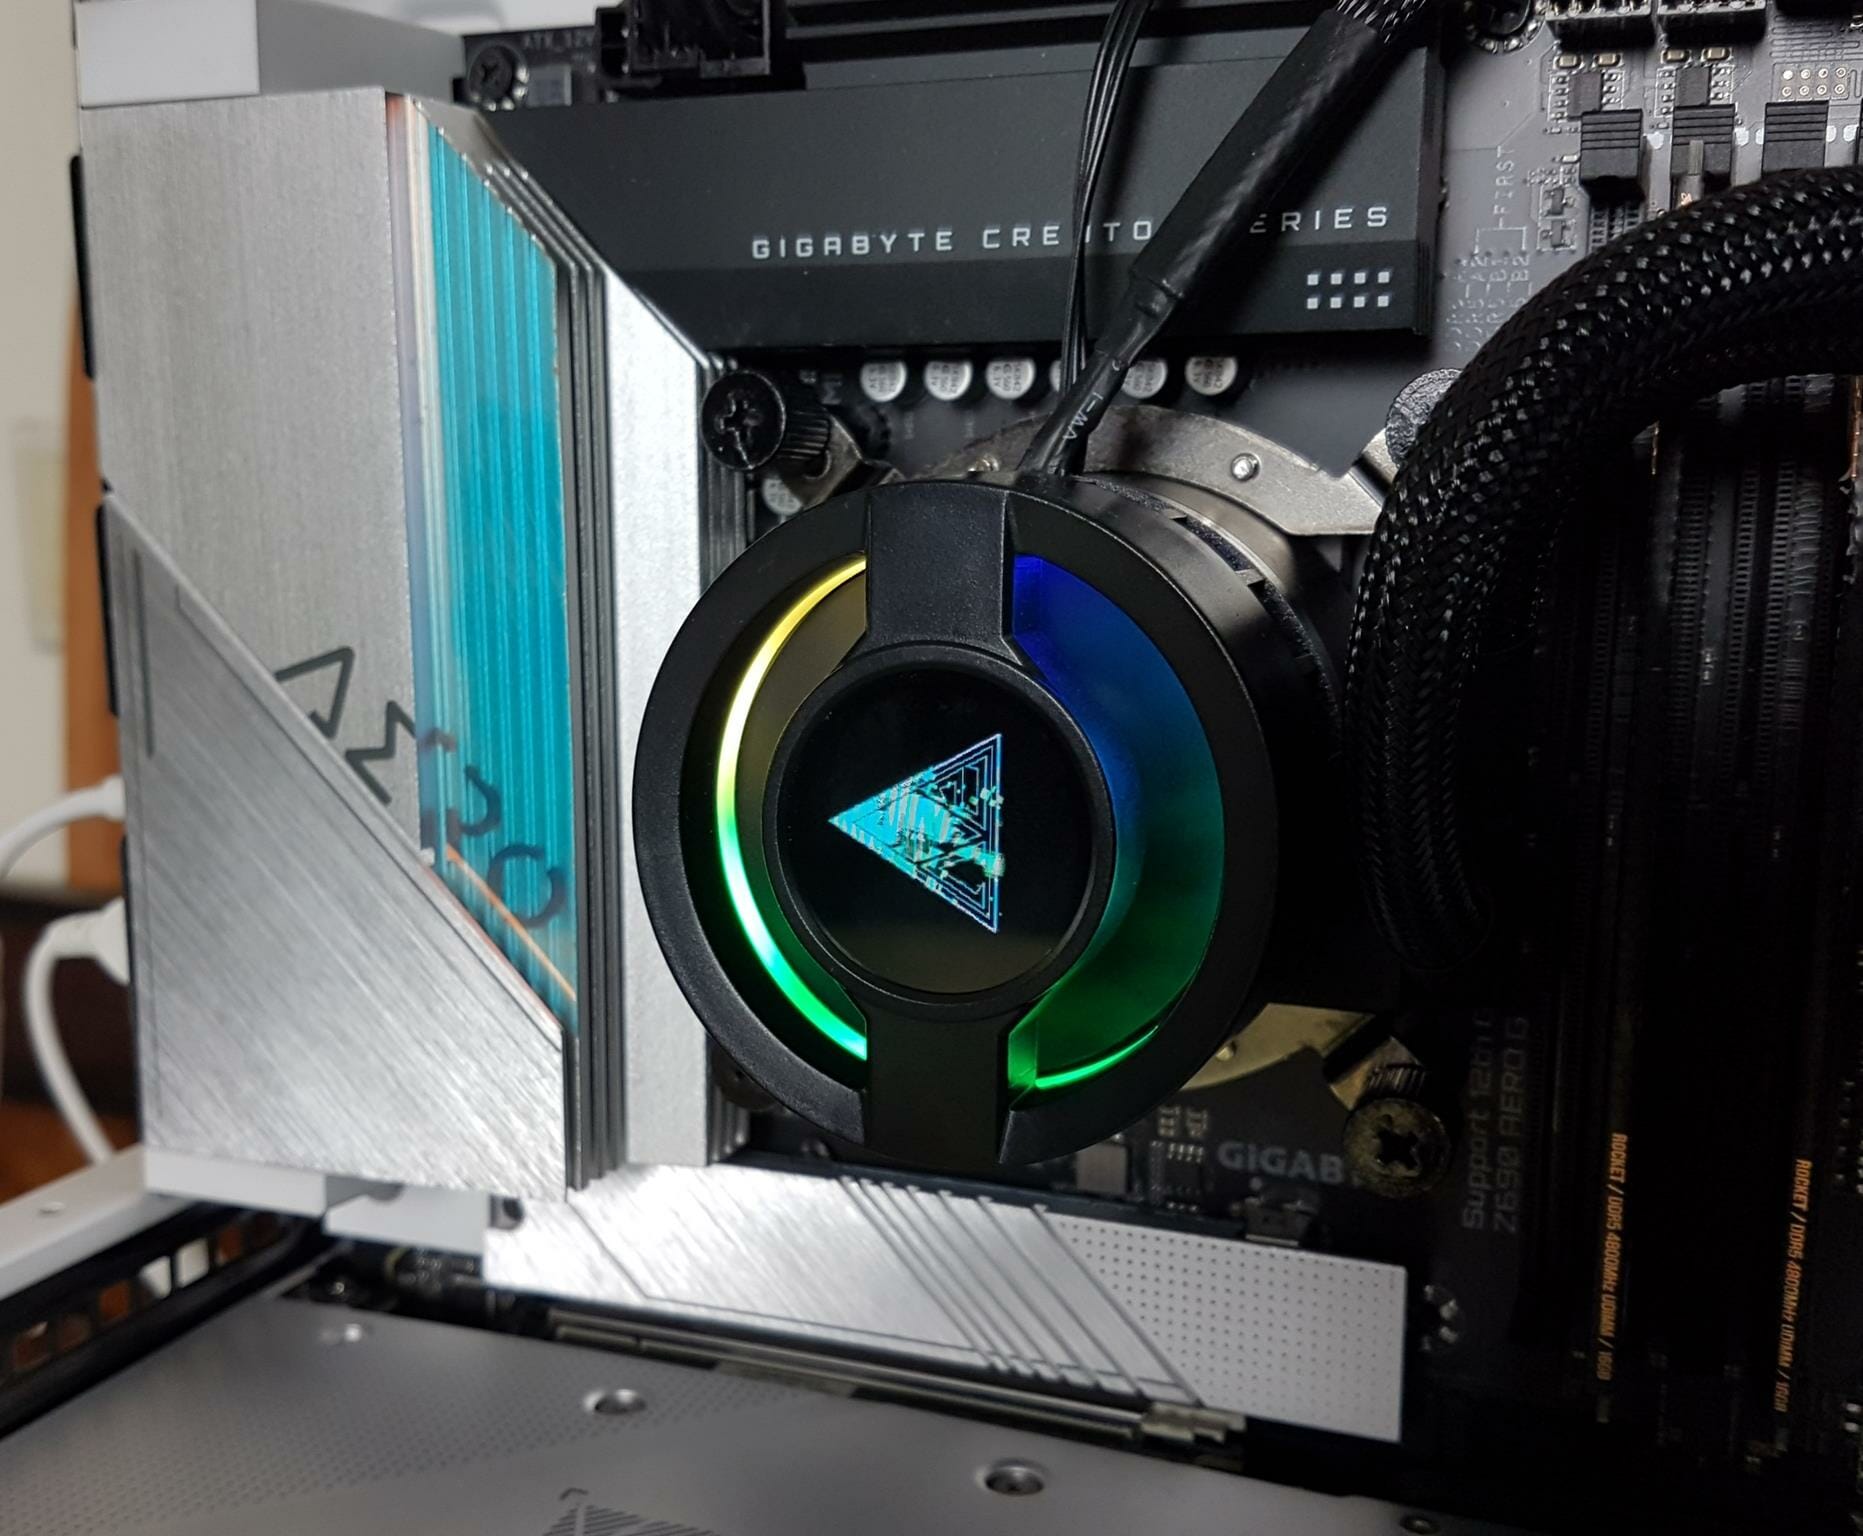
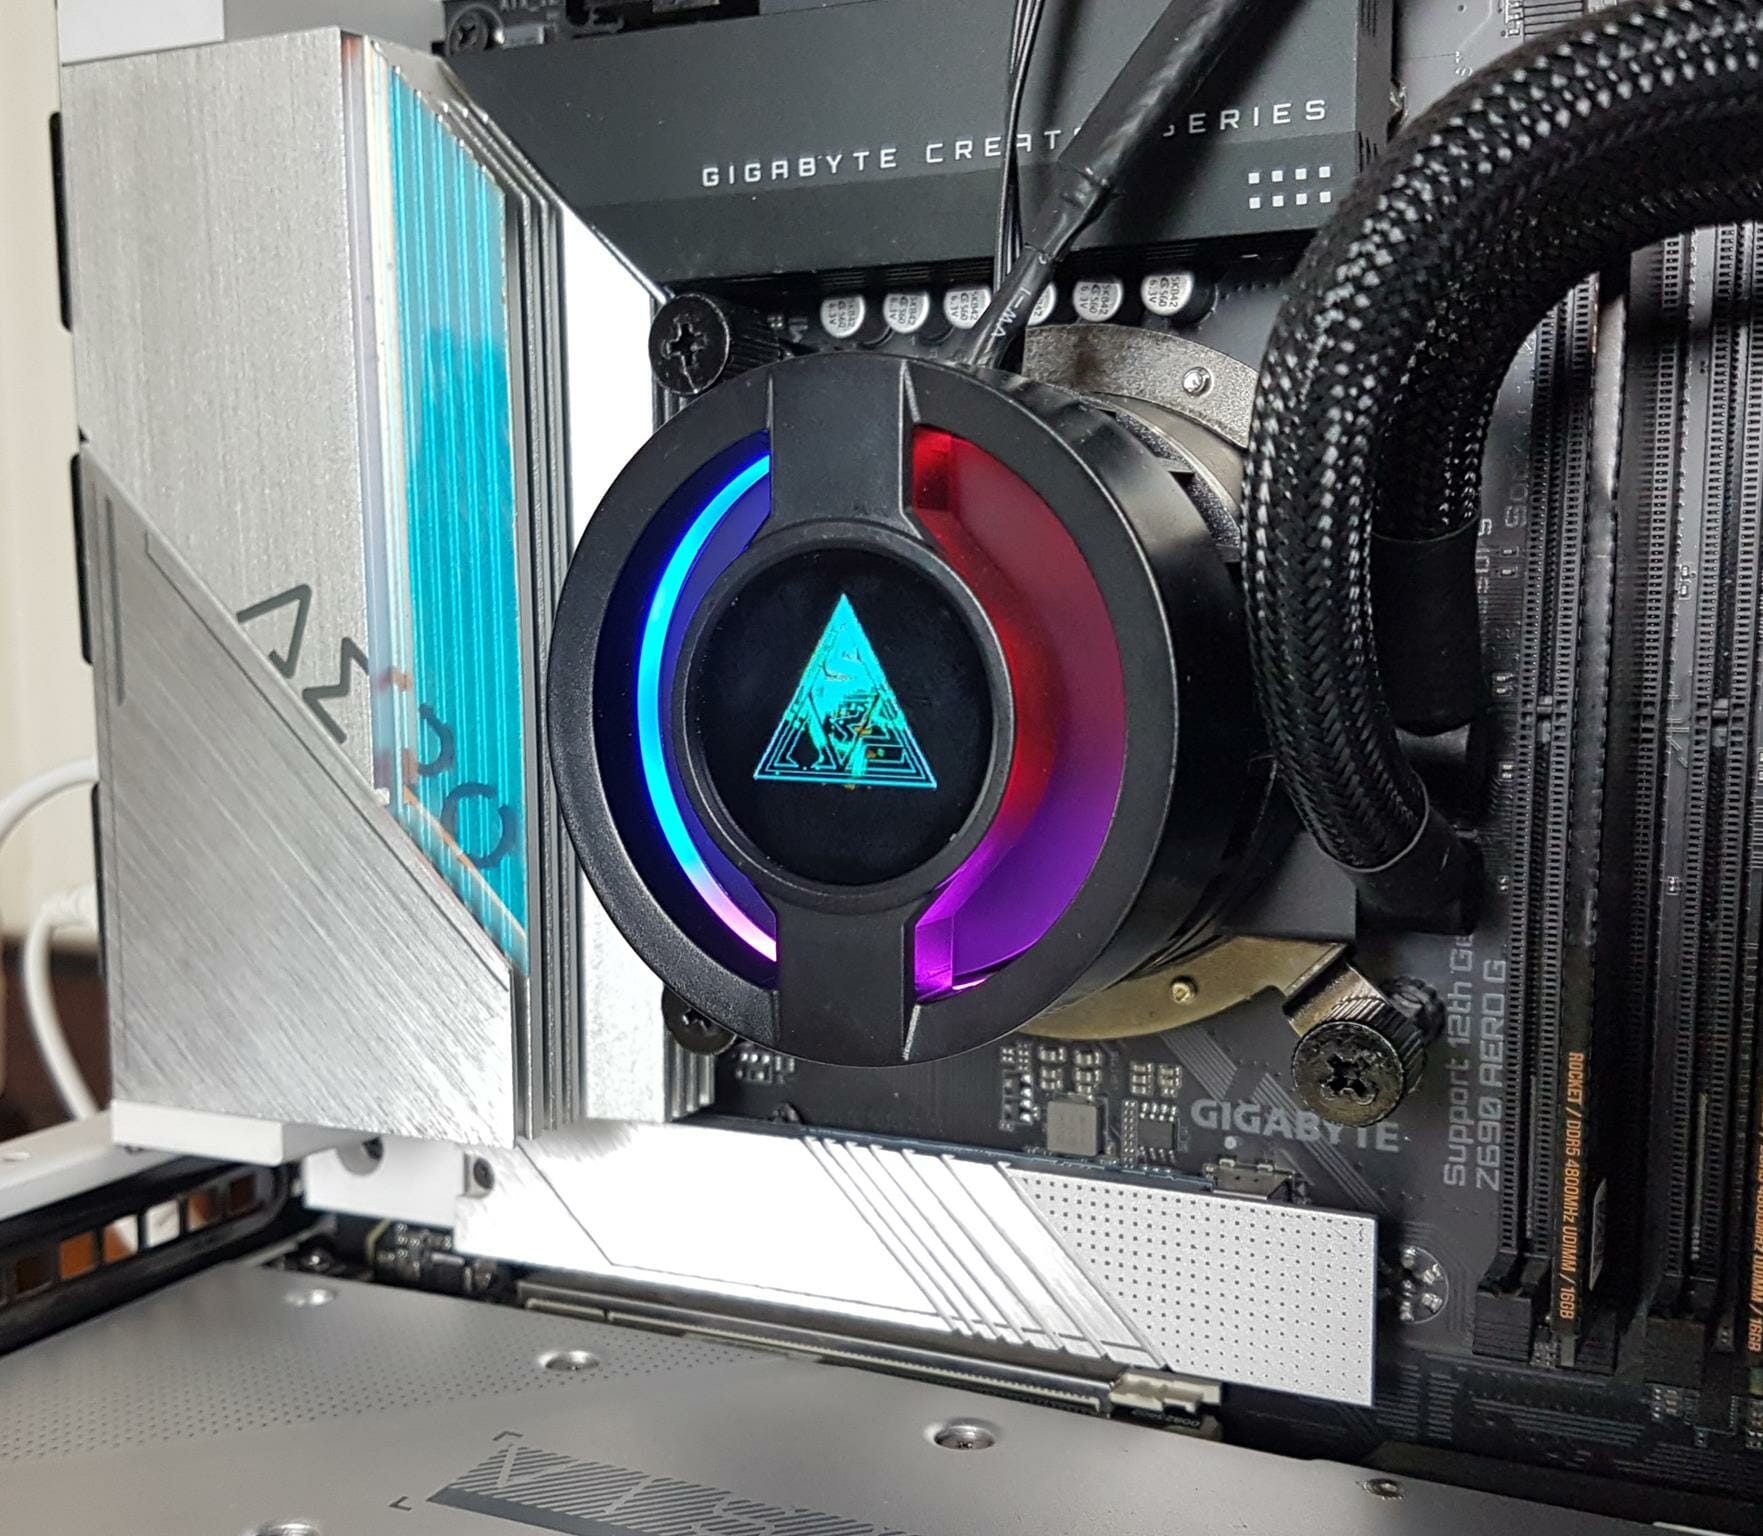
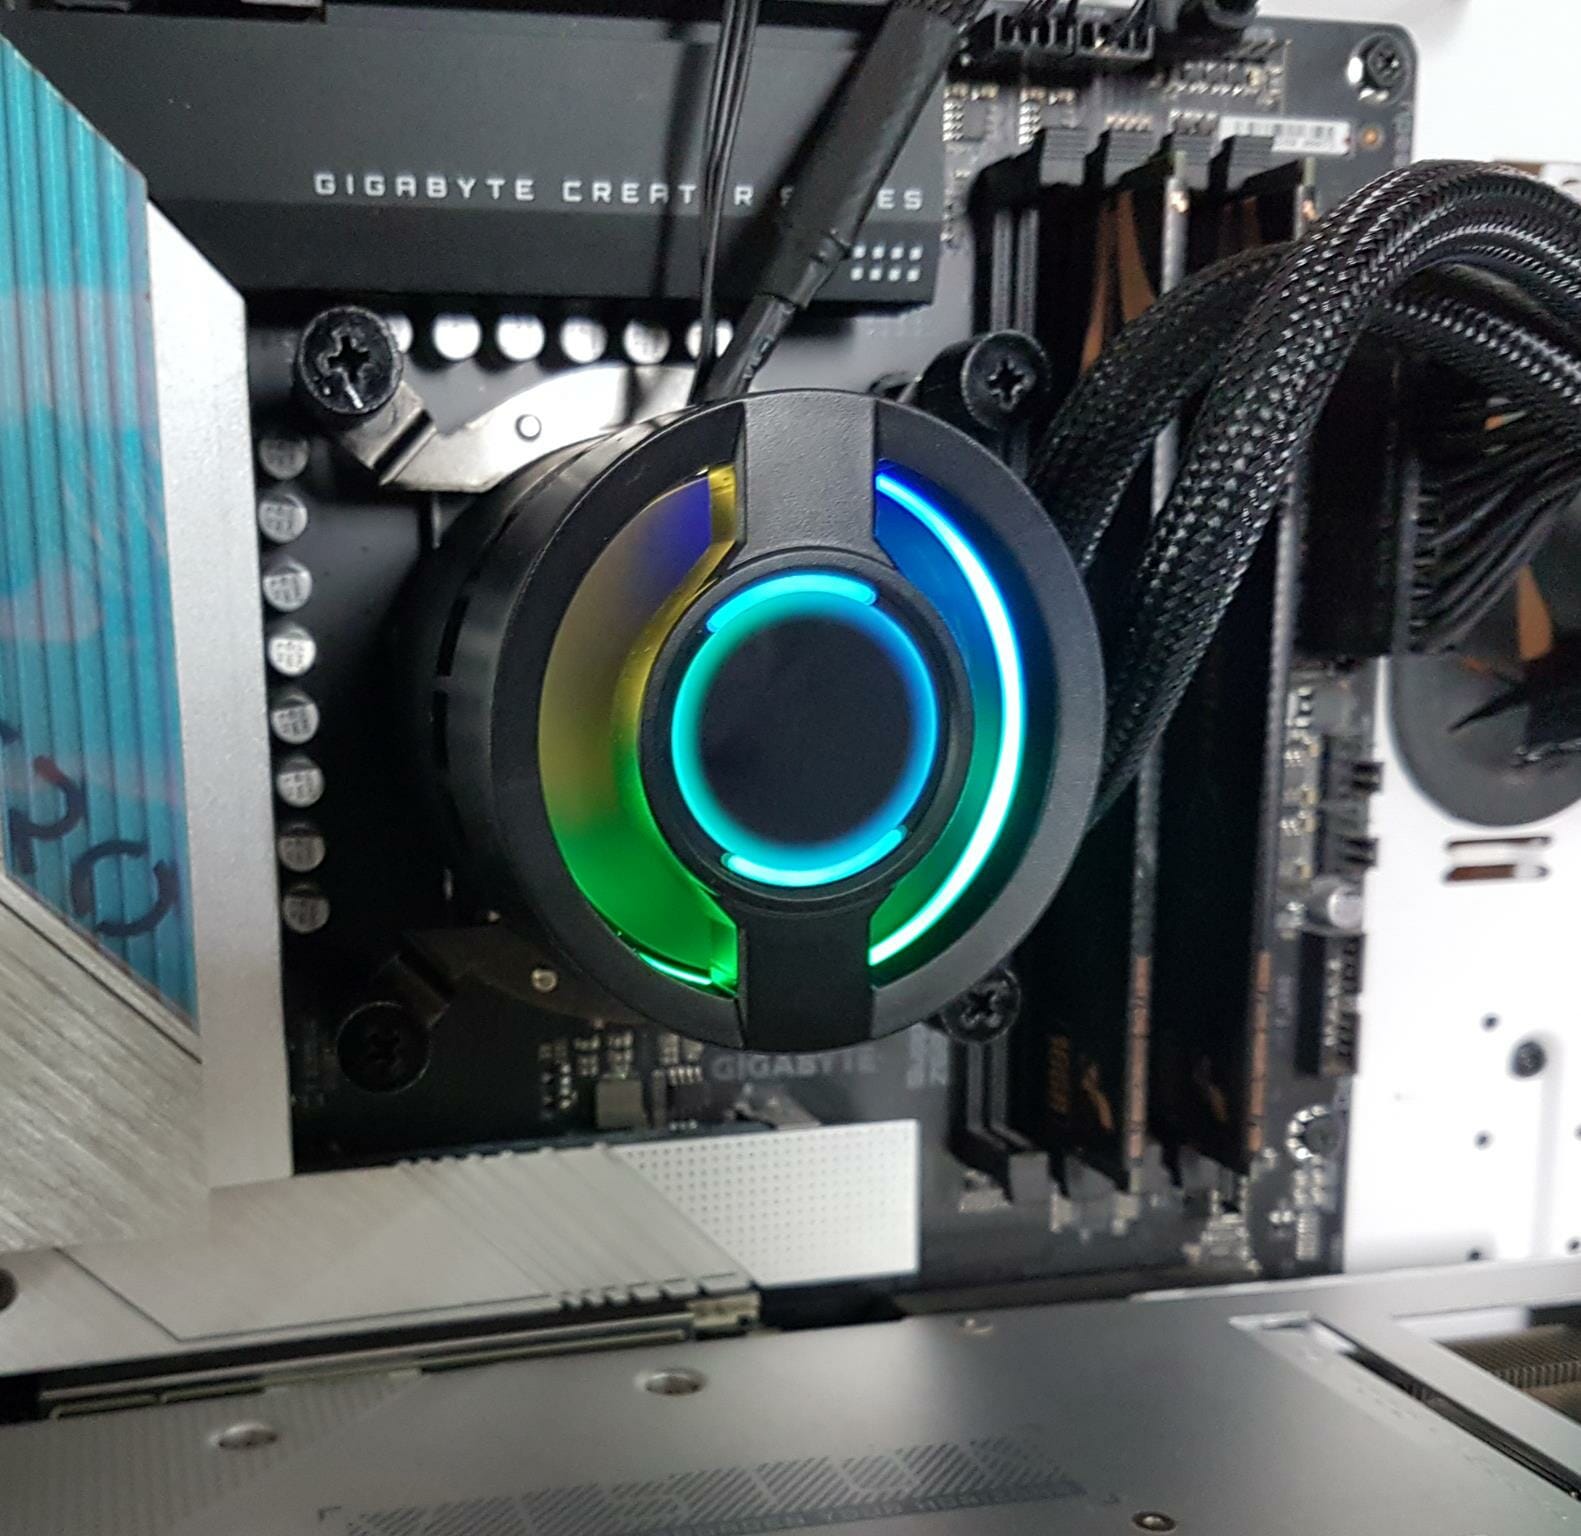
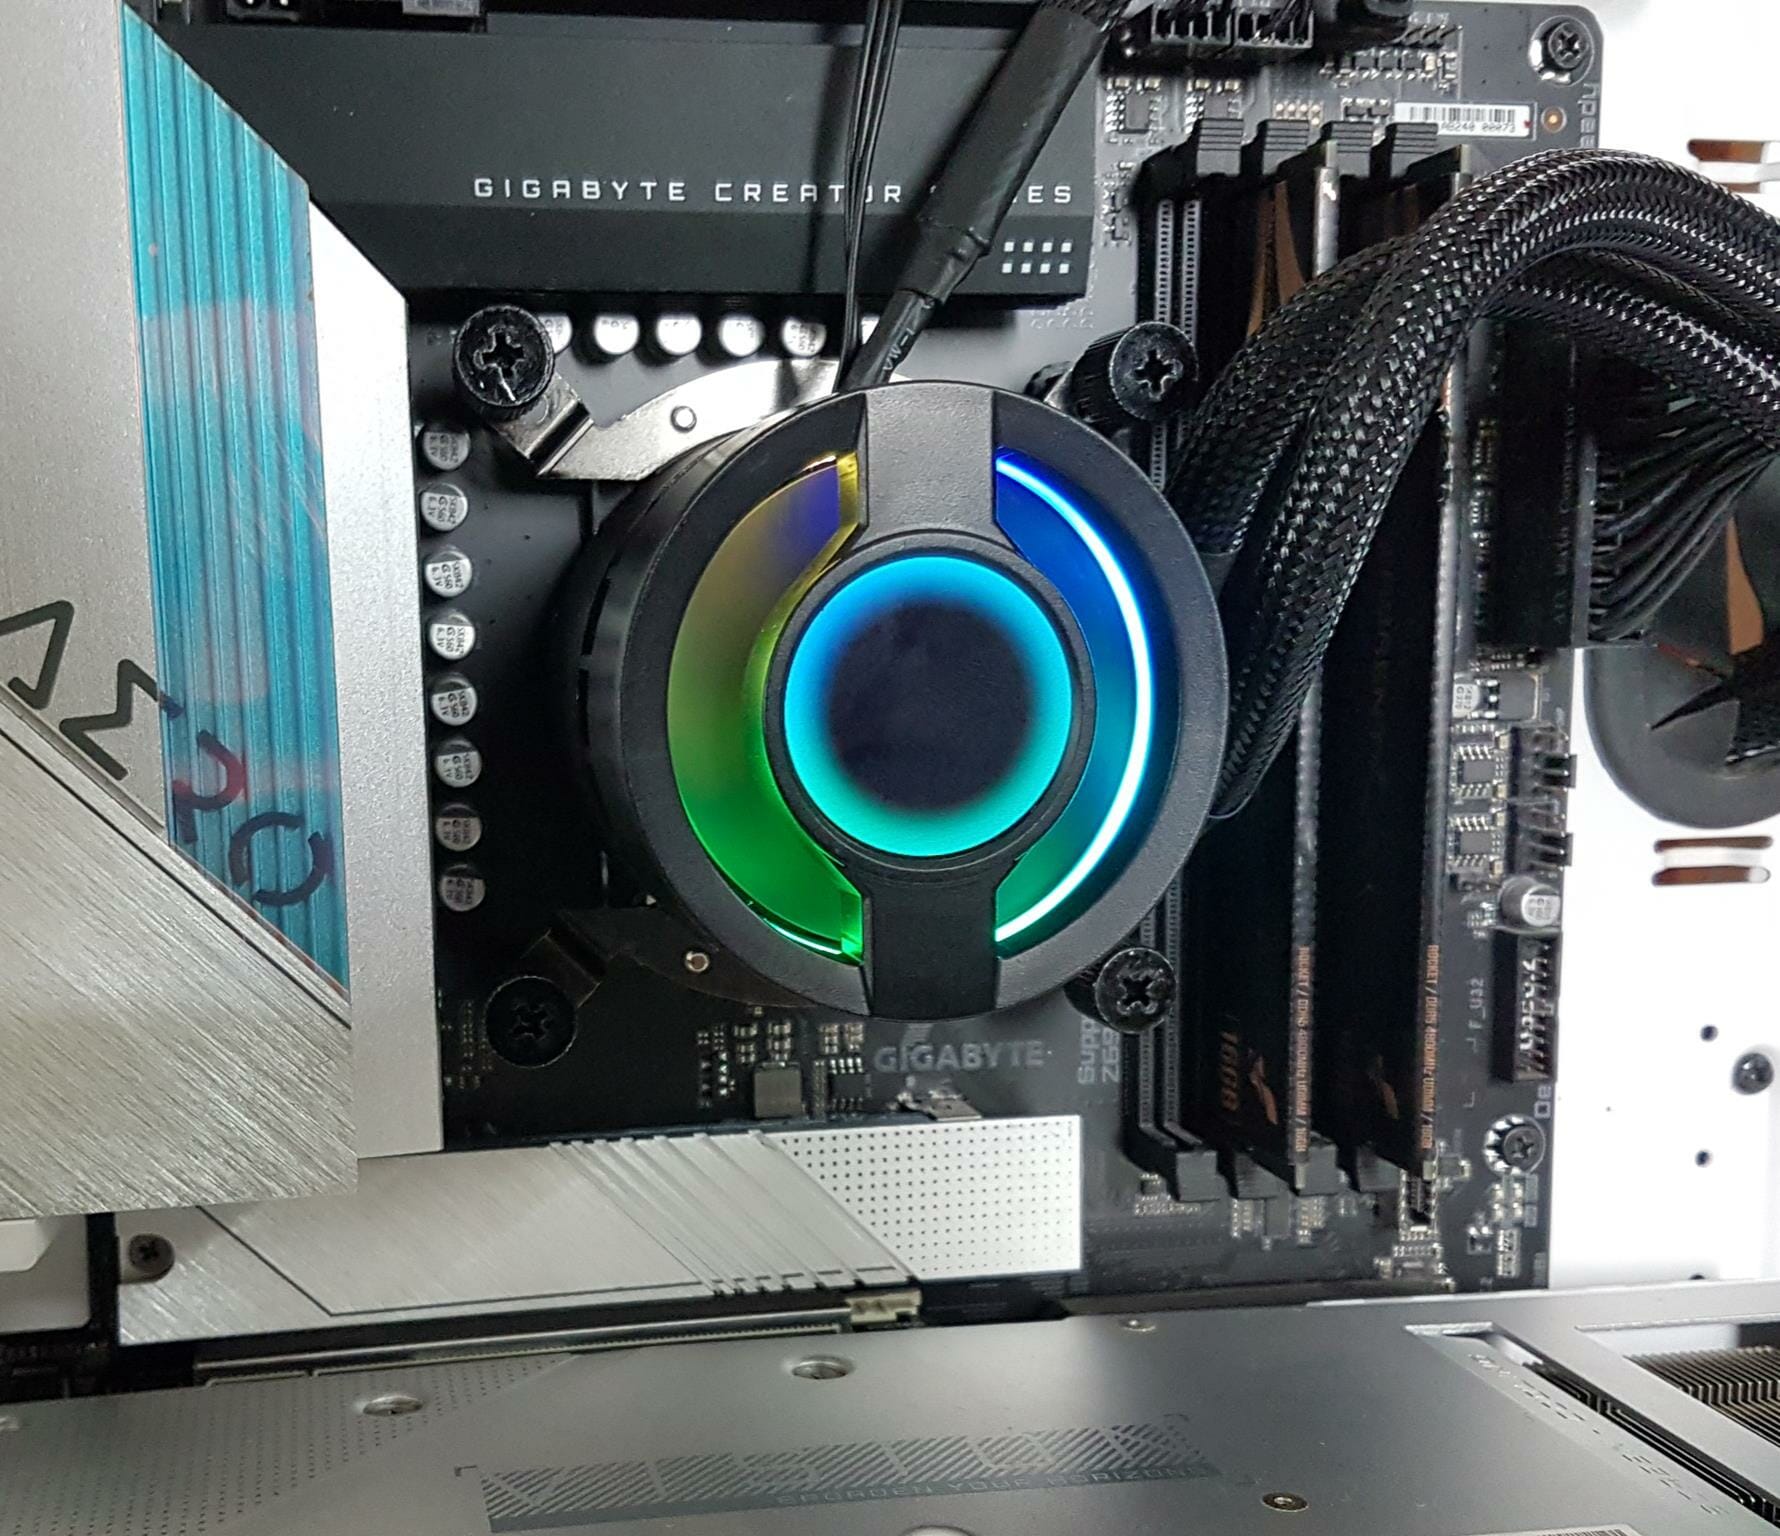
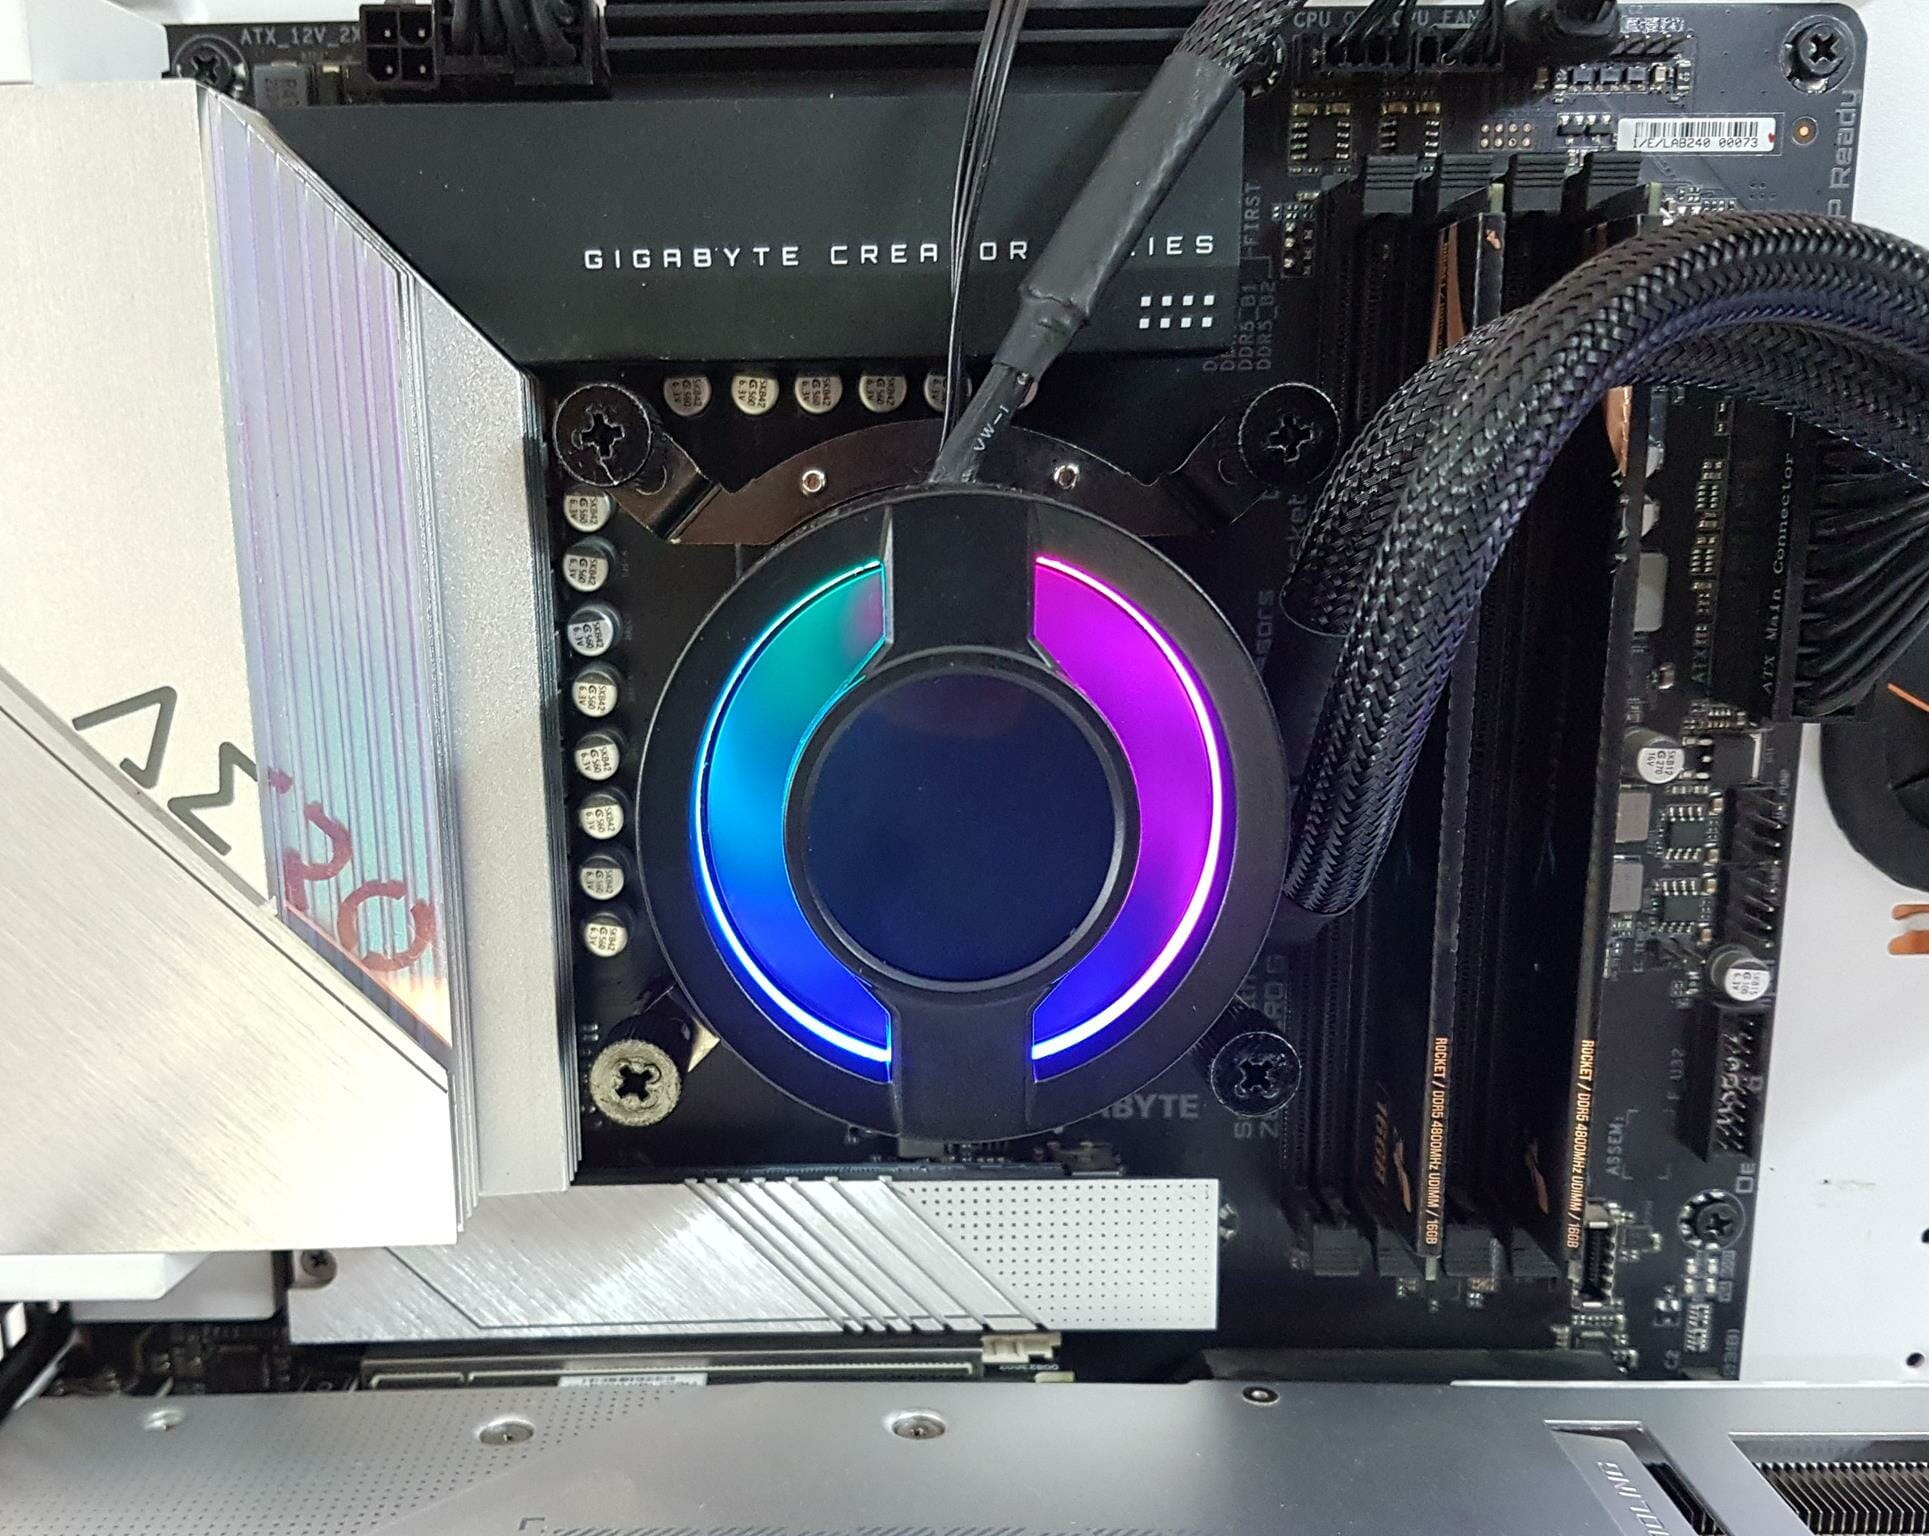
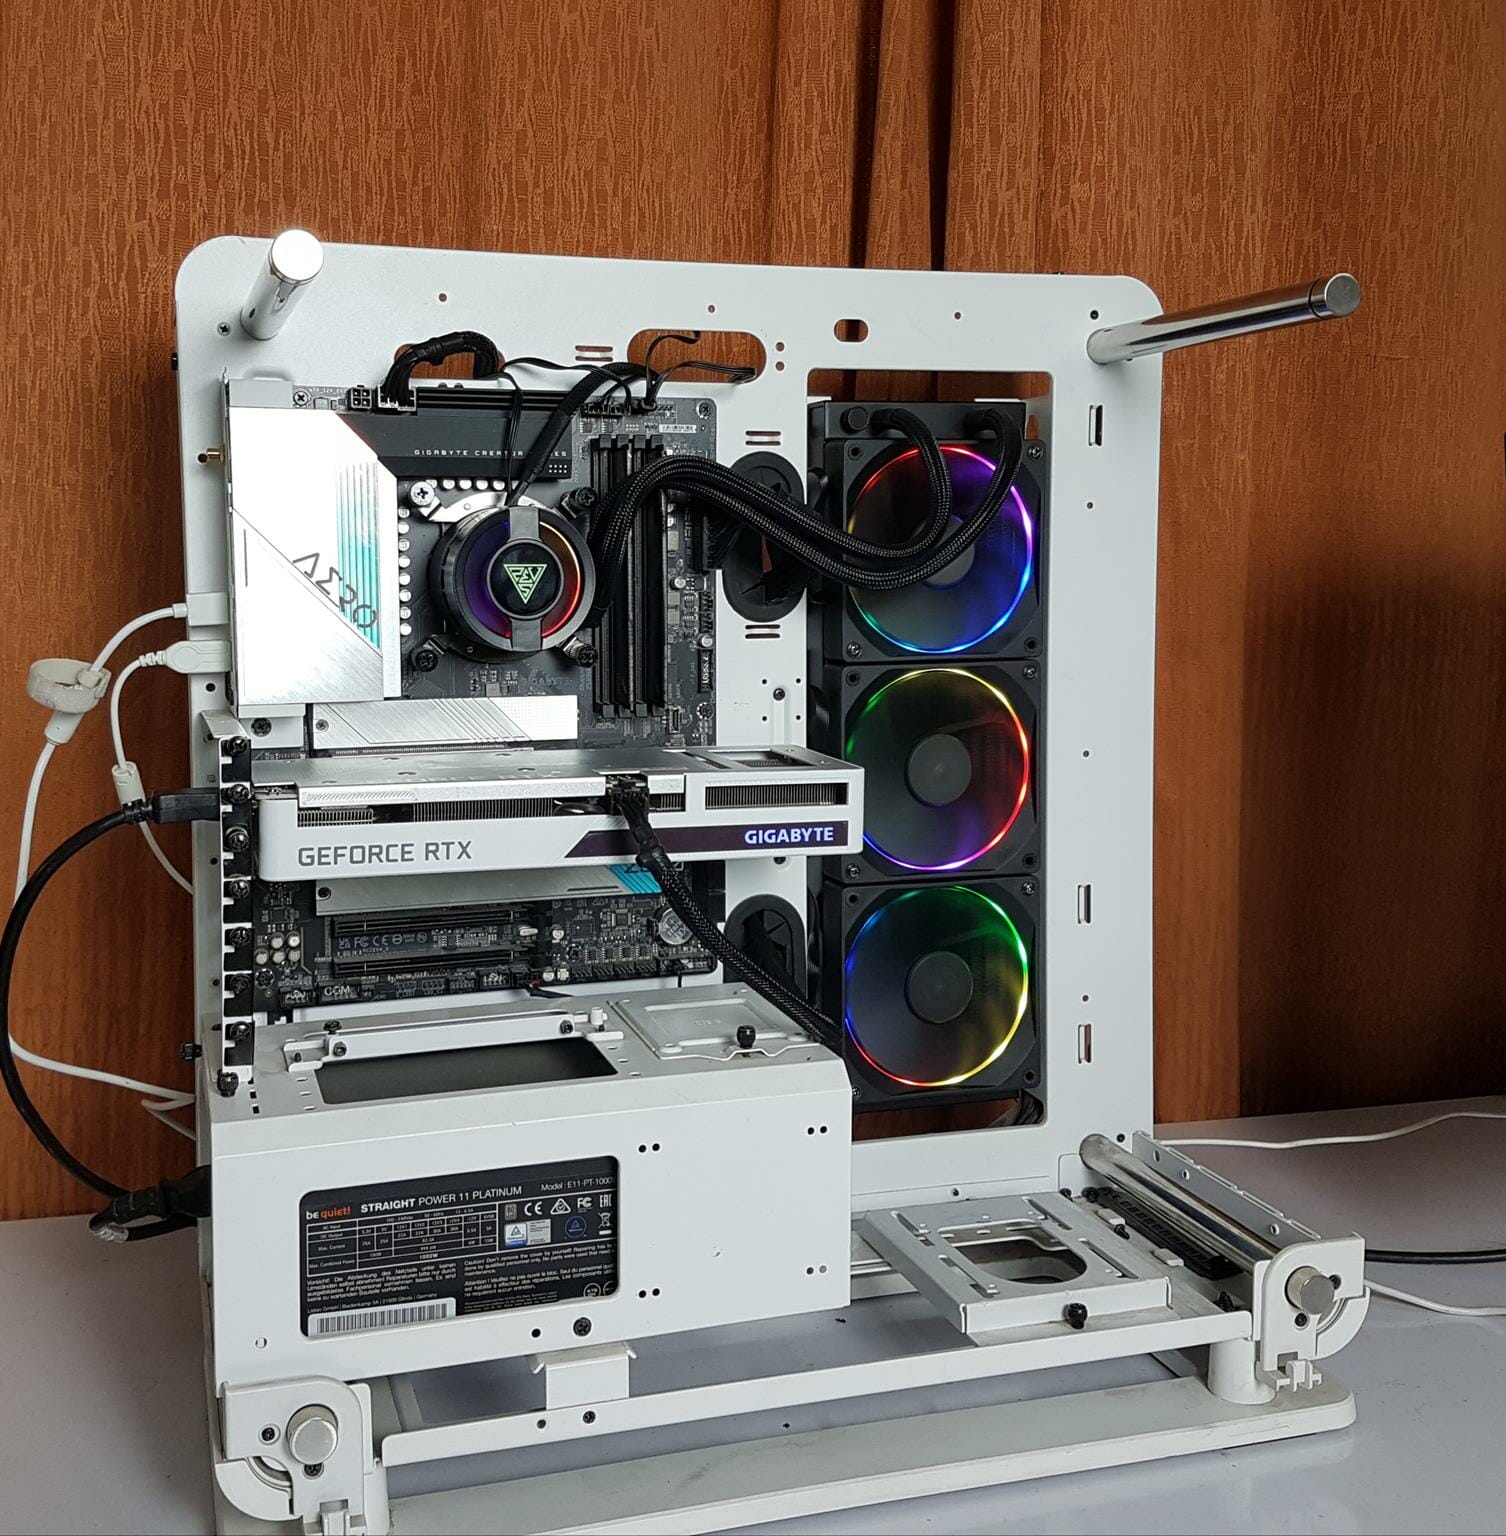
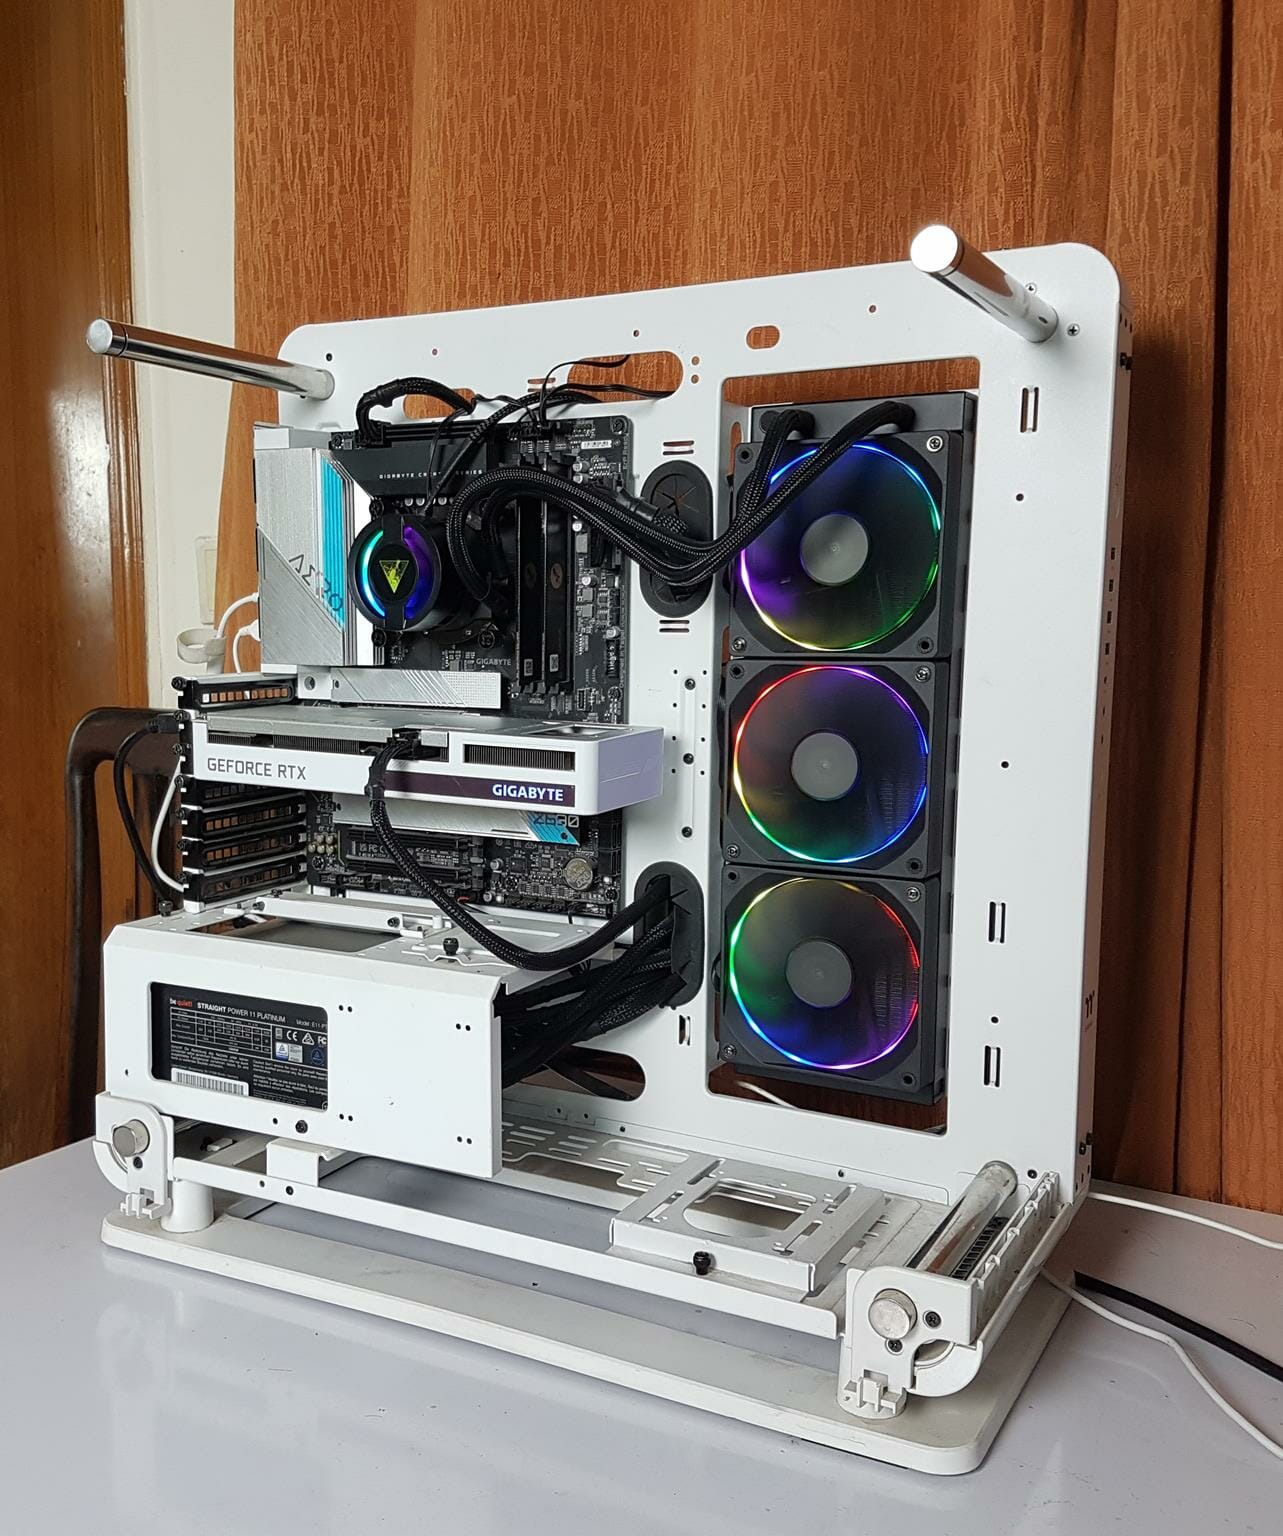
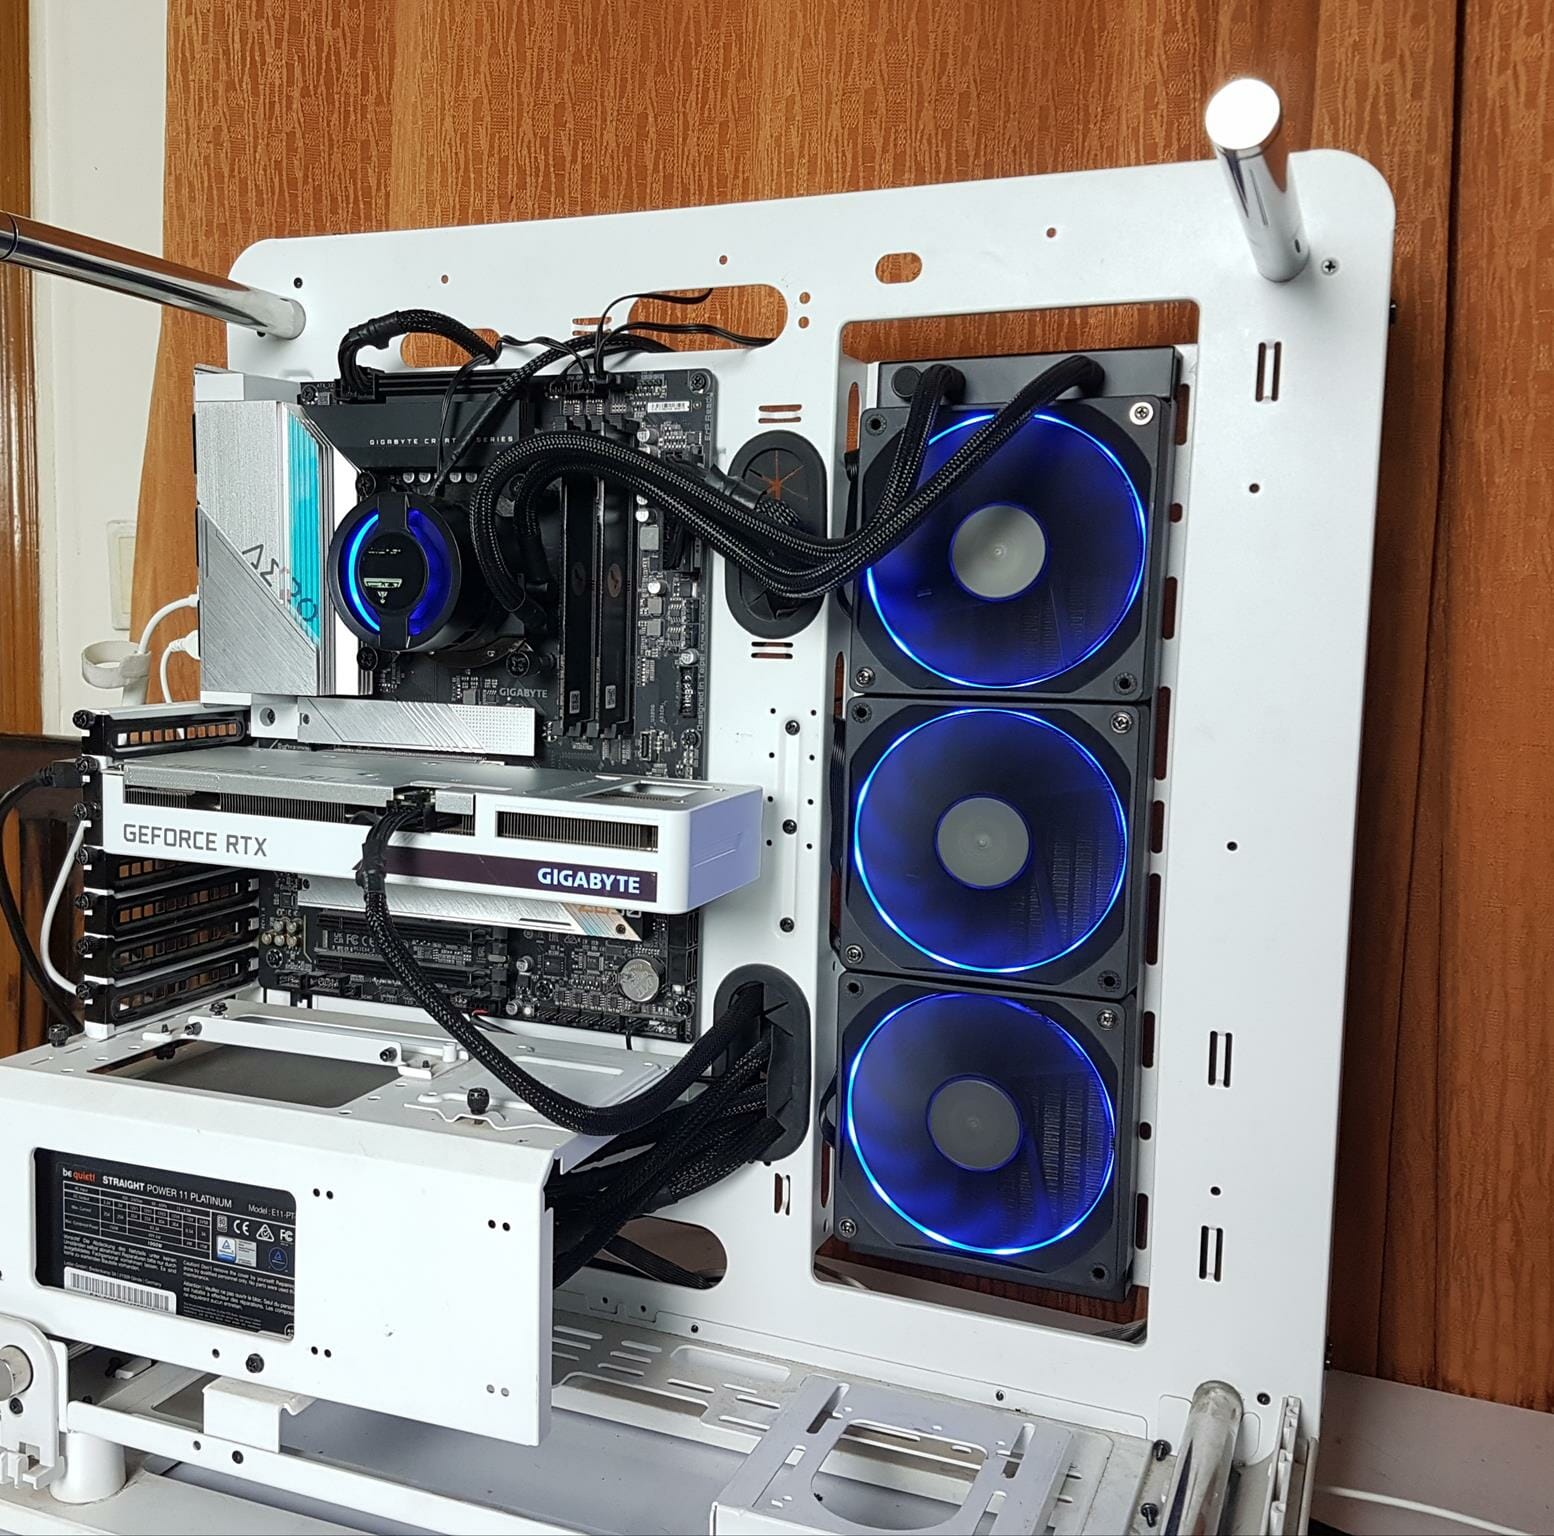
You can control the A-RGB lighting effects either using CHIONE CAST software on the AEOLUS control box or use the standard A-RGB header on your motherboard. Here are a few pictures:
Thermal Testing
The below-mentioned configuration is used for this testing:
- Intel Core i7 13700k
- GIGABYTE Z790 AORUS ELITE AX
- Kingston Fury DDR5 32GB @ 6400MHz CAS 32
- Sabrent Rocket 4 Plus 2TB NVMe SSD [For OS]
- GIGABYTE GeForce RTX 3060 VISION OC
- Be quiet! Straight Power 11 850W Platinum PSU
- Thermaltake Core P6 TG Snow Edition in an open frame layout
Test table for Intel core i7 13700k is:
| Clocks | Auto |
| Voltage | Auto |
| Power Limits | Removed |
| C-States | Disabled |
| Speed Step | Disabled |
| Rest of settings | Stock, Auto |
| XMP | XMP Loaded where available |
| Thermal Paste | Alphacool Subzero Thermal Paste |
| Thermal Paste Application | X pattern |
| Headers | CPU_FAN, CPU_OPT, and PUMP Headers |
| Stress Software | CINEBENCH R23.2 |
| Stress Run Time | 30 minutes |
| PC Idle Time | 5 minutes |
| Monitoring Software | HWInfo64 |
| OC Tool | Intel XTU |
We have seen AMD AM5 and Intel Alder Lake S CPUs taking more power and this time both sides have aimed at reaching the maximum clocks regardless of thermal limit. In fact, the AM5 SKUs will run into thermal limit right away depending on the cooling solution and the clocks being used. This has made testing of CPU coolers challenging because viewers/readers are not used to a new nomenclature which is what clocks are sustained under a given load using a particular cooler. That is if the cooler is capable of providing enough cooling head to sustain the high frequencies at high package power. Among other reasons is the high thermal density of these new CPUs. Traditionally we are used to going the other way around that is which cooler is better in terms of thermal capacity. Despite this, we are using temperatures as a base for measuring this unit.
The ambient temperature was in the range of 24°C to 25°C. We are reporting absolute temperatures in the graph. The testing is done on an open-air bench system. Once inside the chassis, the temperatures are expected to rise and would largely depend upon the optimal airflow inside the chassis.
Disclaimer: Every silicon is different hence no two same SKUs are likely to take the same voltage to yield same performance at same thermals per se but margin would be close. Not every stress test run may yield the same result which could be due to various reasons like thermal paste application, ambient temperature variation, mounting pressure of the cooler, etc. This is very why we have listed our variables and their settings. Let’s take a look at the results.
Result
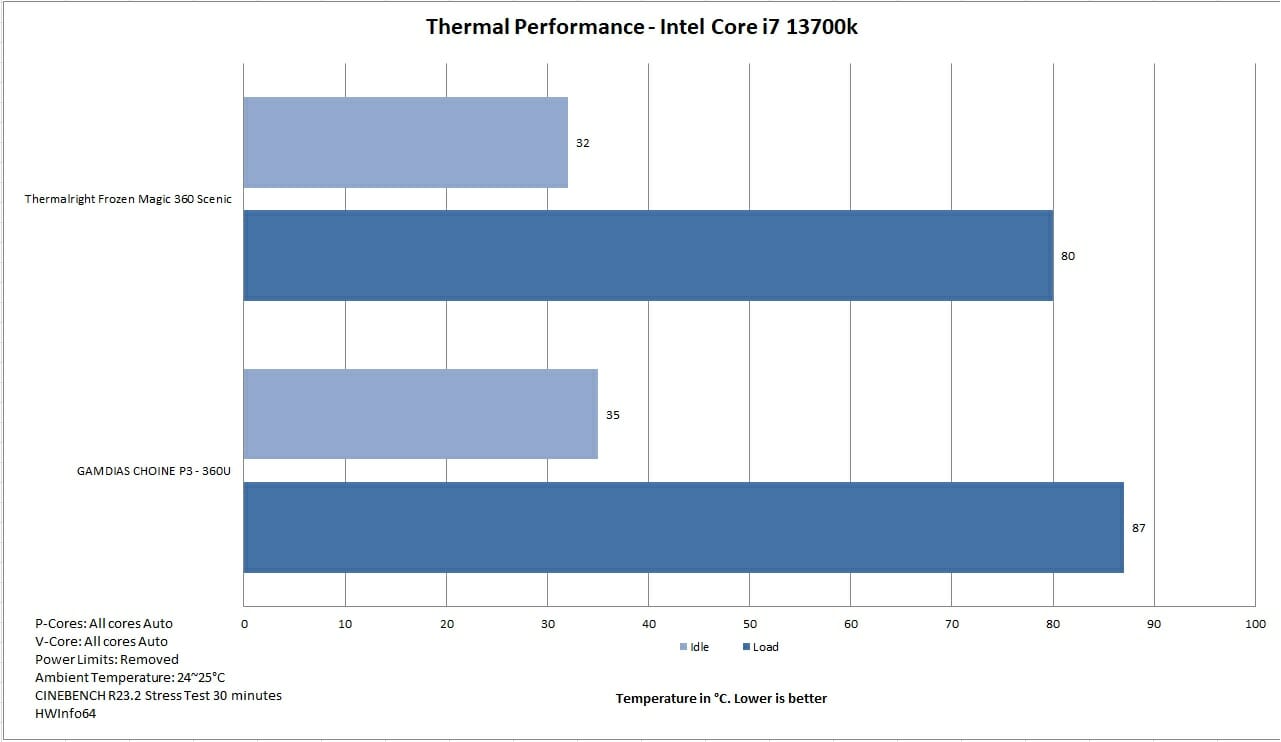
There is a massive difference of 7°C between the two 360mm size AIOs. The thermal testing was repeated just in case to make sure that we did not miss anything during installation. The results were similar. The package power draw was 221W.
Noise
This cooler was roughly making 53 dB(A) sound output at an ambient of 32 dB(A).
Conclusion
We are back on testing 360mm size AIO coolers in preparation for our upcoming project. This time we have taken a spin at GAMDIAS CHIONE P3 – 360U liquid cooler. This is their new cooler presented during Computex 2023. This series of coolers will be or are available subject to regions in 240mm and 360mm sizes. The 360mm version is mentioned to handle a TDP of 290W ± 10% and their mounting hardware labeling tells us that the 240mm size cooler is rated for 200W TDP or similar range. This cooler is compatible with Intel LGA1700, 1200, 115x, 1366, and 20xx sockets. It is compatible with AMD AM5, AM4, AM3 series, AM2 series, FM series, and TR4 sockets.
The key differentiation is coming from IPS LCD Screen and an embedded fan for VRM cooling. Other than this, there is a USB-based AEOLUS Control Box and AEOLUS M3 1204R fans. The radiator of this unit has a dimension of 394x119x27mm. It has 12 channels for coolant flow and has a 20 FPI count. I was a bit surprised to see that GAMDIAS has actually used heat shrinks on the connection points between the tube and fittings. They could have used good-looking clamps or covers for that matter after all one would be paying a hefty USD $240 price for this cooler. GAMDIAS has used Teflon tubes that run to 400mm in length.
All the GAMDIAS magic is in the pump housing that has a height of 69mm and a diameter of 69mm. This housing is made of plastic material and has a rounded design. Unfortunately, this housing has a dull outlook. I was expecting something bold, aggressive, and good-looking at this price point and particularly given the fact that it has an LCD screen. Anyhow, I digress. There is a screen over the top of this housing, right in the middle. The left and right sides are left open which I think is done to provide air intake for the micro-embedded fan in this housing. This fan is to provide airflow on the VRM area. No specification of this fan is provided by GAMDIAS and we can’t control the speed of this fan either. There is no way to know if it actually provides some sort of cooling to the VRM area. This air exhaust comes through the vents or cutouts on the main housing. There is a diffuser right below the screen and it is integrated into the housing. The A-RGB LEDs do pretty neat work to hide the fan when powered. This housing has a copper base measuring 59x49mm. There is an 8-pin proprietary connector cable coming out from this housing. This connector goes to the AEOLUS control box. The pump is DC powered despite using 3 wires. GAMDIAS has strangely opted for a 4-pin housing on the pump’s power cable which anyone can take for granted for a 4-pin PWM connector.
This cooler comes with three AEOLUS M3 1204R fans. These fans have a closed design frame and they have chamfered and alternate blades design. The A-RGB LEDs are housed inside the main frame and there is a diffuser running on the inside of this frame. GAMDIAS describe this as low-profile concentric lighting. Each fan has an 8-pin proprietary connector. These fans can only be used with an AEOLUS control box. This would work seamlessly within GAMDIAS ecosystem but this dependency in my opinion is not good for the end user. Should the control box develop some fault, the complete unit would come to a halt and we are not sure of the GAMDIAS customer service so far. These fans are rated for a maximum speed of 2000 RPM. The airflow rating is 69.01 CFM. The static pressure rating is 2.37 mmH₂O. The noise output is rated at 31 dB(A) sound output. These fans are using Hydraulic Bearings.
GAMDIAS has provided a USB-based controller named AEOLUS Control Box. Except for the pump’s power cable, all other cables are required to be connected to this SATA-powered control box. You will also need a USB 2.0 header on your motherboard. The embedded fan and A-RGB lighting take power from this USB port even when power is disconnected from the main controller. In addition to the 3x fans cables and a pump housing cable, there are four more cables that need to be connected to this port. We have got quite some challenges in the cable management department with this cooler. This box has magnets for convenient installation.
CHIONE CAST is a name of the software that GAMDIAS has provided to customize the LCD screen display. Overall, it is satisfactory but we have found some limitations like there are only four static colors whereas it should have been a full color palette. Whenever any change is applied, the status bar counts from 1 to 160 which is really strange and the change should have happened just like a finger snap. I am not sure how to update the firmware or software as there is no button to check for updates or maybe it is designed in a way where updates will be pushed towards the client. This screen can only display one sensor at a time. I wish it could have been multiple sensor reporting. This could well be due to the small screen size, speaking of which, we don’t know the resolution of this screen and its refresh rate.
Installation of this unit is easy and requires 15 items to install block over CPU on LGA1700 socket. GAMDIAS has used metallic washers on the thumb nuts. These don’t come off in their original form instead there was what I would call residue or crushed state. This residue could fall on the motherboard if not properly removed. So, pay attention otherwise they could short the PCB. The magnets came off from the controller’s housing during testing which is something that should not be happening.
GAMDIAS has informed us that this cooler will retail at USD S239.99. This is a hefty price tag. On top of that, they are only offering a 2-year warranty. I am not sure how would one justify buying an expensive cooler with such a low warranty period. This is further aggravated because this cooler has an average performance. We have used Thermalright Frozen Magic 360 Scenic V2 cooler (USD $100) for the comparison and used same thermal paste for this testing which is ALPHACOOL Subzero. We are seeing a drastic difference of 7°C between both coolers with Thermalright cooler having an upper hand. The fans are loud but a custom fan curve would cover for it. Then we have some quality issues mentioned above.

