LittleBits Space Rover Inventor Kit Review
Introduction
It’s often said that “Tomorrow’s leaders are today’s kids” – which couldn’t be truer, this is why companies like LittleBits exist. If you aren’t familiar with LittleBits as a company then here is a brief overview. LittleBits is a New York-based educational business that was founded in 2011 and has received numerous awards for not only its creations but also the work they do within the educational sector. Since being founded in 2011, LittleBits has gone from a small start-up company to creating an electronic building block dubbed “Bits”. This is impressive in its own right, but the company didn’t stop there and has since become part of not only Disney’s accelerator program but also part of the New York City Department of the educations STEM program. If you’d like to learn more about LittleBits as a company, then check out their website littlebits.com.
Today we’ll be taking a look at one of their inventor kits – the Space Rover. This kit is designed for ages 8 and above and will set you back $199 in the US and £199 in the UK. These kits can be found via the LittleBits website as well as on Amazon and eBay.
So let’s take a look and see if this kit is worth the price tag.
Closer Look – In The Box
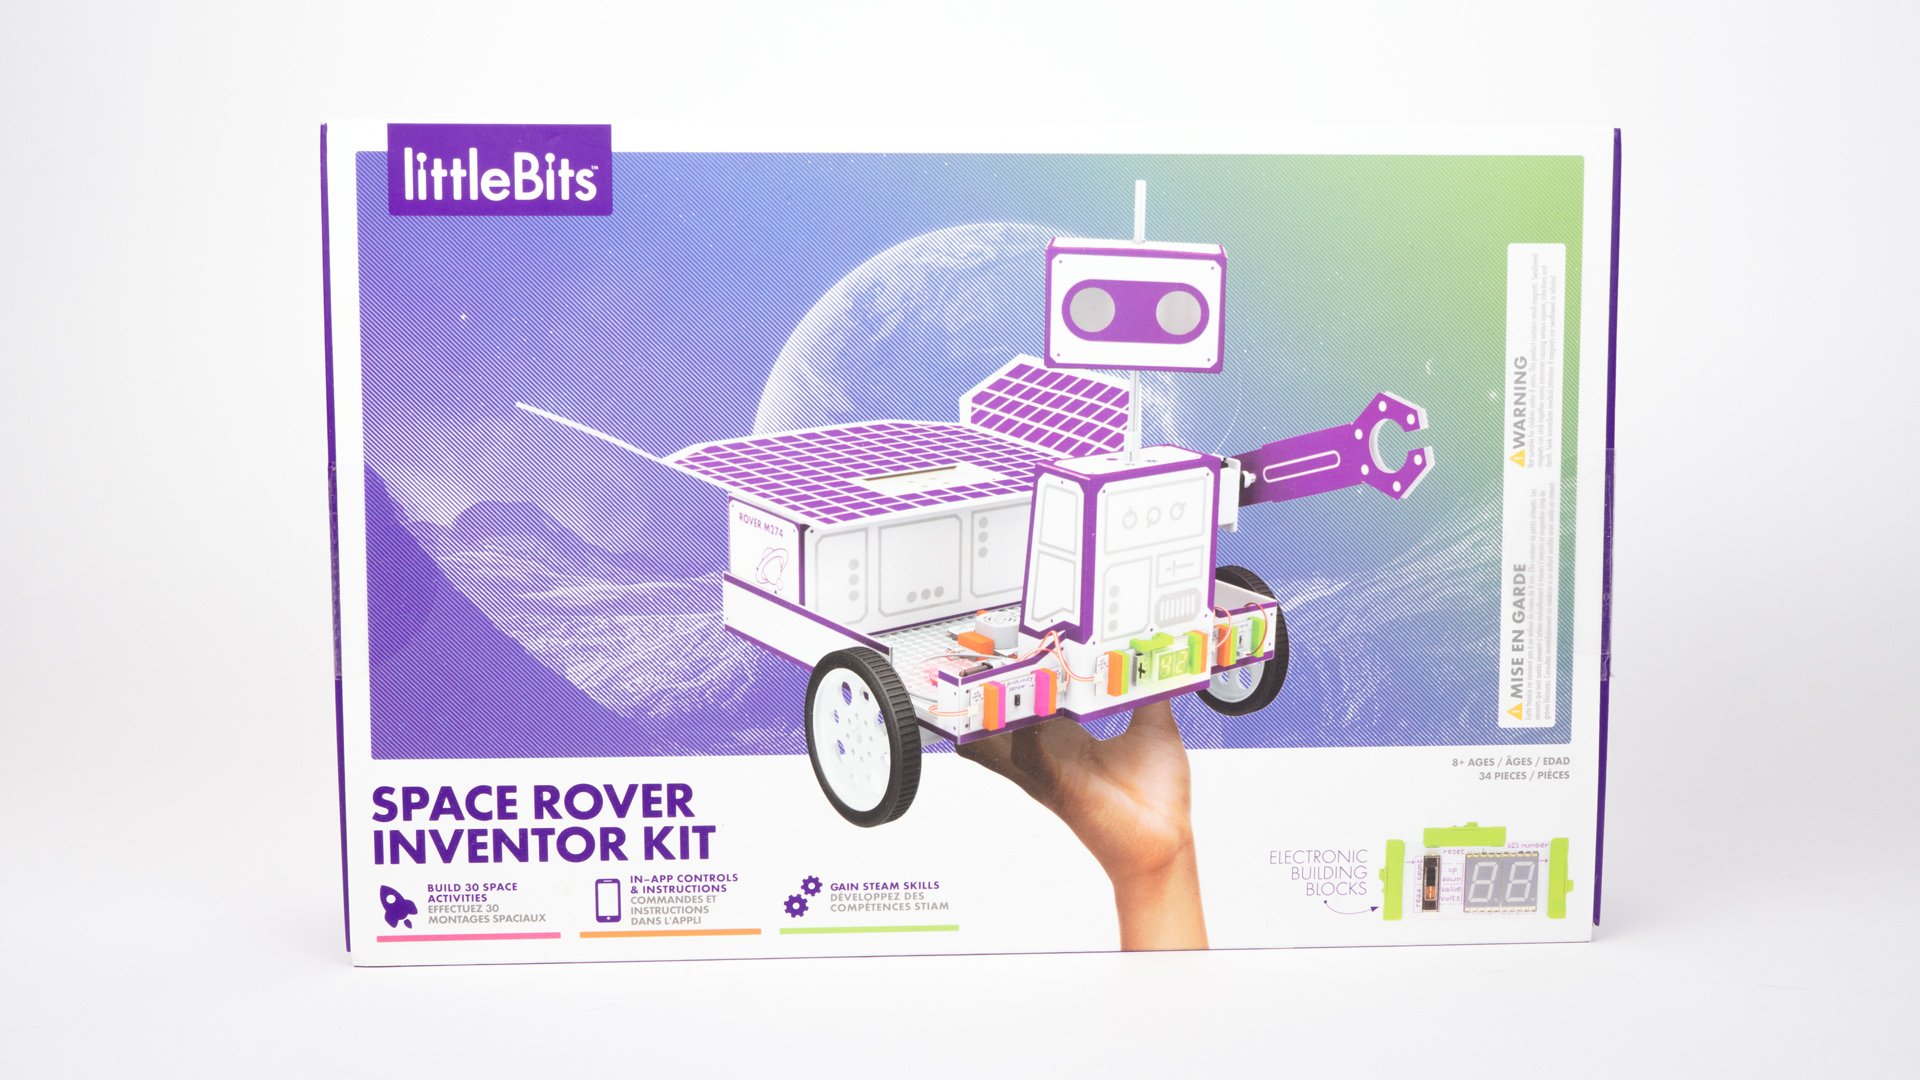
The Space Rover kit comes packaged in a white and purple box that features an image of one of the creations you can make with the included Bits inside. Also on the front, you’ll find some information about the kit as well as a small image of a sample Bit.
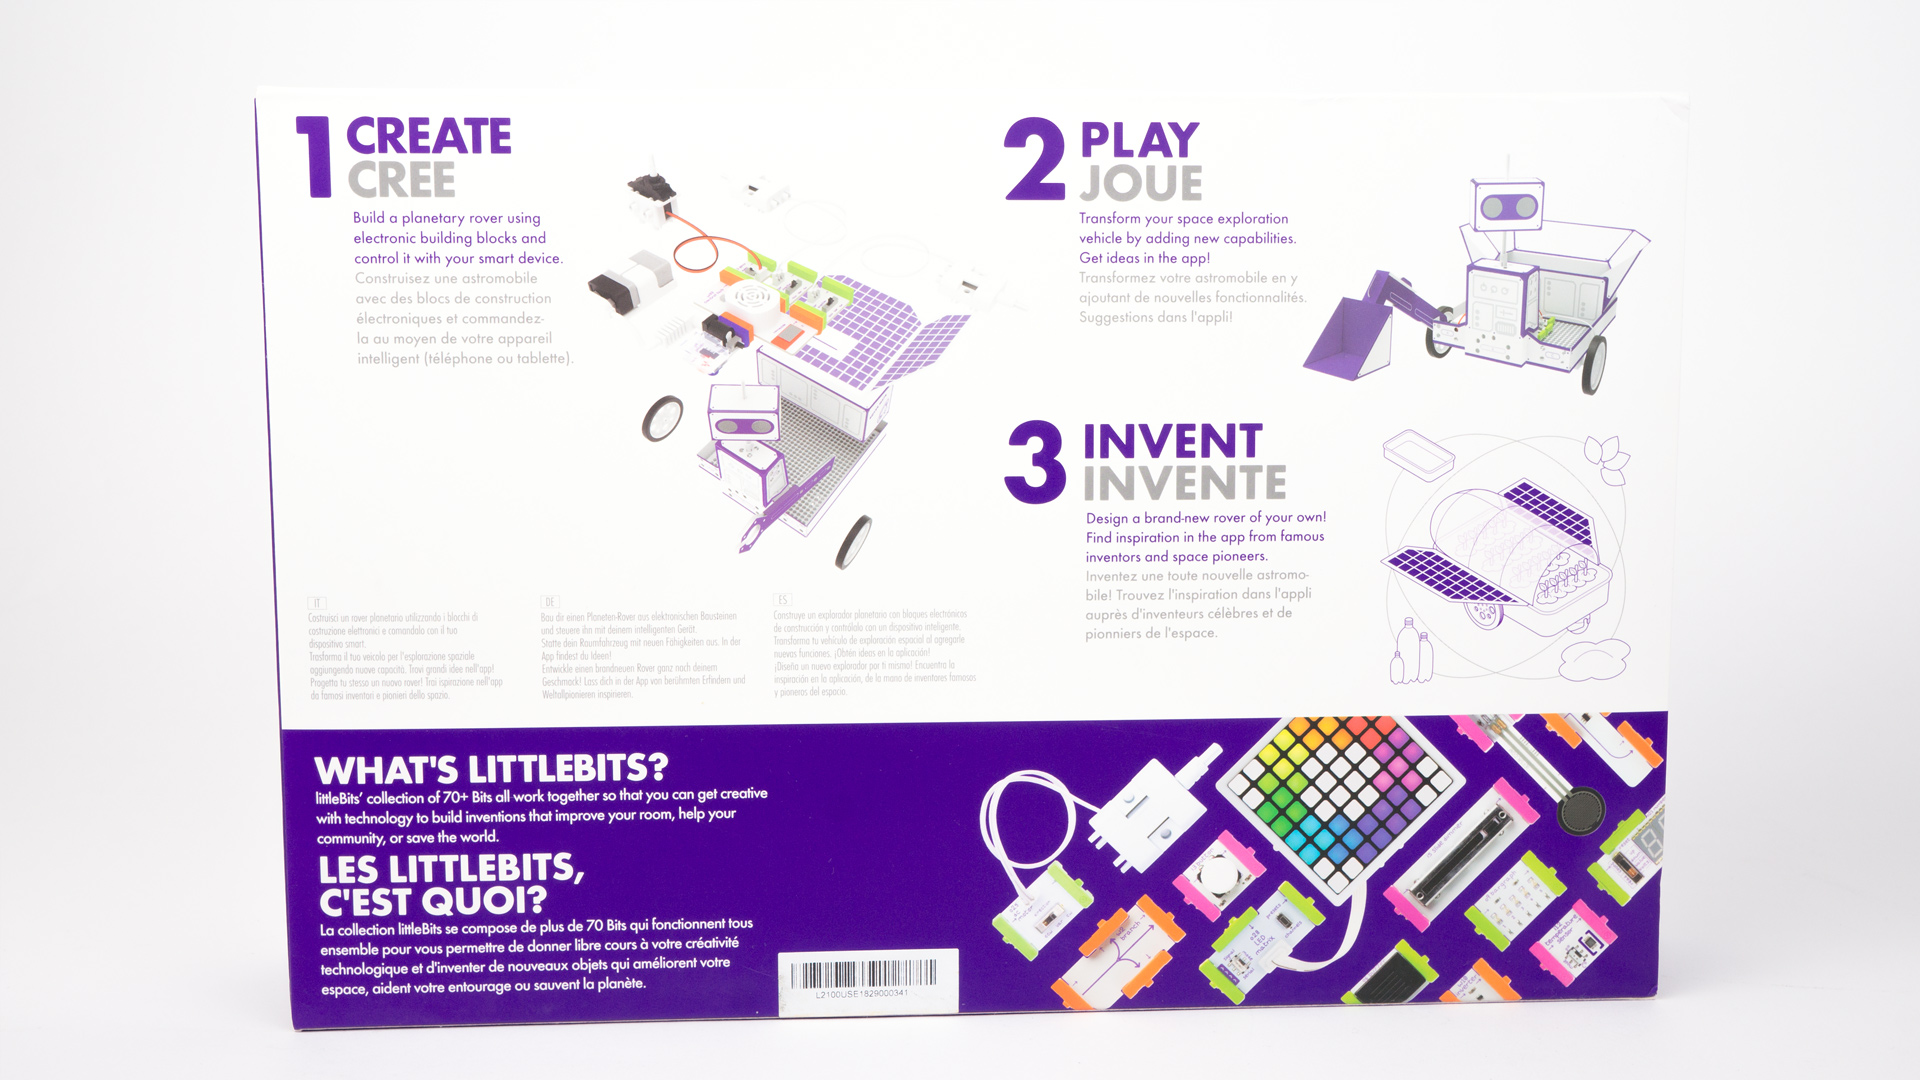
Flipping the box to the back and the theme continues with even more information about what you’ll find and how it works.
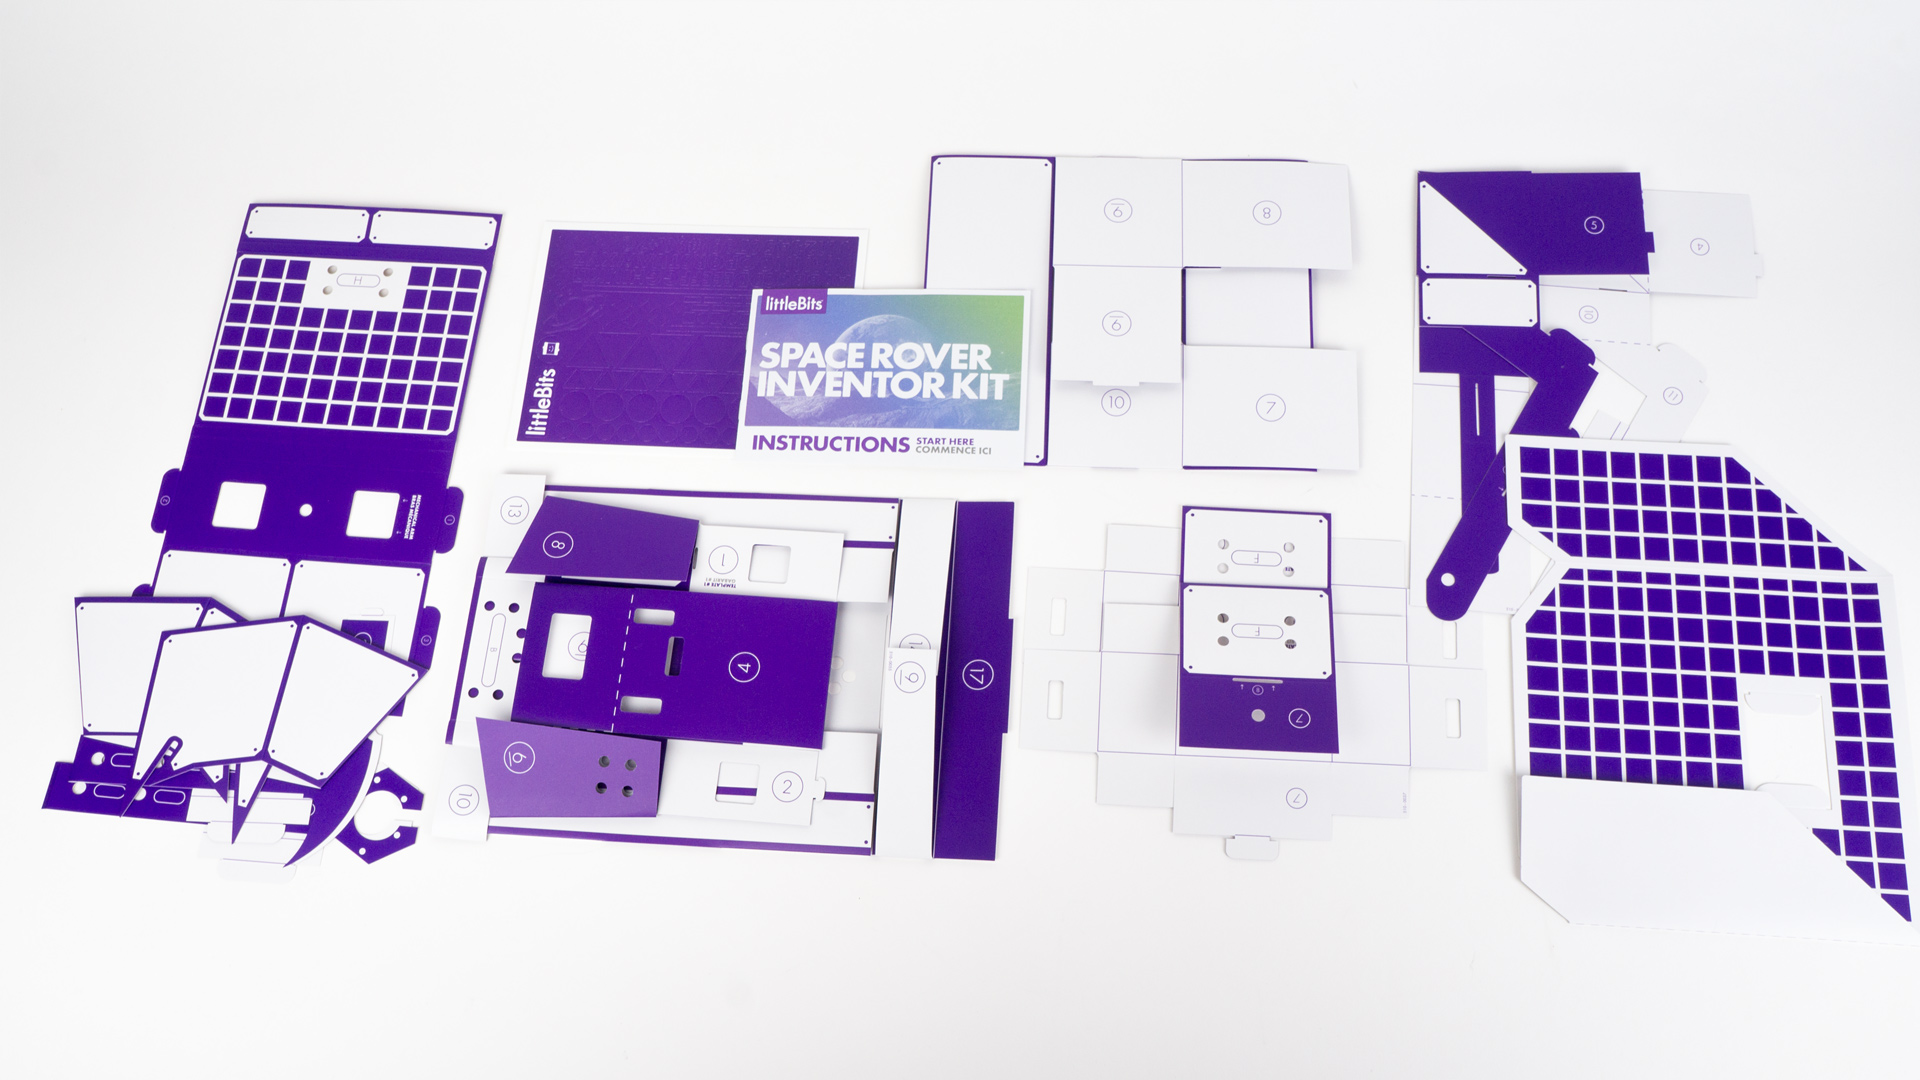
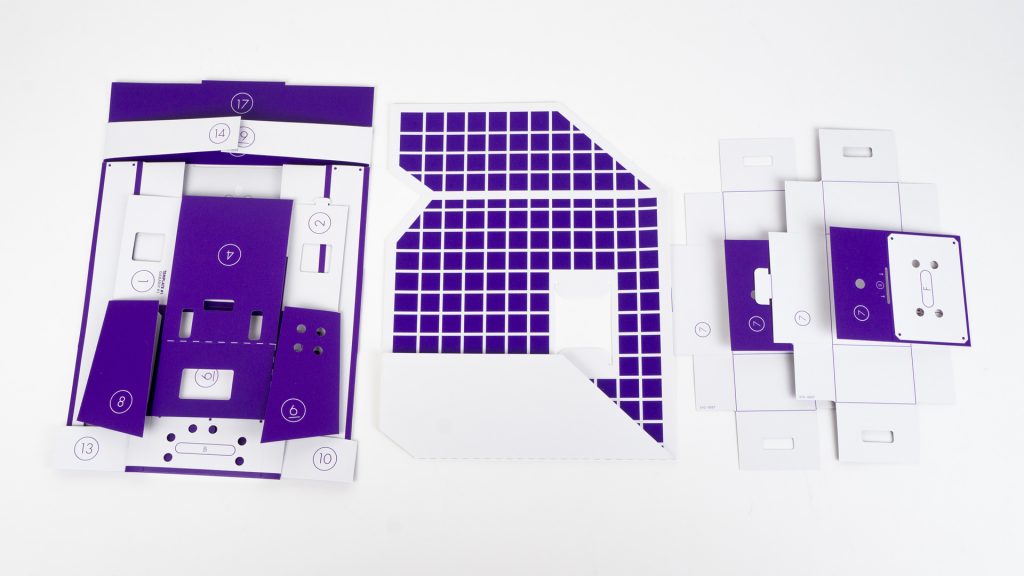
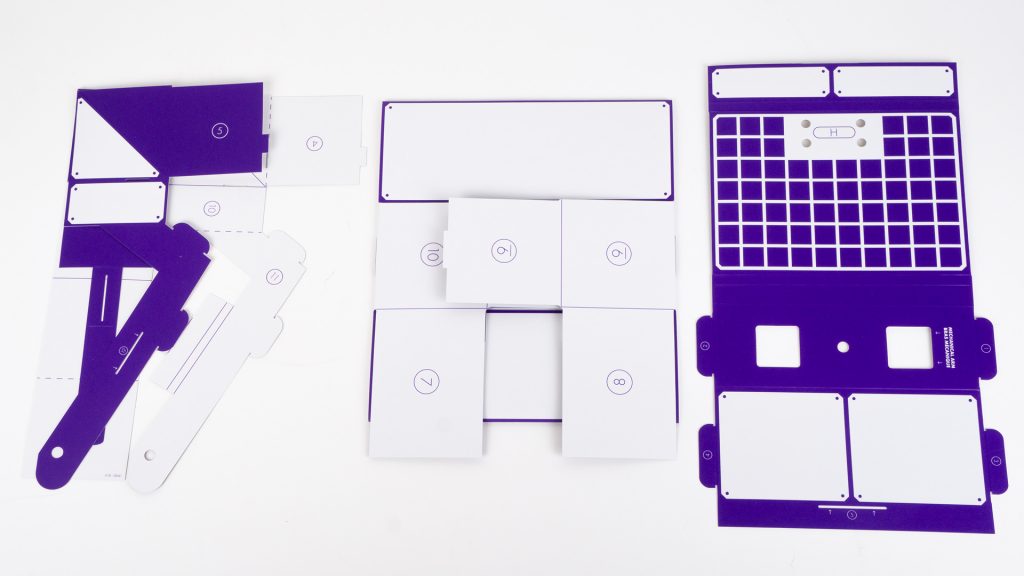
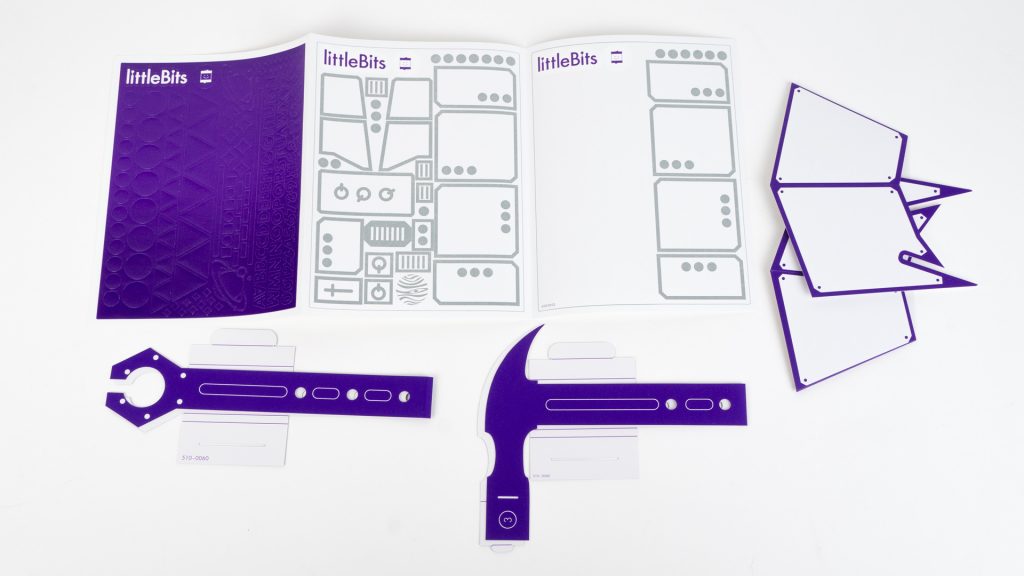
Within the box, you’ll find an array of different cardboard templates that are used to build the core of the Space Rover. Here you’ll also find a very brief instruction guide which shows you the basics of how the Bits interact with each other.
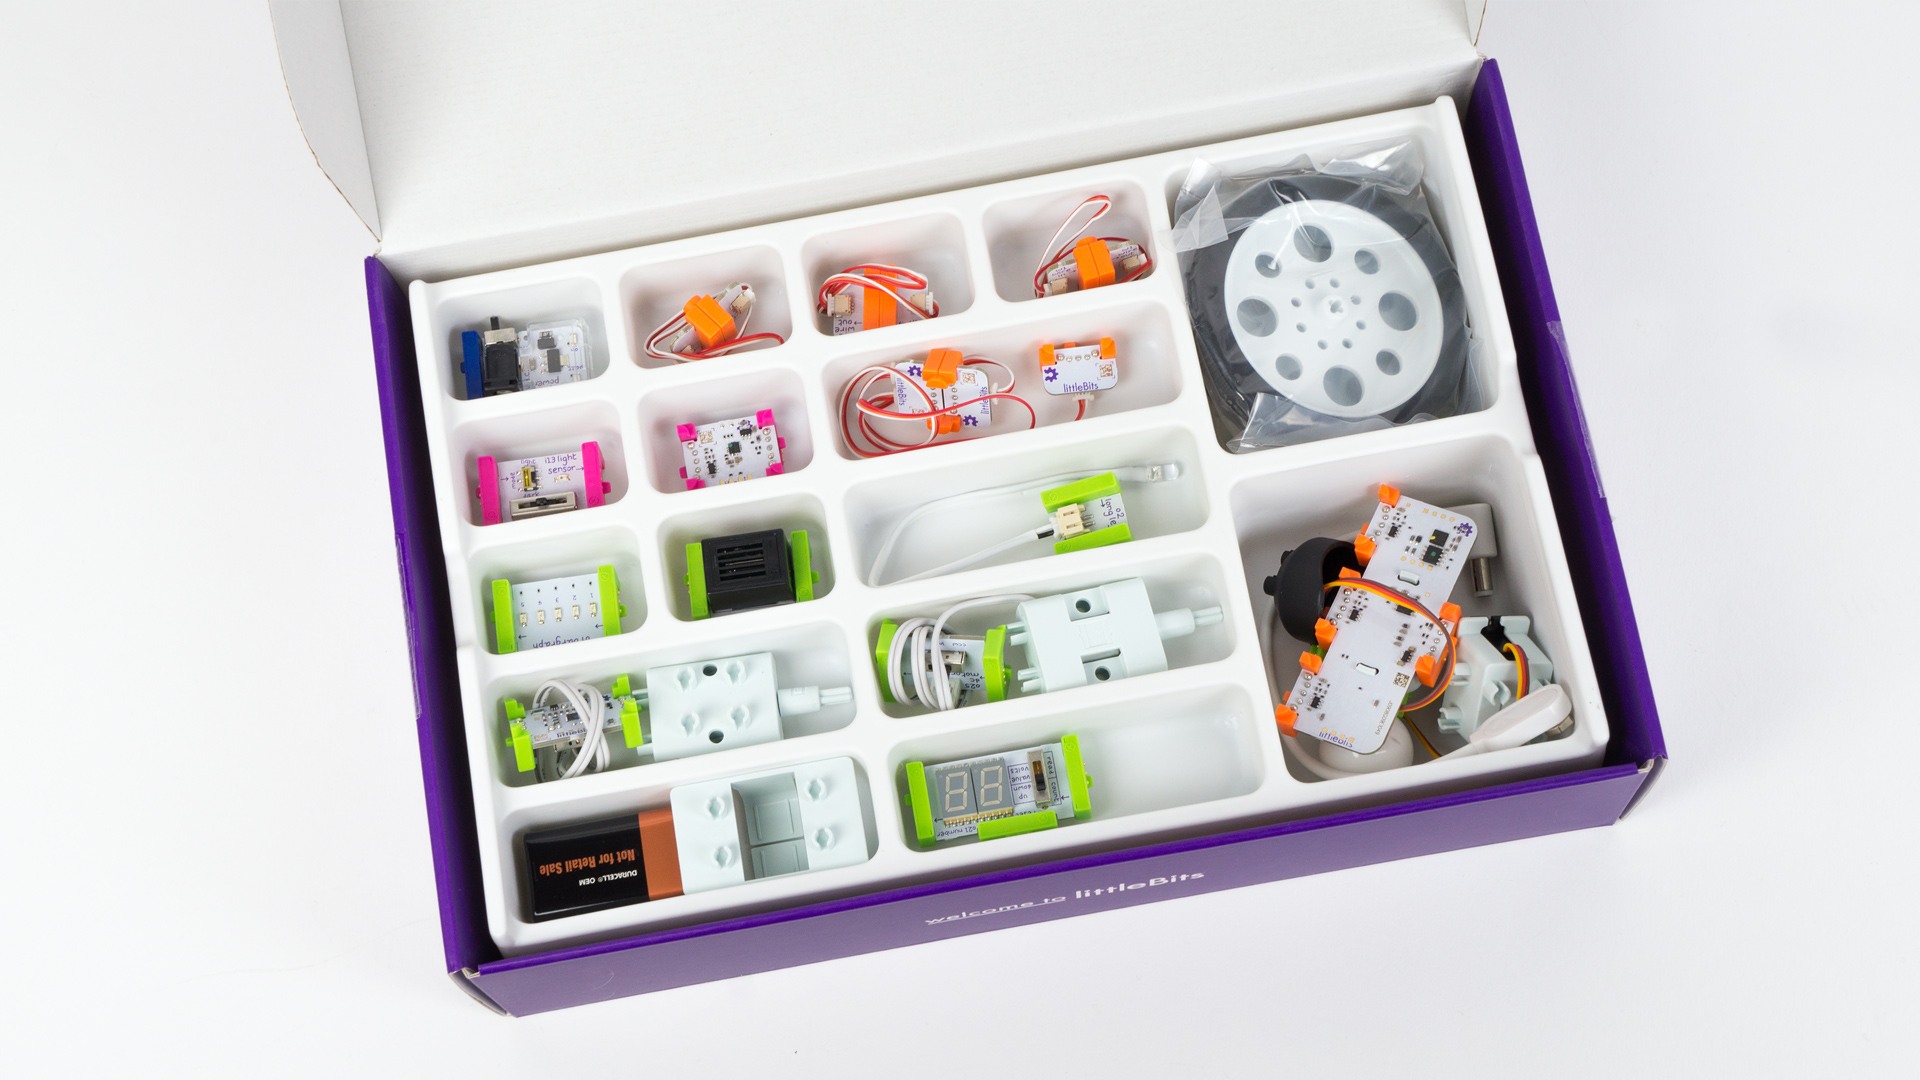
Underneath the templates, you’ll find a plastic tray with all the Bits the kit comes included with. These are nicely organised and well presented so that it makes it easy to find the right Bit.
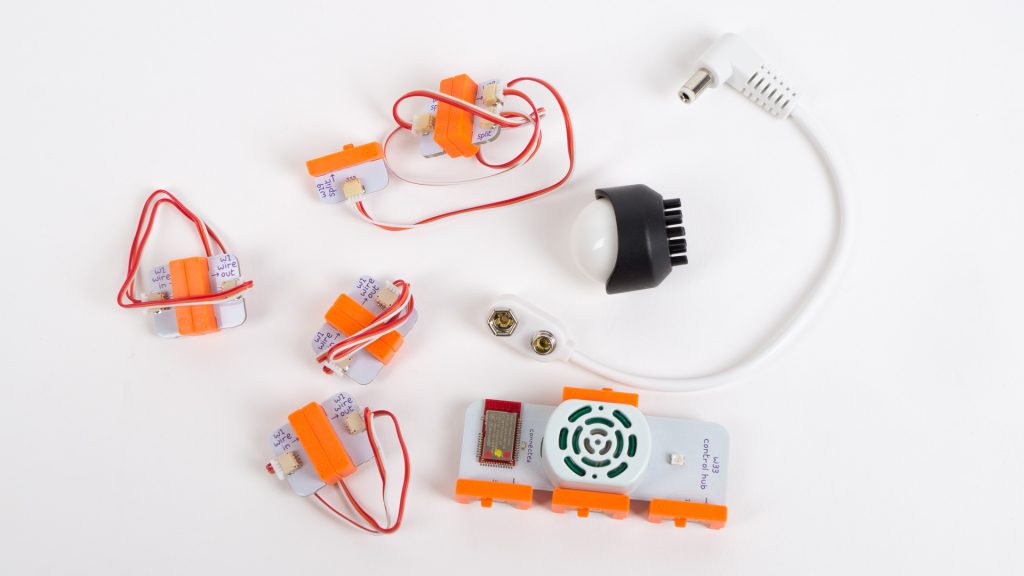
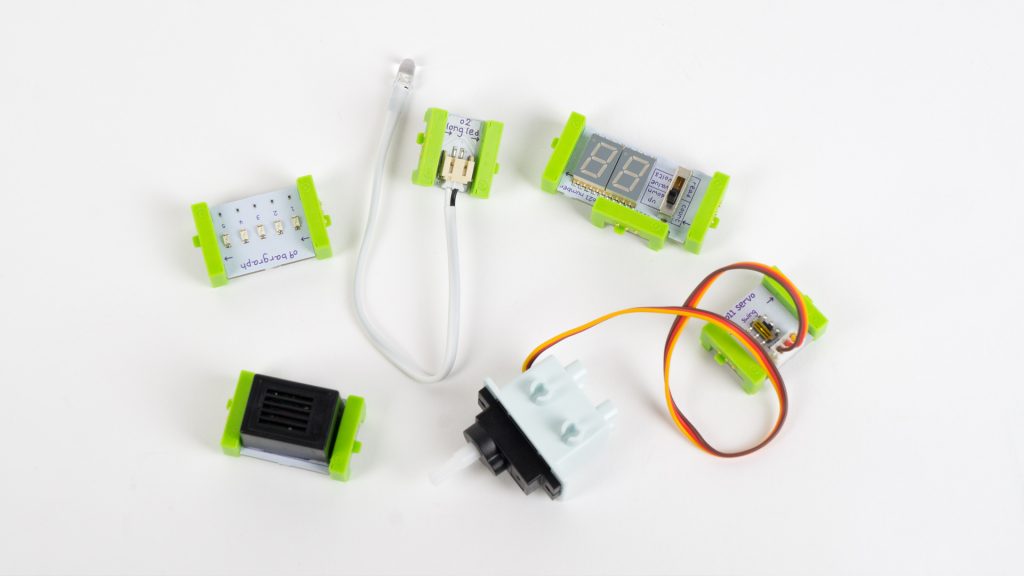
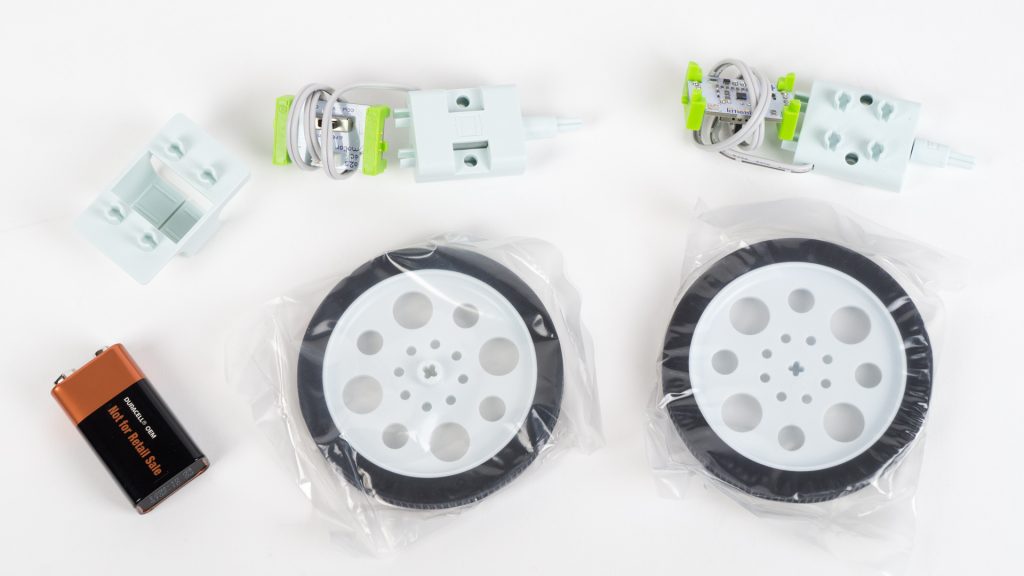
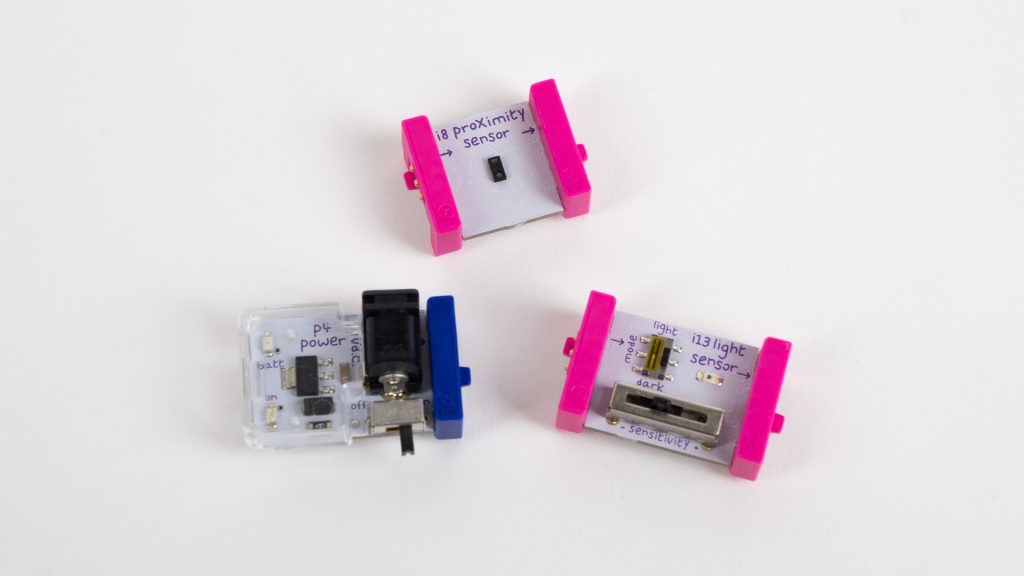
The Bits that come included with the kit are all labelled which makes it very easy to identify which Bit you’ll need during the assembly process. The included Bits are as follows. You get
2 x DC motor
1 x Control module
2 x Motor Bits
1 x Power Bit
1 x 9V battery with adapter
1 x Power cable
1 x Servo motor
1 x Servo Bit
1 x LED
1 x Bargraph
3 x Extension cables
1 x Bit splitter
1 x Buzzer
1 x Proximity sensor
1 x Light sensor
1 x Digital number display
2 x Wheels
1 x Ball wheel and mount
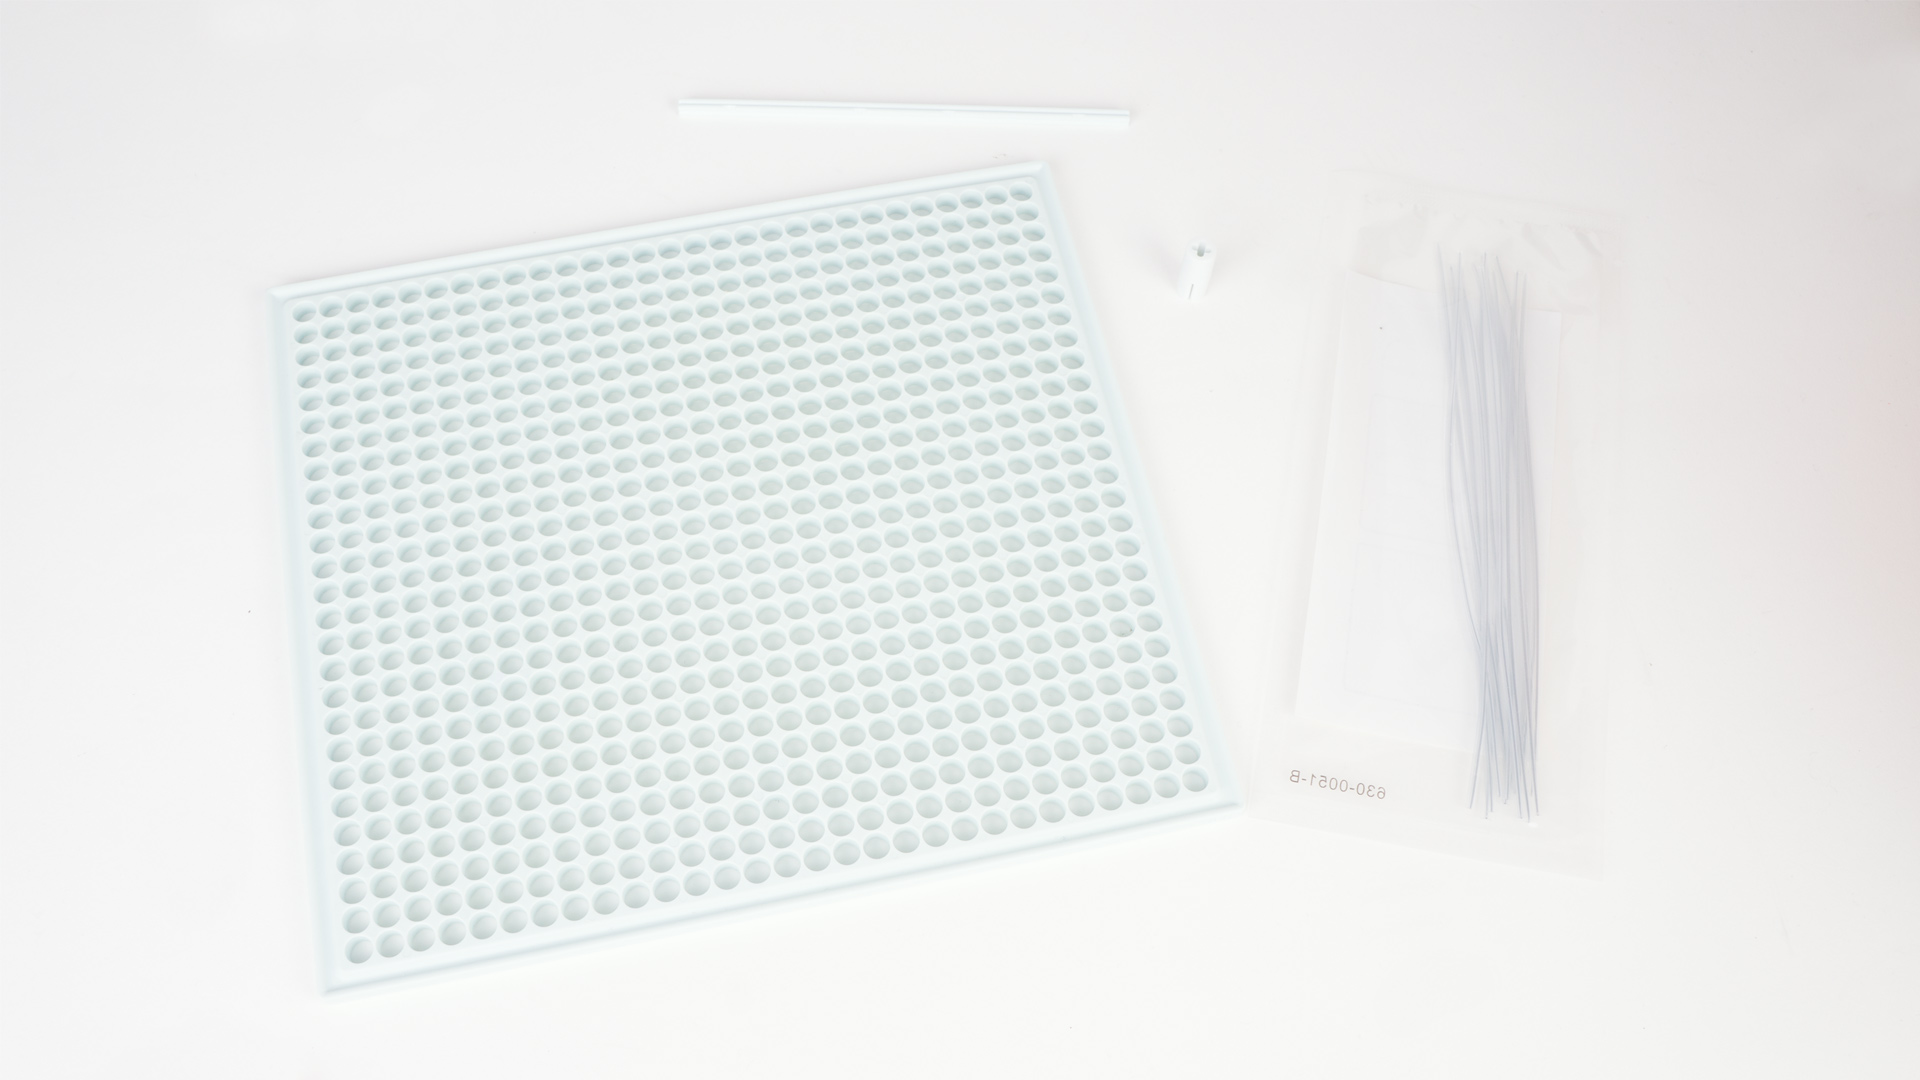
Lifting the tray reveals even more accessories that you’ll need to build the Space Rover.
Closer Look – Assembly
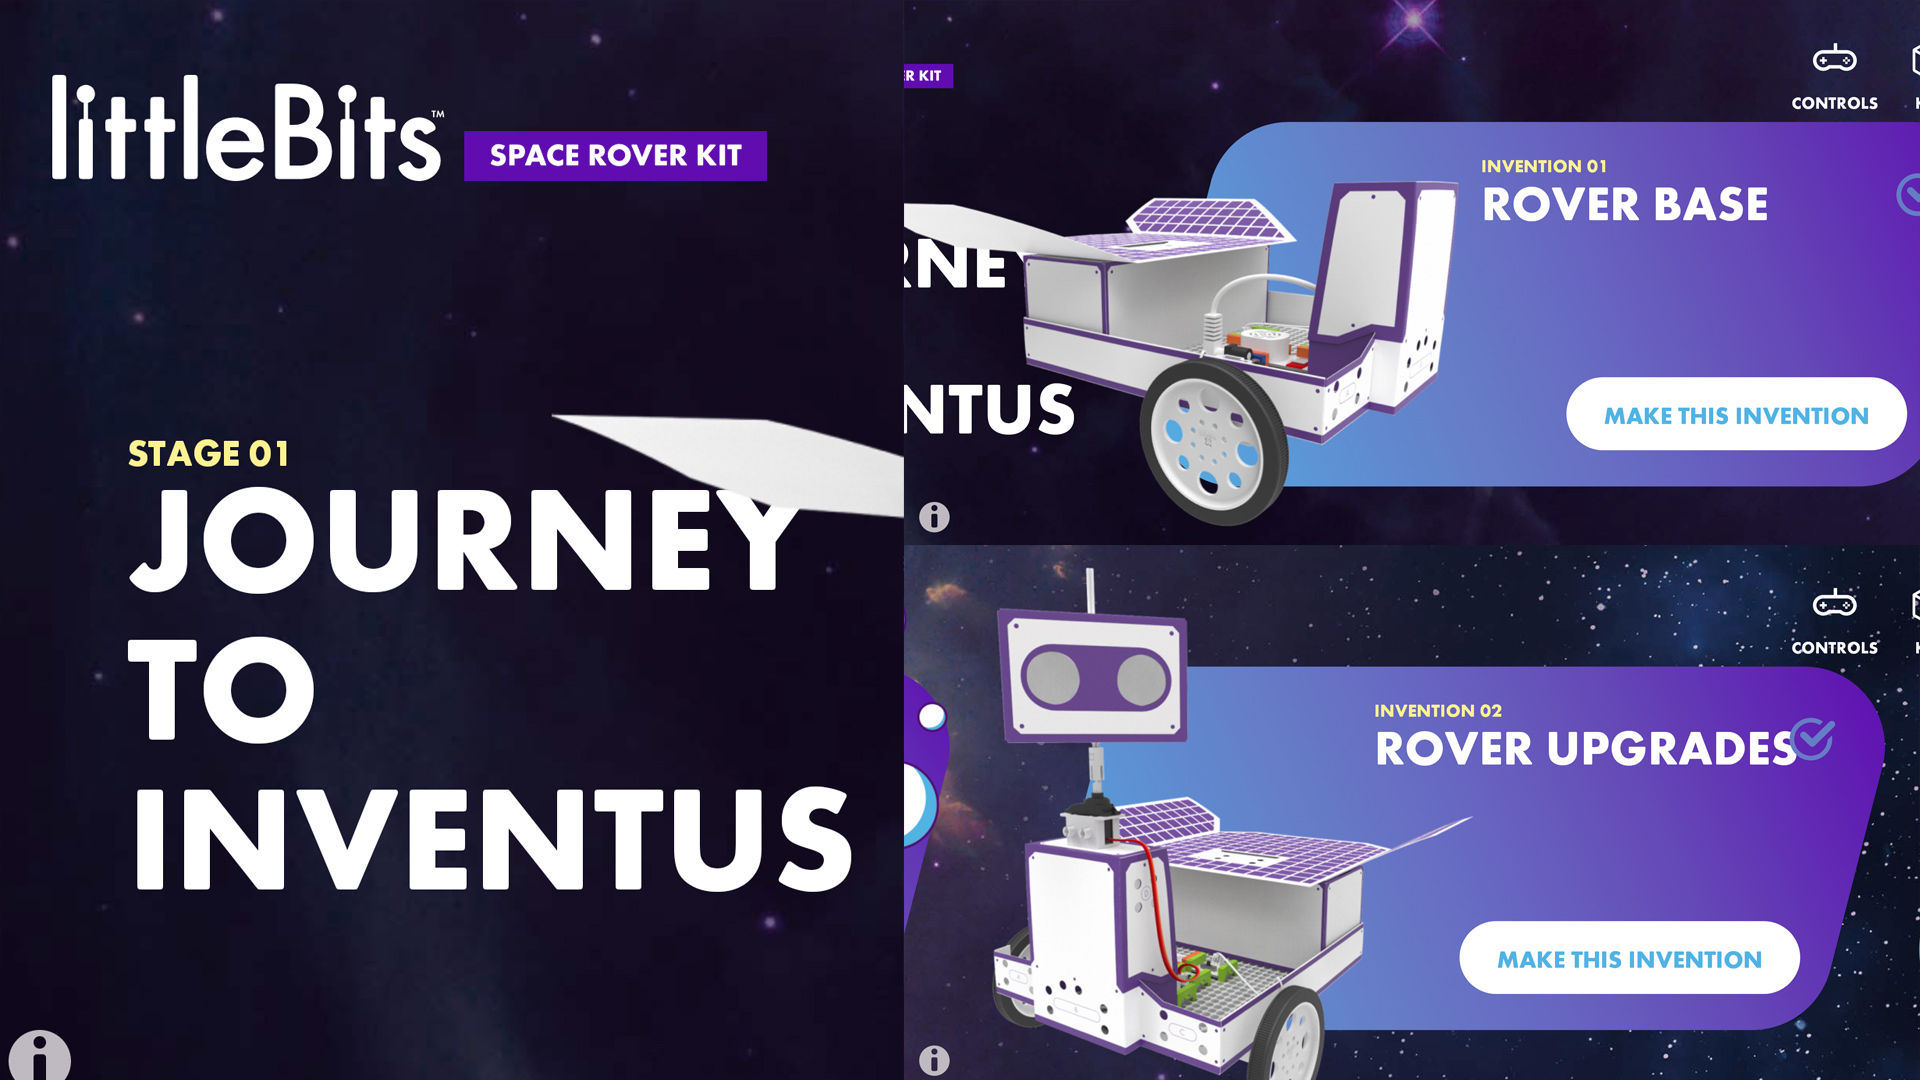
Now to creating the Space Rover and the first thing you’ll want to do is download the LittleBits app; this can be found on either the Playstore for Android or the App Store for Apple devices. The app is free to download and isn’t overly large, so it doesn’t take too long to download and install. The first thing that needs to be done is to create the main base platform, this base platform is what you’ll need to add the Bits to and to create your chosen Rover design.
Once you’ve downloaded the app, tap the make this invention option for invention 1 Rover Base. Once within the tutorial, you’ll be given a step-by-step guide on how to build the Rover’s base. If your child is doing this on their own, they more than likely should manage, depending on how old your child is. This kit is designed for ages 8 and over, so children under that age may require some help, again depending on their age.
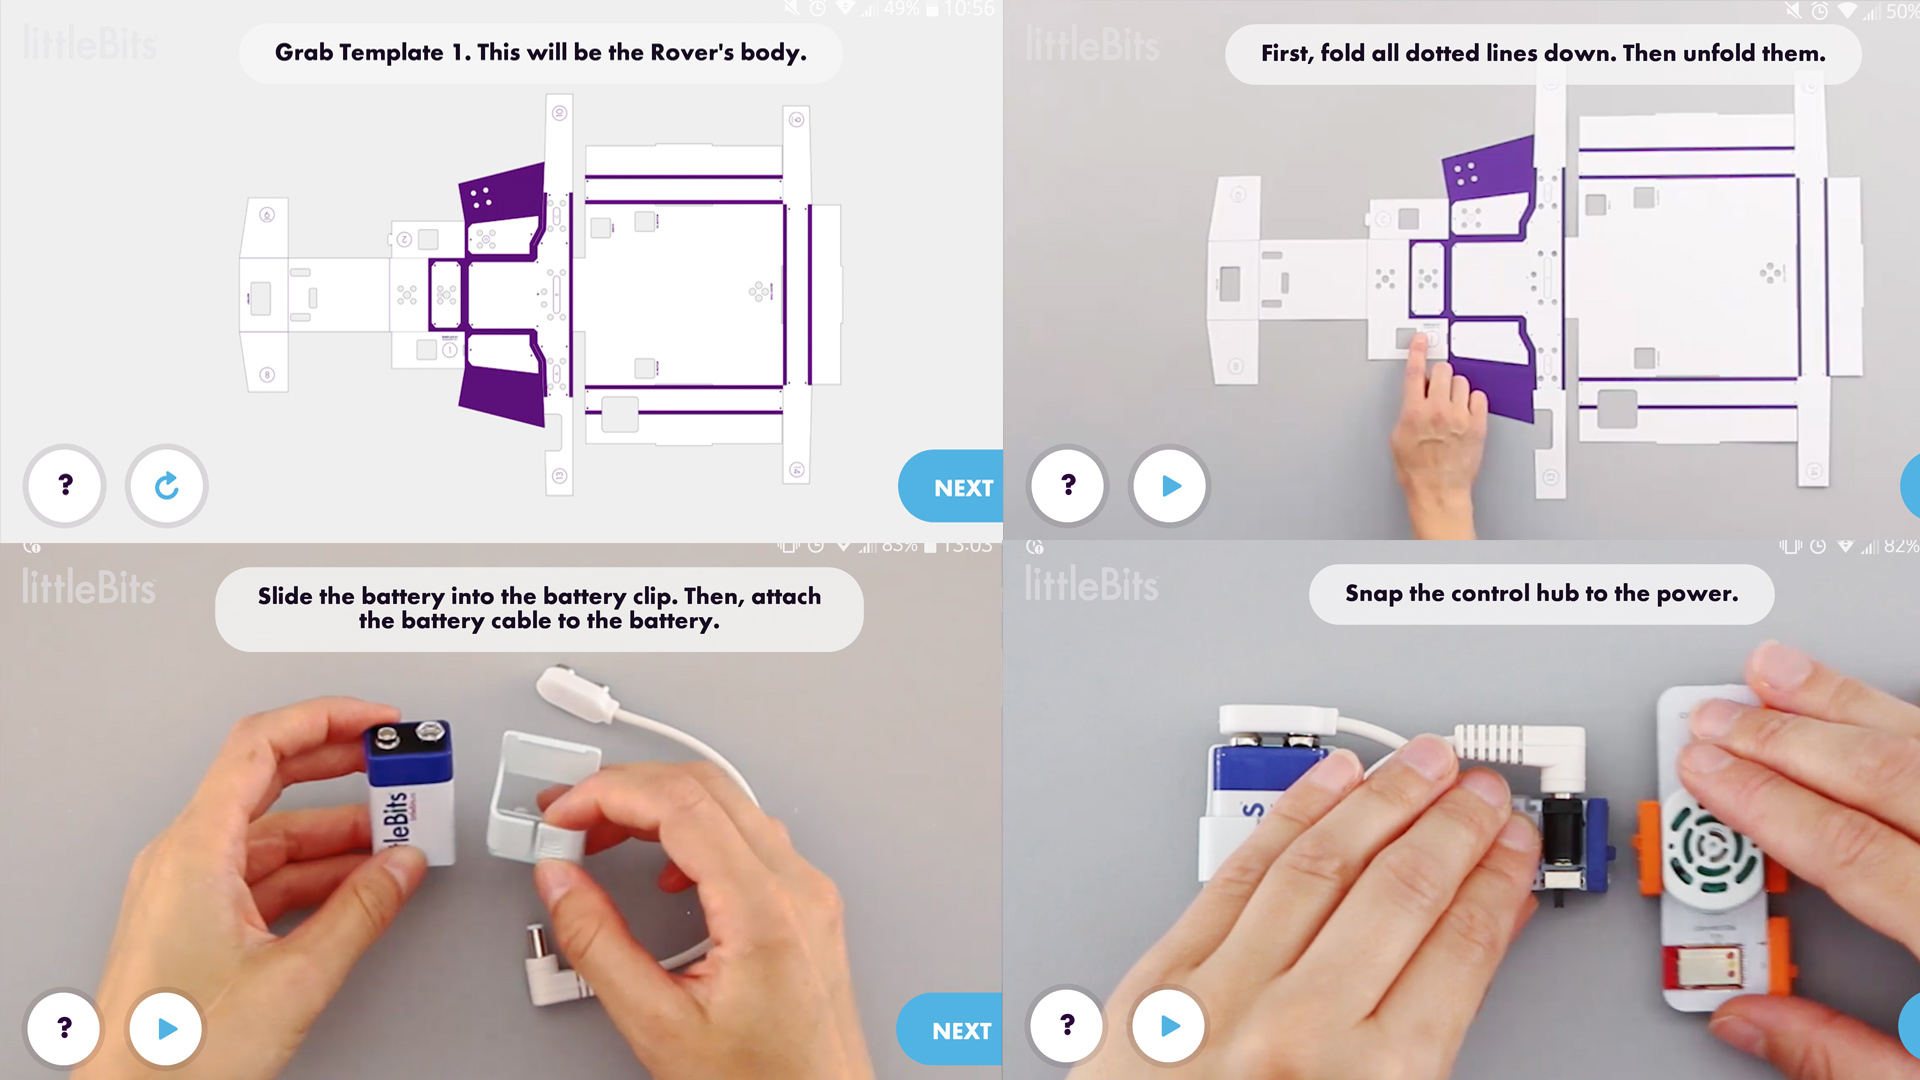
Following the guide is very easy, and the way it’s configured is very straightforward, this reduces any potential headaches as the guide is not overly complex – like some other kits can be. The image below was captured from the guide that is both picture and video-based. Within the guide itself, there is a handy pause button so you can stop the guide if it’s progressing a little too quickly. Also, the play/pause button doubles as a repeat prompt which is handy if you’re unclear on any of the steps and need to re-watch that part. Navigating the guide is easy, you can either let it progress naturally, or you can swipe the screen left to right (to go back) or right to left (to go forward).
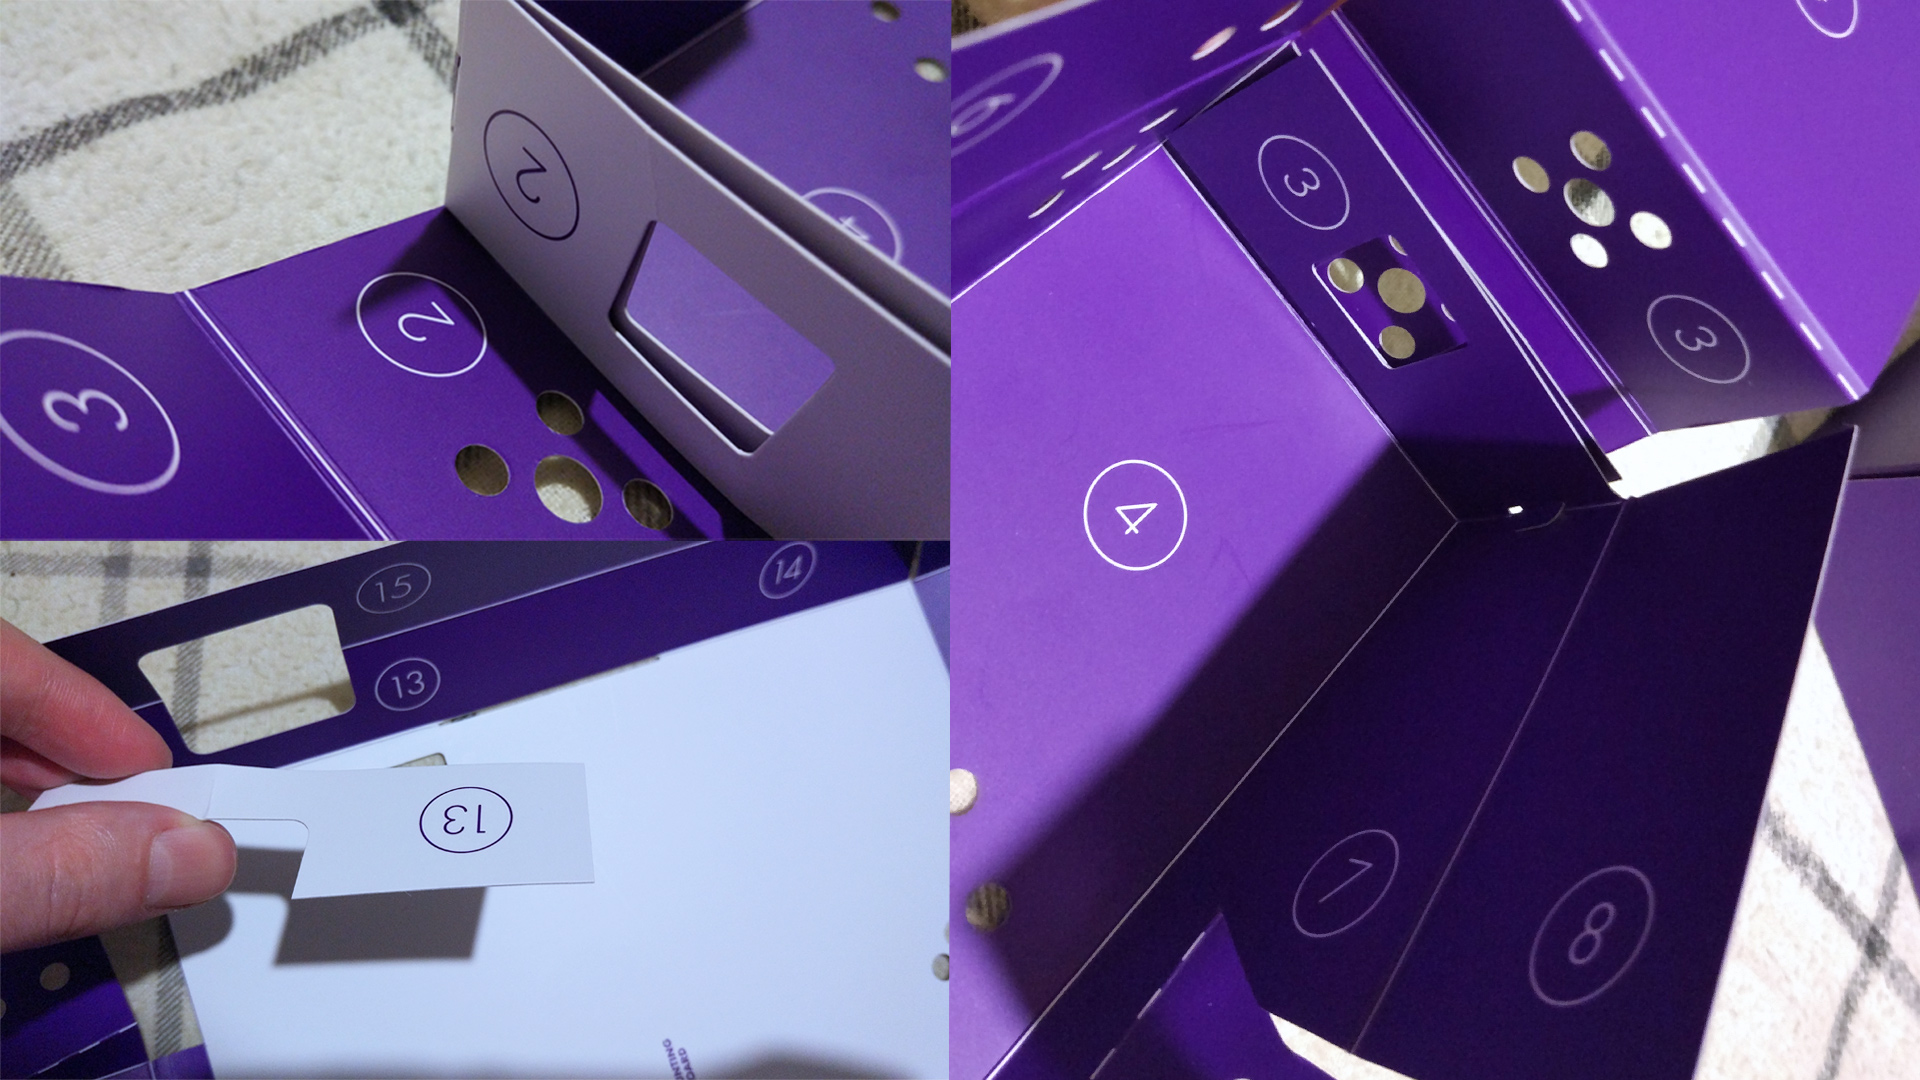
Actually putting the Space Rover together is simple too. The cardboard templates included do require a fair bit of folding which can take a bit of time to make sure that all the folds are done correctly, this is important as it makes the assembly so much easier. You’ll also note that all the templates are clearly labelled so that identifying them is very easy. They also have a number system too which is highly useful as essentially the numbers match. Let me explain, within the guide, it’ll ask you to fold section number one to section number one and so on. You can see the image below for reference.
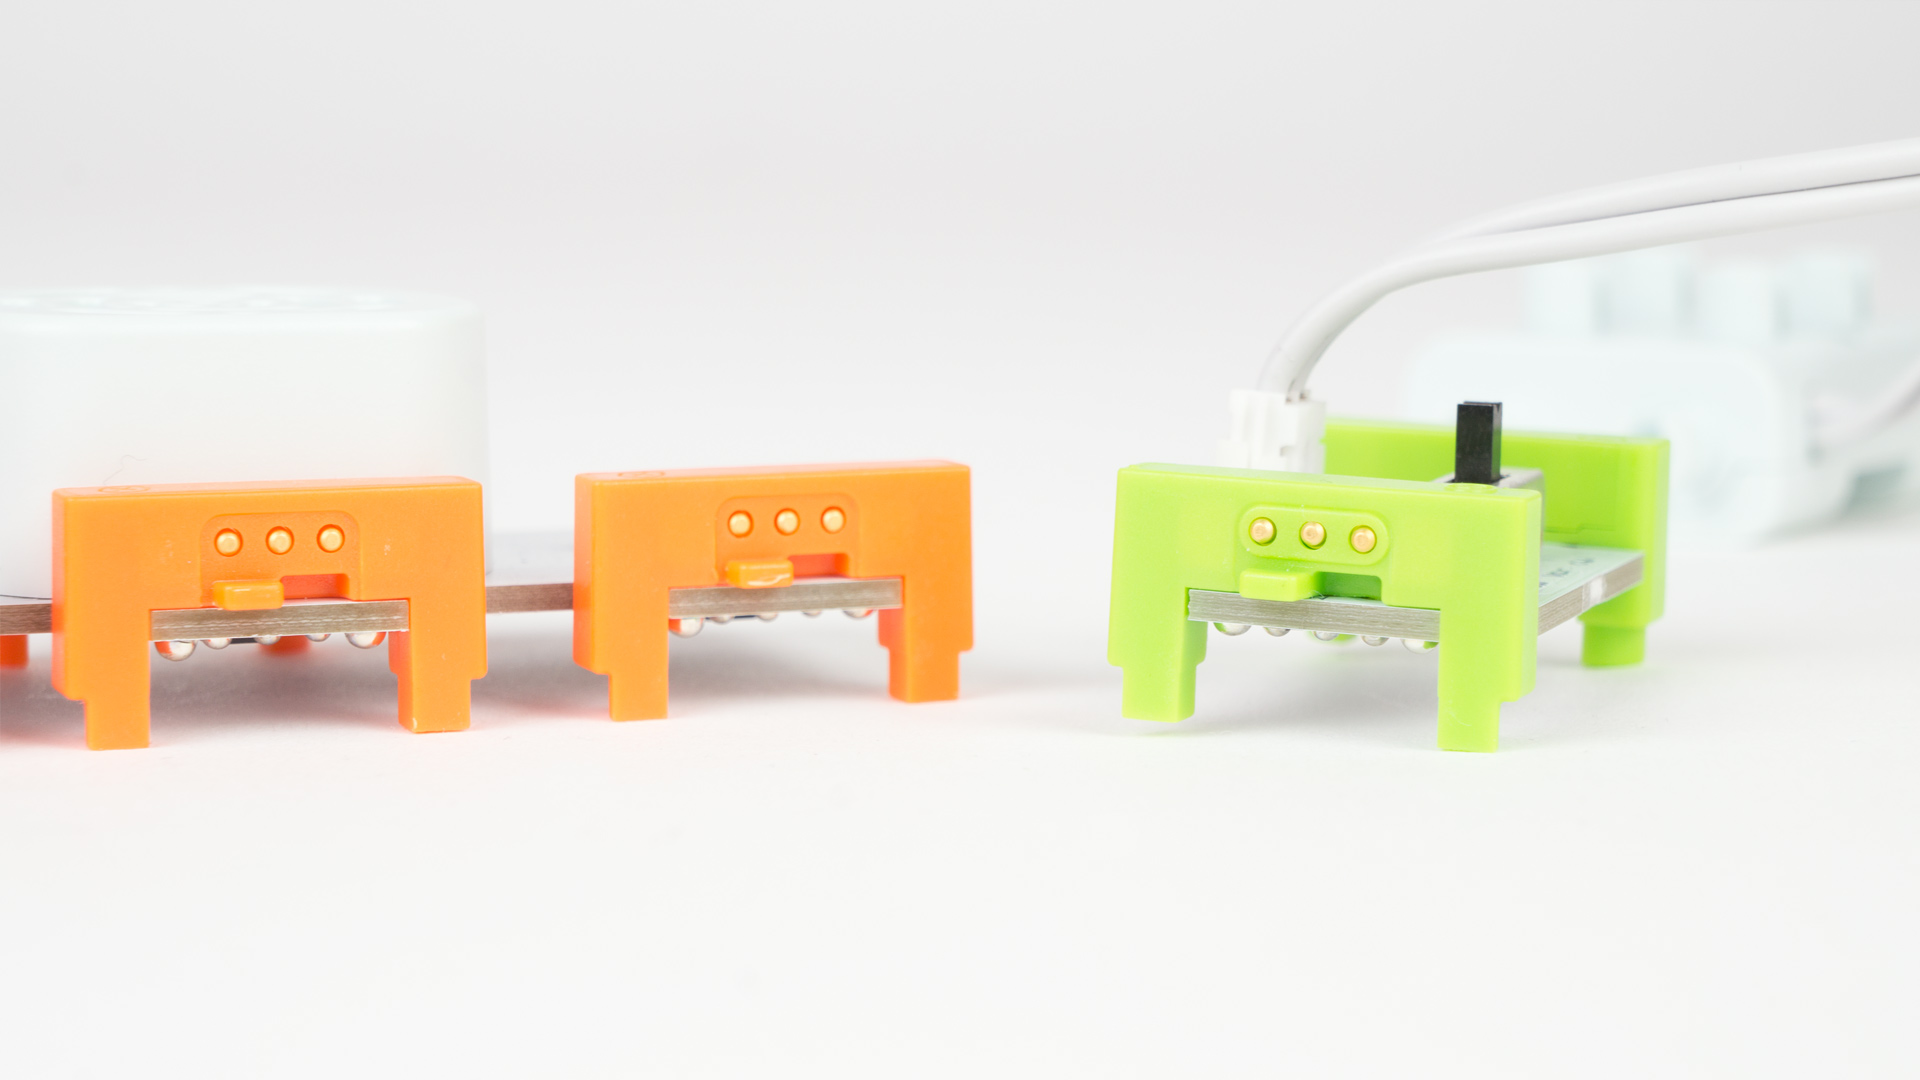
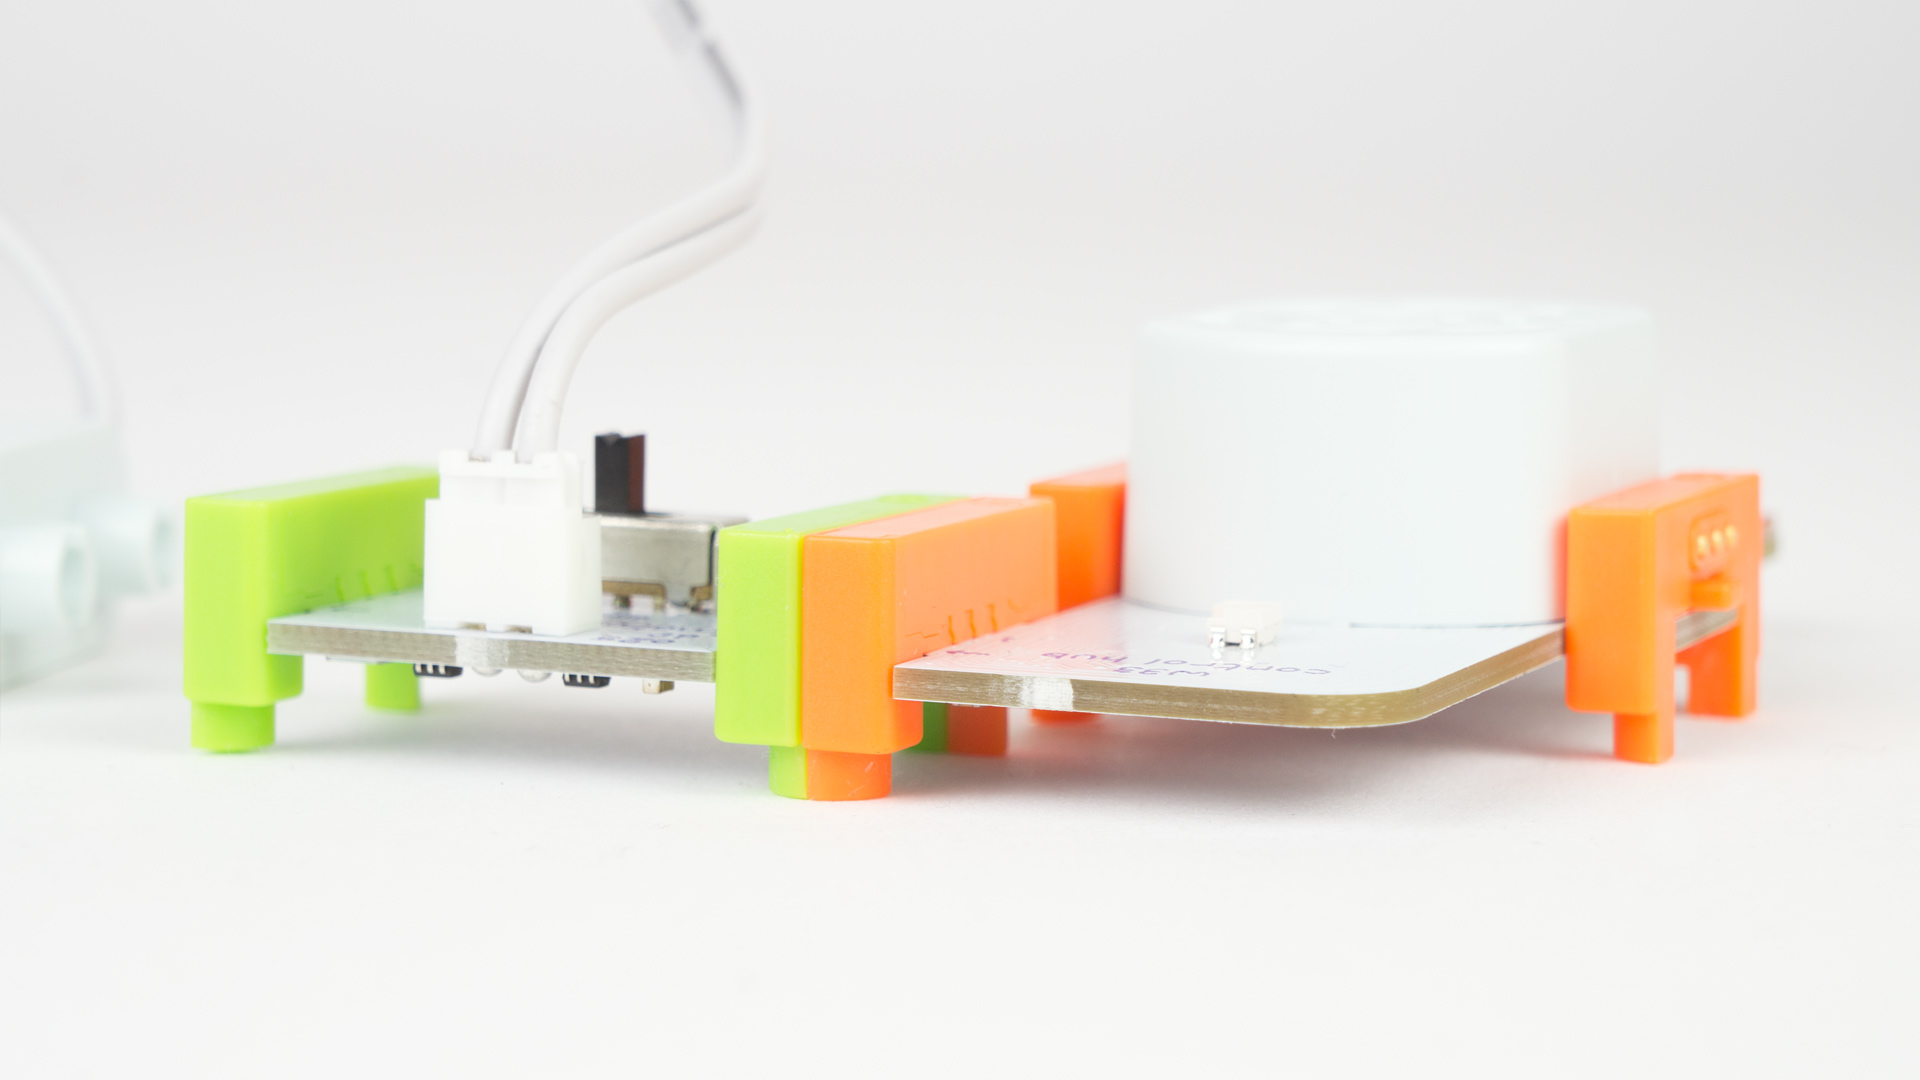
Once all the folding is done, you’ll be ready to add in the base plate and then start including the different Bits. Again adding the Bits is very easy as they connect via small notches and cutouts that are held together via magnets, this makes adding and removing the Bits extremely easy. The guide for this section is again well thought out and simple to follow as all the Bits are clearly labelled. Things like the wheels and battery have there own dedicated mounting points which again simplifies the whole process.
In total, the entire stage one build took me around thirty minutes from start to finish. Keep in mind I had to stop to take photos during this process, and it probably could be completed much quicker. Of course, this time will vary depending on skill level and age, but honestly, there is no real time-sensitive aspect of completing the project, and we’d advise completing it for enjoyment, rather than simply to rush it together.
Side note – I repeated the build process and let my 5-year-old nephew help. During this attempt, I found that he could manage to connect the Bits together, but found the folding a bit too tricky to get just right. So if you’re child is struggling with the folding, you may need to provide some help as it’s important to get the folding right.
After completing the first invention, you can then decide if you’d like to evolve the Space Rover and make it more advanced. The first step to do this is to complete the Rover upgrade tutorial, this is pretty much the same as with the base, but you’ll be adding new parts to the Rover. Again the instructions are brilliant and so simple to follow through.
After finishing the Rover upgrade, you can then customise the Rover even more and follow one or more of the eight different tutorials, each of which allows the Rover to do different things. At the sake of repeating myself, the guides for these are well thought out and easy to follow. Now depending on what you want to create, you may need to disassemble parts in order to reassemble the Rover into a different configuration. All in all, these upgrades don’t take long as most of them easily adapt to the Rover upgrade config.
Closer Look – Finished Product
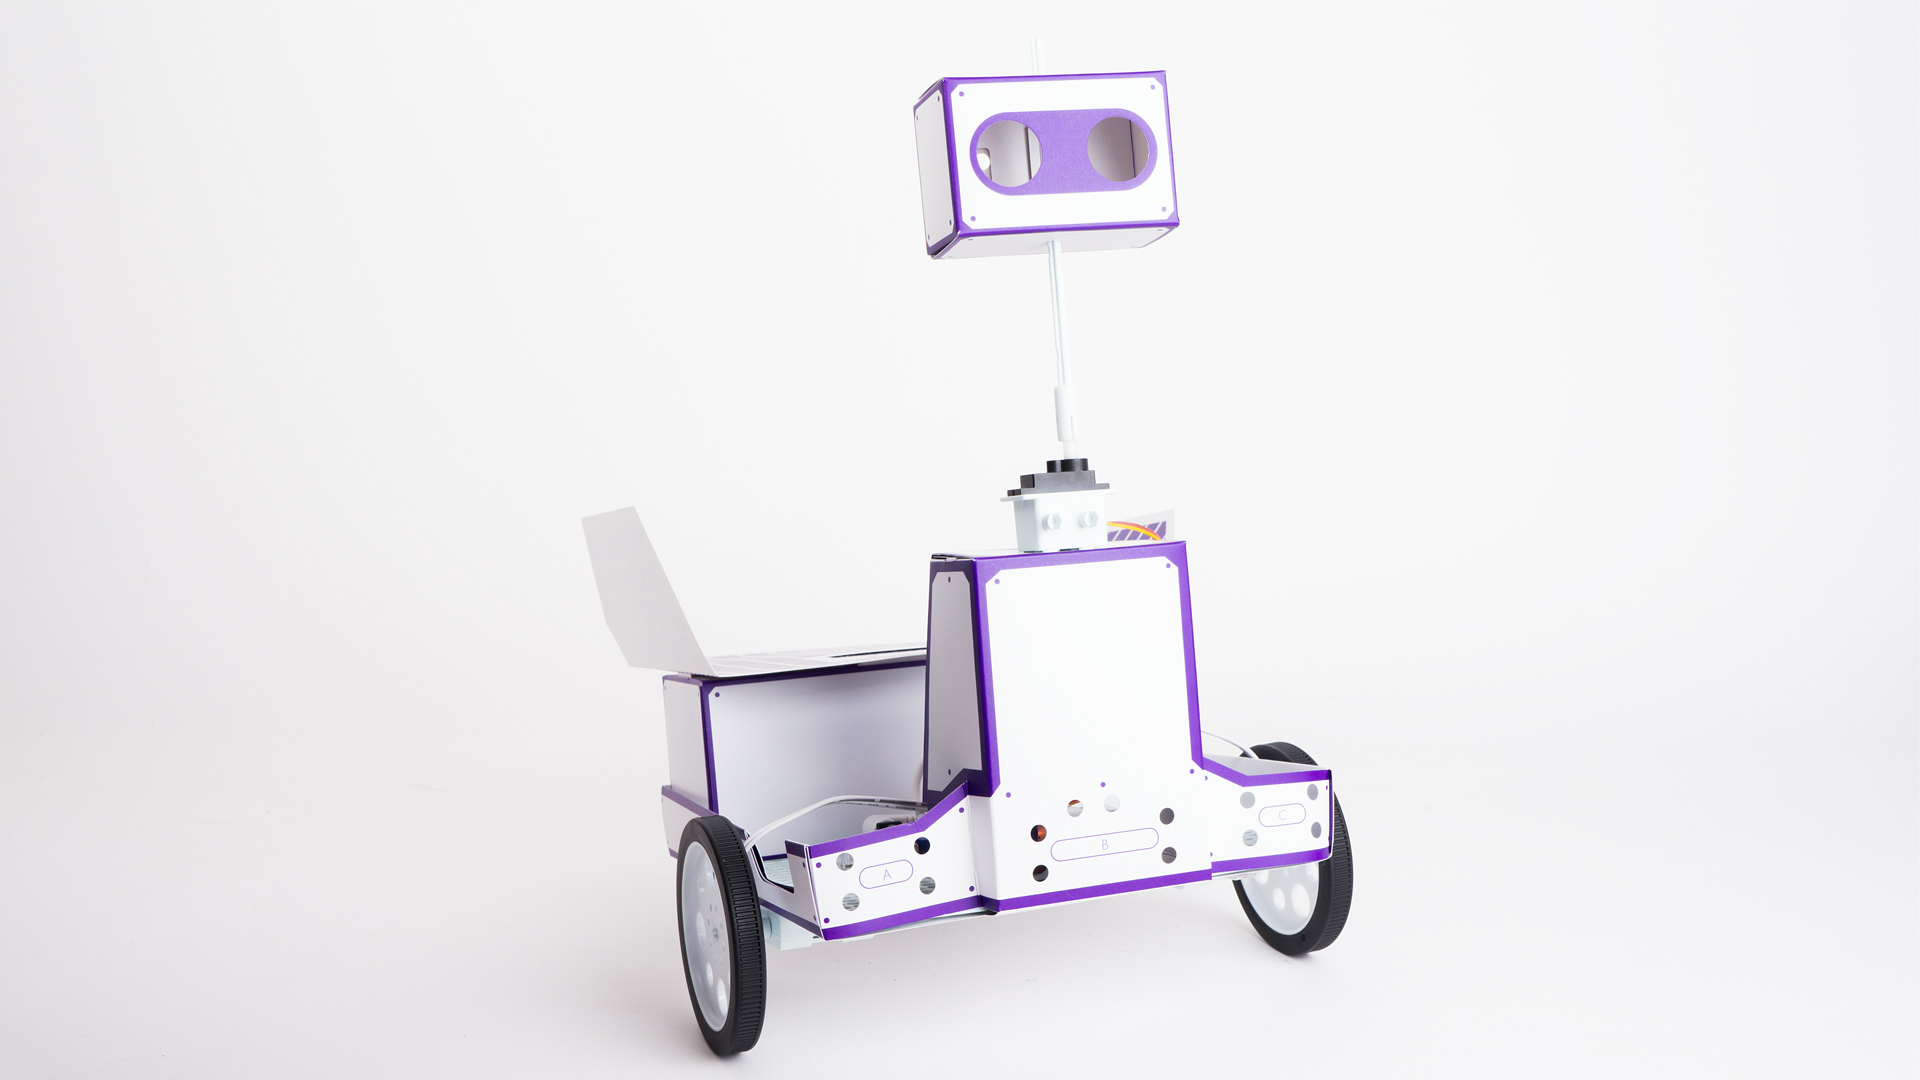
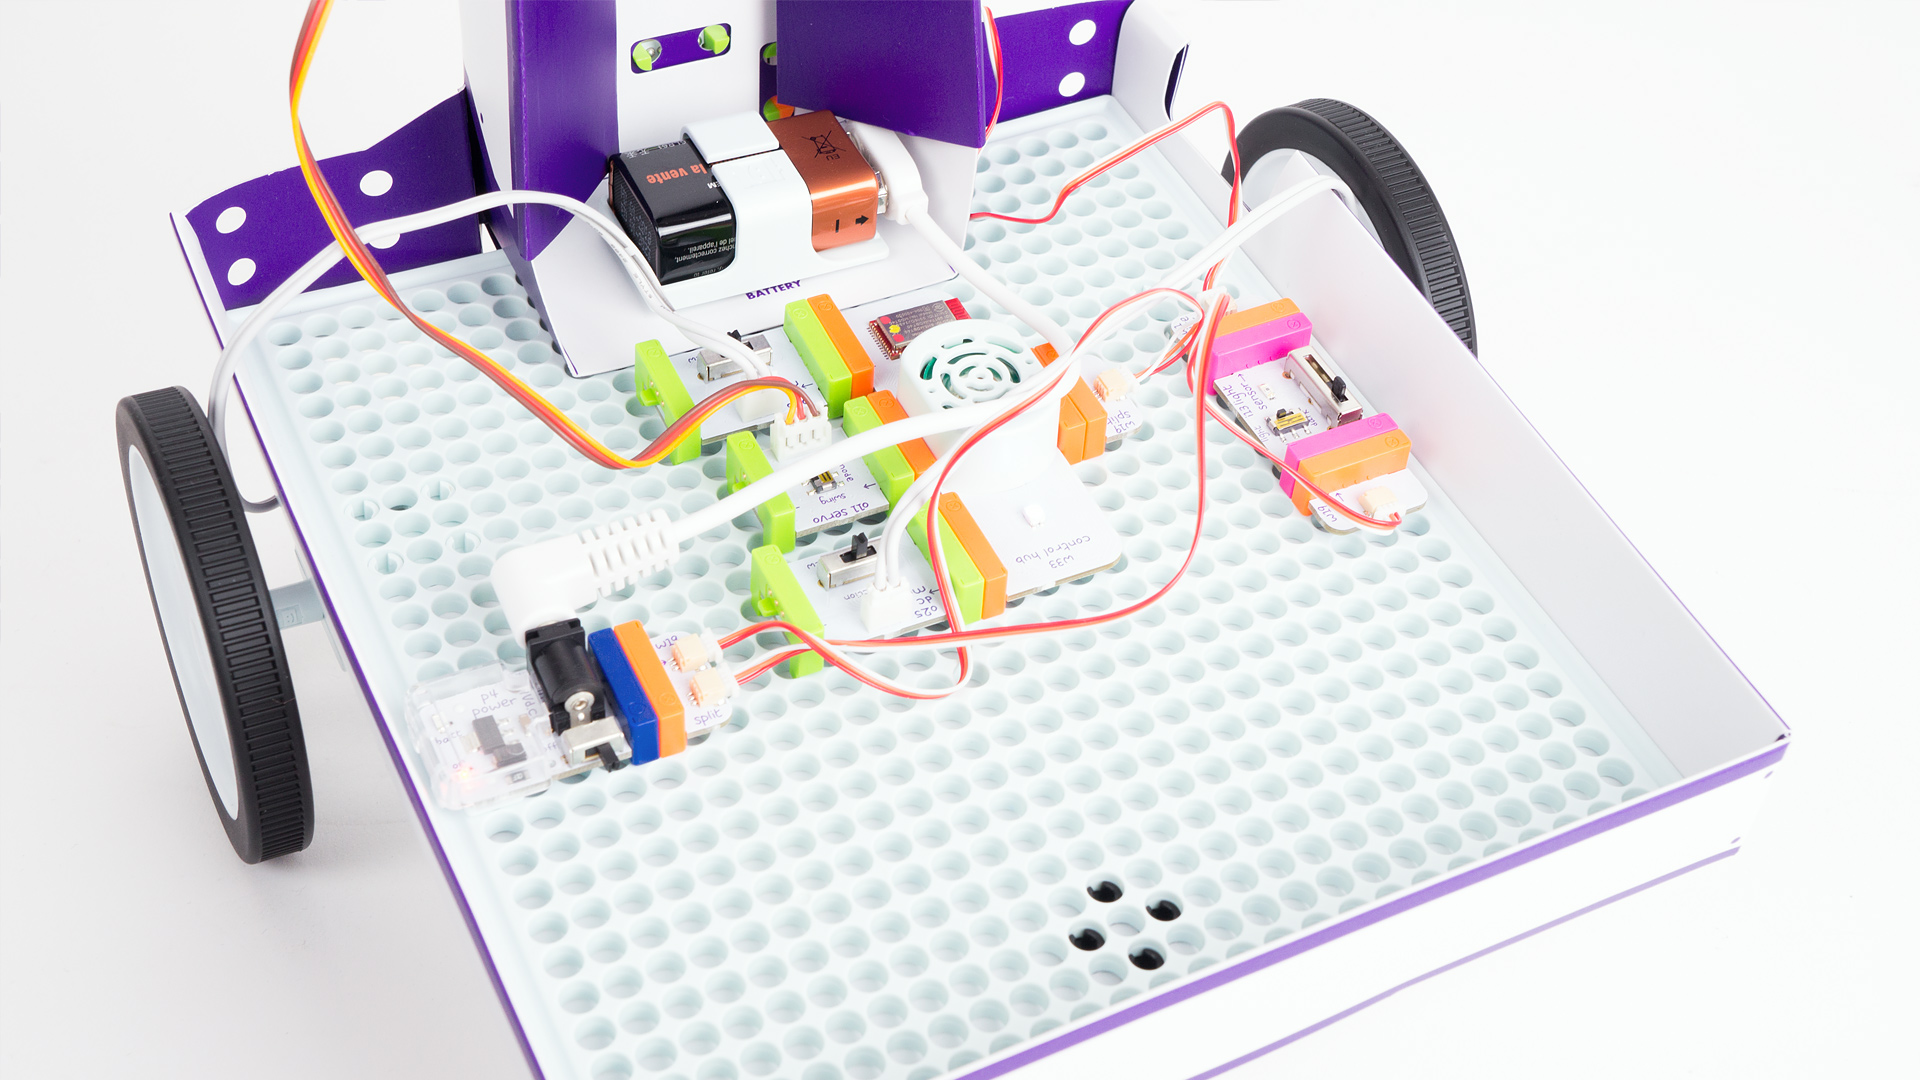
For this part of the review, I put together a few of the different configs to provide an example of what the Rover looks like when it’s completed. We first start with the Rover upgrade and the below image is what the Rover should look like.
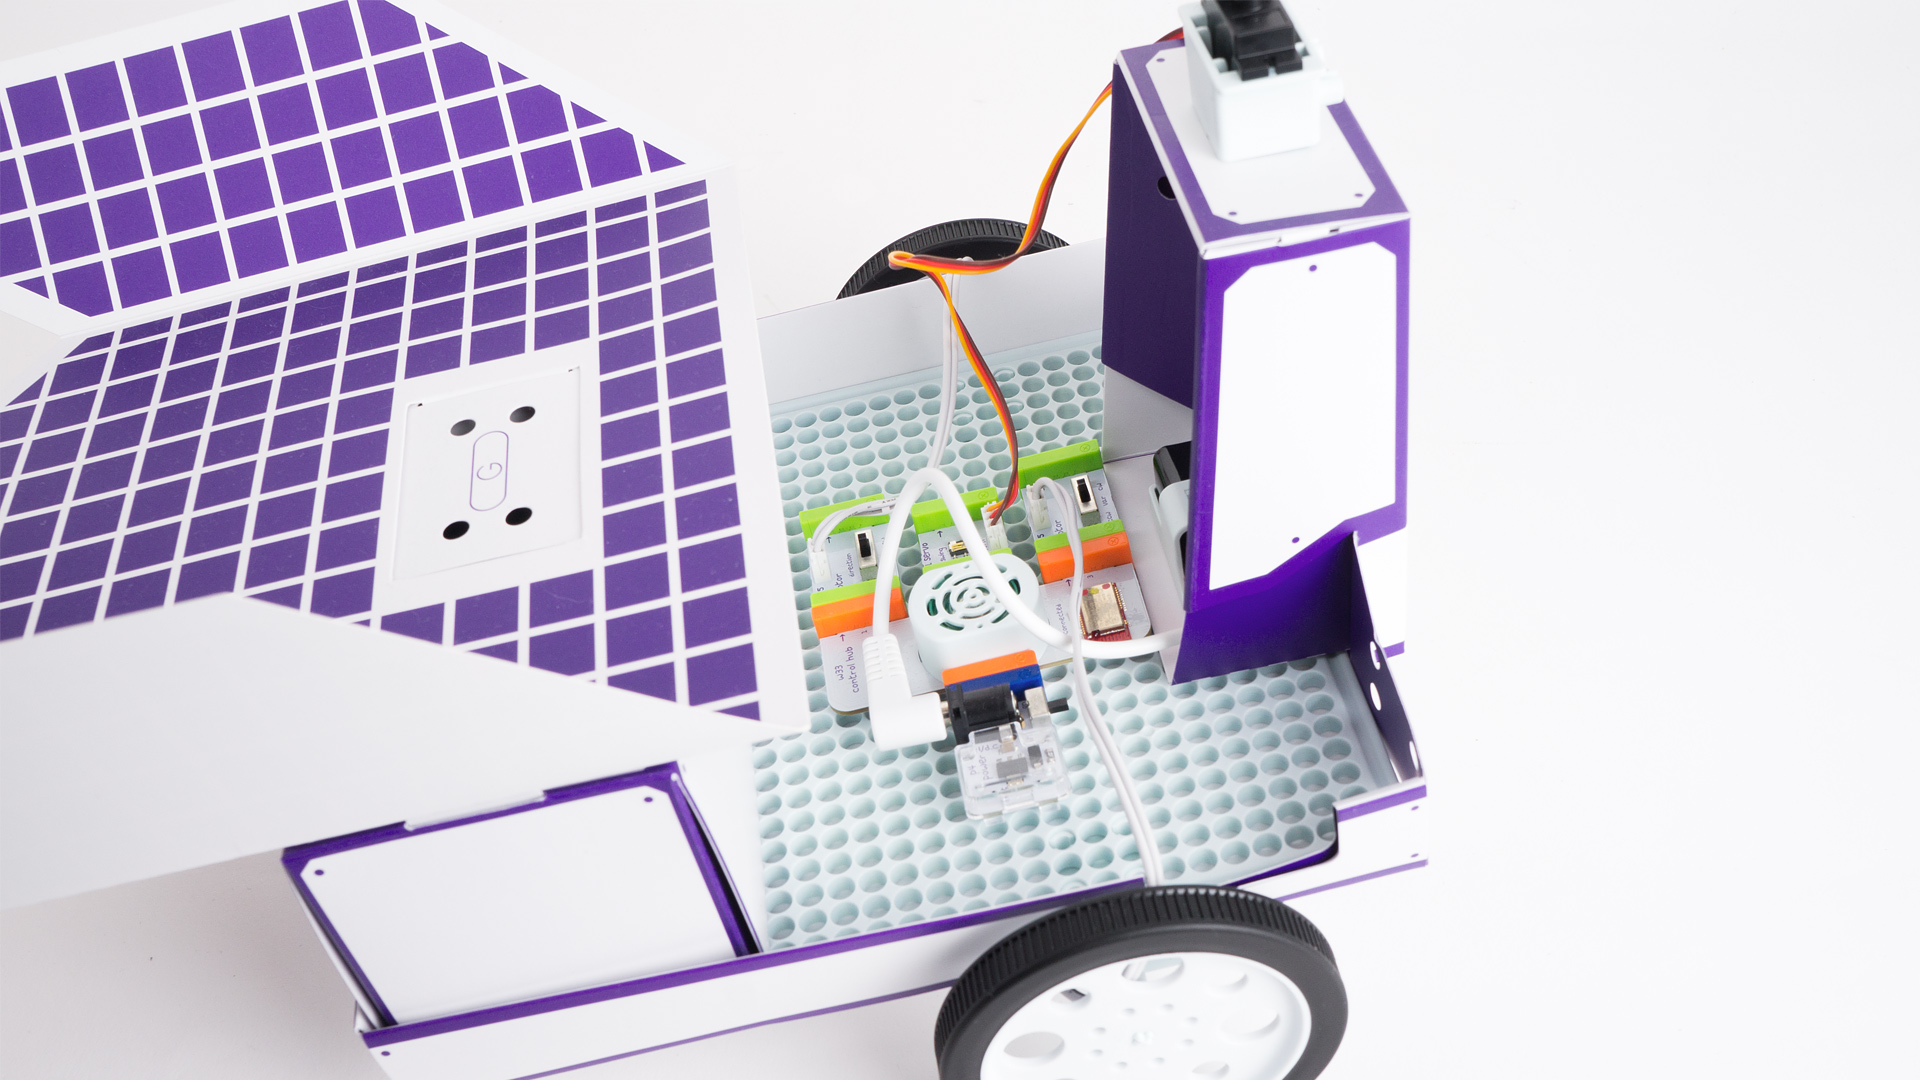
The circuit is comprised of the main controller, the battery, the power delivery, the two DC motors and the servo motor. This completed config is essentially your base for adding Bits to.
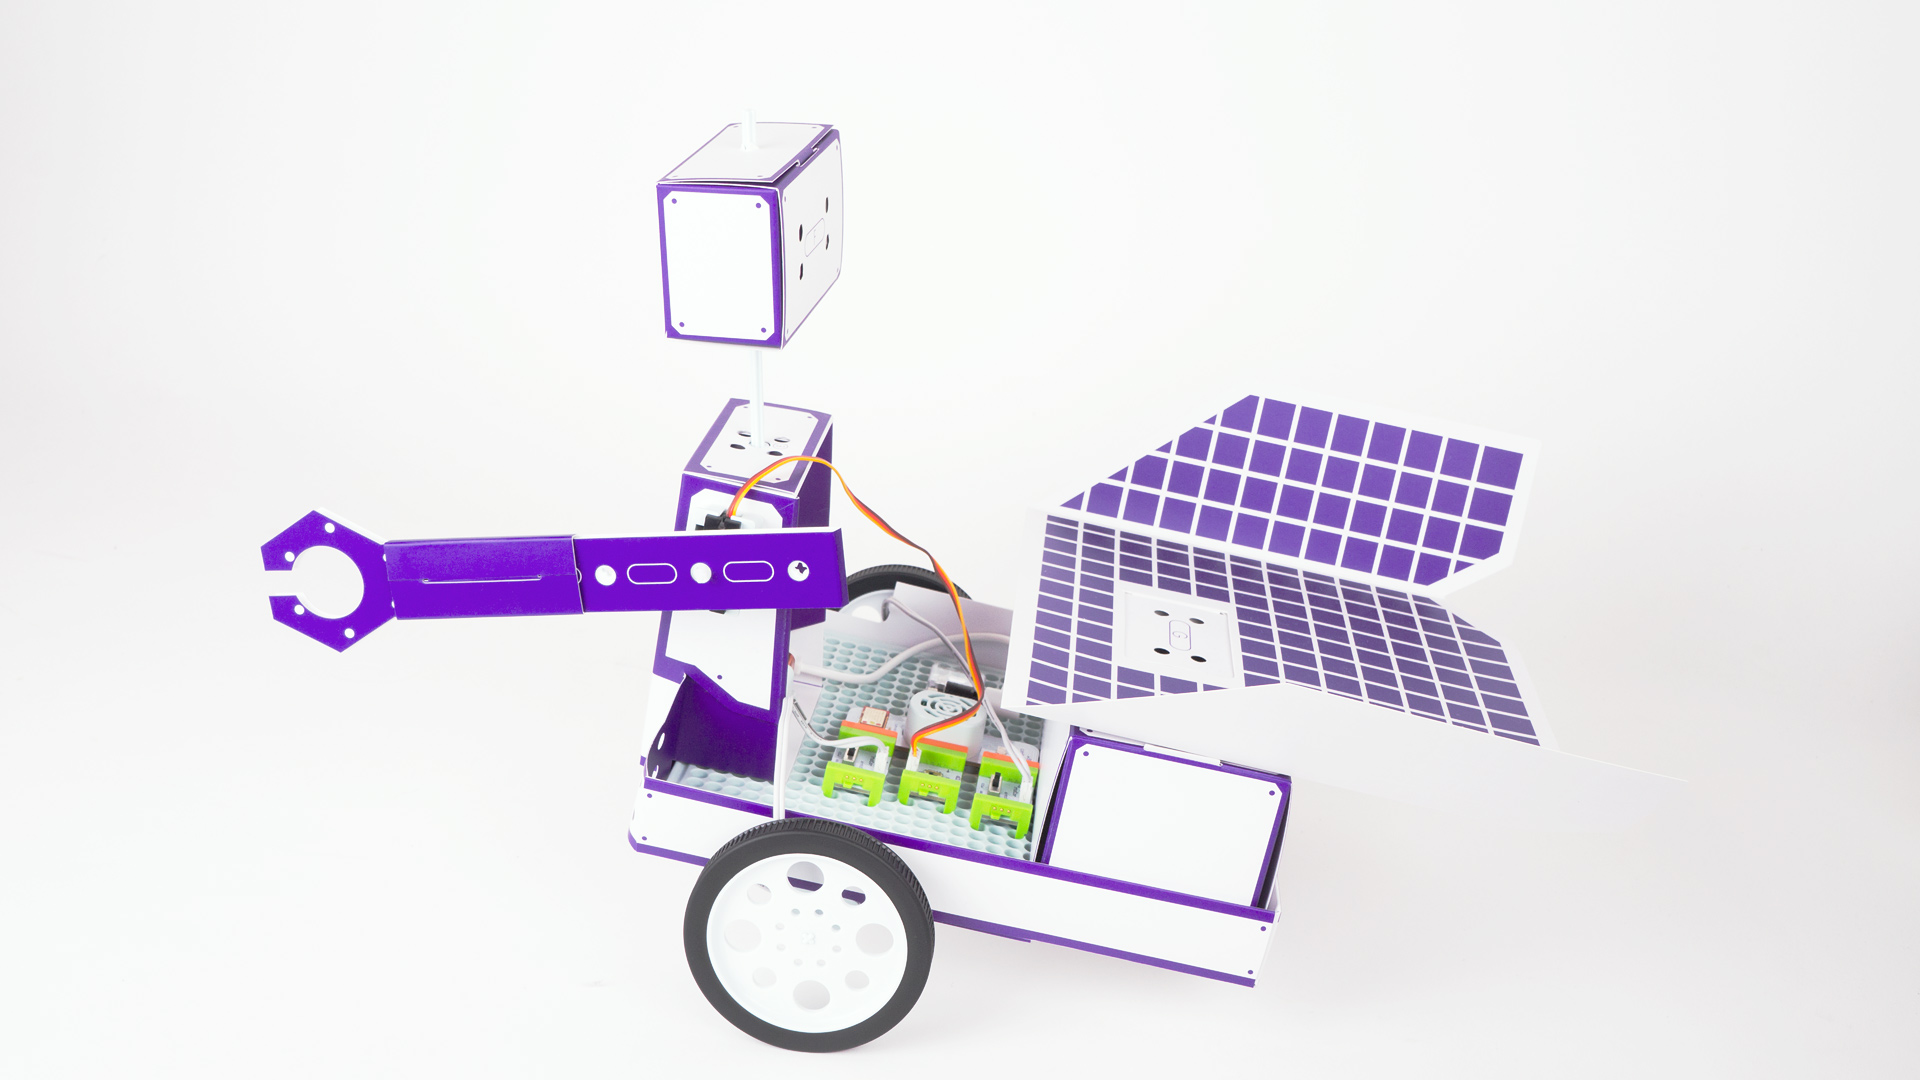
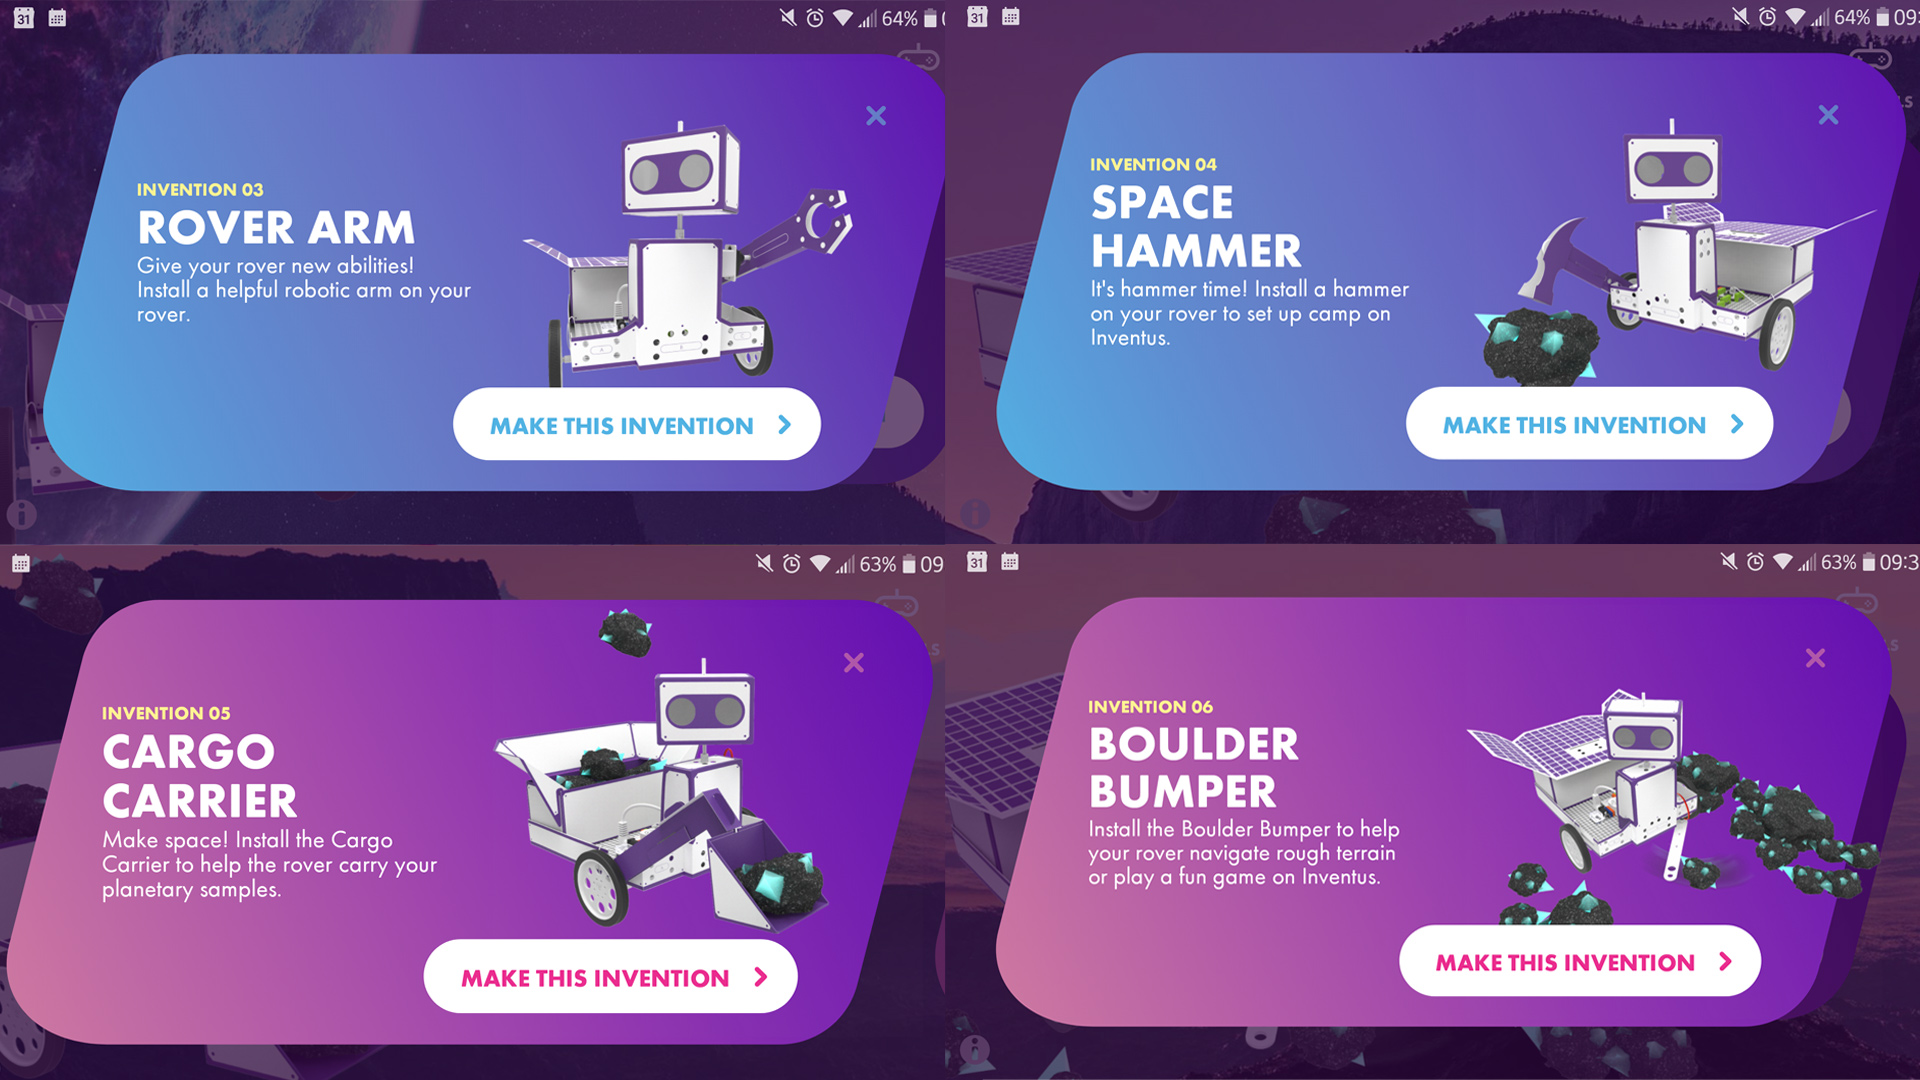
First up we made the Rover Arm which is one of the more basic upgrades you can make. With the arm, you can use the Rover to move objects and perform gestures.
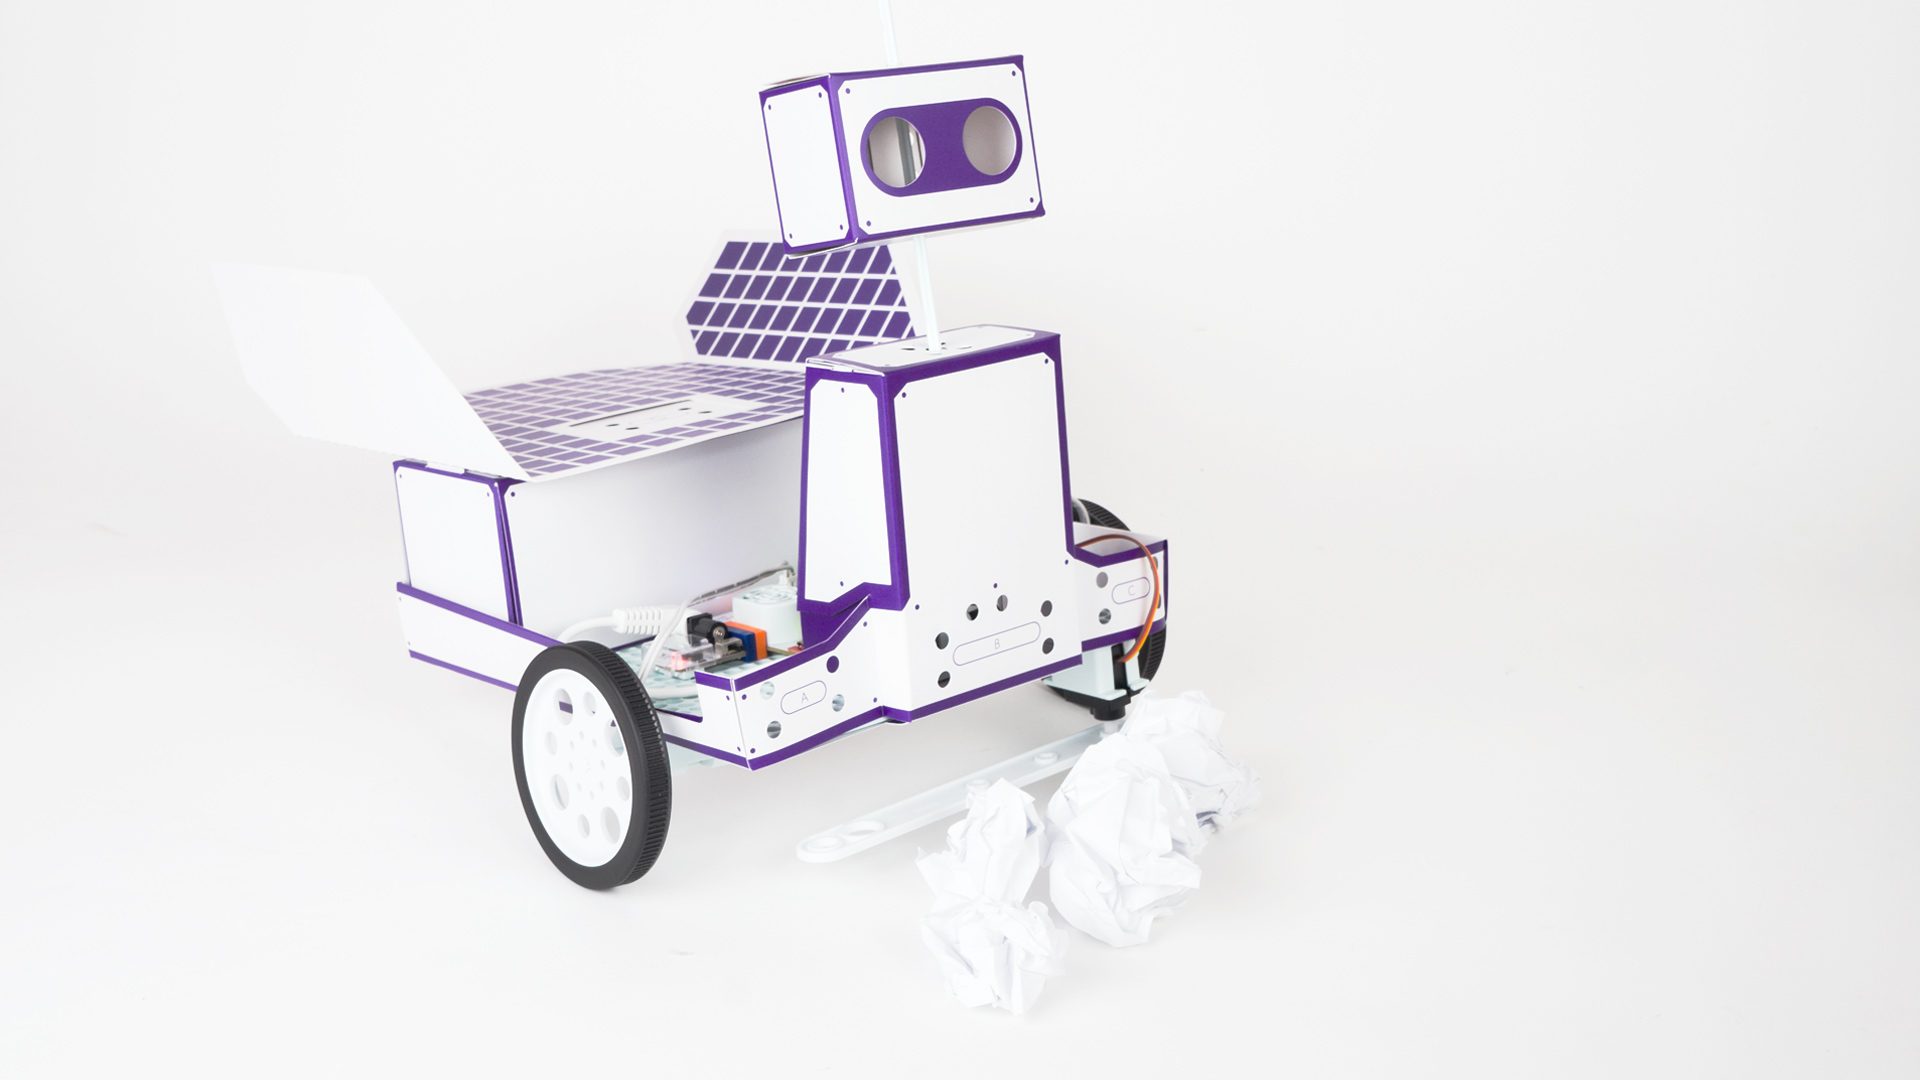
Here I decided to try the Boulder Bumper (at my nephew’s request). With this config, you use the servo motor to power an arm to sweep objects out of the way. Keep in mind that the motor isn’t very strong, so we’d advise not attempting to push anything too heavy.
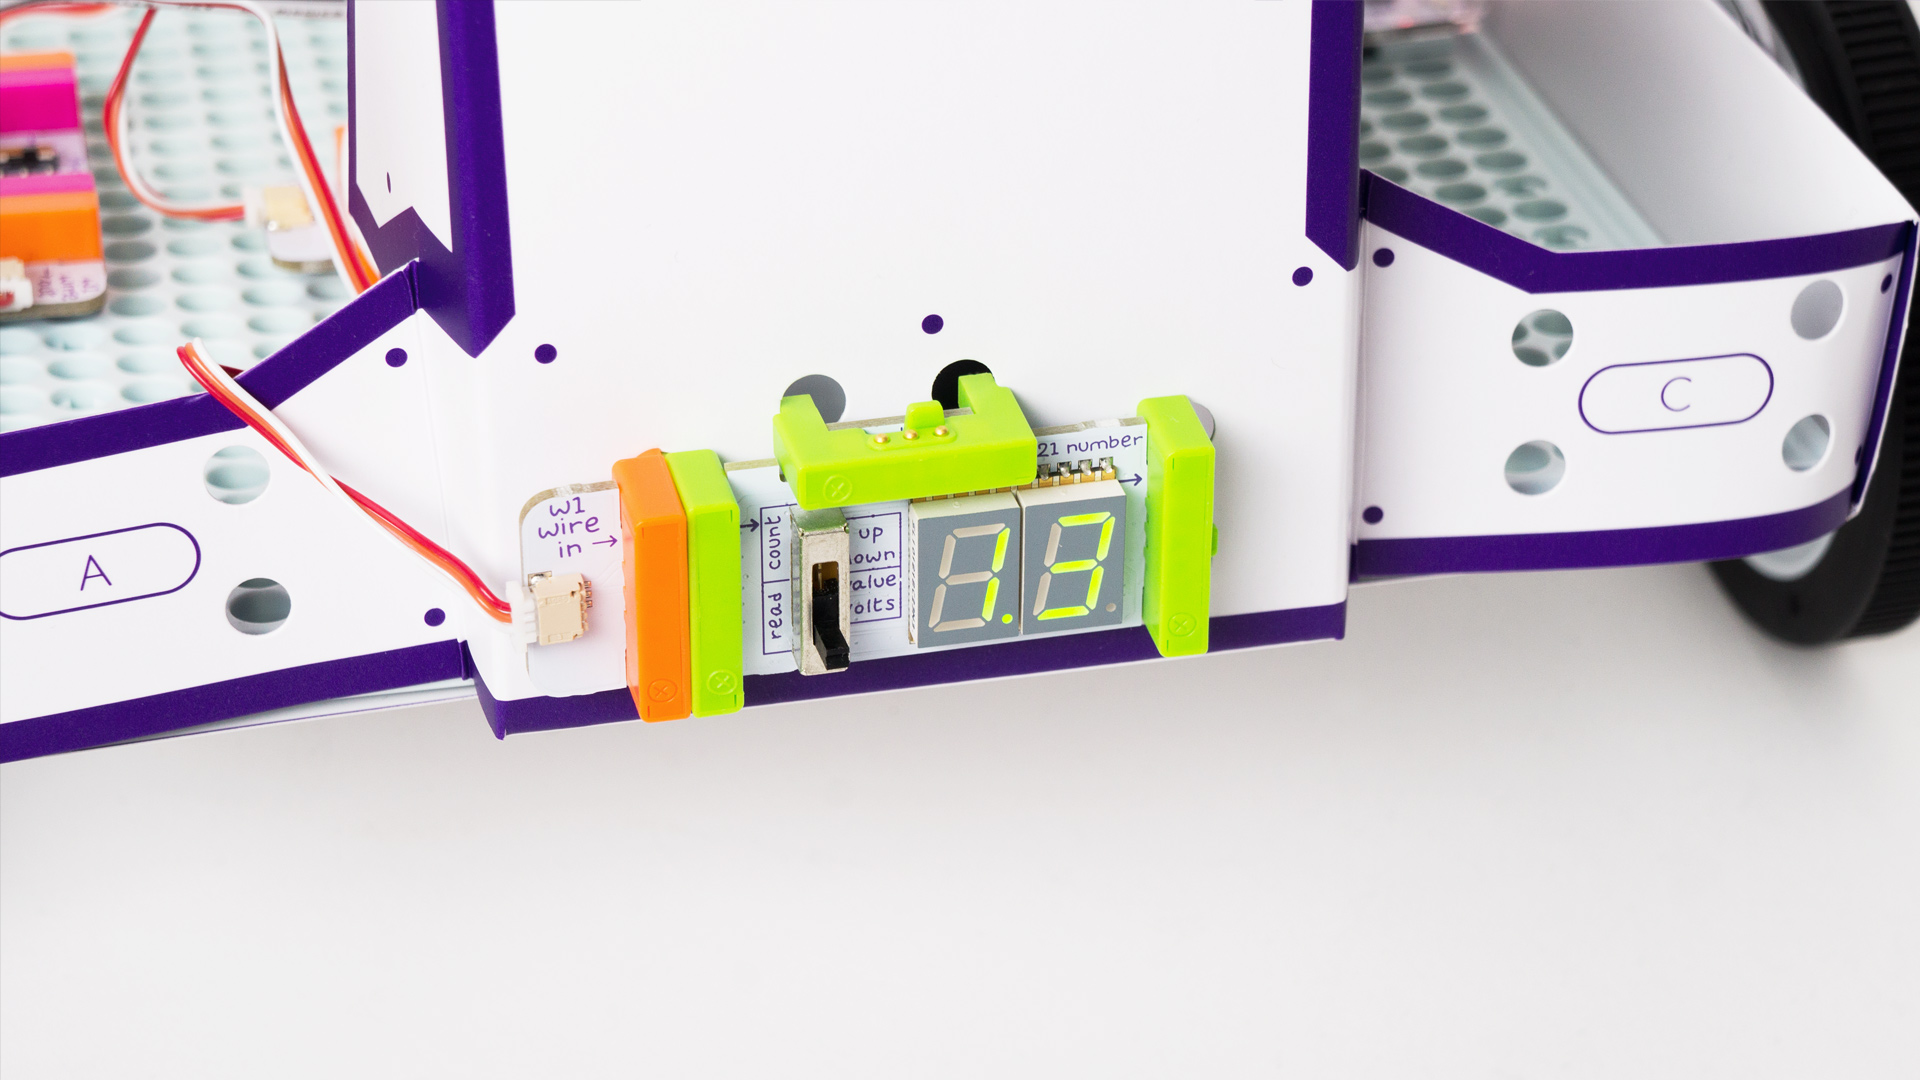
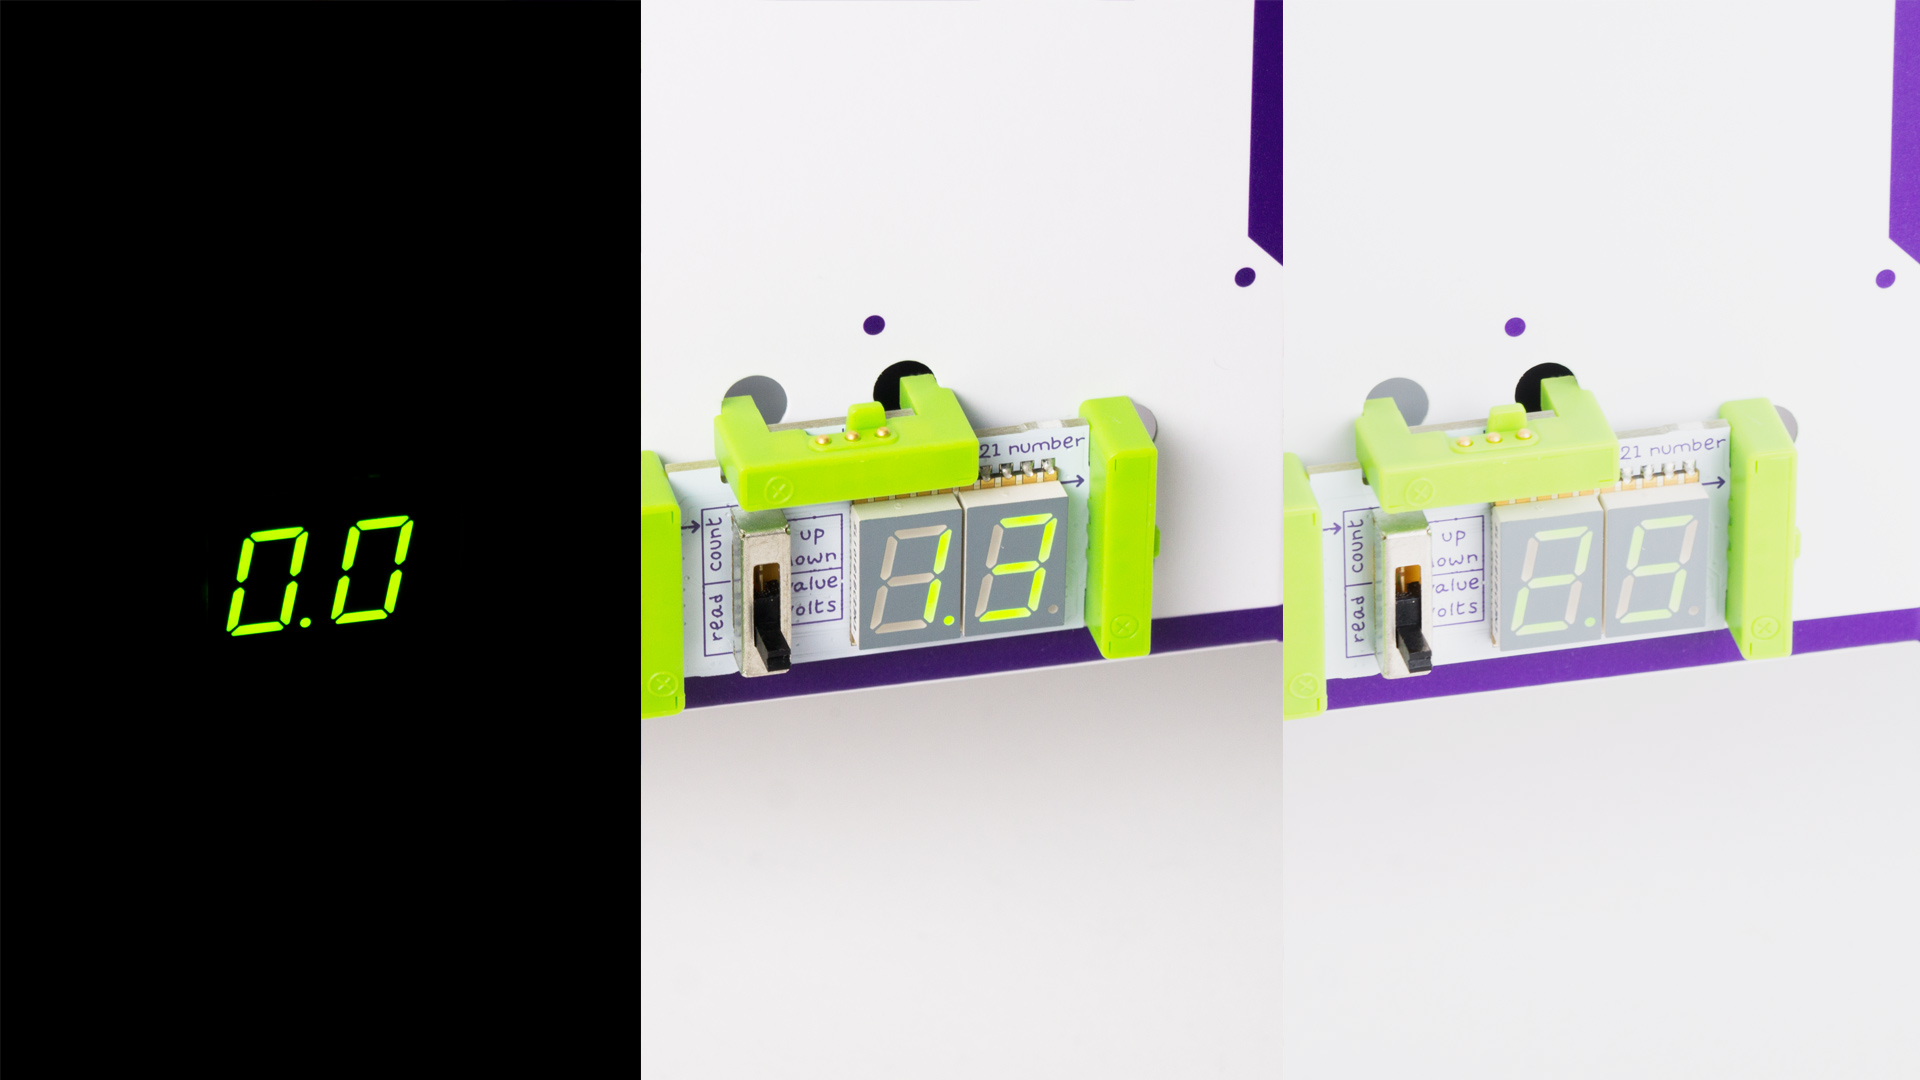
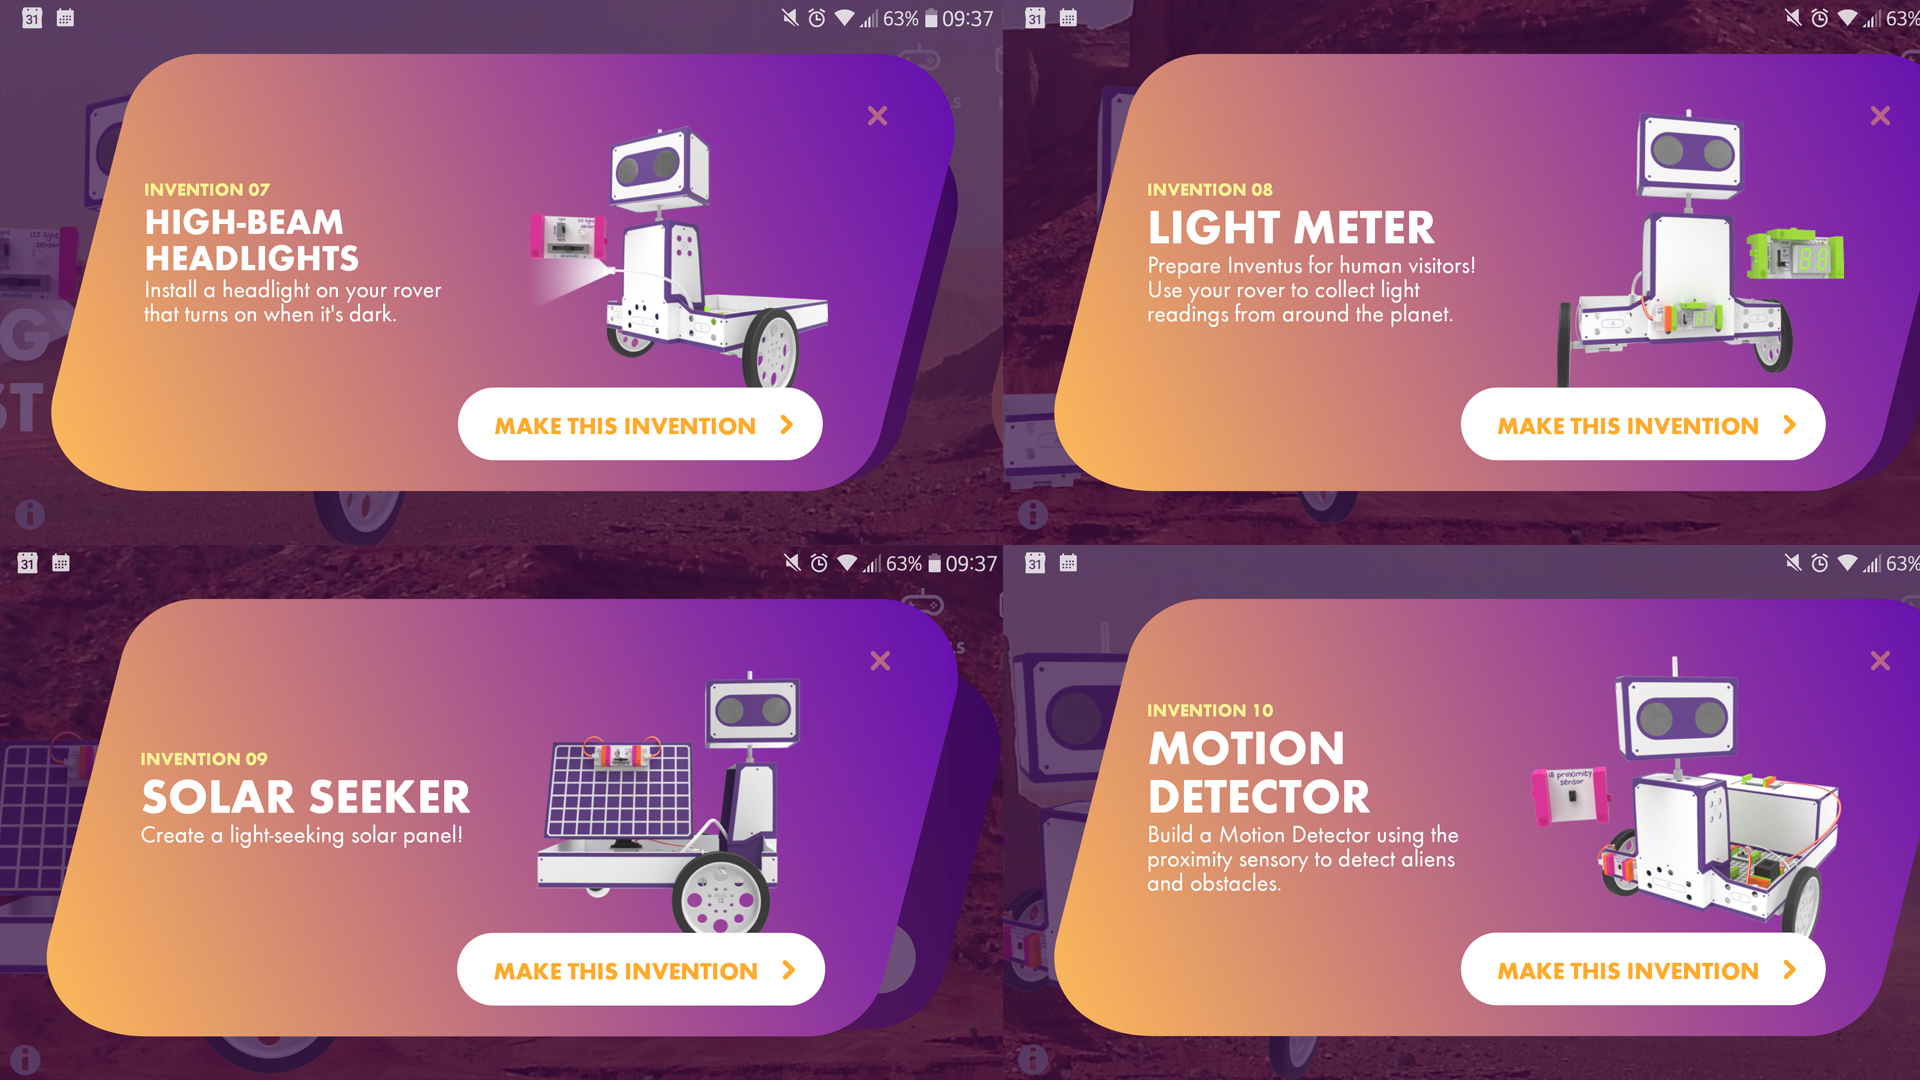
After we’d done with the Boulder Bumper, we then attempted the Light Meter. When in this config you can use the Rover to measure the amount of light in any given area. This is really cool as when you increase or reduce the amount of light, you can see the display on the front change. This setup uses the light sensor to pick up on the amount of light present and then relay that information to the display which is mounted to the front of the Rover.
The image below illustrates the completed circuit to allow the Rover to sense light and display it. This circuit uses the Rover upgrade base and adds a light sensor, a splitter and the display.
The last one we tried was to try and combine the Light Meter with the Space Hammer; this involved another circuit re-jig, but it went off without a hitch.
So although there are plenty of things you can mix and match as well as create, we can’t help but think that a second servo motor would have been a nice touch, that way you could have the Space Hammer combined with the moving head for example. There is probably a good reason (possibly a power limit) why there isn’t two included, but it would have been a cool addition.
We’ve also made a short demo video to show a few of the creations in action.
Closer Look – The App
The LittleBits app is nicely design, easy to use and works well – for the most part. When you fire up the app, you’ll be greeted with a prompt to get building the basic rover, once completed you can then progress to the Rover upgrade and then from there you can customise the Rover in various different ways. Also in the app, you’ll find some fun activities and challenges.
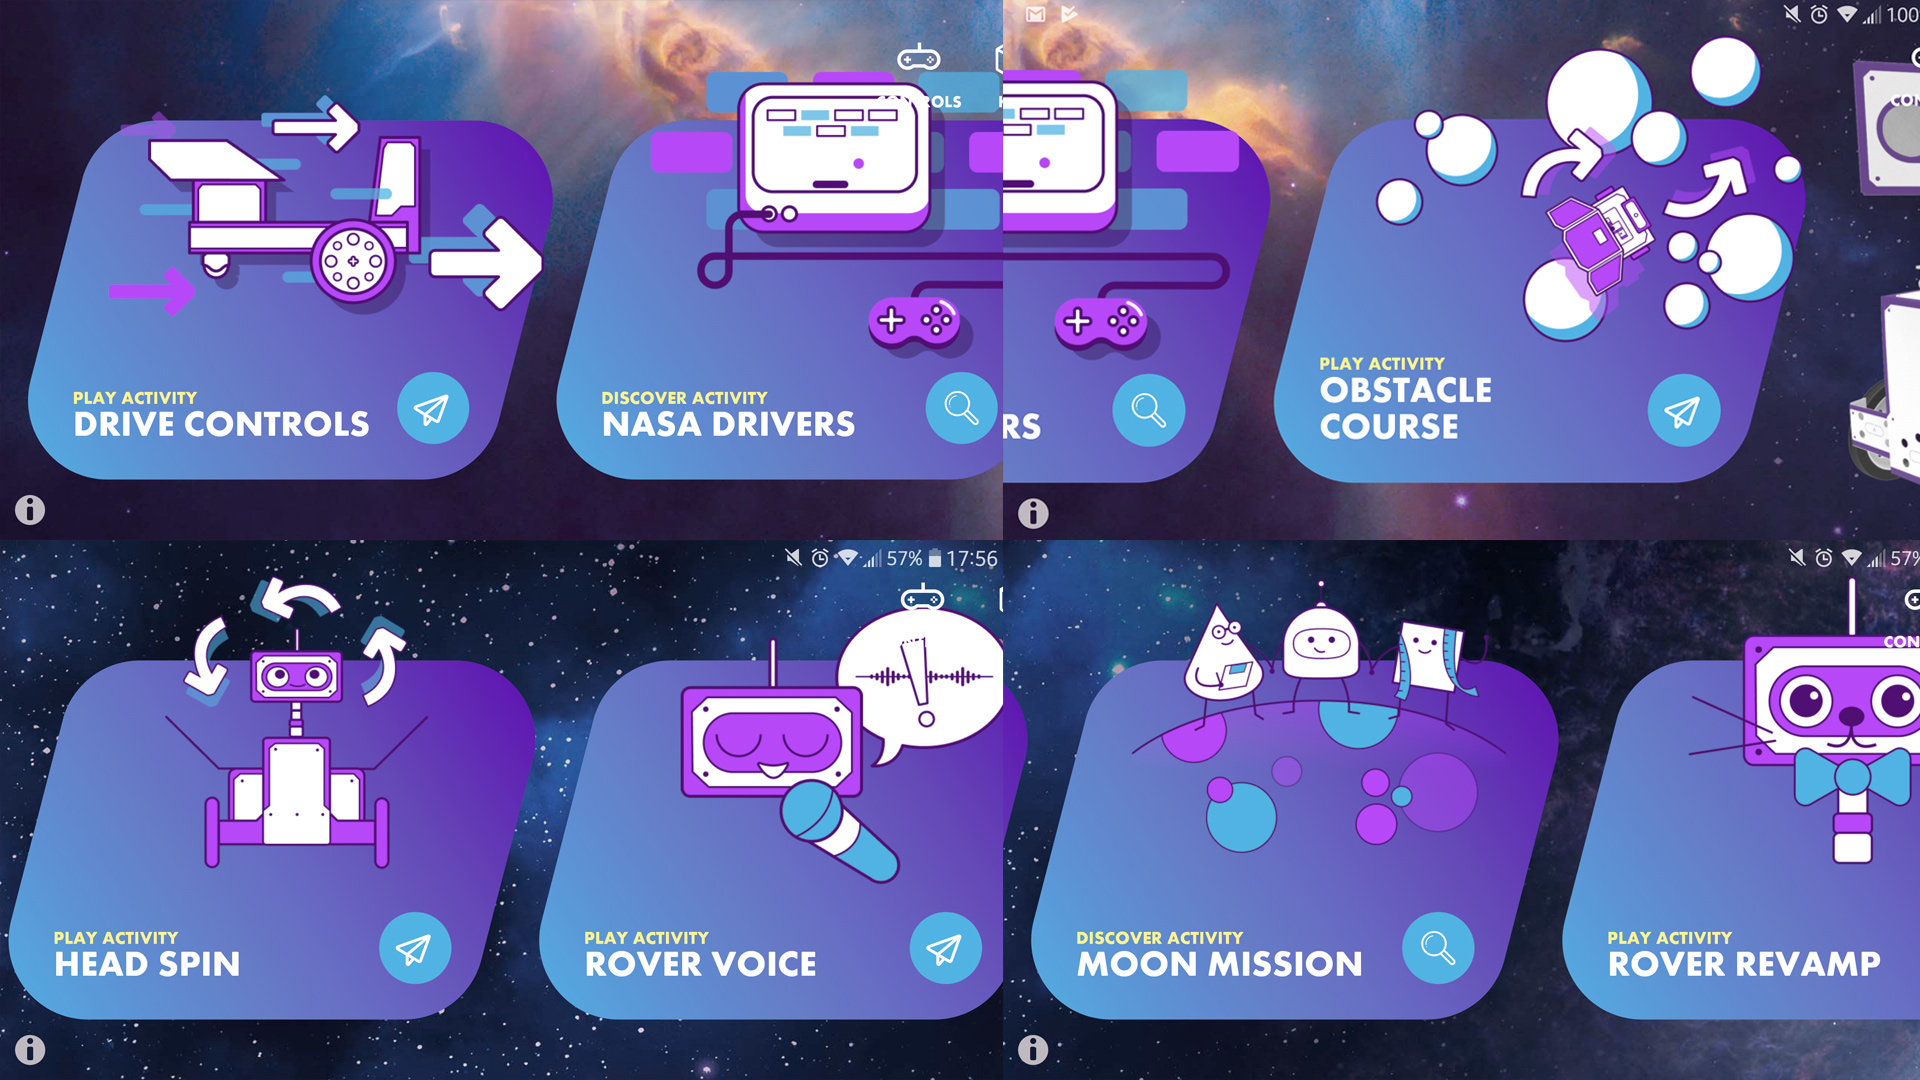
Below you’ll see a few of the challenges that can be done after the Rover upgrades have been finished. The activities designed are not overly difficult to do, but they are very fun. So essentially here, you and your child could do these challenges/activities before moving onto the rest of the Rover modifications. Of course, you don’t have to as these activities aren’t locked nor are they time sensitive meaning you can come back to them at any point, so you are free to explore the rest of the app and what it has to offer.
After completing the basic Rover and Rover upgrade, there are a further eight different types of Rover that you can make using the provided Bits and each of these have their own mini set of activities to do. Of course, we could go over every single one, but then there would be no surprises left when you do get the kit. What we can say though is that the ones we tried were great fun to use and experiment with.
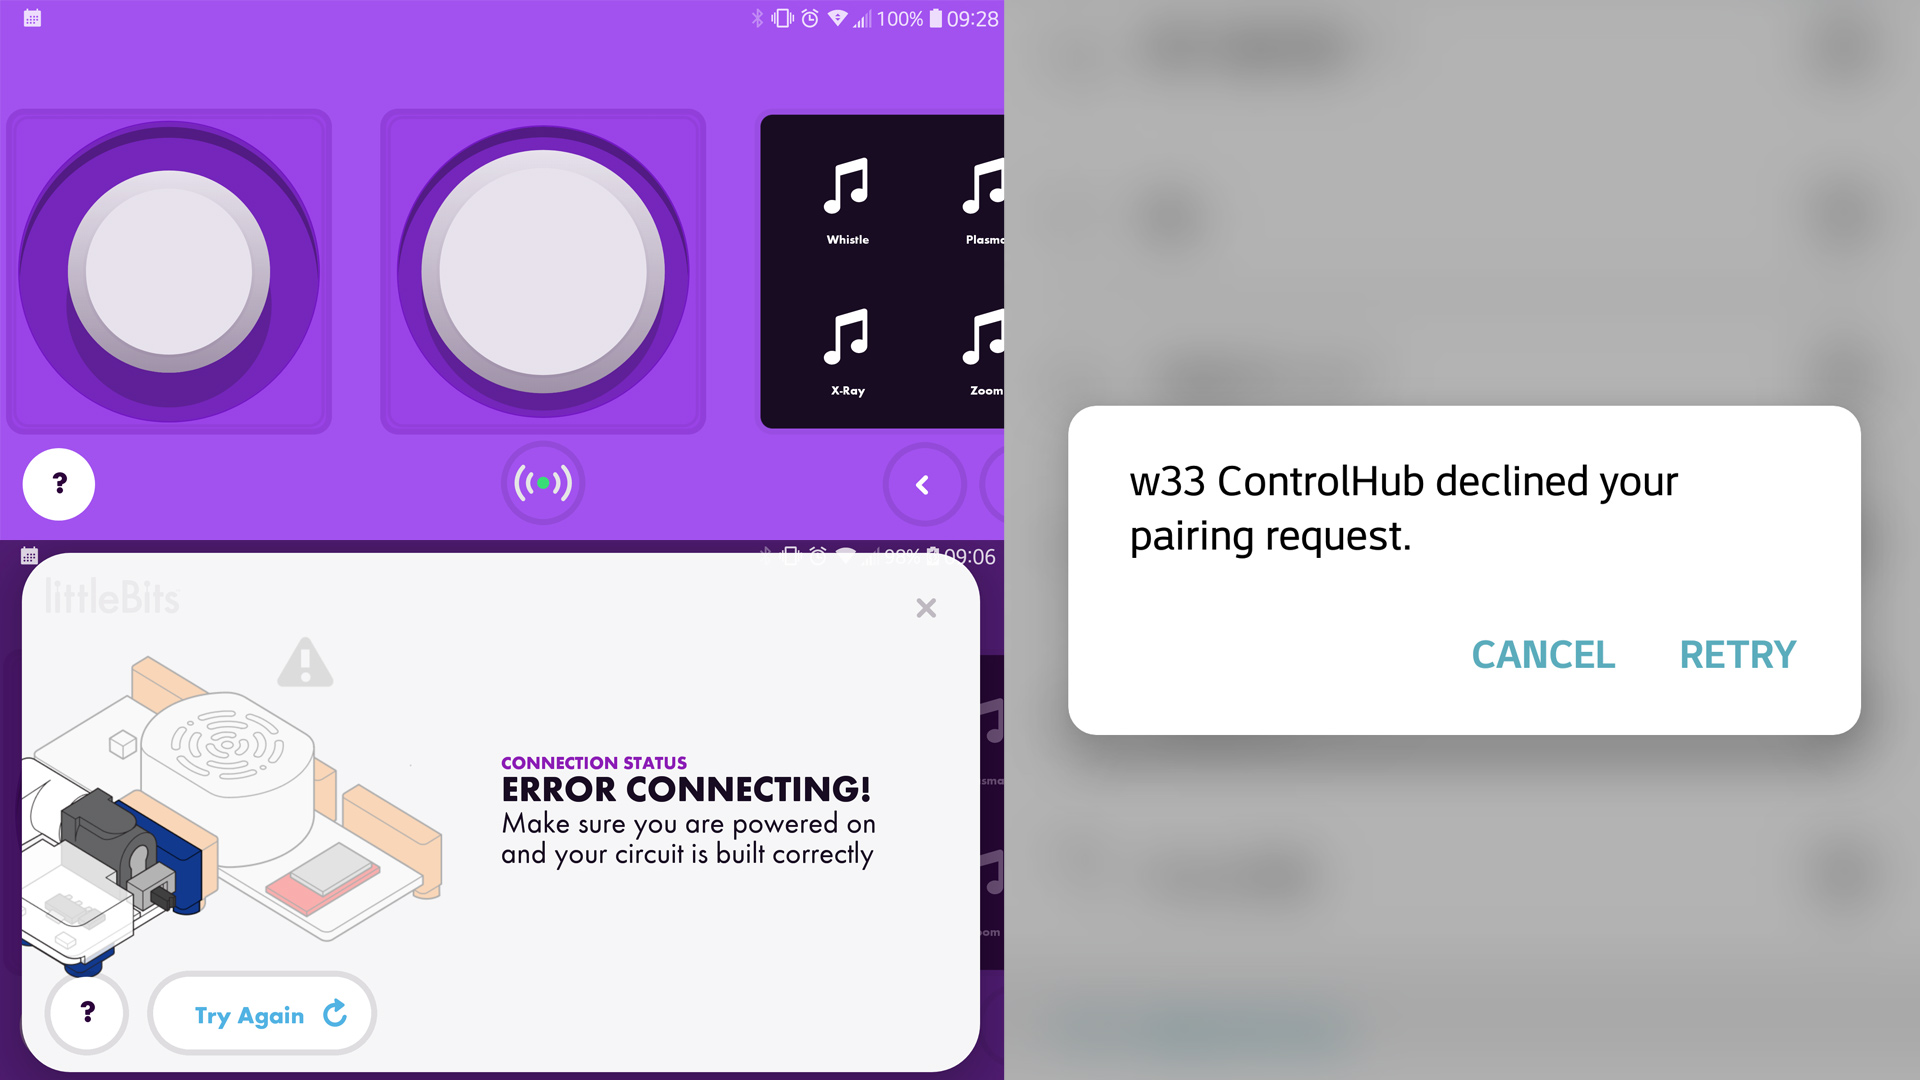
The app, although good was where we encountered of first issue. When trying to pair the Rover to my mobile via Bluetooth neither my phone or the Rover were playing ball, and they refused to connect to each other. After a quick look in the help section, it turned out that to make the connection the app needed access to the location settings. So be sure to enable this otherwise you may run into the same problem.
Once connected you’ll see that the connection icon glows green instead of red. After connection, you are then free to use the controls and play around with the Rovers functions. Our sample below shows the controls for the Rock Crusher, so keep in mind that each of the controls will be different, depending on which config you’re using.
With this control (the sample below) you can control the direction, speed, activate the hammer and make the Rover create different noises.
As mentioned above, the app is where we ran into our first issue with the Space Rover kit, and that problem wasn’t the only issue we had with the app. Every now and then the app would crash and refuse to work, this meant you’d have to restart the app in order for it to work again. After doing this – at times, the Rover would need re-pairing to my device in order for it to function again. This didn’t happen a lot during the test phase, but it did happen enough for it to become irritating. Also to note, the app hasn’t seen any updates since installation, so we can’t be certain if this problem will get fixed or not. This lack of updates also means that new content and challenges might not be implemented, leaving you with just the pre-configured ones.
Closer Look – In Use
Now we get onto the hands-on with the Space Rover, and there are some things we liked and others we didn’t. We’ll go over the few negatives and then round out with all the good stuff.
The first drawback with the kit is the build quality. As the kit costs £199/$199, we’d have expected a little bit better. Some areas are good, but other areas need work. The good areas are the Bits themselves and parts of the main body which includes the wheels. The Bits are solidly made and feel robust which is reassuring as they don’t feel flimsy. The cable connections also feel solid, so we have no worry that they’ll easily come loose. The wheels also feel soild as they are made from good quality plastics. Some parts of the main body feel solid too as they are made with thicker cardboard or have been doubled up during the build process.
Where the build does fall down is with a few of the cardboard sections, some of the areas are quite thick (like mentioned) and feel sturdy whereas some sections feel too flimsy. The main thinner areas are at the front (section A & C) as well as the main body floor and some of the add-ons. The front section and add-ons should have been with slightly thicker cardboard to make them feel more durable. The main body floor does get strengthened via the plastic base, but naturally, it’s a touch thin. We understand that using thicker materials costs more, but making the materials a touch thicker wouldn’t hurt the bottom line that much.
One other issue that was identified was how front-heavy the Rover is; we noted that when performing turns the back end would lift up and cause an imbalance. This can somewhat be fixed by placing on the cargo hold, but again that only somewhat fixes the problem. A more permanent solution would be to include a small counterbalance in the kit that slightly weighed the backend down to create a more balanced Rover.
An argument could be made that you could simply move the internals to the back, but then the cables aren’t long enough to reach the wheel cutouts and also you couldn’t properly use the cargo hold. So a small counterbalance would be the best solution to fix the front-heavy nature of the Rover.
Onto the positives and the main one is fun, this kit is fun. When playing with my nephew we had hours of fun messing with the kit, making new creations and testing them out. He really liked the sweeper and hammer as he likes destroying things, but I really liked experimenting with the light and proximity sensor. So you can just use the kit and have a good time making obstacles to navigate or blockades to smash through or even add your own additions as we did with a small battery powered torch to go exploring in the dark.
So not only is there all the pre-made activities – that are great fun too, but you can also encourage creativity and get your child’s imagination bubbling to modify and use the rover in their own way. One fun example was to use the Rover as an ambulance to take wounded warriors off the battlefield. And it’s all the things like this that is what makes this kit good, is that it’s not only fun to control and use, but it’s also educational and gets your child off activities such as their mobile or games console.
Plus it’s so easy to control, my nephew is five and he had no issues driving the Rover and using all the actions and features it has.
I and my nephew made a few little clips of the things we did with the Rover, and you can watch that below. The video is just a small snippet of one of the times we used the Rover.
One final thing to note, if you have to – for whatever reason, put the Rover into storage, just be careful when disassembling it as it’s so easy to accidentally rip the cardboard, so please take your time and ensure you do your best not to rip the pieces as it’s very easily done.
Conclusion
Performance – Performance wise the LittleBits Space Rover Kit has plenty of great things going for it as well as a few drawbacks. The main negatives are the slight issues we had with the app and some concerns over the build quality and balancing. Apart from that, the Rover is great; it’s very fun and easy to use, the app has plenty of challenges and tasks, and it’s educational.
The ease of use of this kit will vary depending on your child’s age as the kit is meant for eight years over, though I did note that my five-year-old nephew could do some parts of the build process. The build tutorials are easy to follow and it’s very straightforward to go from the pre-assembled parts to a finished product. LittleBits has done a great job in this respect, and we couldn’t find anything to fault with the build process.
As for the in-use part, the Rover was fun to control and actually surprised me when it came to what it could do. I and my nephew had hours of fun tinkering with the Rover and using it in scenarios it may not have necessarily have been designed for. So there are the main challenges you can do, but then outside of that, there is still tonnes of stuff you can do with it. I did mention that the app hadn’t seen an update in a while, but if you and your child get creative, you can think of new ways to use the Rover outside its normal use.
Design – The actual styling of the Rover depends on which of the styles you go for, I personally think it looks really cool, and I like the white and purple colour scheme. Each of the end Rovers looks slightly different and honestly, the styling is bang on, it’s not too in your face nor is it overly masculine and has a look that is more neutral which is better for a broader target audience.
In terms of how well it’s thought out, it again scores well, everything is so straightforward and simple, though there are a few changes and additions I would have liked to have seen. Firstly is the build and as we’ve mentioned there are a few spotty areas that could have been strengthened, the second would be to add a second servo, this would have been great as you could have had two main moving parts such as the hammer and sweeper. We did mention that the reason they didn’t is due to the power limits of the single 9V battery, but I’m sure it could have been done. We also had some issues with the balancing as the Rover is quite front heavy, though if you get creative, it’s easy enough to fix. Overall though we are happy with how it’s designed, even despite the issues.
Value – Now to the actual value. At £200 and $200, it’s not exactly cheap though it does have a lot of great selling points. We’ve already covered that it’s very fun to build and use, though I think it’s the educational and creativity factor that makes the kit worth it. LittleBits has done a fantastic job of making the kit easy to use and approachable so that it’s not off-putting for anyone to attempt to build or use it. Plus while your child is building it, they’re learning not only about how basic circuits work, but also how to use their imagination and creativity which is important. We all know how difficult it is to get kids of their consoles and phones, but honestly, this is a great way to do that and yes we understand that expensive, but if you have the means, we’d highly recommend this kit, especially if your kids showcase a knack or an interest in building things, because when they do, you have to nurture it and allow them the freedom to do so. All in all, the kit may be pricey and it does have it’s faults, but if you can see past them and afford it, we highly recommend this kit not just for the fun factor, but also the other things it offers.

