Noctua NH-P1 CPU Passive Cooler Review
Installation
Contents
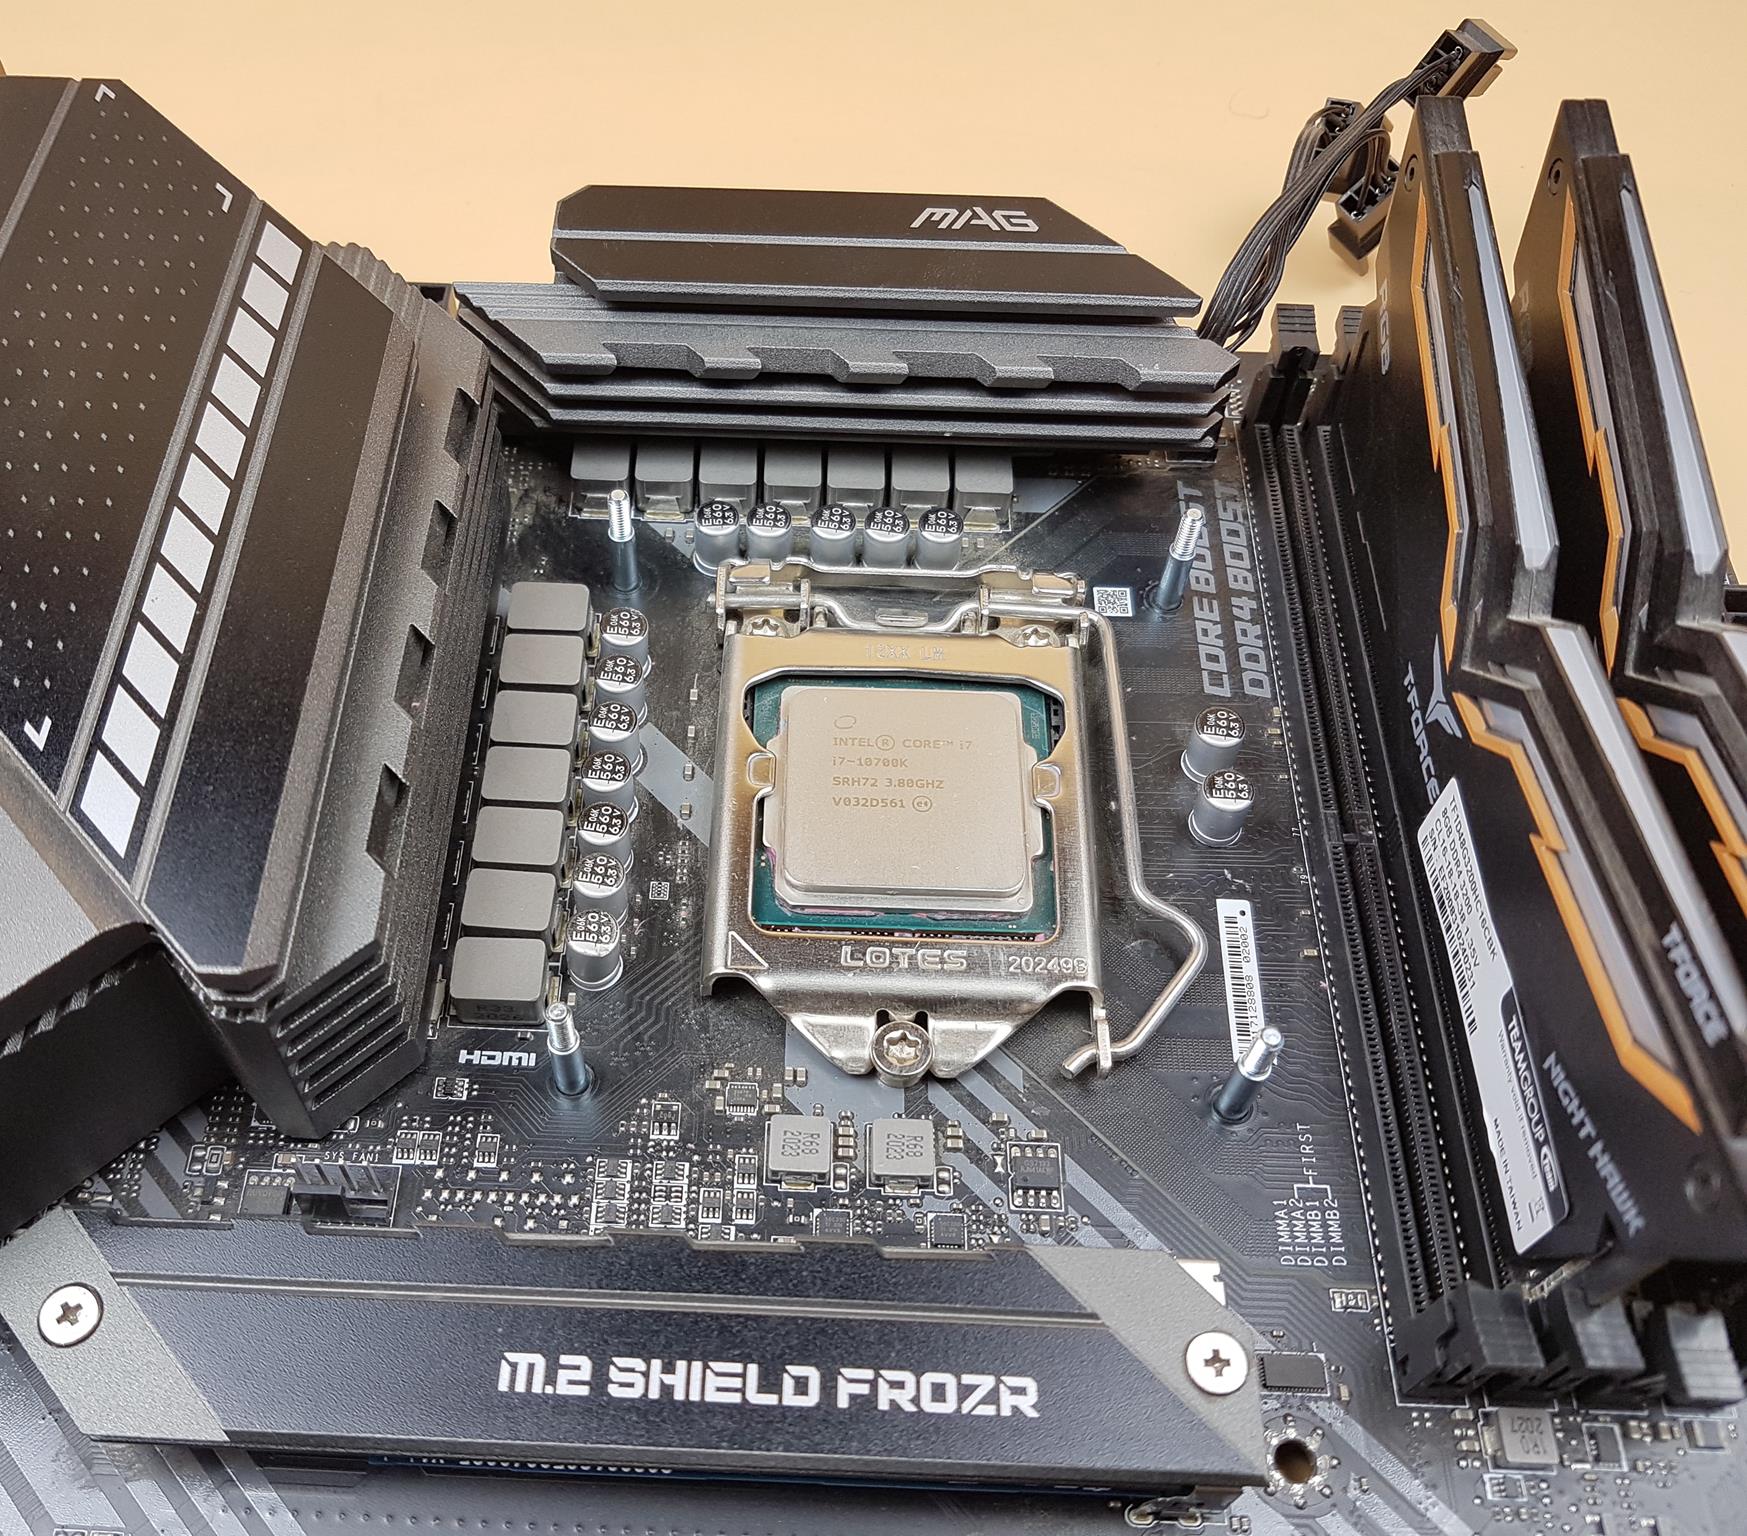
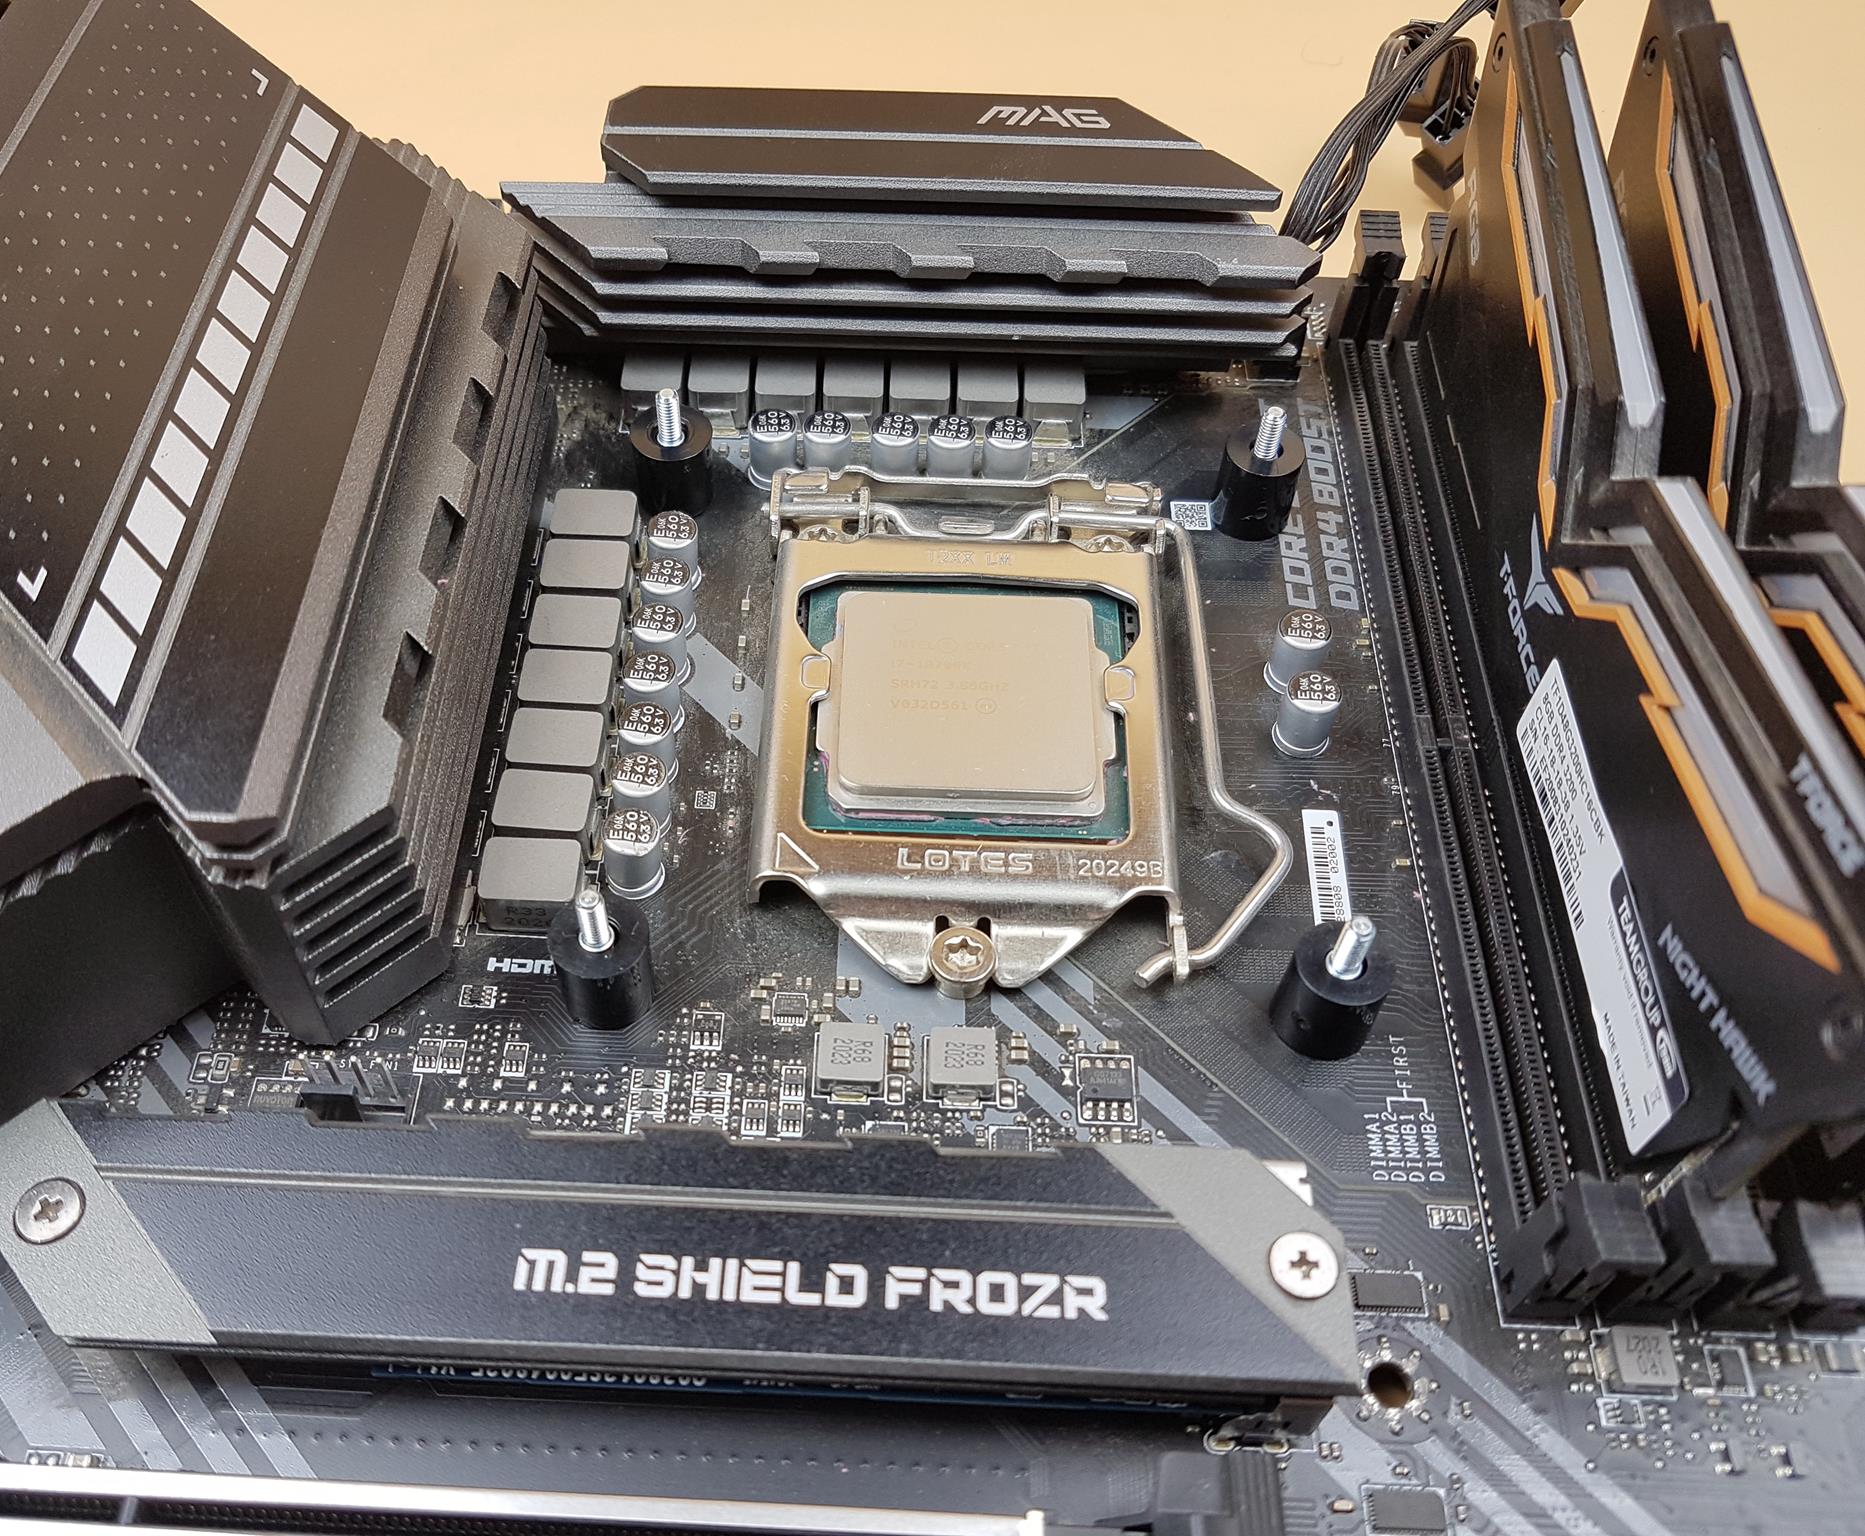
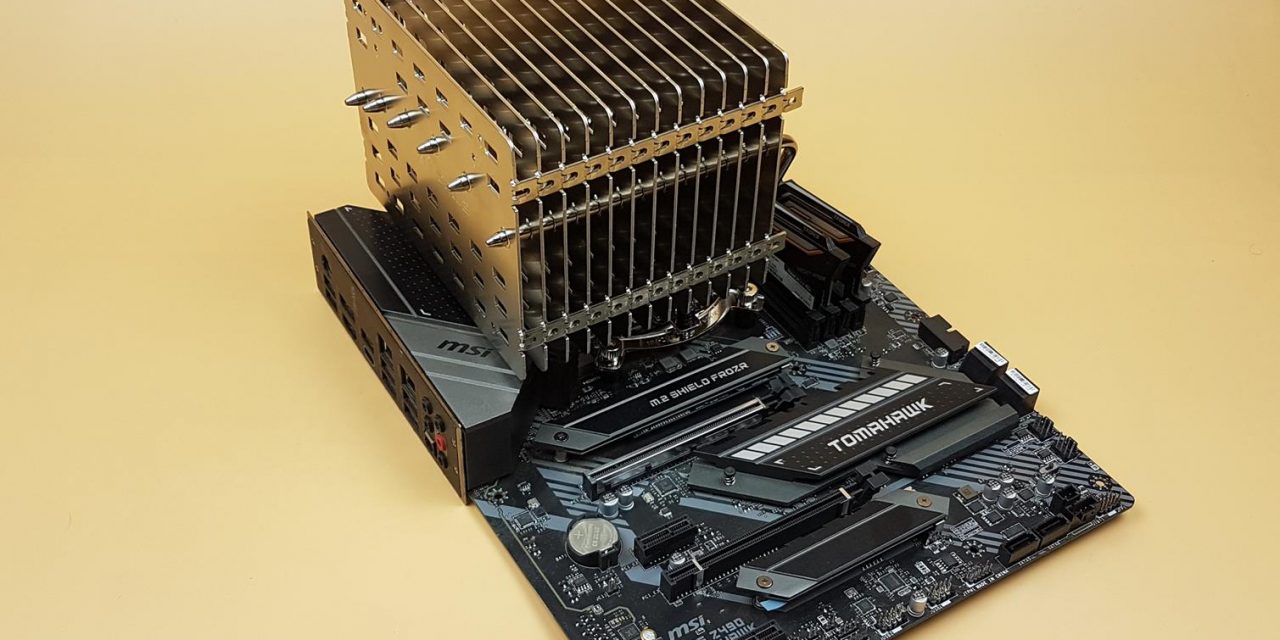
The cooler is installed on MSI MAG Z490 TOMAHAWK motherboard using Intel LGA-1200 socket. Installation mechanism is the same as is on other Noctua coolers we have tested so far and pretty straight forward.
Place the backplate on the motherboard.
Place the black color spacers on the standoffs of the backplate.
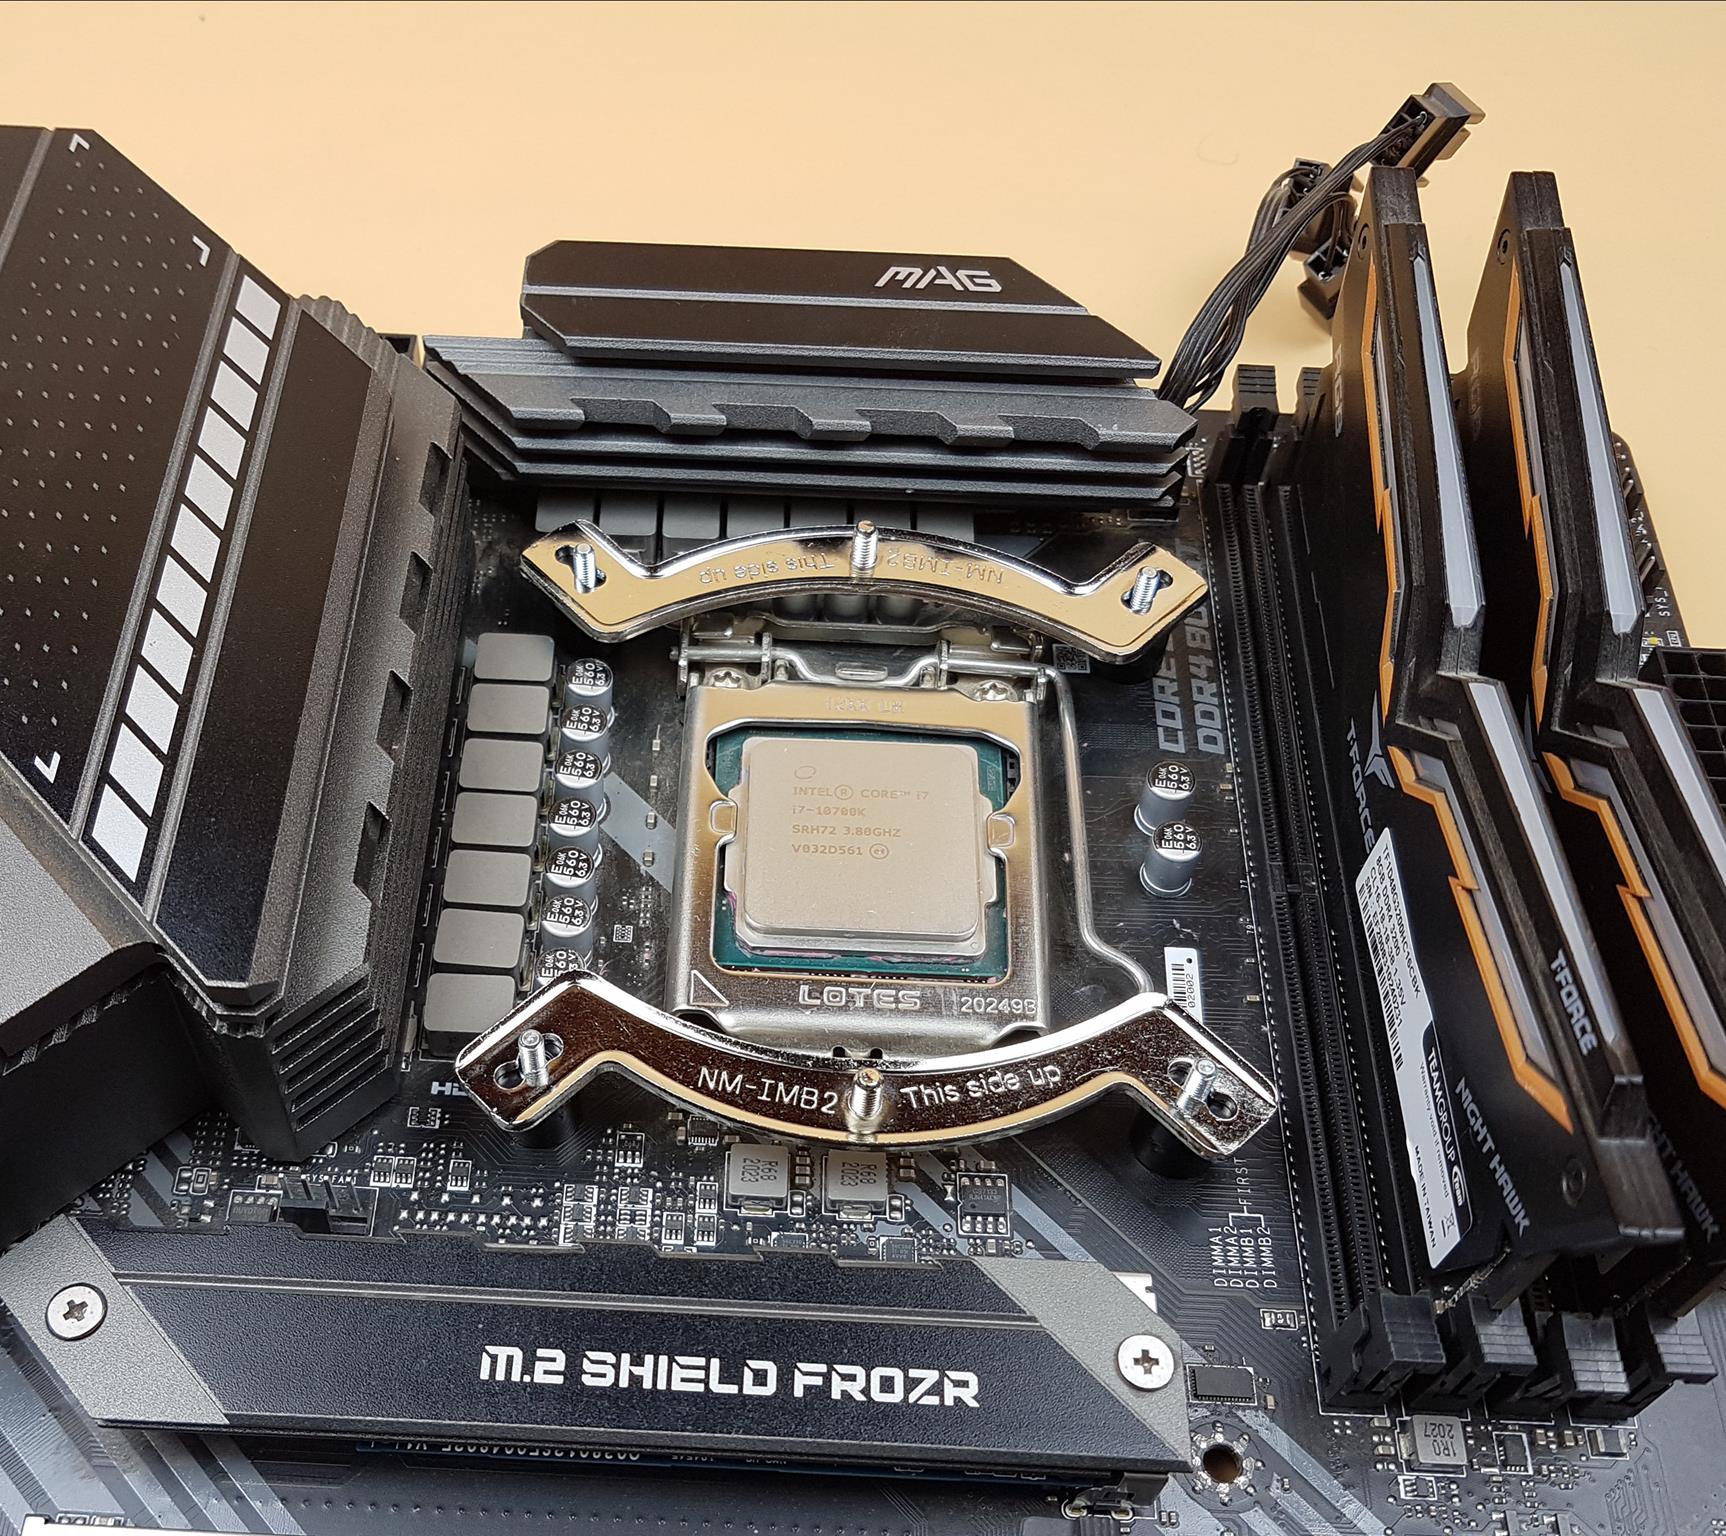
Place the Intel mounting brackets on the standoffs as shown in the picture. Consult the manual for orientation related guidelines.
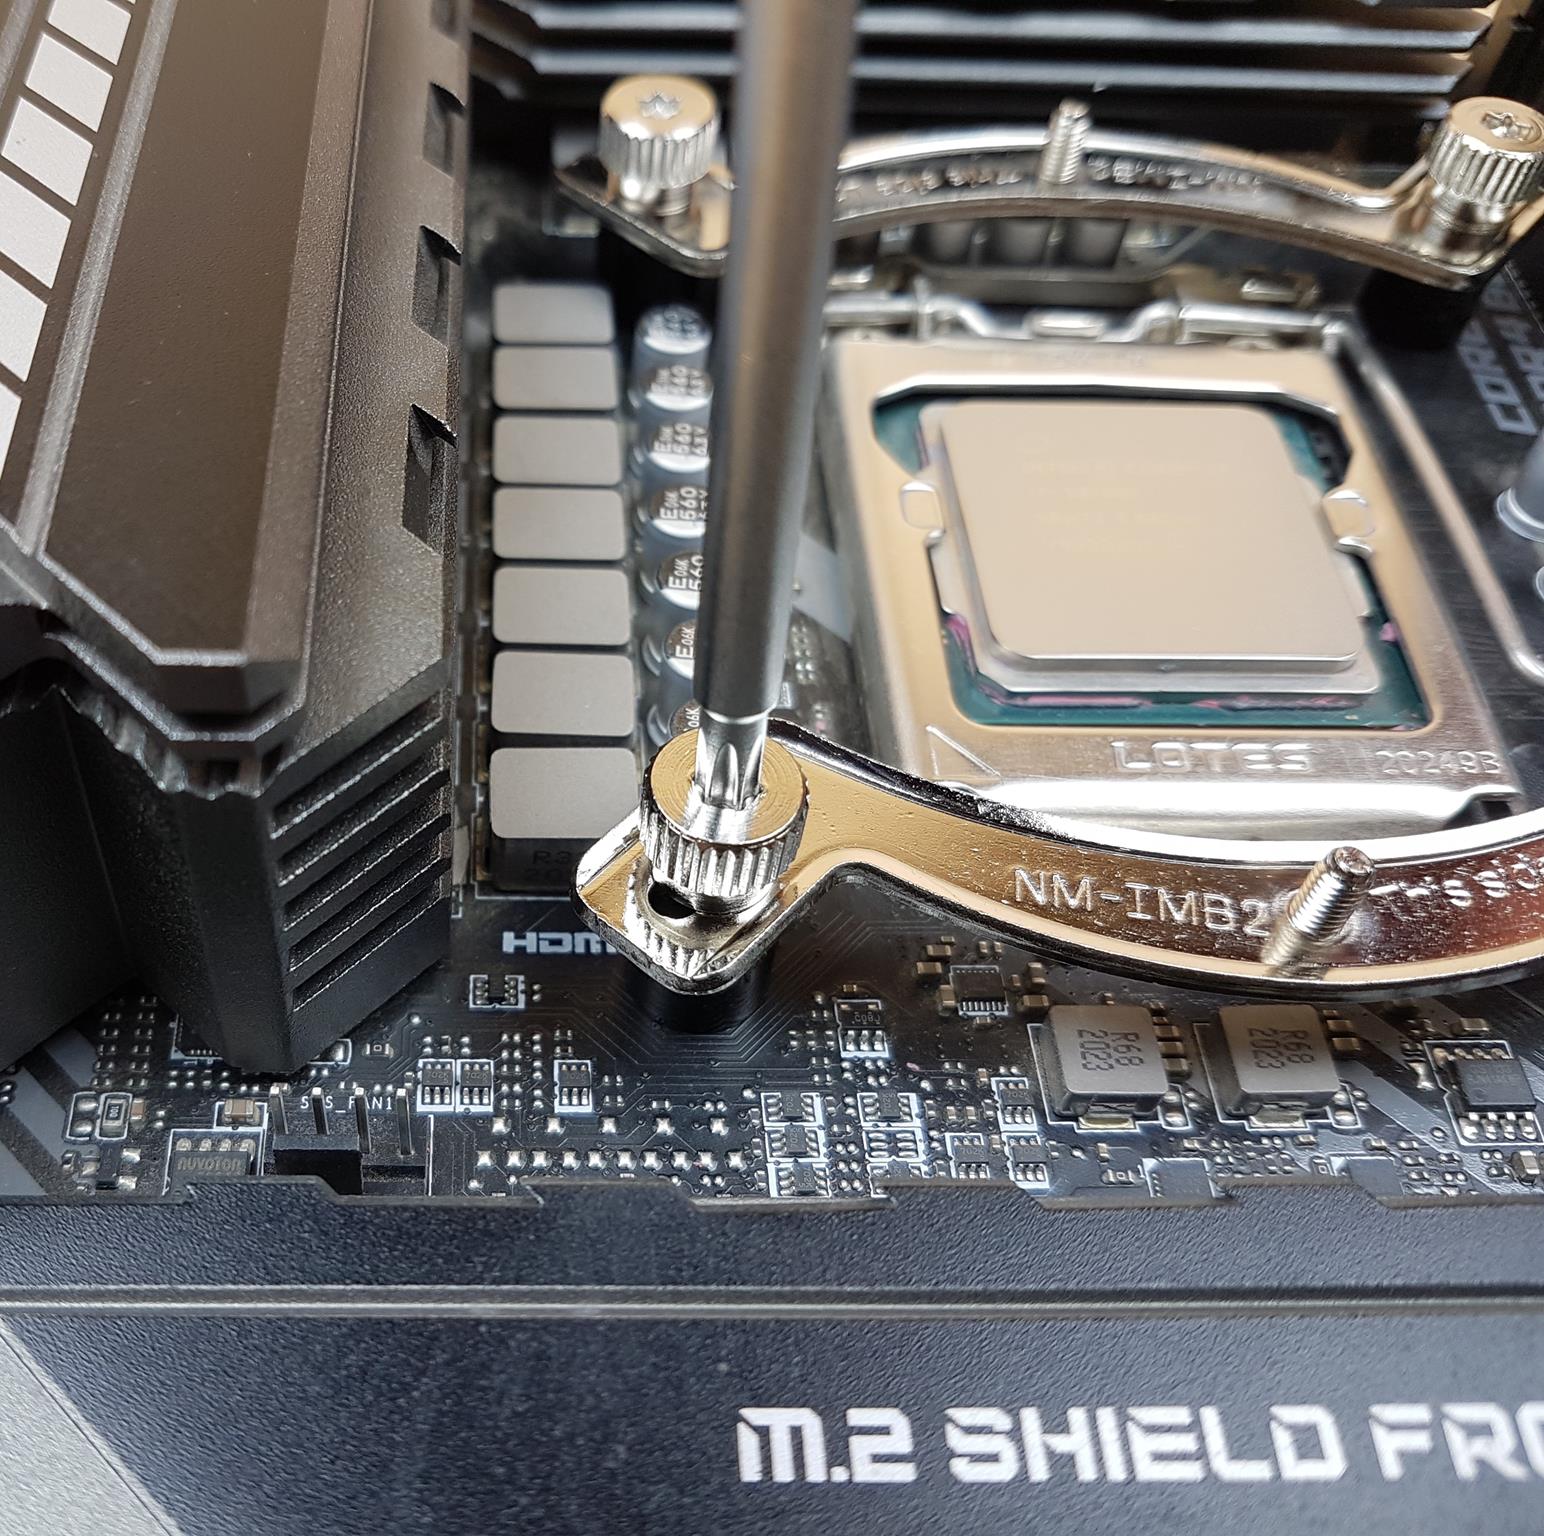
Secure the mounting hardware using the thumb screws as shown in the picture. You would have to use the NM-SD1 screw driver provided in the accessory box to complete this step.
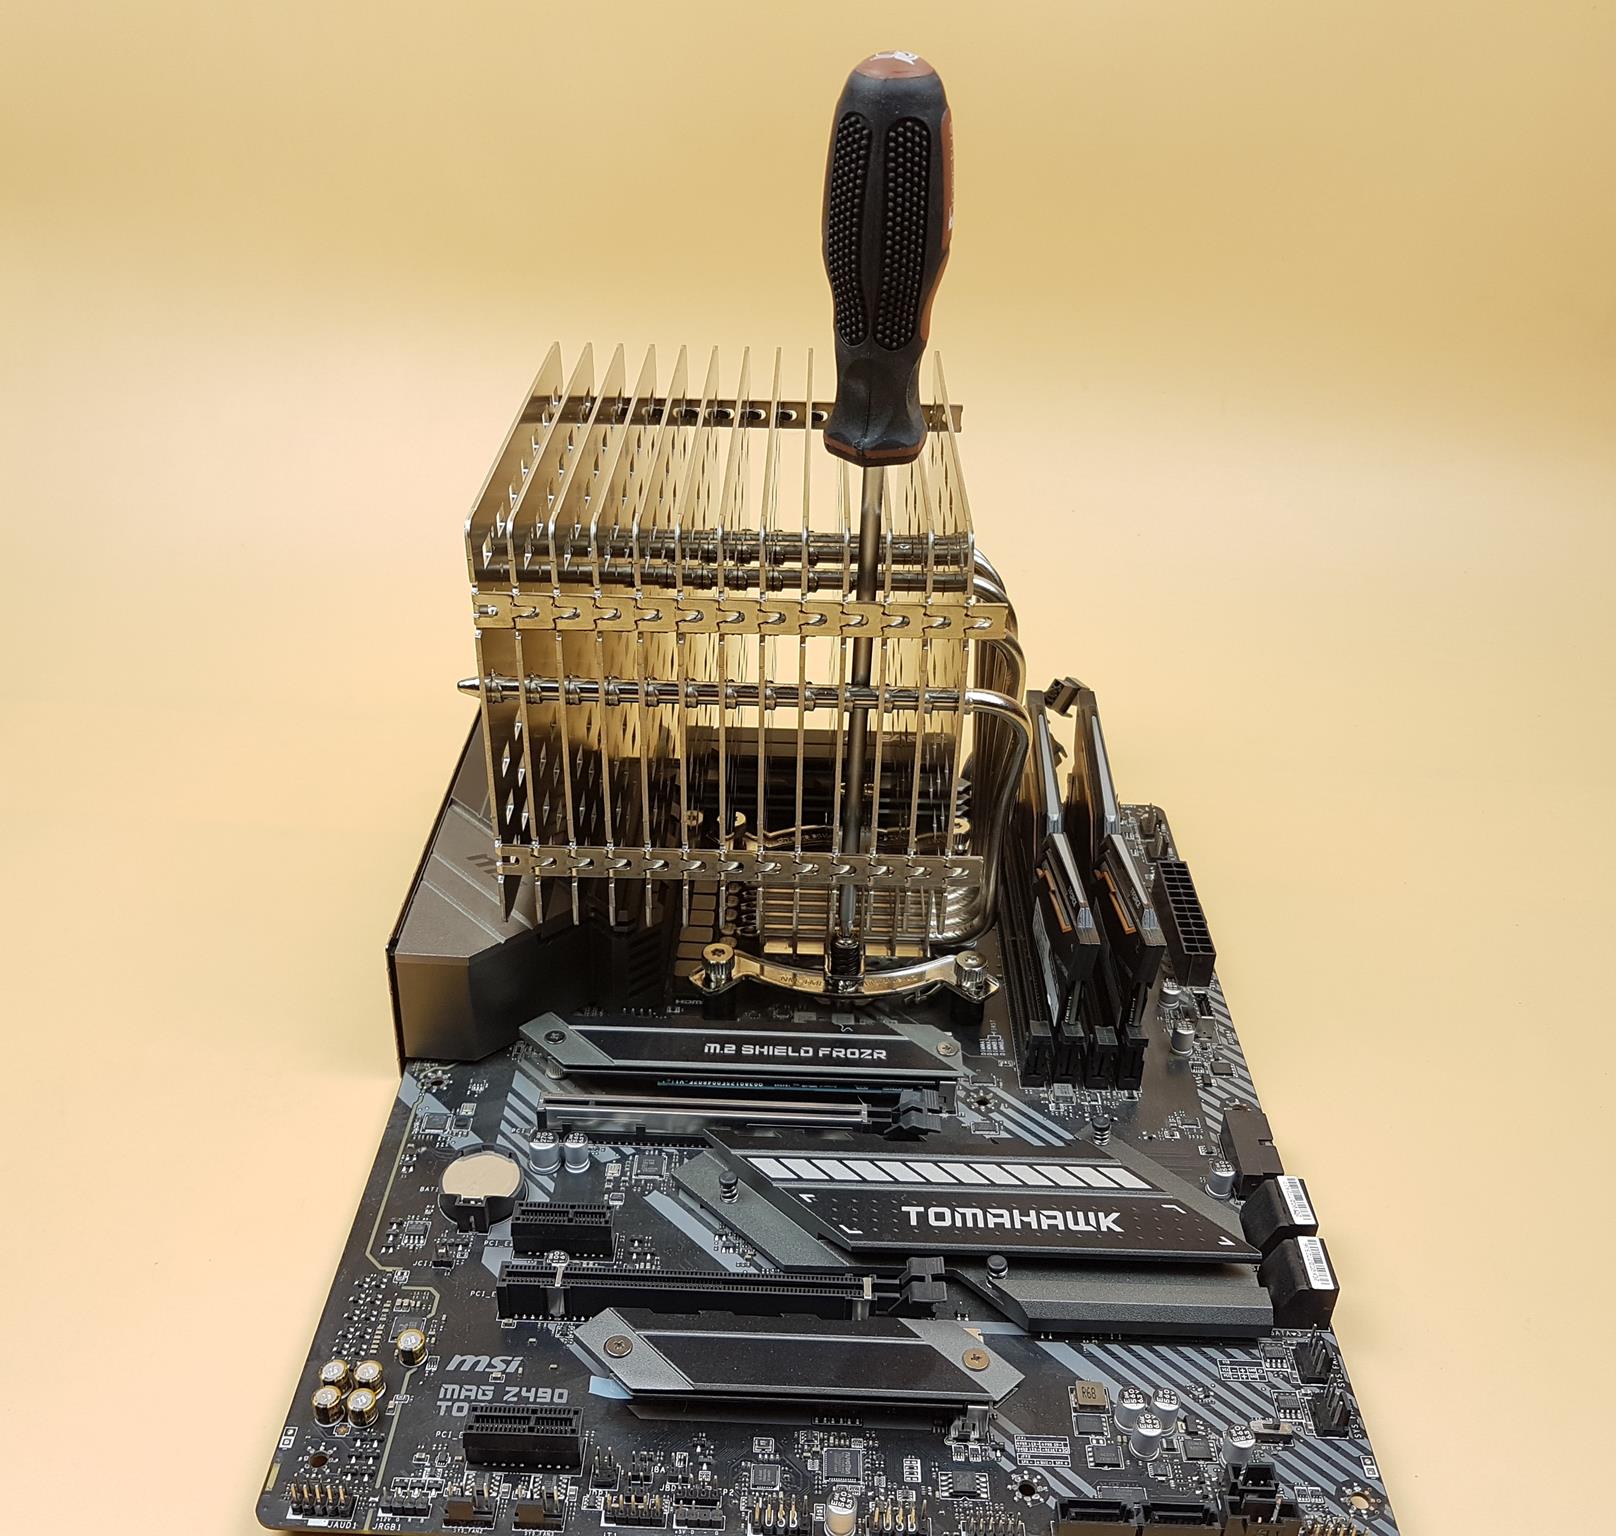
Apply NT-H2 or your desired thermal paste on the CPU surface after cleaning the surface. Remove the transparent cover from the base of the cooler. Place the cooler on the CPU by aligning the spring-loaded screws on the base of the cooler with the standoffs on the mounting brackets. Use the NM-SD1 to complete the installation.
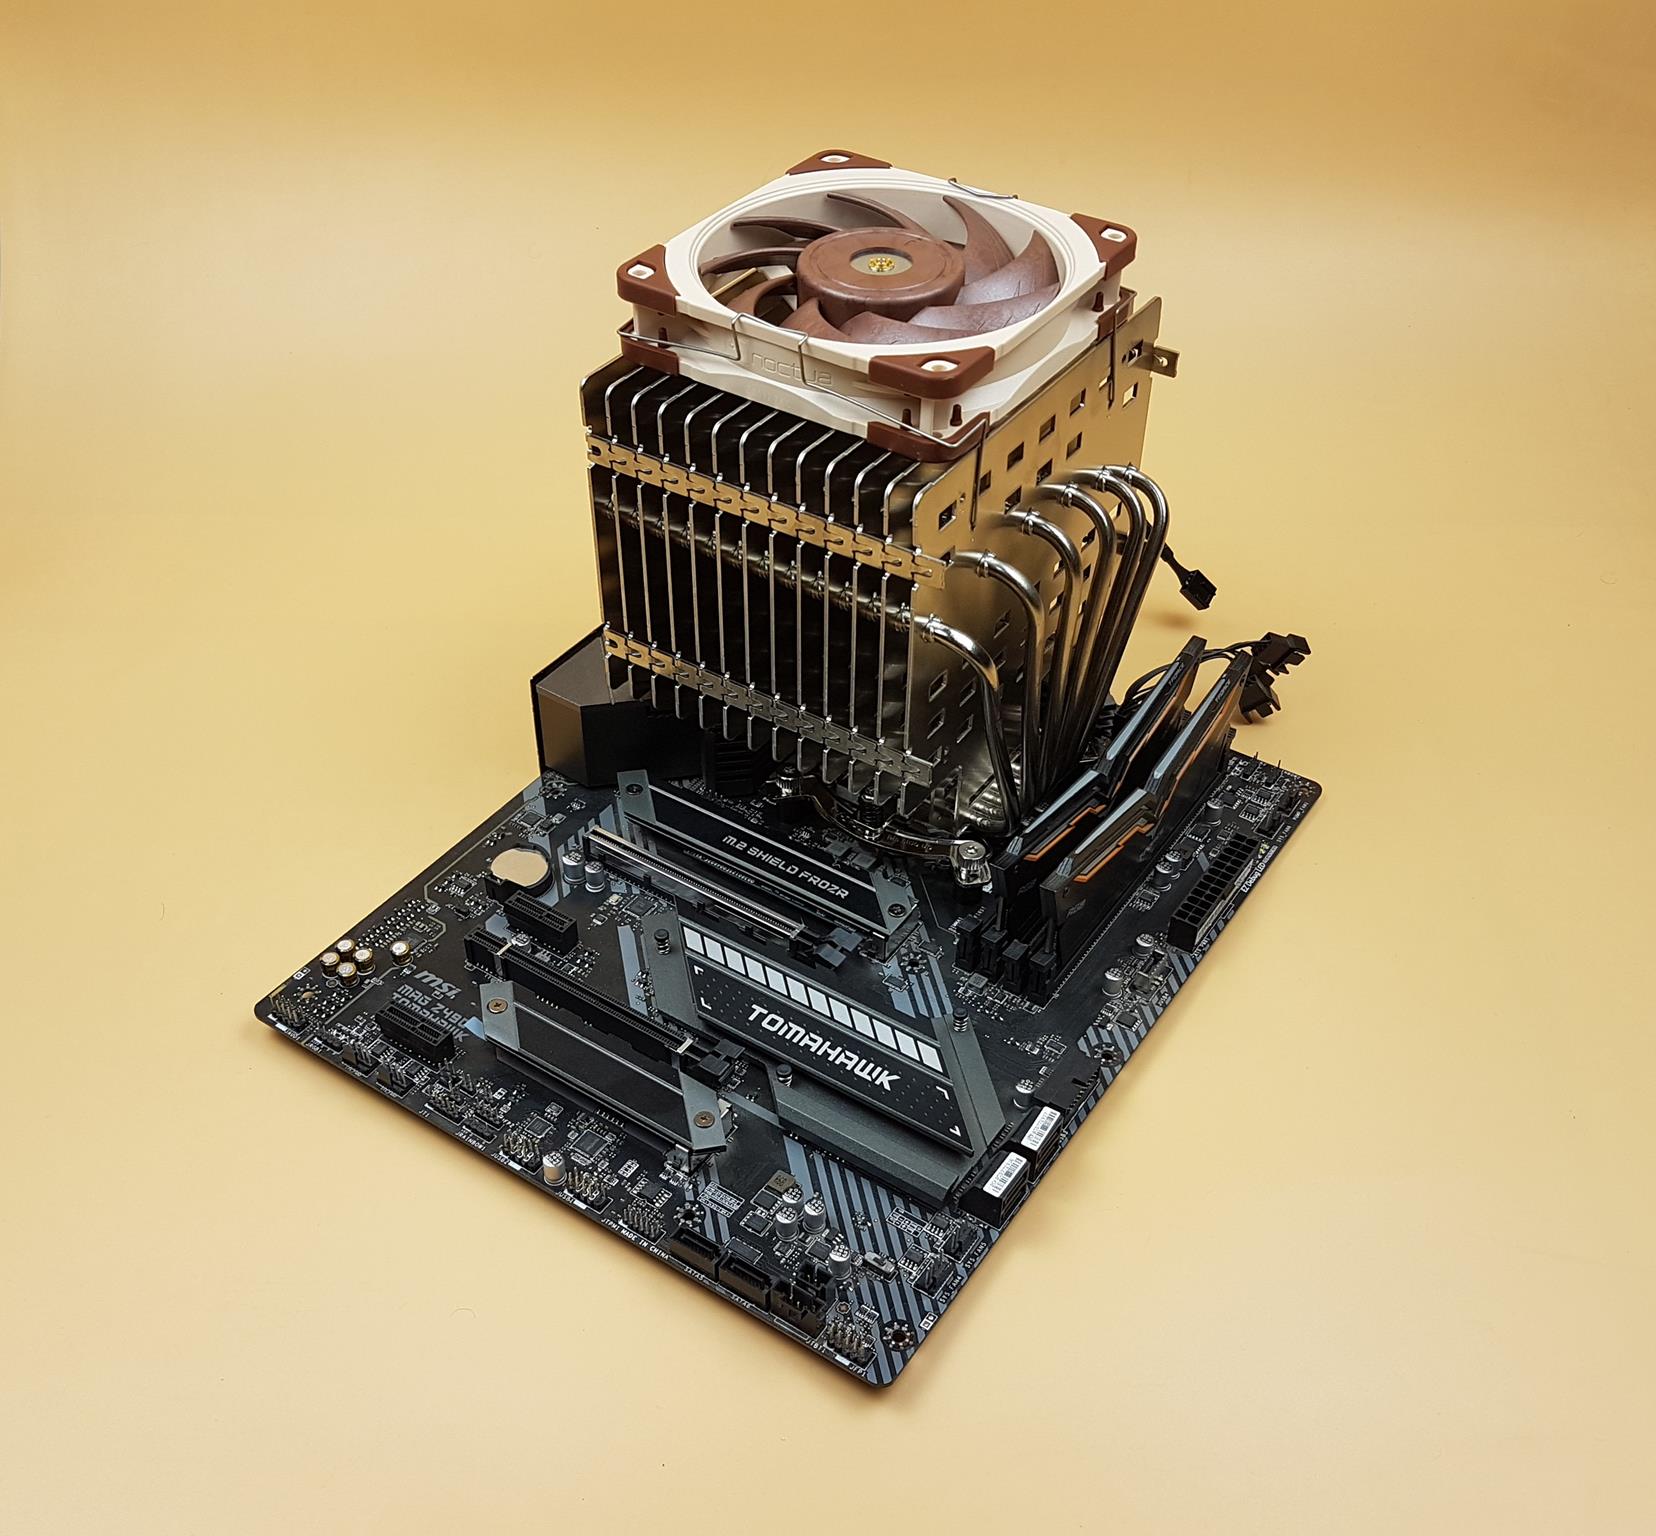
The user can optionally buy NF-A12x25 LS PWM fan for better cooling aid to the NH-P1. We have also tested the cooler using this fan and installed on the top of the heatsink.
Clearance
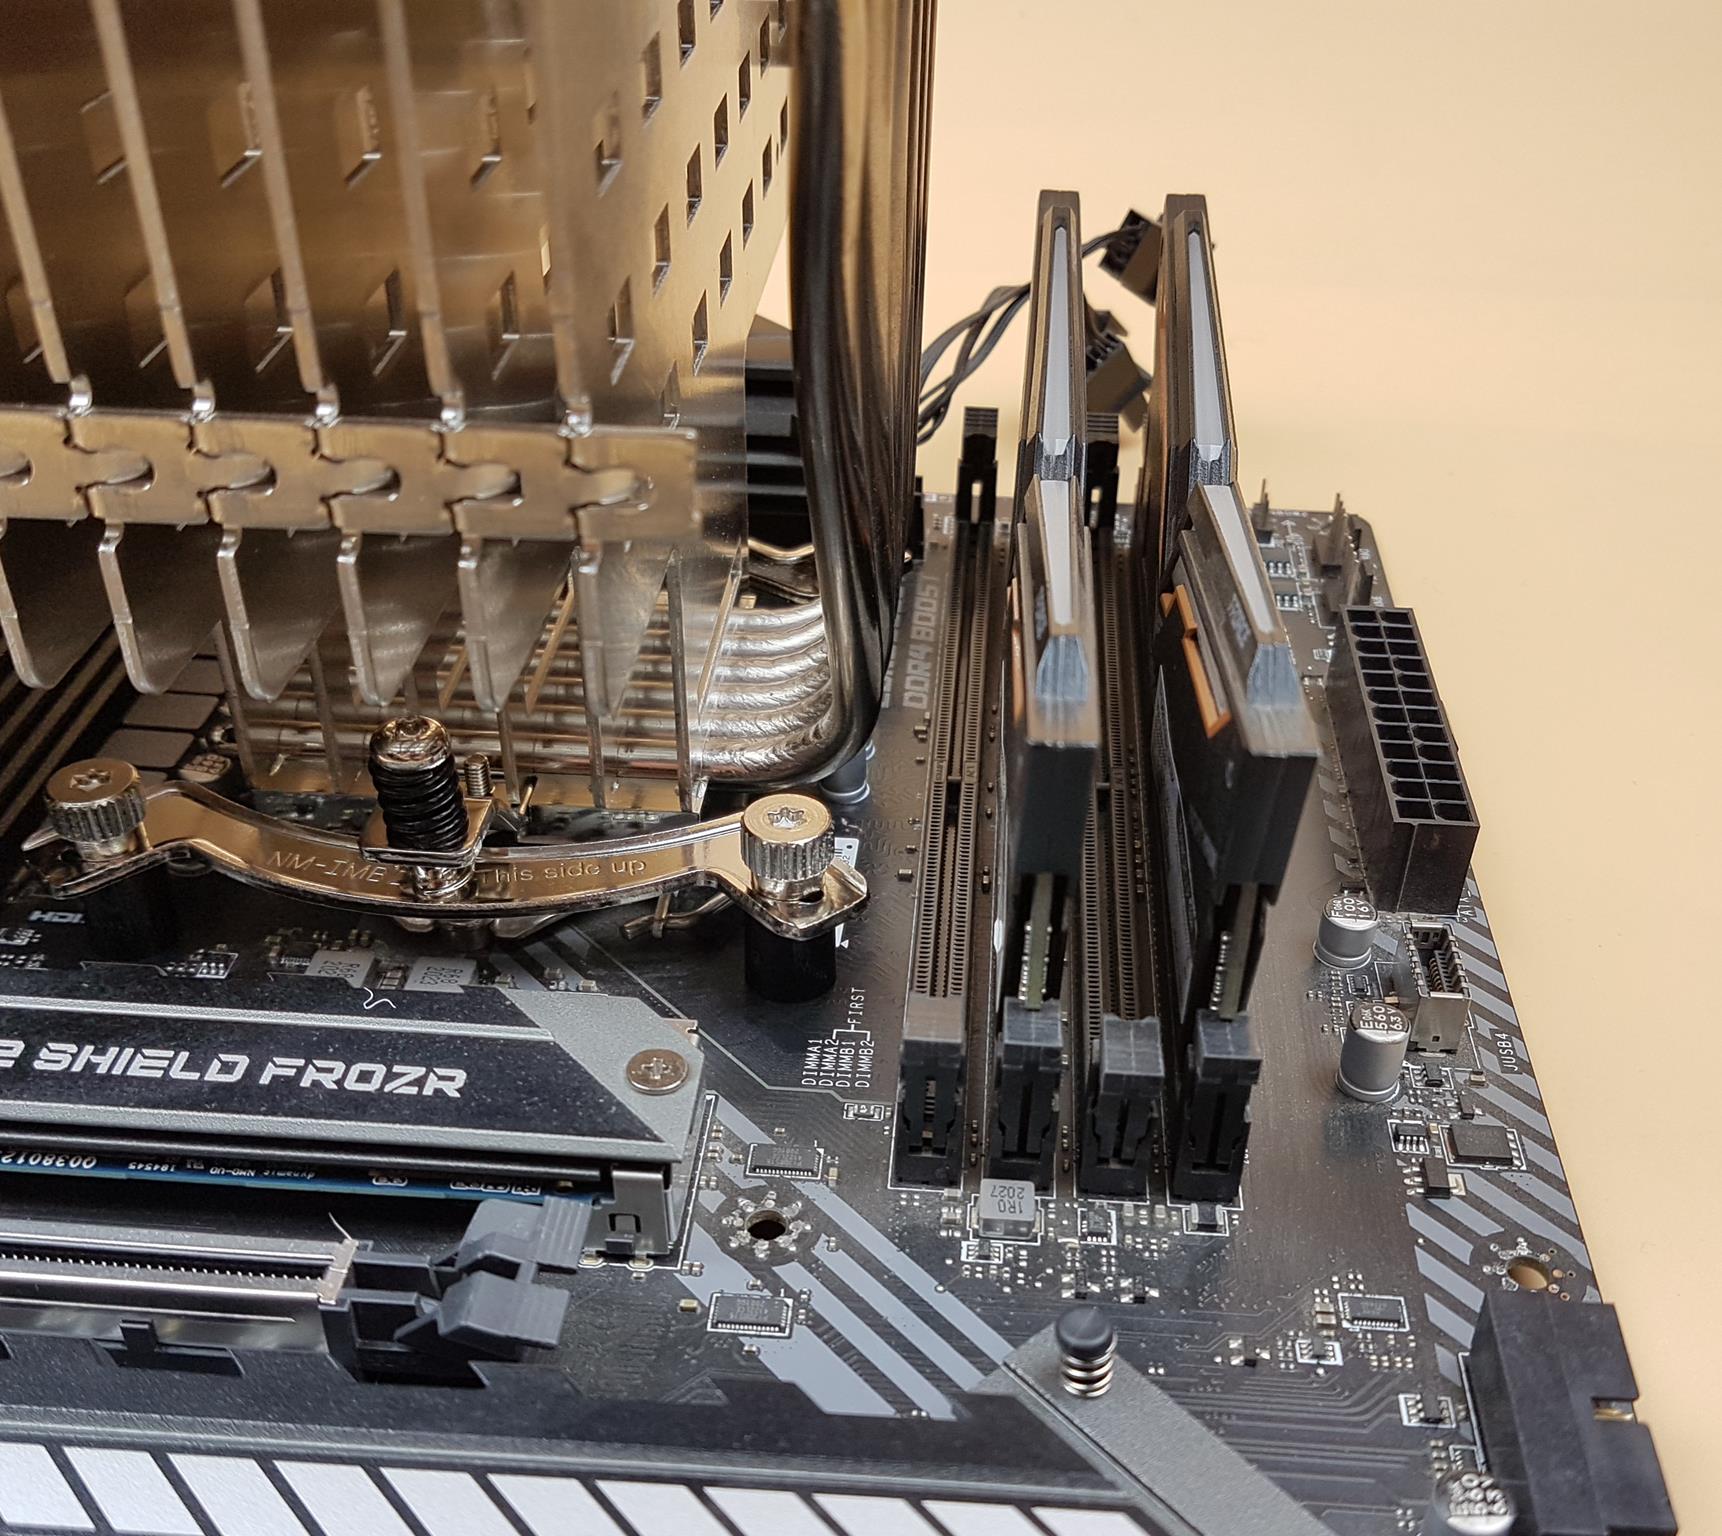
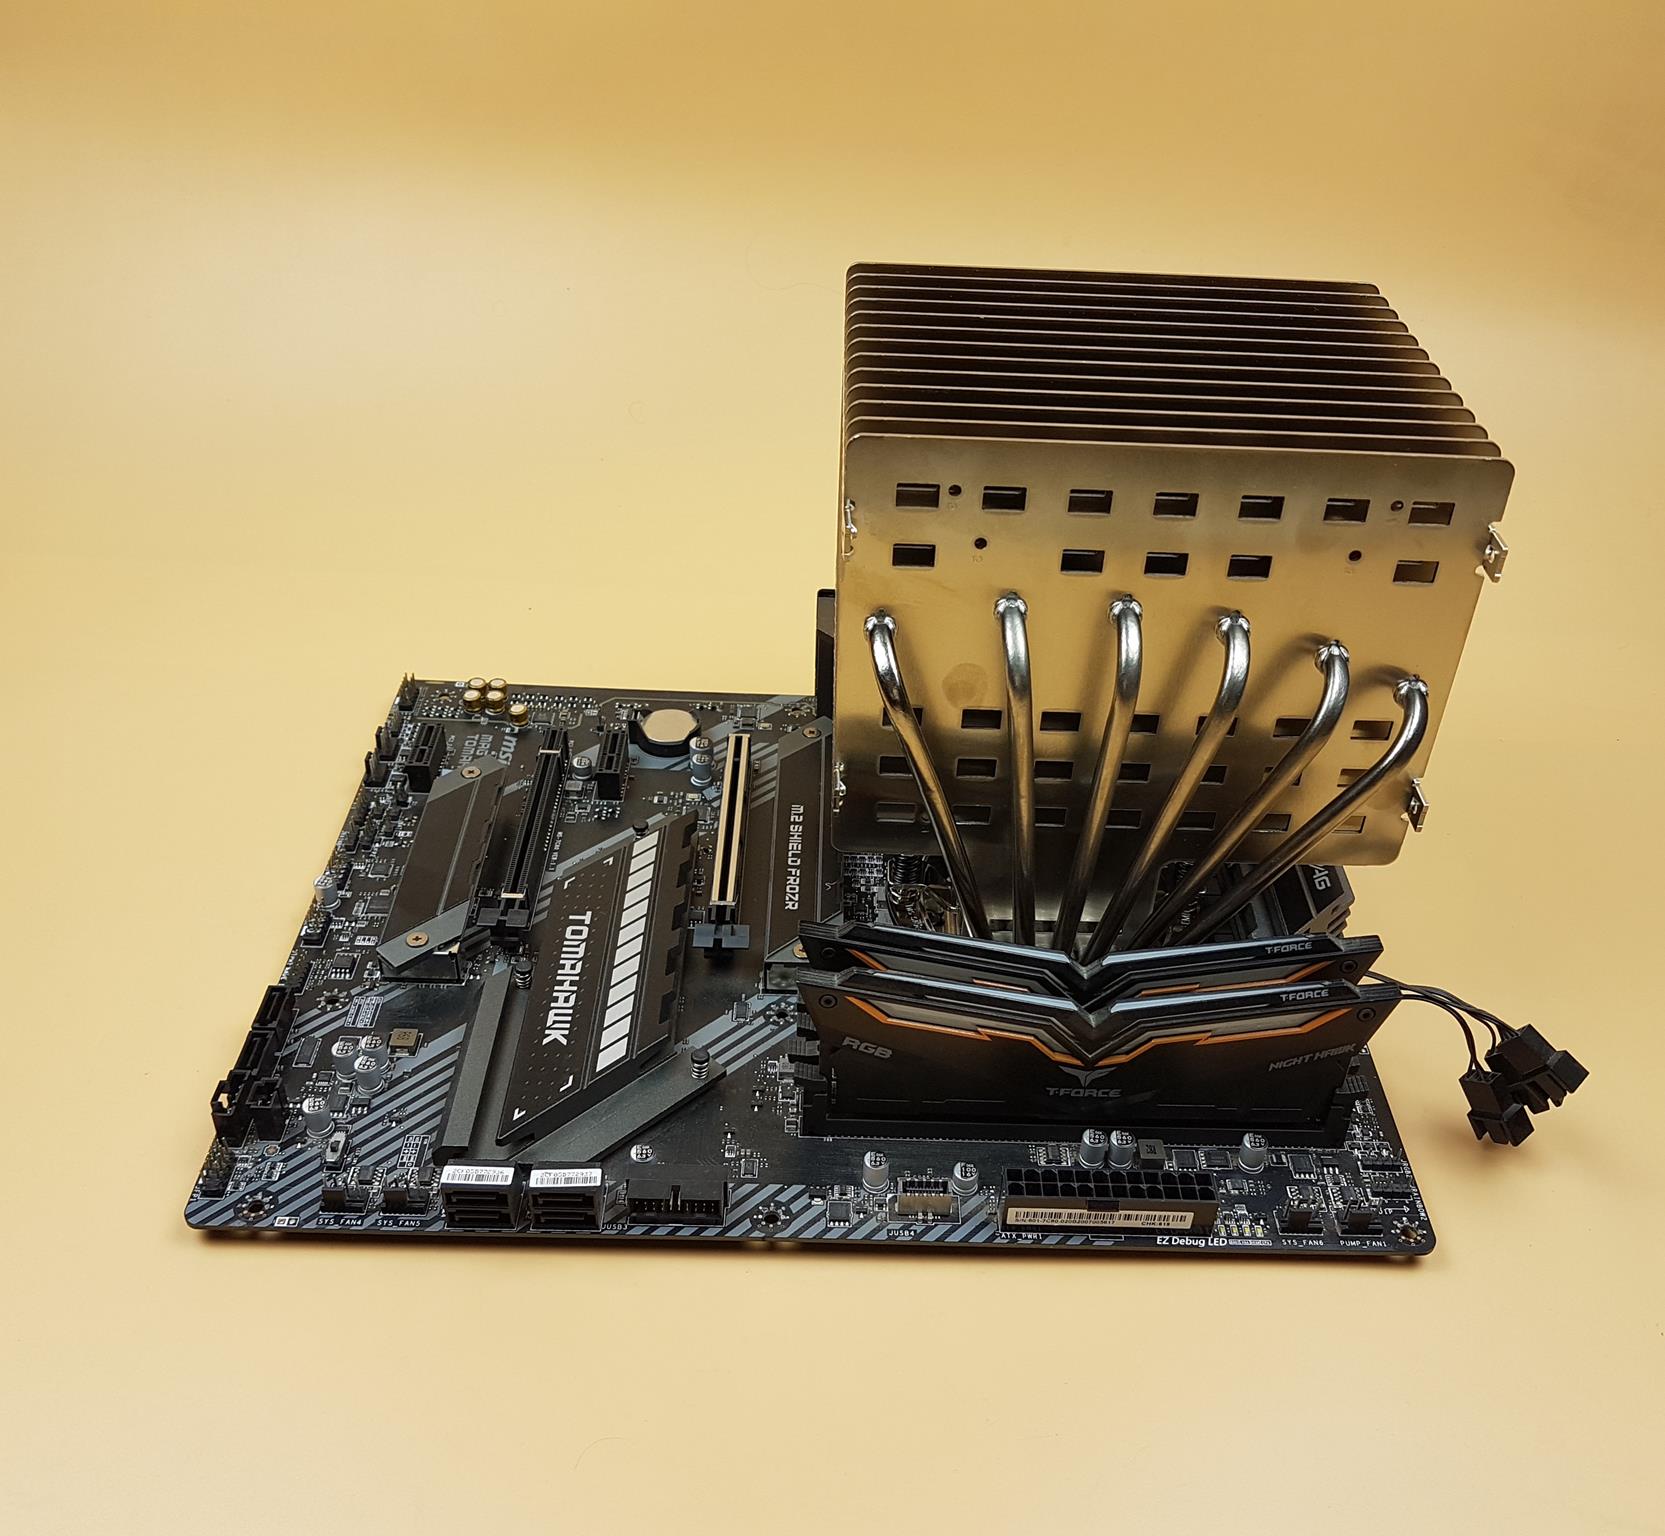
The Noctua NH-P1 does not overhang the DIMM slots on the Intel LGA-1200 and AMD AM4 socket motherboards making it compatible with any RAM on these platforms.
This is true for the microATX and ATX size motherboards. One would need to first hand check the mini-ITX motherboards. On quad-channel DIMM slot designs, there is a clearance of up to 45mm for the RAM height on the left side bank. There is enough gap between the fins to compensate the height of the RAM module.
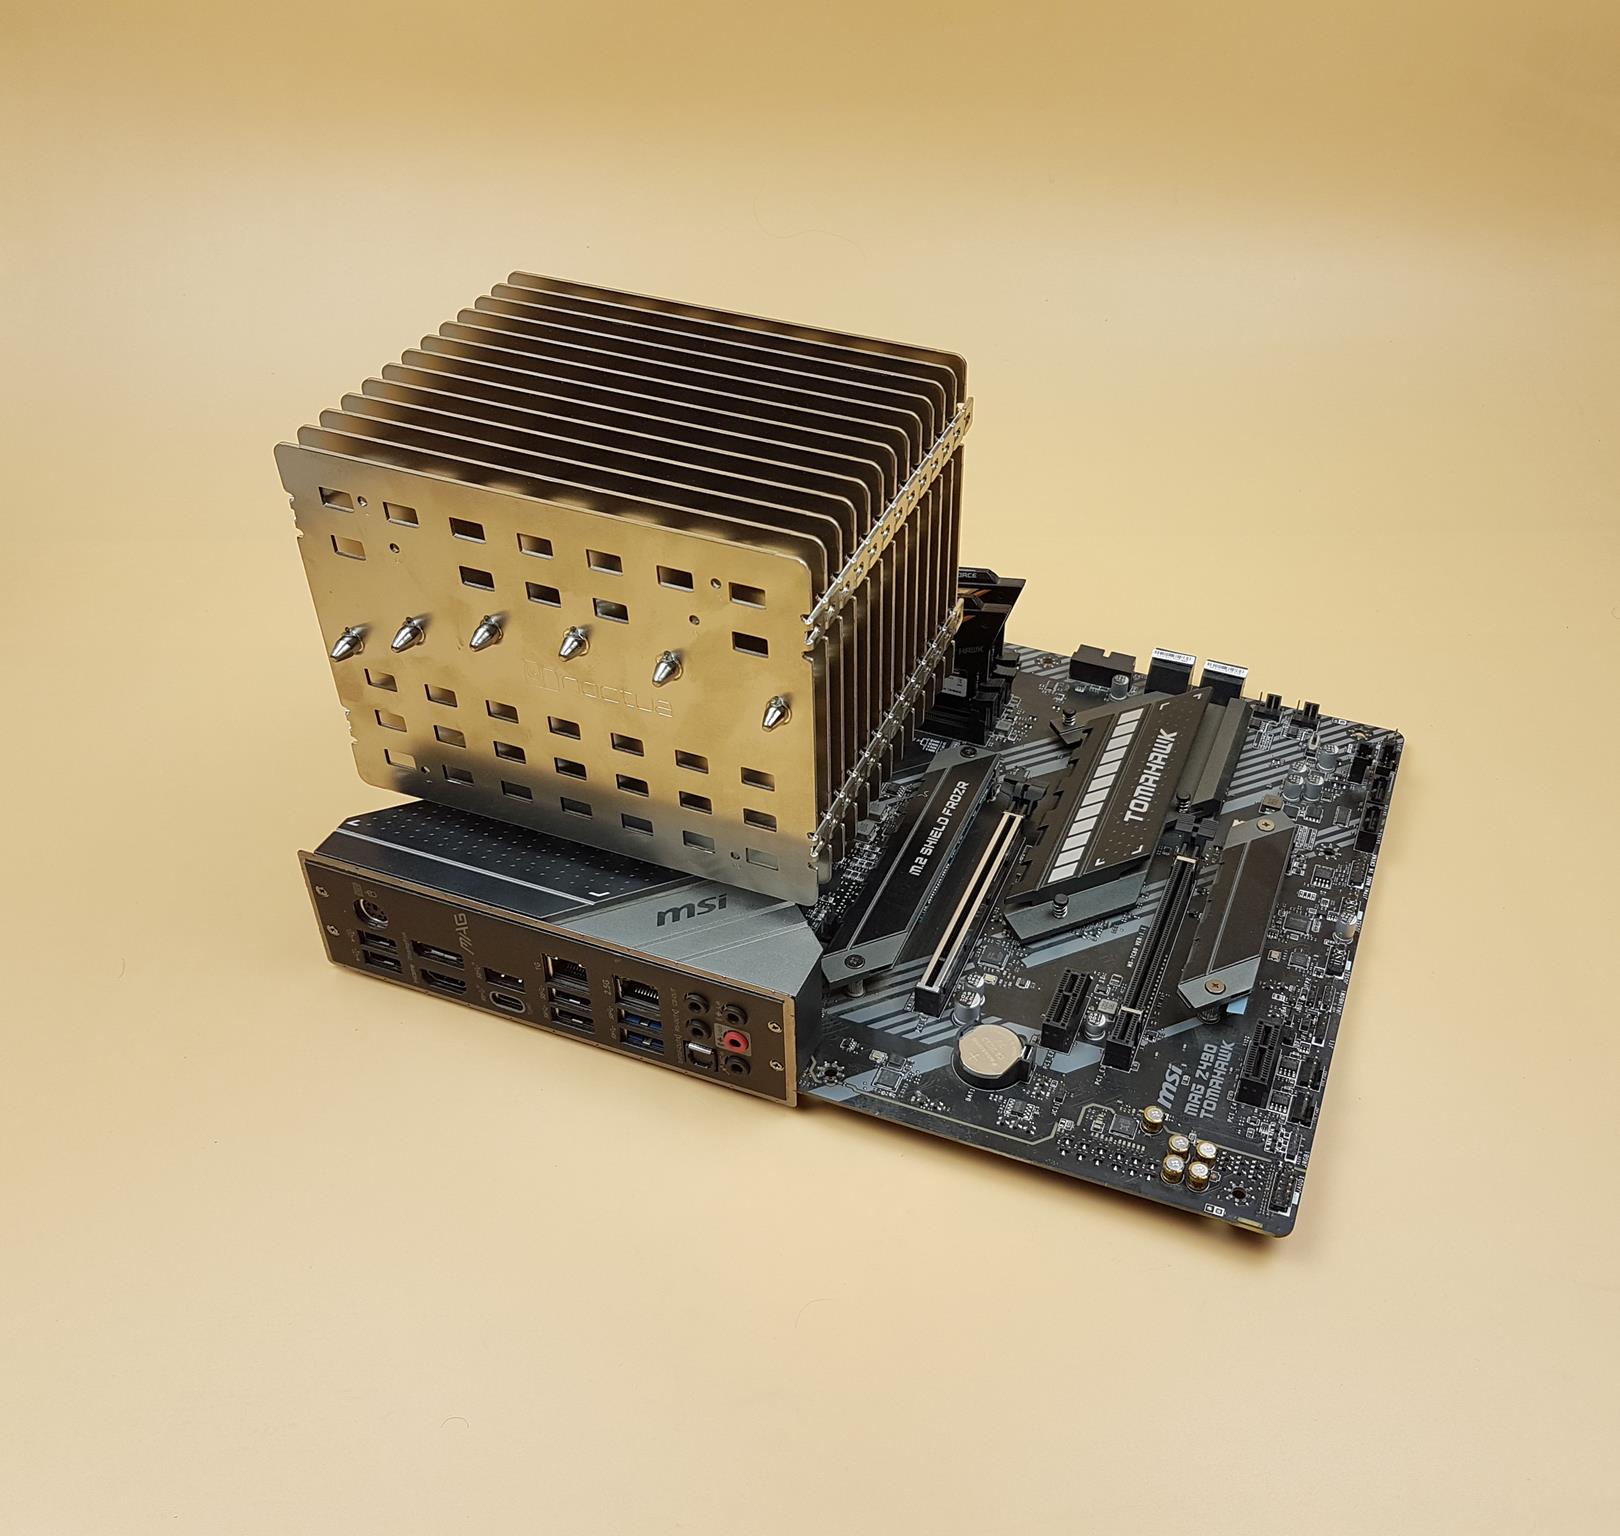
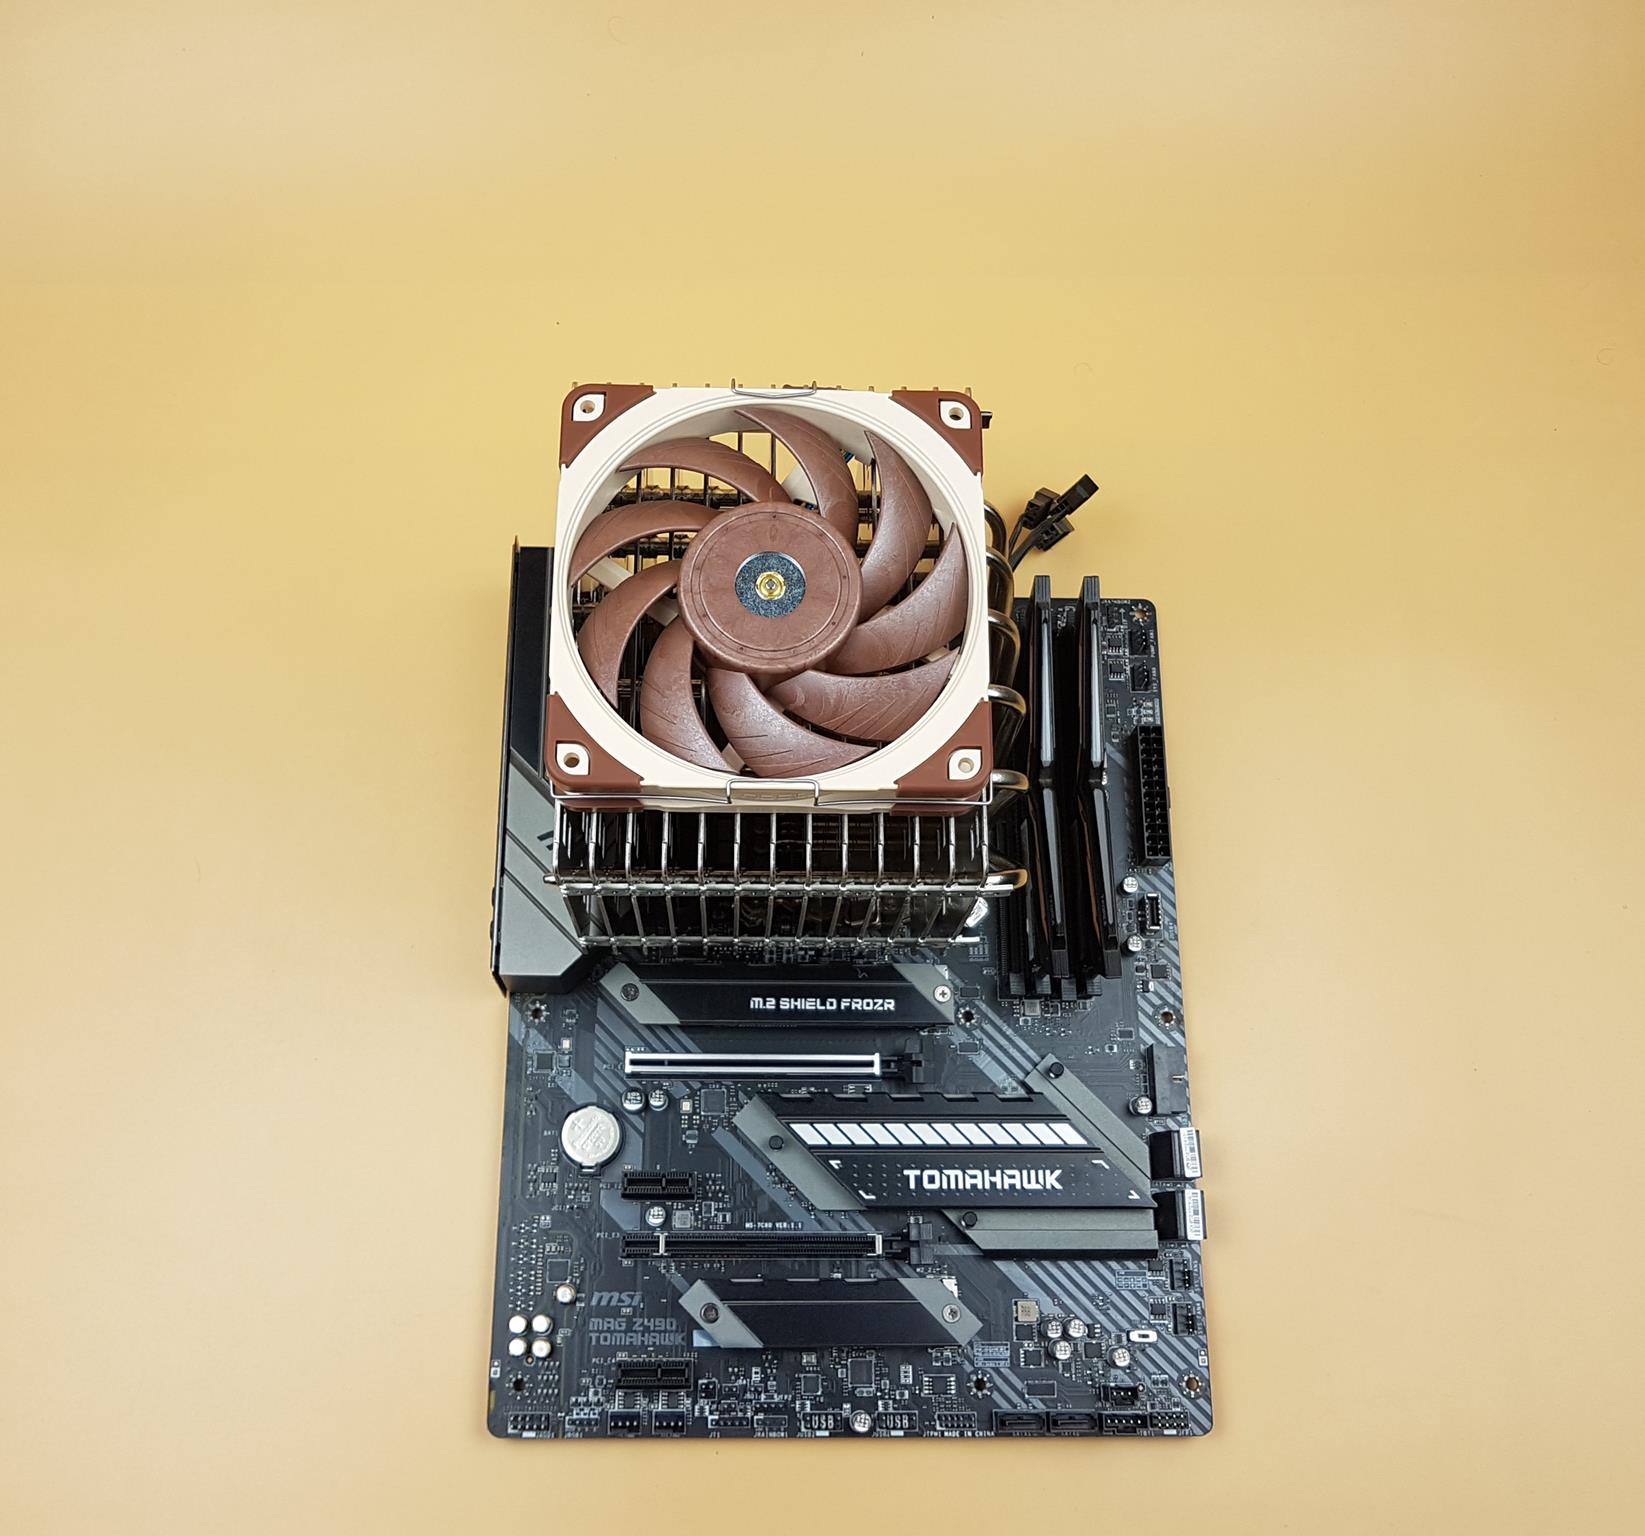
The cooler has no obstruction from the rear of the MSI MAG Z490 TOMAHAWK motherboard. The cooler is almost covering the top of the motherboard. Make sure to connect the EPS and other cables before installing the cooler.
The cooler has no clearance issue for the first PCIe x16 slot on the motherboard.
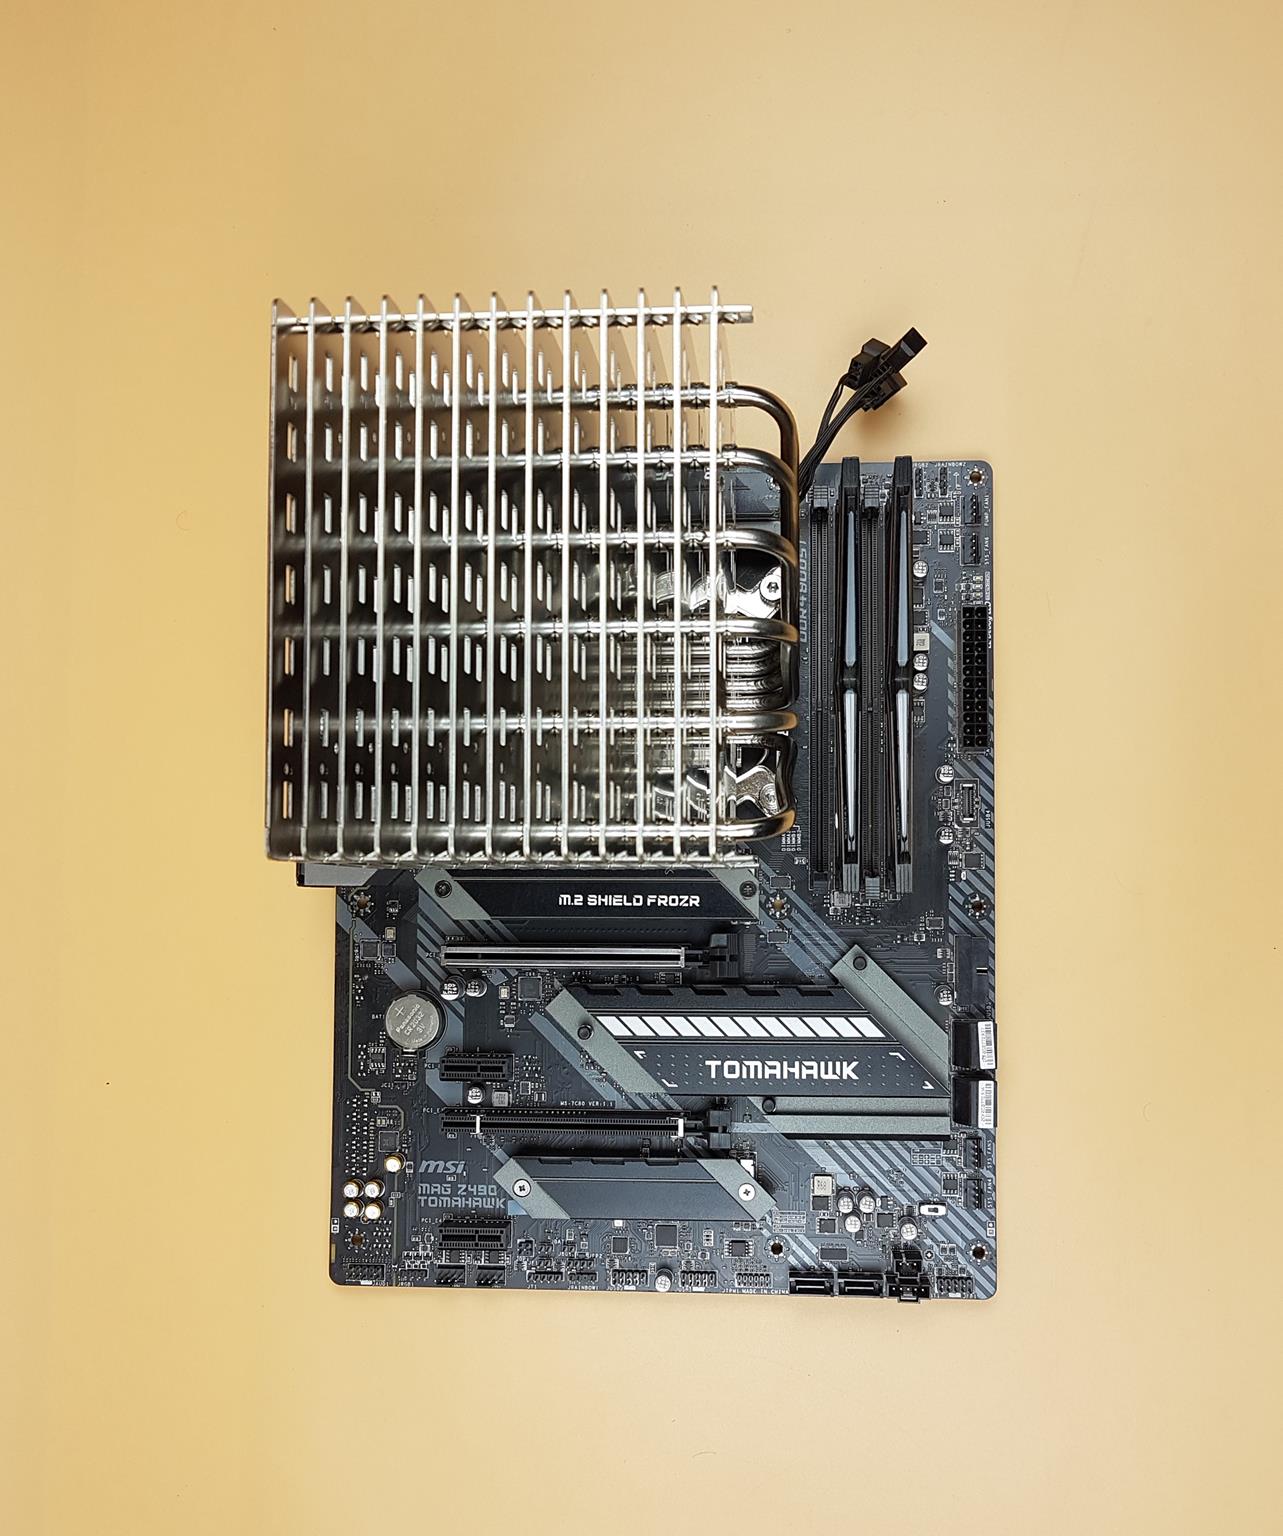
The above picture shows the top view of the cooler after its installation on the motherboard.
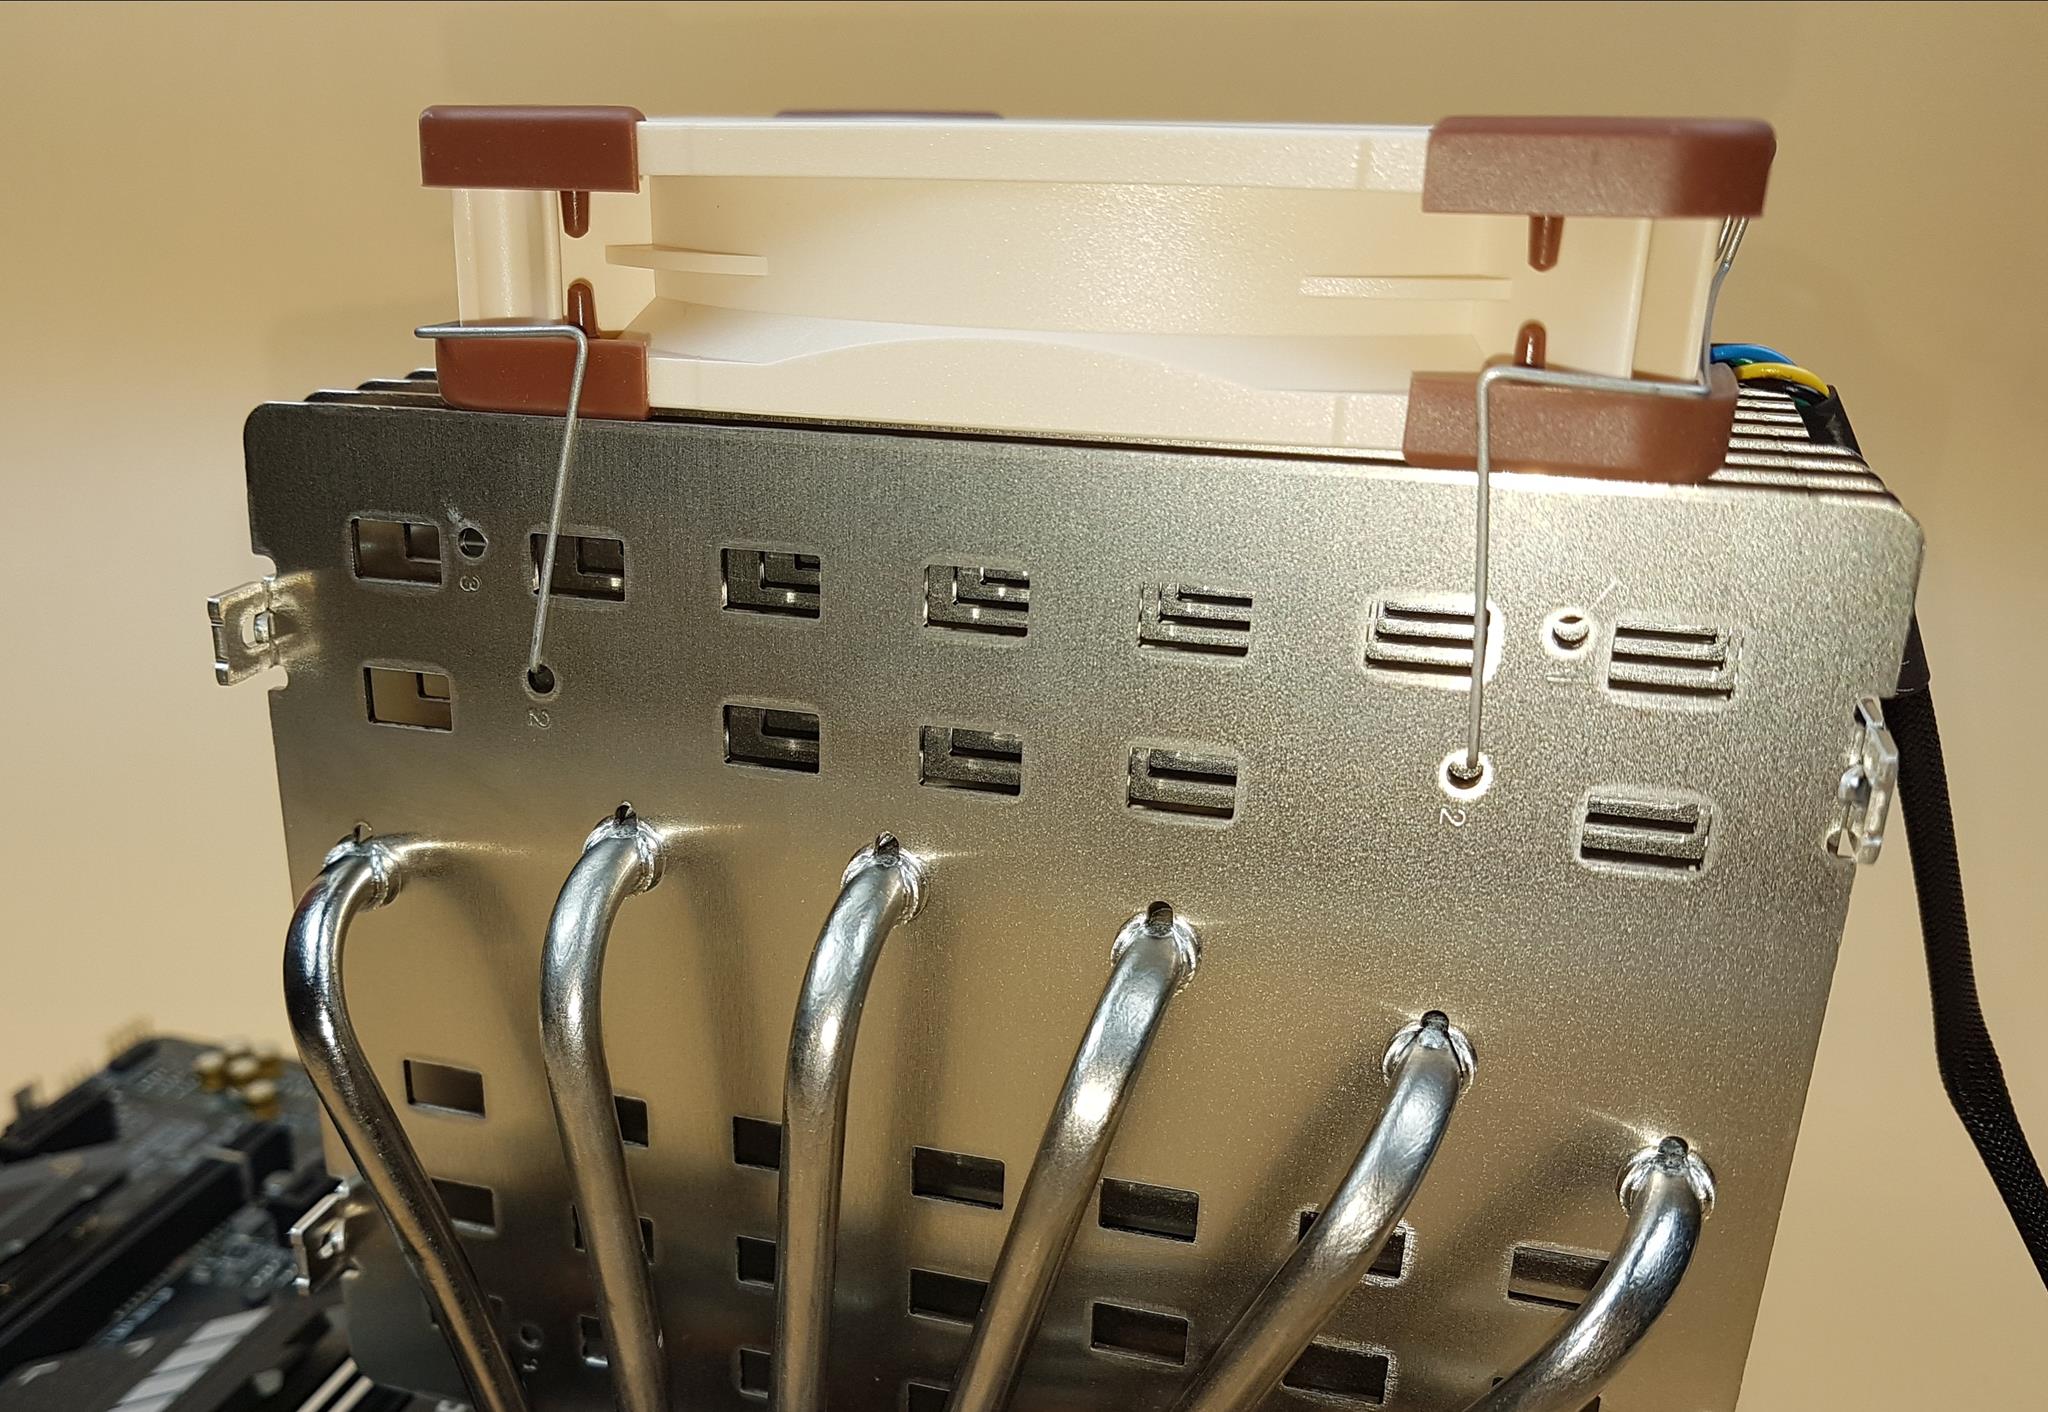
The overall height of the cooler will increase with the top mounted fan. So make sure your enclosure has enough clearance if going this route. The side mounting of the fan would have implication for the PCIe slot and the top of the PC case as well.
The above picture shows the top mounted NF-A12x25 LS PWM fan. It is mounted using mounting holes numbered 2.


