Raijintek Paean Premium PC Case Review
Introduction
The Raijintek Paean Premium case is designed for DIY water cooling loops! Following on from our reviews on the Acheron 360 Distro Plate and Forkis RBW Cpu Block, today we are looking to finish off our build and show you the complete and finally build! Raijintek was nice enough to supply us with all these products so we can show off what they have in store for the custom DIY water cooling market. The Paean Premium is a Full-sized ATX case and even has a separate bottom chamber for further cooling options! This thing is massive and as such, can house up to THIRTEEN 120mm fans in a combination with up to THREE 360mm radiators. This is nuts and will allow for some amazing builds and to top it all off, it features two 4mm tempered glass panels, one on the side and one on the front so you can show off your hardware inside. Raijintek have a great case on their hands, especially for those looking to go with custom loop cooling so enough of the chatter, let’s get started and take a look at what the Paean Premium is all about!
Specifications
| Product Name | PAEAN PREMIUM |
| Product Number | 0R20A00208 |
| Dimension [W×D×H] | 310×451×648 mm |
| Weight | 13.1 kg [N.W.] 15.0 kg [G.W.] |
| Material | Aluminum 2.0mm; SPCC 0.8mm |
| Color | Black Coated |
| M/B Support | ATX/MICRO ATX/MINI-ITX |
| Drive Bay | 3.5″HDD×2 or 2.5″SSD×2 |
| Expansion Slot | PCI Slots × 8 |
| I/O Panel | USB3.0×2, Type C×1, HD Audio×1 |
| Power Supply | PS/2 [Bottom] |
| Fan Q’ty | Top: 120mm×3 [option] Bottom: 120mm×6 [option] Front: 120mm×3 [option] Rear: 120mm×1 or 140mm×1 [option] |
| Radiator Q’ty | Top: 120/240/280/360mm radiator [option] Bottom: 120/240/280/360mm radiator [option] |
| CPU Cooler Height | 170mm [Max.] |
| Graphic Card Length | 430mm [Max.] |
| Side Panel Style | 4mm Tempered Glass |
Closer Look
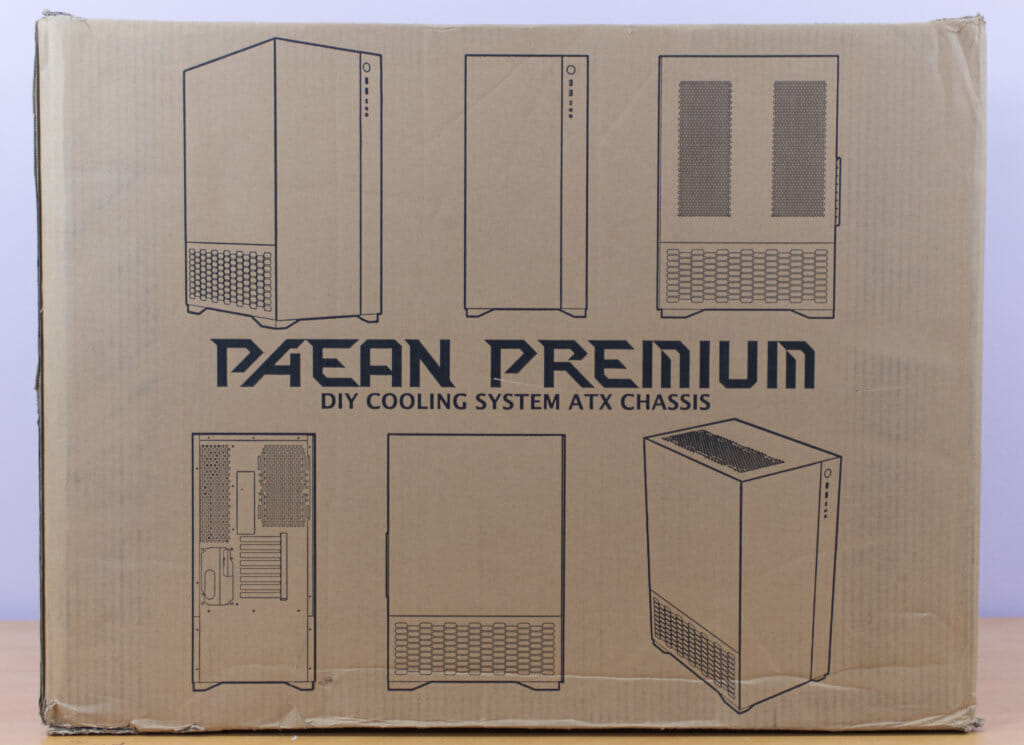
The pictures don’t do the size of the Paean Premium justice, this case is massive! On the front of the box, we can see a few outline images of the case and what it has to offer. While we can#t tell much from this, we can get a good look at the ventilation it has to offer I nothing else.
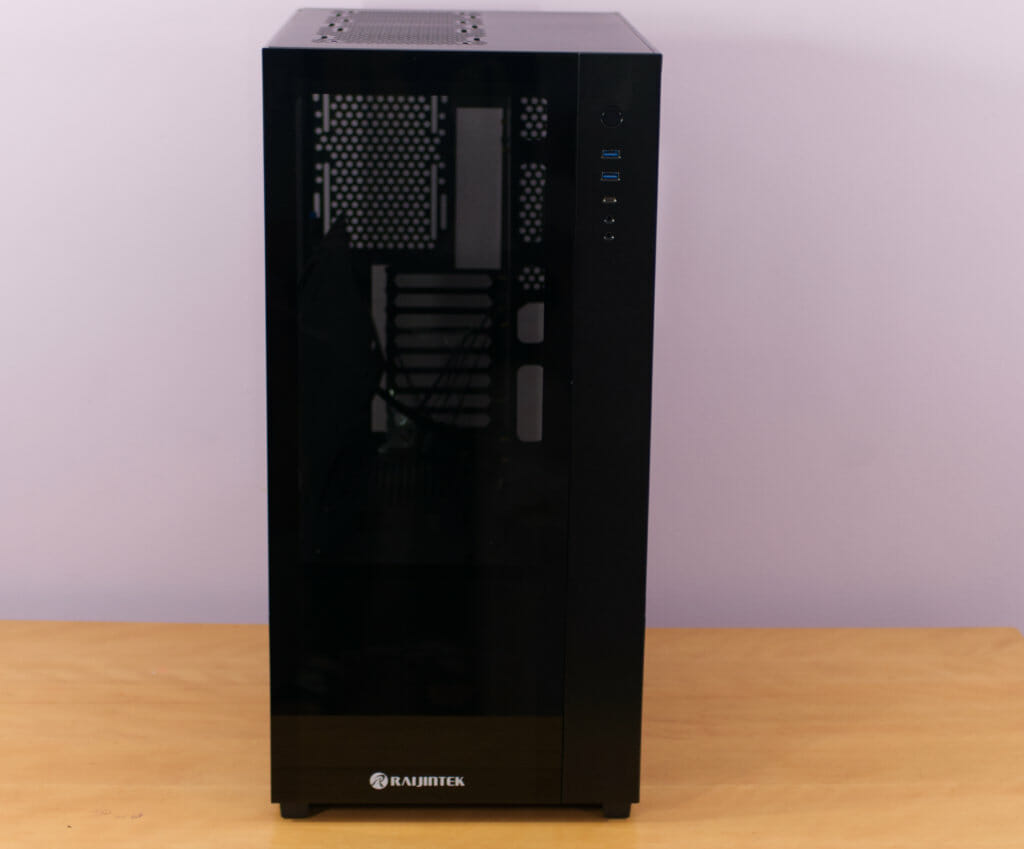
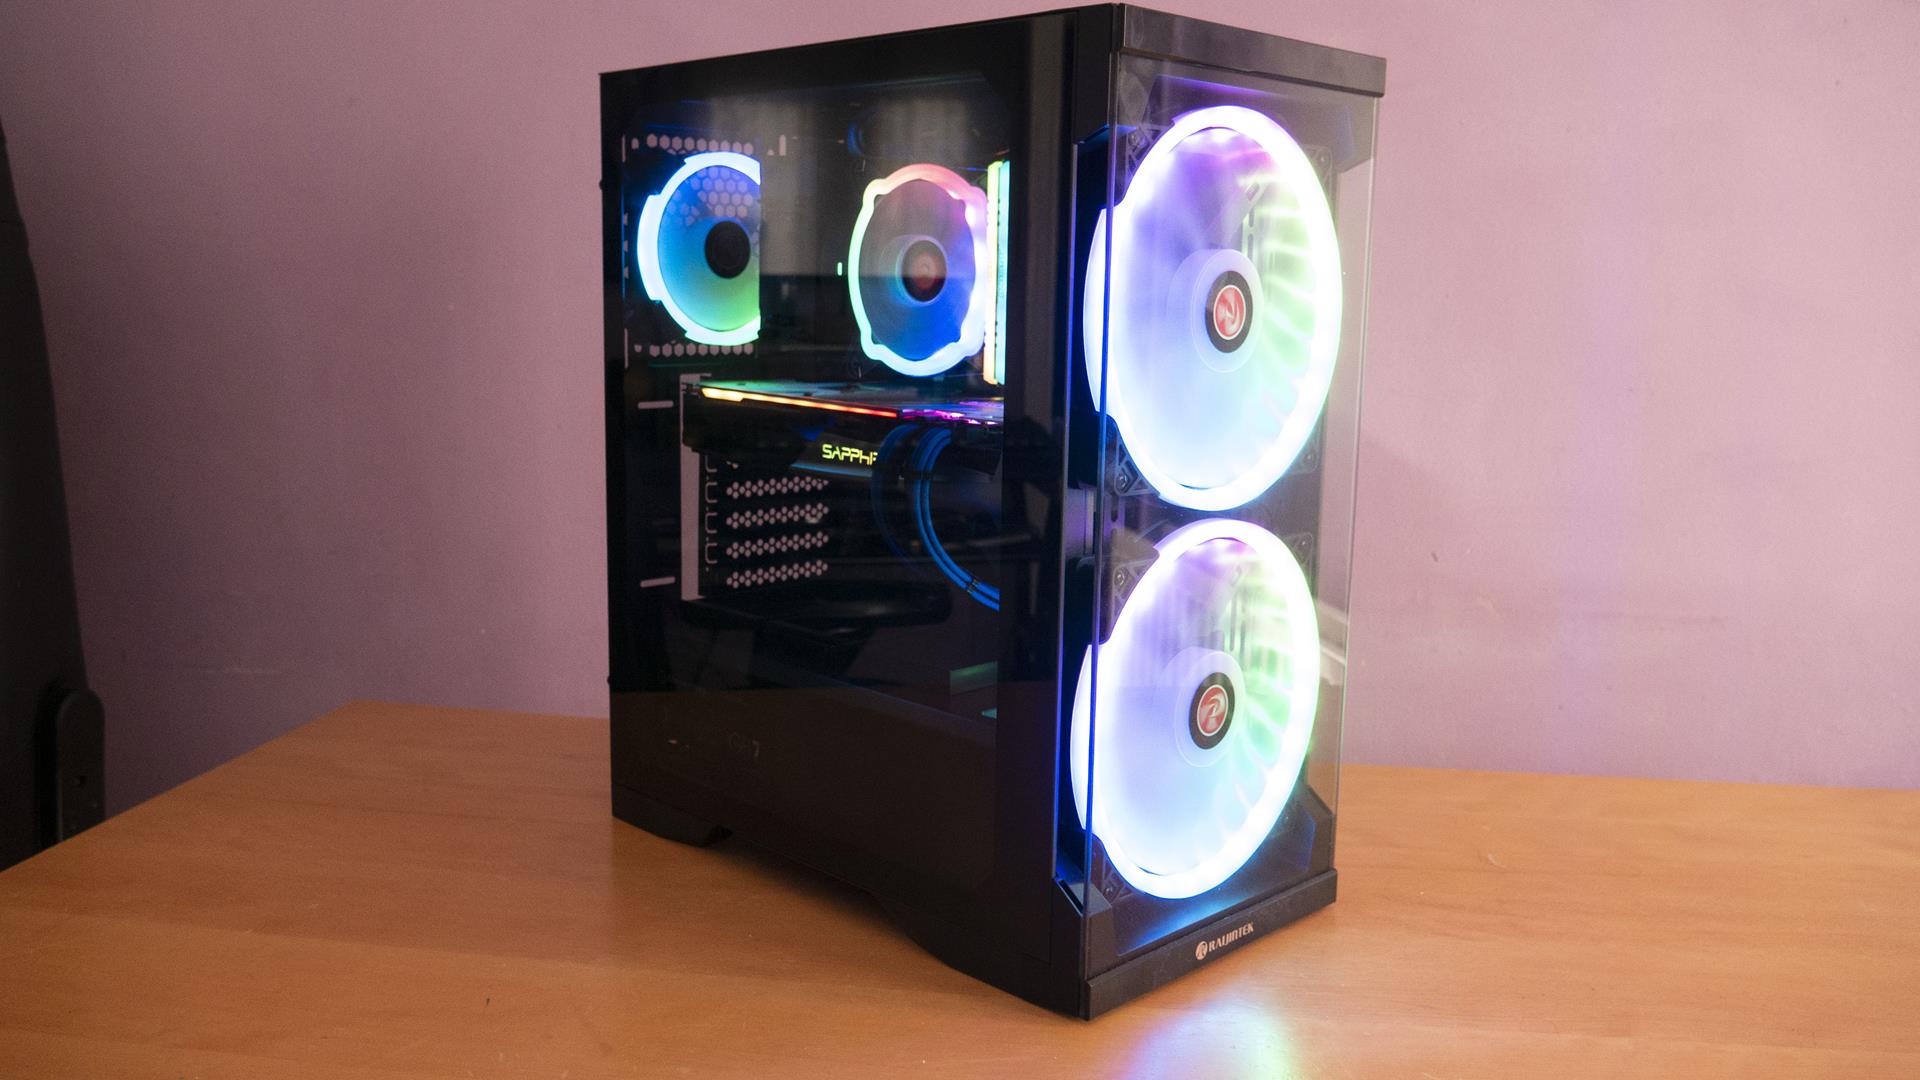
Getting this bad boy out and it sure is heavy! The front tempered glass panel goes from top to bottom and the front IO is on the righthand side. There is a small Raijintek logo just on the bottom which is fine with me as it’s not too big to cause a distraction from what is inside the case.
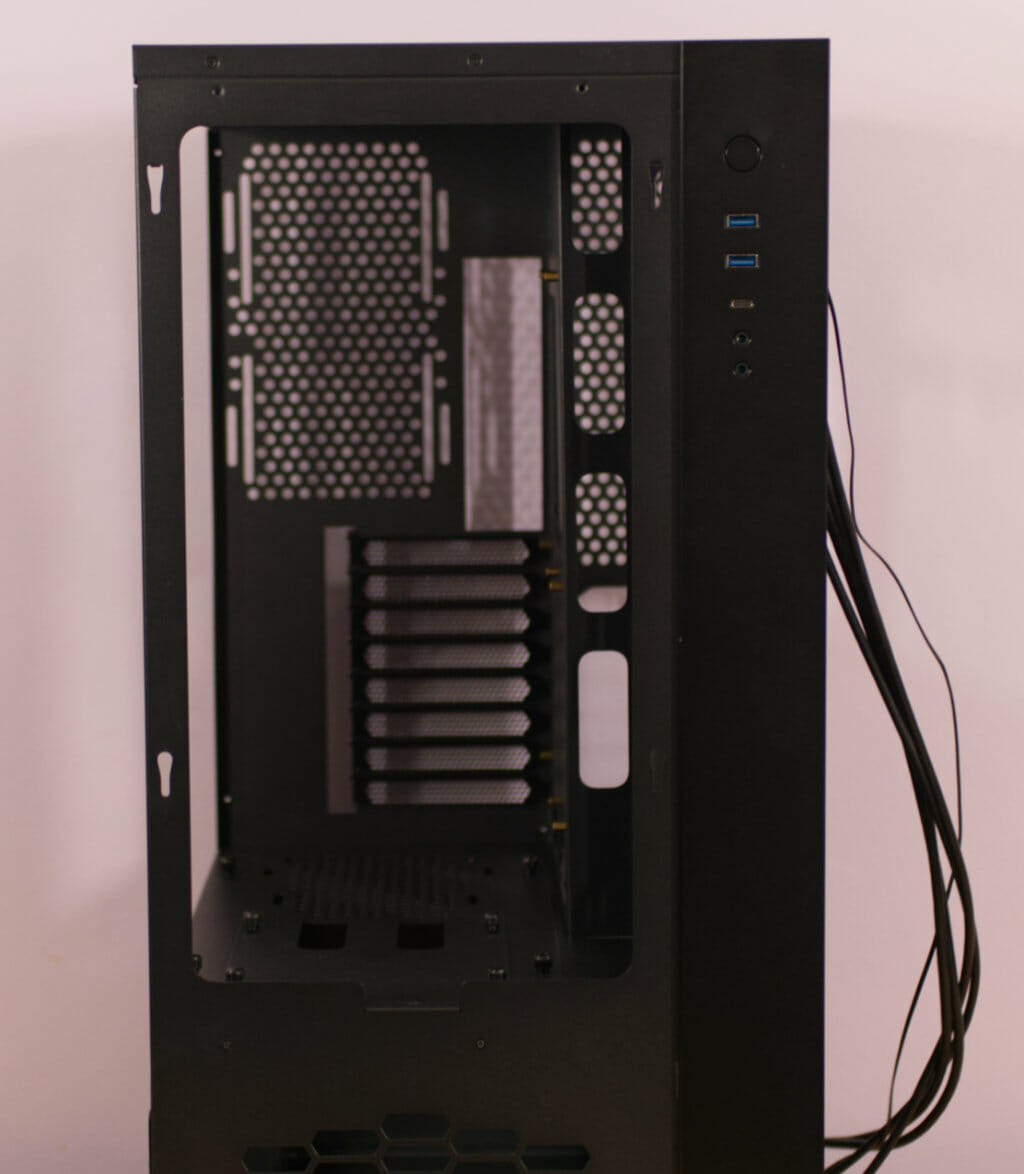
The front tempered glass can easily be lifted off so you can access the inside with ease. This will surely come in handy when installing water cooling fittings and tubes as it gives you another angle to make sure things are nice and tight.
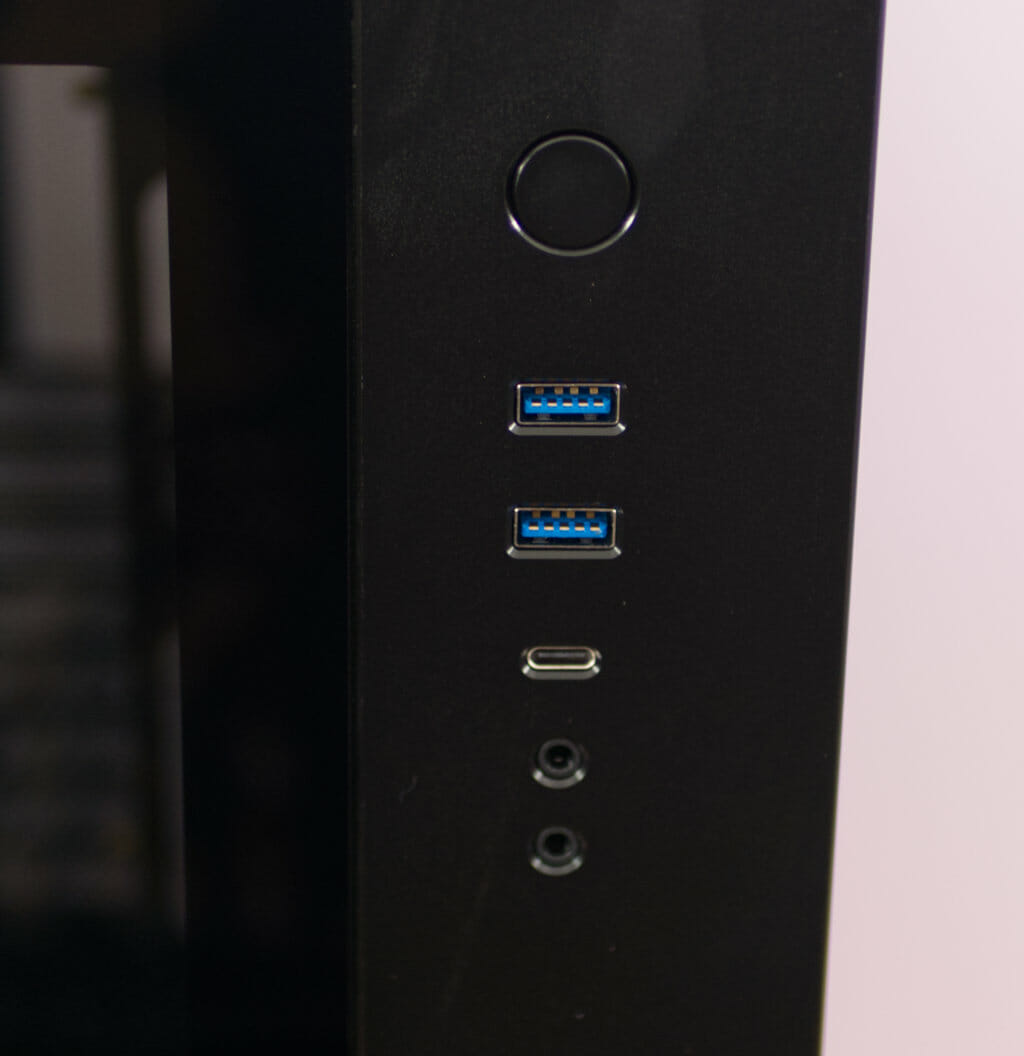
The front IO consists of a power button, two USB 3.0 ports and USB Type-C and a pair of audio inputs for your headphones and mic.
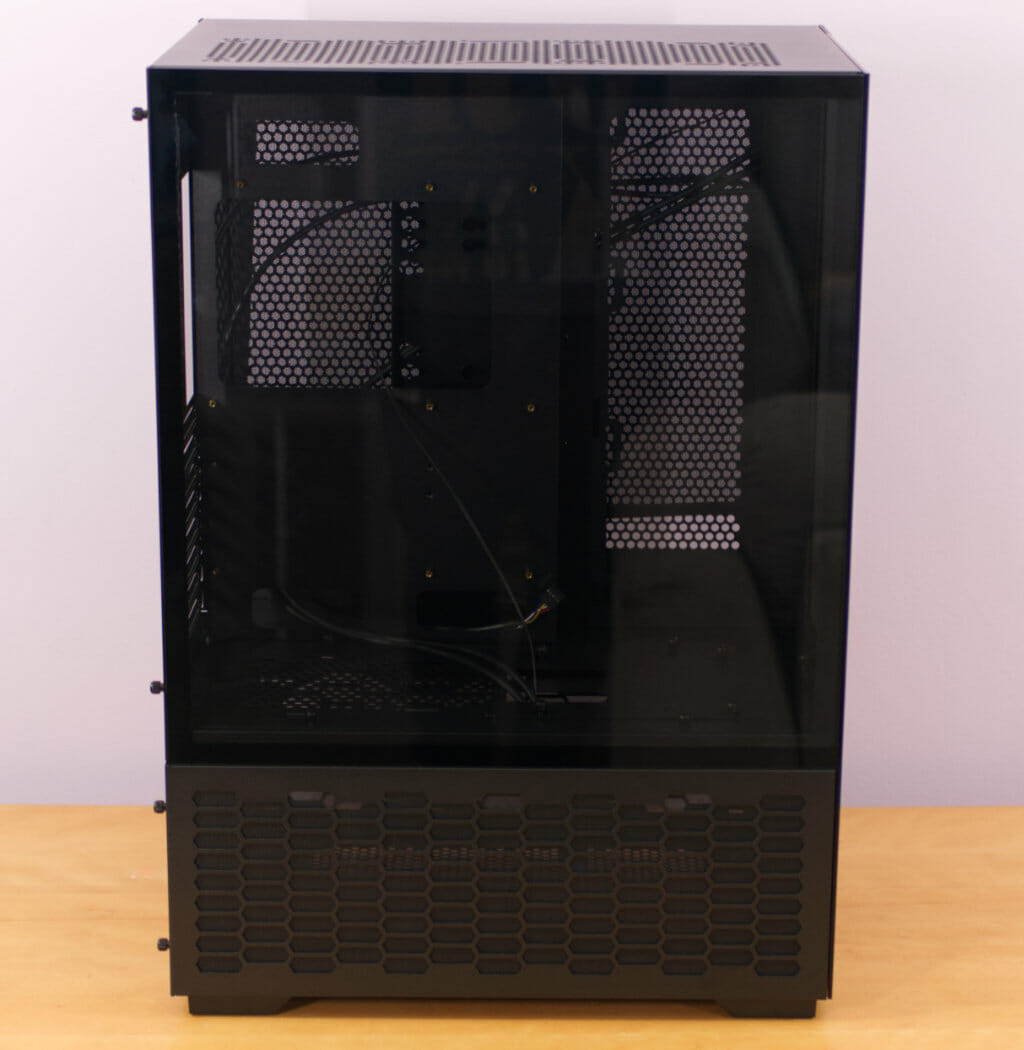
The tempered glass side panel covers the whole viewing area so you will see anything that is put inside this area of the case. This will make it easy to light up your room as well as there are so many places for RGB fans! The bottom area also has an easily removable panel on it that comes with a magnetic dust filter but we will look at that in just a moment.
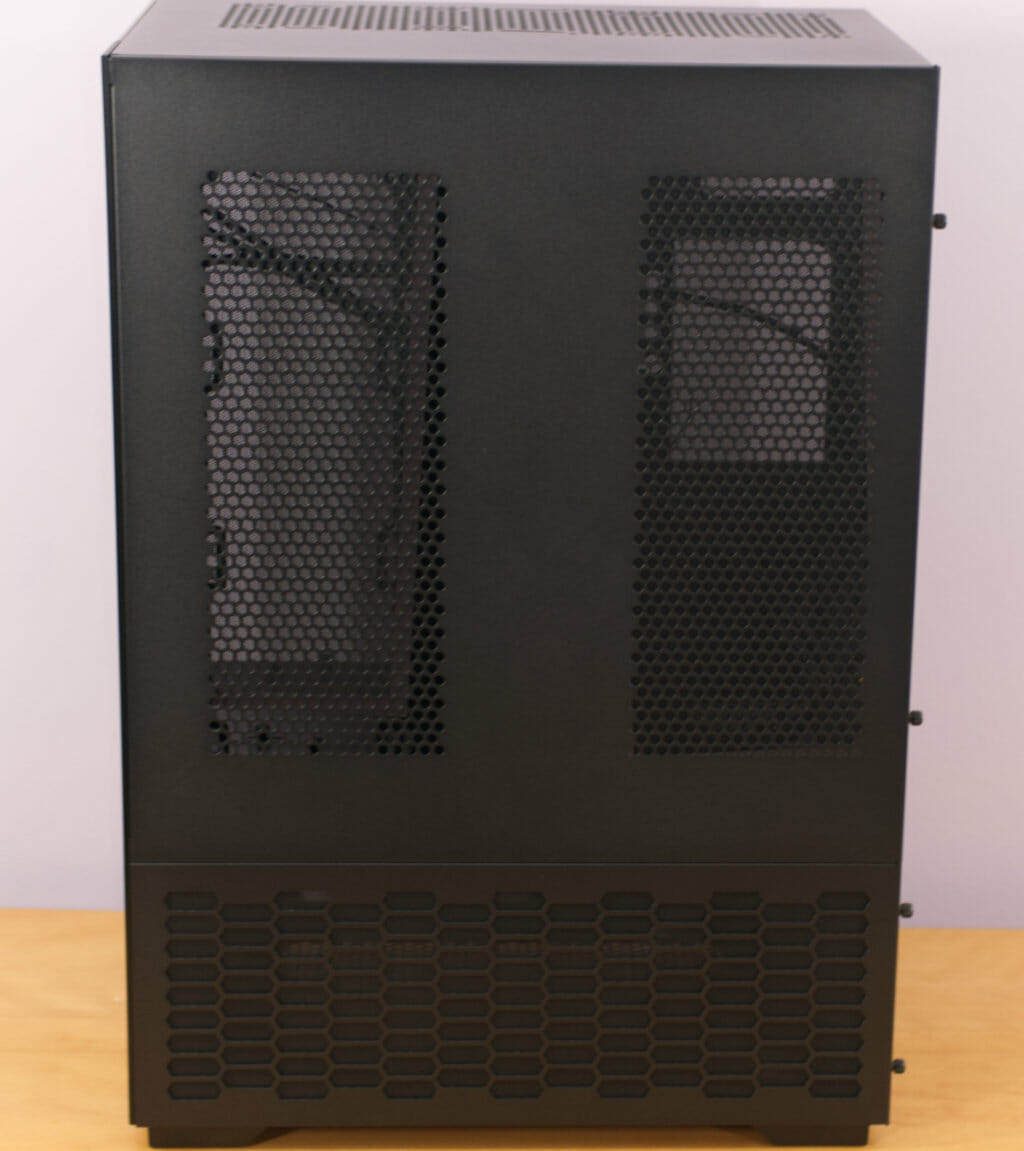
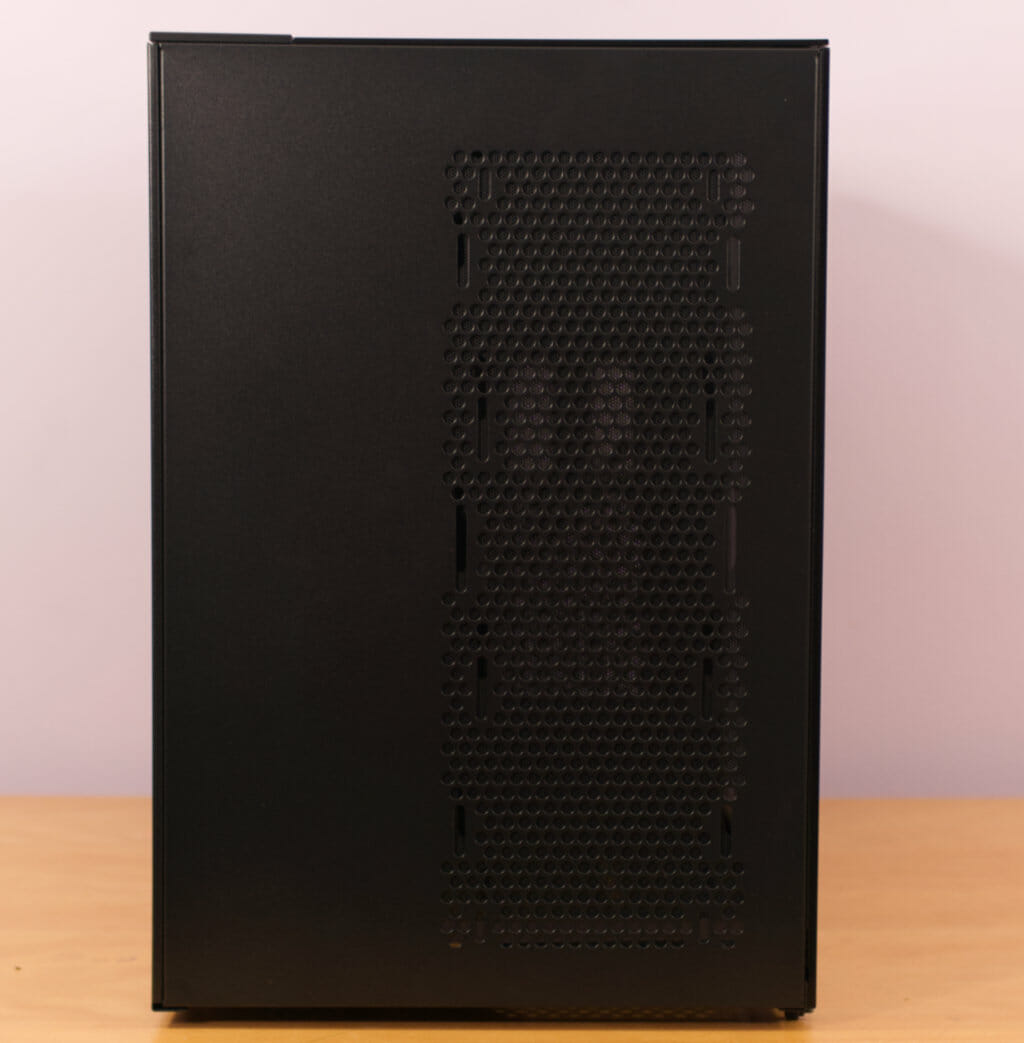
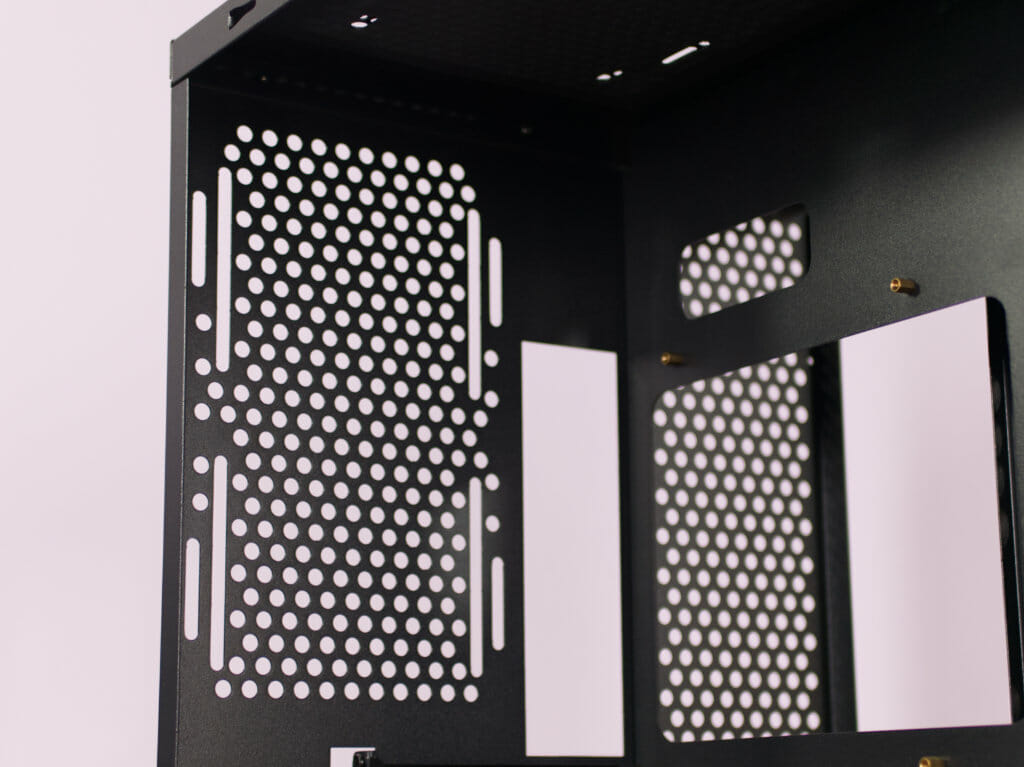
Moving Around to the second/back side panel and we can see there is still plenty of ventilation going on. The Ventilation area towards the front is to allow for and fans you may place in this spot to be able to pull air in or push it out. This is for the area in the front of the case that can house three 120mm fans or a 360mm radiator or in our case, we put the Acheron 360mm Distro Plate here. As we saw on the main viewing side of the Paean Premium this side is also in two parts, a top and a bottom. Again, they both come off easily and the bottom is going to allow for further radiators and fans to be installed for even more cooling power.
Taking a look at the top panel and again, more ventilation so we can make sure our components inside the Paean Premium are getting all the cooling they can! Raijintek has done a great job at making sure there is plenty of ventilation in various locations on the Paean Premium which, when it comes down to it will allow for several different configurations inside this case.
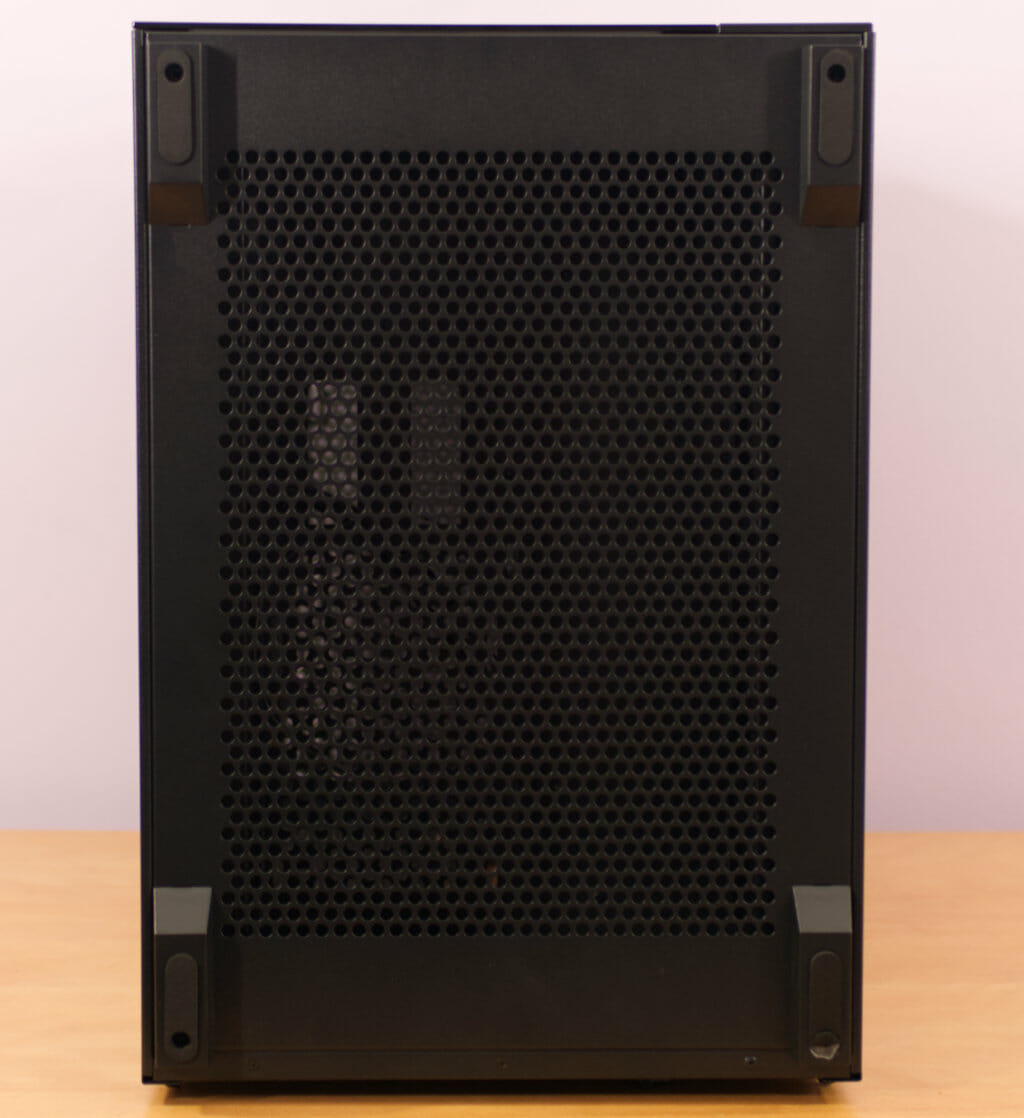
Get out of town! Is that more ventilation going across the whole bottom of the Paean Premium? Yup, it sure is! As mentioned you can install multiple radiators in the bottom of this case which is going to need a decent amount of air moving to help keep them cool. Raijintek has you covered and as you can see, the ventilation almost spans the entire bottom panel!
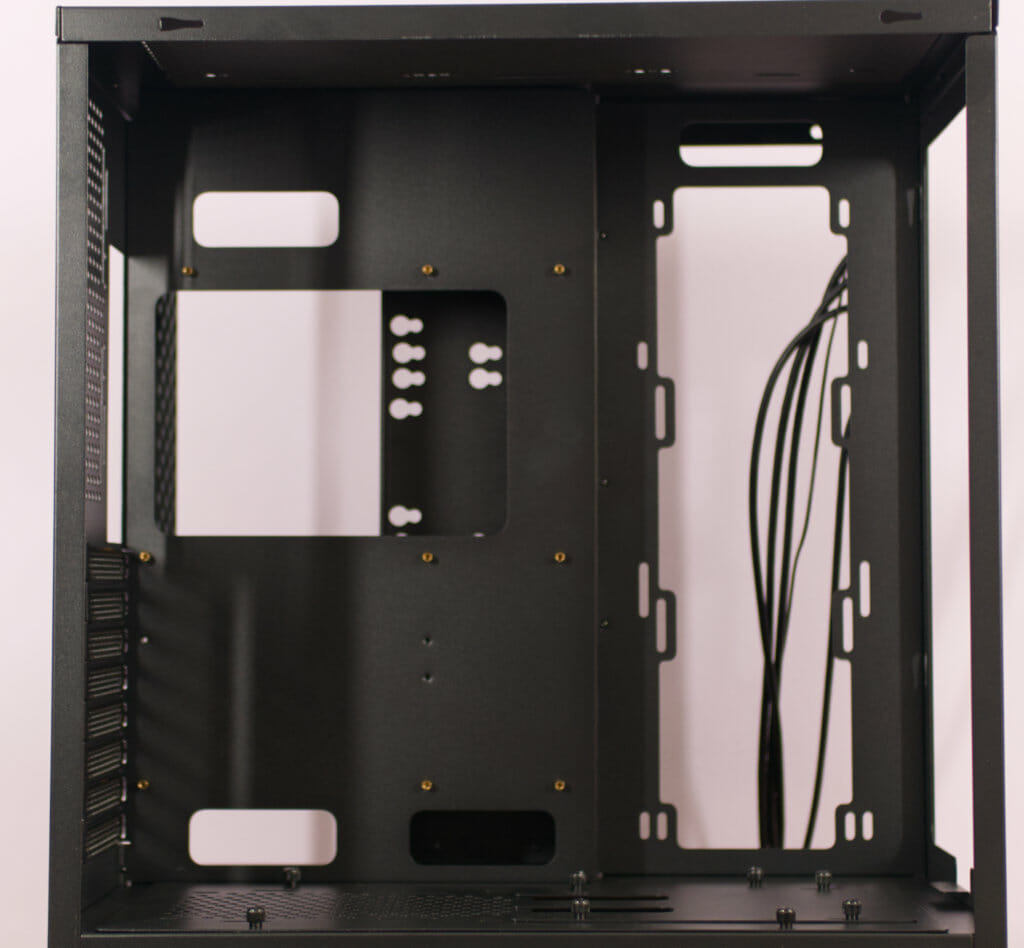
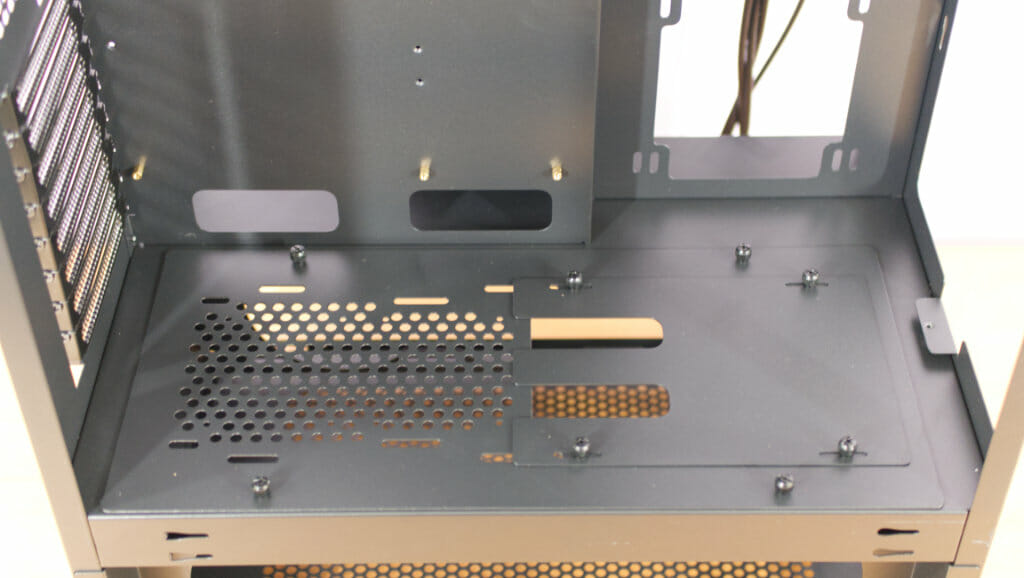
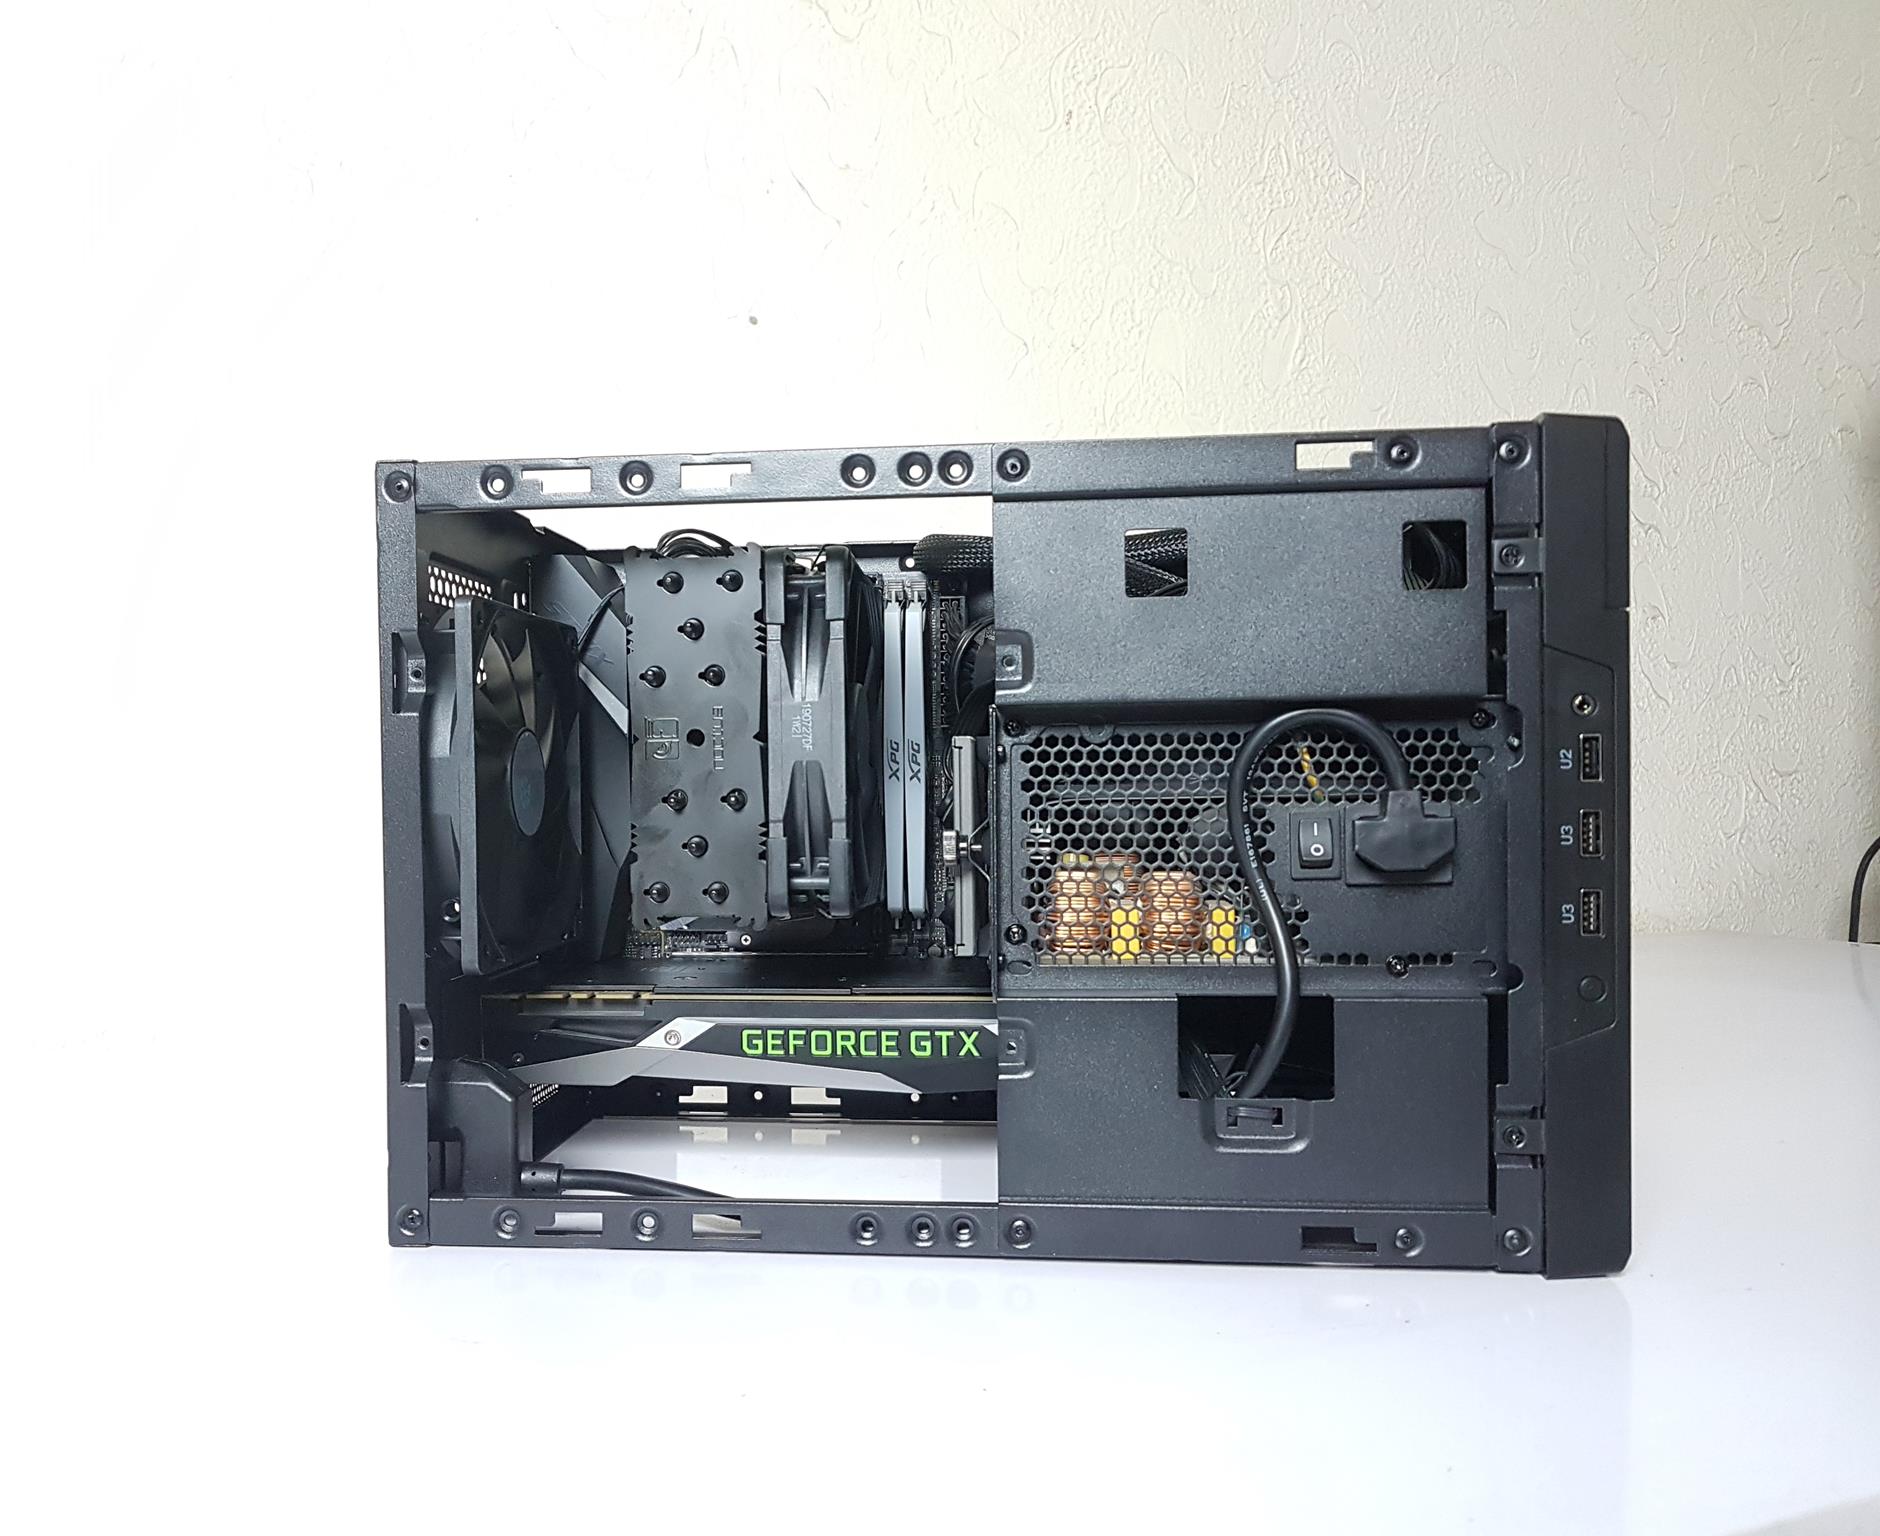
As you have no doubt noticed by now, this case is massive and as a result of this, there is quite a bit going on inside the case. A quick look shows cable pass-throughs above and below where the motherboard will be. It would have been nice if this had some rubber grommets in them to help make things look a tad bit cleaner. It may not be to everyone’s taste but I do prefer rubber grommets in all my man cable pass-throughs. There is a nice big cutout area that will be behind the CPU socket so should you need to access this to change CPU coolers, you shouldn’t;t have to take the whole motherboard out which is always helpful.
The rear fan mount can house a 120mm or 140mm fan and will allow users to move them up or down depending on the location the user needs them. This is great to see as depending on the hardware installed you may not have been able to fit a fan in if they have just kept the mounts closer to the top of the case. Again, Raijintek doing its best to make sure users have the options available they need.
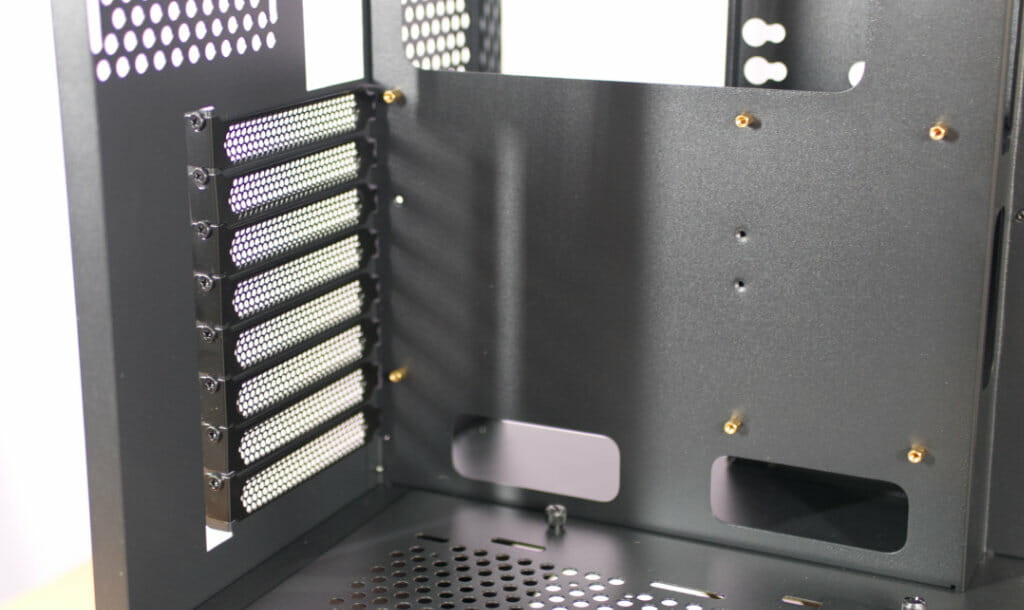
There are 8 PCI expansion bays on the Paean premium. While multiple GPUs for gaming is becoming a dying art, there is plenty of room for them should that be something you are into. Also will allow users to install Raid/Sound/USB cards etc and any other type of expansion card you may need.
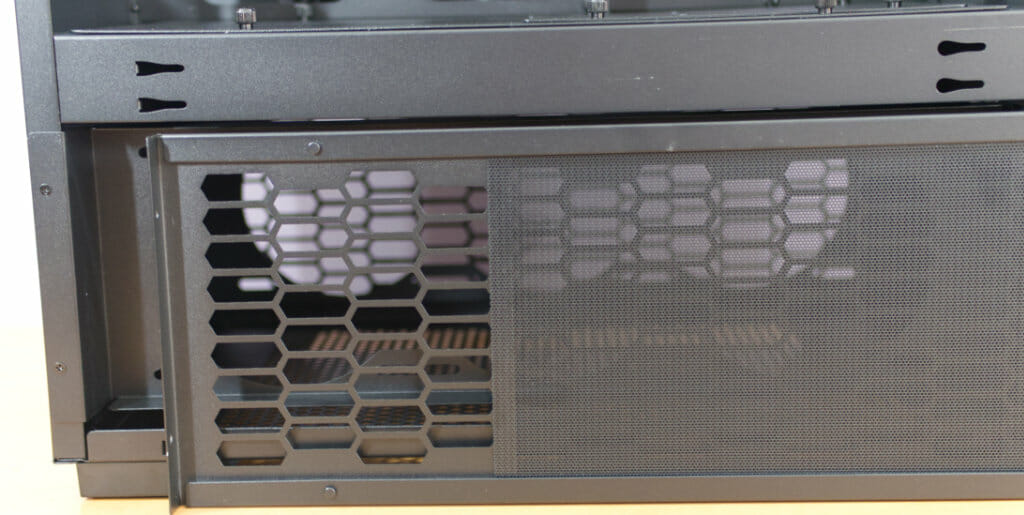
The bottom panel is easily removable thanks to a few thumbscrews and also has some places you can easily pass some hoses through it should you want to add a couple of radiators into the bottom chamber.
To remove the bottom side panels, there are two thumbscrews on each on the backside of the case, then slide them to one side and pull out. They both feature magnetic dust filters that can also be easily washed should they get a bit too dusty for your liking.
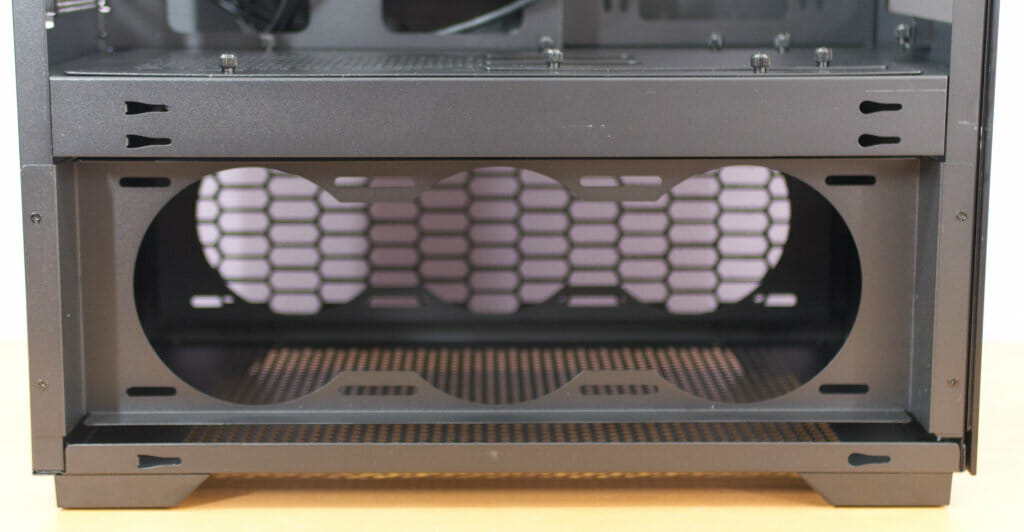
Once you have the side panel off, you can also take out the fan mounting bracket but undoing the two screws on each end. Once this is out you will be able to mount your fans and radiators with ease.
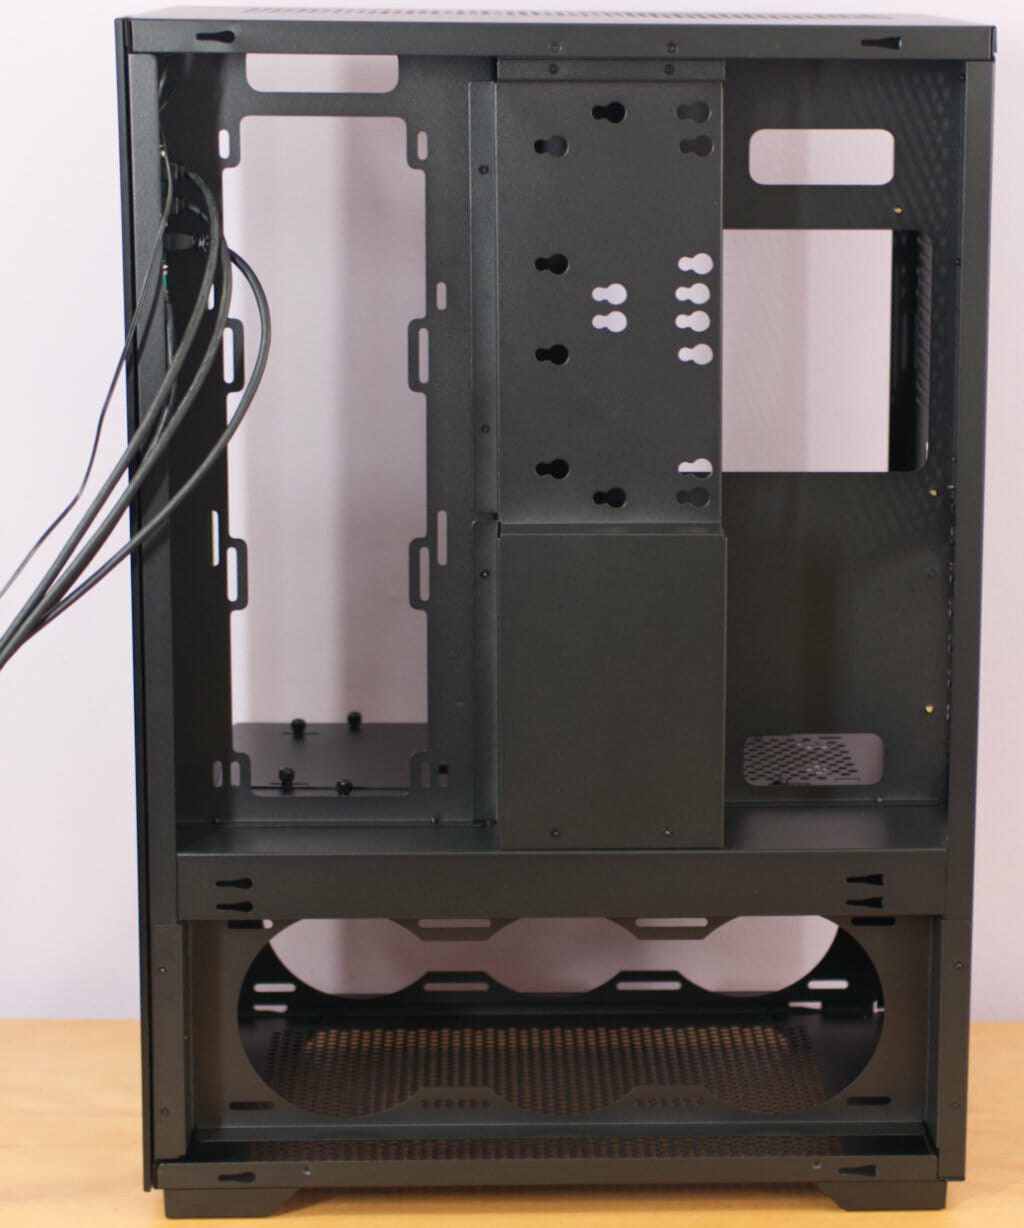
The backside is where you are going to hid you’re PSU and hopefully, most of your cables! The middle HDD/SSD mount comes out similarly to the fan mounts we saw on the bottom of the case VIA a couple of small screws. Once this is out, you can mount your PSU into the case and also mount your HDD or SSD onto it before putting it back in the case. You can mount two hard drives or two SSDs on this bracket.
Complete Build Showoff
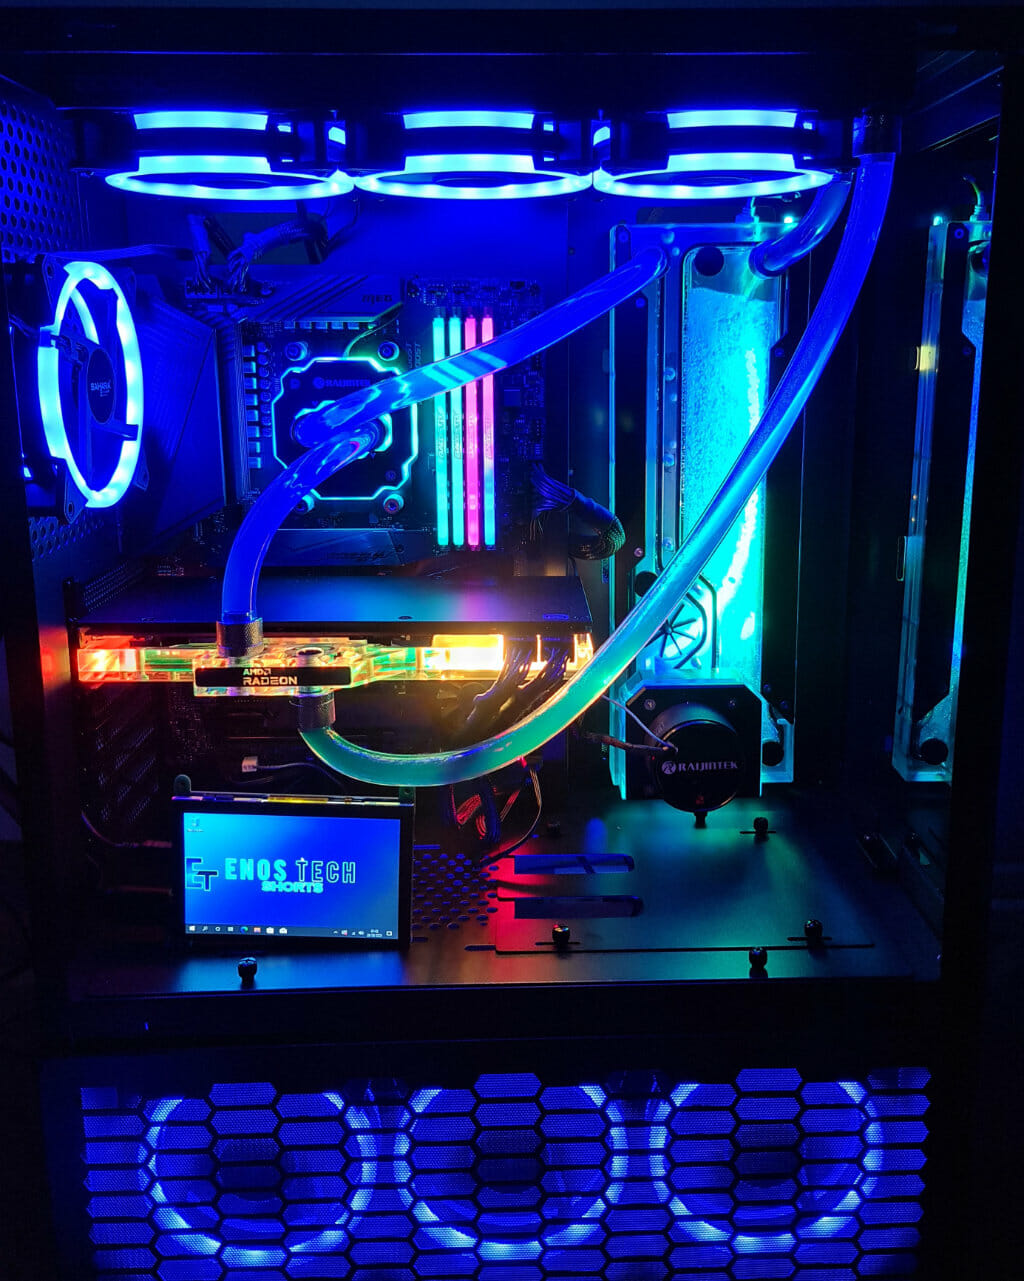
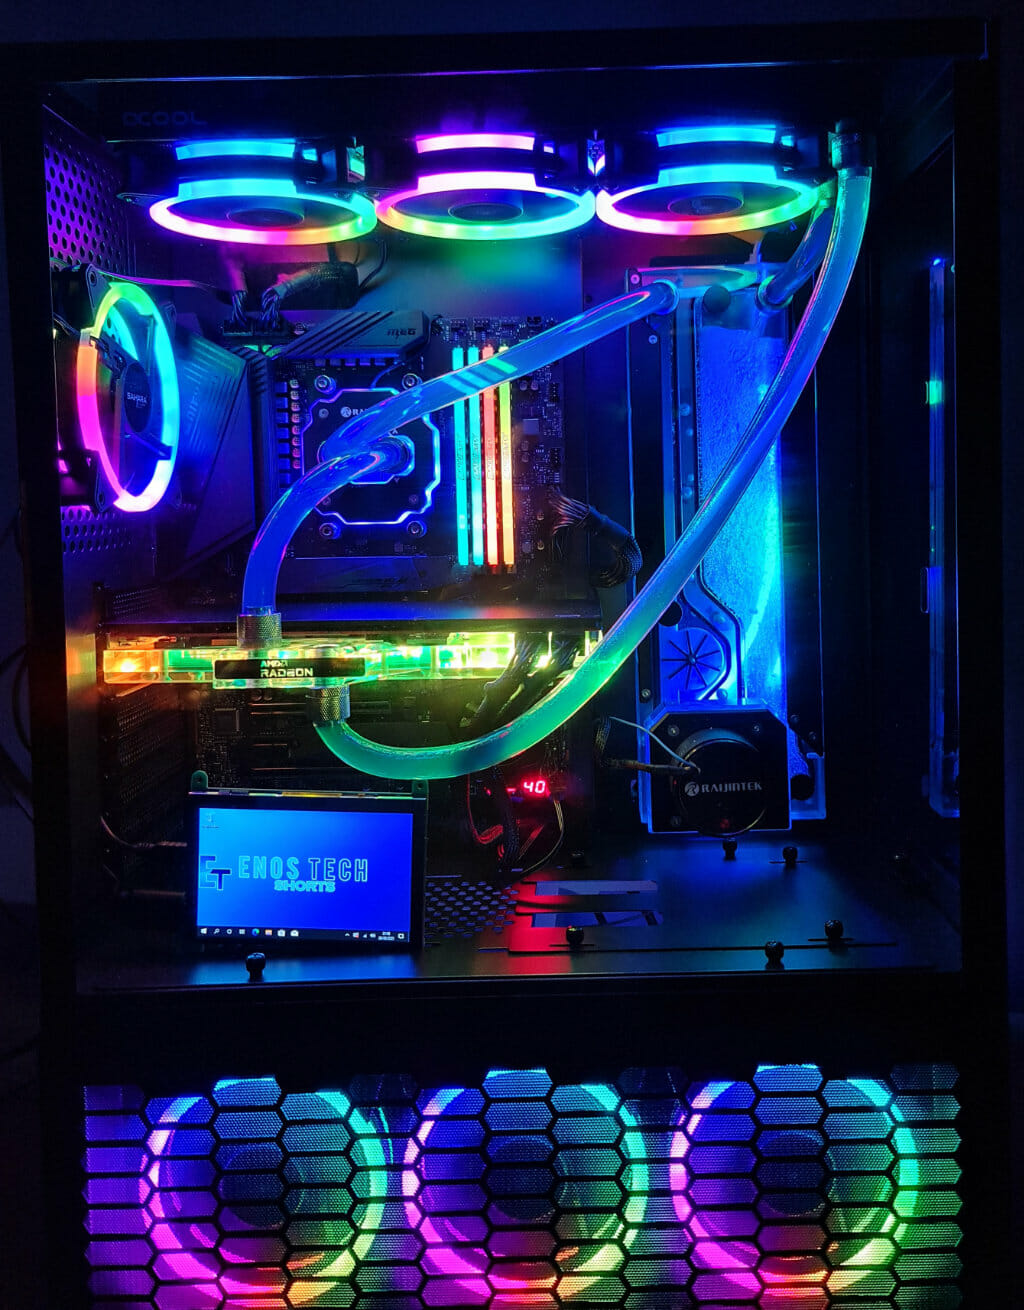
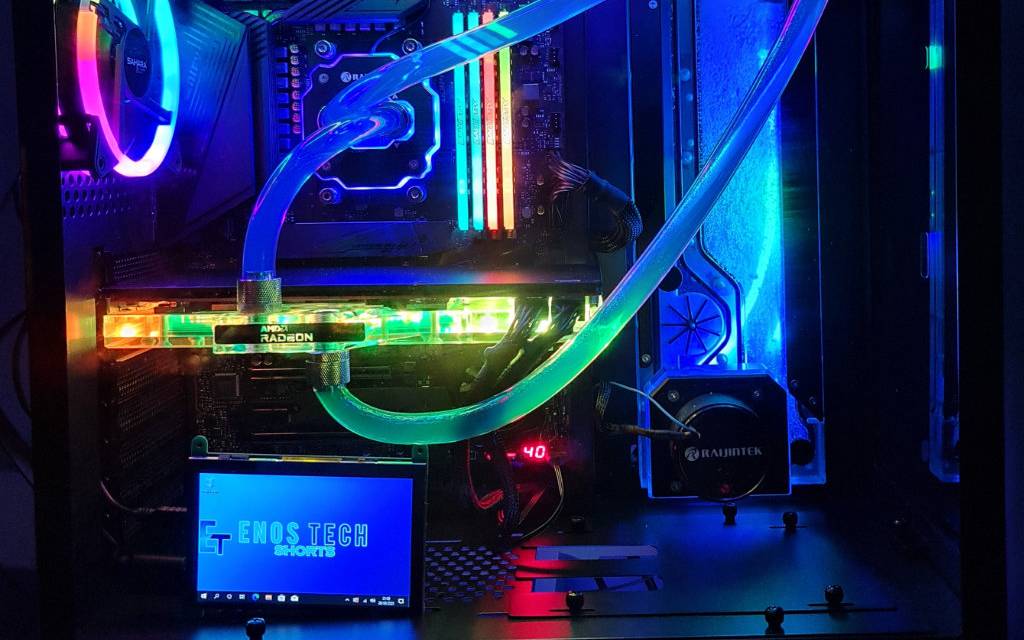
As you can see, once you build into the Paean Premium your build will look just that, premium. This case has so much room in it which makes it rather easy for anyone to build in it. There is plenty enough space for all your components, plenty of room on the top and bottom of the motherboard once installed and yeah, just generally all the room you could ever need. The only issue I ran into with this build was the fact there was no room on the backside of the motherboard tray to pass the cables for the fans up through to the backside of the case.
Conclusion
Value
Currently coming in at £219.95 from the folks at Overclockers UK, the Paean Premium won’t be for everyone. I know some will think the price is a bit much for a case but when you consider the costs of the components you will be putting in a case like this, it doesn’t seem as bad. This is a lot of case here and the quality of it, for the price is outstanding. If you want the best of the best or a premium product, expect to pay that little extra premium for it.
Performance and Design
It’s heavy, sturdy and has more than enough room from some serious watercoolers builds. There are a pair of tempered glass panels that are going to allow you to show off your PC as best possible. Once your build is done, there is also extra room for any figurines or maybe even a cheeky little performance monitoring screen! Raijintek has thought of almost everything to make this case one of the best out there for water cooling. As mentioned, my only major gripe is that there is no cutout on the backside of the motherboard tray to pass cables through from the bottom to the PSU etc. Aside from this, Raijintek did a great job at trying to cover all their bases. However, while I am thinking of it, I suppose they could’ve added a couple more mounts for storage as you only really can mount two drives at one time which is a bit of shame in a case of this size. With that being said, I am sure Raijintek will address these couple of small issues in their next case or maybe even released a V2.0 of the Paean Premium.
Final Words
When all is said and done, the Paean Premium offers users looking to go with a full custom DIY water cooling loop the options they need. The Paean Premium can easily house multiple radiators and a ridiculous amount of fans in different configurations, offering something for everyone. Should you be in the market for a new case for your next build, the Paean Premium is worth considering if you can make use of all it has to offer.

