RIOTORO CR500 PC Case Review
Introduction
- Manufacturer: RIOTORO
- Product: CR500
- Purchase: £49.74 At the time of review
Following on from our last RIOTORO review on the Enigma 750W G2 PSU, today we will be looking at one of their cases by way of the CR500. The CR500 is designed to fit an ATX motherboard inside and features room for a GPU of up to 400mm in length. First impressions of the CR500 were quite nice and seeing the tempered glass side panel surely helped us to like it a bit more. So far, we have been quite happy with the RIOTORO products we have seen and it doesn’t look like that will stop anytime soon but only time will tell. For a newer company, RIOTORO has a nice range of products and you can definitely tell they care about their customers and users and are not just trying to sell cheap products. If you’ve not yet had a chance to look at their products, I would highly recommend popping over to www.riotoro.com and having a browse. Their products range from Cases, Coolers, Power Supplies, Peripherals and more!
Closer Look
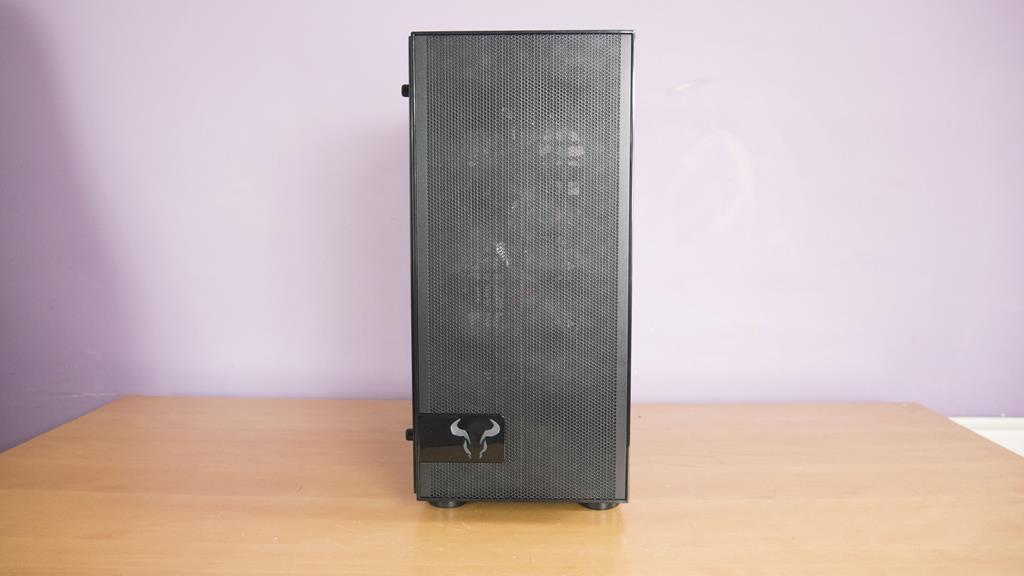
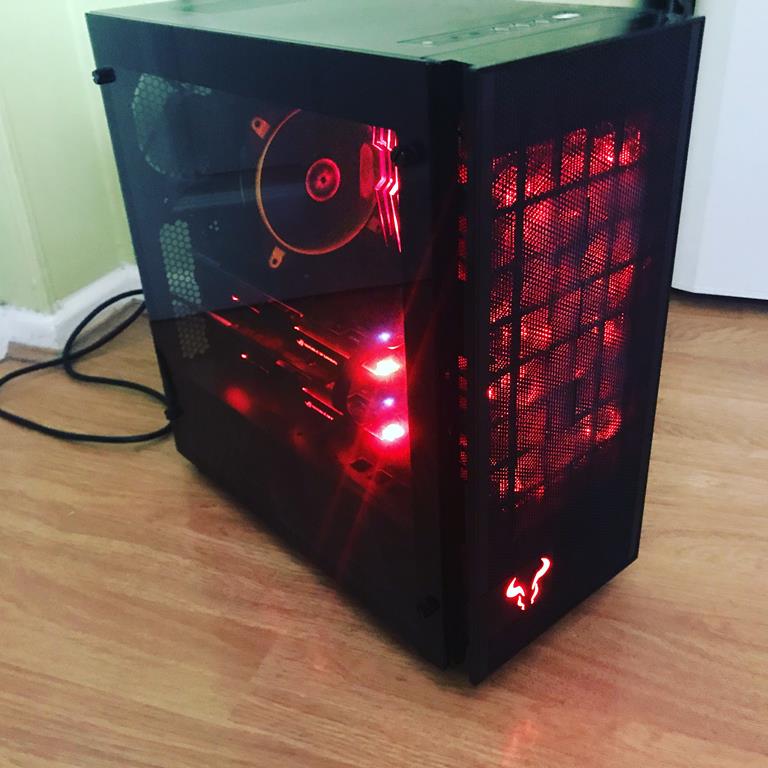
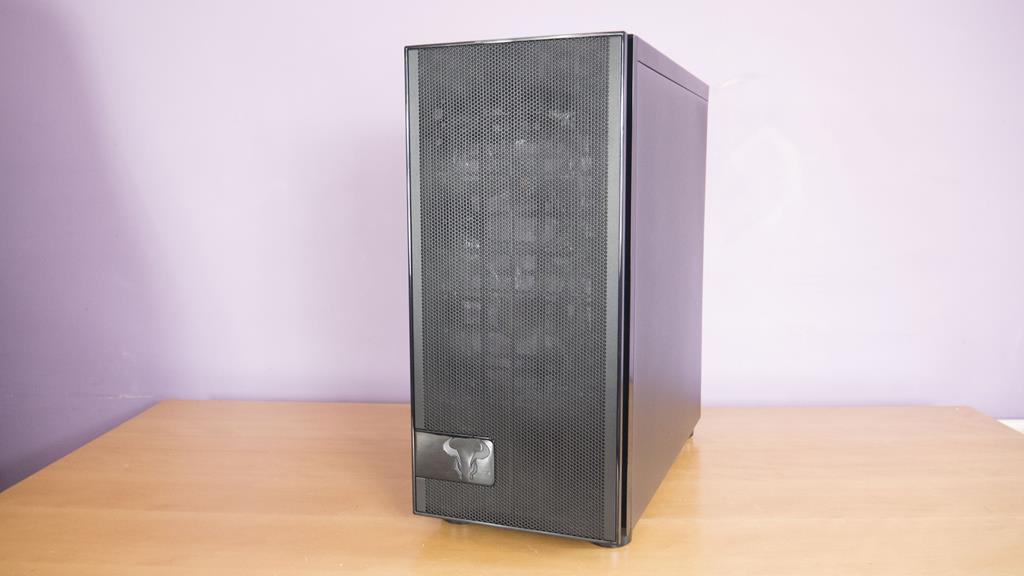
Getting the CR500 out of its box and it looks rather sleek. The front panel is a mesh design to allow for plenty of airflow and we can see a small RIOTORO bull logo towards the bottom.
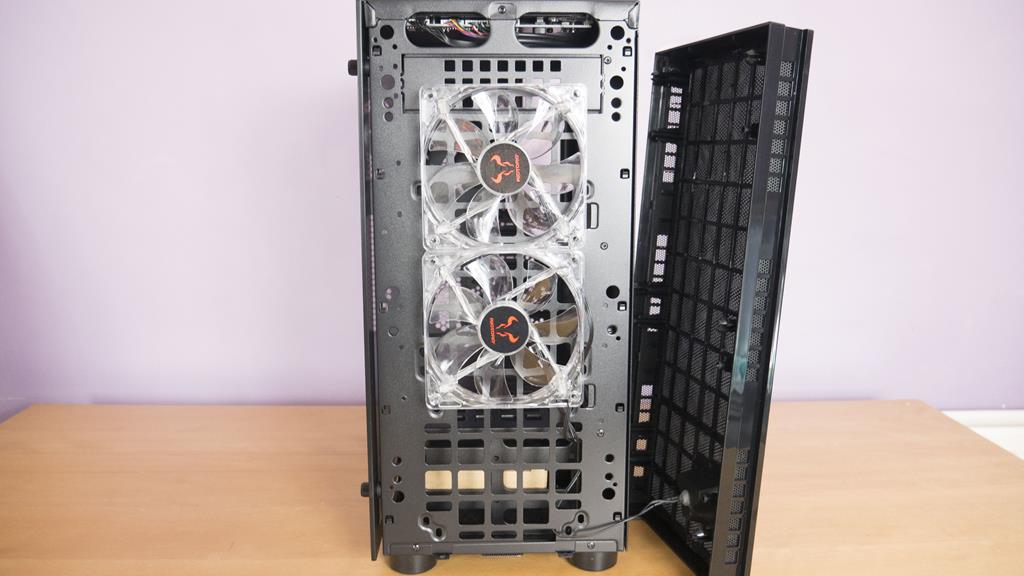
Taking off the front panel reveals two RIOTORO LED fans. Be careful when taking this panel off as there are wires connected to the logo. This wires can be disconnected to remove the panel completely but that shouldn’t be needed for most users building in the case as it can be placed to the side as seen in the image below.
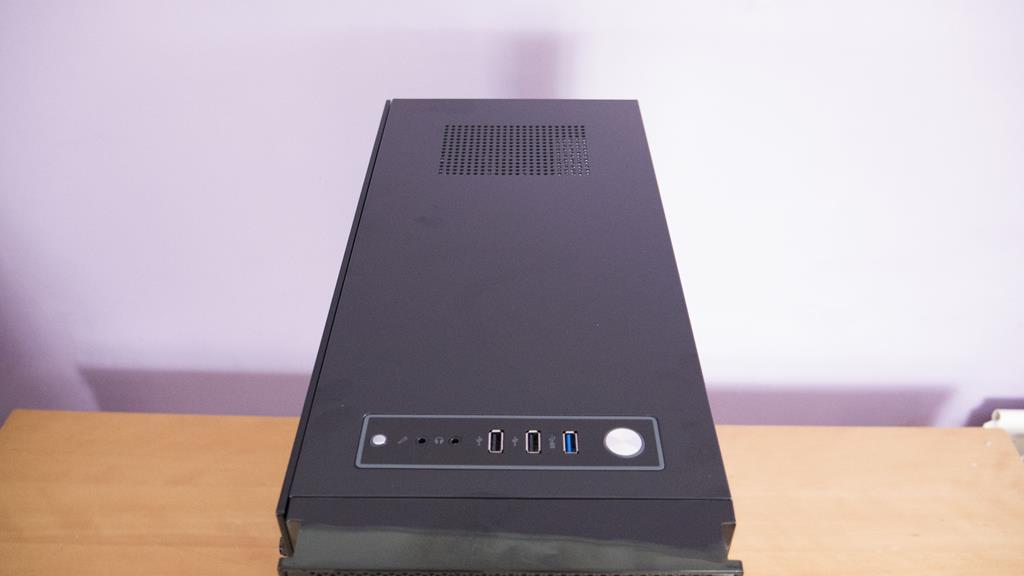
The top panel is where the front IO is found. The IO consists of power and reset buttons. audio inputs, 2x USB 2.0 and a single USB 3.0 port. While I personally would’ve liked to have seen 2x USB 3.0 ports here, it’s not a massive deal for me personally as I have plenty on my motherboard so this is something you’ll need to consider when looking at the CR500. Towards the back of the top panel is also a small ventilation area to help improve the overall thermals of the case.
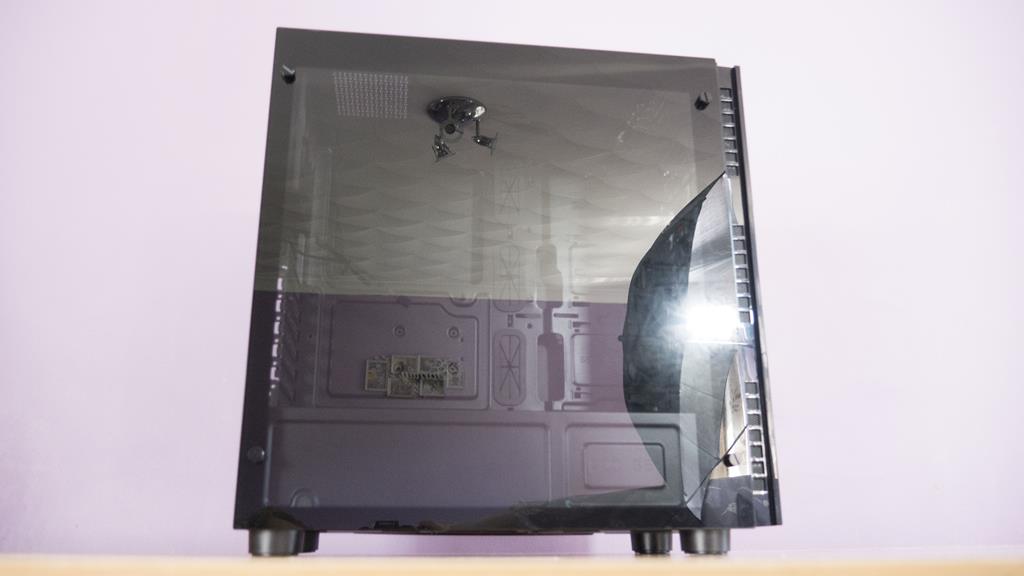
One thing currently taking the market by storm is Tempered Glass (TG) side panels. These allow the users to show off their components inside and look much nicer than the old school acrylic we used to be stuck with as side panel windows. There are 4x thumb screws holding the TG panel in place, simply undo this and carefully lift the panel off to start your build inside. Looking at the case from this angle also allows us to see the extra ventilation holes on the side of the front panel.
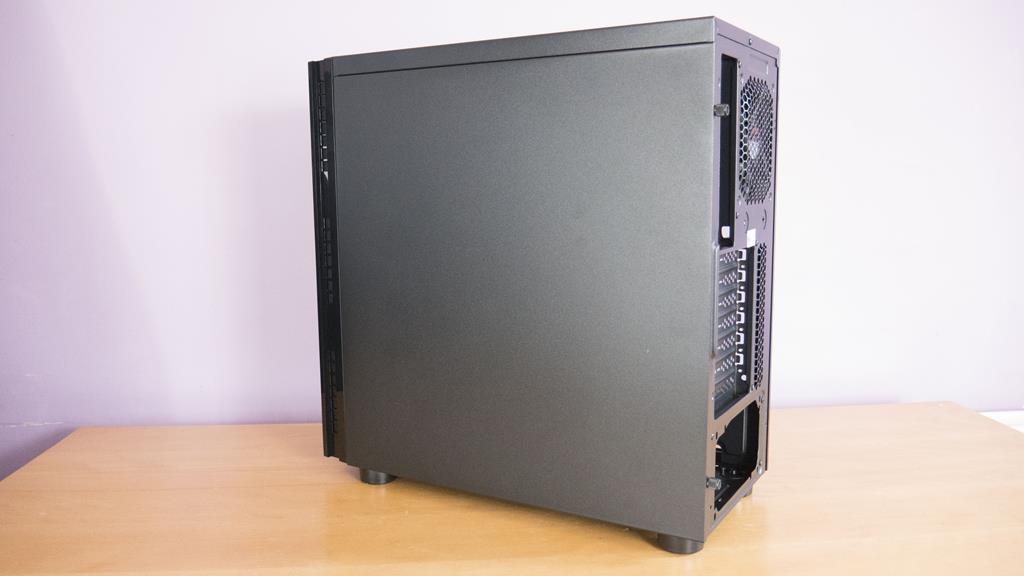
The secondary side panel is plain as can be, a very common feature of most cases.
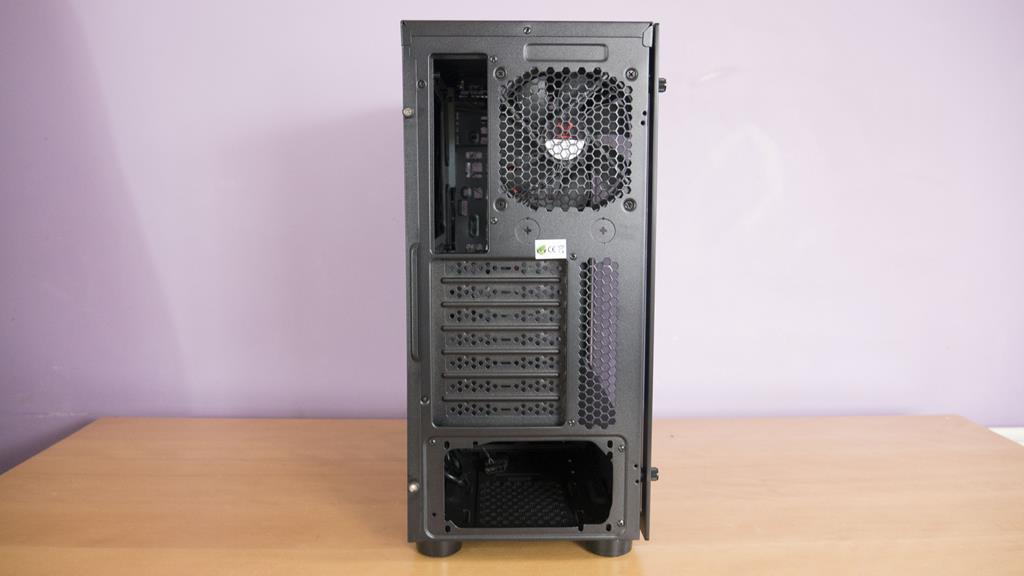
On to the back of the CR500 and we can see the pre-installed fan, motherboard and PSU cutouts and 7x PCI expansion bays for all of you graphic, sound and network card needs.
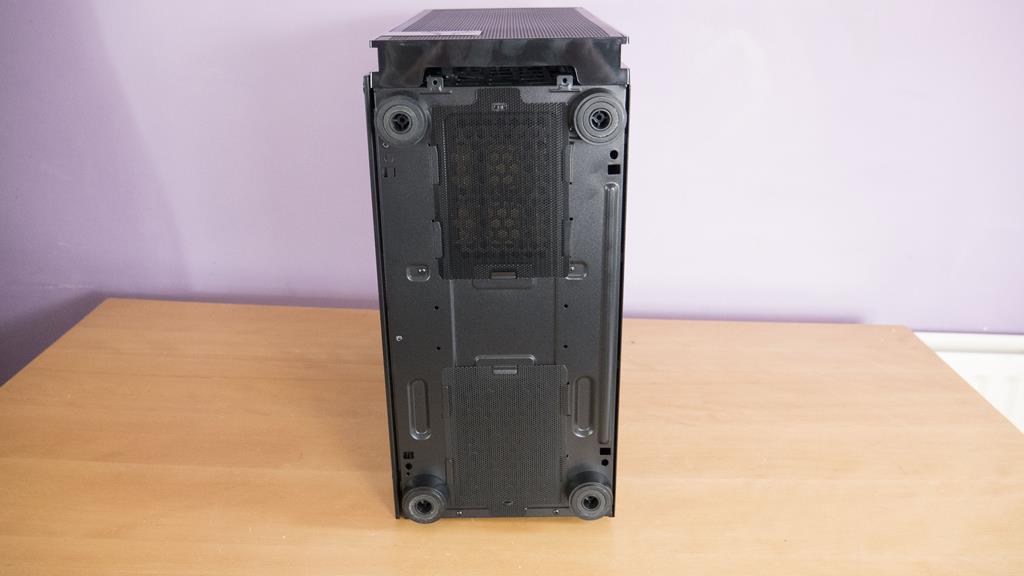
The bottom of the CR500 has two ventilation areas, both of which come with a dust protector already in place. The one towards the rear of the case is so the PSU can pull air in to keep itself cool. The one towards the front will help to generate more airflow throughout the inside of the case to keep all your internal components a bit cooler.
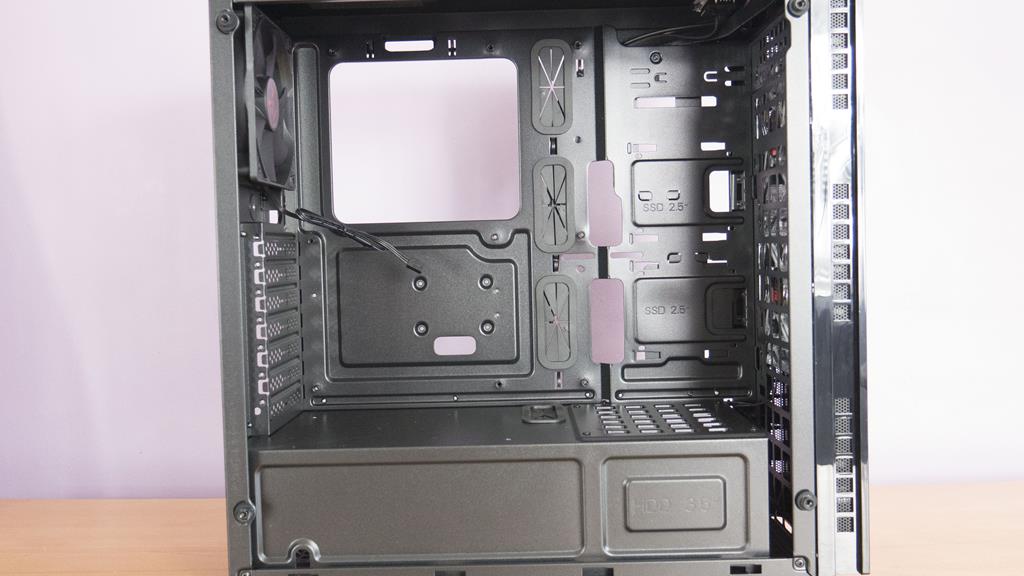
Taking a look inside the case and there is quite a bit going on. On the motherboard tray, there is a big cutout for easy CPU cooler installation alongside 5x passthrough holes for cable management and 2x SSD mounts. Below this, we have a nice PSU shroud which features another hole to pass cables through as well as a vented area that you can mount a fan to help increase airflow through the case. This fan mount will also make use of the ventilation area we saw on the underneath of the case towards the front.
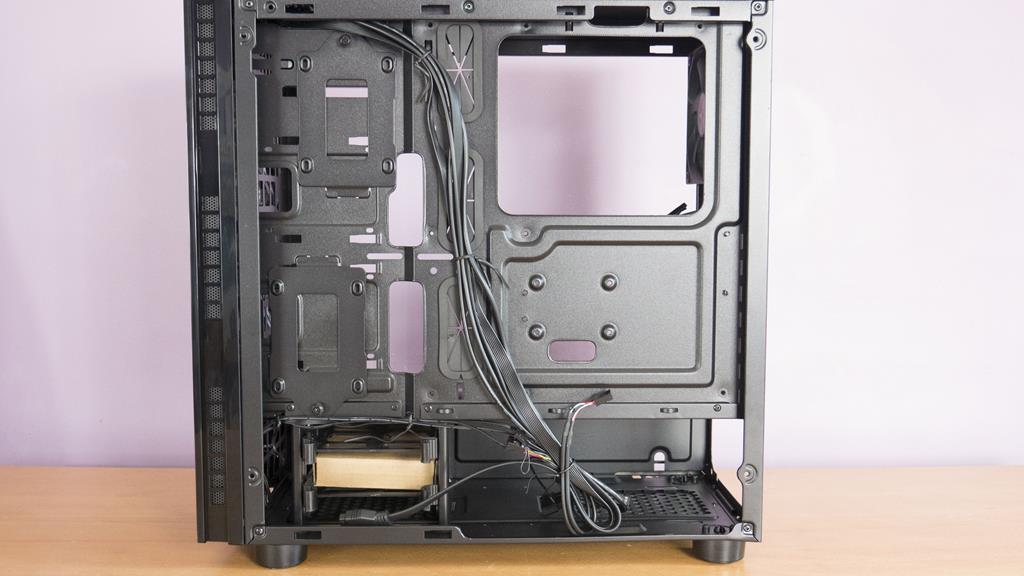
On the backside of the motherboard tray, we can see another pair of SSD mounts and a 3.5″ HDD cage that can house 2s 3.5″ or 2.5″ drives. We can also see there is a bit of room where the PSU will go to store any unwanted cables that you may have. Also, as you can see there are a few spots to zip tie your cables to so you can route them in a clean manner. All and all it looks like this is a very well thought out case for the £50 price tag it carries.
Final Build
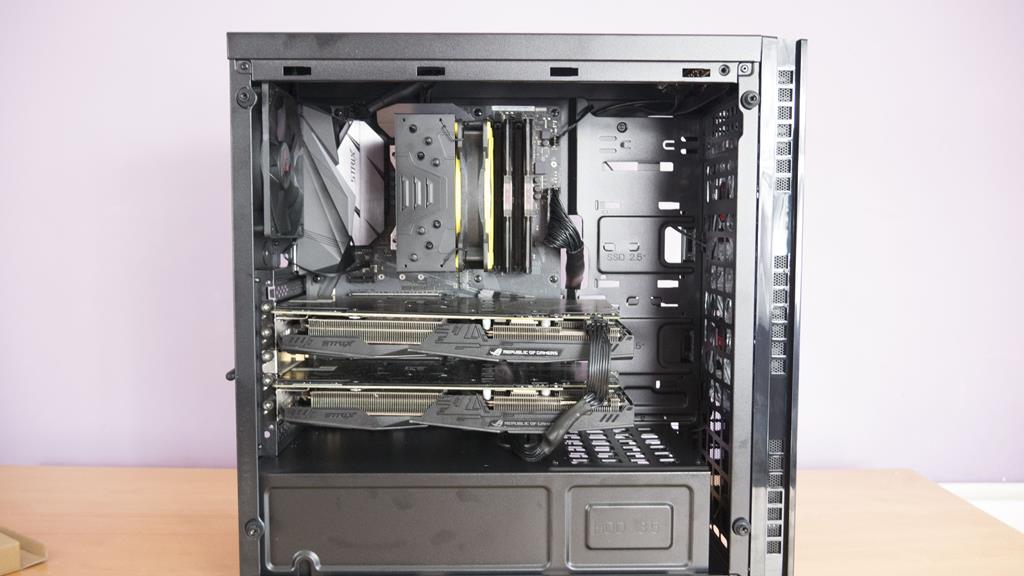
As I do with all my case reviews, I have built a fully functional dual GPU rig to showcase just what the case is capable of. The CR500 was more than accommodating to the hardware I wanted to install and I didn’t run into any issues at all. There we no issues with cable management and there was plenty of room for 2x ASUS GTX 1060’s including more than adequate airflow to the bottom GPU. Putting all this together didn’t really take much time at all and was super easy as everything just fits where it needs to.
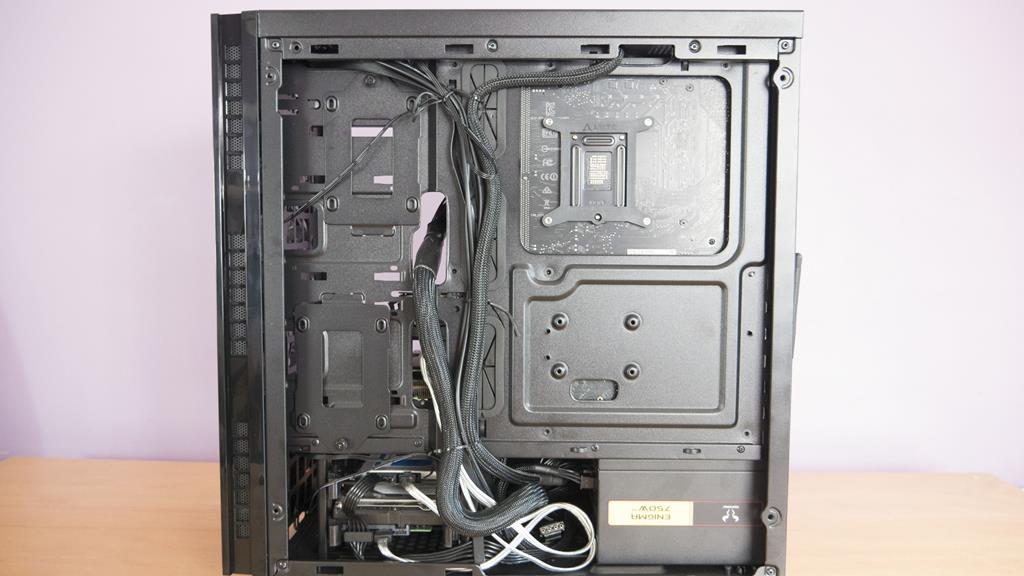
Even routing the cable was fairly easy and with a little more patience, you could have the backside of the motherboard tray looking quite nice. As you’ll notice, I decided to install both my HDD and SSD by the PSU as to alleviate the need for any unwanted cables on the front side of the case. There was quite a bit of room between the PSU and HDD bay to stuff any unwanted cables or extra cable if they are a bit longer than needed. It’s also worth mentioning that there is enough of a gap between the motherboard tray and the side panel for the cables to fit. All this means is that when it comes time to put the side panel on, you don’t have to sit on it like a suitcase when your packing for a holiday to get it closed!
Once everything is all installed and turned on, the front fans feature a red LED and when coupled with the bull logo, it looks quite nice. Only thing I would have personally like to of seen here is a LED fan in the rear as well. While this is purely for aesthetical reasons, I feel it would’ve helped at a bit more balance to the colour scheme. However, the rear fan still does what it’s meant to, exhaust warm air.
Final Thoughts
Performance and Design
For a more budget-orientated case, while still remaining not to be a flimsy piece of junk, the CR500 is quite nice. Not only does it feature a TG panel, it was also easy to build in and the included red LED intake fans help to add a bit of light to things. While as mentioned, it would’ve been nice to see the rear fan feature a red LED, I won’t hold this against the CR500 in any way. It’s easy to see that RIOTORO put quite a bit of thought into the CR500 during the design phase. The front mesh panel is going to allow for plenty of airflow to help keep your components cool while the PSU shroud is going to allow you to hide your cable and be left with an amazingly clean looking build. While I know these features aren’t groundbreaking, for a case at this price point they are warmly welcomed. Even the extra ventilation areas on the top and bottom of the case to allow the users to get further airflow speaks on how RIOTORO really wanted to offer their customers the best experience possible.
Value
Coming in at around £50 here in the UK, the CR500 is a well-worthy choice for the money. For a case of its size, it has some great features and it’s not only designed to be aesthetically pleasing, it’s also designed to offer great functionality. If you’re in the market for a nice case and your budget is around £50-£60 I would highly suggest taking a look at this case. From the TG panel to the PSU shroud, this case has features you would see in cases that cost much more! Let us also not forget the 3 pre-installed fans, 2 of which feature red LEDs. RIOTORO have a great offering here with their CR500 and it’s at a price I can get behind and highly recommend!
Many thanks to RIOTORO for sending in today’s review sample!

