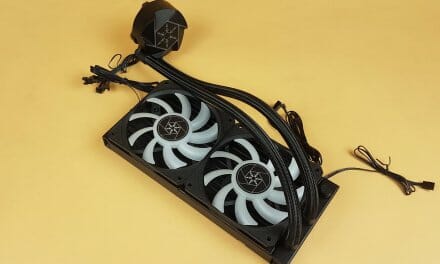
SilverStone SST-PF360 ARGB CPU Liquid Cooler Review
Introduction
SilverStone Technology was founded in 2003 on the principle of recognition that merely having innovative expertise within the industry is not enough. Their objective is to ensure that their expertise is delivered to all products with consistency, in response to user’s needs, and with maximum user satisfaction. SilverStone Technology thrives on the challenges of rapid technological advancements and creating aesthetic standards for the industry. Their products are of high quality. Their product lines include PC Chassis, PSU, Cooling Solution, Storage devices, accessories, etc.
SilverStone has recently released its PermaFrost series liquid coolers. These coolers are released in 120mm, 240mm, and 360mm versions. These coolers packed stunning ARGB lighting on the block and the fans. The new generation of liquid coolers from SilverStone has key features differentiating them from the previous ones like the dual-chamber design of the pump to increase the effectiveness of heat dissipation. 0.2mm micro-channels on the block, an automotive-grade sine wave generator to drive three phase-6 poles pump motor, ARGB dedicated controller as well compatibility with a wide range of ARGB supported motherboards and powerful fans to ensure the optimal cooling performance. These coolers are compatible with Intel LGA 775/1136/115x/20xx and AMD AM2/AM3/AM4/FM1/FM2 sockets. SilverStone has sent us the biggest brethren aka SST-PF360-ARGB cooler for the review. Let’s start.
Item: SST-PF360-ARGB
Manufacturer: SilverStone
Category: CPU Liquid Cooler
Price: £119.99 Ready for Pre-Order on Overclockers UK
$129.99 on SST Store at Amazon
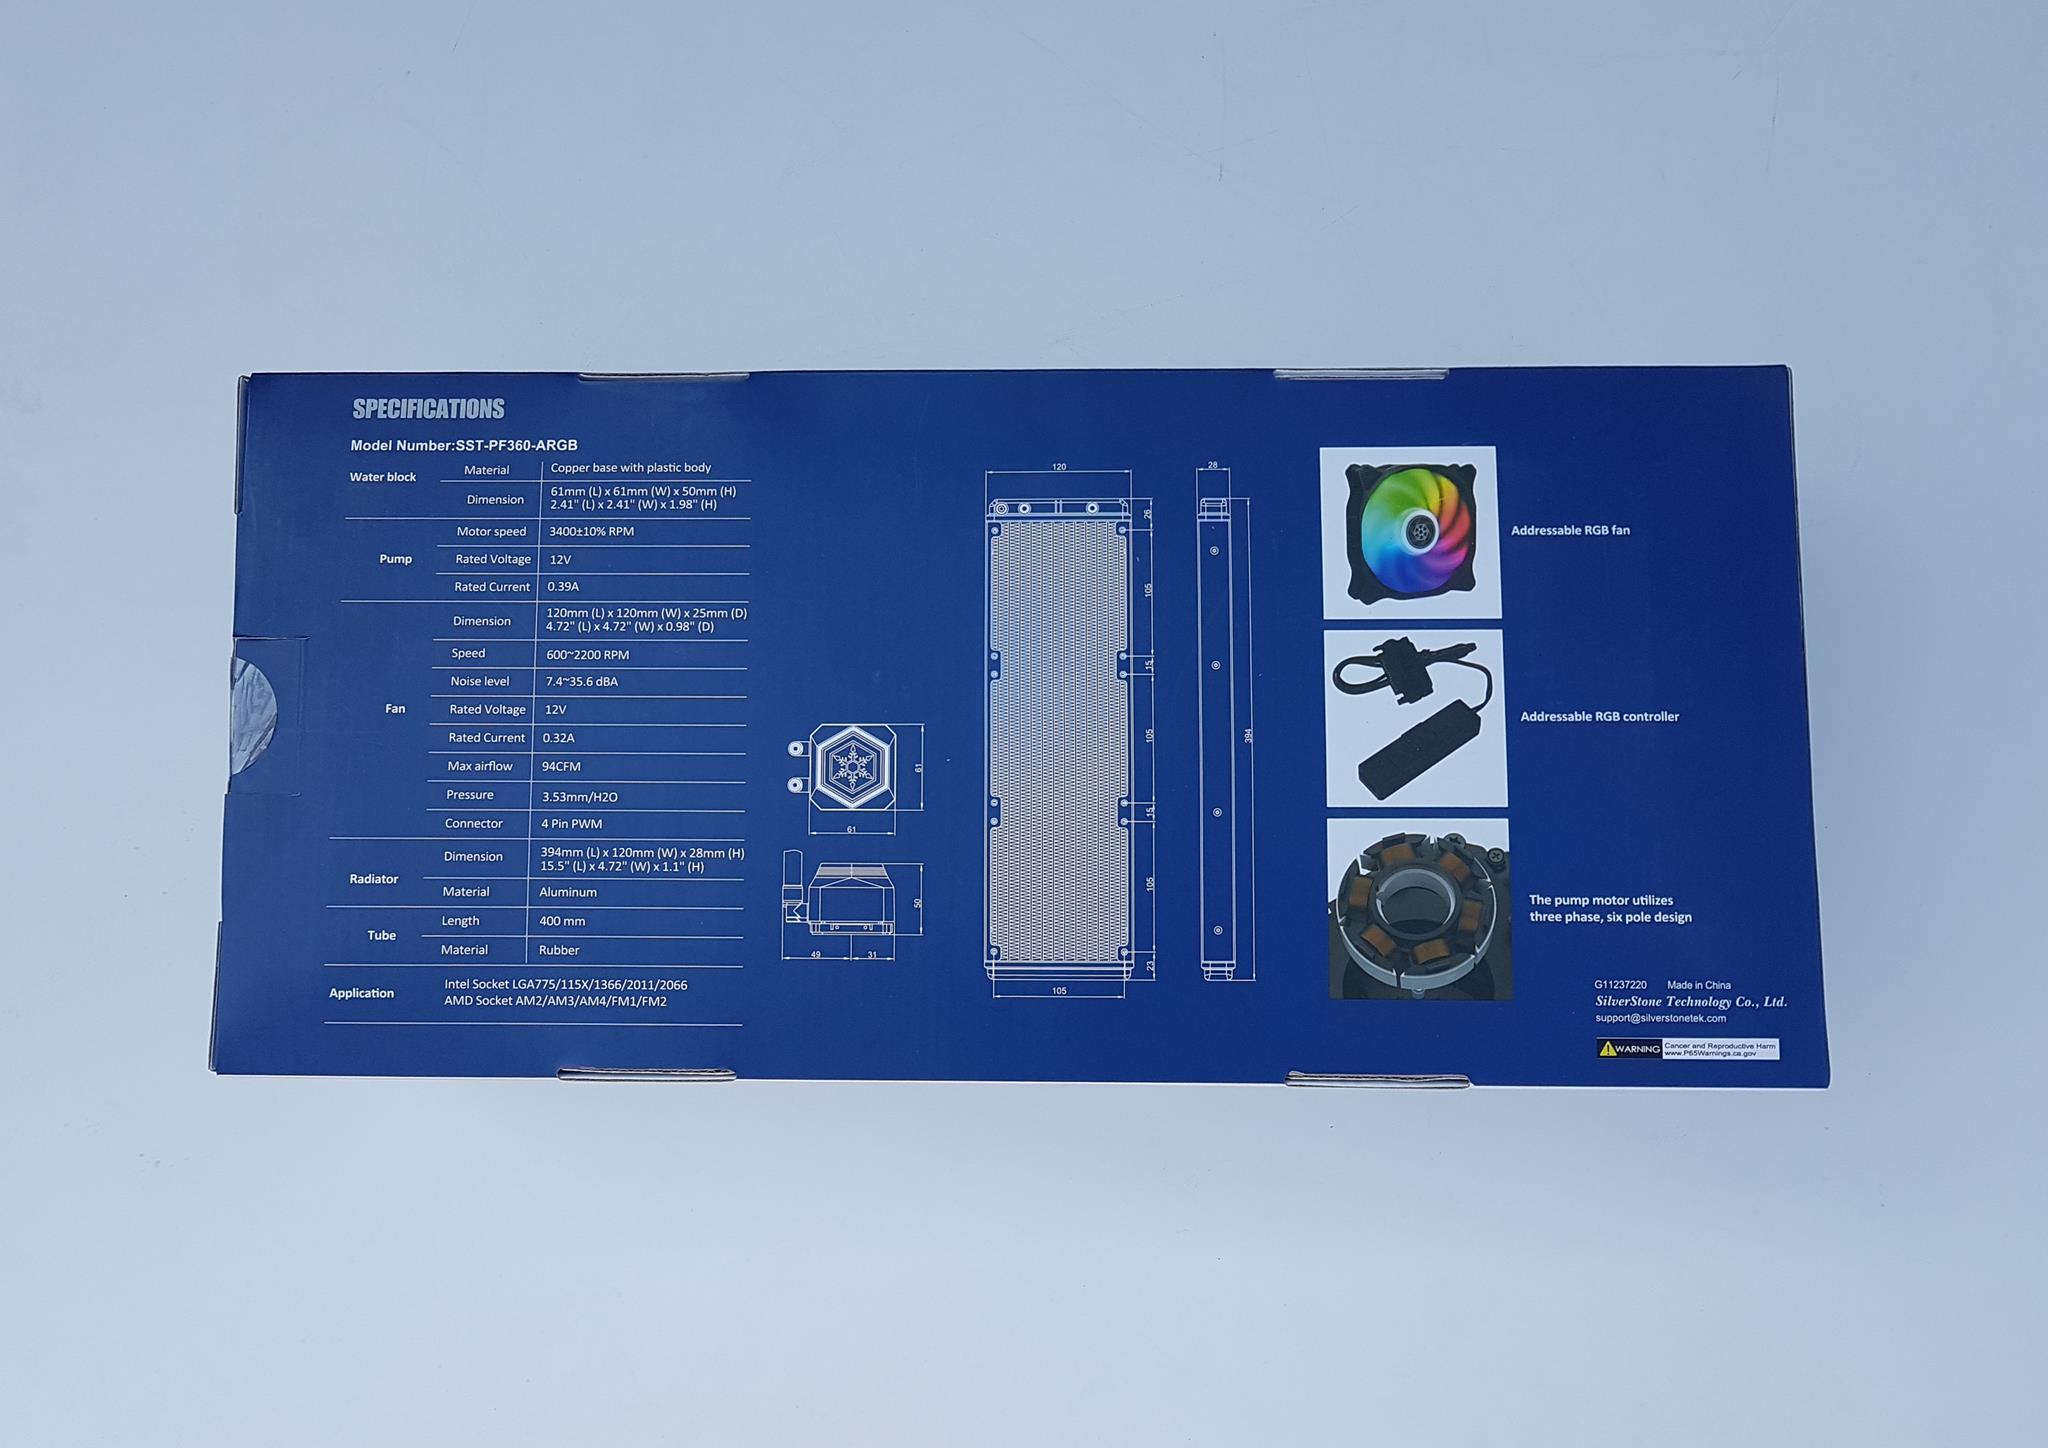
Specifications
Packaging and Unboxing
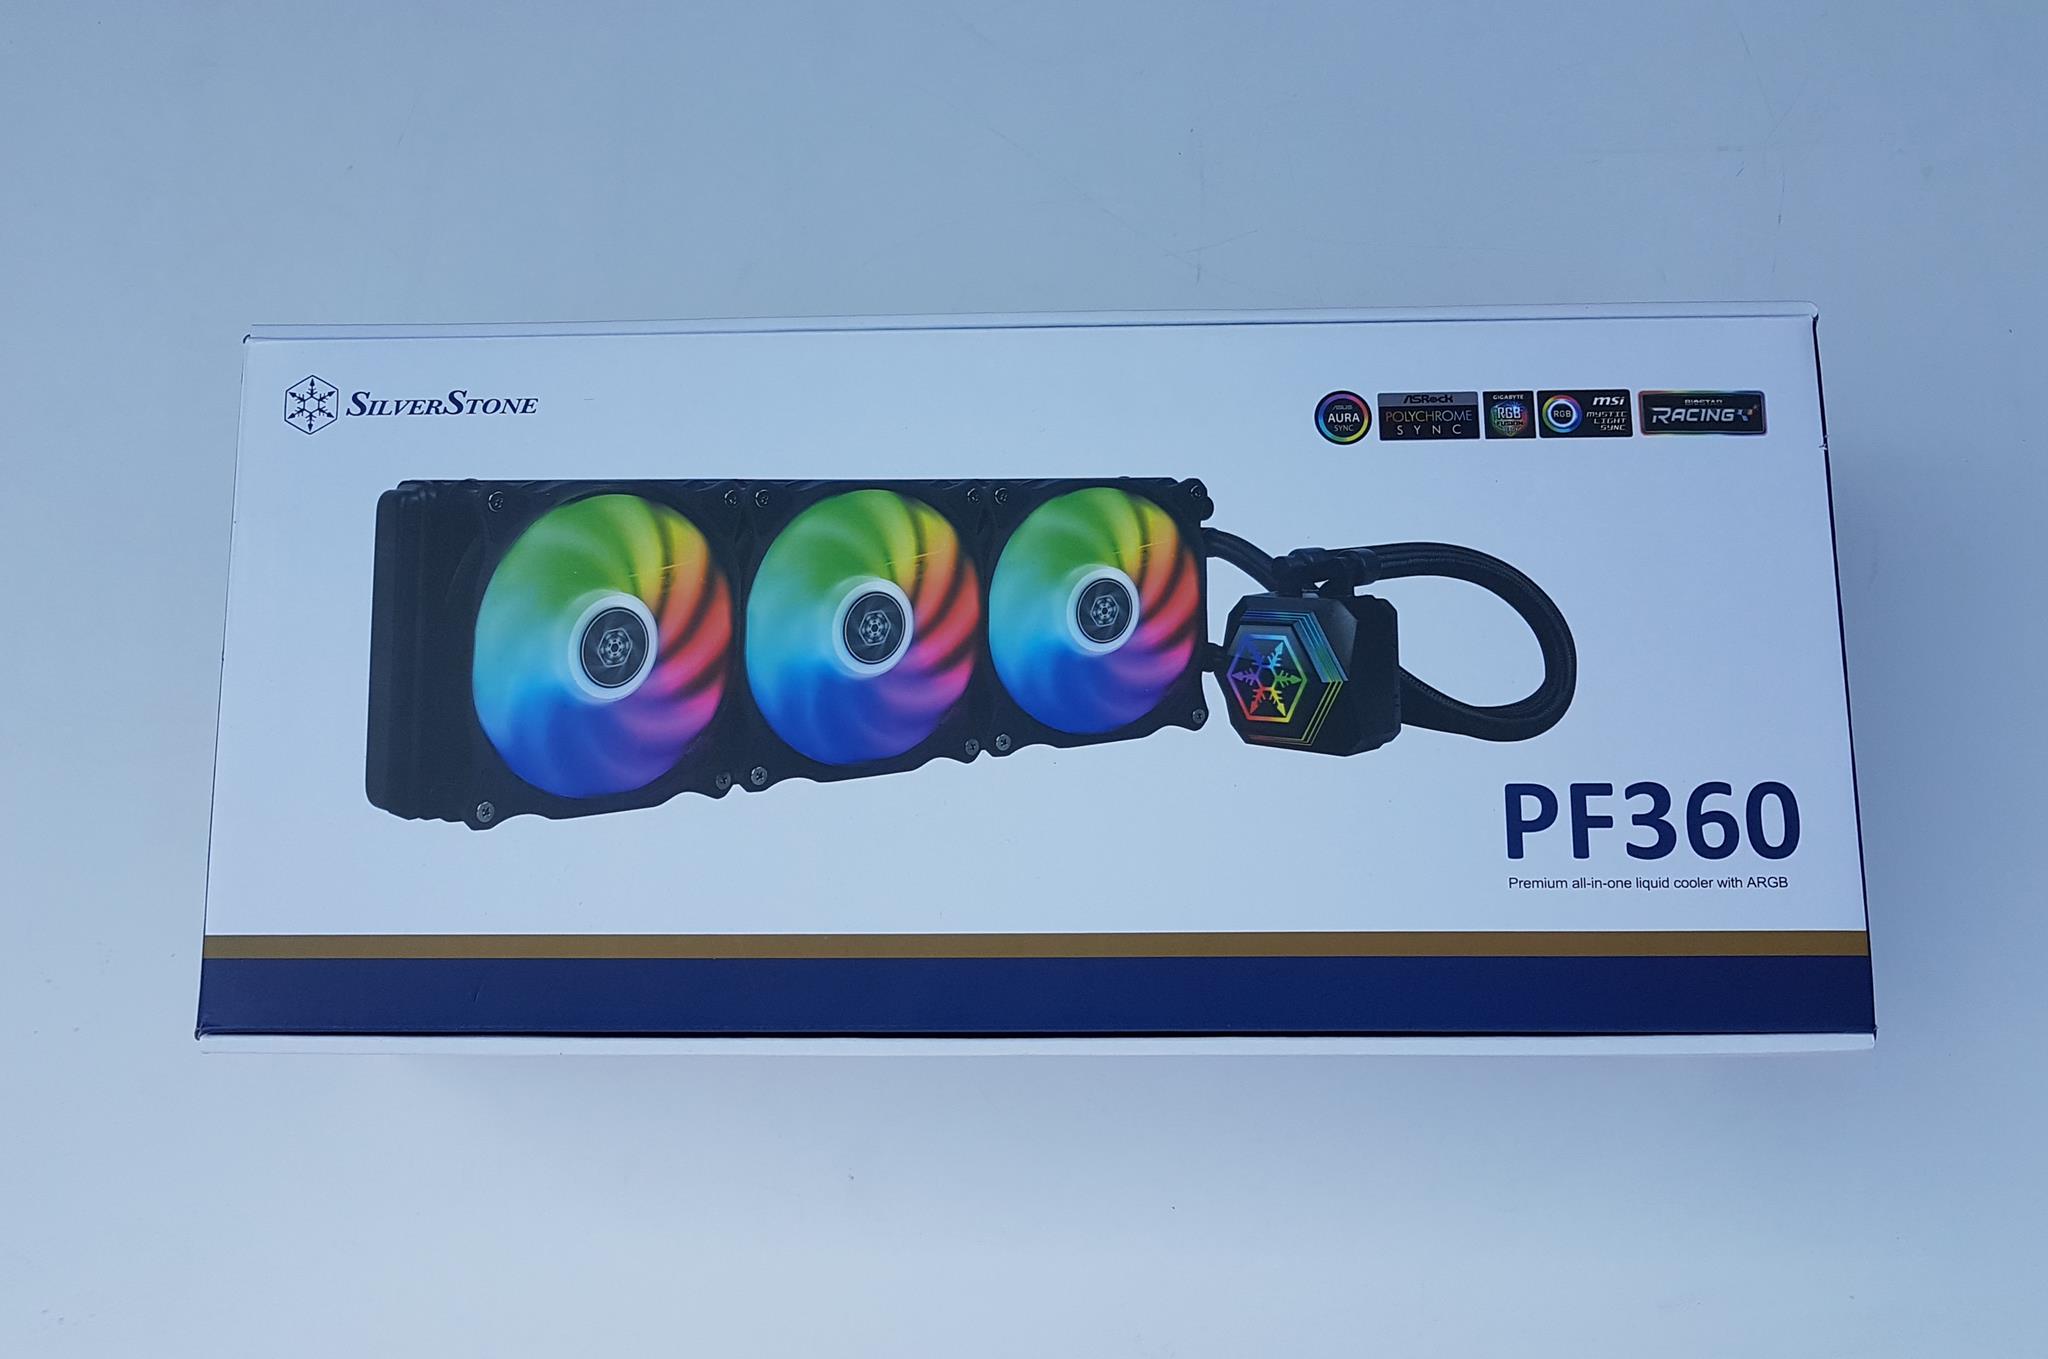
The cooler is shipped inside a cardboard box in white and blue colors.
SilverStone brand name and logo are printed on the top left. There is a picture of the assembled unit in multiple colors in the main section. ARGB lighting solution’s compatibility is printed on the top right. The model of the cooler is printed on the bottom right.
The specifications of the cooler are printed on the left side in a tabular format. There are diagrams of the unit showing the dimensions in the middle. Special features highlights are printed on the rightmost side. There is a warning sticker on the bottom warning for Cancer and Reproductive Harm. What does that mean SilverStone? Is your product a Bio Hazard?
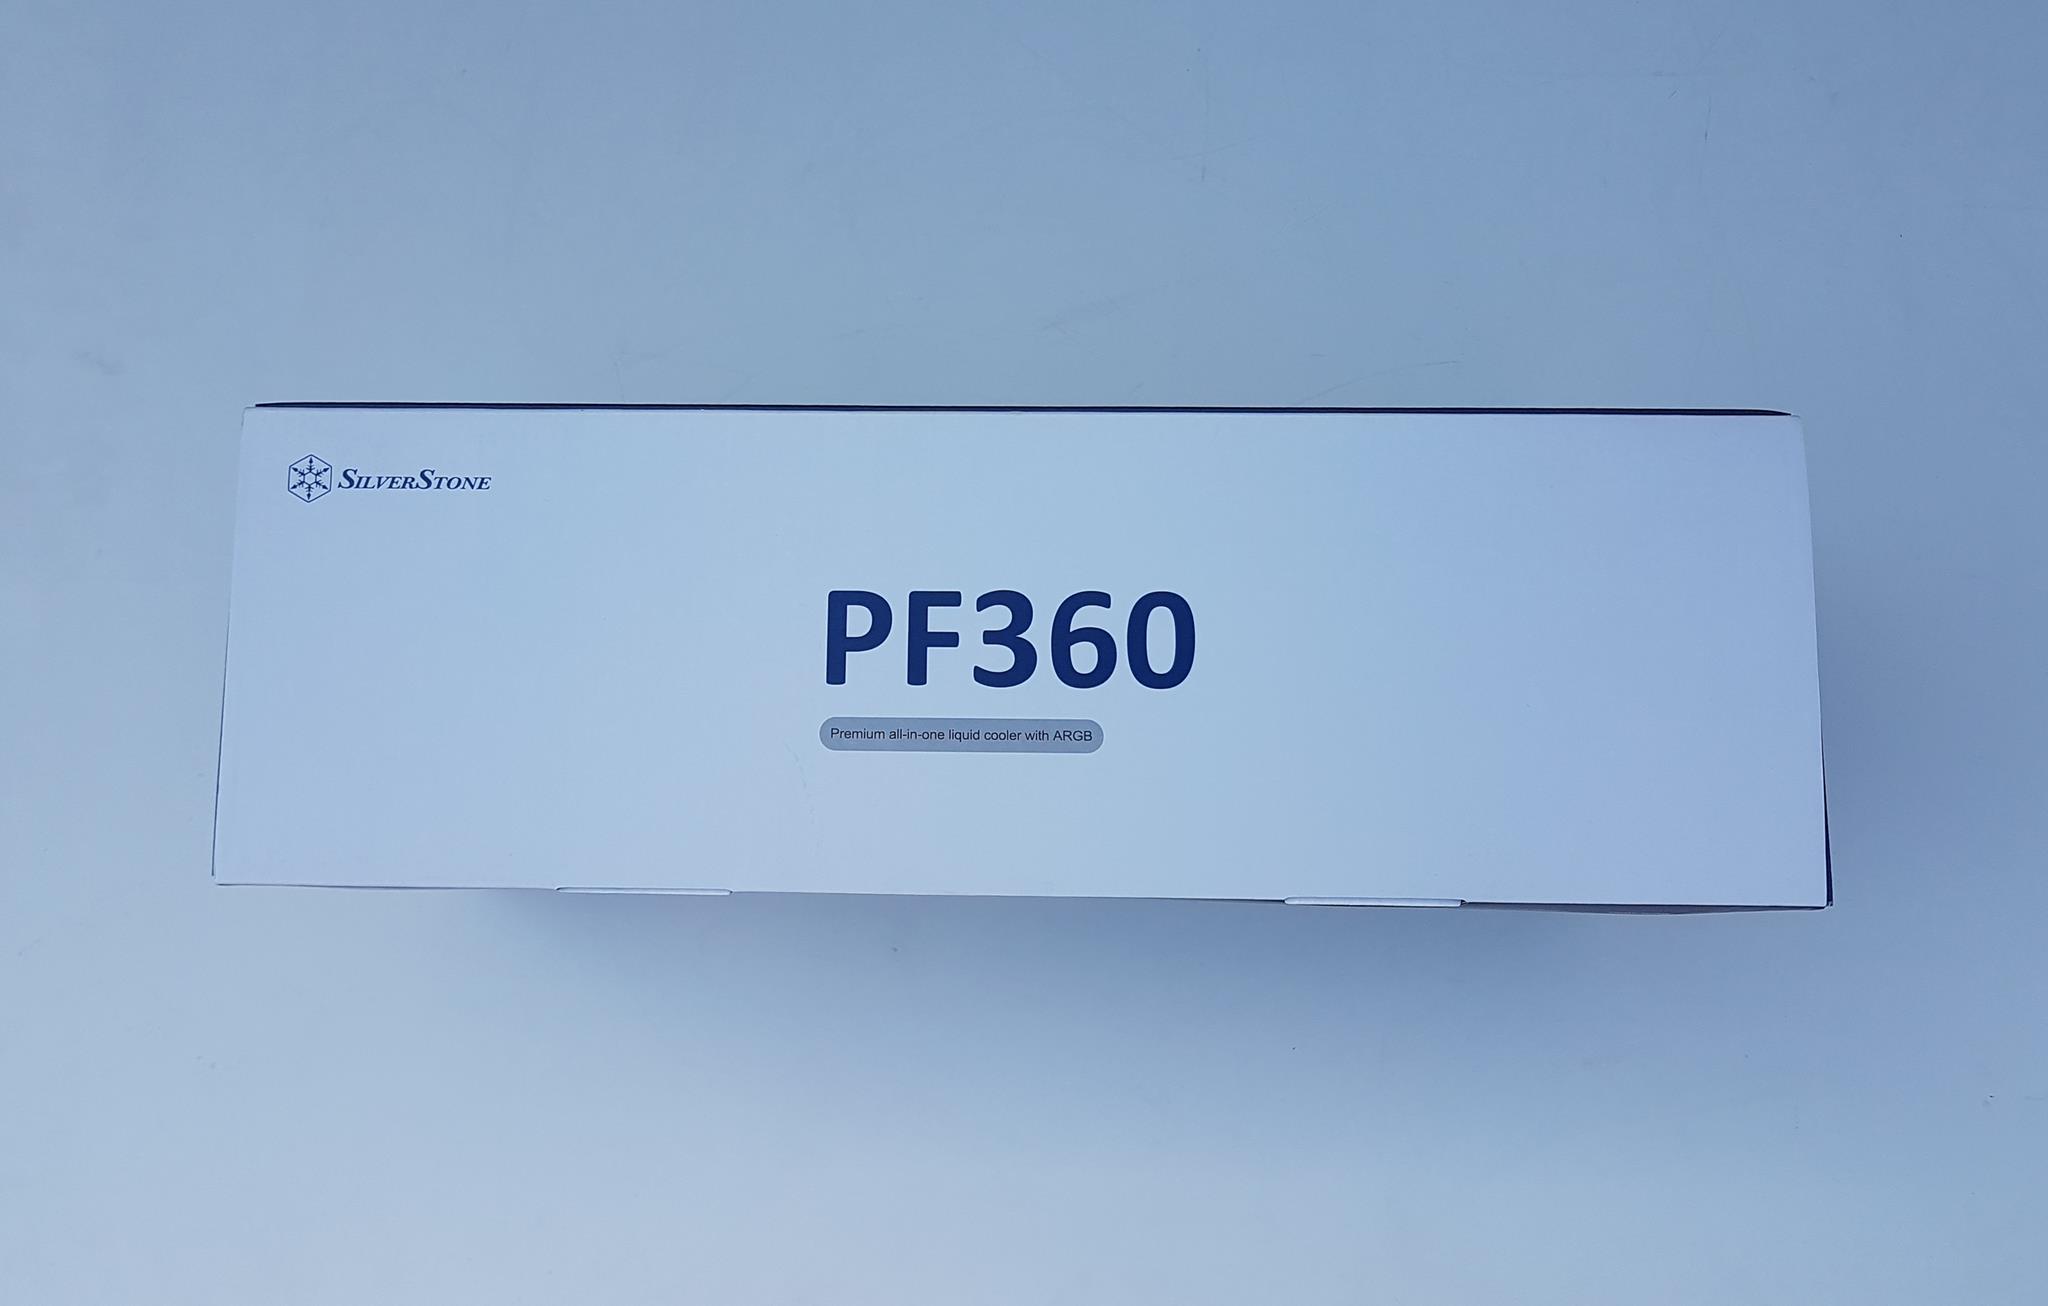
SilverStone brand name and logo are printed on the top left. PF360 is printed in the middle.
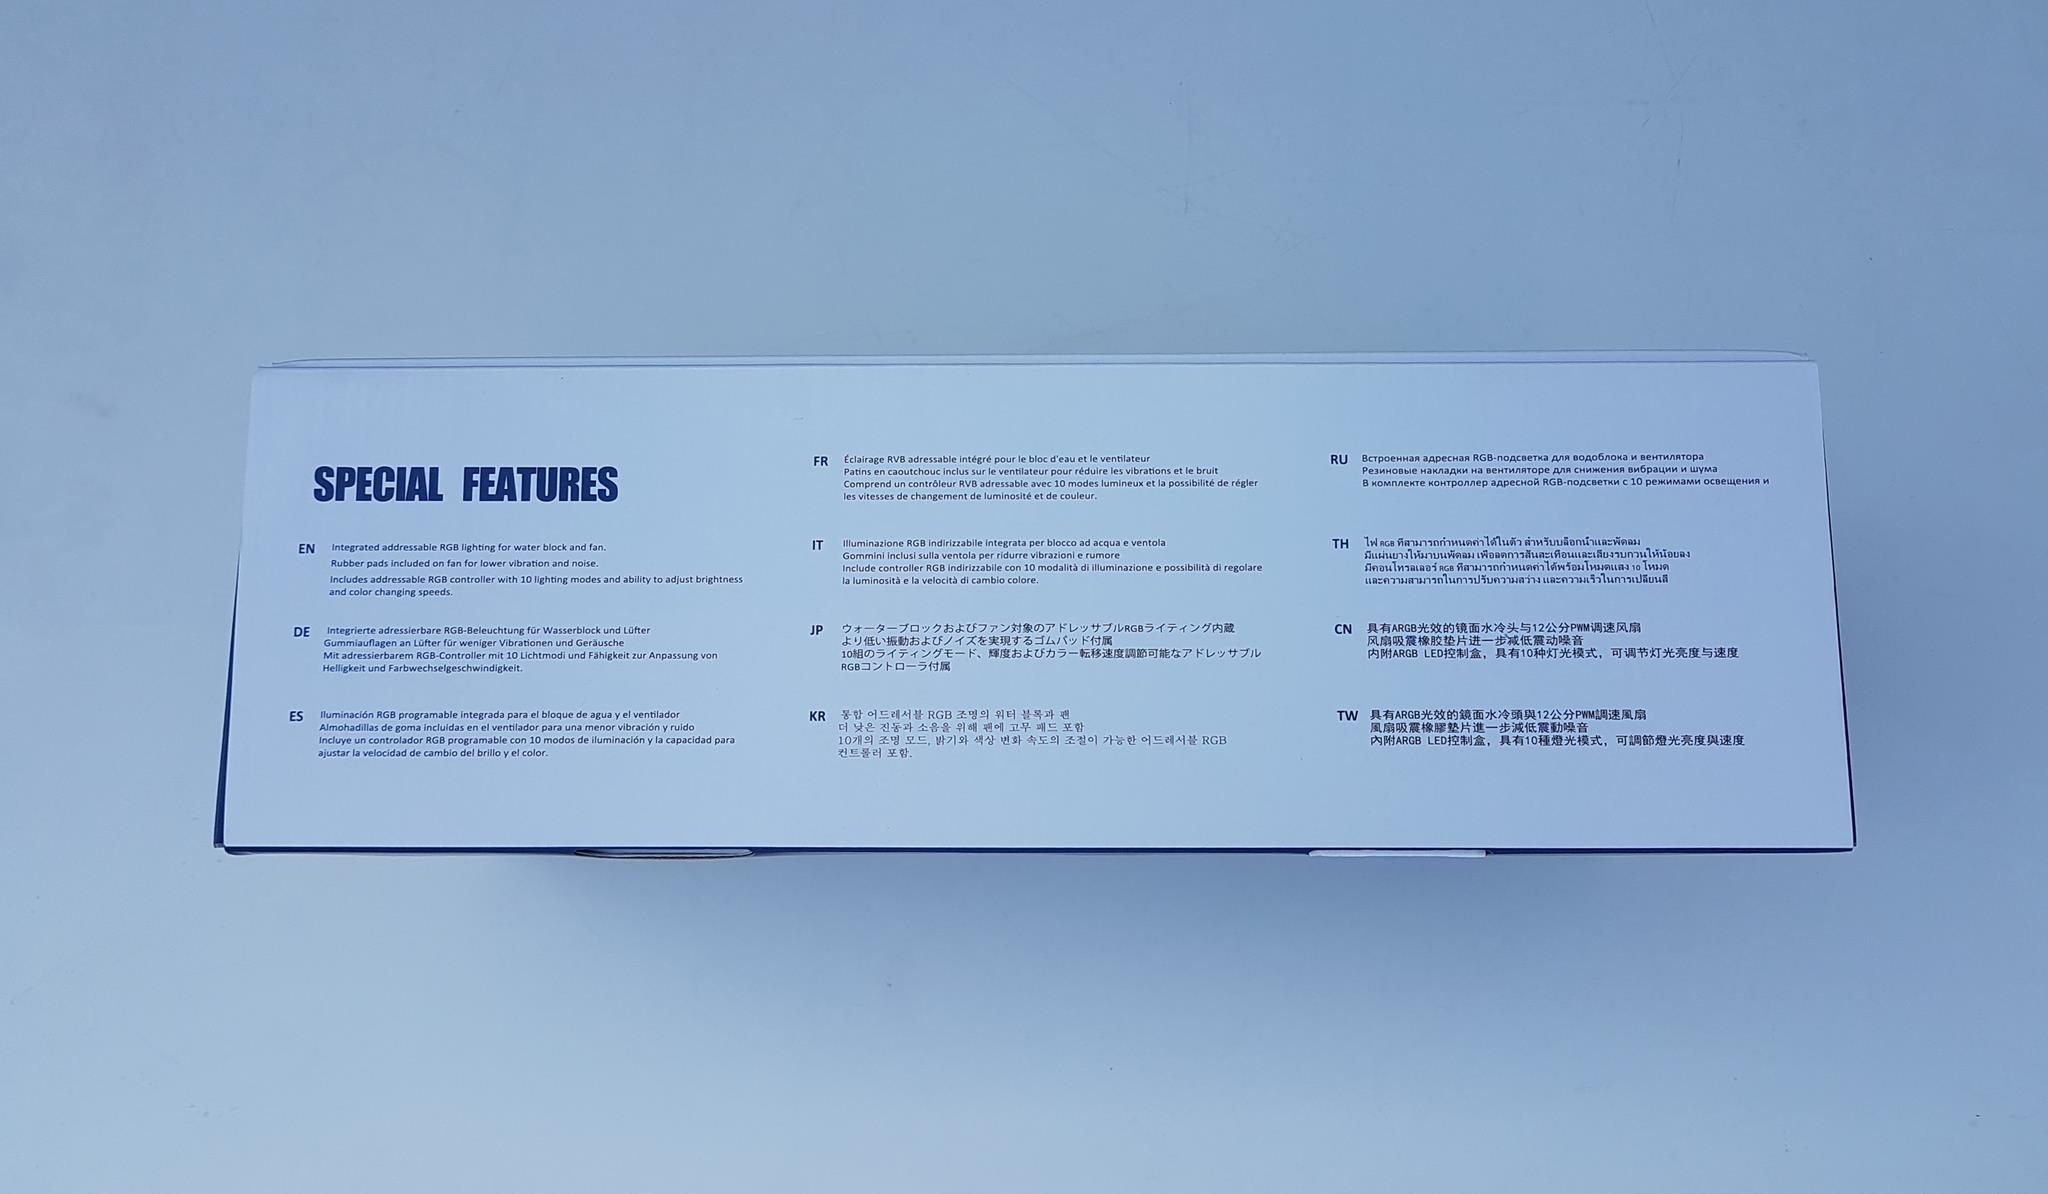
The special features of the cooler are printed in 11 different languages.
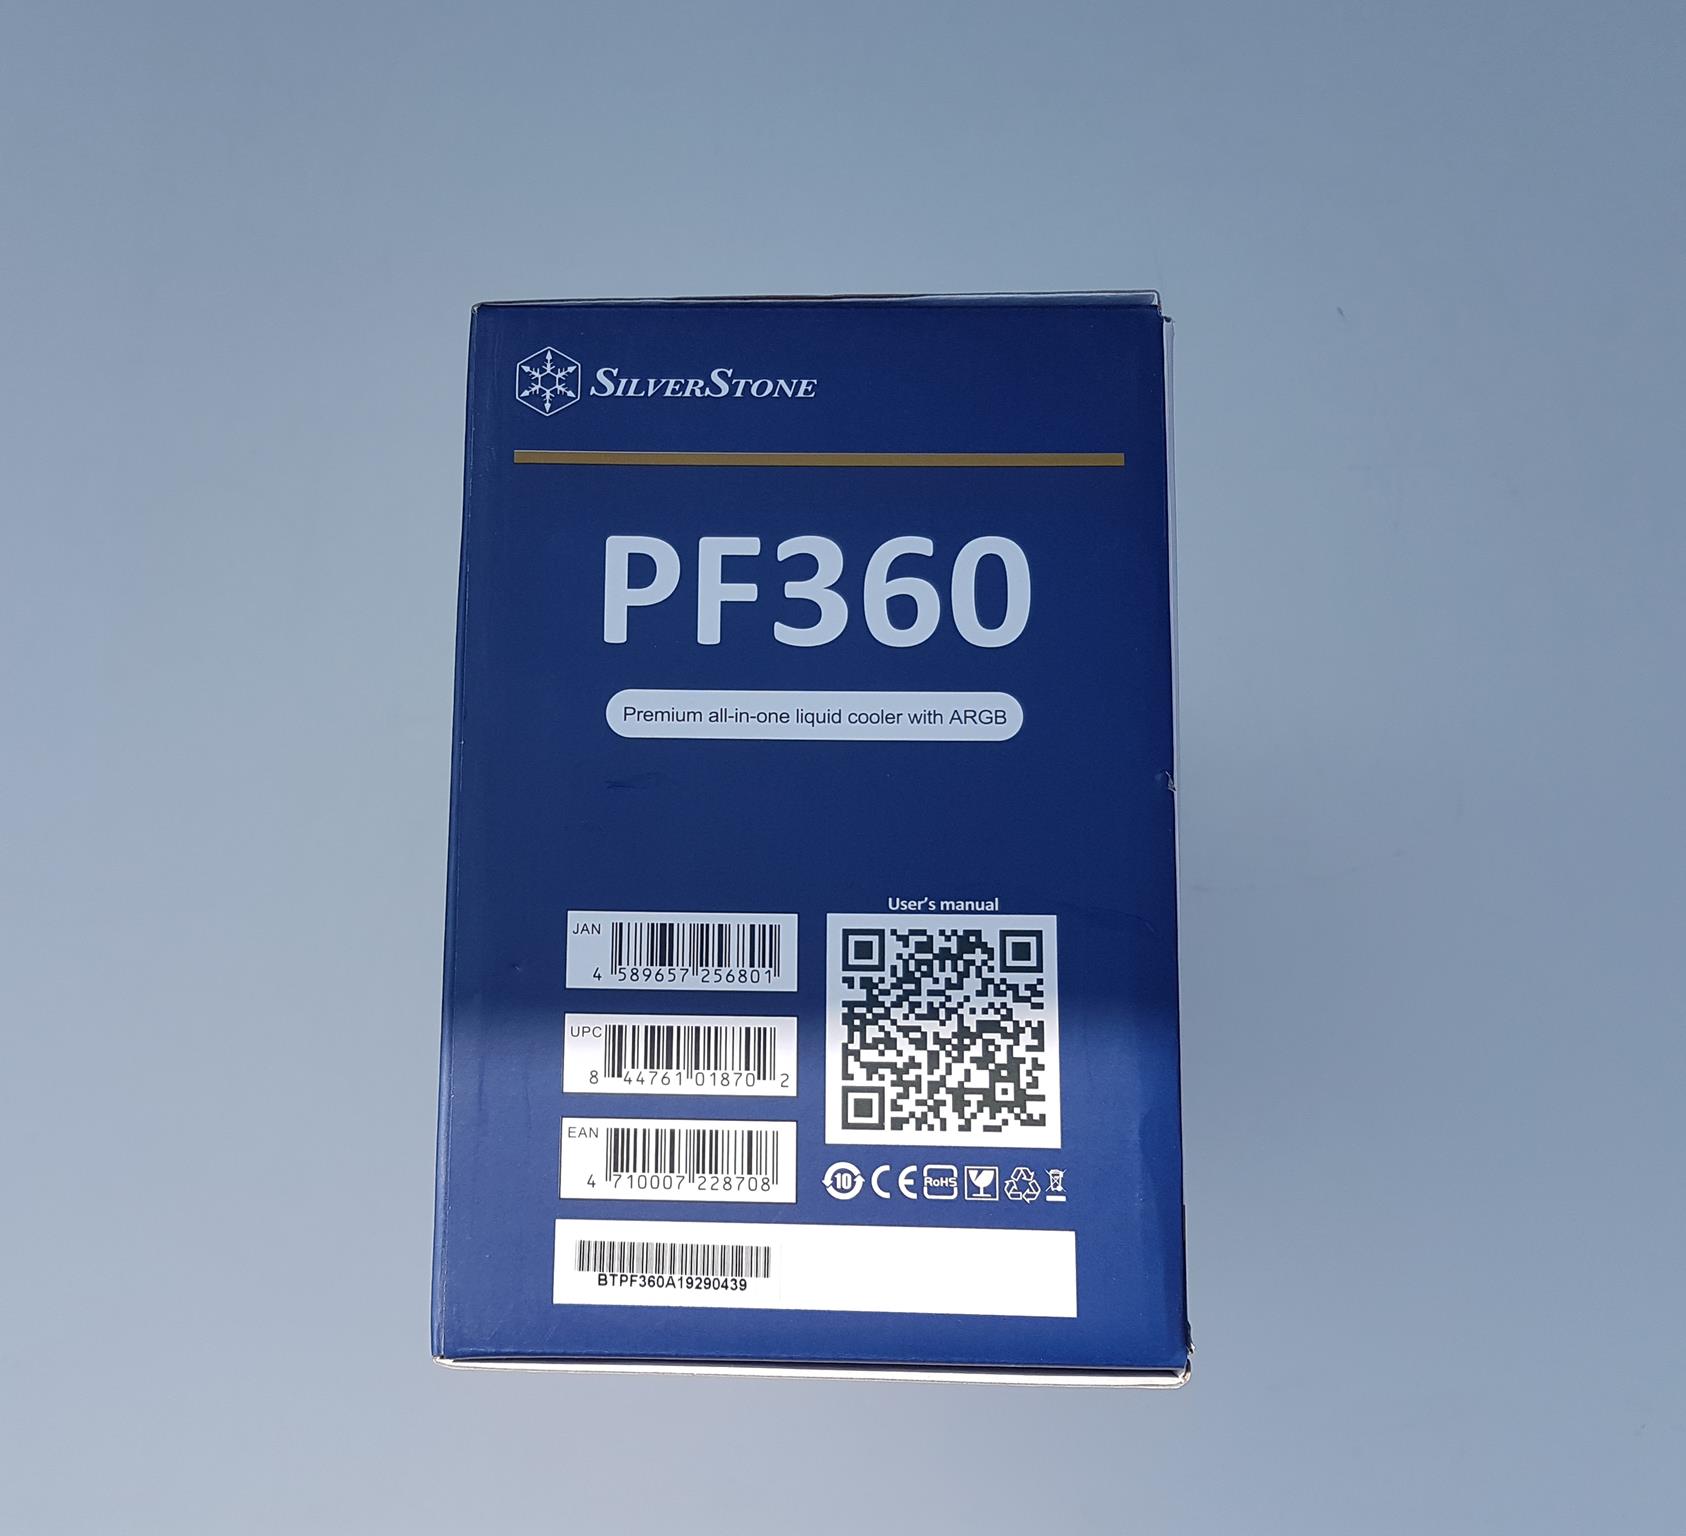
SilverStone brand name and logo are printed on the top left. PF360 is printed in an enlarged font size. There are multiple printouts/stickers here with EAN/UPC and Serial No of the unit. There is no user manual provided in the box. There is a scan code which the user can scan using their mobile phones and it will take them to the online manual. I wish they had provided a manual in the box!
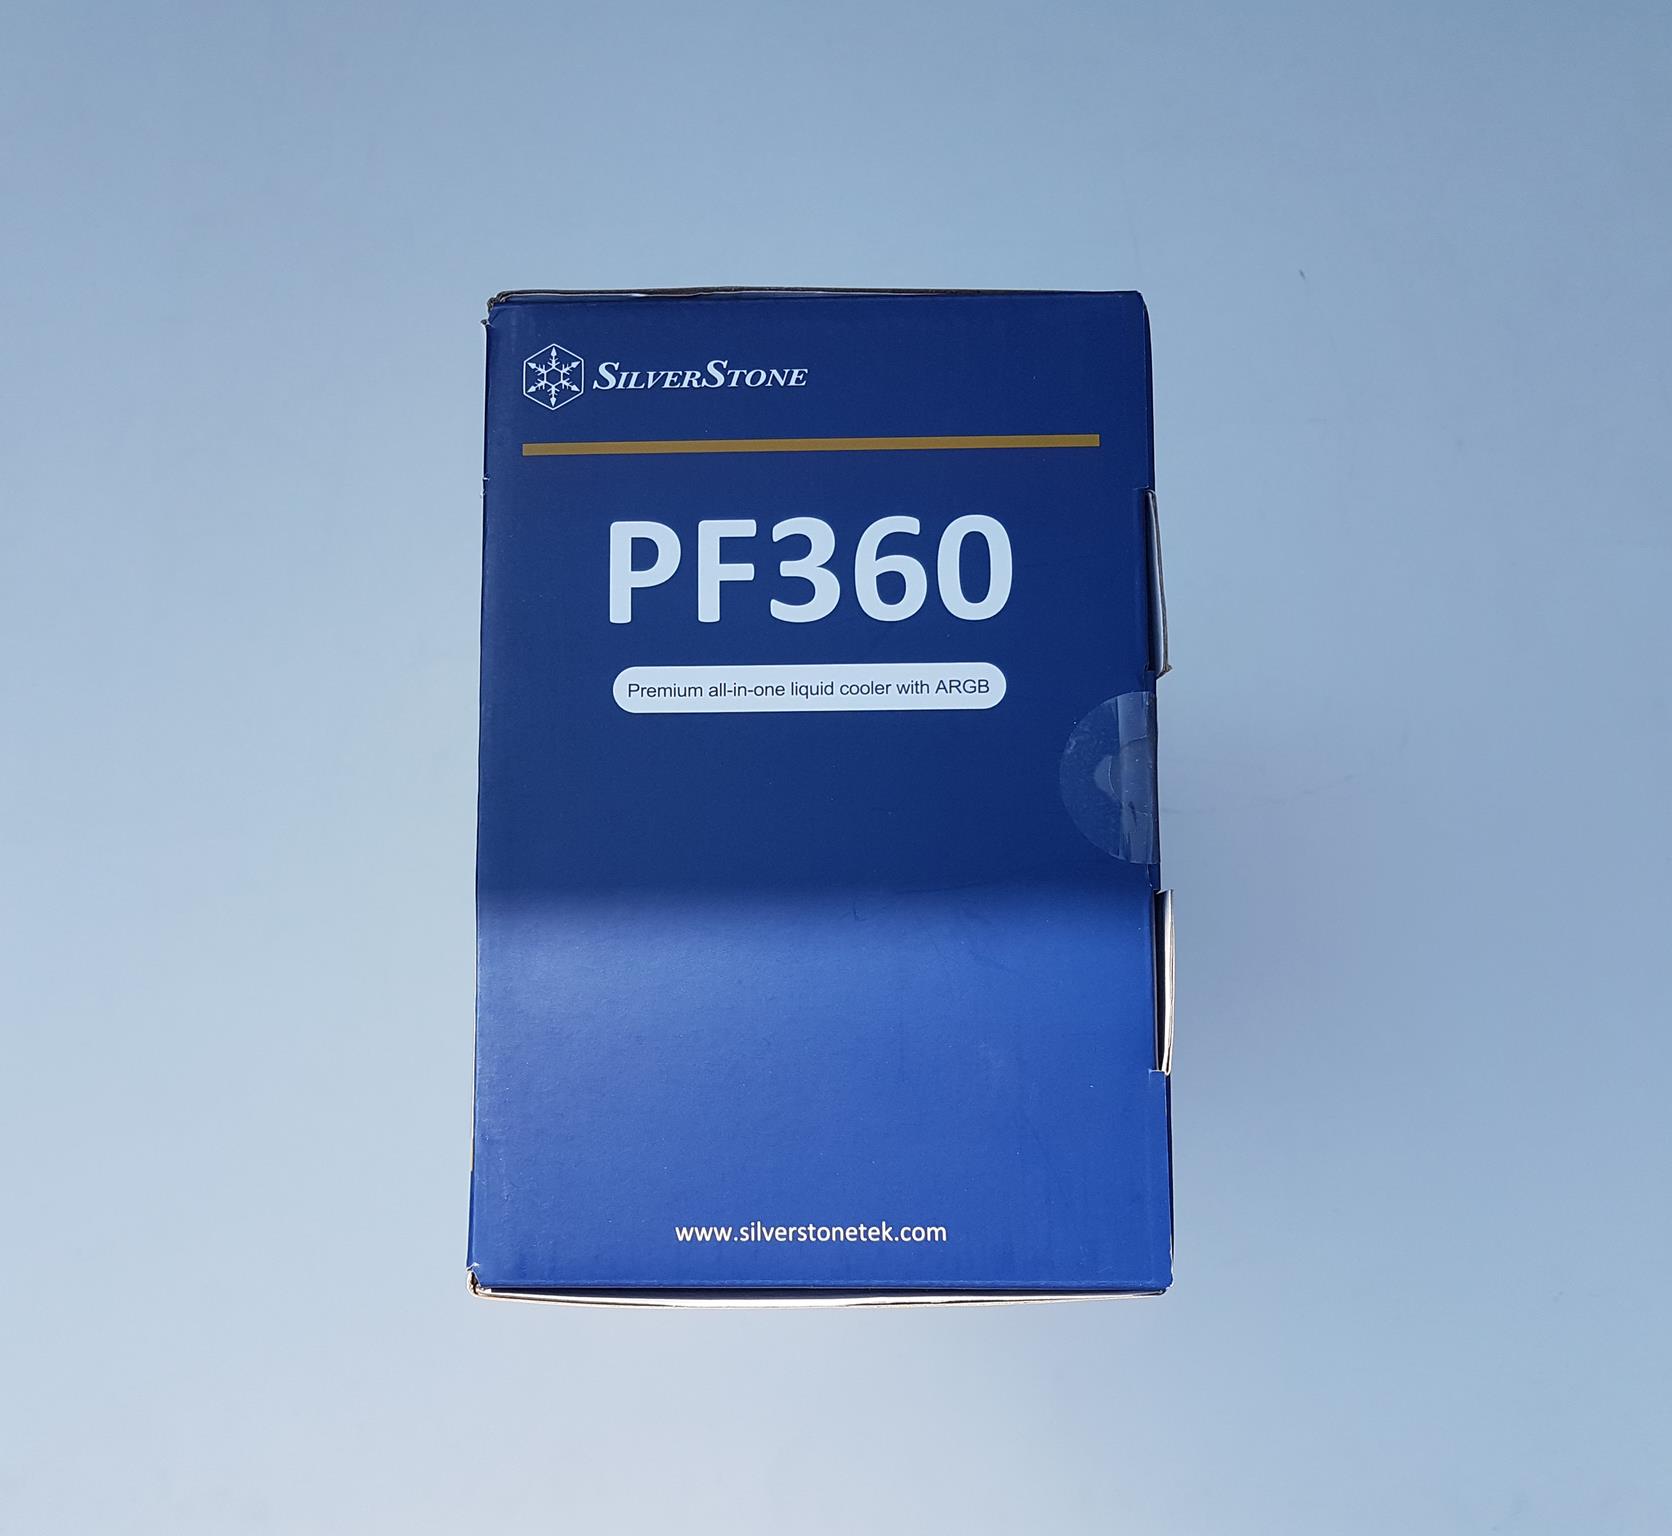
SilverStone brand name and logo are printed on the top left. PF360 is printed in the main section. The company’s website is printed at the bottom.
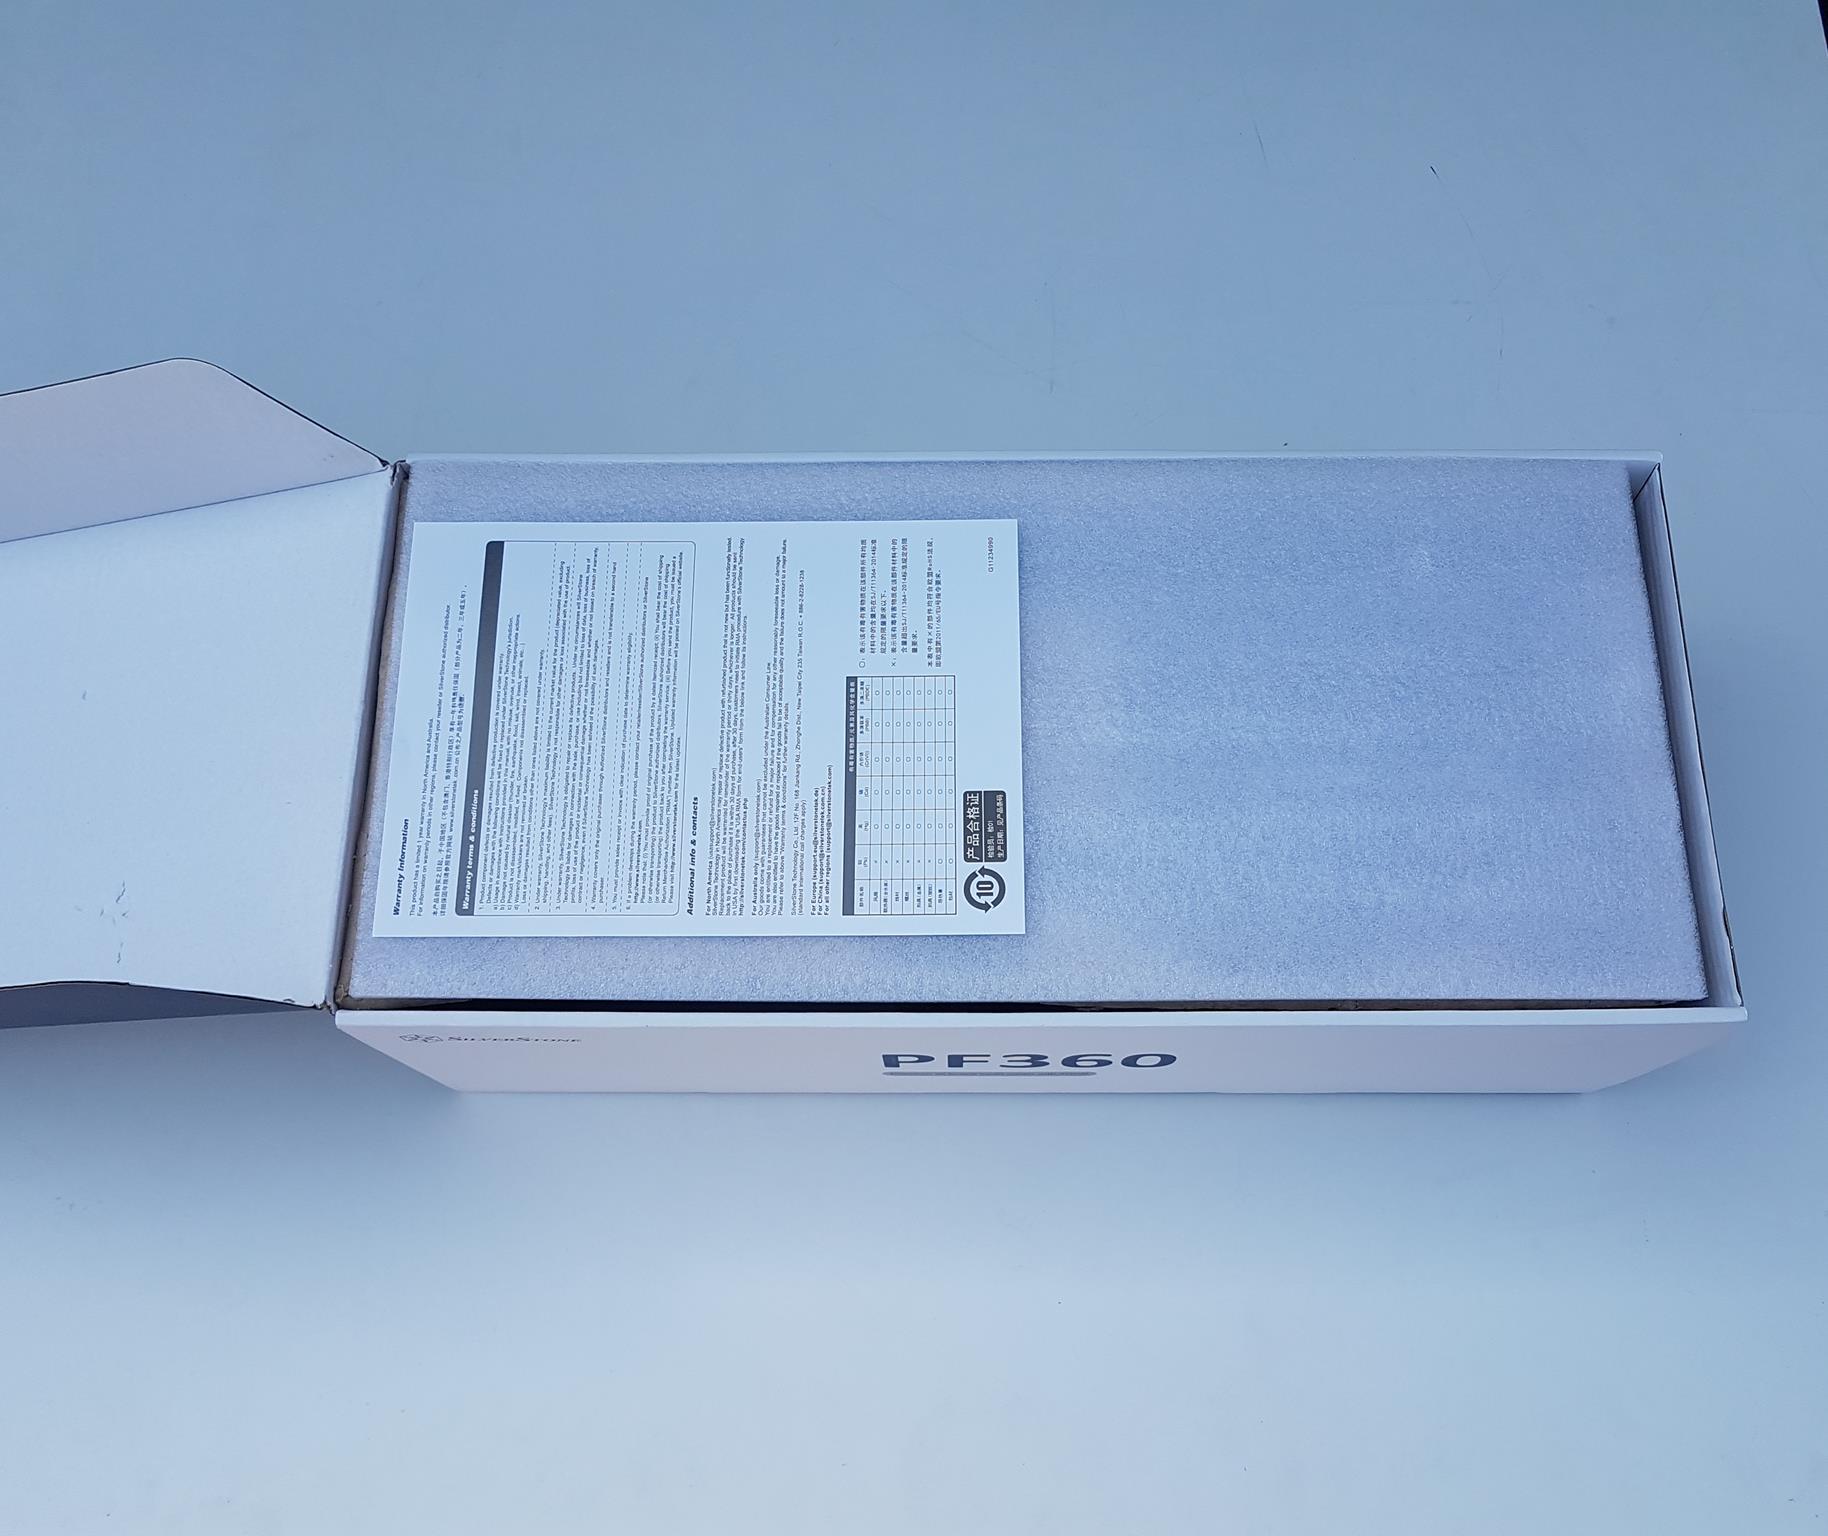
Opening the box will show the white color Styrofoam covering the contents. The warranty information paper is placed on the top.
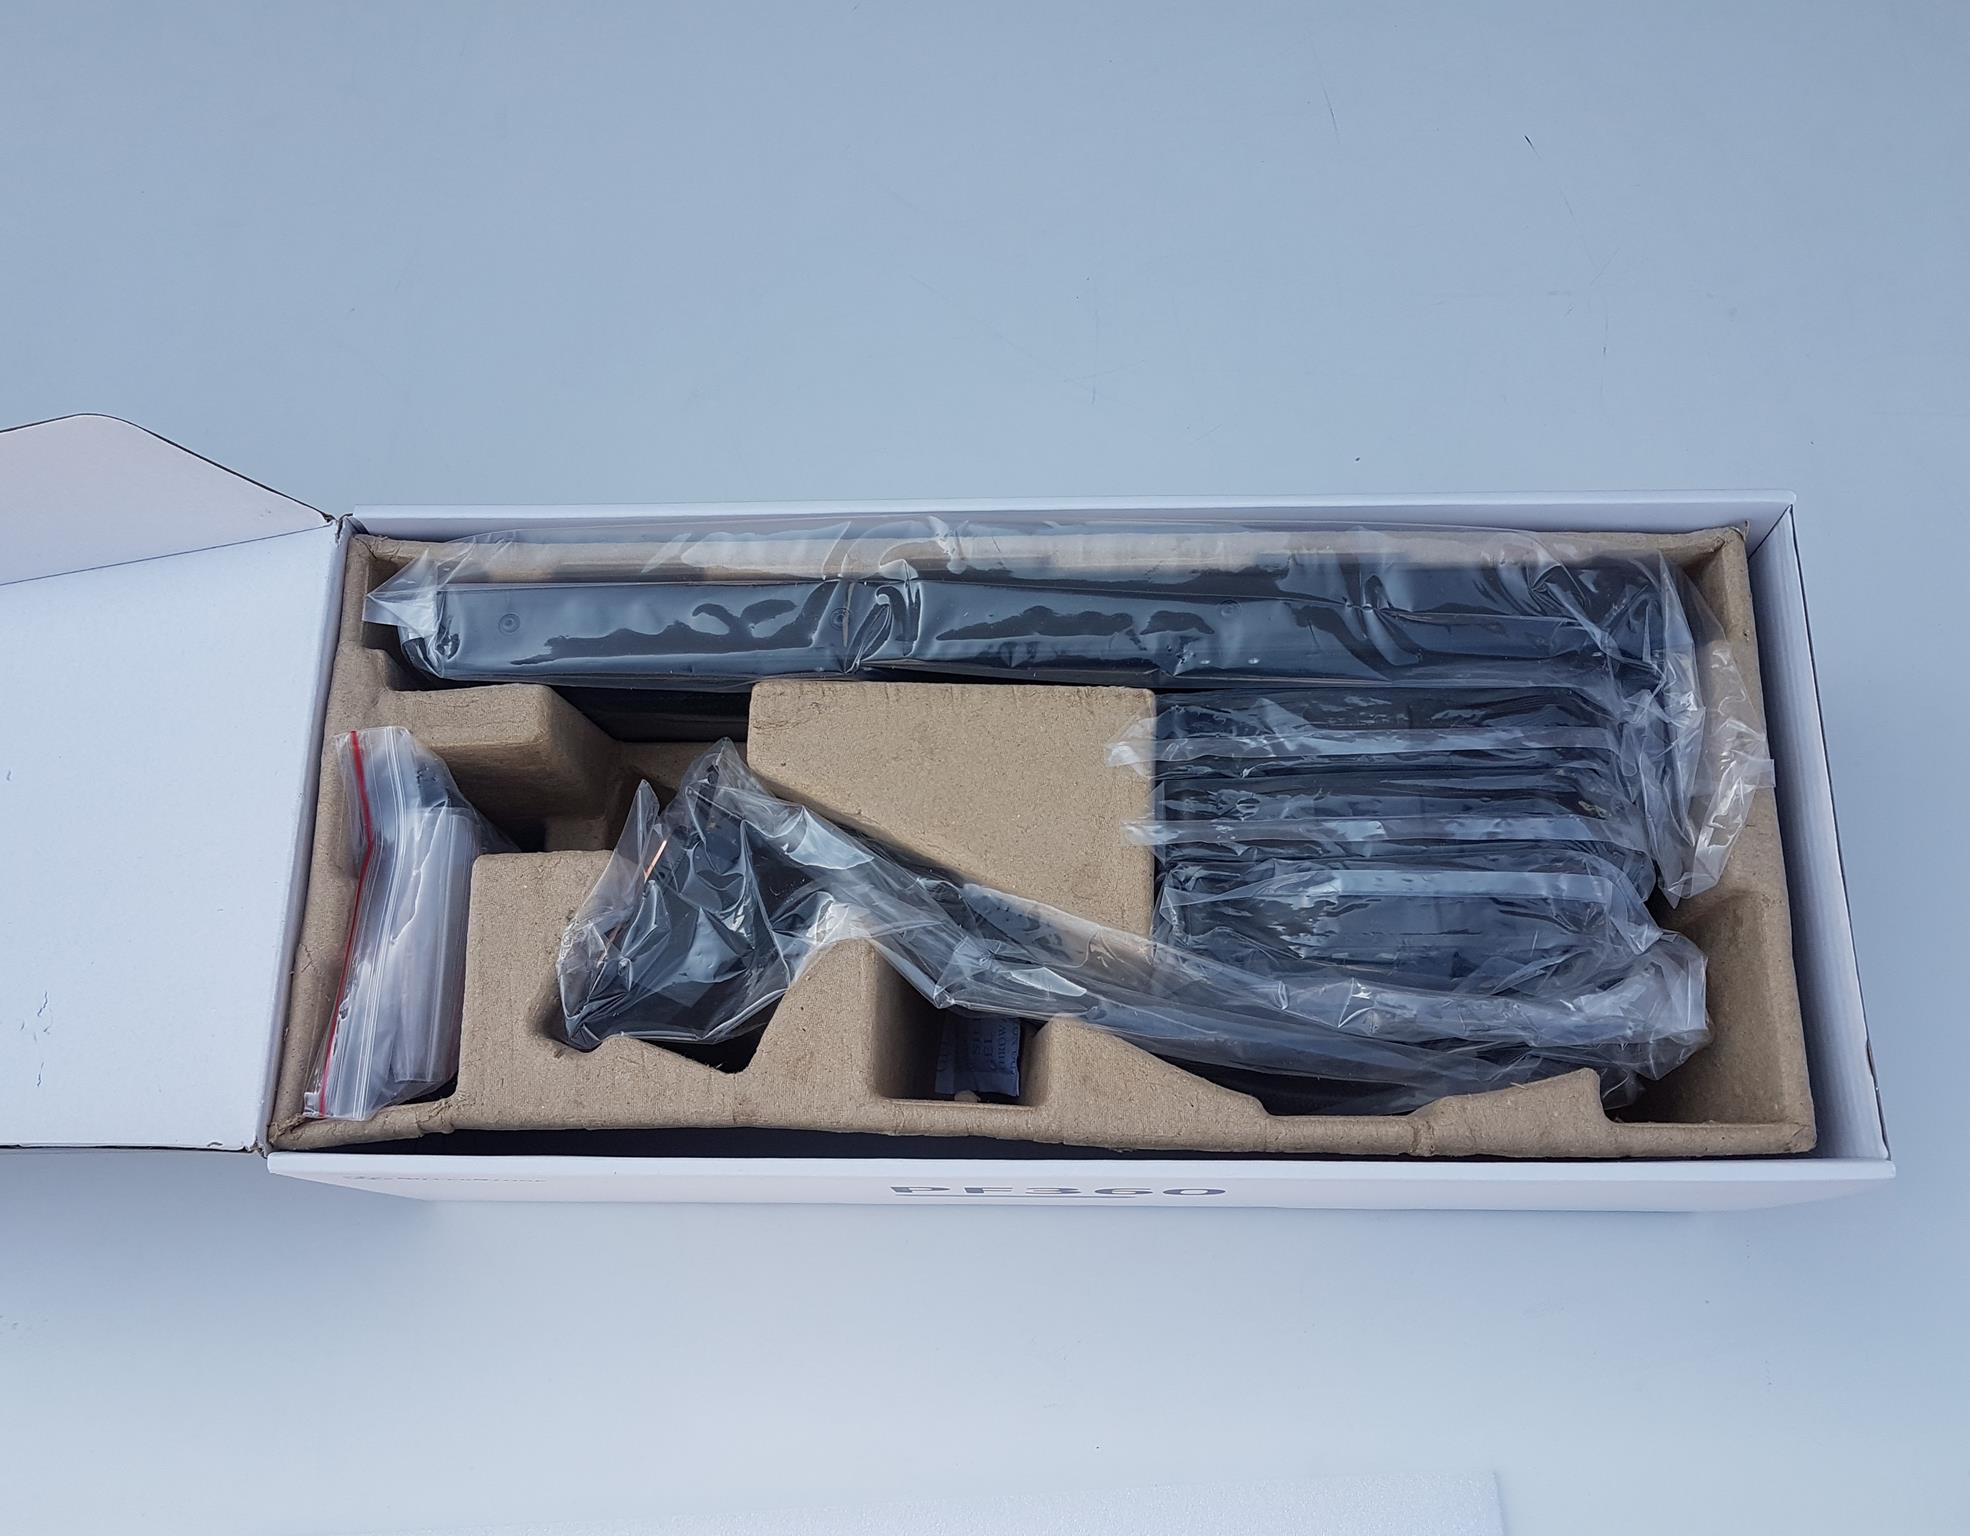
Removing the Styrofoam and warranty information paper will show the contents.
Contents
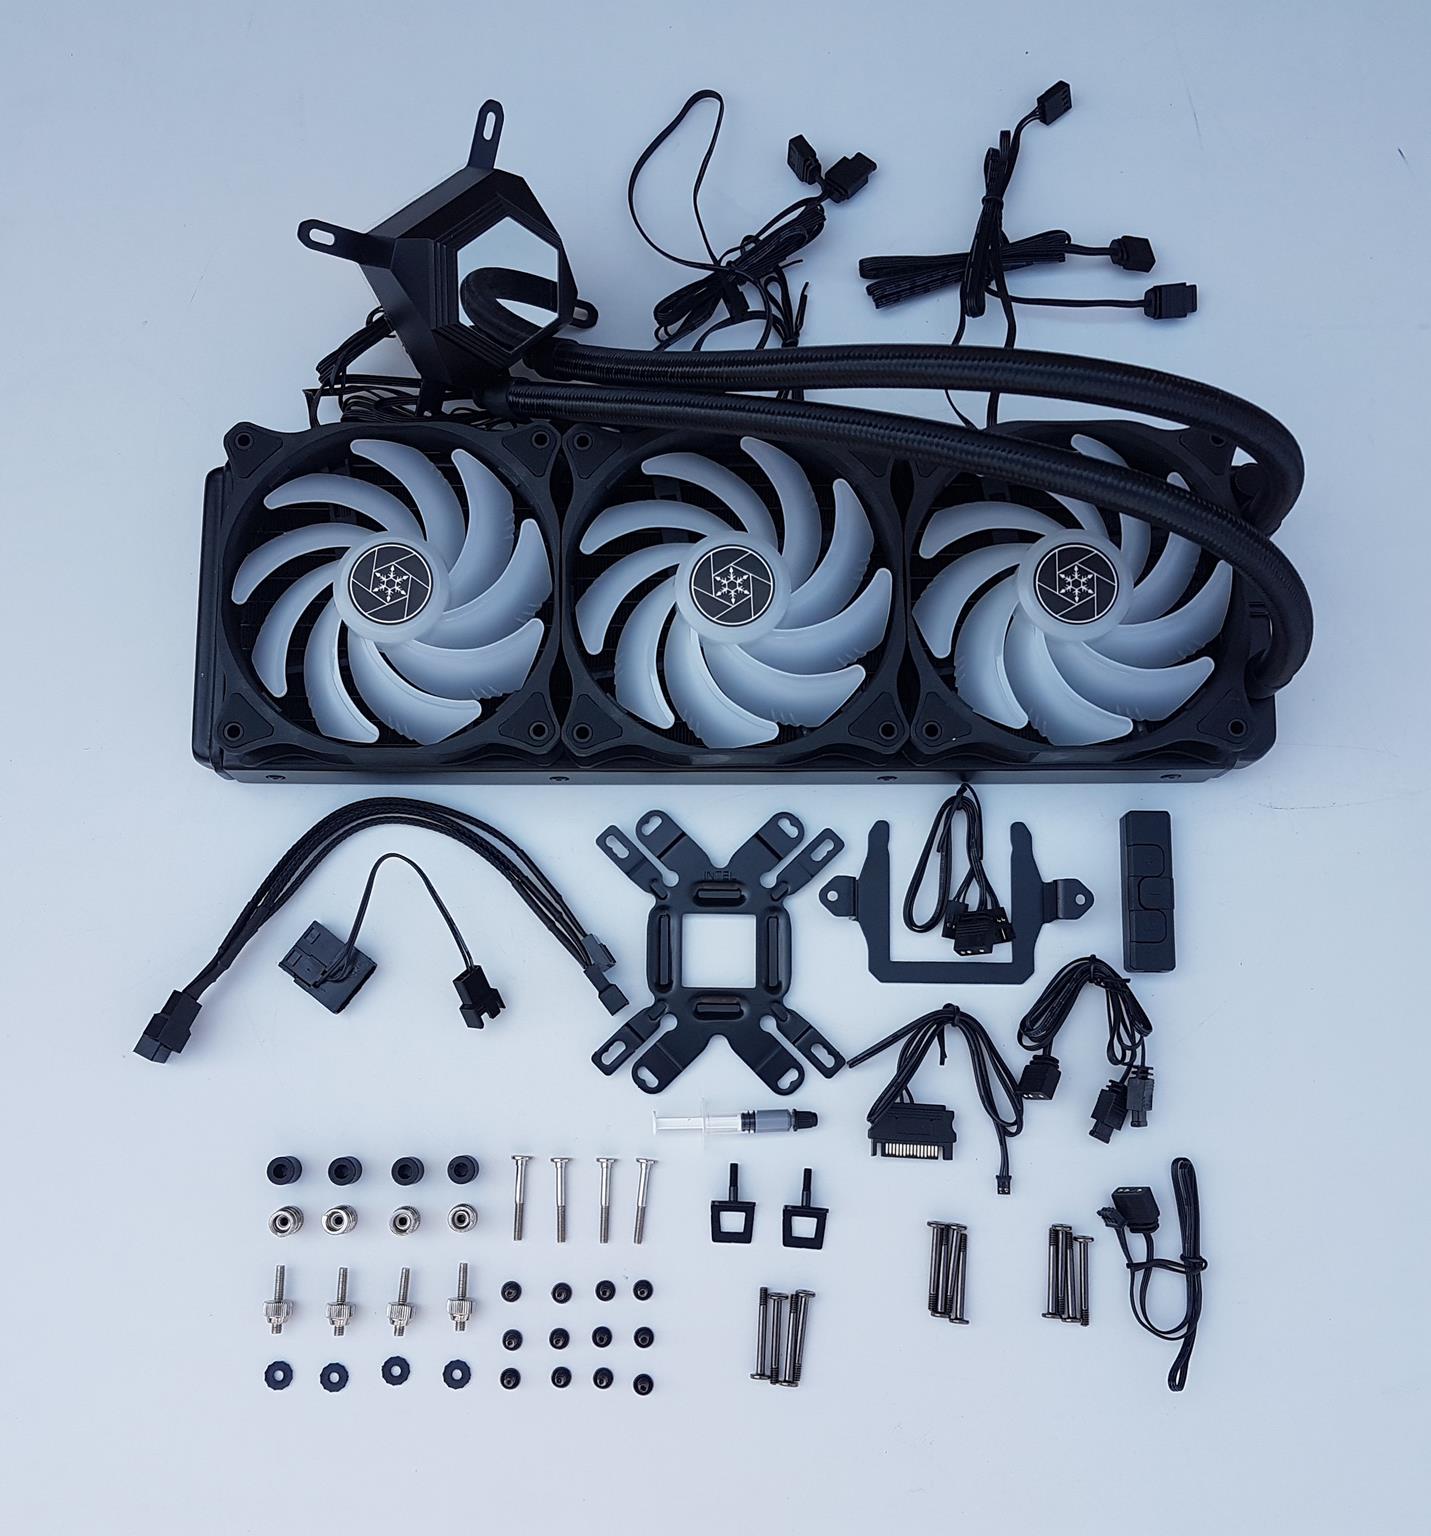
There are a plethora of the accessories included in the box:
- 1x Radiator
- 3x Fans
- 1x Intel/AMD Backplate
- 1x Intel Mounting Bracket [Pre-installed]
- 1x AMD Mounting Bracket
- 2x AMD Mounting Clips
- 4x Thumb Screws
- 4x Intel LGA115X/AMD Standoffs
- 4x Intel LGA20XX Standoffs
- 12x Radiator Screws
- 4x Washers
- 12x Fan Screws
- ARGB Controller with Cables
- 1x 3-way PWM Fan Splitter cable
- 1x Molex to 2-pin Fan cable
- 1x Thermal Paste
- Warranty Information paper
Closer Look
With PermaFrost, the SilverStone is revamping its liquid coolers line up by bringing refinement and betterment in the overall design and including the ARGB lighting trend without compromising the performance of the coolers. Our testing has shown that the cooler has admirable performance but before jumping to the testing section, first, let’s take a closer look at the unit itself.
Radiator
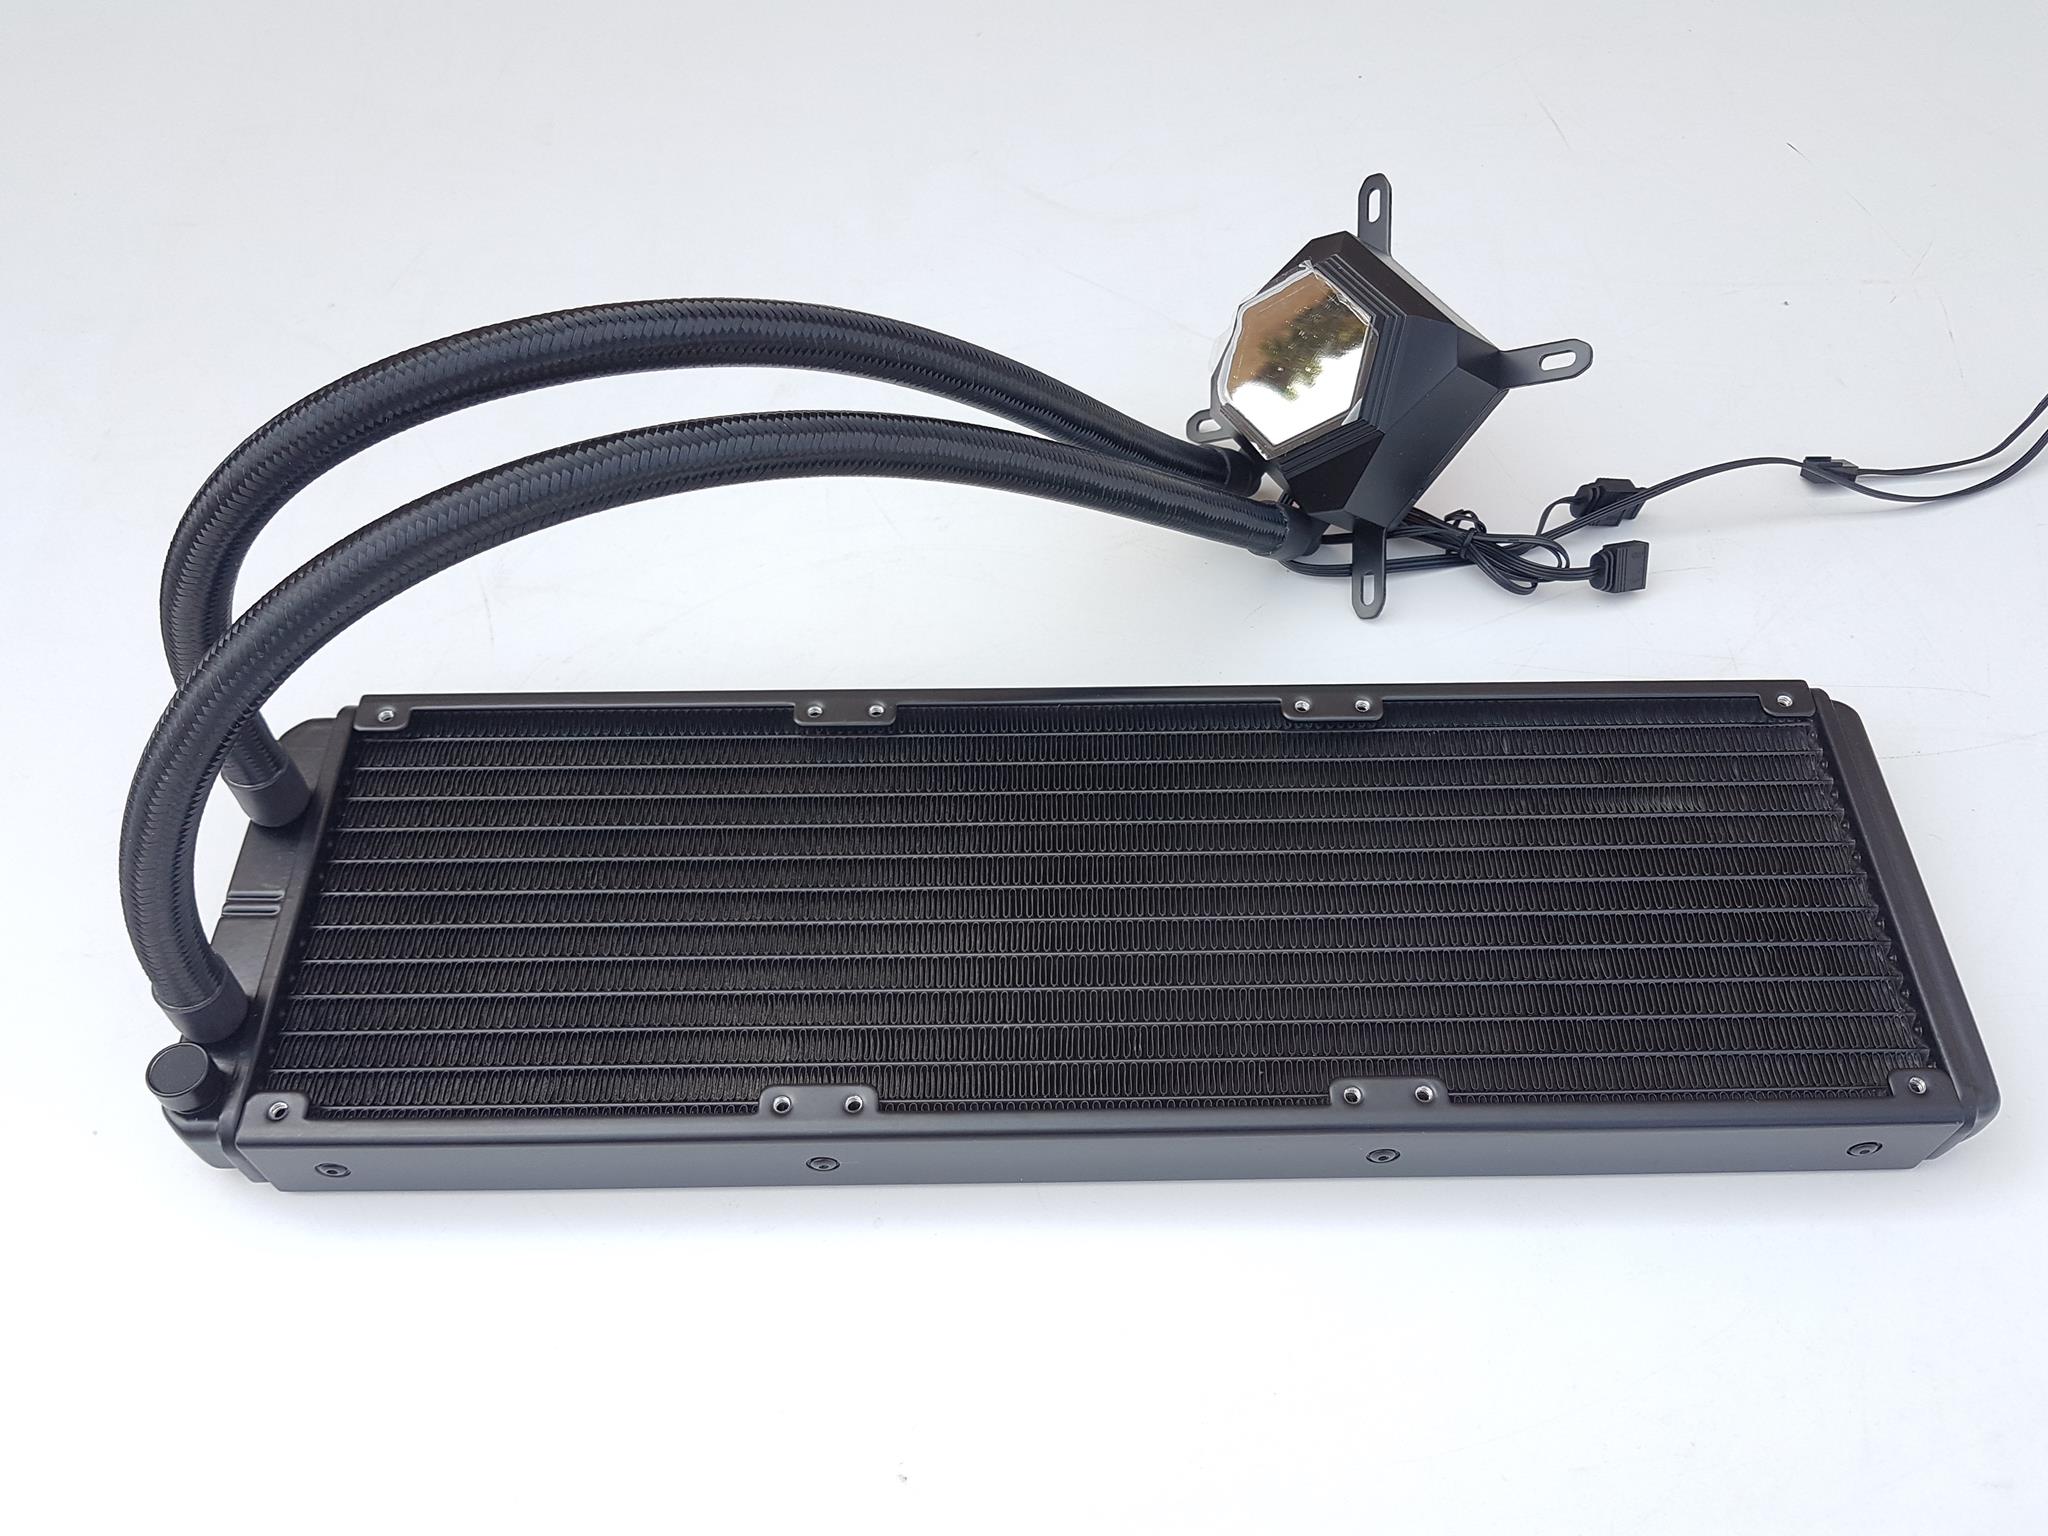
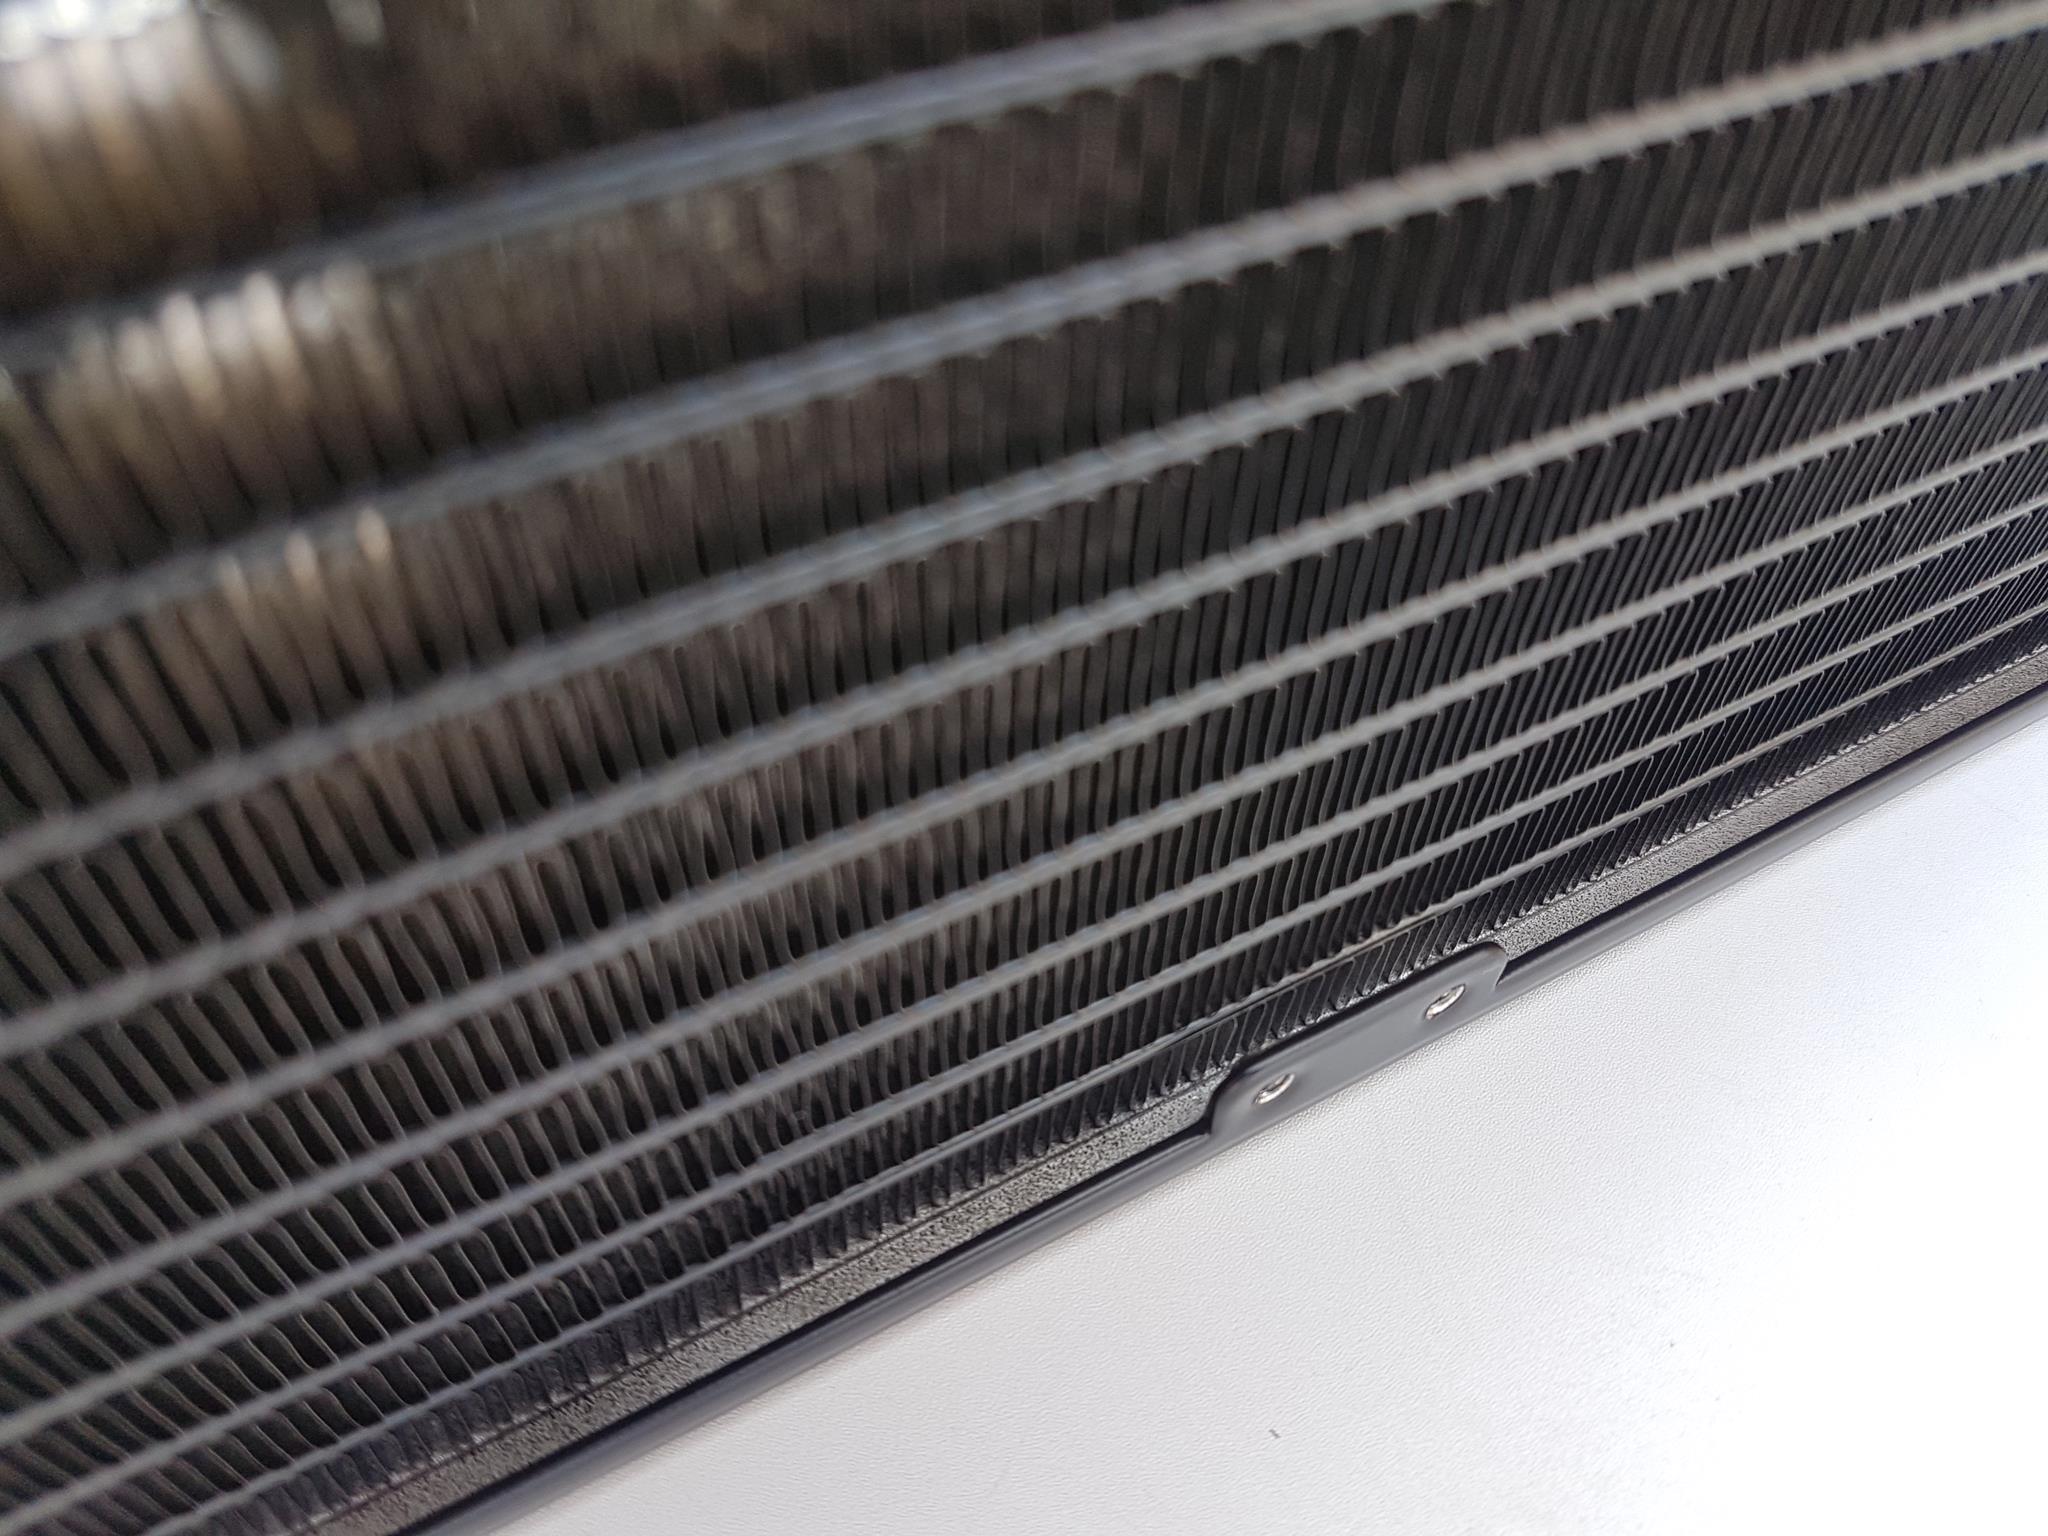
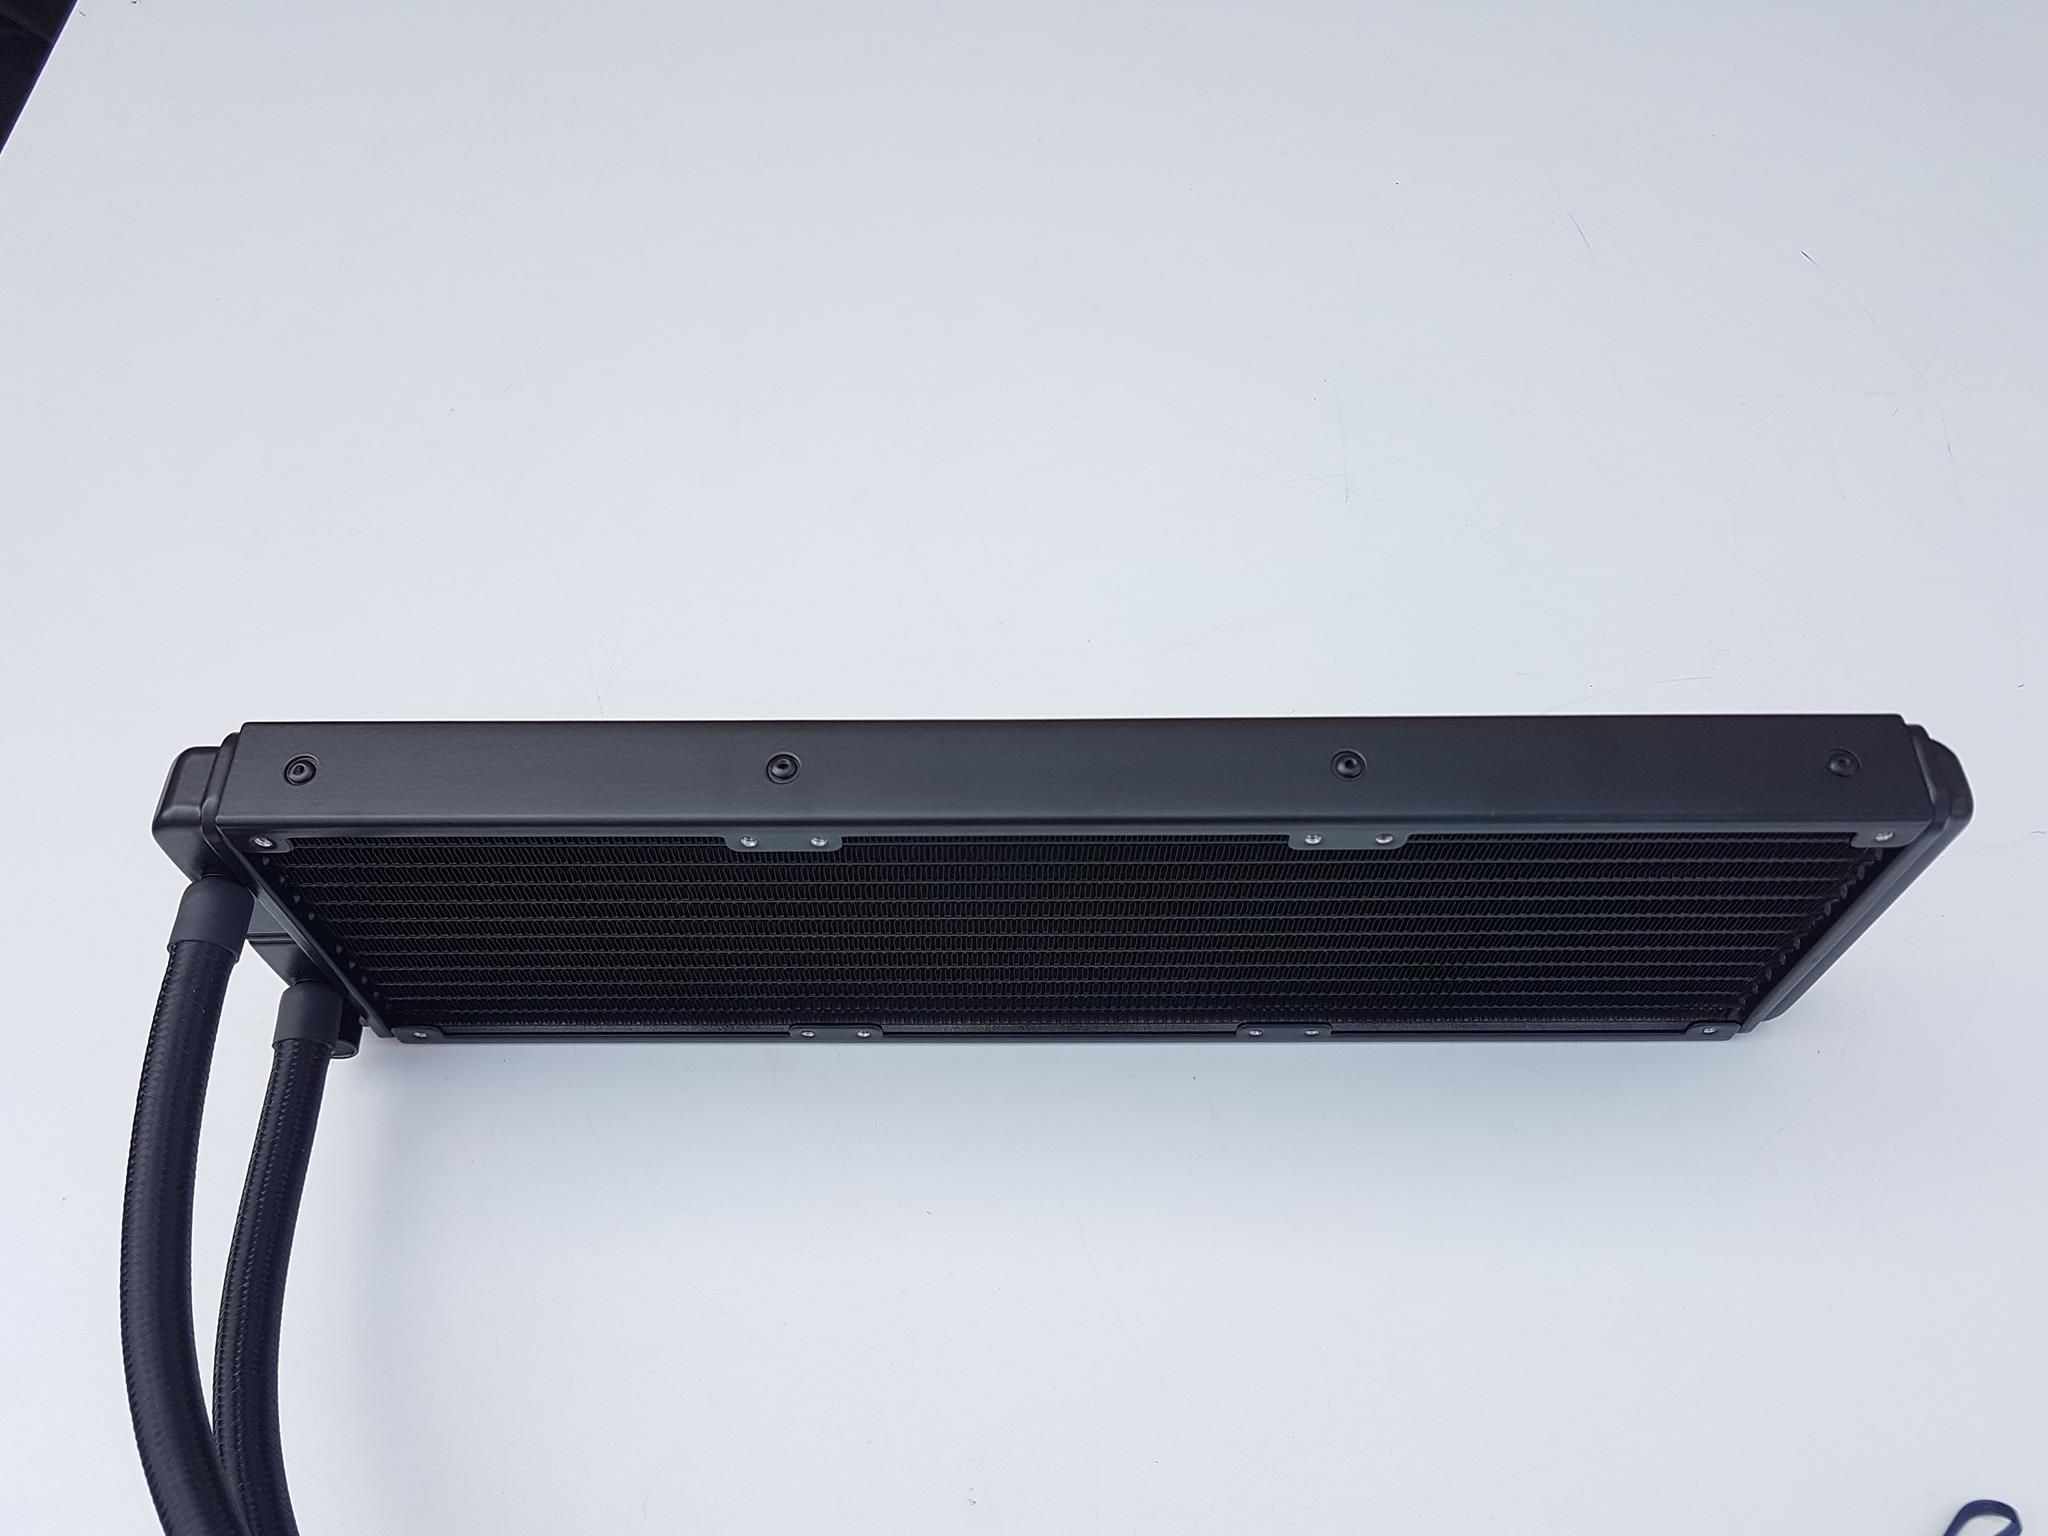
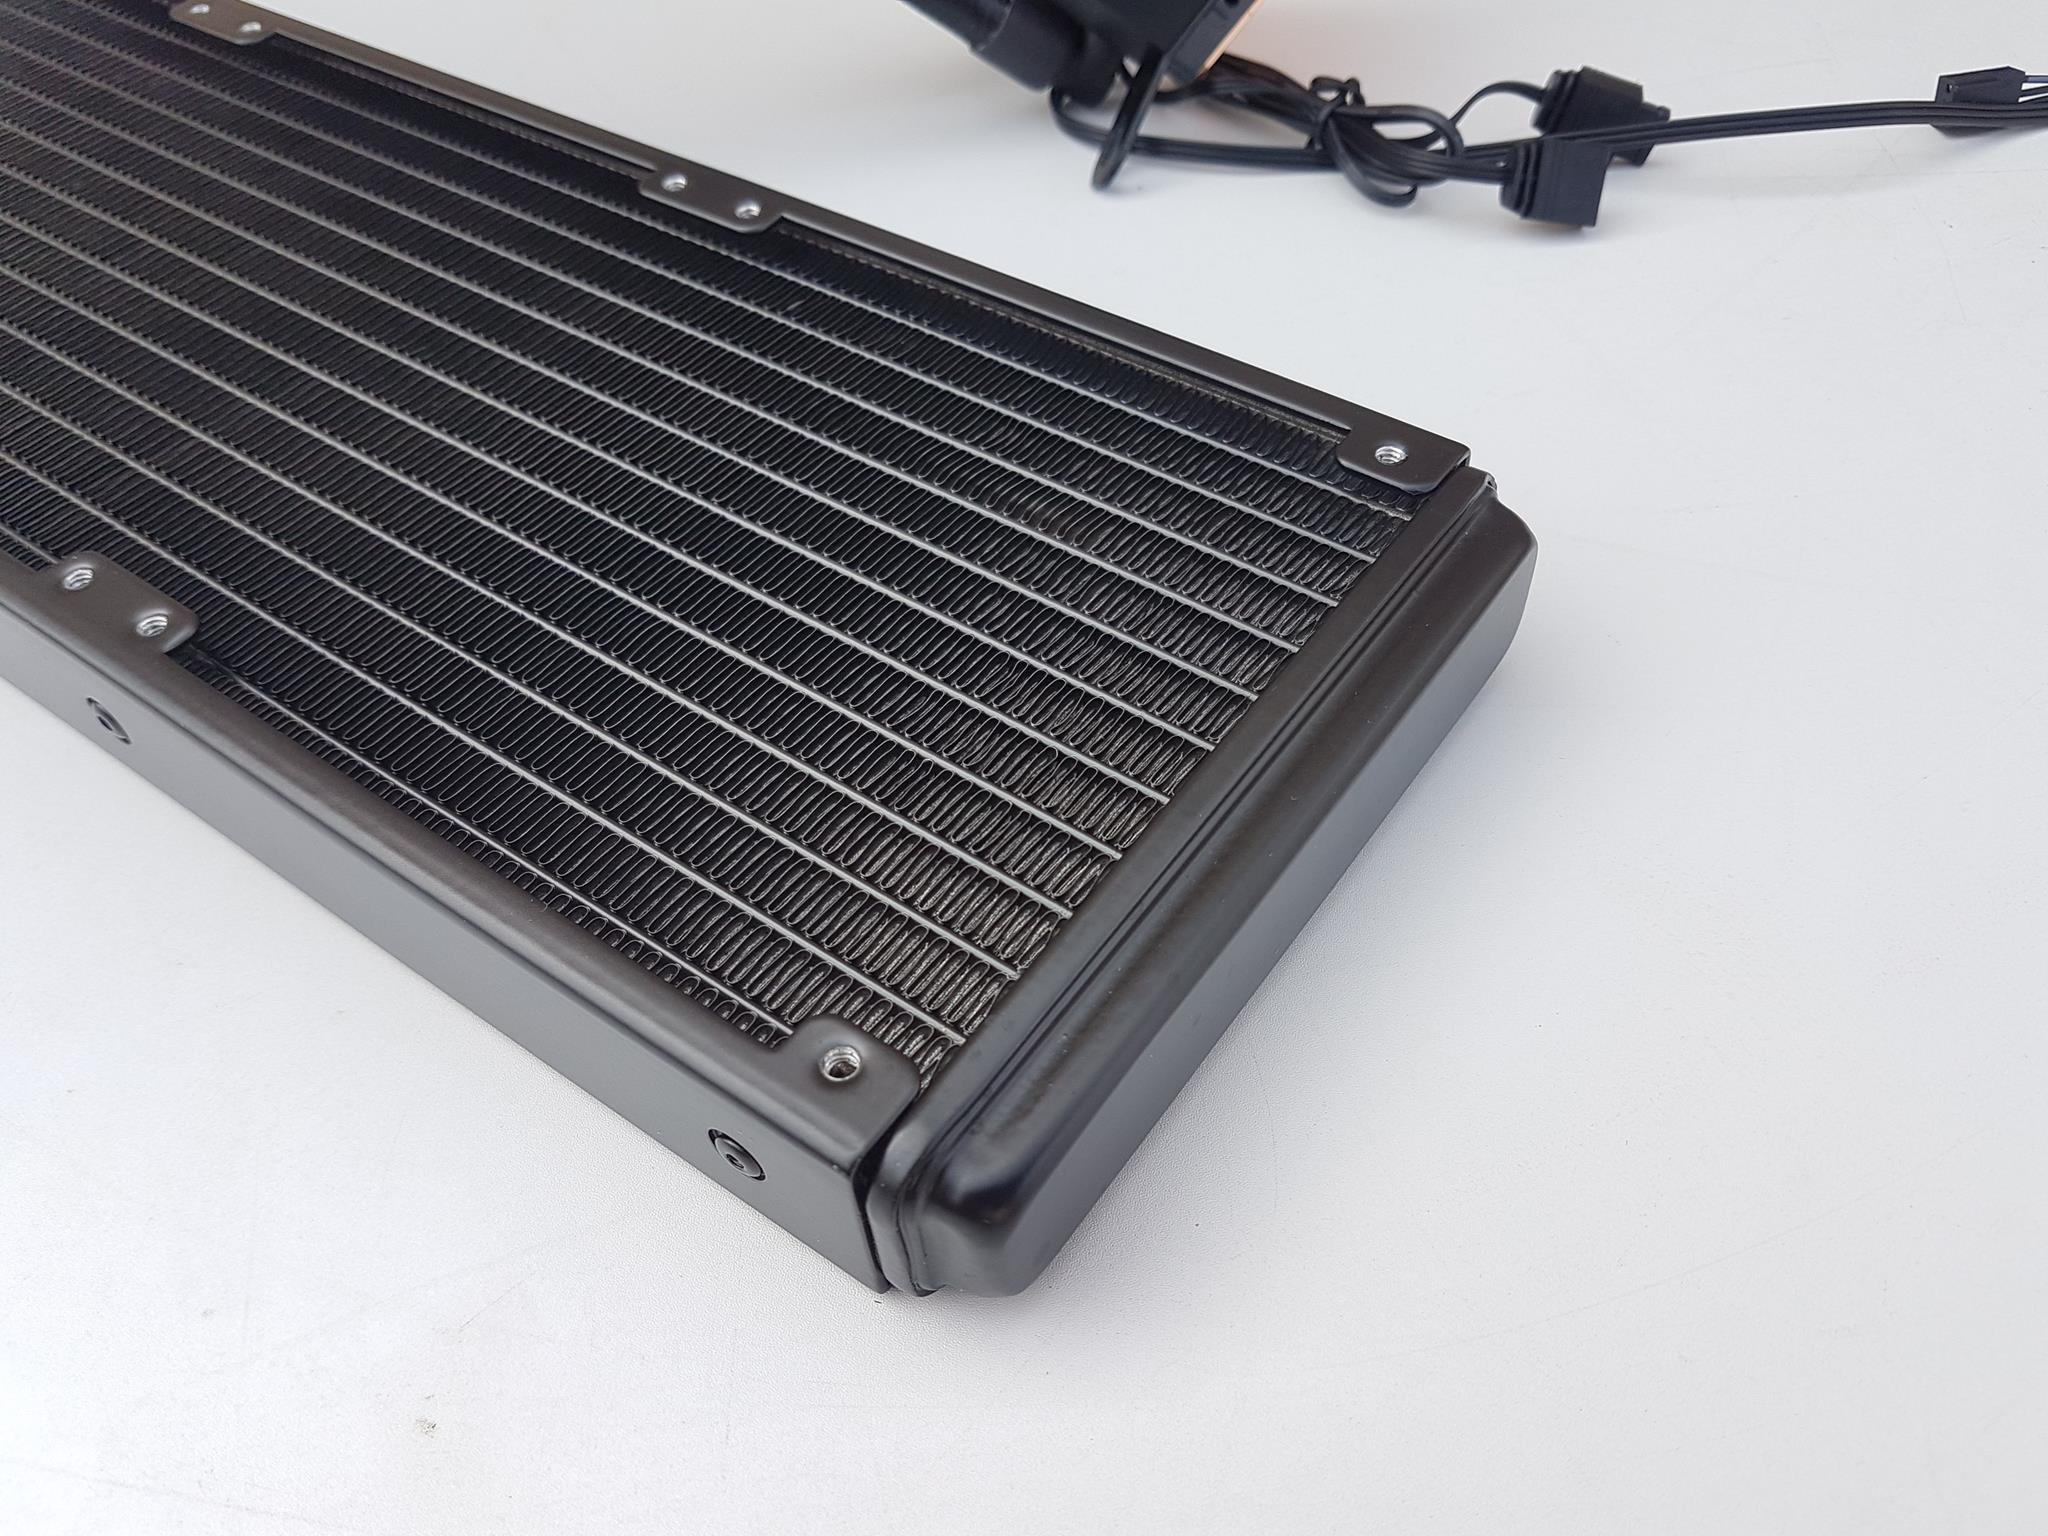
The dimension of the radiator is 394x120x28mm where 28mm is the thickness or height of the radiator. It is a slim radiator. With 25mm fans, the total height would be 53mm and keep in mind that with the heads of the metal screws, expect 54-55mm of the total height (approximately). The radiator is made of aluminum hence it is lightweight. FPI count is 20 on this radiator and fans with high airflow and air pressure will make a stronger case here. There are 13 channels in the radiator. The edges of the radiator are rounded. There is a 105mm spacing between the mounting holes with 15mm spacing between the two adjacent mounting holes in the middle of the radiator. The automotive-grade radiator is used so it has excellent anti-corrosive properties and can easily survive harsh elements that include vapor, liquid, grease, solvent.
There is no protective plating under the mounting holes on this radiator so take care while installing the fans on it as long screws could easily damage the fins that would least impact the performance or worst leakage from the radiator.
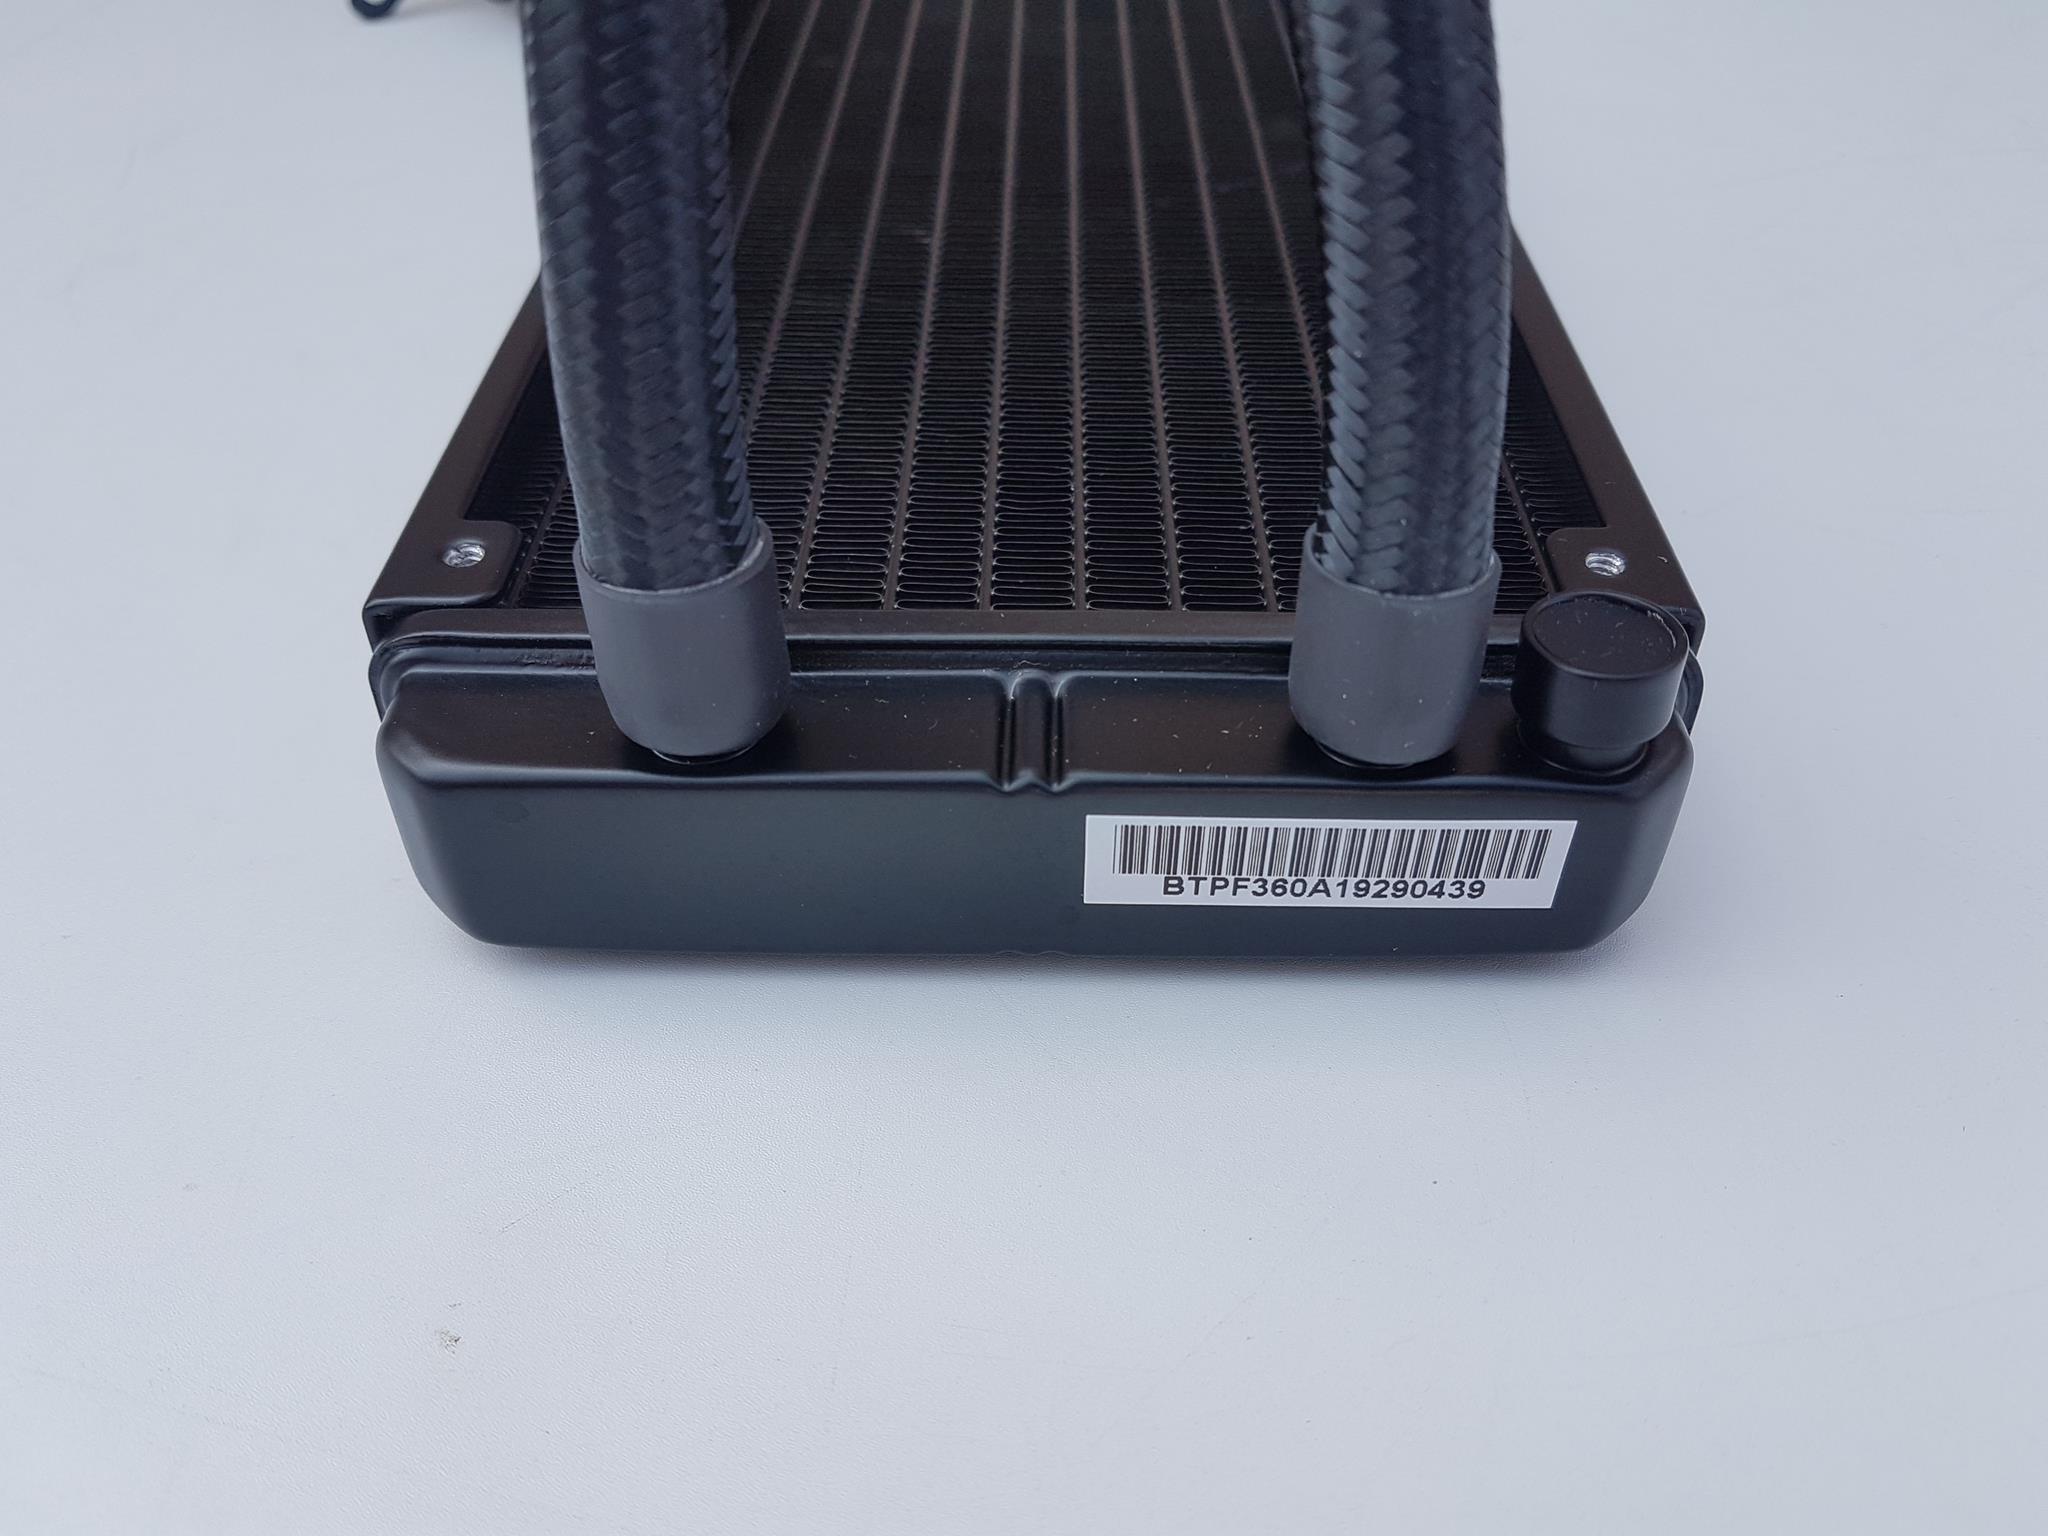
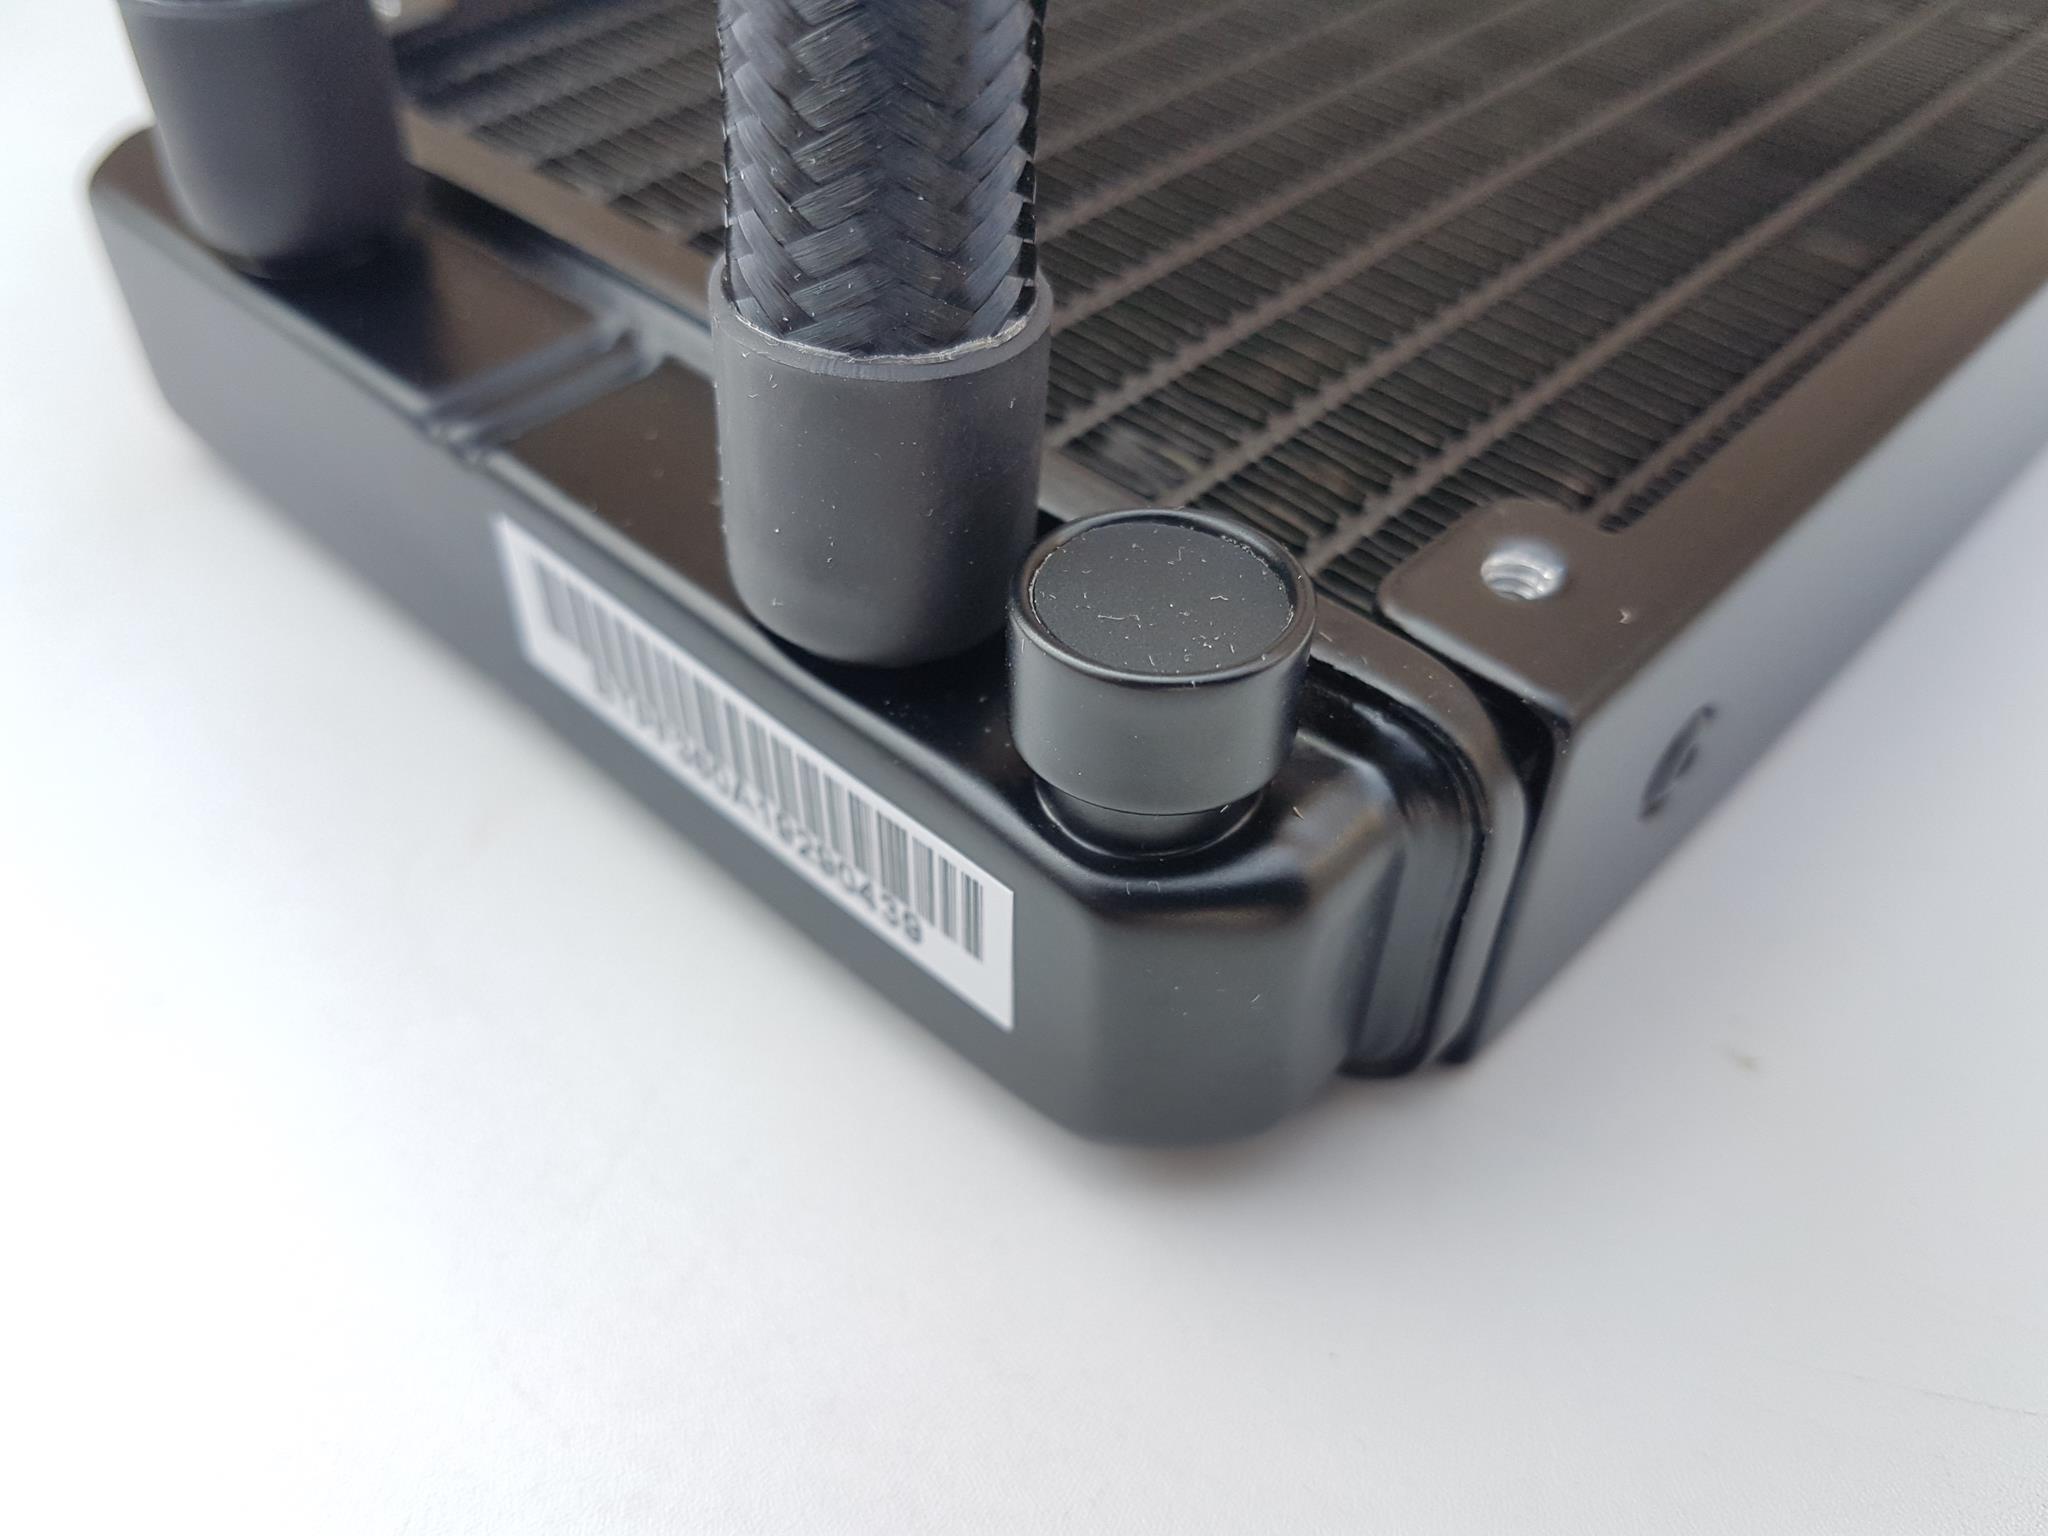
The tubes are installed using barb fittings on the radiator. There is a sticker pasted on this side of the chamber with the serial no of the unit. The Apaltek is an OEM of this unit.
There is another fitting on the radiator with a refill port. SilverStone has informed that tampering with this fitting will void the warranty as this port is to be used only at their factory.
Both sides of the radiator housing have a plain surface without any branding on it.
The far chamber is a slim design.
Tubing
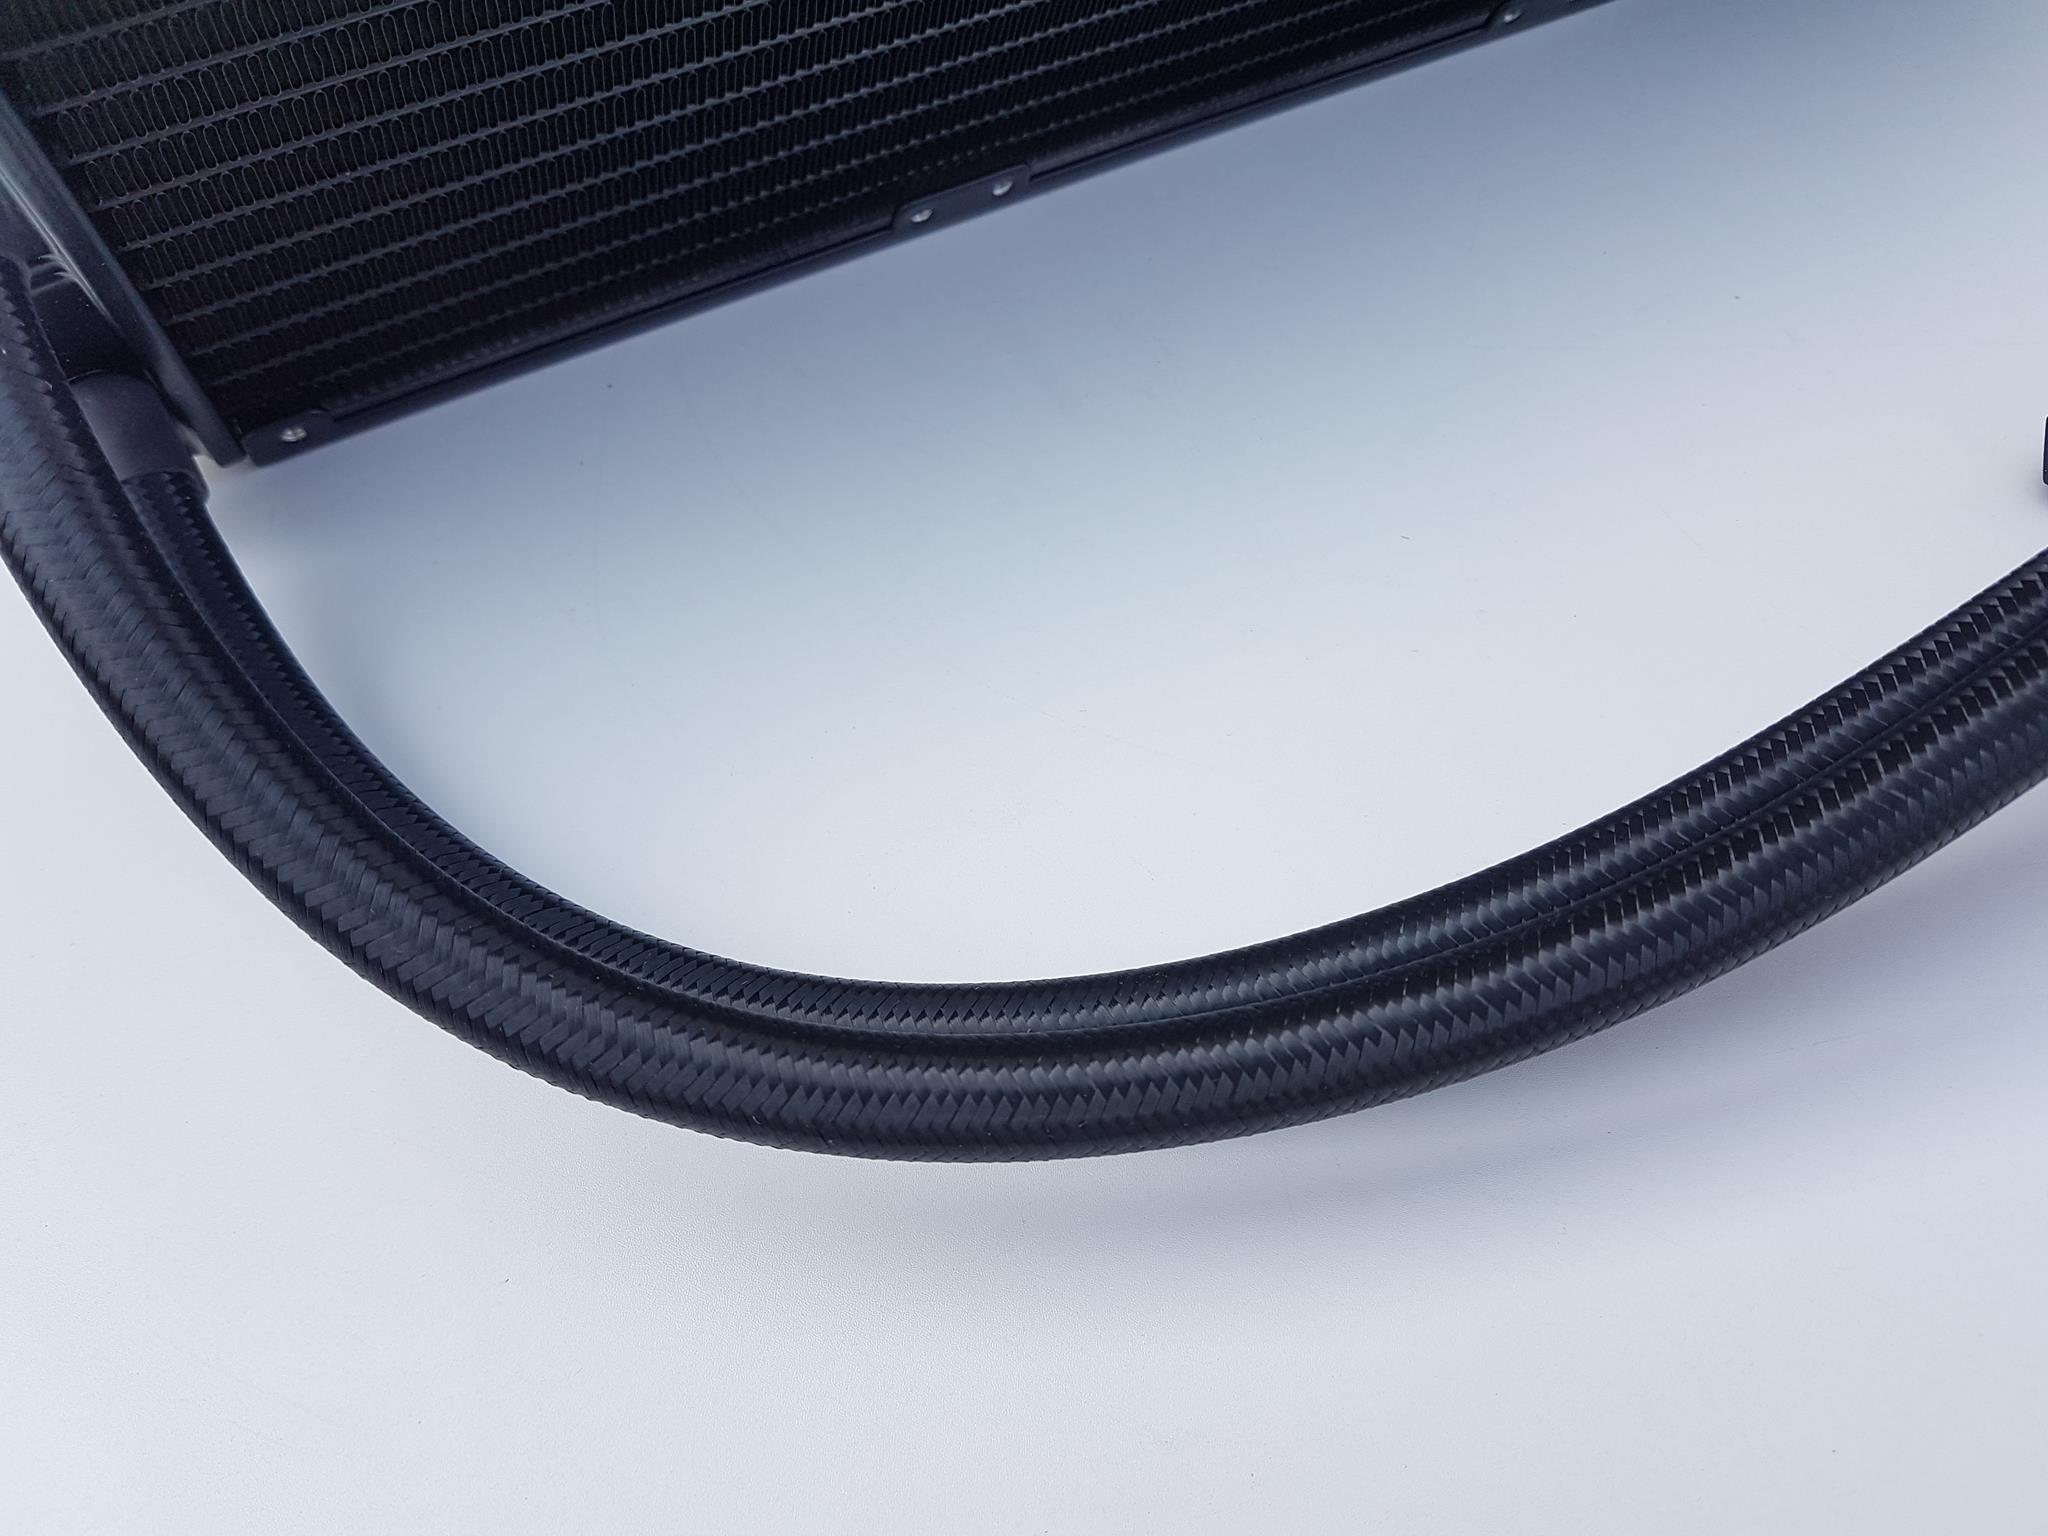
The tubing on the SST-PF360 ARGB has a length of 400mm. They are not that flexible as we have seen on the CORSAIR H100i RGB PLATINUM or Deepcool Castle 360EX. The composite rubber tubing has RMA-A level inner layer that is highly resistant to corrosion and heat. The exterior layer utilizes a German-made rubber with top weather resistance and durability. Both are then interwoven with fortified fibers to ensure they are capable of enduring bending up to 100,000 times.
Block/Pump
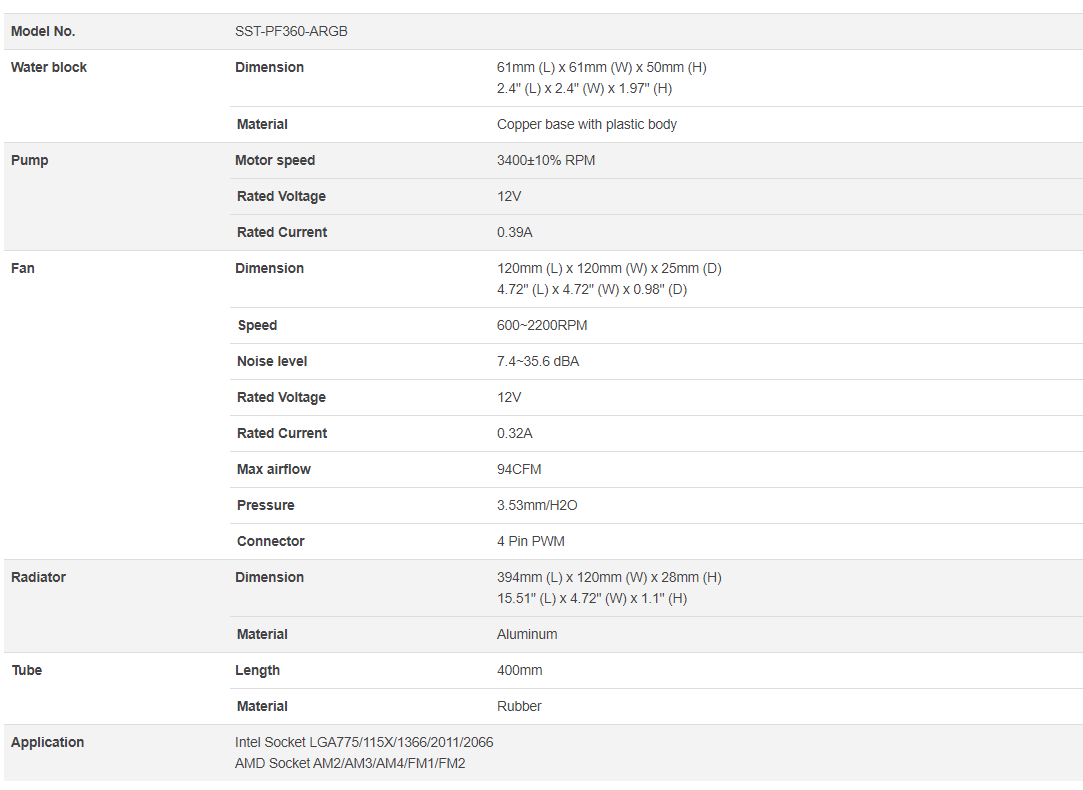
Let’s take a look at the main ingredient which is the water block. The dimension of the block is 61x61x50mm (LxWxH).
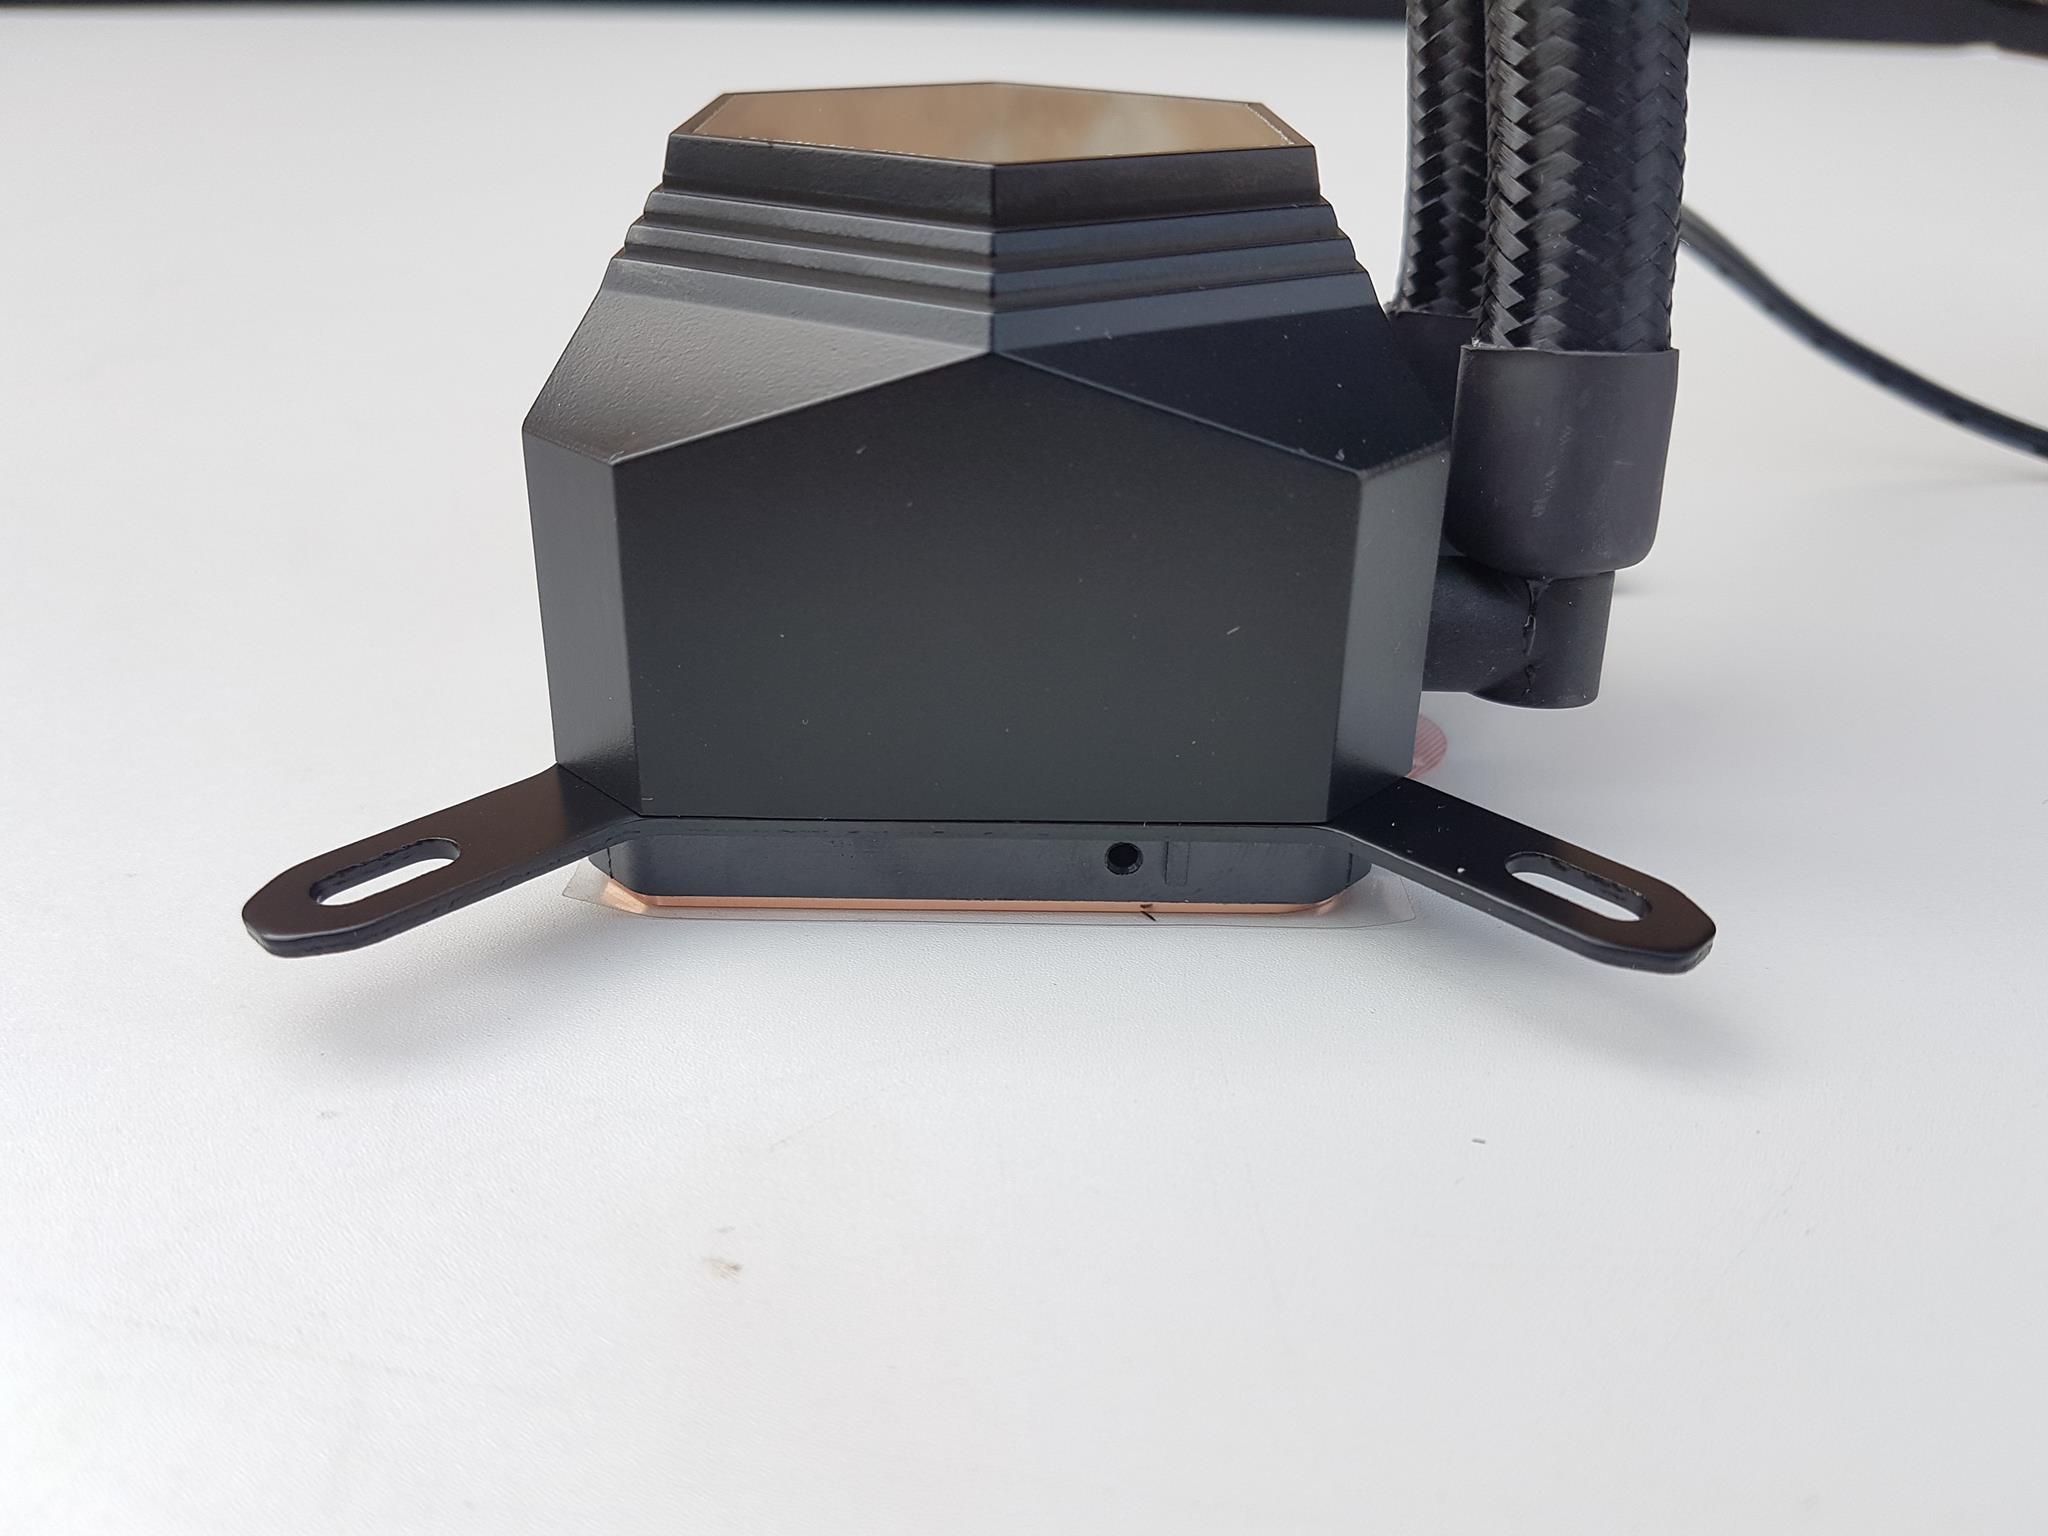
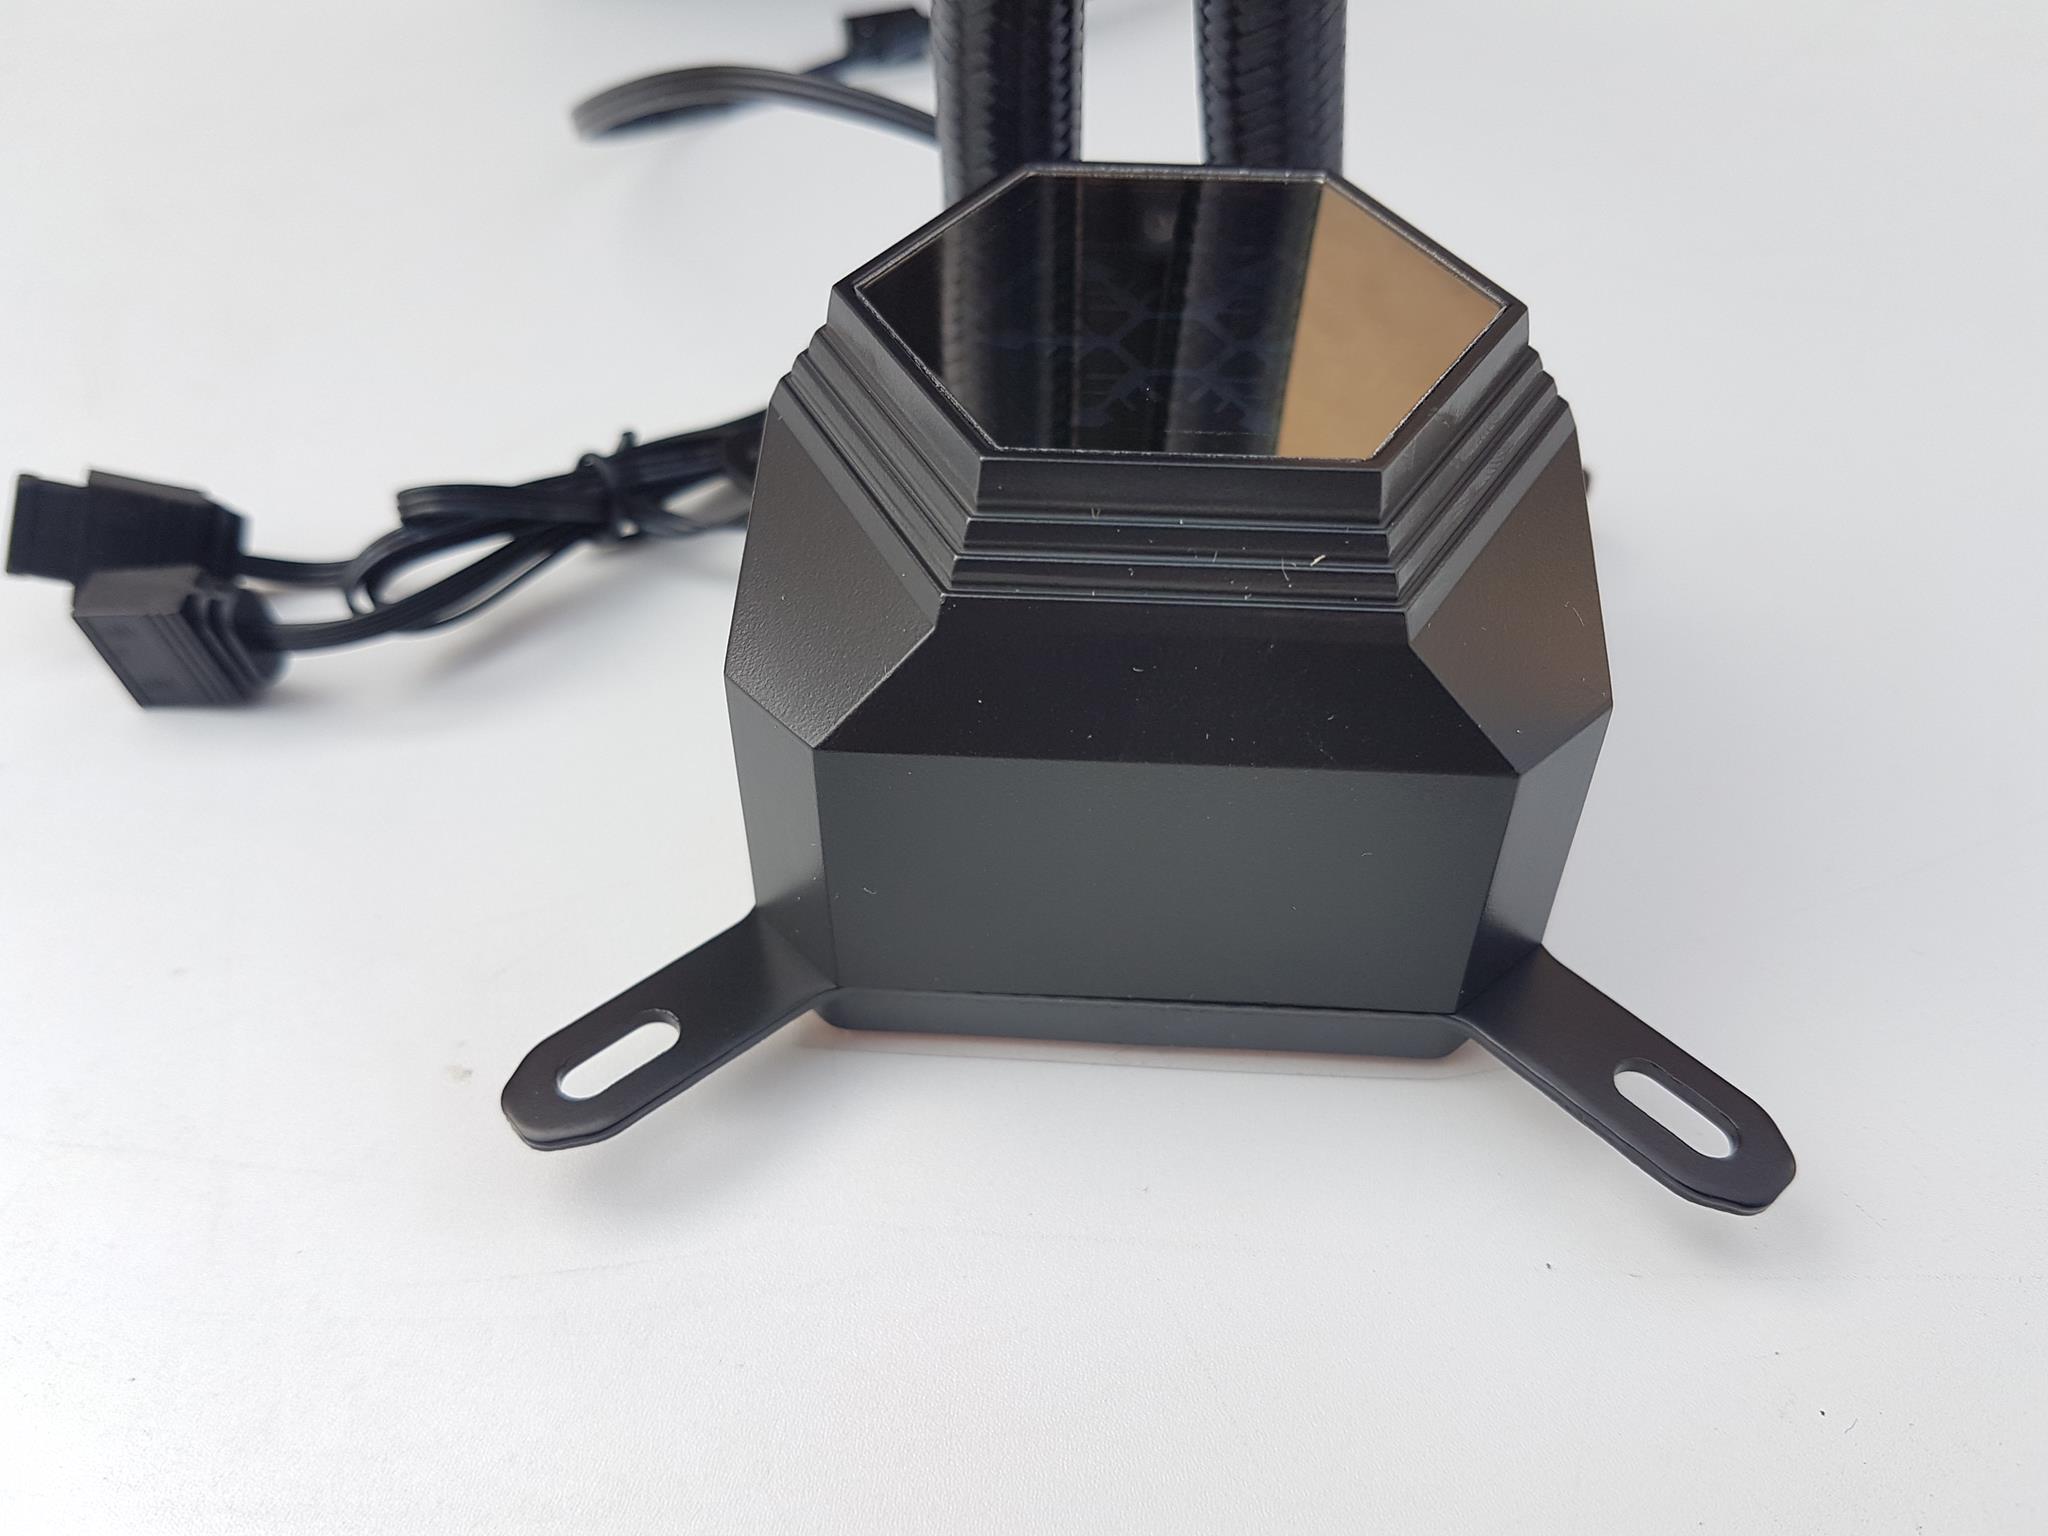
The pump housing is made of plastic and has a bold yet different outlook. The top lid has a glass sort of material covering the SilverStone brand logo inside. There are digital RGB LEDs under the top of the housing. The top structure is in polygon shape with 6 sides. This shape is expanding further down in 4 layers. Each intersection of these layers has a diffuser for ARGB lighting. This particular design creates a layered lighting effect that looks dope in person.
The sides of the pump housing are in a matte black finish and are not rounded. The overall design is quite unorthodox but pleasant.
The front side of the pump housing has a plain surface and sits in harmony with the overall design element of the housing.
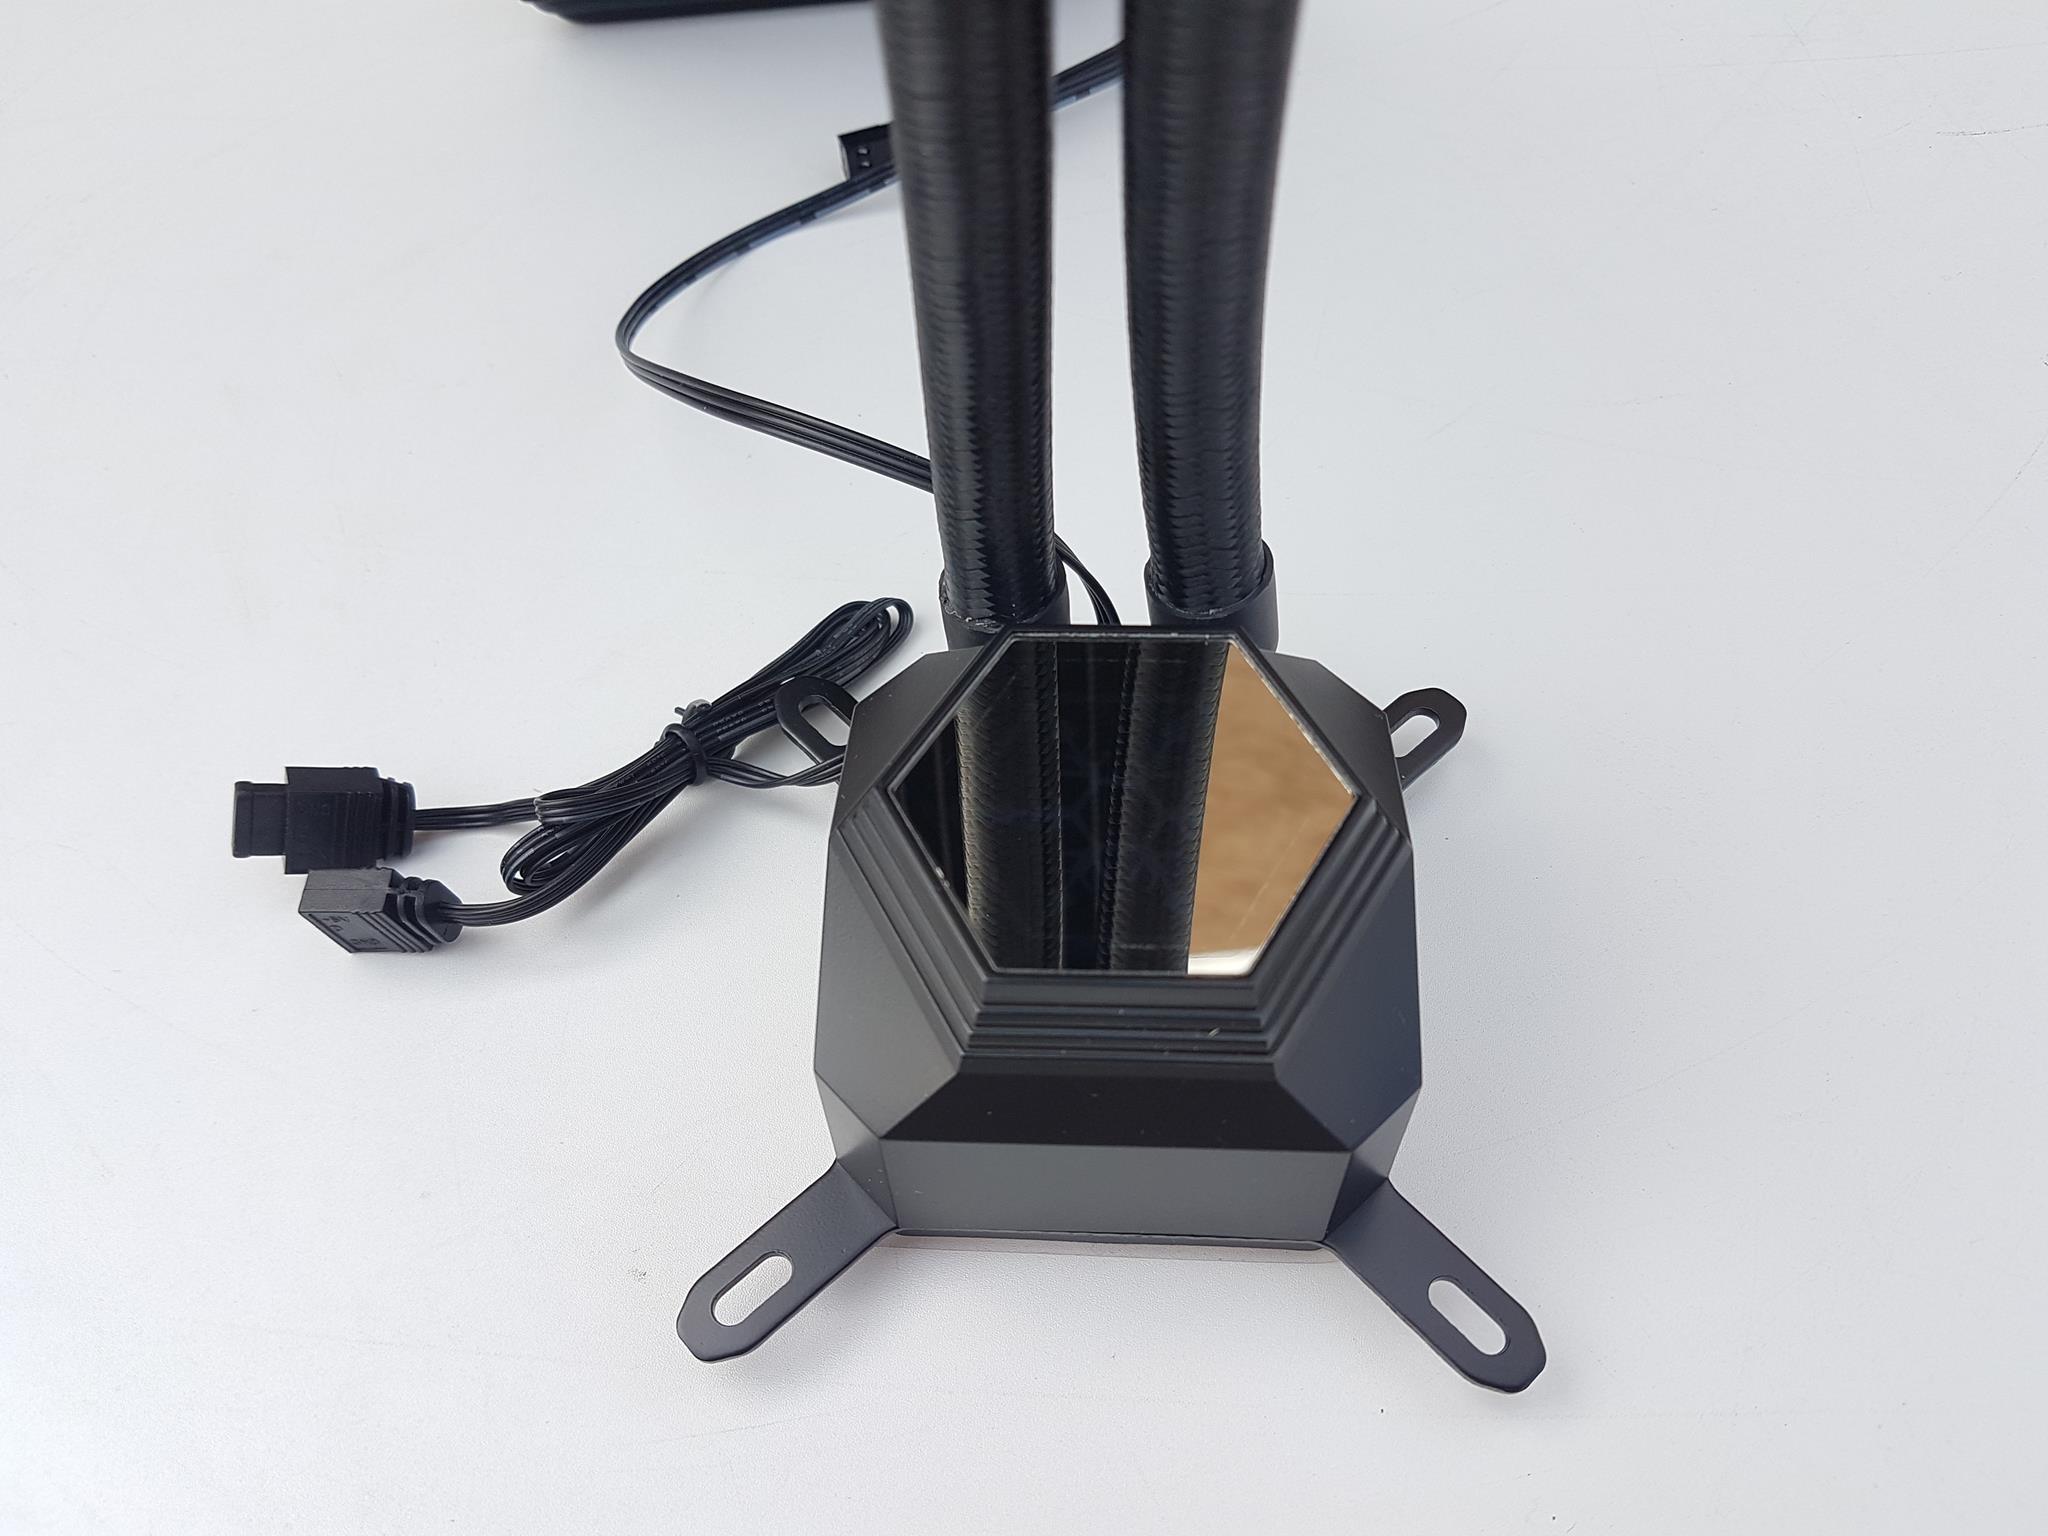
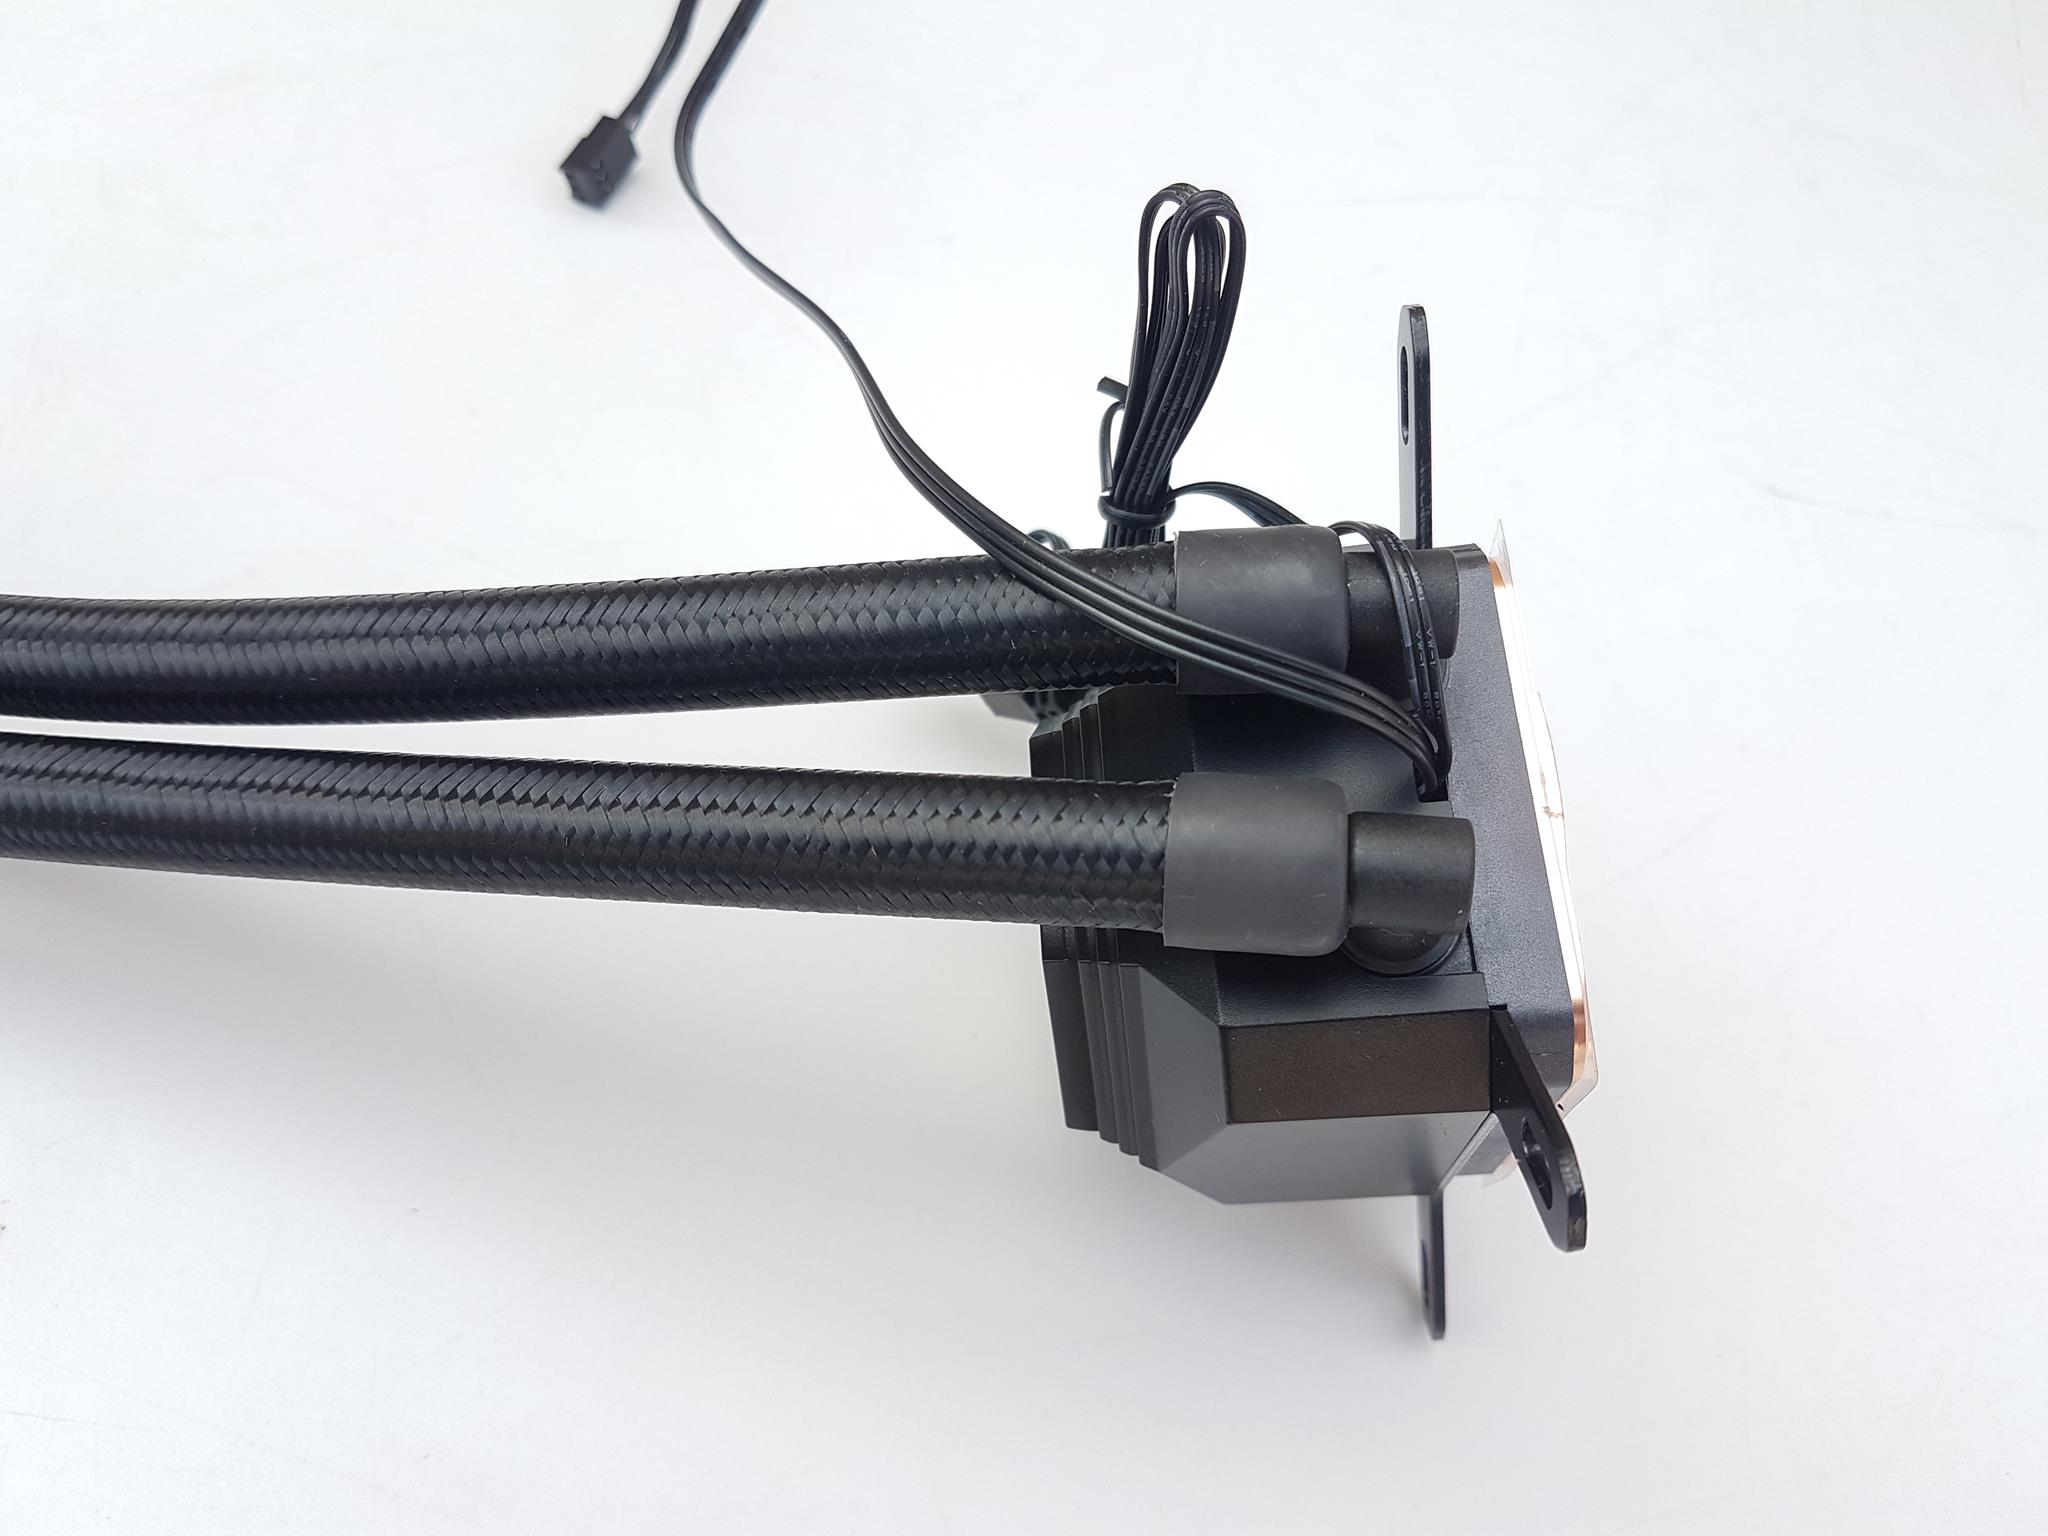
Looking at the block from the backside, the hoses are installed in 90. The hoses can be rotated in either direction with better flexibility. There are two flat cables coming out from the lower middle section of the housing.
The two cables which are coming out of the block are:
- 3-pin Power Cable [Length 408mm approximately]
- Digital RGB LED Connectors Cable [Length 365+95mm approximately]
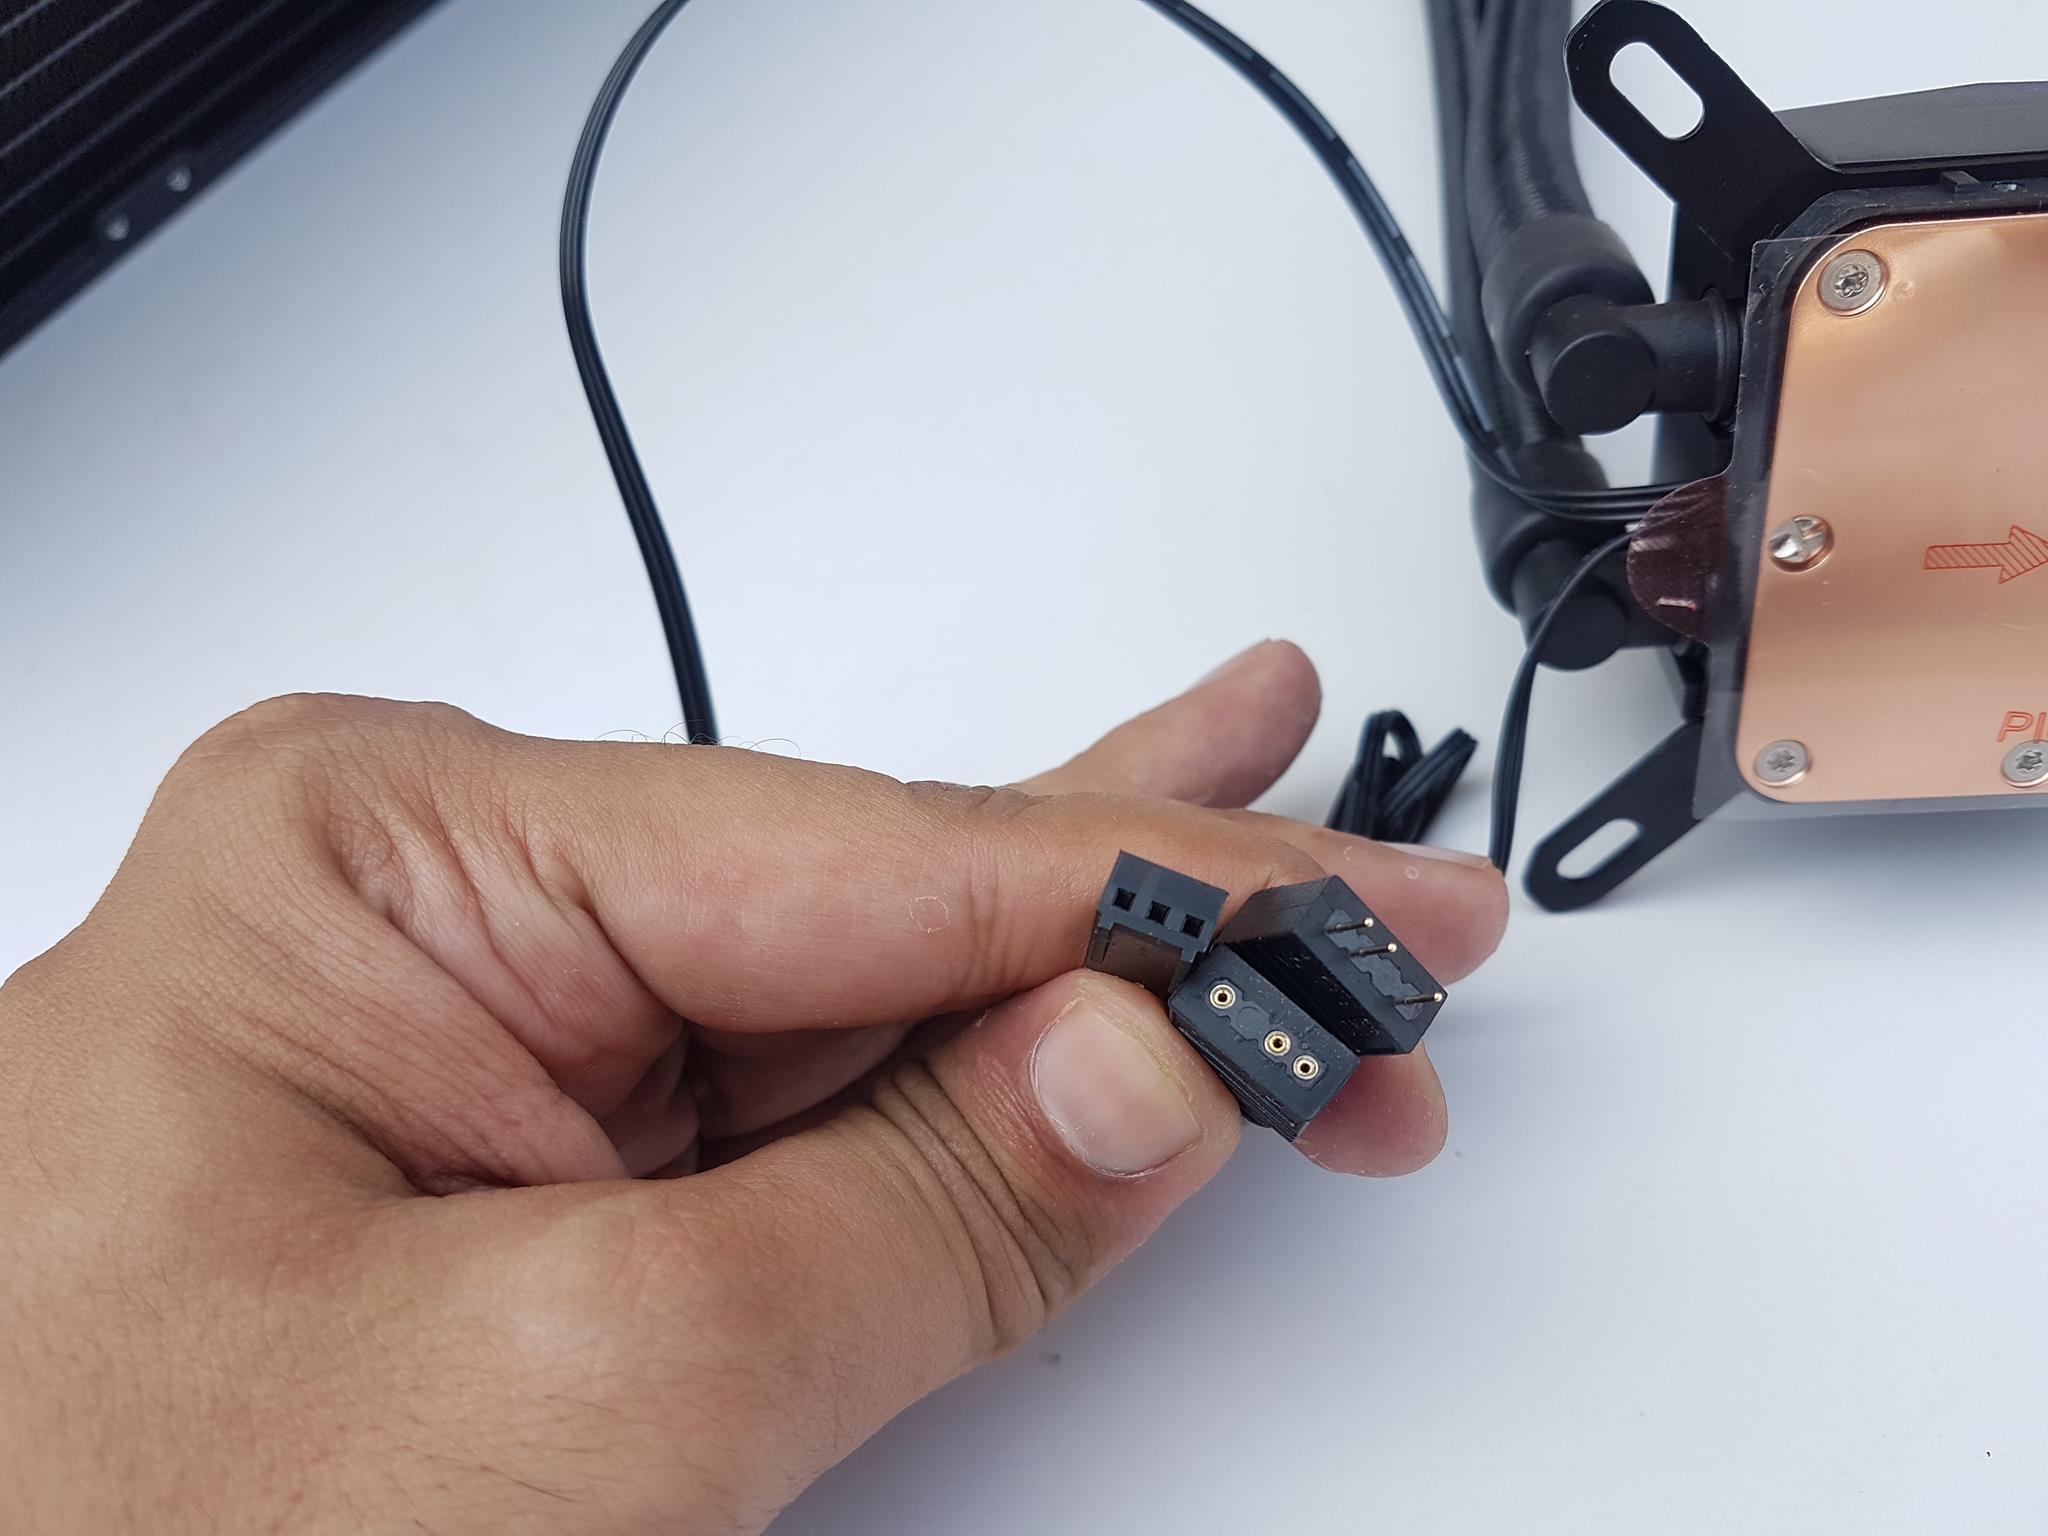
Both cables are flat to my liking and ARGB cable has 3-pin male and female connectors that are compatible with the ARGB lighting headers on the motherboards.
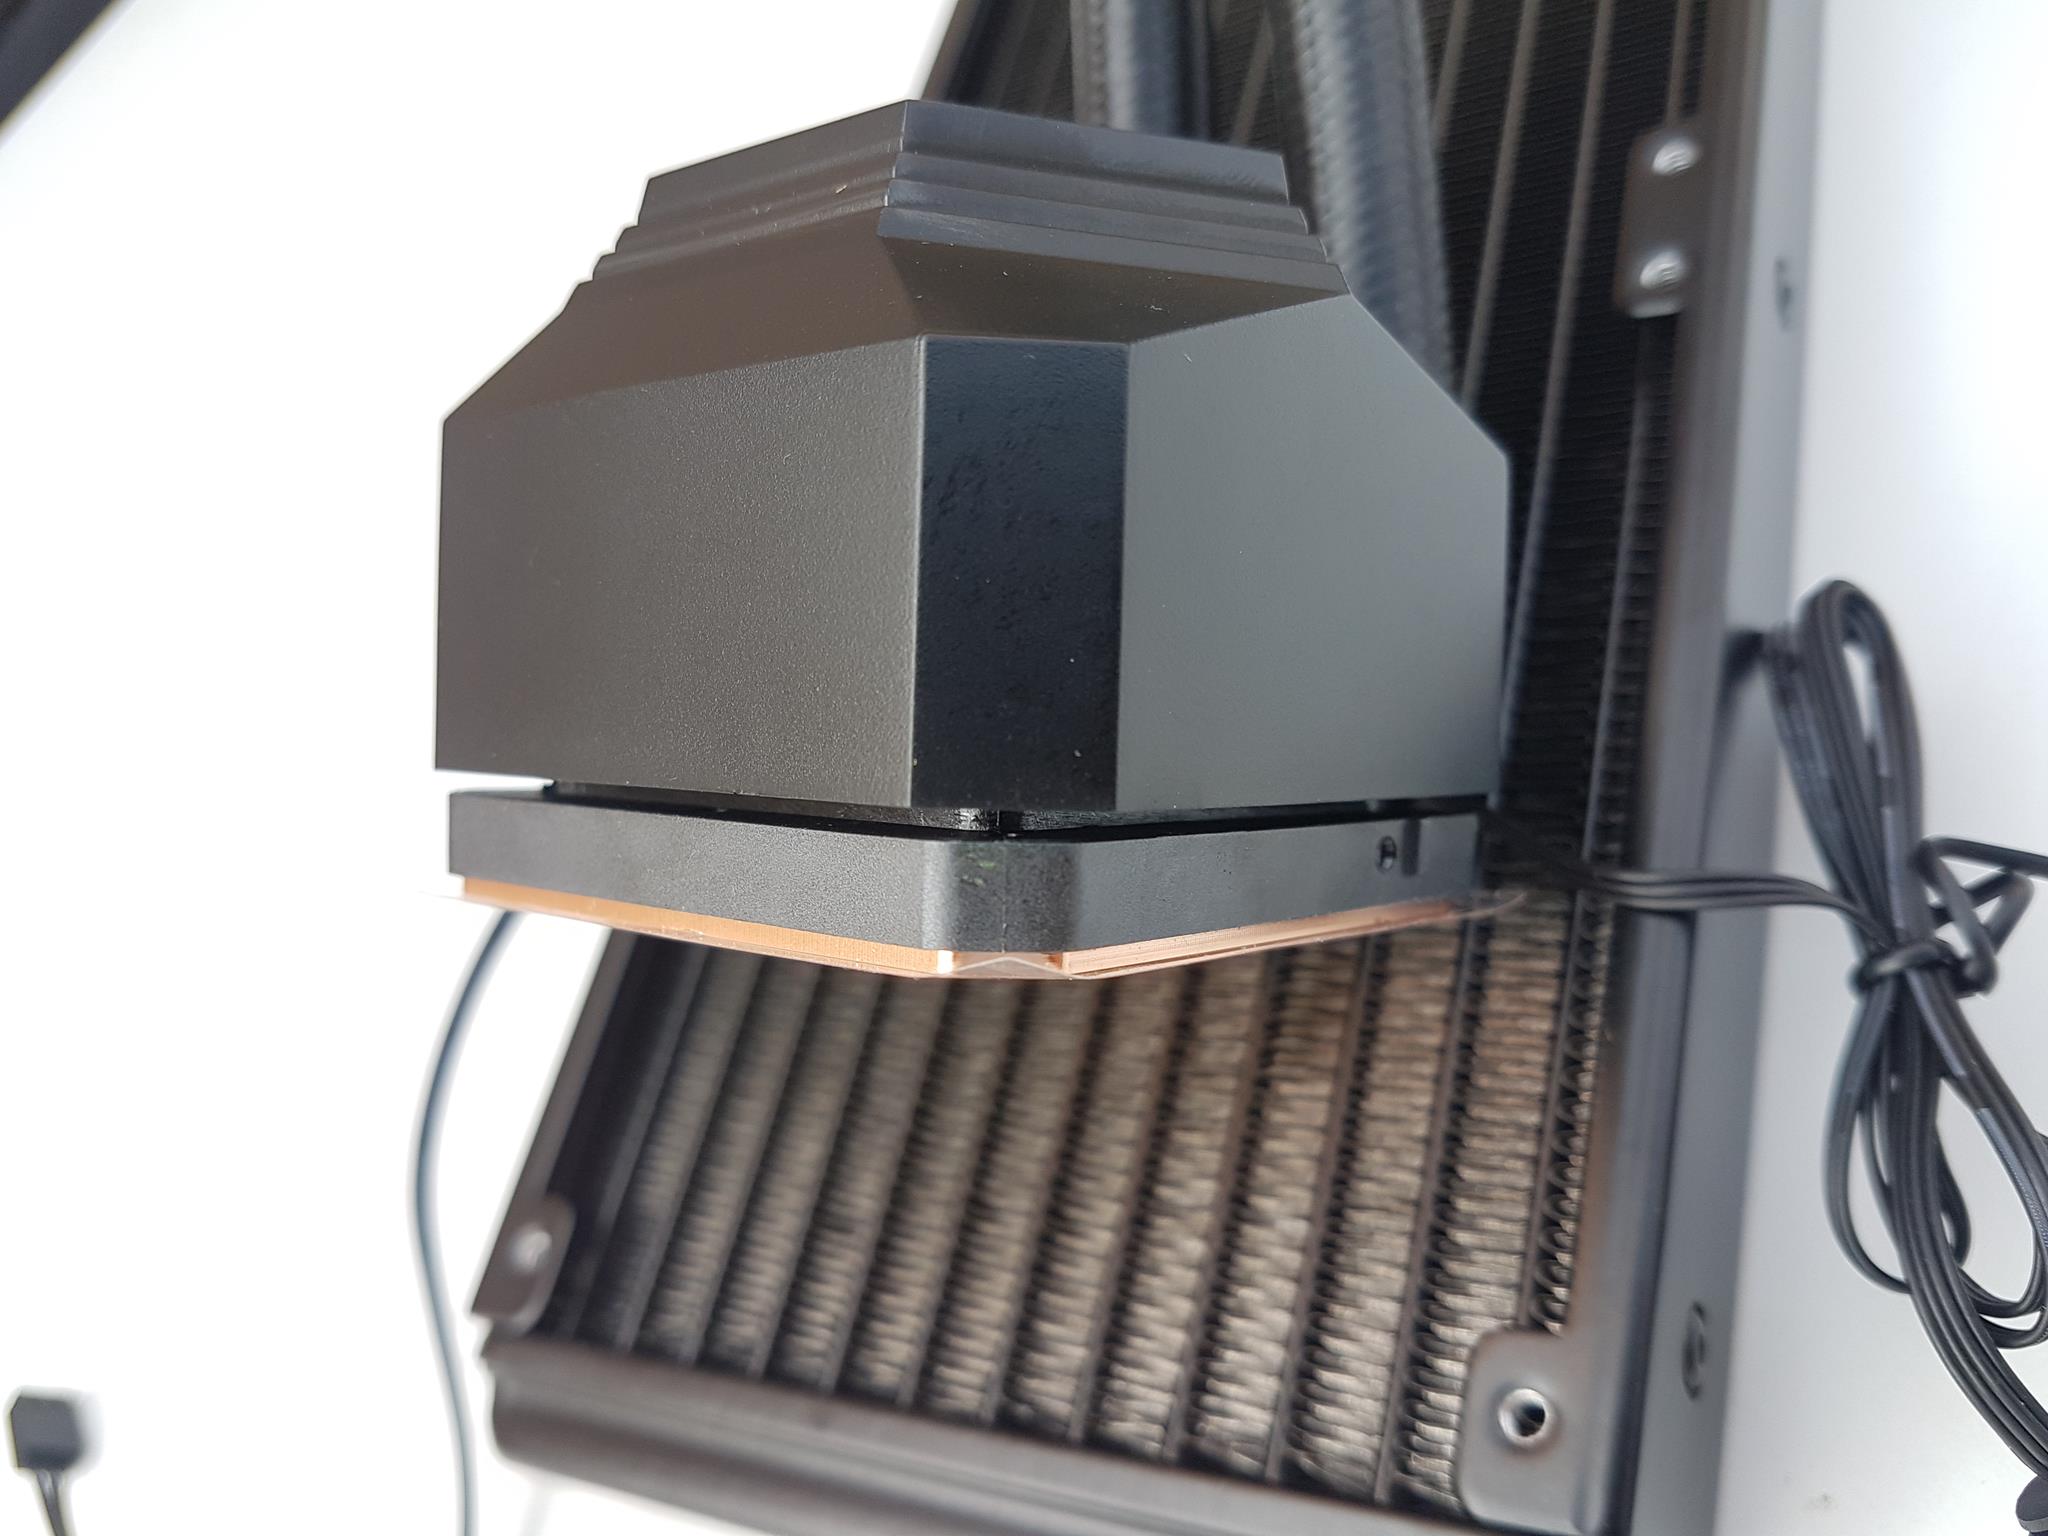
The mounting brackets are not installed in the pump housing using screws. There is a channel provide above the base. The Intel and AMD mounting brackets are slid in this channel. Please, note that the Intel mounting bracket comes pre-installed. The sliding mechanism is rigid and holds the bracket securely. One would need to use a bit of force to take the bracket out. This is to ensure that the bracket does not get loosen up in the long run.
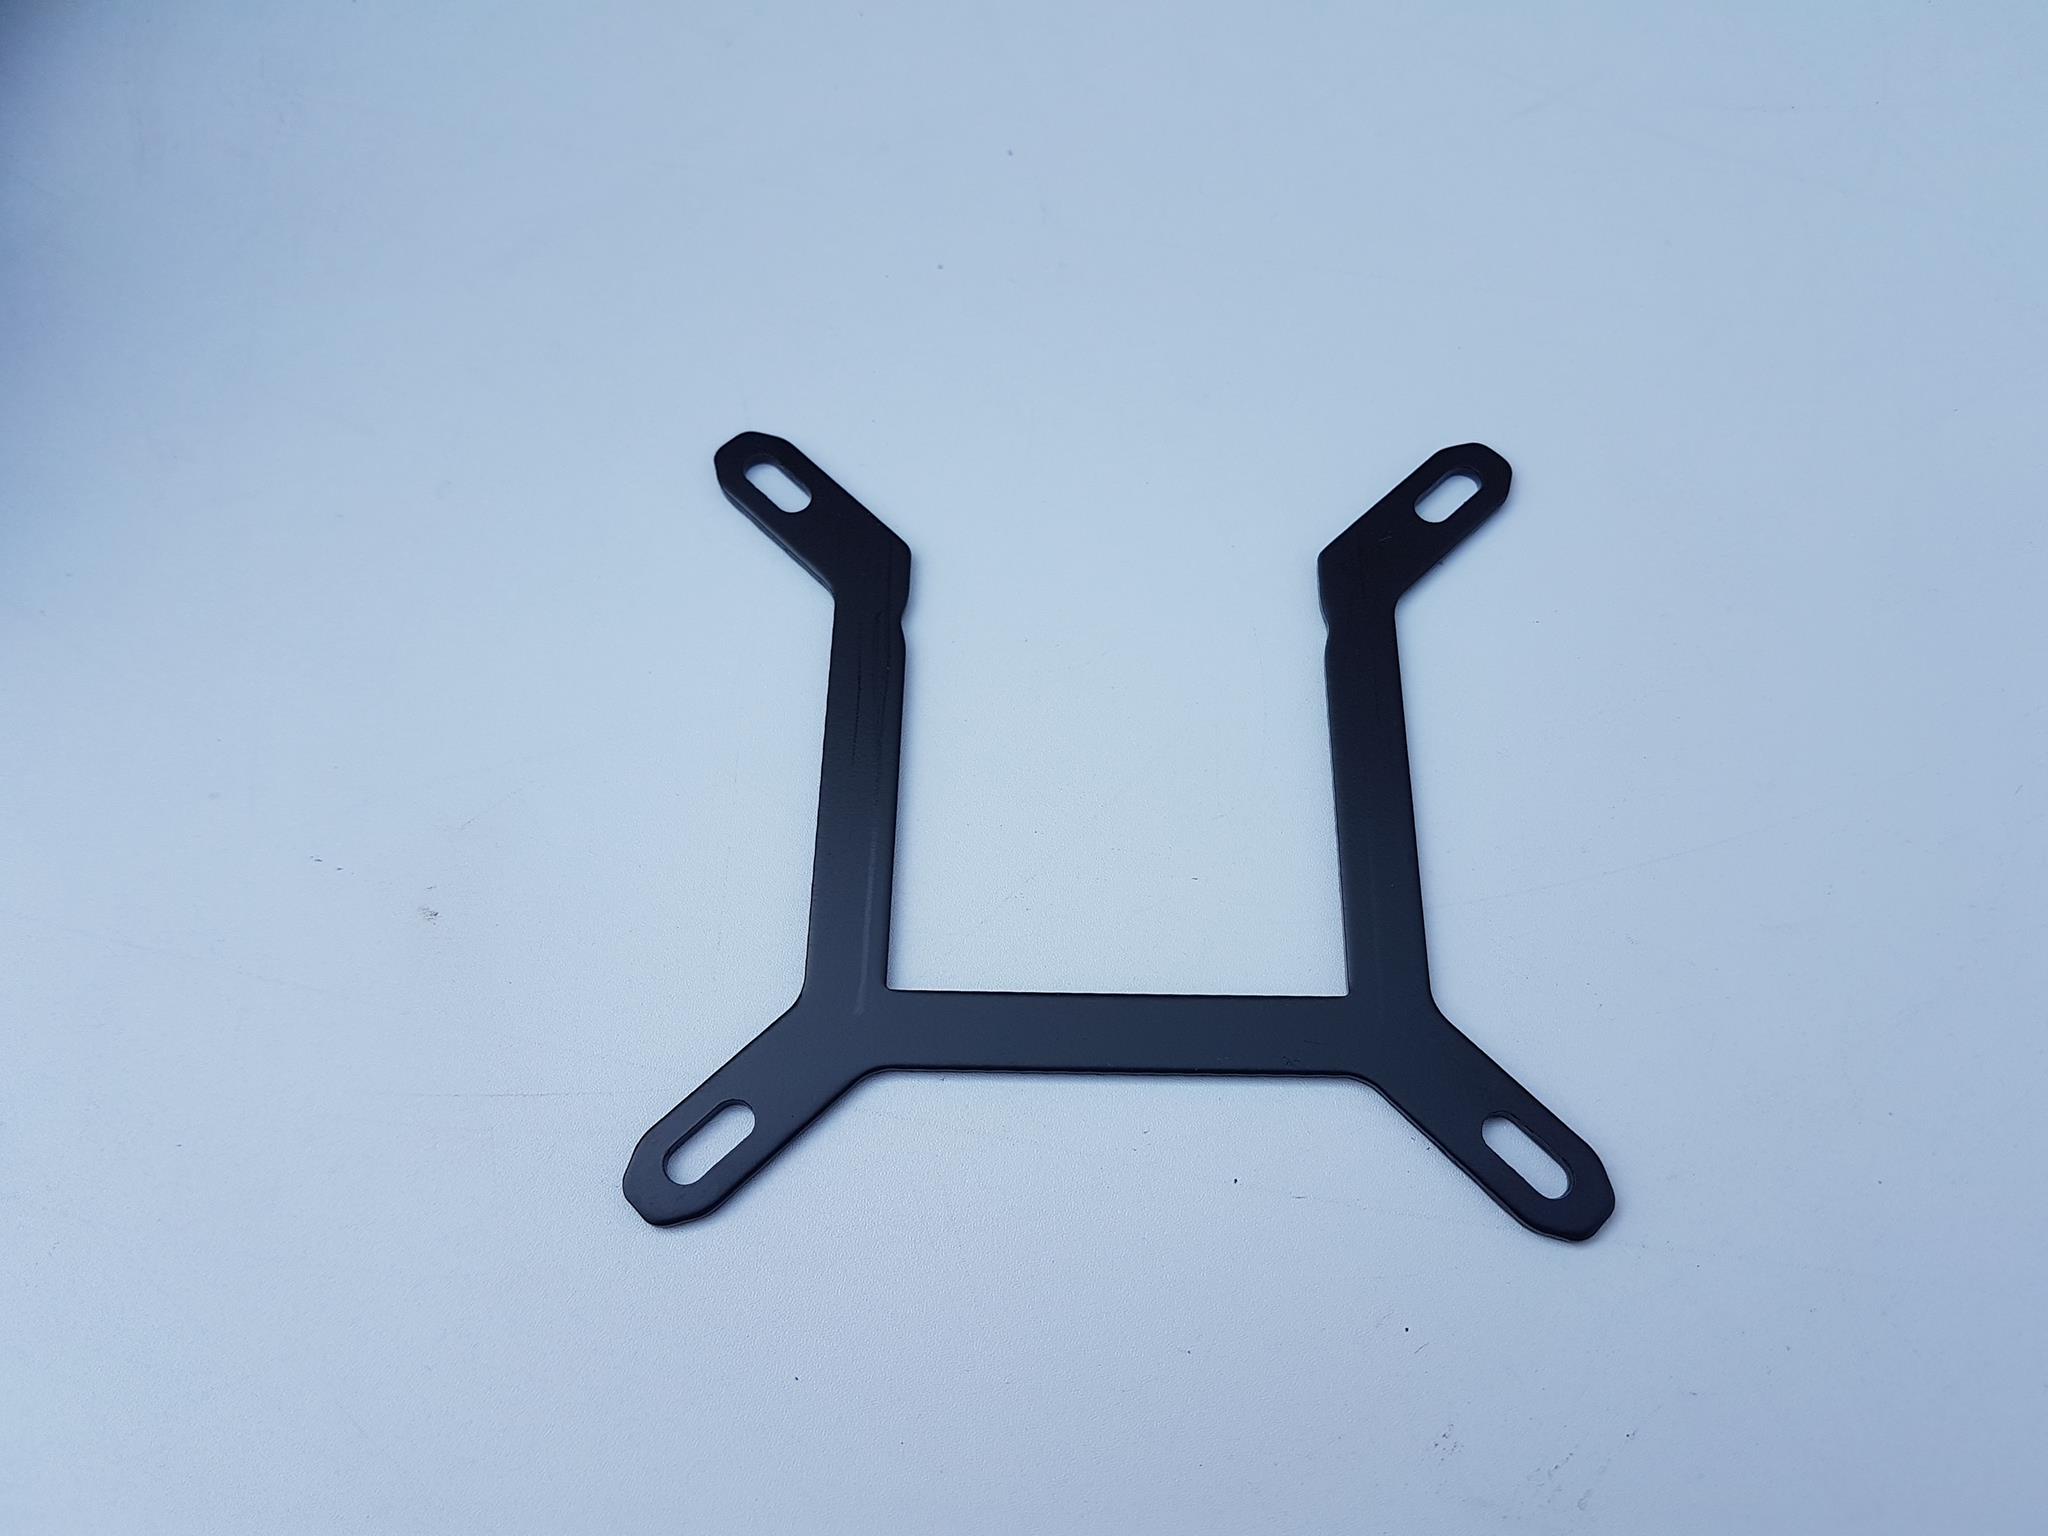
Intel mounting bracket is a three-sided design with arms extending in the opposite direction with a provision for mounting holes.
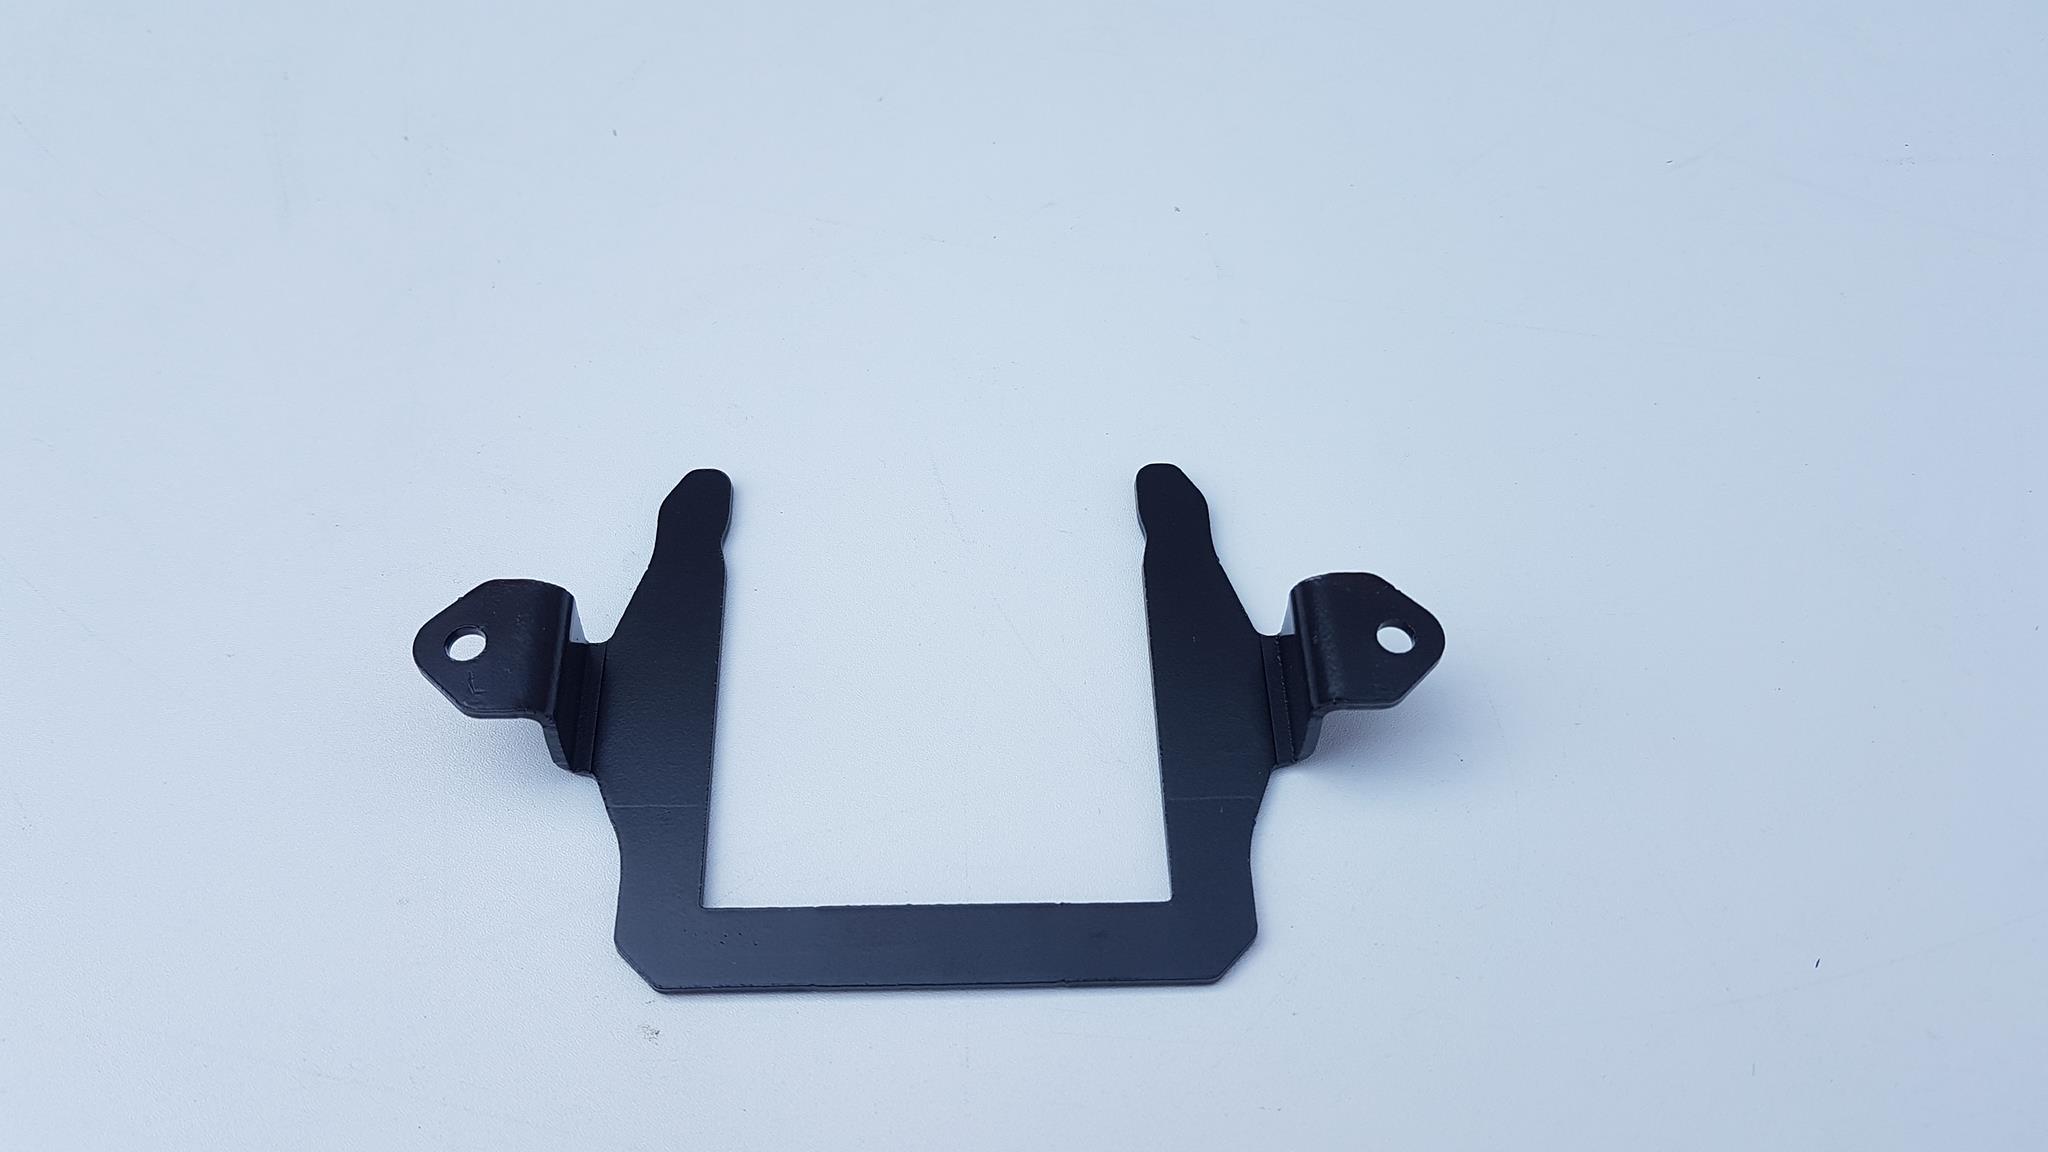
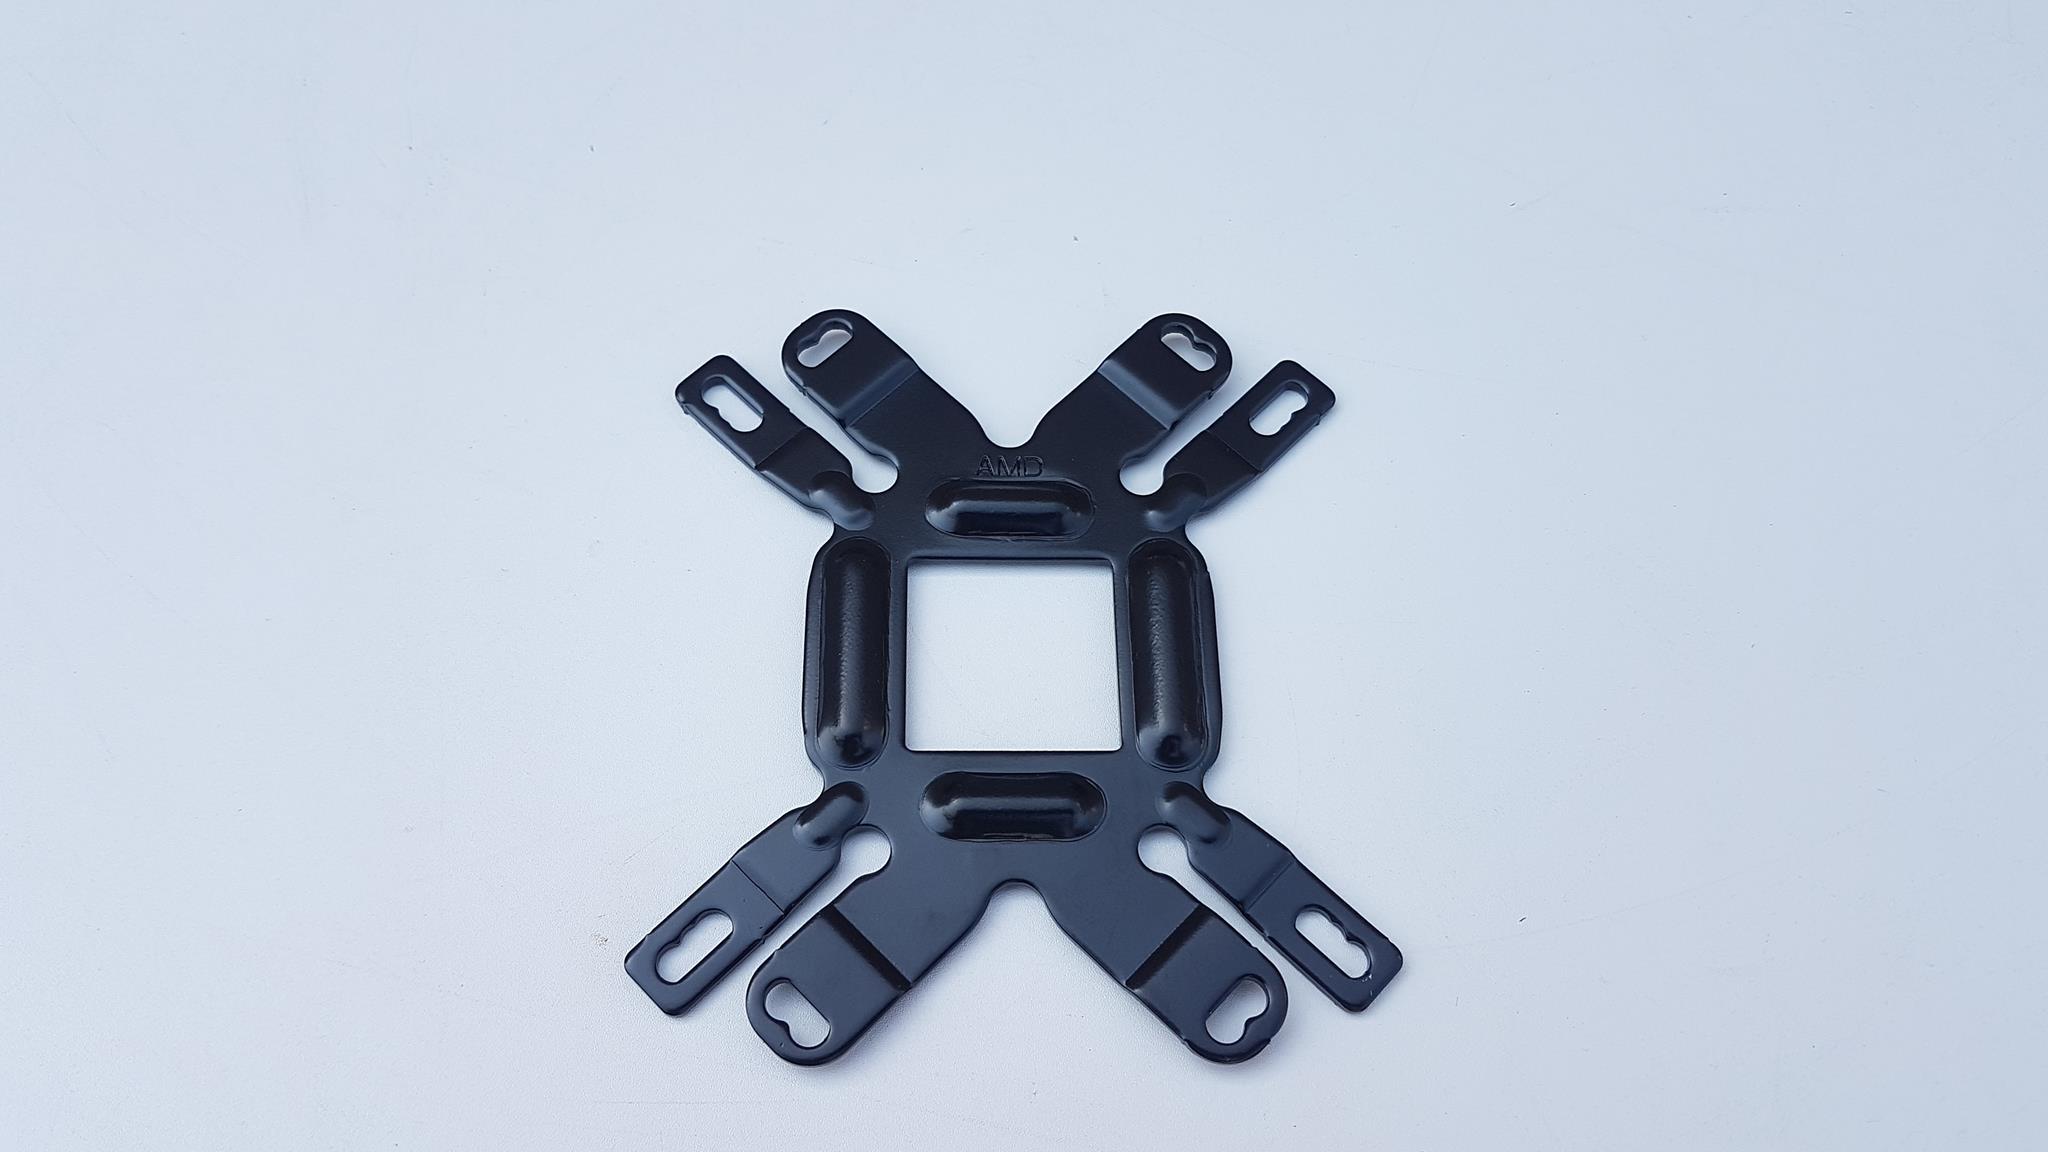
The AMD mounting bracket is also three-sided. It’s both sides have extended portions with mounting holes. This is where AMD mounting clips are installed.
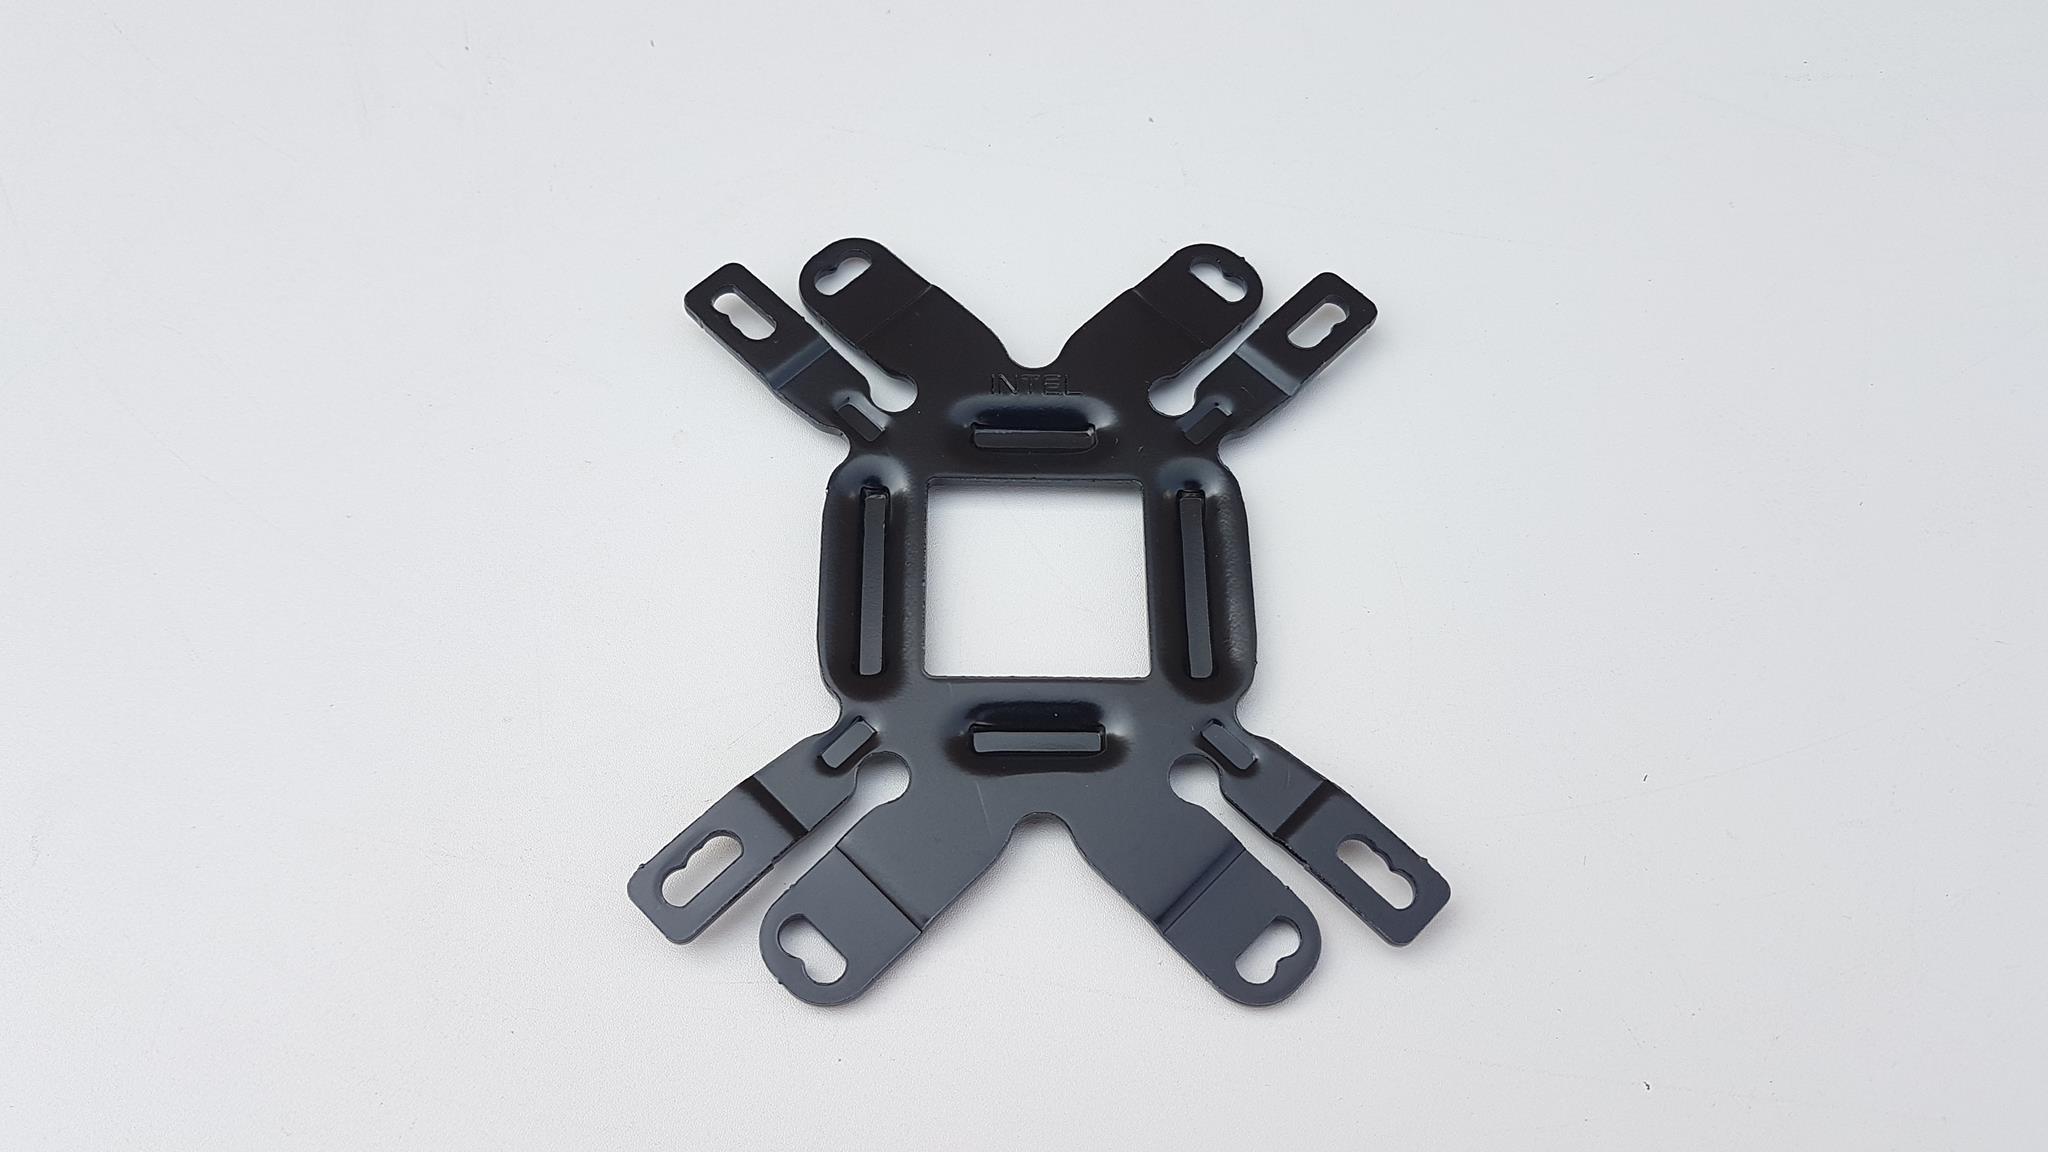
A single backplate is provided for Intel LGA 775/1136/115x and AMD AM2/AM3/AM4/FM1/FM2 sockets. Its one side is for the Intel sockets.
This side of the backplate is for the AMD sockets.
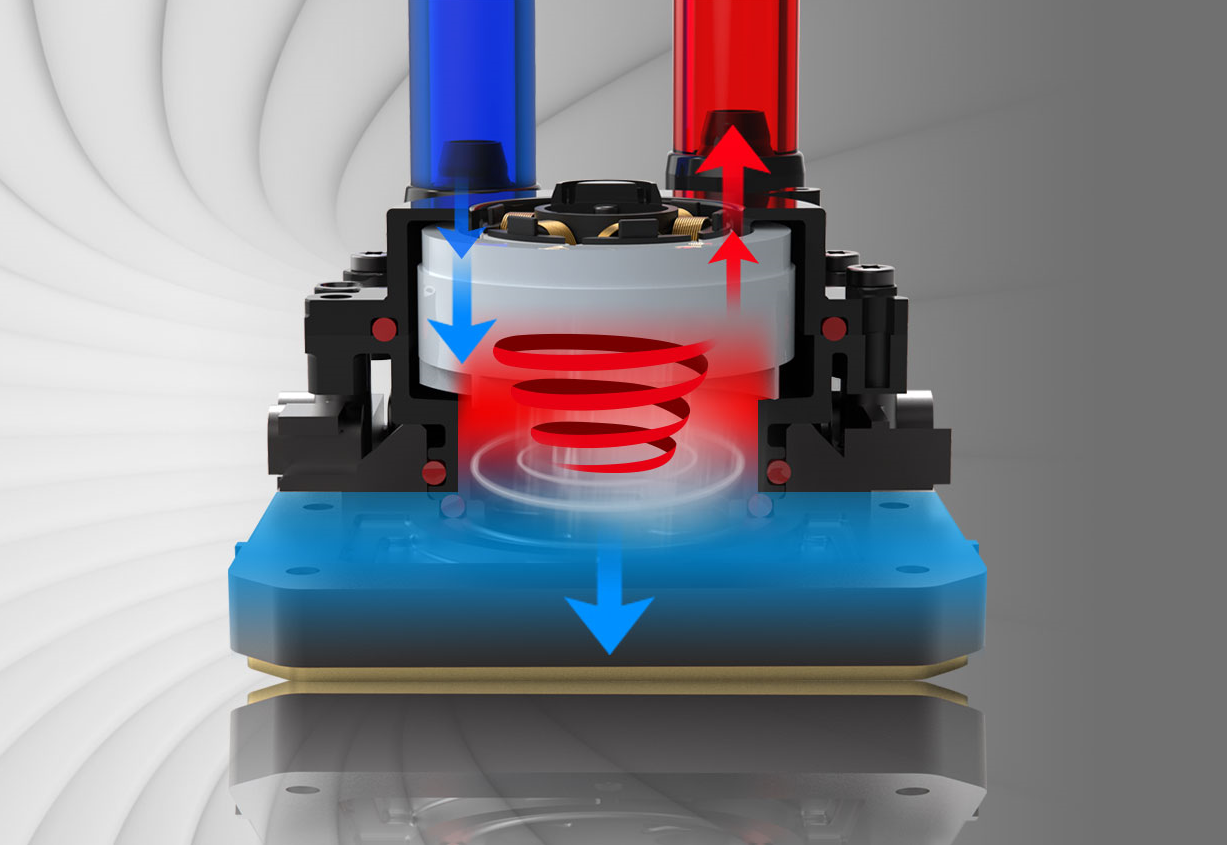
Water block includes a pump with a multi-chamber design that isolates hot and cold liquid channels to prevent heat bleeding, thus making it more effective at removing heat away from the water block.
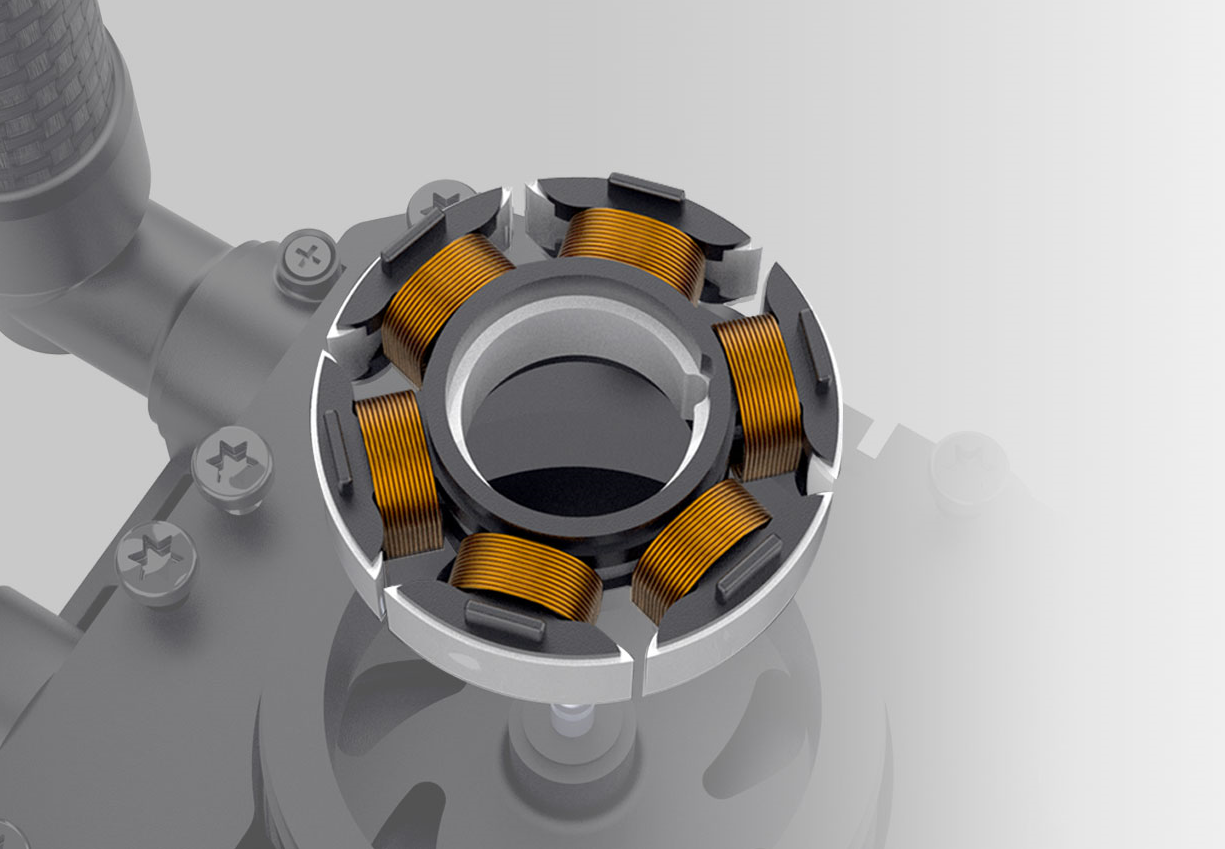
The pump motor utilizes three-phase, six-pole design for smoother, quieter operation compared to most single-phase, four-pole design. This improves energy efficiency. An automotive-grade sine wave generator is used to drive the pump motor. This ensures electrical noise and vibration are kept to a minimum. It is also AEC-Q100 certified according to Automotive Electronics Council’s standard making it more durable. Here are the specifications of the pump motor:
| Rated Speed | 3400 ± 10% RPM |
| Rated Voltage | 12V DC |
| Rated Current | 0.39A |
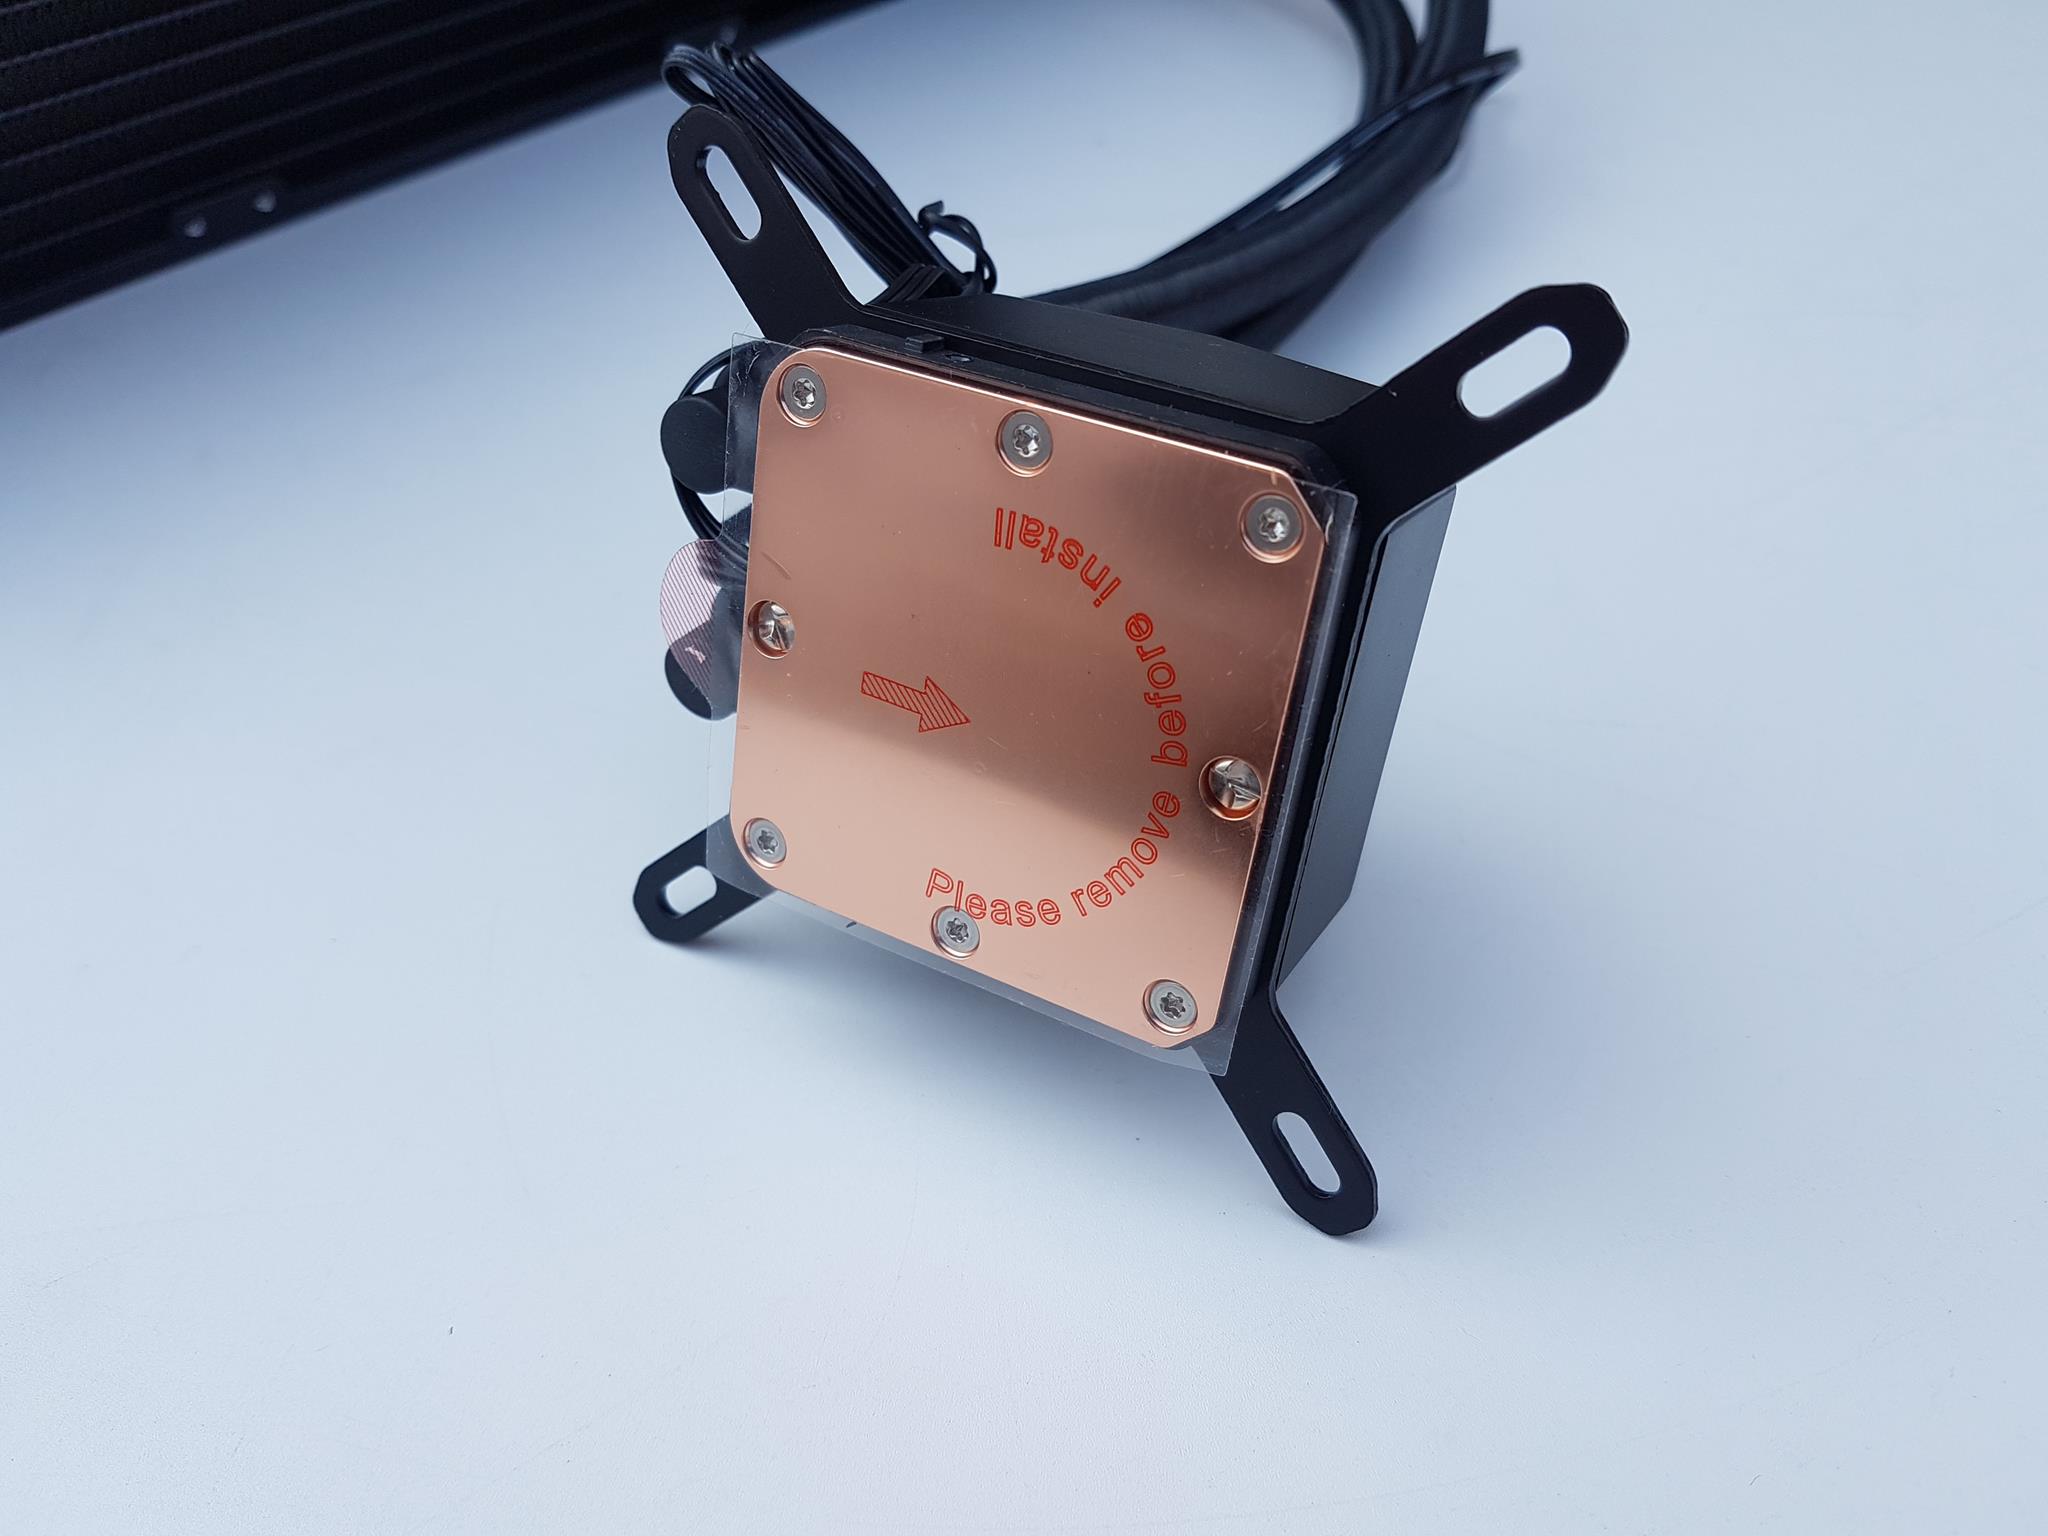
Let’s take a look at the base. The base plate is made of copper and has a dimension of 55x55mm. It is secured with the main housing using 8 screws. There is a warning sticker pasted here cautioning the user to remove it before installation. Its purpose is to protect the base before the installation.
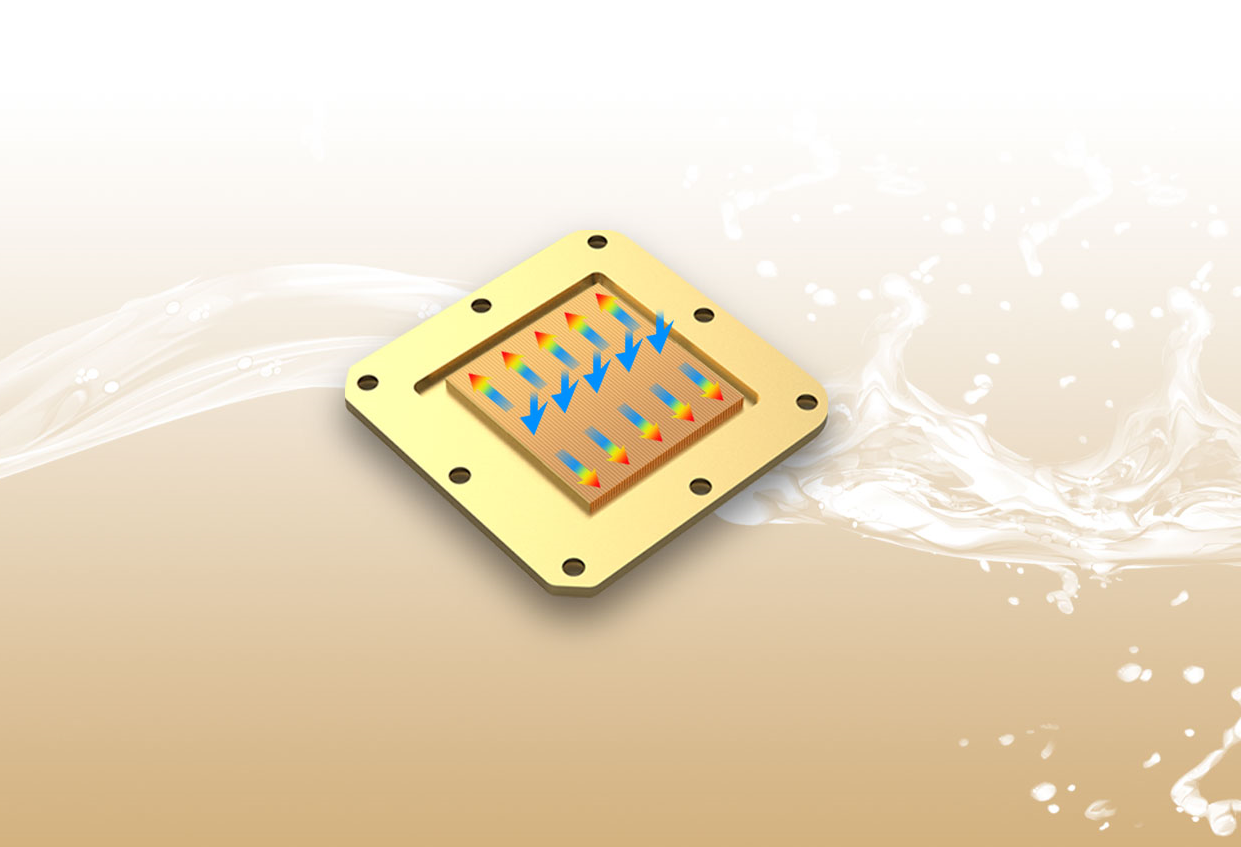
SilverStone is using 0.2mm micro liquid channels to evenly distribute liquid flow for improved heat dissipation.
Fans
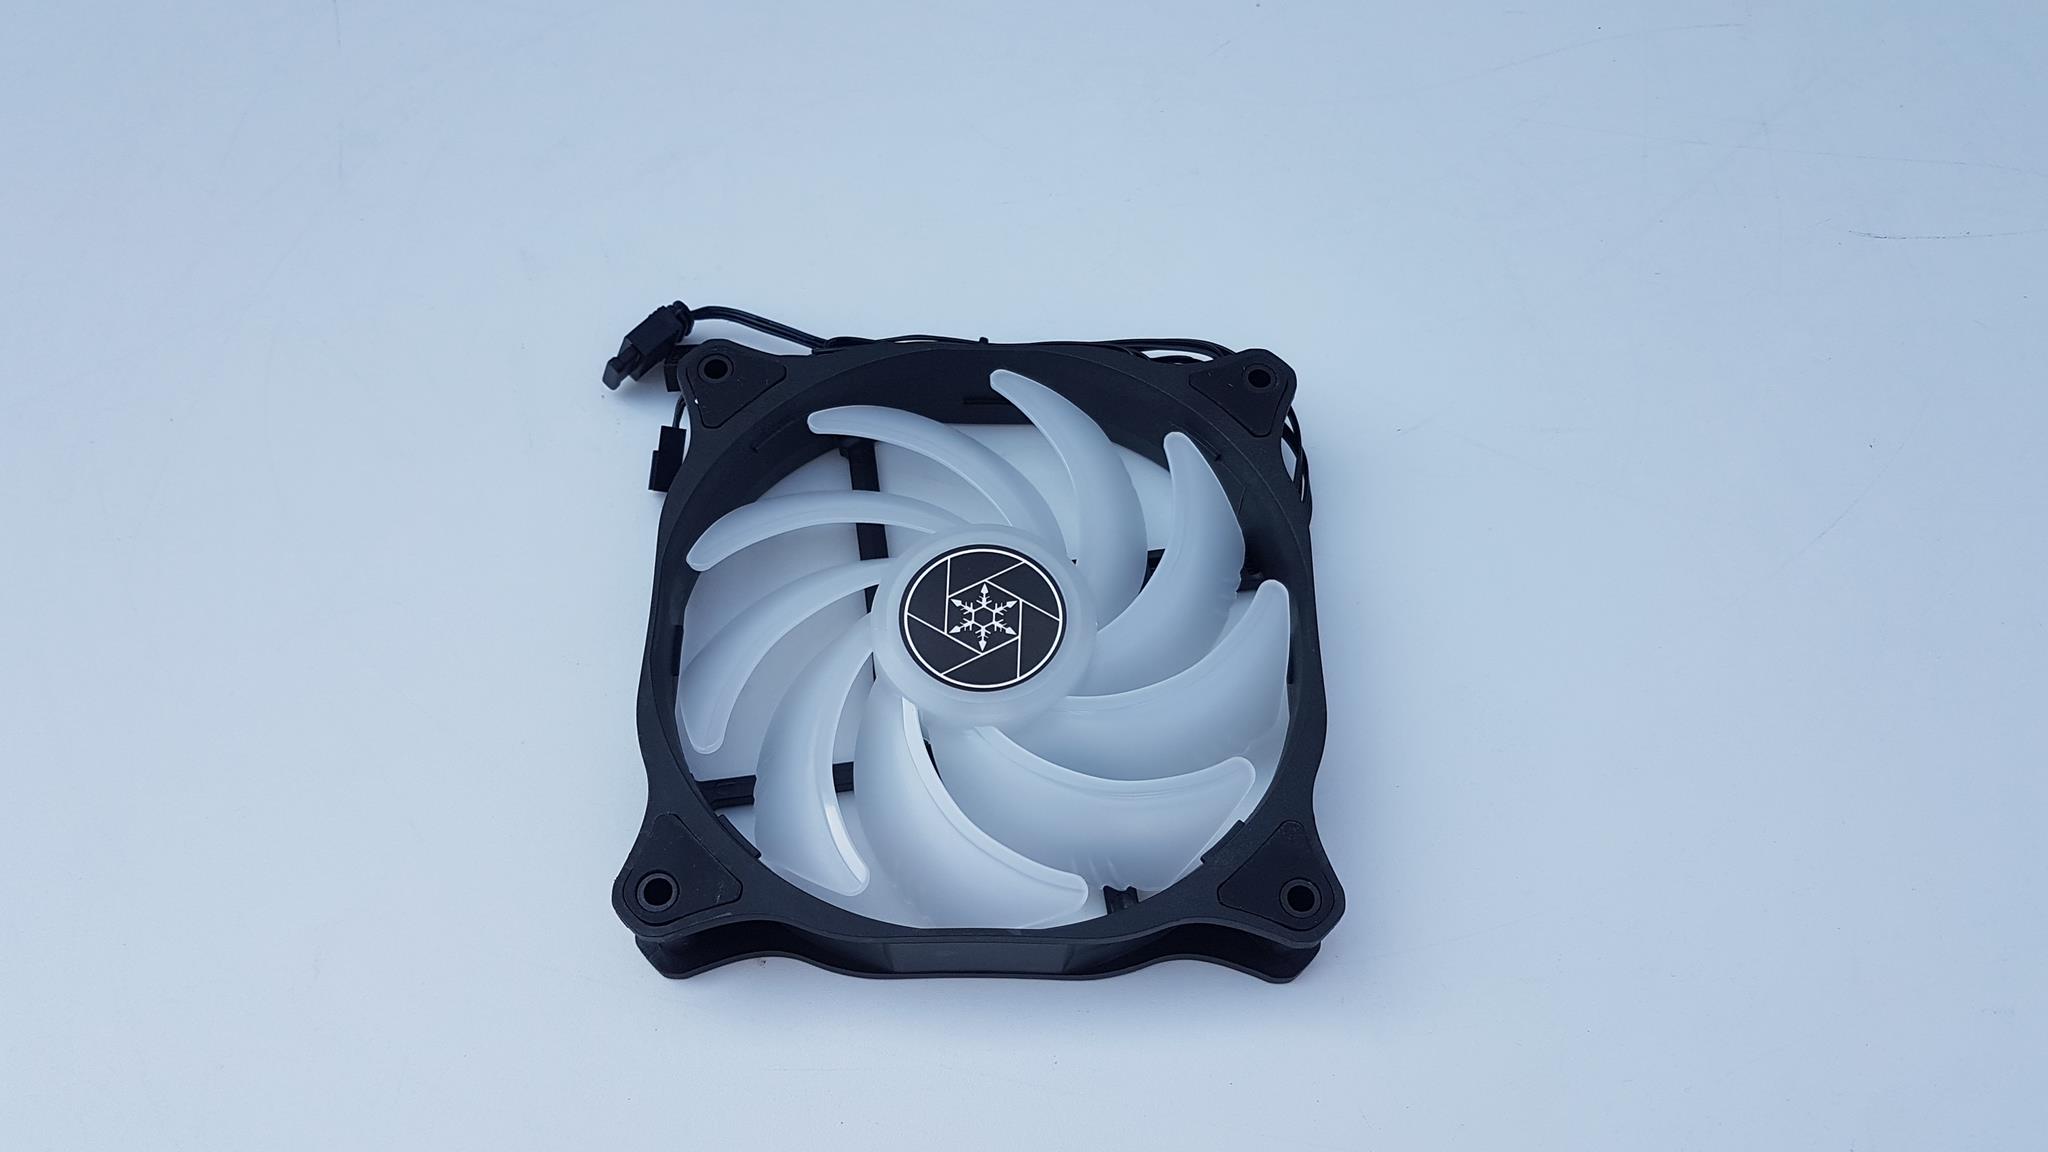
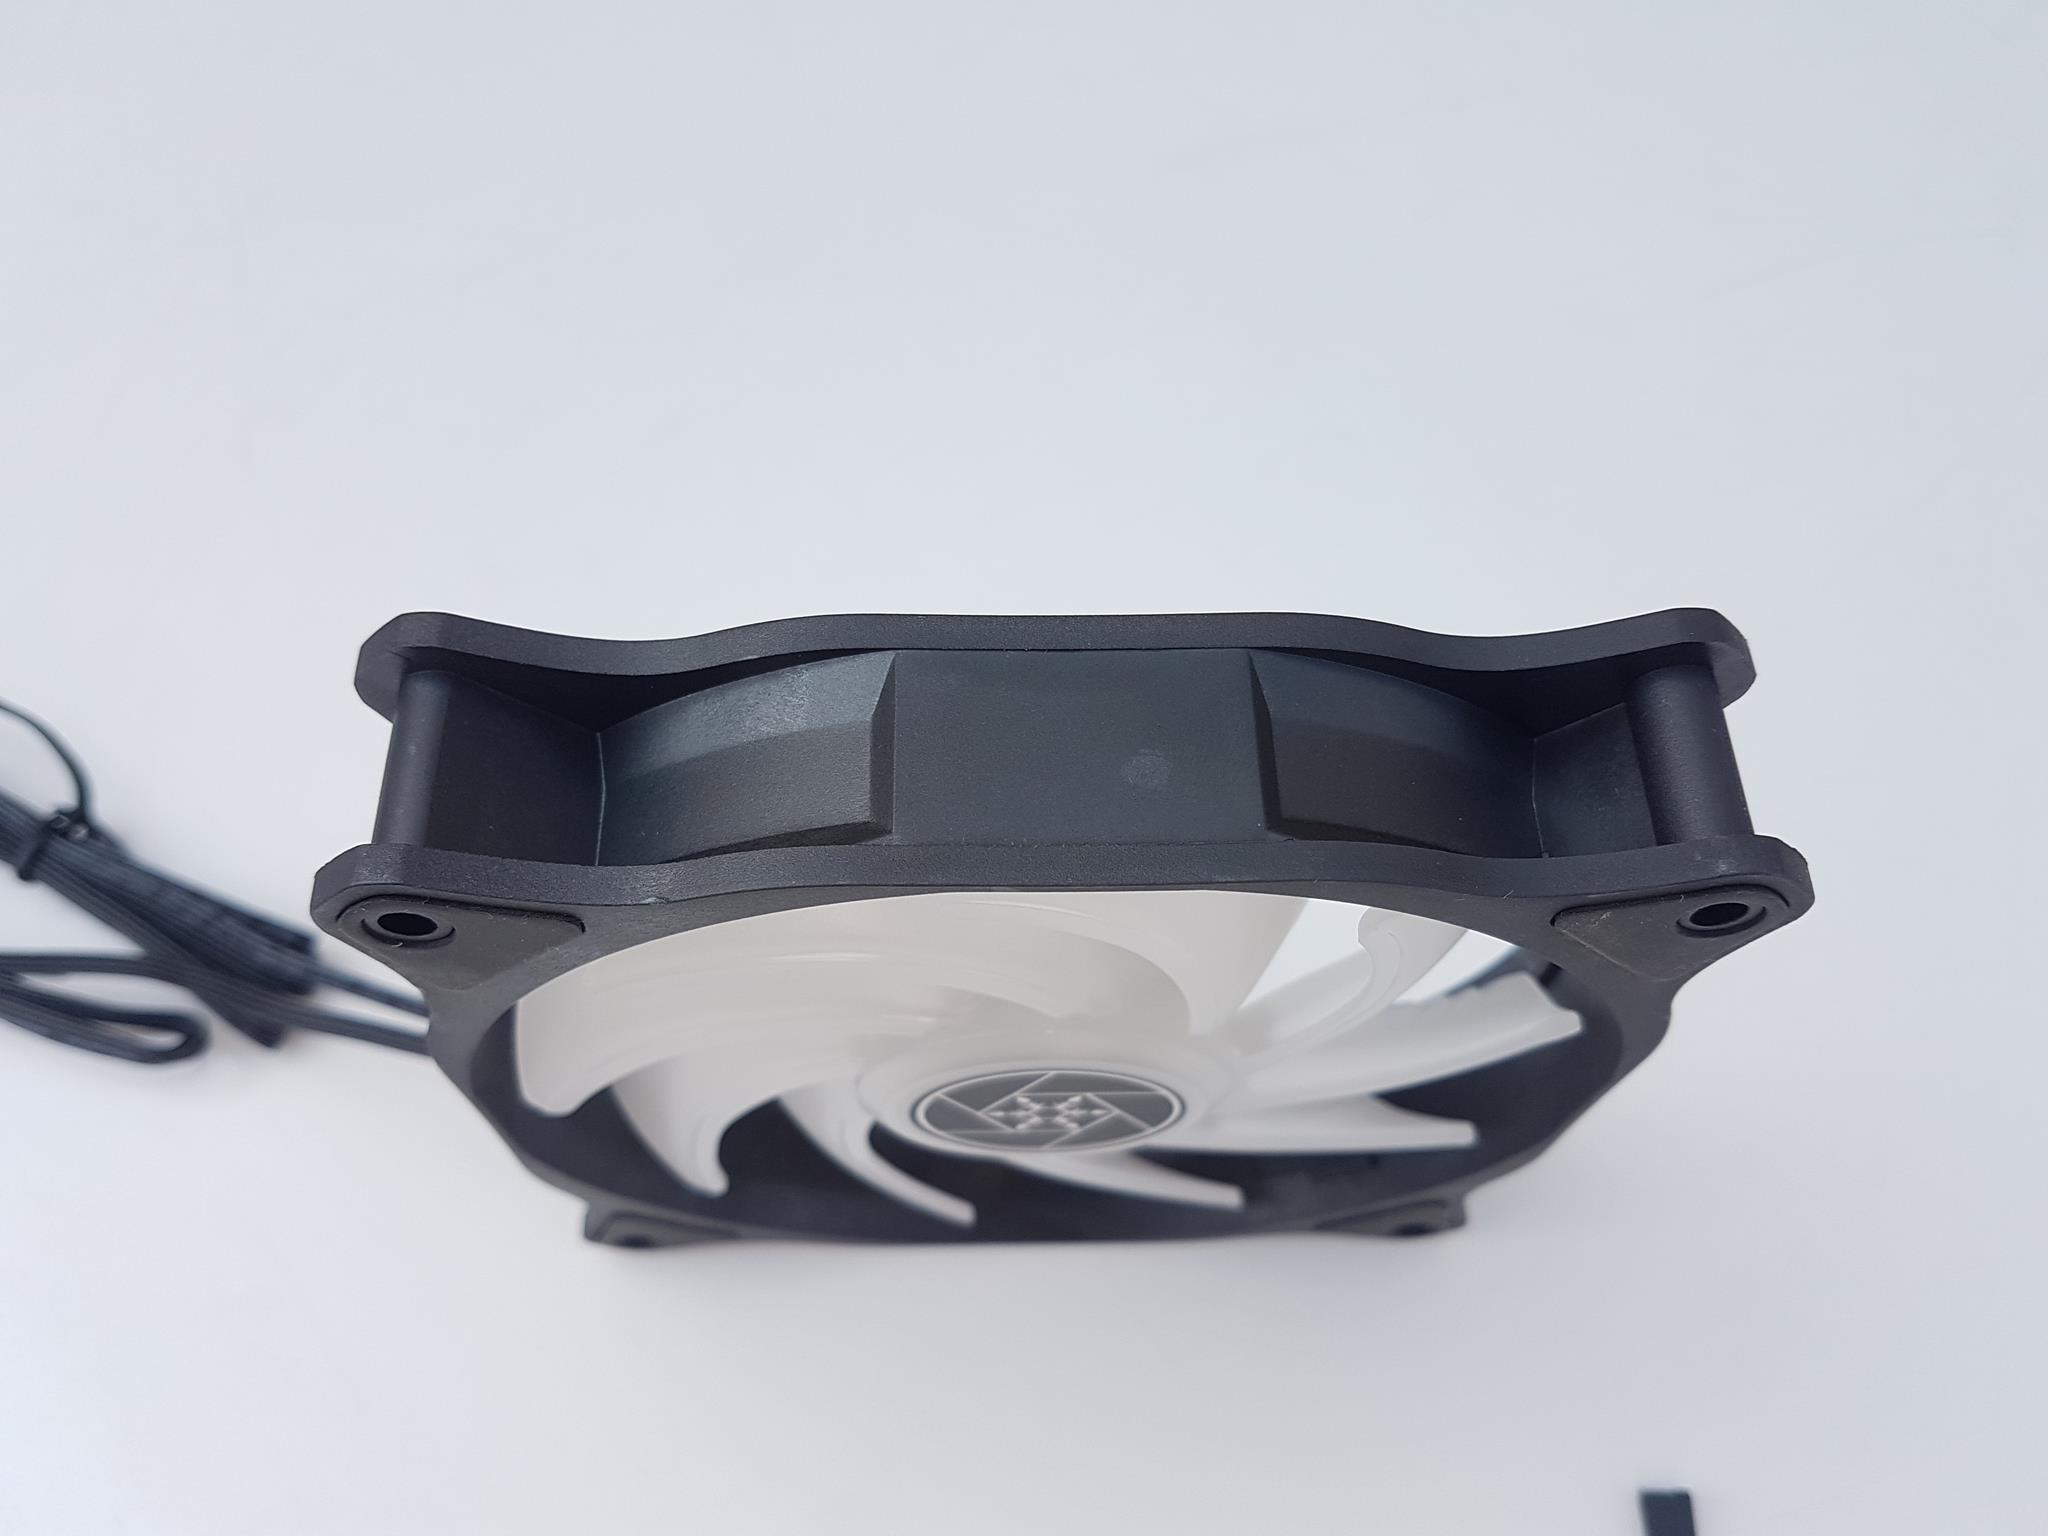
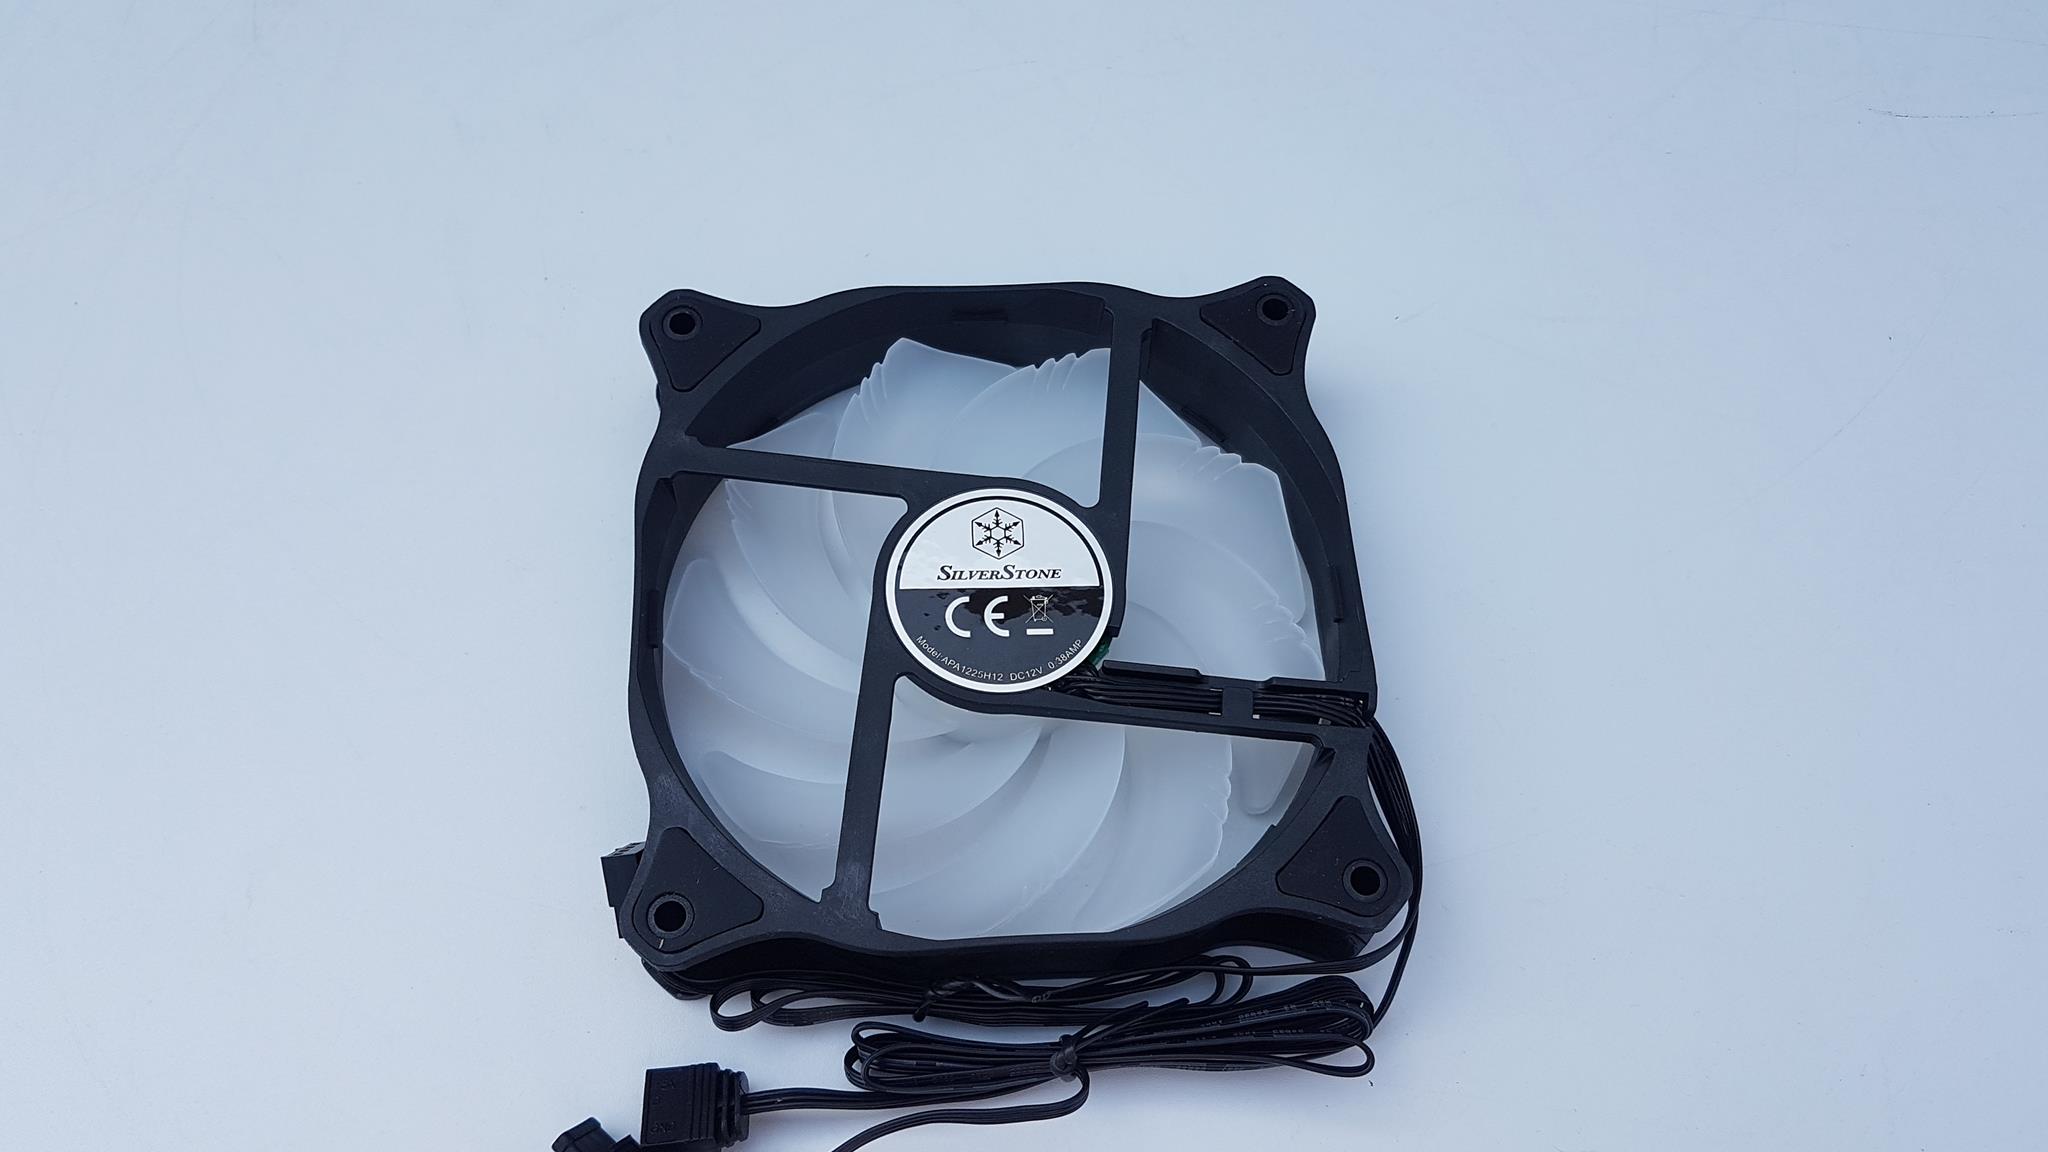
SilverStone has bundled three 120mm PWM fans with this cooler. These fans have 9 translucent impellers. The center on the front is also translucent and has SilverStone branded logo sticker pasted on it. The ARGB LEDs are in the central housing. The frame of the fan is in black and made of plastic. It has slim sides while thicker edges.
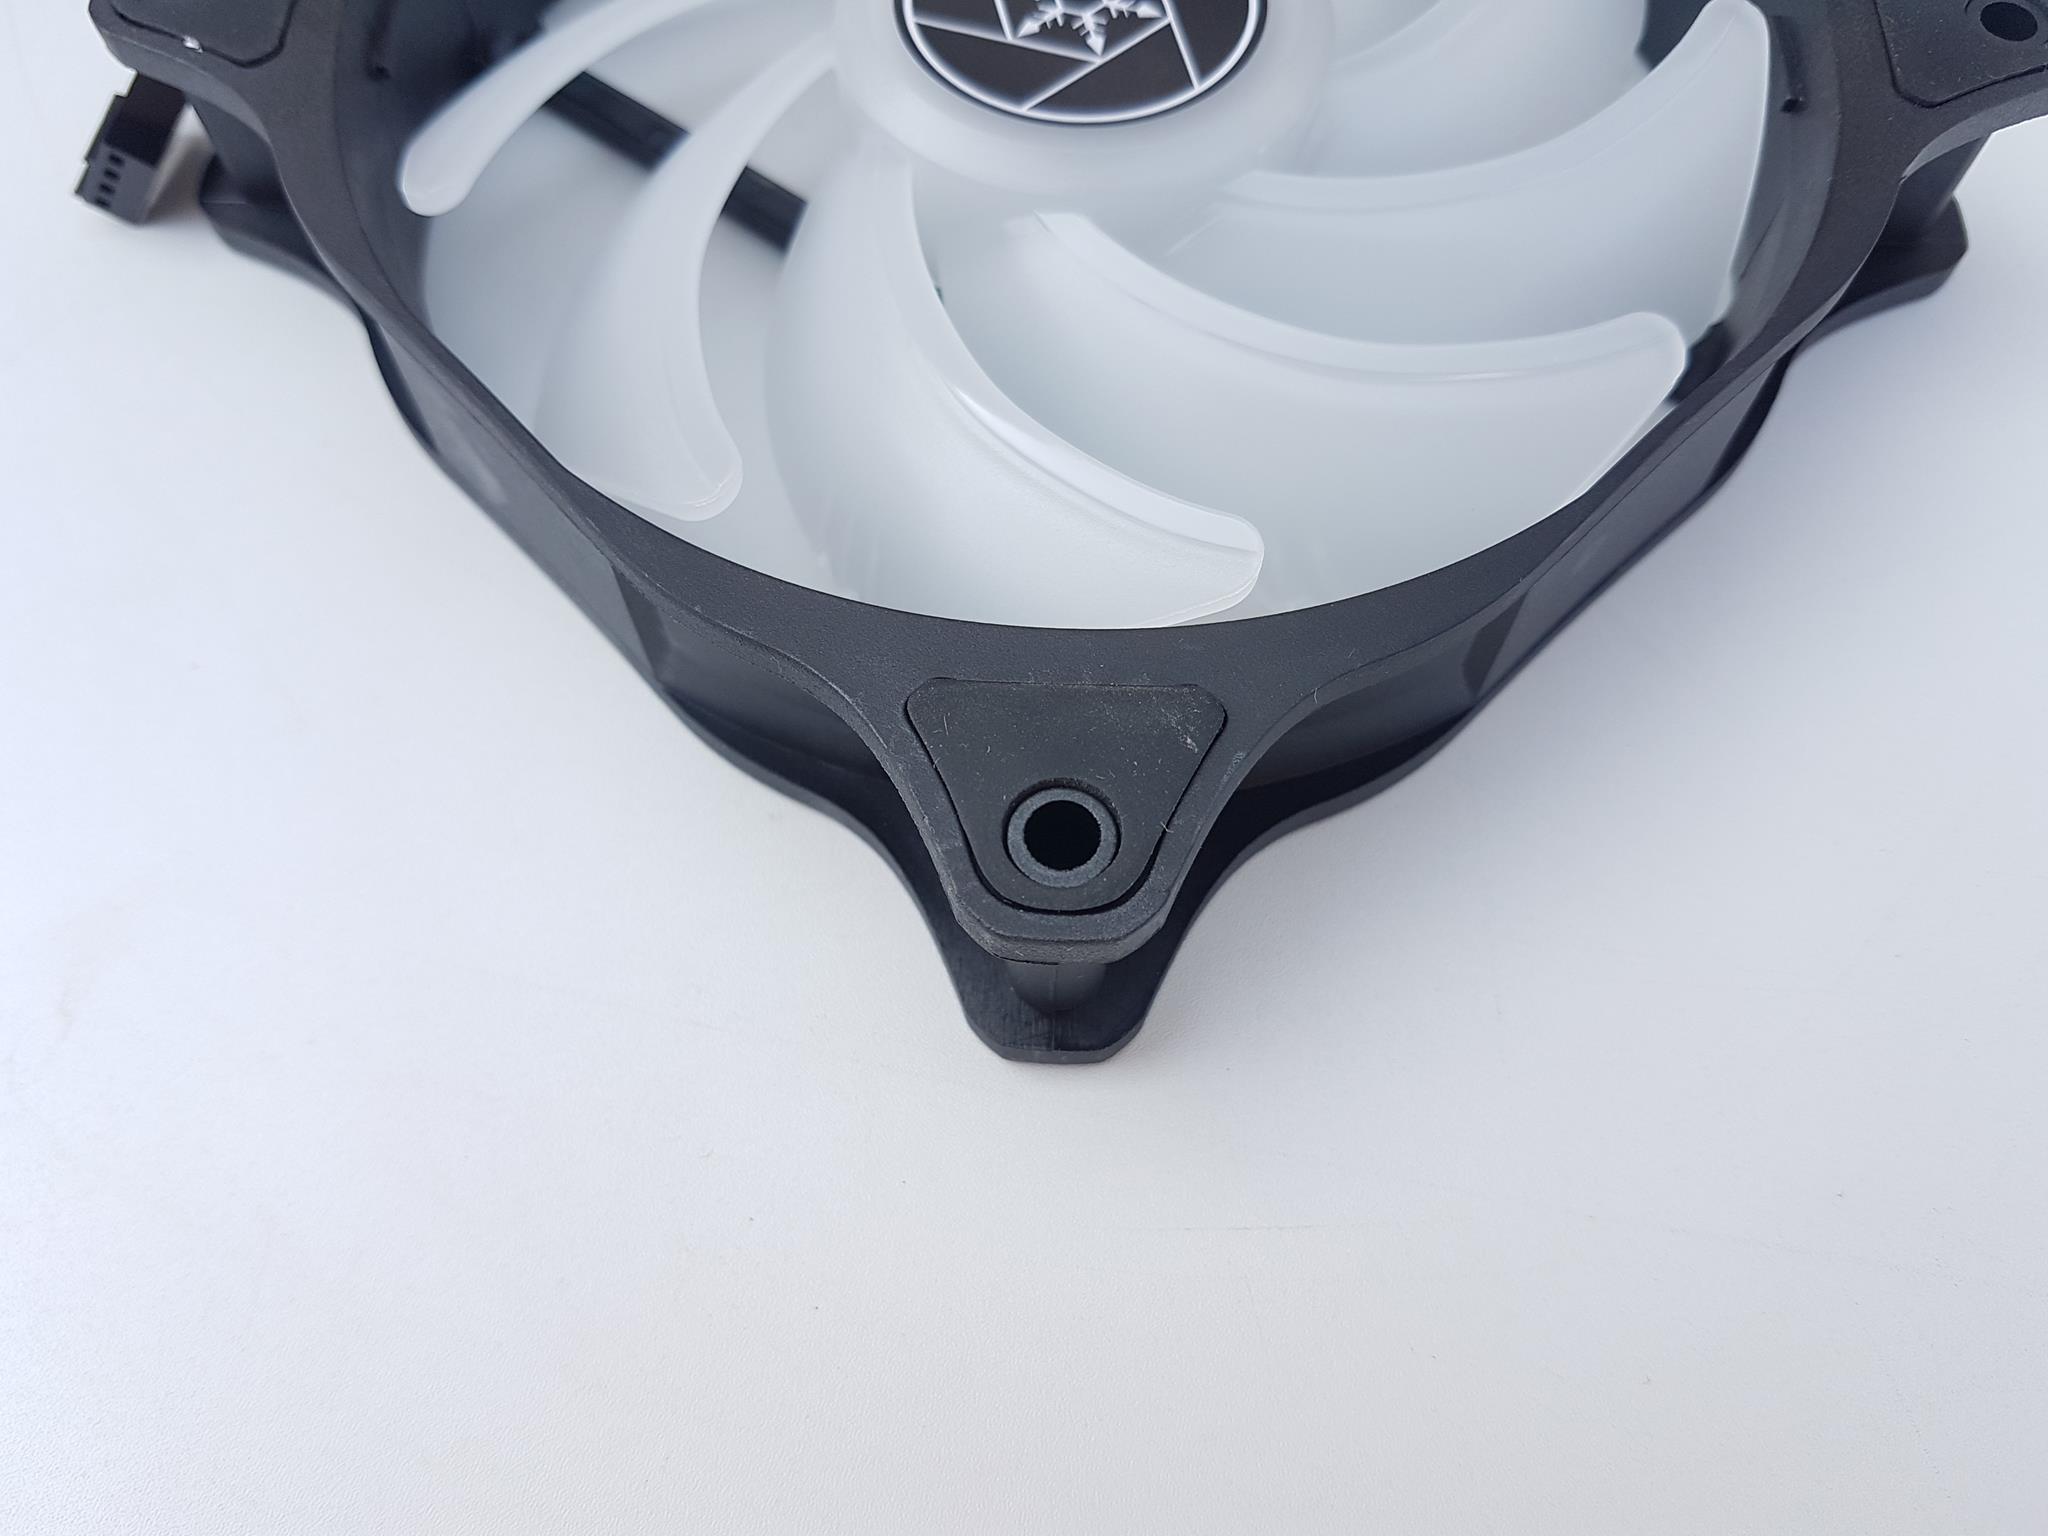
There are anti-vibration rubber pads pasted on the fan mounting holes.
I could not find the arrow symbols on any side of the fan’s frame to indicate the direction of airflow and blade.
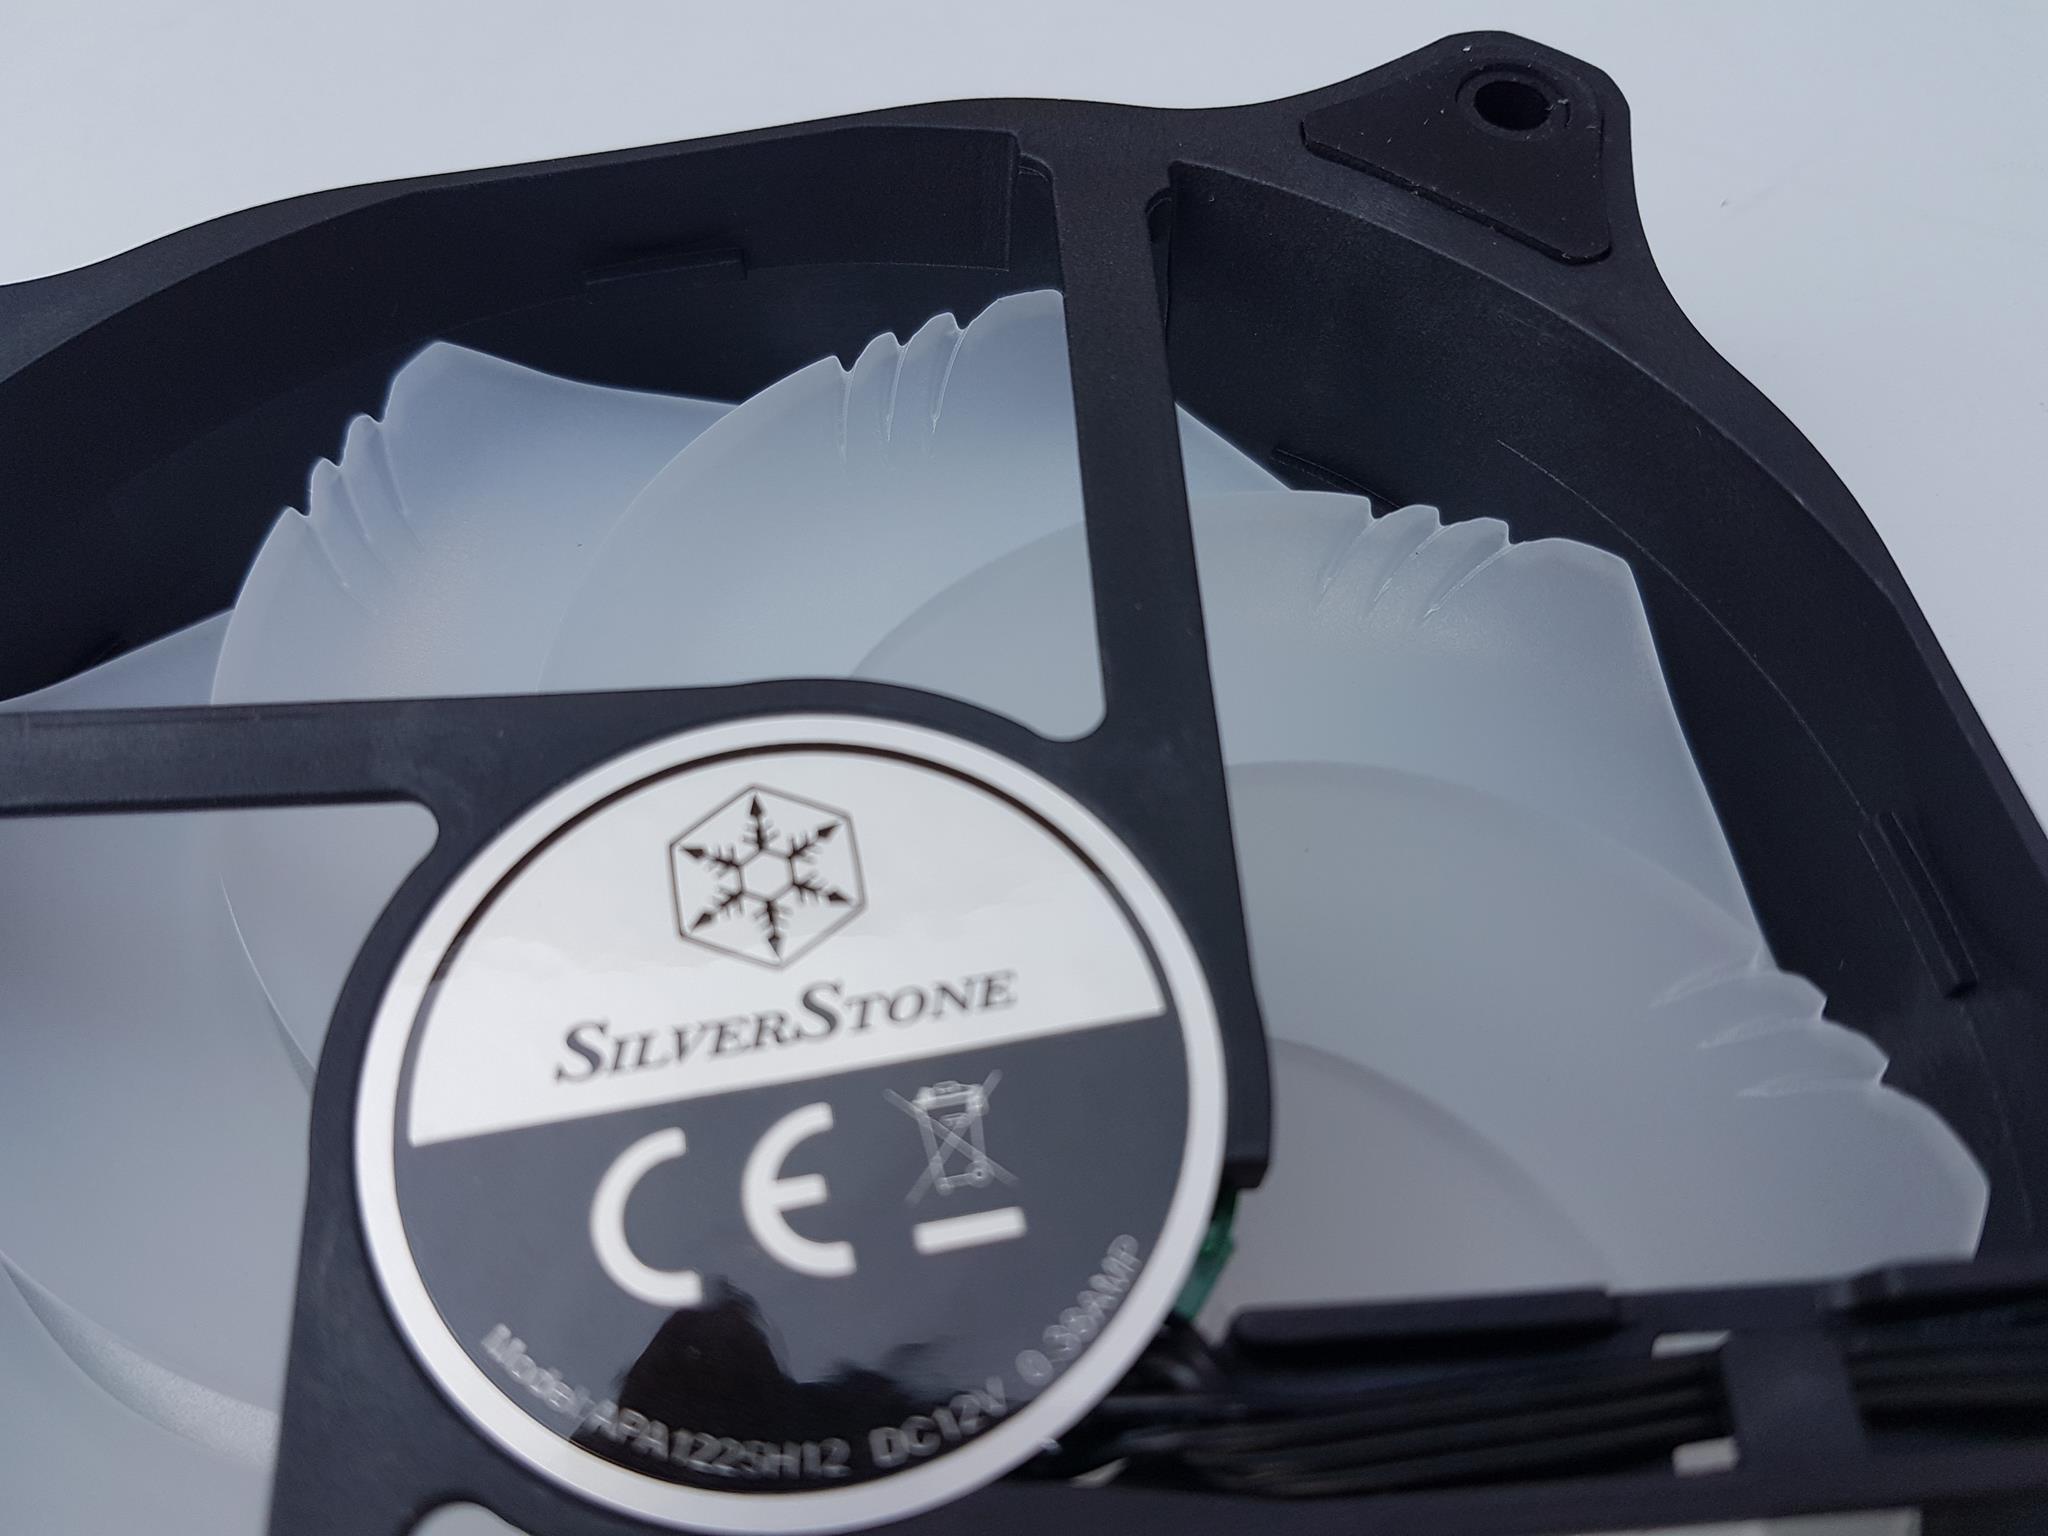
The backside of these fans has 4 arms assembly with an arm having more width and inset for proper cable routing. The center on the backside has a sticker with a SilverStone brand logo and name printed on the upper half.
The included PWM fans have unique ribbed edge fan blades that suppress air turbulent noise with geometry optimized for both air flow and pressure. This ensures maximum performance with the lowest possible noise.
There are two flat cables coming out of each fan. One is the 4-pin PWM cable having a length of 500mm and the other is the ARGB LED cable having a length of 805+292mm approximately.
Here are the specifications of the fans:
| Dimension | 120x120x25mm (LxWxD) |
| Speed | 600~2200 RPM |
| Noise Level | 7.4~35.6 dBA |
| Rated Voltage | 12VDC |
| Rated Current | 0.32A |
| Maximum Airflow | 94 CFM |
| Pressure | 3.53mmH₂O |
| Connector | 4-pin PWM |
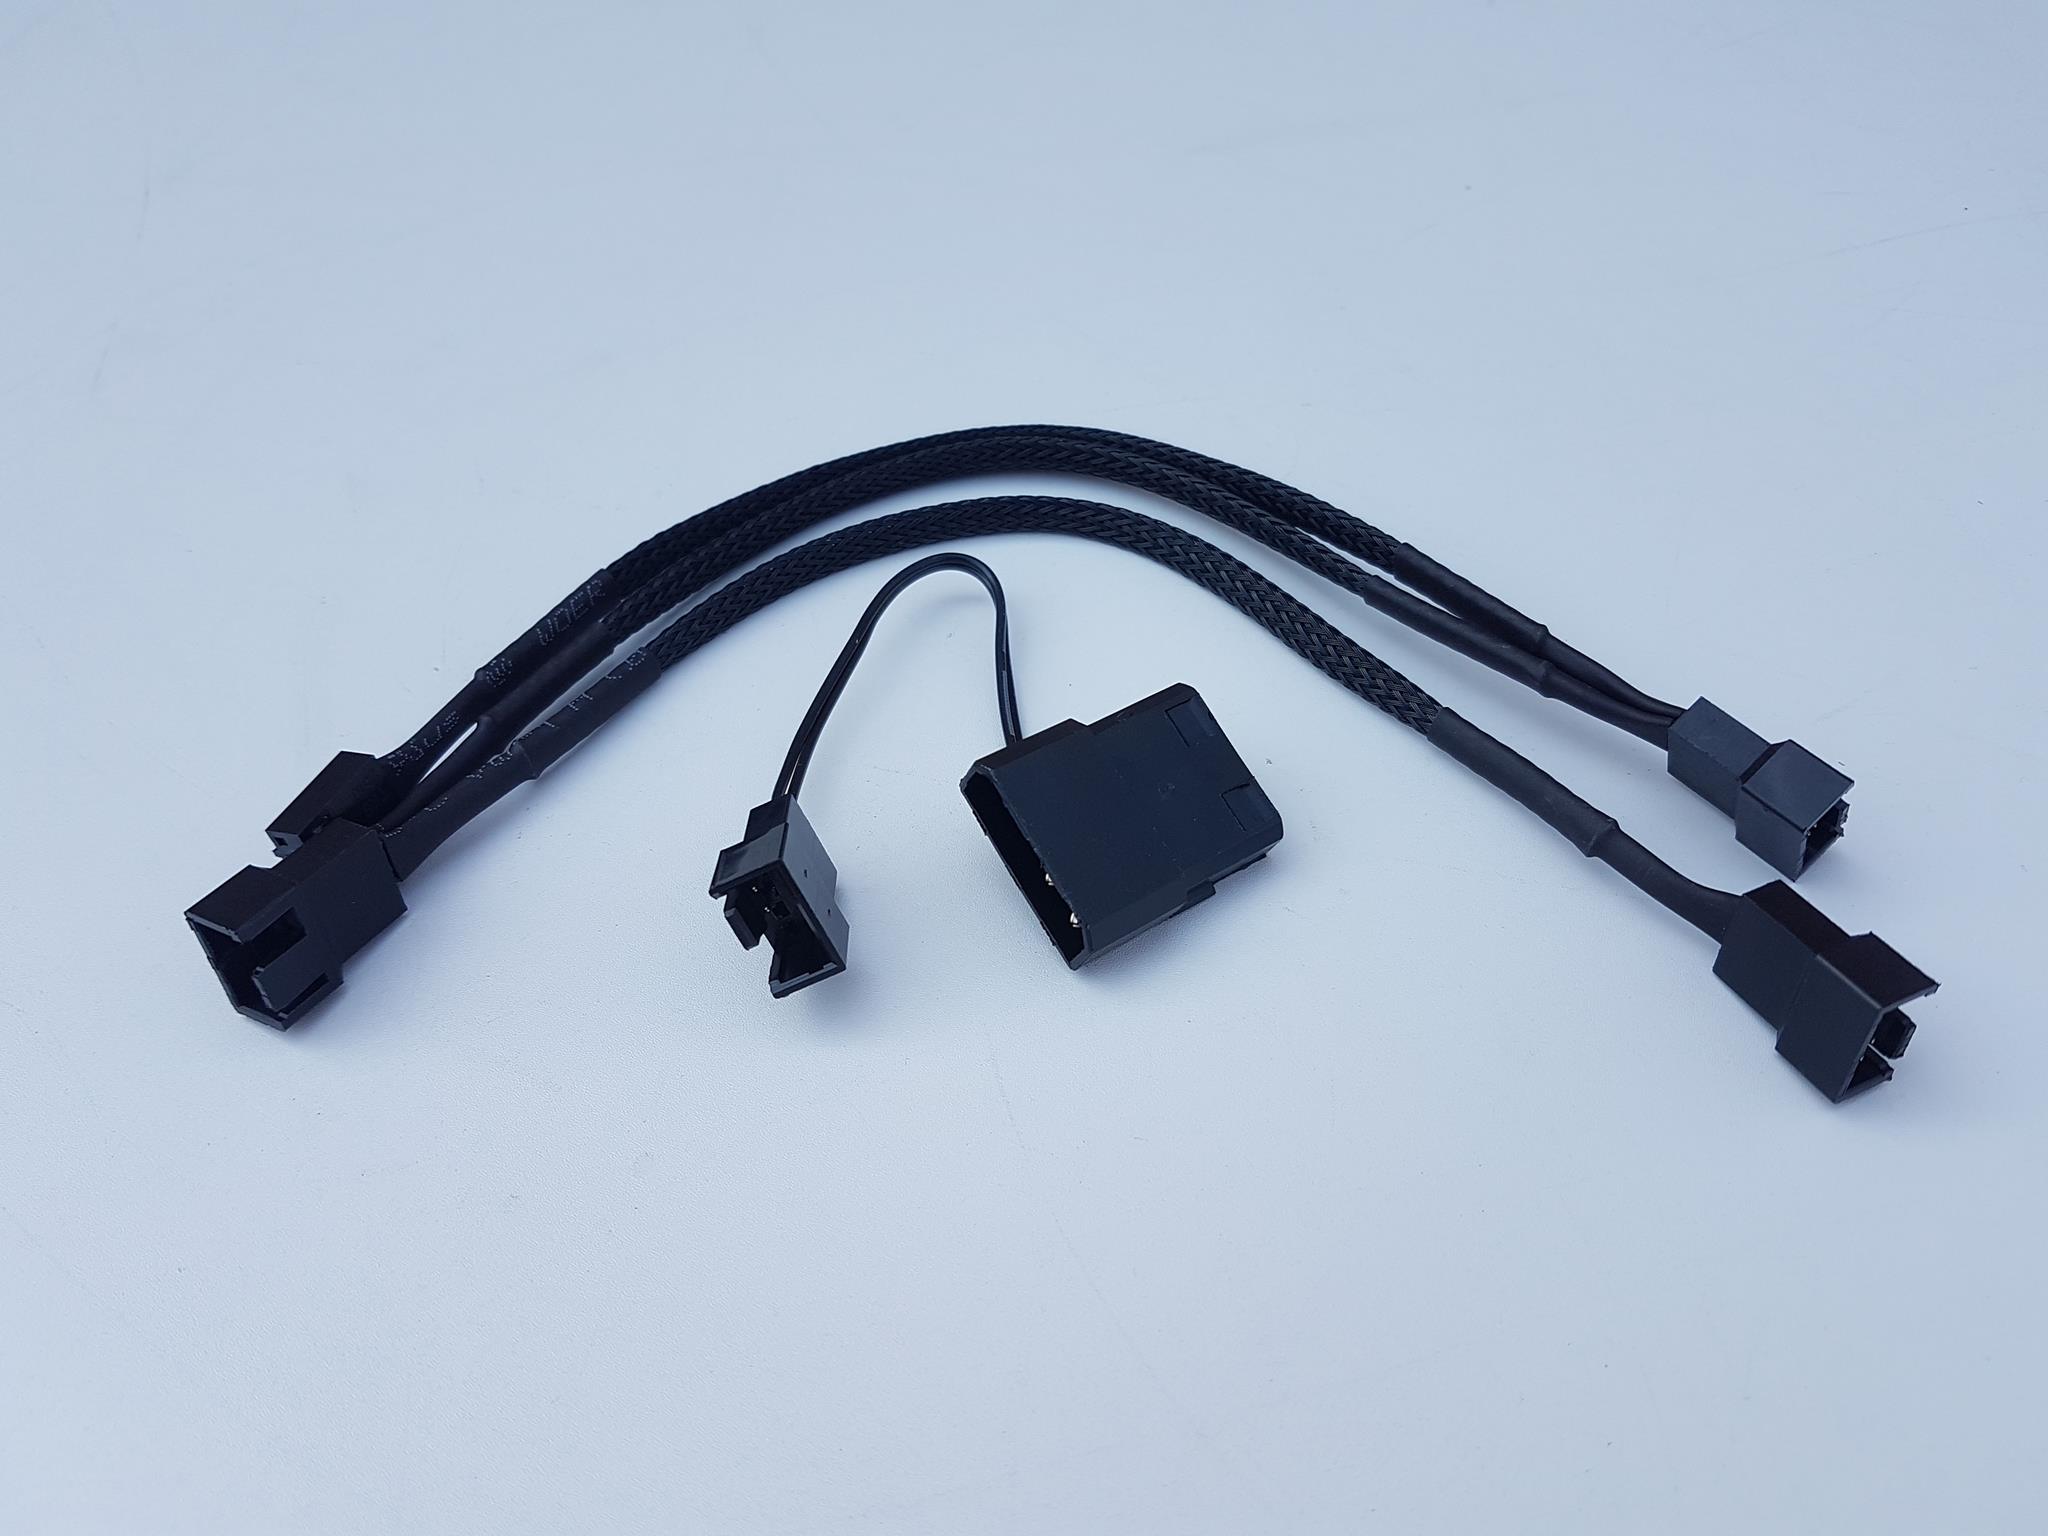
SilverStone has provided a 3-way PWM Splitter cable. Idea is to connect all the three fans to a single 4-pin PWM fan header or the source using this splitter cable. Additionally, there is a Molex connector cable that allows the user to connect the fans directly to the PSU using the 3-way splitter cable and the Molex cable. The length of each splitter cable is 250mm.
RGB Lighting and Controller
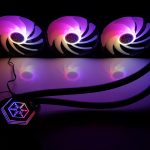
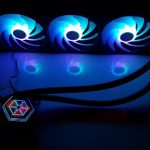
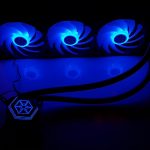
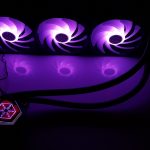
The SilverStone PF360 ARGB cooler features a vivid and stunning digital RGB lighting solution on the pump block and the fans. To control the lighting, SilverStone has provided a dedicated controller in the box as well as 4 different types of cables.
The lighting solution is compatible with:
- ASUS AURA SYNC
- ASRock POLYCHROME SYNC
- GIGABYTE RGB FUSION 2.0
- MSI MYSTIC LIGHTING SYNC
- BIOSTAR RACING
Let’s take a look at the provided hardware.
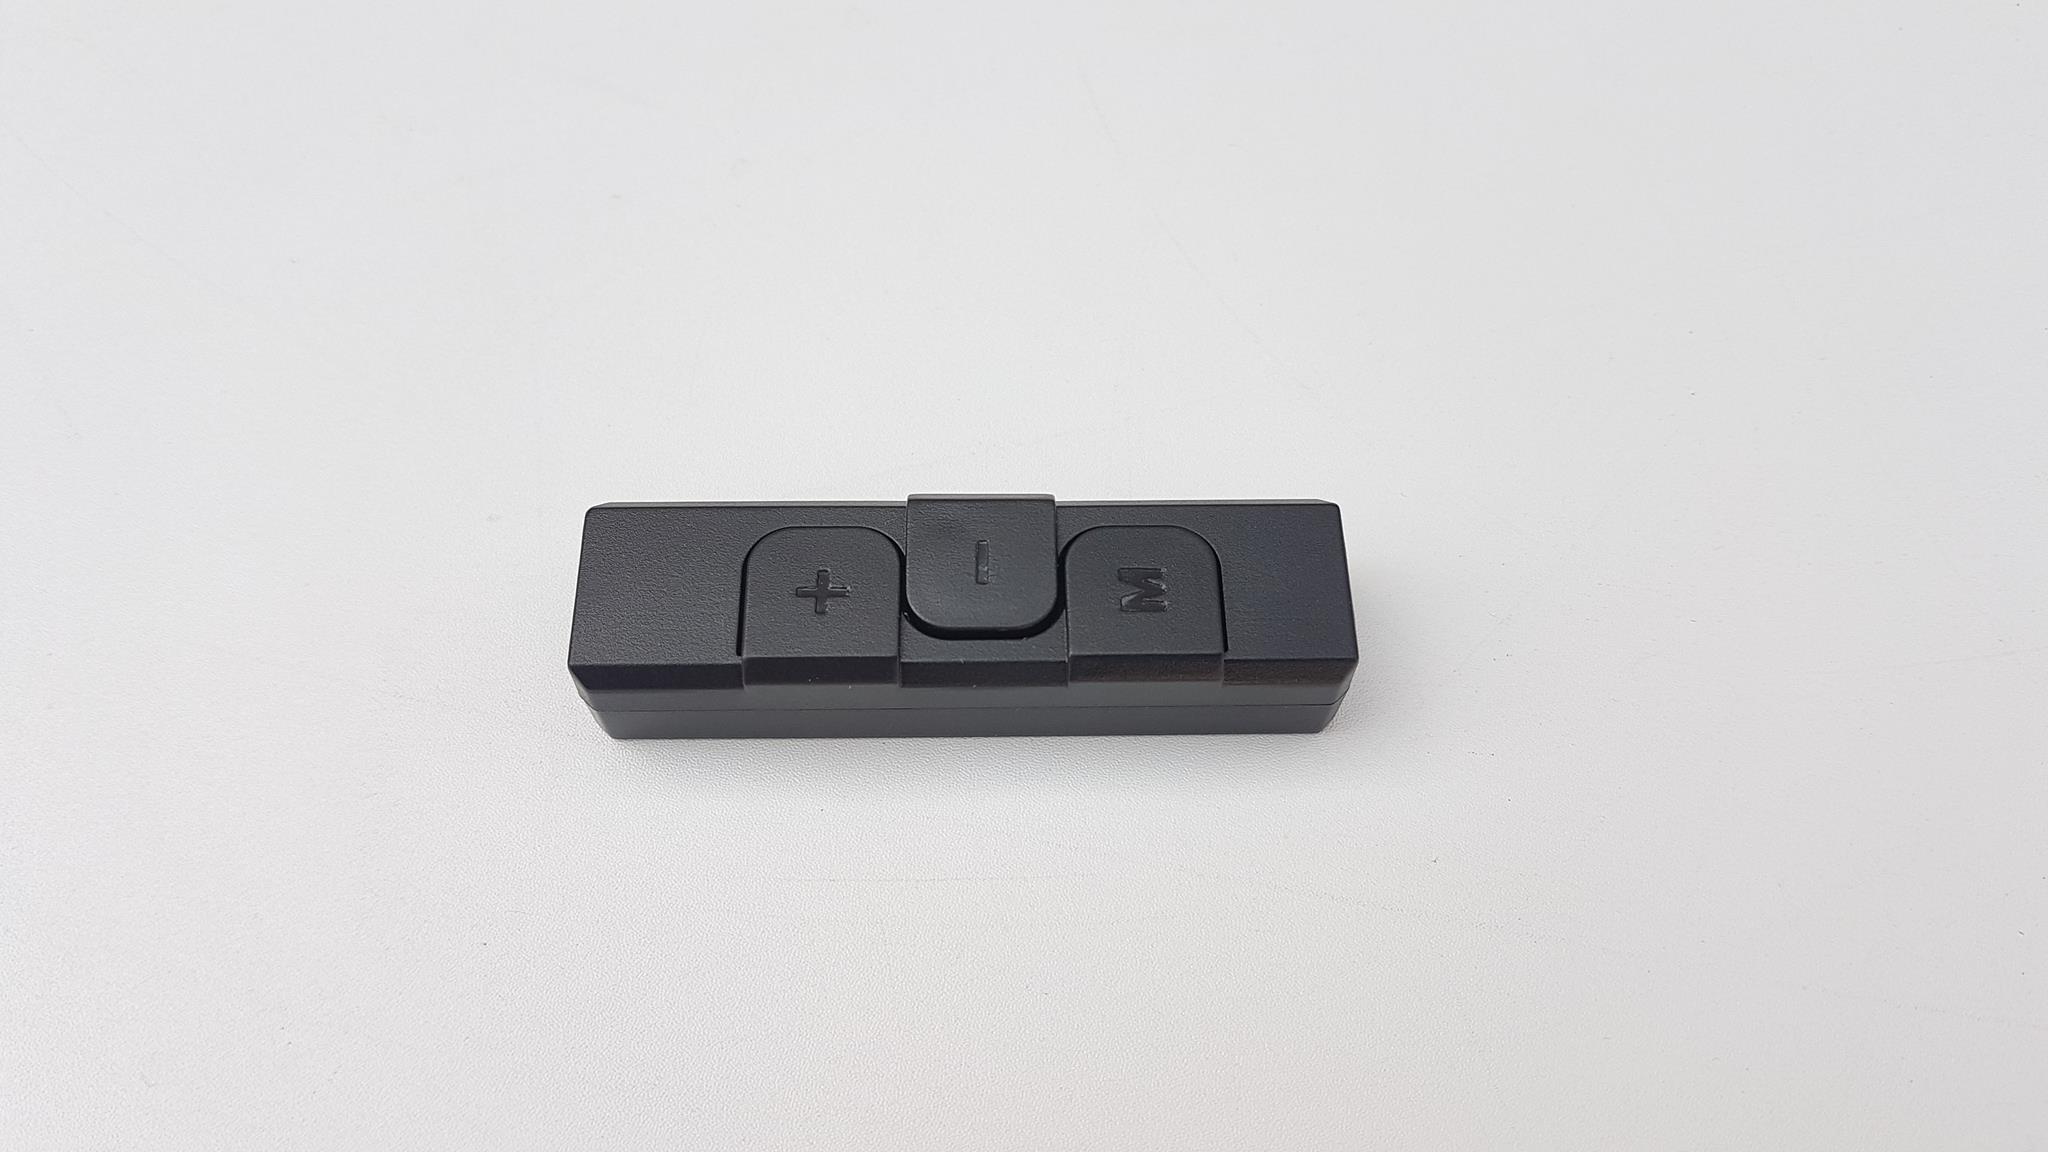
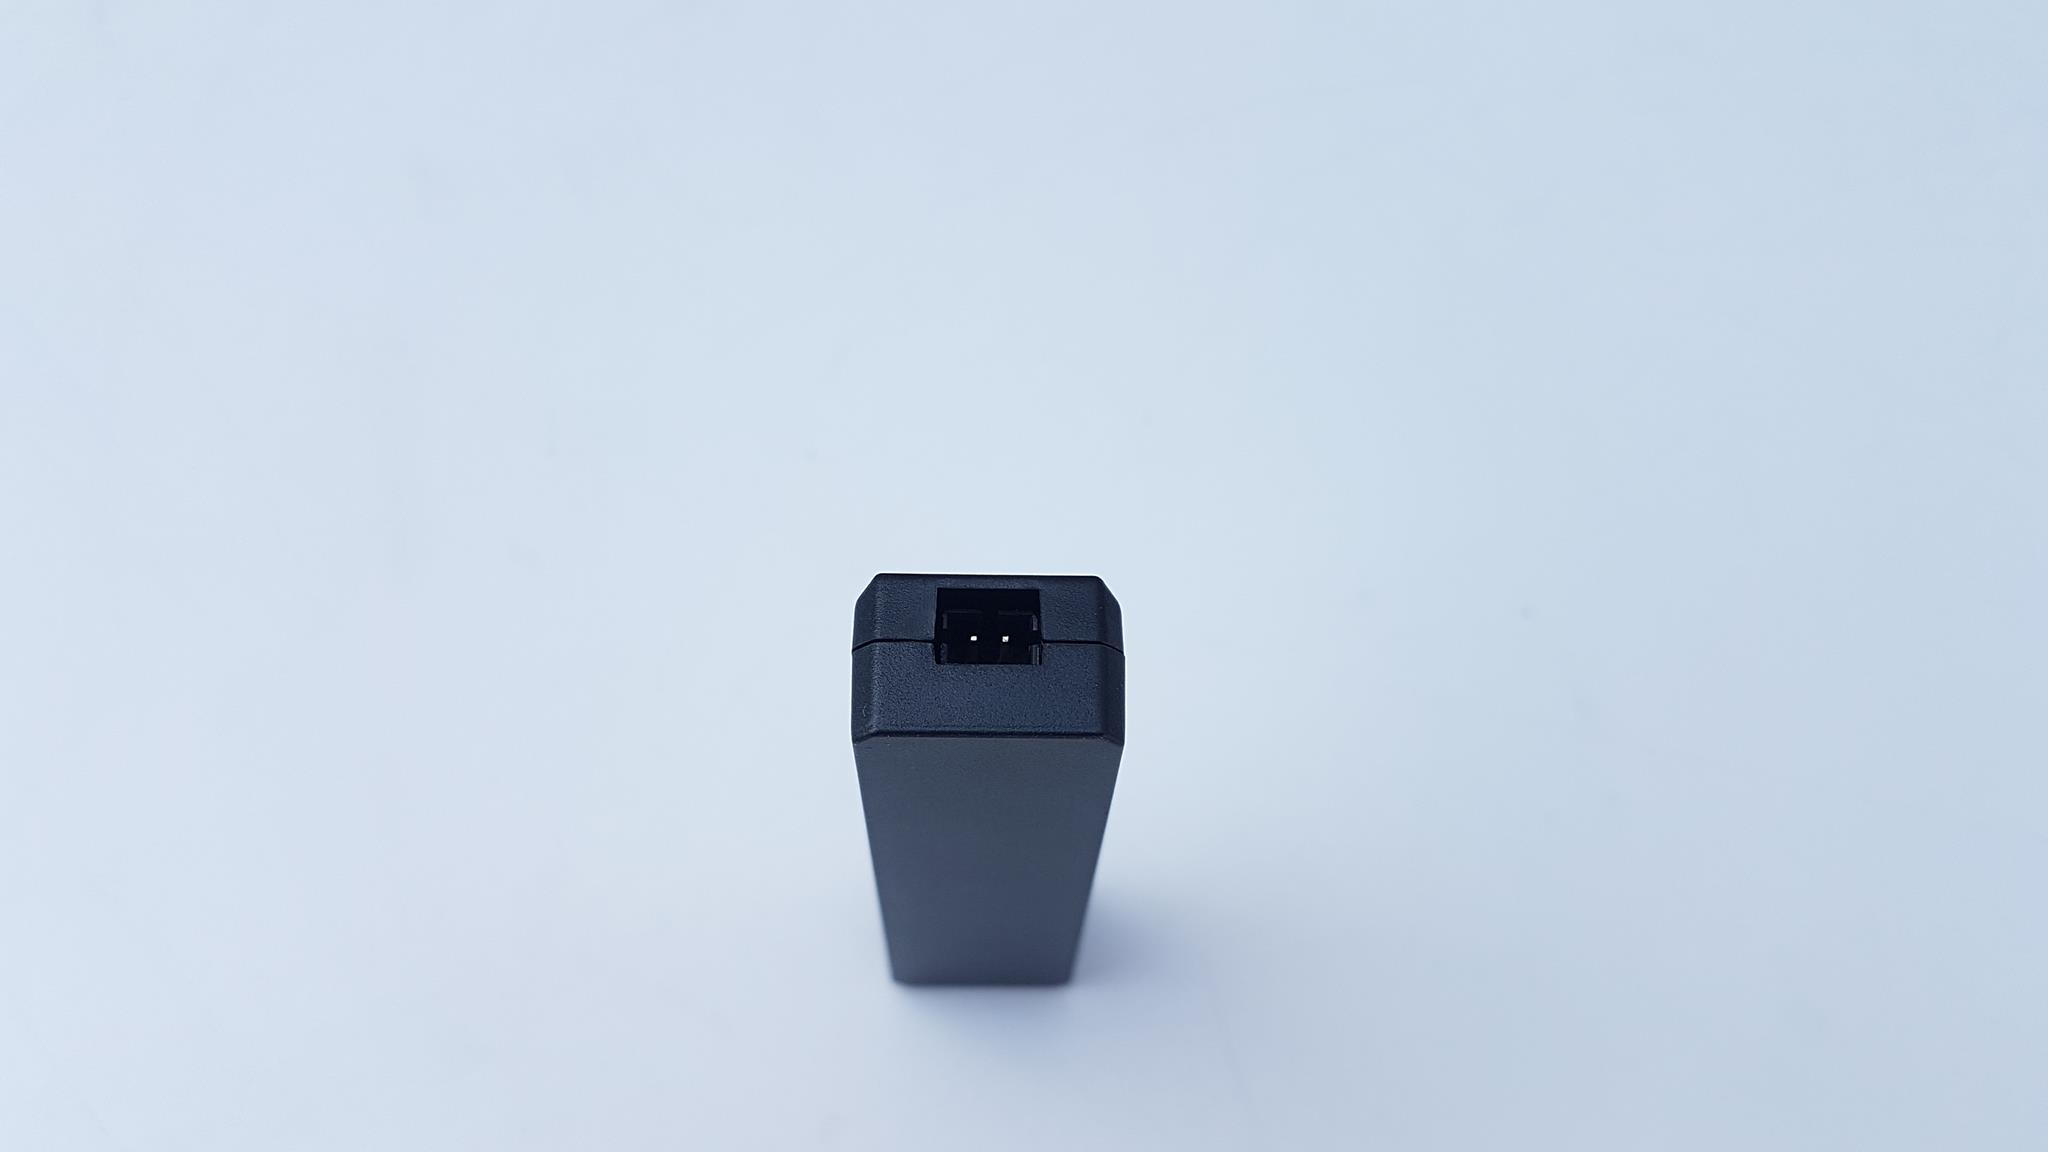
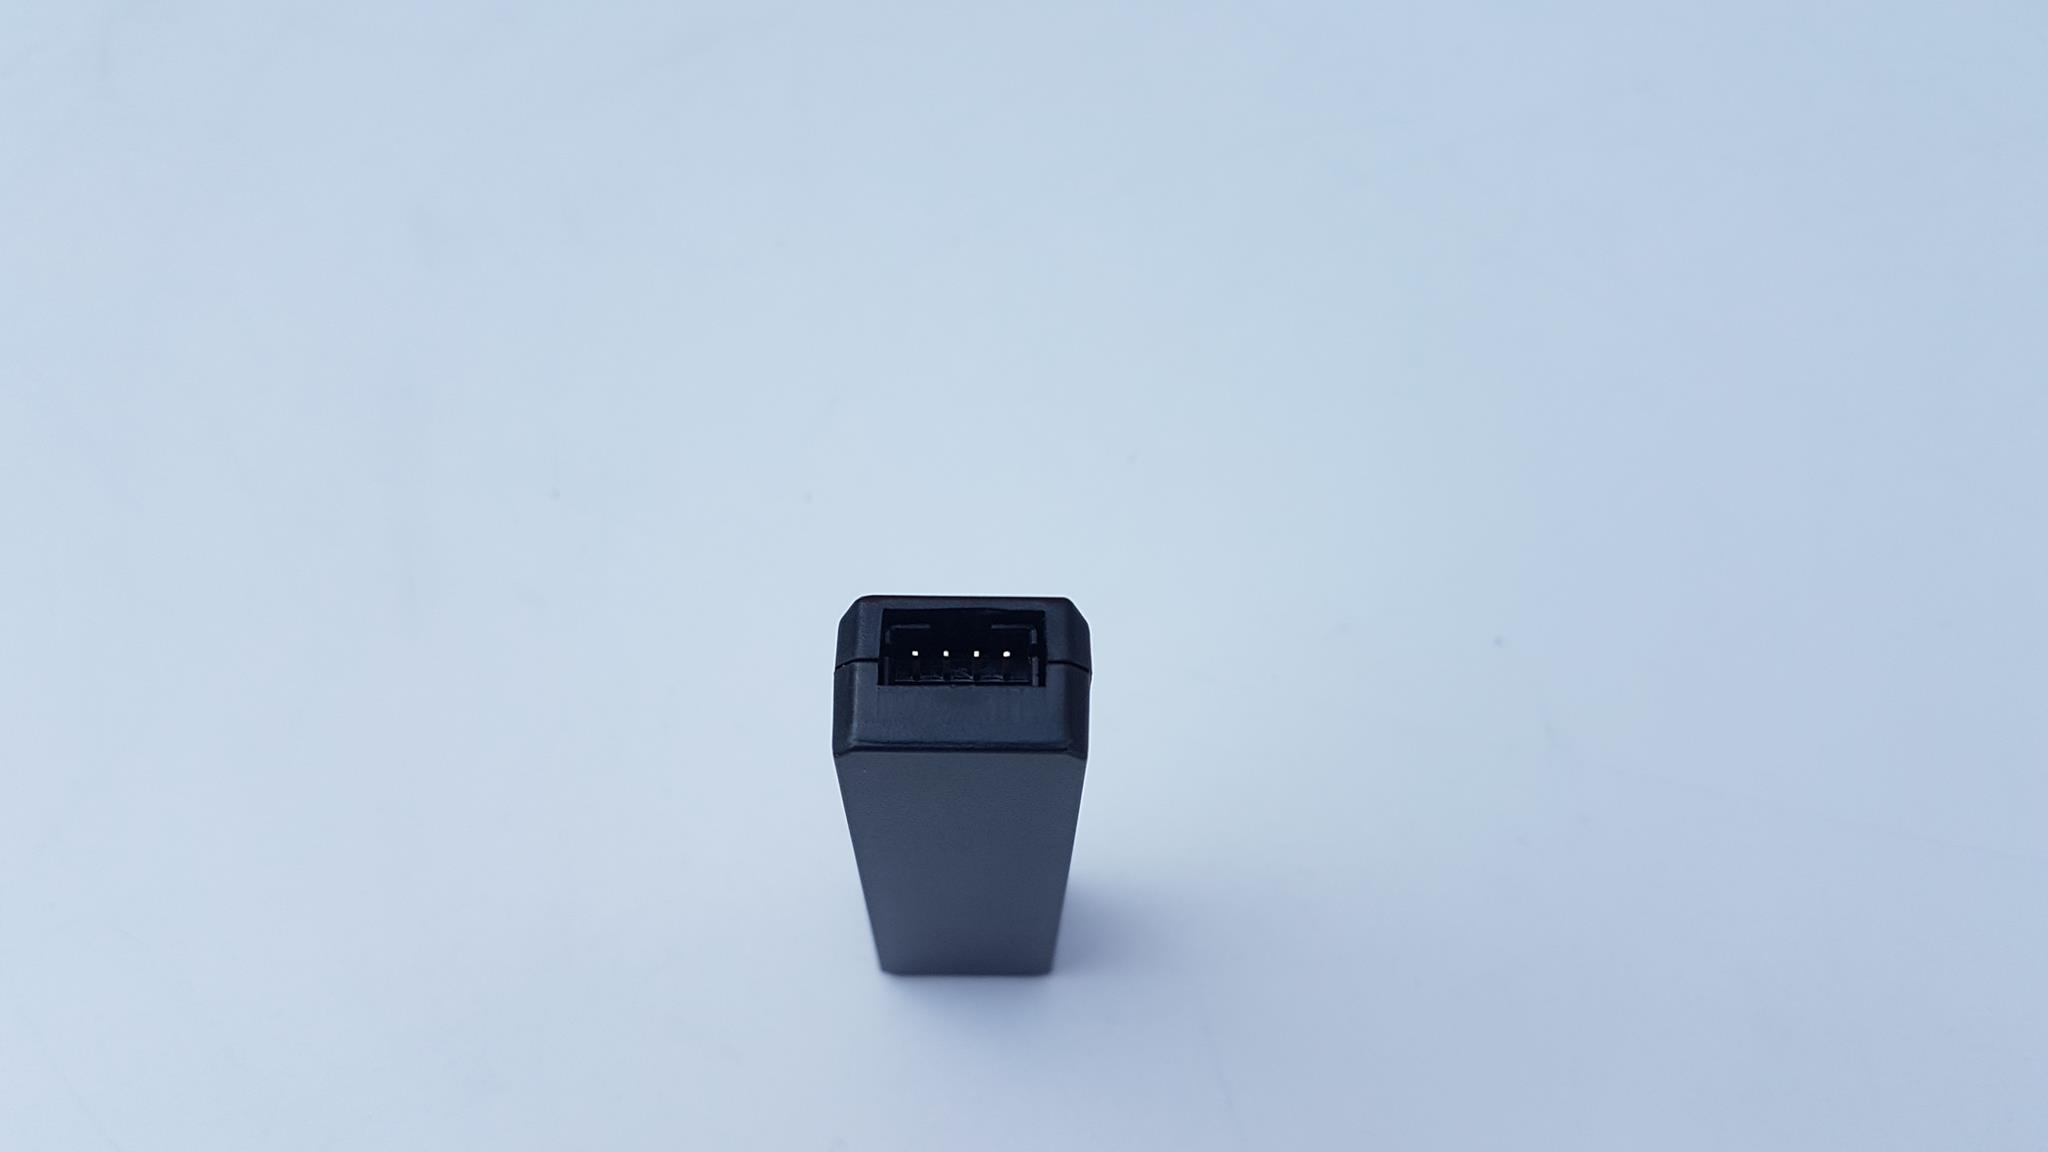
The controller itself is a slim design body. It is finished in matte black. There are 3 buttons on the top.
- + button
- – button
- M button
There is a nice clicky feel on these buttons press.
2-pin header is to power the unit.
A 4-pin header is provided to which a dedicated ARGB cable is connected for the lighting effect.
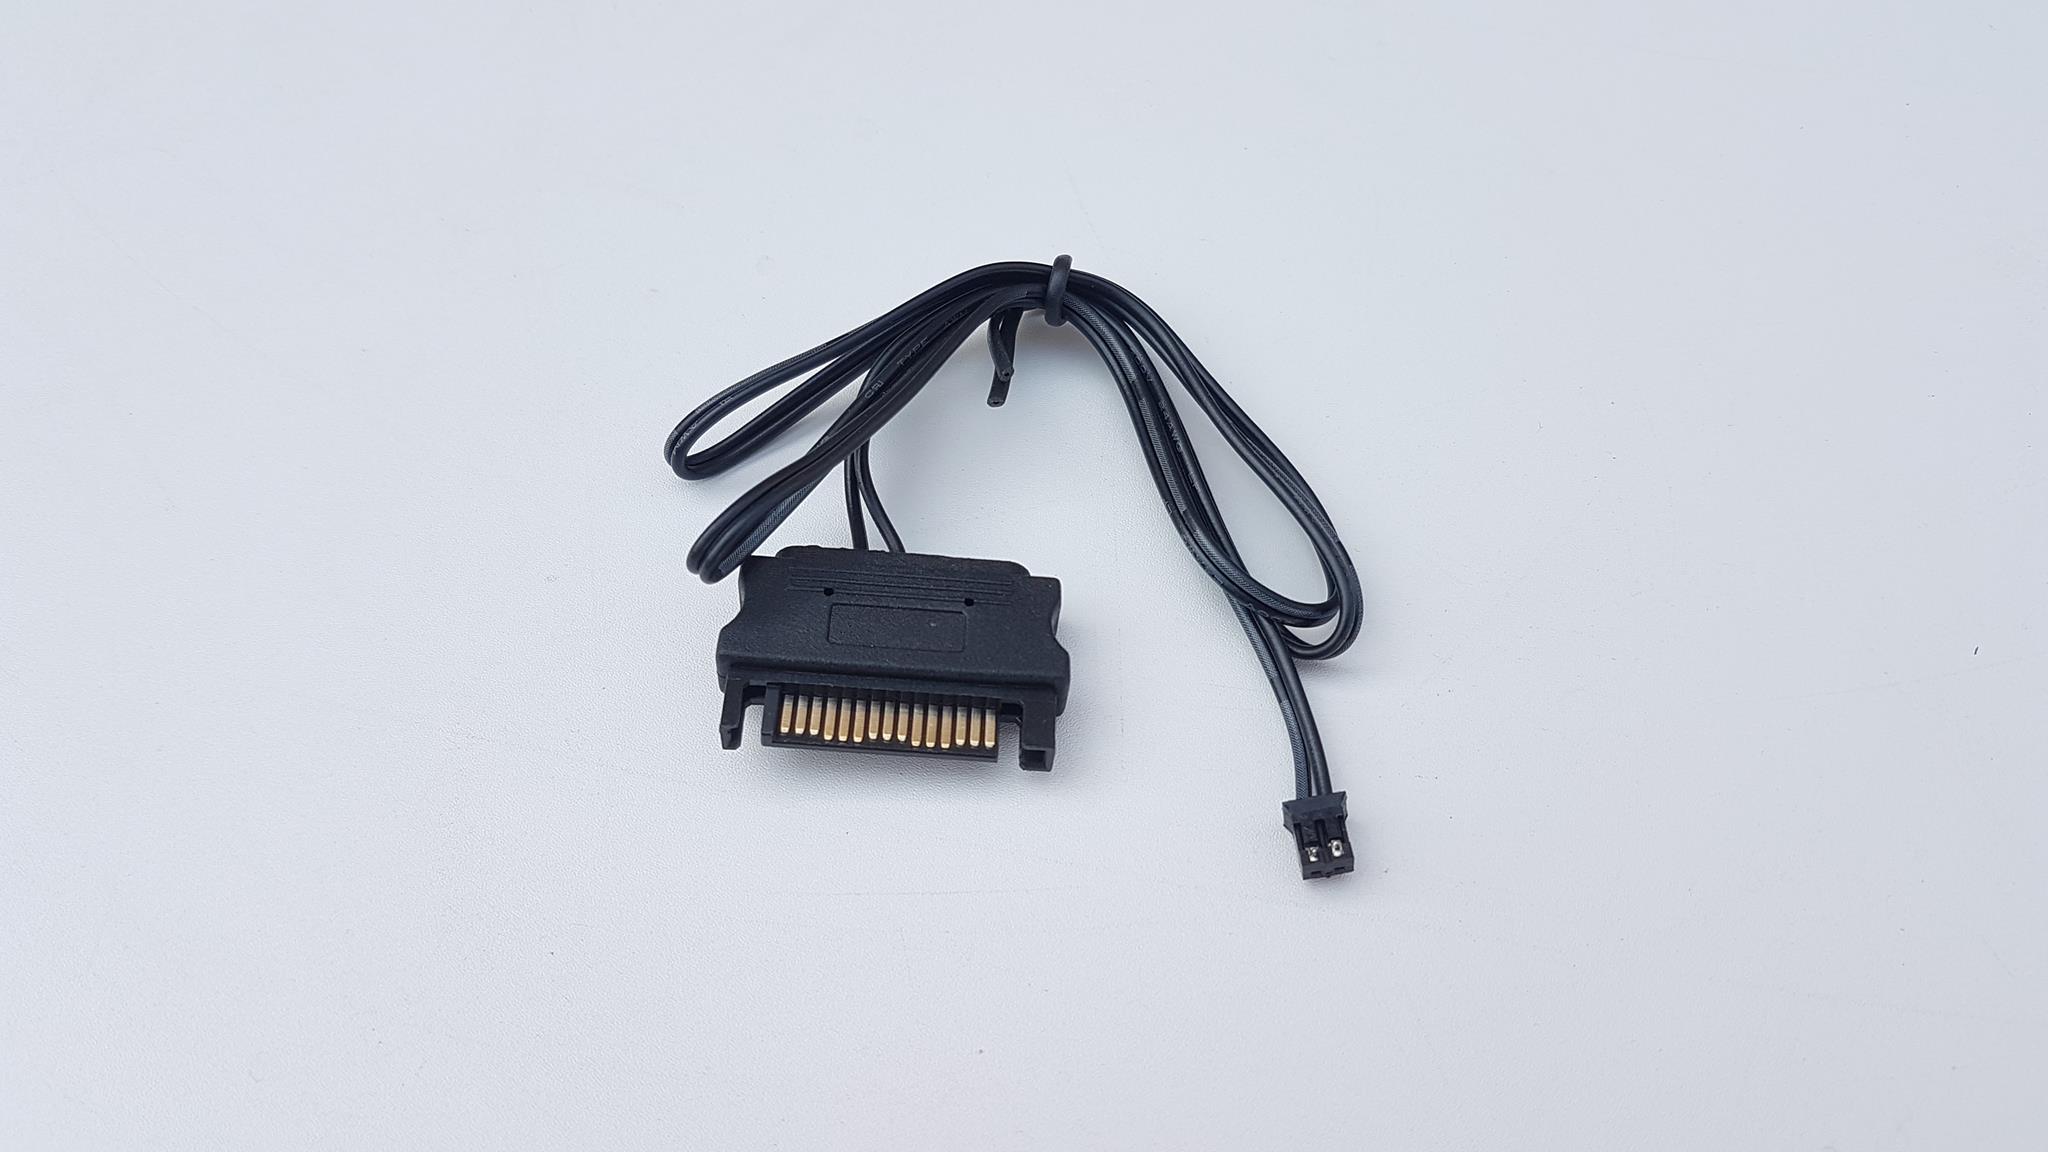
SilverStone has provided 498mm long flat SATA power cable to power the controller. The 2-pin connector is attached to the controller whereas the SATA connector is connected to the SATA cable coming from the PSU.
The 4-pin connector of this cable is connected to the controller itself. This is an ARGB sync cable to which the fans and the pump LED cables are connected in a daisy chain. The length of this cable is 400mm and it is flat in design.
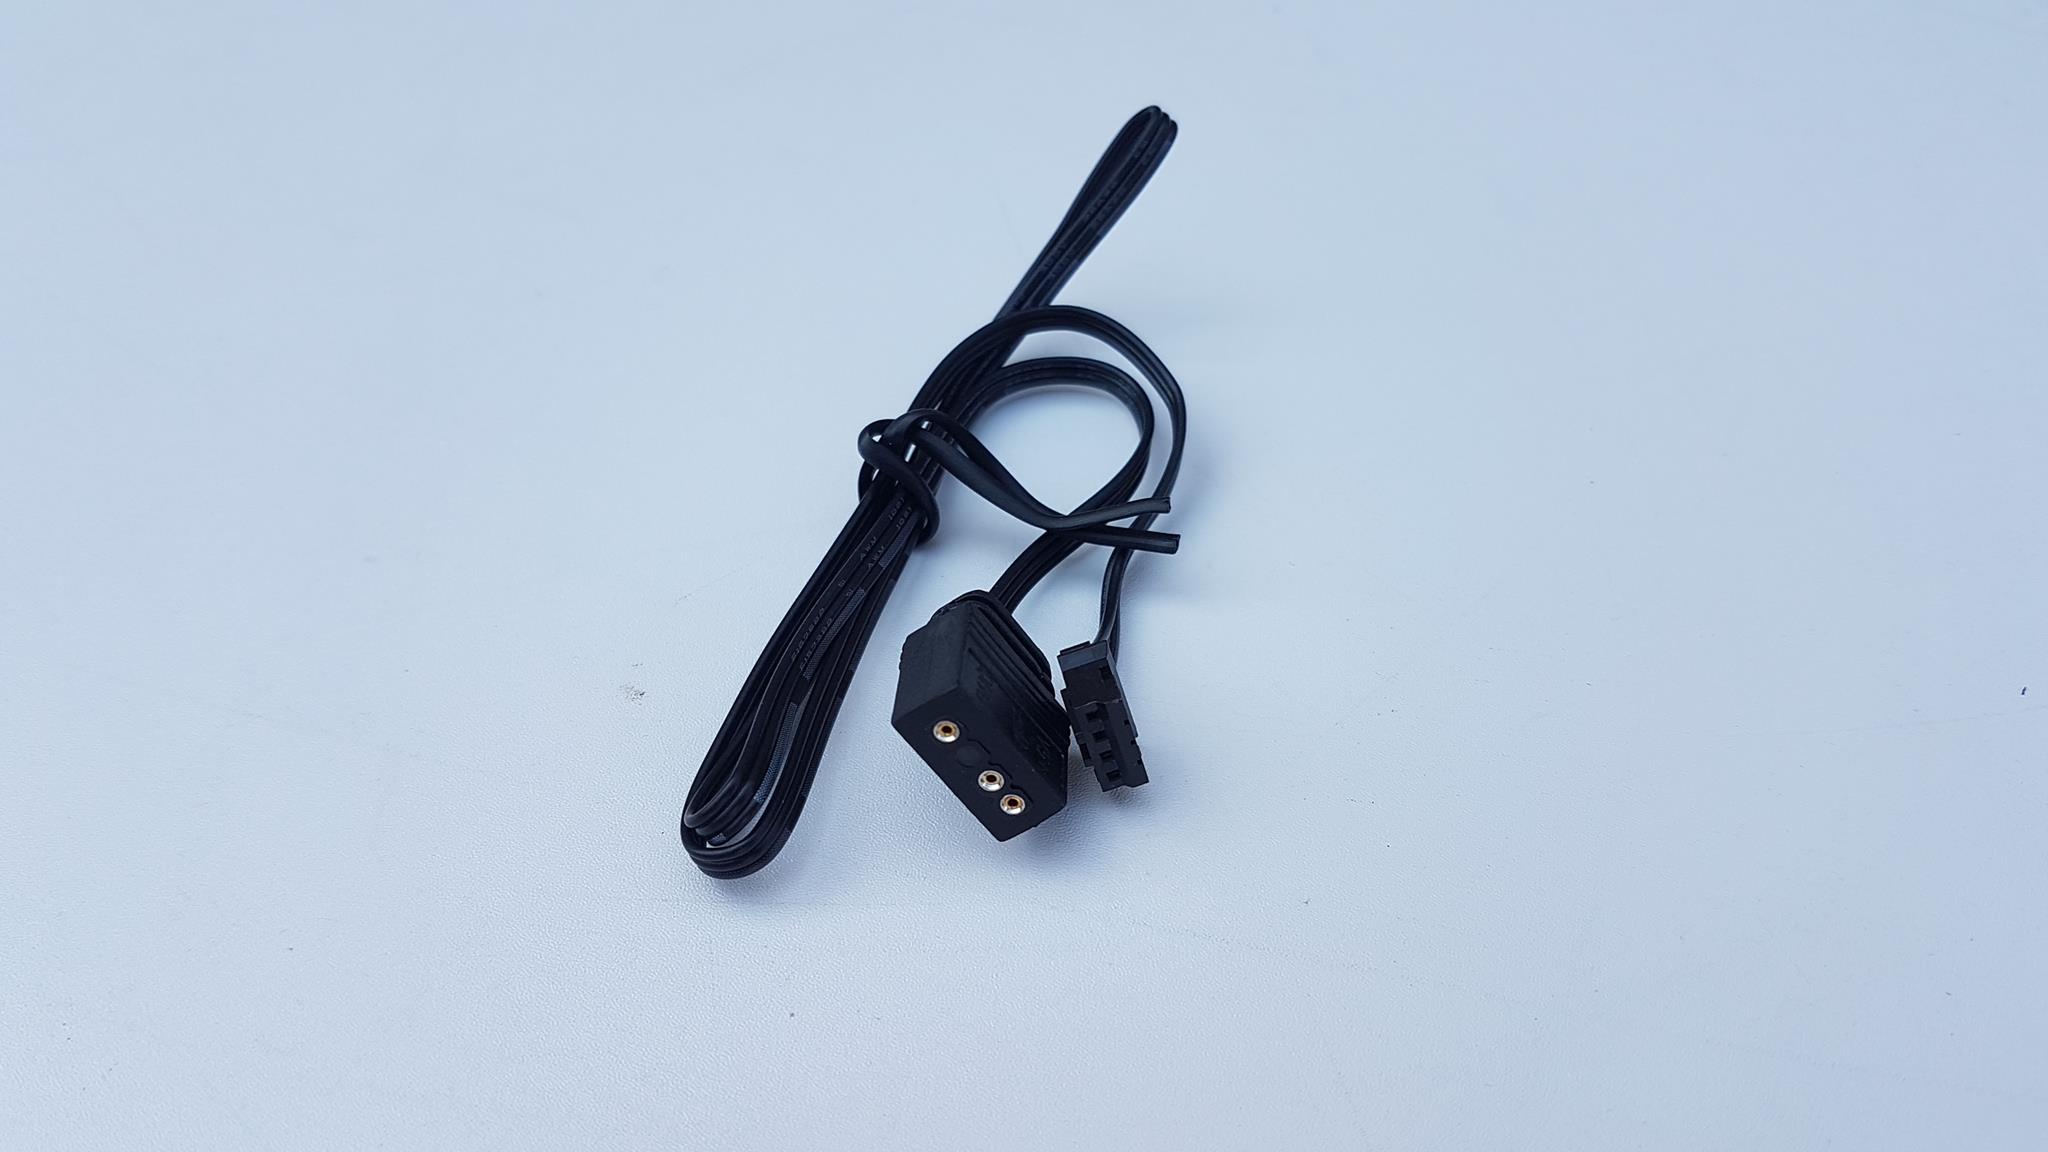
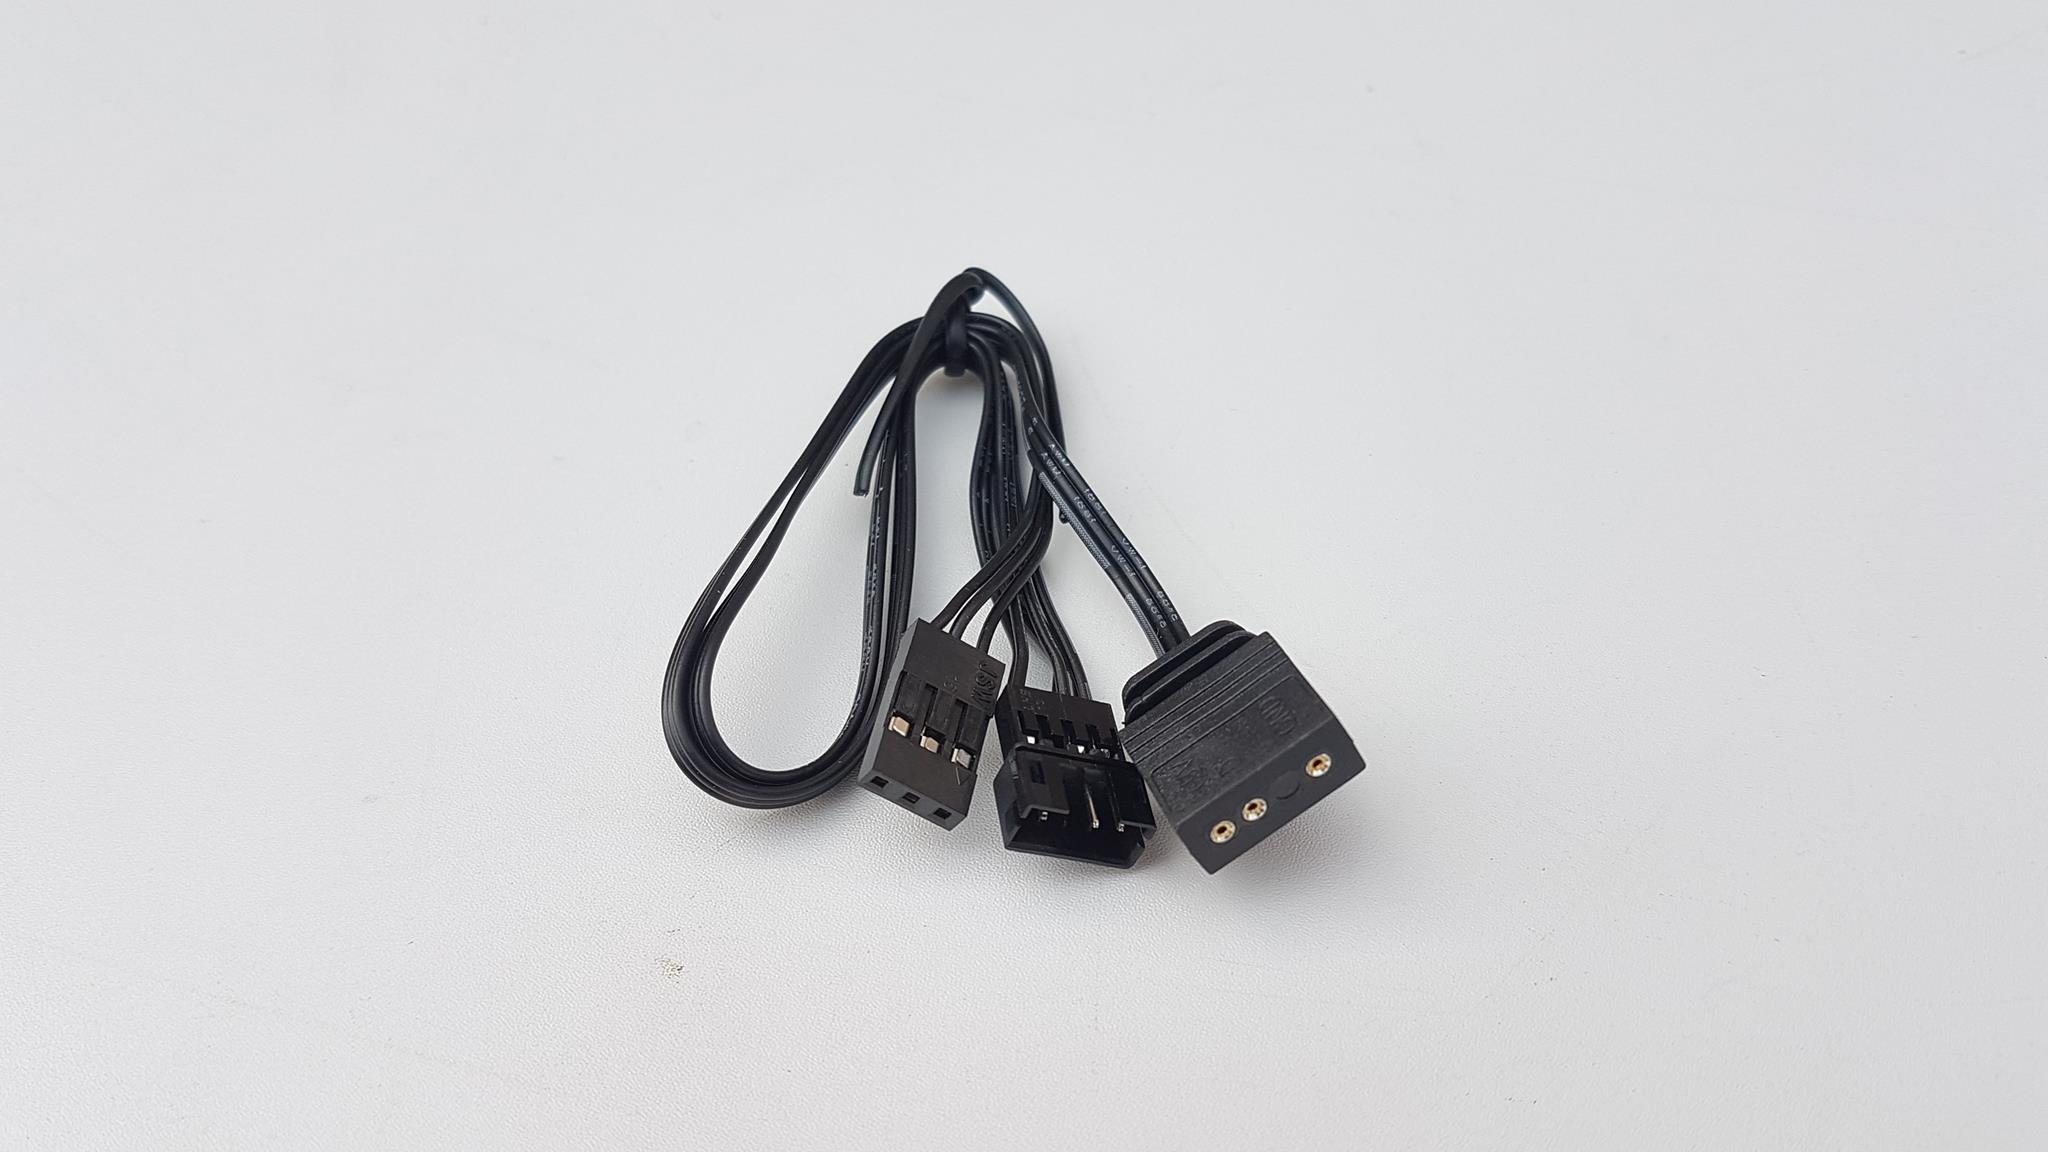
There is also a Motherboard Sync Cable which allows the daisy-chained LED cable to be connected to the +5V header on your motherboard using this cable and the ARGB Sync Cable. It has a length of 198+198mm and it is also flat. This cable has a 3-pin female bulk connector which is used for all motherboards’ +5V lighting headers except the GIGABYTE for which the 3-pin slim header cable is used. The 4-pin black header is to be connected to the ARGB Sync Cable’s 4-pin connector.
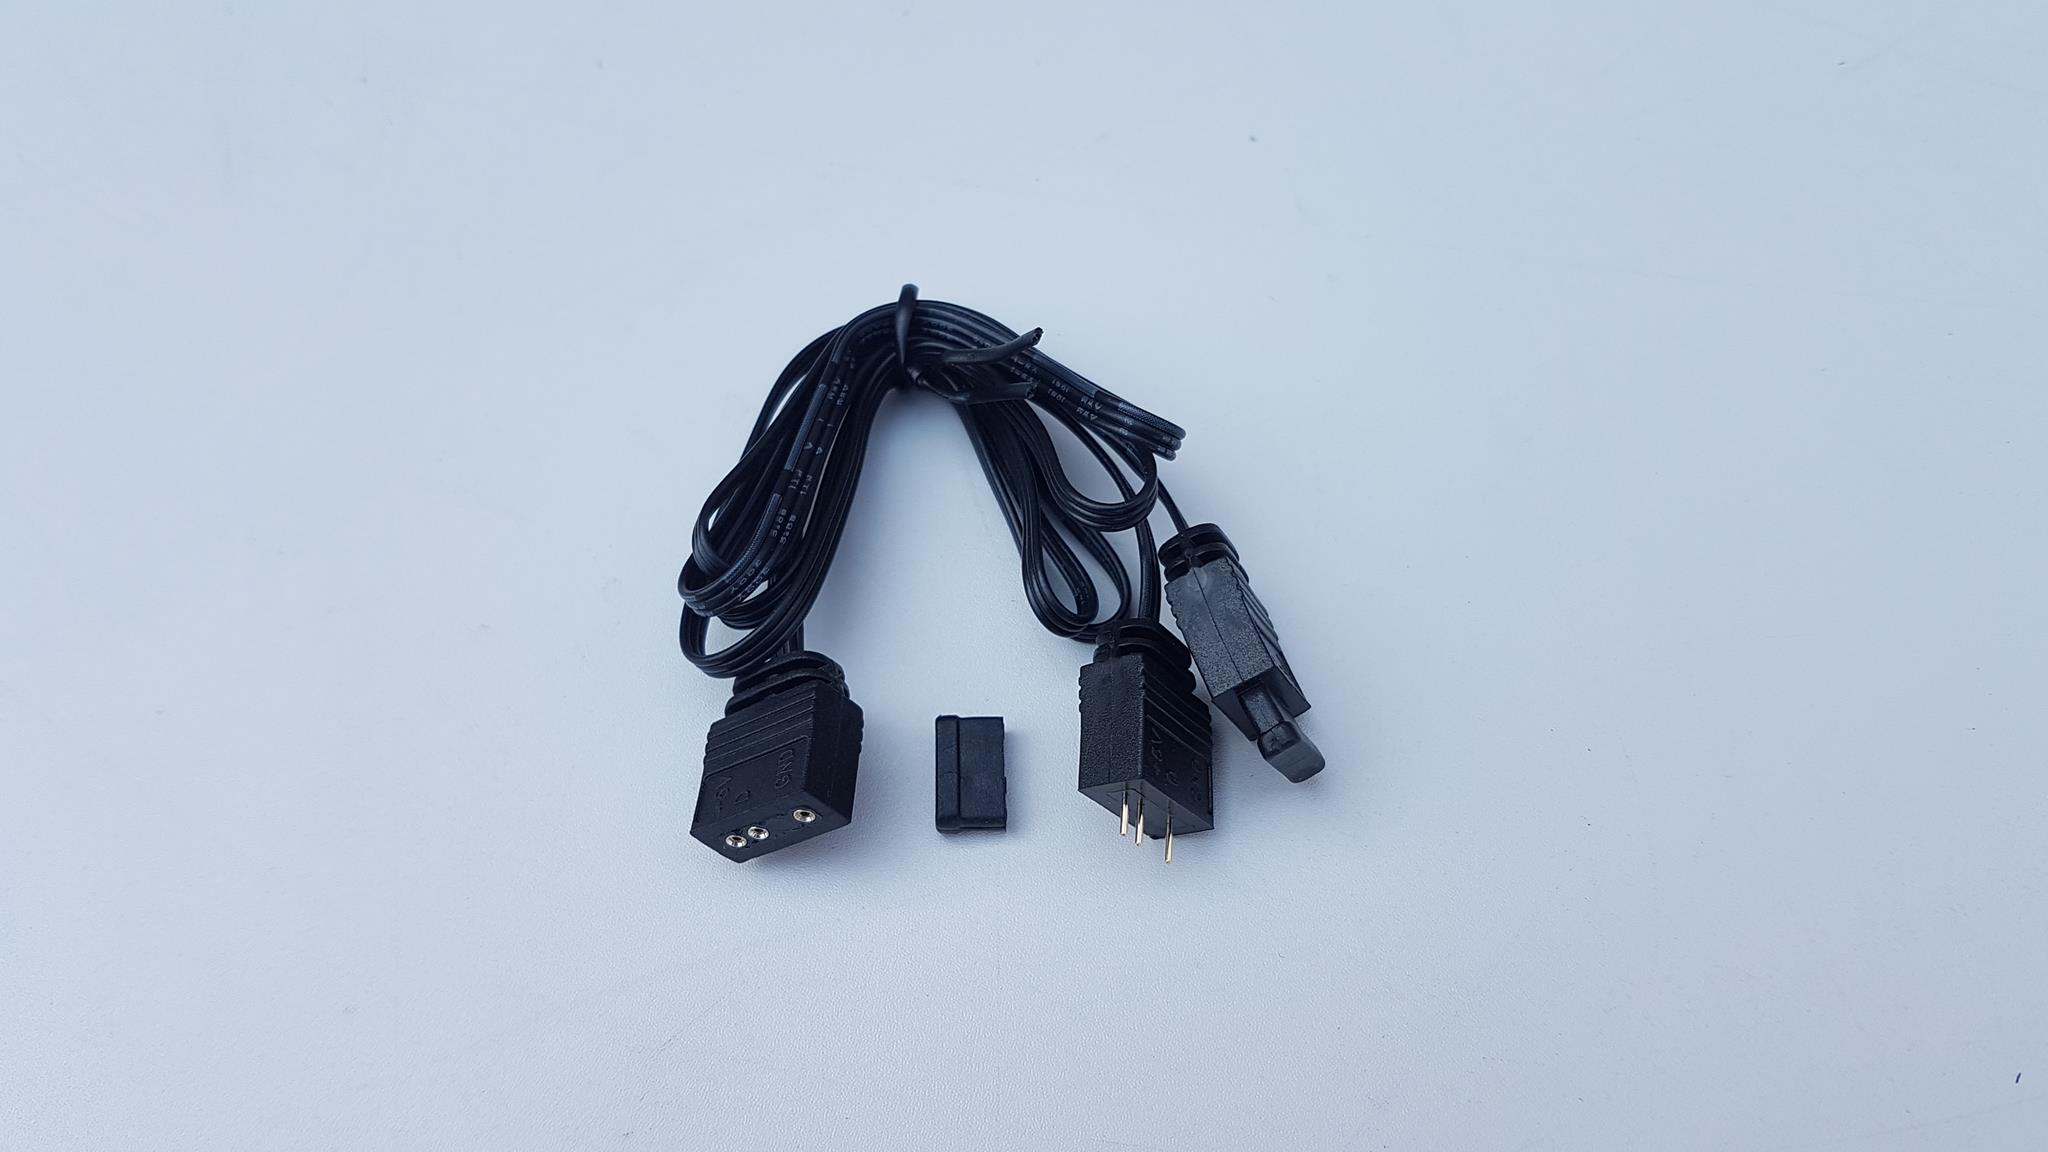
The SilverStone has provided a 2-way LED splitter cable as well. This is also a flat cable and it has a 394mm length on each splitter. It has one female connector and two male connectors each having a 3-pin interface having +5V,D,,GND pin format.
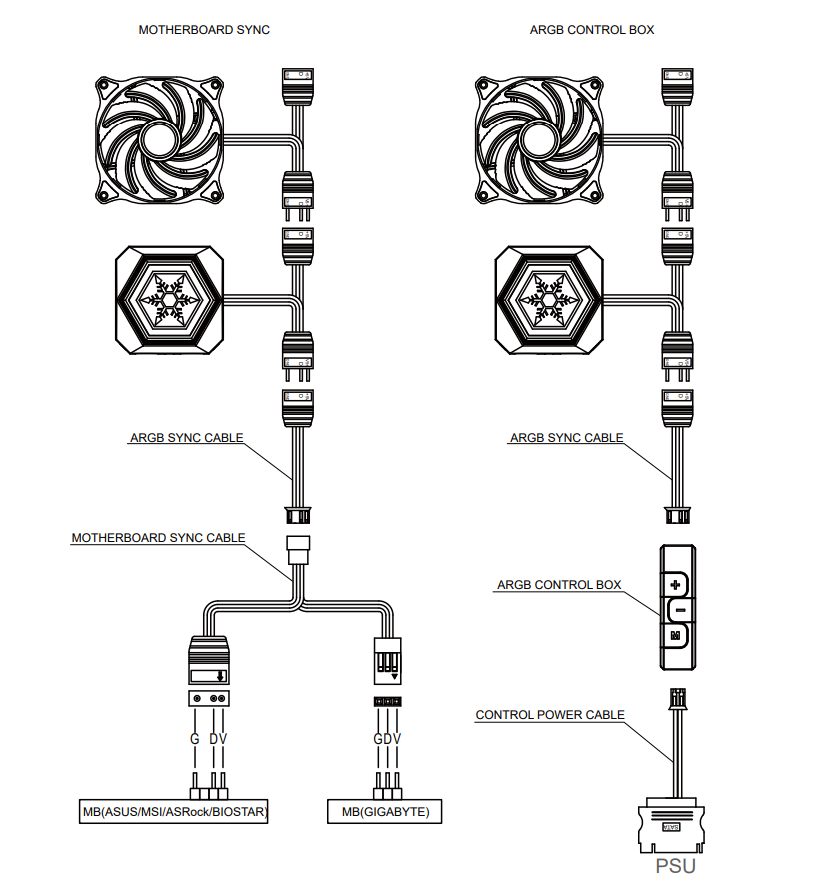
Setting up the ARGB LED cables is a straight forward task. Start daisy chaining the pump and the fans’ ARGB LED cables using the supported headers. Once done, connect the final available header from the last ARGB LED cable out of the daisy-chained to the ARGB Sync Cable. Next, connect the ARGB Sync Cable either to the control box/controller or the Motherboard Sync Cable for onward connectivity to the motherboard’s +5V lighting header.
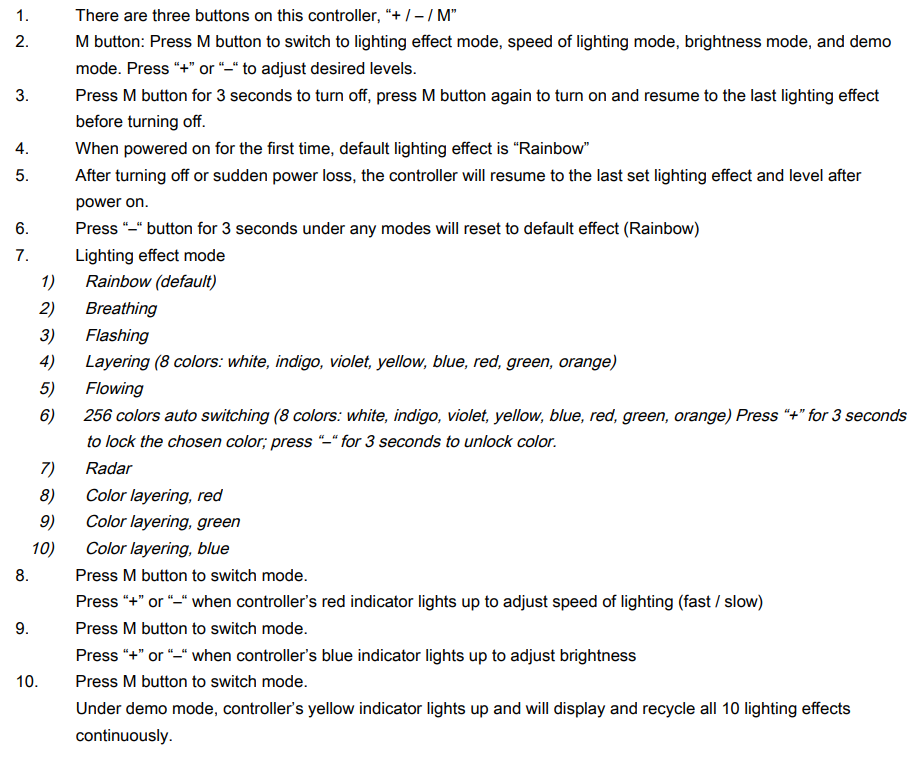
The functionality of the three buttons on the control box is mentioned in the above picture taken from their manual. M button is to be used to toggle among the lighting modes, brightness adjustment, speed of lighting and demo mode. The default mode is the Rainbow mode though our sample came out with the breathing Green color mode on it. Pressing M for 3 seconds will turn off the lighting. Pressing the M again will load the last lighting effect. Pressing the – button for 3 seconds will load the default Rainbow mode. Overall, I am not impressed with the coding mechanism of the lighting control on this control box. I was not able to set the static color no matter what. Initially, the M button press was not responding to the command but changing the control box’s light. Make sure to spend time with the manual in understanding how the control box is to be used. In nutshell, it is not user-friendly. I would prefer connecting the ARGB Sync Cable to the +5V lighting header if available on the motherboard as it will save time.
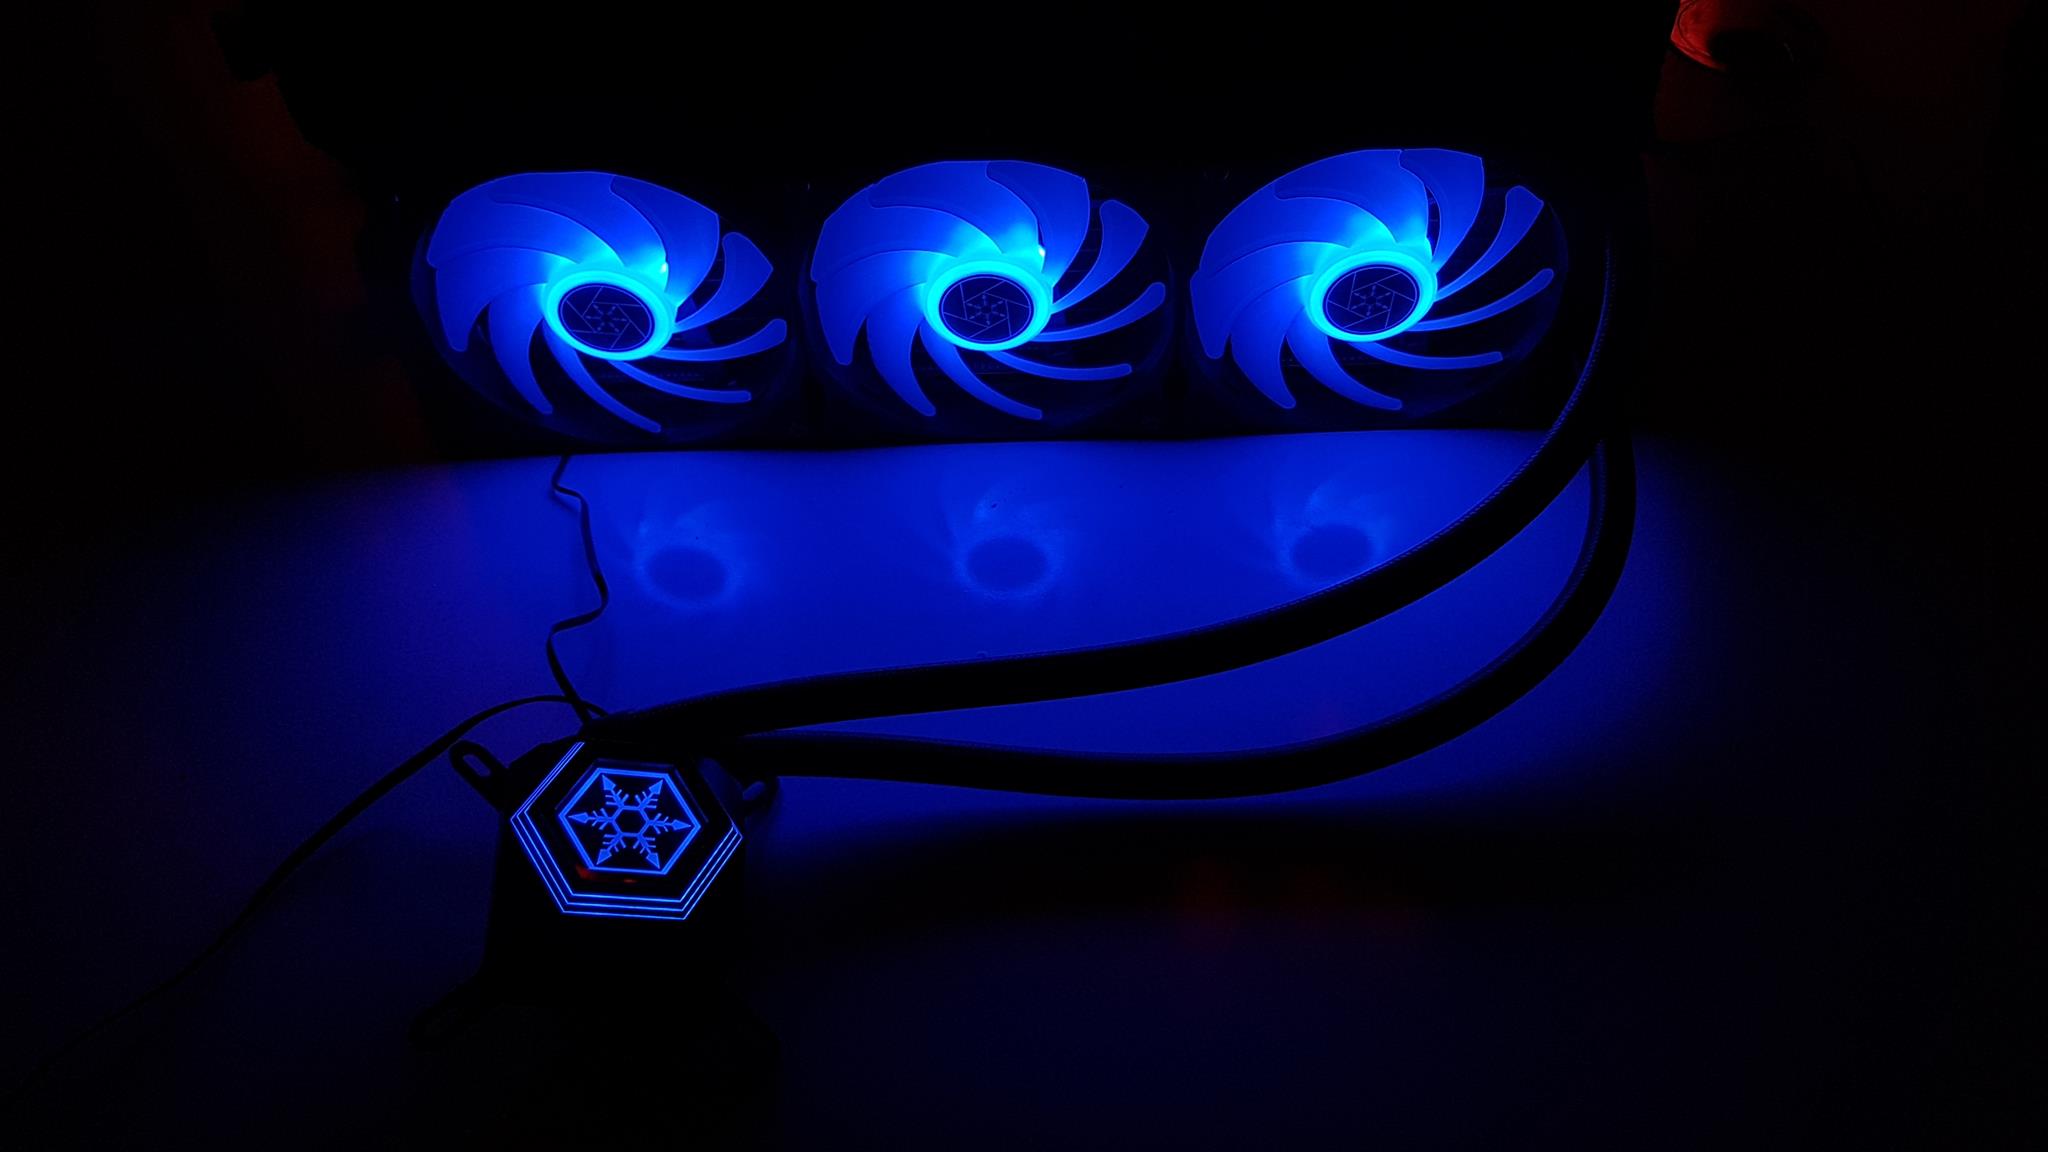
Here are some of the cool pictures that I have taken:
Installation
I have tested this cooler on the Intel LGA2011-V3 socket (X99) and AMD AM4 platform. Below is the installation guide for Intel LGA 2011-V3:
- Install the LGA-2011 screws on the mounting holes around the CPU Socket.
- Intel bracket is pre-installed on this cooler.
- Install the fans on the radiator.
- Install the radiator in the chassis.
- Apply the thermal paste on the CPU IHS.
- Remove the protective sheet off the base of the block.
- Place the cooler on the CPU by aligning the holes on the mounting brackets with the LGA 2011 screws.
- Secure the cooler by using the thumbscrews. Use a screwdriver for this job and go diagonal for even pressure.
AMD AM4 Installation
- Remove the Intel mounting bracket from the pump by sliding it out.
- Install the AMD mounting bracket on the housing by sliding it in.
- Install the AMD clips on each end of the AMD mounting bracket using two thumbscrews (one for each side).
- Apply the thermal paste on the CPU IHS.
- Remove the protective sheet from the base of the block.
- Place the block on the CPU by aligning the clips on the brackets with the latches or catchers on the stock backplate. Once placed, simply hand tighten the screws to the full.
Common Steps:
- Connect the 3-pin power cable coming out of the pump housing to the CPU fan header/Pump/AIO header if available or any of your desire fan header.
- Connect the 3-way PWM splitter cable to the 4-pin PWM connectors of the fans.
- Connect the 3-way PWM splitter cable to the 4-pin PWM fan header on the motherboard.
- Daisy Chain the LED cables of the pump and the fans.
- Connect the Daisy Chained LED cables to the ARGB Sync Cable.
- Connect the ARGB Sync Cable either to the bundled control box or the Motherboard Sync Cable and connect that cable to the +5V lighting header on the motherboard.
- This would complete the installation.
Clearance and Installation Notes
The best thing about AIOs is the maximum clearance and compatibility with respect to the chassis, DIMM slots, PCIe slot. This cooler has no such clearance issue. The tubes are not blocking any DIMM slot and RAM modules of any height can be used. Similarly, the block is not obstructing the first PCIe x16 3.0 slot. Make sure that chassis has provision for a 360mm radiator mounting (394mm total length for this cooler) and clearance for 55mm height and you are golden.
Testing
Following test benches have been used: –
- Asus Rampage V Edition 10
- Intel i7 6850k
- Corsair Vengeance RED LED 16GB @ 2666MHz
- GIGABYTE GeForce GTX 1060 6G Gaming G1
- Samsung 840 EVO 250GB SSD
- Thermaltake TP iRGB 1250W PSU
- PrimoChill Praxis WetBench
AMD Test Bench
- Asus Strix X470-F Gaming
- AMD Ryzen 2700X
- CORSAIR Vengeance Pro RGB 16GB @ 3200MHz
- Colorful GeForce GTX 1050Ti Vulkan
- HyperX 120GB SSD
- Antec HCP1300
The following software was used for testing and monitoring.
- Asus Real Bench v 2.44 (Intel)
- Real Temp GT v 3.70 (Intel)
- AIDA64 6.0 (AMD)
Here is the settings table for testing:
| Intel | Stock Voltage (V) | 1.130 |
| Stock Clock (MHz) | 3600 | |
| OC Voltage (V) | 1.350 | |
| OC Clock (MHz) | 4300 | |
| AMD | Stock Voltage (V) | 1.1125 |
| Stock Clock (MHz) | 3700 | |
| OC Voltage (V) | 1.3250 | |
| OC Clock (MHz) | 4100 | |
| Turbo Boost | Disabled | |
| C-States | Disabled | |
| Speed Step | Disabled | |
| XFR/PBO | Disabled | |
| Thermal Paste | Noctua NT-H1 | |
| Test Run Time | 60 minutes | |
| Idling Time | 15 minutes | |
| Fan Speed | Set to run at 100% speed | |
| Pump Speed | Connected to the AIO Pump header to run at 100% speed | |
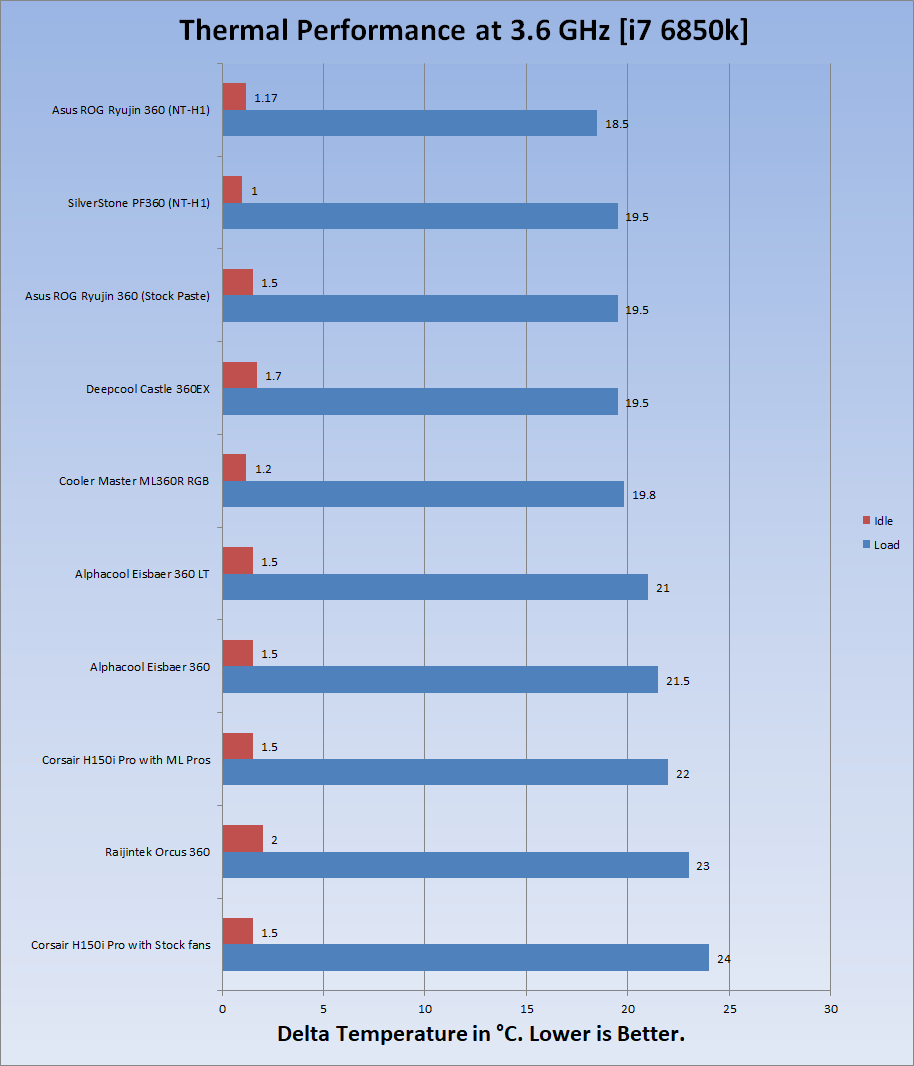
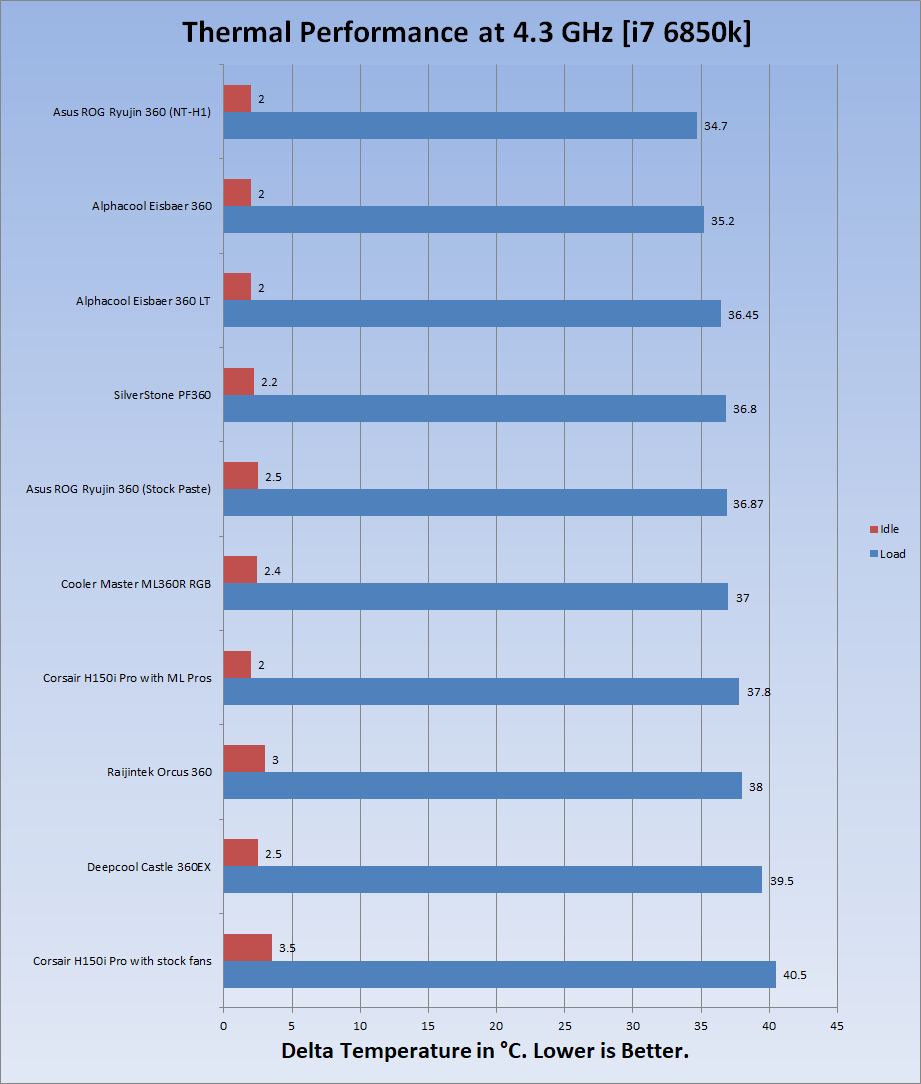
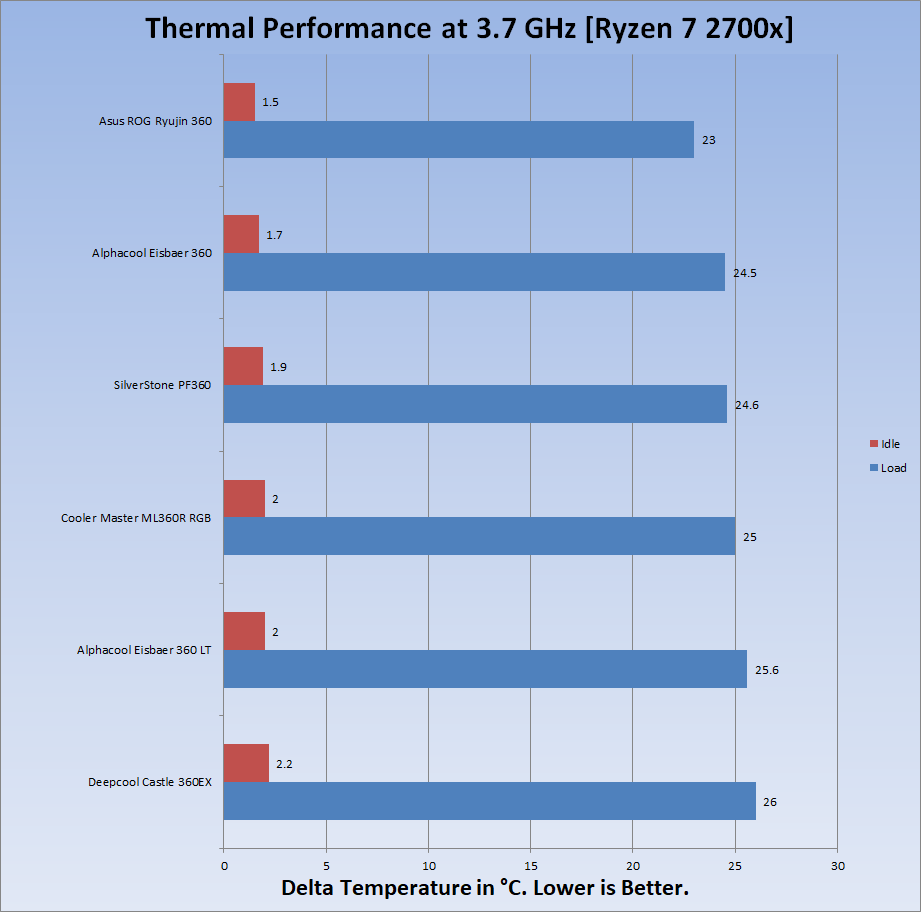
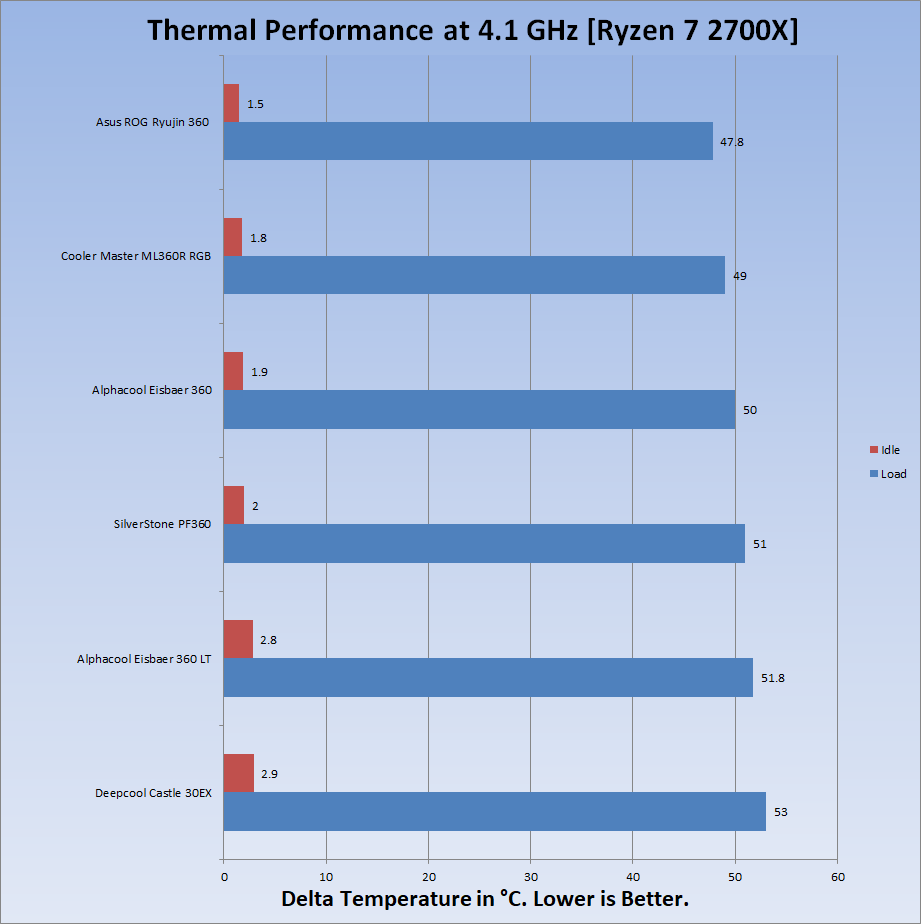
The thermal paste being used on the test bench is the Noctua NT-H1 thermal paste. The use of the same thermal paste for all coolers will ensure the standardization and mitigate any performance benefit that may come using the supplied thermal paste. Delta temperatures are reported on the graphs. The testing is done on an open-air bench system. Once inside the chassis, the temperatures are expected to rise and would largely depend upon the optimal airflow inside the chassis.
Not every run of the stress test may yield the same result. This could well be due to many factors like mounting pressure, thermal paste application, varying ambient temperature. Not to mention the silicon differences even among the same category of the chips. Hence, it is pertinent to mention the testing methodology along with the specifics.
Let’s take a look at the results.
The SST-PF360 ARGB takes the second slot in the graph.
Comparable performance is visible from the SST-PF360 ARGB.
Again, we are seeing a comparable performance from the SST-PF360 ARGB.
Almost the same result!
Acoustic
I could not measure the sound level of the unit due to uncontrollable environmental noise which would invalidate the actual sound level. Based on my experience with the fans and coolers testing so far, the SST-PF360 ARGB at full speed is loud but not louder than the coolers which we have recently tested.
Conclusion
The SilverStone is making a strong comeback in the liquid cooling category of the coolers with their new PermaFrost series of the CPU Liquid Coolers. These coolers have recently been released and are either available or are on pre-order depending upon the region. Three versions have been released which are 120mm, 240mm, and 360mm. We have taken a spin on their SST-PF360 ARGB cooler. These coolers pack stunning and vivid ARGB lighting without a compromise on the thermal performance as is evident in our testing. The cooler is compatible with Intel LGA 775/1366/115x/20xx sockets and AMD AM2/AM3/AM4/FM1/FM2 sockets.
The SST-PF360 ARGB has an aluminum-made radiator having a dimension of 394x120x28mm. 28mm is the height of the radiator. The total height with a fully assembled unit will be between 54-55mm with fans and the screws. The radiator has 20 FPI count. The hoses are braided for better looks with 400mm of length. The hoses are somewhat flexible. There is no protective plating underneath the mounting holes on the radiator so take care while installing the fans. Use the bundled screws. The pump housing is made of the plastic finished in matte black color. The top lid has a glass looking cover which feels a bit flimsy. The top section of the housing has a polygon shape and is expanding downward in 4 layers. Each layer has diffuser underneath which when coupled with layered lighting mode gives some brilliant lighting effect. The pump is using a dual-chamber design to different the path of coolant flow which increases the effectiveness of heat dissipation. The pump motor is using 3-phase and 6-poles design for quieter operation and increased energy efficiency. The base of the block has a copper made baseplate with 0.2mm micro-channels for effective heat dissipation. The composite rubber tubing has RMA-A level inner layer that is highly resistant to corrosion and heat while the exterior layer has top weather resistance and durability.
SilverStone has bundled three powerful ARGB enabled fans with their SST-PF360 ARGB cooler. These fans have unique ribbed edge fan blades that suppress air turbulent noise with geometry optimized for both air flow and pressure. This ensures maximum performance with the lowest possible noise. The rated speed of these fans is 600~2200 RPM with a noise level rating of 7.4~35.6 dBA. The rated voltage is 12VDC with the current rating of 0.32A. The maximum airflow rating is whopping 94 CFM. Just to put this in some perspective, the airflow of these fans THROUGH THE RADIATOR was enough to affect the paper towels placed at the distance of roughly 3 feet from the radiator. The static pressure rating is 3.53mmH₂O.
SilverStone has provided a plethora of the cables and the control box with these coolers to control the ARGB lighting. In addition to the dedicated controller, the lighting solution is compatible with the ASUS AURA SYNC, ASRock POLYCHROME SYNC, MSI MYSTIC LIGHTING, GIGABYTE RGB FUSION 2.0, and BIOSTAR RACING. The control box has three buttons labeled as +, -, and M. The idea is to daisy chain the ARGB LED cables of the pump and the fans and then connecting them either to the control box or to the motherboard’s +5V lighting header. ARGB Lighting is right on the money and I love the colors and the effects but the coding of the control box is not user convenient. I wish they had it done differently and conveniently.
The SST-PF360 ARGB is listed at £119.99 [Overclockers UK] and $129.99 [Amazon] at the time of the review. We put the cooler to tame the Intel i7 6850k and AMD Ryzen 7 2700X against the likes of the ASUS ROG RYUJIN 360, Cooler Master ML360R RGB, Deepcool Castle 360EX, and Alphacool’s beasts Eisbaers coolers. The SST-PF360 ARGB has performed admirably very well on both platforms. The noise level was on a bit high side but definitely not louder than a few other coolers. Overall, this is a too good a thermal performance with brilliant digital lighting to ignore. SilverStone has informed us that this cooler comes with 2 to 5 years warranty depending upon the region. With a better thermal performance, brilliant and vivid digital lighting solution, provision of a dedicated lighting controller in this price range the SST-PF360 ARGB has won our ET Performance Award and rightly so comes recommended by us.
We are thankful to the SilverStone for giving the opportunity to review their SST-PF360 ARGB CPU Liquid Cooler.

