SilverStone SUGO 16 White Review
Introduction
SUGO 16 is a mini-ITX cube case that is available in three colors; black, white, and pink. It is best suited for SFF and HTPC builds where space limitation is an issue. This case has a volume of 13 liters. This would give you an indication of its provisions and limitations. In my opinion, setting up an HTPC setup with this case is more of its target market since the graphics card length of 275mm with a width of 147mm is supported. This implies that high-end graphics cards will not fit unless they meet this criterion. The salient features include:
- Supports standard length graphics / expansion cards of up to 275mm
- Compatible with Mini-DTX / Mini-ITX motherboard & ATX PSU
- Supports 120mm All-In-One liquid cooling radiator
- CPU cooler opening on motherboard back plate for convenient assembly and upgrade
- Front I/O port includes 2 x USB 3.0, combo audio x 1
This case retails at USD $93.95 at AMAZON at the time of this writing. The Pink edition is the most expensive of all three.
SUGO 16 Specifications
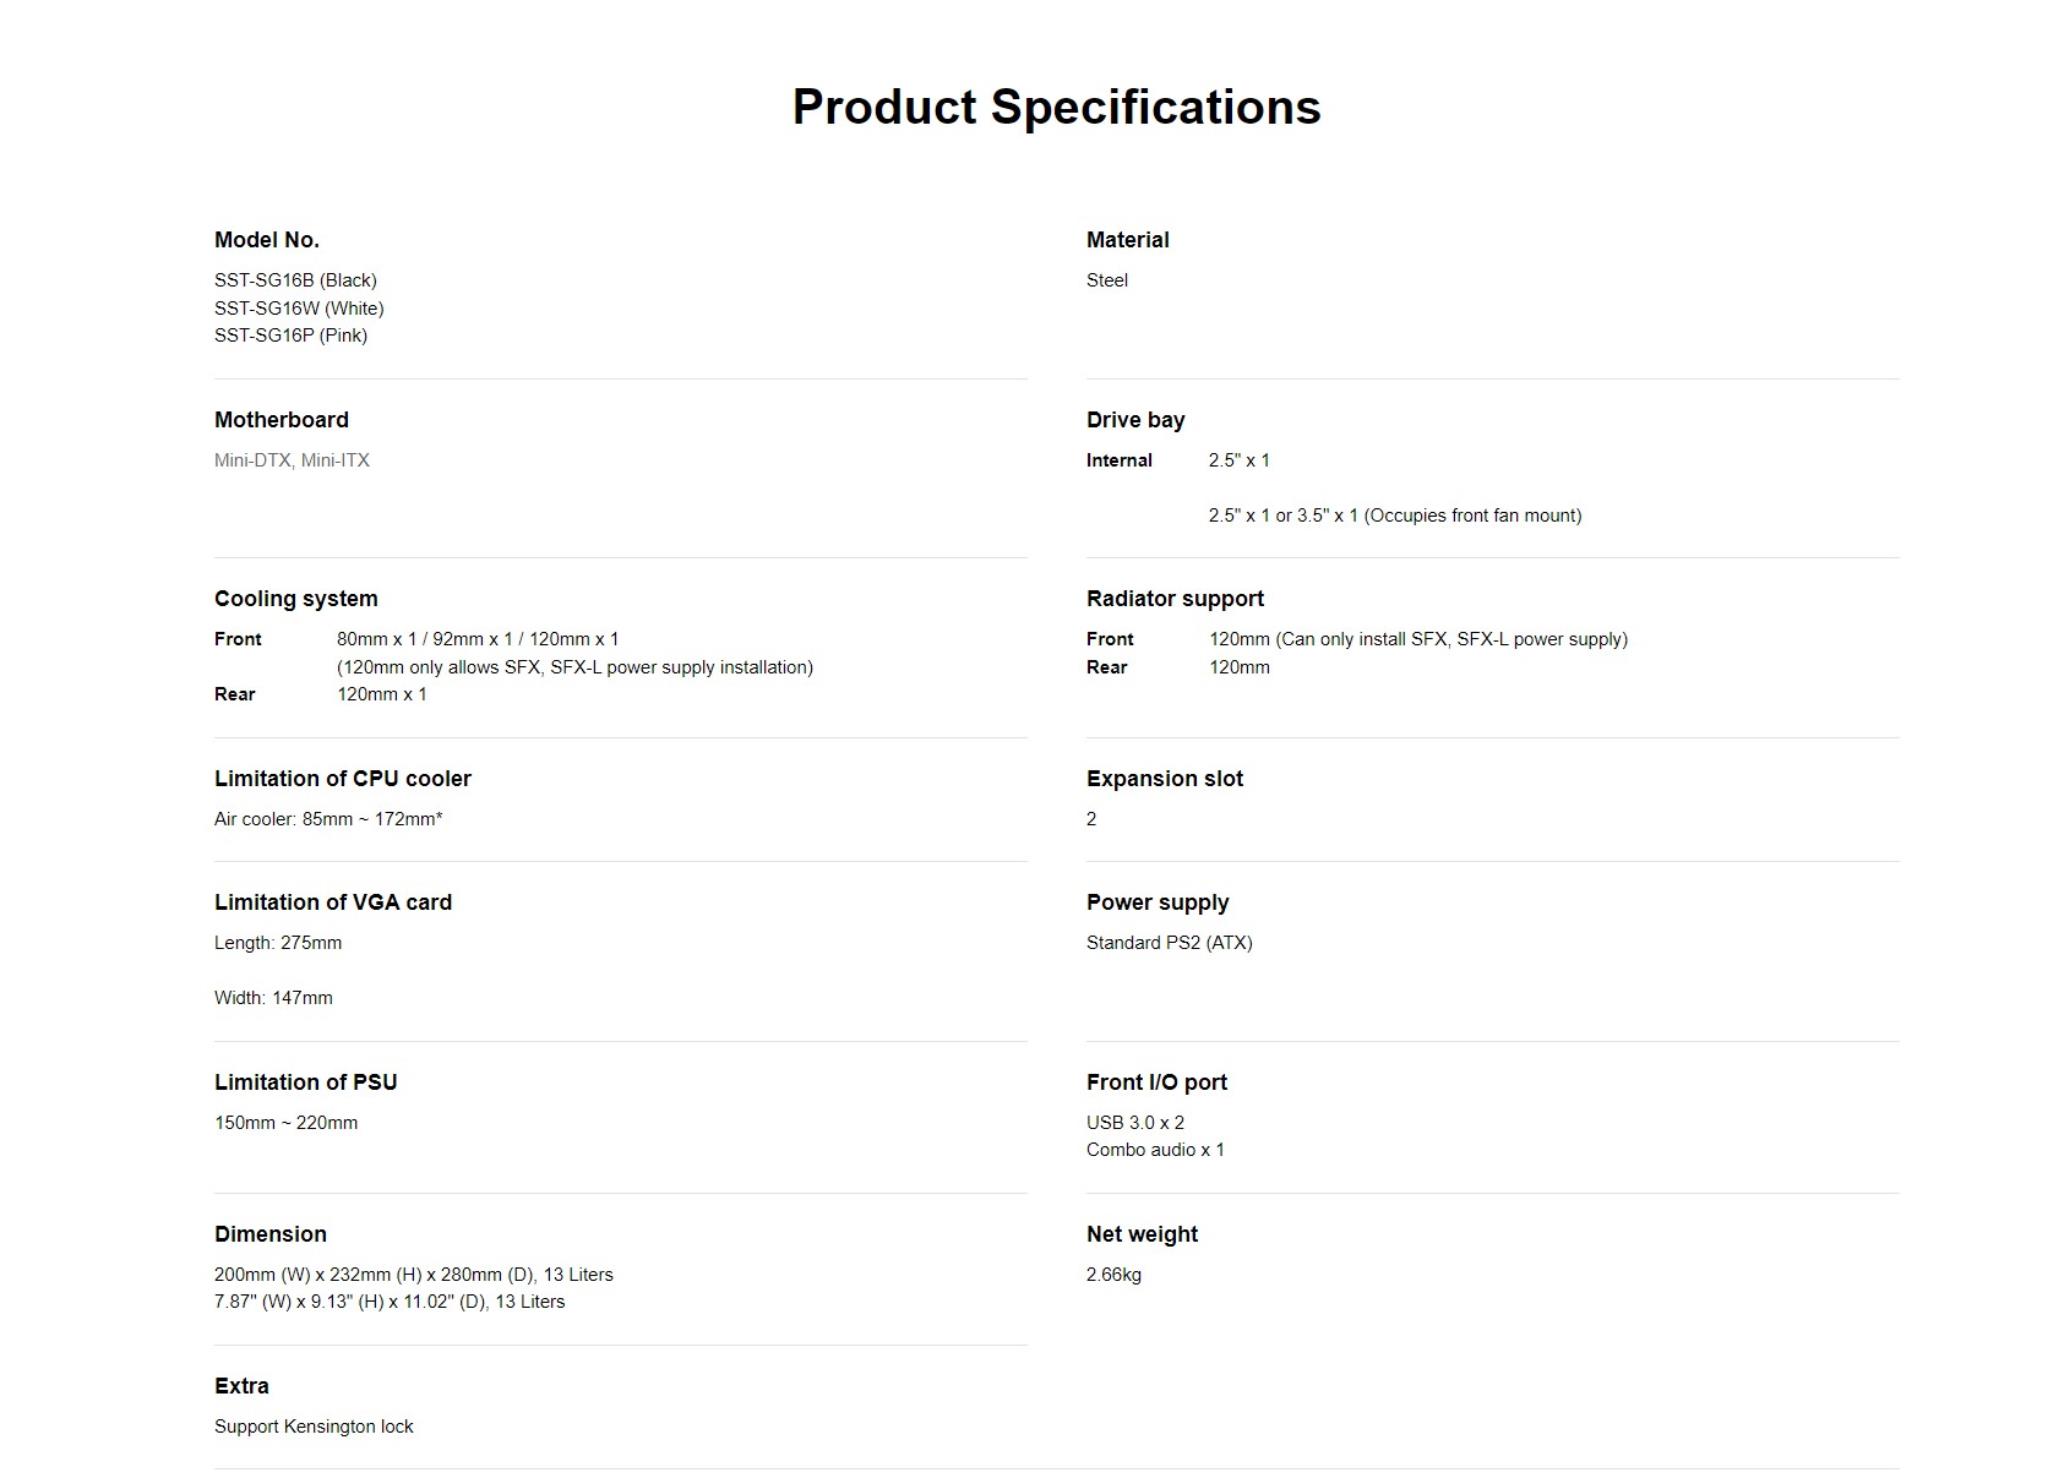
The above picture shows the specifications of the product as listed on their website.
Packaging and Accessories
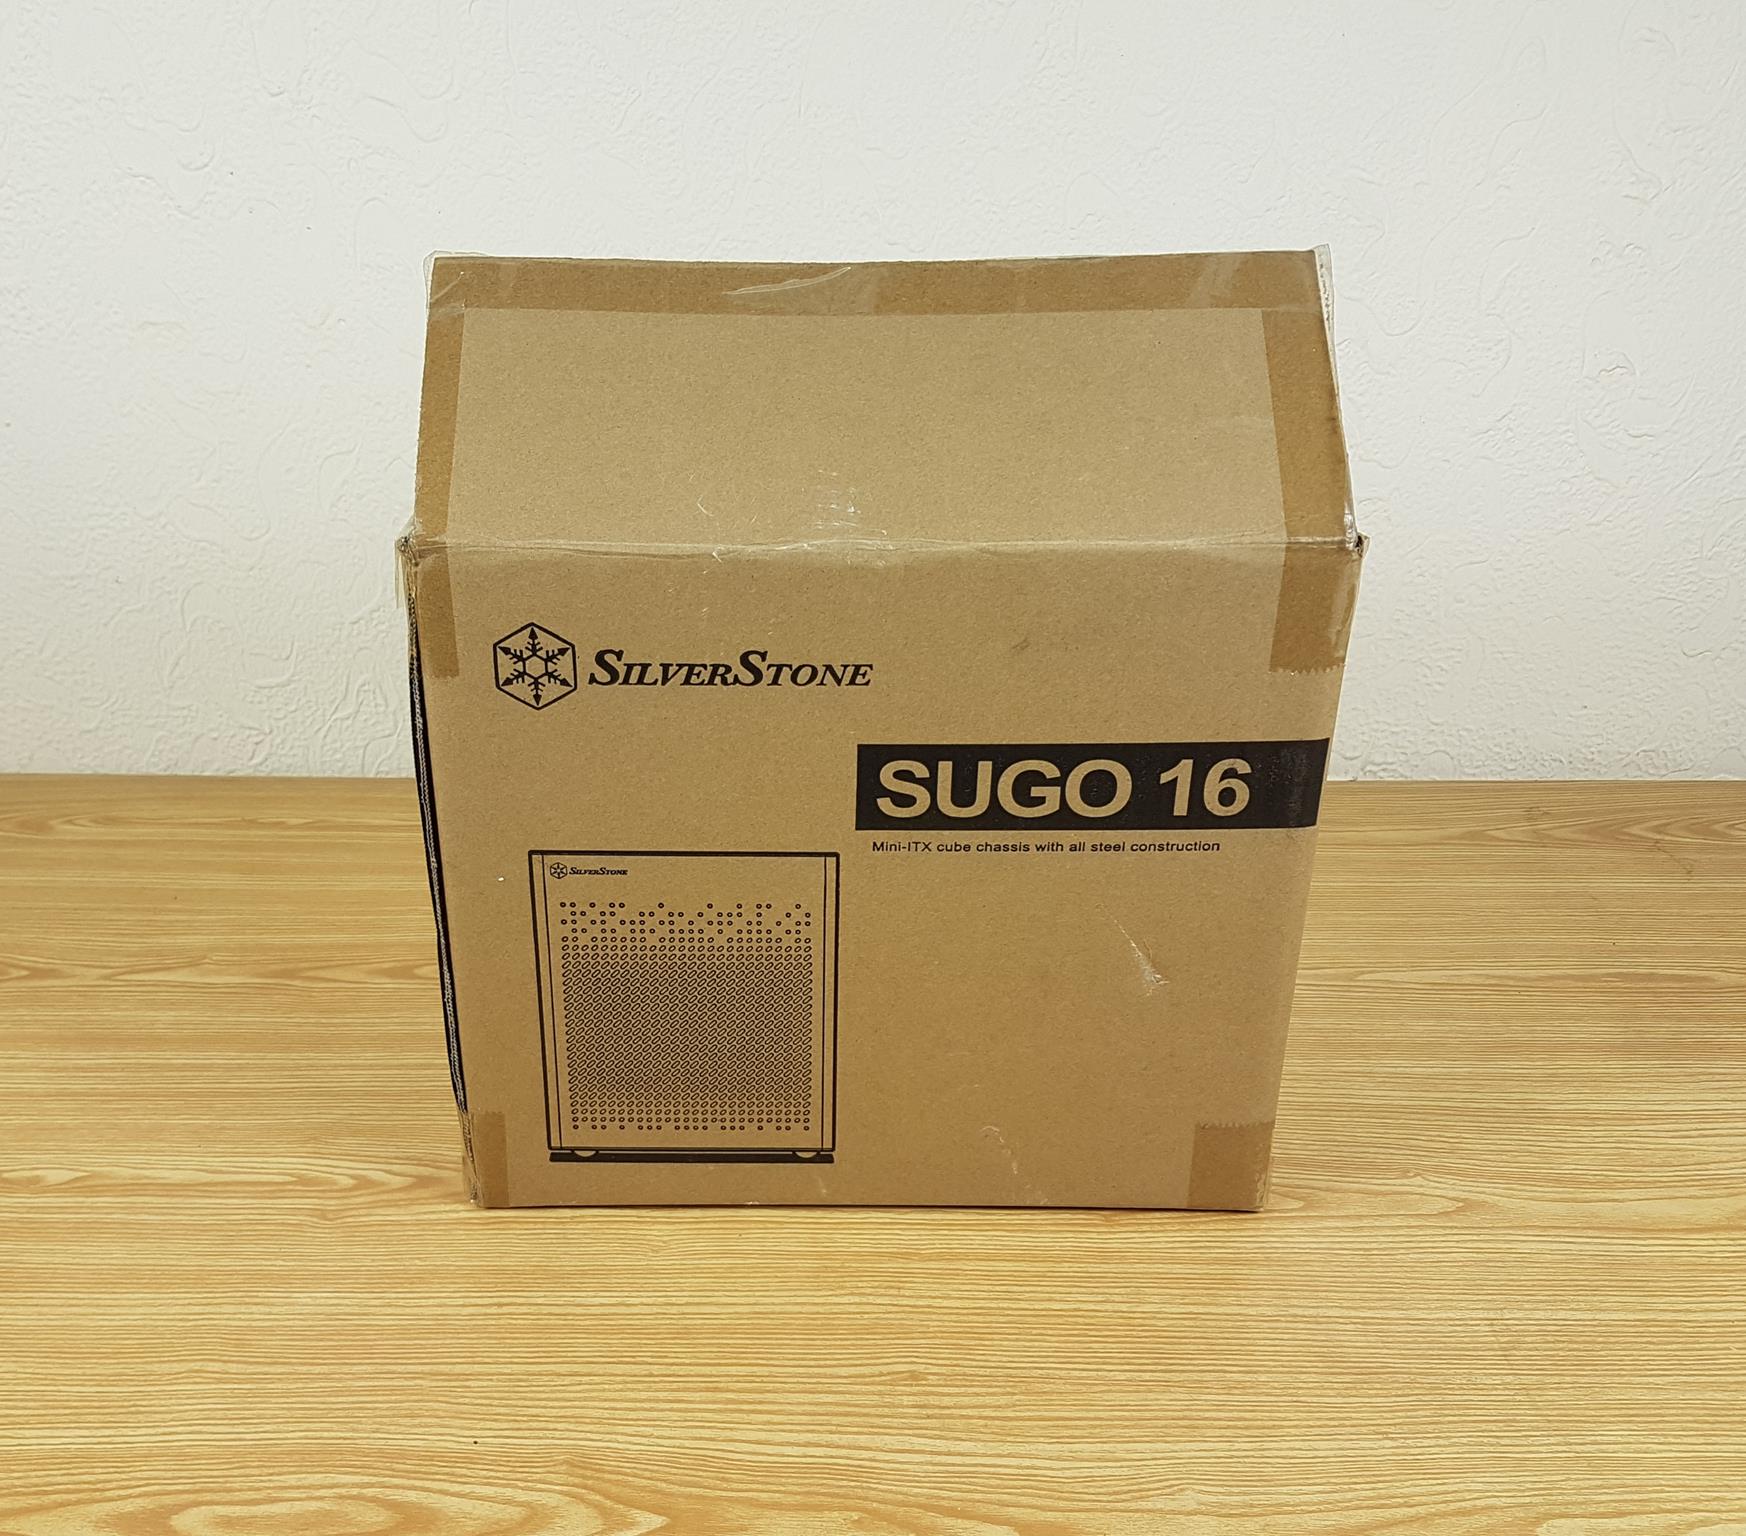
The case is shipped inside a brown color cardboard box. SilverStone has mentioned all steel-based construction. This case has steel panels all around and these panels are perforated except for the side panel. The build quality is top-notch.
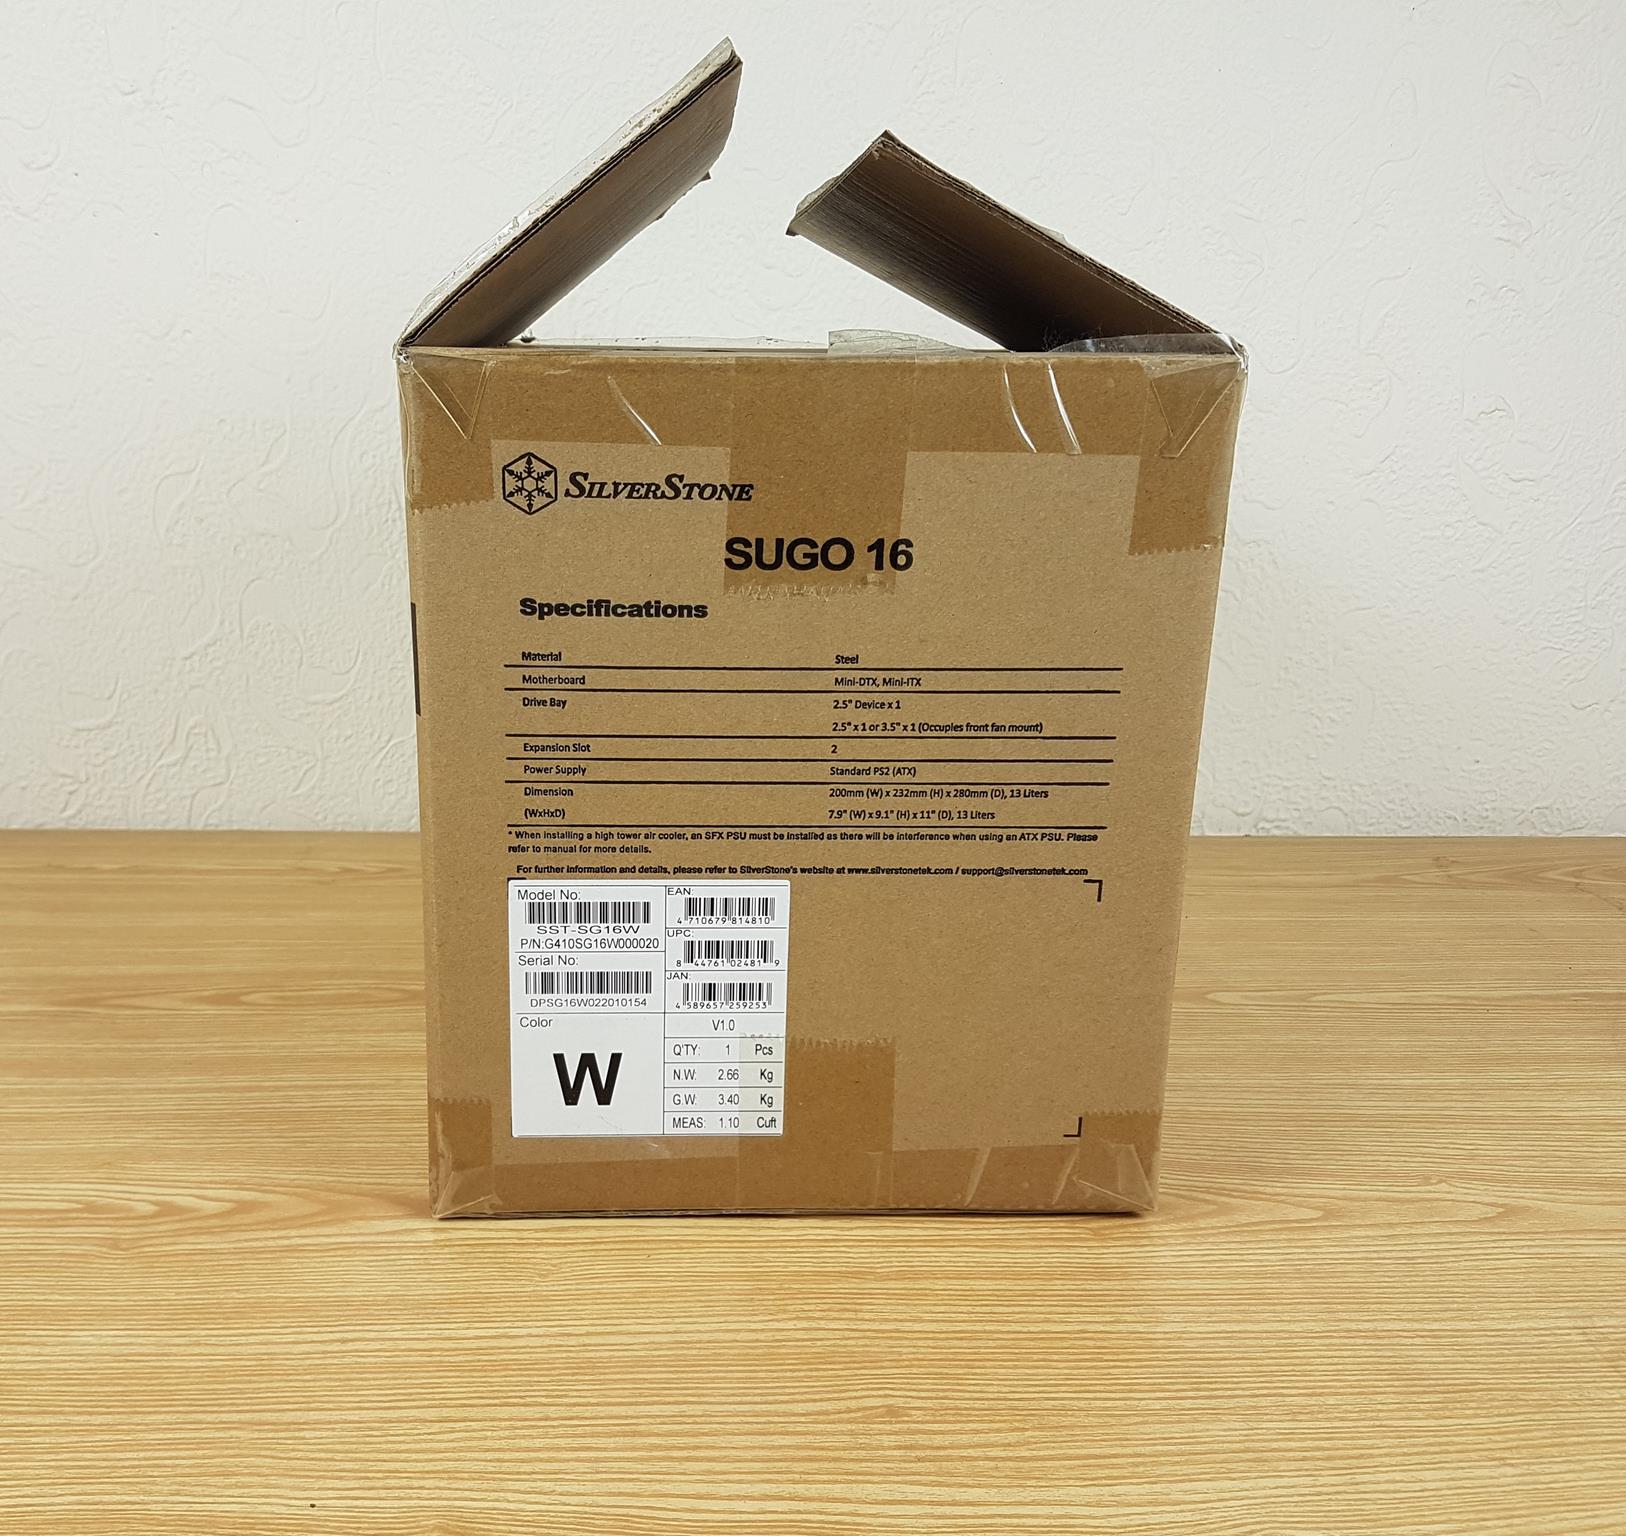
SilverStone has listed salient specifications of the case on side of the packing box. SS-SG16W is the model number where W refers to the White color.
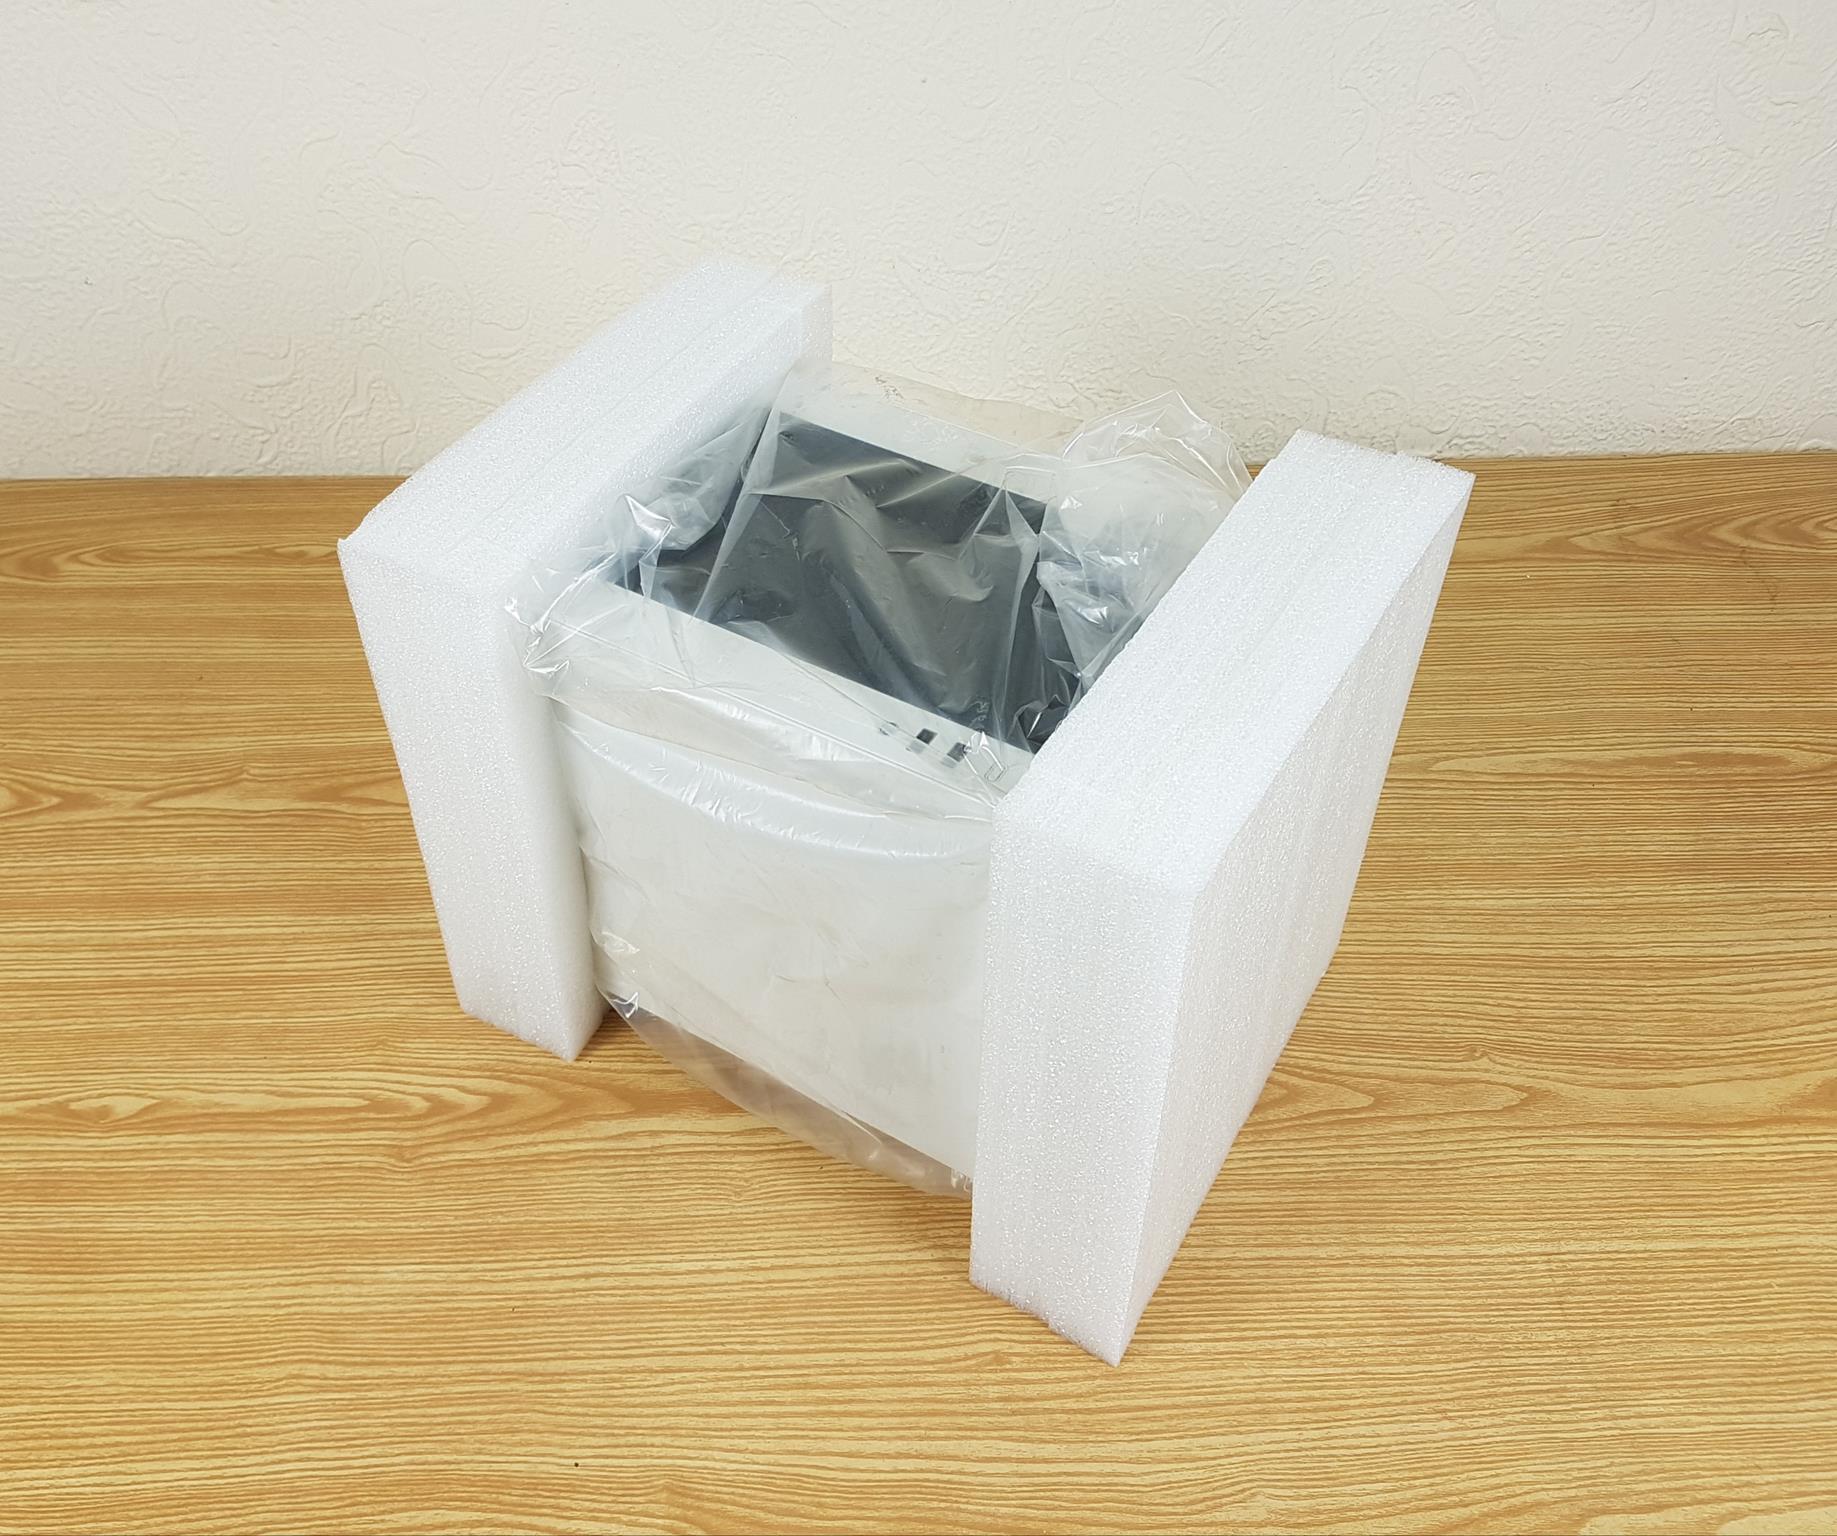
The case is tucked between two white Styrofoam pads.
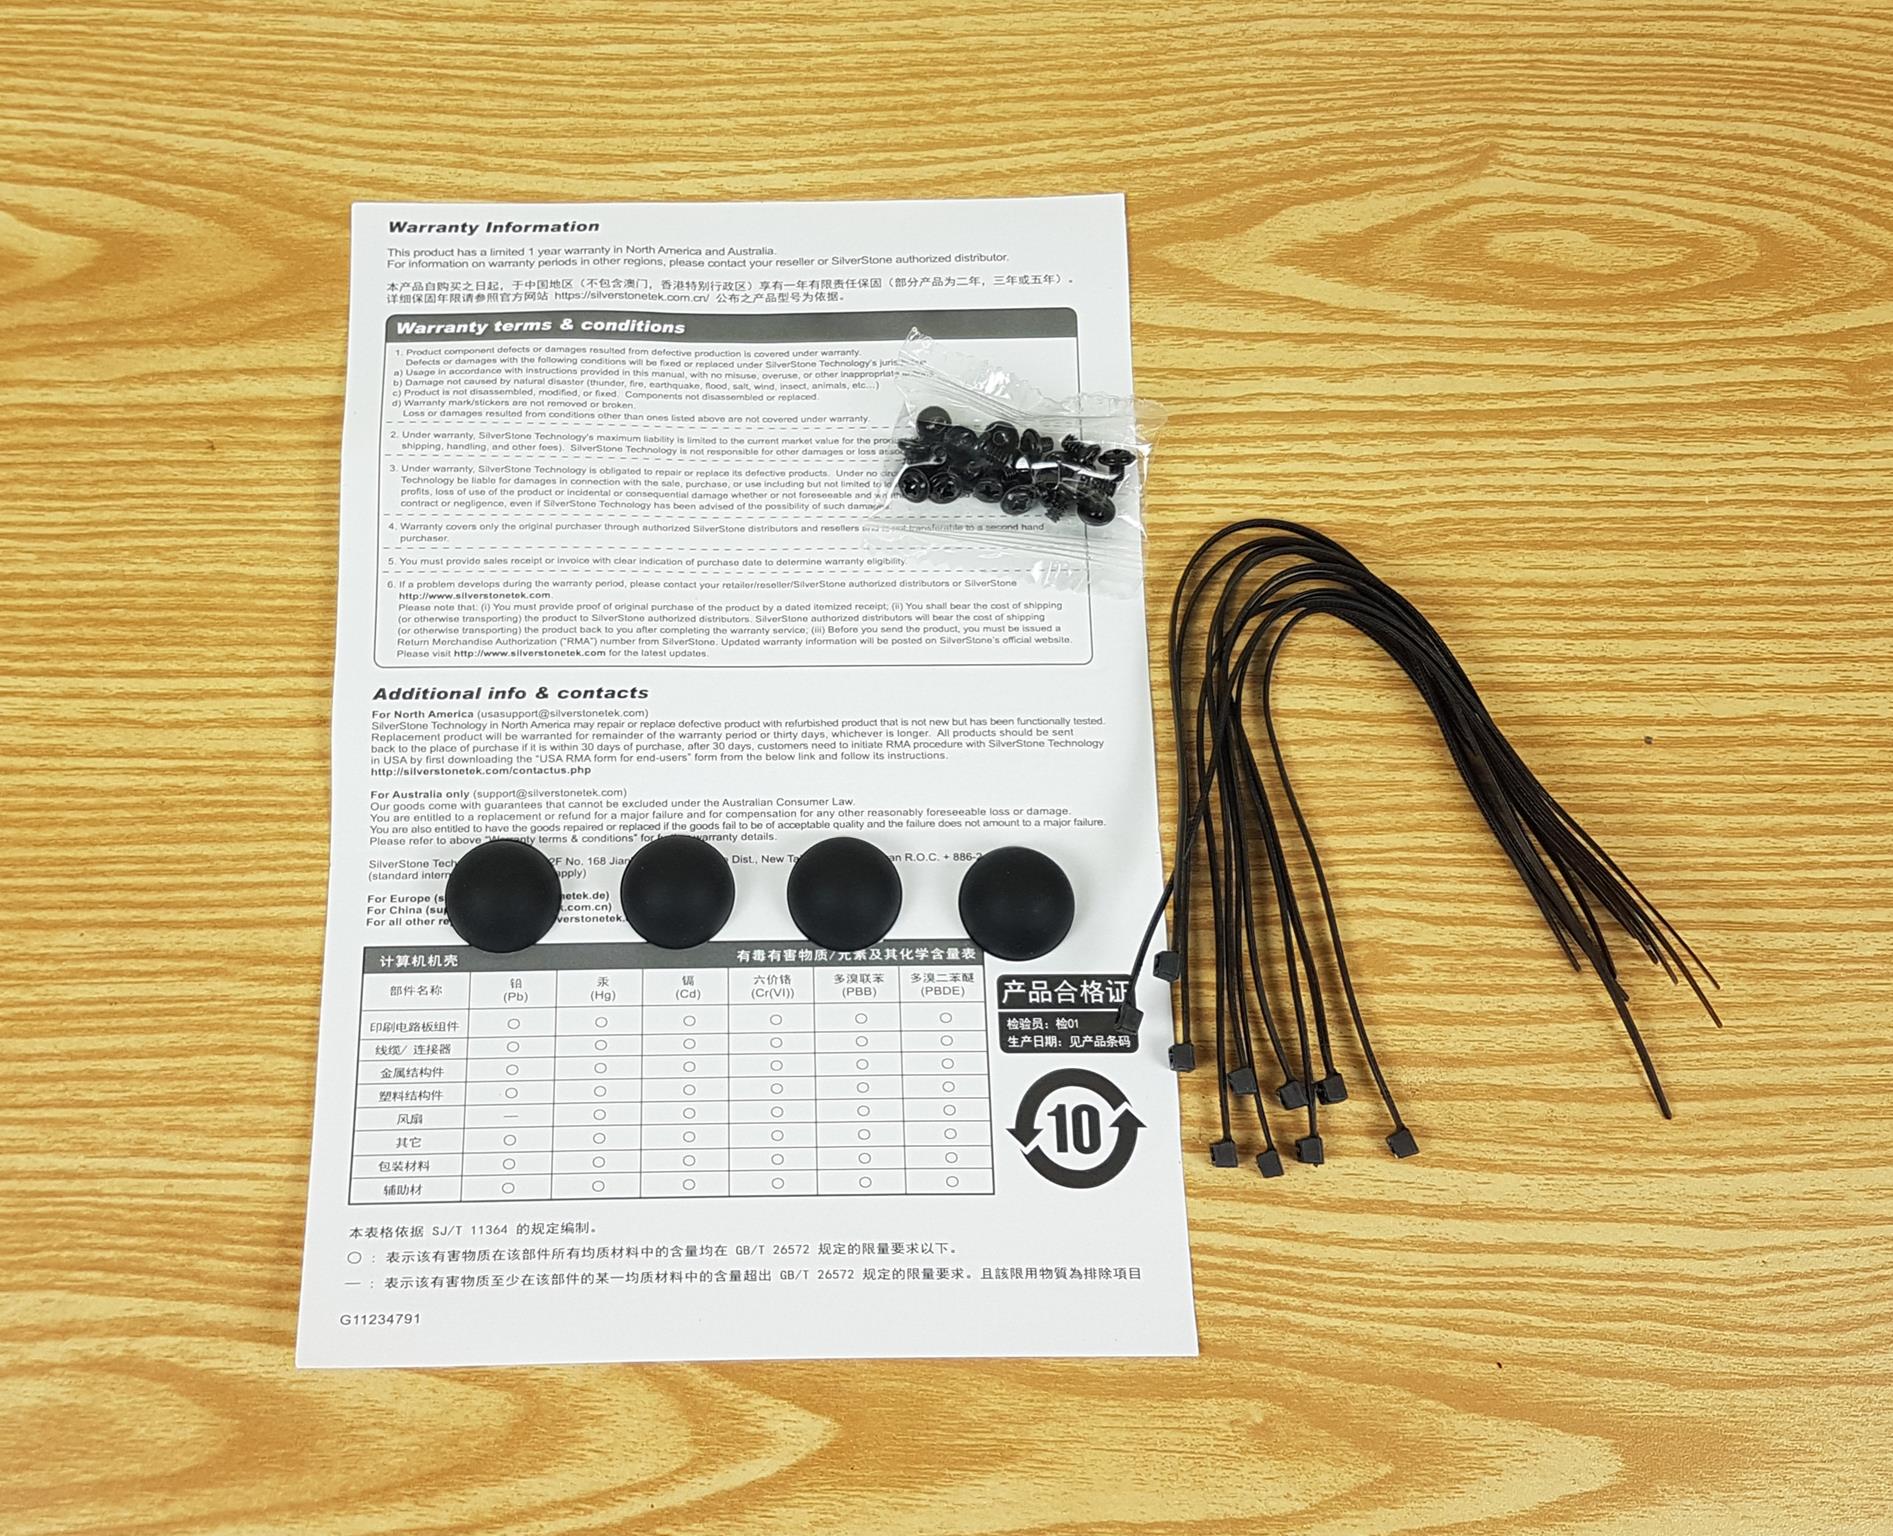
SilverStone has provided:
- 1x Warranty Paper
- 1x Container of Screws
- 10x Zip Ties
- 4x Rubber Feet
Closer Look
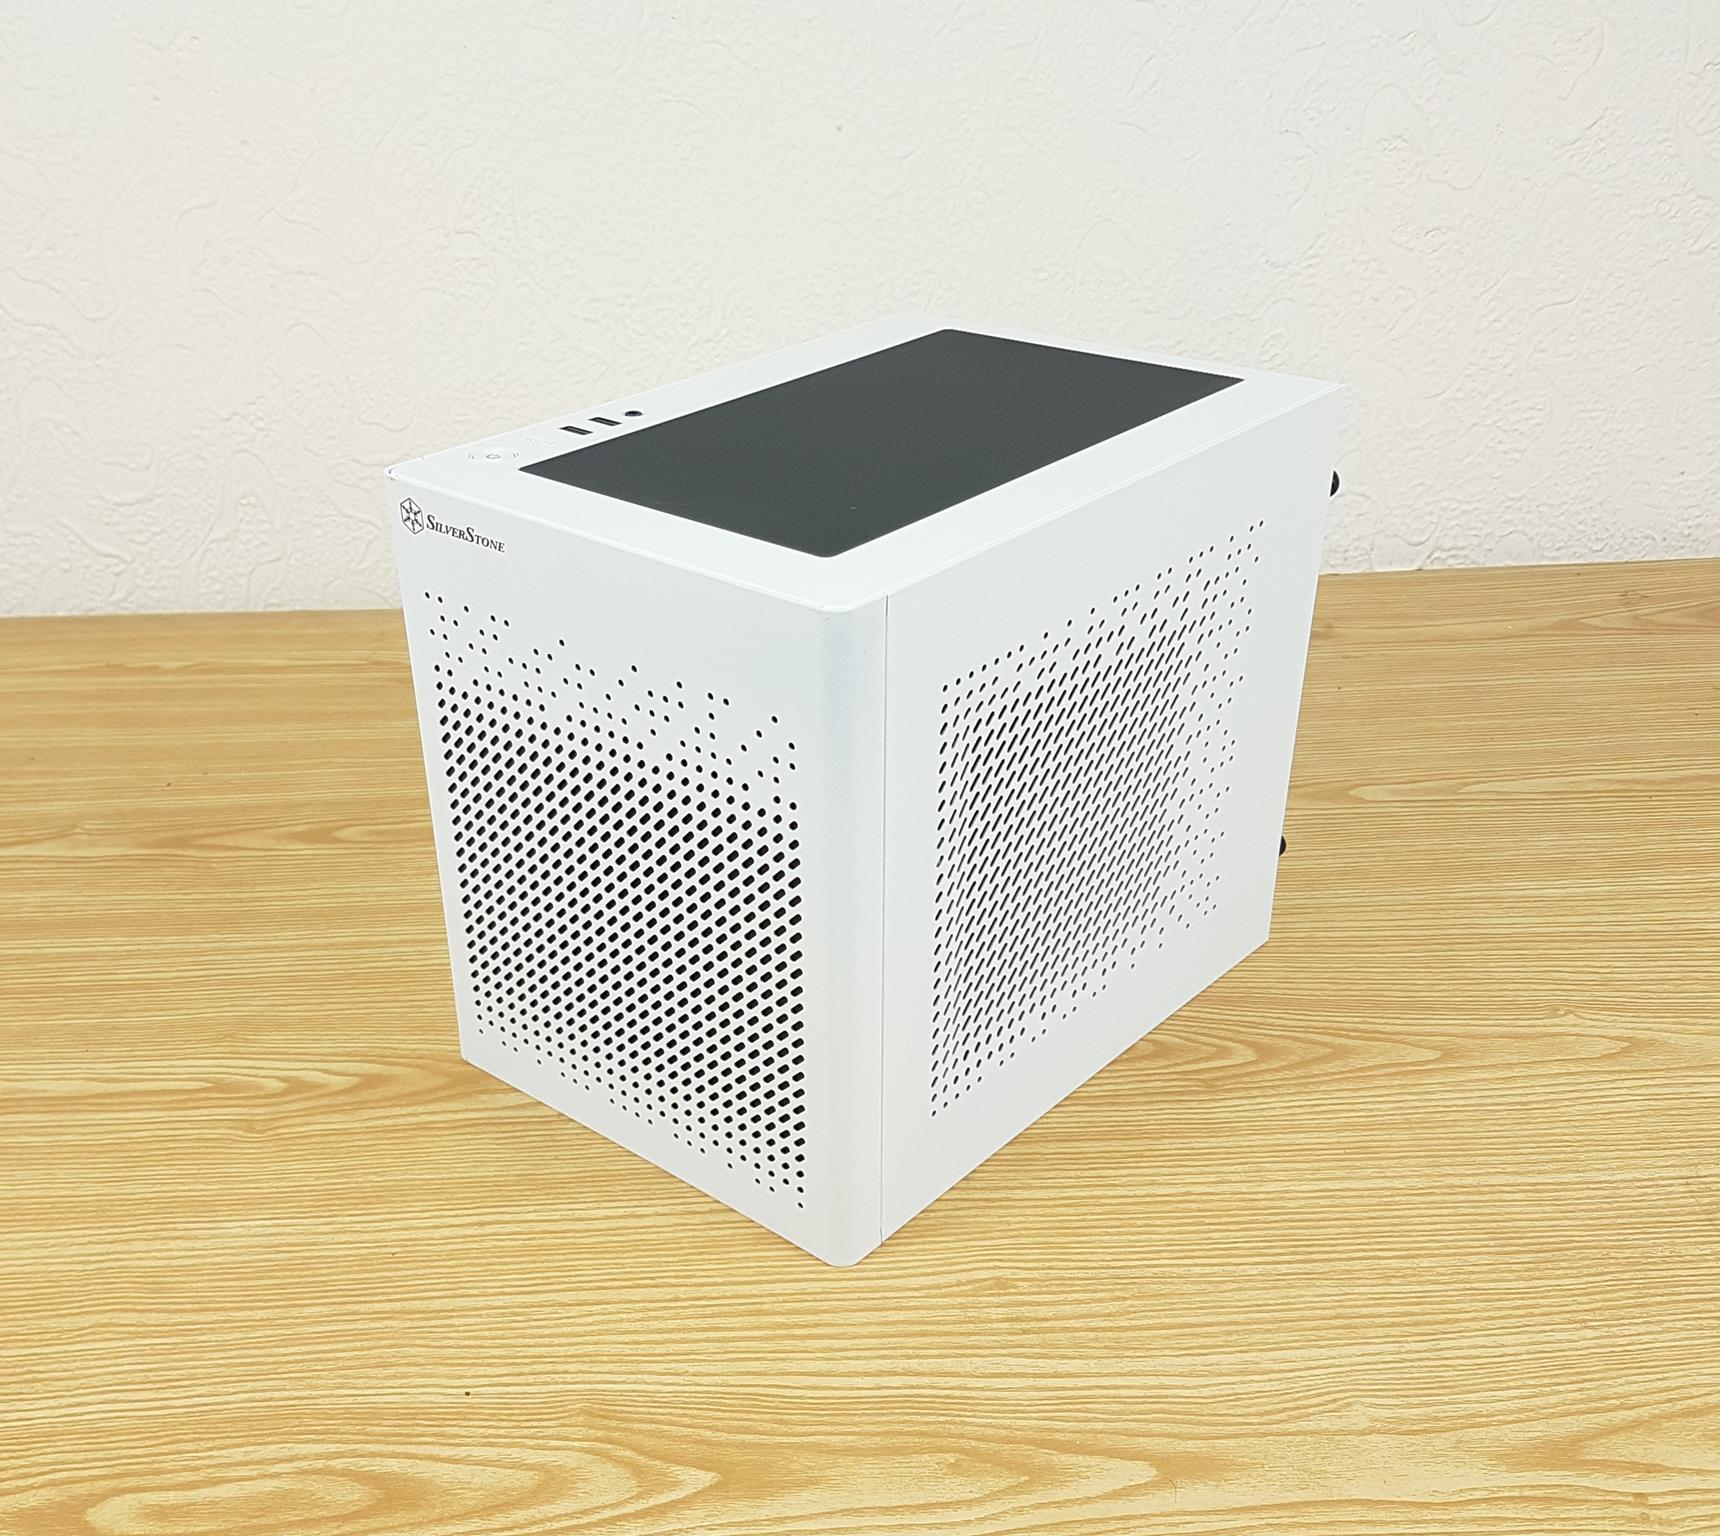
SUGO 16 is a cube design PC Case that supports mini-ITX and mini-DTX size motherboards. Despite having 13 liters volume it is spacious enough to house a combination of good build options including a 120mm AIO cooler and ATX size PSU. The dimension of this case is 200x232x280mm (WxHxD). It has a net weight of 2.66 Kg. This case is made of steel material which is perforated for ventilation.
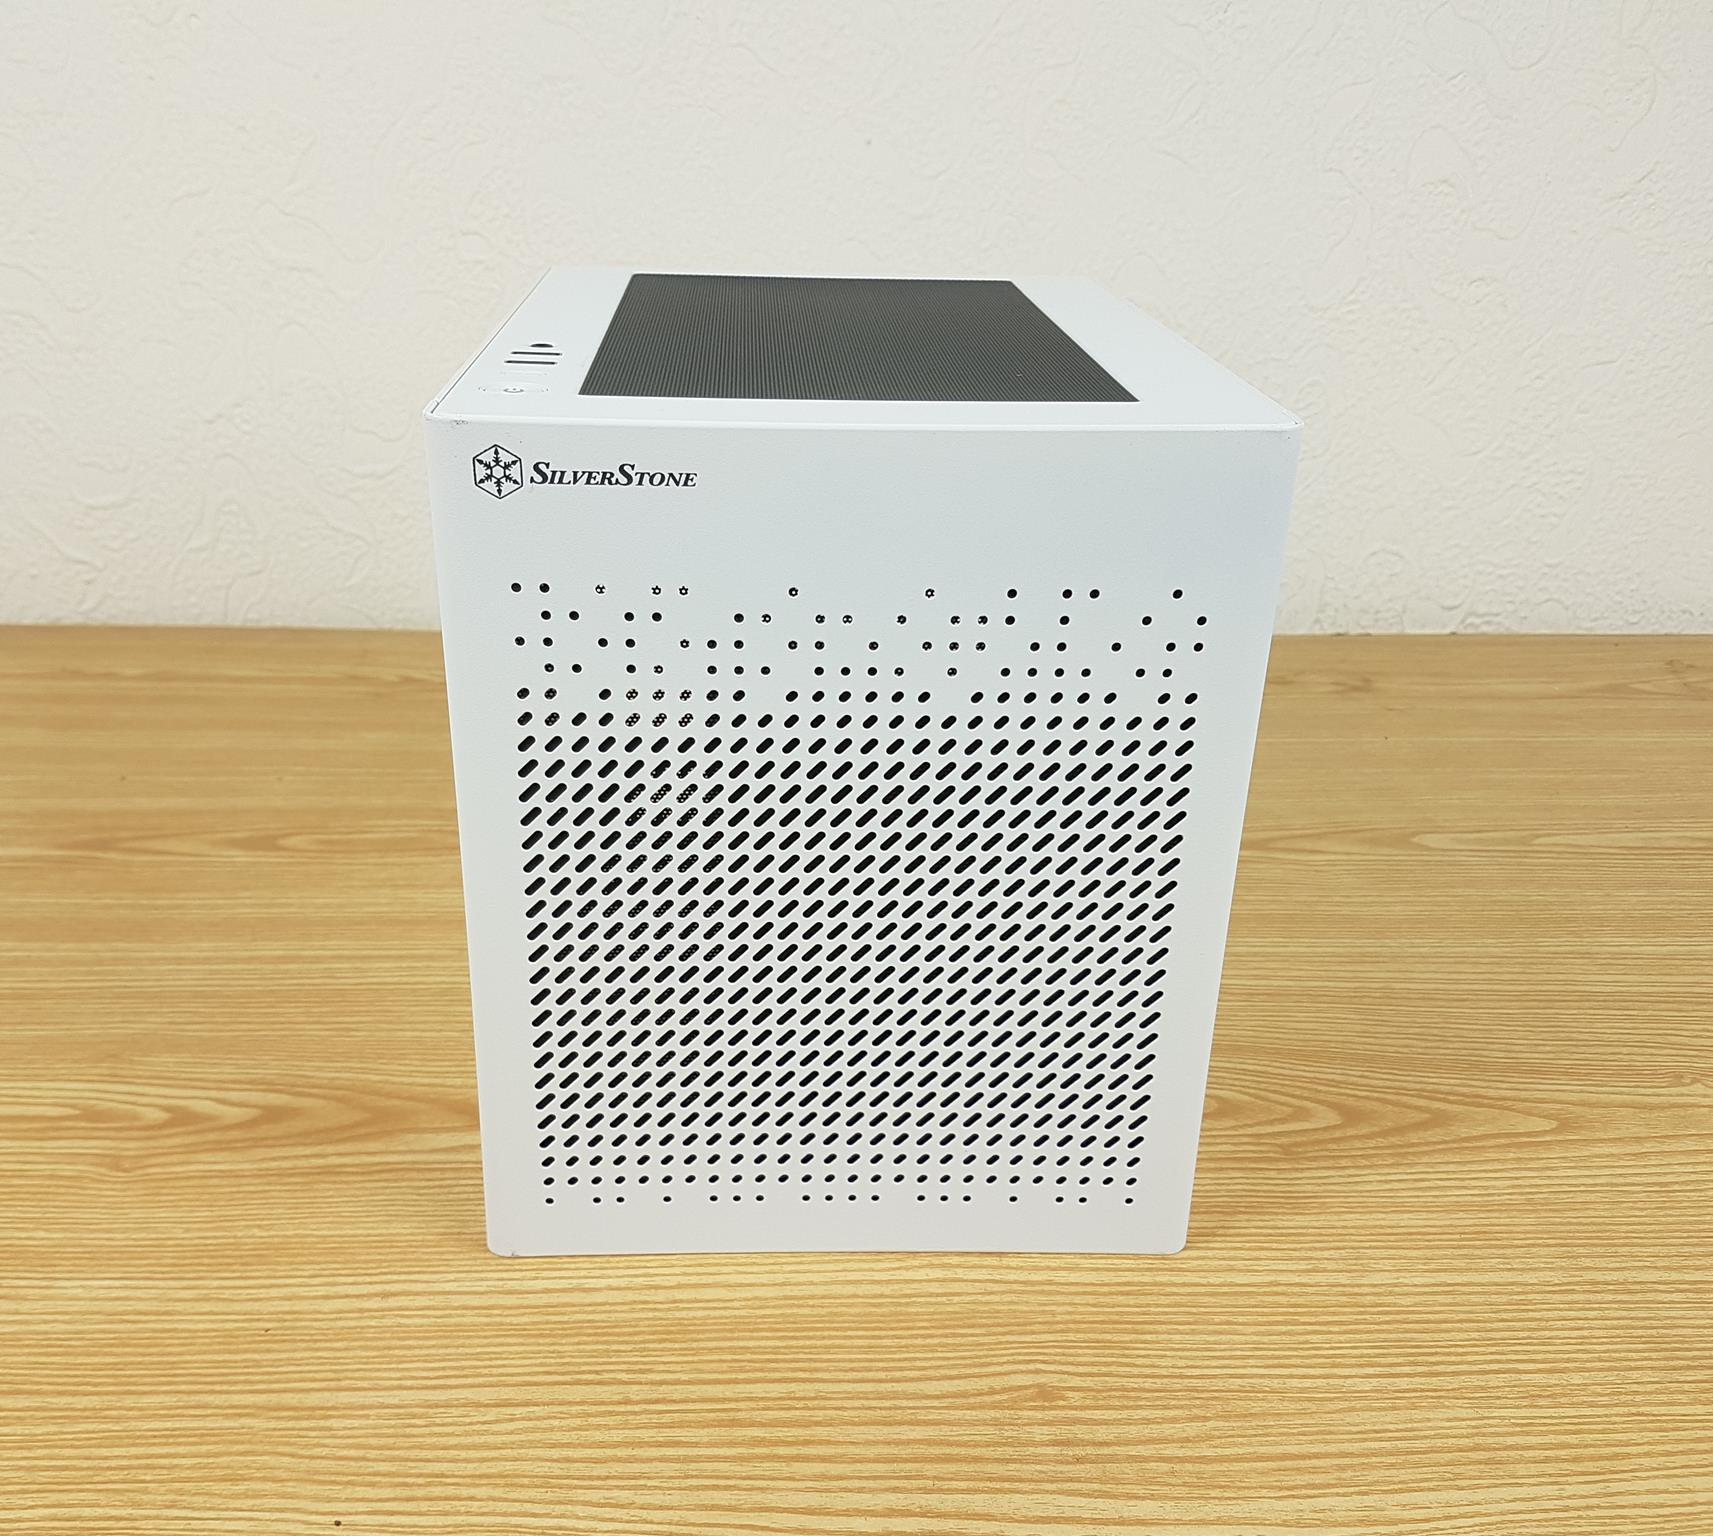
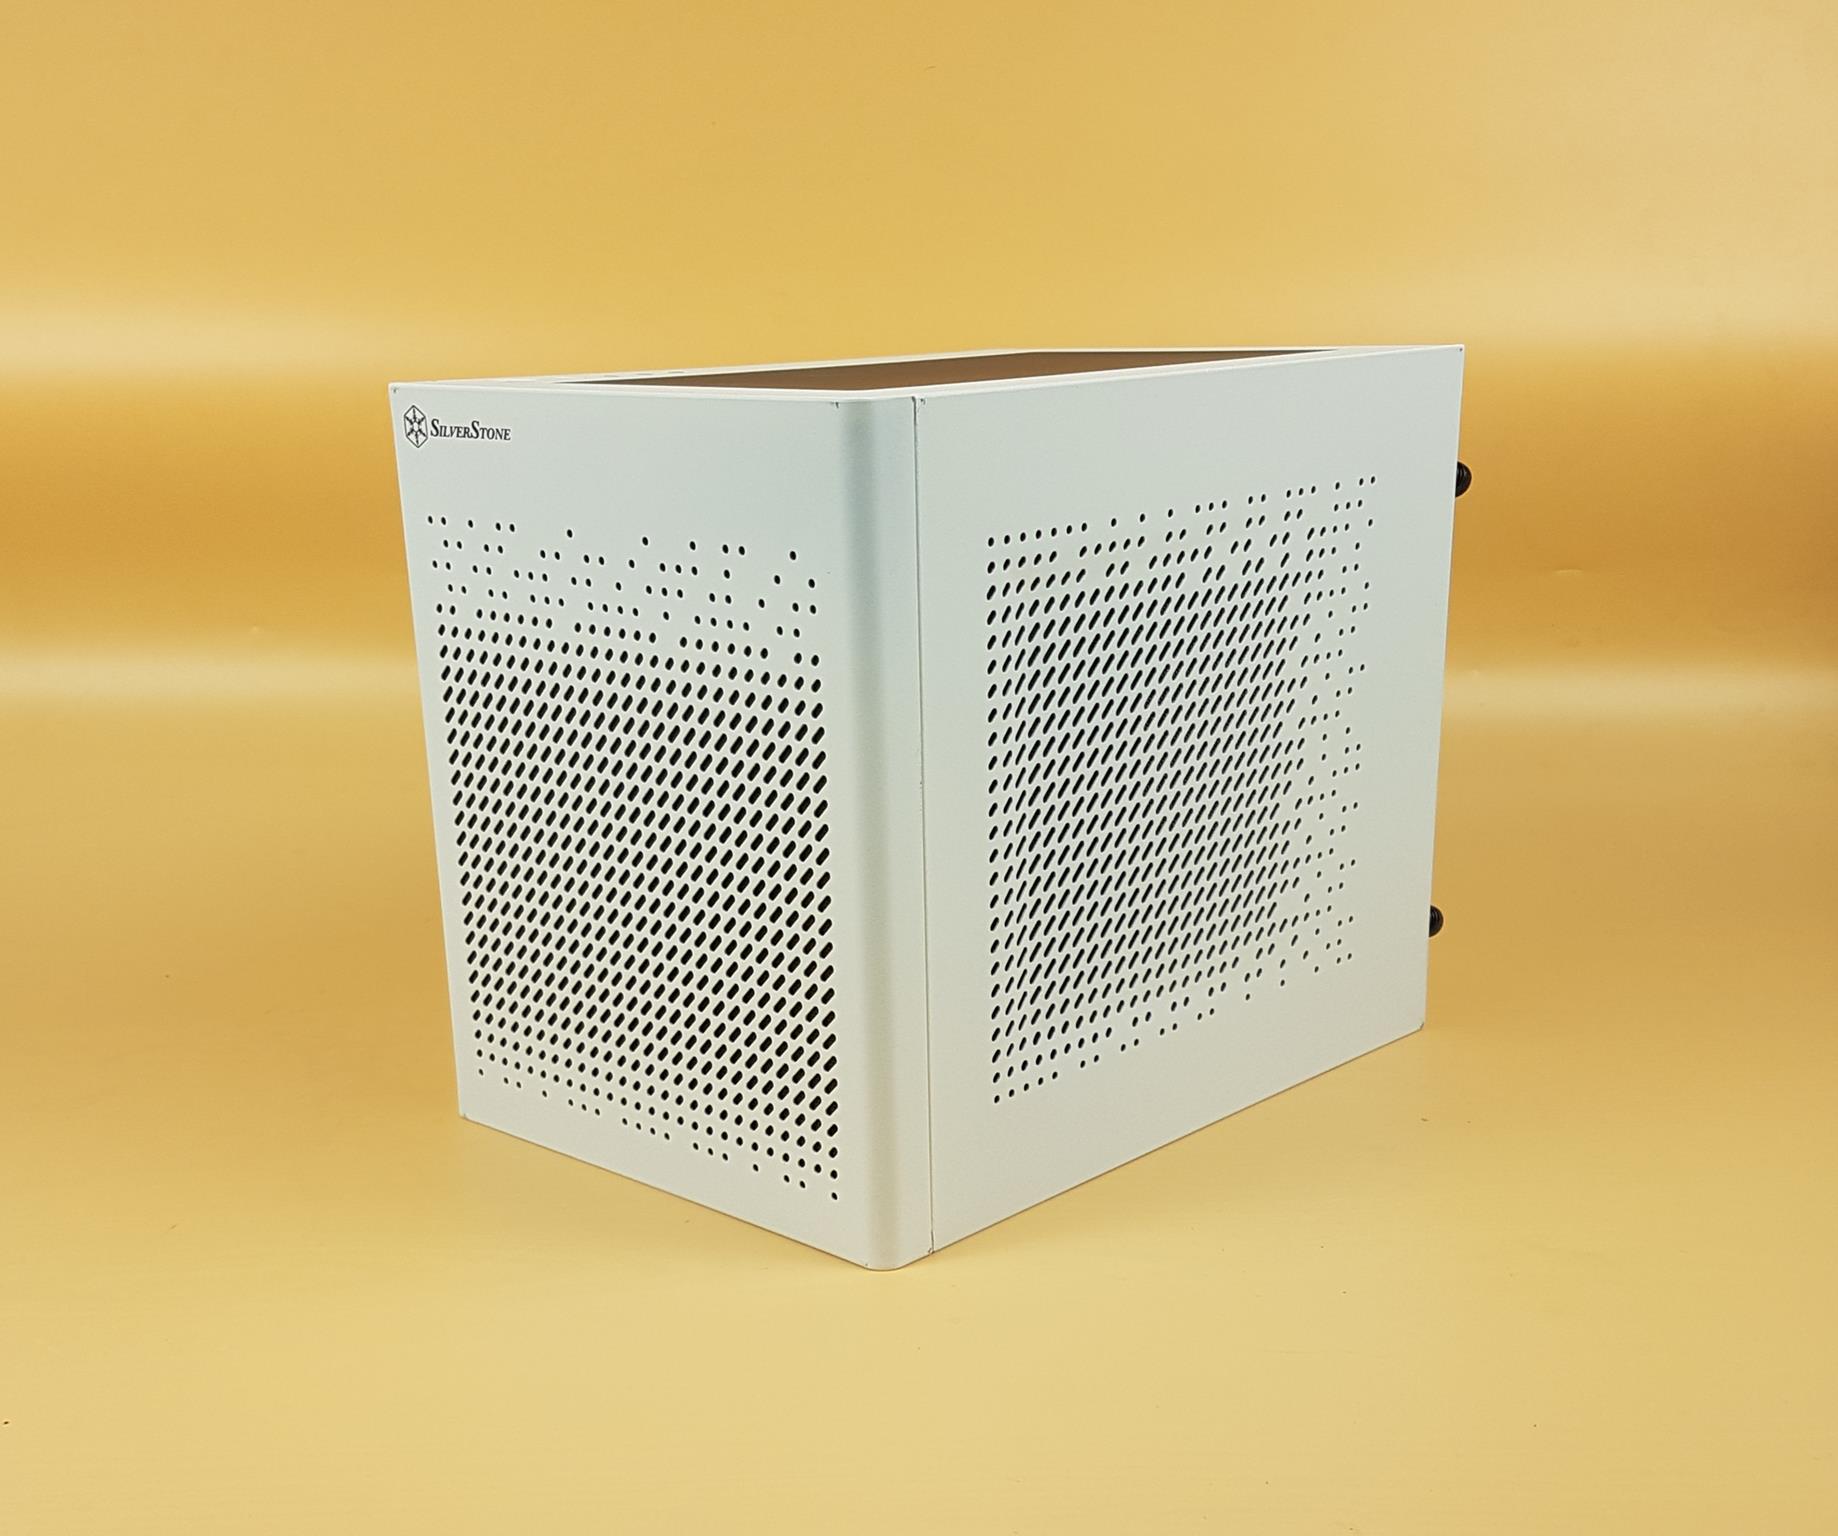
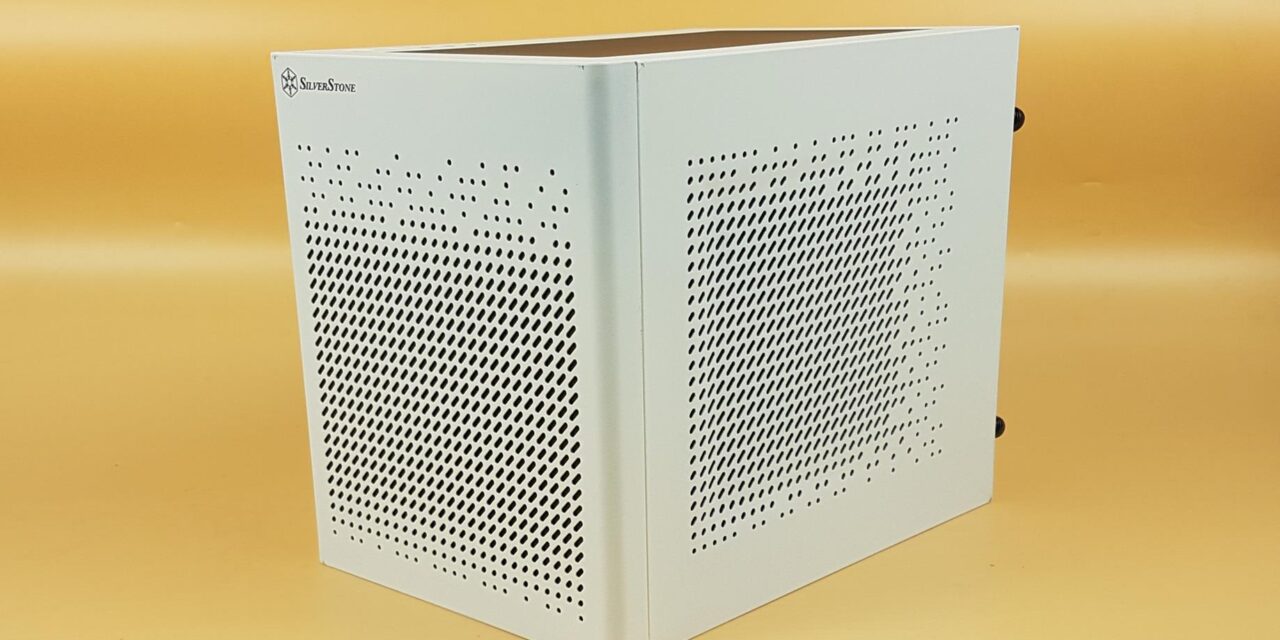
We have a white edition for review. I am showing the front side of the case in the above picture. We can see dotted holes on the top which gradually changes to the large size cutouts going down. There is a SilverStone branding over the top left. There is no button on this side. The front view is clean and quite pleasing.
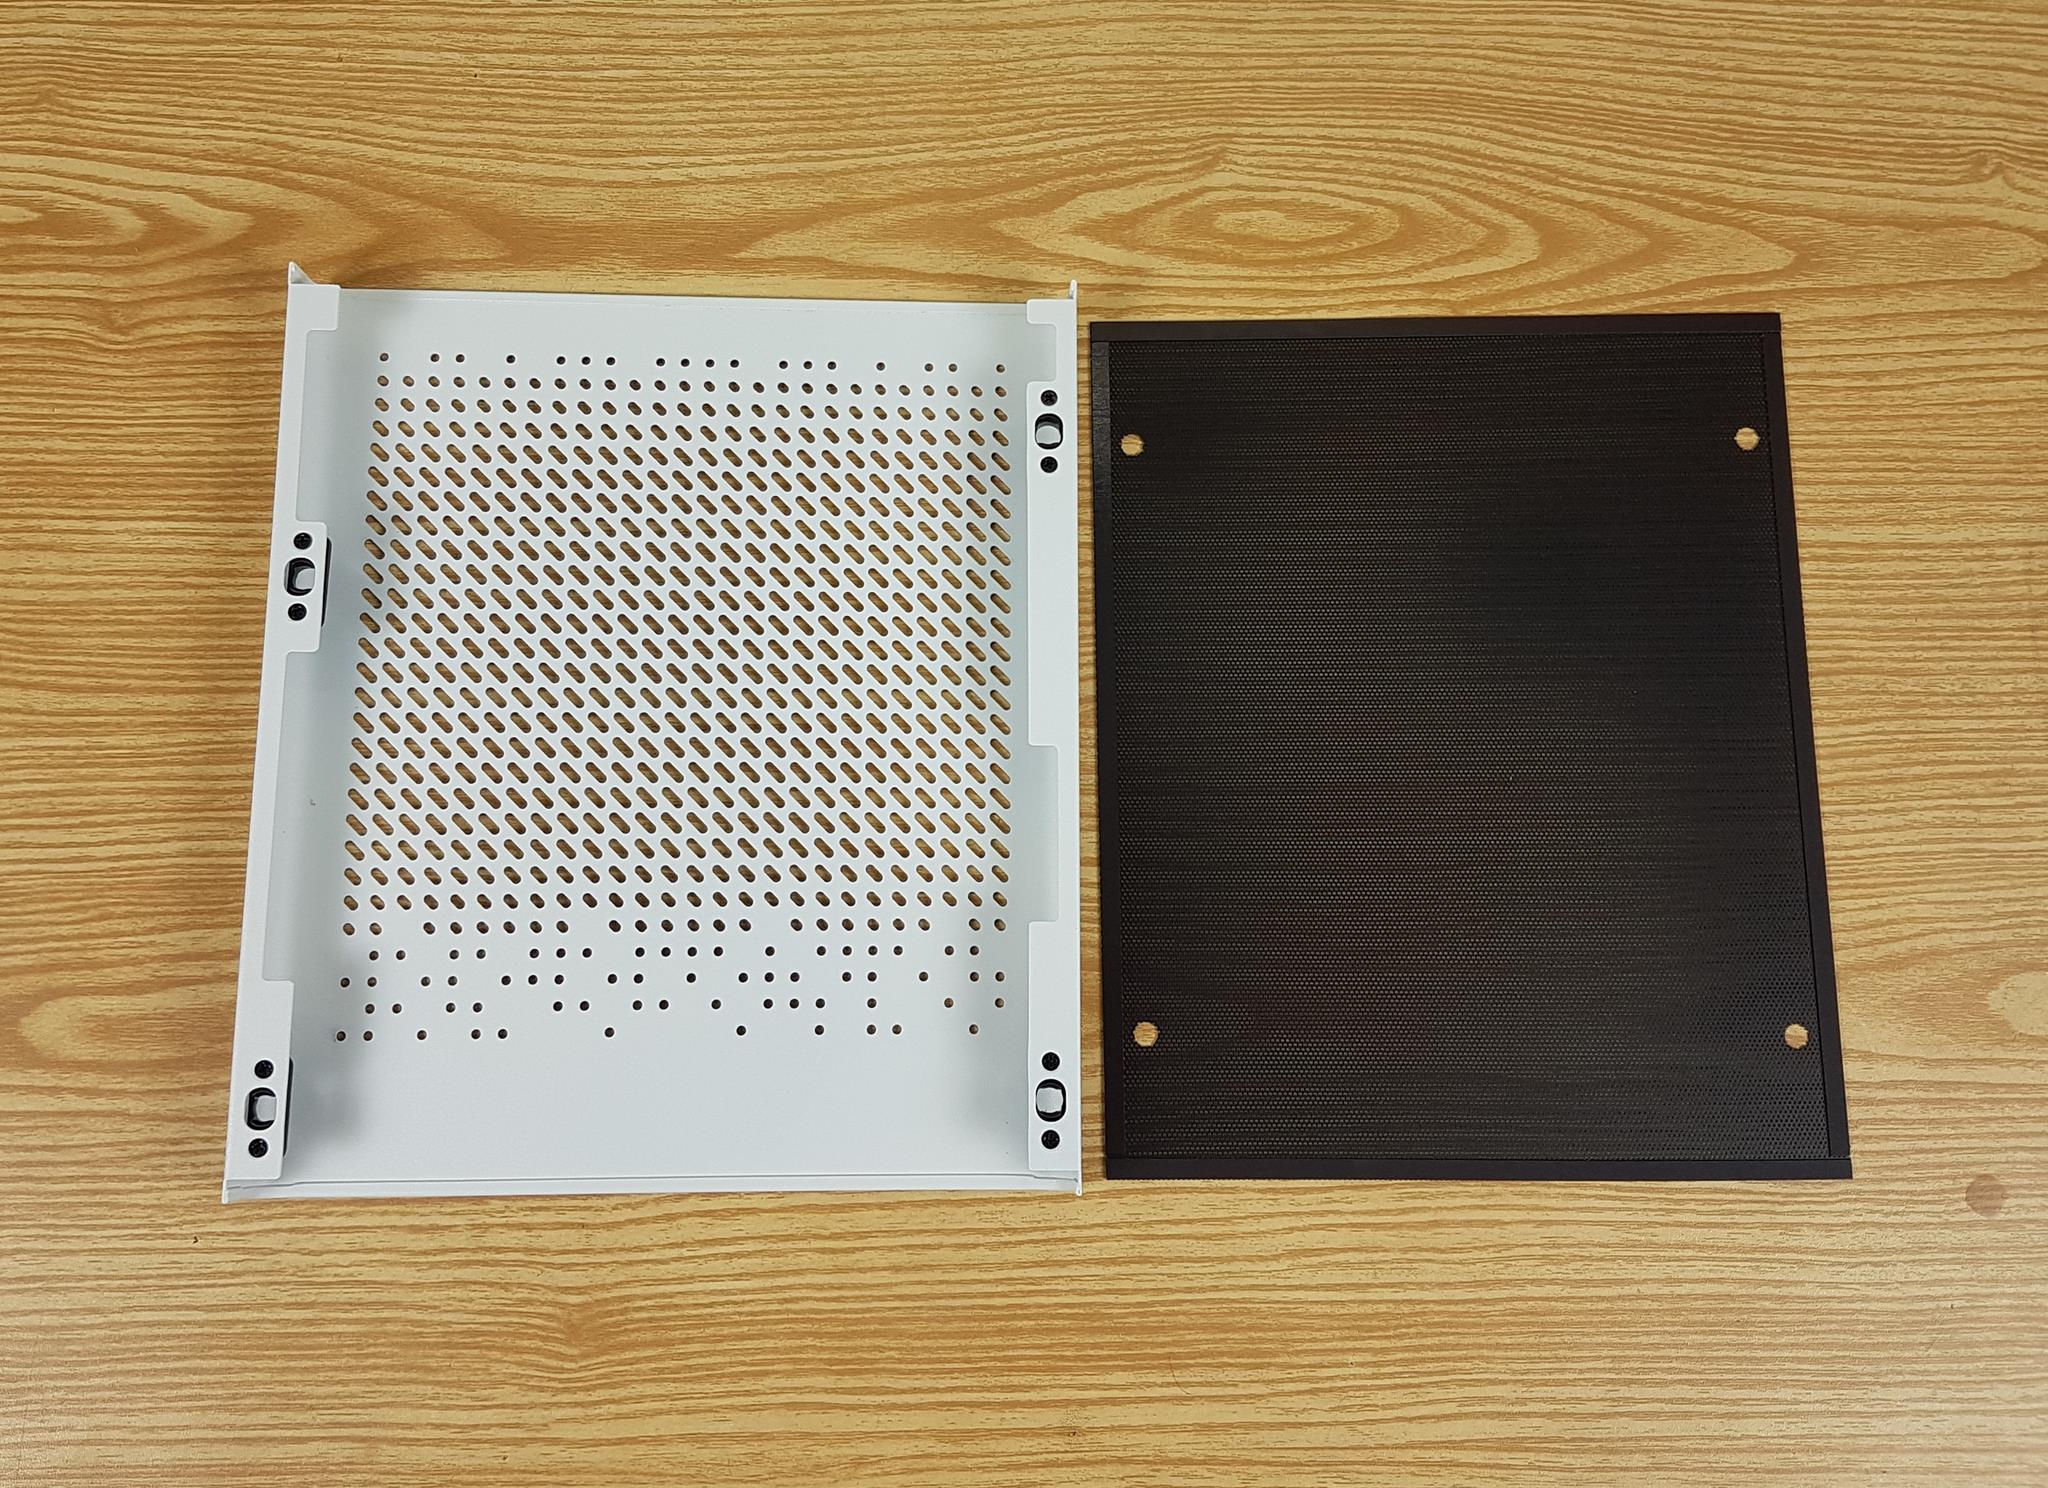
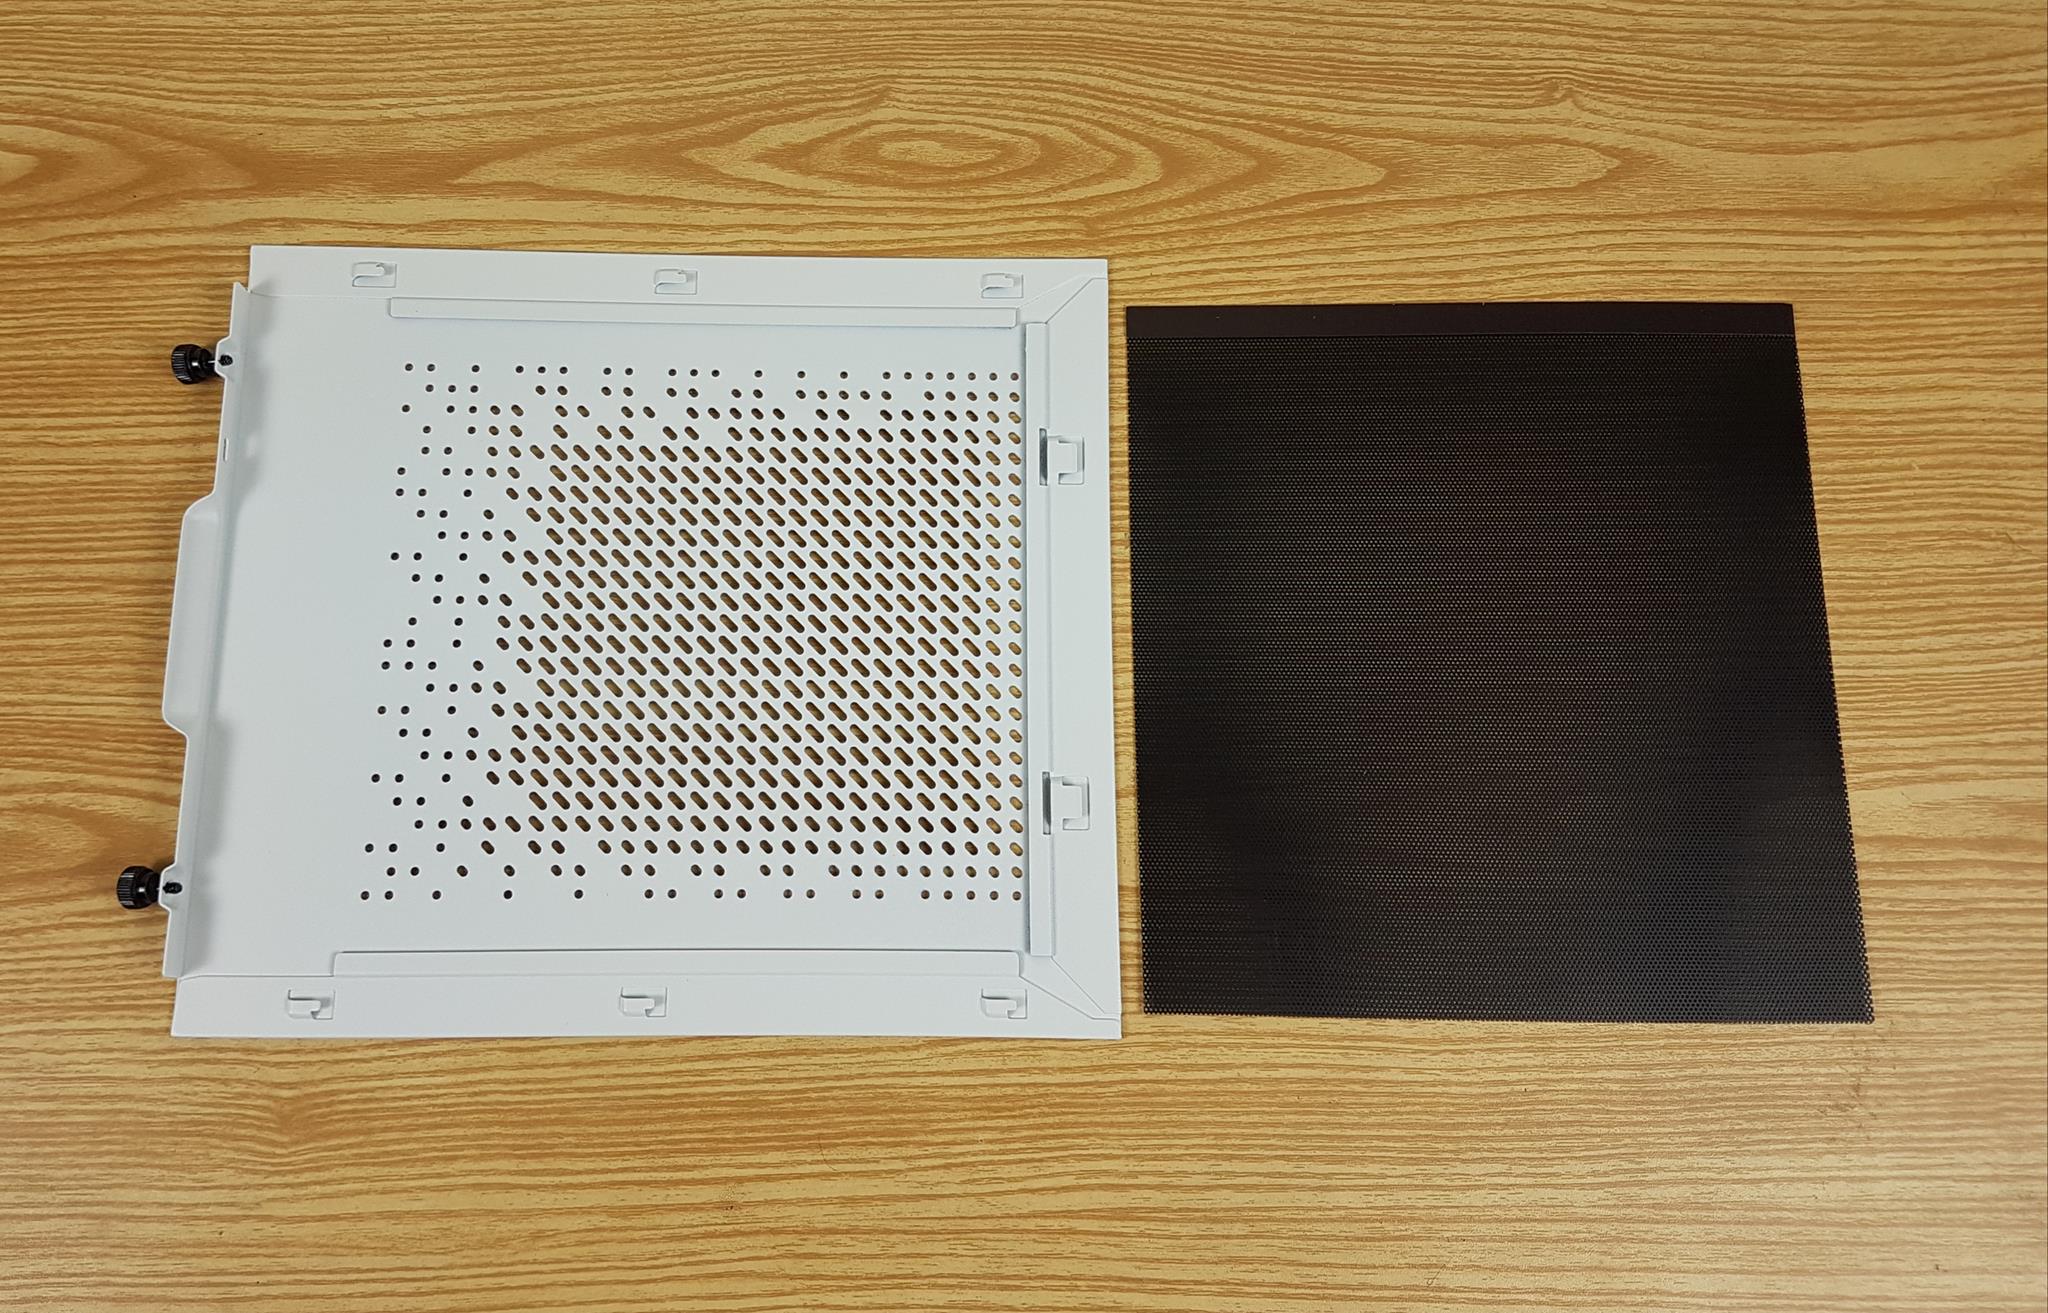
I am showing the front panel after removing it from the case. There is a black dust filter for effective dust filtration. This filter is magnetic in design. The front panel is made of solid steel with perforations.
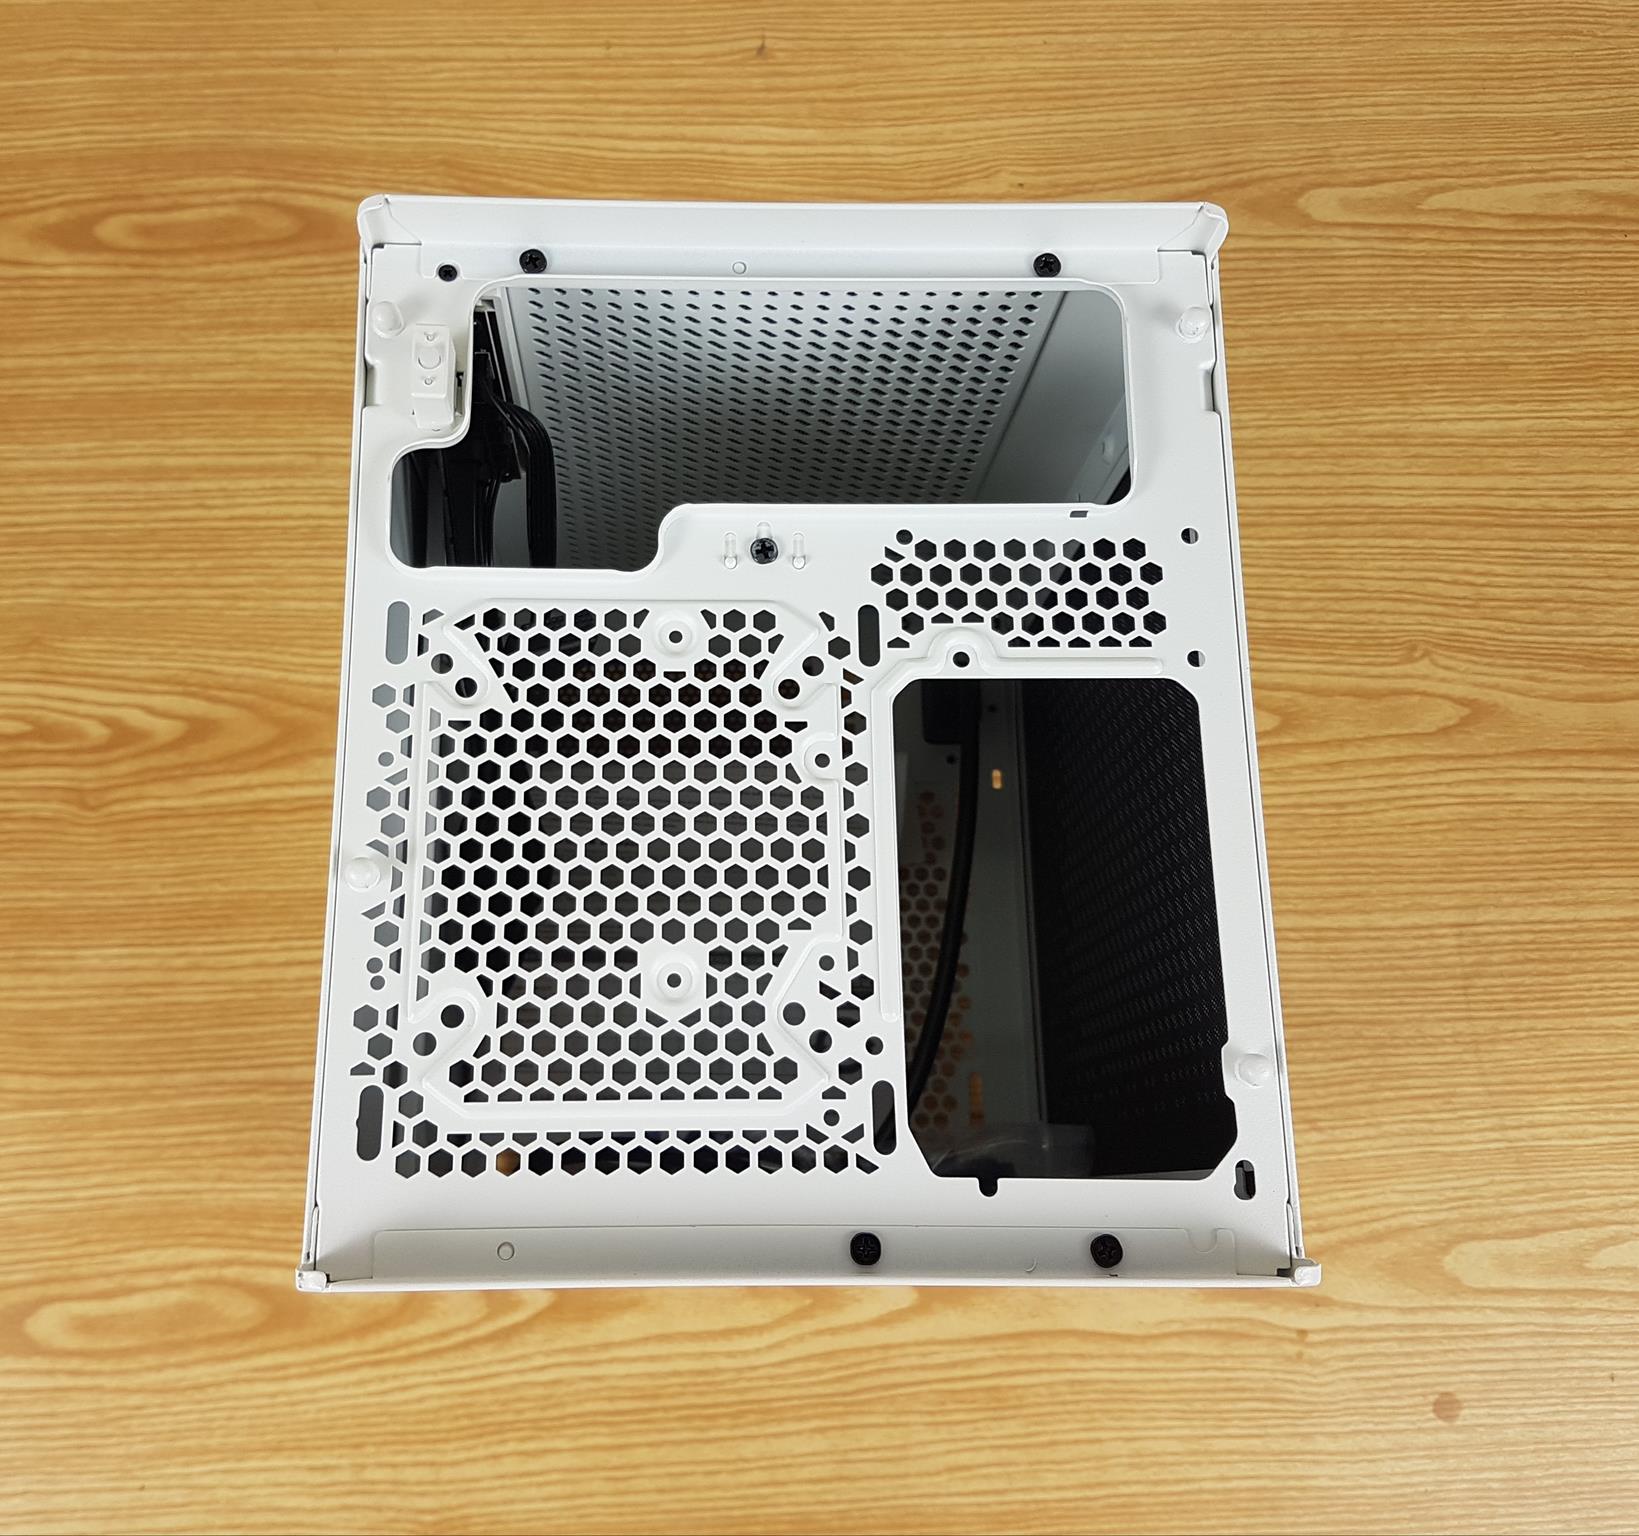
I am showing the front view of the case after removing the front panel. There are three main cutouts on this end. The top end is clear and faces the installed graphics card. The lower left side can house either of:
- 1x 2.5” Drive
- 1x 3.5” Drive
- 120mm Fan
- 92mm Fan
- 80mm Fan
SilverStone recommends installing the fan or driving first before installing the PSU. The user can install a 120mm fan or a 120mm AIO as well but for that, you must use SFX PSU. Please install a fan in front of the radiator when installing AIO on the front. The lower right side has a cutout for standard ATX or SFX size PSU. I have already listed the considerations in terms of the combination. SilverStone also suggests using 90ᵒ power and data cables for the front-mounted drive to avoid obstruction for the graphics card.
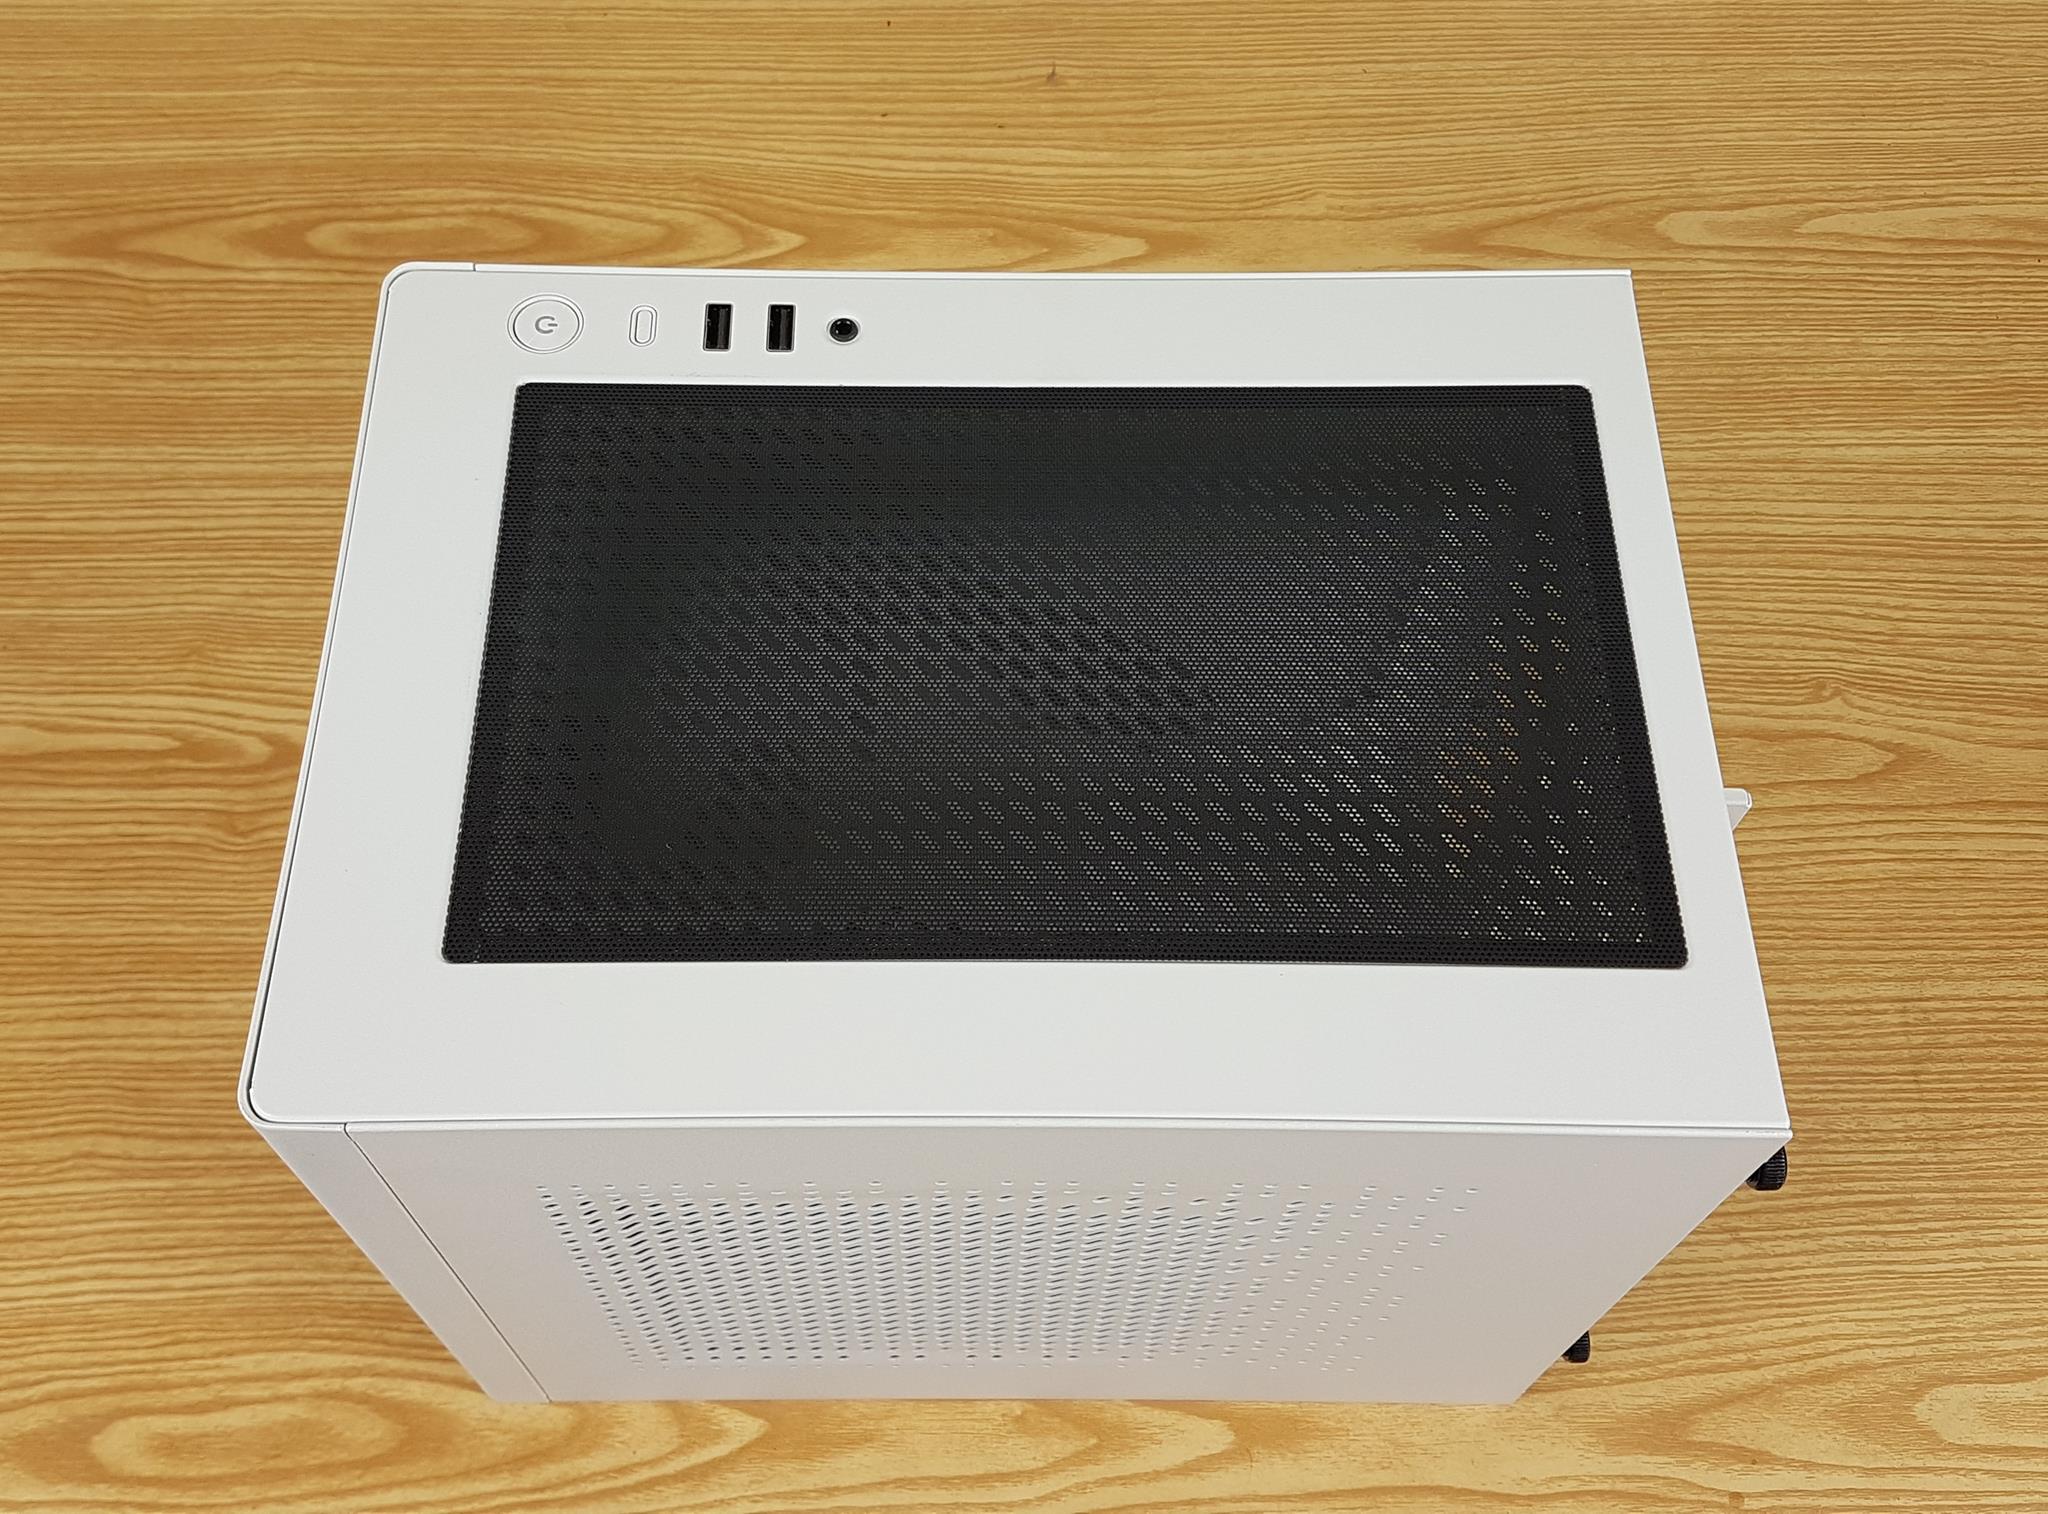
I am showing the top view of the case in the above picture. There is a nice black dust filter up top and we can see the IO panel towards the left side.
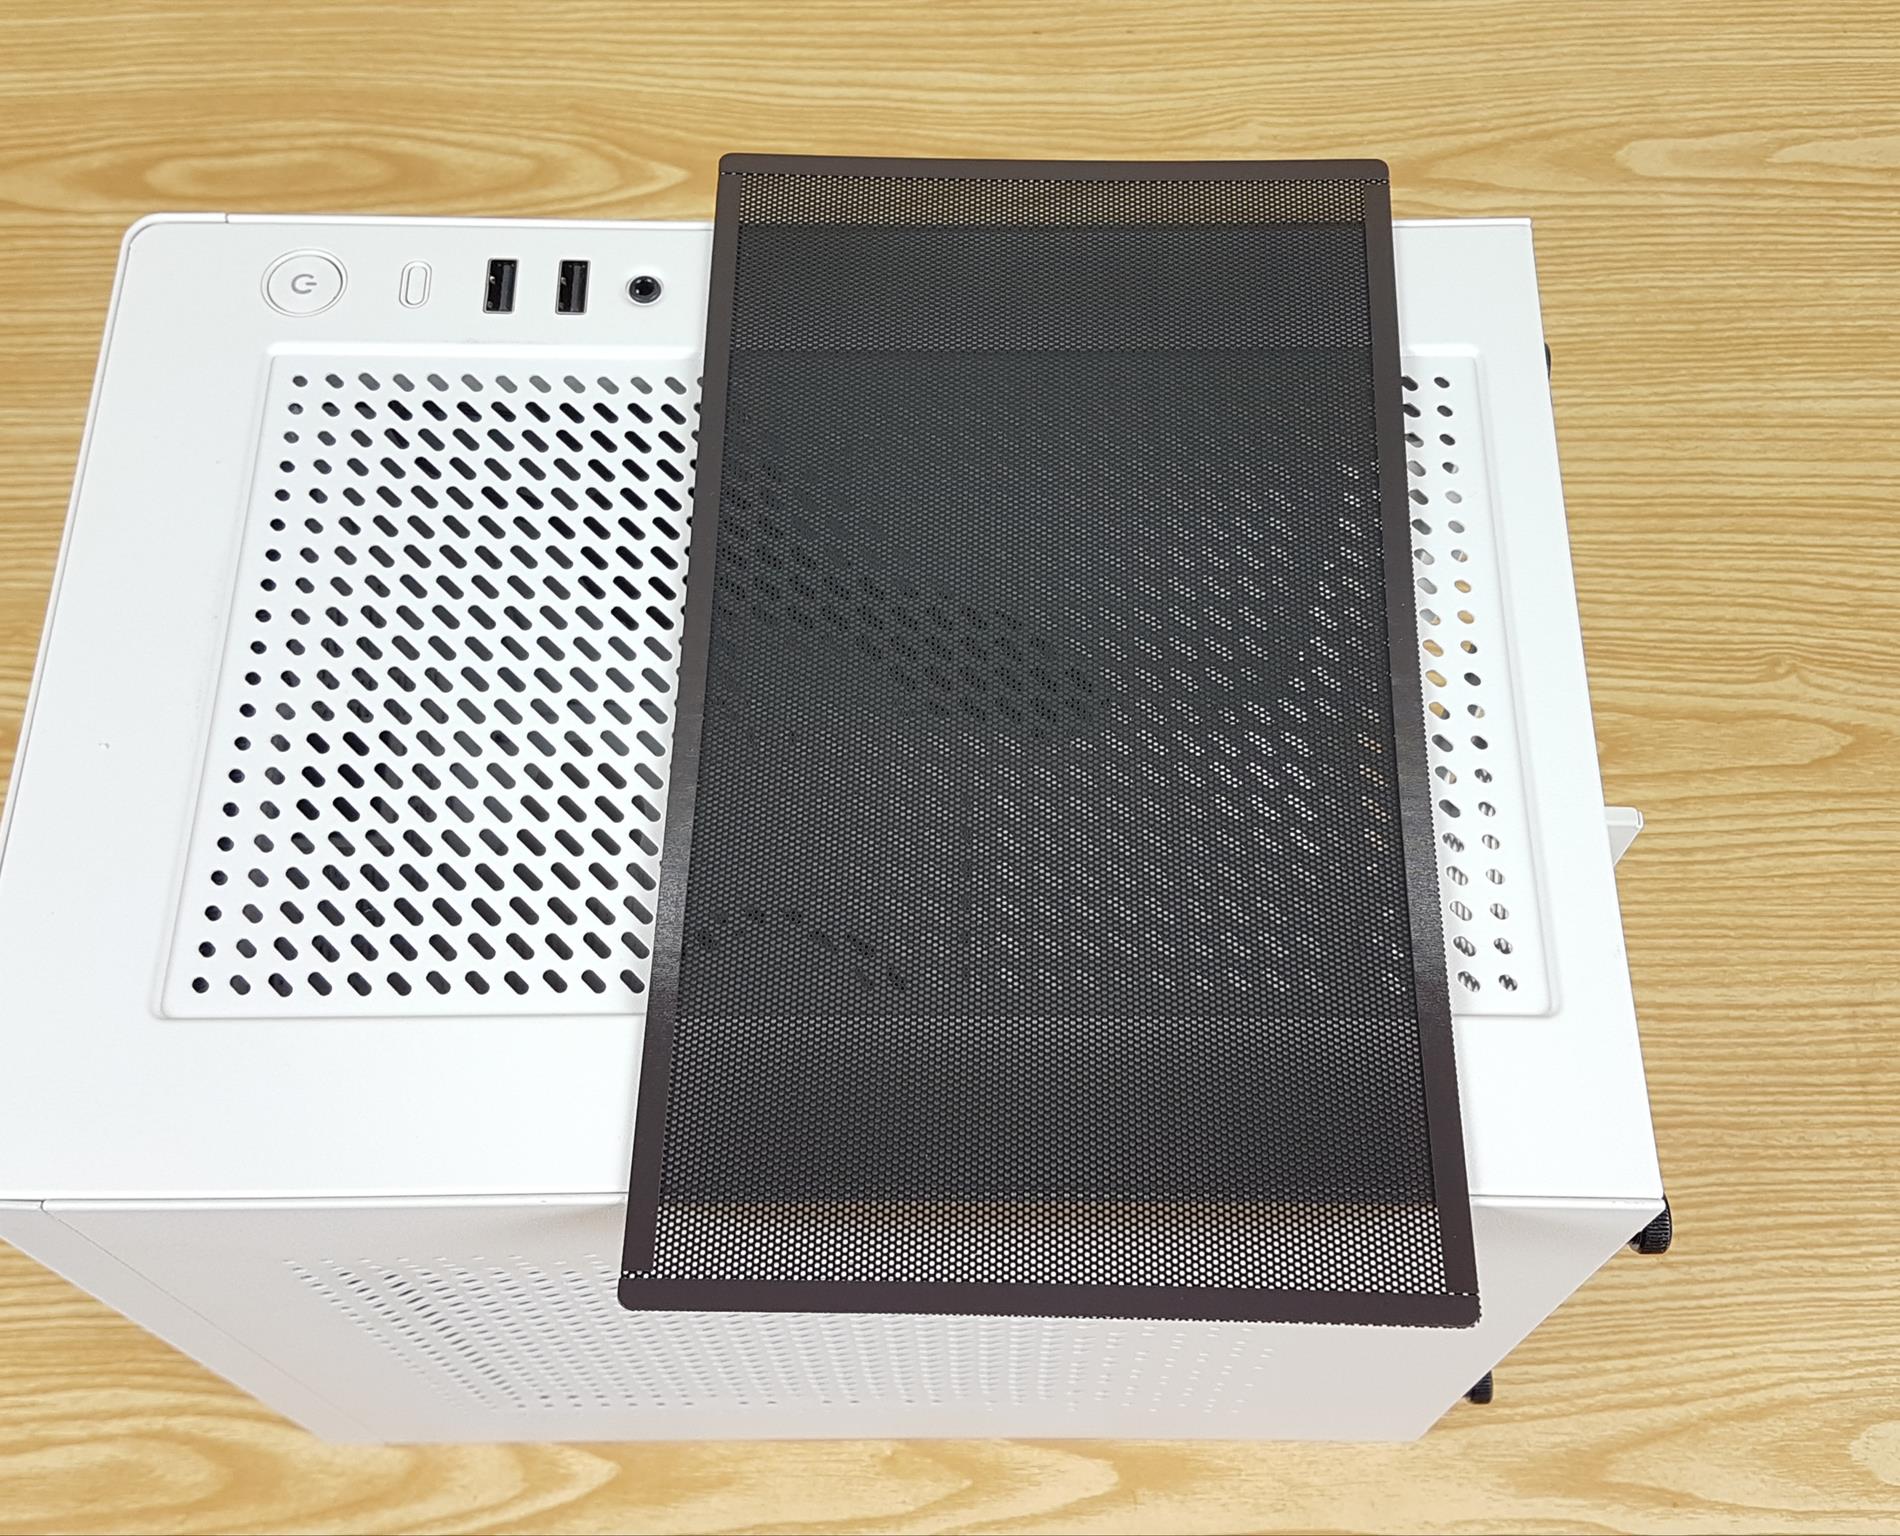
I am showing a magnetic dust filter in the above picture. It has a fine mesh for effective dust filtration.
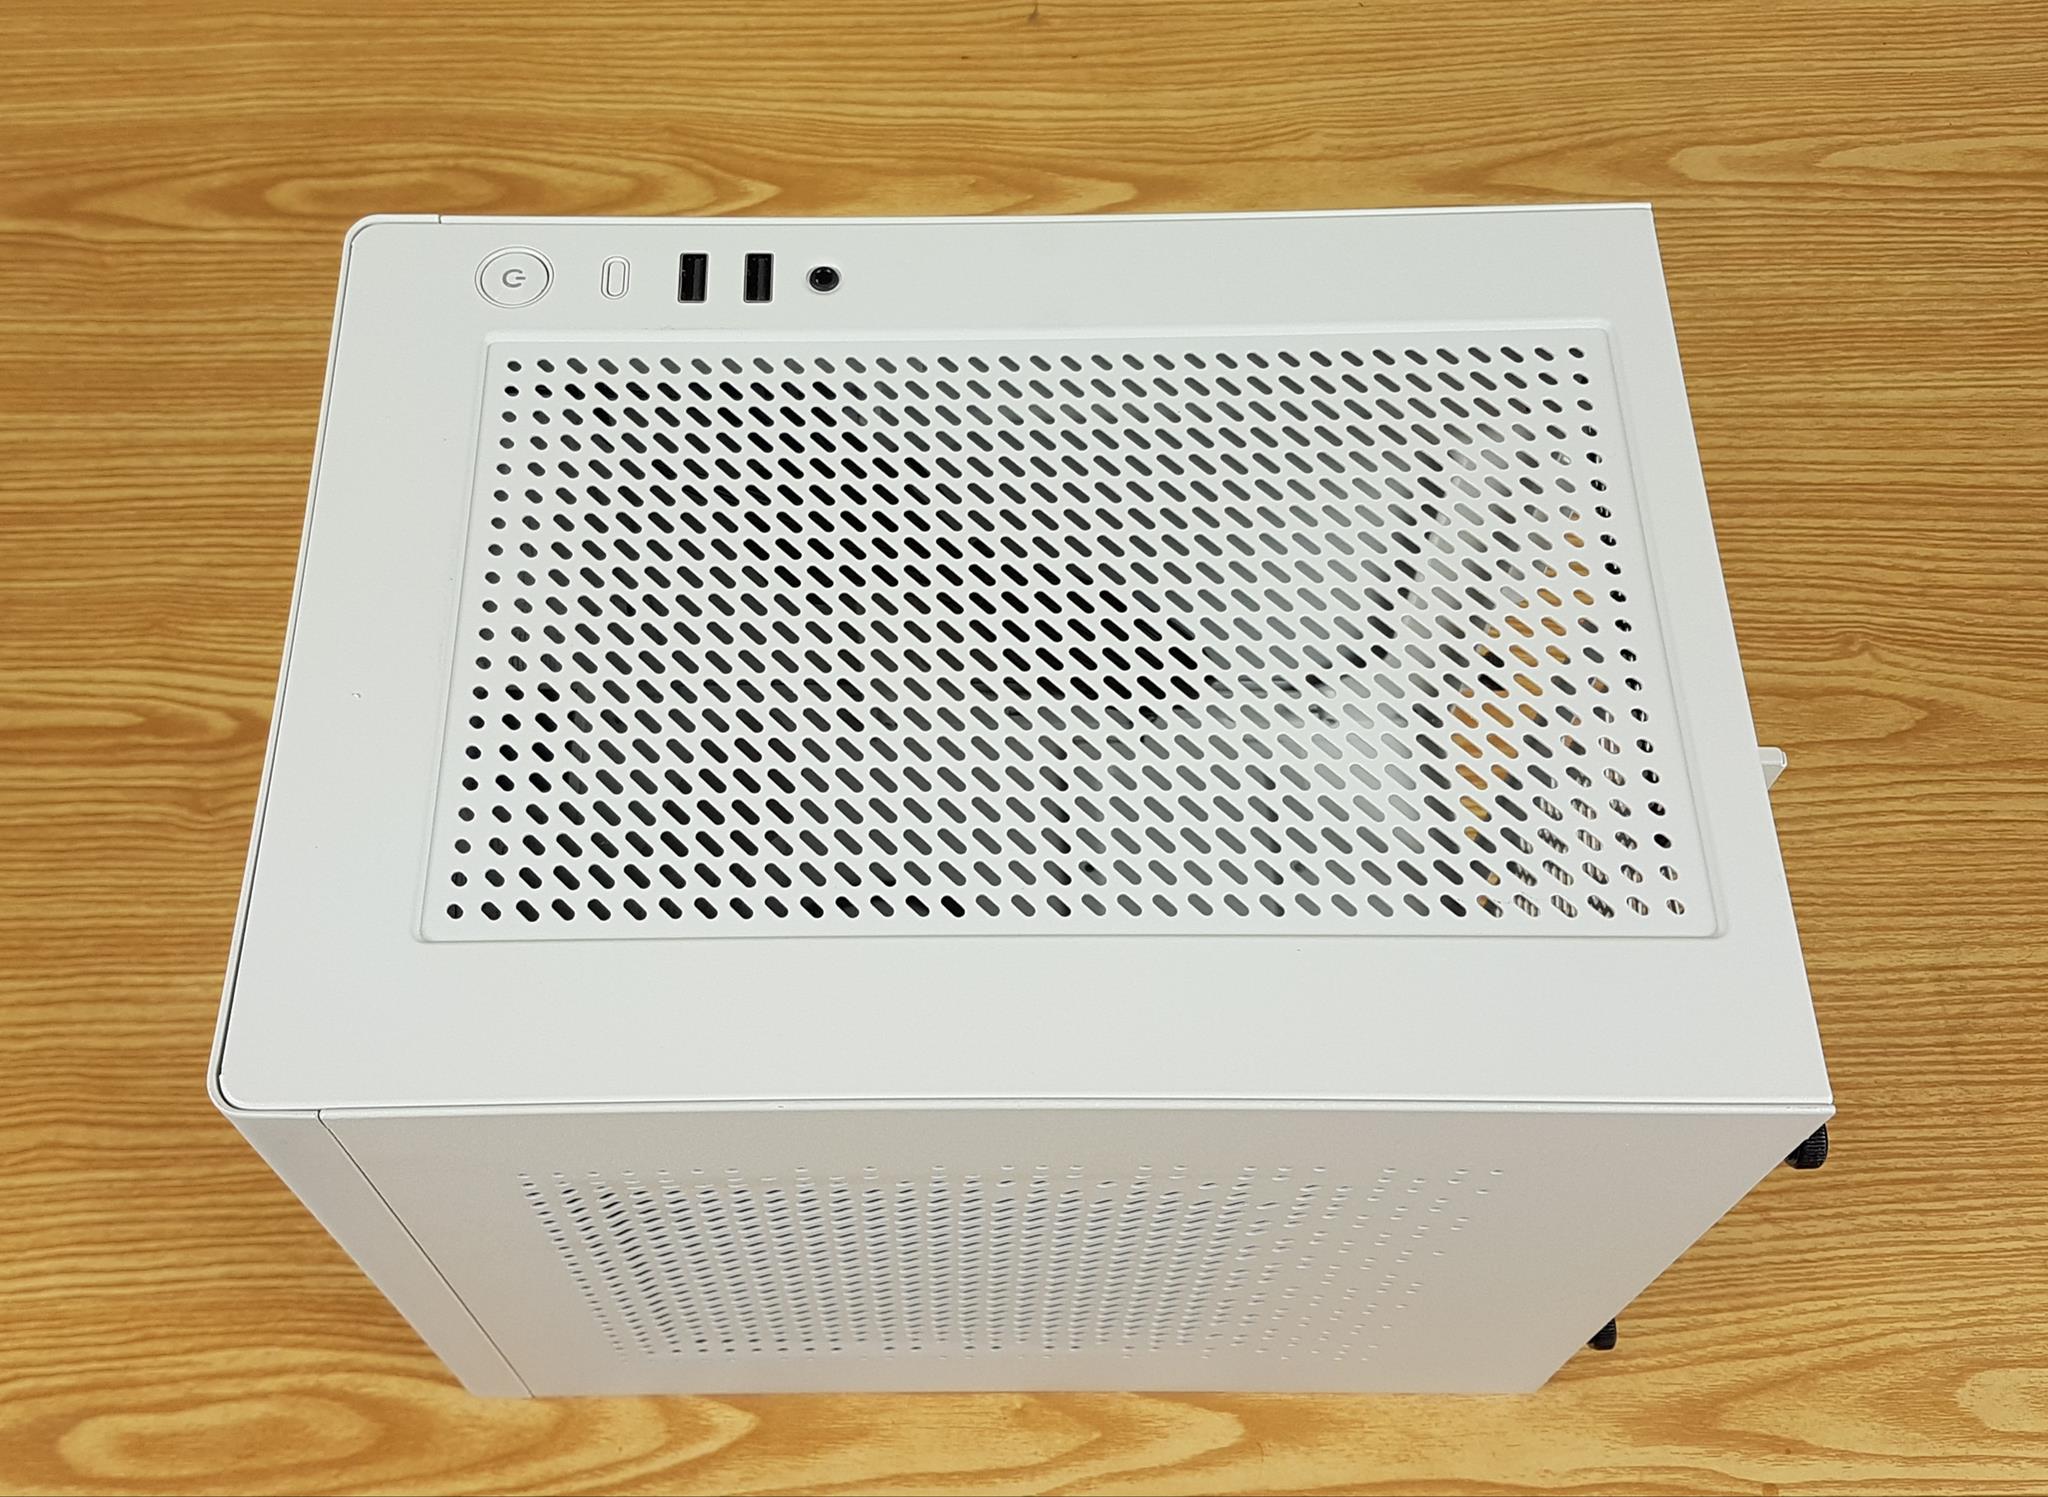
I am showing the top view after removing the dust filter. We have a perforated space up to for ventilation. This side faces the graphics card so that the fans of the card can pull fresh air. Since most of the space on the top will be blocked by the graphics card, the total ventilation of the case can be impacted.
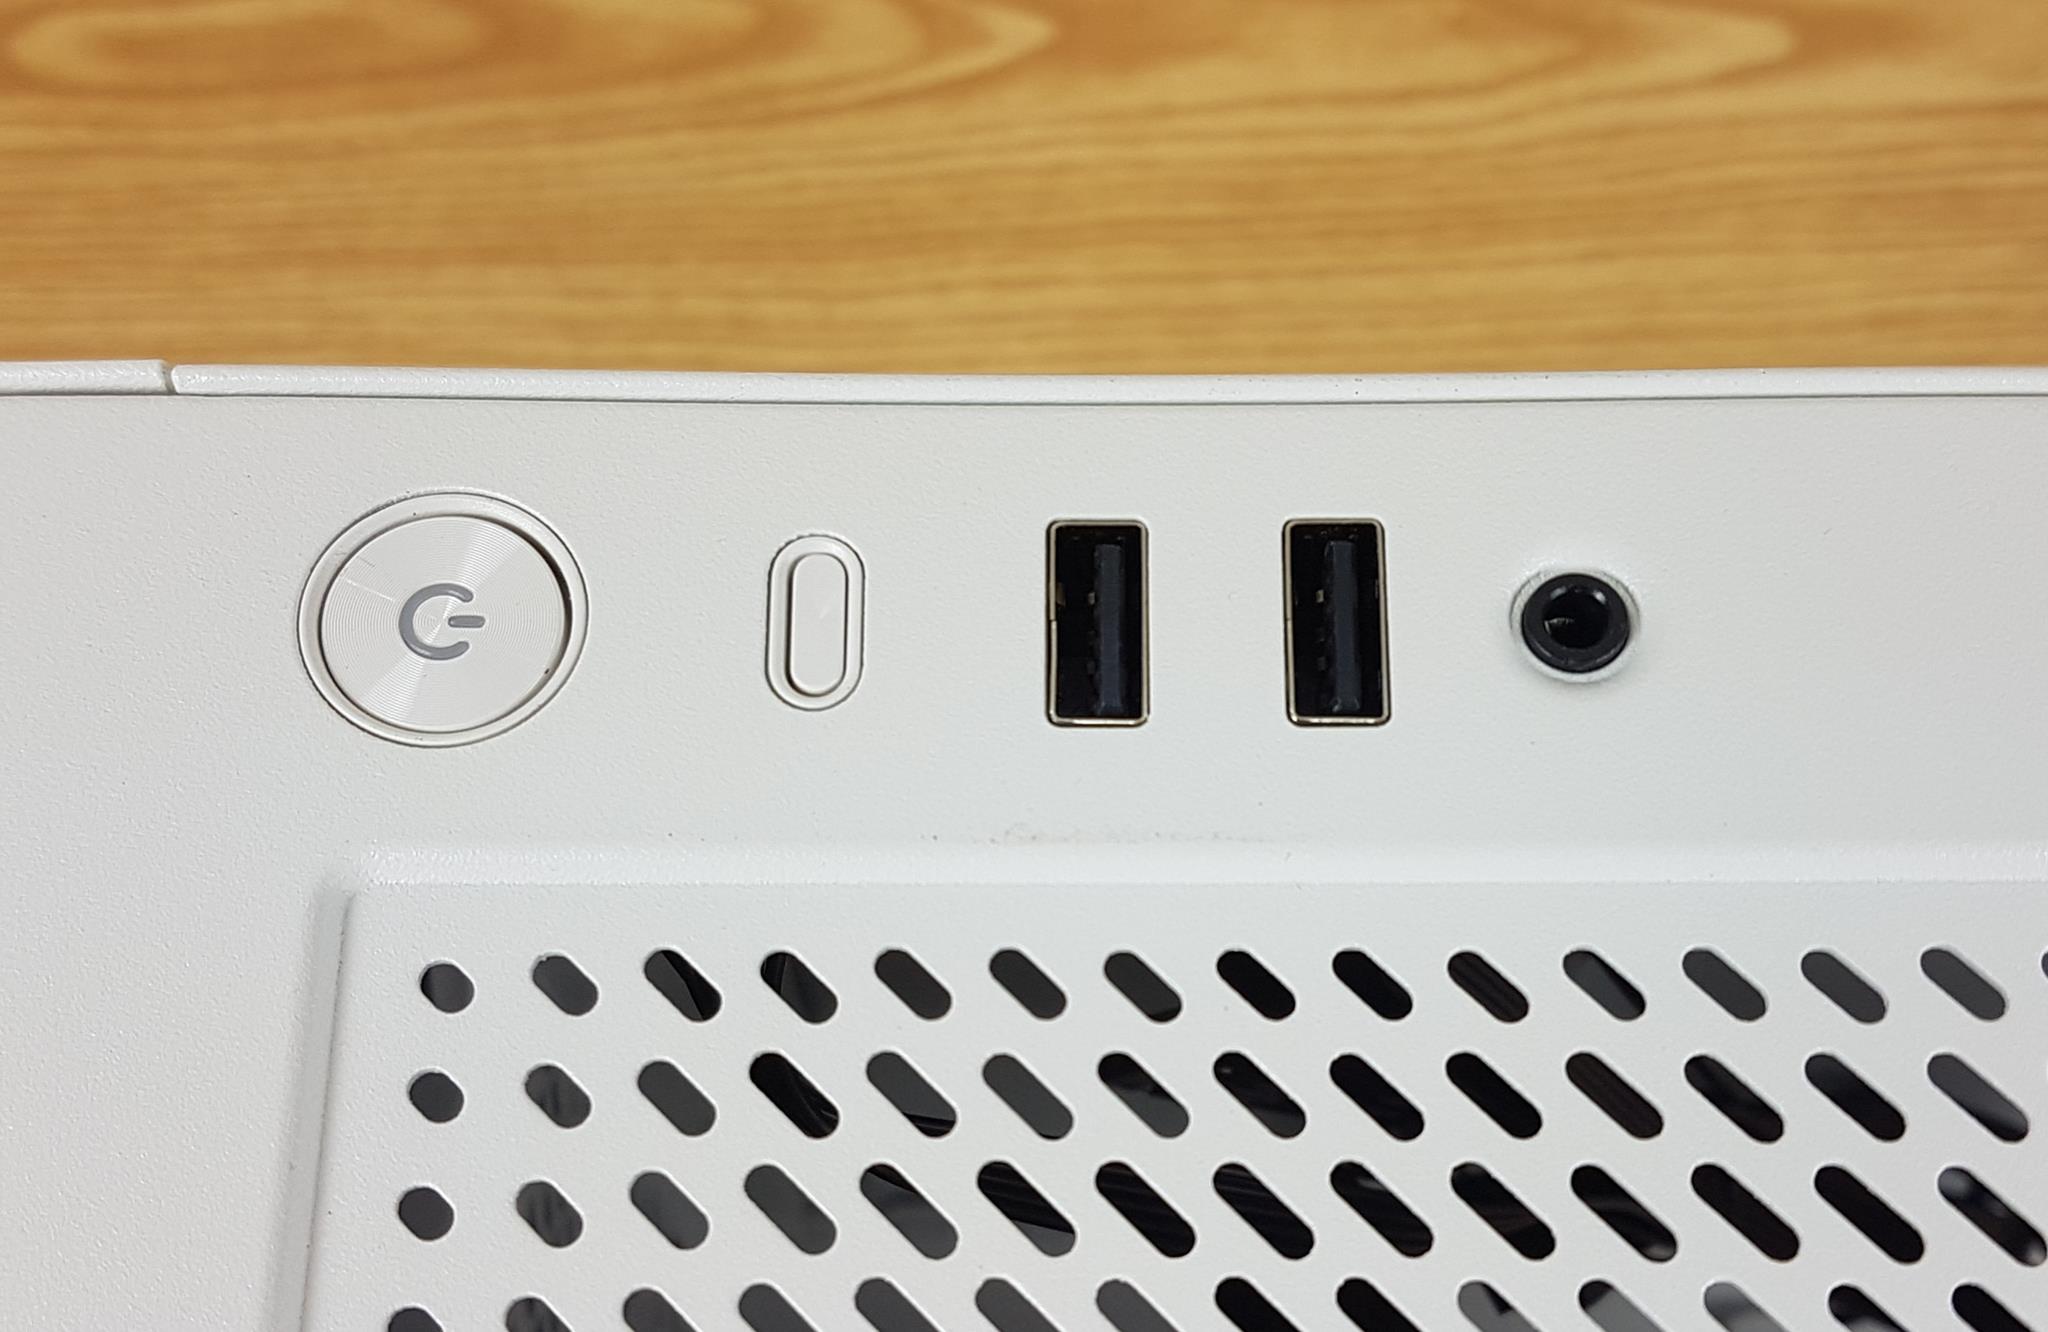
The IO panel connectivity includes:
- 2x USB 3.0 Ports
- 1x Combo Audio port
- 1x Power Button
- 1x Reset Button
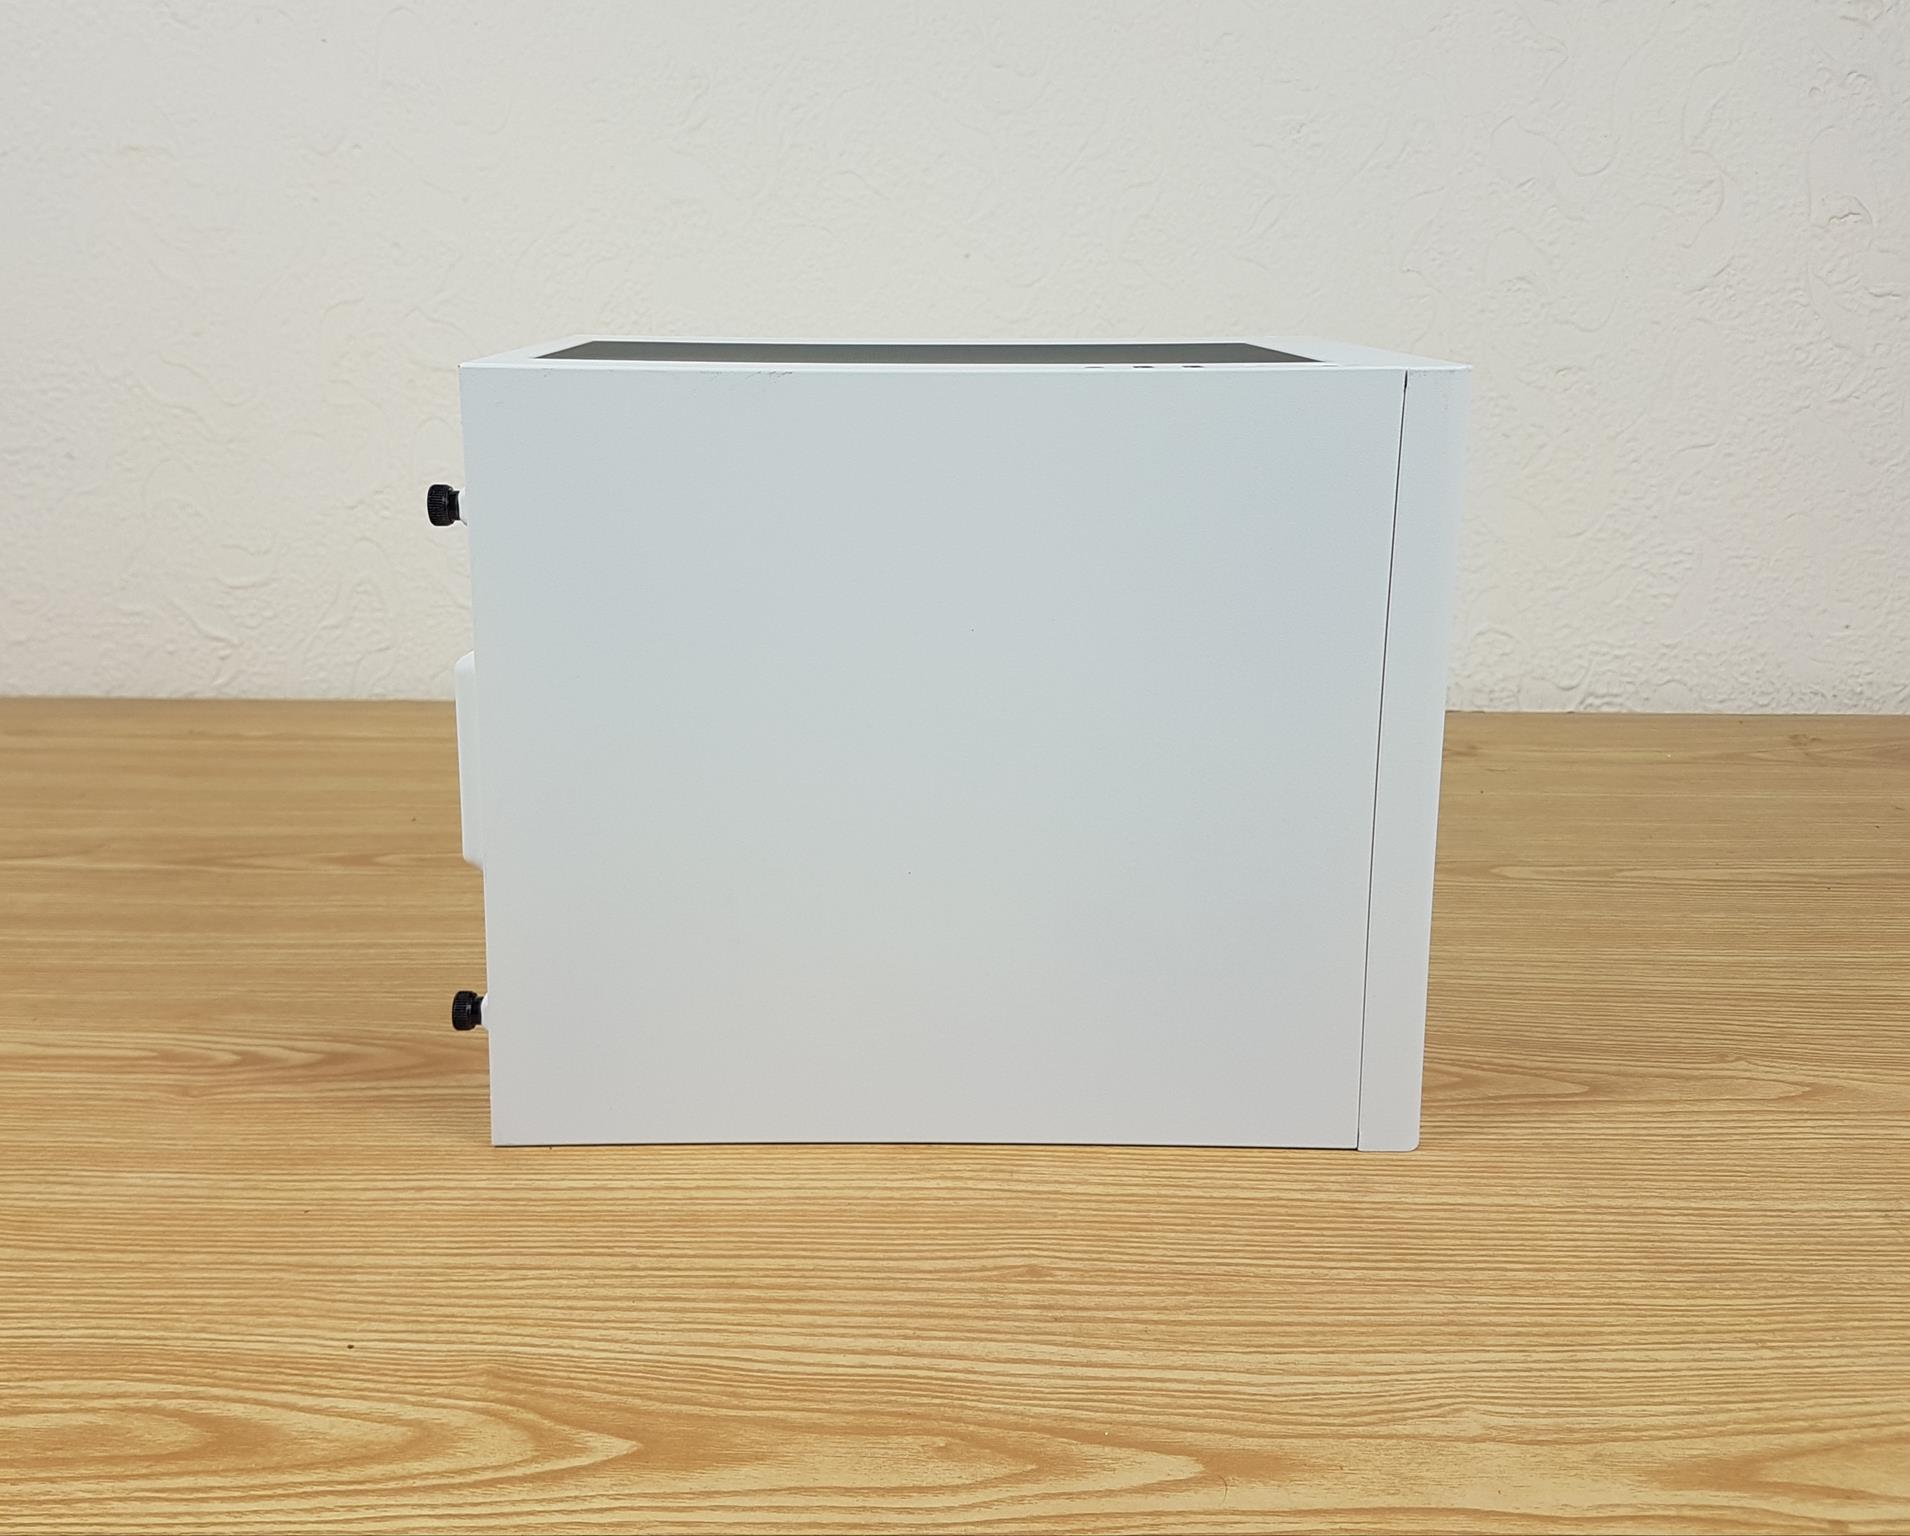
The left side of the case has a solid steel cover without any perforation. This panel is secured using captive thumb screws.
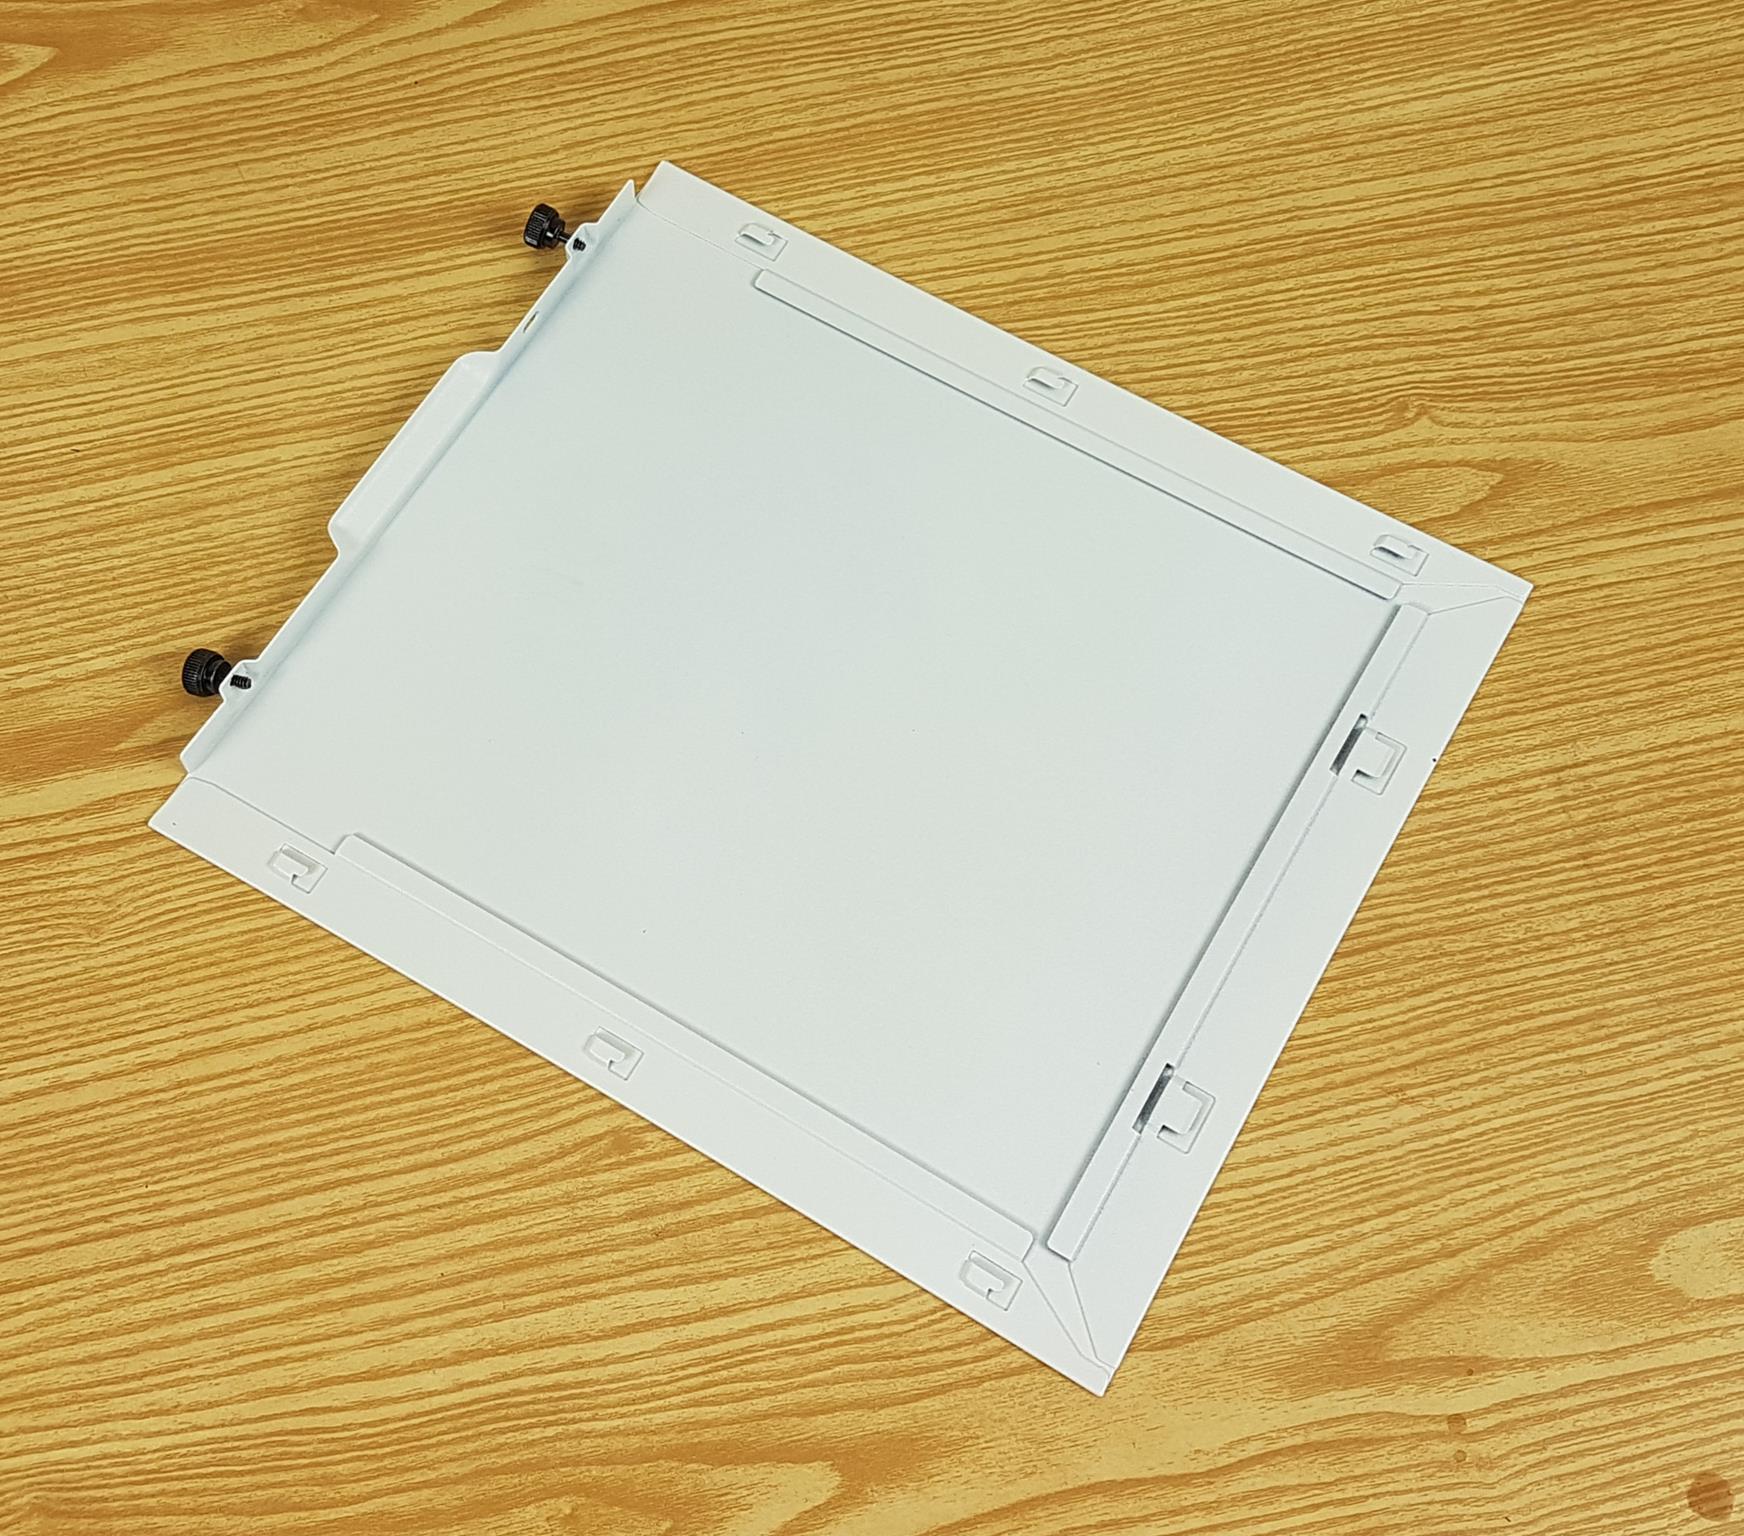
I am showing the inner view of the solid side panel in the above picture.
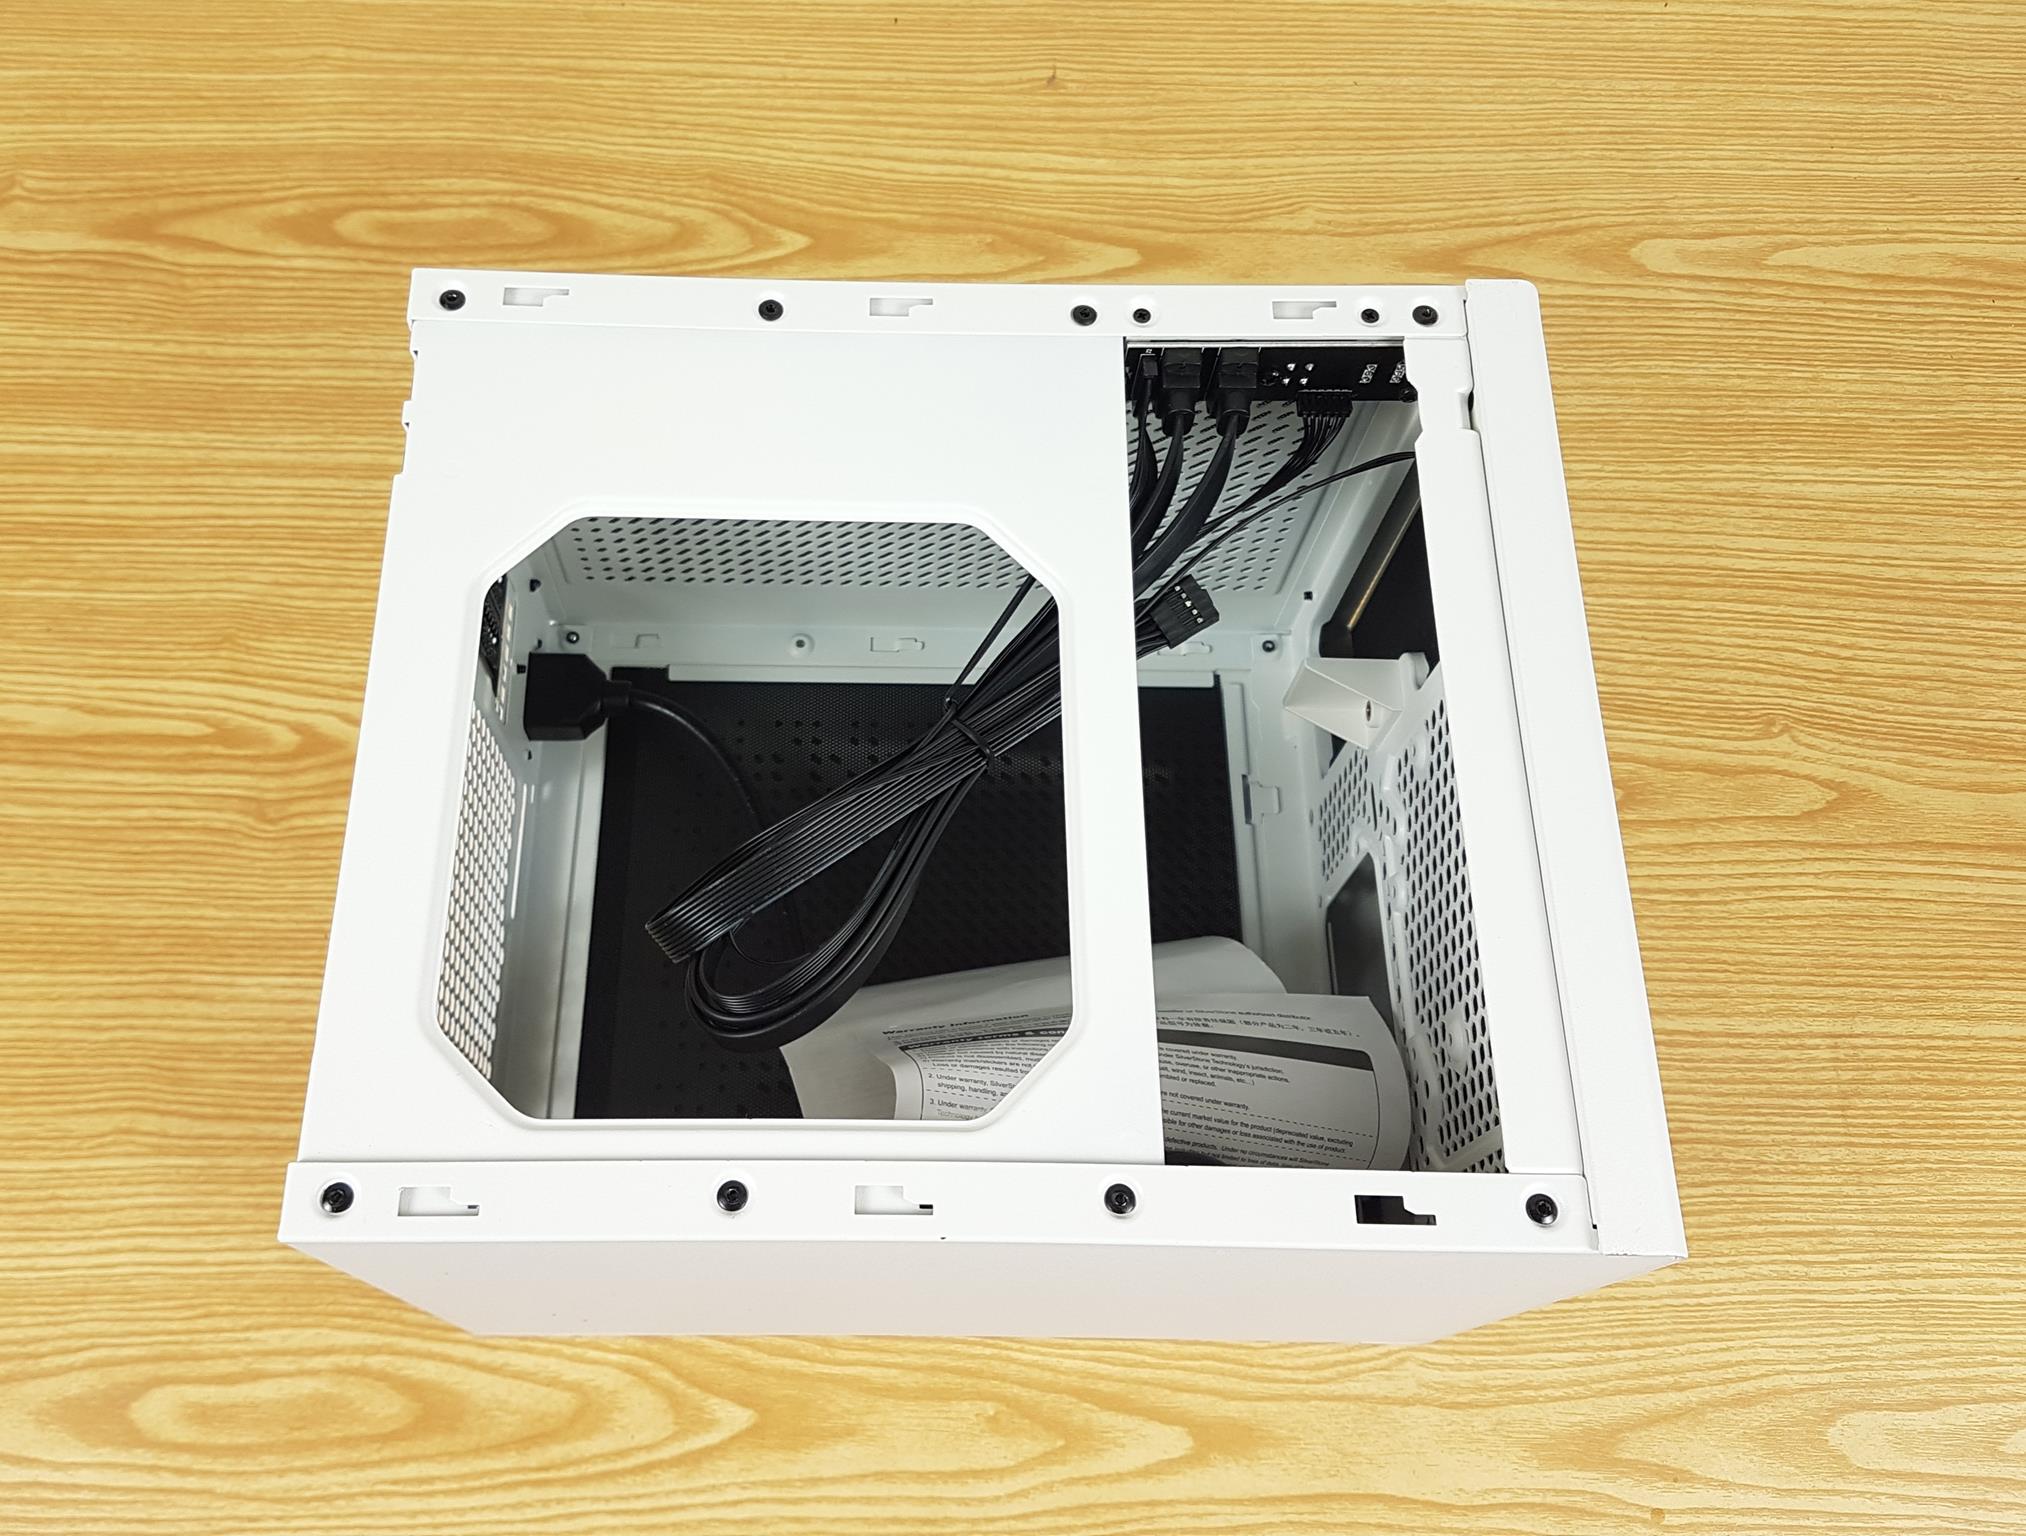
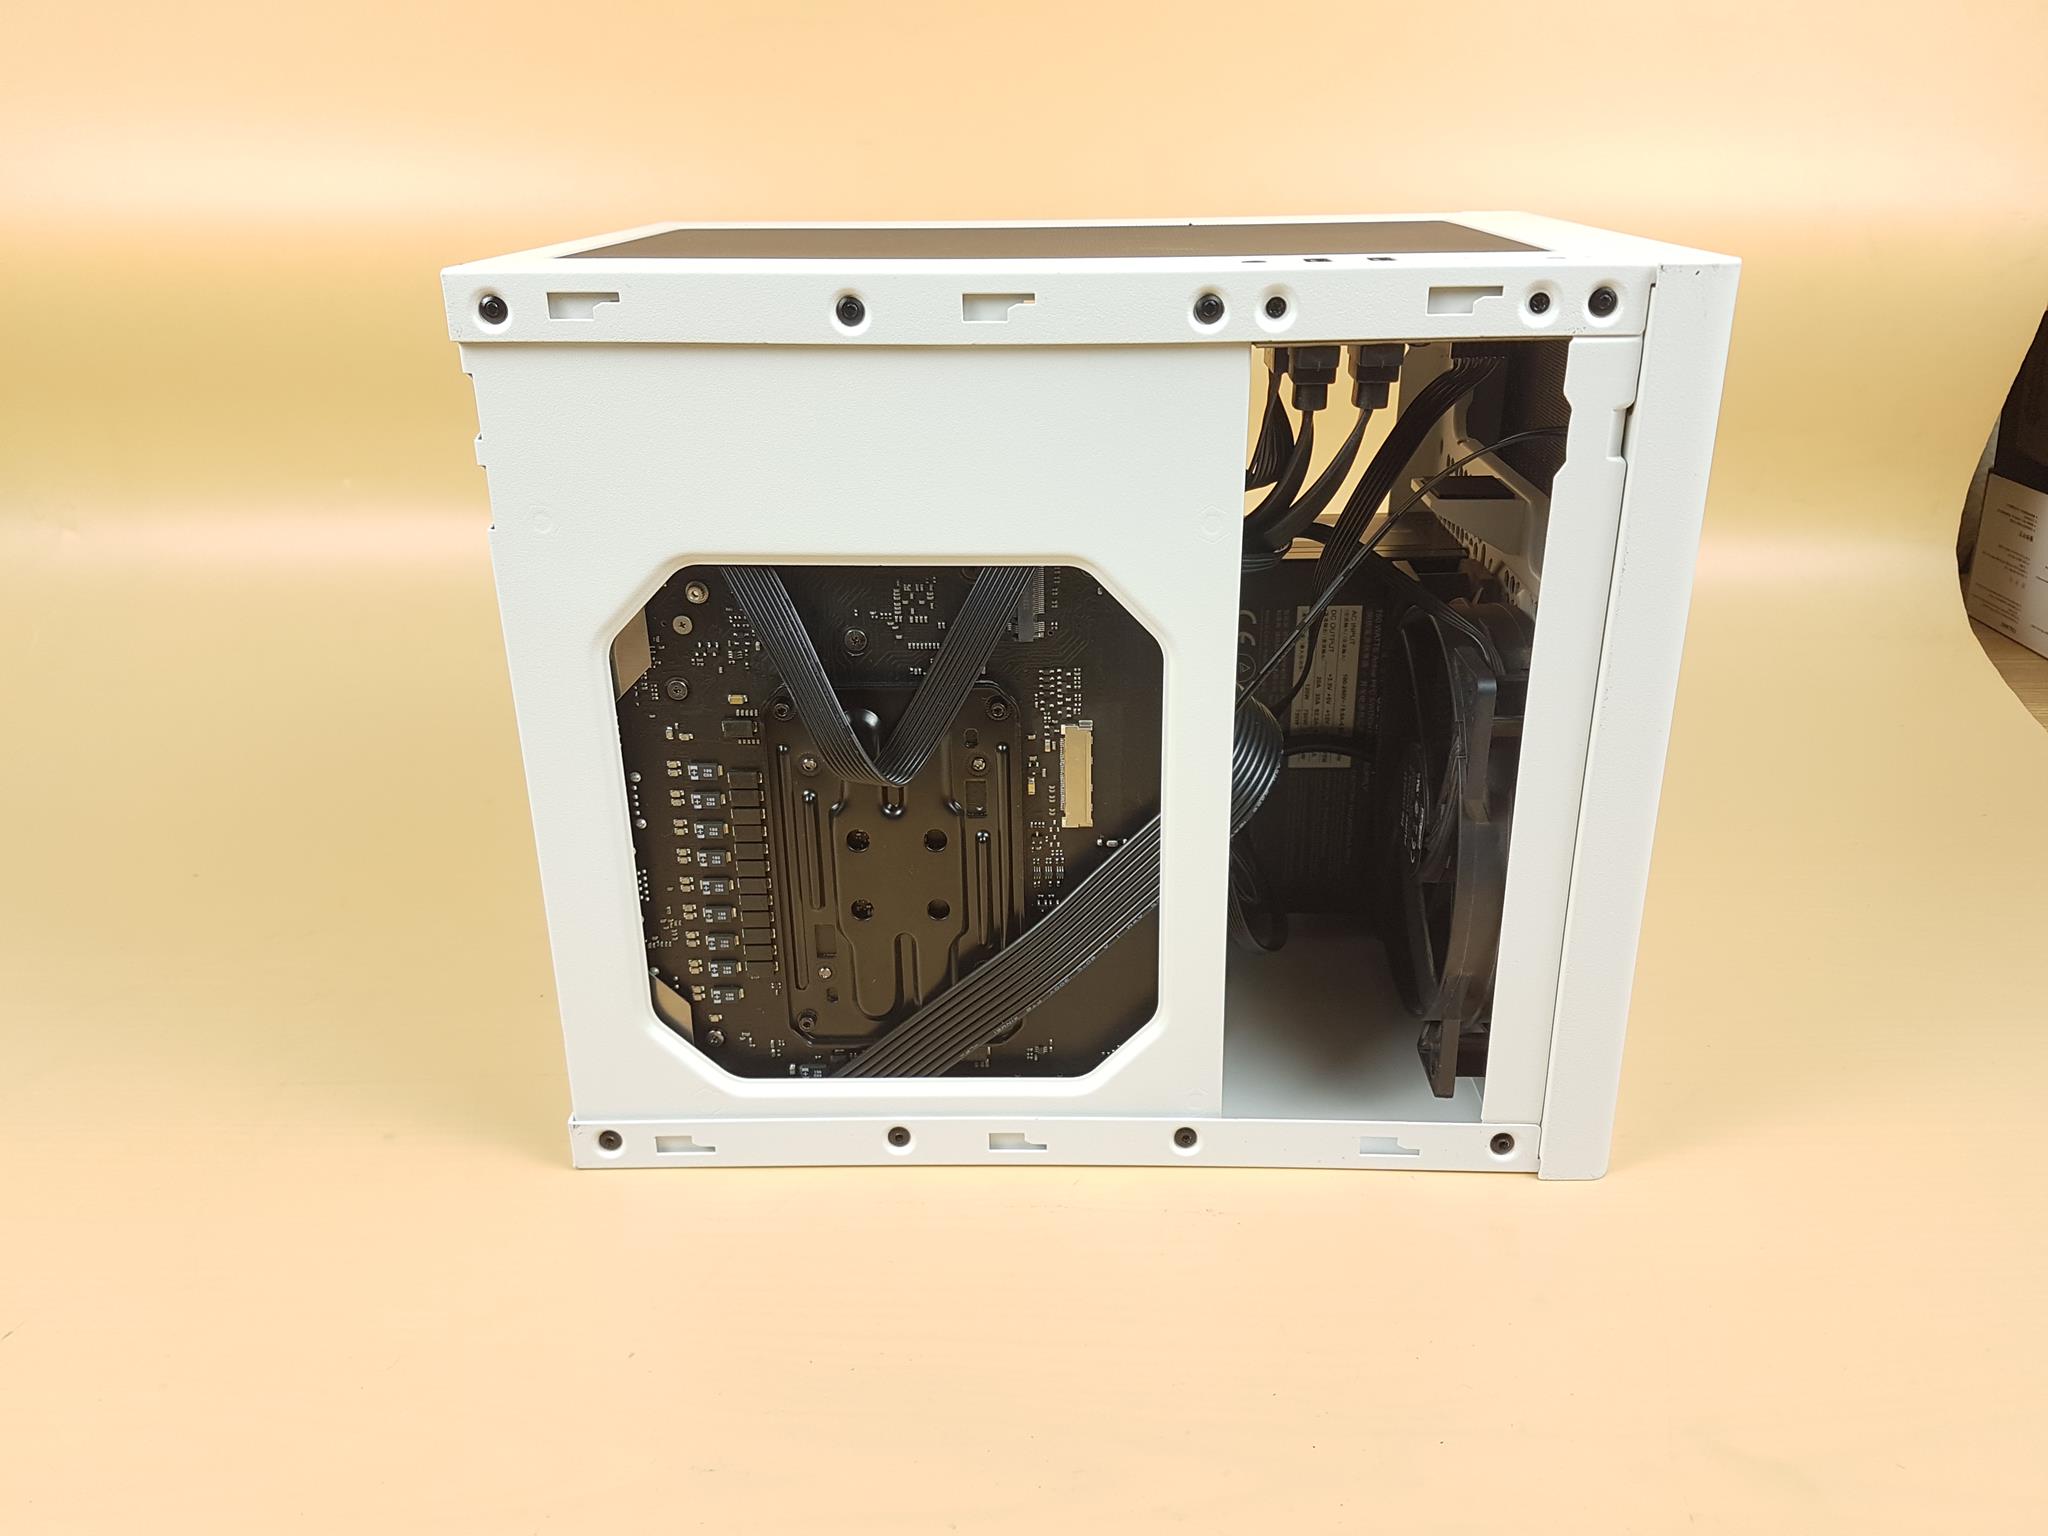
The above picture shows the motherboard tray. Take a look at the large size cutout that allows the user to not only install the cooler easily but also provides access to the M.2 port.
However, this access to M.2 port is somewhat restricted in my opinion. There is a large size cutout on the right side of the motherboard tray. We can spot a white color holder above the fan/drive mount area. It holds the graphics card.
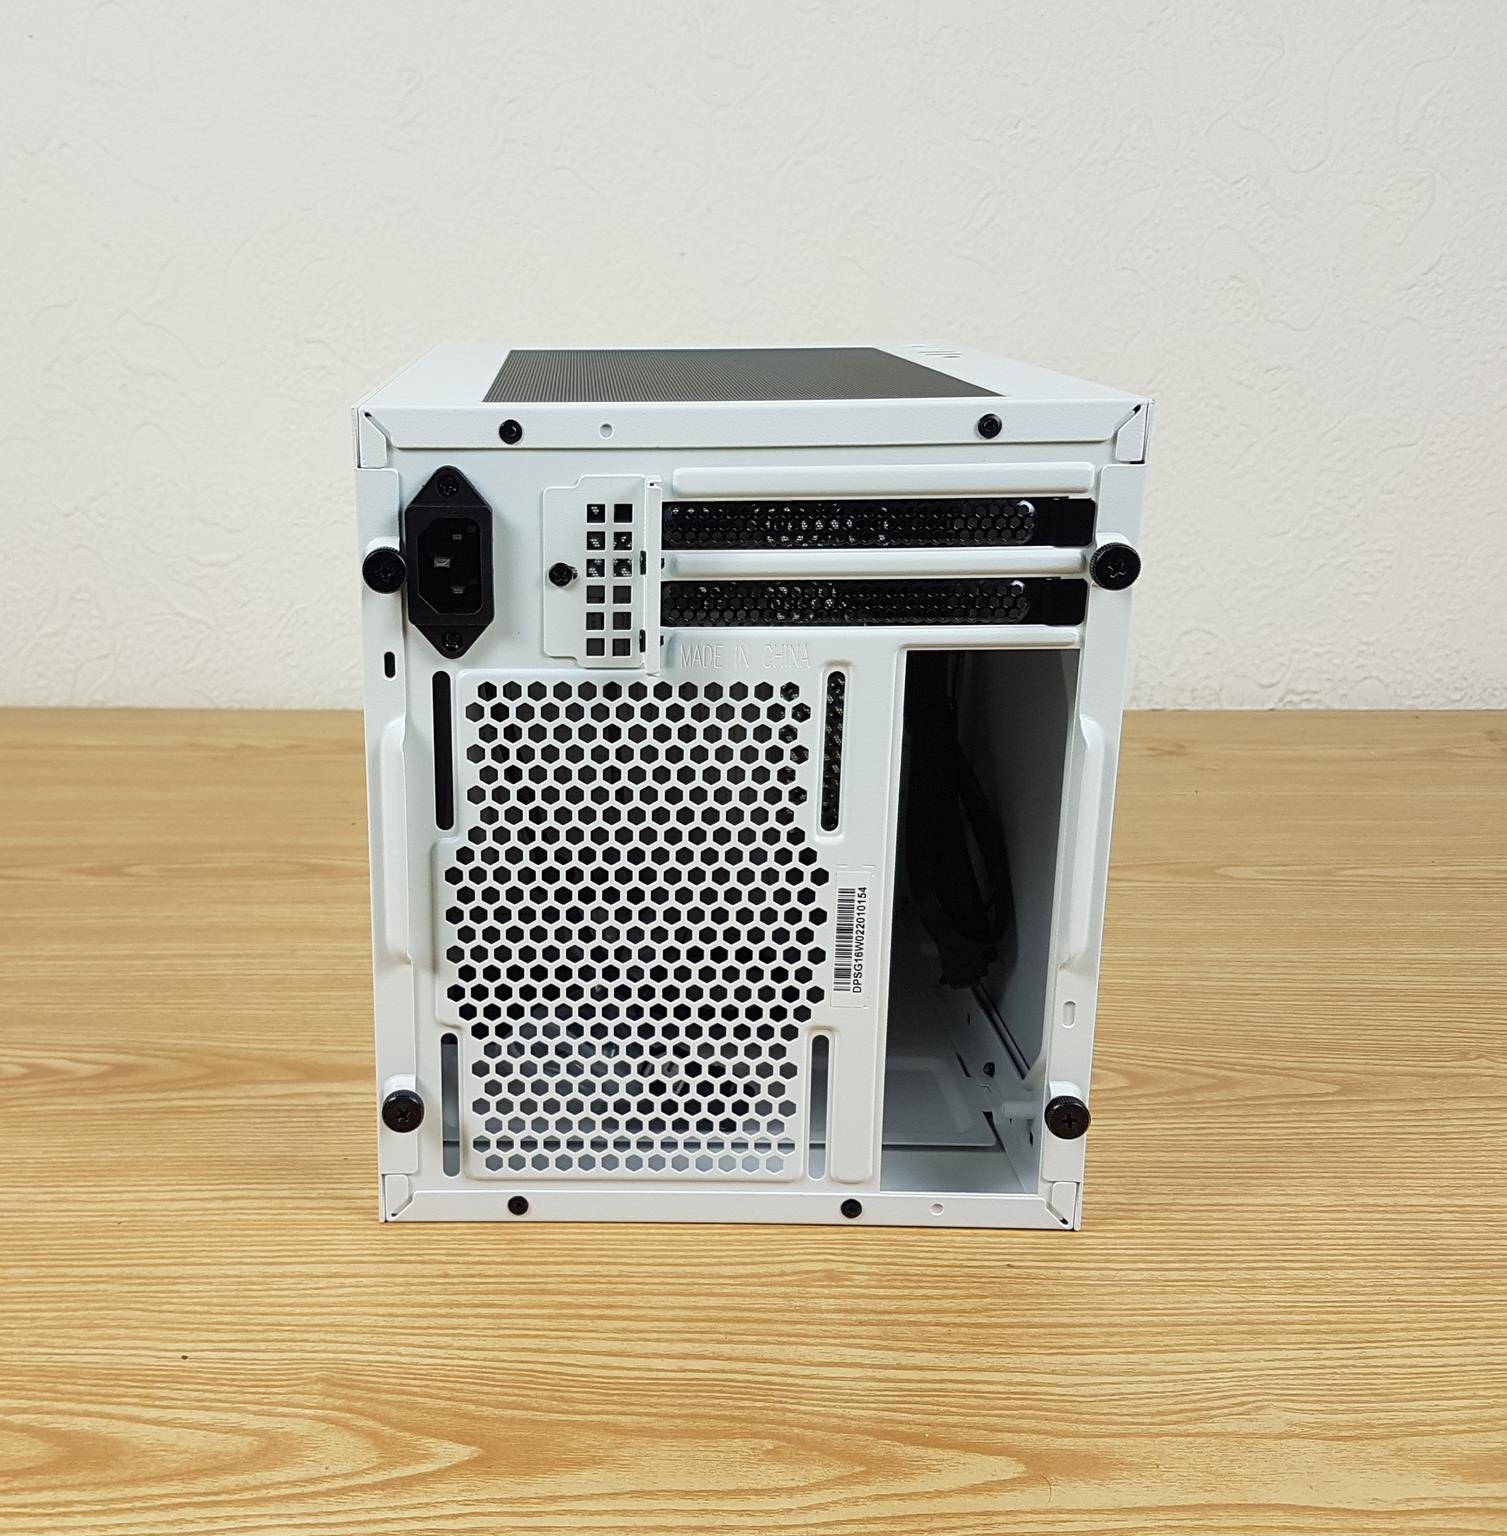
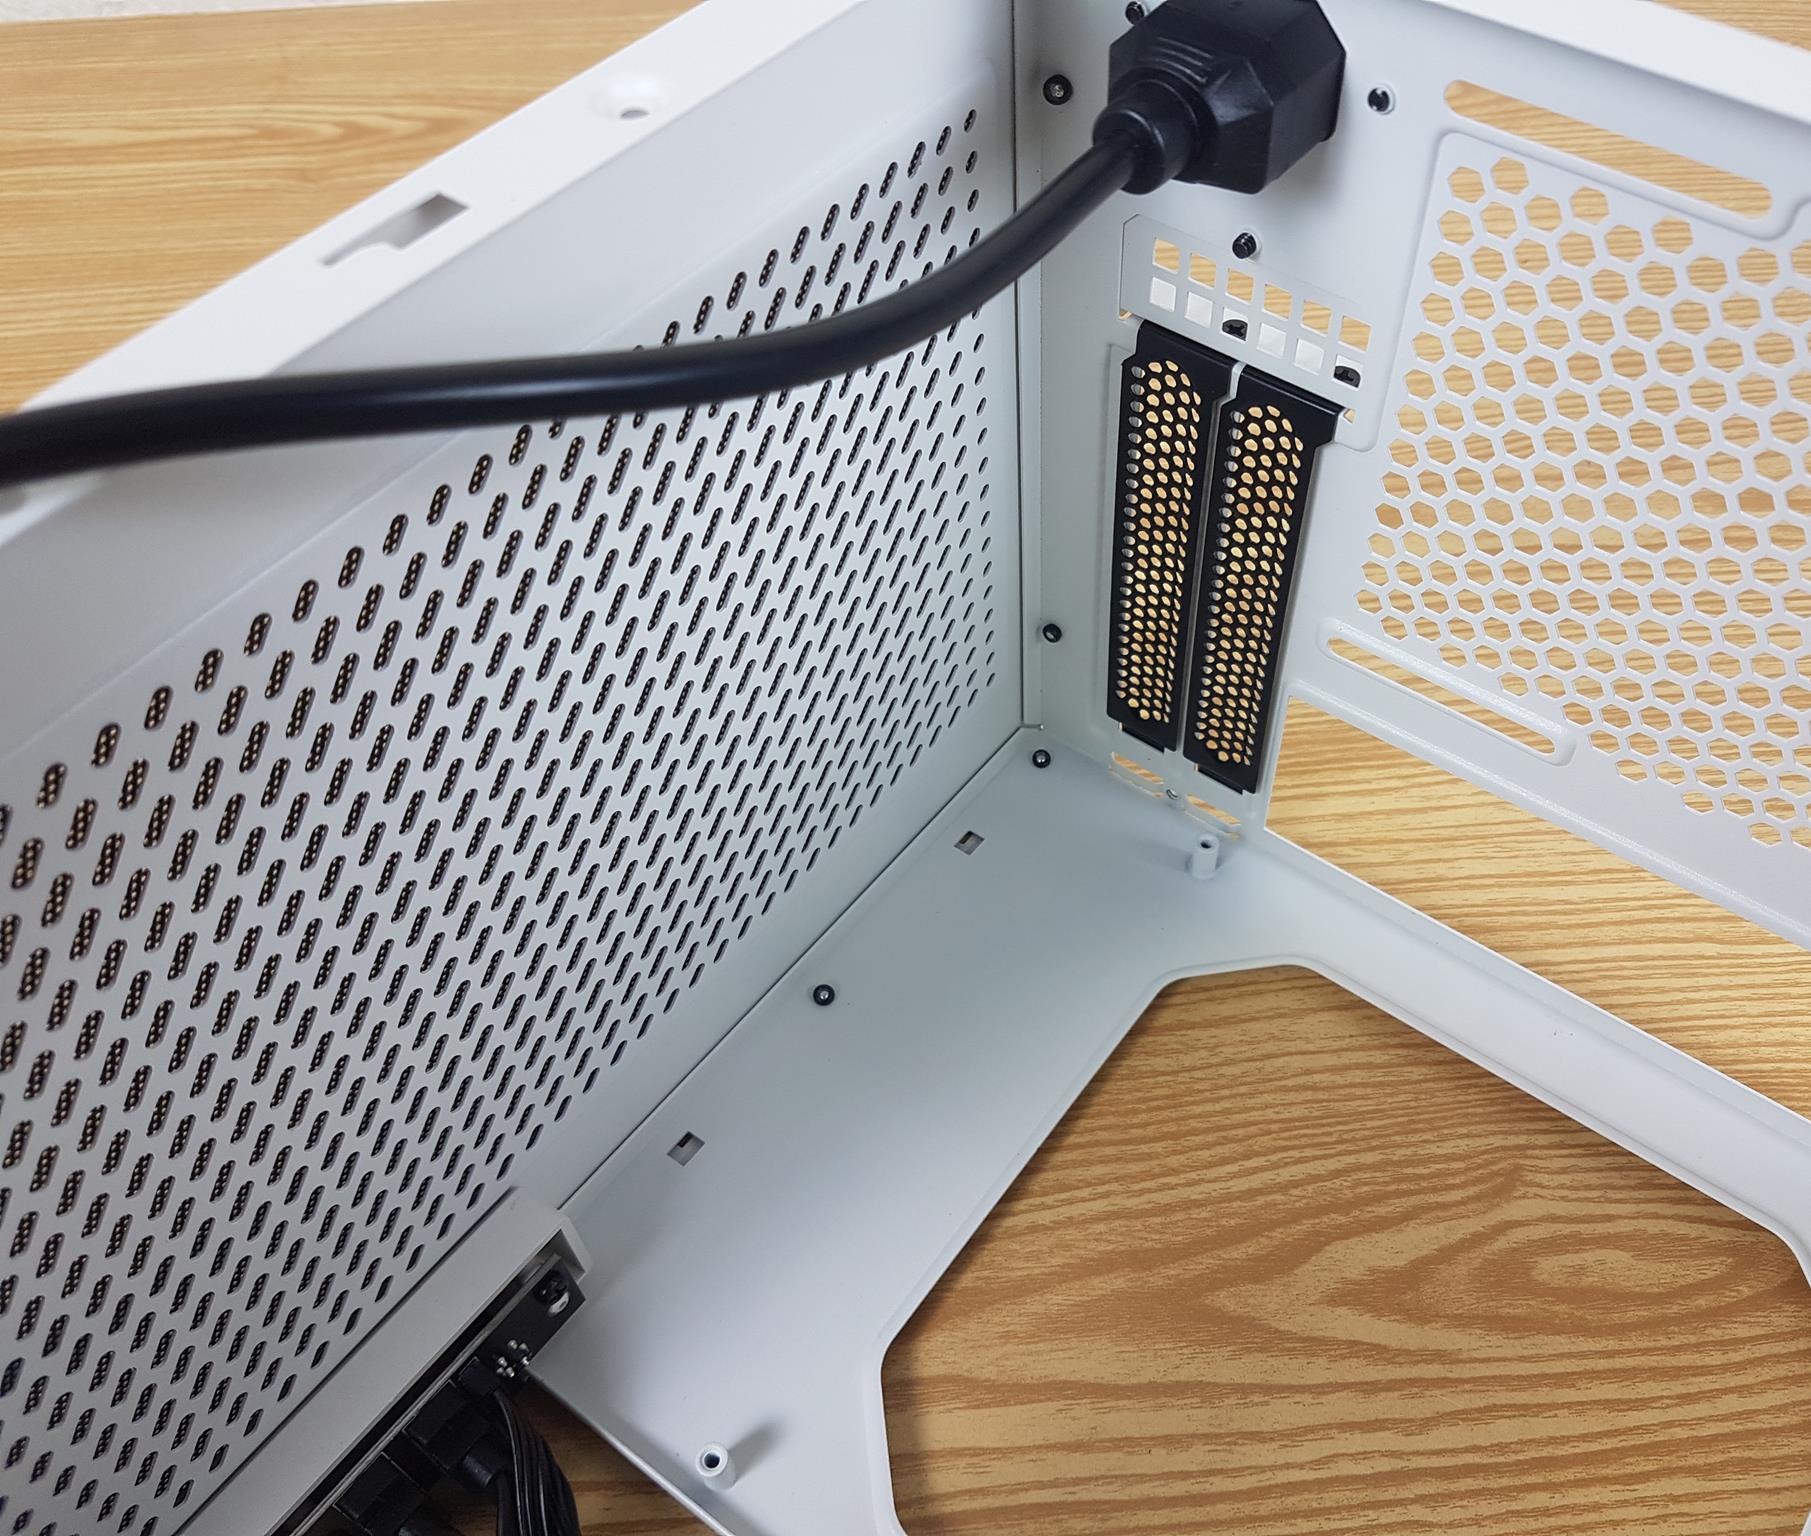
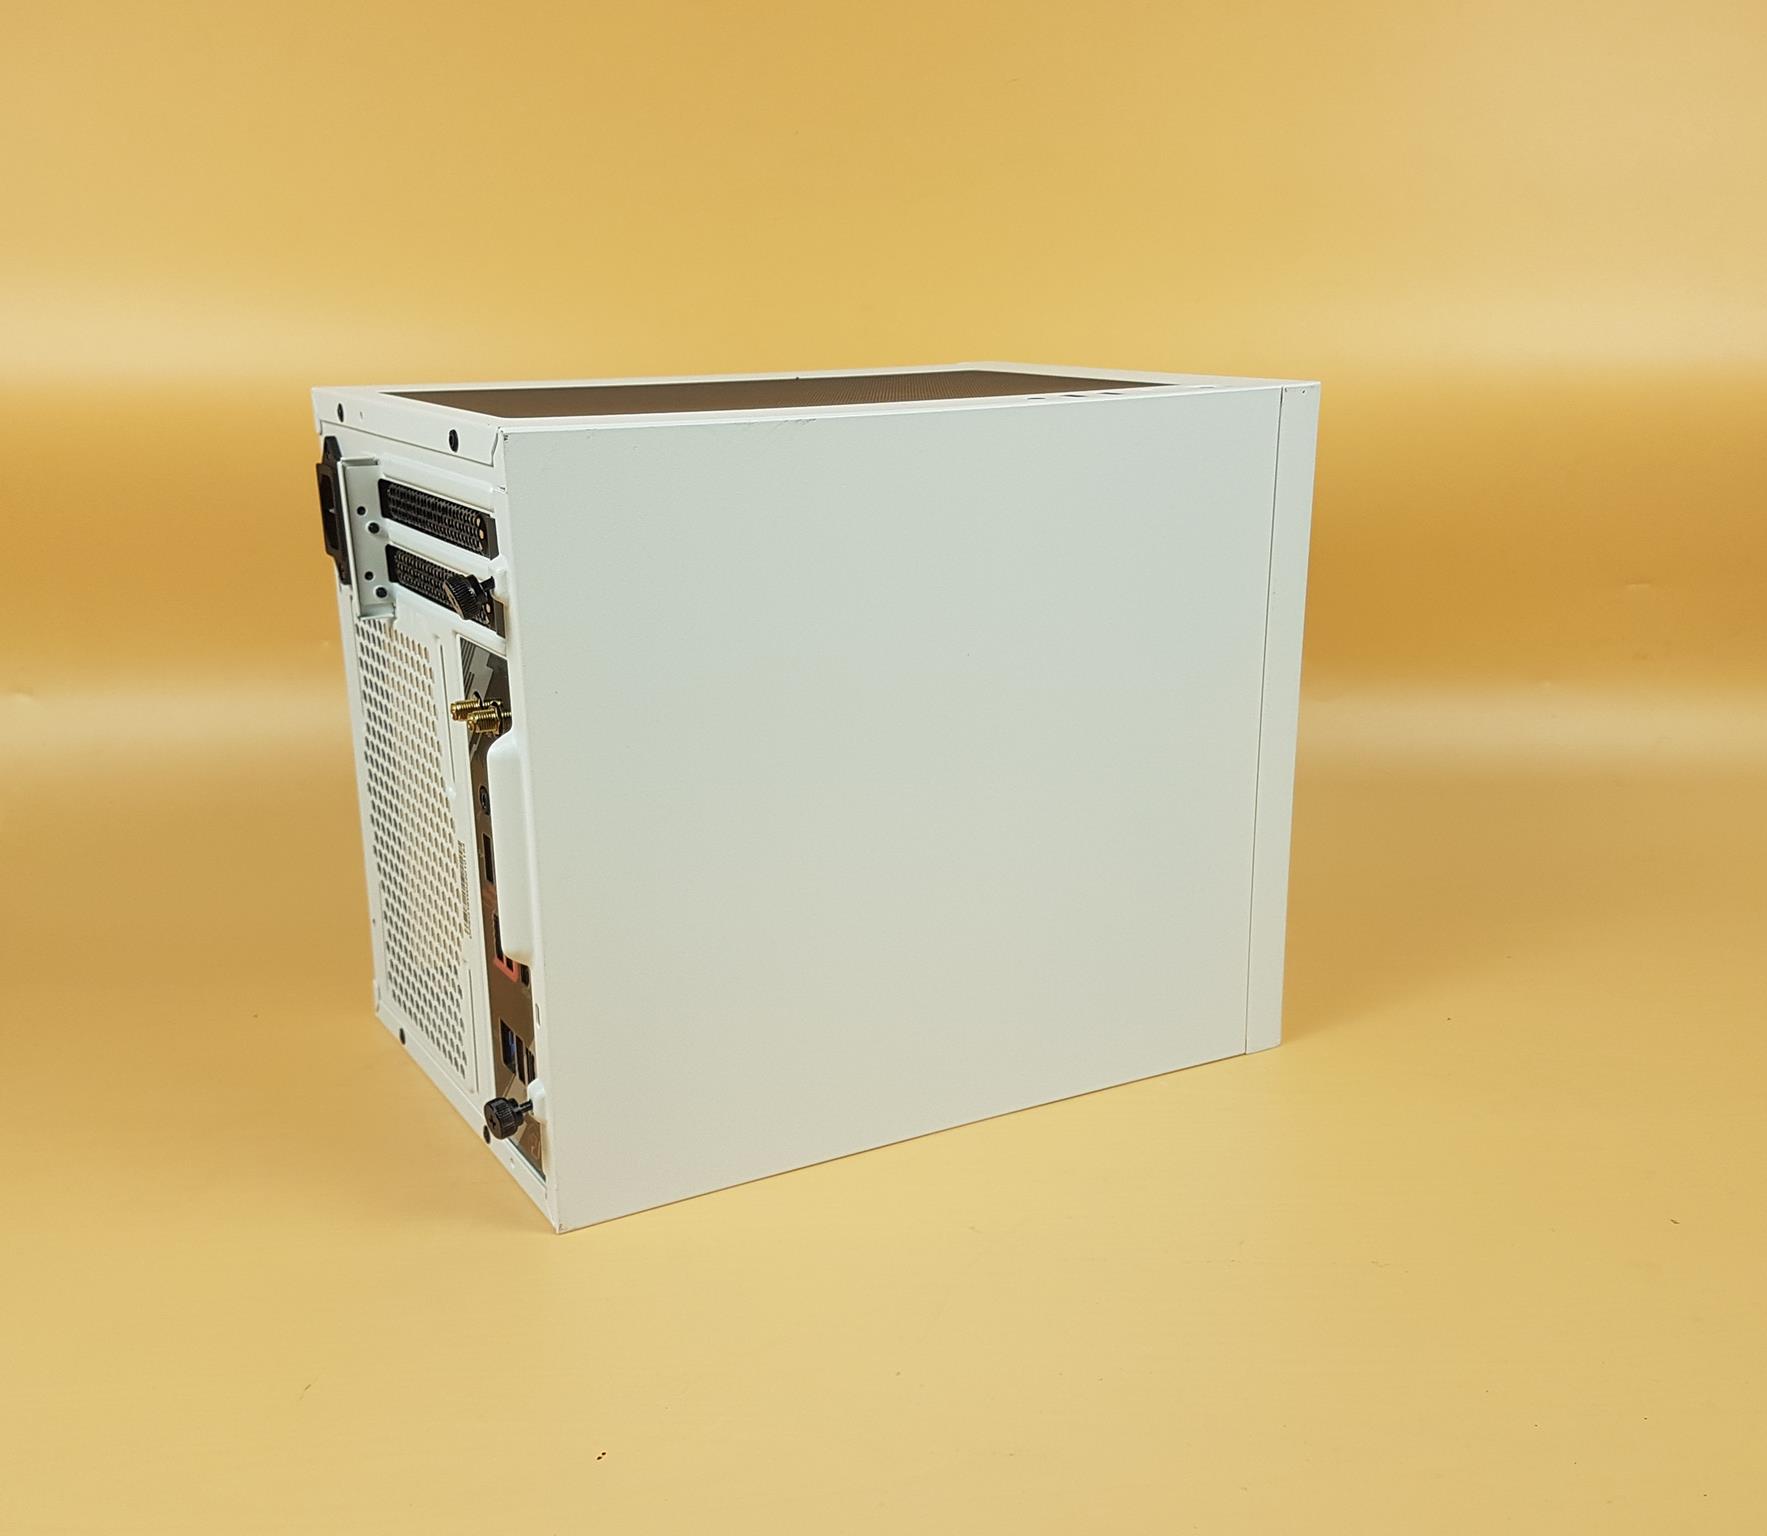
The above picture shows the rear view of the case. We have two PCIe slot covers and a bazzle on the top. There is also a PSU slot cover as can be seen in the picture. There is a pass-through PSU power port towards the top left. There is a large perforated area on the lower left side that can house a 120mm fan or an AIO. It has a slide rail design to adjust the height of the fan or the cooler. There is a large size cutout towards the lower right where the motherboard’s rear IO shield is installed. Both side panels are secured using captive thumb screws.
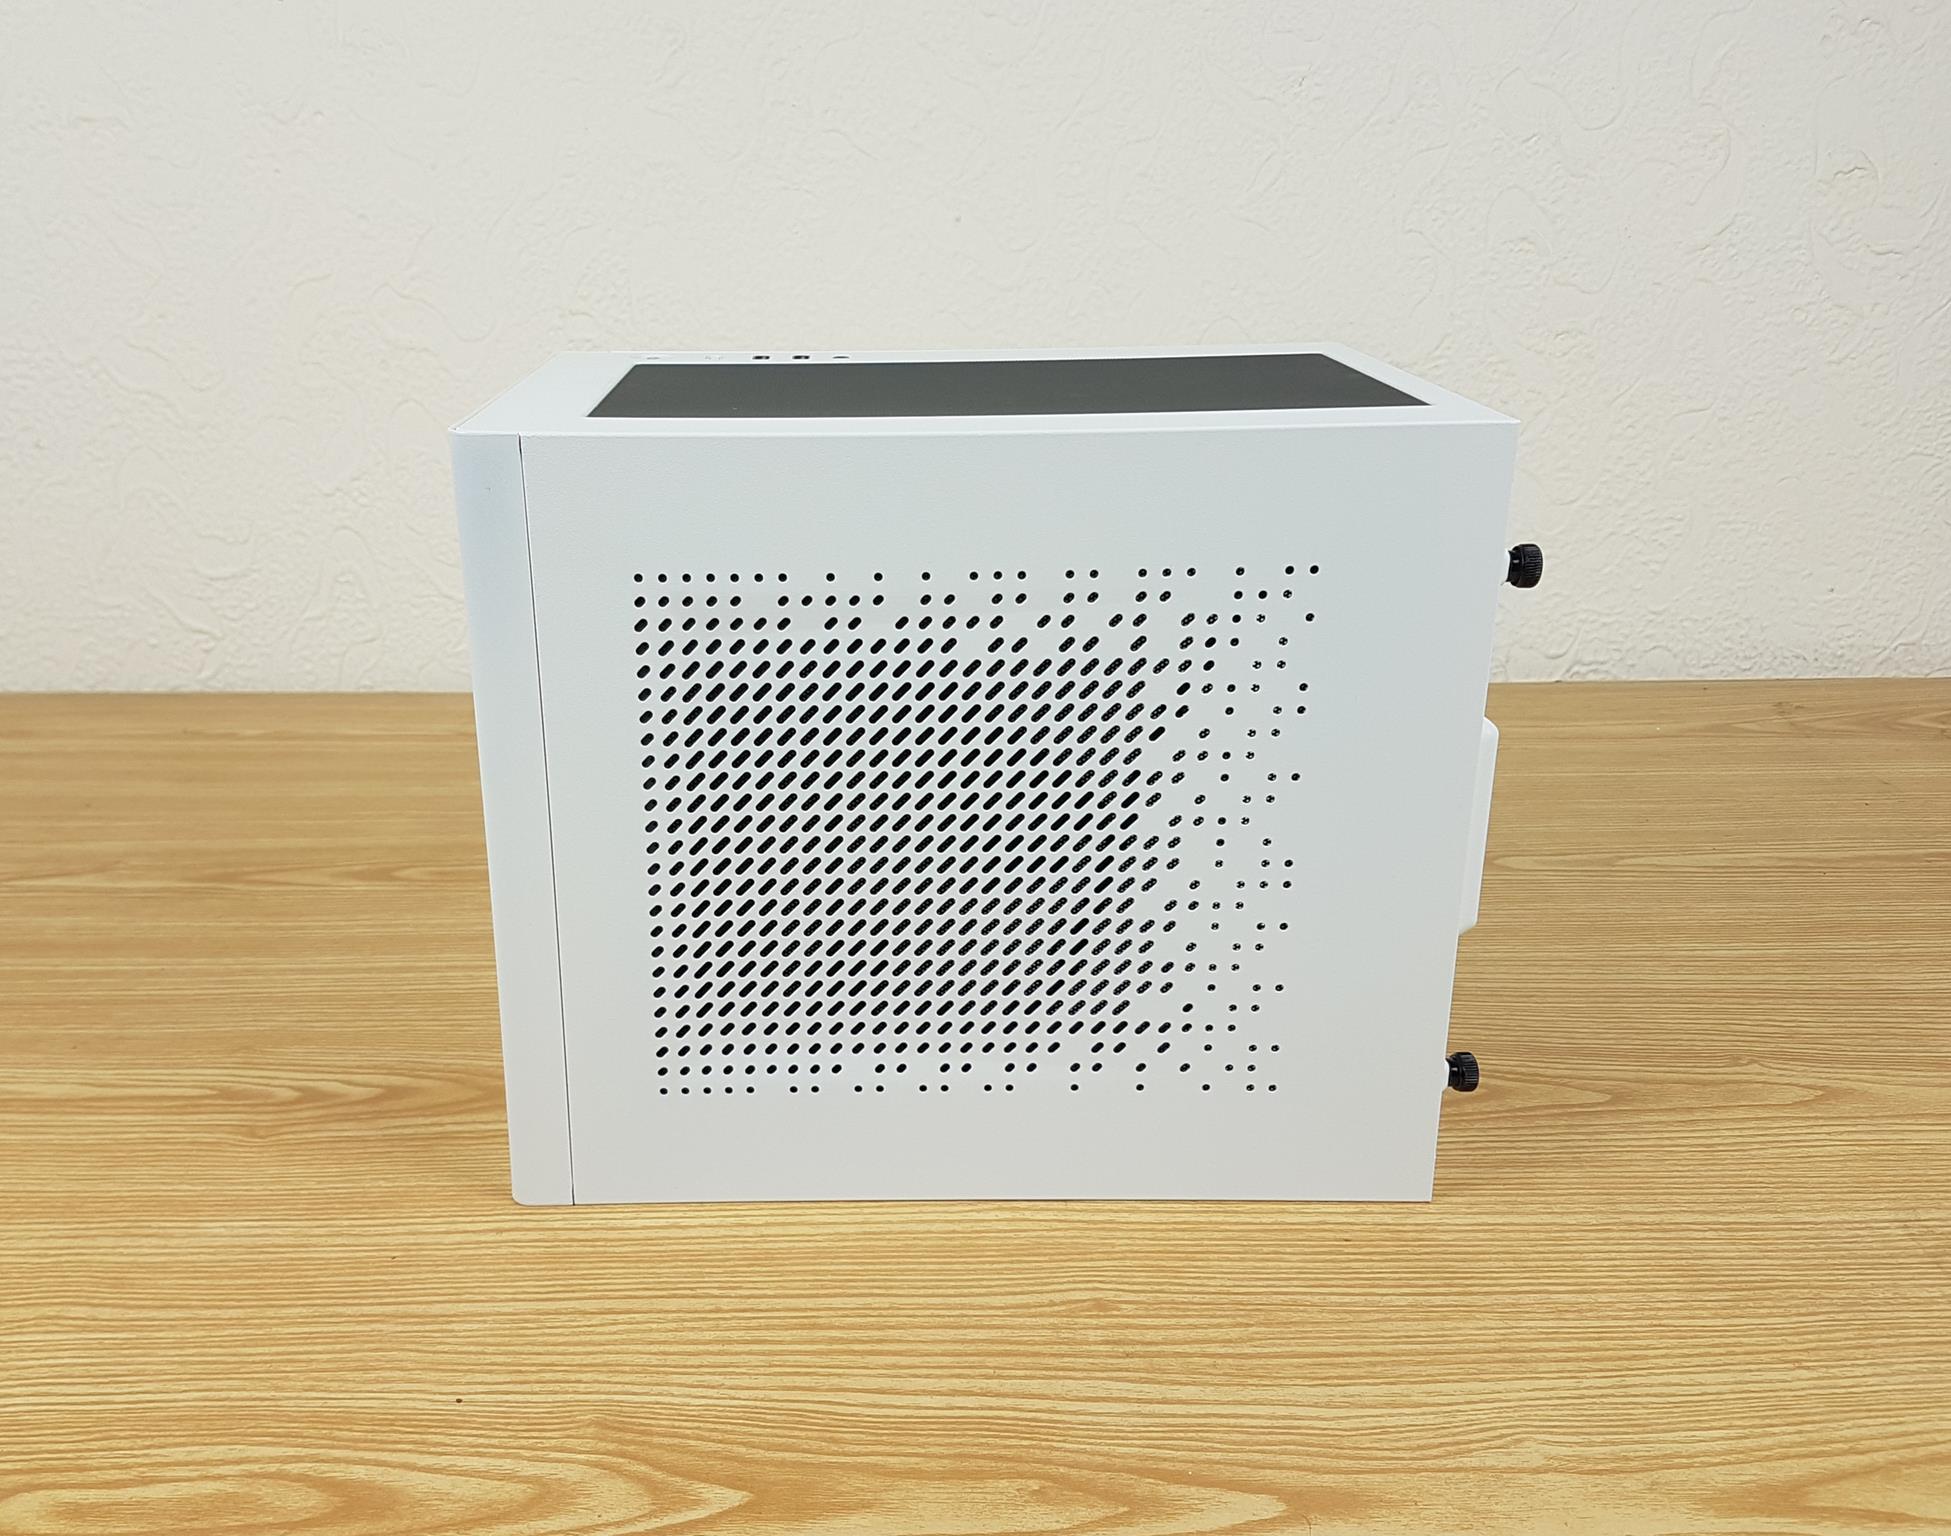
The right side of the PC Case has a perforated steel panel. Since there is no plastic part in the mainframe, we have a uniform white color paint job.
There is a magnetic dust filter with fine mesh on the side panel.
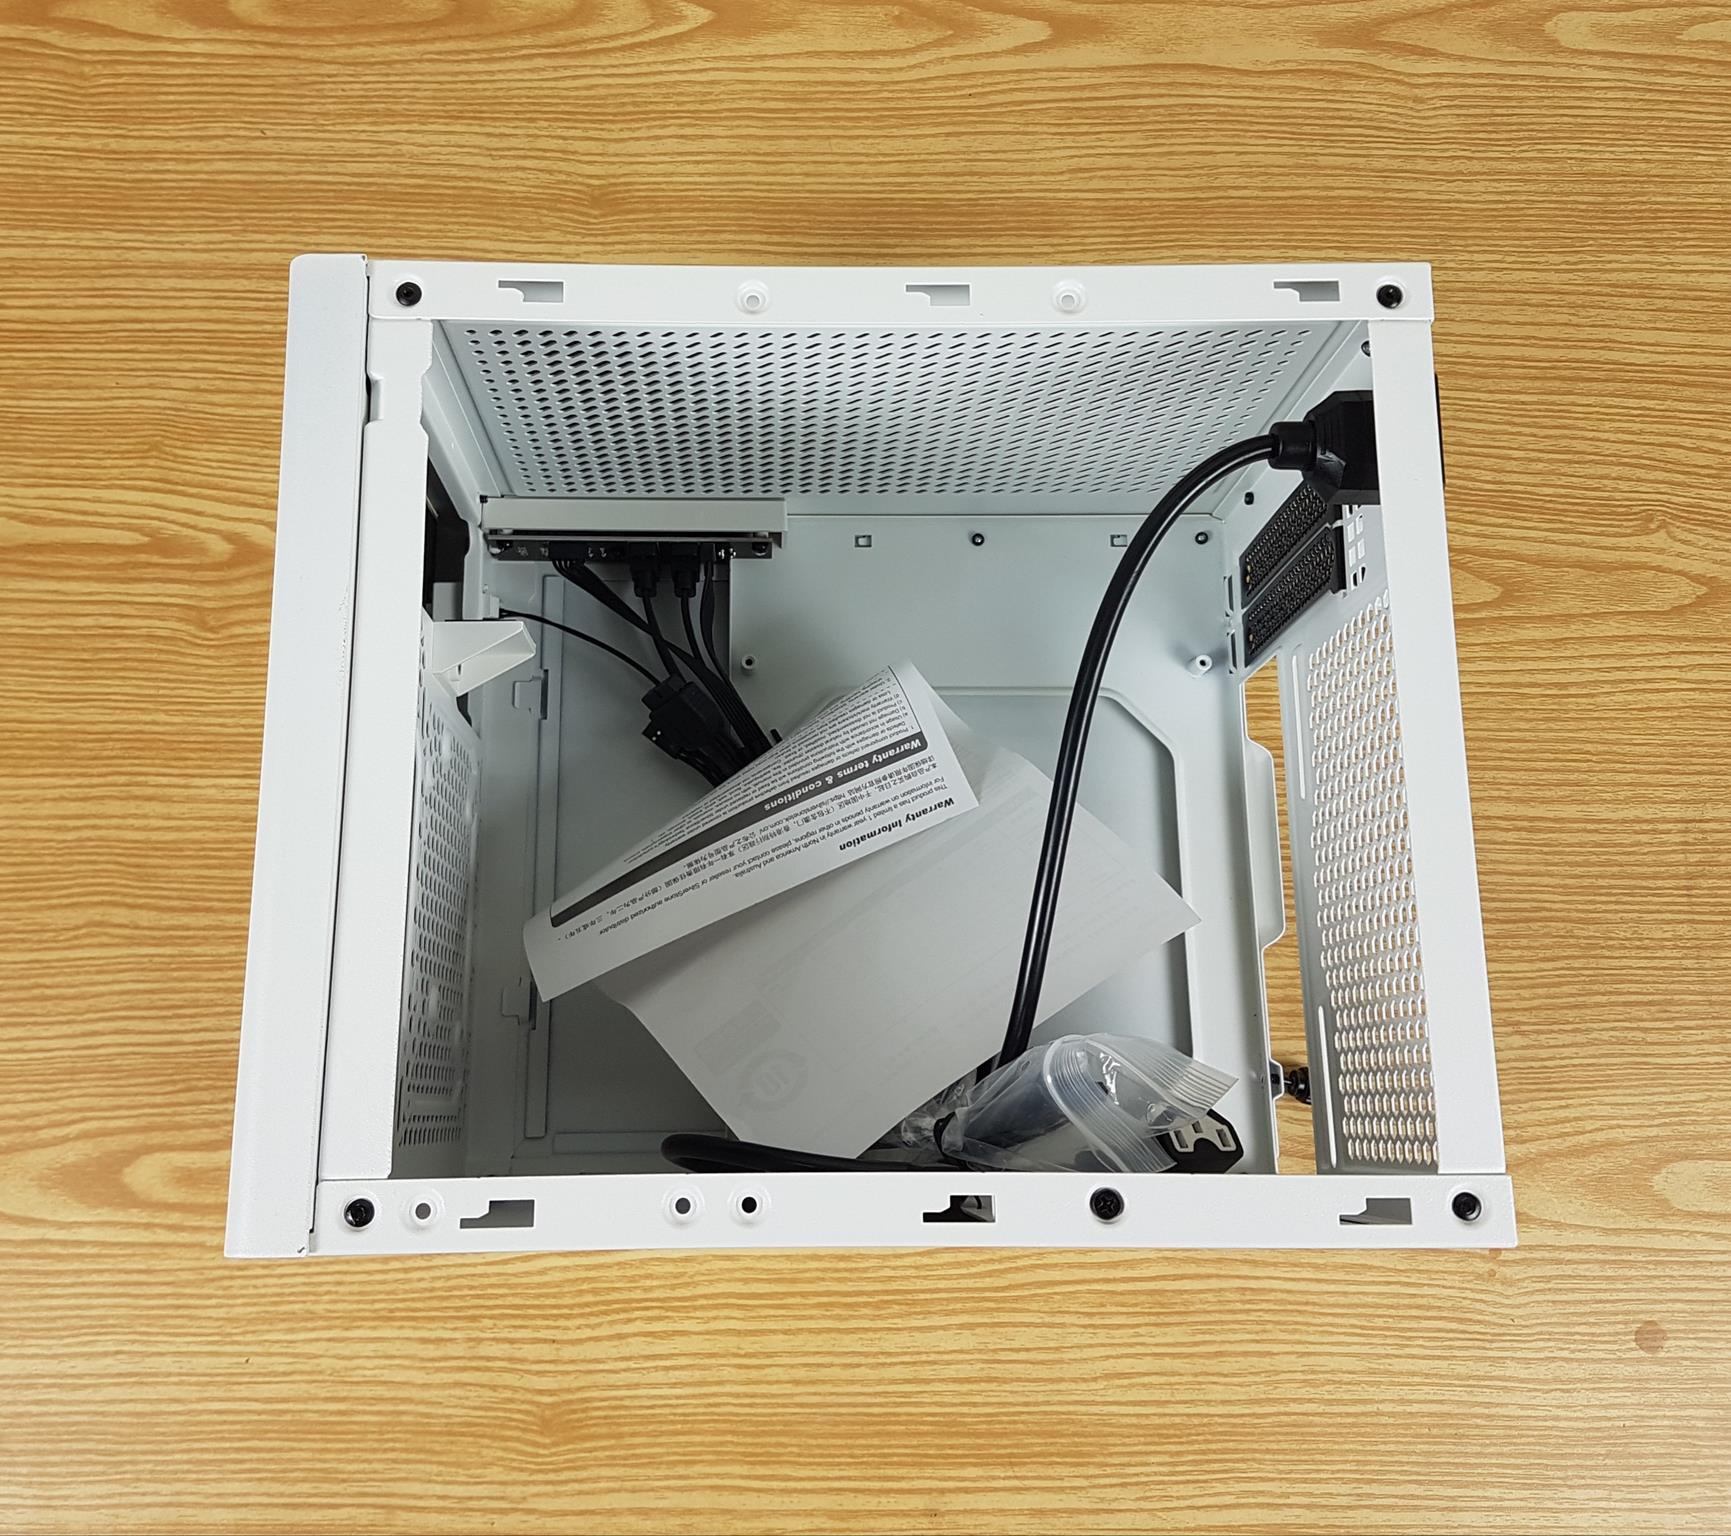
I am showing the main view of the case inside. The inner space is 257mm and we need to work within this space. The accessories container is tucked on the side and there is a warranty card as well. There is a pass-through power cable routed from the rear of the case towards the front side so that it can be connected to the PSU. The top-mounted IO panel’s cables can also be seen. The clearance detail are as under:
- CPU Cooler height of up to 85mm to 172mm.
- VGA Card Length of 275mm with a width of 147mm
- PSU Length of 150 to 220mm
The following are some considerations:
- The total internal space of the chassis is 257mm. If a 120mm fan or radiator is installed at the rear, the thickness should be subtracted.
- AIO water cooler including pipes needs to be more than 75mm
- The power supply modular cables need a total of 30mm, so AIO water cooler should be installed at the rear, which allows 150mm of space for PSU.
- If installing an ATX PSU, the AIO must be installed at the rear, the fan must be installed in front of the radiator.
- PSU mounting position is located 85mm in front of the motherboard.
- A CPU tower cooler can only be installed when using a SFX PSU with depths of 100mm.
- It is required to install slim profile air coolers, i.e. SST-AR12-ARGB or SST-HYD120-ARGB.
- For single-tower coolers like SST-AR12-RGB, it’s required to install the fans behind the heatsink fins so that the fins face the cables of the PSU to prevent the PSU cables from interfering with the fan.
- For dual-tower coolers like SST-HYD120-ARGB, it is recommended to remove the front fan. The removed fan can be installed in the chassis fan mounts instead.
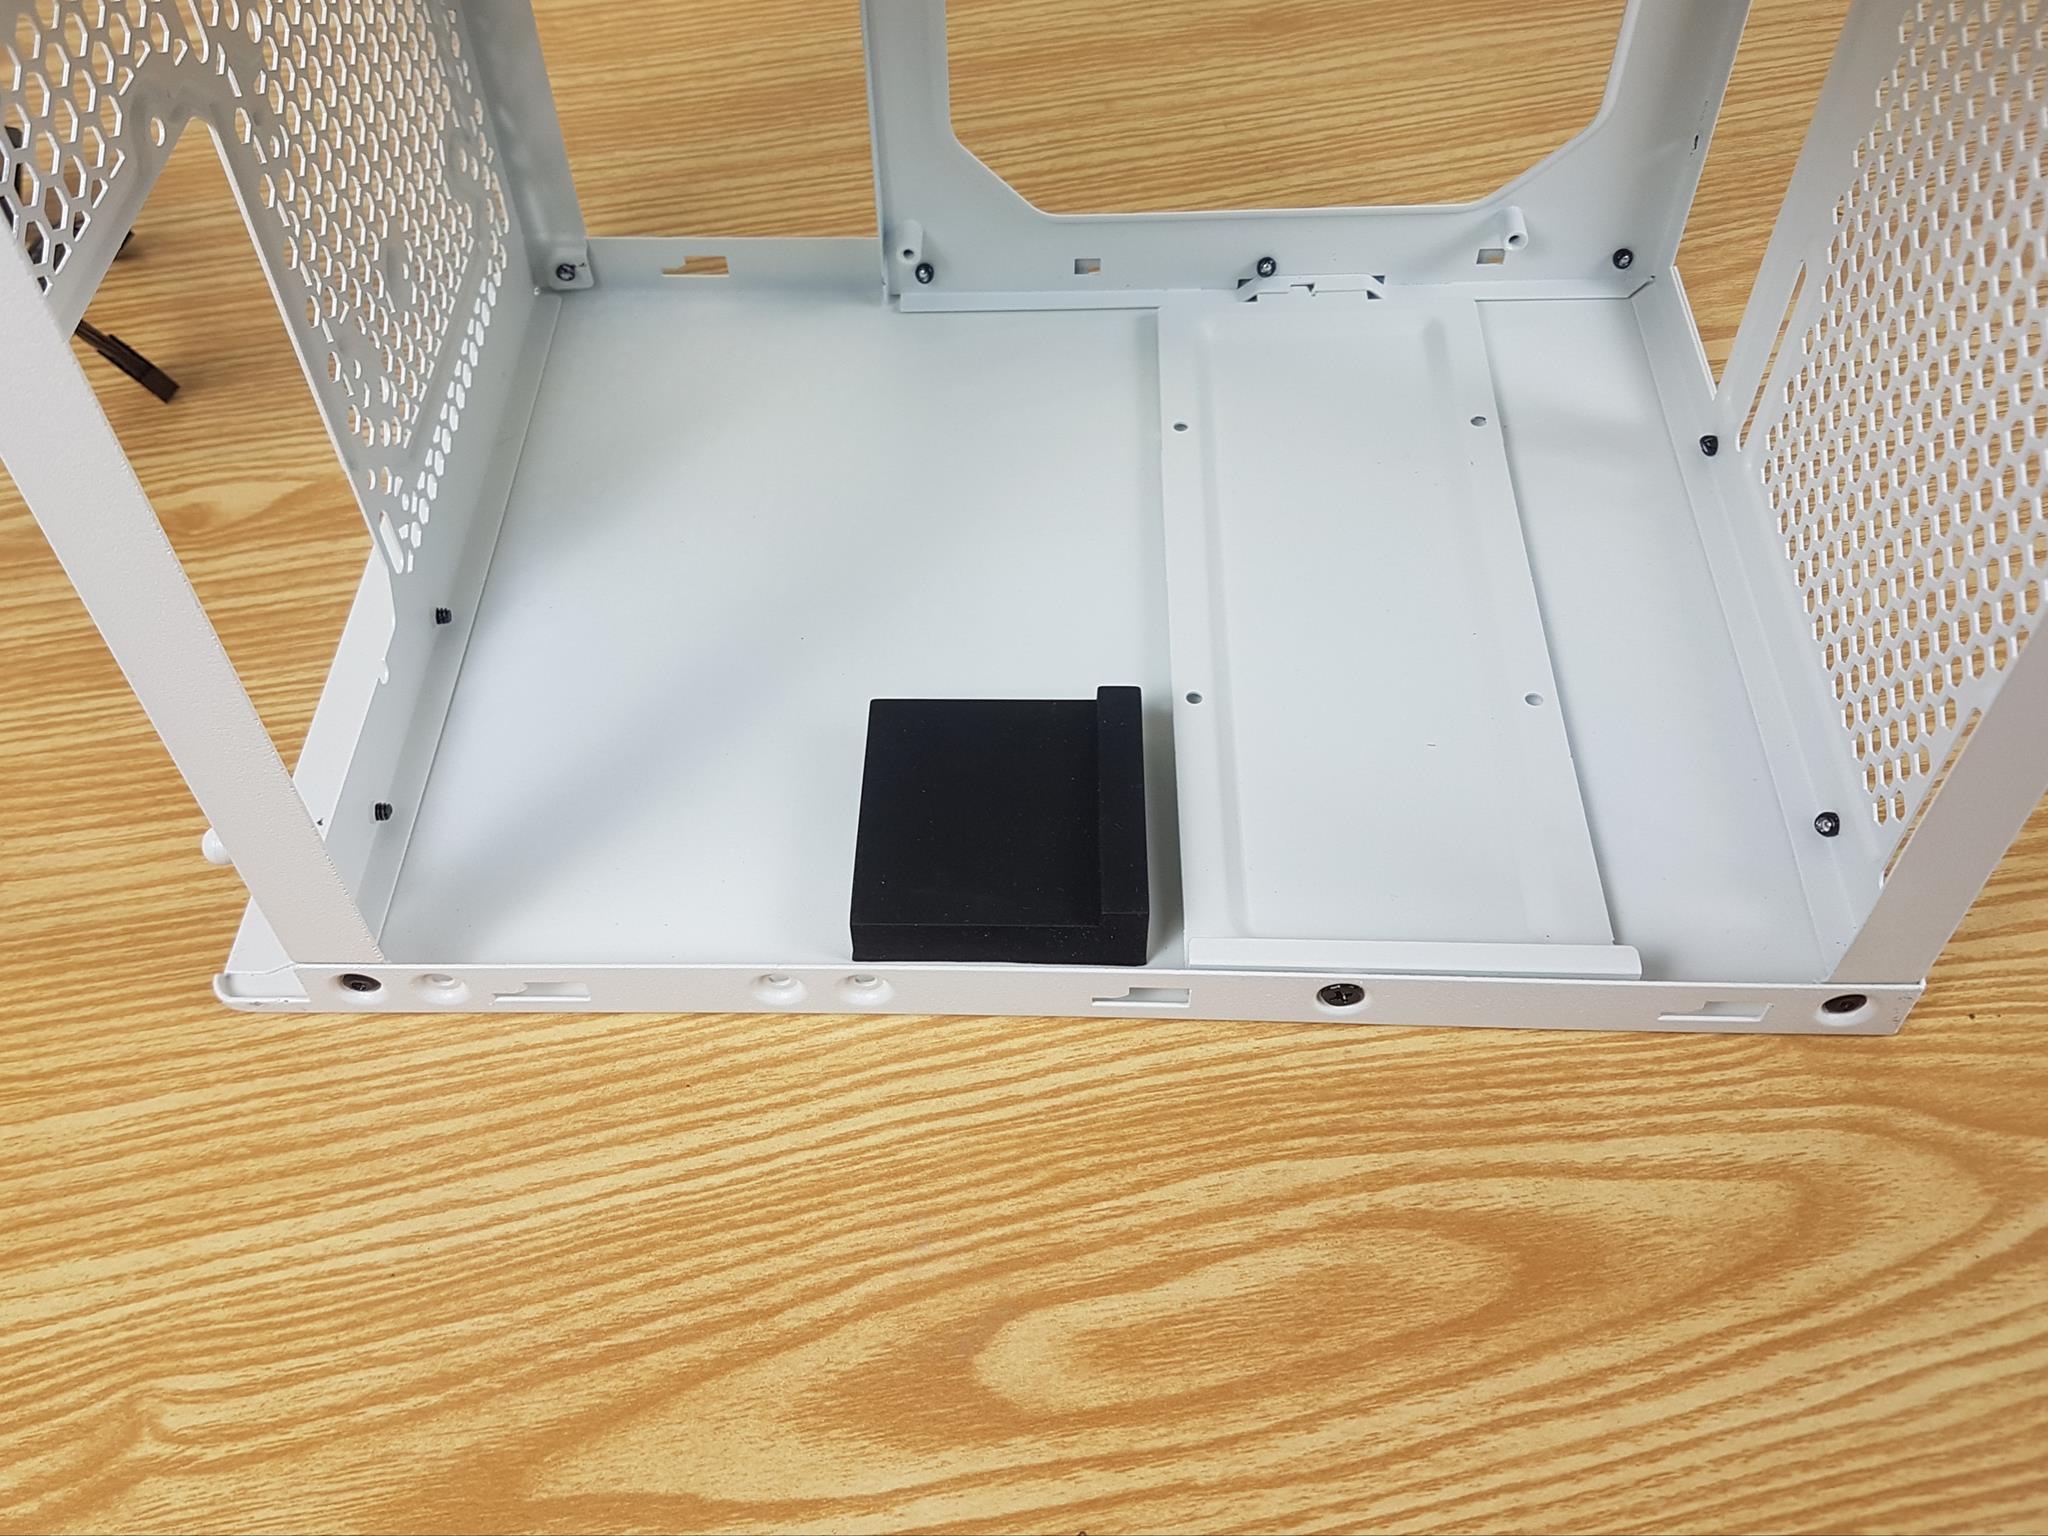
Looking at the base of the case, we can spot a drive bracket. The user can install a 2.5” drive in this bracket. It is recommended to install the drive first before installing the motherboard. There is a black color holder for the PSU because PSU faces the motherboard side with a space of 85mm.
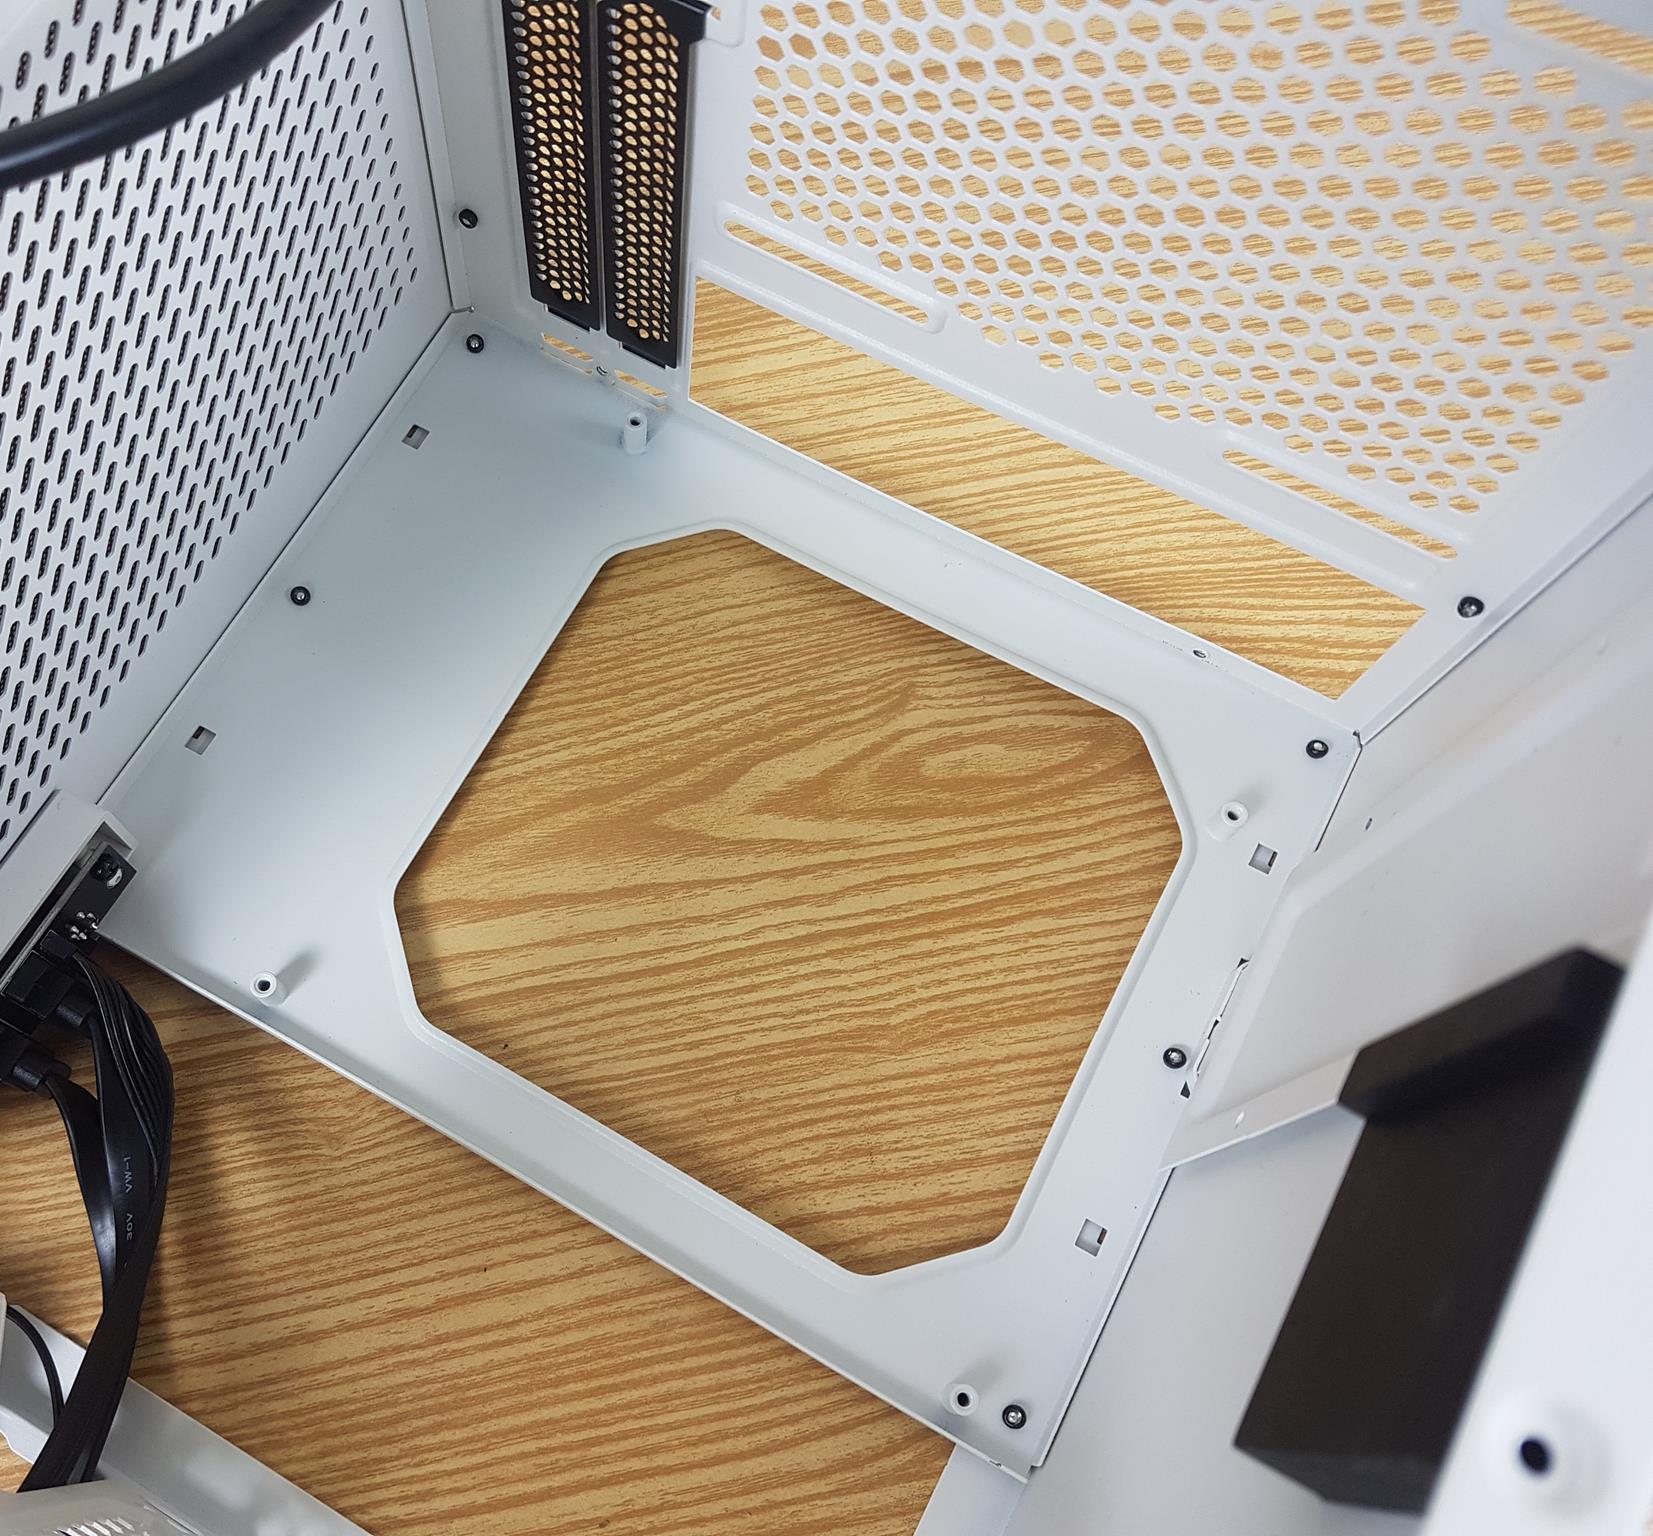
I am showing the graphics card mounting area inside the case. This case supports mainstream VGA cards in a strict dual-slot design (147mm width) with a length of up to 275mm. This could very well mean that triple fan graphics cards are not supported which could rule out the high-end graphics card from the compatibility list.
Now, I am showing the motherboard tray i.e. the area where you can install the mini-ITX/mini-DTX motherboard. Motherboard is mounted vertically in this case given its front panel’s orientation. There is a good clearance towards the base area where the graphics card is to be installed and motherboard is not obstructed by the raised housing of the top-mounted IO panel. Most of the area is taken up by a large-size CPU cutout.
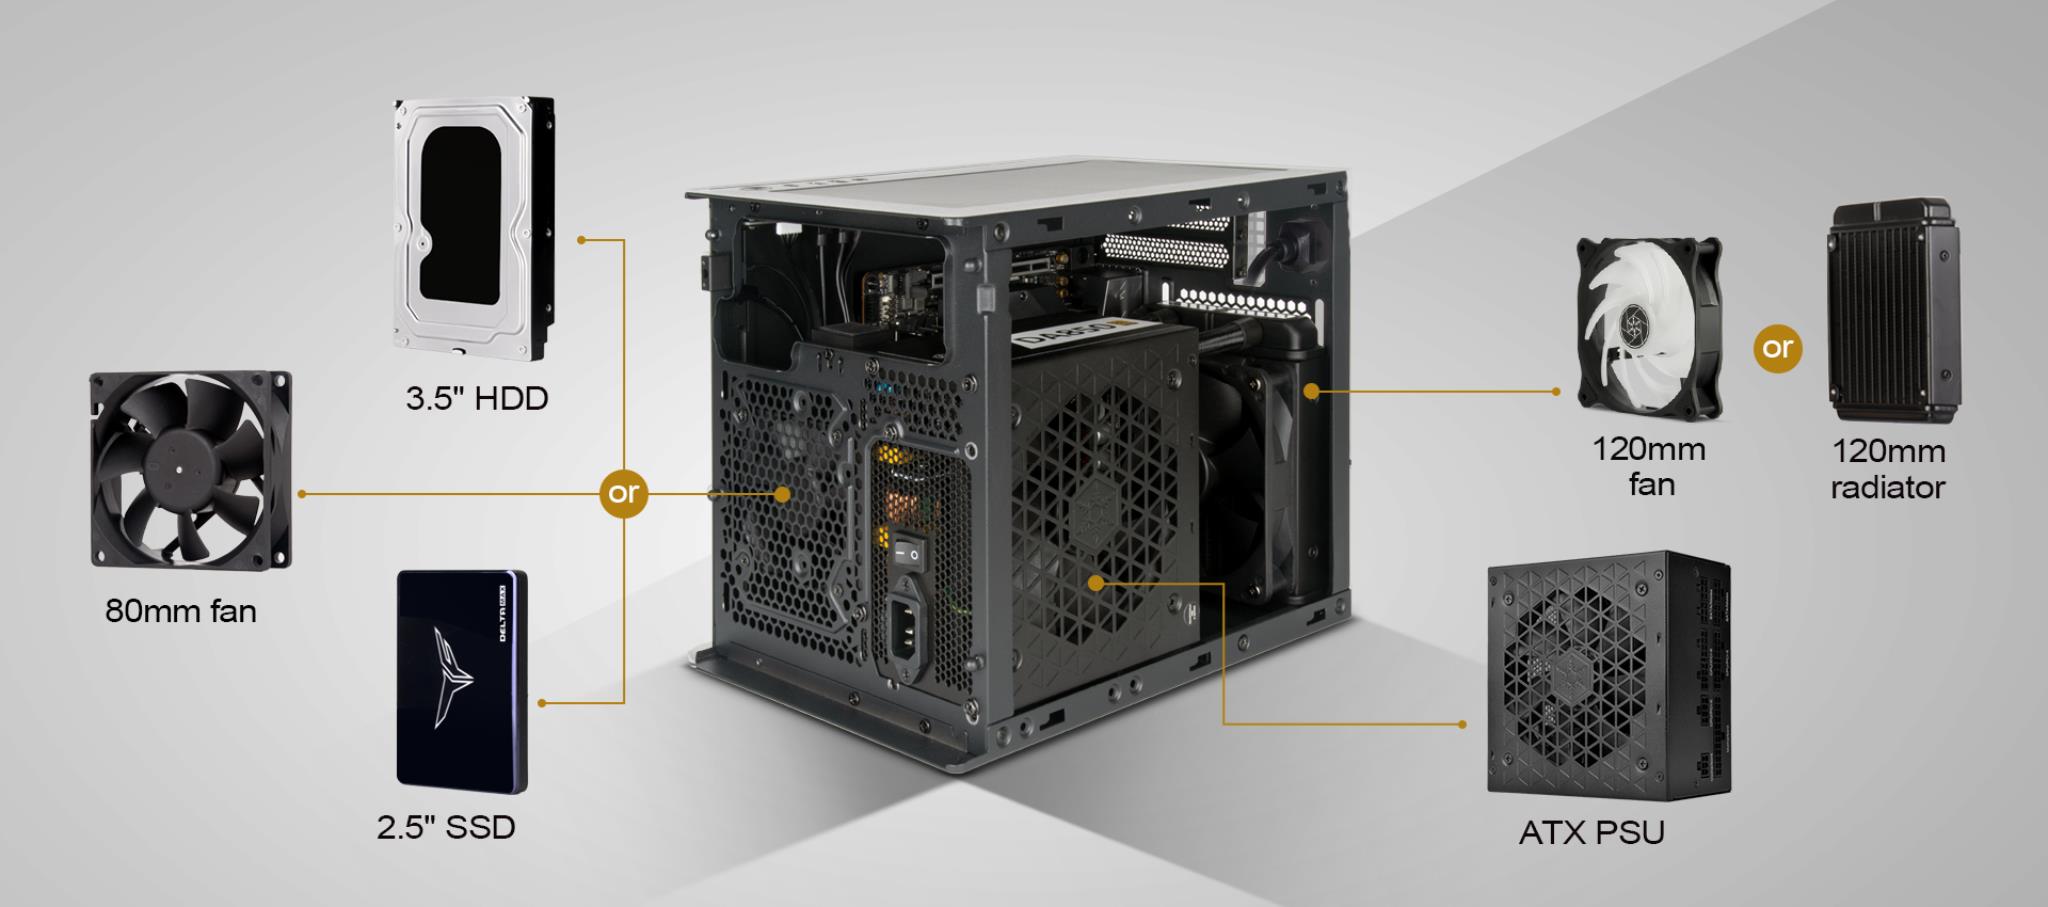
The above picture is taken from SilverStone website. It illustrates the build configuration possible inside the SUGO 16 case using ATX-size components. The build in the picture has a standard PS2 ATX PSU and there is an 80mm fan on the side of the PSU whereas the cooling is provided by a 120mm AIO on the rear. This configuration would be different if using SFX PSU. But the picture shows the true build potential of this case.
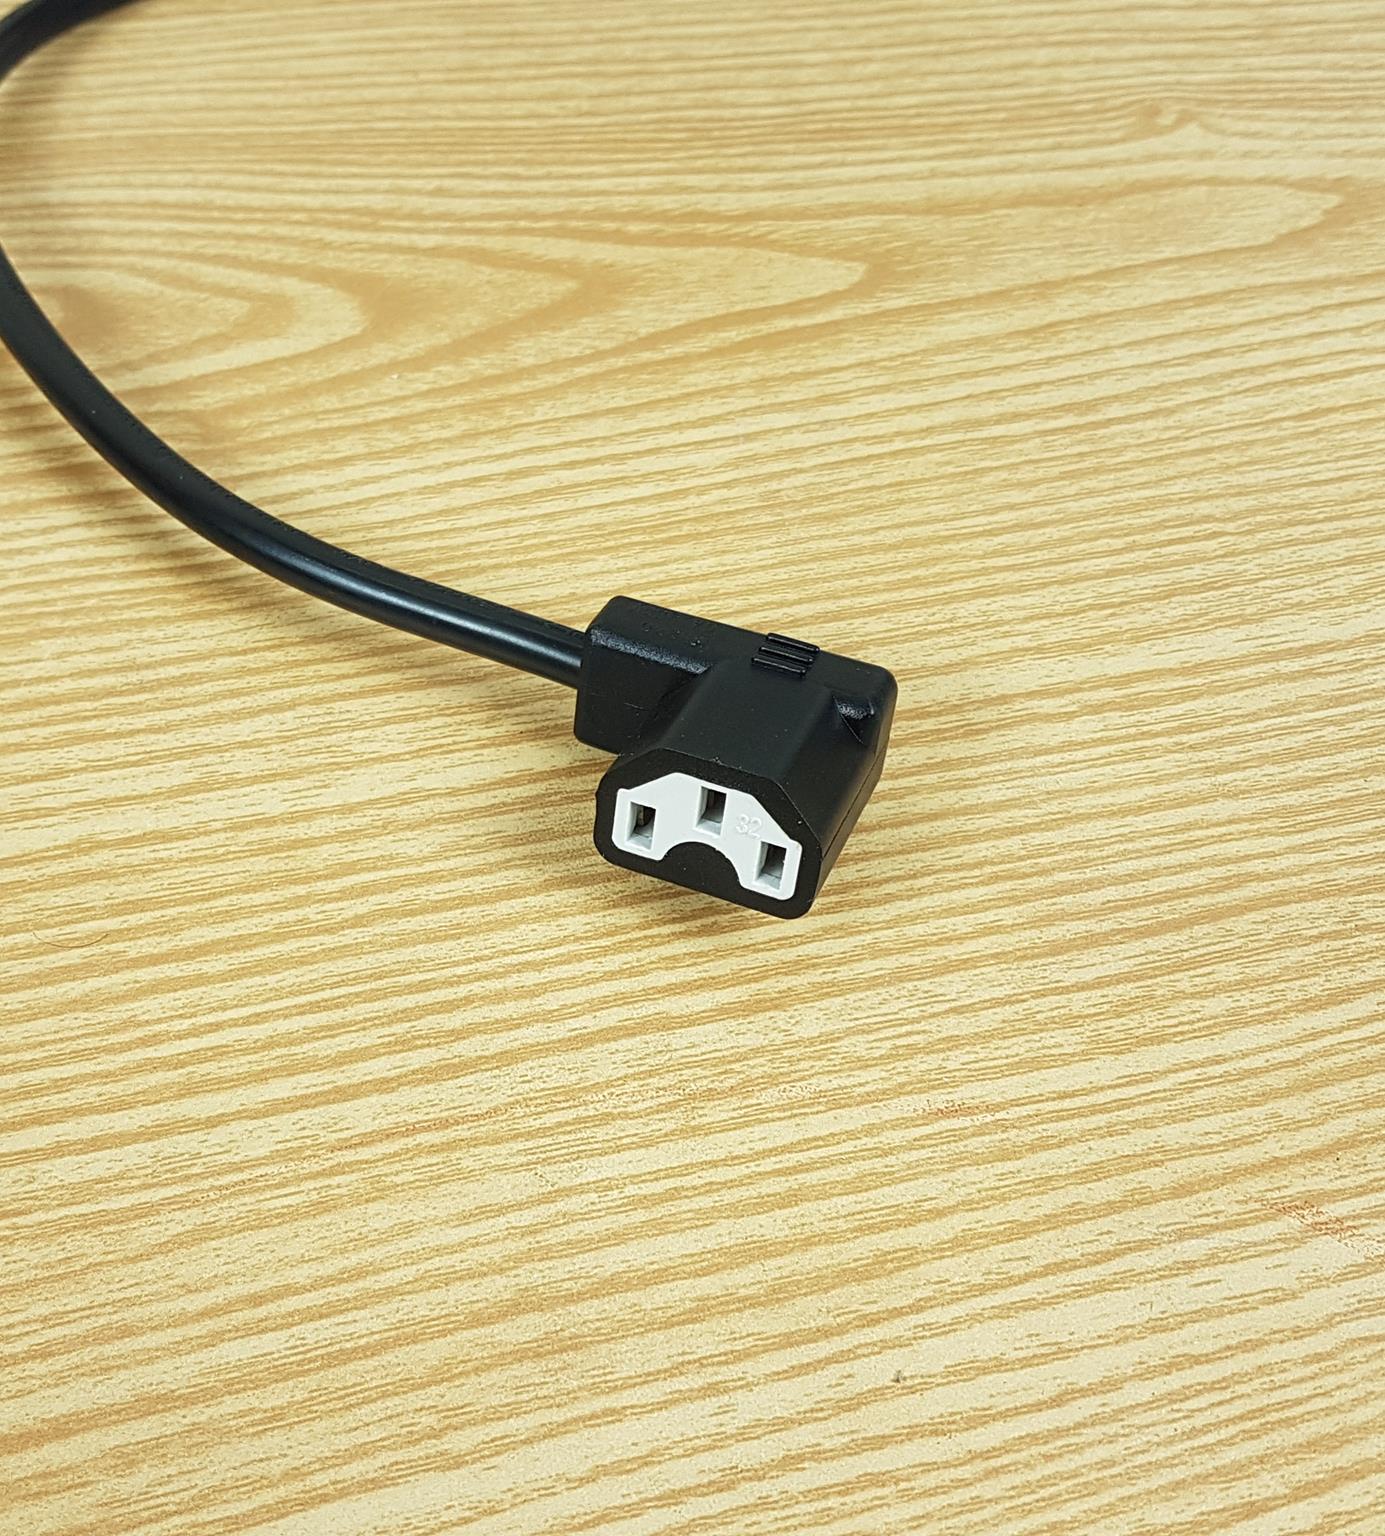
The above picture shows the pass-through power cable that is needed to be connected to the PSU. Please make sure that you turn on the power button of the PSU before closing the panel.
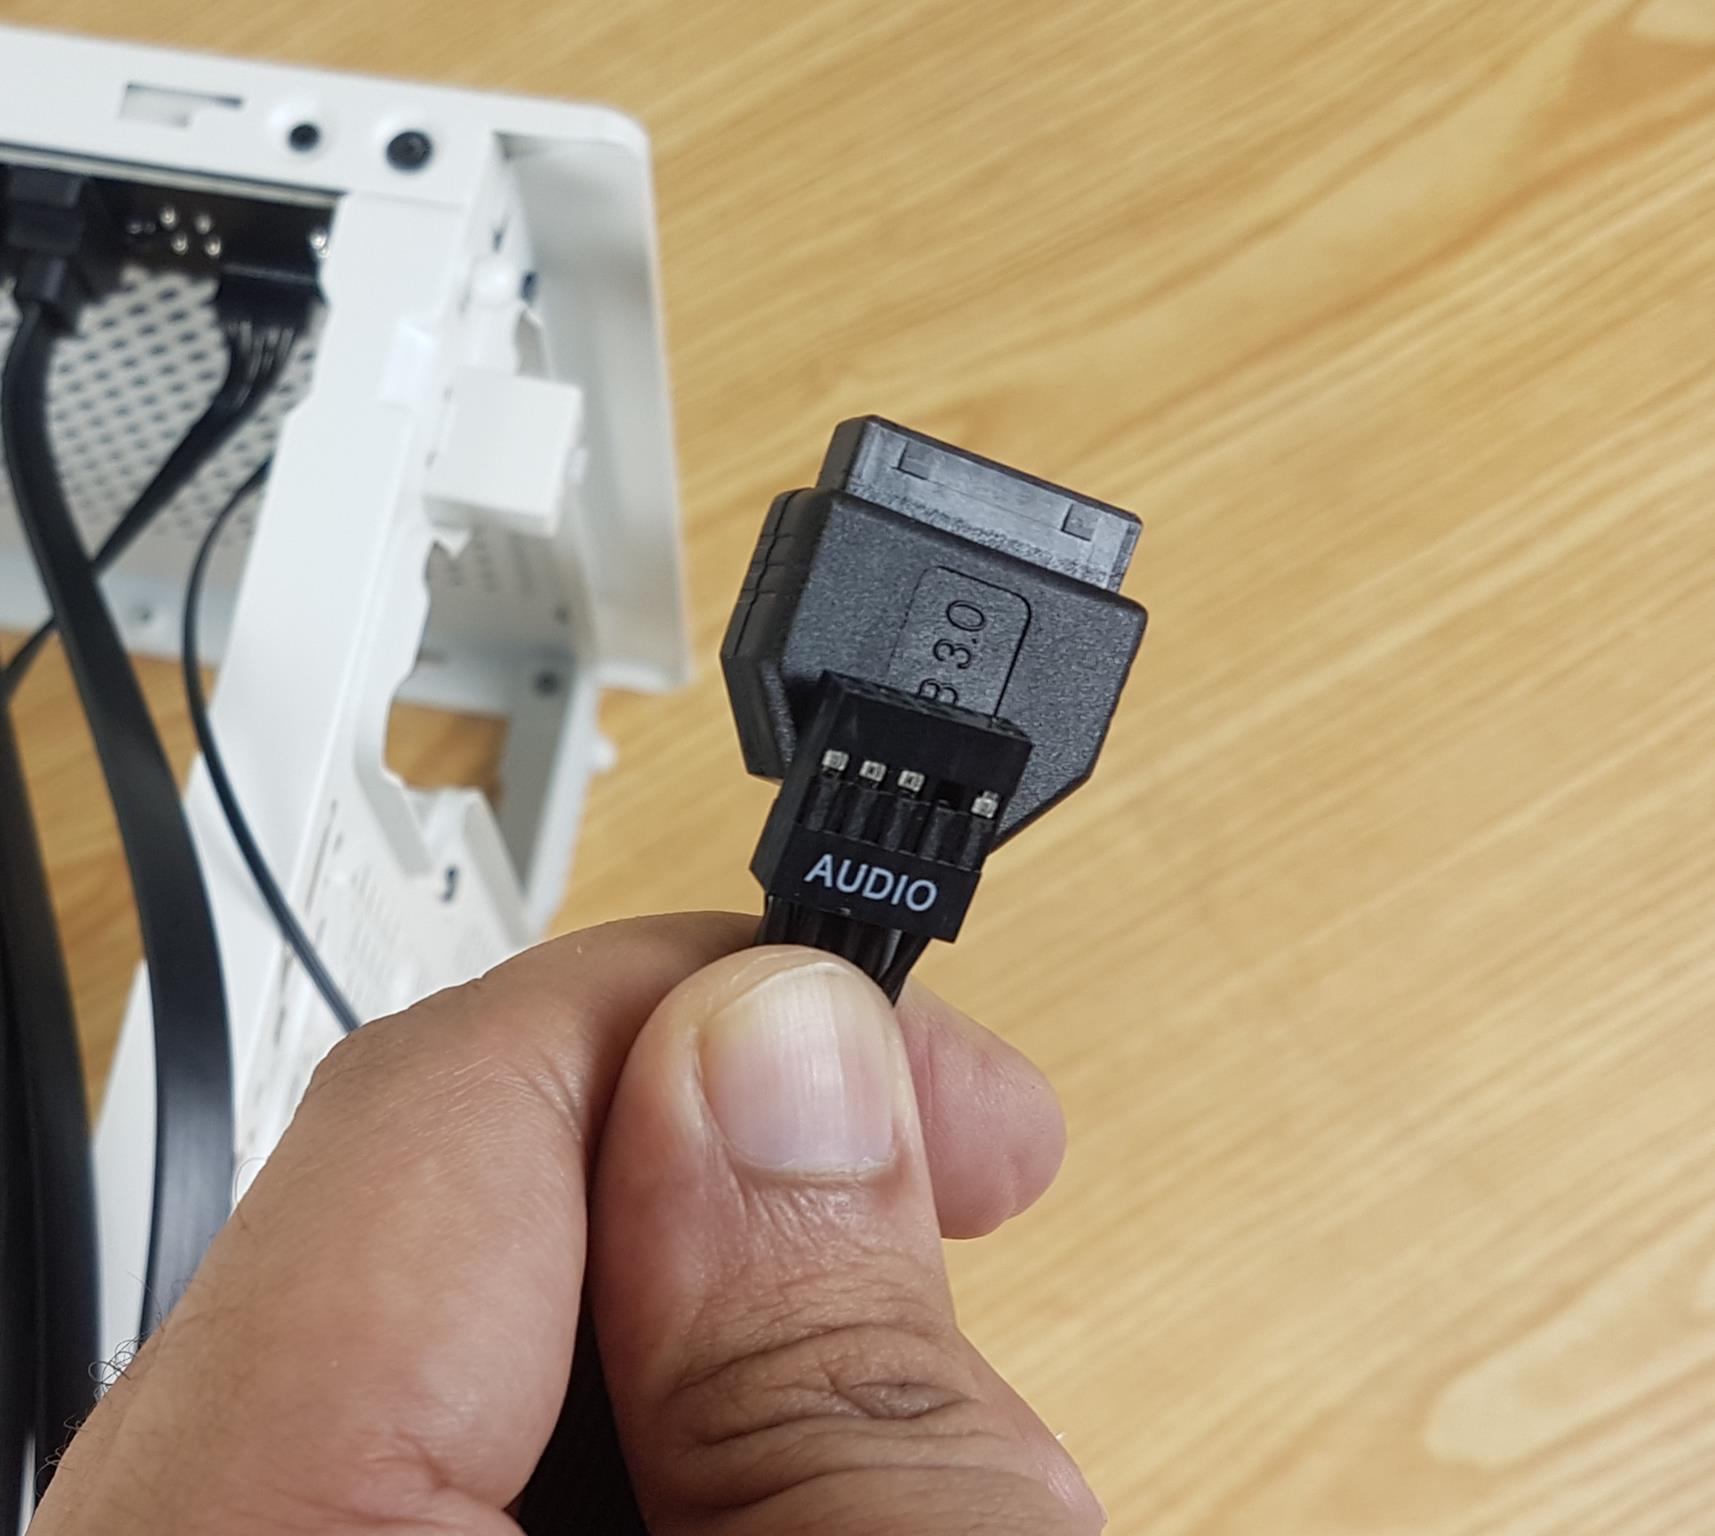
There are HD Audio and USB 3.0 connectors coming from the top IO panel.
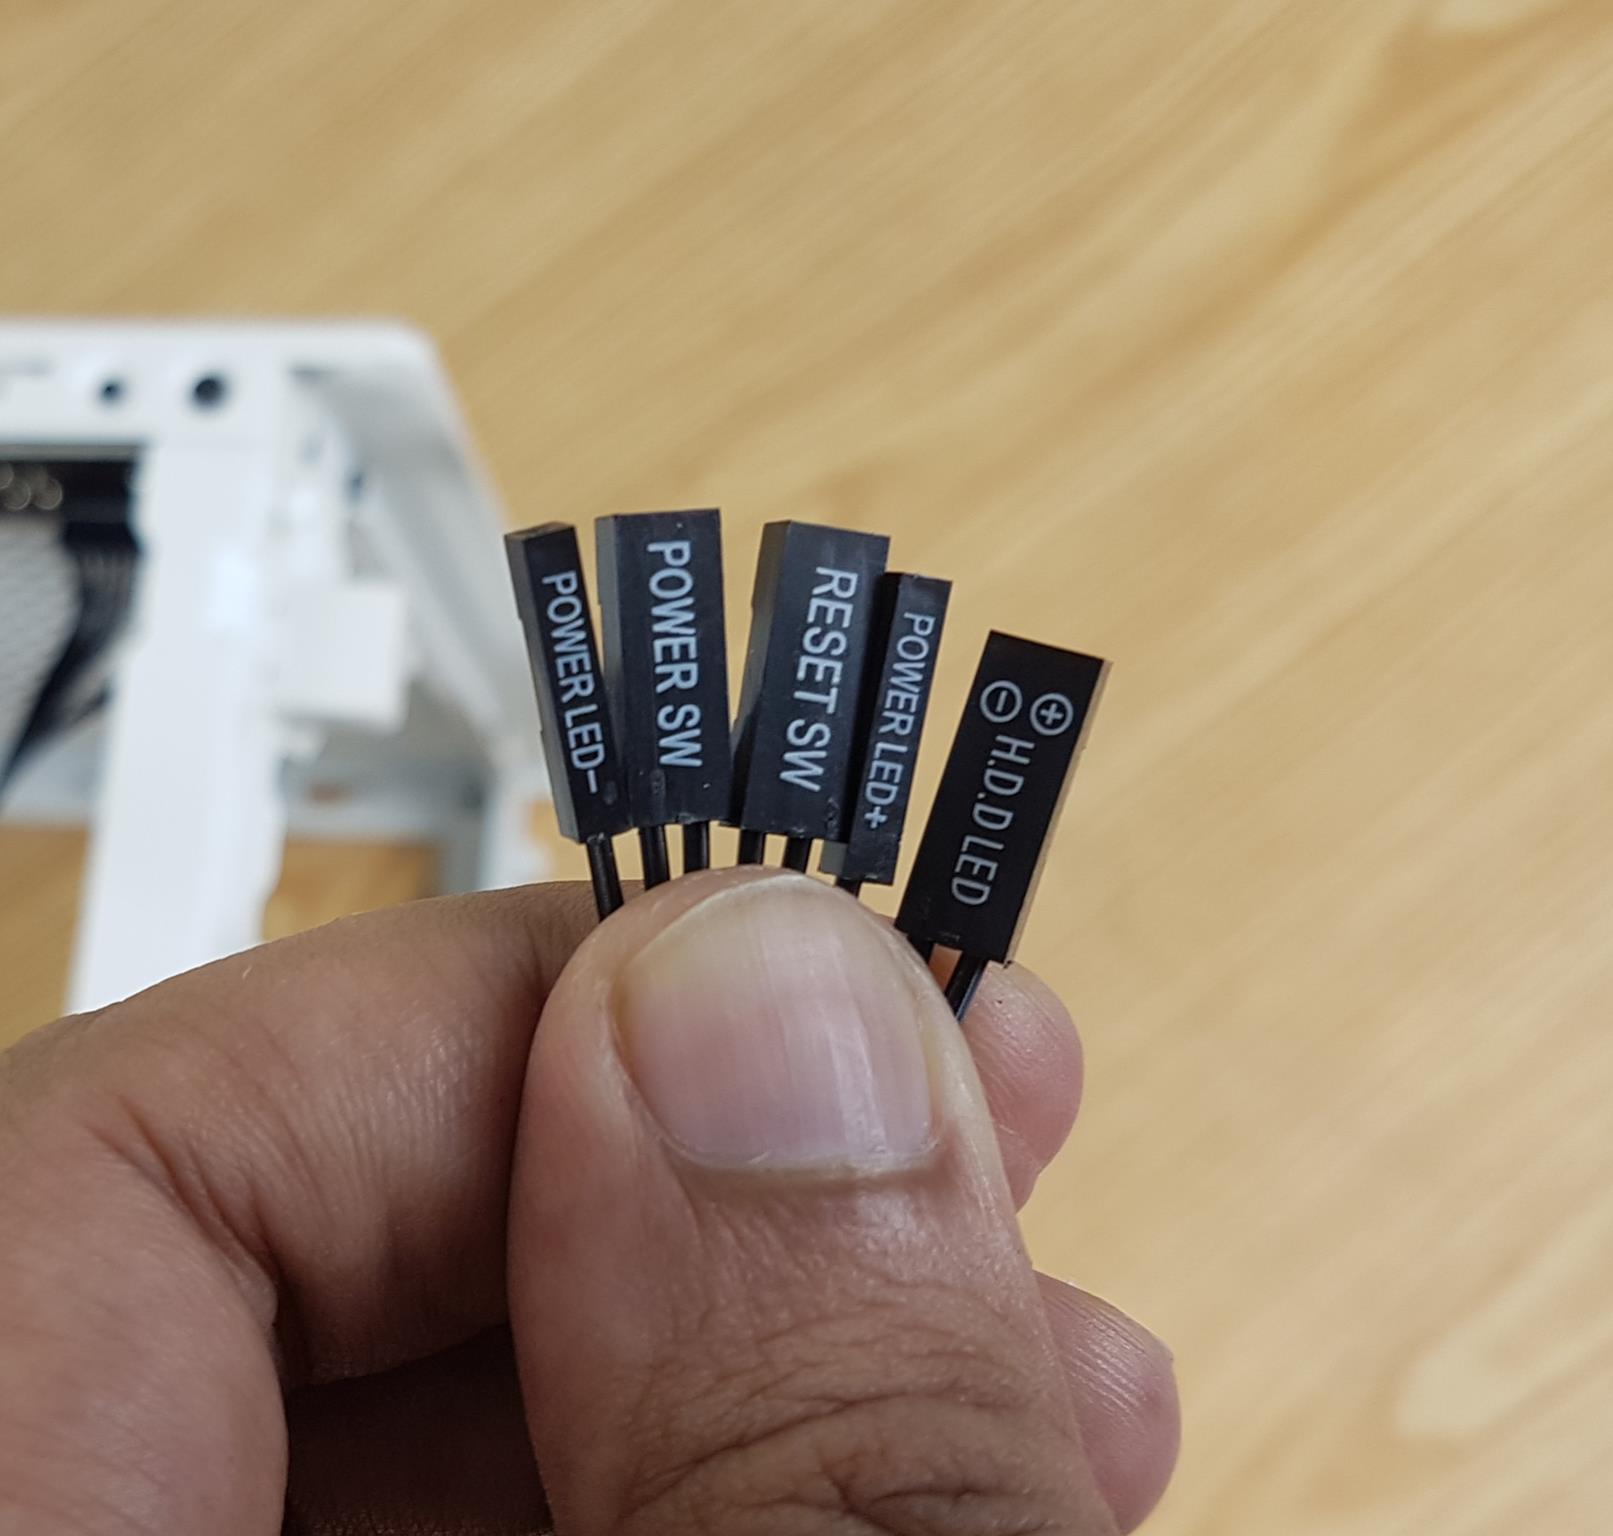
The above picture shows the front panel connectors.
SUGO 16 Test Build
I have used the following configuration for the test build:
- AMD Ryzen 7 7700X CPU
- ASRock B650E PG-ITX WiFi motherboard
- Sabrent Rocket 16GBx2 4800MHz DDR5 kit
- Western Digital Black SN850 500GB NVMe drive
- Noctua L9A-AM5 Low Profile Cooler
- SilverStone SX1000 Platinum PSU
- Be quiet! Pure Wings 2 120mm Fan
Since I did not use AIO or high-end build, it was a relatively easier installation experience overall. I would suggest routing the cables first and then installing the motherboard because there is space under the motherboard that should be utilized in my opinion for some neat cable management. I did not install the PSU at the start. The CPU cooler and RAM were installed out of the case though you can easily install them inside the case as well.
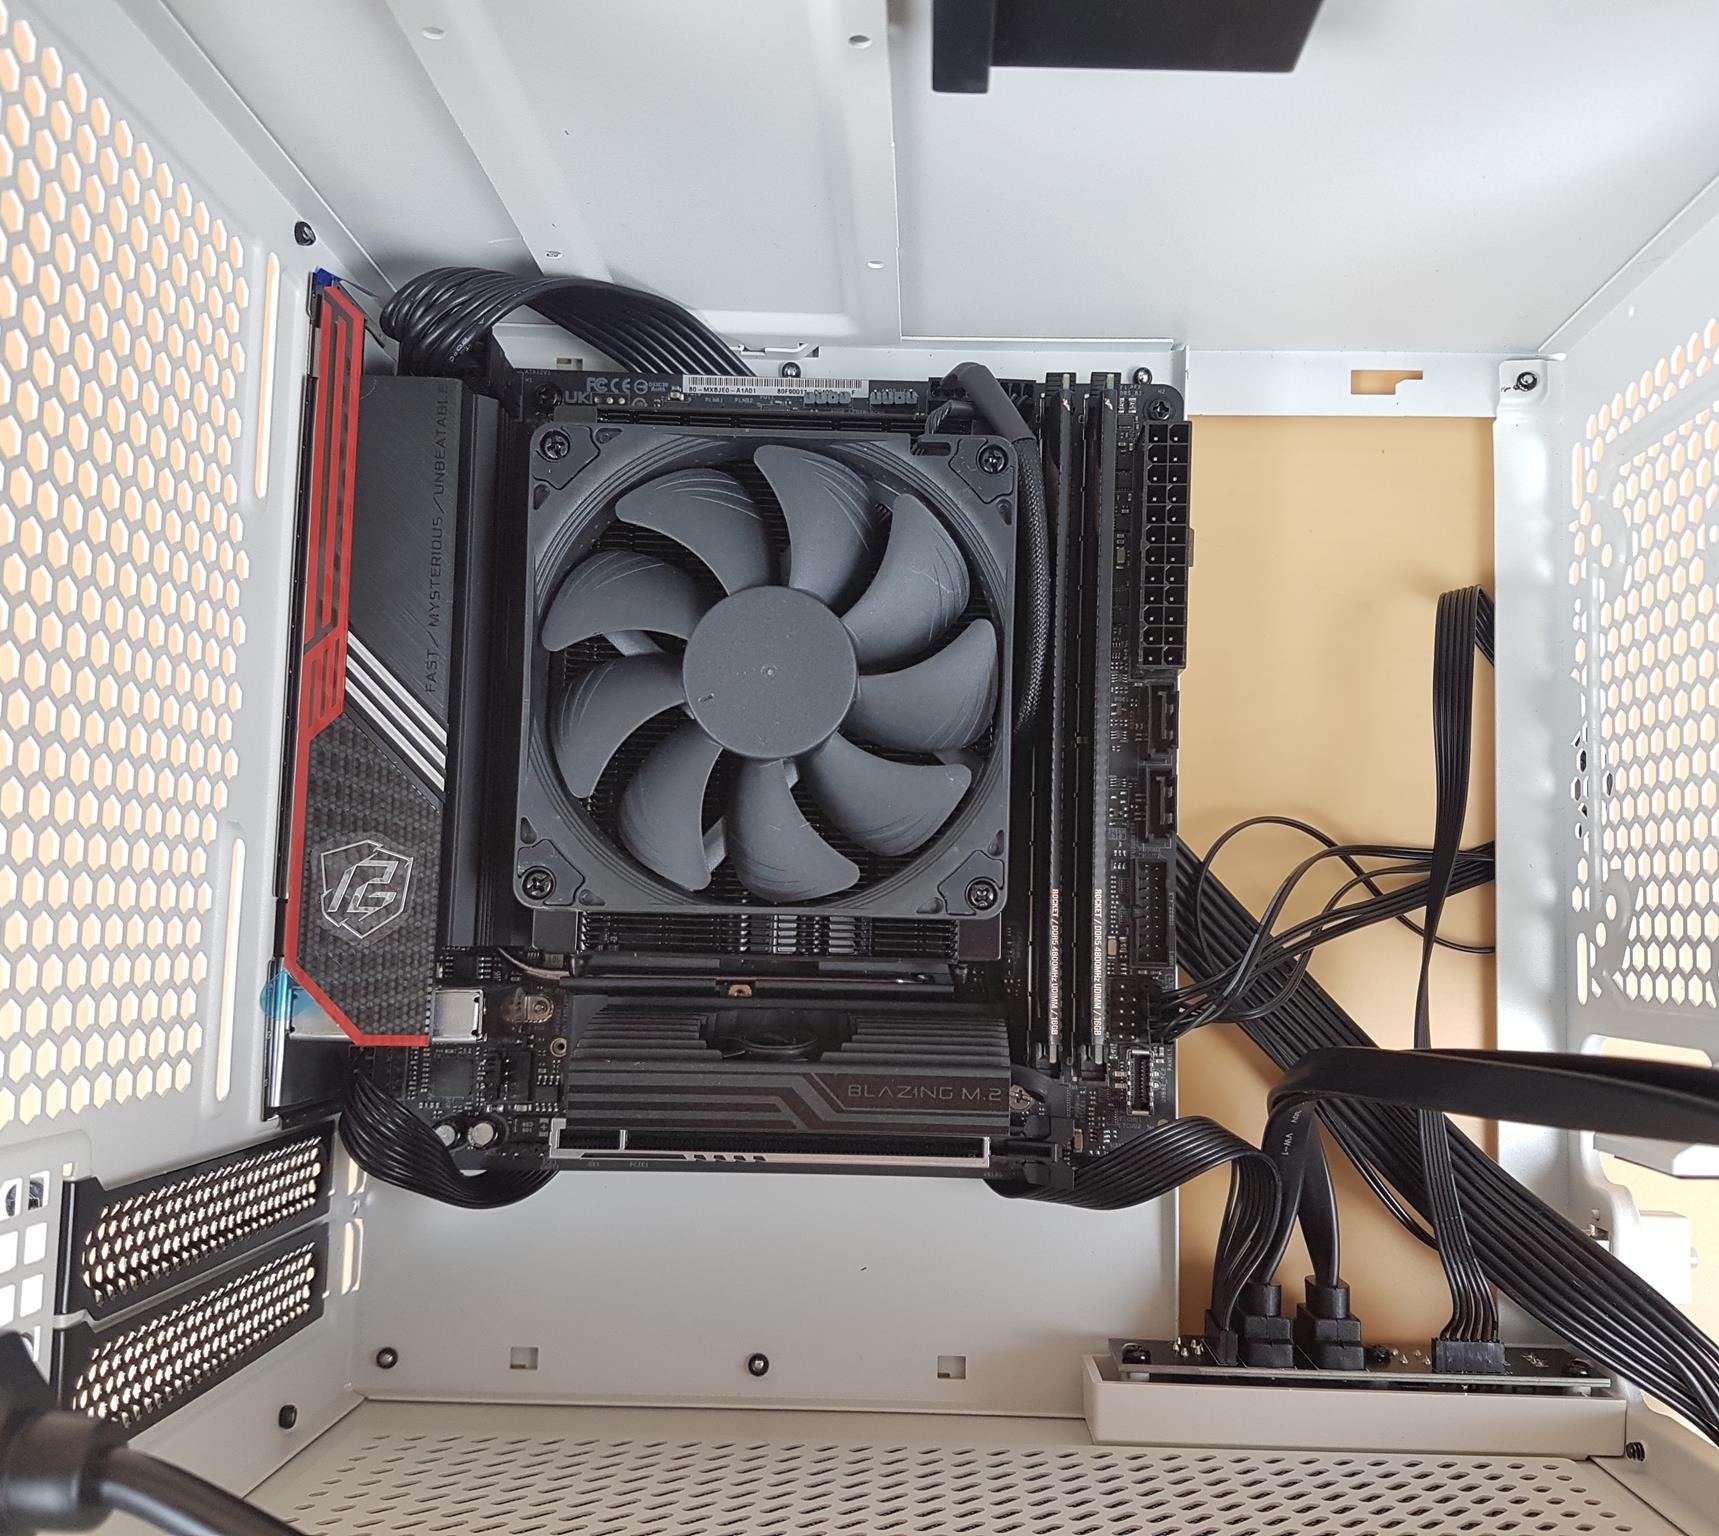
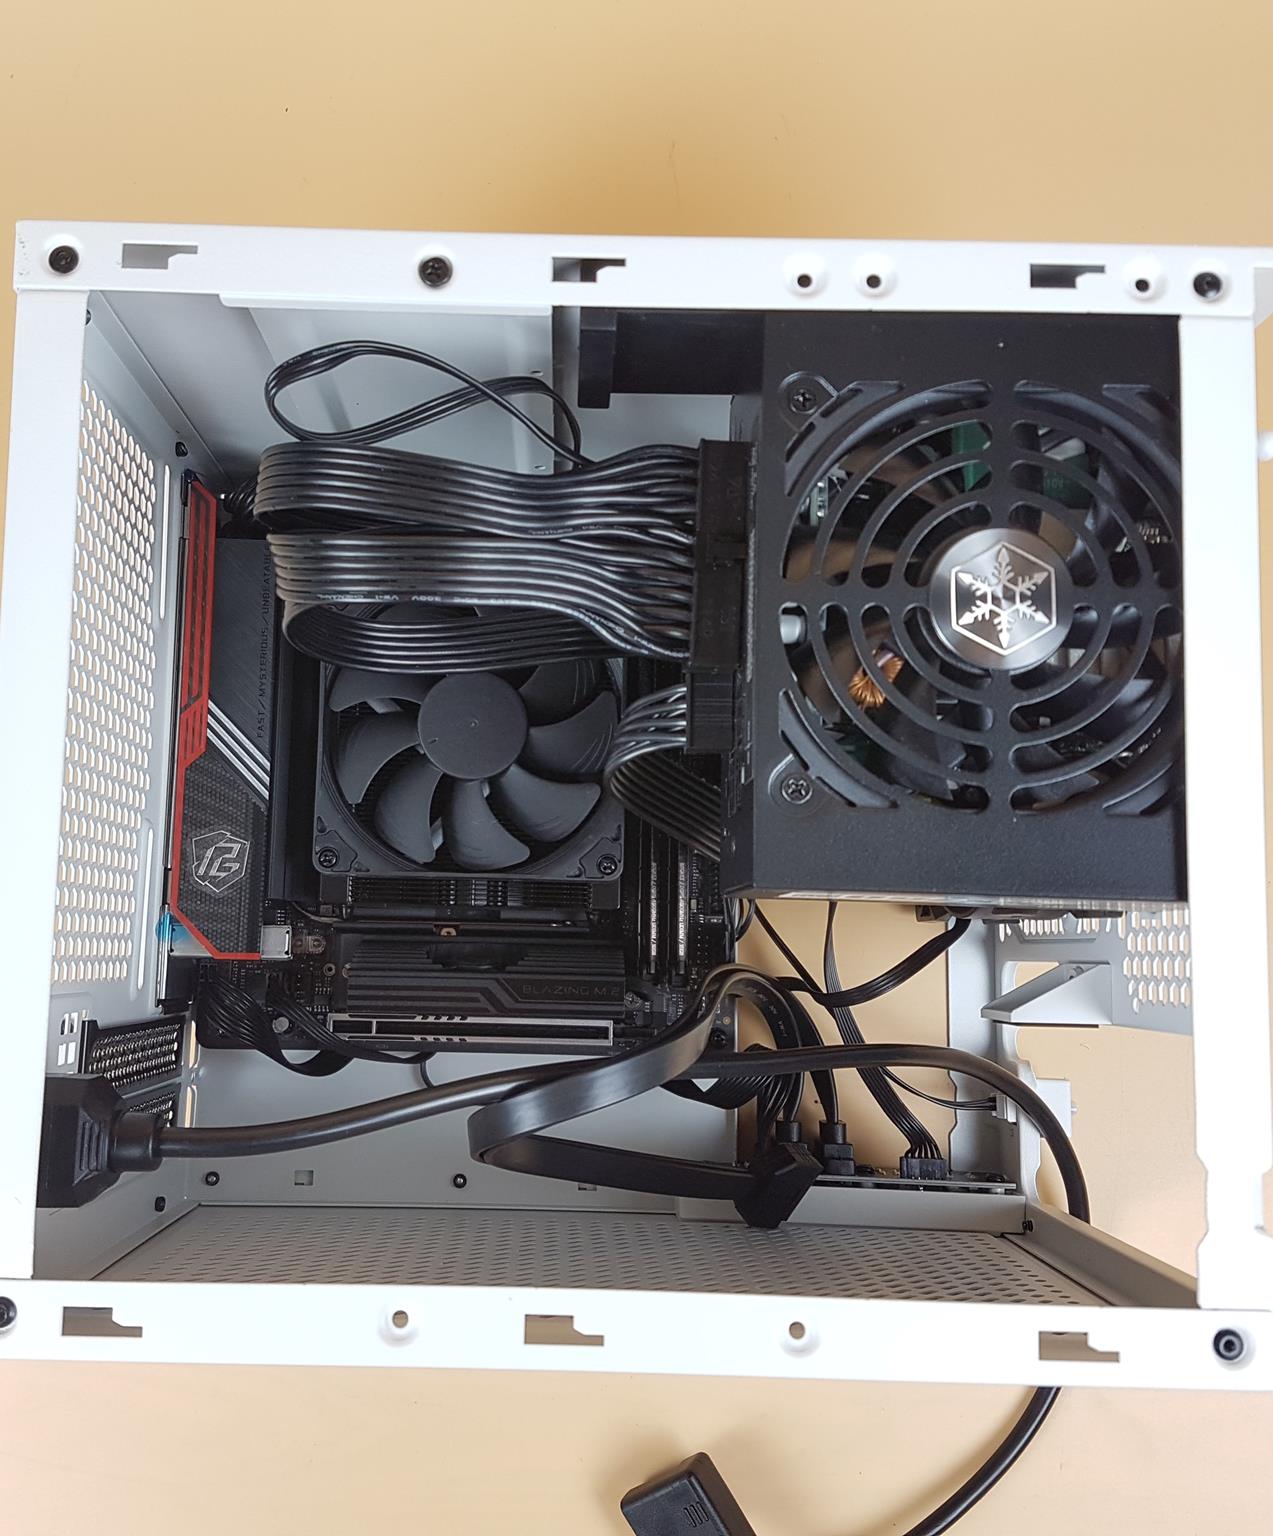
I am showing the top view with respect to the PSU. As you can see cables coming out from the PSU take up some space, so using a tower cooler has its consideration. This is why SilverStone recommends installing the fan on the tower cooler on the backside so that cables don’t interfere with the fan.
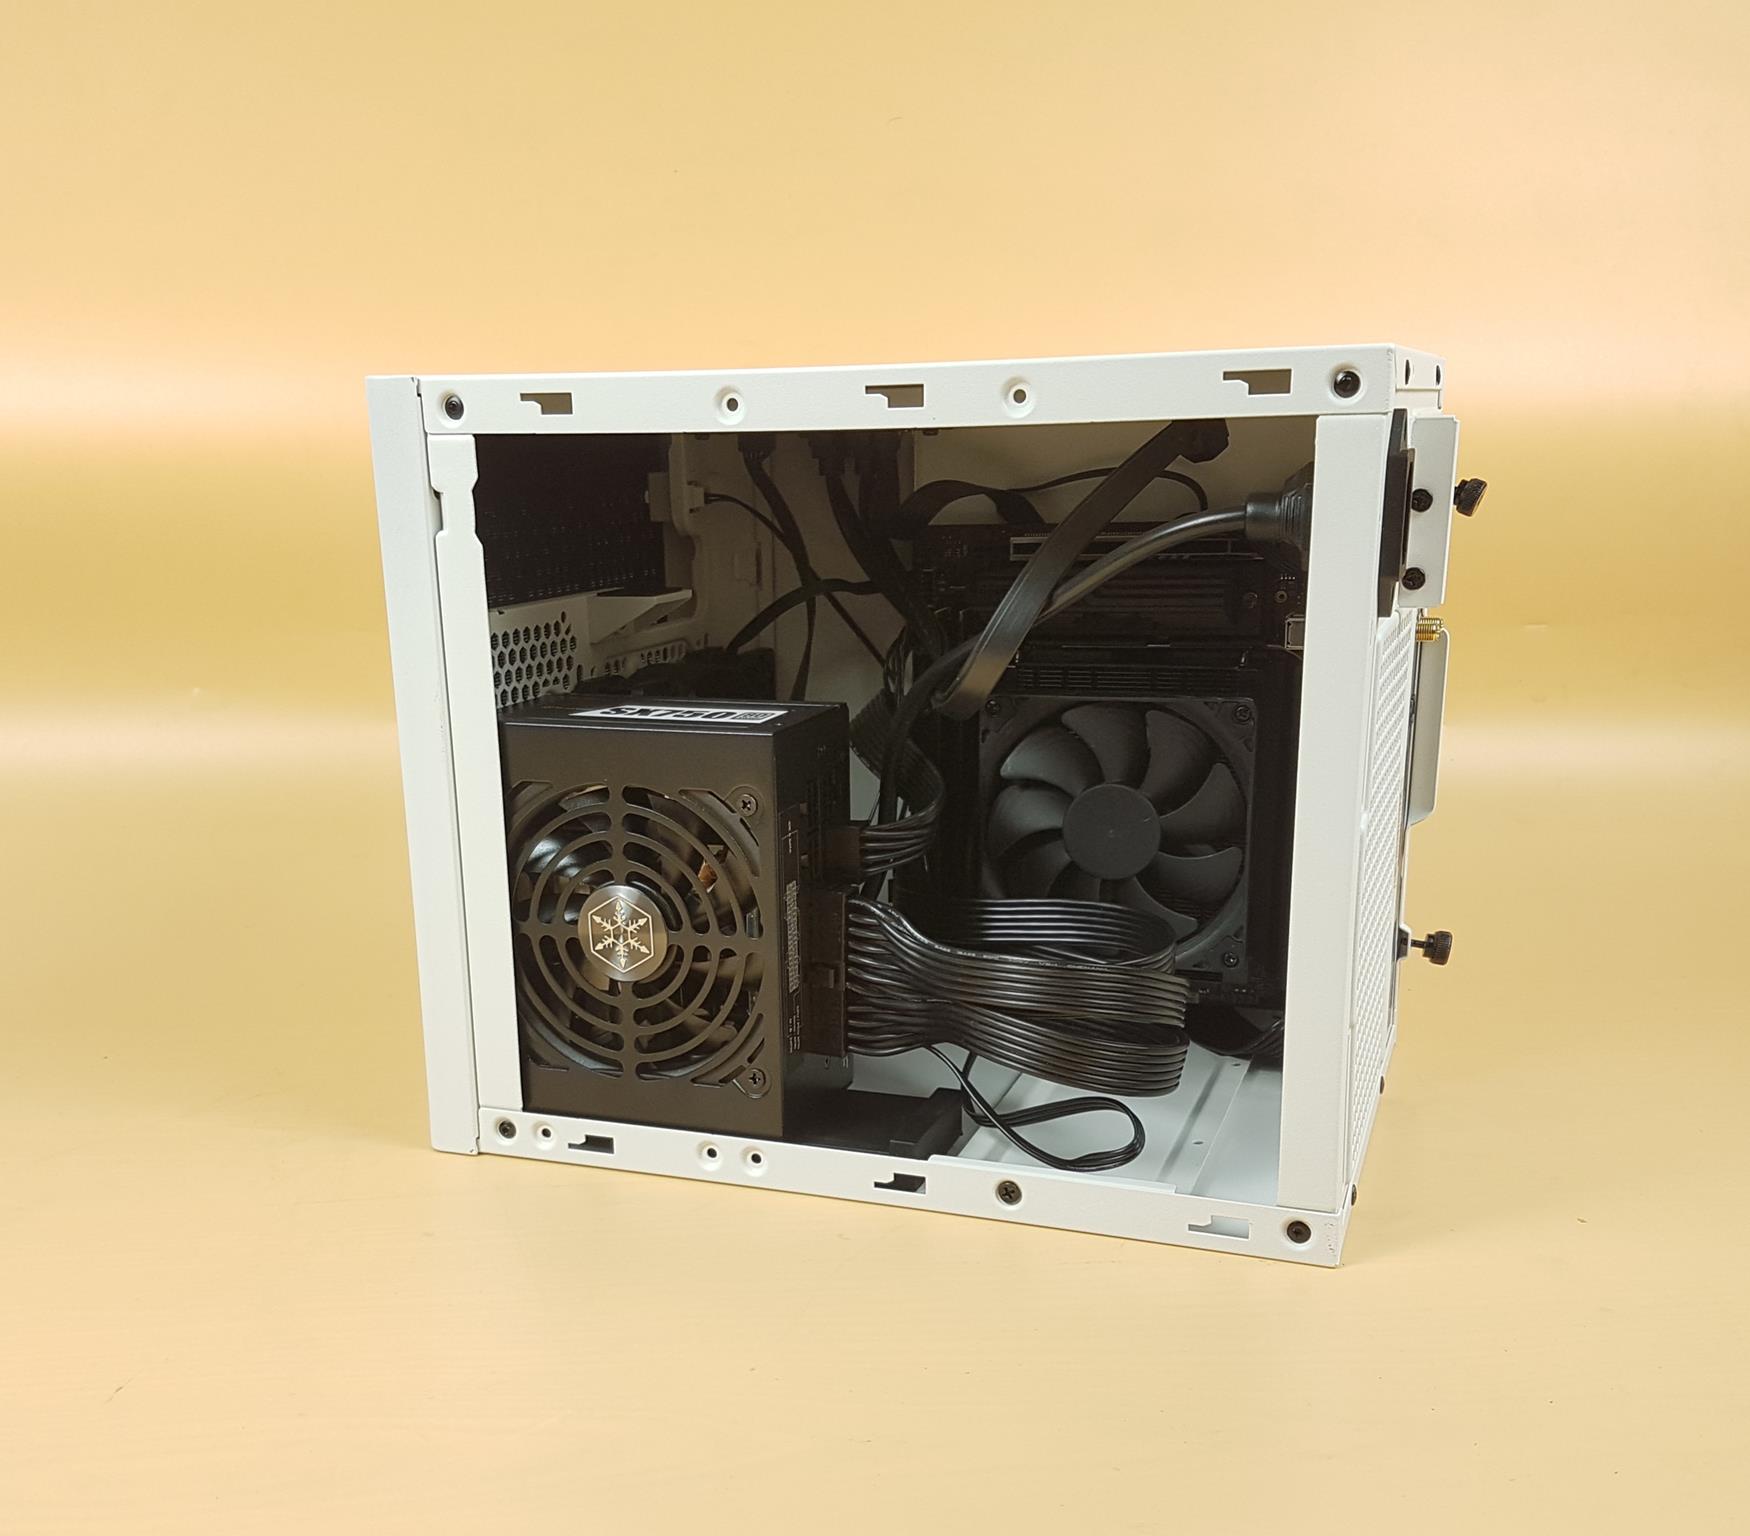
The PSU installation was done at the end. This is the actual view of how the build will look once placed horizontally. PSU hardly contacts the black holder since this holder is designed for SFX and ATX PSUs. I don’t have a graphics card with meets the 275mm length requirement which is why I did not use any graphics card.
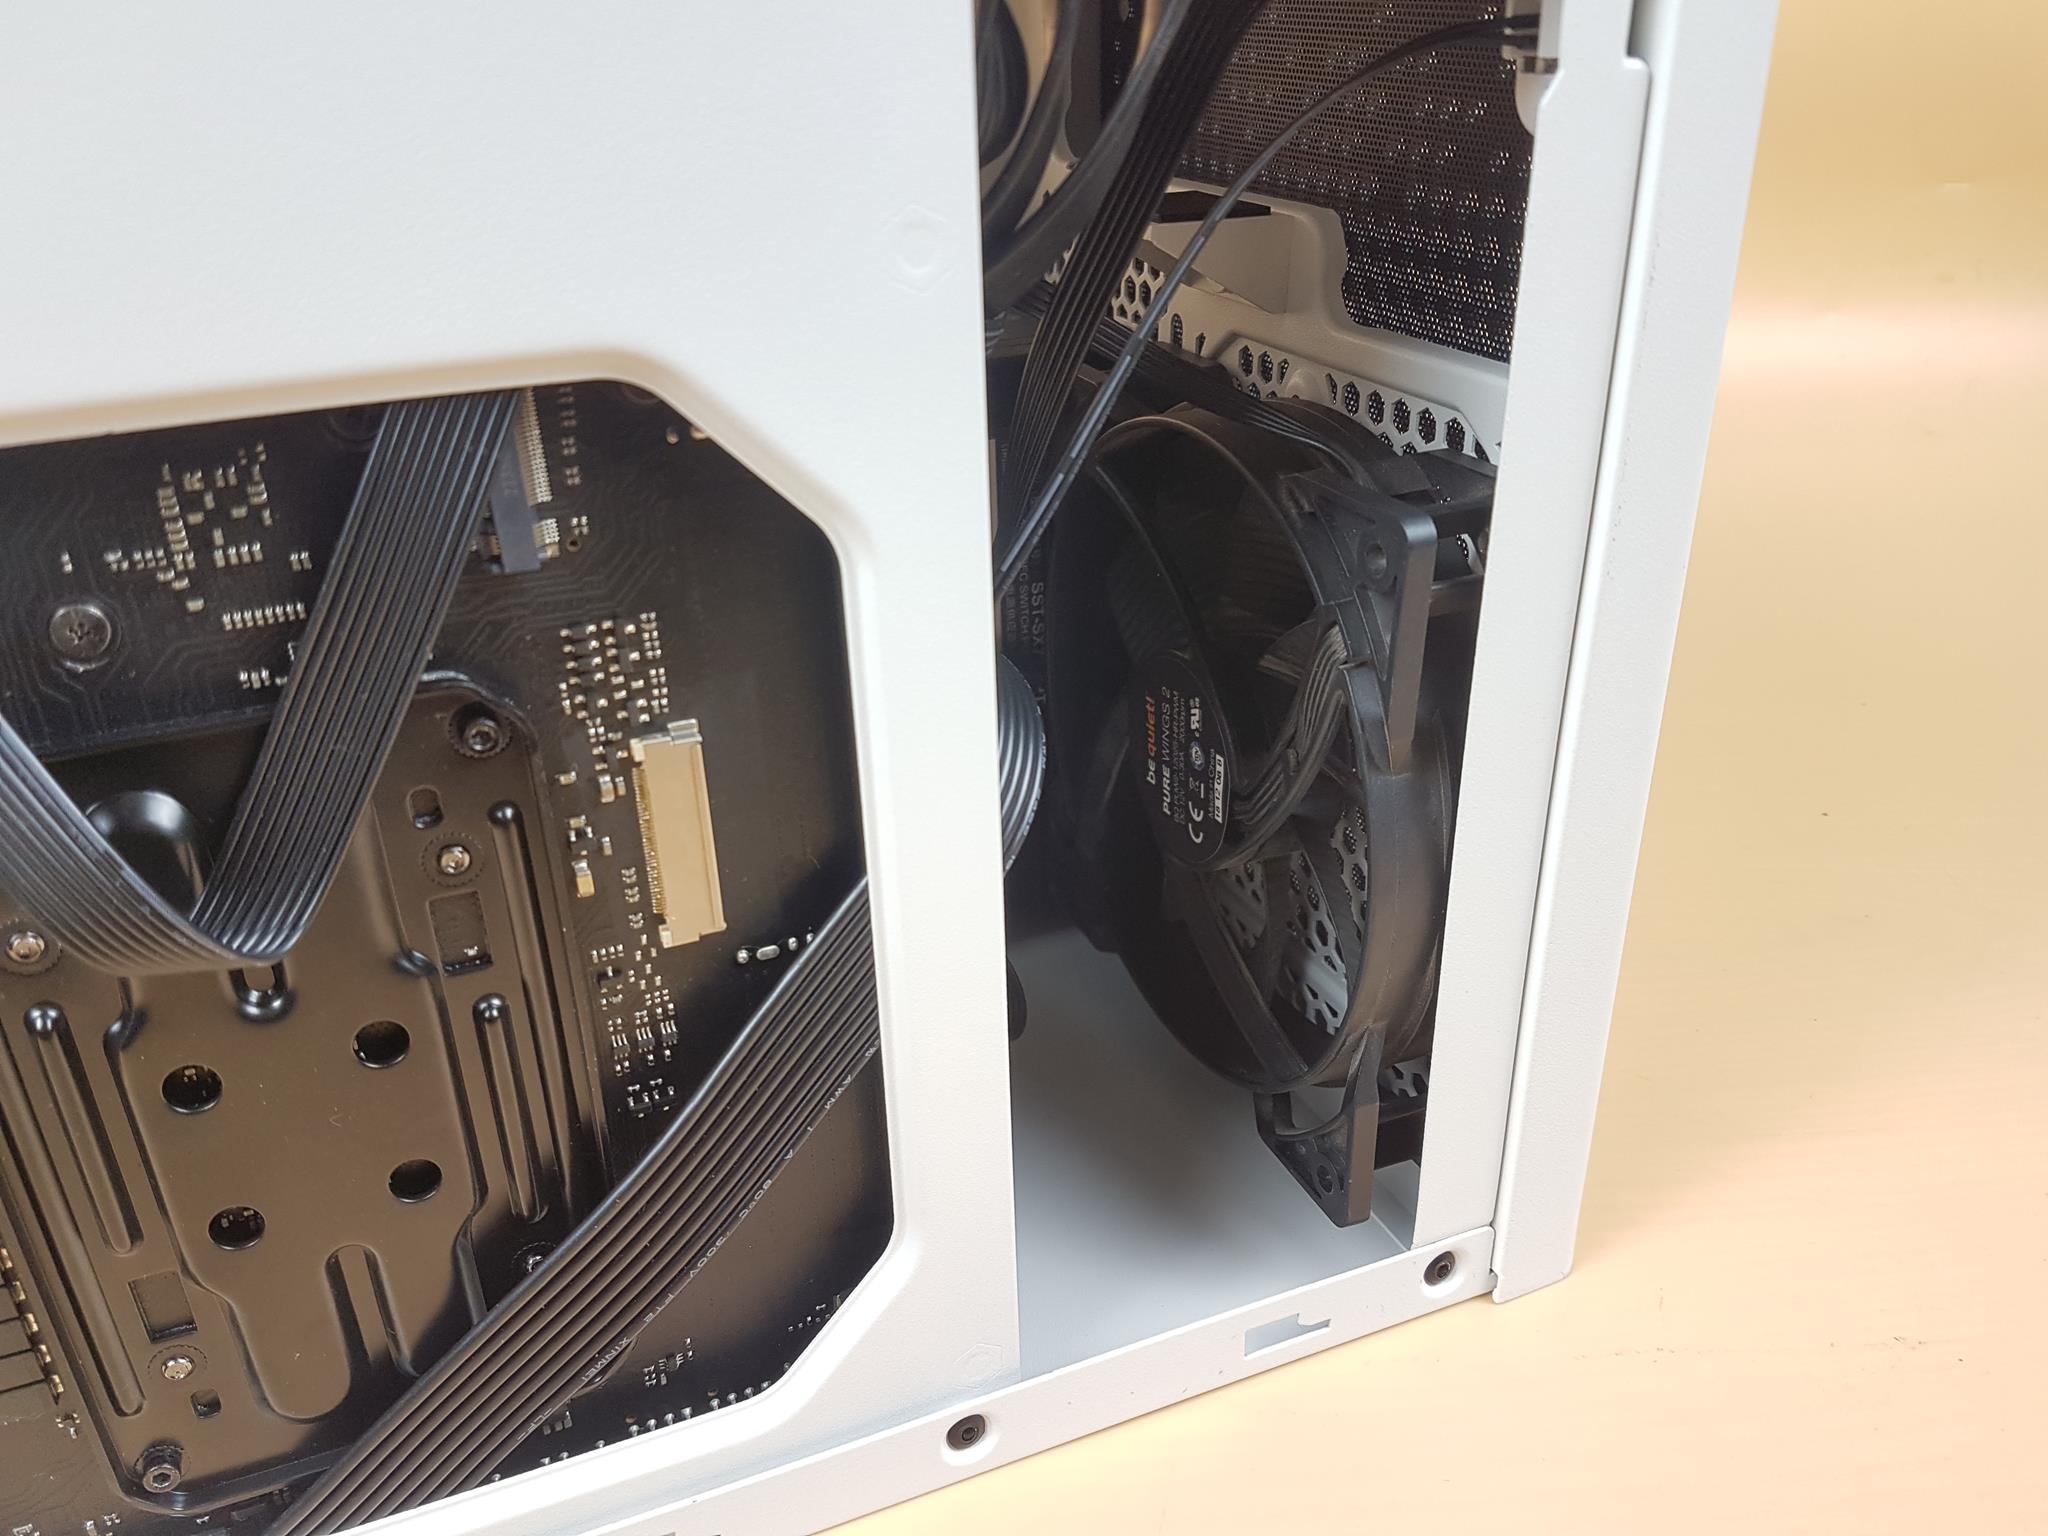
I have installed a 120mm fan on the front to intake fresh air from the front panel. This is only possible because I have used SFX PSU.
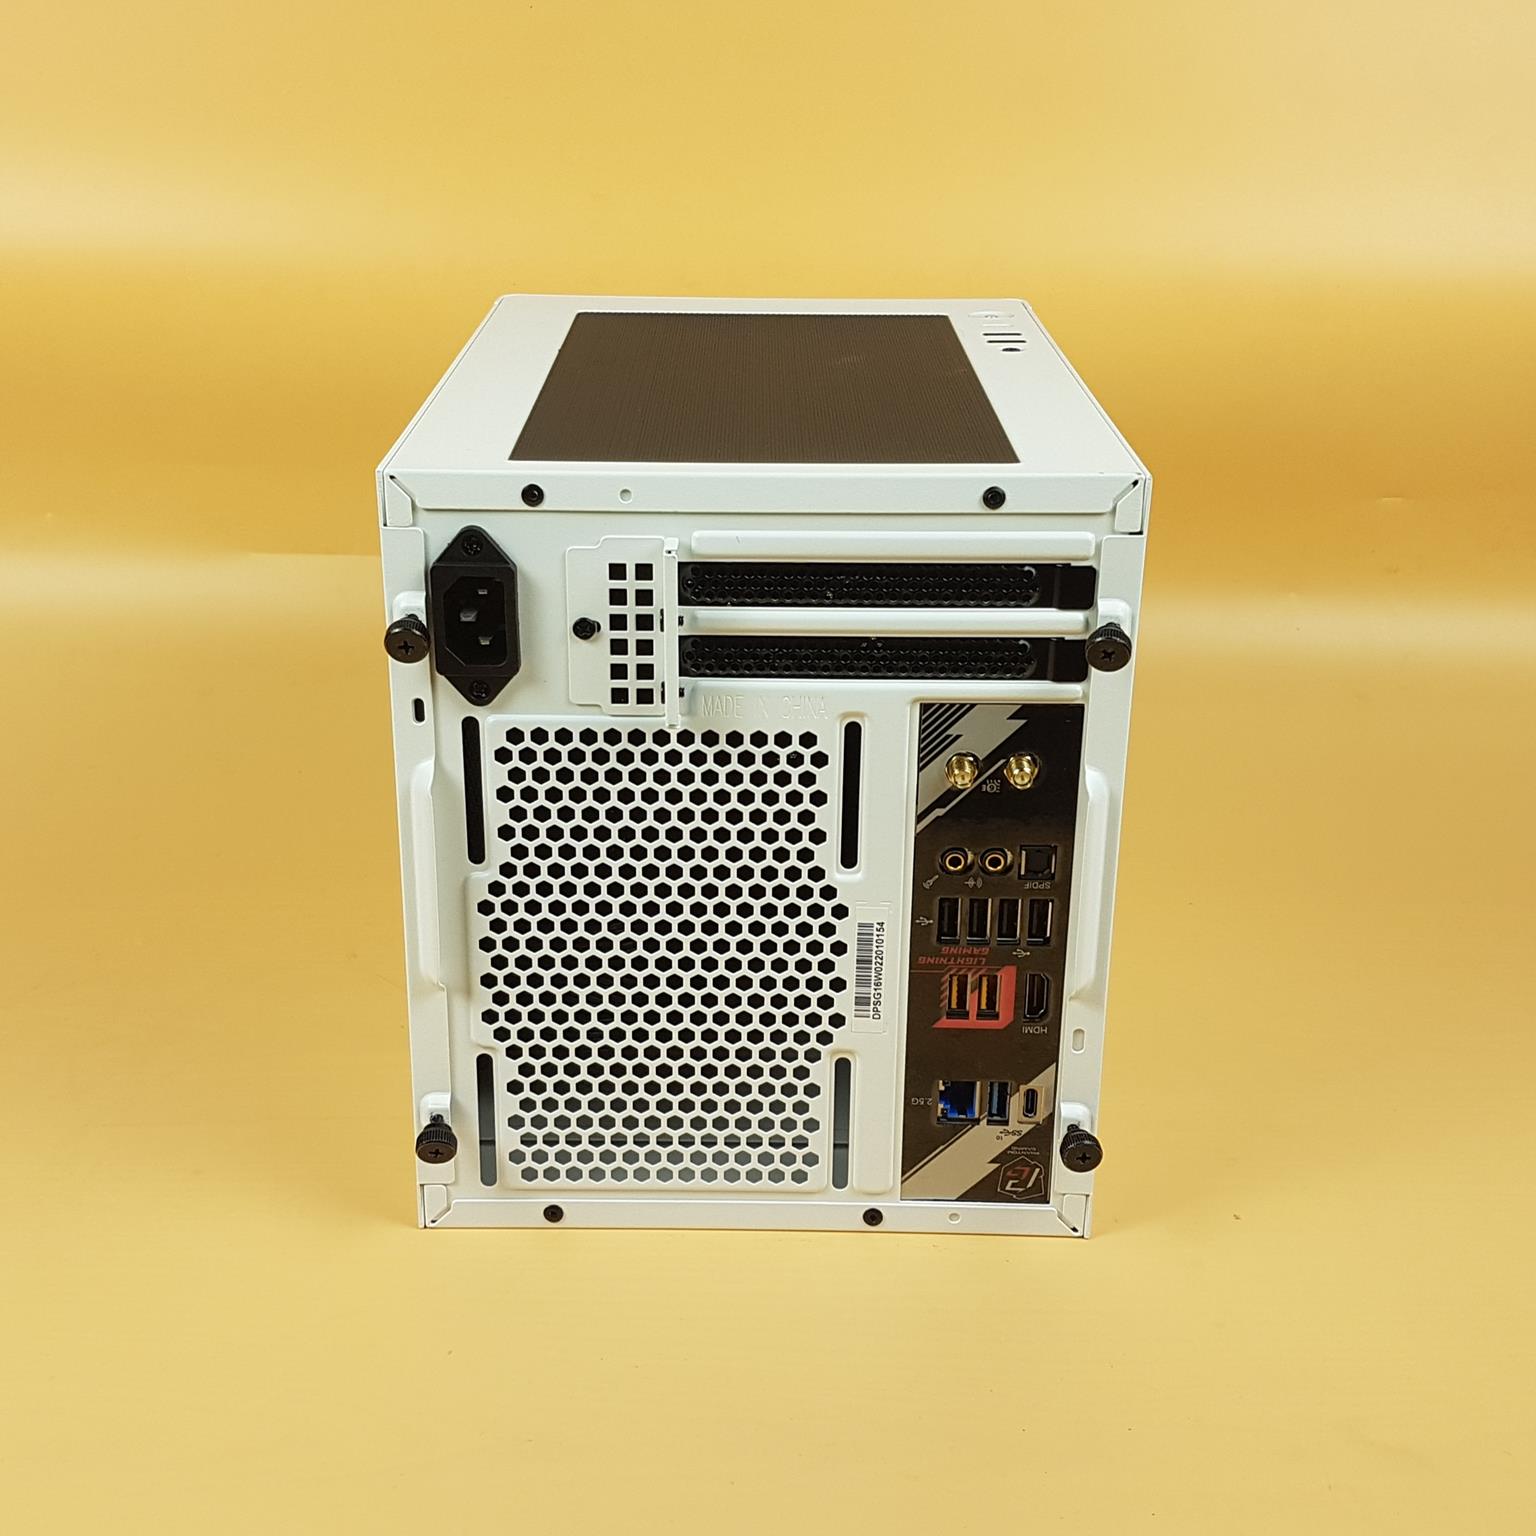
I am showing the rear view with installed motherboard. It is such a clean look.
The side panel is back on.
It is hard to tell if the case has a build inside or not. I like the overall outlook of the case.
Conclusion
The SUGO 16 is a cube-style mini-ITX PC Case from SivlerStone that is available in black, white, and pink colors. This is our second SUGO series case. I tested the SUGO 14 earlier. The SUGO 14 has 19.55 liters volume giving it more space and clearance compared to the SUGO 16 which is only 13 liters in volume. The SUGO 16 supports mini-ITX and mini-DTX form factor motherboards. It has a small footprint compared to the SUGO 14.
The entire case is made of solid steel with perforated side panels. The build quality is top notch and SilverStone has done a fantastic job in terms of the layout and build possibilities. This case has a dimension of 200x232x280mm (WxHxD). This case is wide enough to support an ATX PSU with a liquid cooler of 120mm in size. The net weight of this case is 2.66 kg.
In terms of dust filtration, this case has 3x magnetic dust filters on the top, front, and side for dustproofing. The top, front, and side panels have a perforate design whereas the left side panel has a solid steel cover because it faces the backside of the motherboard. In terms of cooling, you can install a 120mm fan or 120mm AIO on the rear. You can install a 120mm or 92mm or 80mm fan on the front depending on the PSU type. 120mm fan is not possible with ATX PSU. In terms of storage, you can install up to 2x 2.5” drives or a 3.5” and a 2.5” drive. One drive can be mounted on the front for which you will have to skip the fan and one drive can be installed on a dedicated bracket.
This case can house a tower cooler with a height support of 85mm to 172mm depending on the PSU type. This case can house a dual-slot graphics card with a maximum length of 275mm and a width of 147mm. The PSU length can be from 150mm to 220mm. The PSU has consideration for the tower cooler. The cables of the PSU would need some space towards the motherboard so they can come in contact with the cooler which is why it suggested installing the fan on the backside of the tower.
The CPU cutout is quite large which allows the user to easily install the cooler inside the case. It also provides some access to the back M.2 port on the motherboard. There is a space under the motherboard that you can utilize to route cables for a clean job.
I have tested the case using AMD Ryzen 7 7700X on stock. The temperature was 95ᵒC which is by design as per AMD. However, this cooler maintained the all cores clocked at 4.7GHz under heavy stress load. Using Advanced PBO with socket power limited to 110W, the thermal limit set to 85ᵒC and all cores set at -30mV on the efficiency curve. The maximum temperature was 85ᵒC under stress load. It is hard to comment on the airflow inside this case since the cooler was not adequate to handle the AMD CPU. A tower cooler or an AIO would have better indicated the airflow.
The SUGO 16 retails at USD 93.95 at the time of this writing. It has a nice feature set particularly the cooling provision and the dust protection in 13 liters volume though it has limited storage provision. You would need high-capacity drive(s) in addition to the M.2 drives as the case may be. This case is recommended by us.

