Swiftech Maelstrom D5-X100 Reservoir/Pump Combo Review
Introduction
Swiftech is a well-known name in the water cooling community and market alike. Founded in 1994 and incorporated in 2001, they had a great success with their first heat sink series under MC370 line and there was no stopping ever since to them in bringing the top-notch quality products in the mainstream market for the thermal management solution. Their dedication to commitment, continuous innovation, listening to the feedback and no compromise on the quality and performance has seen them launching award-winning products backed by customer satisfaction. Their product range includes the pre-assembled water cooling kit (AIO), Reservoir, Pumps, Water Blocks, Fittings, Radiators, Fans, and accessories etc. Particularly their AIOs are ever popular among the water cooling users as they are using the open loop components off the shelf in assembling the kit like integrated reservoir/pump combo mounted on the radiator, apogee water block to name a few of the components.
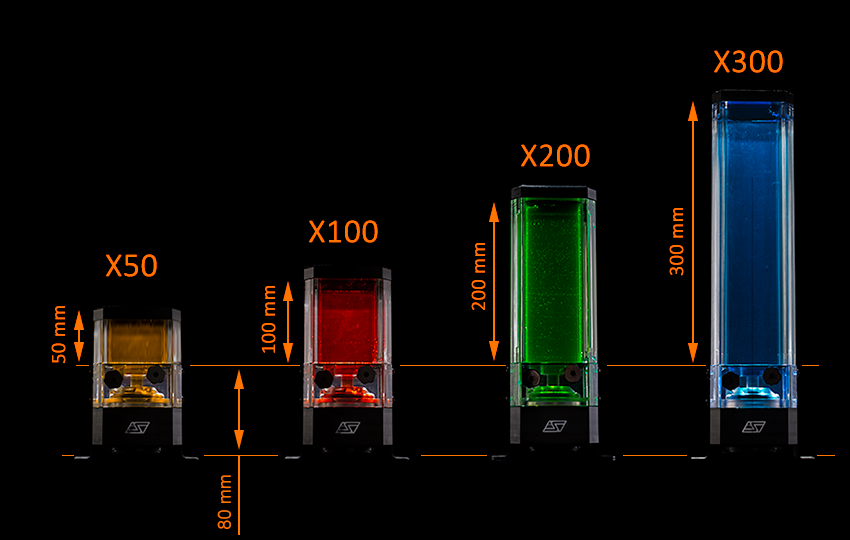
Swiftech has sent us their Apogee SKF Prestige CPU Water Block and Maelstrom D5-X100 Pump/Reservoir combo for the review. Today, I will be taking a look at their Maelstrom series new Reservoir/pump combo named MaelStrom D5-X100. Swiftech has taken a new design approach for this particular reservoir. They have made the unit with glass in a rectangular shape with two edges on each side. Since it is not acrylic, the glass has made this combo stand out of the competition and it looks that good in person. This combo is available in multiple sizes starting from 50mm and going up to 100mm, 200mm, and 300mm. Swiftech is using Laing/Xylum D5 with PWM motor pump in the D5 MaelStrom units. This is a powerful pump with ceramic bearings and 50,000 MTBF life. This is not all as Swiftech is using addressable RGB LED lighting on this combo for some vivid lighting effect. This is compatible with Swiftech Iris Technology. You would need Iris Eco controller hub to make these LED work. We have total 4 ports with are BSP G1/4” threaded. There is no return-line tube inside the reservoir though we do have a return-line port on the top should one want to use it.
Product: MaelStrom D5-X100
Manufacturer: Swiftech
Price: $149.95
Specifications
Packaging and Unboxing
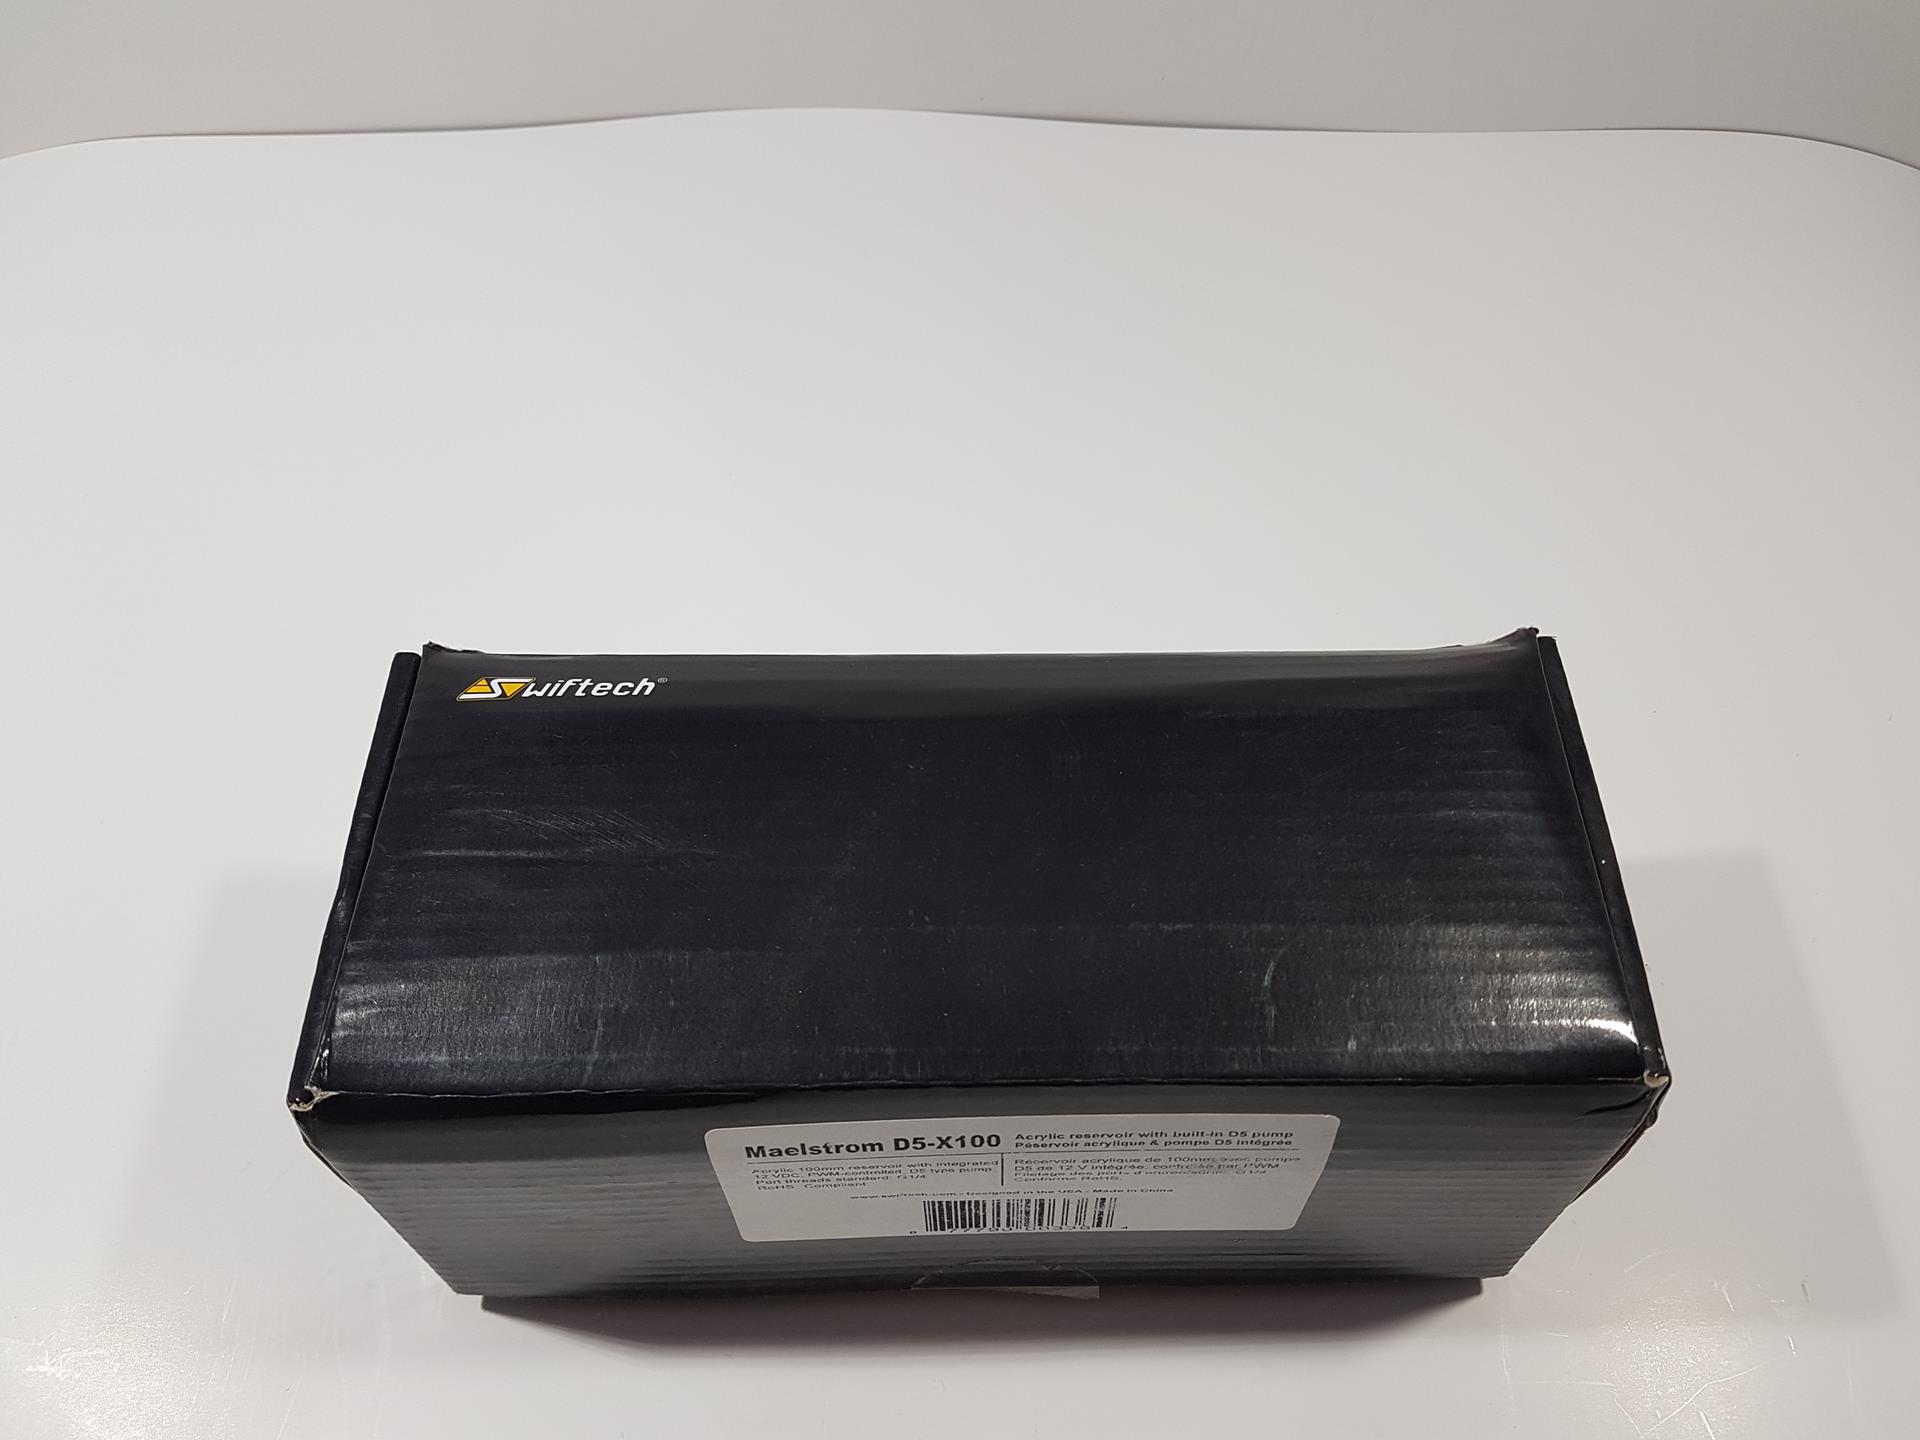
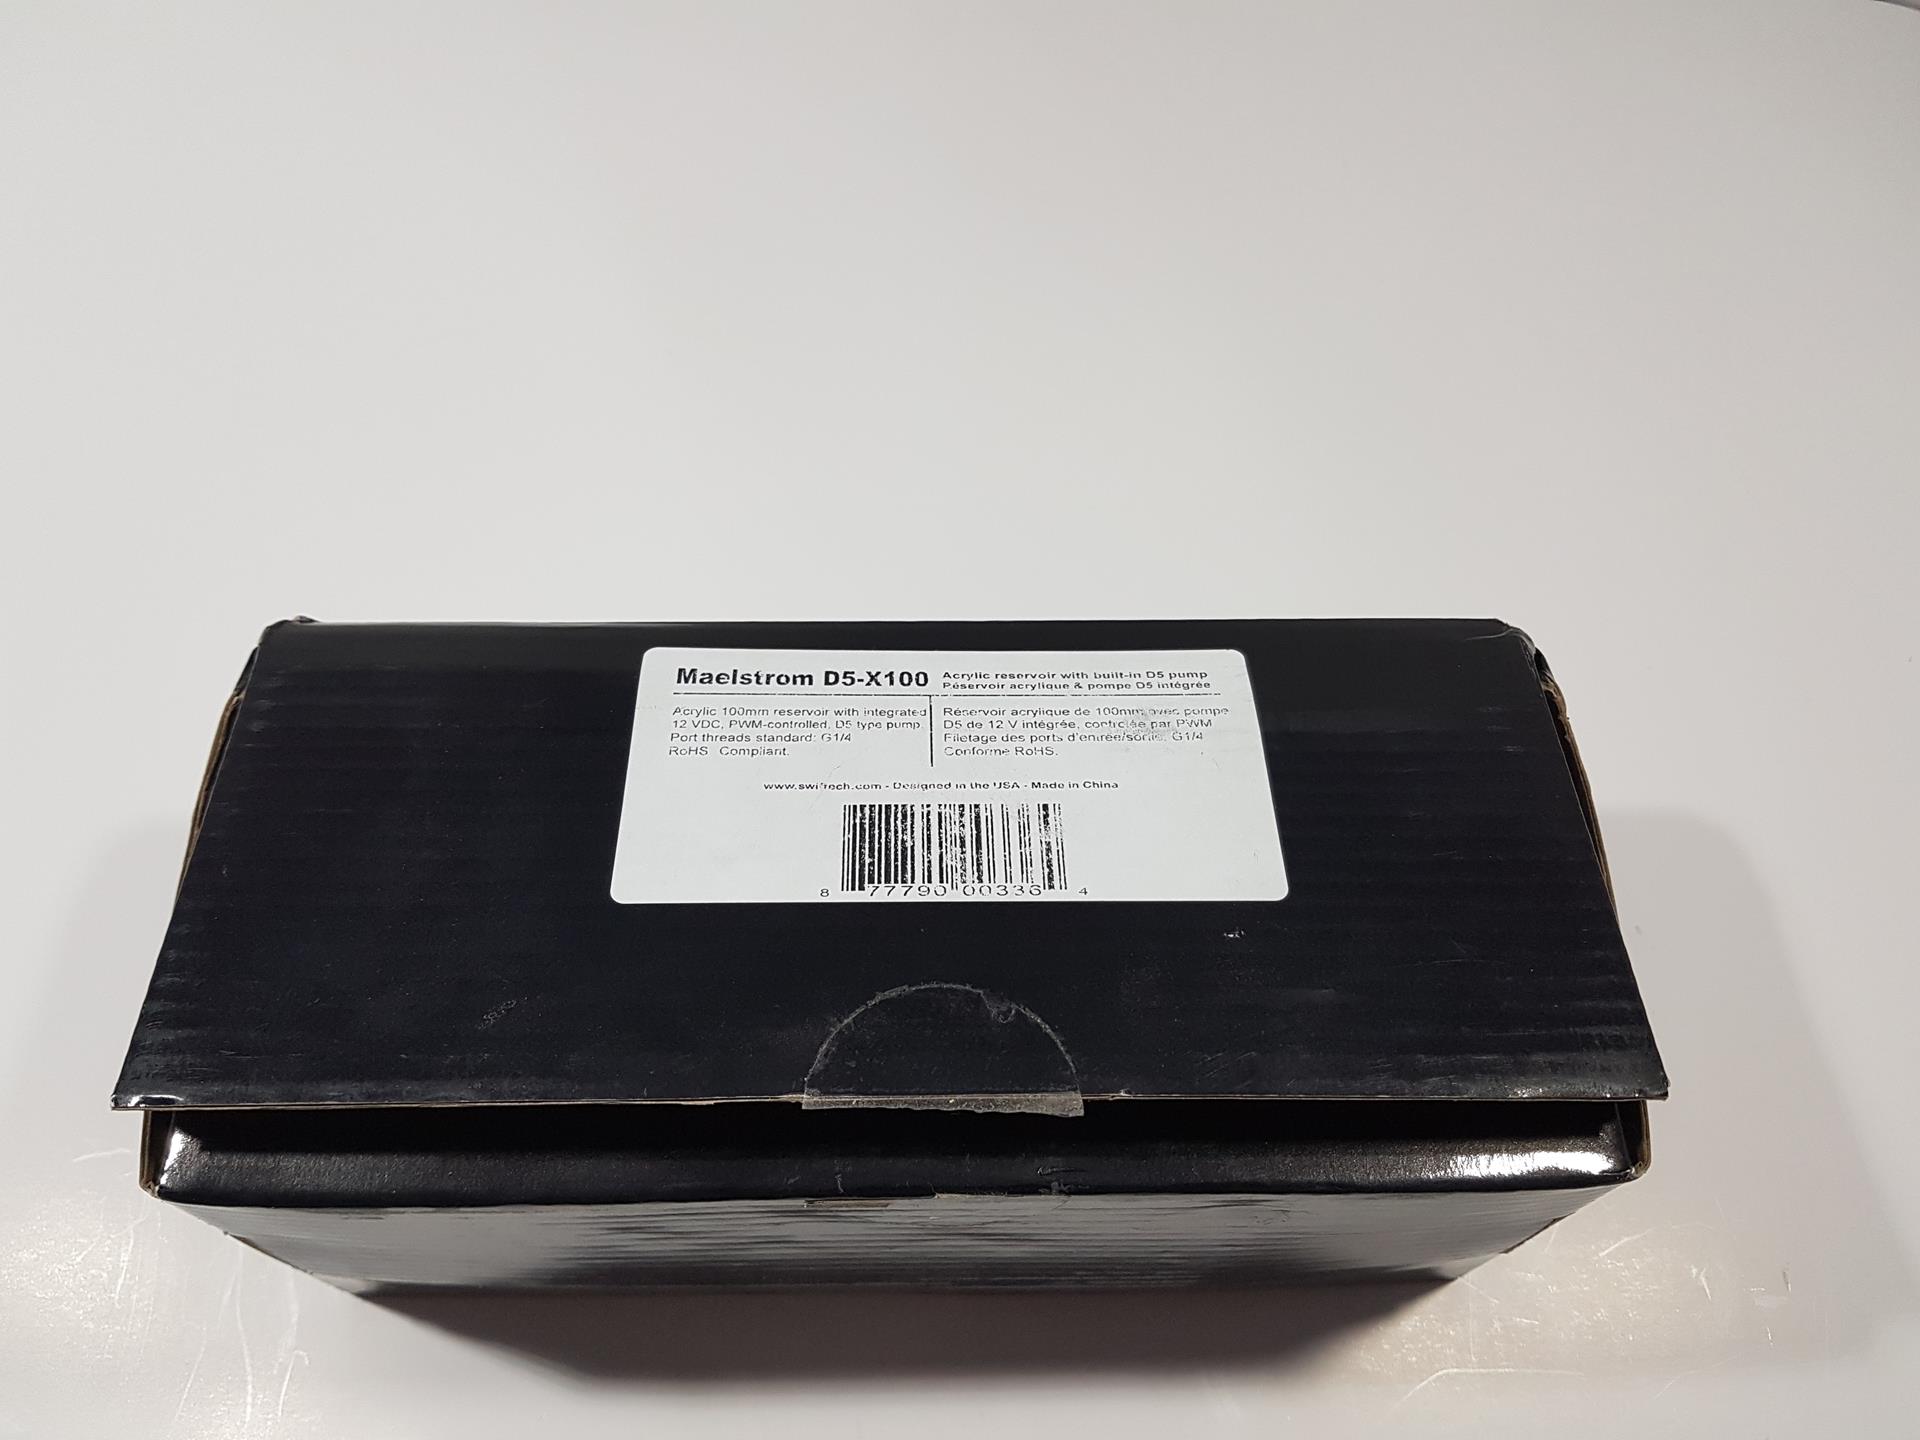
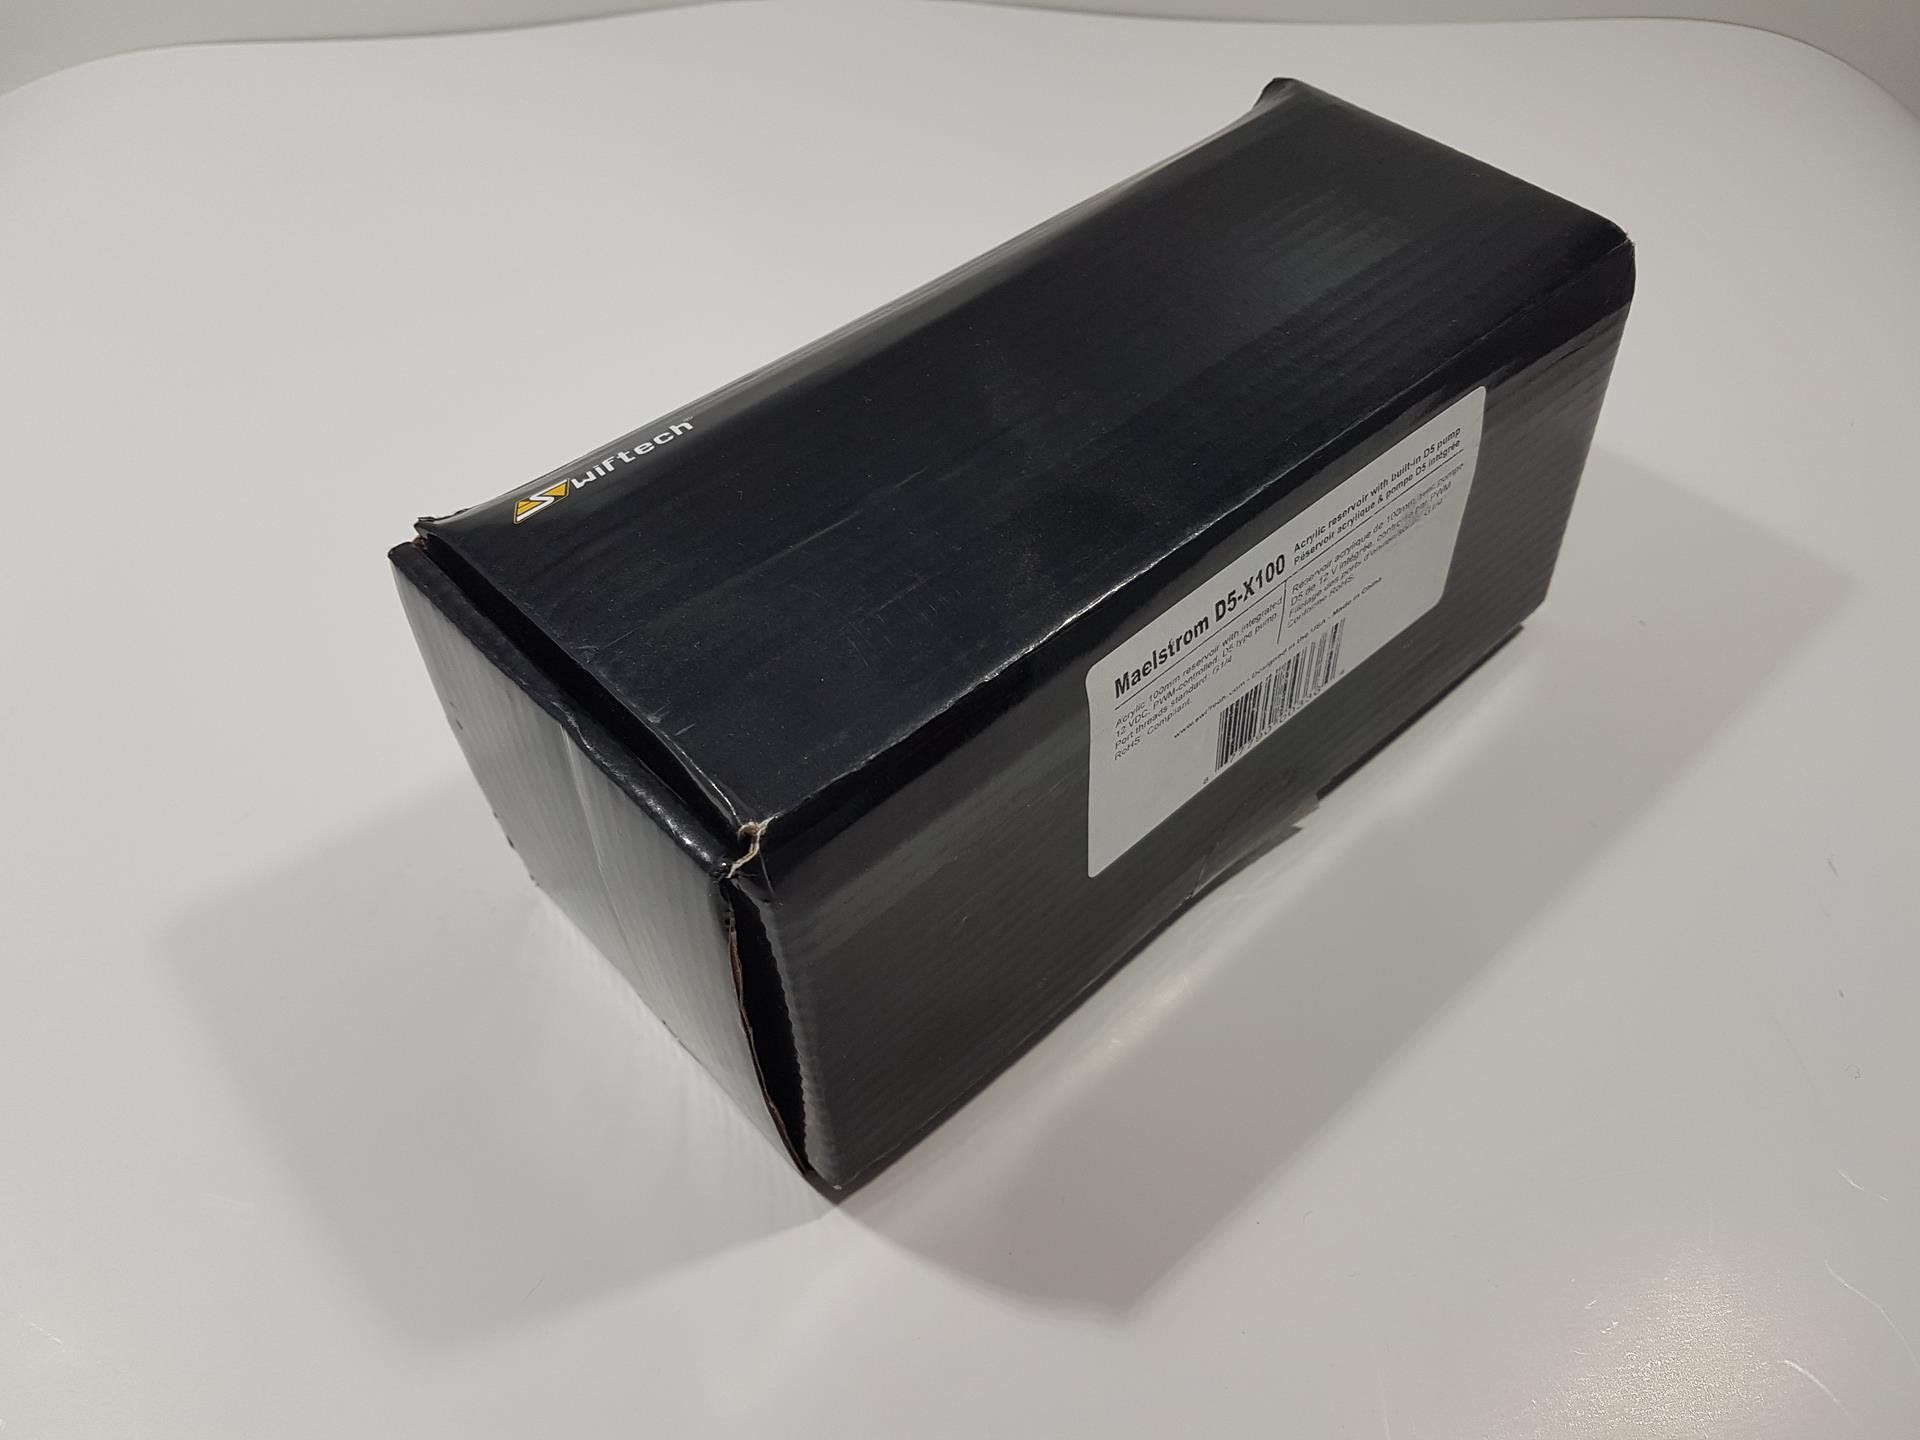
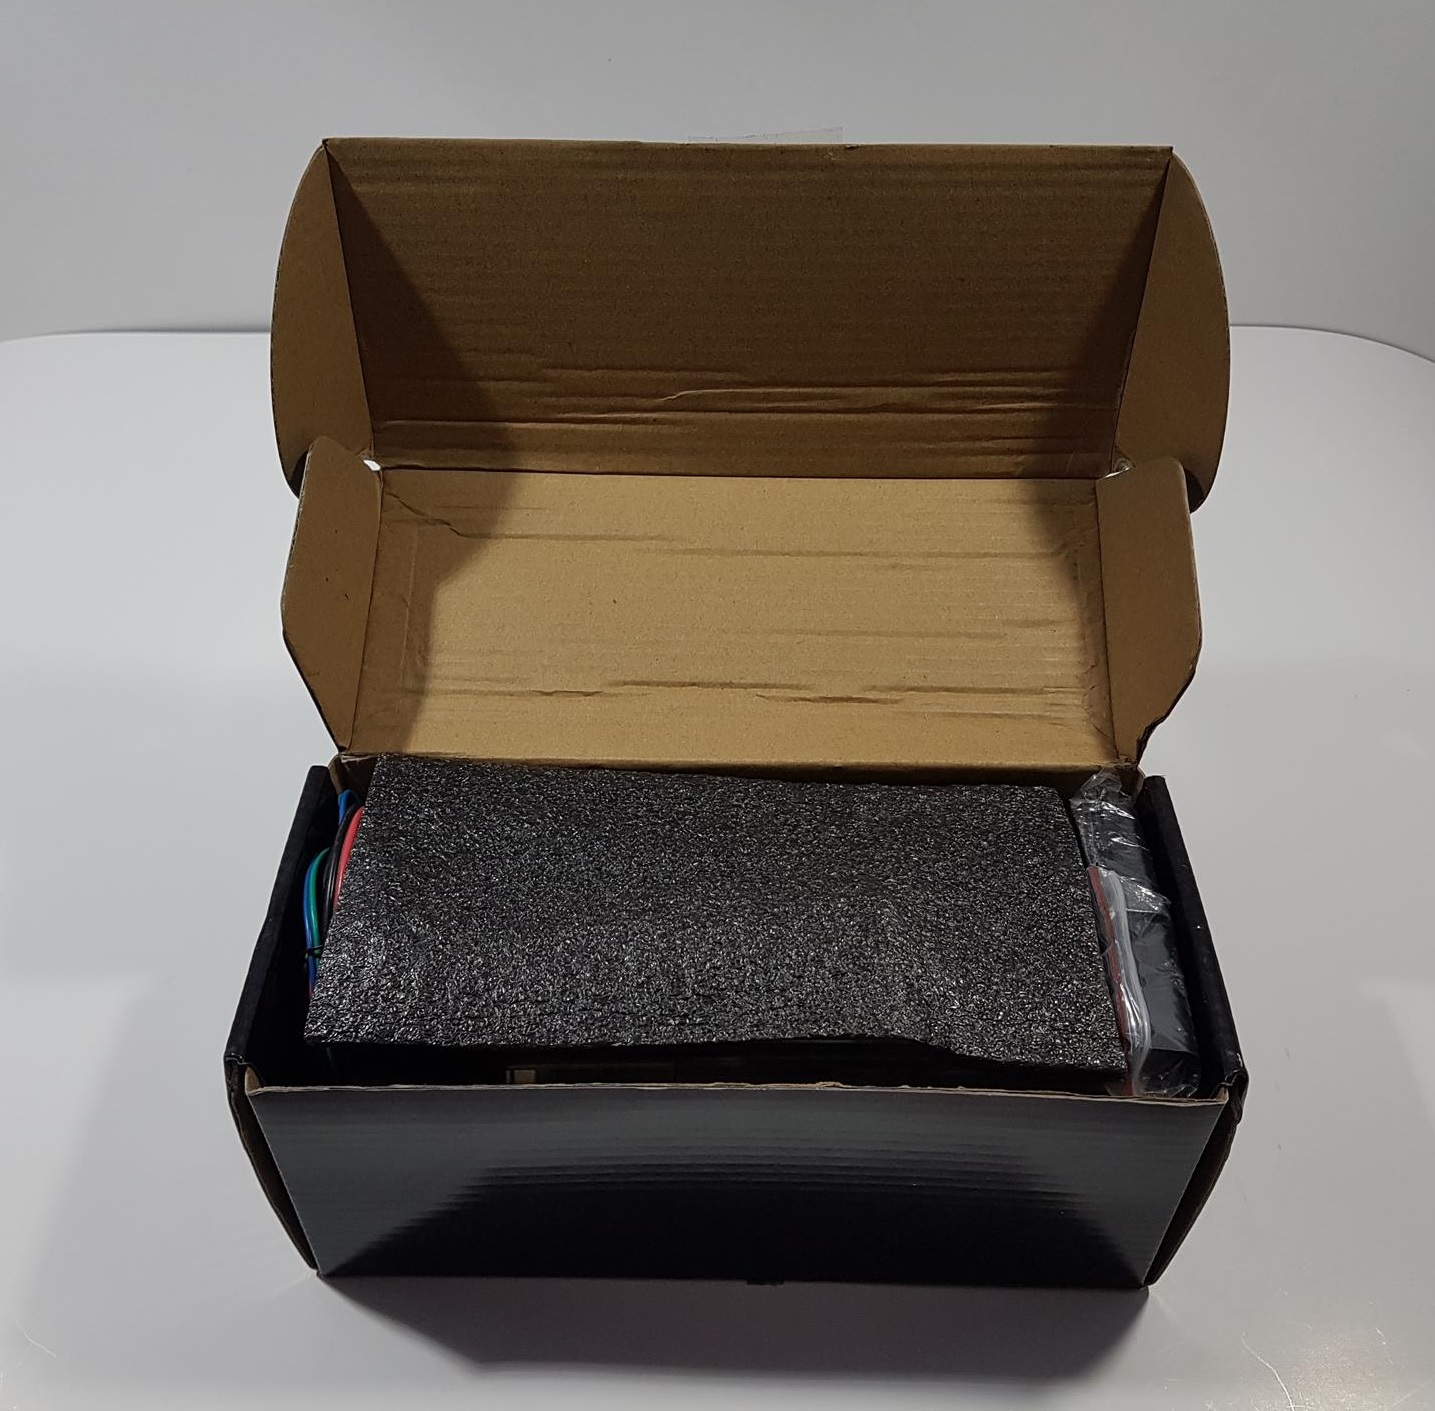
The combo is shipped inside a black color cardboard box. The box has a minimalistic design approach. The top side has Swiftech brand logo and name printed on its left side. Rest of the surface is without any printed material. The front side from where the box is opened has a sticker pasted on it. MaelStrom D5-X100 is printed on its top left side. Acrylic reservoir with a built-in D5 pump is printed in two languages. Surprisingly, they are not using the word glass here. Only the pump top is made in acrylic. The main reservoir is of glass. A serial number bar code is printed at the bottom. Rest of the sides are blank and don’t have any printing on them. Once the box was opened we saw black color Styrofoam pad placed over the top of the contents. There is another pad at the bottom as well. This is for safe shipping and handling of the box with the contents inside.
Accessories
Following are included:
- 1x Reservoir/Pump Combo unit
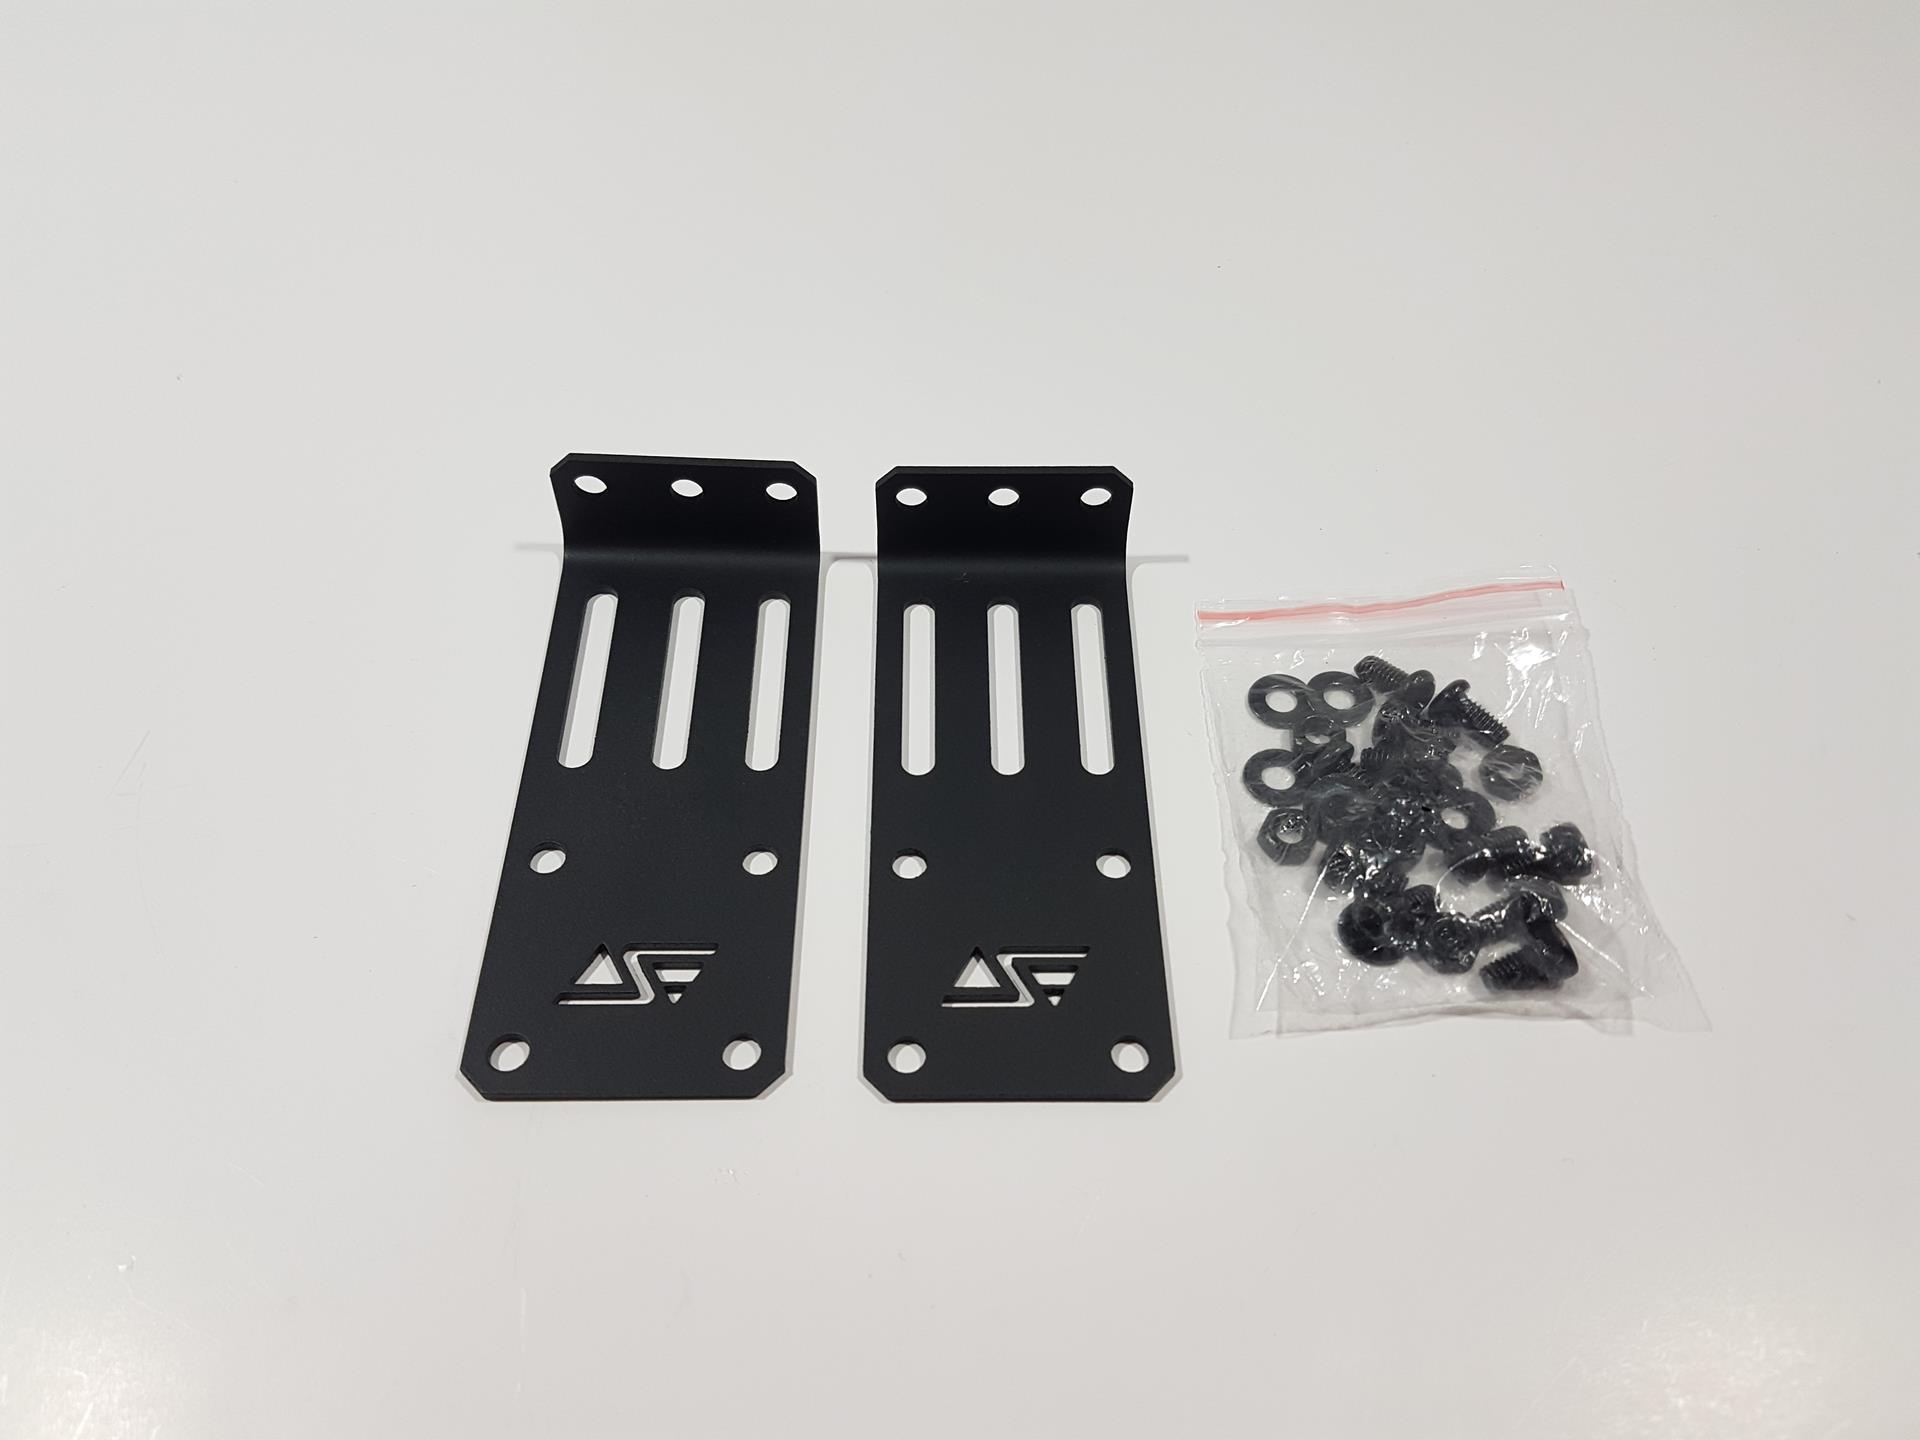
- 2x Mounting Brackets
- 8x Screws for mounting brackets
- 6x washers
- 6x M4 nuts
- 6x M4 Screws for chassis mounting
- Installation Guide
Closer Look
It is time to take a look at the combo itself. Here is what Swiftech is saying about this product, “The new Maelstrom reservoir features a smooth single profile square design. It is available in 4 different lengths: 50 mm, 100 mm, 200 mm and 300 mm. With this wide range of lengths to choose from, the Maelstrom D5 reservoir will find its own any type of custom liquid cooling build!”
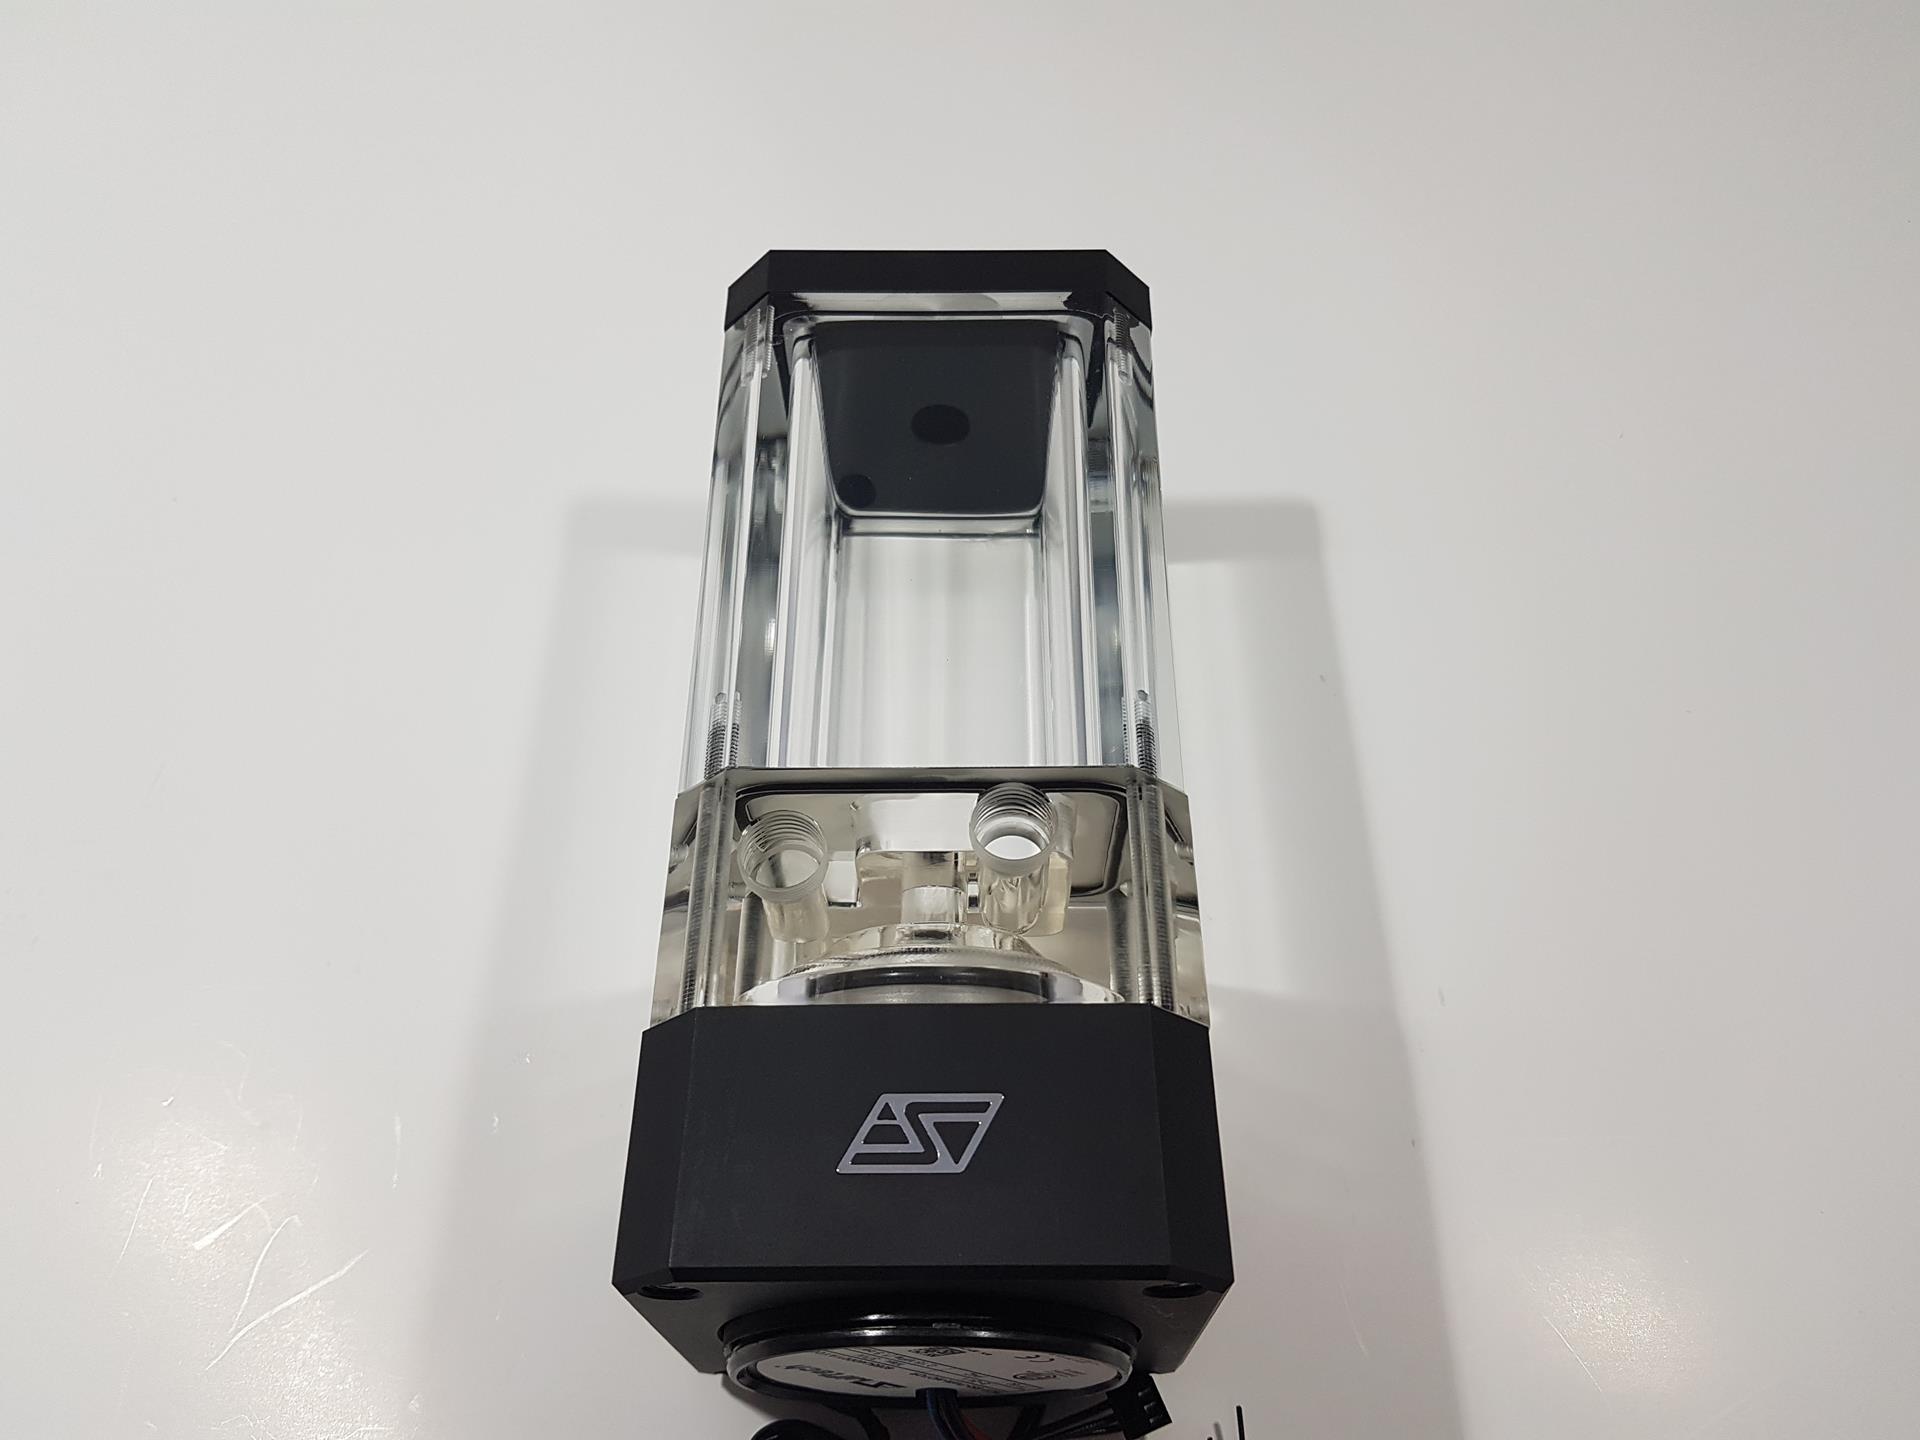
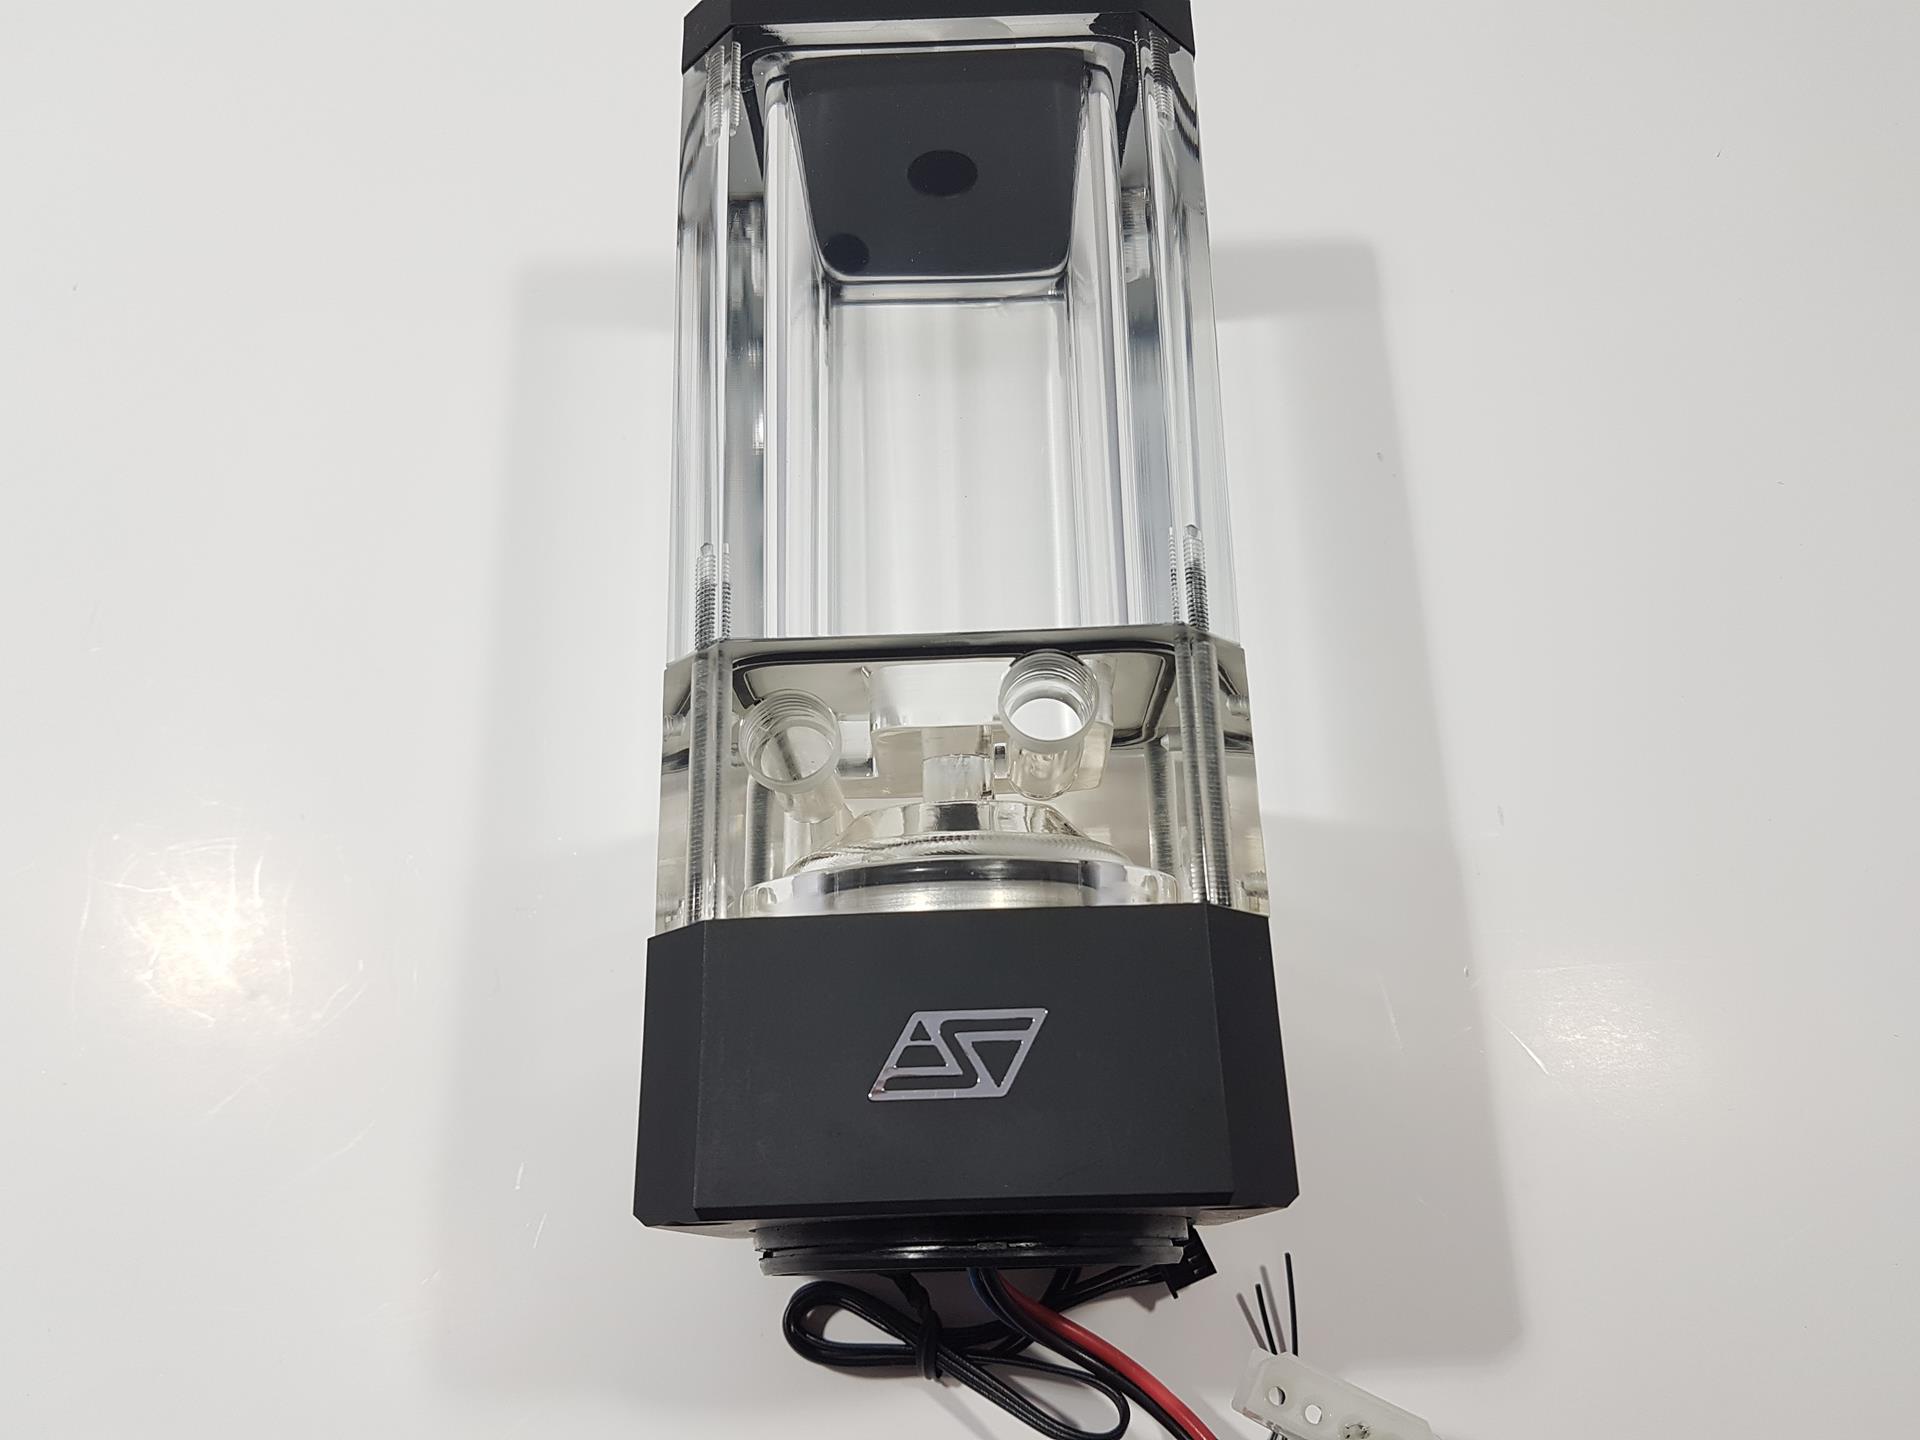
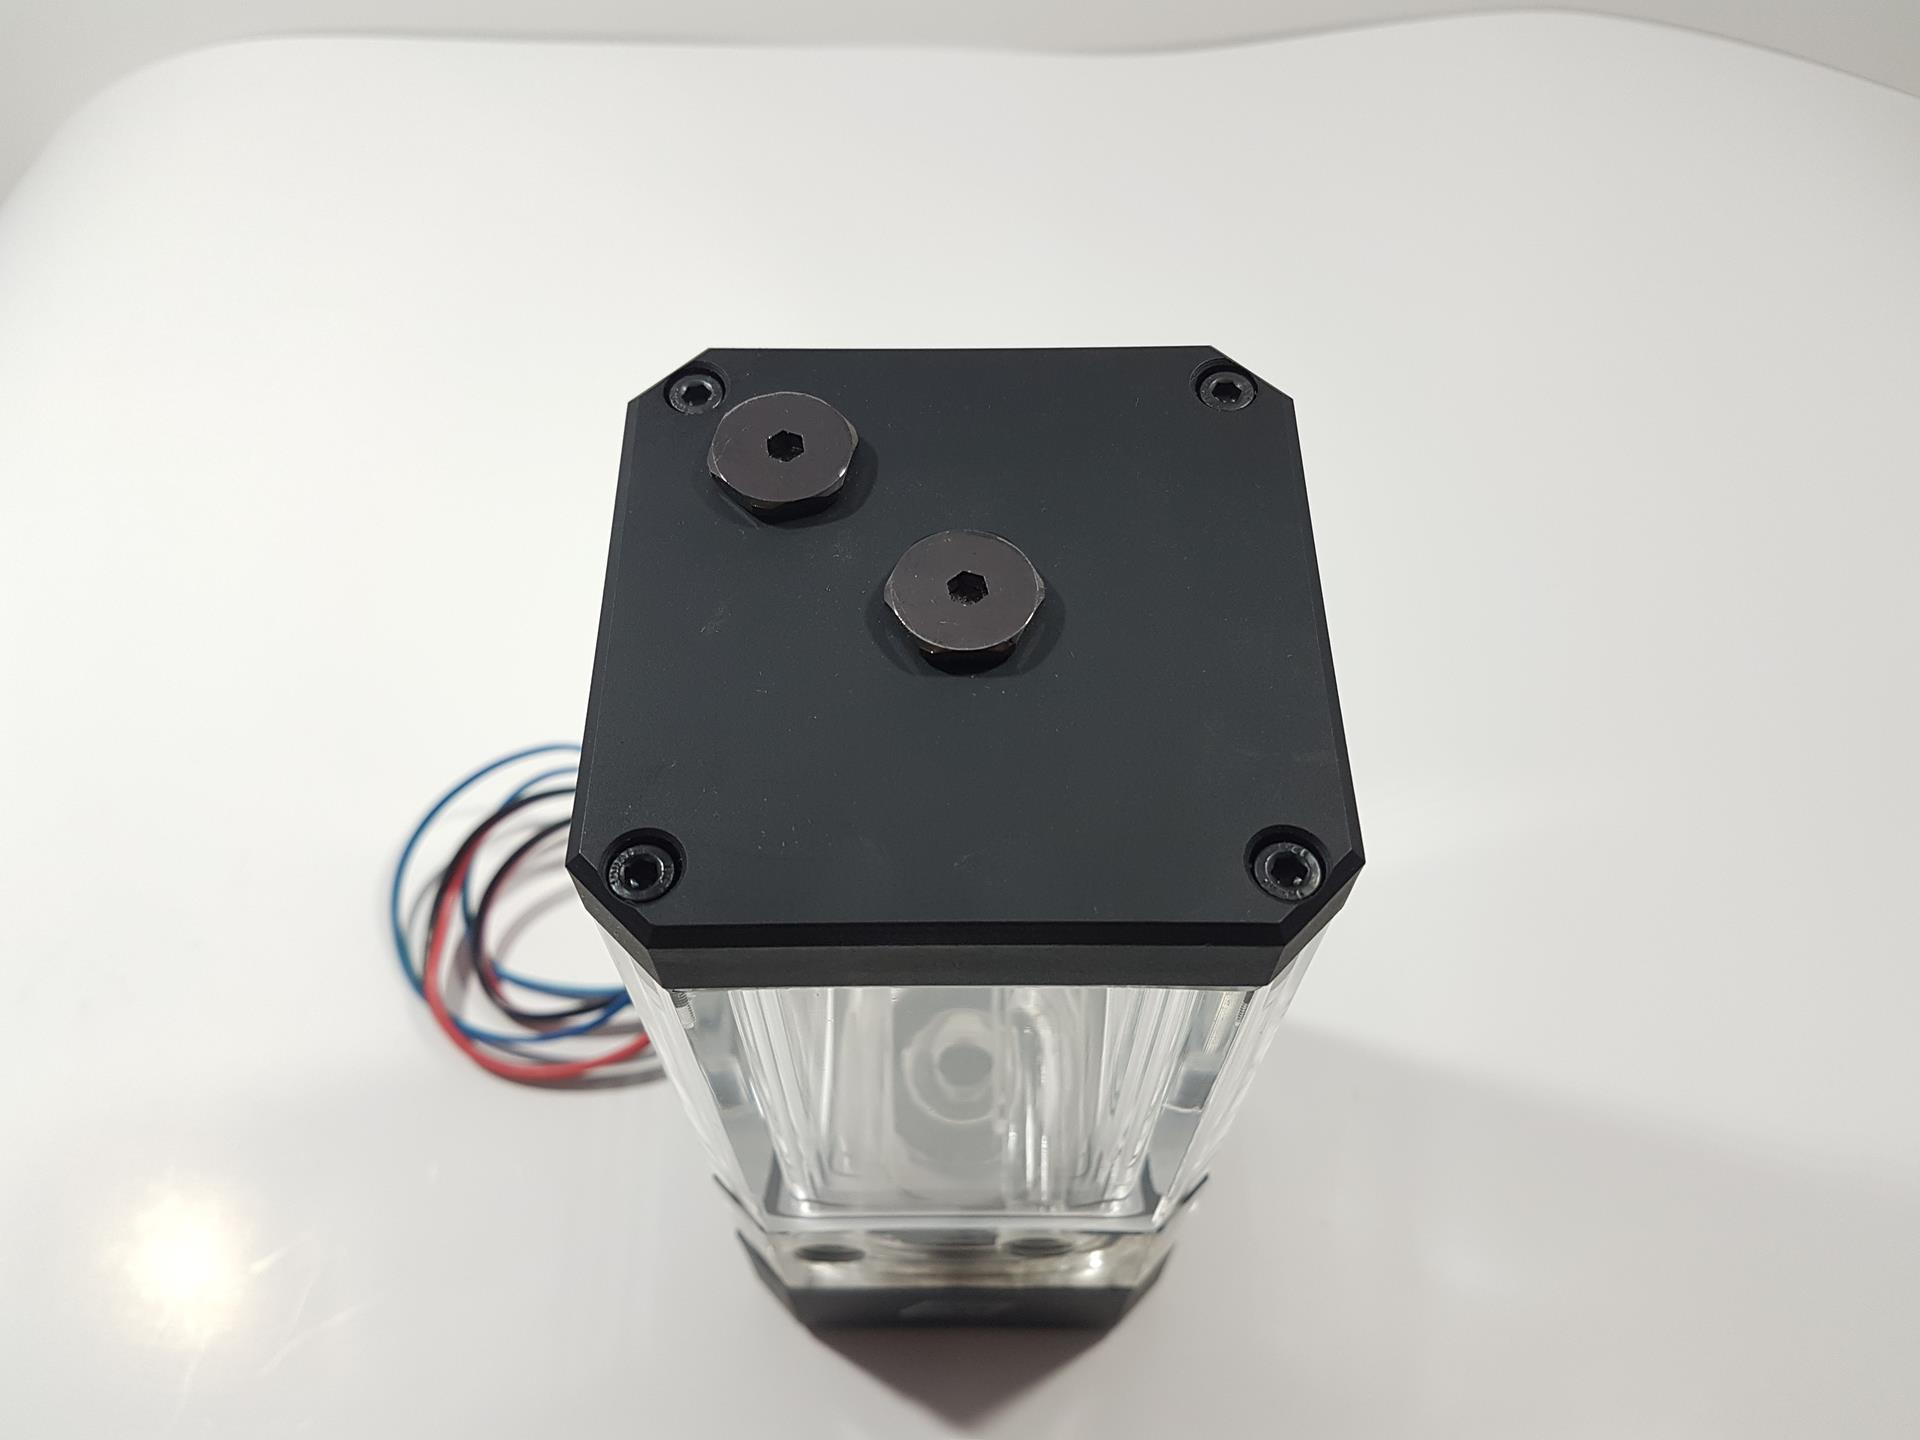
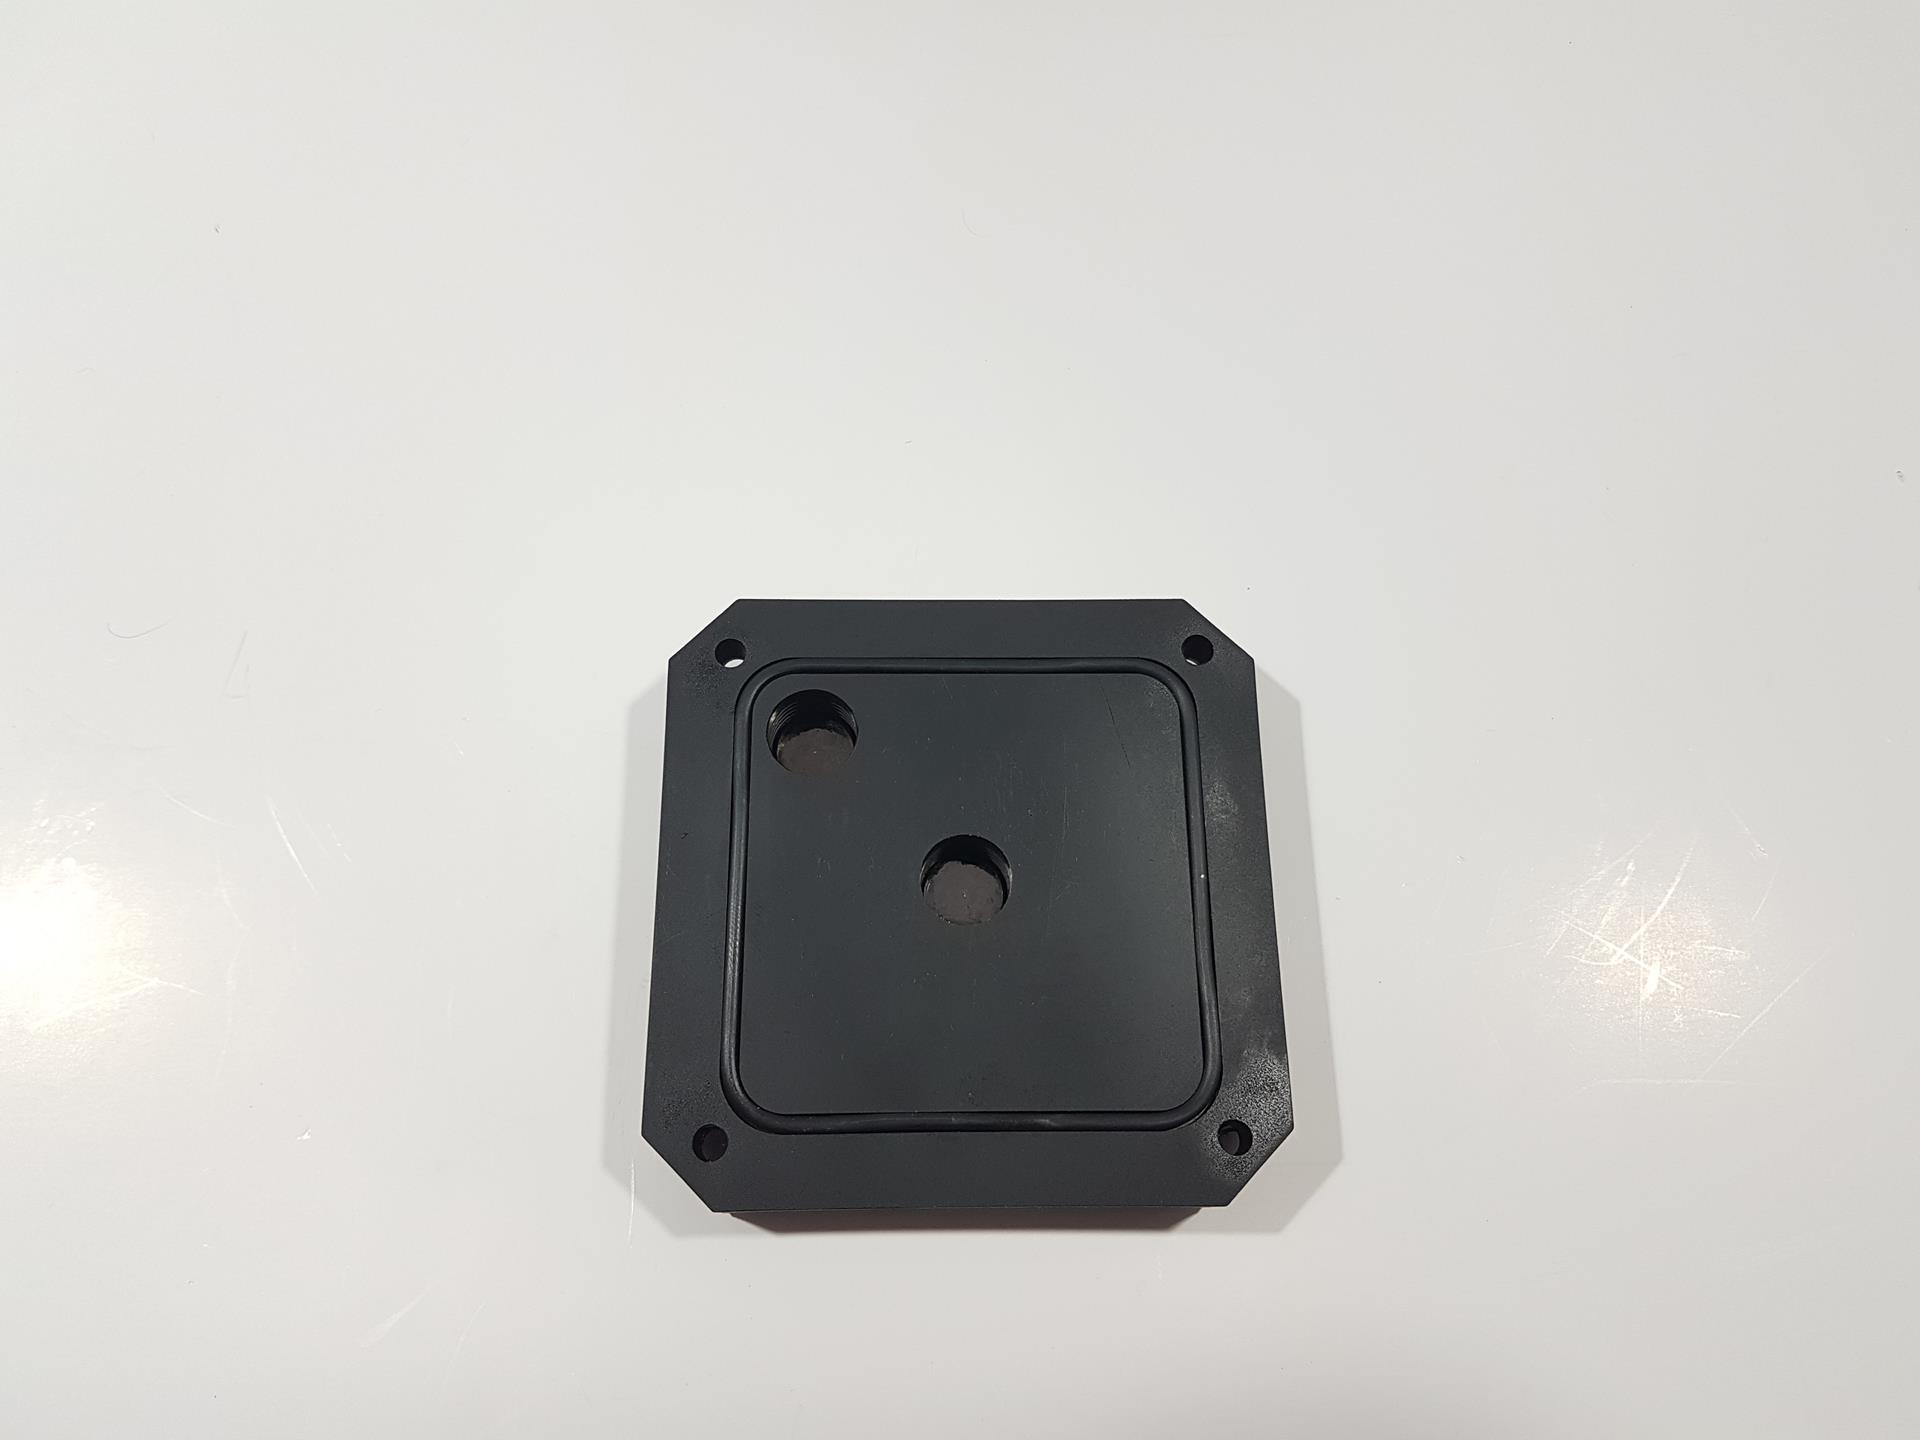
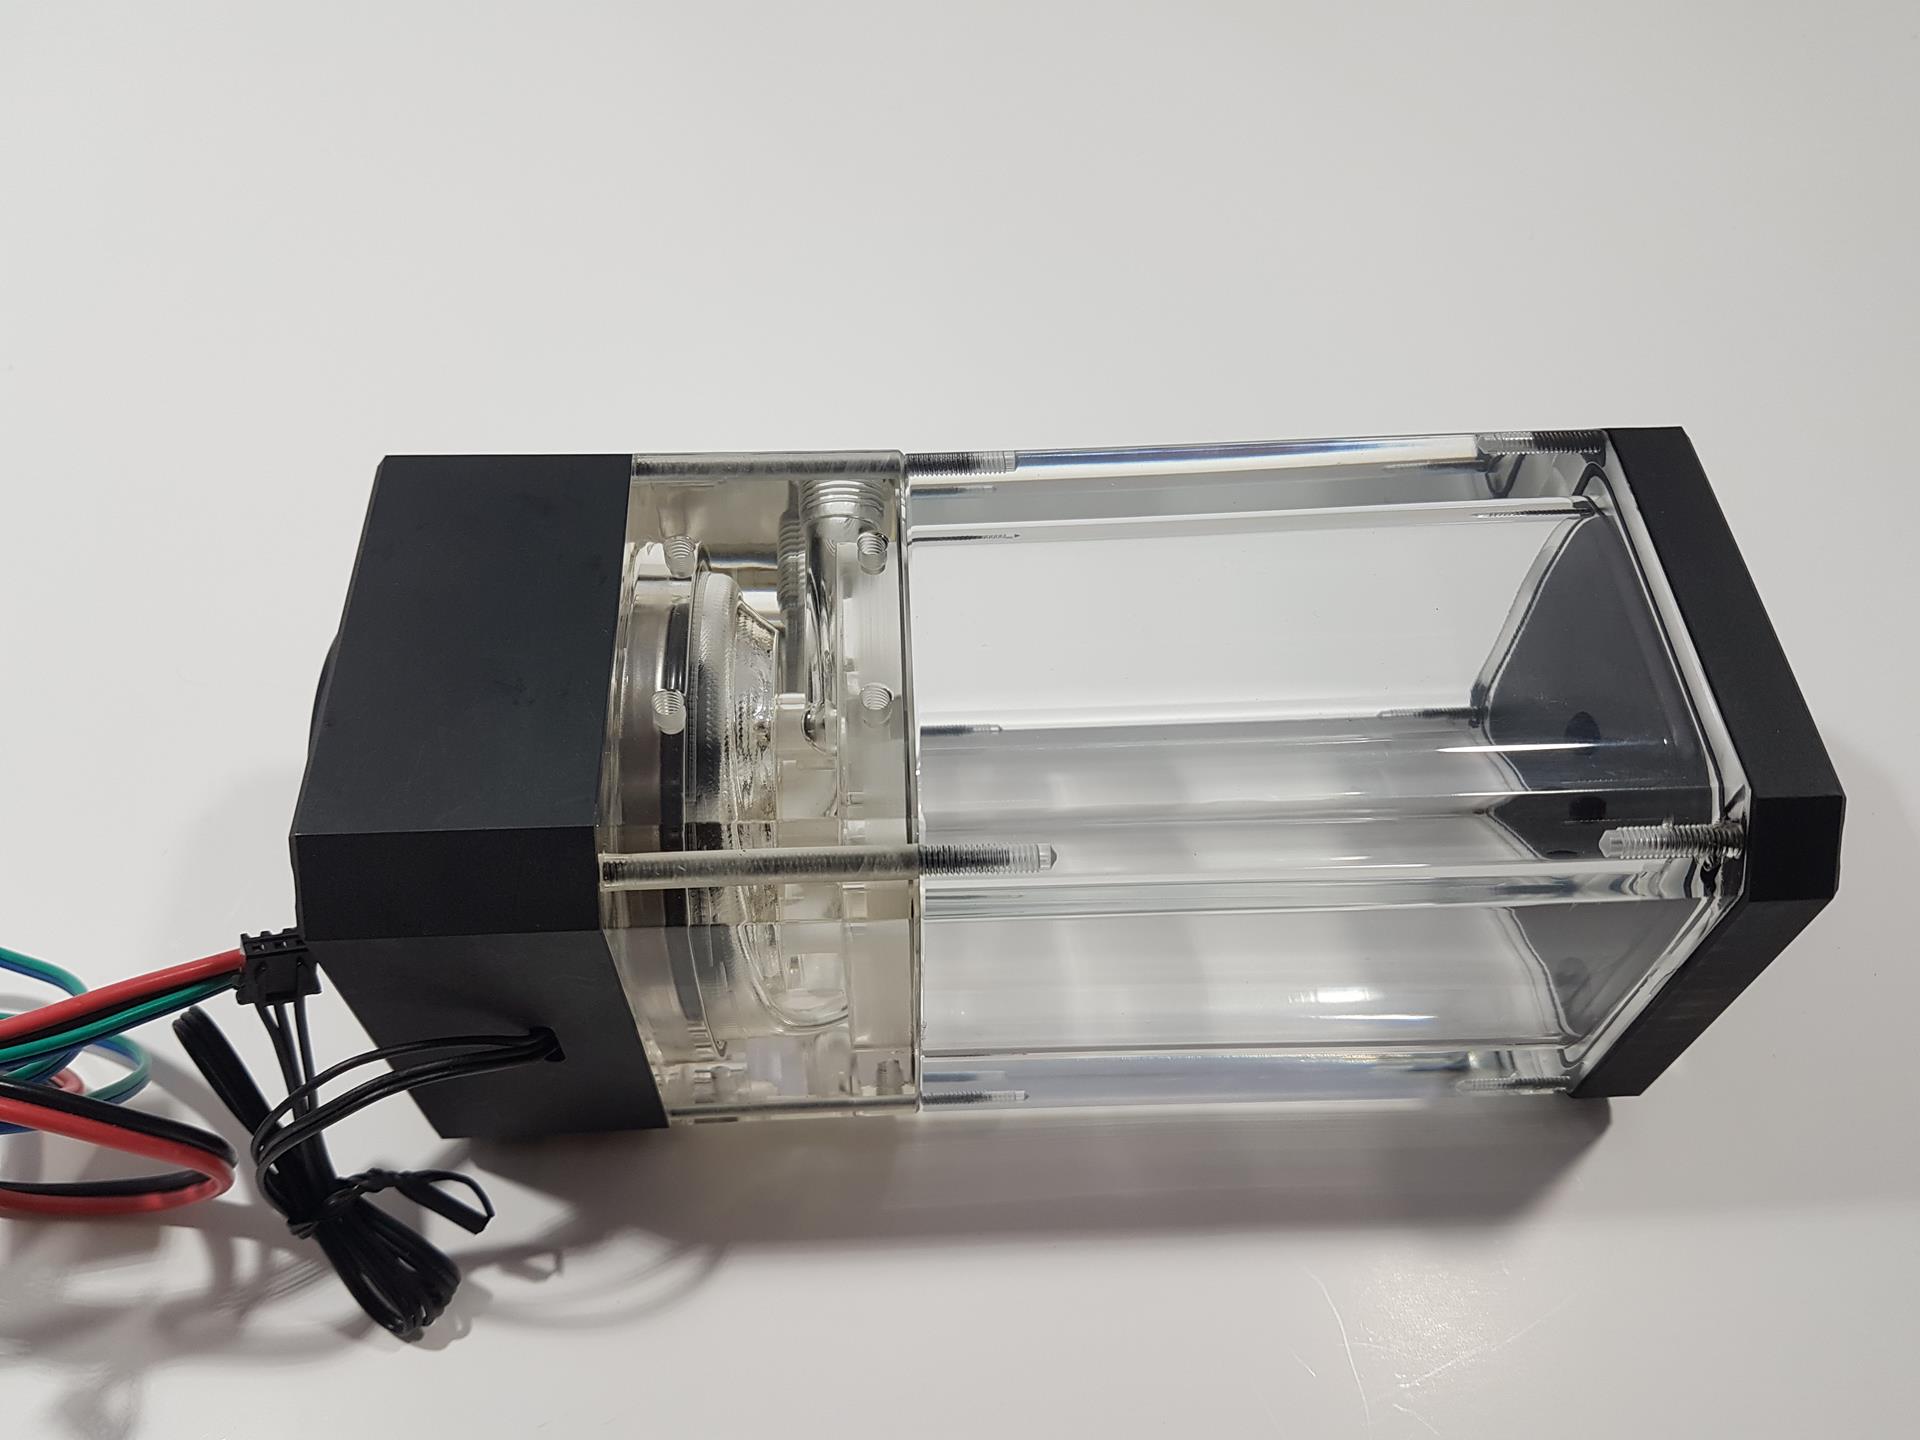
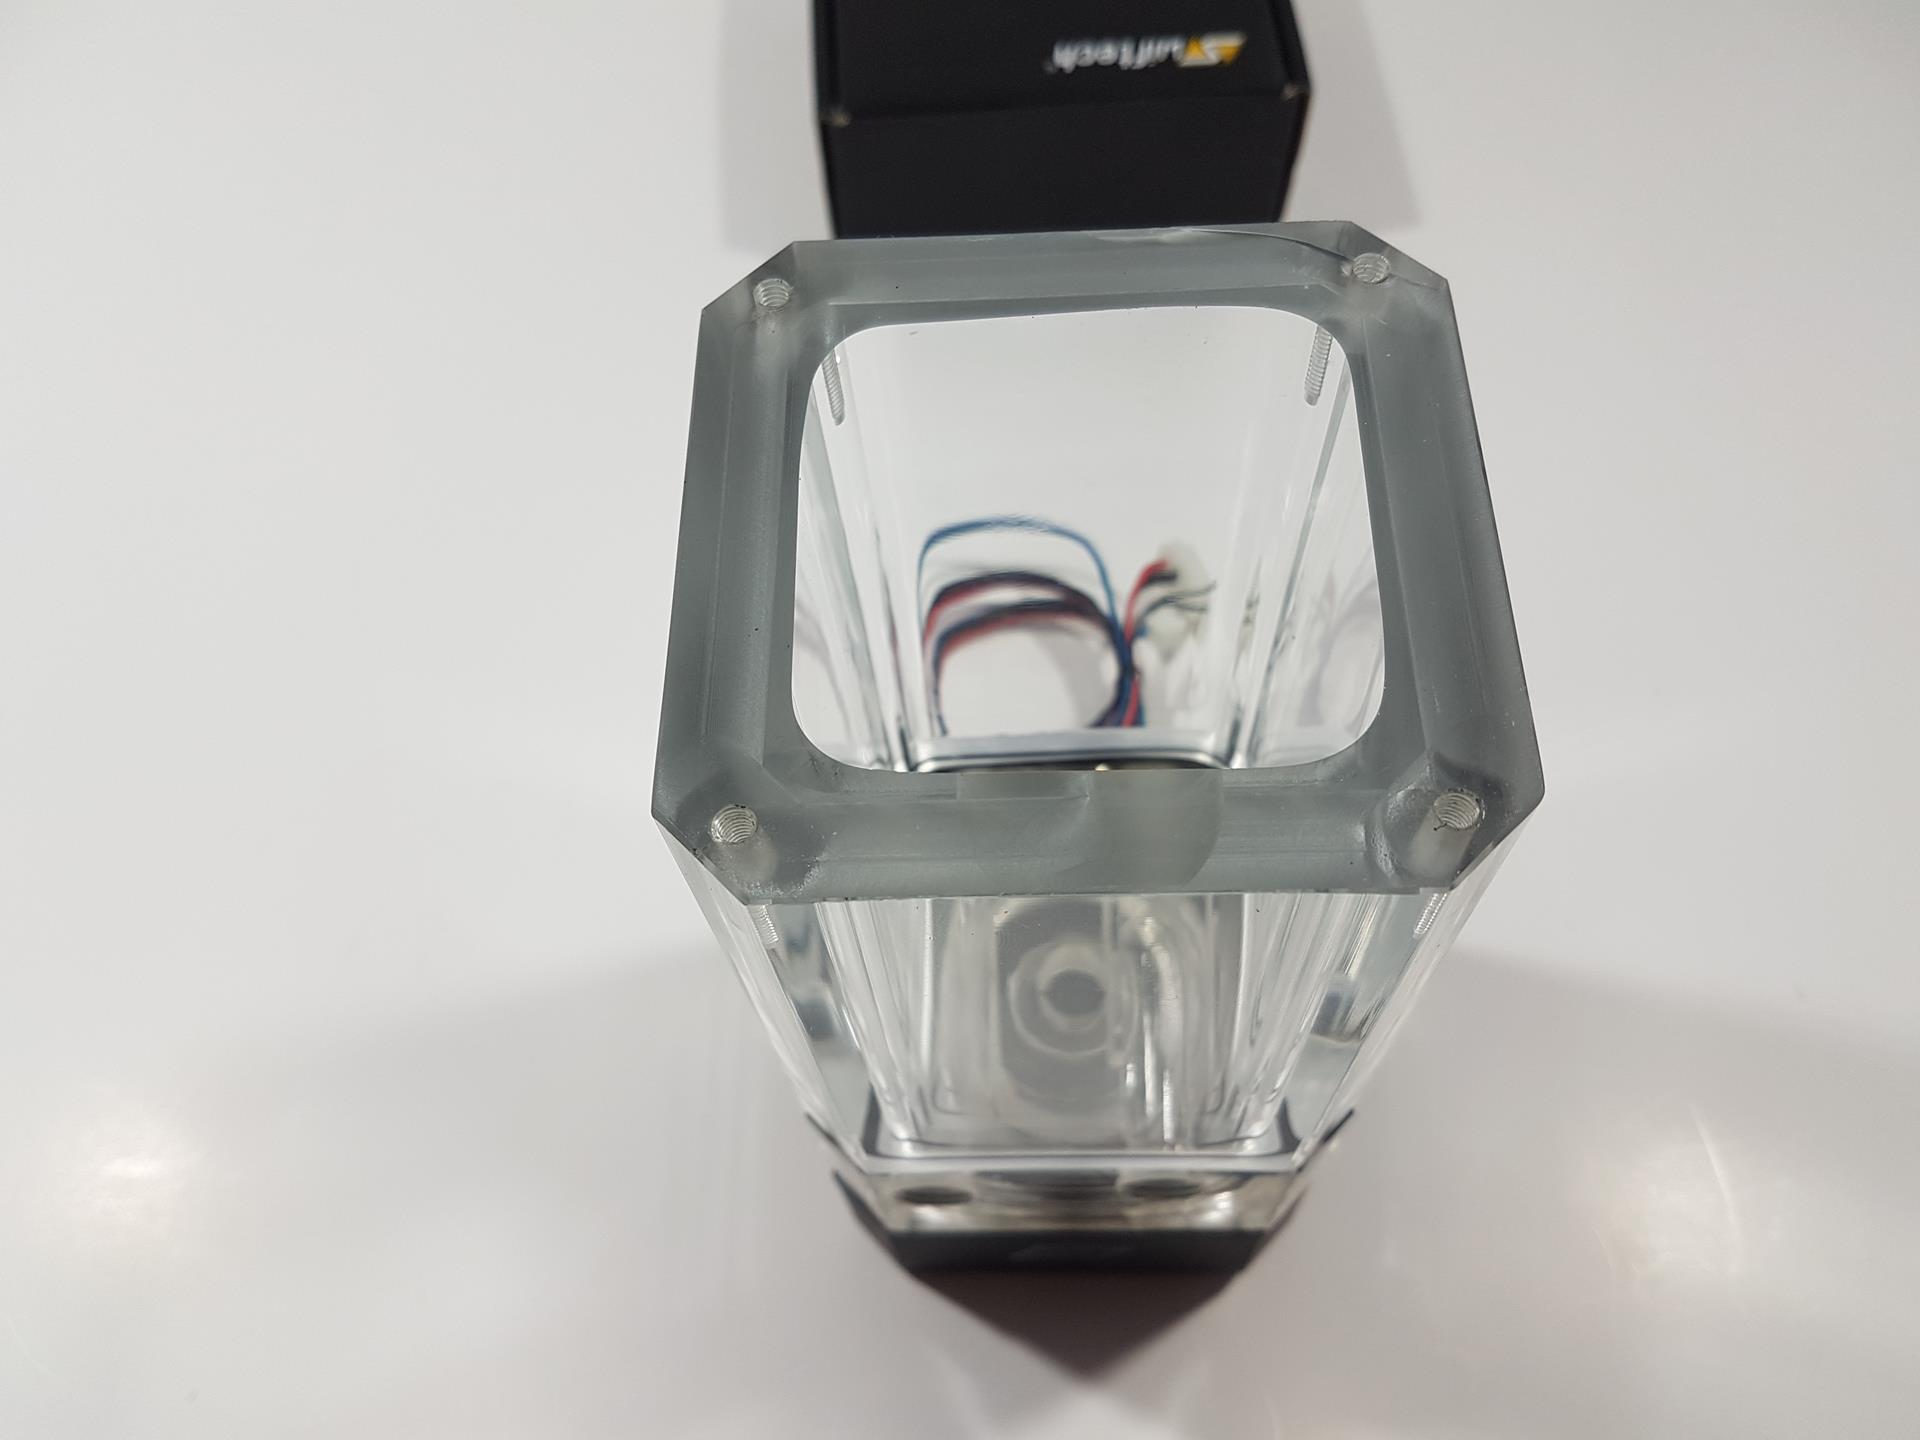
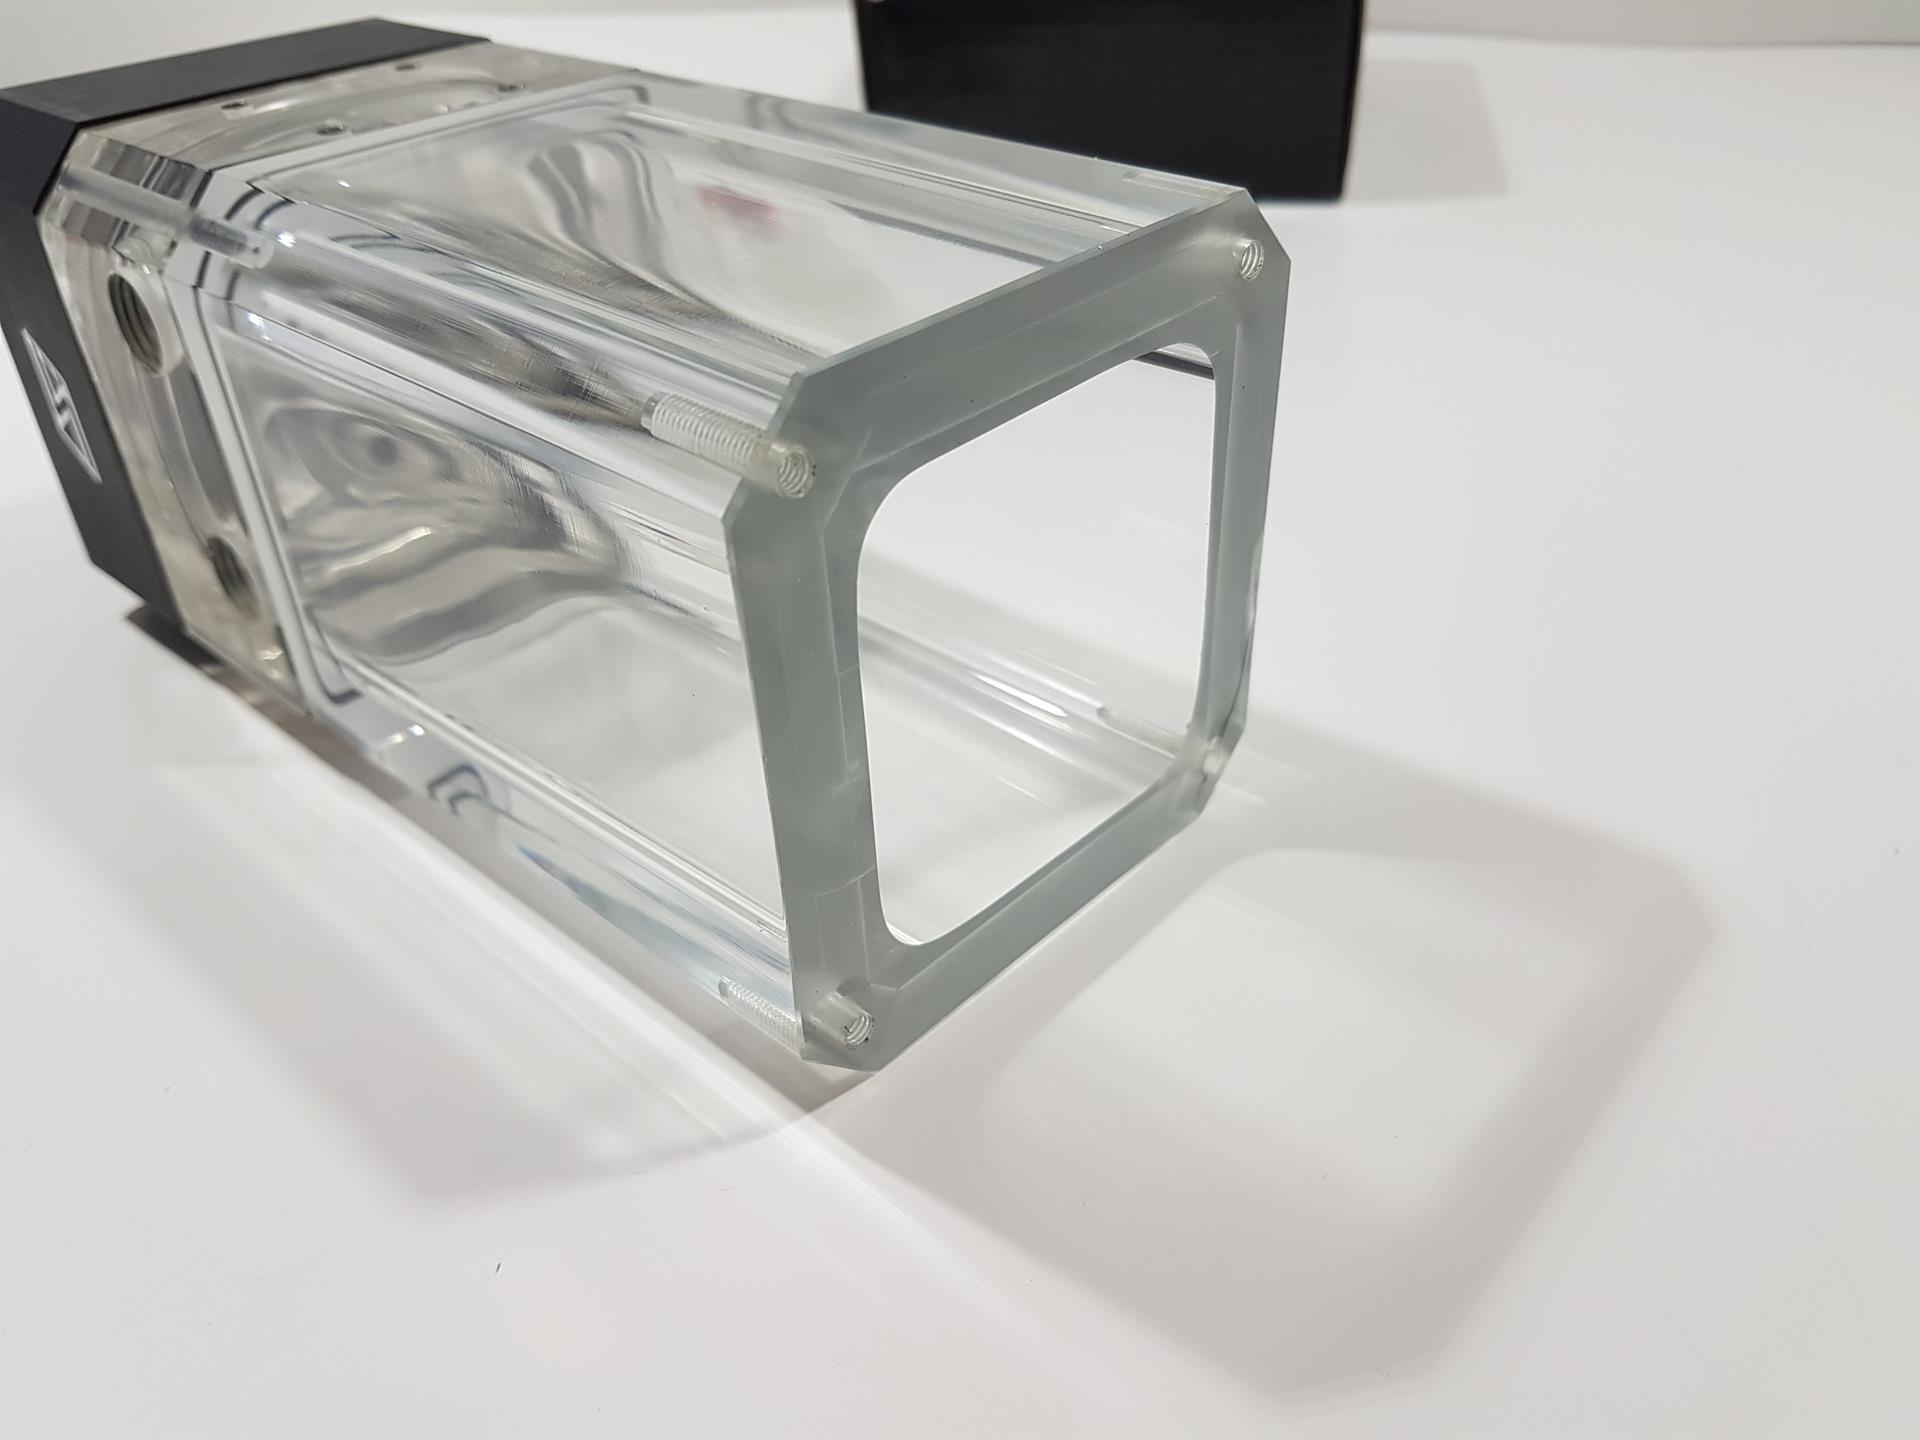
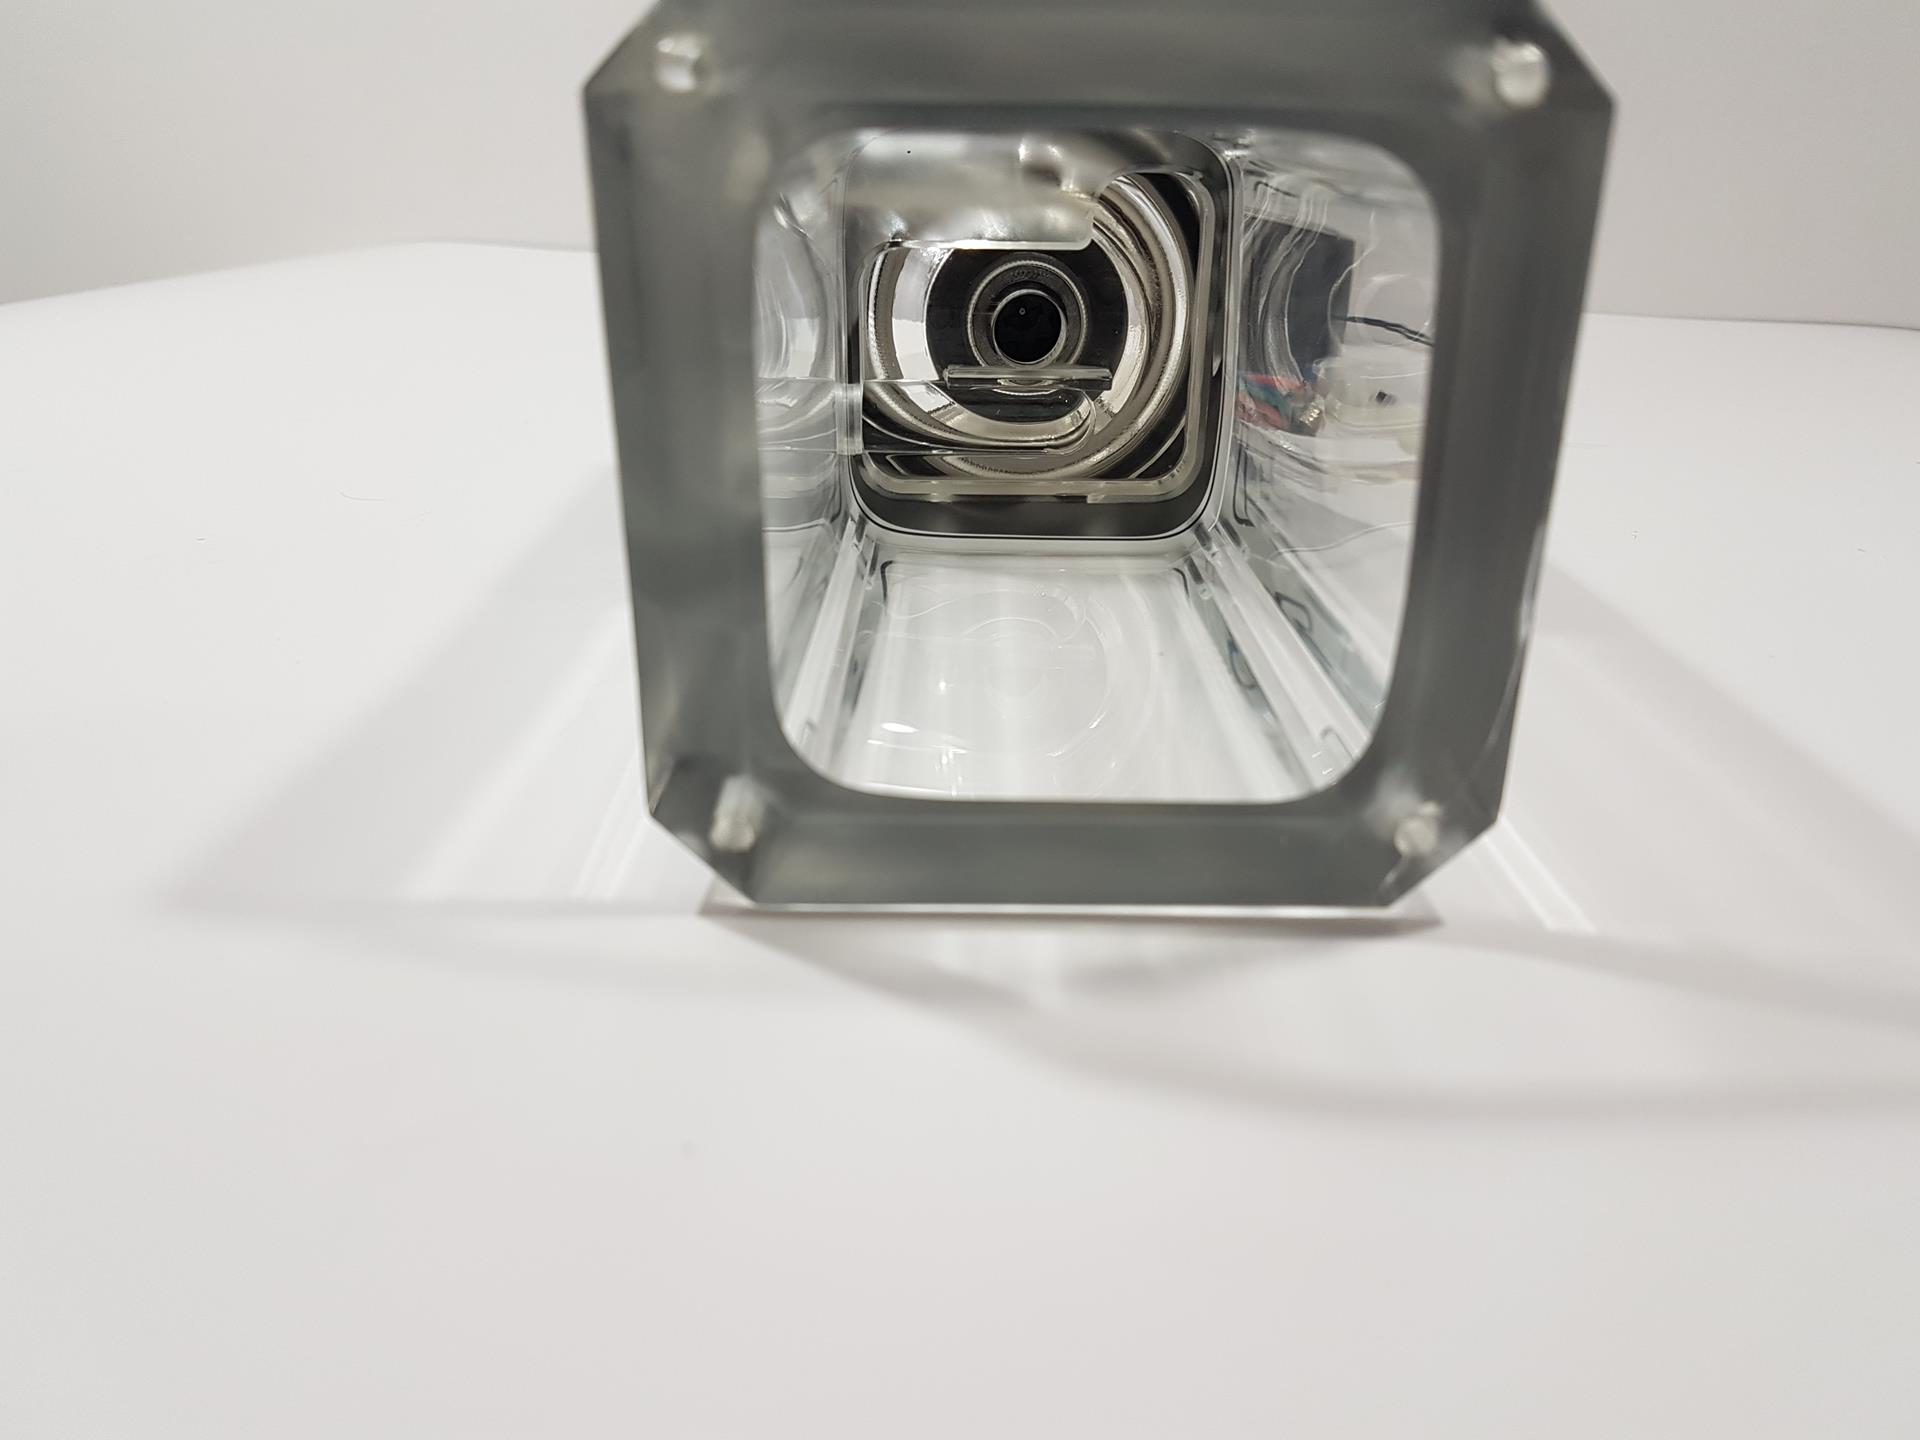
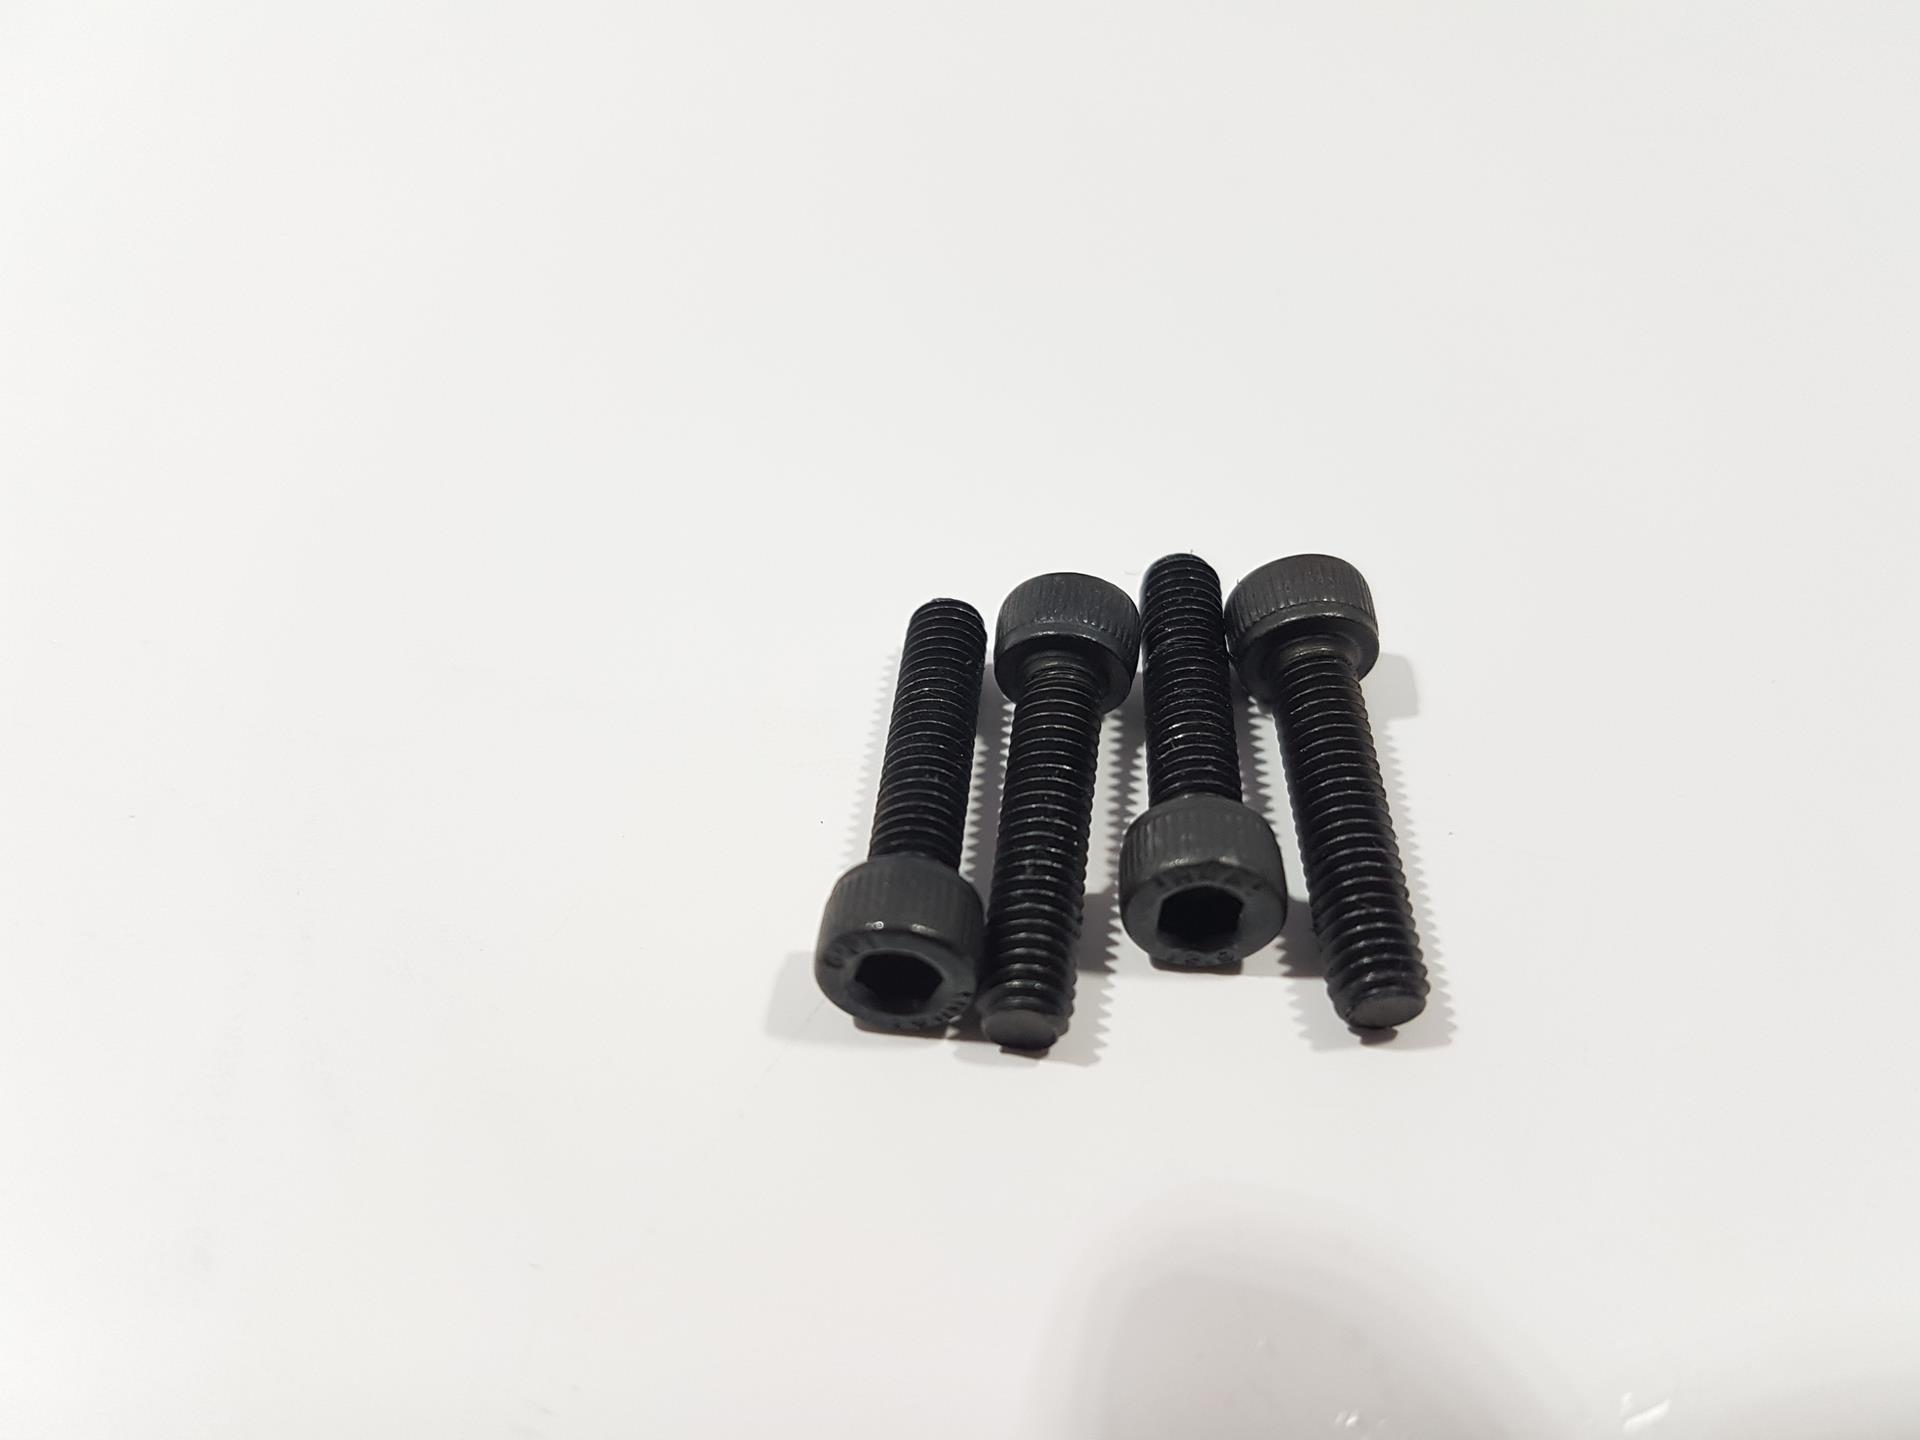
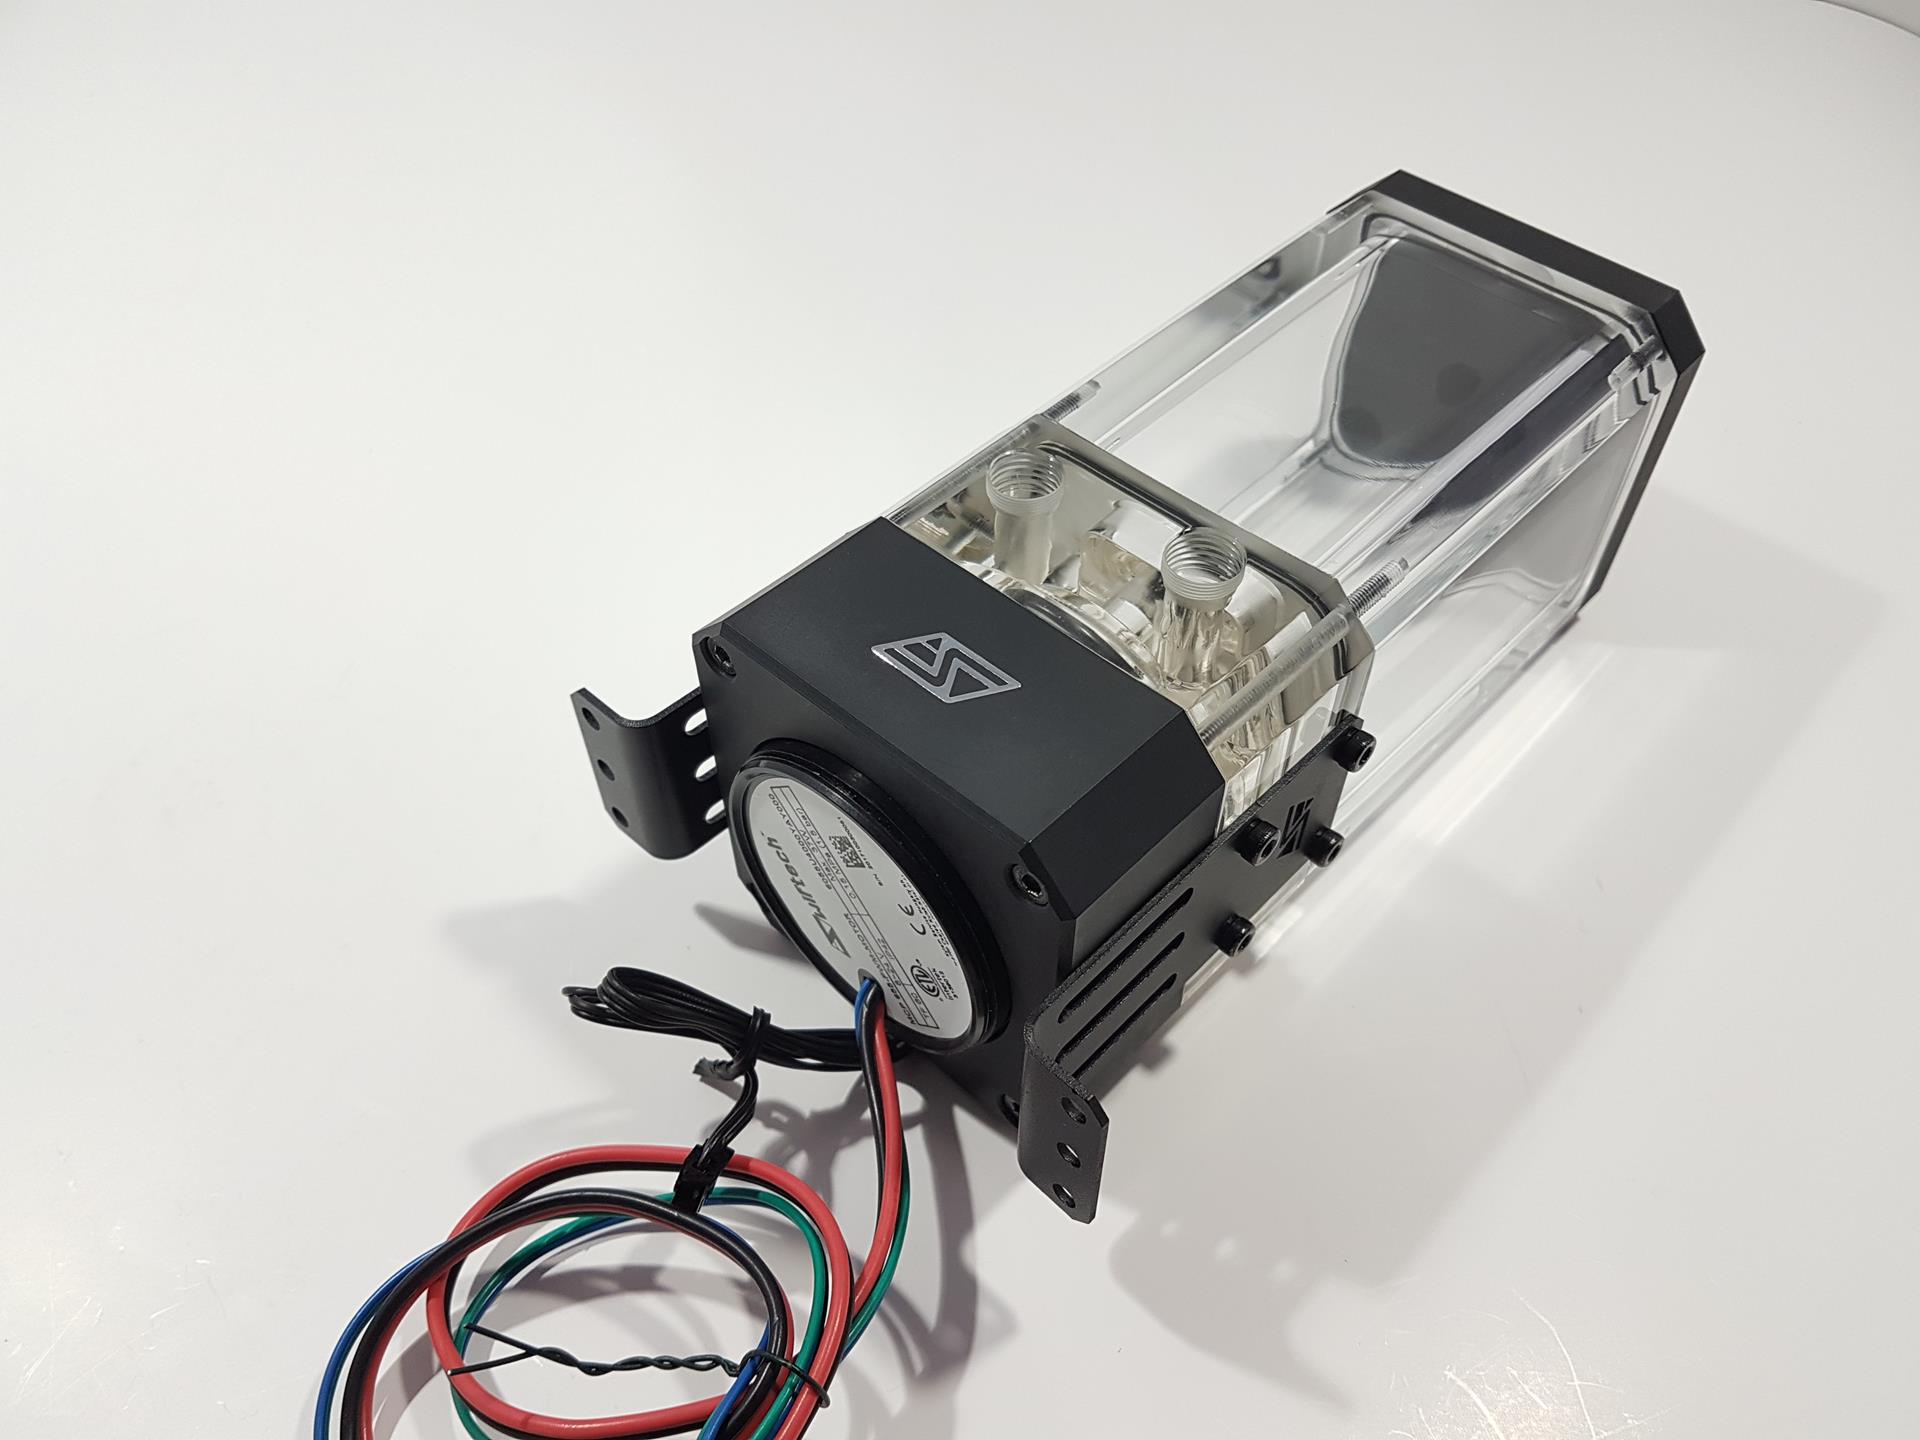
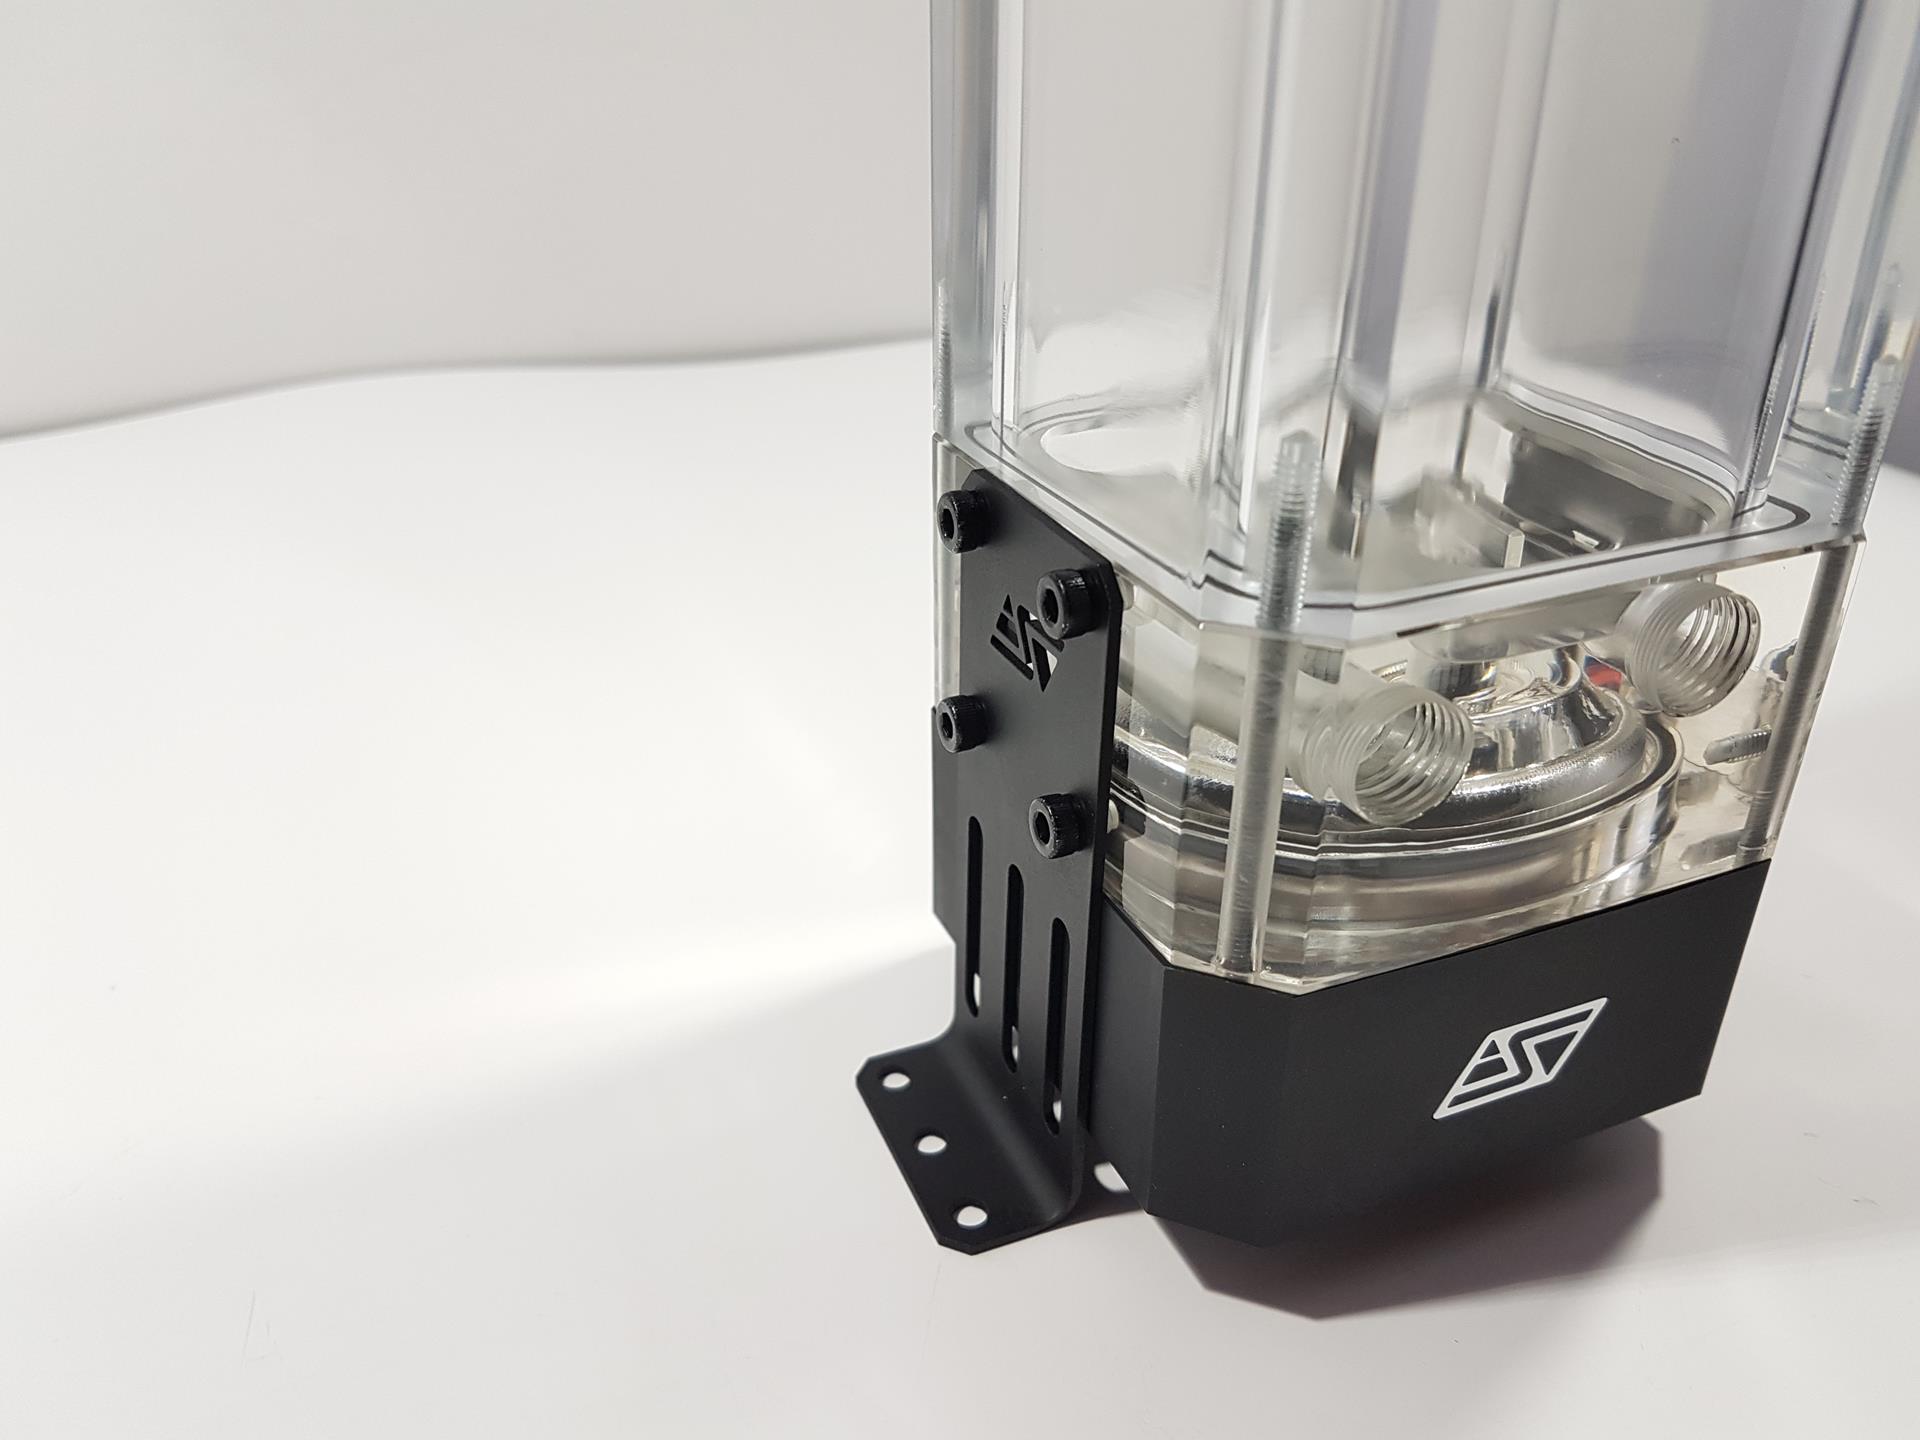
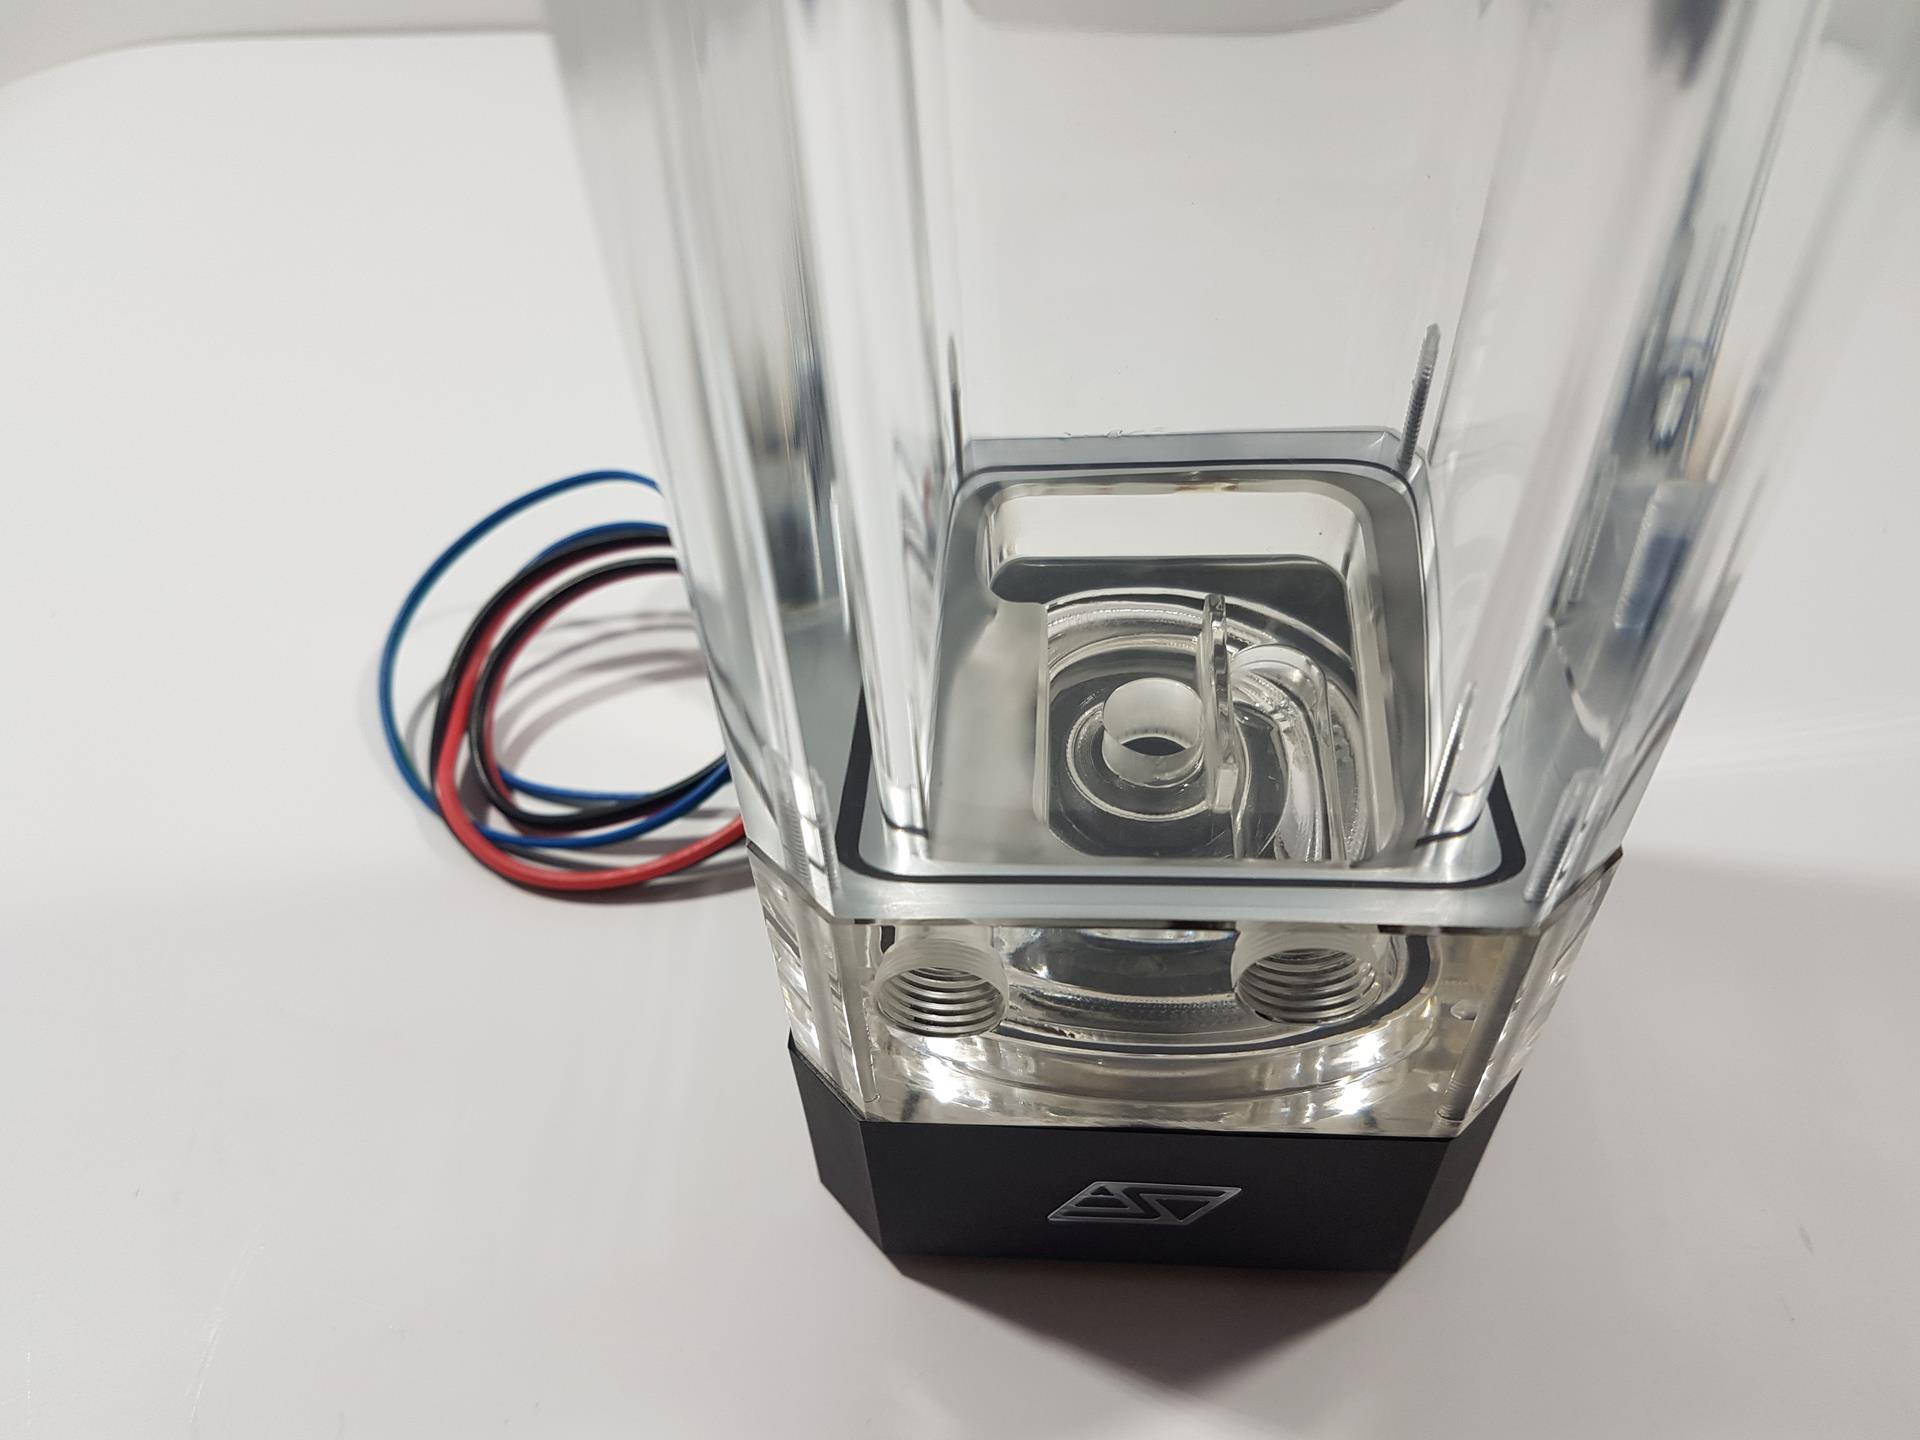
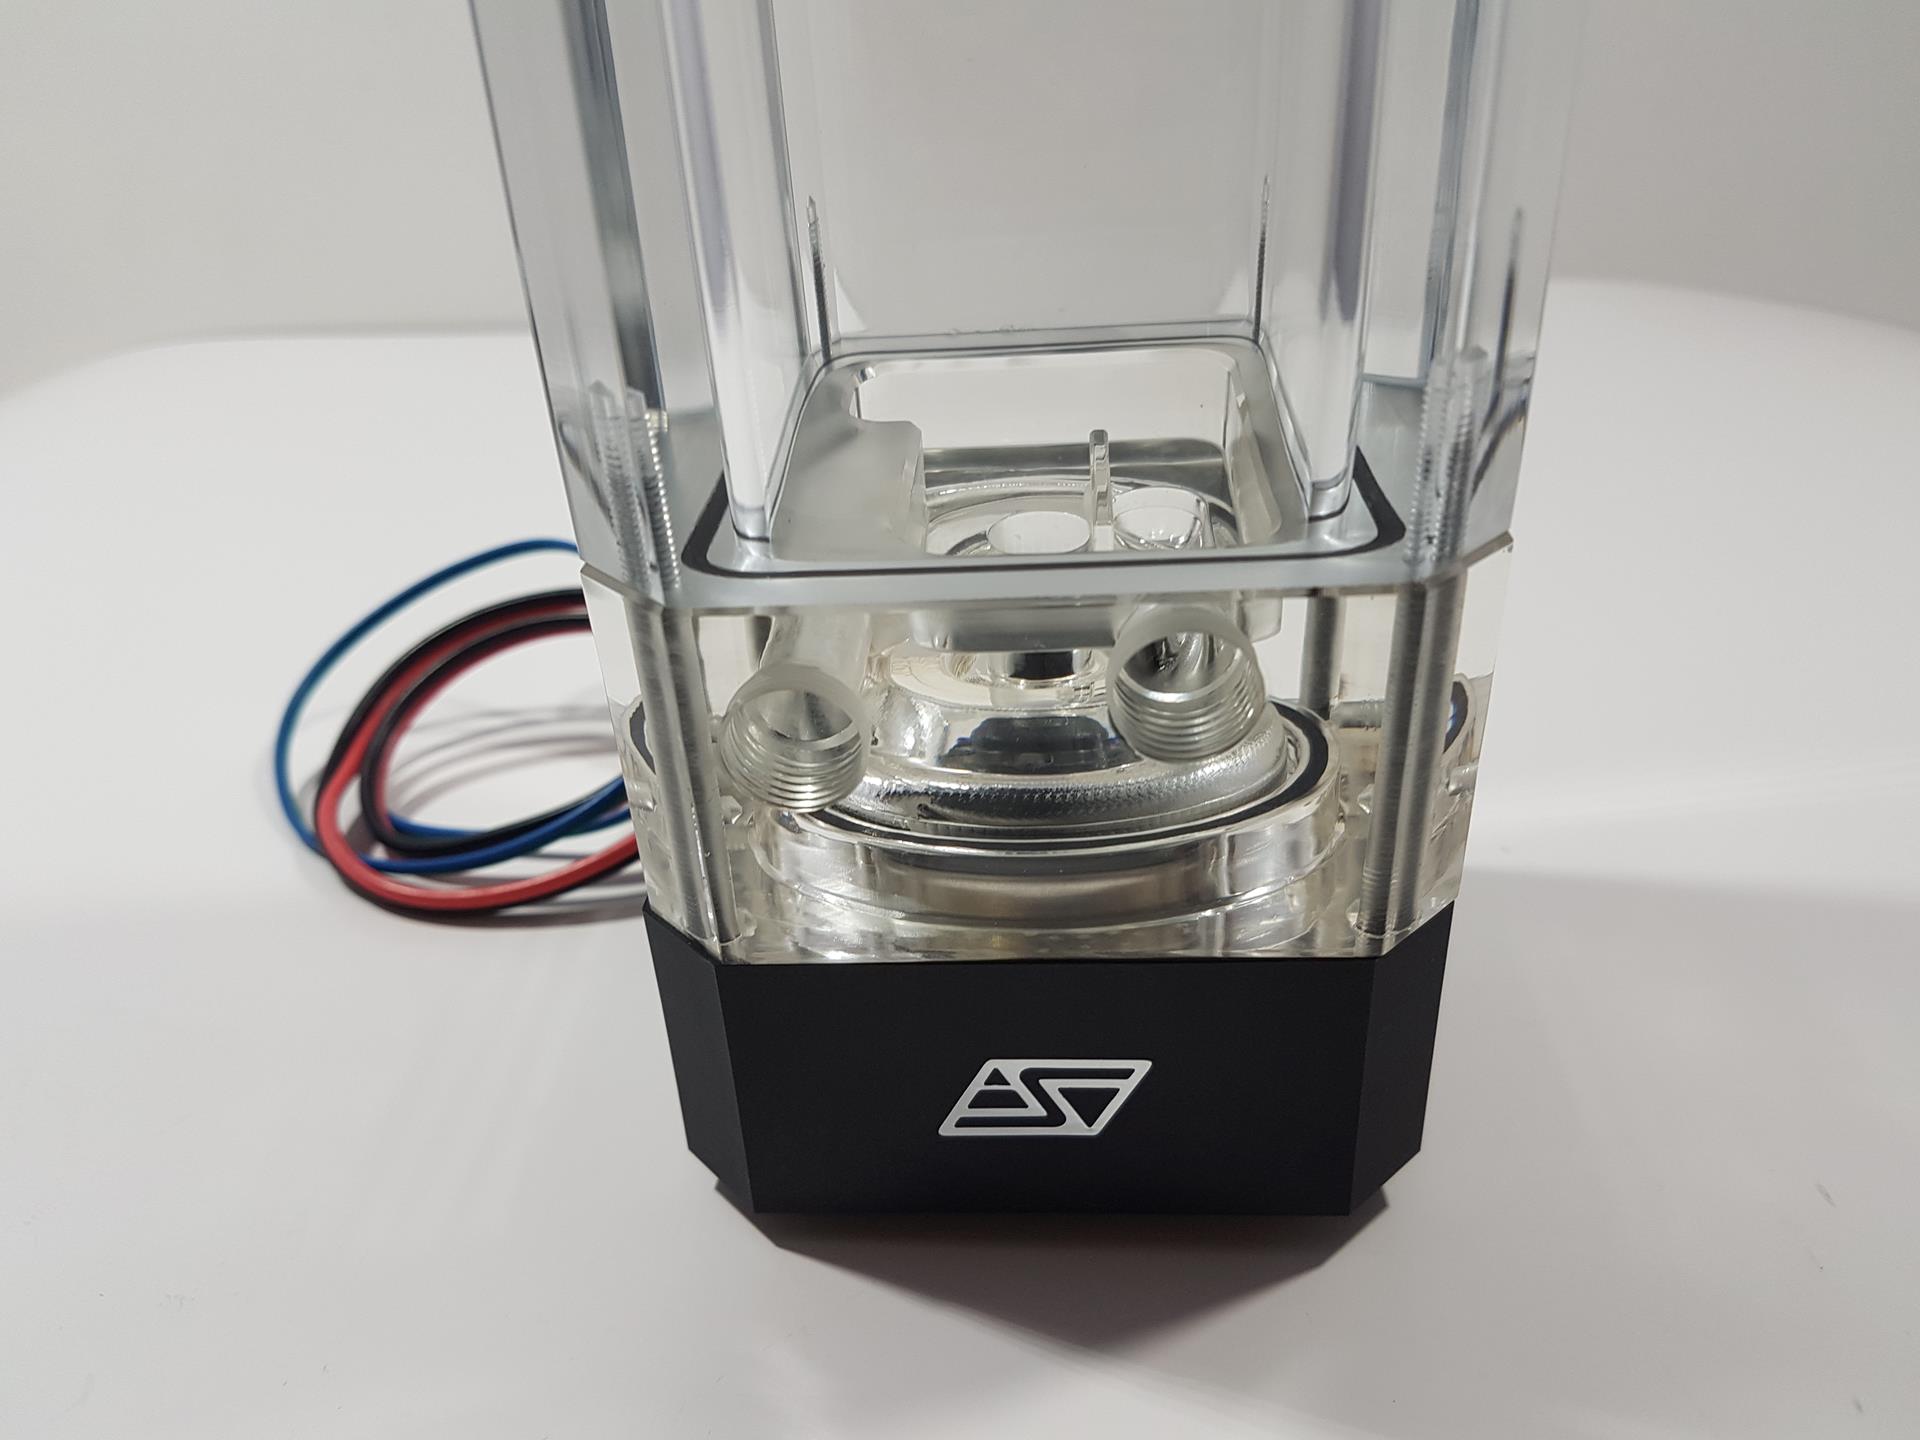
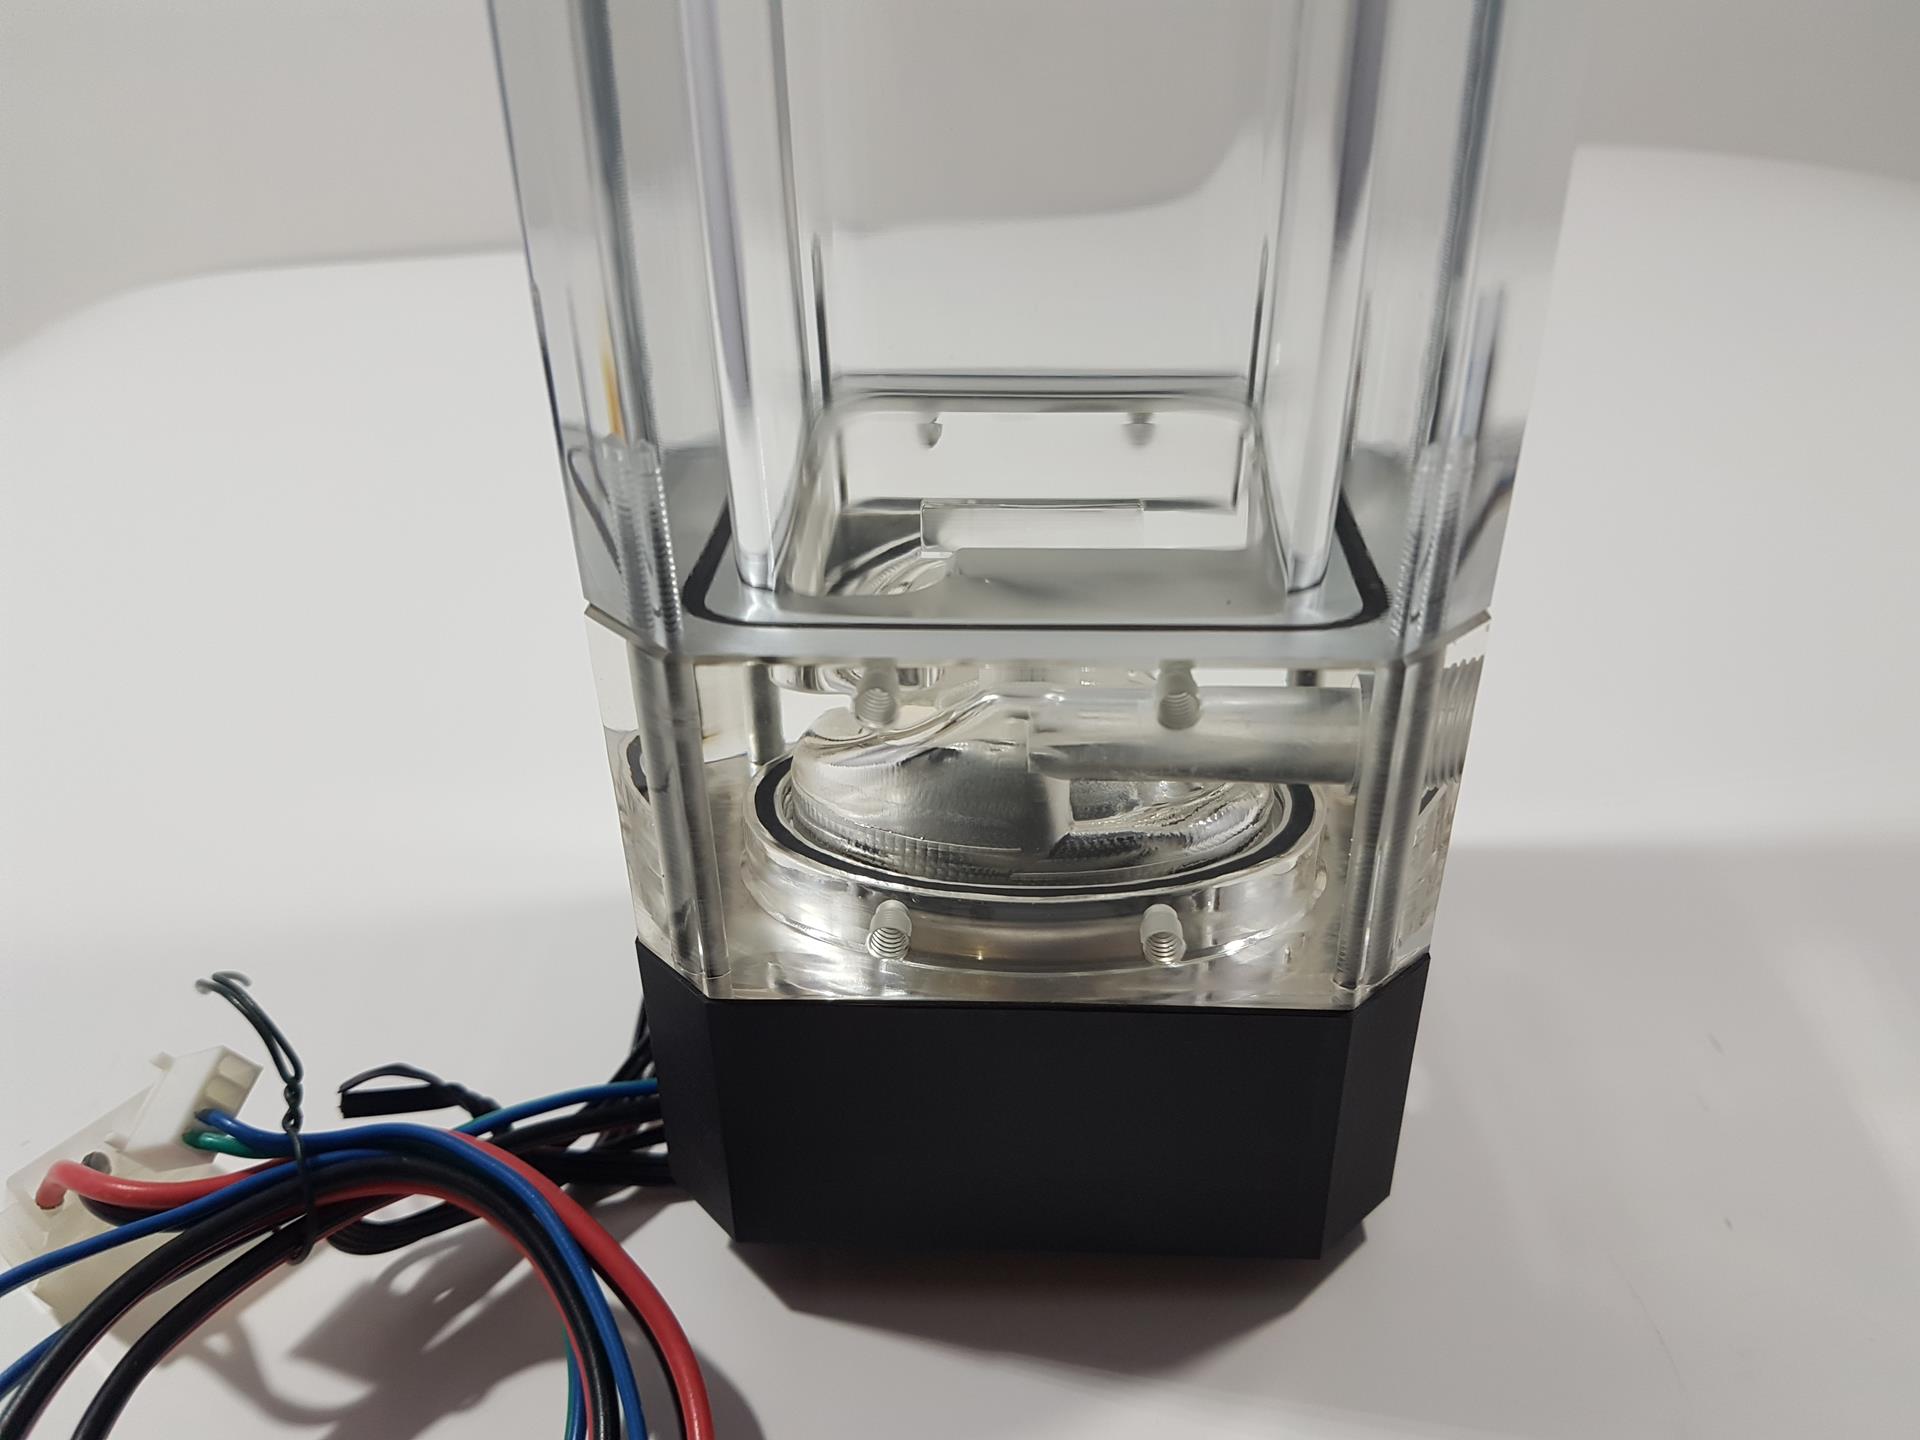
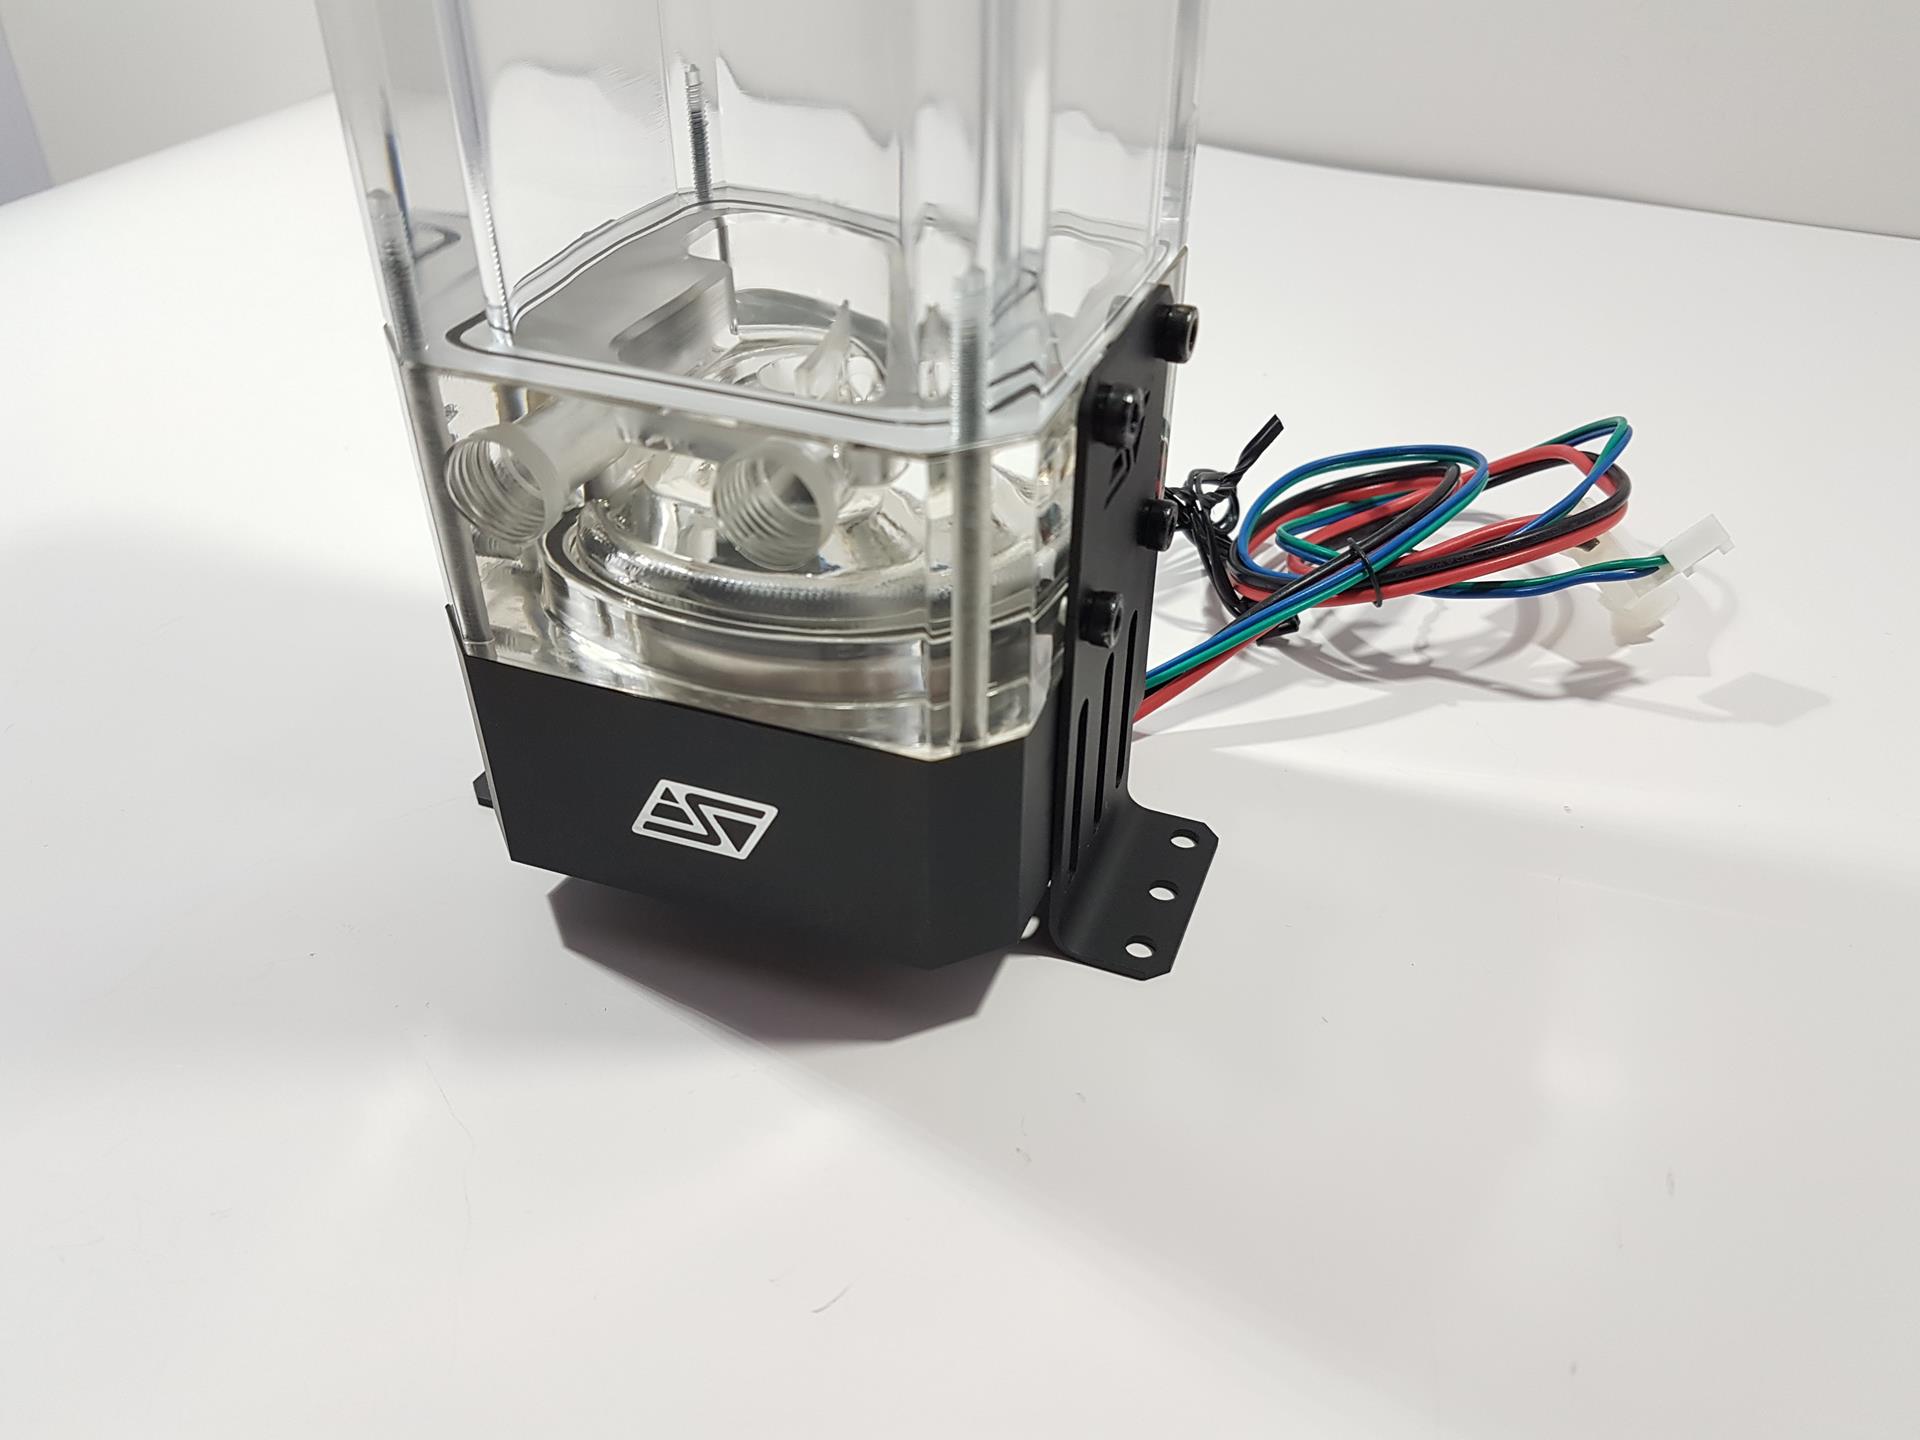
The Maelstrom D5 comes in 4 sizes which are 50mm, 100mm, 200mm, and 300mm. I am reviewing 100mm variant. This beautiful design has three sections. The reservoir itself which is made of glass, the pump top which is made of the acrylic and the pump housing body at the bottom. Swiftech has delivered quite a beautiful and stunning looking product which is definitely enticing to the customers and with the level of customization it has, this one could be the perfect choice for modders and water cooling enthusiasts alike. The build quality of the unit is top notch though we notice a crack in the glass under the top cover on one corner. One must be careful in handling these units as we are talking about real glass pane. The overall dimension of the unit is 190x80x80mm (HxDxW) Looking at the top we have a black color top cover with two ports in a diagonal pattern. The dimension of the top cover is 10x80x80mm (HxDxW). These are G1/4” threaded and have two metal plugs on them. These can be used as fill port or alternate inlet port. You would need the Allen/hex key to remove these plugs which, unfortunately, is not bundled in the box. Similarly, we have 4 long screws (each measuring approximately 20mm) that are used to secure the top to the main glass housing. You would allen key to remove these screws. In my personal opinion, the allen key should have been provided in the box. Taking the top cover off will require you to remove these four screws. Be careful when screwing/unscrewing them and don’t exert too much pressure. The finishing on the top cover and its underside is matte black. There is an O-ring on the underside of the top cover to ensure a seal between the cover the glass body. Finishing is quite good. Swiftech has done a marvelous job when it comes to threading the glass body, the pump top, and the pump housing. Particularly threading the glass and acrylic could be challenging but they have delivered on it. We have four threads on each mounting corner on the top of the glass body. Glass body itself has quite thick walls which is understandable. Each side of the glass measures 10mm thickness. The overall dimension of the glass body only is 100x80x80mm. Please note that this is D5-X100 where 100mm is the capacity of the reservoir itself excluding the pump top. Since the reservoir is of glass made, it is crystal clear, unlike the yellowish acrylic body. Looking at the assembled unit, one can clearly see the difference between the glass and acrylic in terms of the colors.
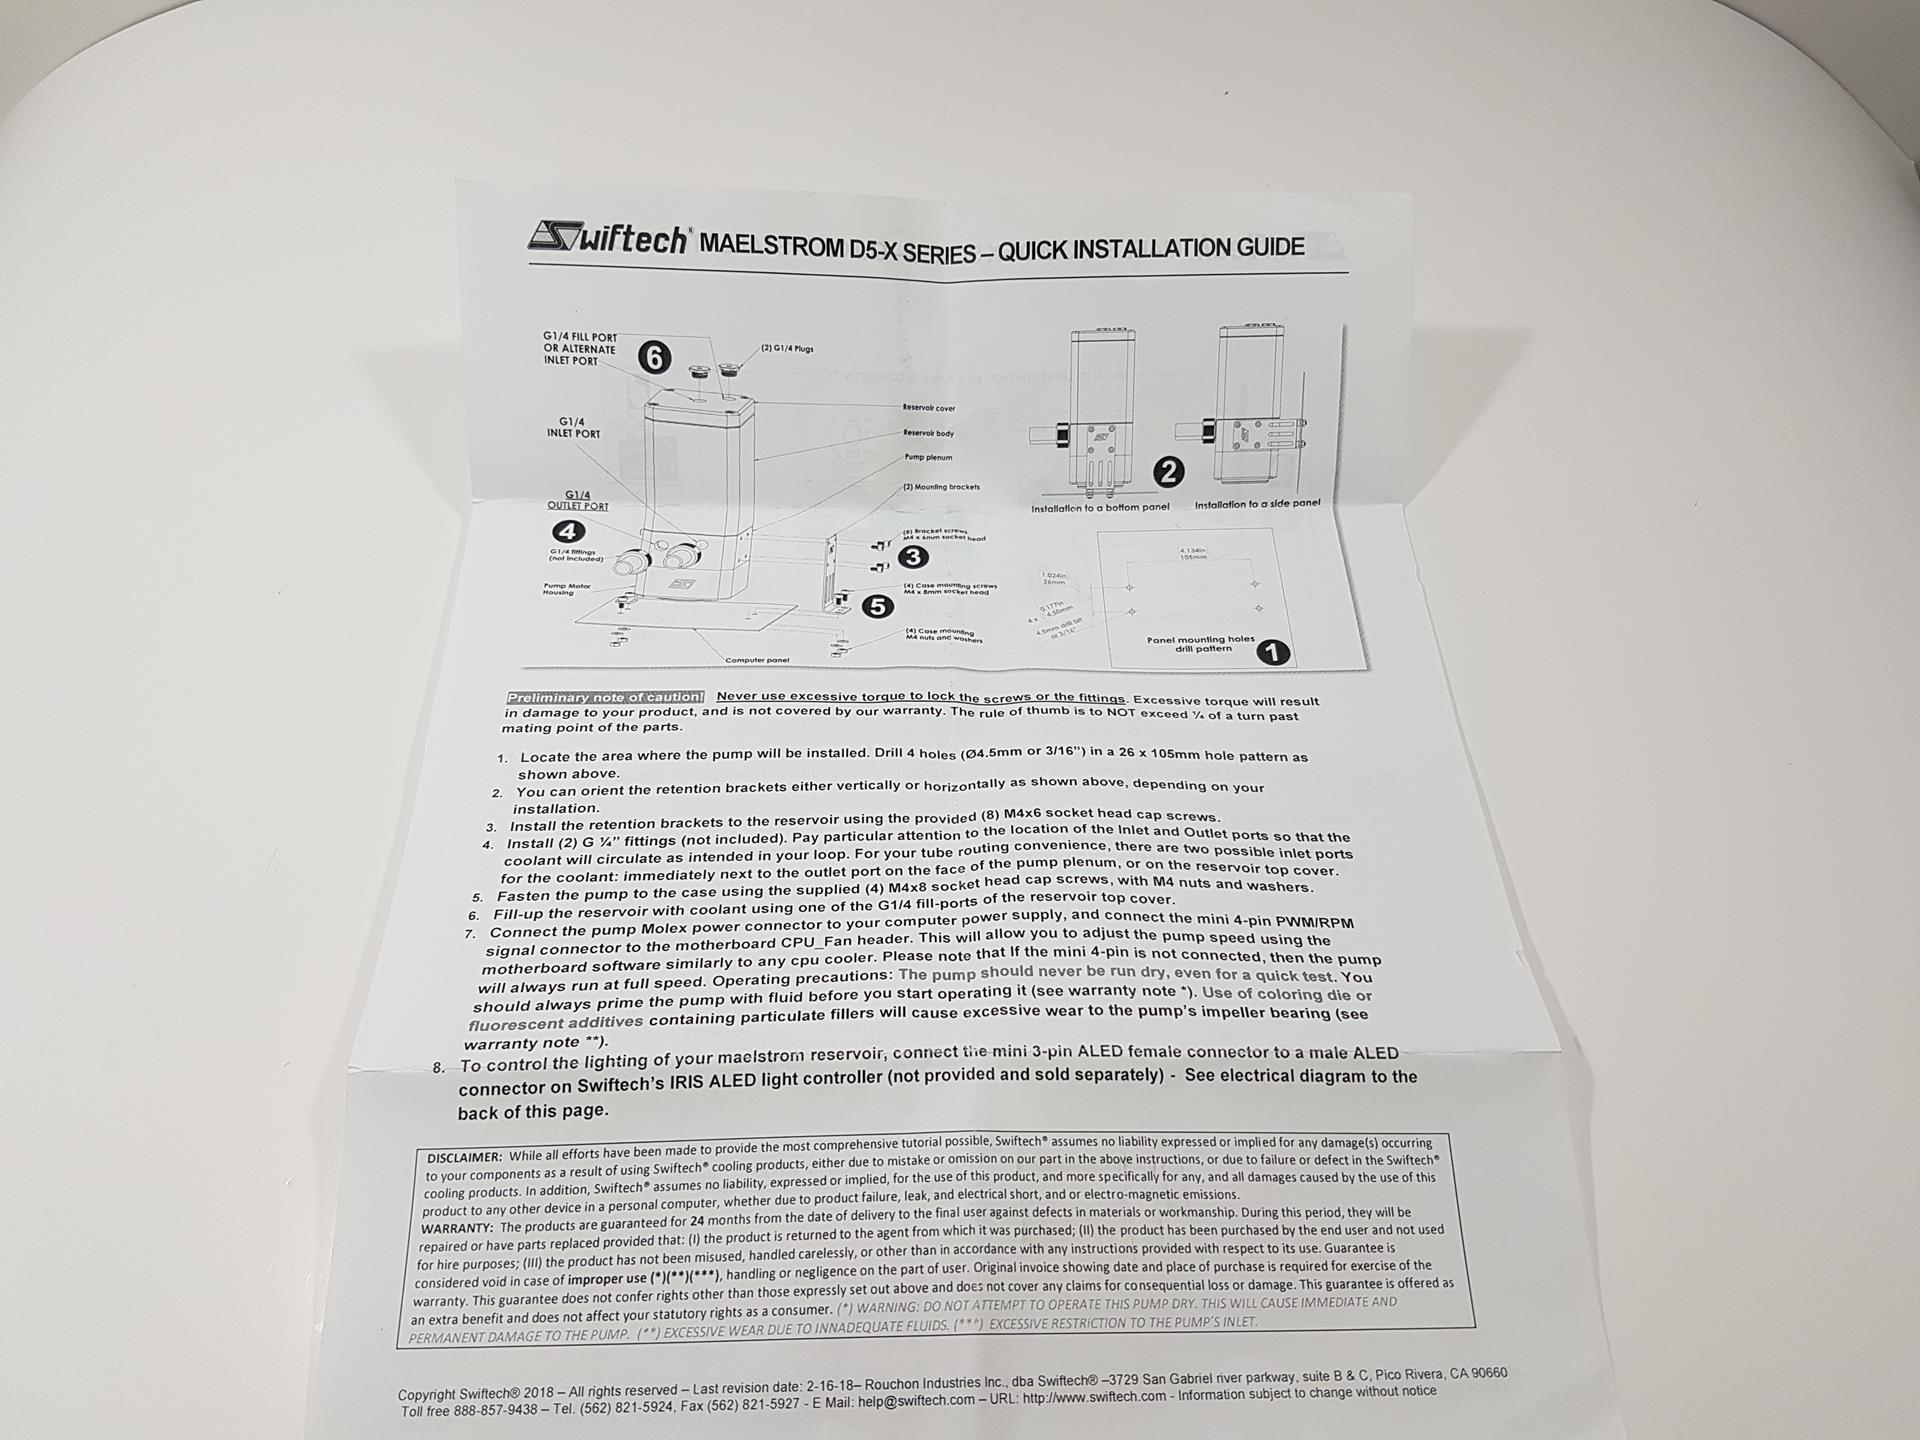
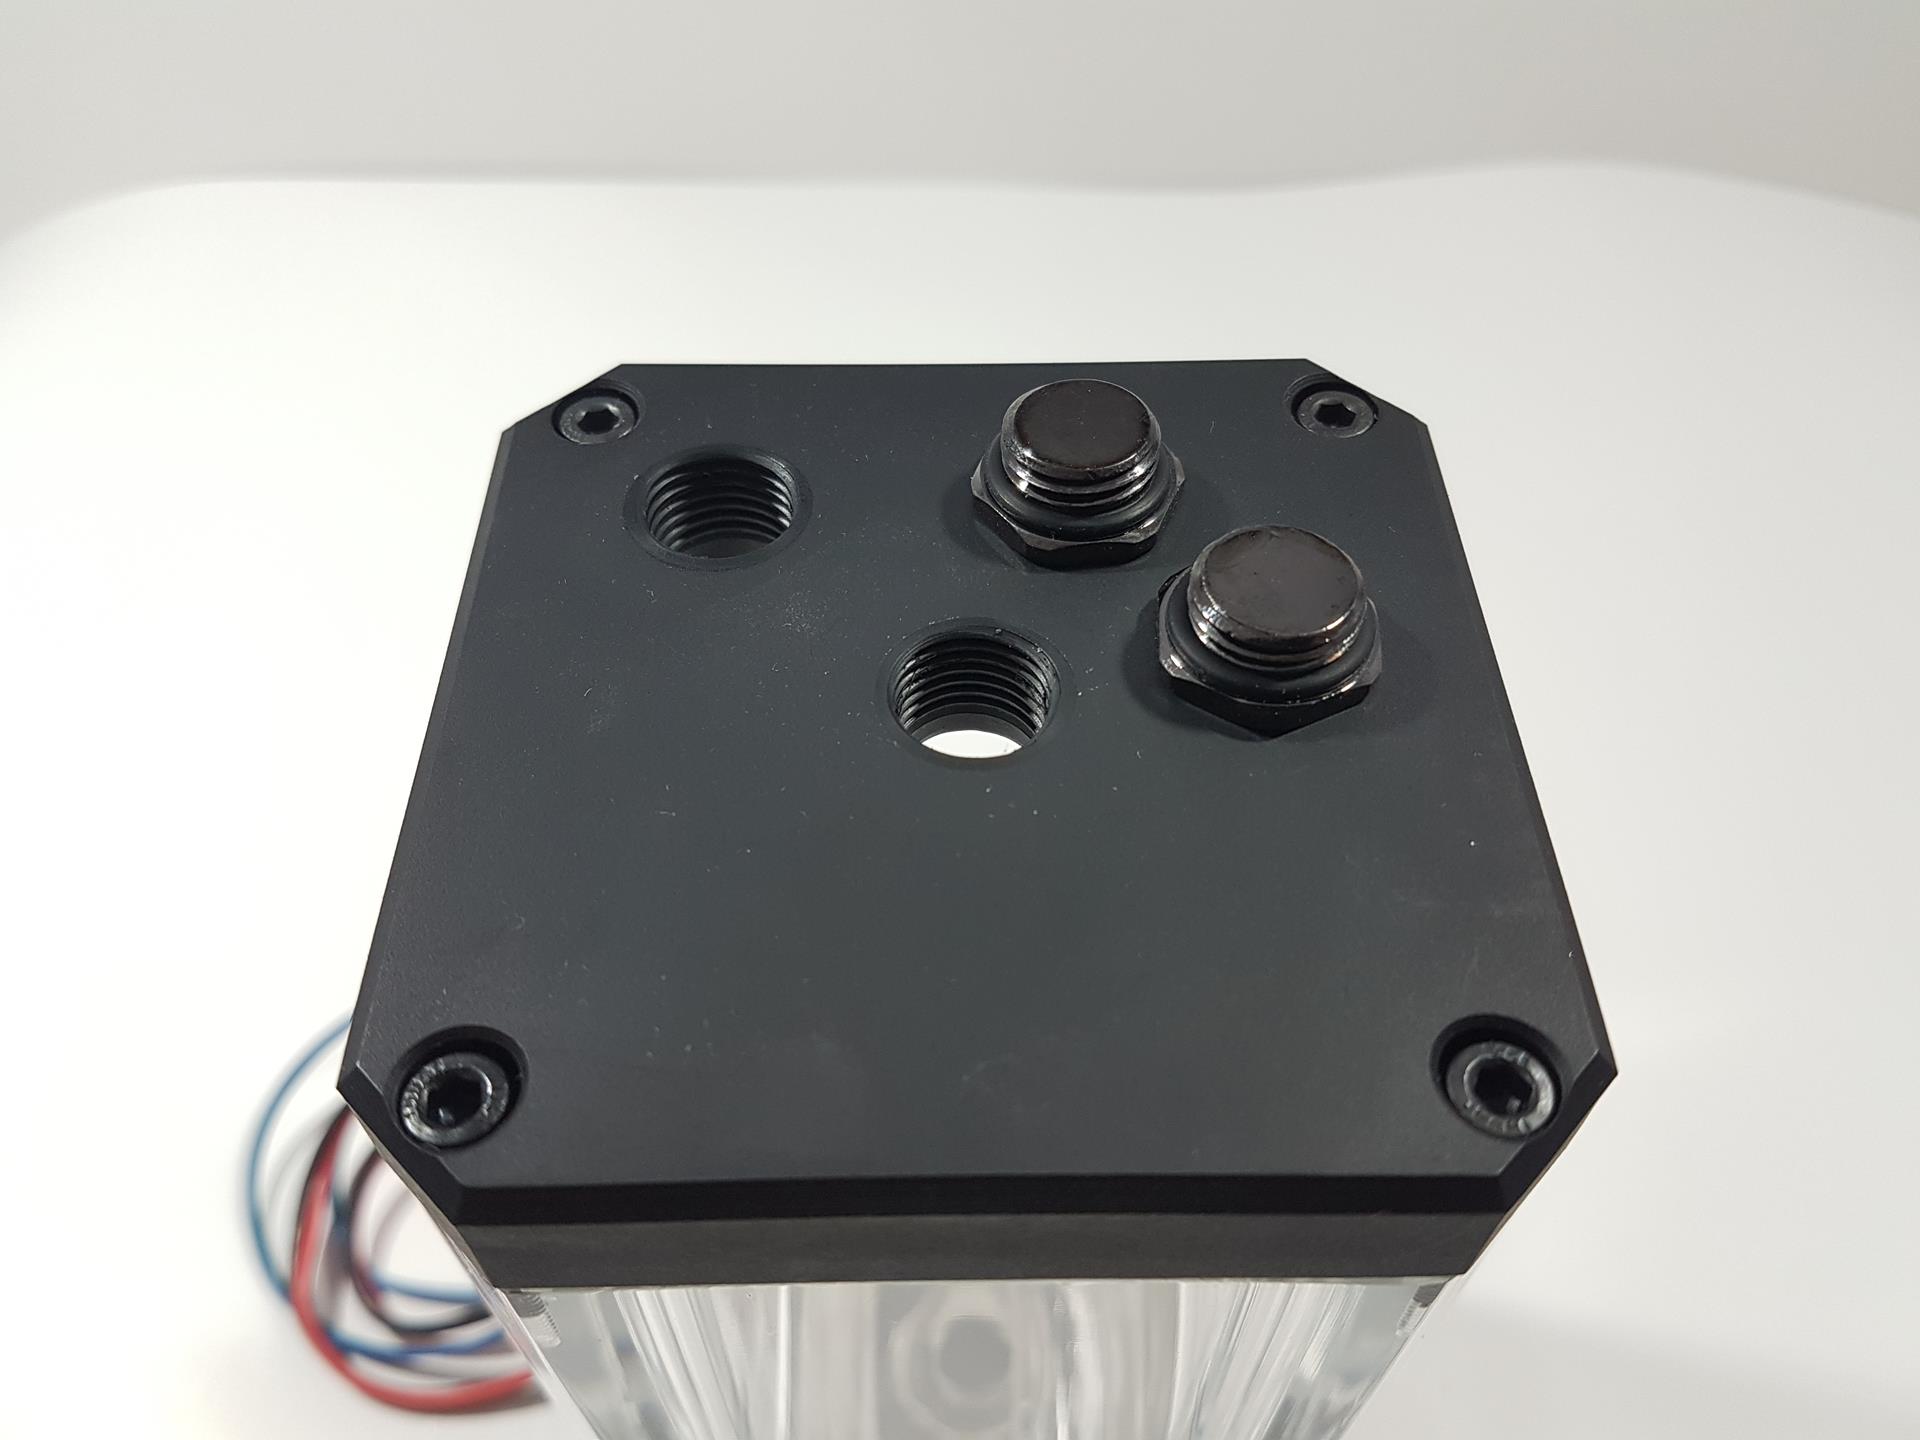
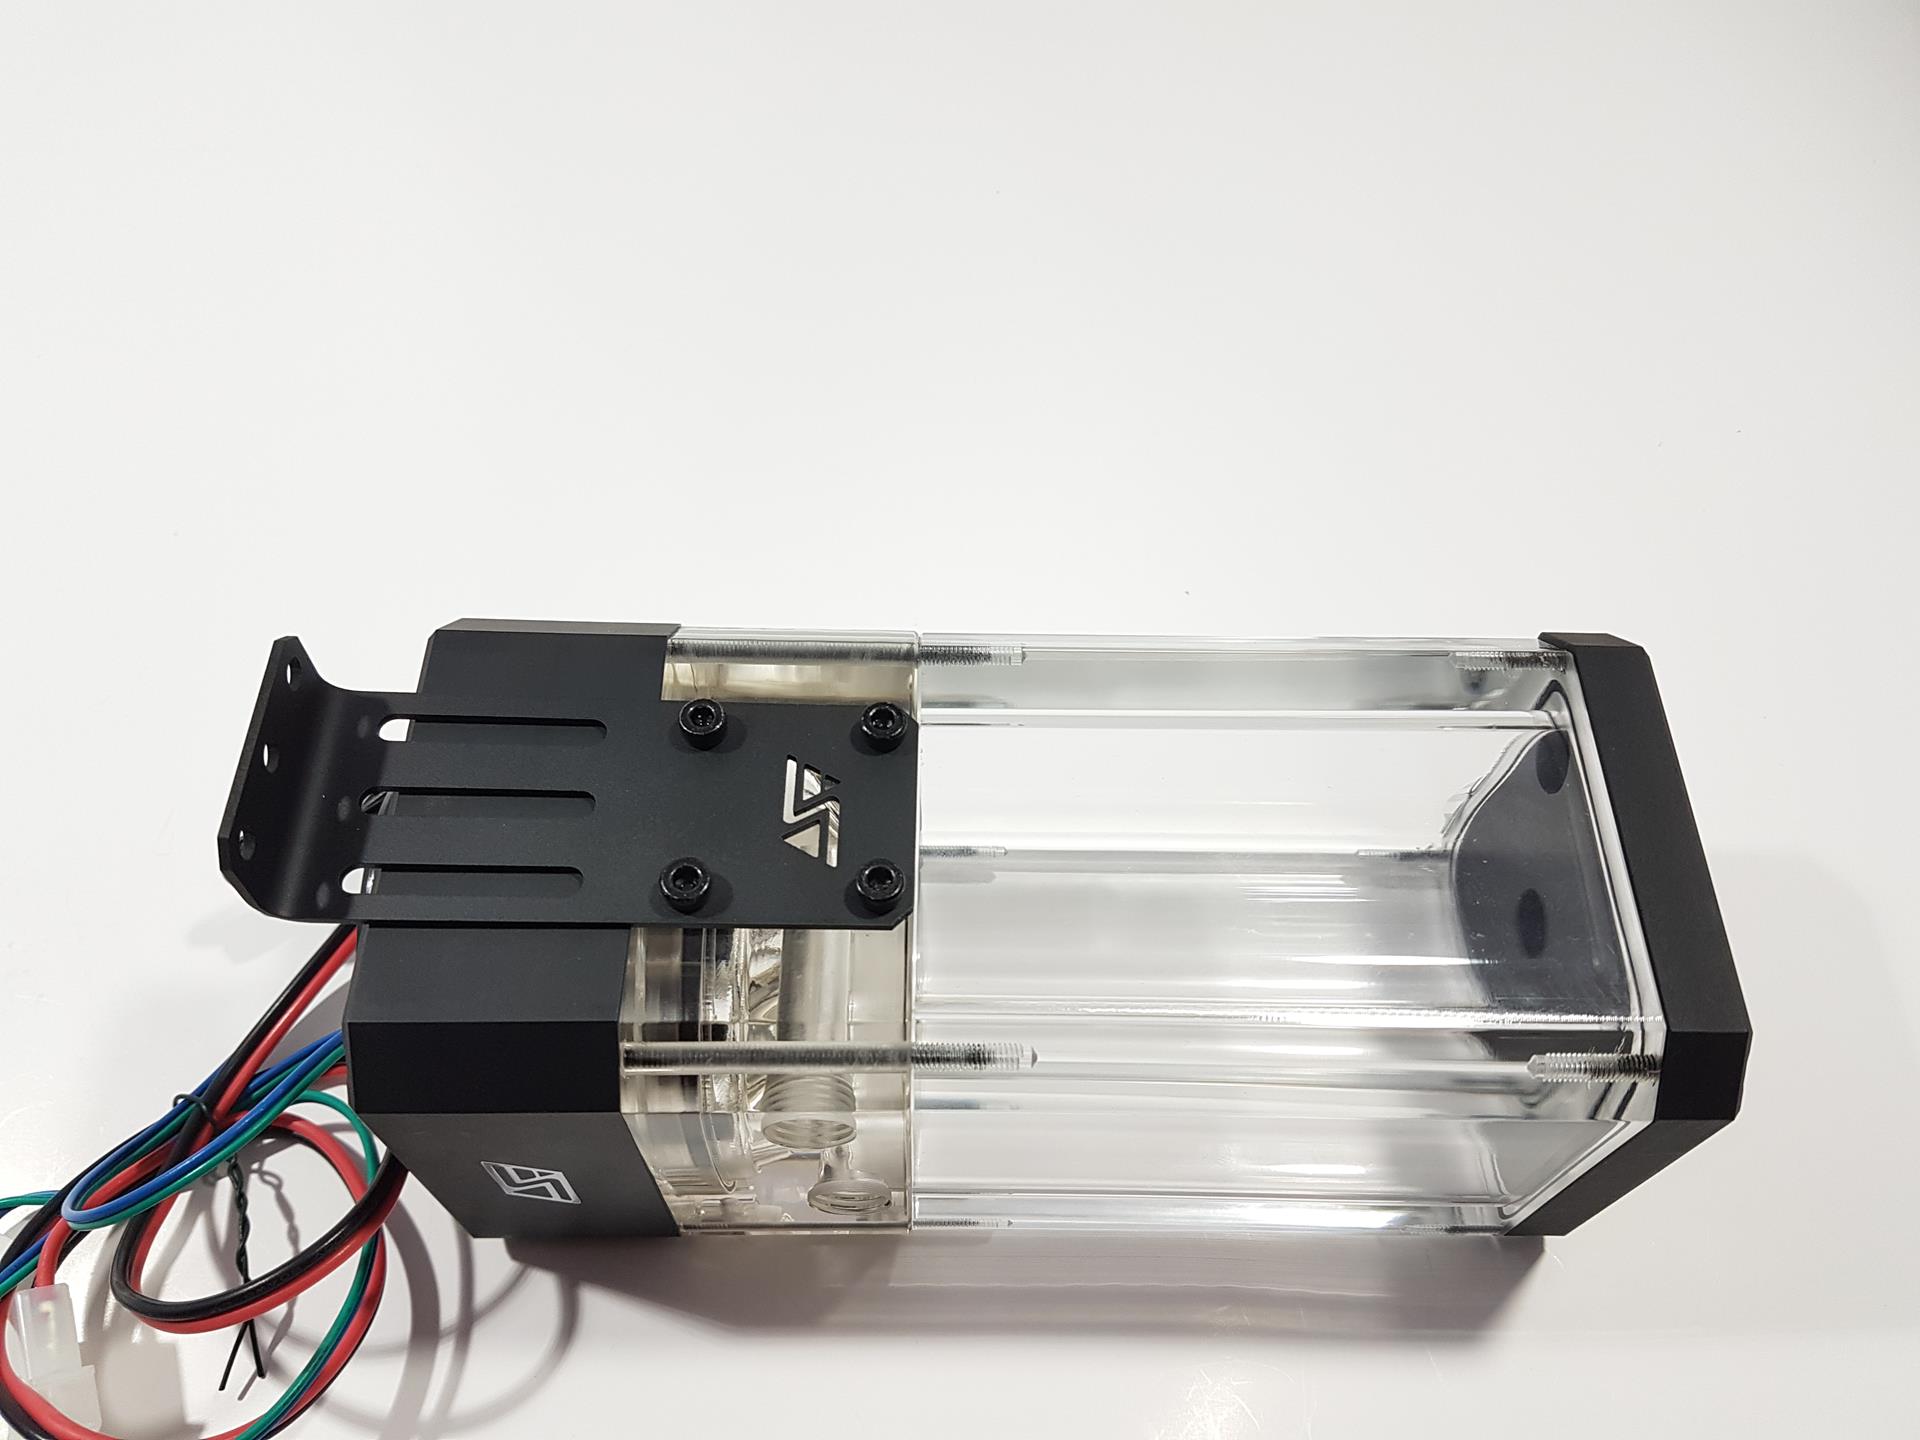
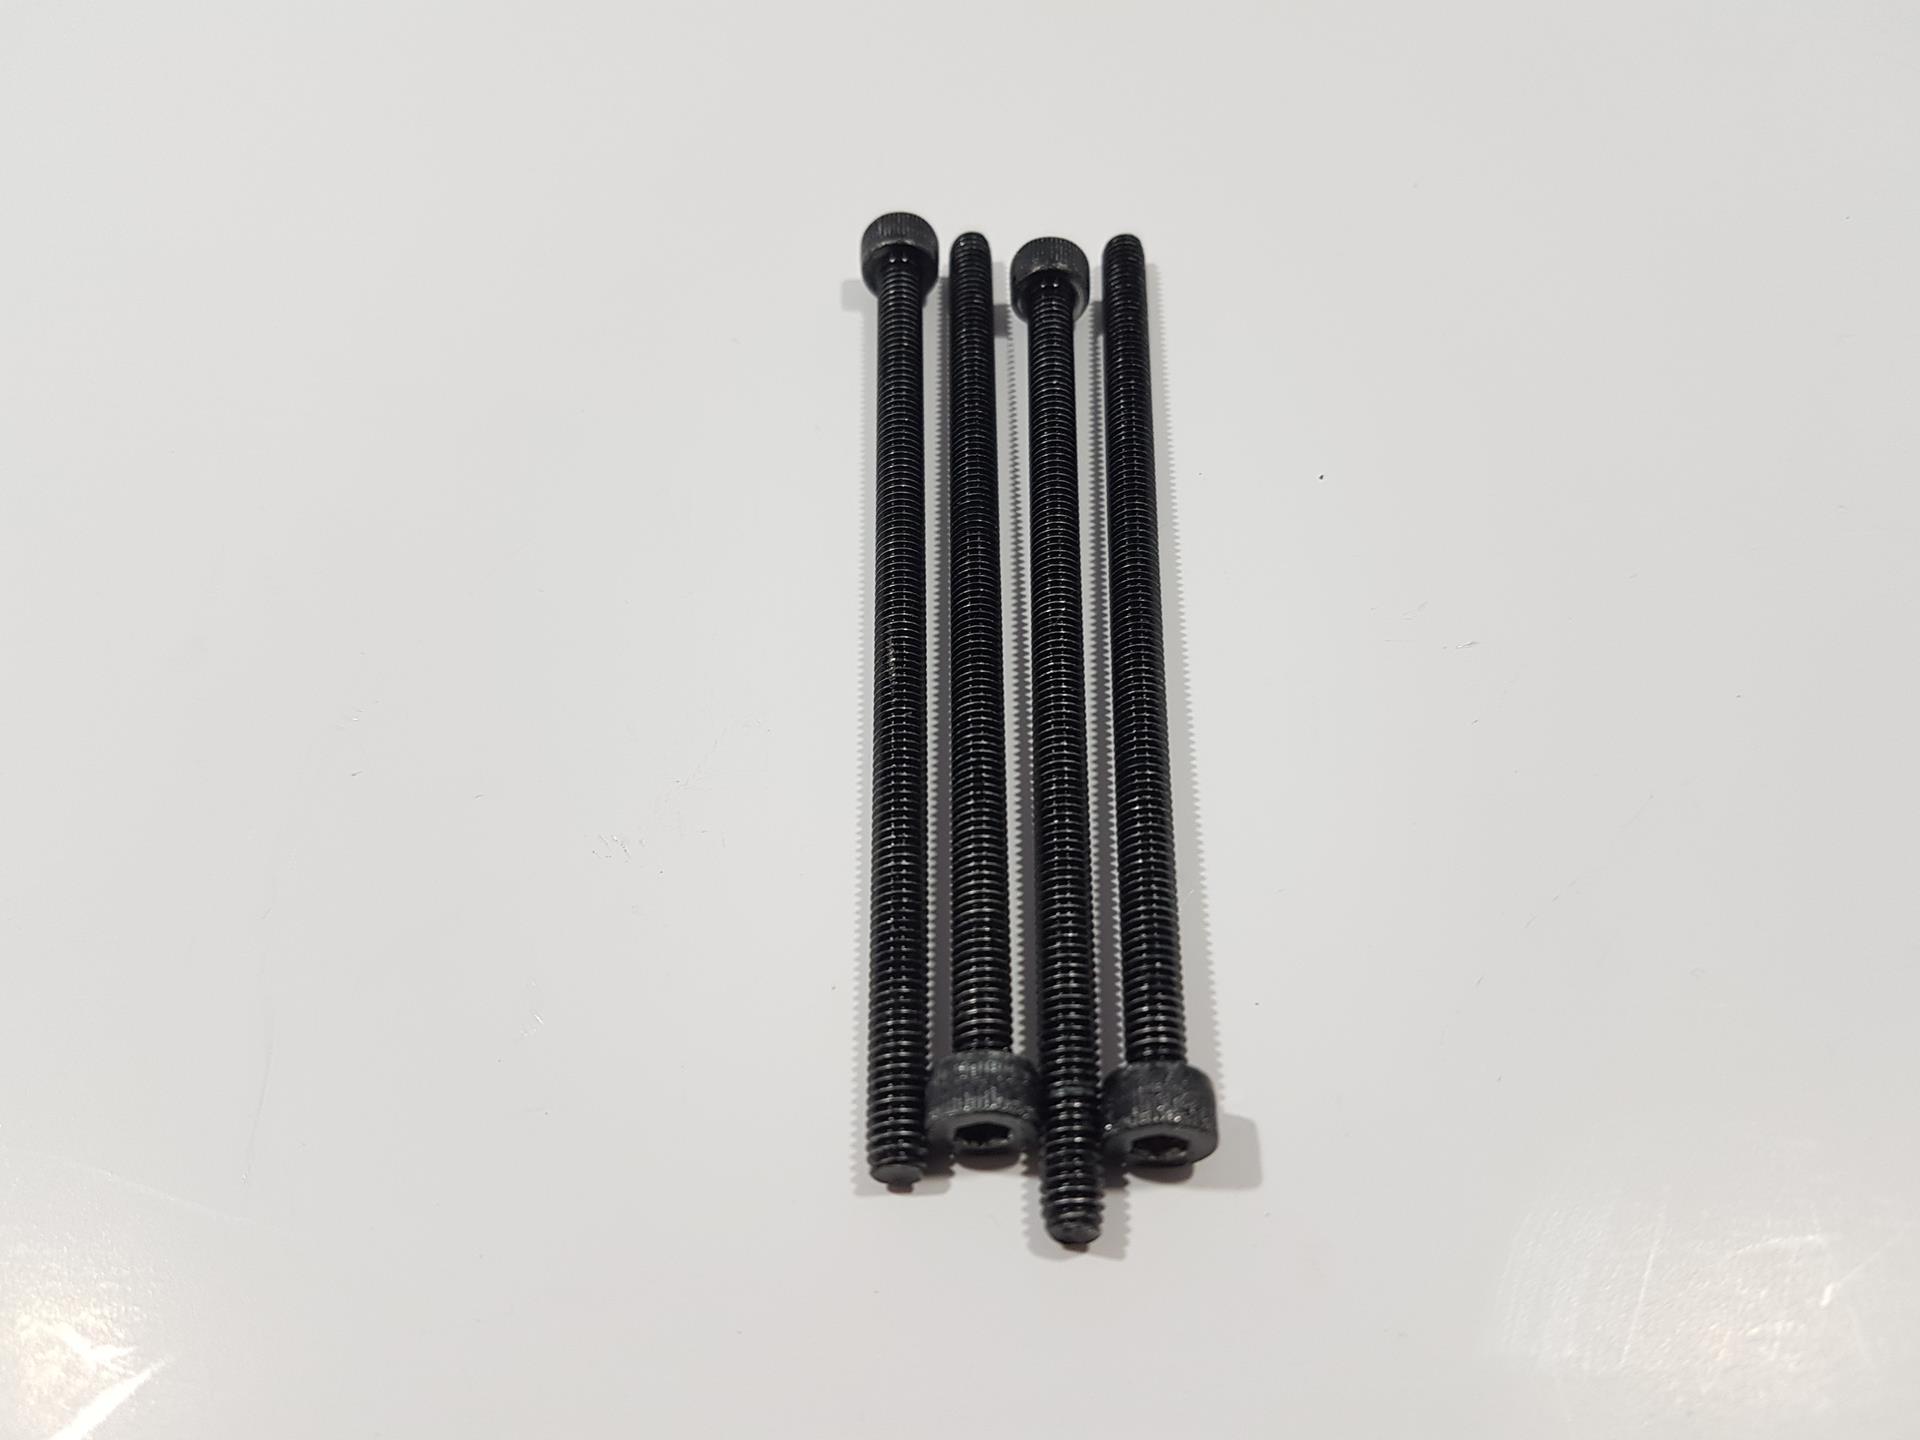
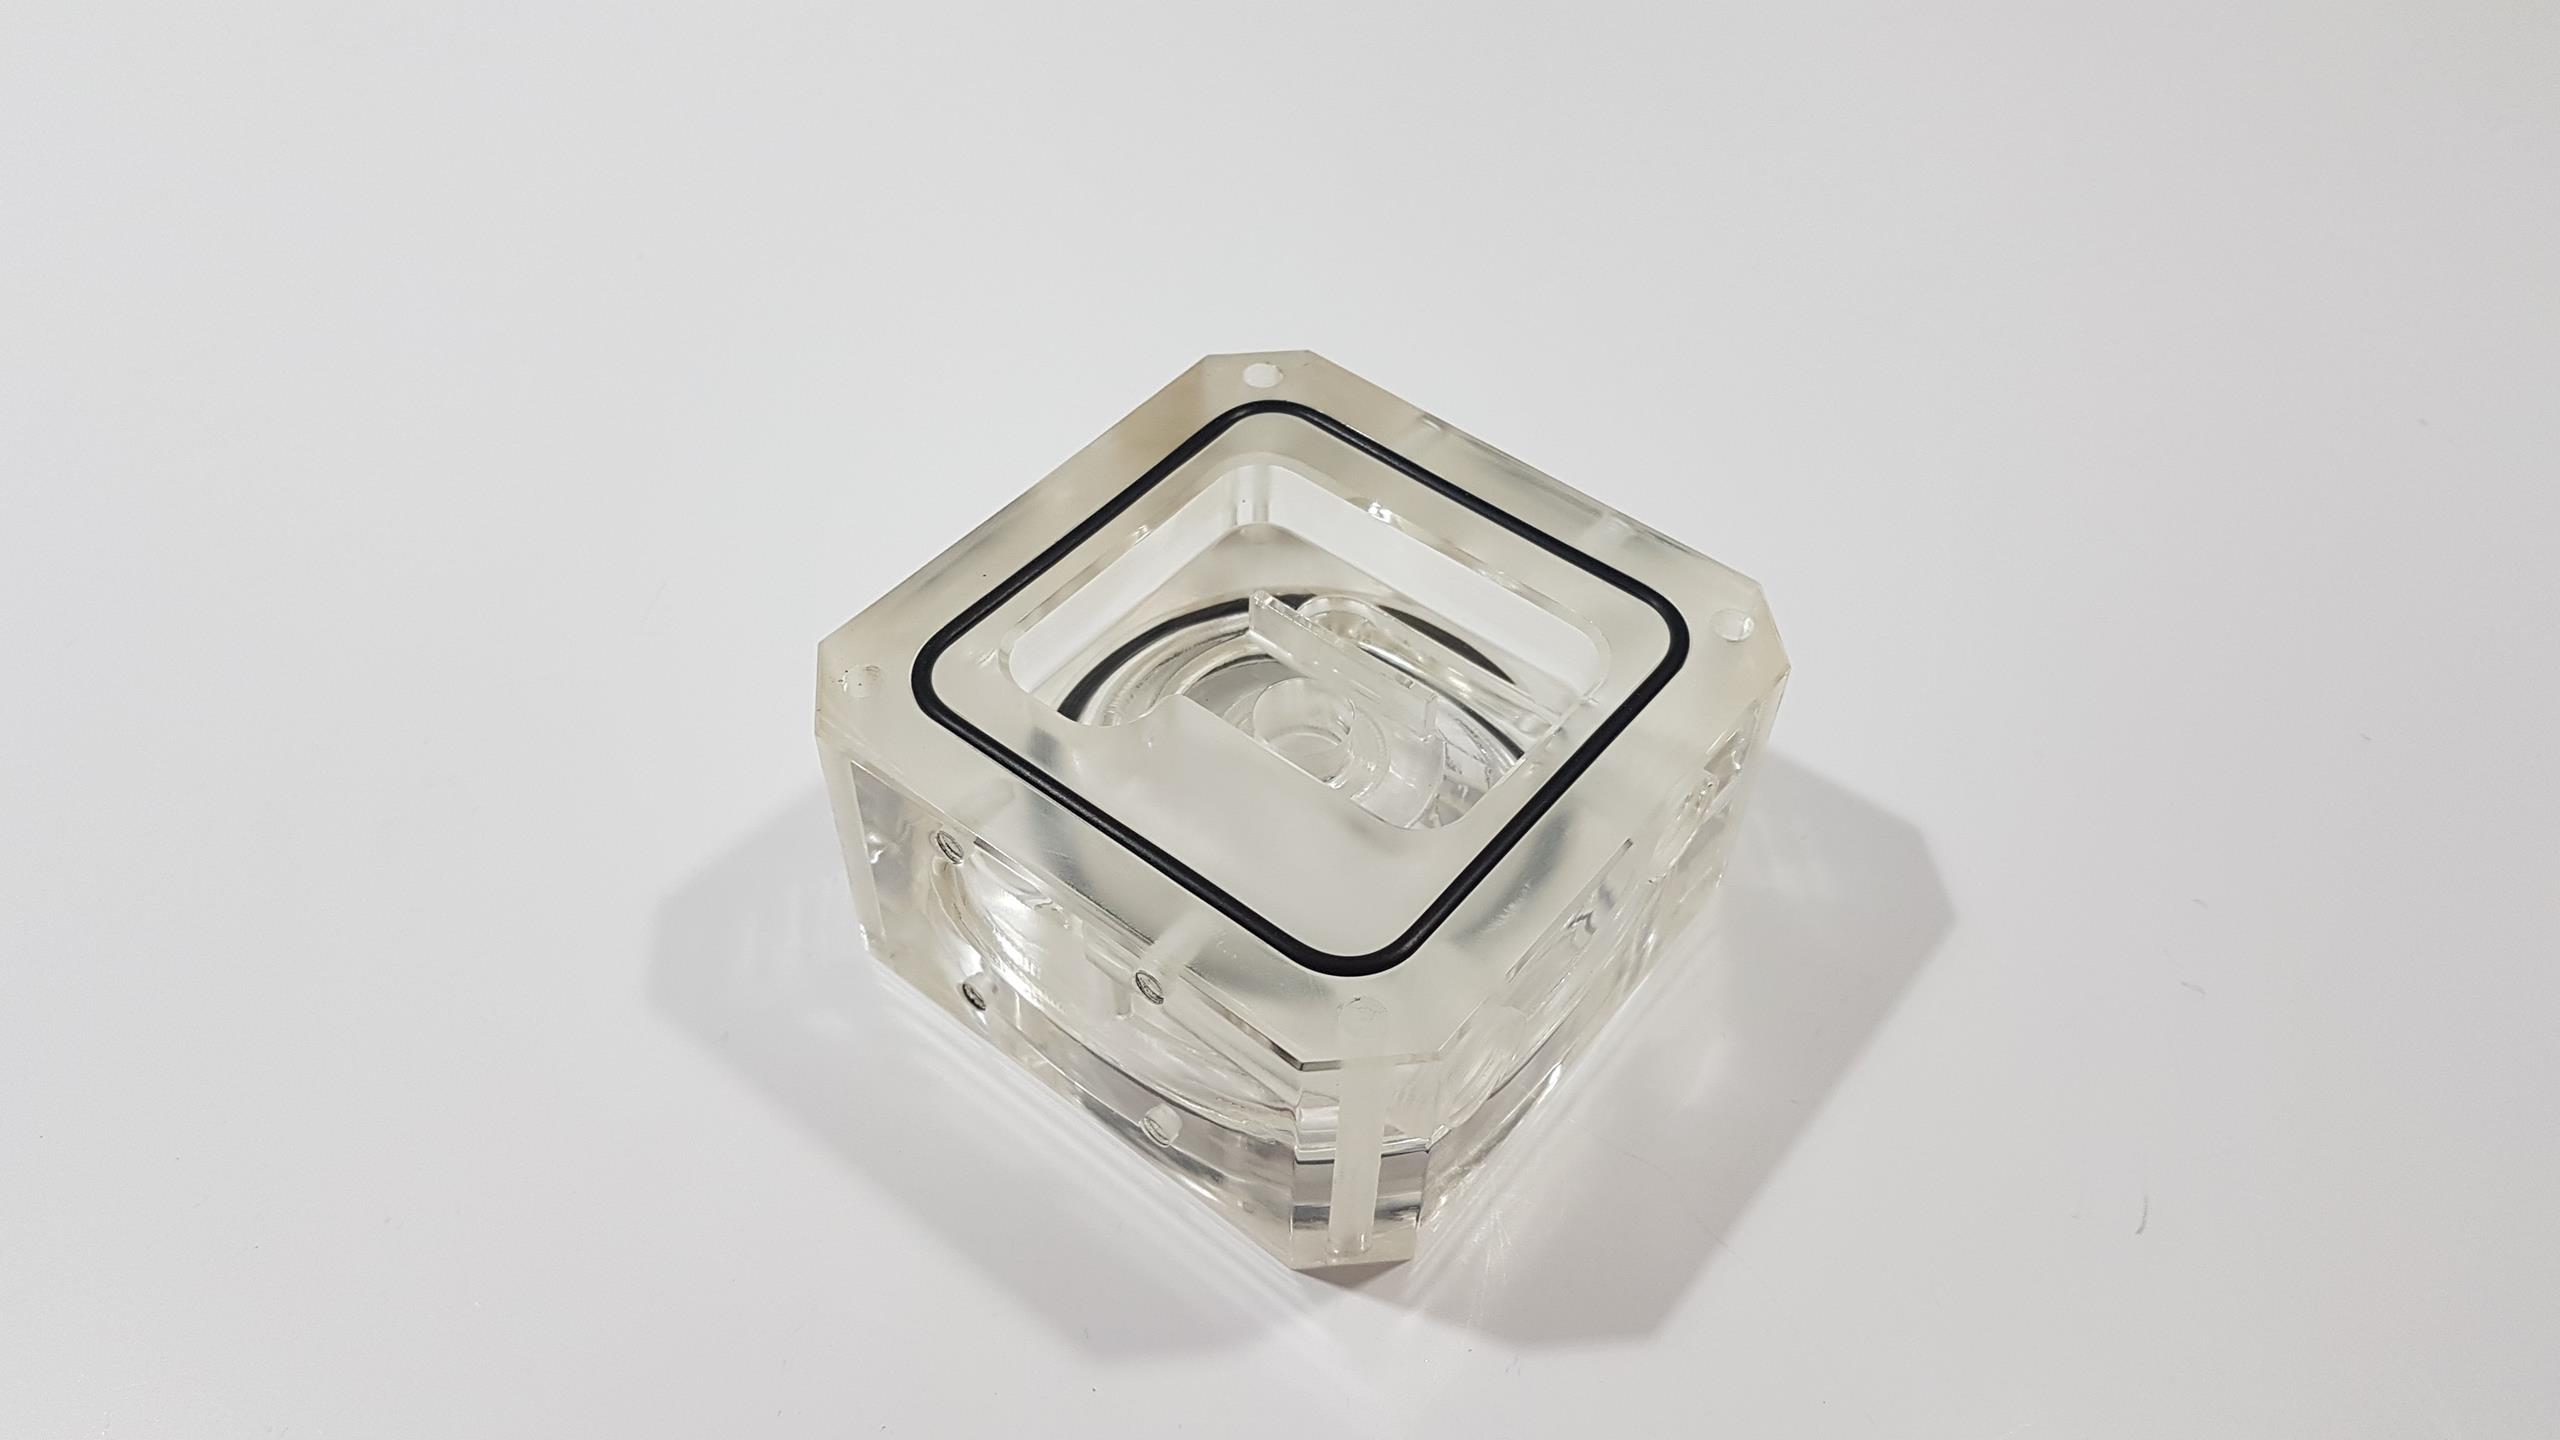
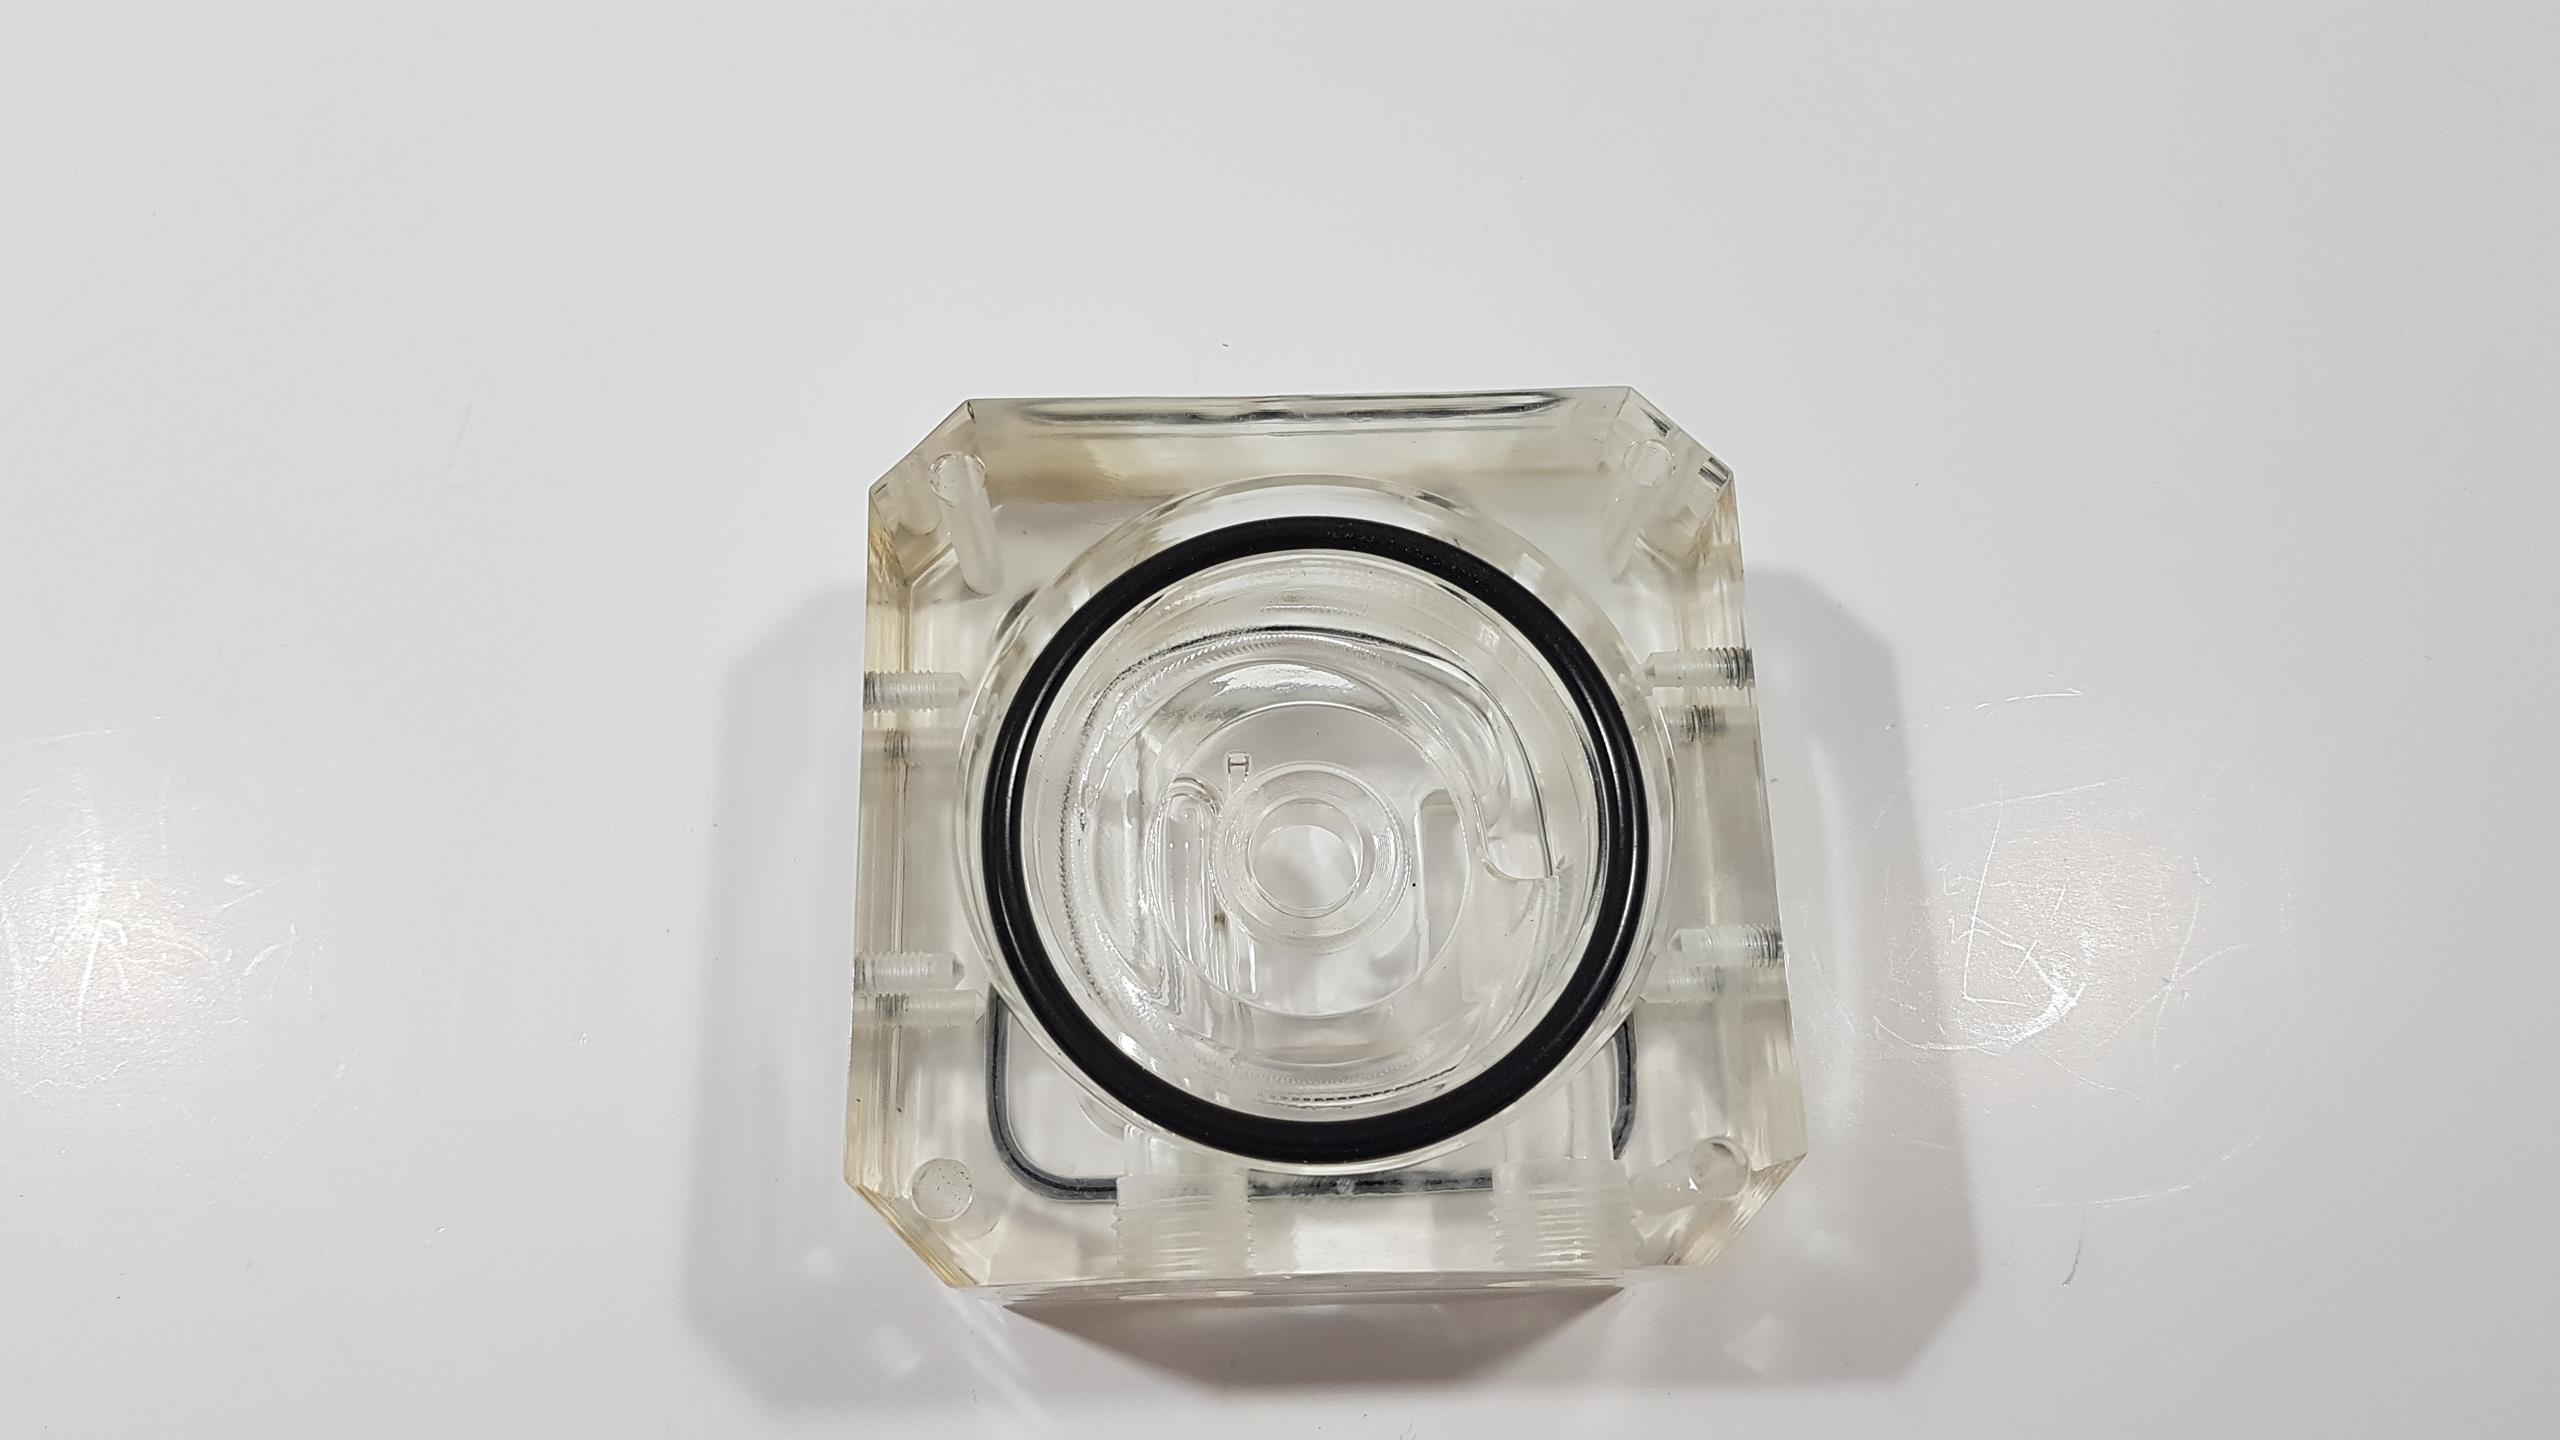
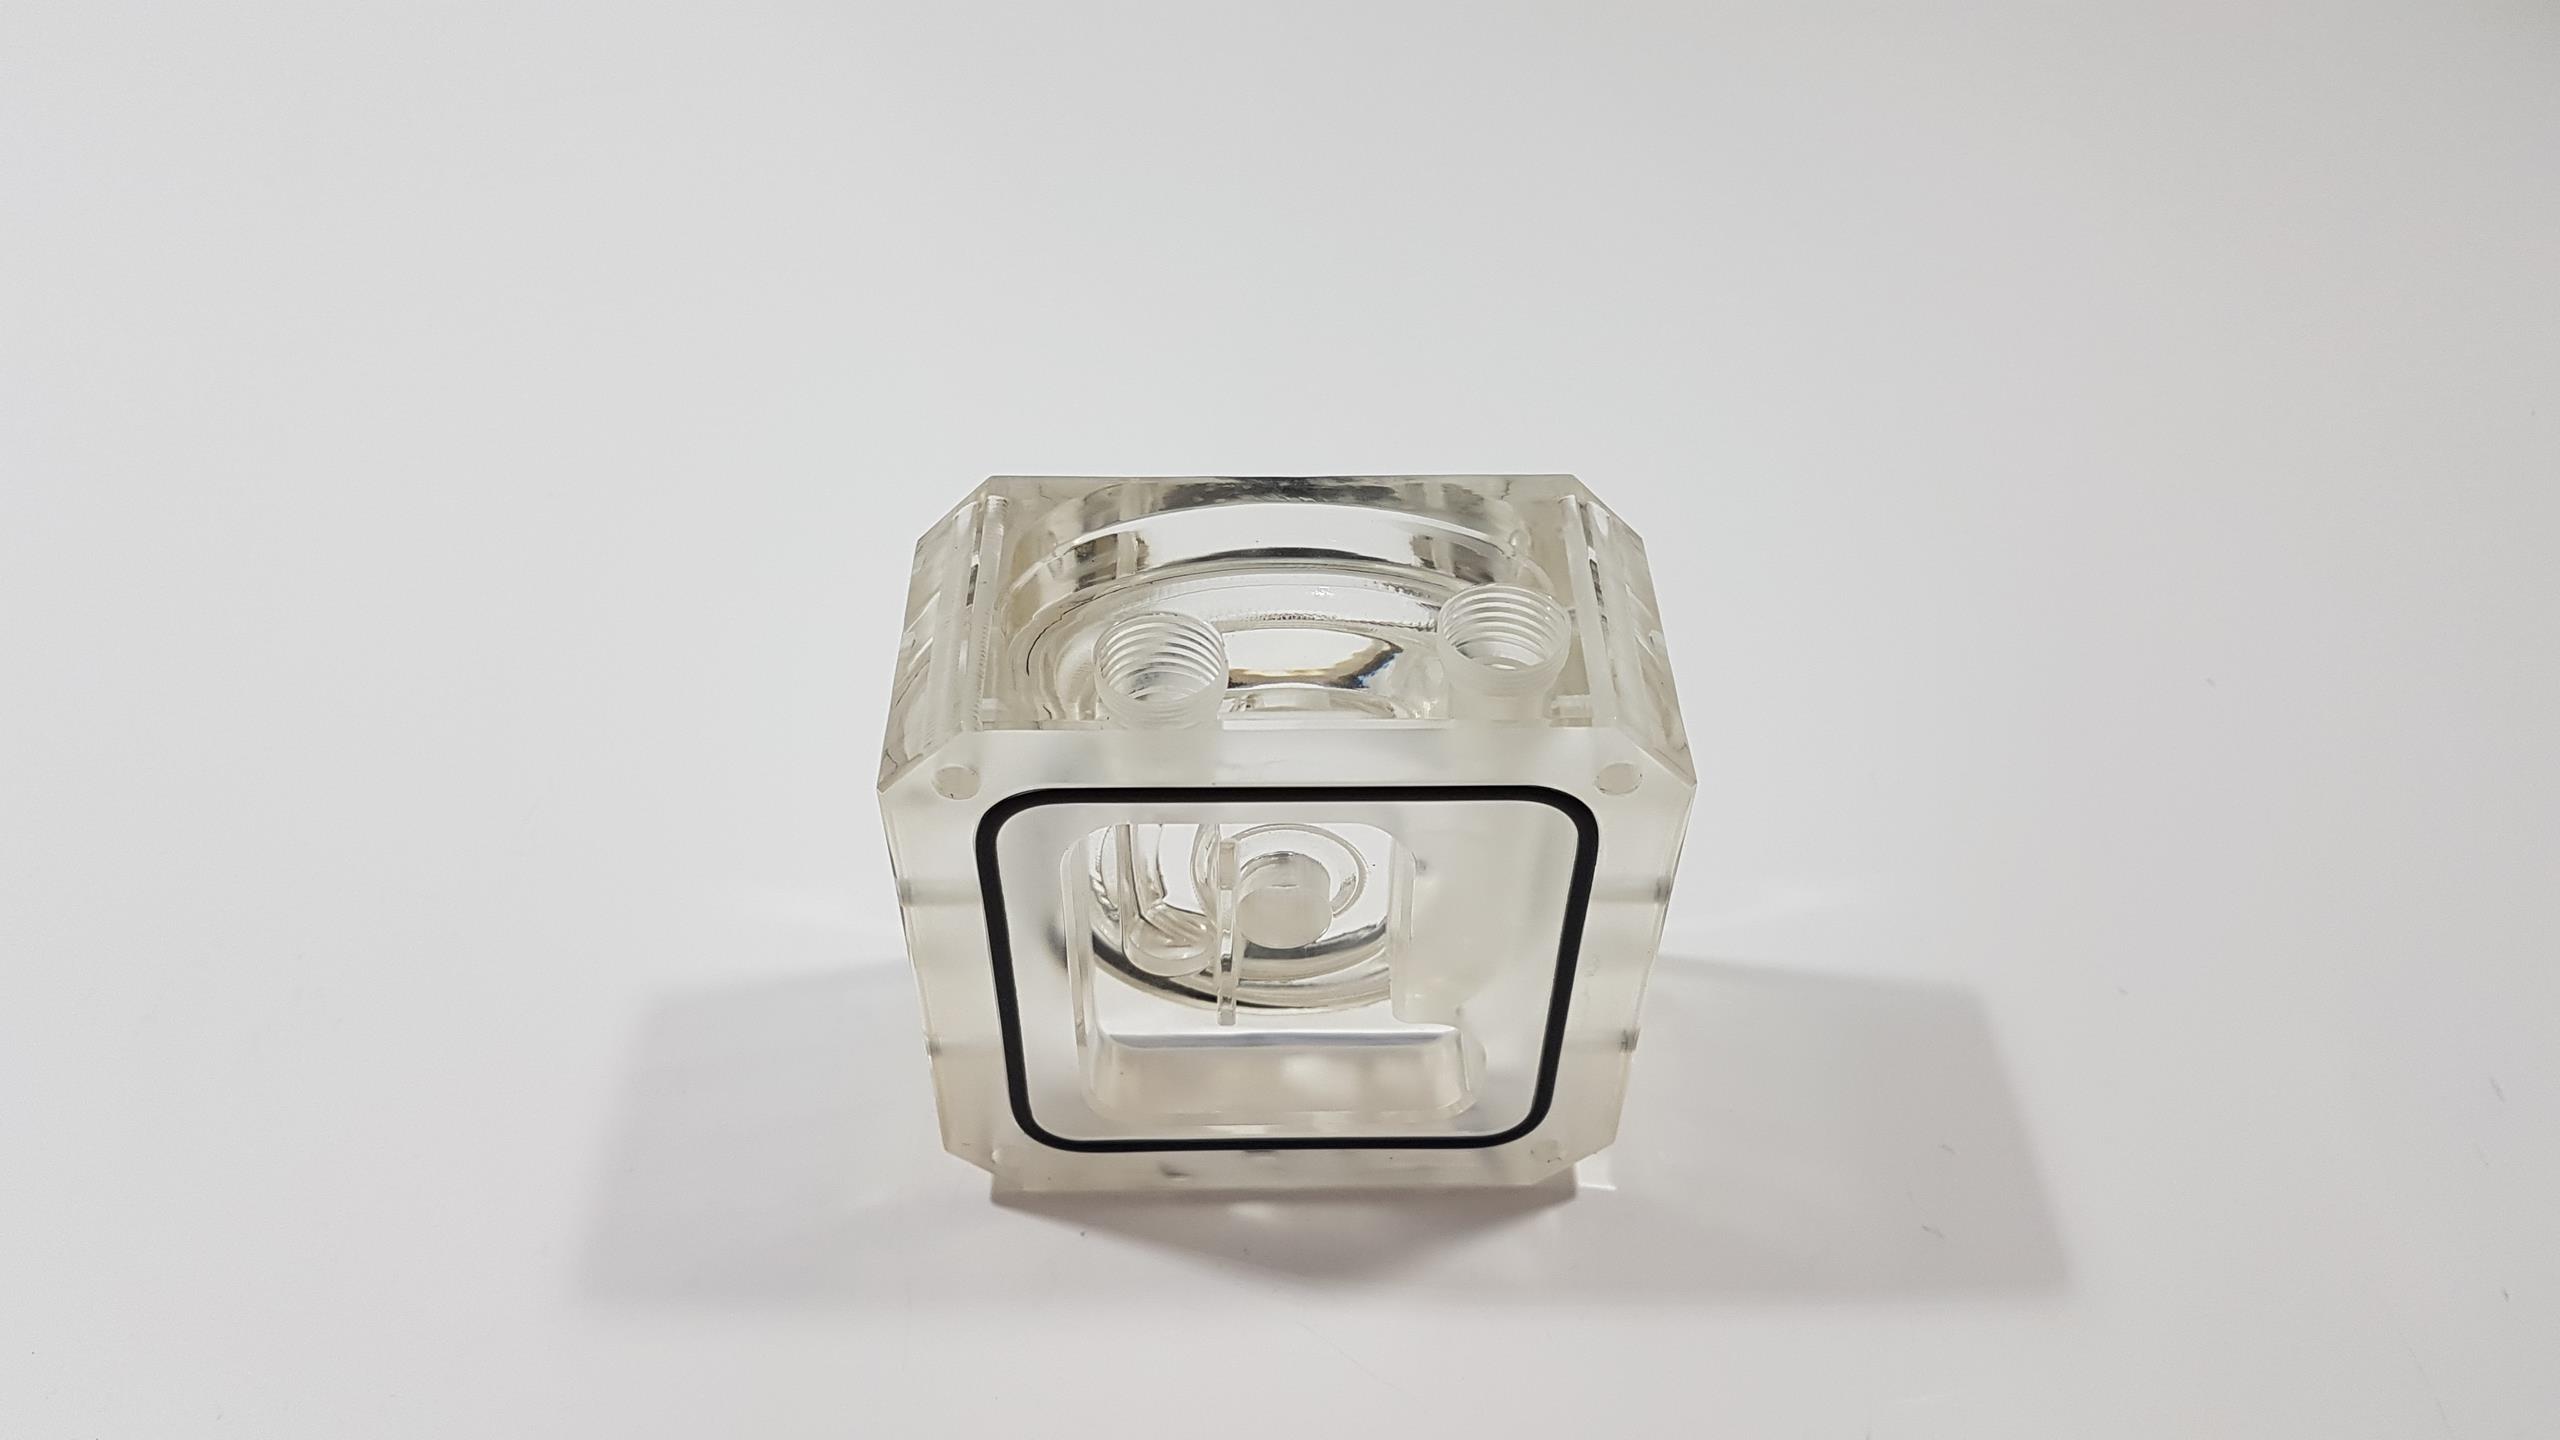
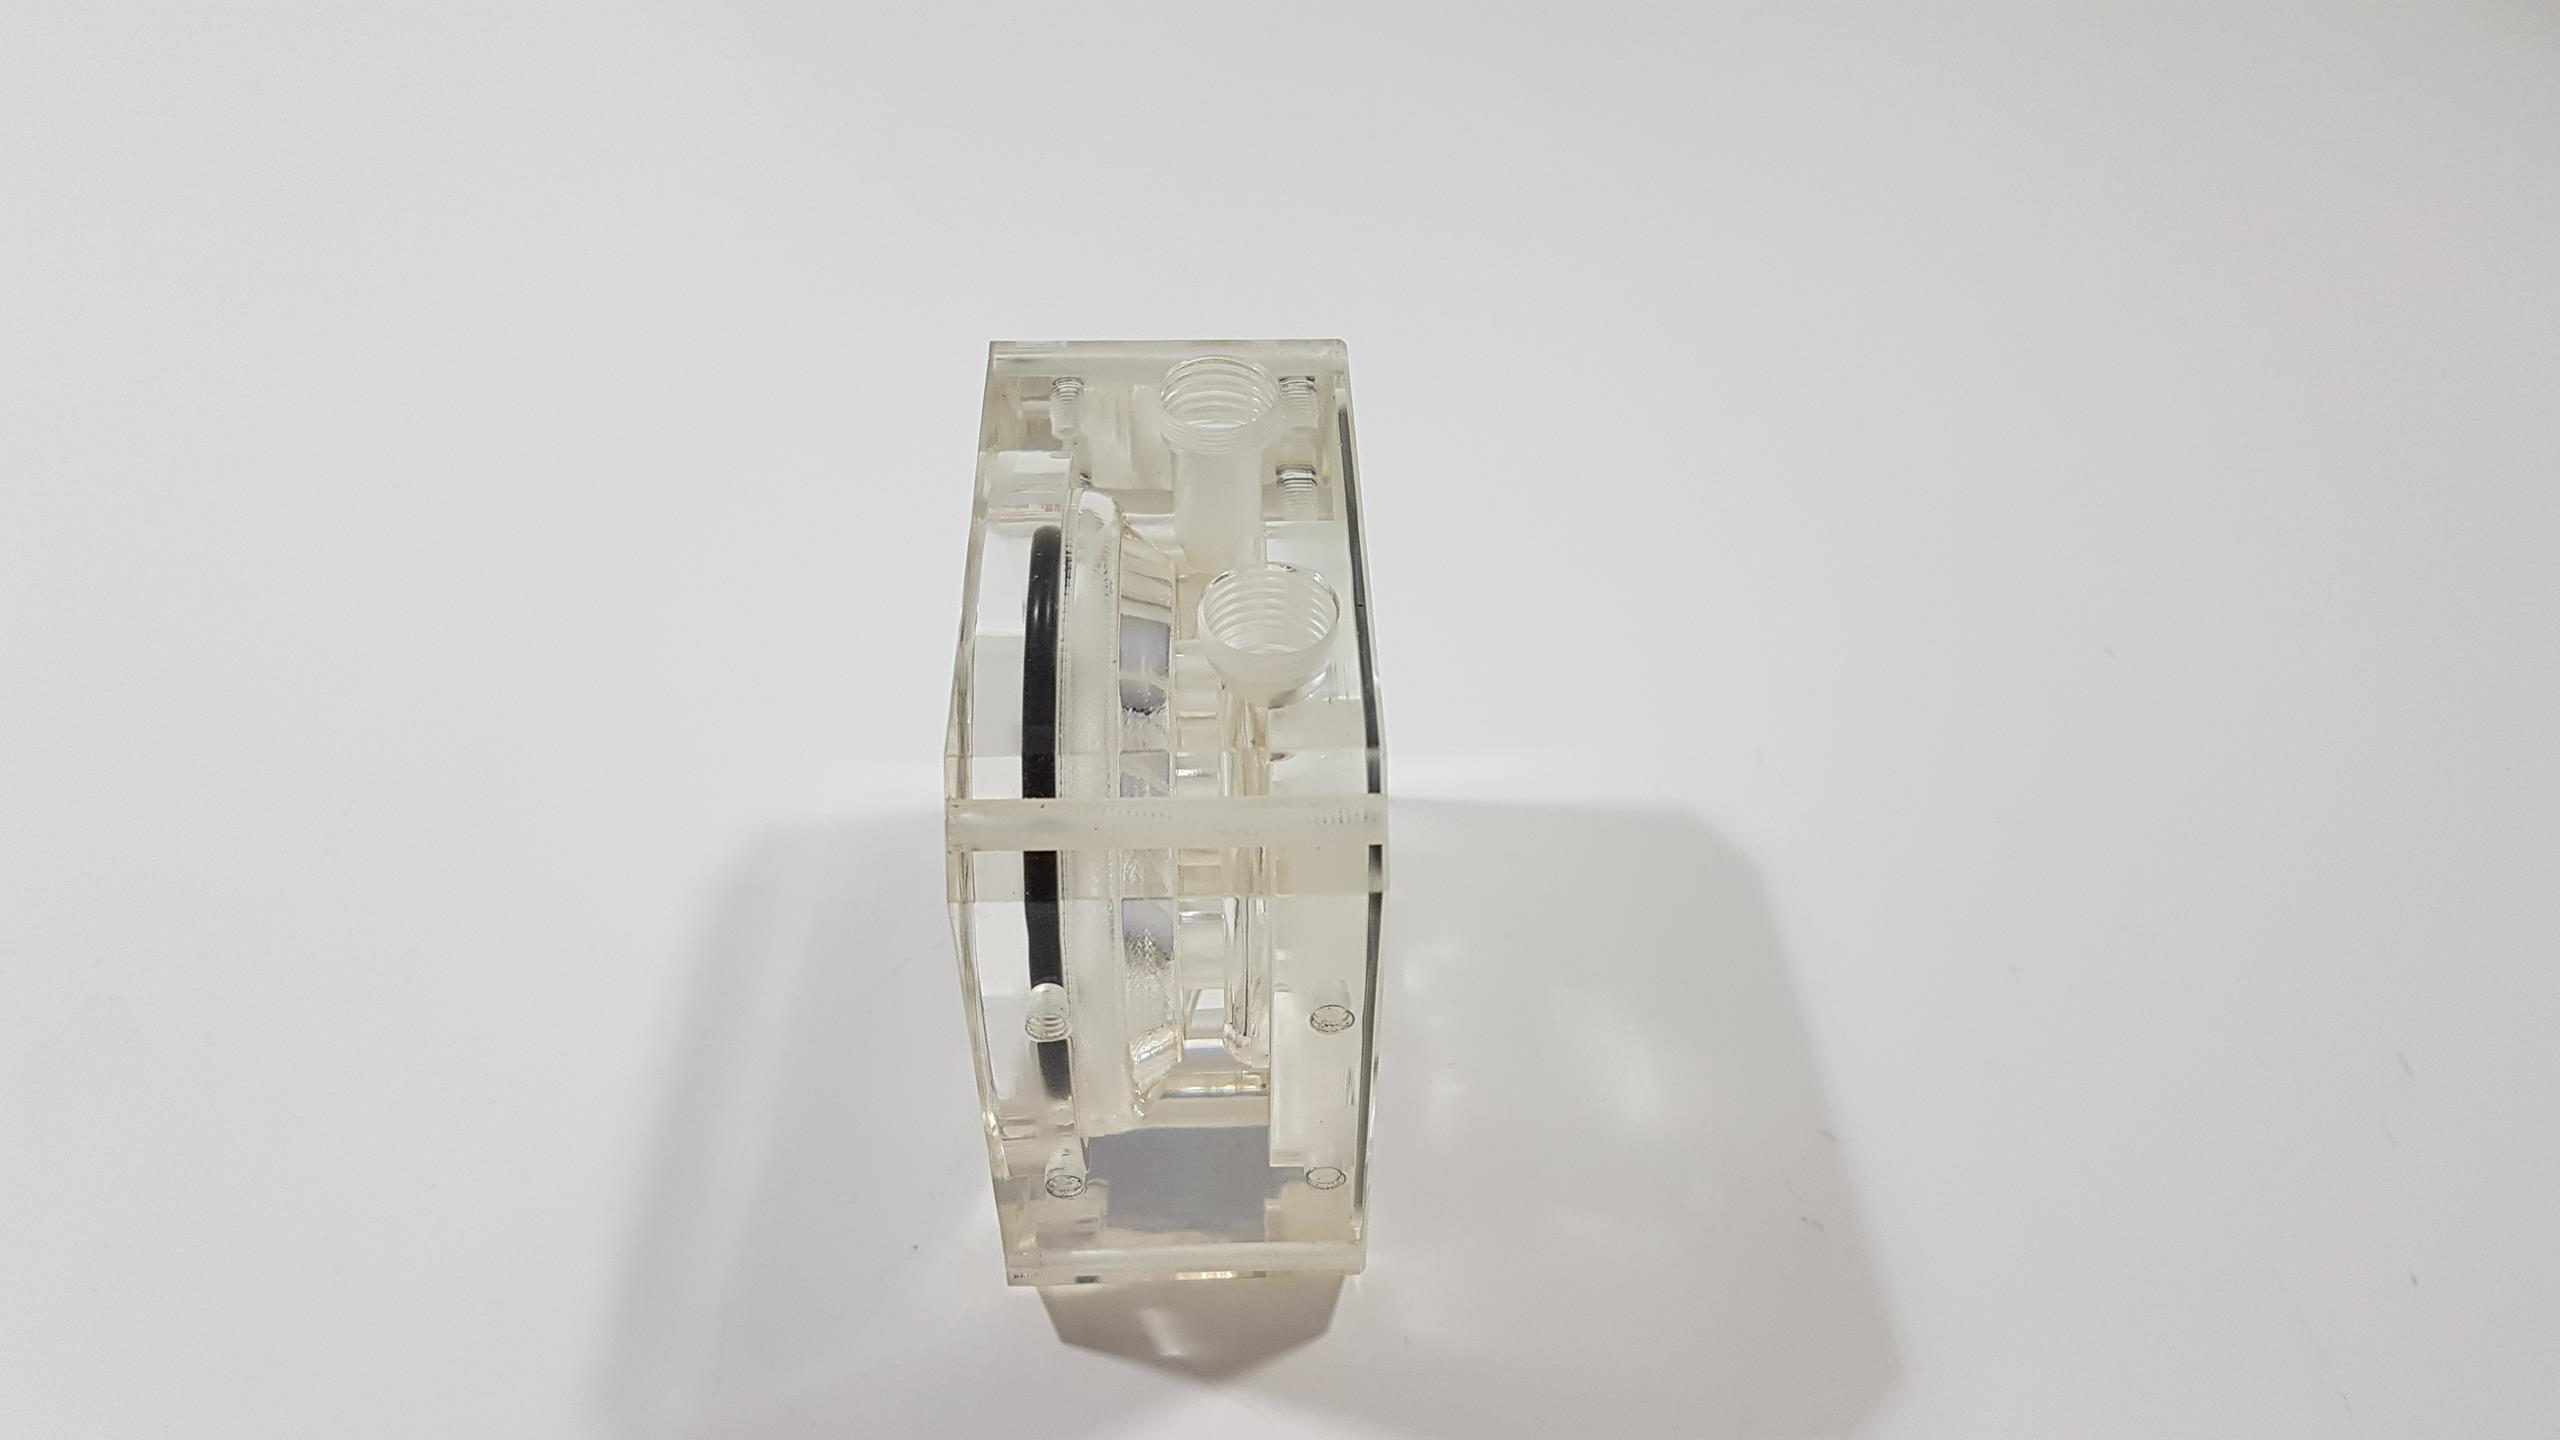
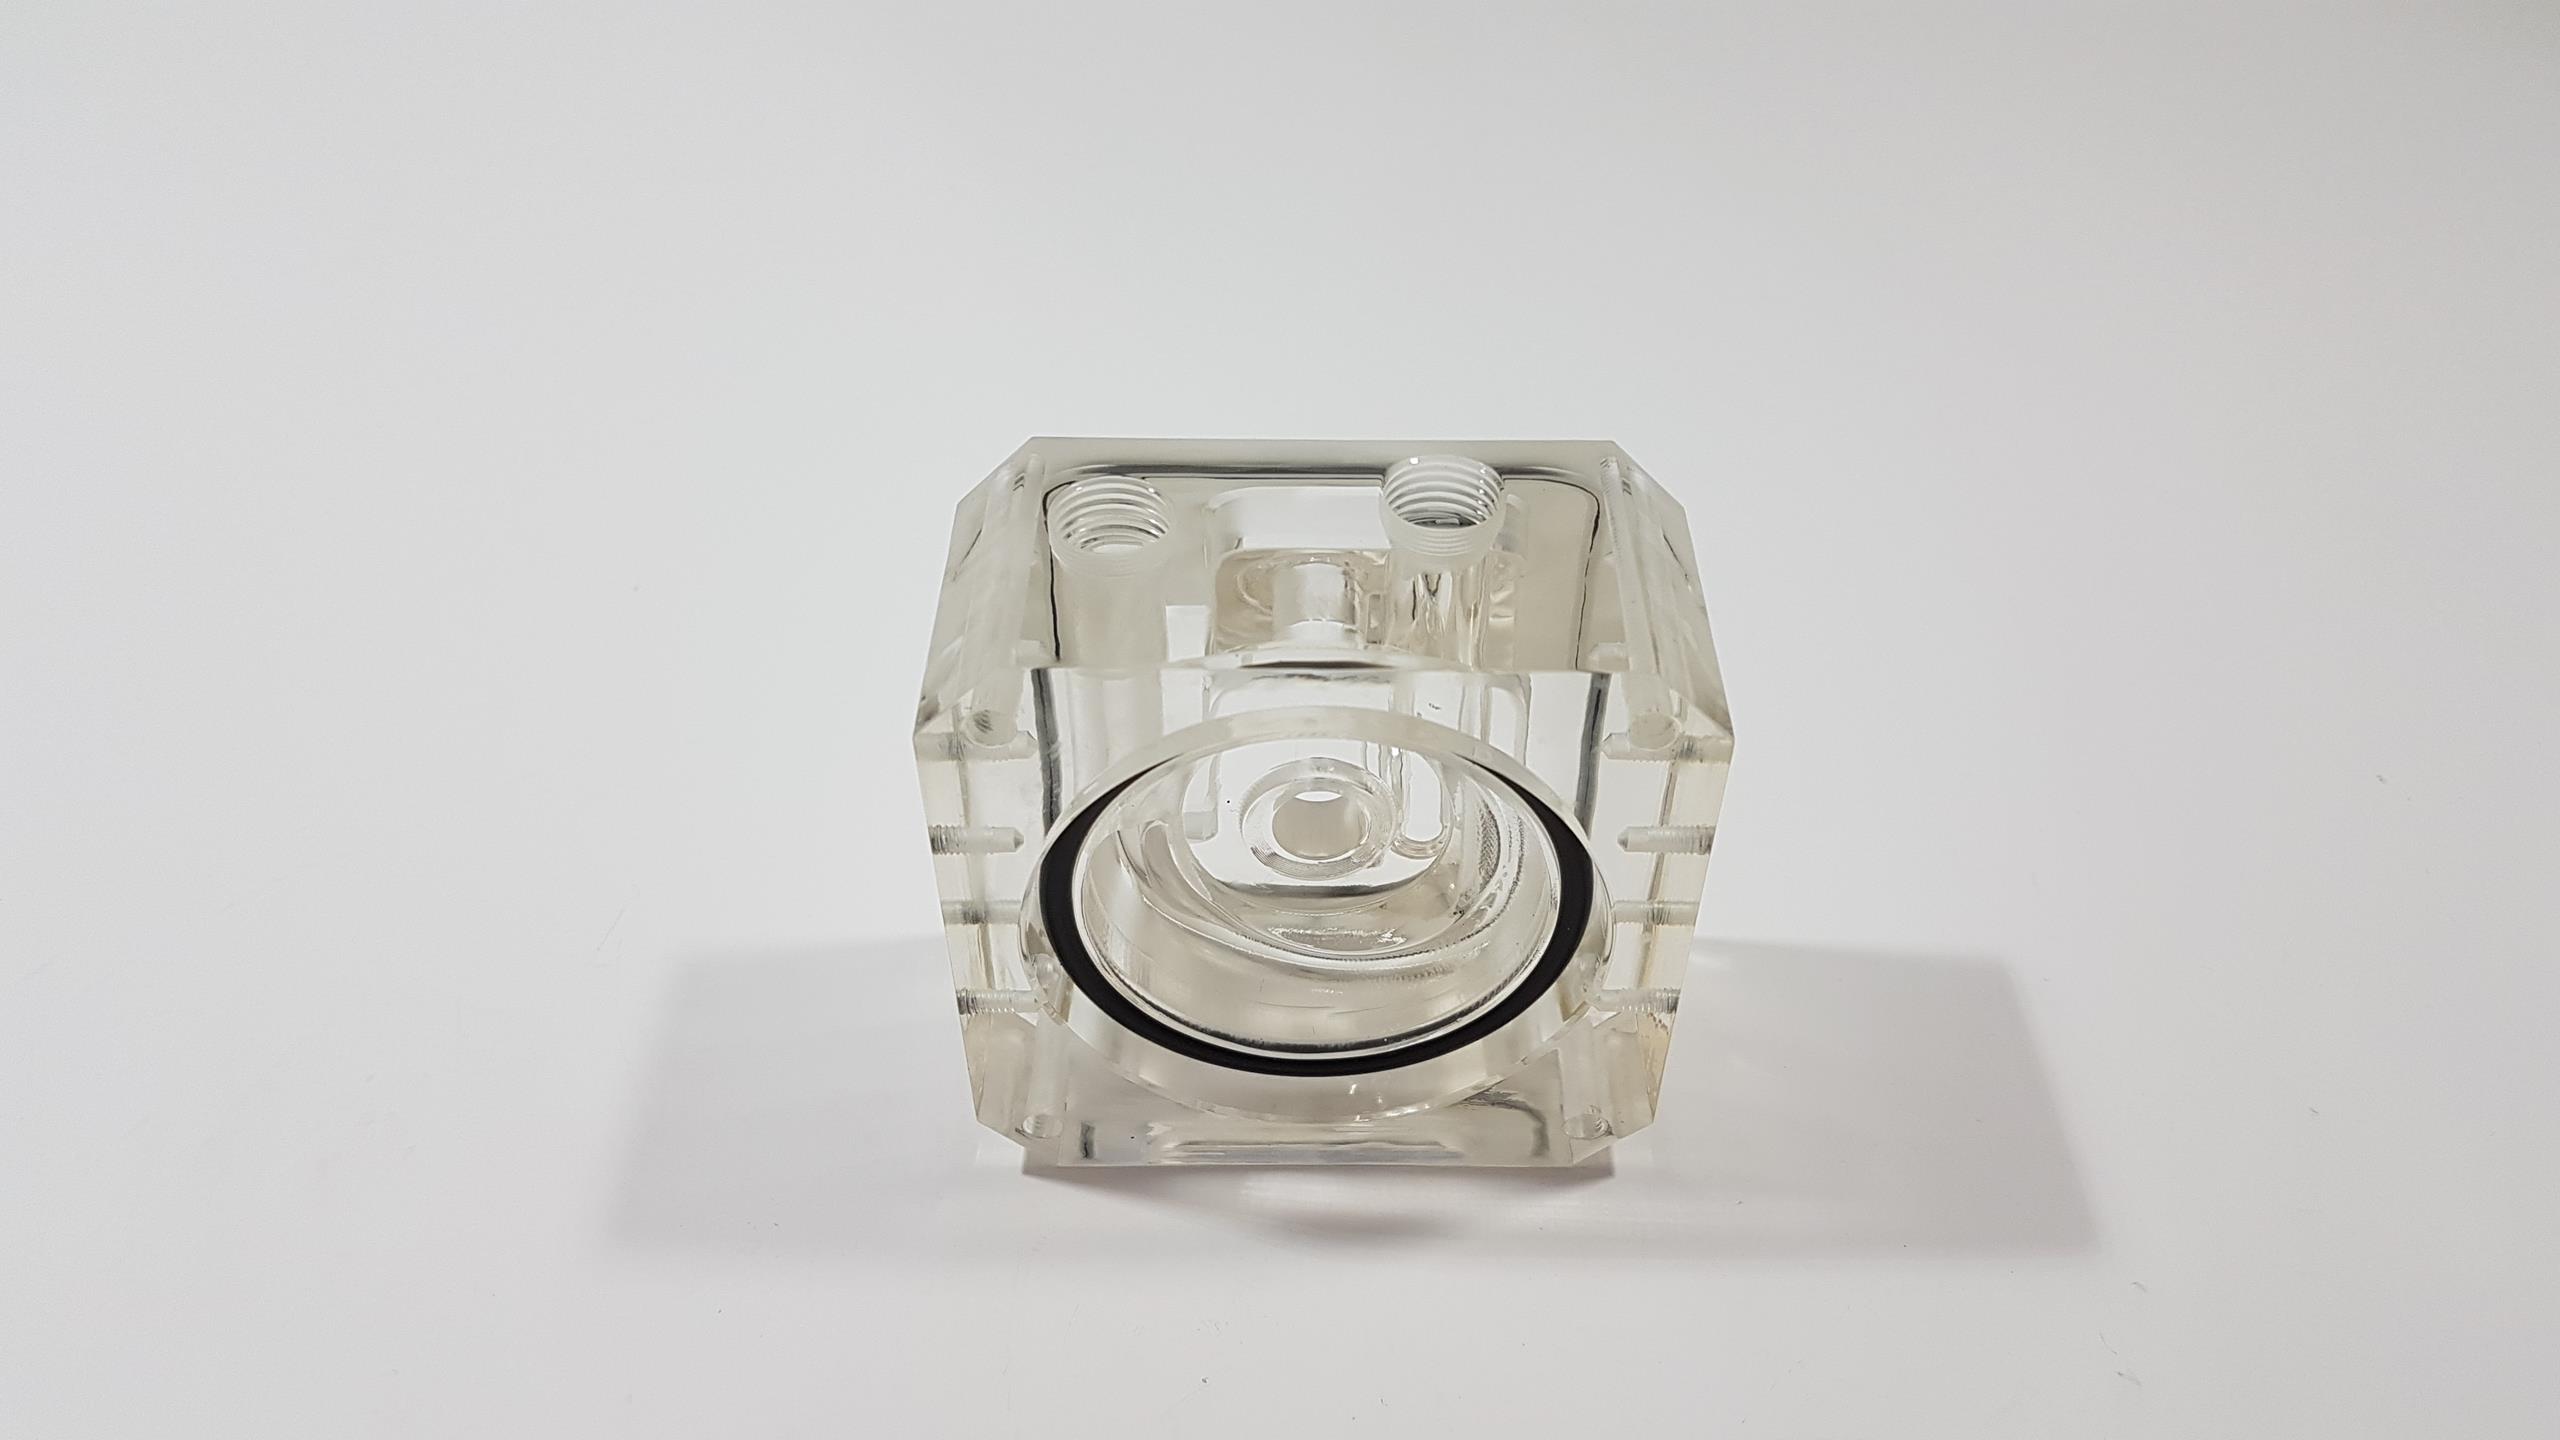
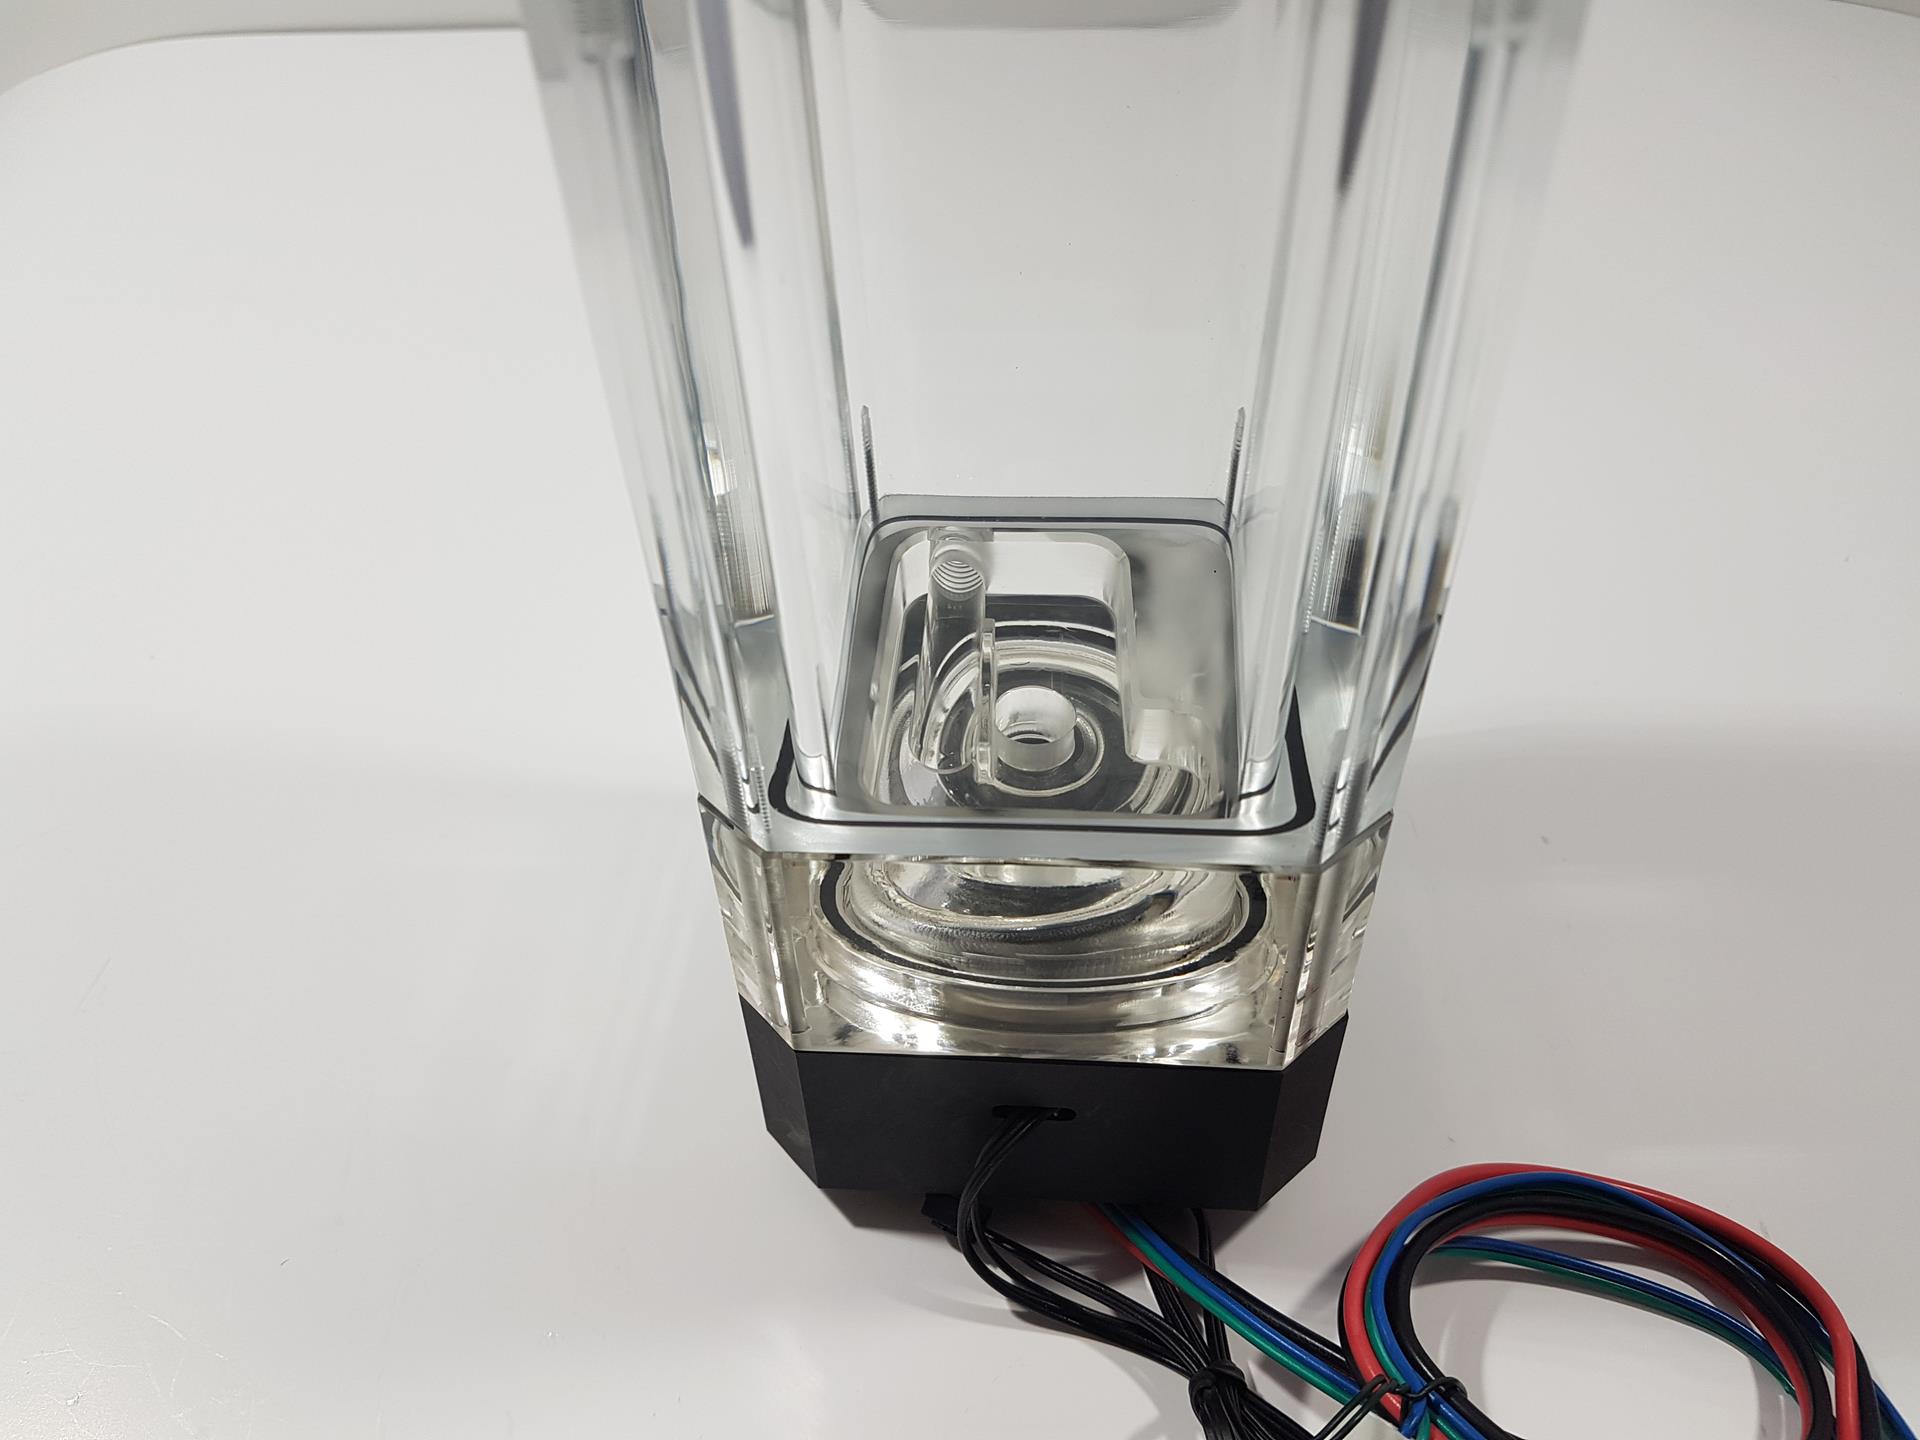
There are four large size screws (each measuring 78mm approximately) at the bottom of the unit that are connecting the pump housing to the pump top and subsequently to the glass body. Taking them off will release the pump top and pump housing from the glass body. The pump top has a dimension of 37x80x80mm (HxDxW). It is made of acrylic. Its top side which is making contact with the glass body has an O-ring in a rectangular shape to ensure the proper seal between the glass body of the reservoir and the pump top. It has a symmetrical design as is on the glass body. There is a circular cutout in the center. This is where the liquid goes to the pump. On its right side, we have a liquid channel coming from the G1/4” threaded port on the front. This is the Intel port or return-line port. Liquid from the radiator can be made to enter into the reservoir body through this port. There is another liquid channel formed on the left side inside the pump top. It is covered. This is where the liquid moves out through the pump. This is the lowest point on the reservoir/pump combo. We have G1/4” threaded outlet port. Make sure to check the ports on the pump top as these are dedicated ports for inlet and outlet. The bottom section of the pump top has a circular O-ring to ensure a proper seal between the pump top and the pump itself. We can spot seamless threading on the main frame of the pump top as we saw on the main reservoir glass body. Again we could see a top-notch finishing. There are two rows of two fine threads on the left and the right sides of the pump top. This is where the supplied mounting brackets are connected using hex screws. Again one would need the Allen key for this installation. The provided mounting brackets are metallic. They have a Swiftech logo engraved in the center of the mounting area. Both of them have leg design at the bottom with each leg having three holes. These are provided to install the unit in the chassis using these holes. Unfortunately, there is no clamp provided with the X50 and X100 size versions but only with the X200 and X300 sizes to better hold and secure the units. The user would need to drill holes in the chassis where the mounting brackets would need to be installed. Swiftech has provided mounting drawing with holes spacing and sizes in the installation guide to help the user. It would have nice if Swiftech could come up with a better user-friendly solution than a modder oriented one. There is a spacing requirement of 105mm between two holes in series and 26mm spacing between two holes in parallel on the mounting plate. One would need a 4.5mm drill bit for exact hole sizing. Once drilling is done, the assembled unit can be secured to the mounting plate using the provided M4 screws, M4 nuts and washers. In case you decide to use the inlet port on the pump-top, you may have a hard time bleeding the loop. It is better if the top port is used as return-line and the use the bottom inlet port to setup your drain valve of the loop.
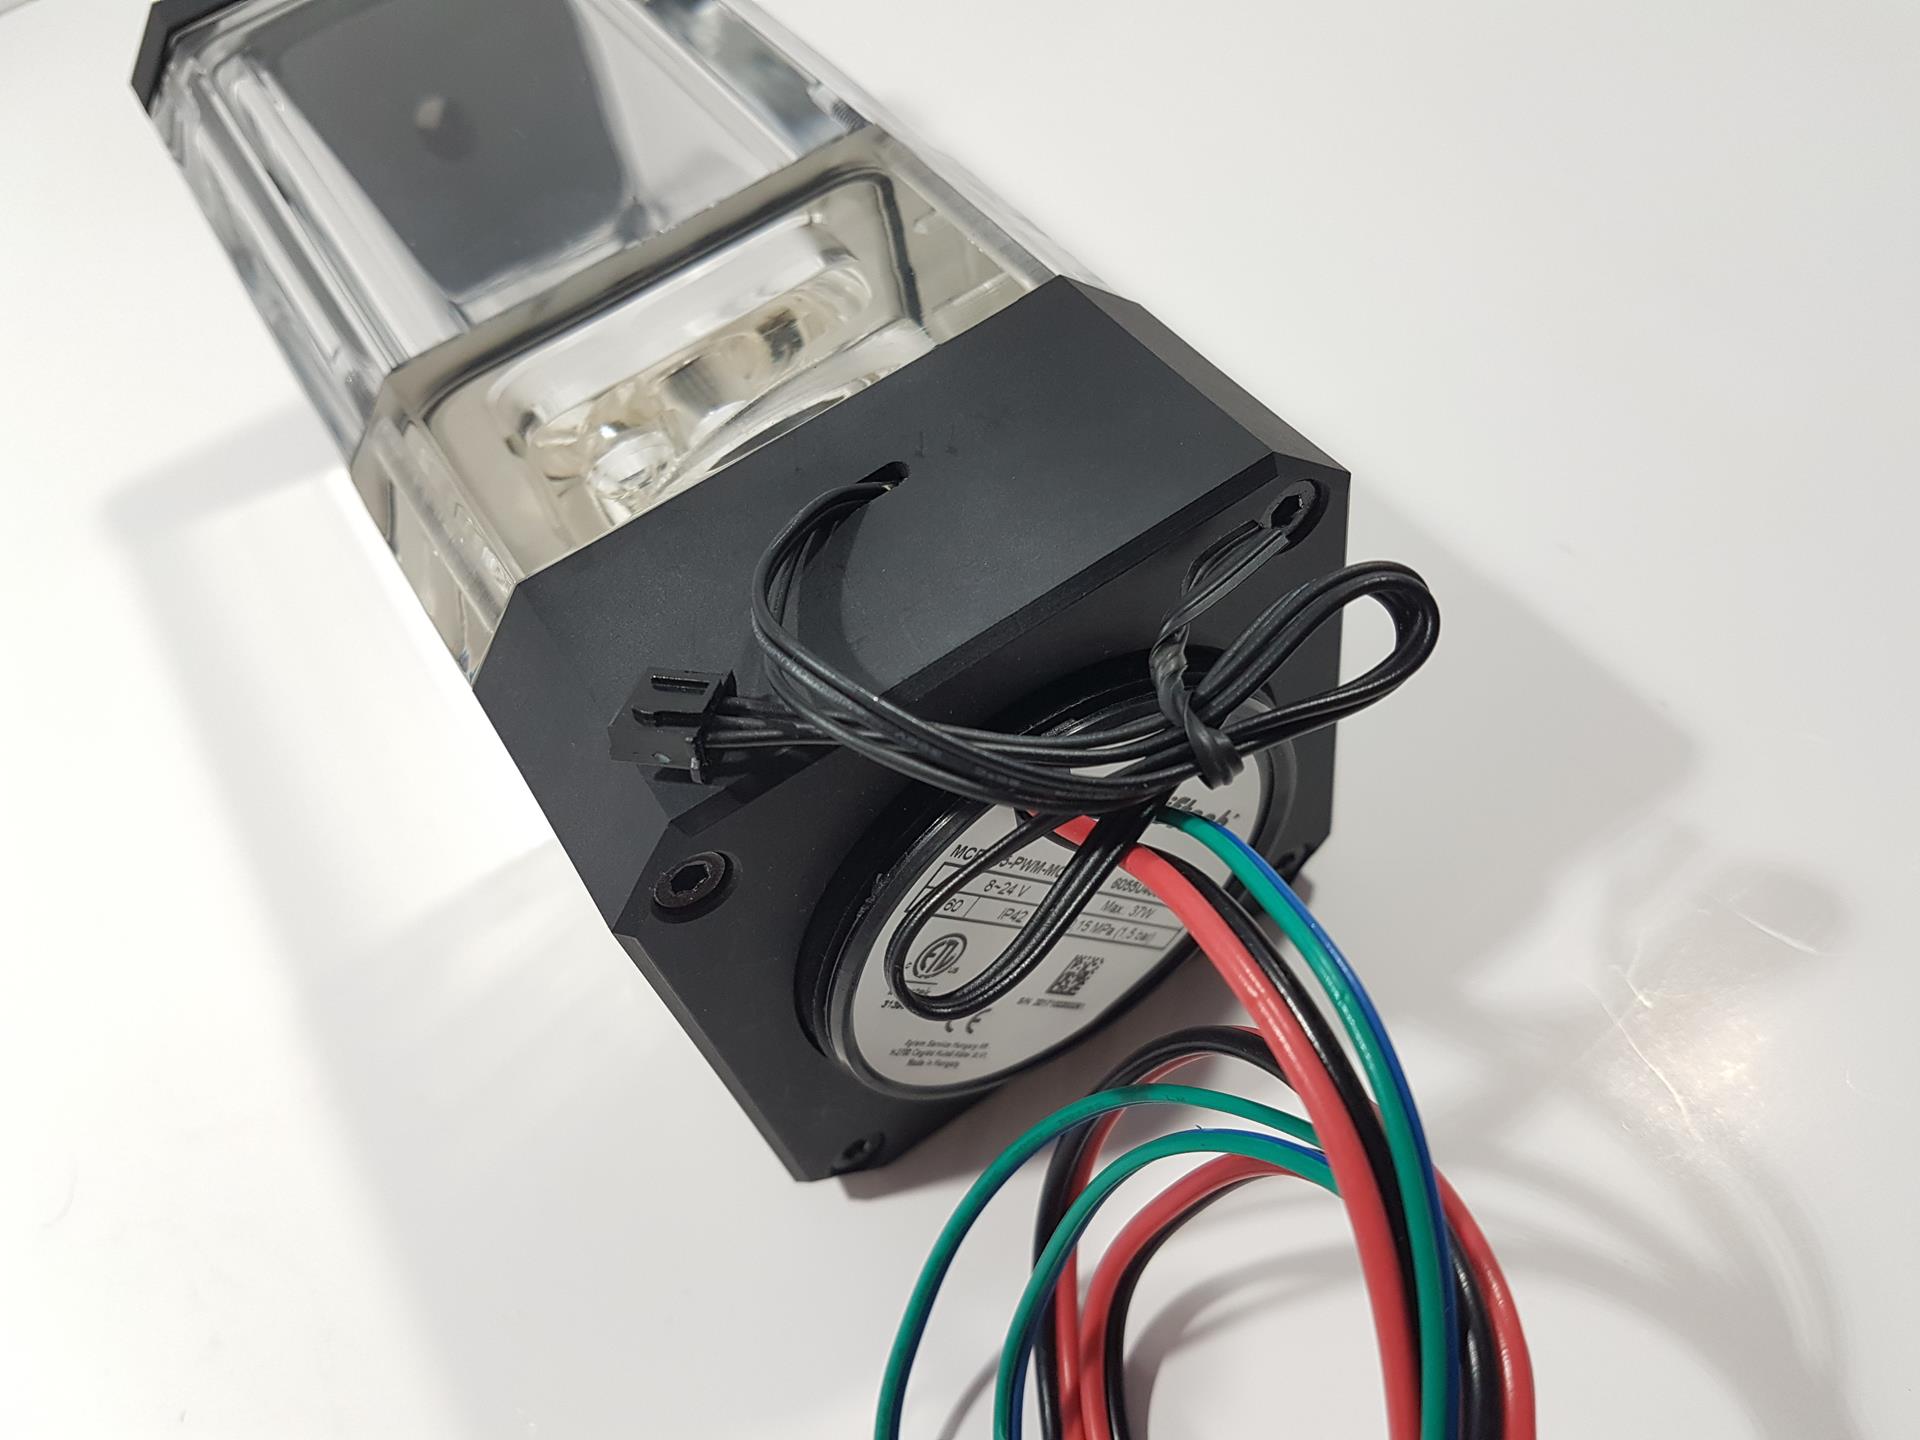
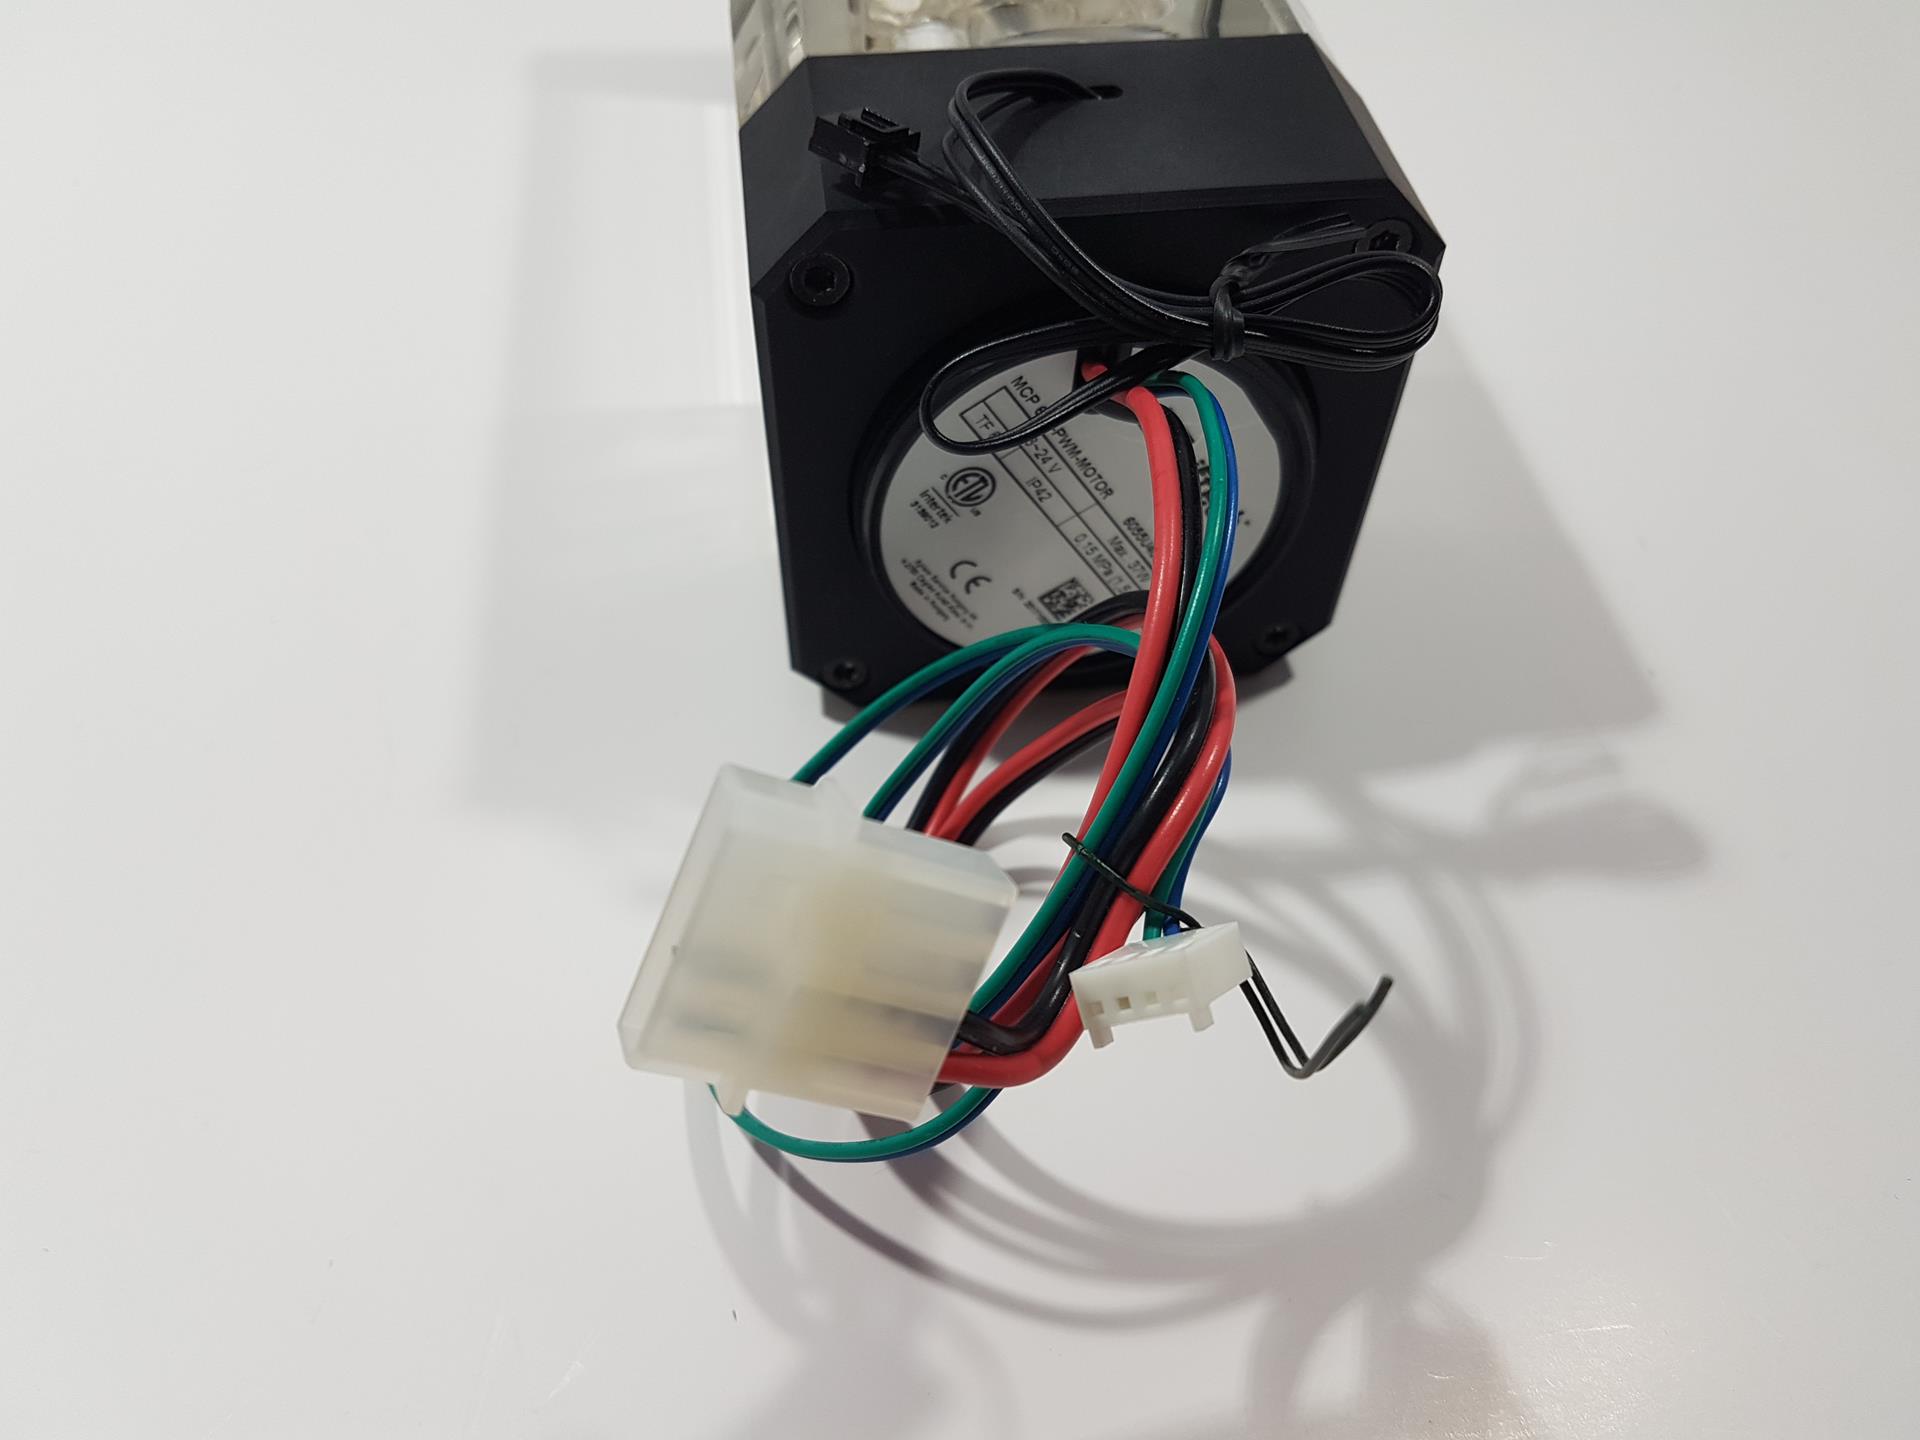
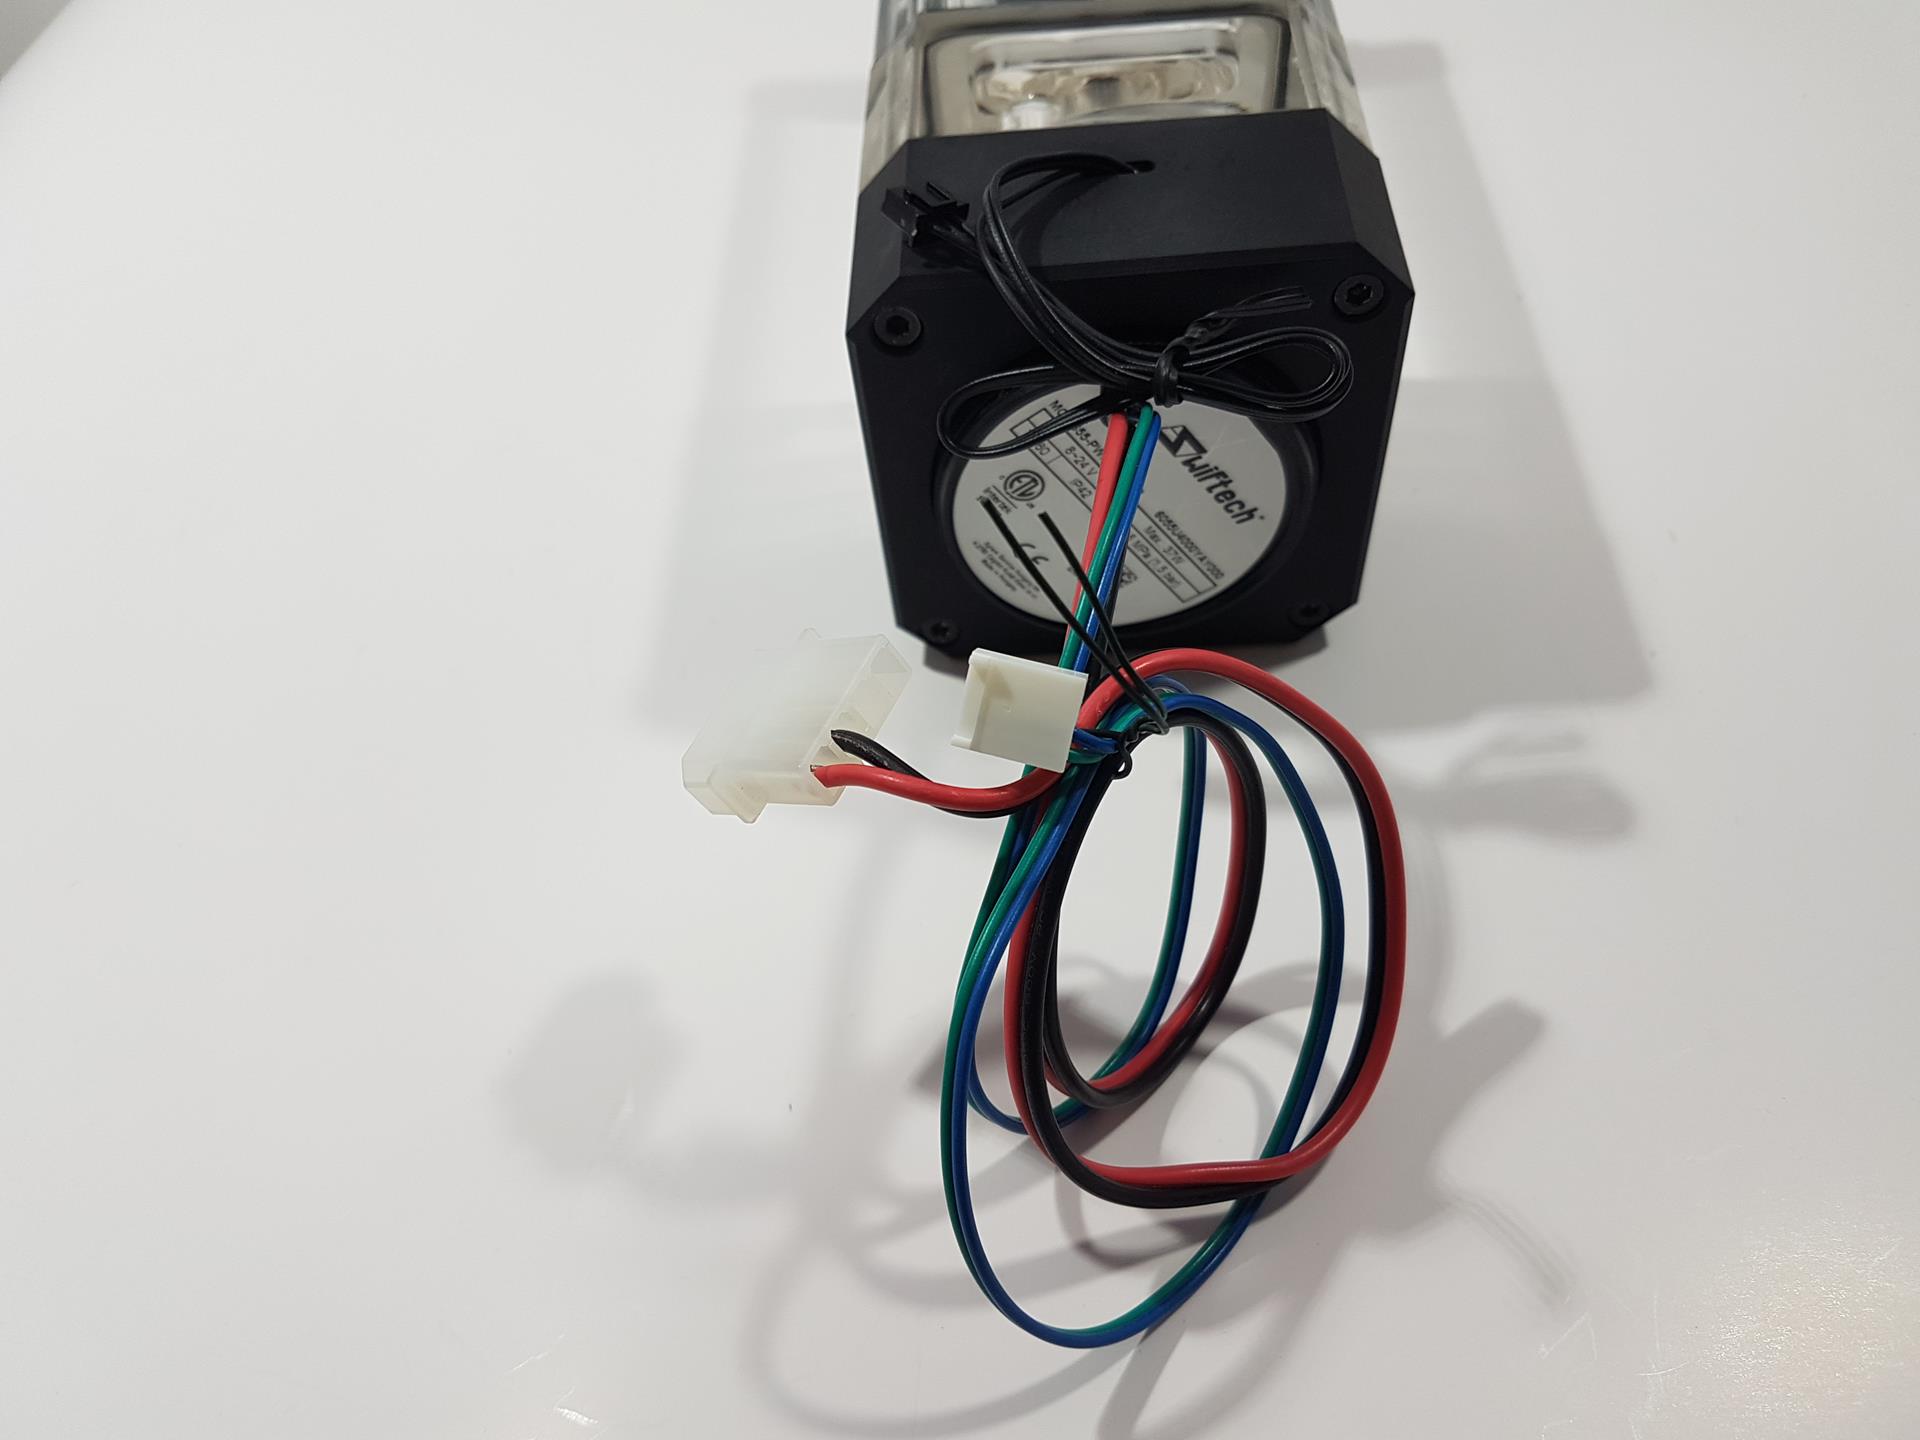
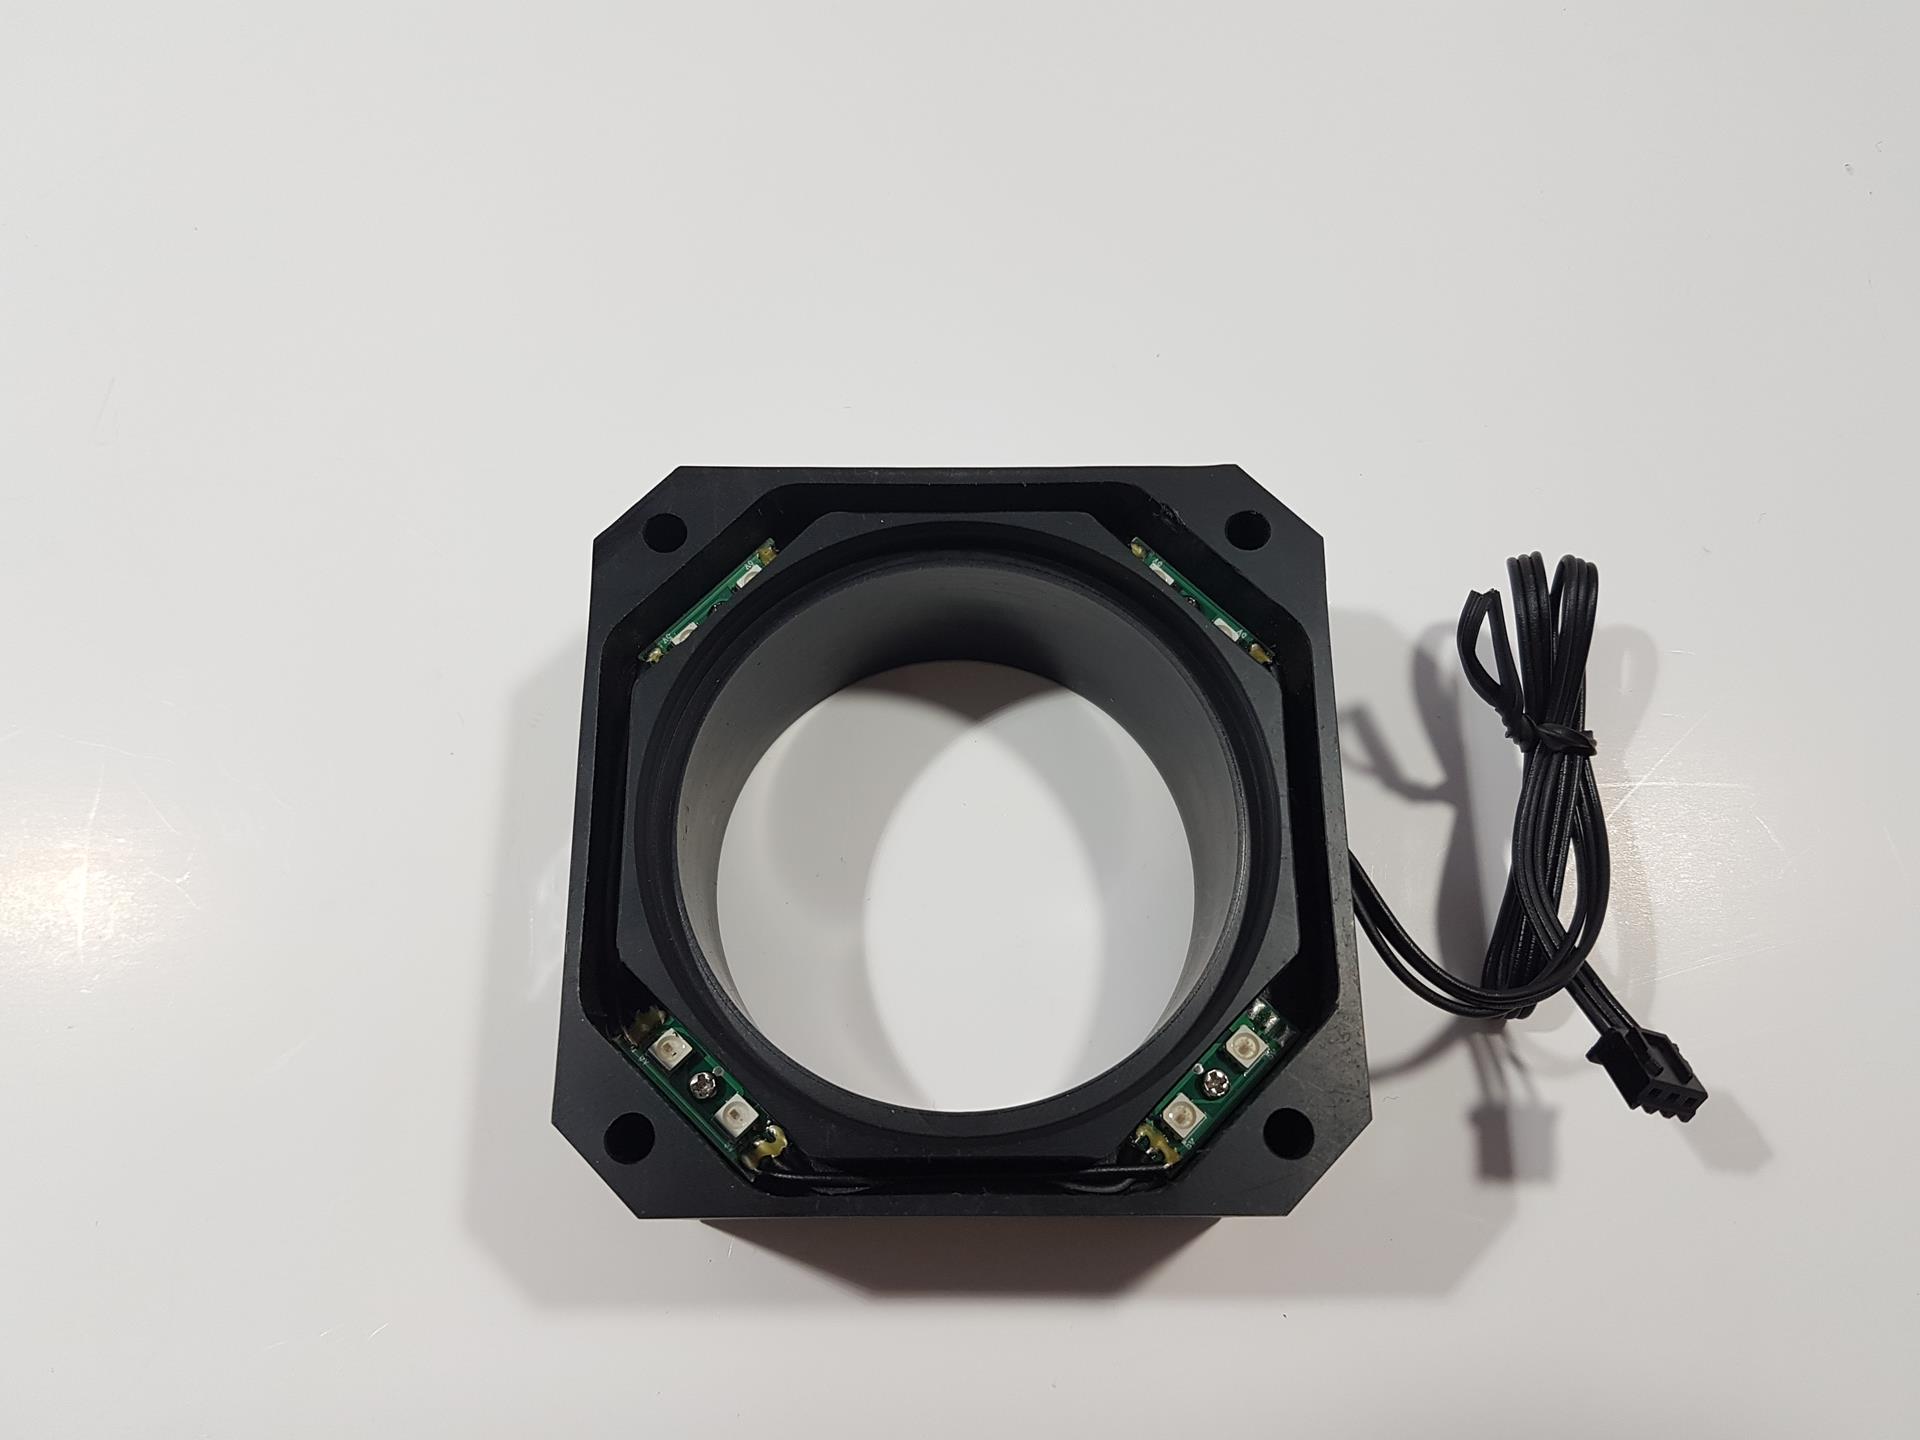
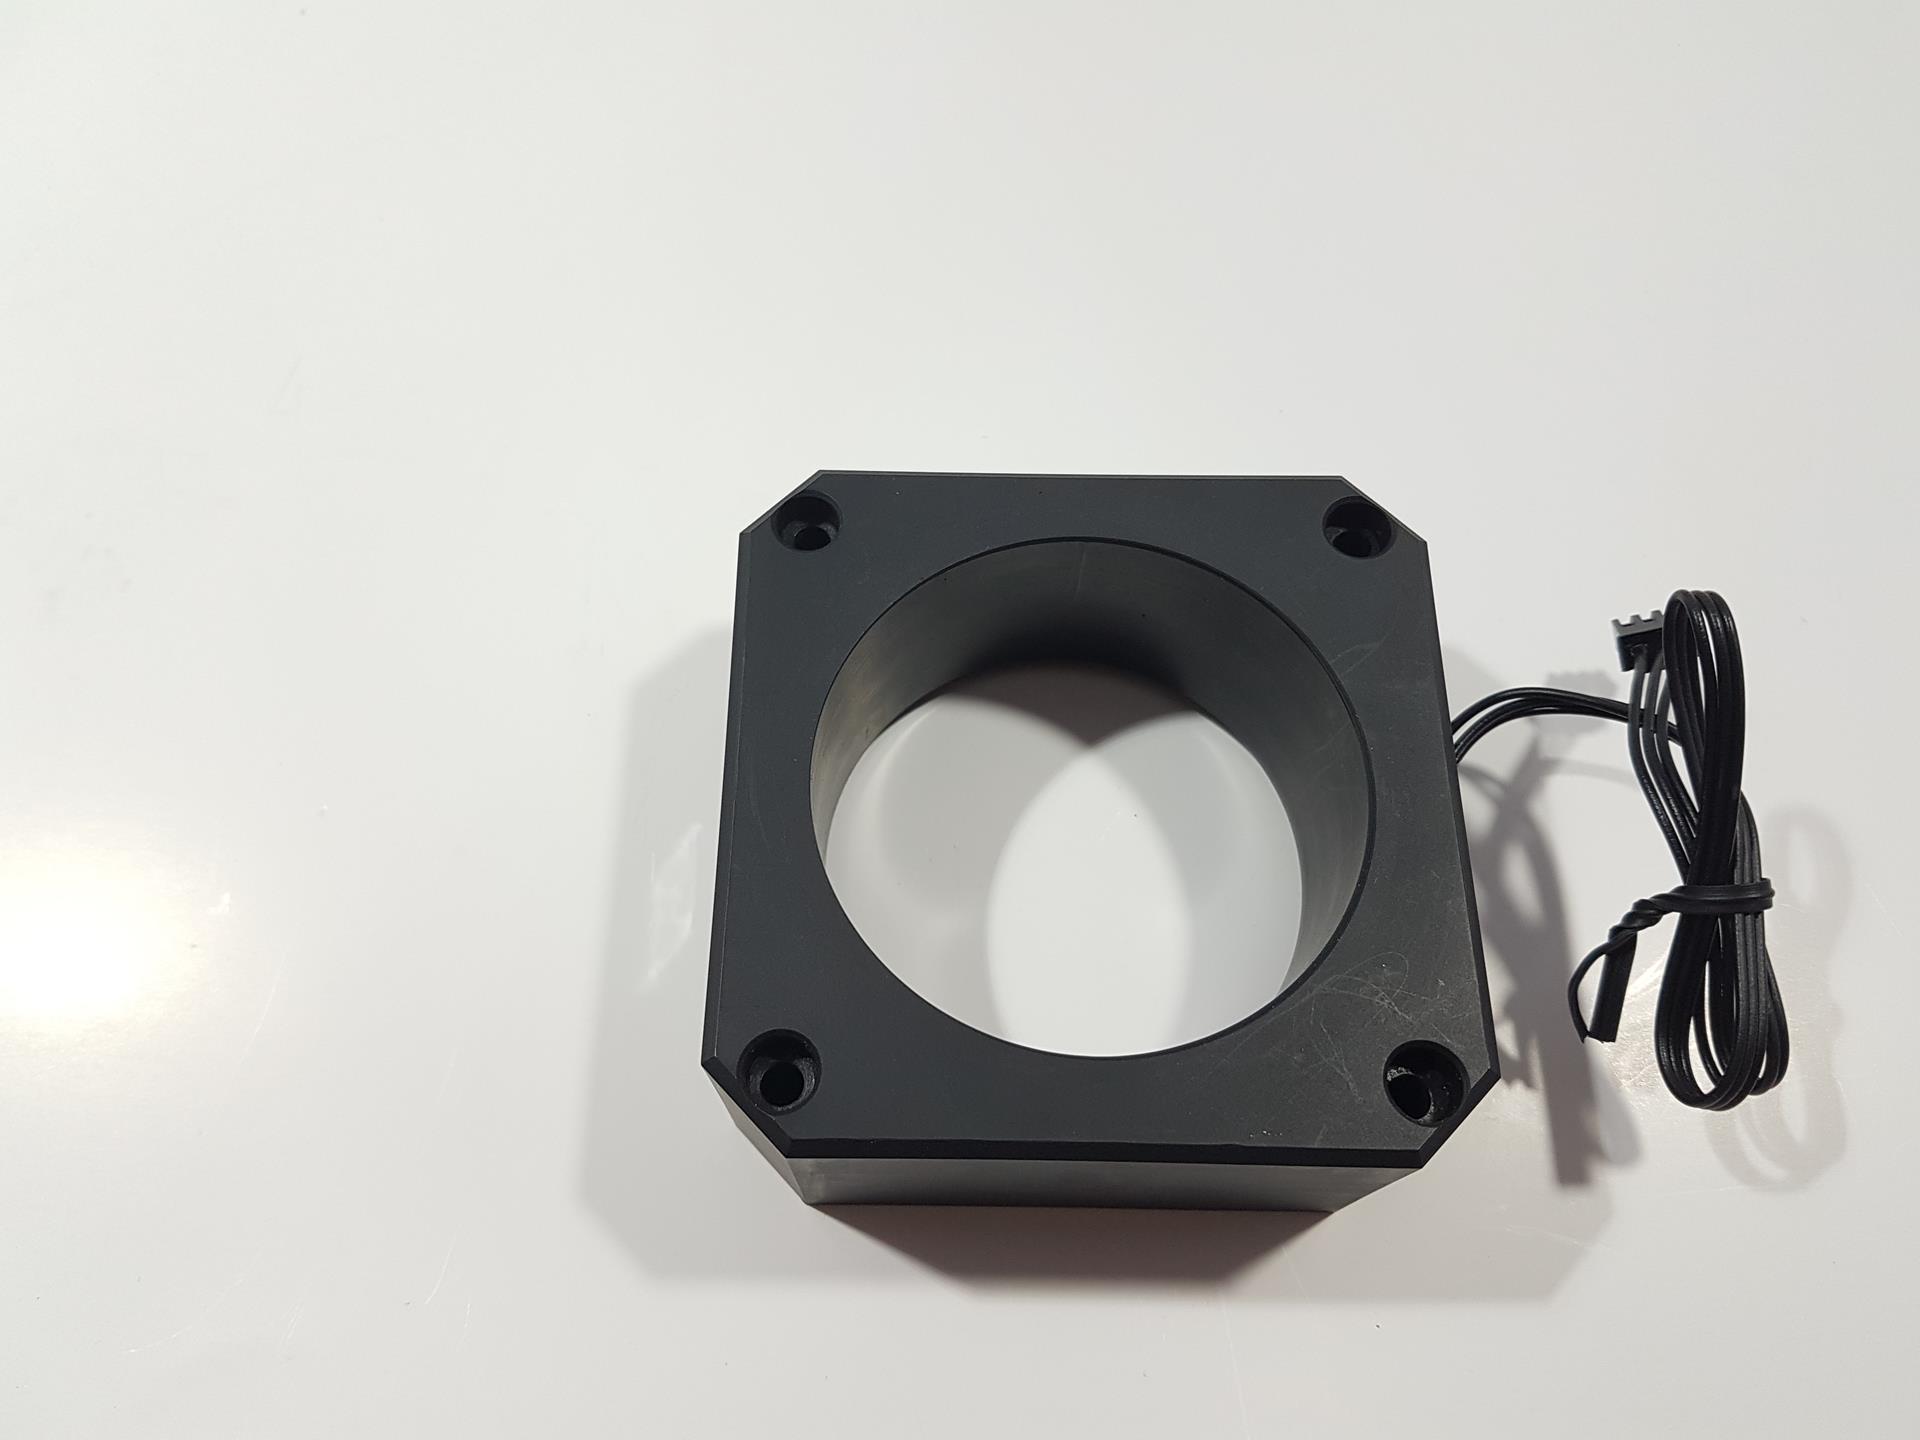
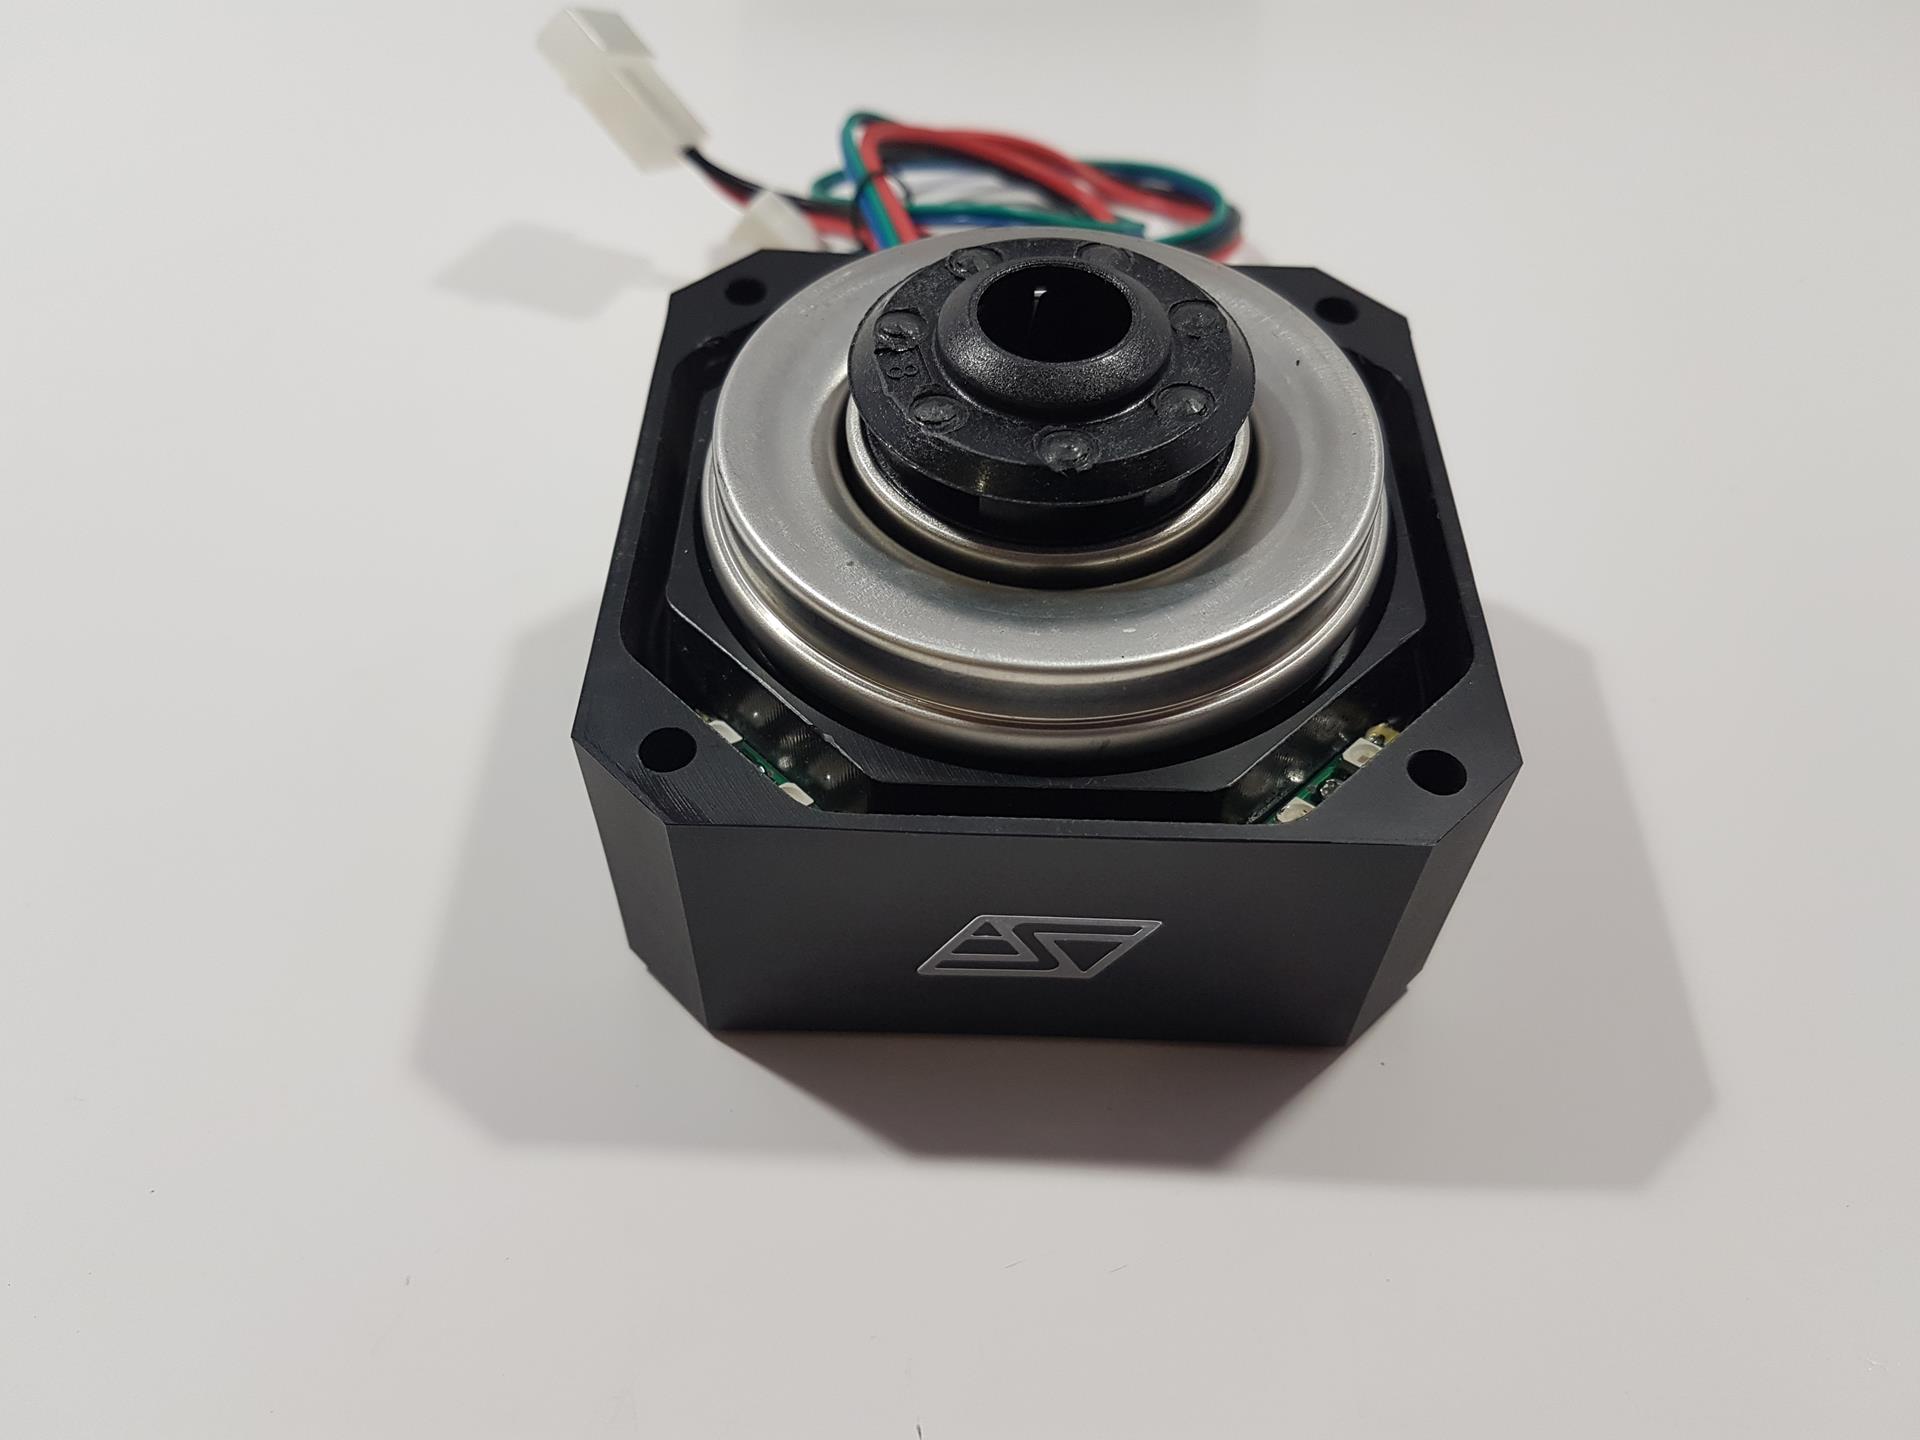
Now that we have taken a look at the main reservoir body and the pump top, it is time to check the bottom section of the unit. We have a housing finished in matte black. Its dimension is 34x80x80mm (HxDxW) approximately. There is a Chrome Swiftech logo in the middle. This housing has an identical layout to ensure symmetry with the overall design. There is a cutout on the backside of the housing from which the 3-pin cable is coming out. This is the ALED (Addressable LED) power cable with a female header. Its length is 270mm approximately. It is not coming from the pump itself as we will see shortly. The bottom of the housing has a large size circular cutout from where the bottom part of the pump is hanging. There are two more cables coming out of the pump itself. One is the 4-pin mini-PWM cable (470mm length approximately) and the other is the Molex cable (470mm length approximately) to power the pump. Please, note that if the PWM cable is not connected to the CPU Fan header or any other relevant header then the pump will run at its maximum rated speed. Also, there is a precaution not to run the pump dry or it will fail. Always prime the pump with the liquid first before turning it on. For the very first time when putting in the liquid in the assembled loop, fill the reservoir with the liquid. It is better not to power on the complete system and uses the PSU activation connector by attaching it to the 24-pin ATX cable coming out of the PSU. These connectors are readily available these days and are included in the EKWB kits as well. Power on the PSU, it will start the pump to start circulating the liquid through the loop. Make sure to power off the PSU as soon as liquid level drops to what remains inside the pump top or a bit above. This is to ensure that certain liquid remains above the pump level so that it won’t run dry. The pump cables are not sleeved which otherwise would have been a nice gesture. Removing the bottom long screws will remove the pump top and the pump housing. Once, the pump is removed from the pump housing, we can see 4 addressable LED strips mounted on each corner with two LEDs per strip. Each strip is secured using a screw. The inner section of the housing has a circular design from where the pump is inserted into it. There is another frame within the main housing that holds the pump. LED strips are mounted between the inner frame and the exterior frame. Overall build quality and finishing are good.
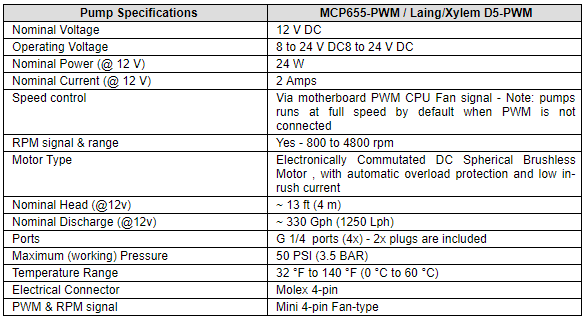
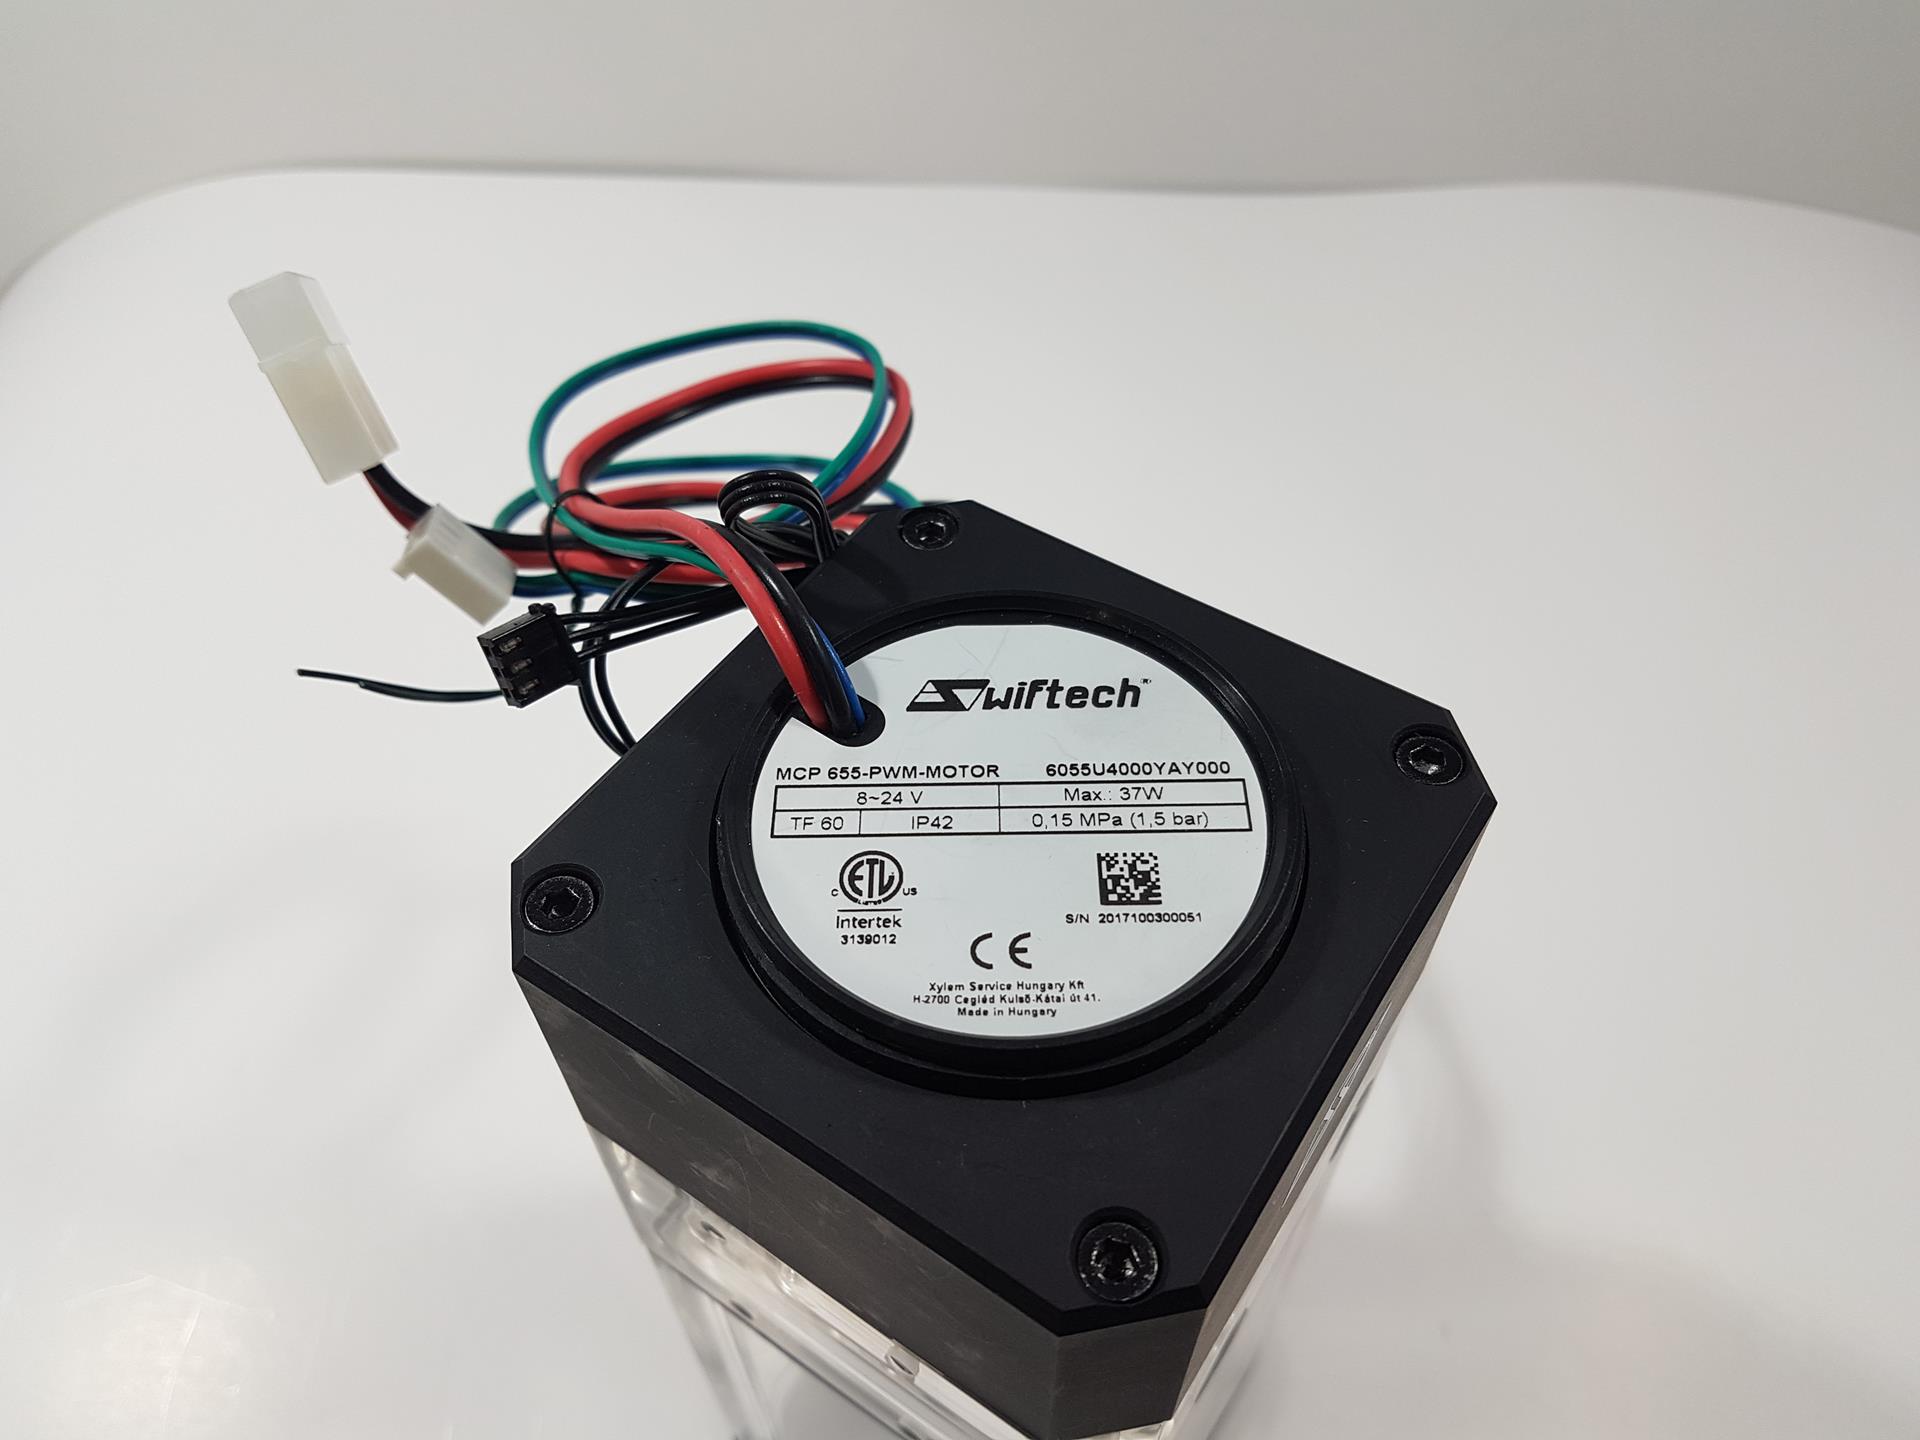
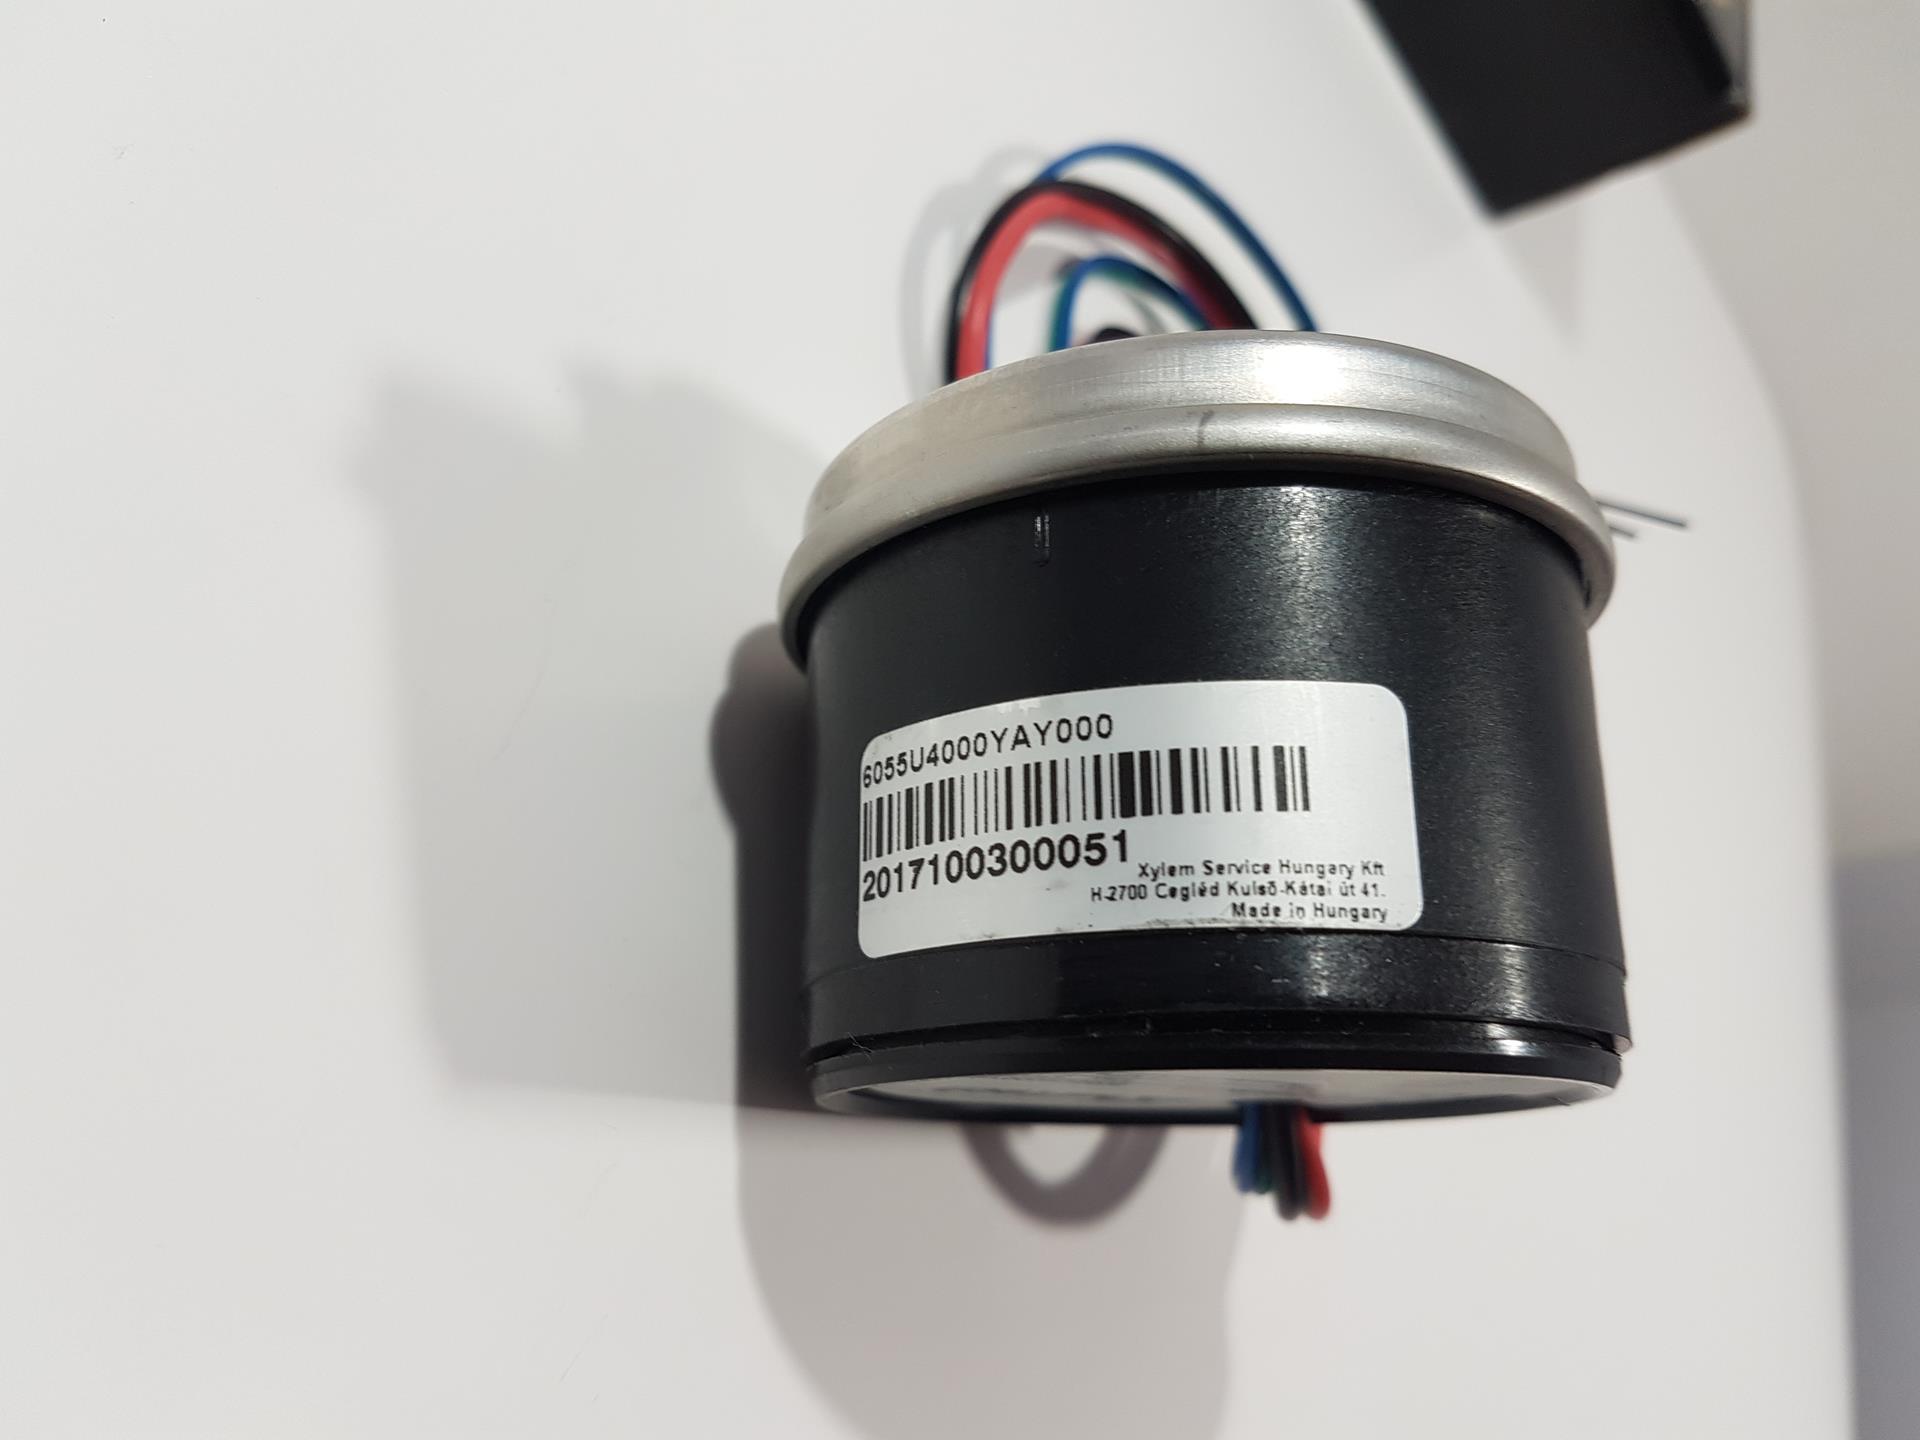
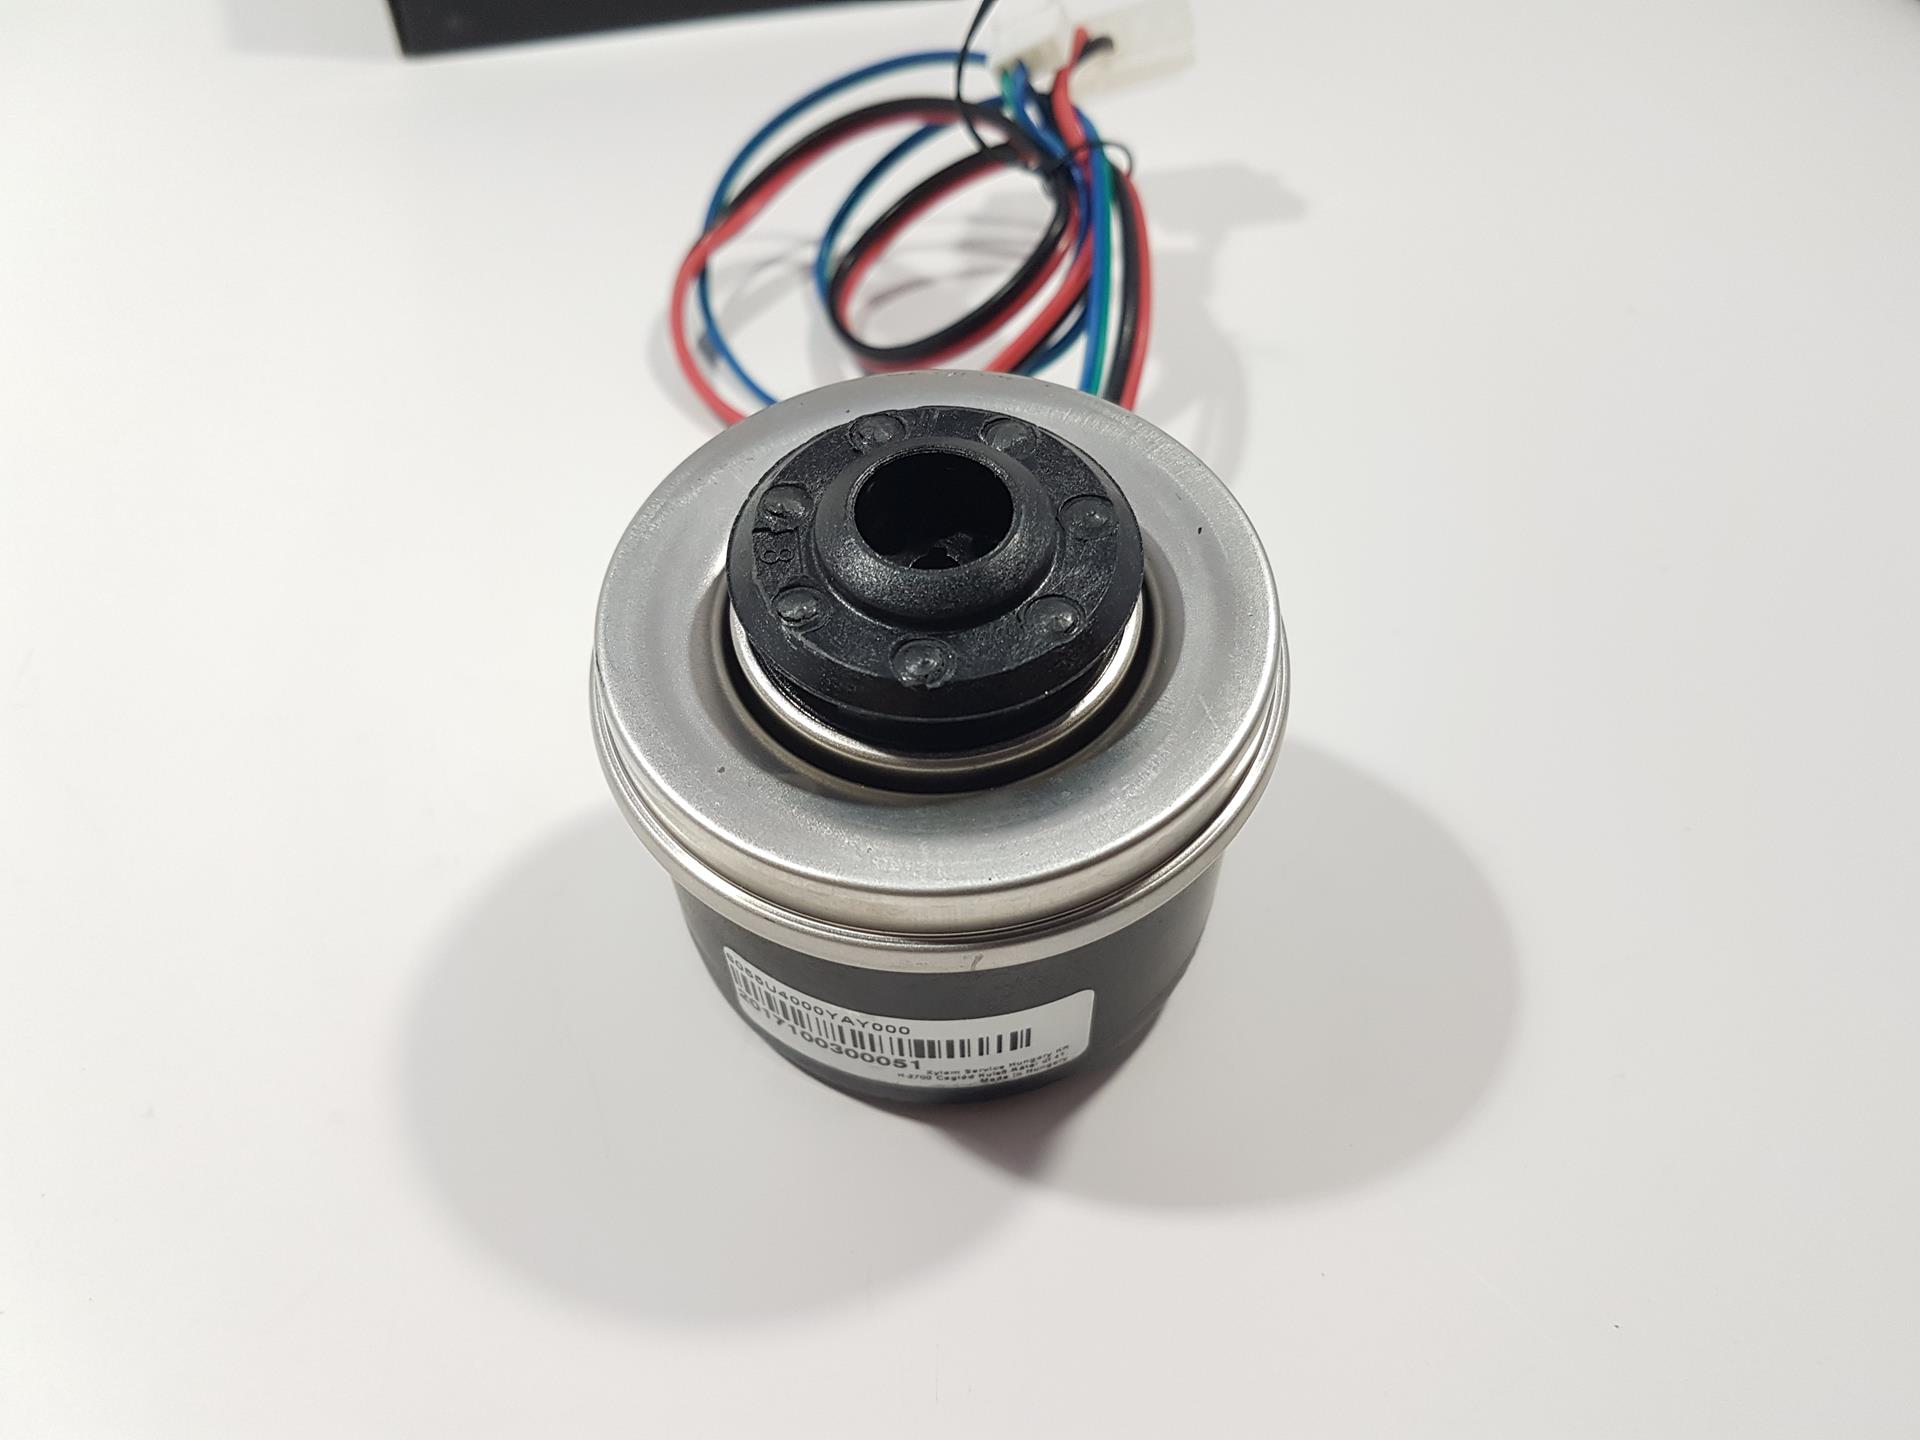
It is time to take a look at the pump. Swiftech I using Laing/Xylem MCP-655 pump with PWM motor. The pump has a nominal voltage rating of 12VDC with operating voltage rating of 8~24V DC8 to 24VDC. Its nominal power rating at 12VDC is 24W with a nominal current rating of 2Amps. Its speed is rated between 800~4800 RPM and being PWM enabled, user, can regulate its speed using CPU Fan header. The motor being used in the pump is electronically commutated DC Spherical Brushless with automatic overload protection and low in-rush current. It is rated for 13 ft (4m) nominal head at 12VDC and nominal discharge at 12VDC of 1250 LPH. Maximum working pressure is 50 PSI (3.5 BAR). Its temperature rating is between 0°C to 60°C. It takes power using Molex connector. The pump has 50000 hour MTBF. Interesting enough there is sticker pasted at the bottom underside of the pump which is stating the pressure rating of 1.5 BAR. Serial Number is printed as well on this sticker. It is made in Hungary. There is a sticker pasted on the black frame of the pump with the serial number bar code printed on it. There is only one moving part in the pump which is magnetically driven spherical impeller that spins on a single ceramic bearing.
Installation
- Locate the area where the pump will be installed. Drill 4 holes (Ø4.5mm or 3/16”) in a 26 x 105mm hole pattern as shown above.
- You can orient the retention brackets either vertically or horizontally as shown above, depending on your installation.
- Install the retention brackets to the reservoir using the provided (8) M4x6 socket head cap screws.
- Install (2) G ¼” fittings (not included). Pay particular attention to the location of the Inlet and Outlet ports so that the coolant will circulate as intended in your loop.
- Fasten the pump to the case using the supplied (4) M4x8 socket head cap screws, with M4 nuts and washers.
- Fill-up the reservoir with coolant using one of the G1/4 fill-ports of the reservoir top cover.
- Connect the pump Molex power connector to your computer power supply, and connect the mini 4-pin PWM/RPM signal connector to the motherboard CPU_Fan header. This will allow you to adjust the pump speed using the motherboard software similarly to any cpu cooler.
- To control the lighting of your maelstrom reservoir, connect the mini 3-pin ALED female connector to a male ALED connector on Swiftech’s IRIS ALED light controller (not provided and sold separately)
Testing
We are humbly thankful to the Alphacool for sponsoring us the open loop stuff which has enabled us to complete this review. Since at the moment we don’t have a manometer, hence we won’t be able to measure the pressure head of the pump at the moment. We have a plan for other testing equipment including manometer in coming times that will enable us to do more detailed testing of the hardware at hand. We have used Koolance INS-FM17N and DCB-FM01 to measure the liquid flow rate within the loop. Since this pump comes with a mini-PWM connector, one can regulate its speed using the CPU Fan Header. Let’s begin with the PWM range of this pump. Interesting enough, the external fan controller utterly failed to regulate the pump and PWM fan headers including the Hi-Amp header on Asus ROG Rampage V Edition 10 could not control the speed. Only the CPU Fan header was able to control the speed and I was able to reduce the speed to 1470 RPM only whereas the rated speed range of this pump is 800 ~ 4800 RPM. I am sure whatever the reason is, it is with this particular unit only. Maximum reported speed is 4804 RPM validating the maximum rated speed of the pump. Ideally, we would like to see a linear pattern in the speed variation at every 10% interval. We indeed get a linear pattern showing a good speed regulation on this pump.
Next, at each speed range, we measure the liquid flow through the loop. Before proceeding further, let me run the detail of the loop. We have Swiftech Maelstrom X100-D5 to Koolance INS-FM17N to Swiftech Apogee SKF Prestige CPU Water Block to Alphacool NexXxos 45ST full copper 360mm radiator to the Swiftech Maelstrom D5-X100. We have used Alphacool soft tubing measuring 13/10 OD/ID size and compressing fittings of the same size. At 1470 RPM there was 321 LPH. At 4804 RPM there was 1190 LPH. It fell shy of 60 LPH which is can be attributed to the high liquid flow restriction of the loop. The INS-FM17N car report up to 900LPH hence I had to calculate the estimated flow rate above this figure which was based on the previously reported flow rate by the meter. Hence, the margin of error is definitely there but the result is still closer to the real world scenario which would have been perfected had I have manometer with me.
Just to mention the thermal performance of the loop on the CPU, I will add the graphs from our Swiftech Apogee SKF Prestige review which can be checked by clicking here. The stress test was made on Intel i7 6850k at stock clocks of 3.6GHz and overclocked frequency of 4.3GHz. To show the power of the pump, we tested each clock on 50% and 100% of the pump speed. Reported temperatures are delta °C. For more detailed testing methodology, please check the review of the Swiftech Apogee SKF Prestige.
It is clear that there is only 0.1°C difference between 50% and 100% speed of the pump. The pump is indeed powerful enough to provide more than adequate cooling at 50% of the speed. The pump is rated at 50000 hours MTBF. Calculating its equivalent no of years assuming that that pump will run for 24 hours per day nonstop, we get 5.7 years of continuous usage of the pump which is damn good and running the pump at 50% of the speed with same performance level (with single block) would definitely improve the lifetime.
Conclusion
The Swiftech Maelstrom series of the reservoir/pump combo units are their latest in the product line and they for sure have taken the industry by surprise with such a beautifully designed combo unit using 10mm thick glass walls to form a reservoir body and a powerful integrated PWM enabled pump. To further augment the product, we have addressable LED lighting integrated into the unit which is compatible with Swiftech IRIS lighting technology. Unfortunately, I was not able to test the lighting effects on the unit as I don’t have Iris Eco controller hub which can be bought separately. The Maelstrom D5 comes in 4 sizes which are 50mm, 100mm, 200mm, and 300mm. The dimension of the unit is 190x80x80mm. We have a crystal clear glass pane forming an actual reservoir. This glass is in rectangular shape though each corner has two edges. This glass alone adds to the overall killer look and feel of the unit. We have a black color top measuring 10x80x80mm. It is finished in matte black and has two G1/4” threaded ports on the top. These ports can be used as fill port and return-line port though we don’t have any return-line tube in the reservoir which is a common element of the standard reservoirs. Both ports are covered with plugs. There are four 20mm length screws securing the top cover with the main glass body. Our sample has a crack on one of the mounting corners of the glass body. The threading inside the glass is done with perfection. One would need Allen key to remove the screws which unfortunately is not provided with the unit. There is an O-ring on the underside of the top cover to ensure a seal between the main reservoir and the top. The glass body has the same two edges design on each of the corners to ensure the symmetrical design which looks really pleasant in person. Below the main reservoir, we have a pump top made of acrylic. The color difference is clear between the glass the acrylic. Pump top measures 37x80x80mm. There is a circular cutout in the middle which is where the top of the pump would reside. We have a rectangular O-ring on the top side of the pump-top and a circular O-ring at the bottom where the pump body makes contact with the pump top. We have two channels inside the pump top. Each channel has a G1/4” threaded port on the exterior. The right side port is a dedicated inlet port and the left side port which is covered so as not to mix the liquid coming out from the pump to be mixed with the rest of the liquid is a dedicated outlet port. Make sure to keep in mind the dedicated ports on this side before installation. The left and the right sides of the pump top have 4 threaded holes. This is where the provided mounting brackets are installed using hex screws. Each bracket has a leg with three holes on it. There is one limitation on the design part. Since we have a rectangular glass body of the reservoir there is no pump bracket provided and the user is expected to drill holes in the chassis where the complete unit is to be mounted. The spacing of to be drilled holes is 26x105mm and drill bit of 4.5mm would be required for mounting hole. Swiftech should come up with user-friendly installation mechanism here than modder friendly.
The bottom section has a black color housing with a dimension of 34x80x80mm. There is a Chrome finished Swiftech logo on the front side. The back side of the housing has a cutout from whereas 270mm length 3-pin addressable LED cable. There are four 78mm length screws securing the pump body, pump top to the main reservoir body. Removing them would see the pump top and pump come off the main unit. Looking inside the pump housing, we can spot dual-layered design. There is a gap between both layers and this is where the addressable LEDs are installed. We have total 4 strips with two LEDs per strip. Each strip is mounted on each corner. These will light up the pump top section from beneath. The inner layer has a circular design with large size cutout in the middle. This is where the pump goes in towards the pump top.
Swiftech has used their powerful MCP-655 Laing/Xylem D5 pump with PWM motor. The pump has a nominal voltage rating of 12VDC with operating voltage rating of 8~24V DC8 to 24VDC. Its nominal power rating at 12VDC is 24W with a nominal current rating of 2Amps. Its speed is rated between 800~4800 RPM and being PWM enabled, user, can regulate its speed using CPU Fan header. The motor being used in the pump is electronically commutated DC Spherical Brushless with automatic overload protection and low in-rush current. It is rated for 13 ft (4m) nominal head at 12VDC and nominal discharge at 12VDC of 1250 LPH. Maximum working pressure is 50 PSI (3.5 BAR). Its temperature rating is between 0°C to 60°C. It takes power using Molex connector. The pump has 50000 hour MTBF. Interesting enough there is sticker pasted at the bottom underside of the pump which is stating the pressure rating of 1.5 BAR. Serial Number is printed as well on this sticker. It is made in Hungary. There is only one moving part in the pump which is magnetically driven spherical impeller that spins on a single ceramic bearing.
The Swiftech Maelstrom D5-X100 is rated at $149.95. Though price seems high but given the glass panel reservoir with powerful PWM enabled pump and addressable LED lighting this is one heck of a deal. In my opinion, the Iris Eco controller should have been made available as a part and parcel of the box. This unit carries two years of Swiftech warranty. Do read their installation guide for important warranty related points. Always make sure to prime the pump before powering it up as running it dry would damage it that does not come under warranty. The Swiftech Maelstrom D5-X100 comes recommended from our side.
We are thankful to Swiftech for arranging a sample of Maelstrom D5-X100 for the review and thanks to Alphacool for sponsoring us with the open loop stuff so that we could complete this content.

