My-Valkyrie SYN 360 White CPU Liquid Cooler Review
Introduction
My Valkyrie may sound like a new name but they have over 17 years of computer cooling and peripherals experience providing products that stand out from the mainstream offers and competition. One of their core principles is user satisfaction. Their products come with a high warranty period so this tells me they may have a good customer service program in place like CORSAIR, EK Water Blocks, for example.
Anyhow, I digress. Today I shall be taking a look at their flagship CPU liquid cooler named SYN 360. It is available in white and black colors and it has got some fine features distinguishing it from the competition. I am impressed by the presentation of the product since this is one area which I pay attention to. Though we have stopped covering the packaging of the products for some time, I will give a proper covering to this product as it deserves it.
This is a 360mm white color cooler that is also available in 240mm size. It is compatible with Intel LGA 115x/1200/1700/20xx and AMD AM4/AM5 so you are covered quite well. The cooler comes with three high-performance Valkyrie X12 fans with some unique and stylish ARGB lighting. Enough said, let’s explore the cooler.
This cooler has an MSRP of $220 at the time of this writing. It is a steep price but wait till you get to see the features and performance.
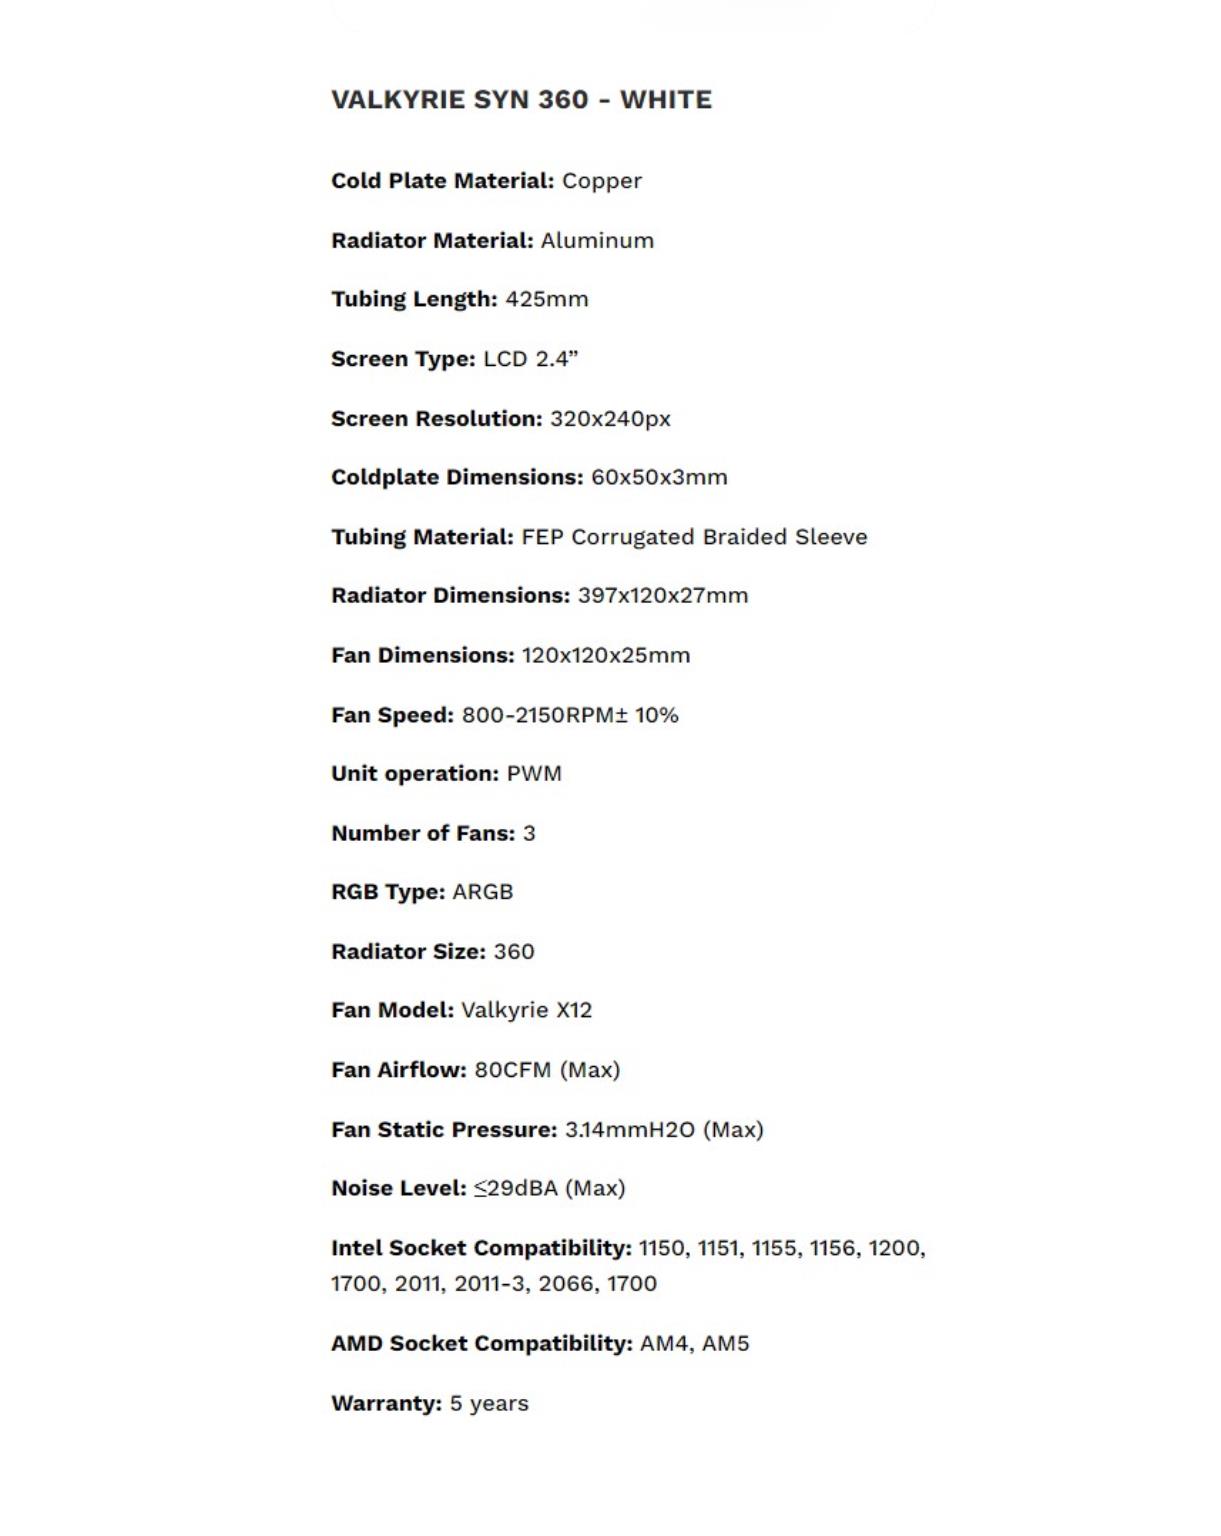
SYN 360 Specifications
The copper cold plate has a dimension of 60x50x3mm where 3mm refers to the height or thickness of the plate. This is quite a large size plate with good enough thickness and a dense skived fin stack with coolant flow channels for the efficient flow of the coolant through the block towards the pump and then to the radiator.
Packaging and Unboxing
Some time ago, we decided not to focus on packing boxes, etc as such in detail unless something different hits up. The presentation of this cooler is exactly the definition of something different hence I am going at length to show you the presentation.
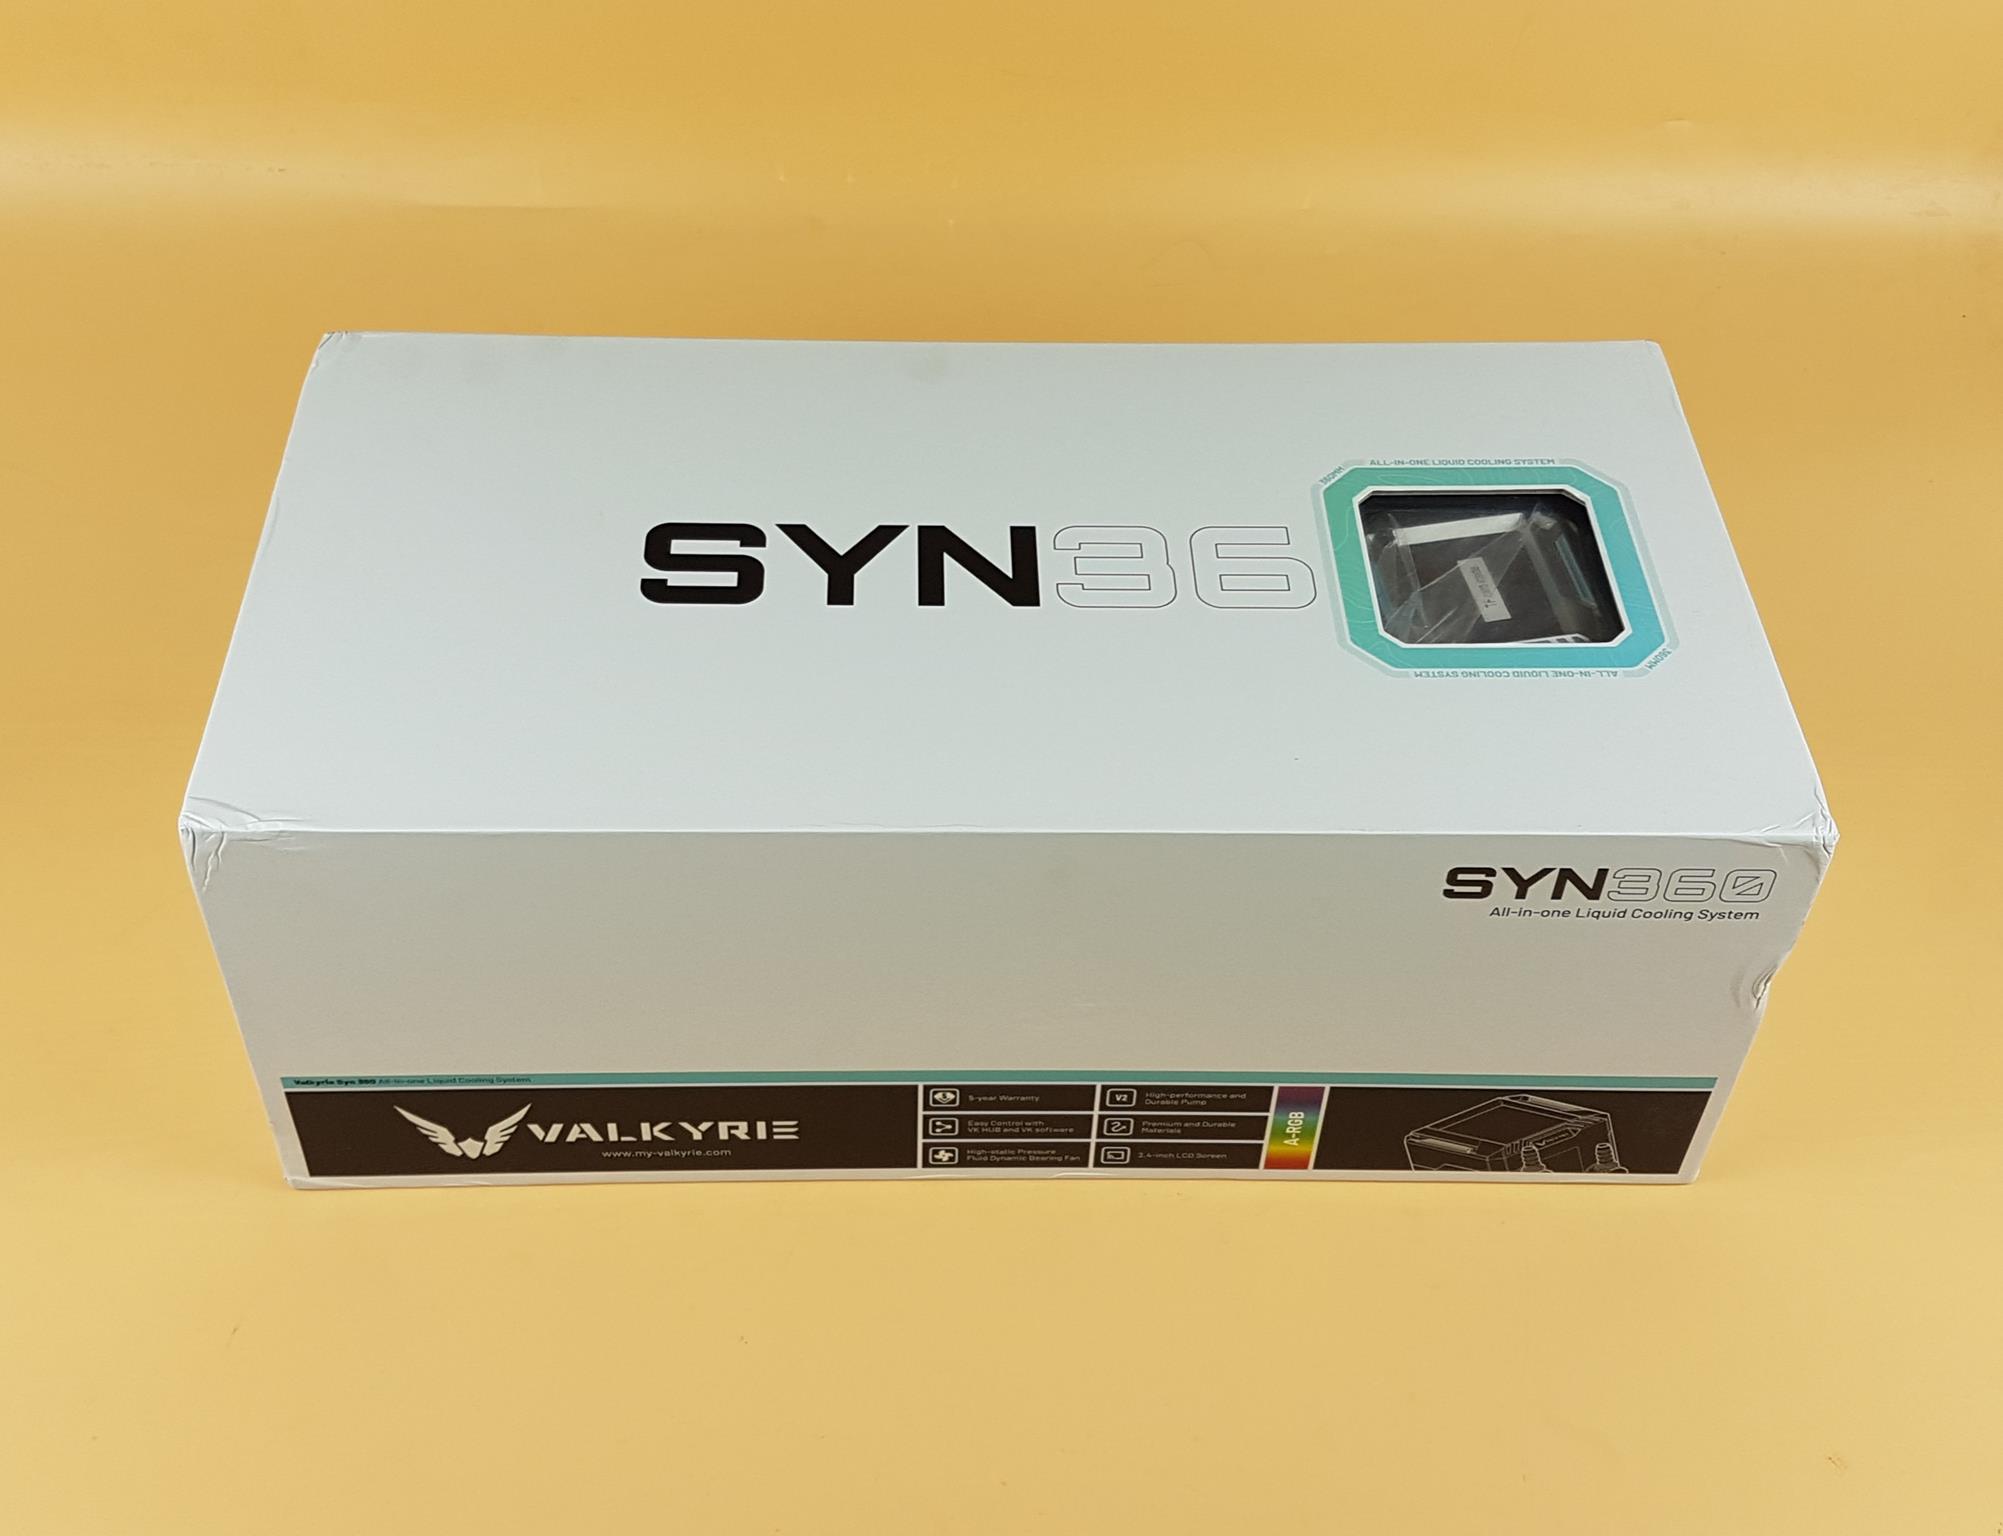
The cooler comes inside a cardboard box. It is quite a heavy-weight box. There is a transparent window up top through which you can see a glimpse of the block itself. This cutout represents 0 in the 360 number.
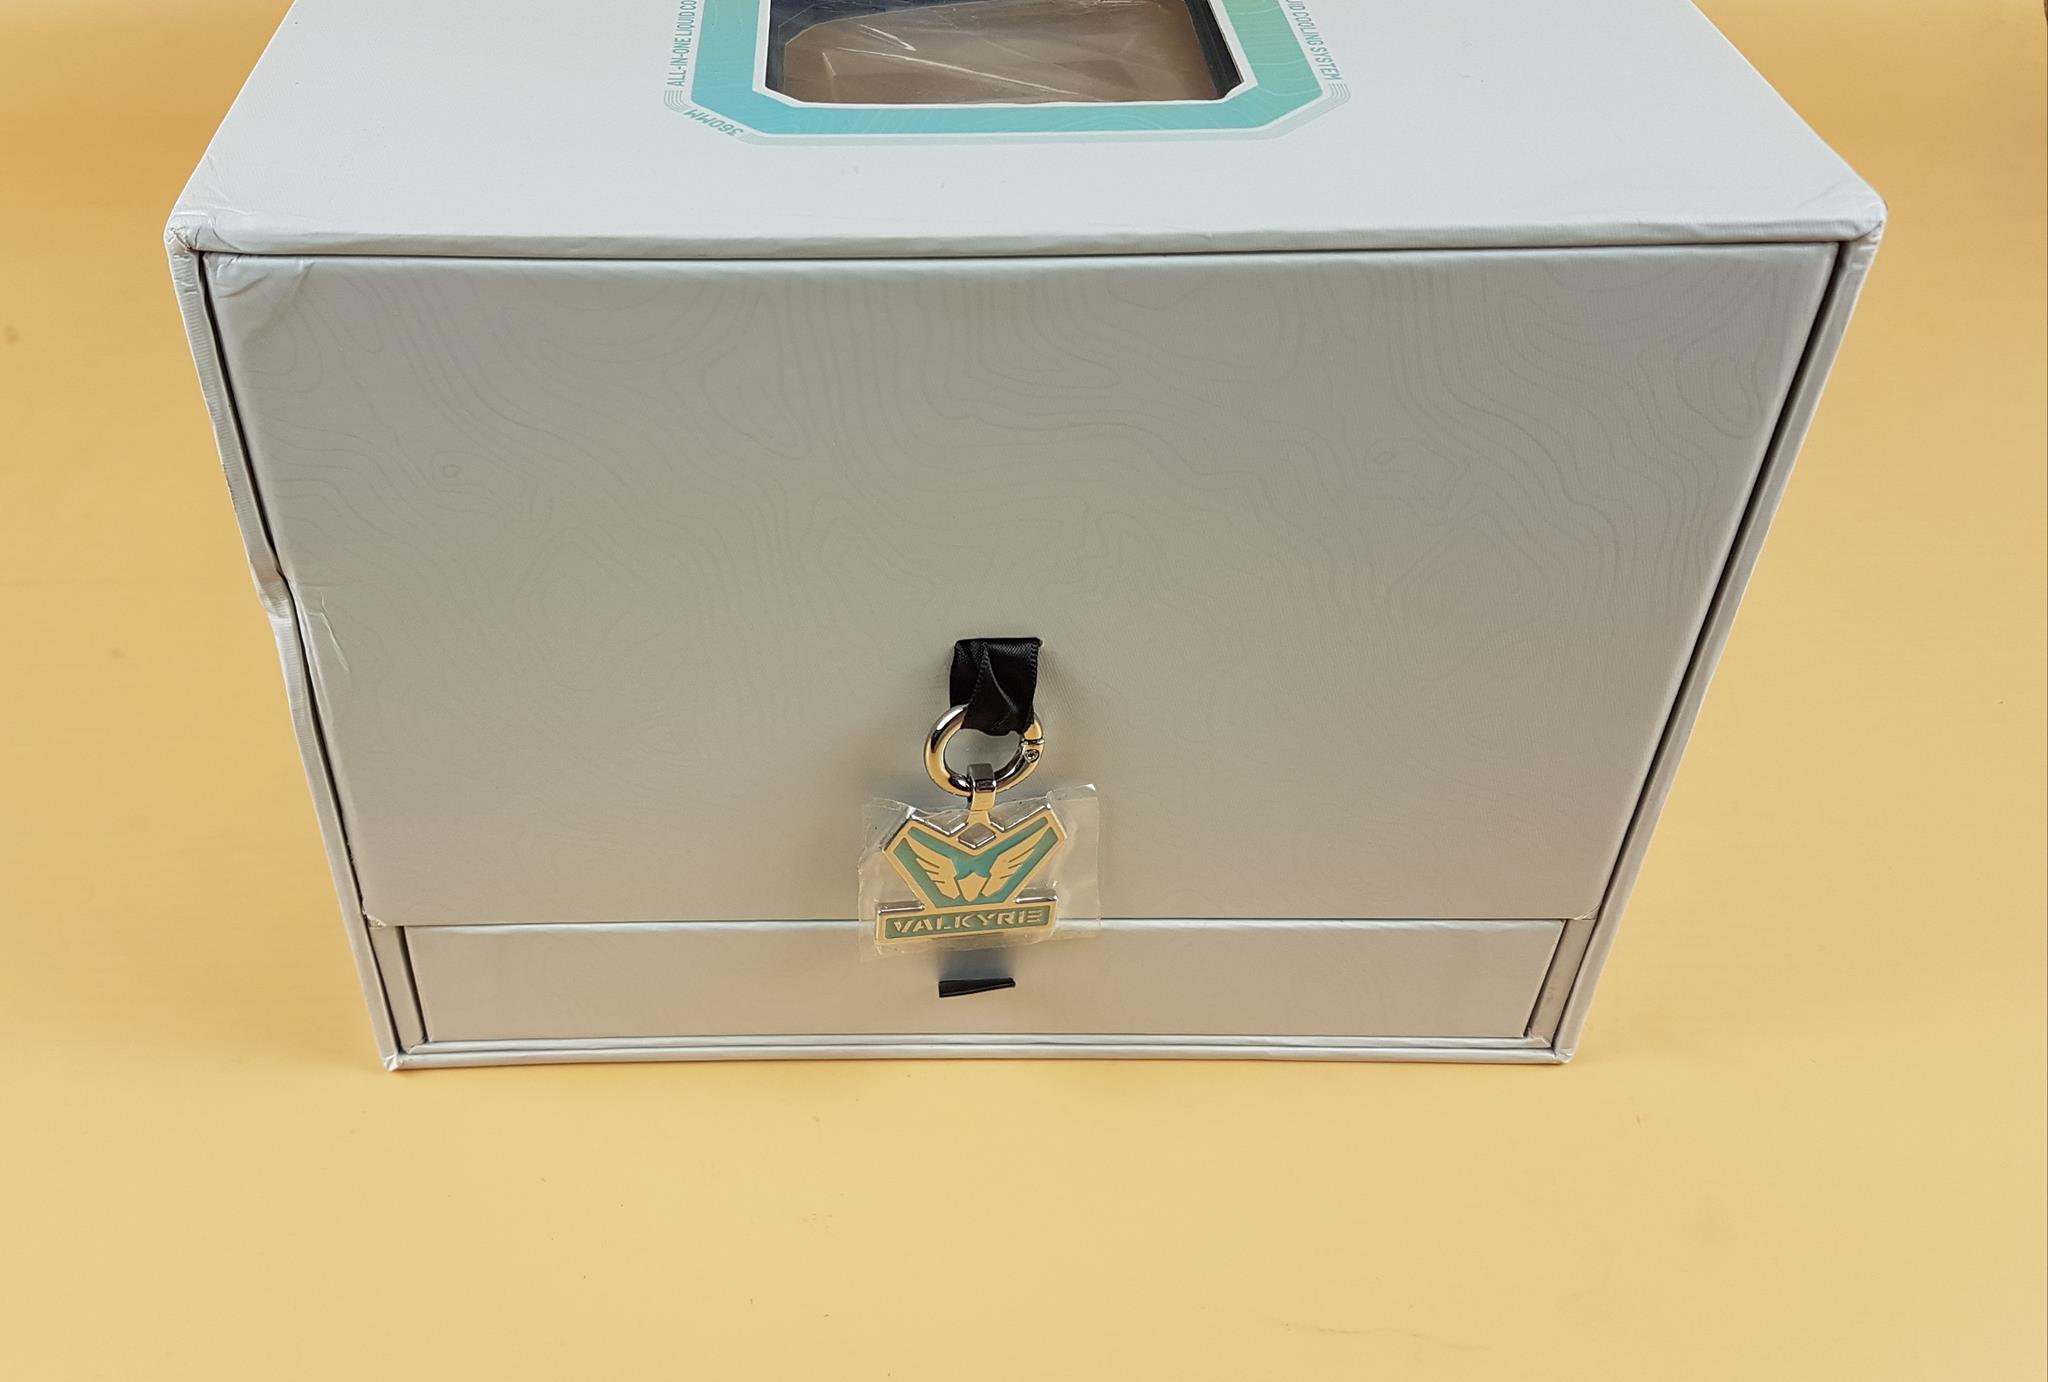
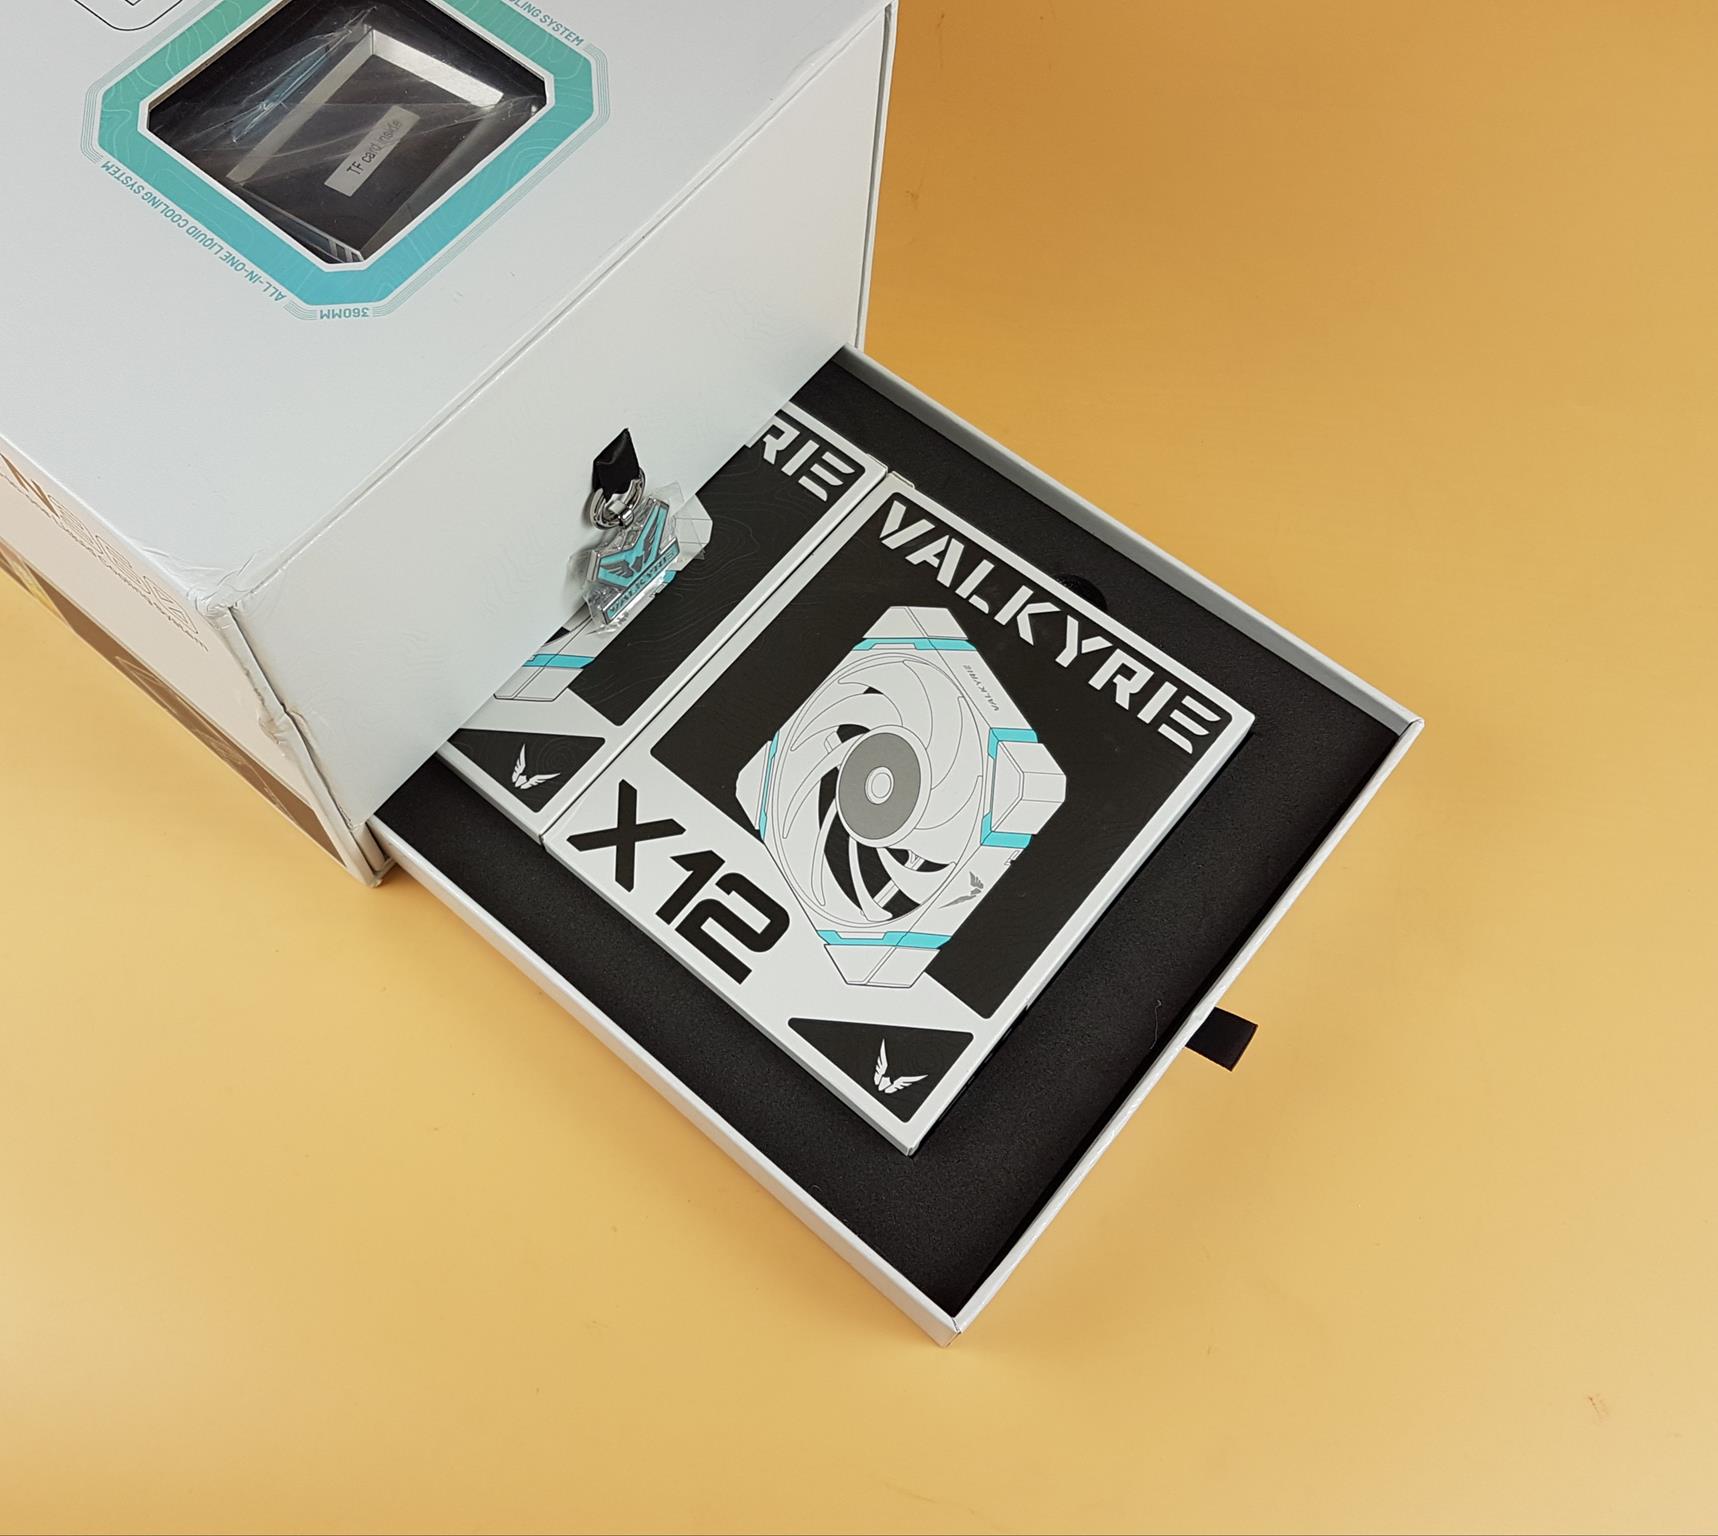
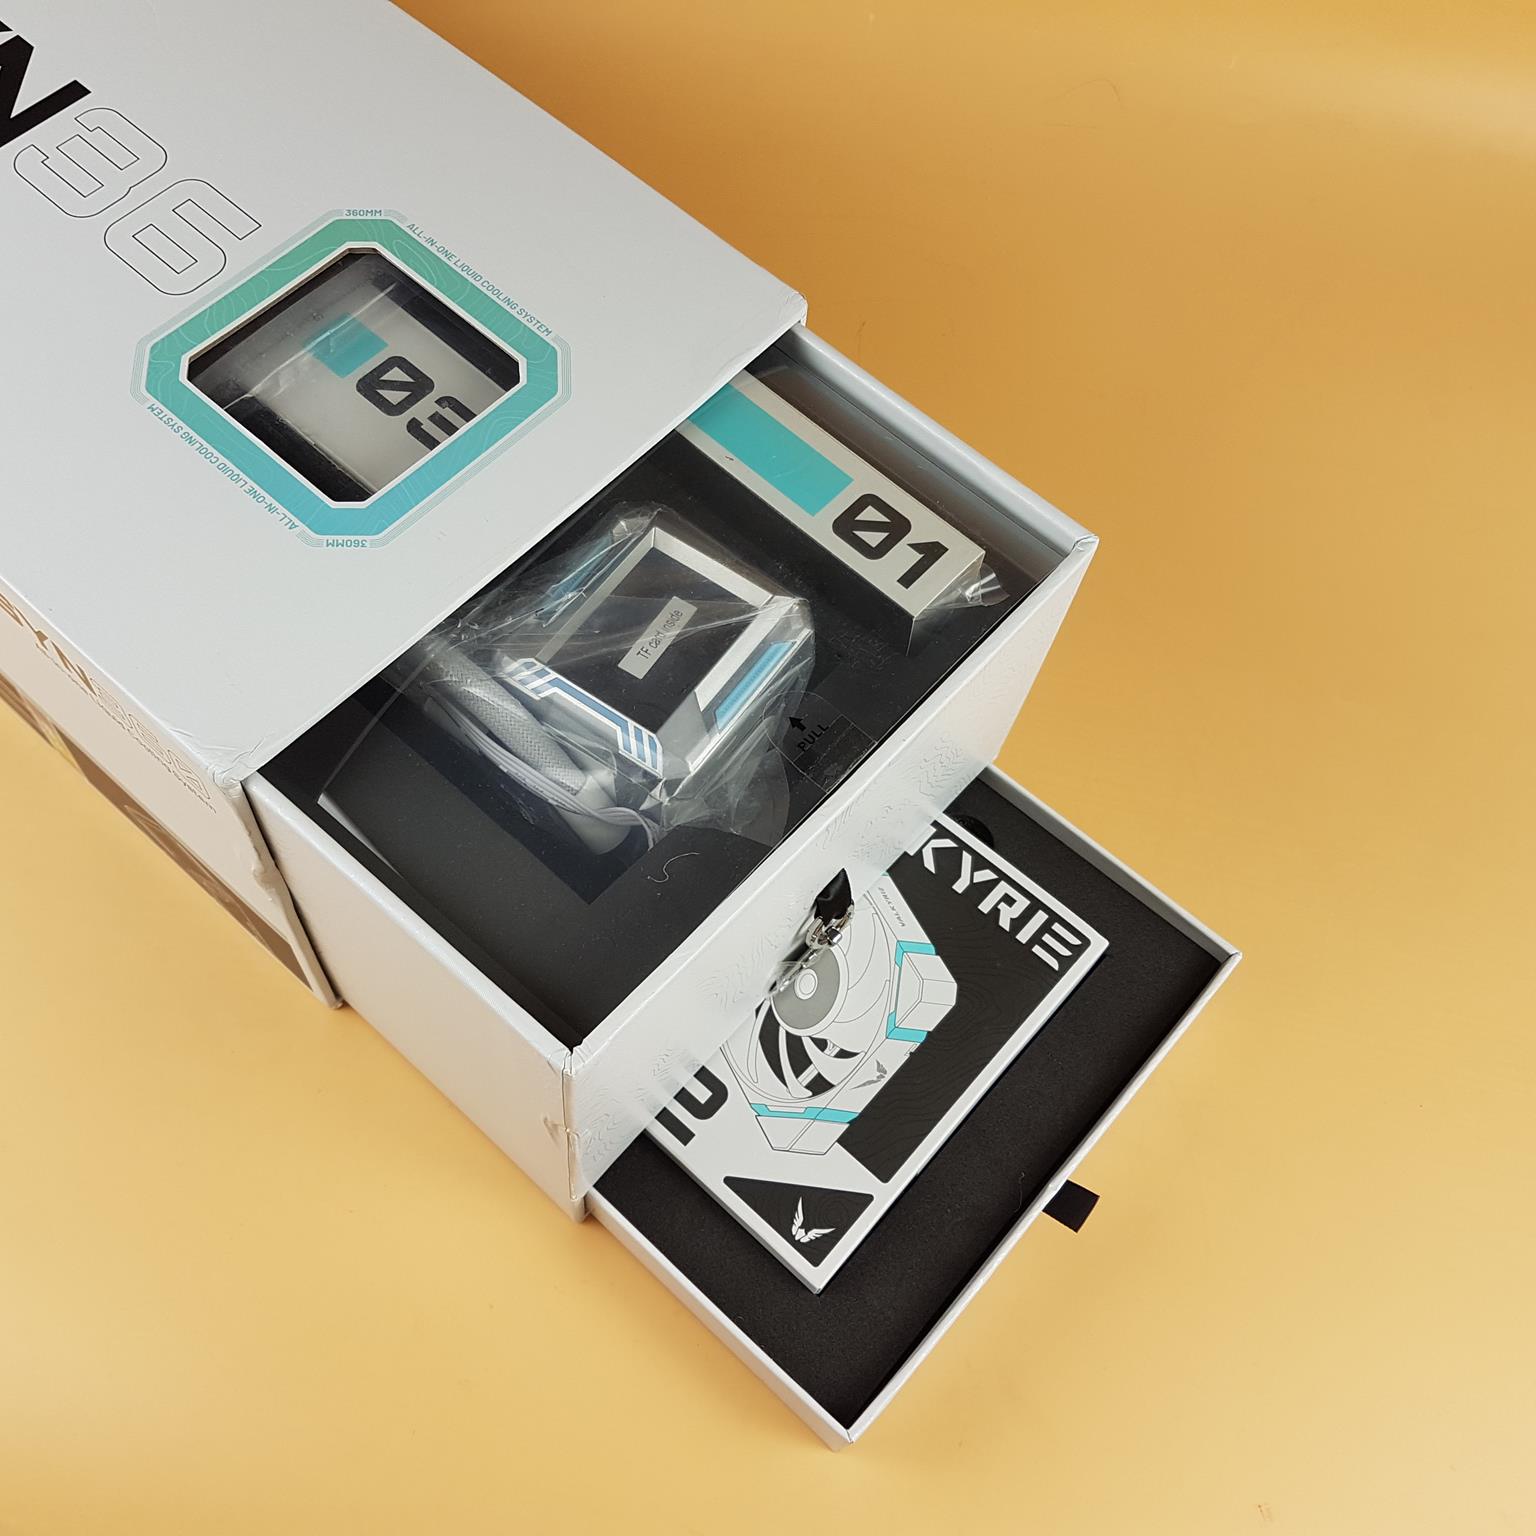
I am showing the side of the box. As you can see there is a My-Valkyrie branded key ring provided as well. Two catchers can be used to pull out the corresponding boxes. What boxes? See below.
The bottom container has three X12 fans placed inside dedicated boxes.
The major container has the cooler and the accessories boxes.
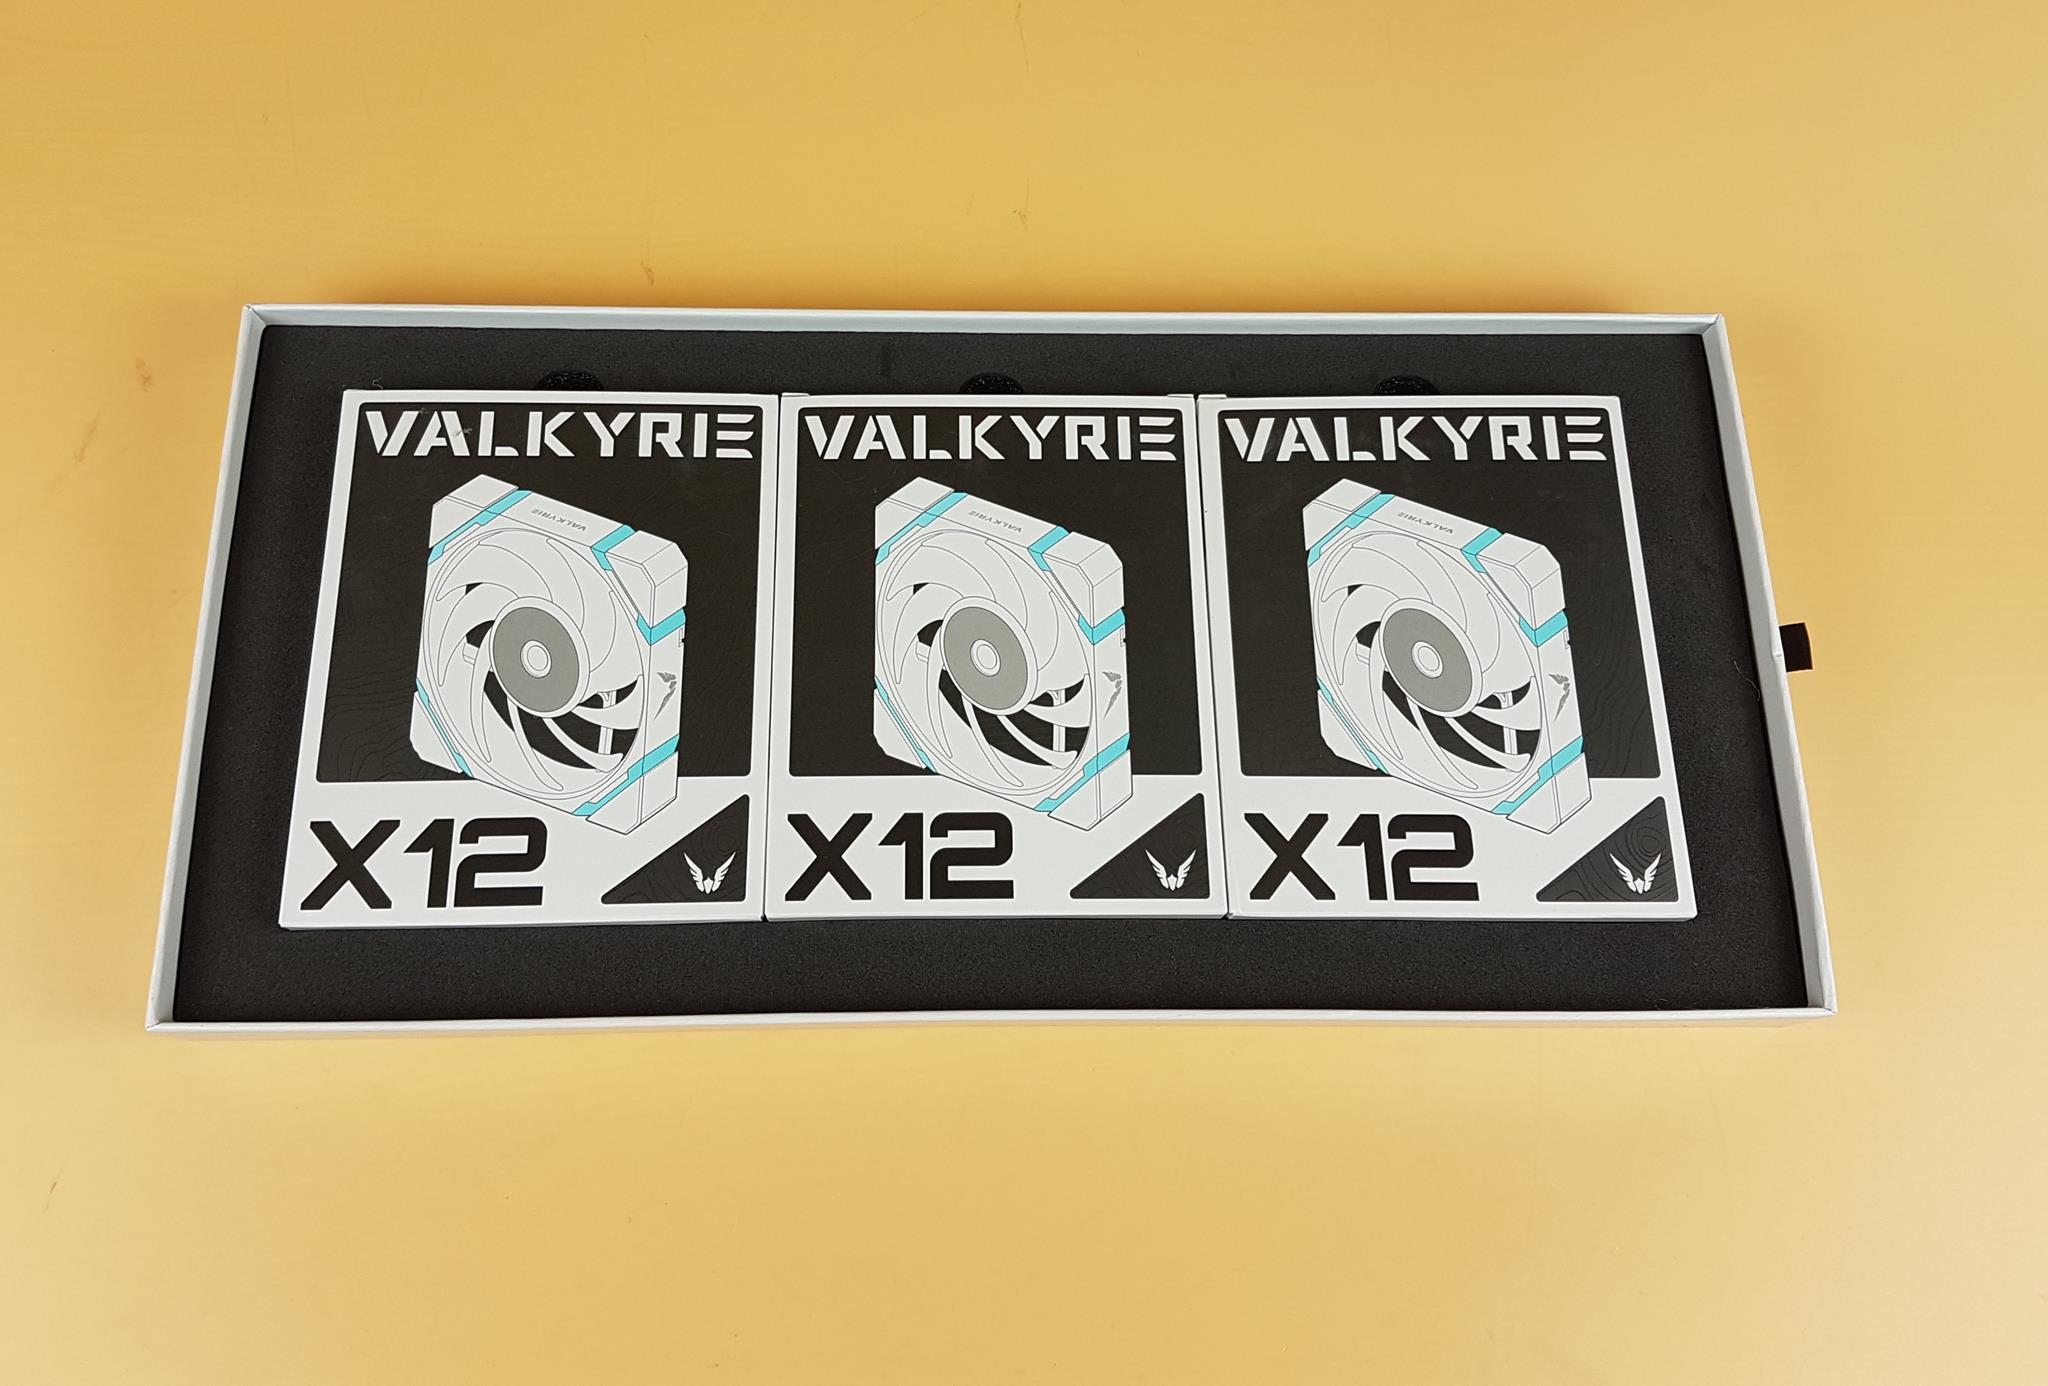
There is a black color Styrofoam pad that has three boxes of X12 high-performance white edition fans.
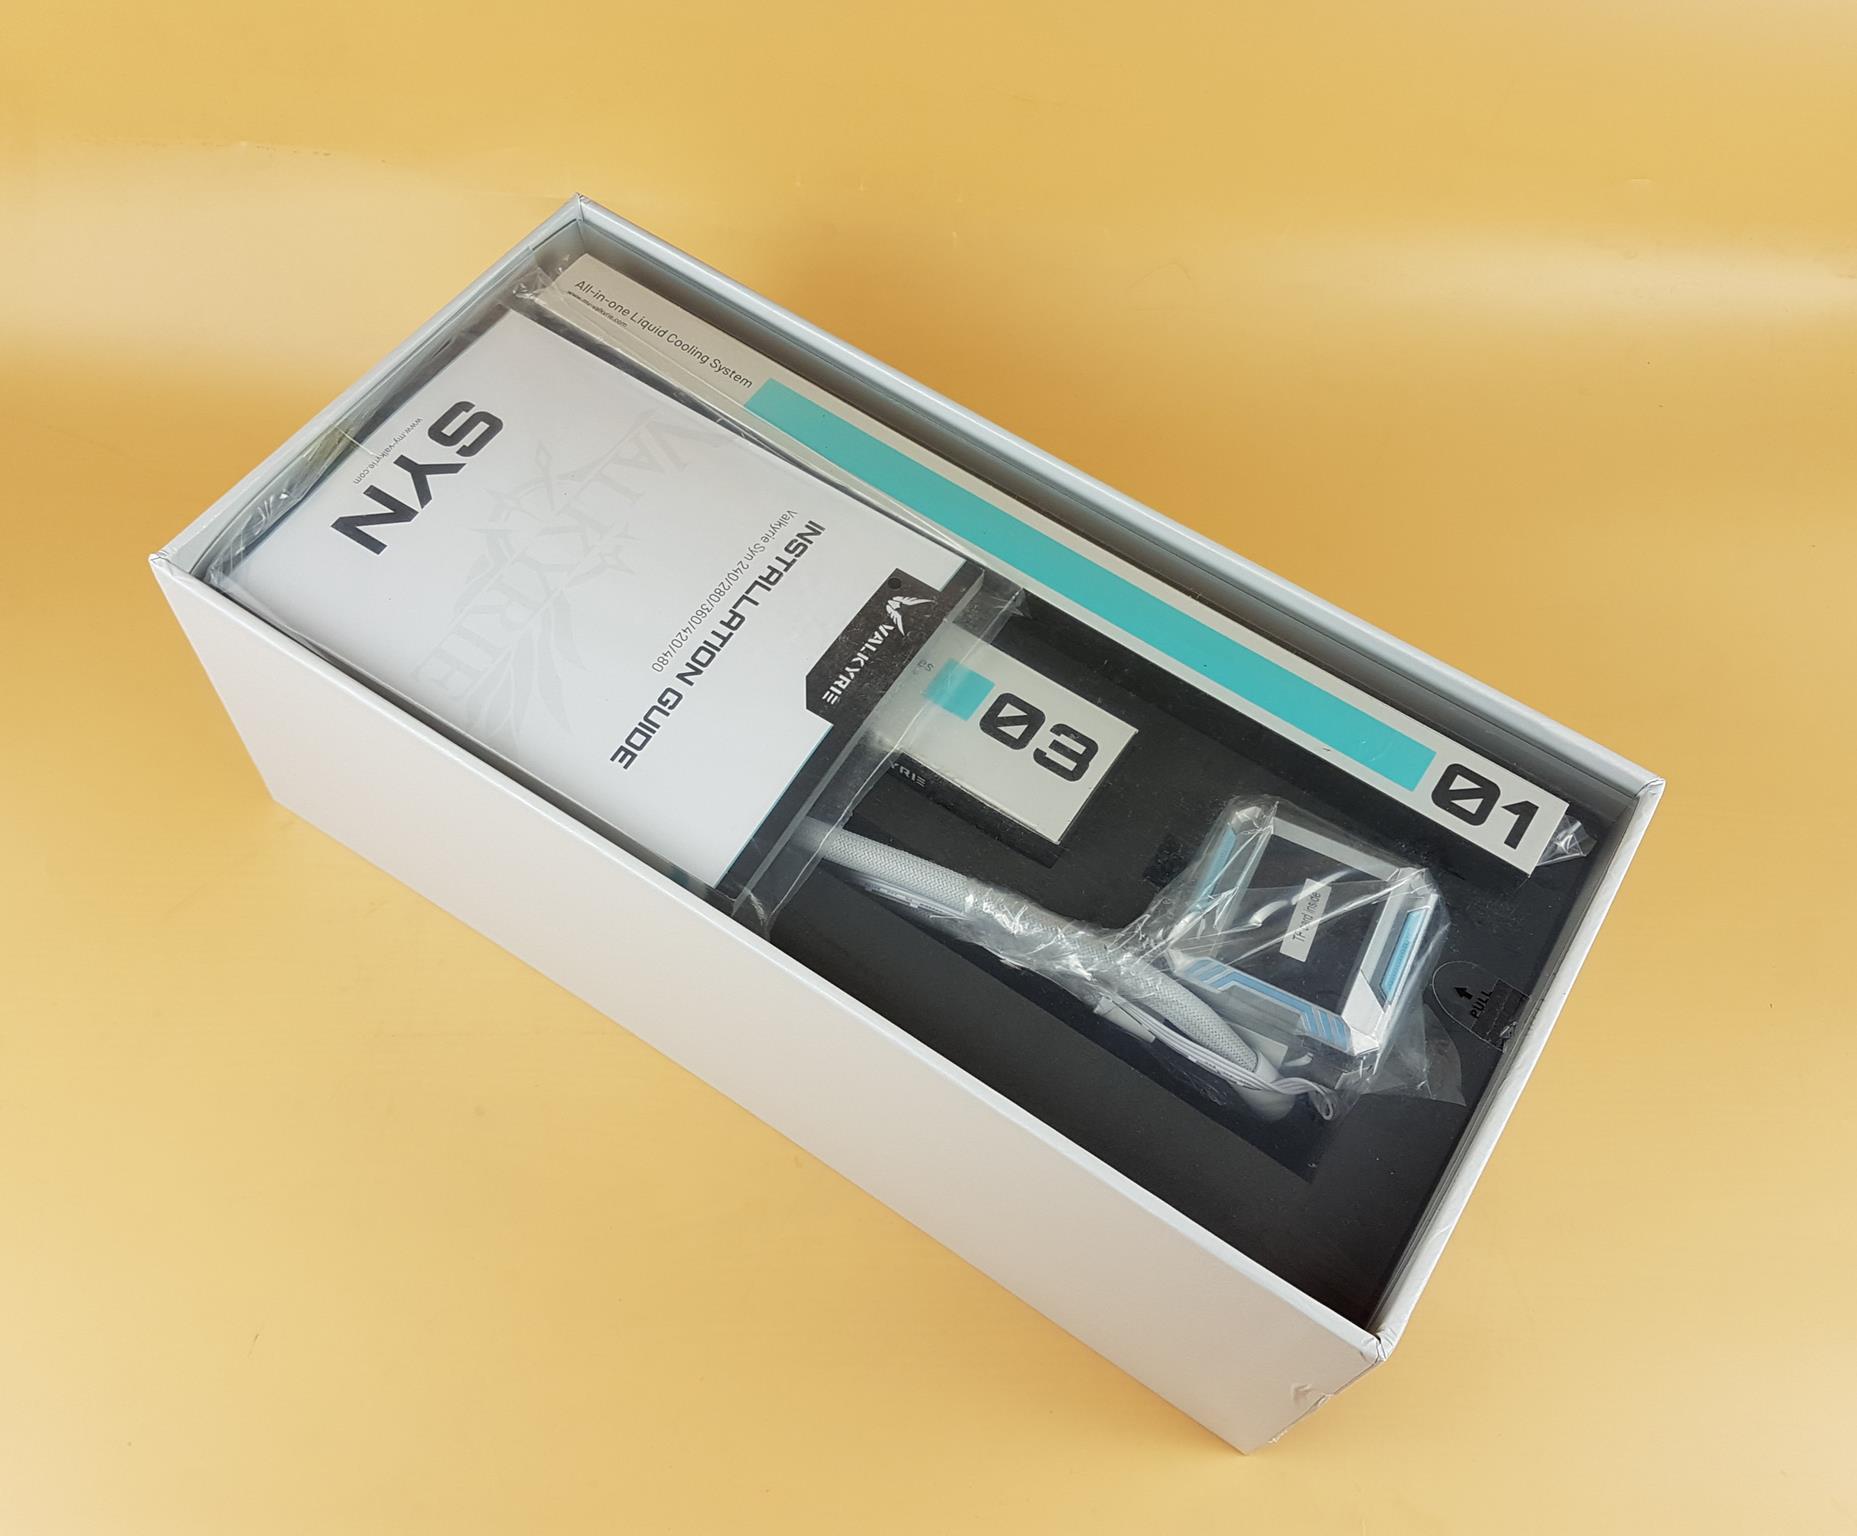
The above picture shows the main box that has the cooler and the accessories. The user manual is placed over the top.
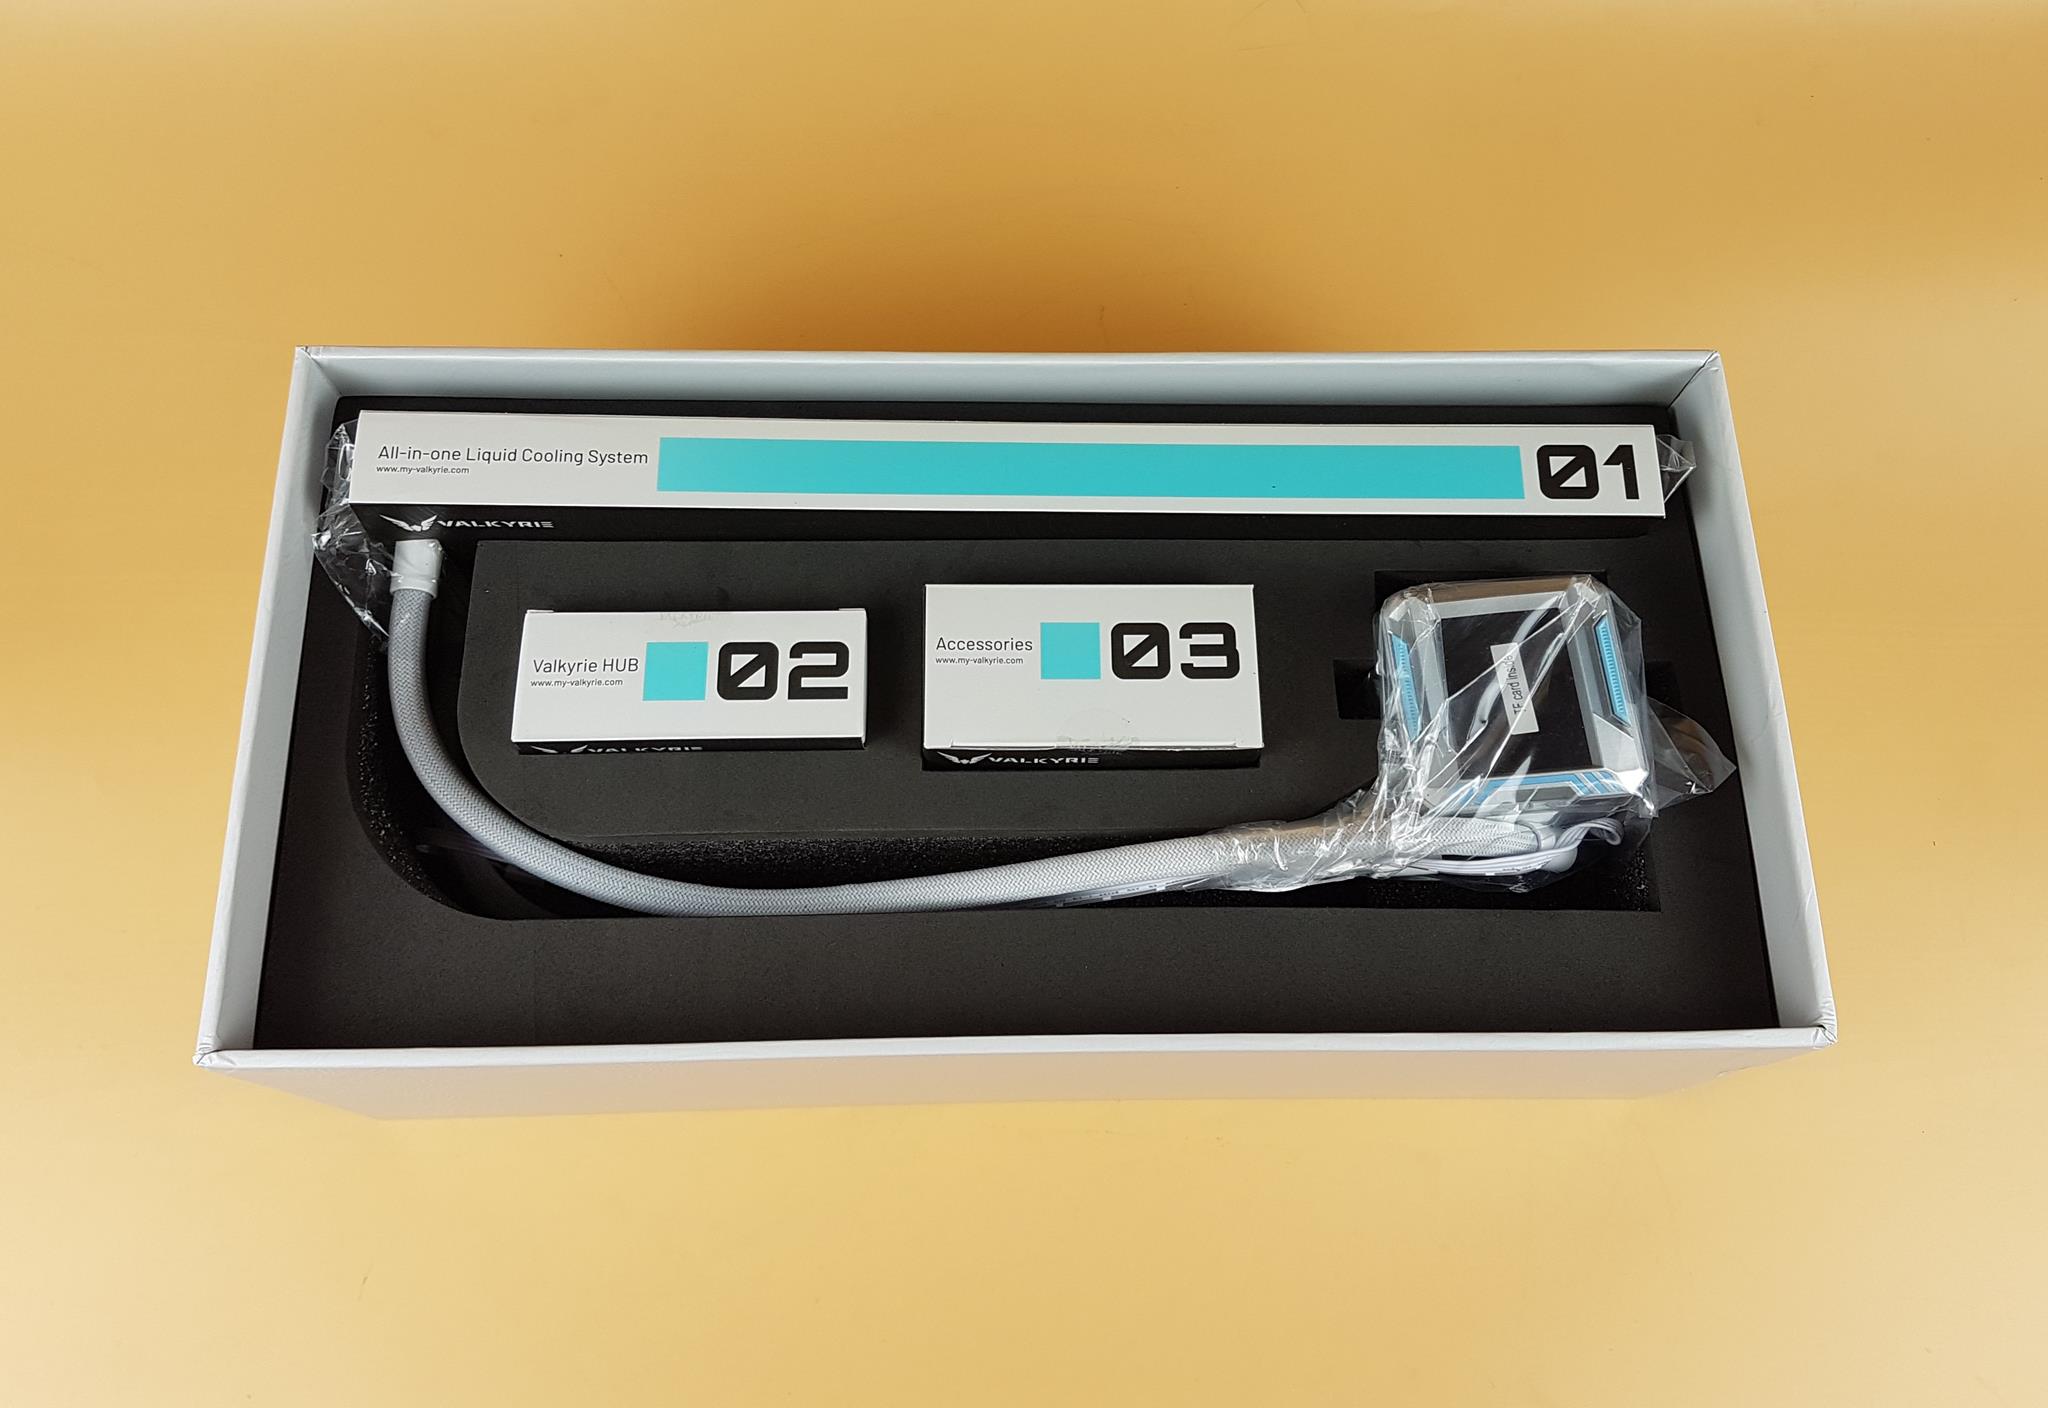
Oh boy! We are not yet done! There are three more boxes numbered 1, 2, and 3. The box number 1 has a radiator inside. Box number 2 has Valkyrie Hub whereas Box number 3 has the accessories inside. Seriously, by now, I wish this cooler packs some good performance to justify this level of packaging customization.
Finally, the unboxing part is over.
Accessories
Let’s see what is provided in the accessories department.
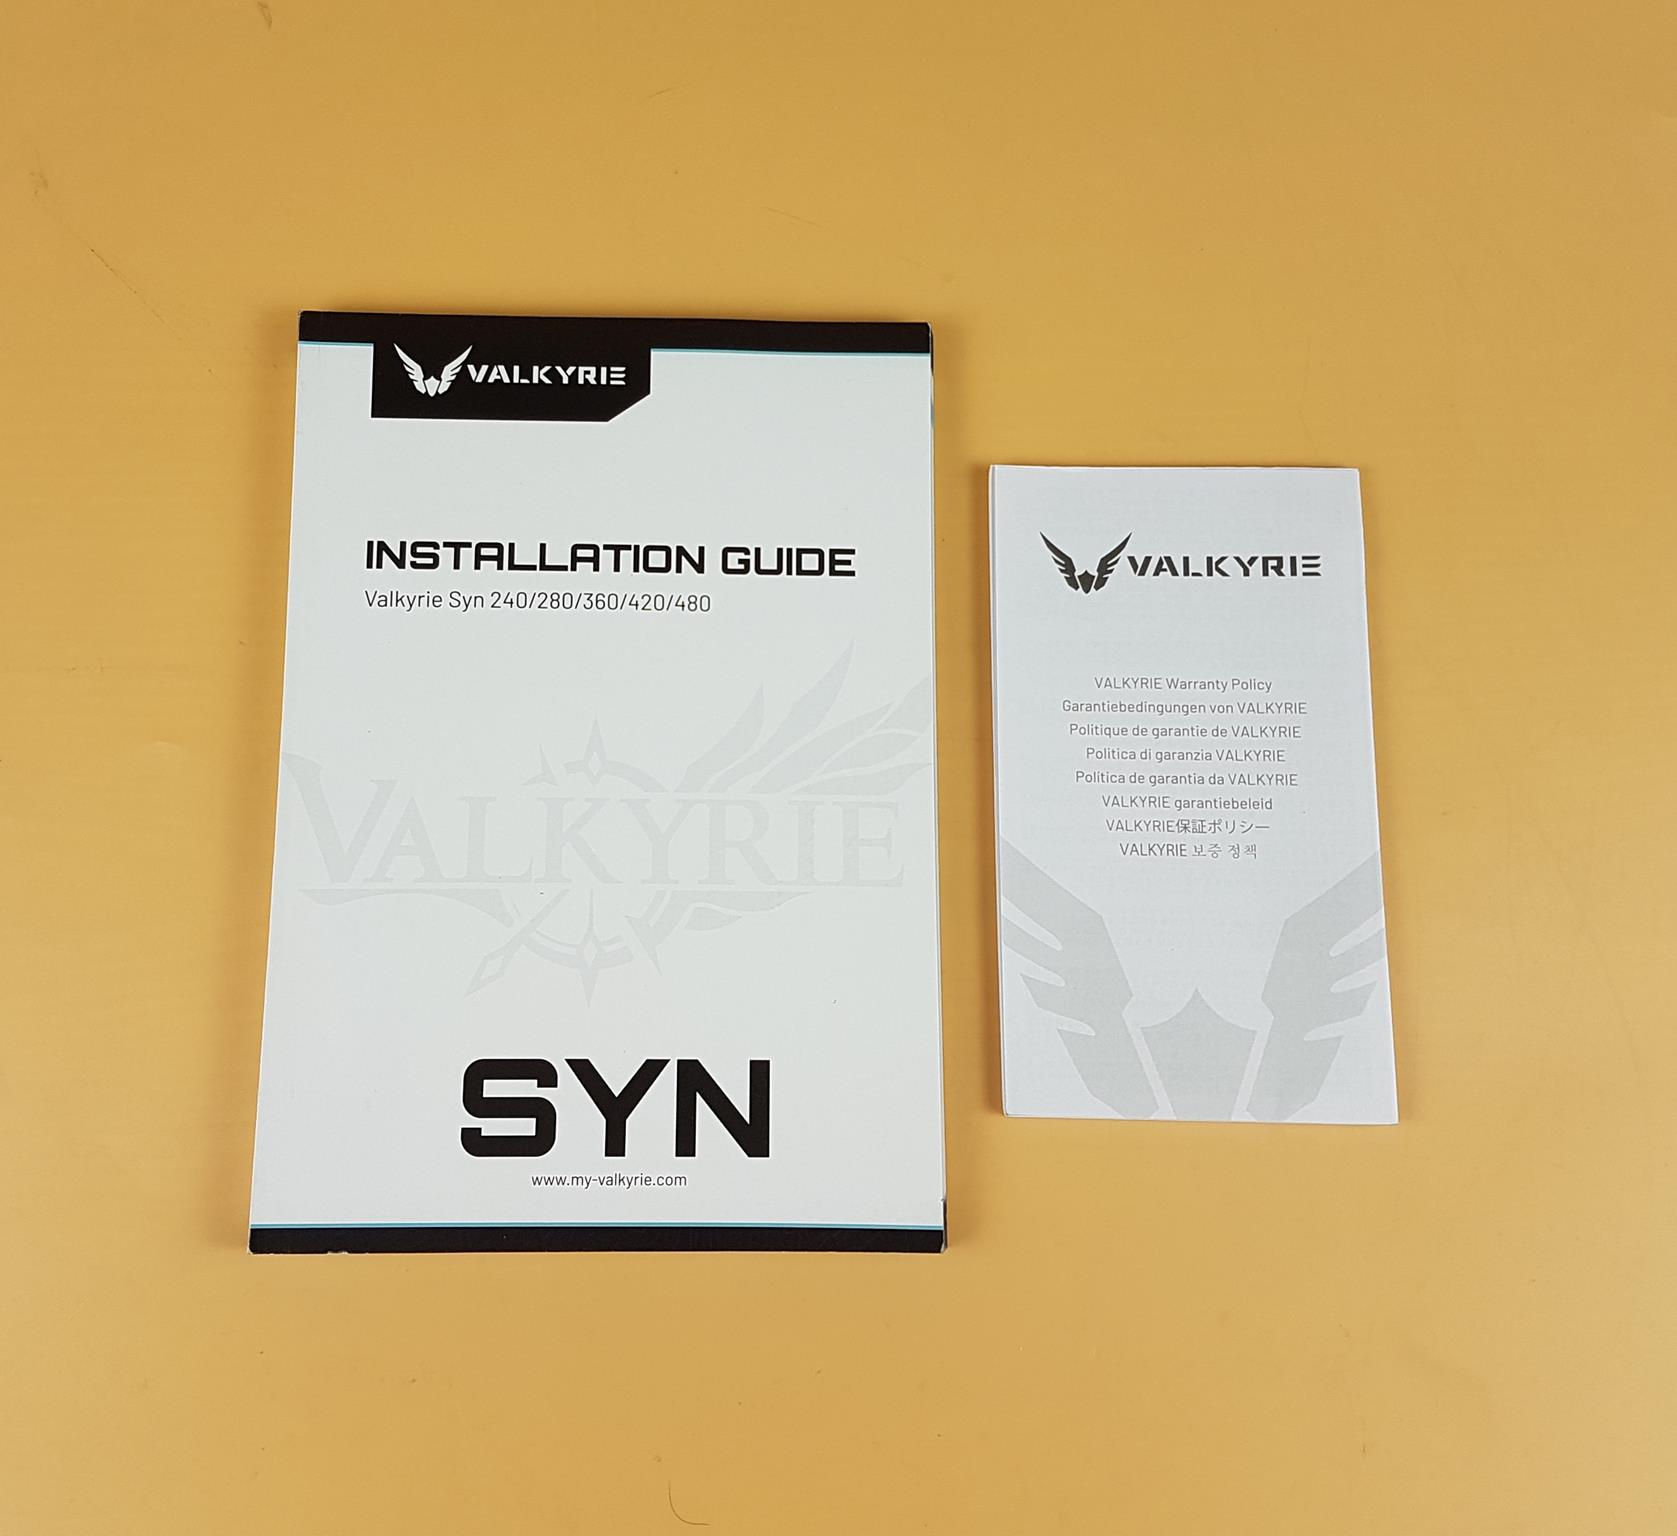
My Valkyrie has provided a booklet serving as a user manual. It is multi-lingual and one thing tells me that this cooler is also available in 2800, 420, and 480mm sizes. Hey My Valkyrie, I could not find the other listed sizes on the website. Maybe they are coming soon, I guess!
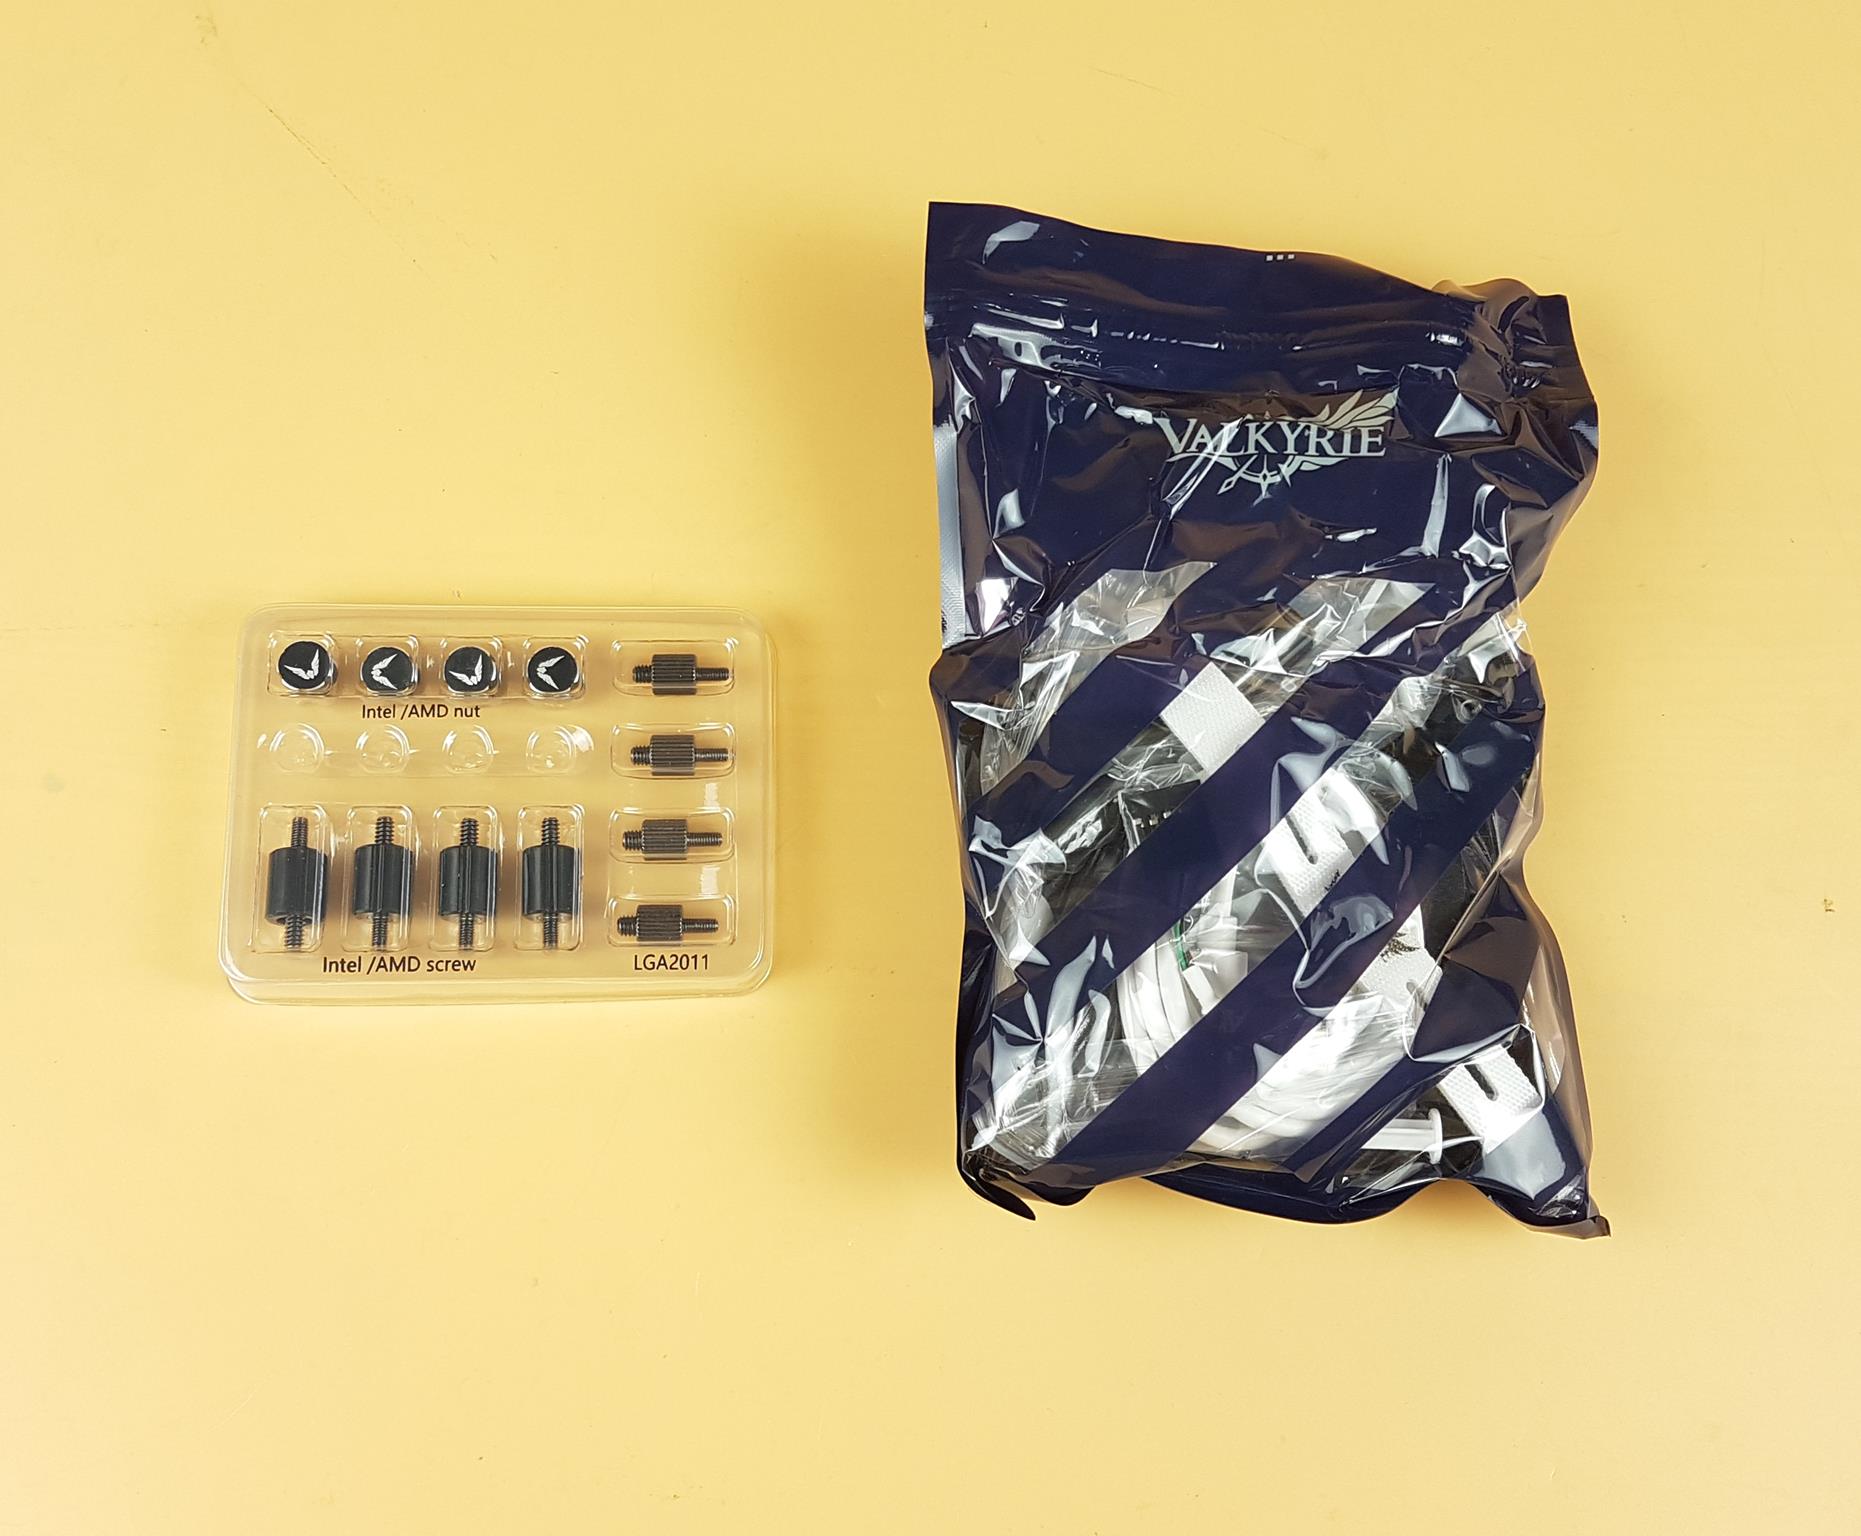
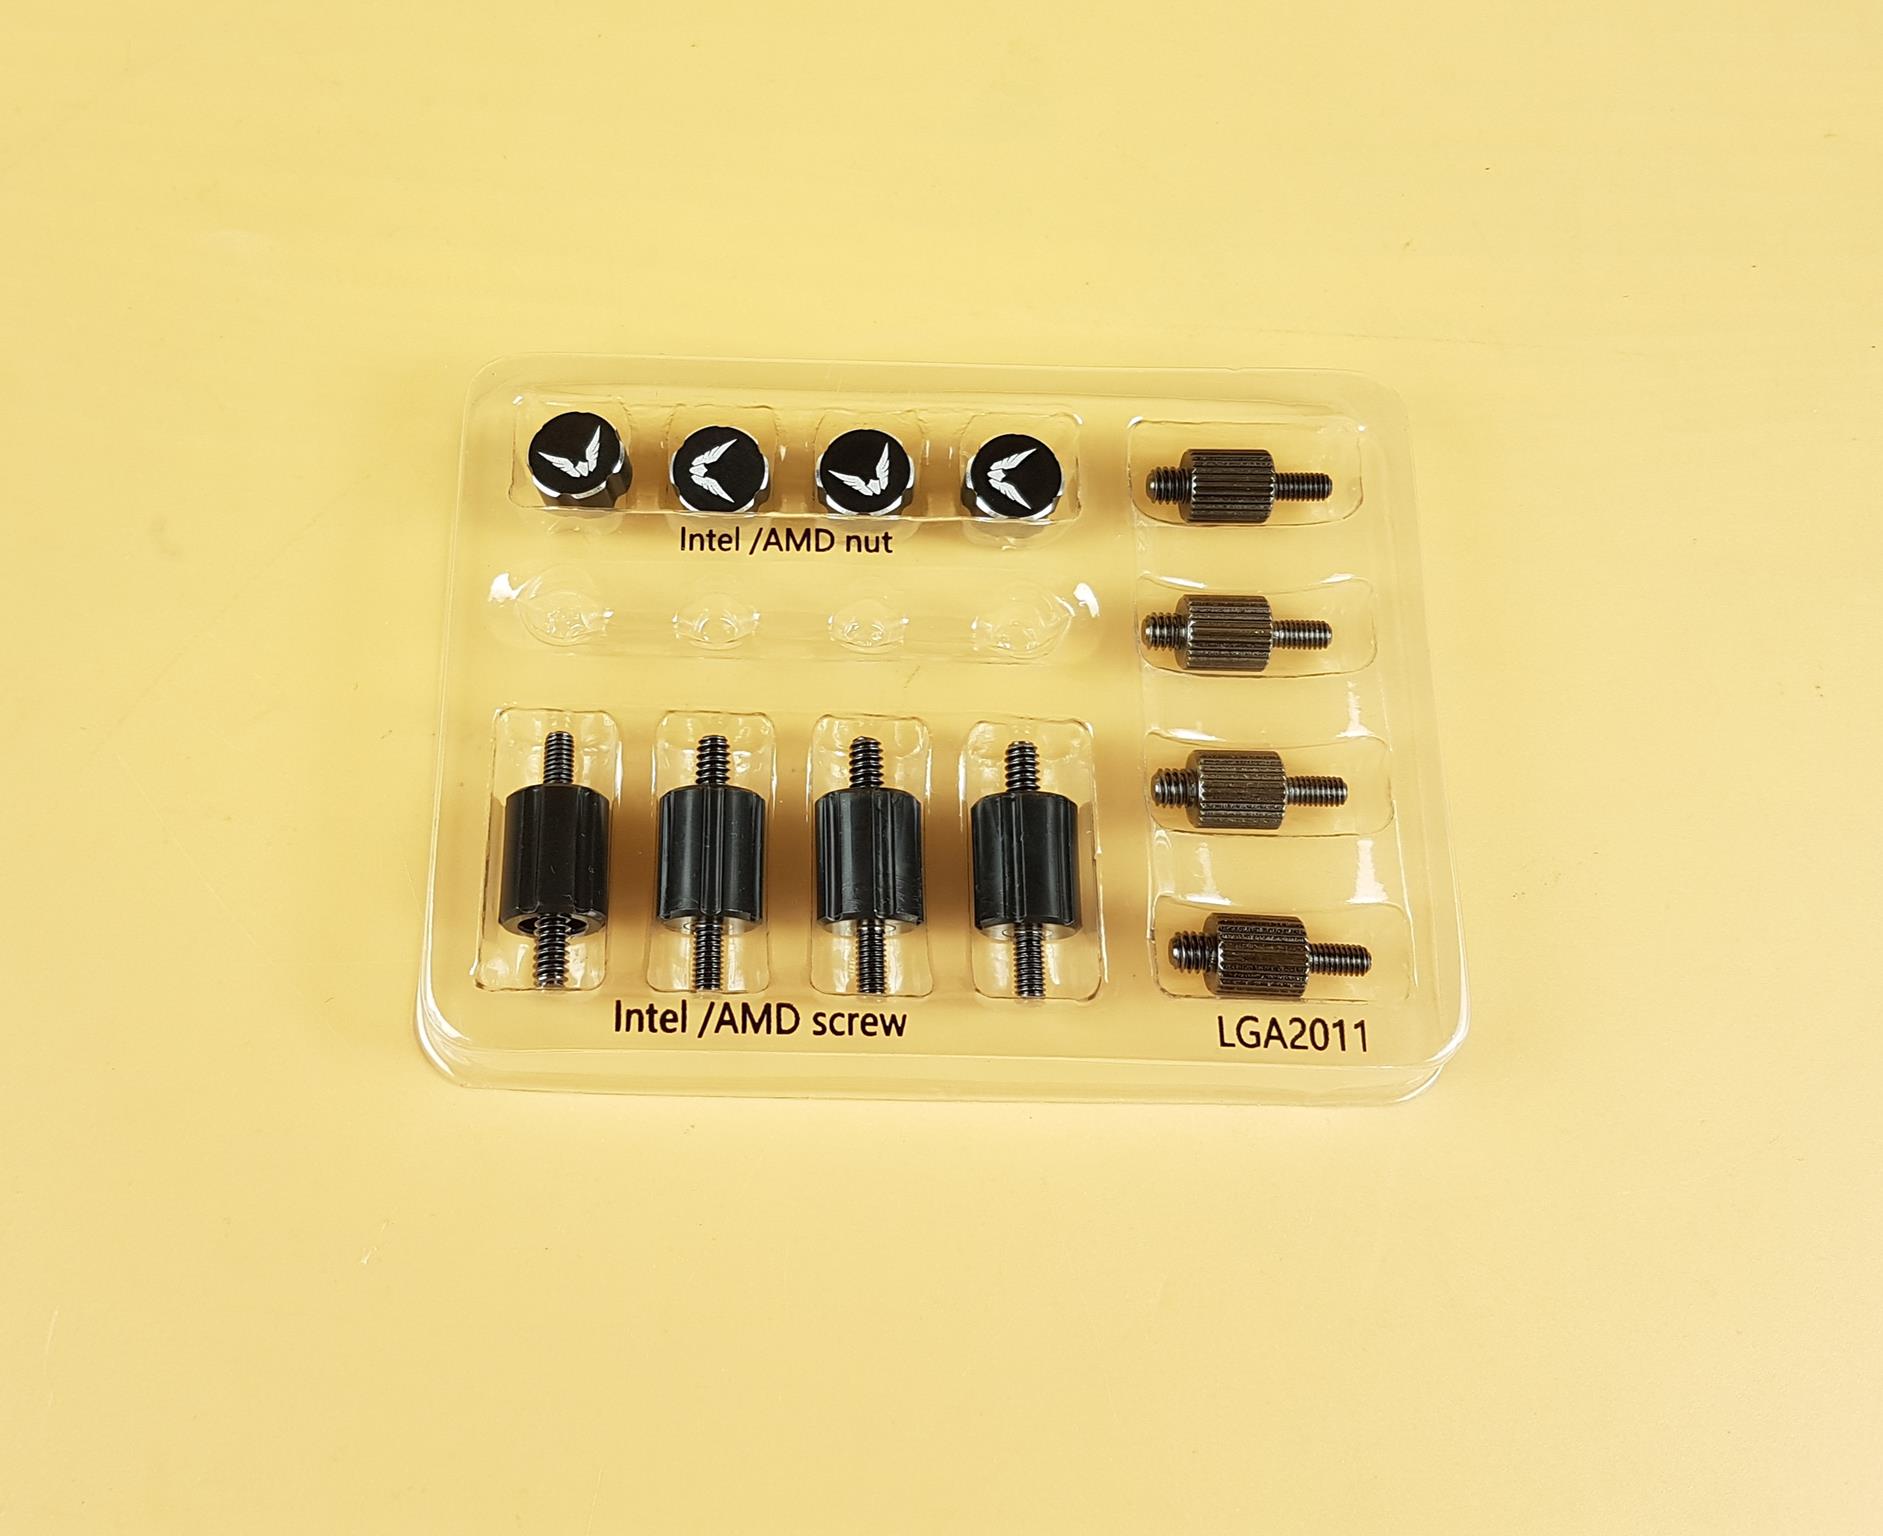
There is a container that has standoff screws and nut covers. Then there is a container that has all the other mounting hardware.
There are:
- 4x Nuts/Caps
- 4x Intel/AMD Standoff Screws
- 4x Intel 20xx Standoff Screws
There are:
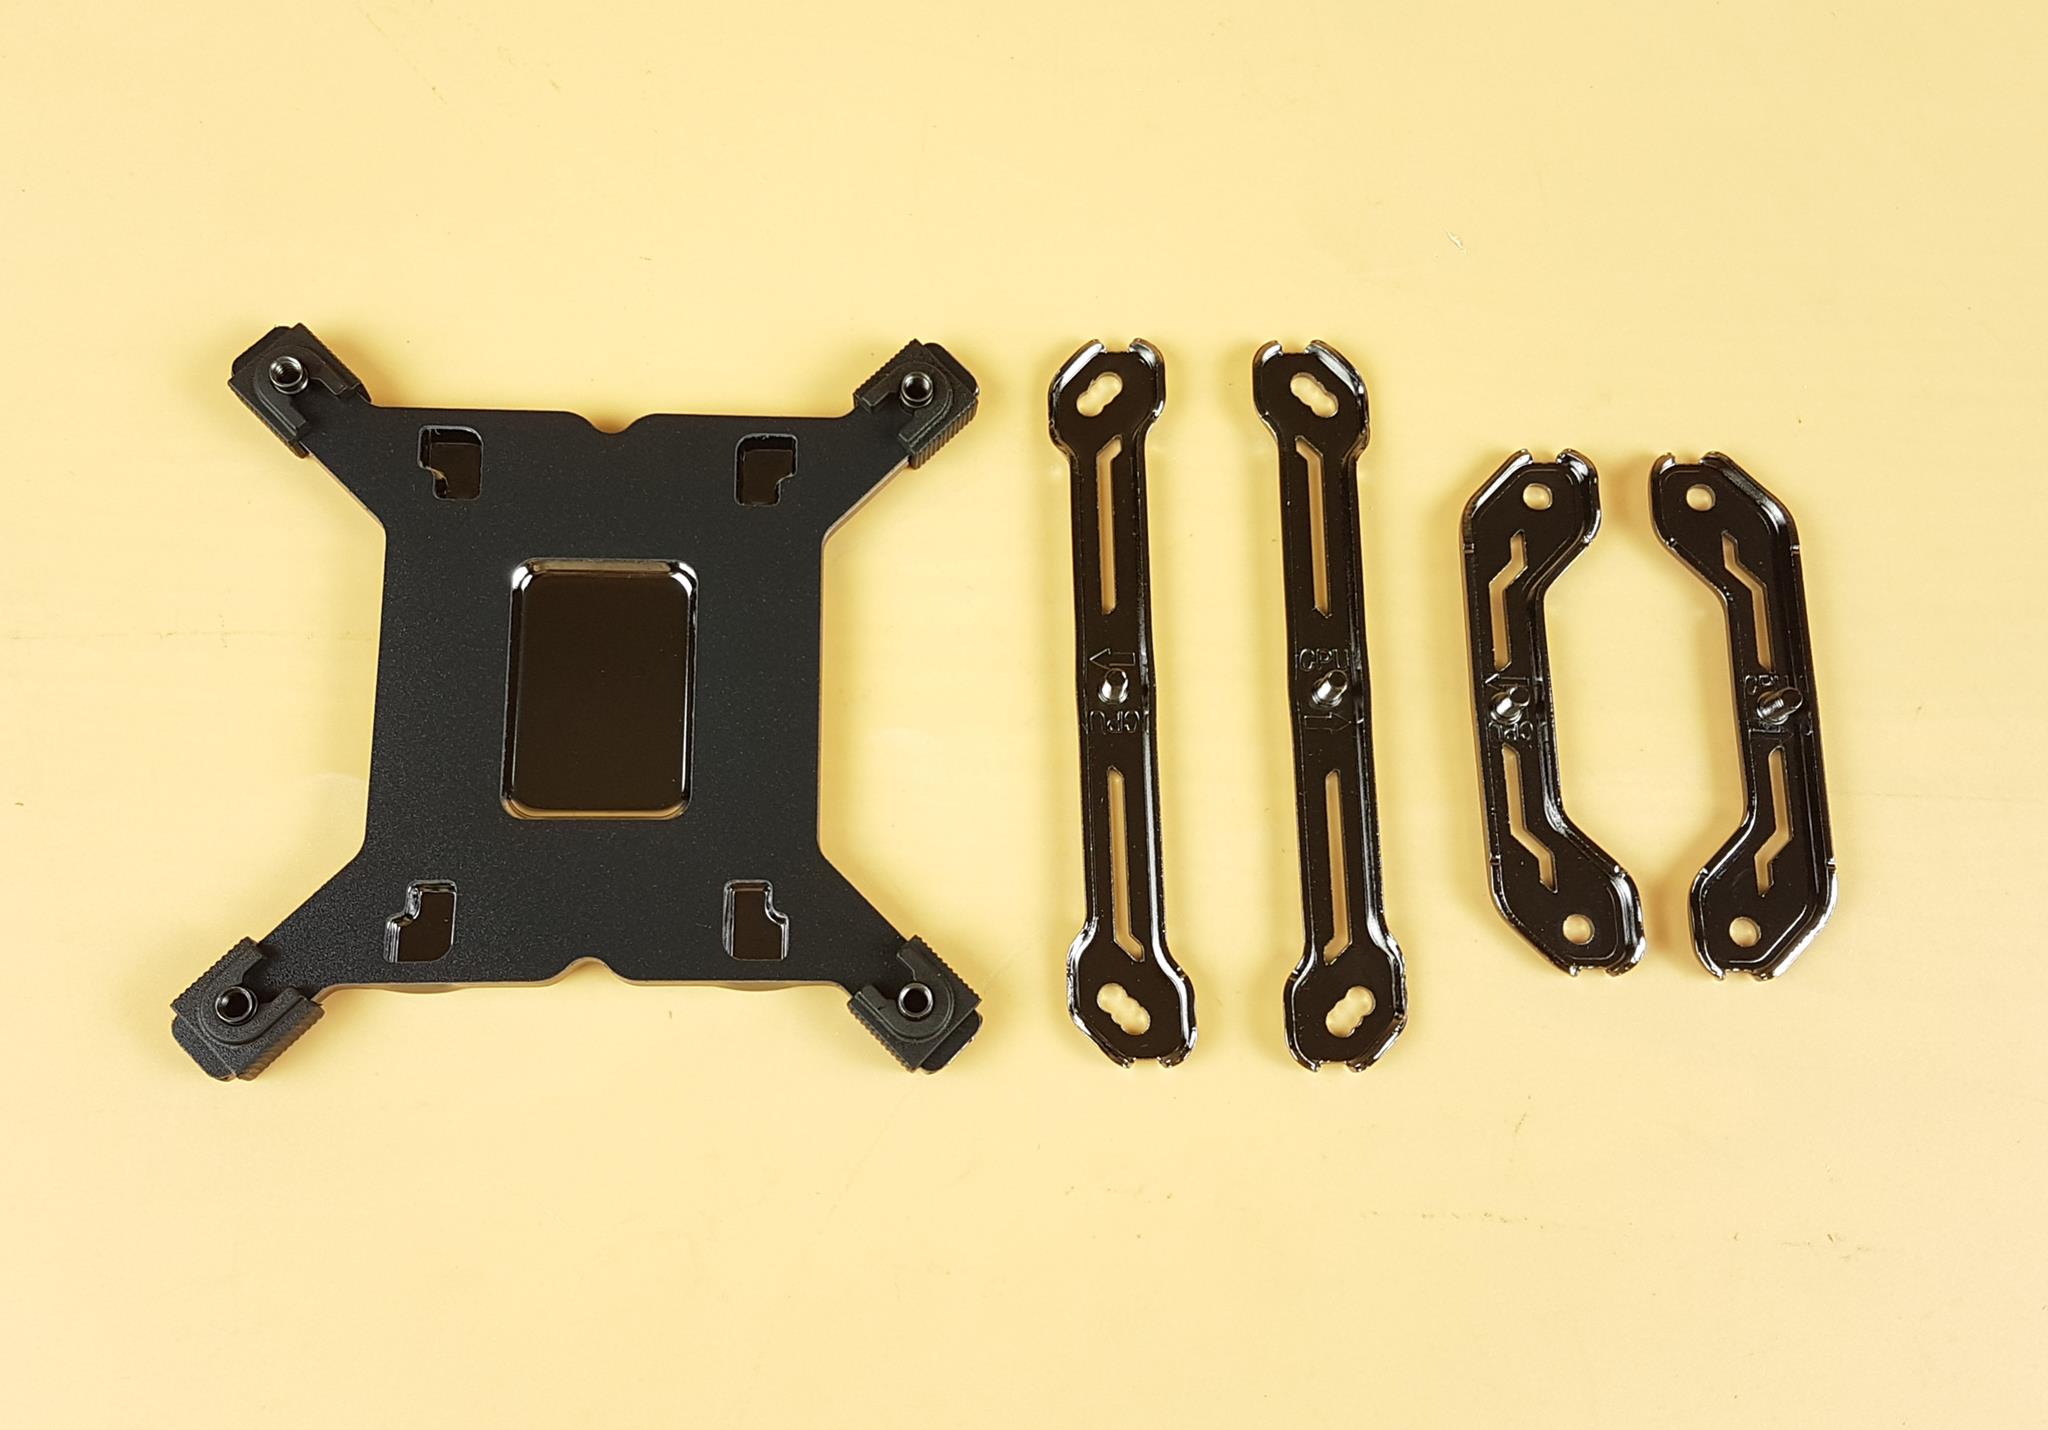
- 1x Intel Backplate
- 2x Intel Mounting Brackets
- 2x AMD Mounting Brackets
There are:
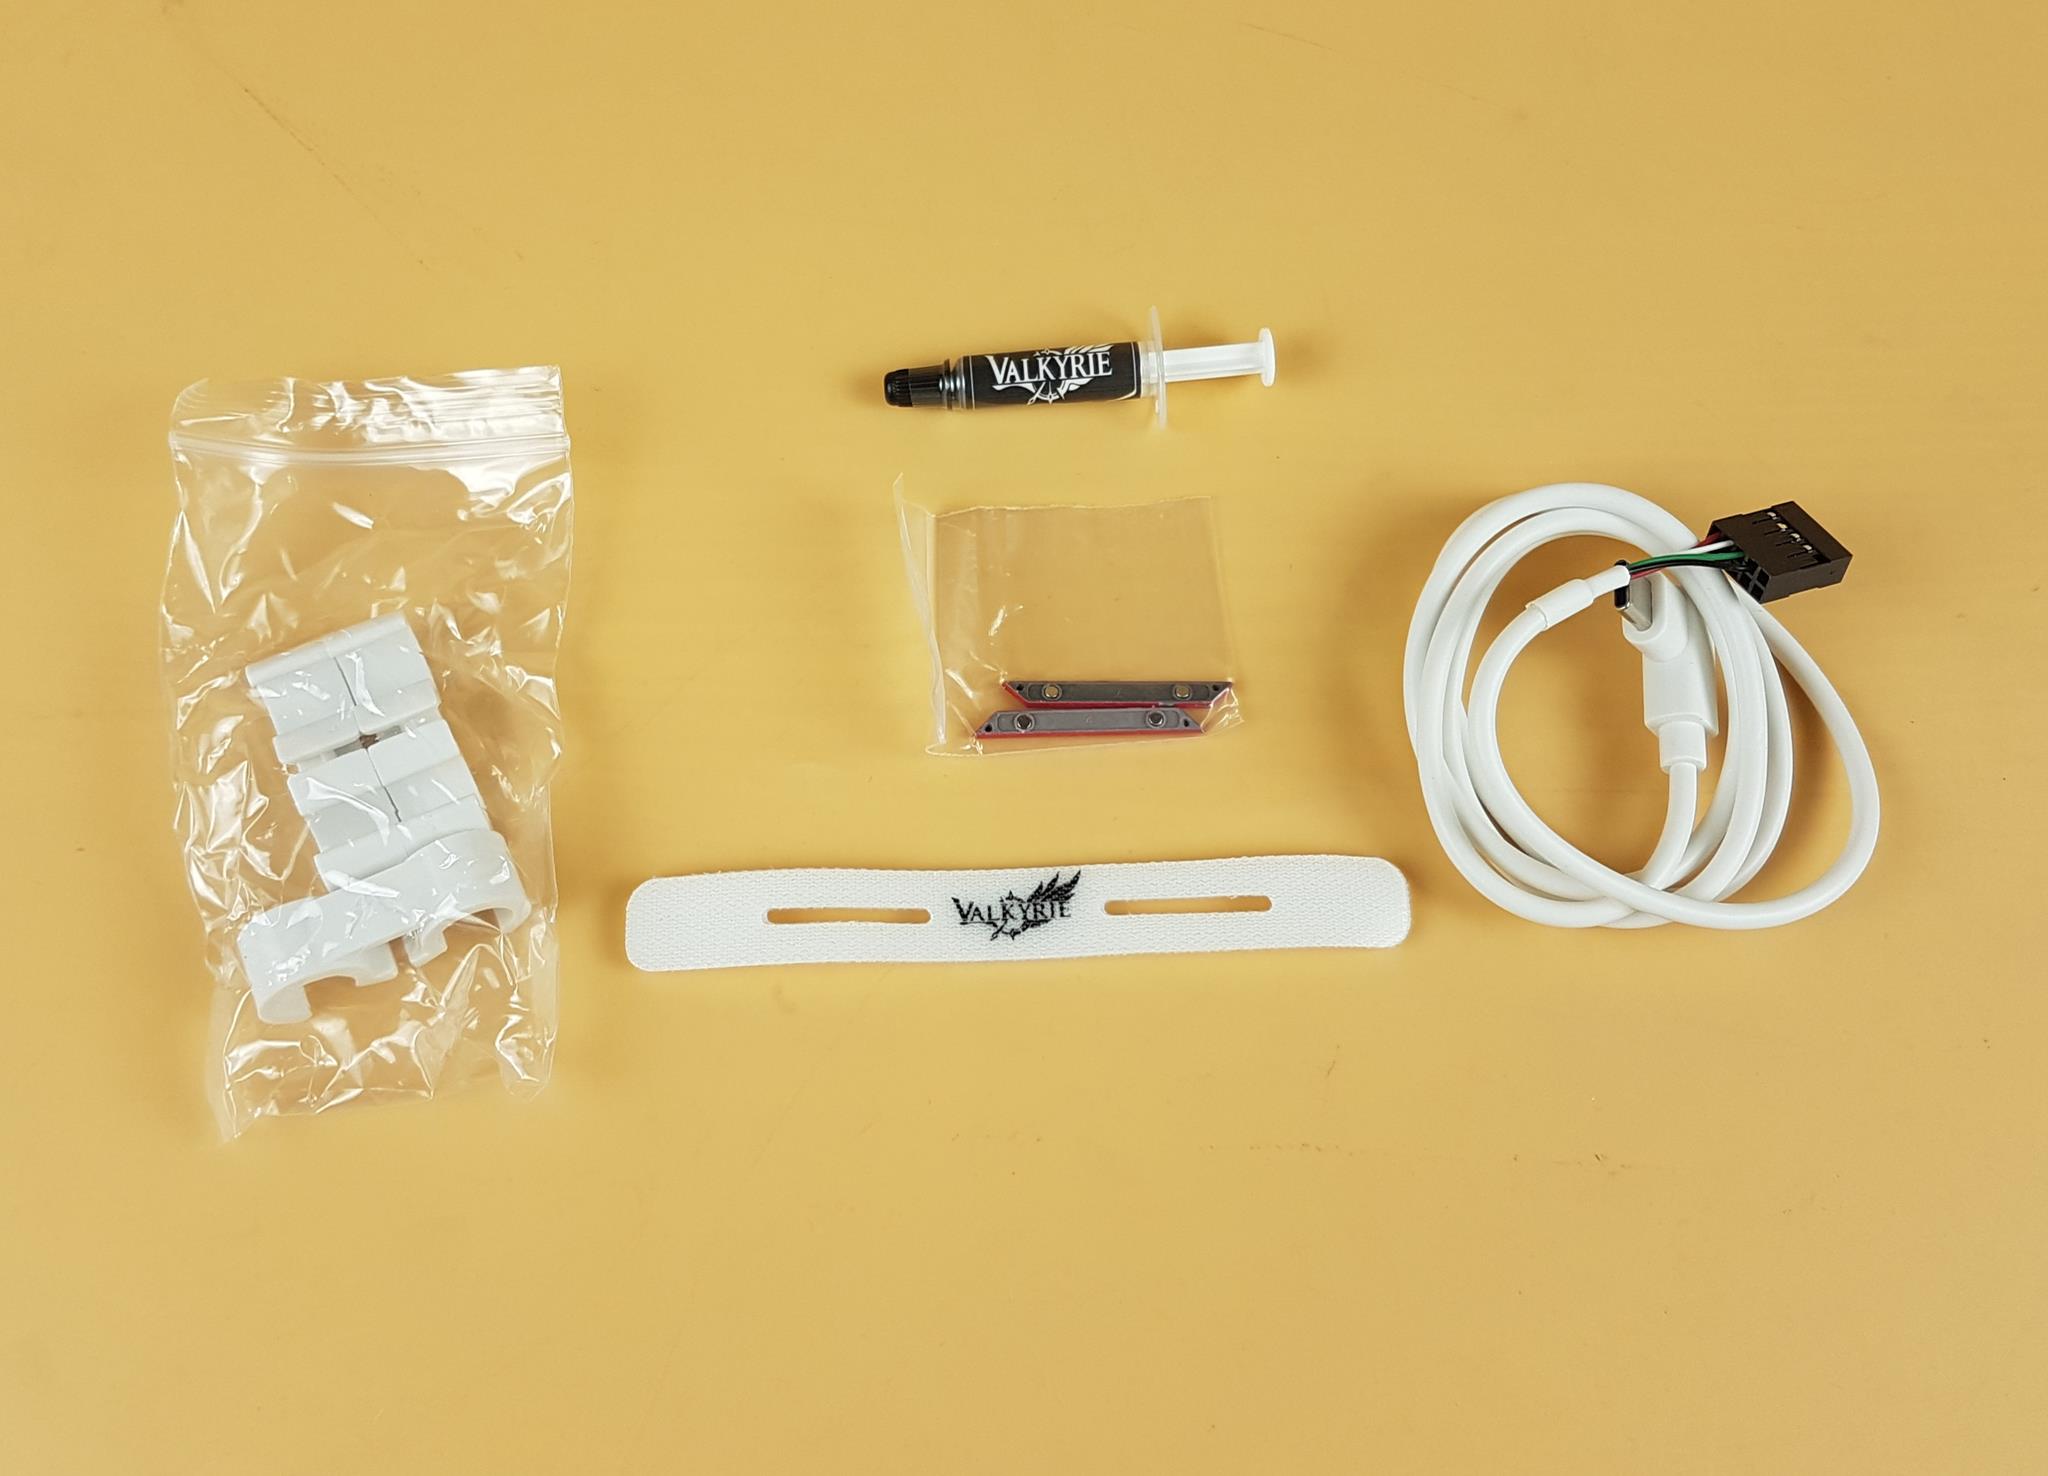
- 1x Thermal Paste Tube
- 1x USB C Cable for the Display Screen
- 3x Tube Clips
- 2x Magnetic Clips for the Block
- Velcro Ties
There are:
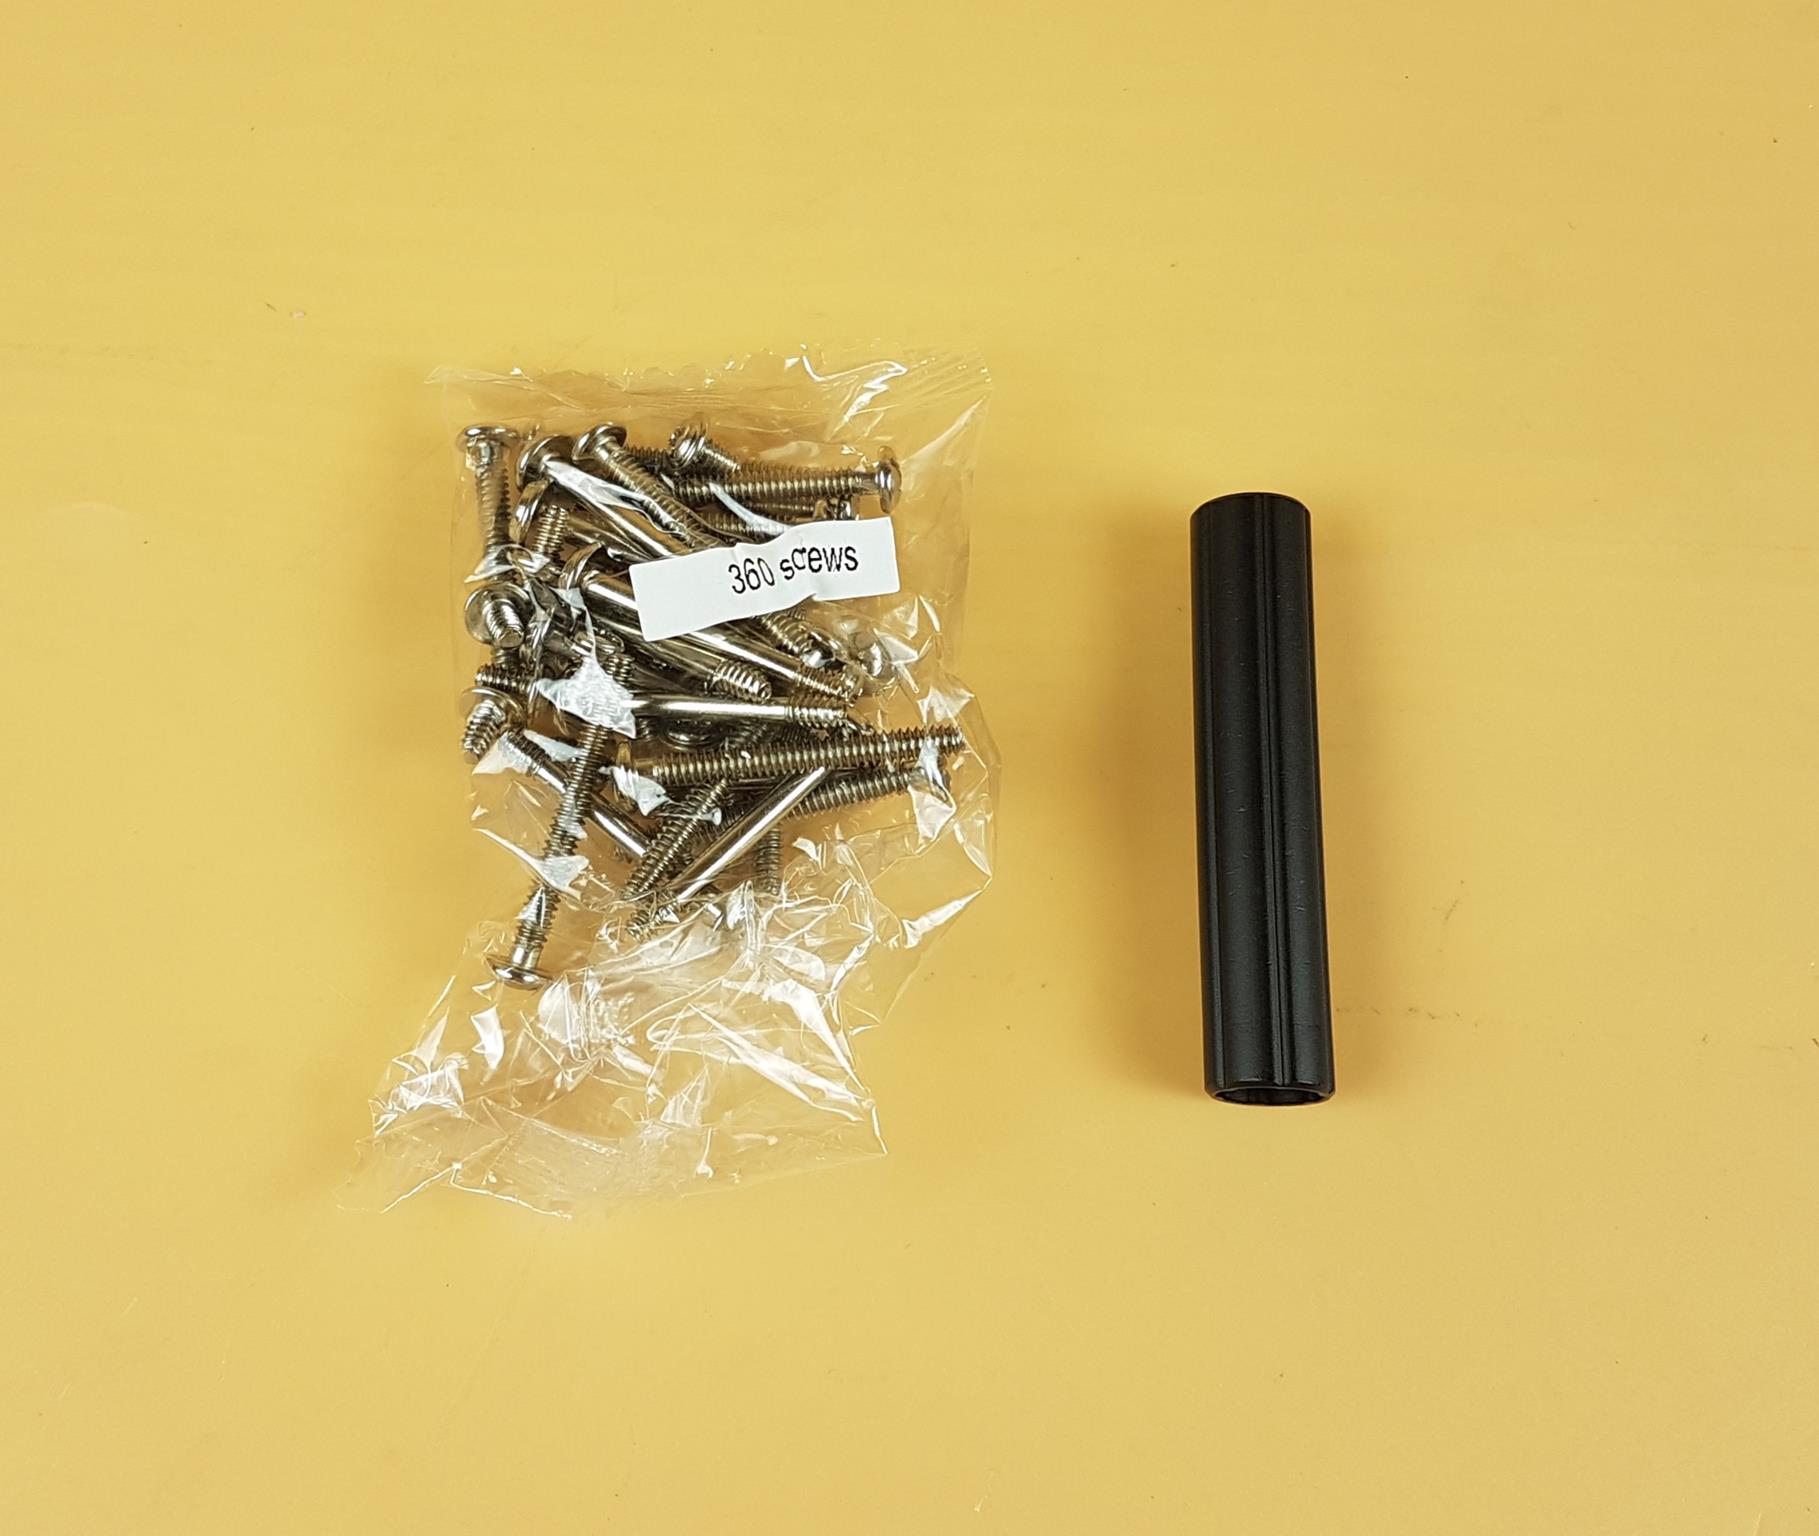
- 12x Radiator Screws
- 24x Fan Screws
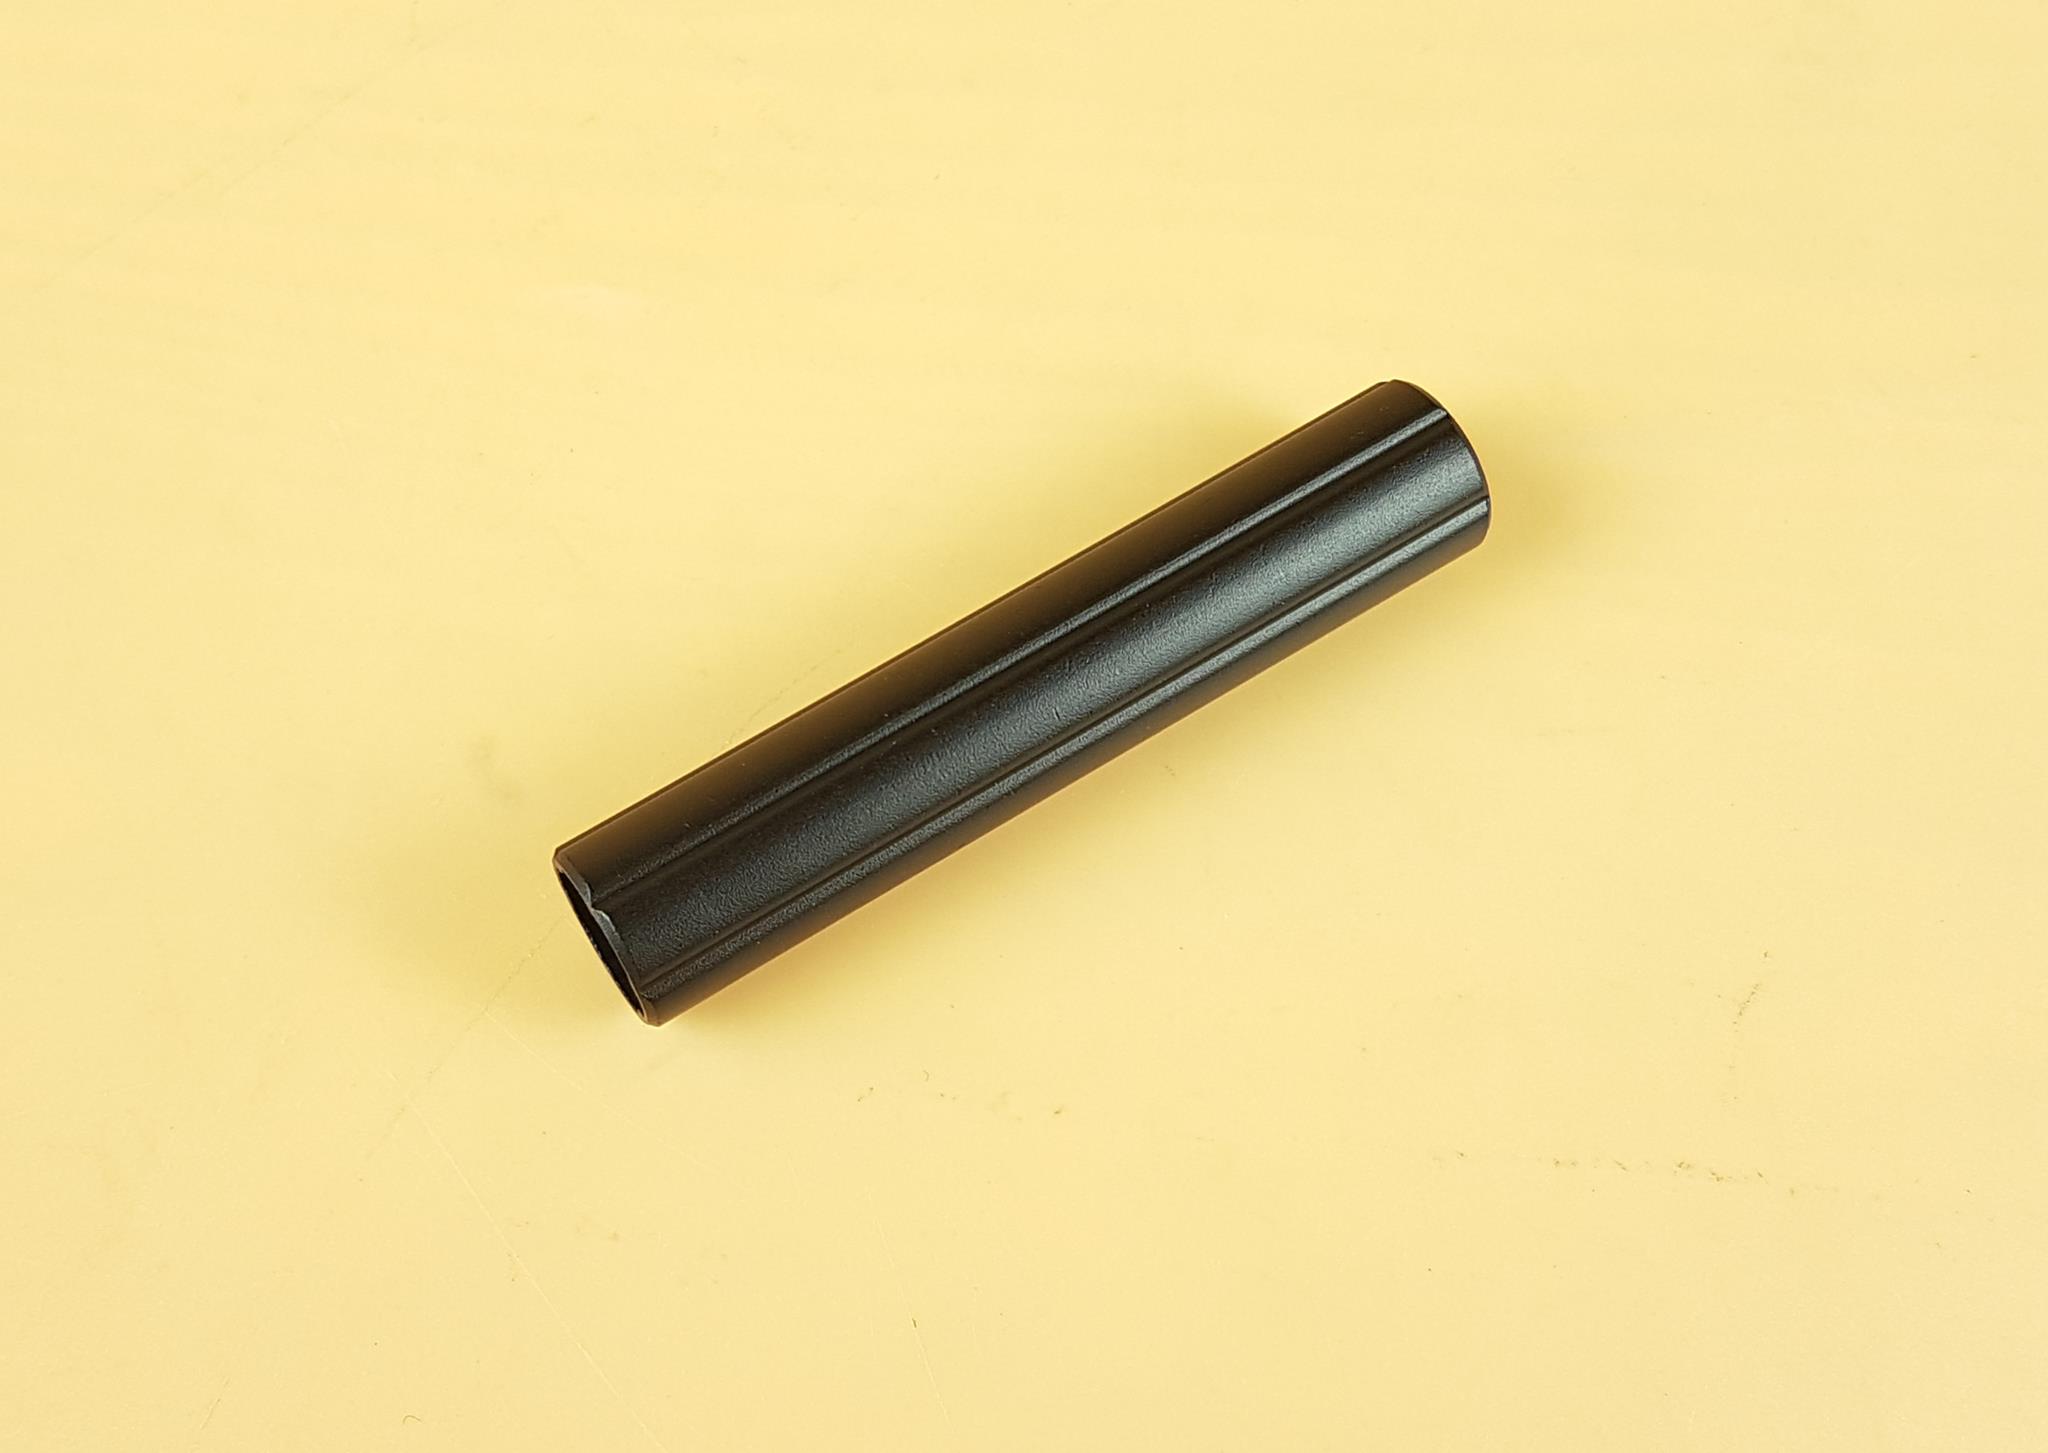
- 1x Nut Locker
I remember appreciating the EKWB for providing the nut locker or standoff screw locker tool that makes life easier for the user particularly when working in tight-spaced areas. My Valkyrie has also provided this tool though they have done it for the nut cap but it can also be used on the standoff screws making the installation and removal of standoff screws convenient.
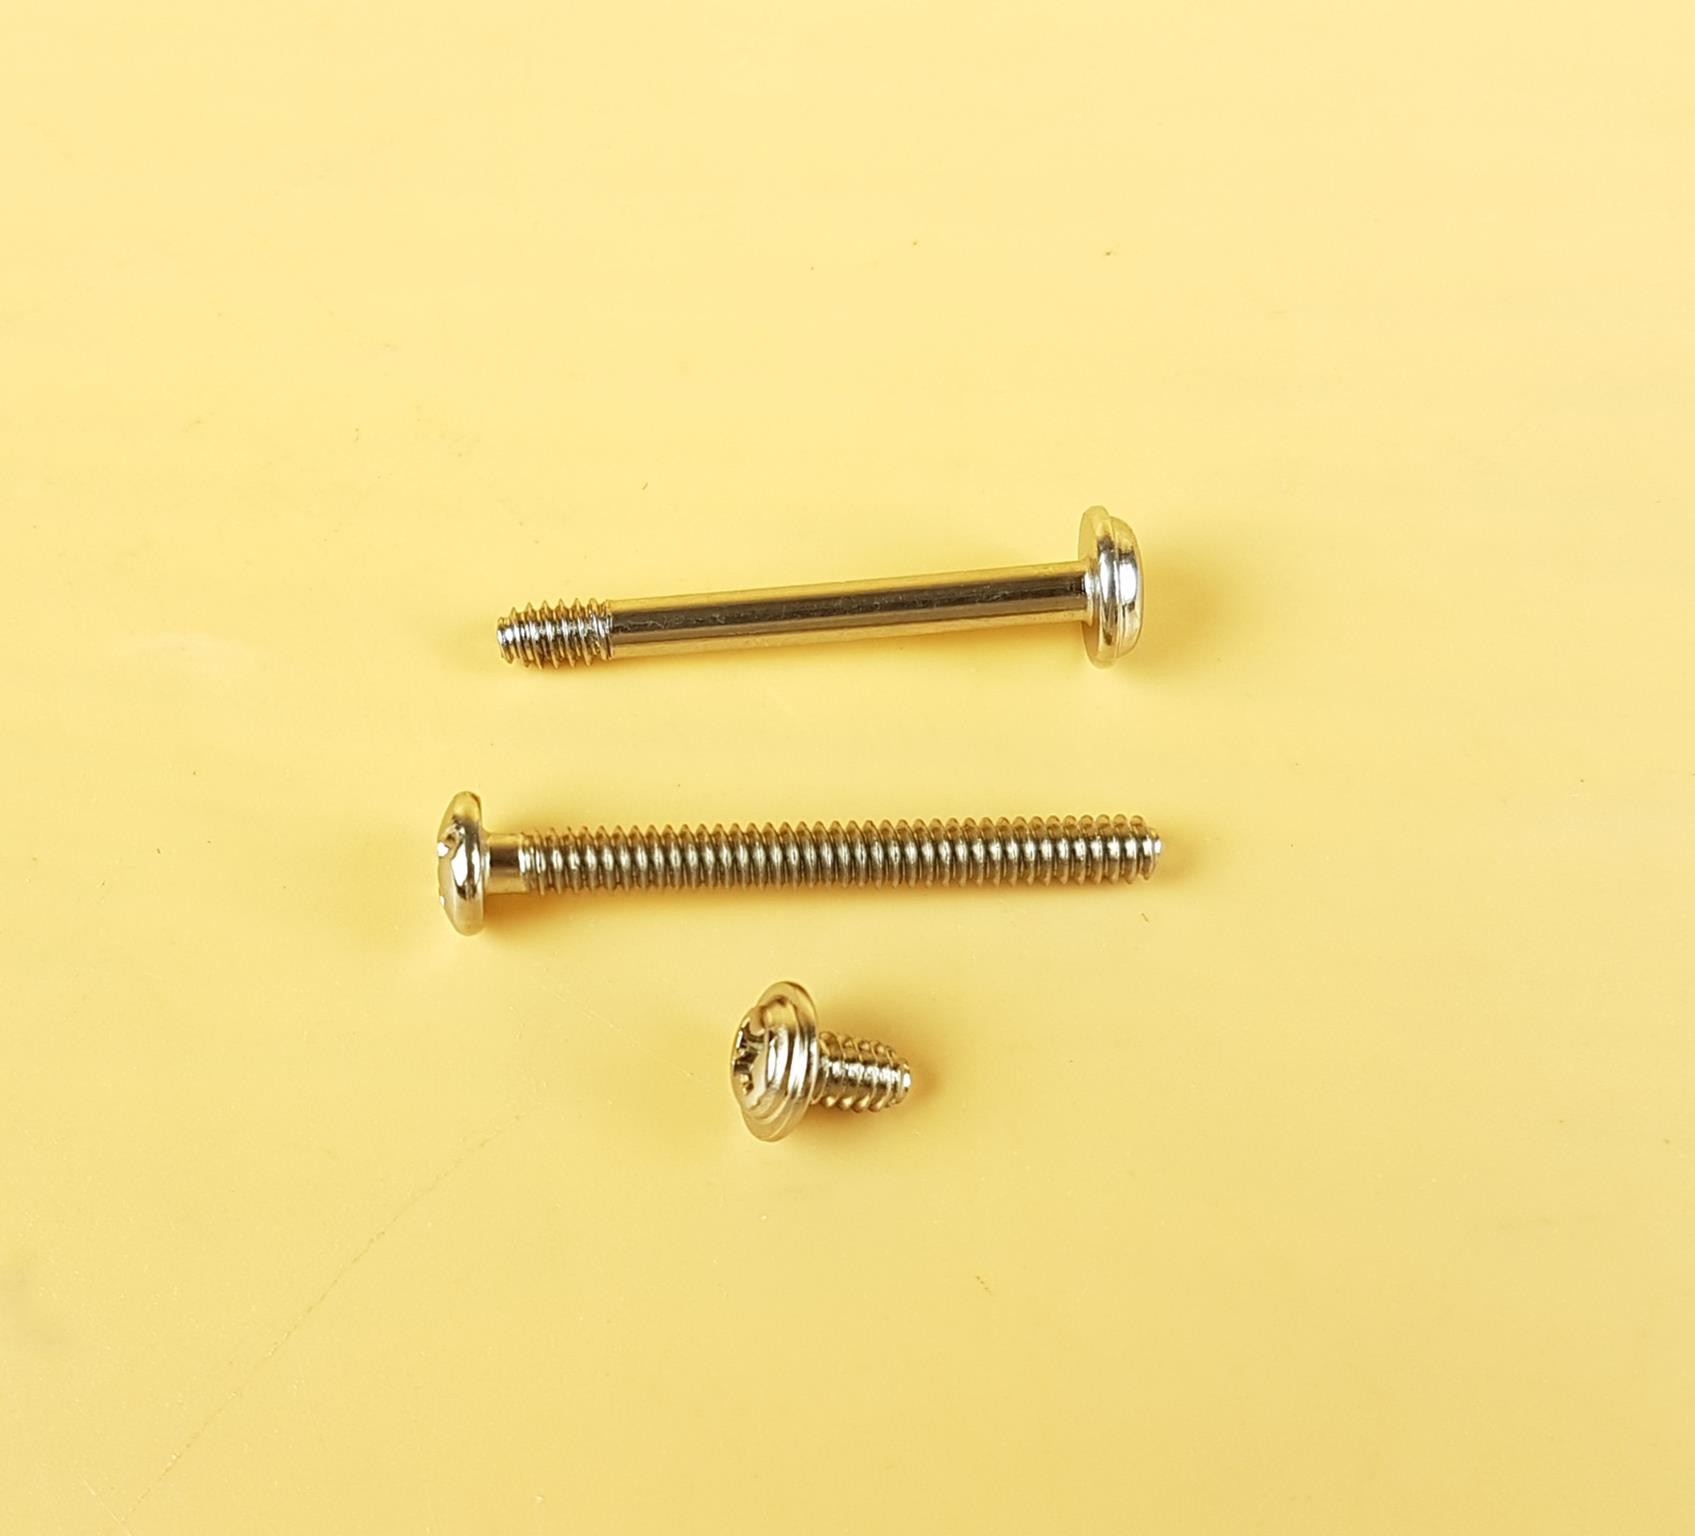
The above picture shows the type of fan and radiator screws provided with the cooler.
Closer Look
It is time to take a look at the unit itself. But first here is what Valkyrie is saying about this cooler, “The Valkyrie Syn 360 is an all-in-one powerhouse of liquid CPU cooling. Featuring an LCD screen, it brings sophistication to your setup with its unique look and powerful performance.”
Radiator
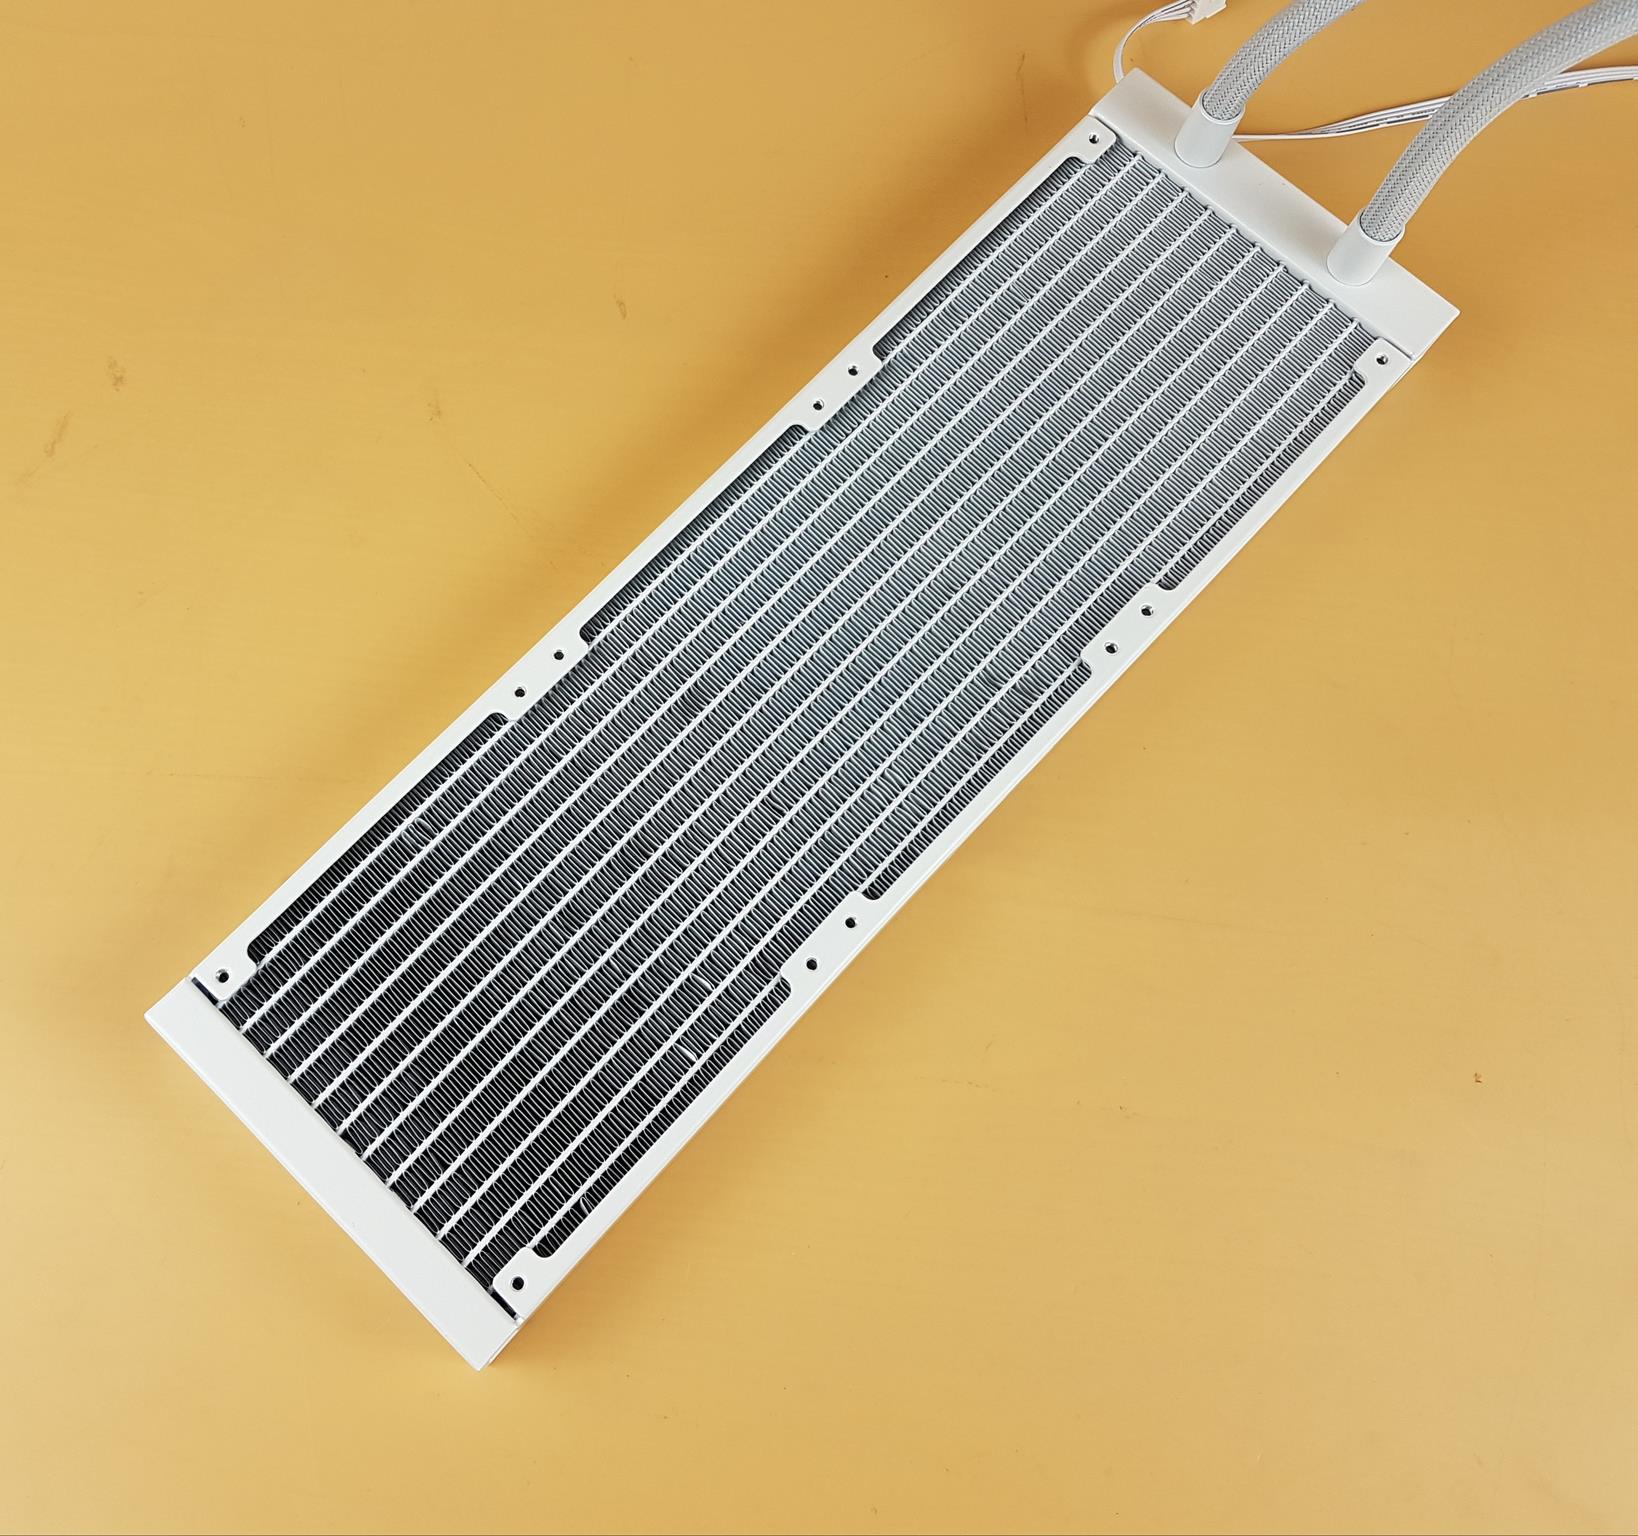
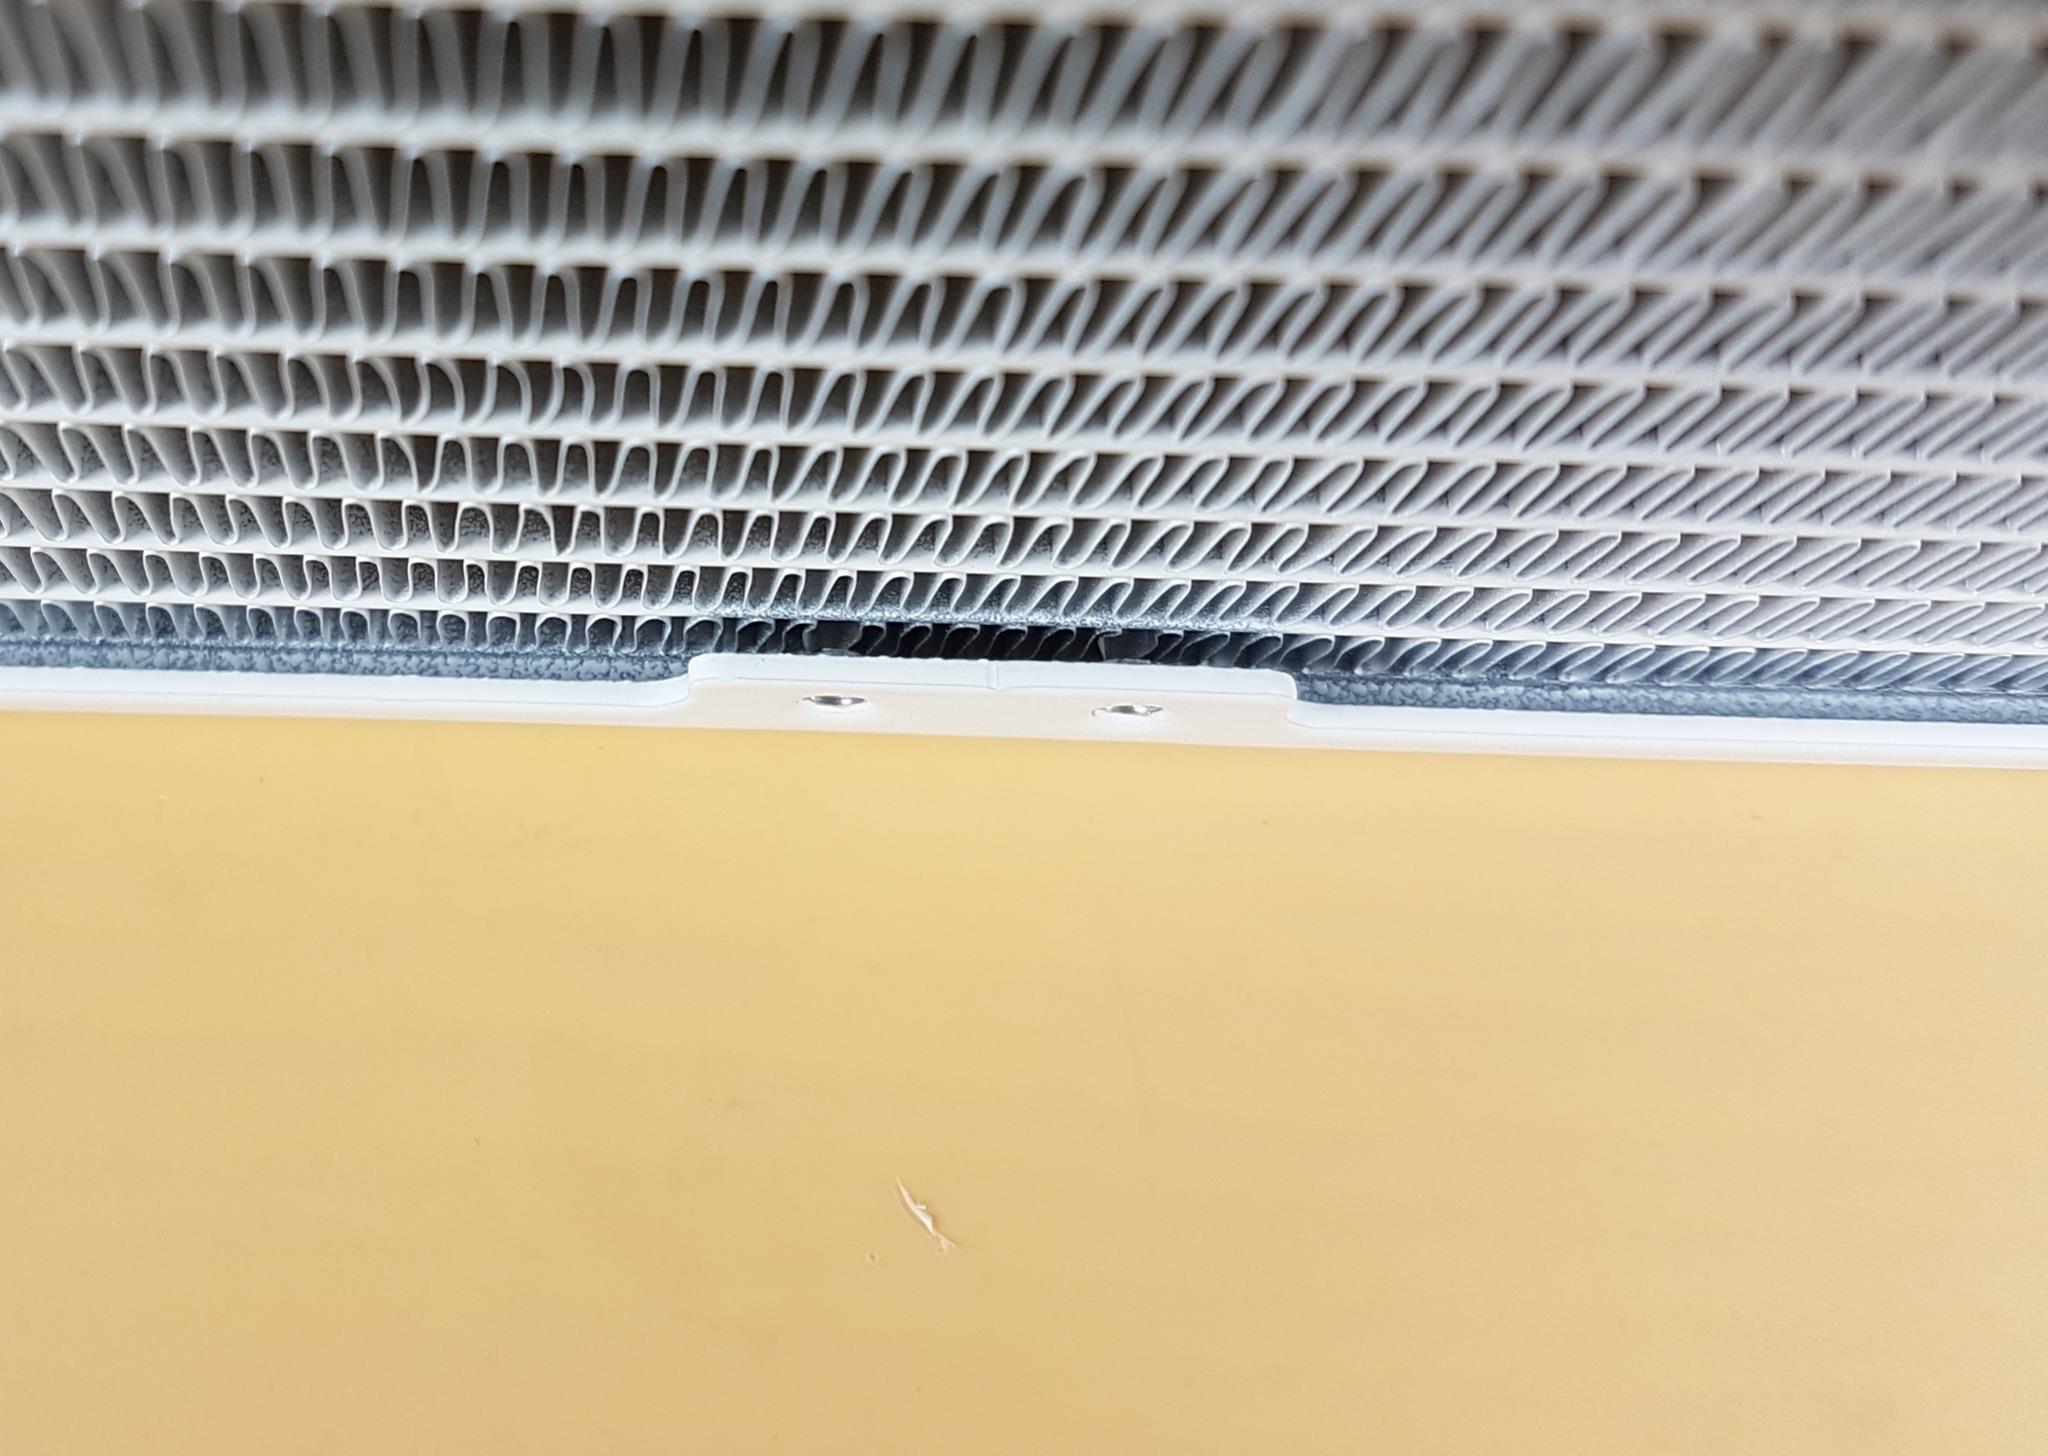
The radiator is made of aluminum material which is a standard unless otherwise stated. I can spot a few pressed or bent fins here and there. The dimension of this radiator is 397x120x27mm (LxWxH). This is again an almost standard dimension for the 360mm size liquid cooler. Here 27mm refers to the height of the unit. Installing 120x25mm fans would make the overall height to 53mm including the heads of the screws (approximately).
The radiator has a 20 FPI count which means you would need high static pressure fans and Valkyrie has got you covered in this department. There are 12 channels for the coolant flow inside the radiator. There is a gap of 105mm between two mounting holes on opposite ends.
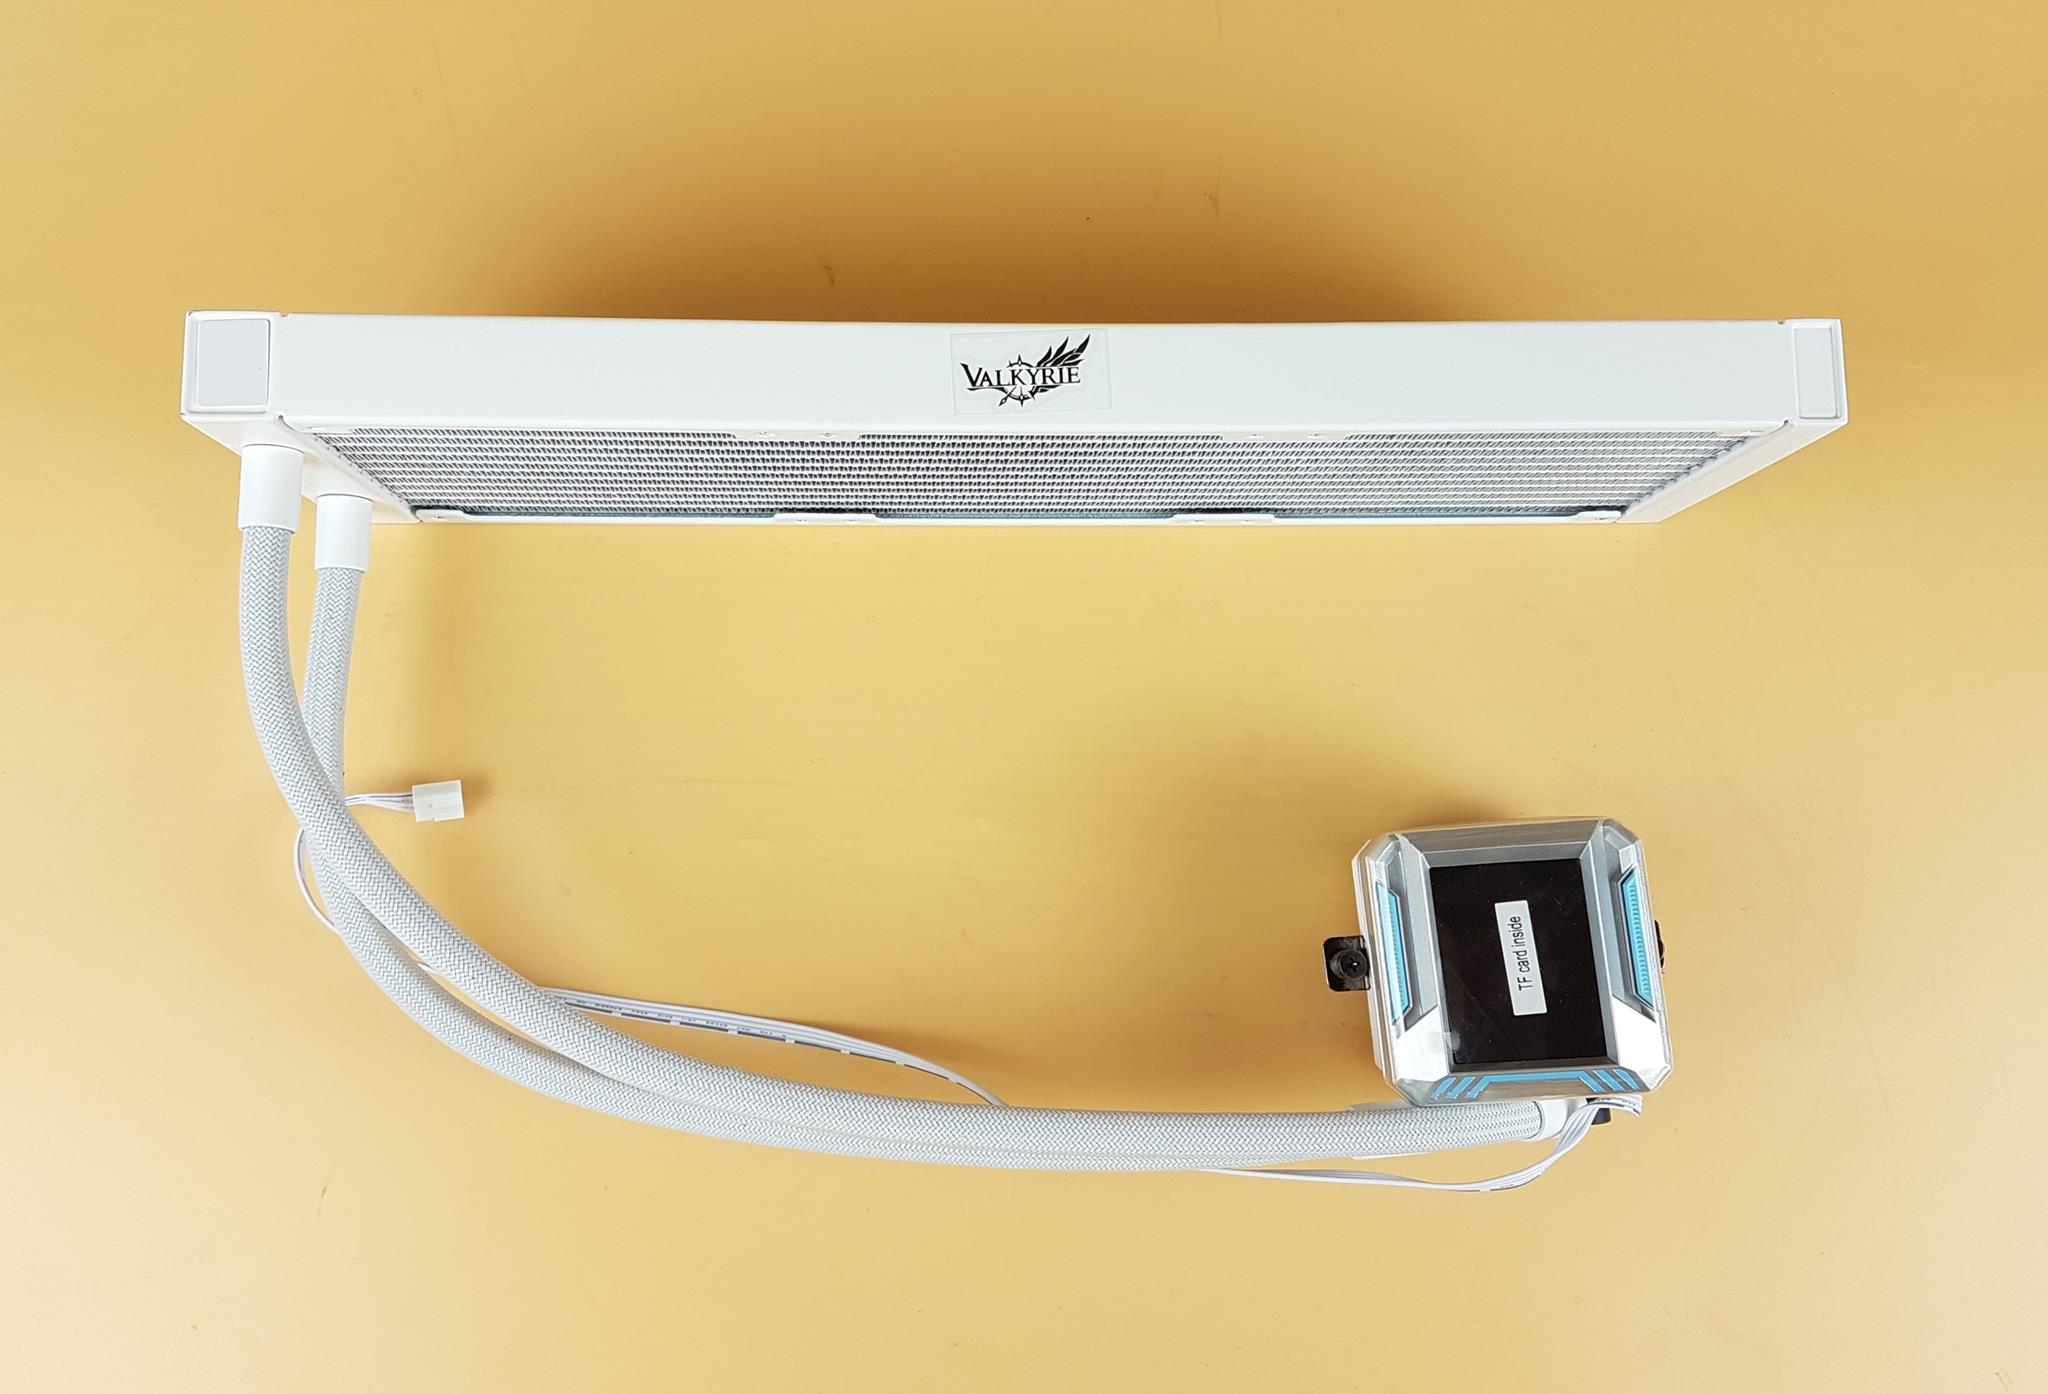
I am showing the side view of the unit. There is a Valkyrie branding in the middle of the side frame. My Valkyrie is using the FEP corrugated braided sleeve tubing with a white mesh sleeve over it. The tube length is 425mm which is still good enough though having a 450mm length would be better in my opinion. You can see that the far head has a slim size compared to the large size near the head on the radiator.
There is not much of a gap between the actual fin stack and the side frame of the radiator housing. Please note that there is no protective plating under the mounting holes to prevent damage to the fins from accidental over-screwing. However, you are safe as long as you are using bundled screws.
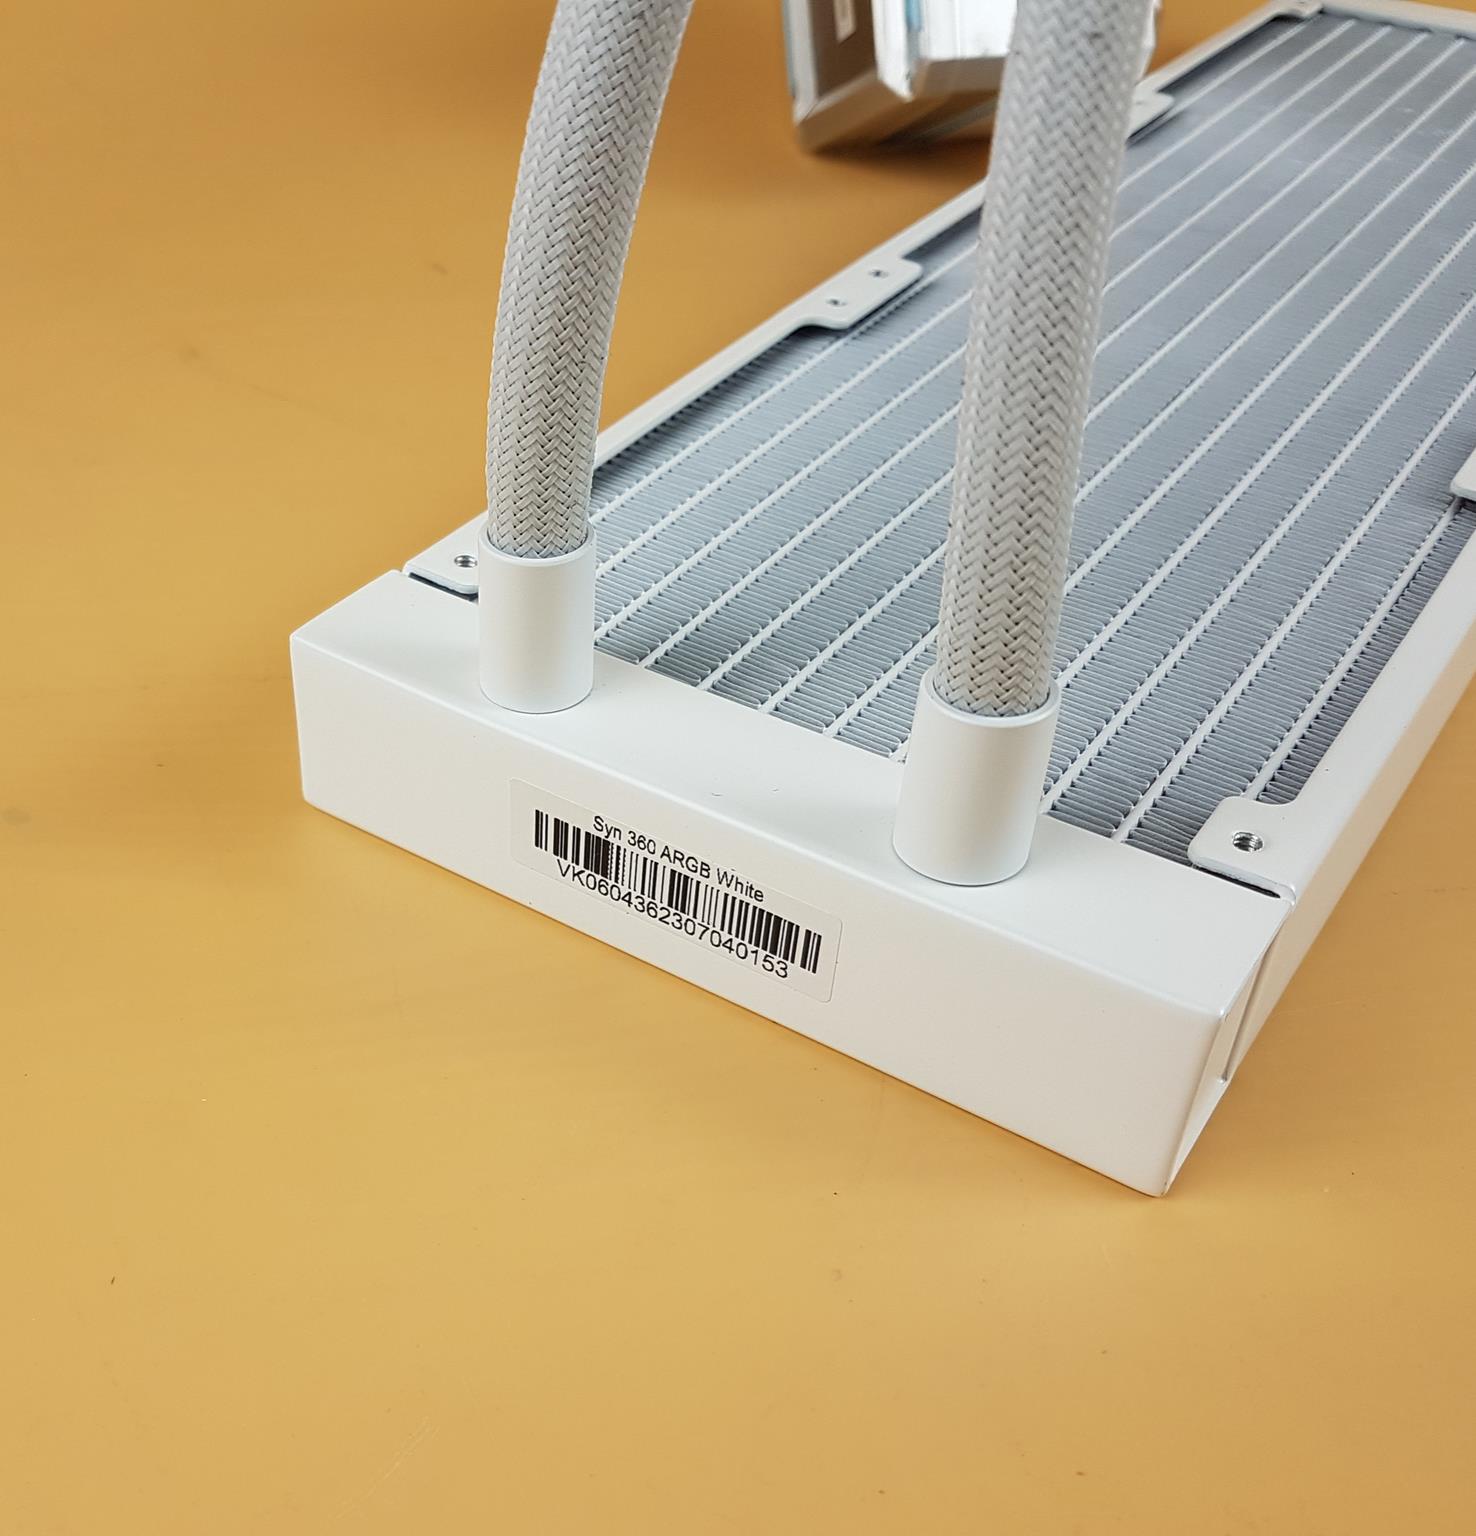
Looking at the tube connection side of the radiator, we can see that both connections are far apart from each other suggesting that each is on the dedicated inlet and outlet portion of the radiator. White color clamps are concealing the connection. There is a sticker that probably shows the part number or serial number of the unit.
Pump Block
Let’s take a look at the elegant design of the pump block.
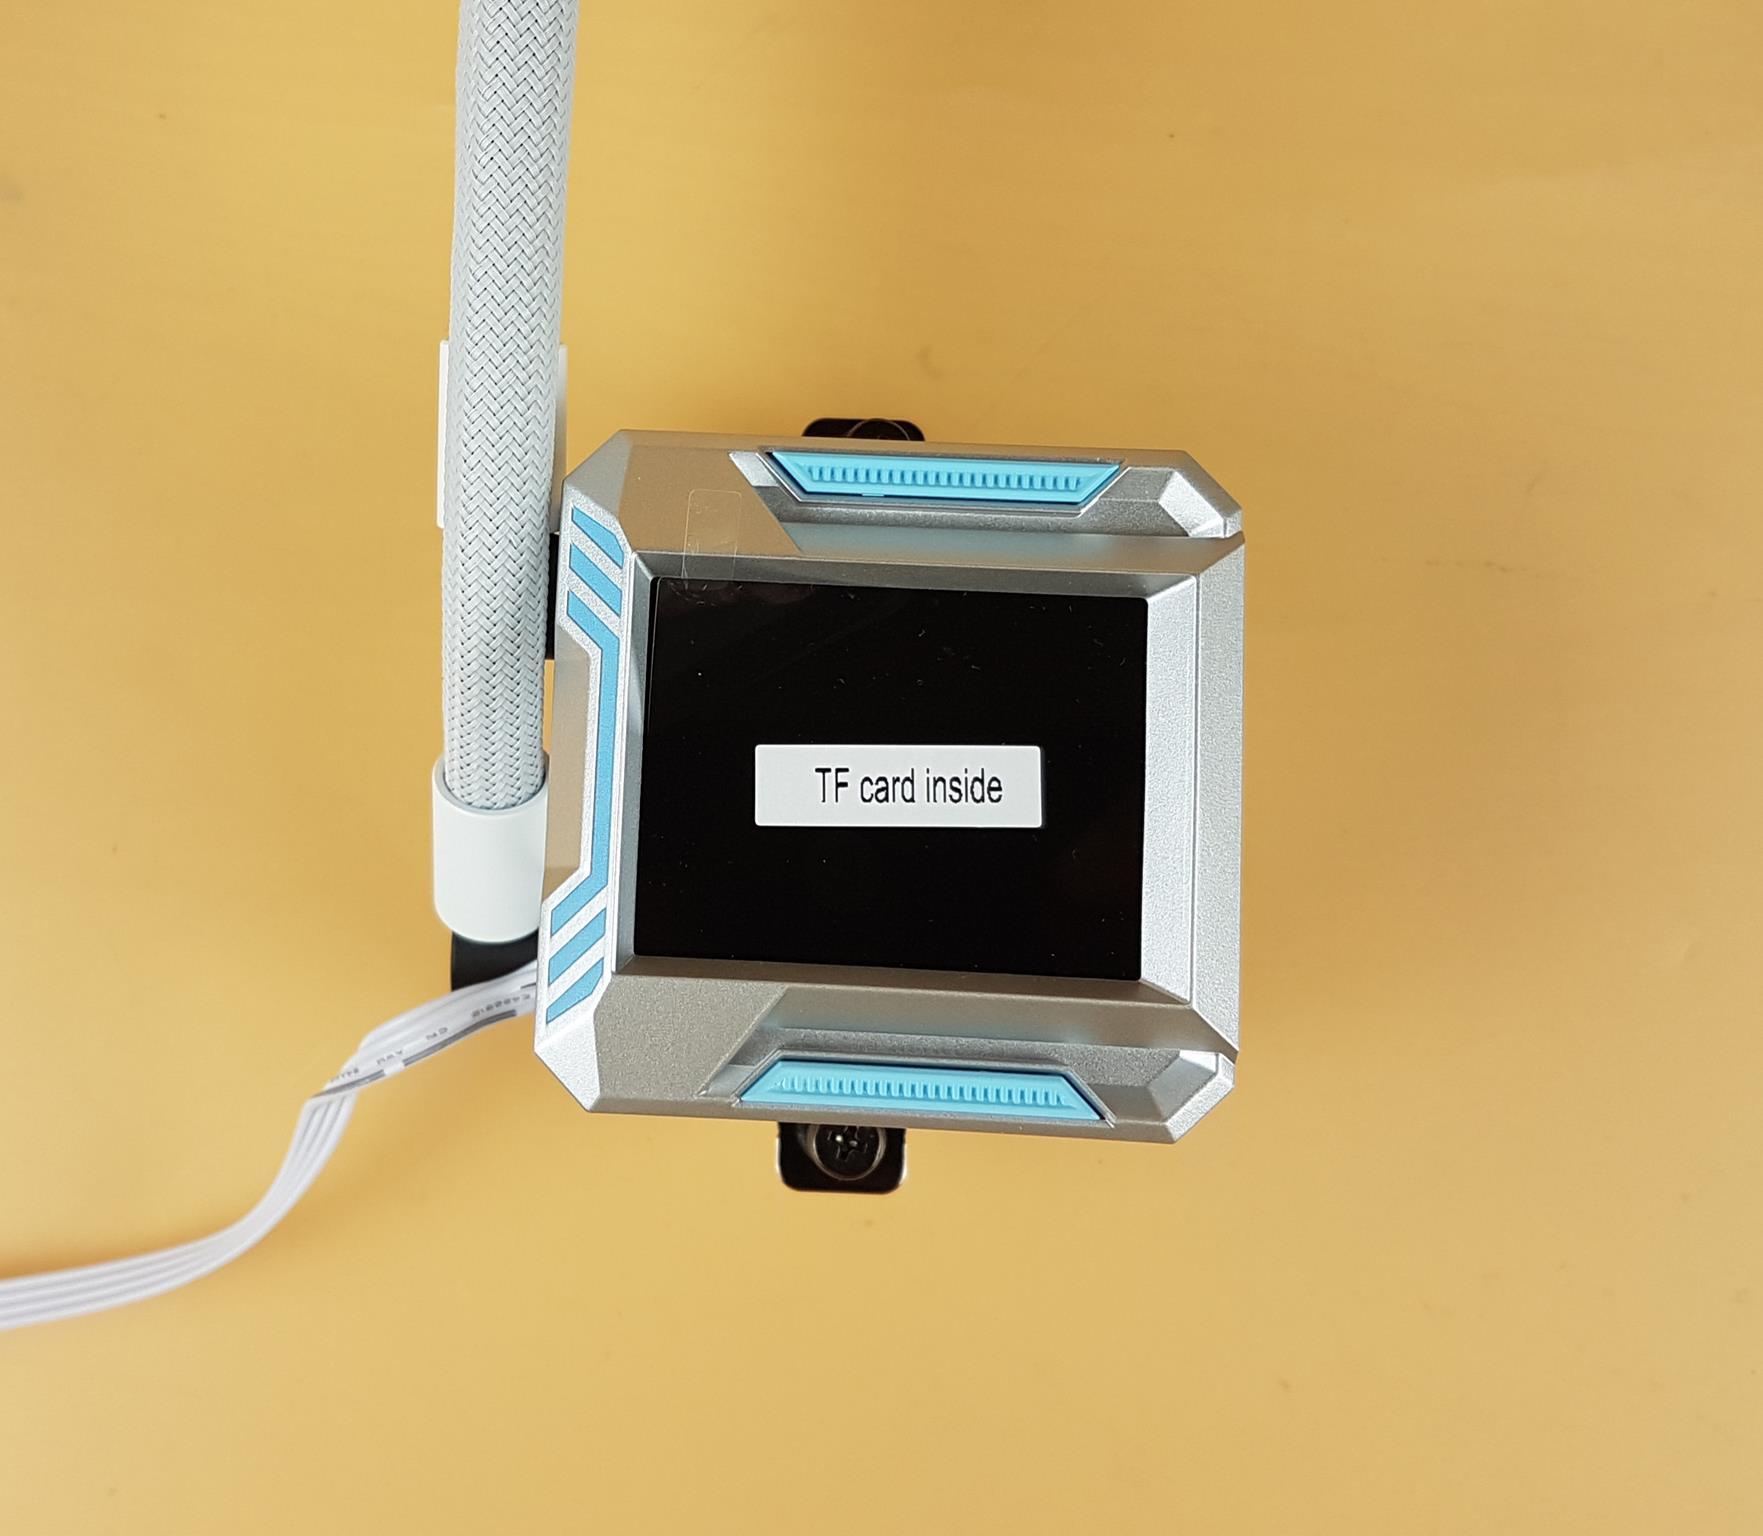
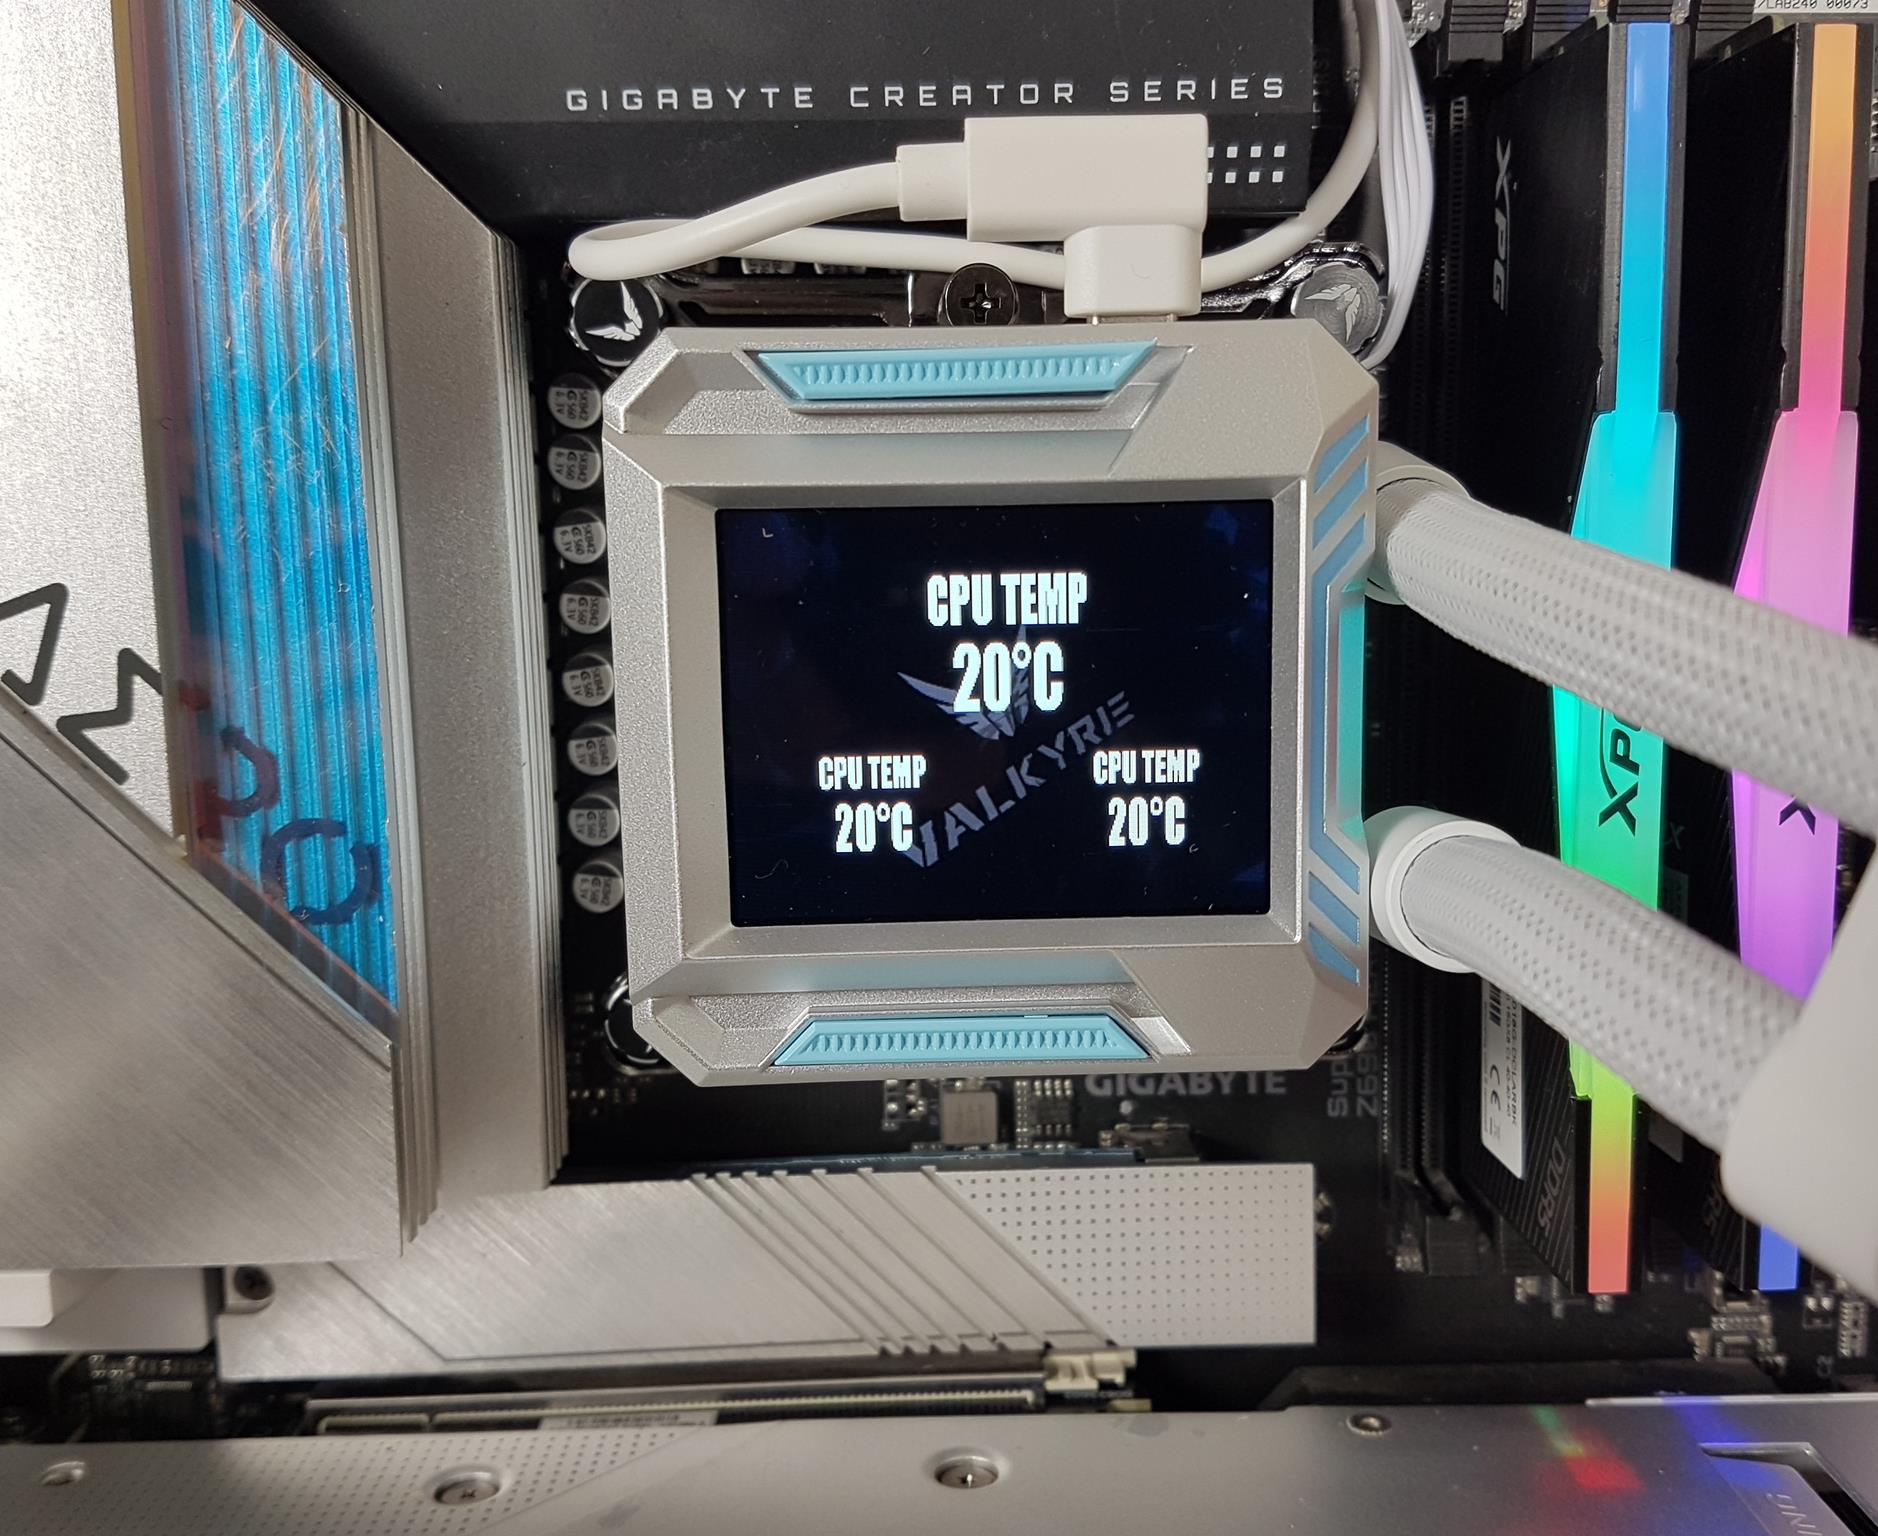
The block design is not in a ring pattern or circular which is a plus. It is more of a square design. The salient feature is the integrated 2.4” LCD screen on the block which is the center of attraction for this cooler. This screen is capable of displaying animations, photos, or all the essential performance parameters of your PC. The requirement is a 4:3 size of the pictures and videos.
My Valkyrie has included a TF Card inside the block as well which is a nice touch. You can have on-board memory to store your favorite video, animation, or pictures for ready display. There is a dedicated port for that which is user accessible.
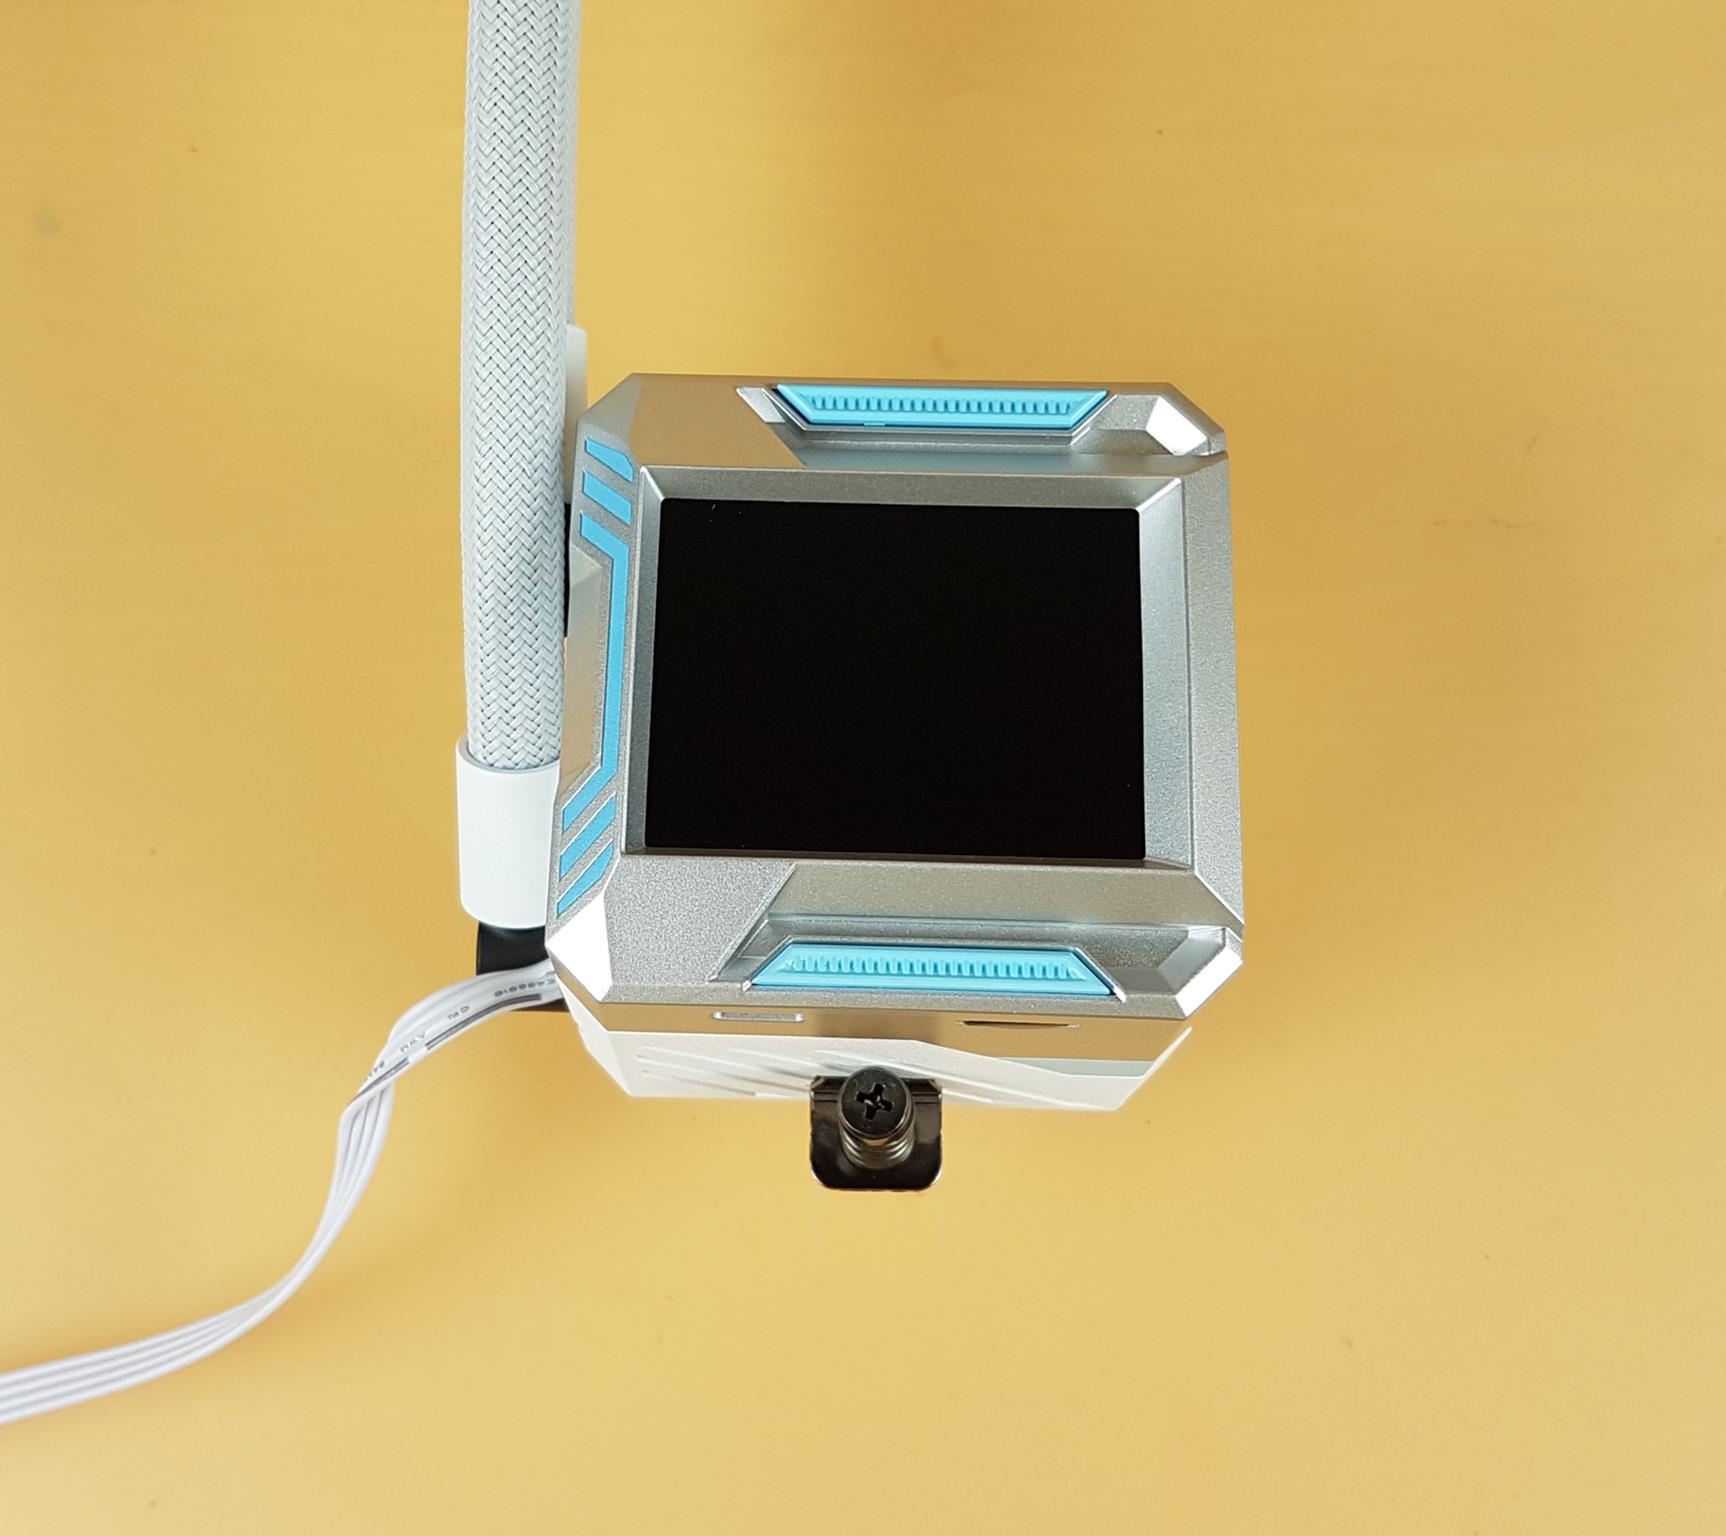
I am showing the top view of the block after removing the top sticker. The screen size is 320x240px. There is a light blue color scheme which looks like a teal color. Two magnetic covers on the top and bottom of the screen can be swapped from the bundled red color strips.
There is a silver color finish all around over the top which is an aluminum part and it does add more to the aesthetics and beauty of this block.
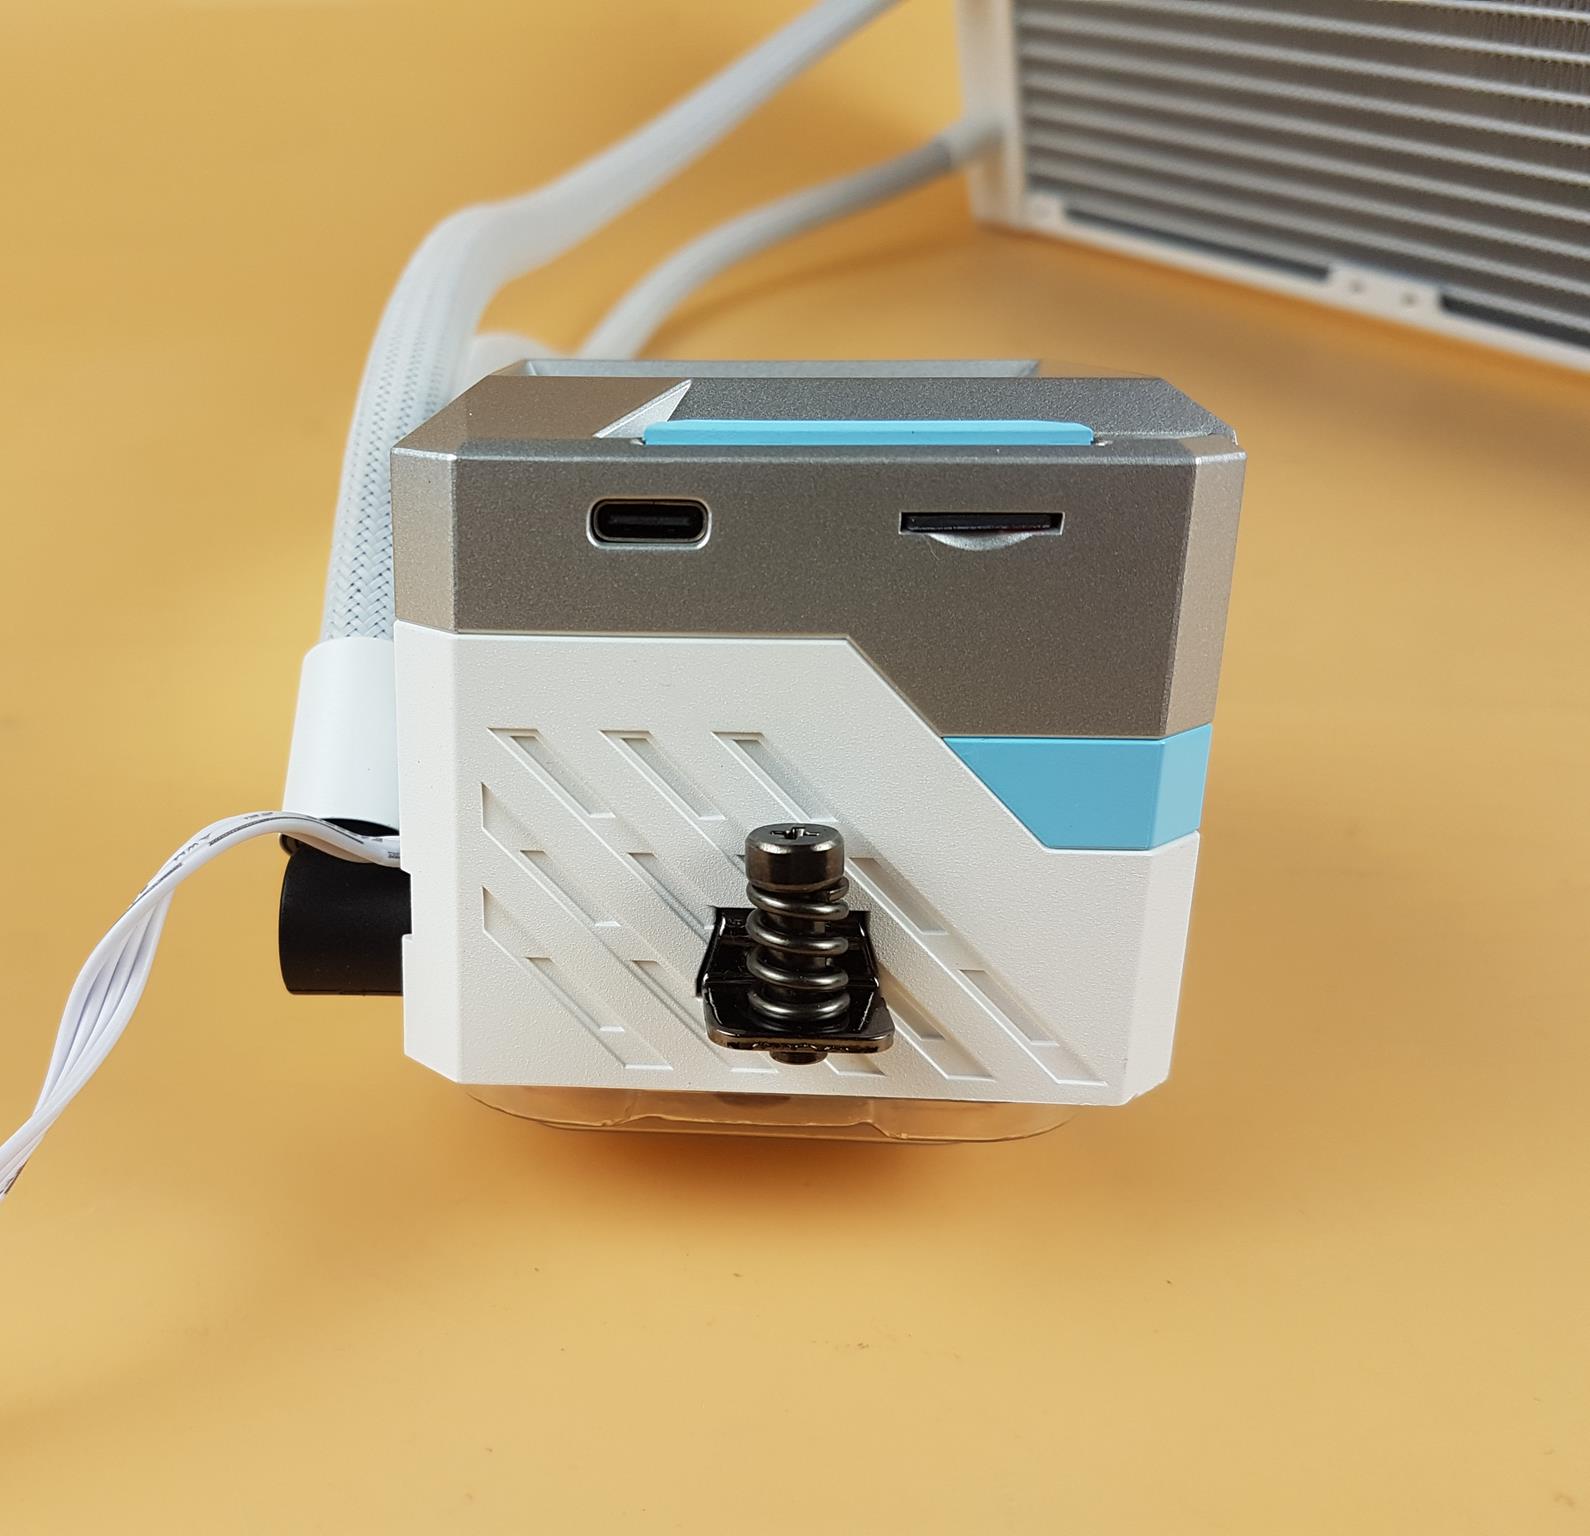
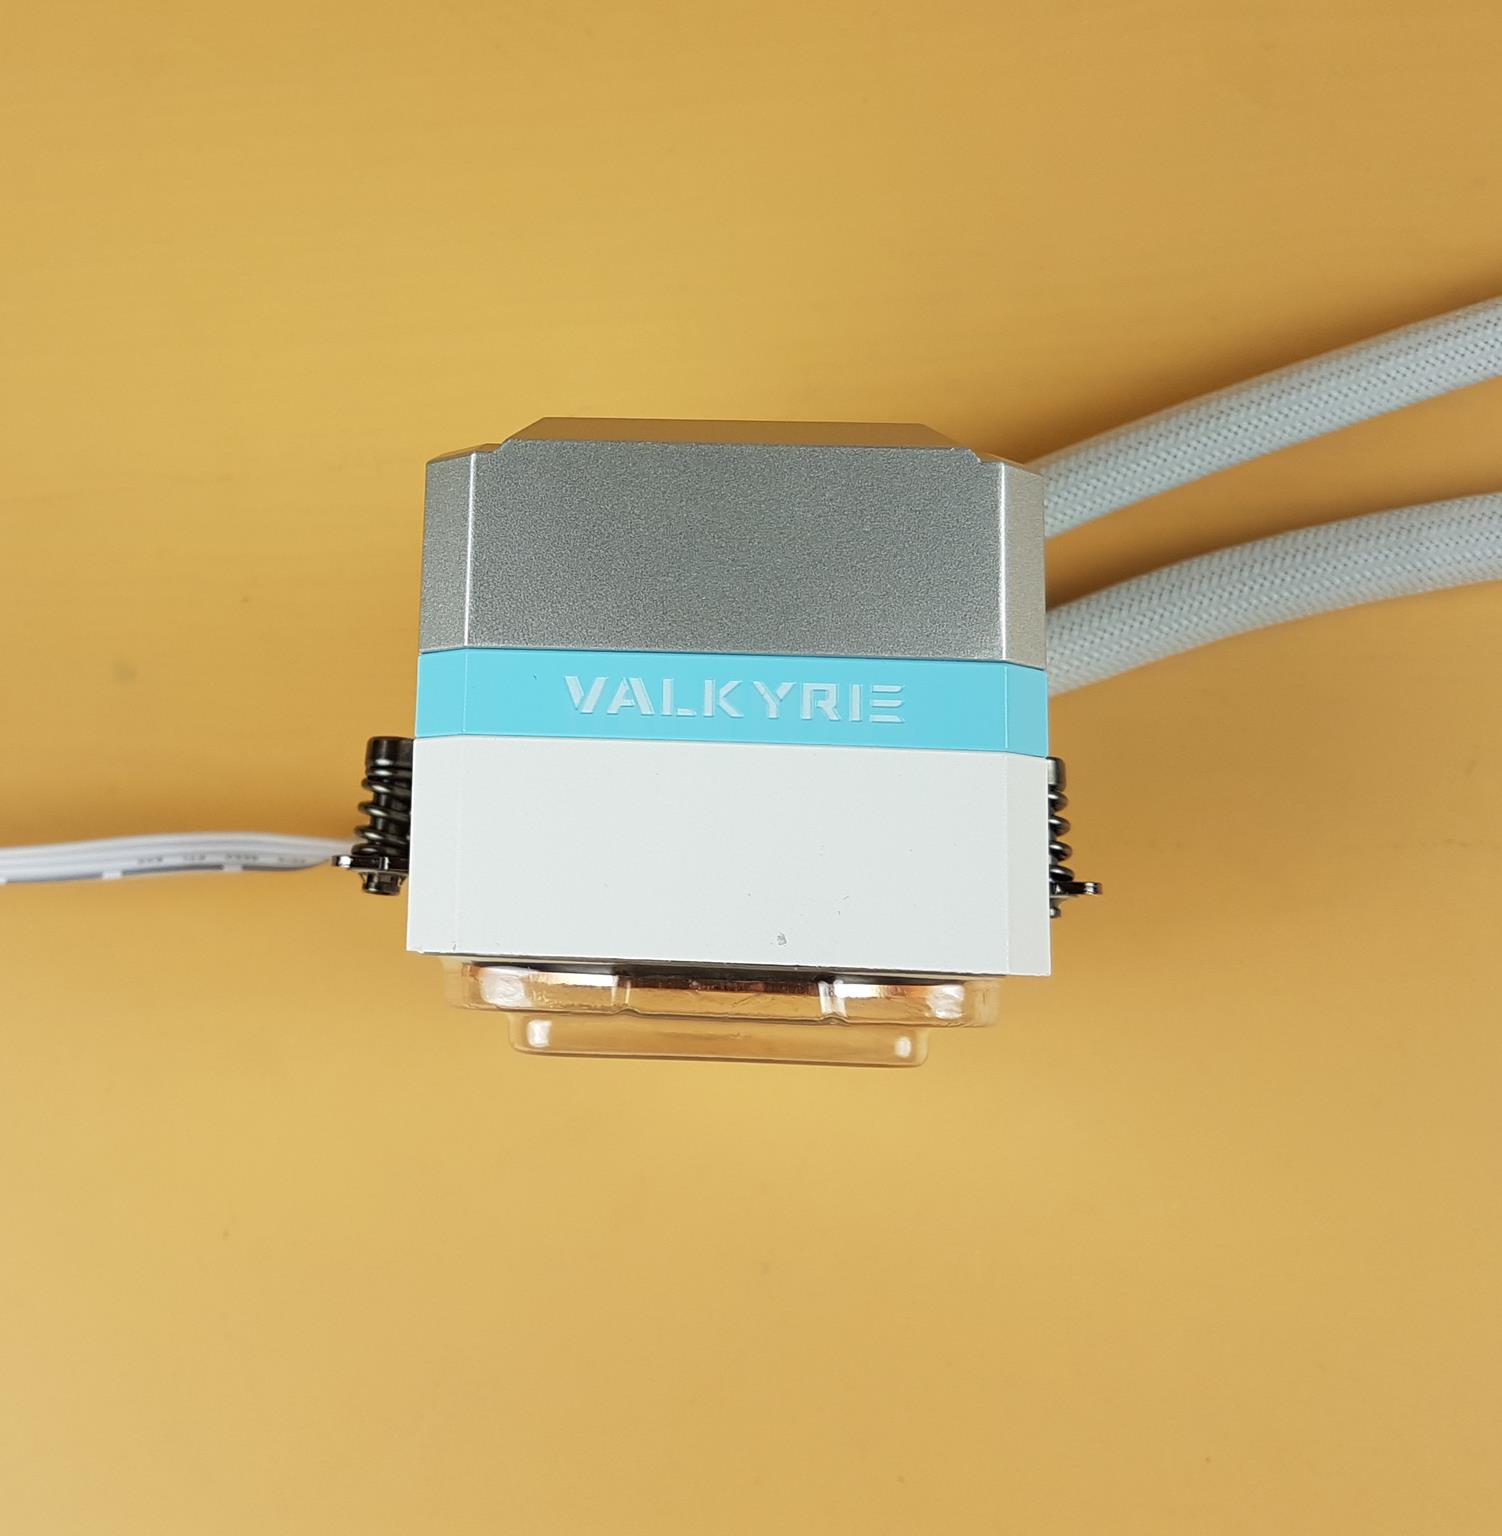
I am showing the side view of the block. You can see a triple color combination on the block (white, silver, and teal). It does look good in person. There is a USB Type-C port to which the bundled USB cable can be connected. Thanks to Valkyrie for skipping the micro port for that matter. There is also a TF Card slot right next to the USB C port. There are two spring-loaded screws that come pre-installed to the main housing the unit. This indicates the two-point mounting mechanism.
The front side of the block shows VALKYRIE branding in white over the teal middle portion. I love the combination and outlook of the block.
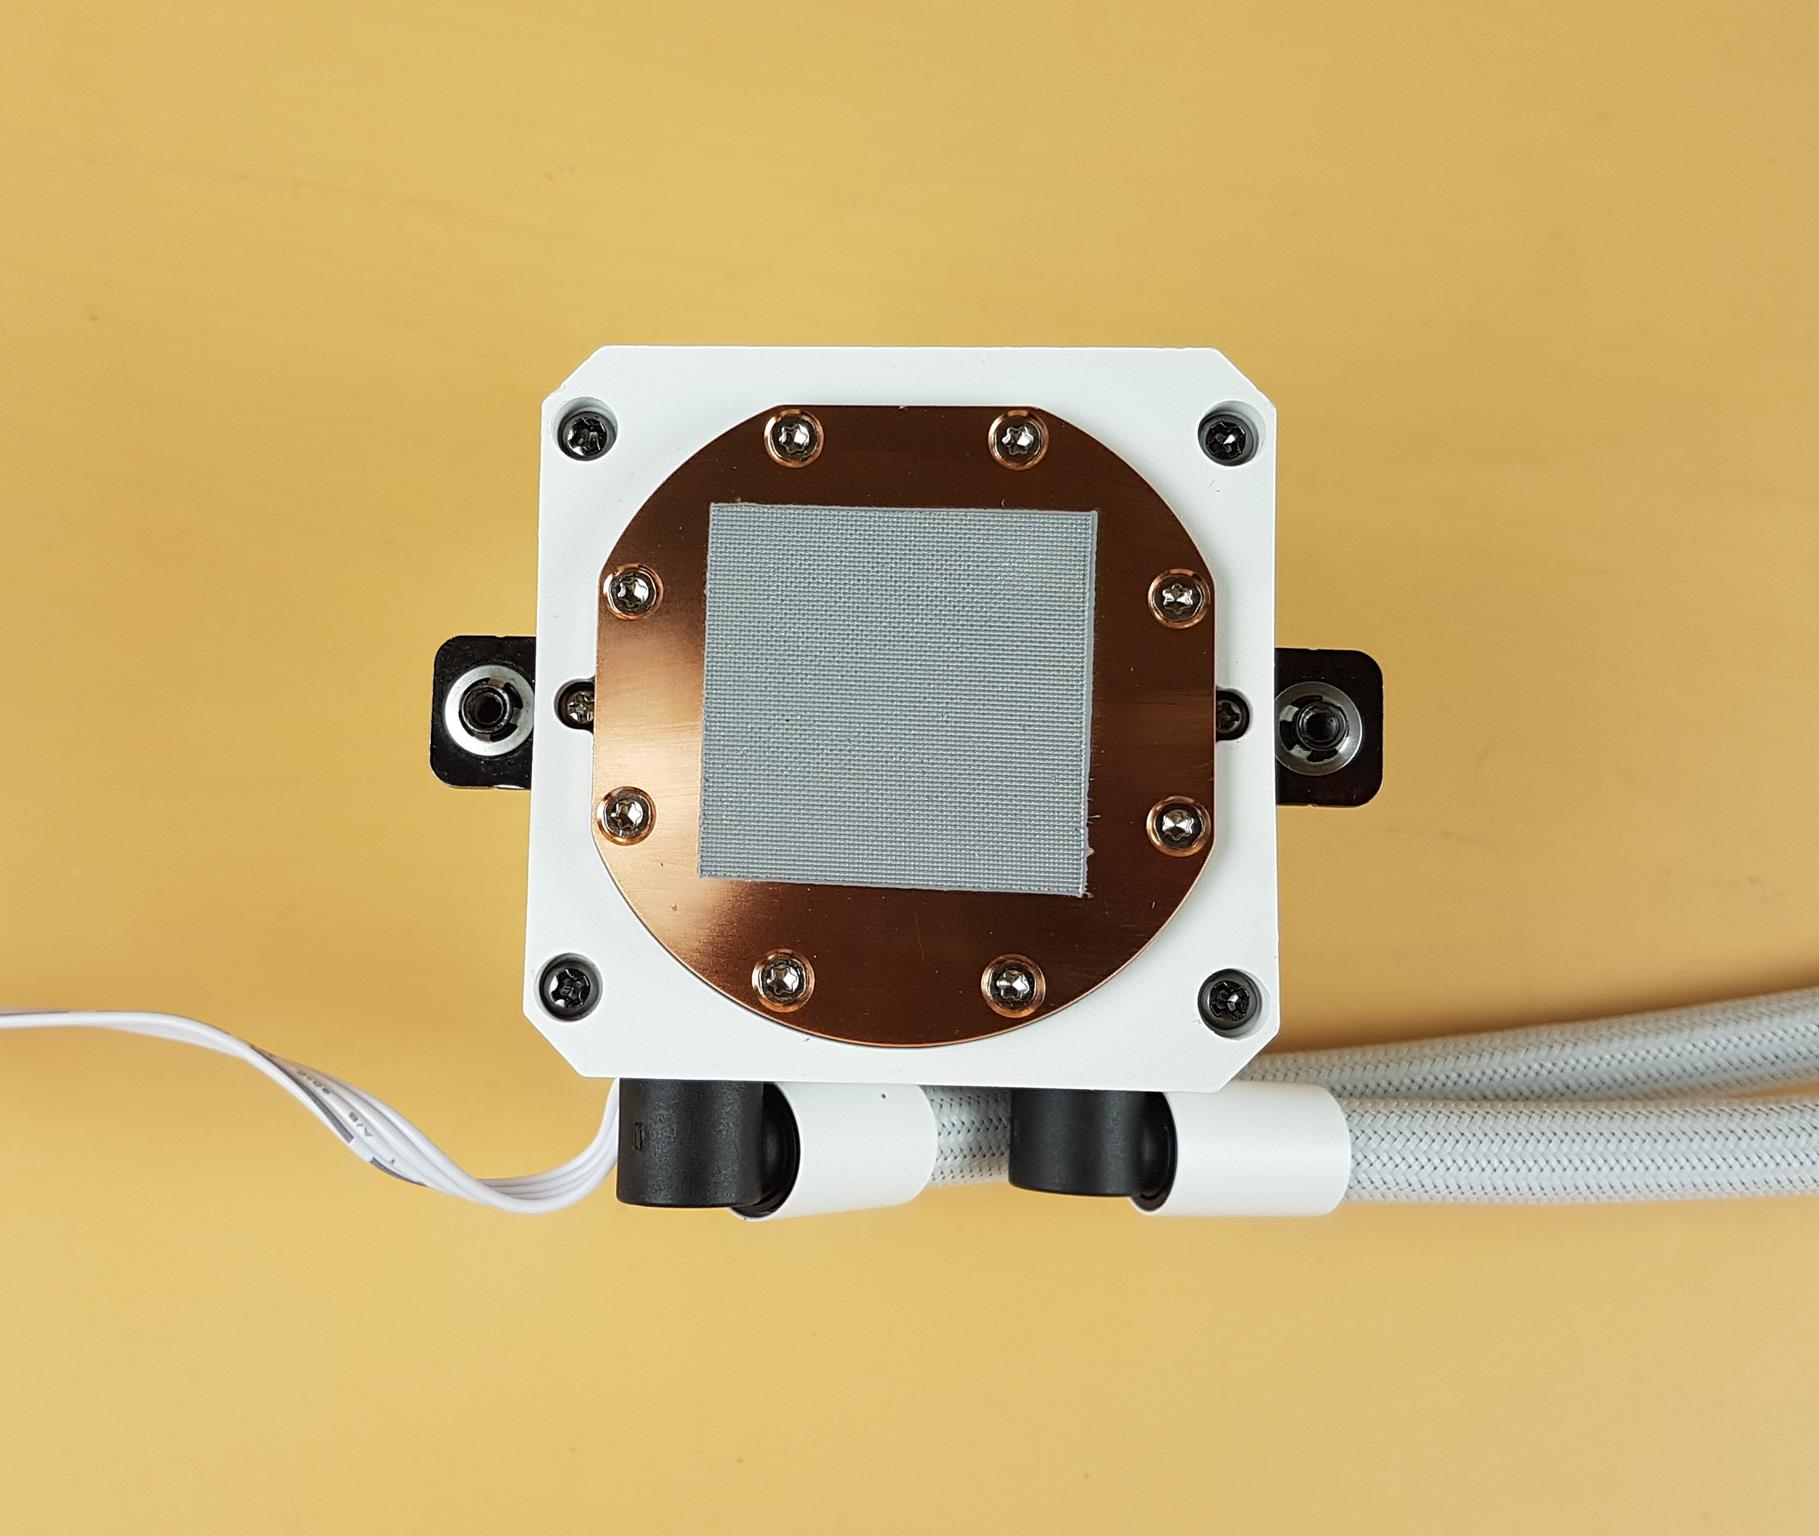
Looking at the base of the unit, we can see that it comes with a pre-applied thermal paste. I have tested the unit with this paste and it is a high-performance edition for sure. My measurement of the exposed base unit comes to 55x55mm. However, note that the cold plate measures 60x50x3mm.
My Valkyrie has used a Skived copper cold plate and high-RPM pump providing a good cooling solution for the modern Intel and AMD processors.
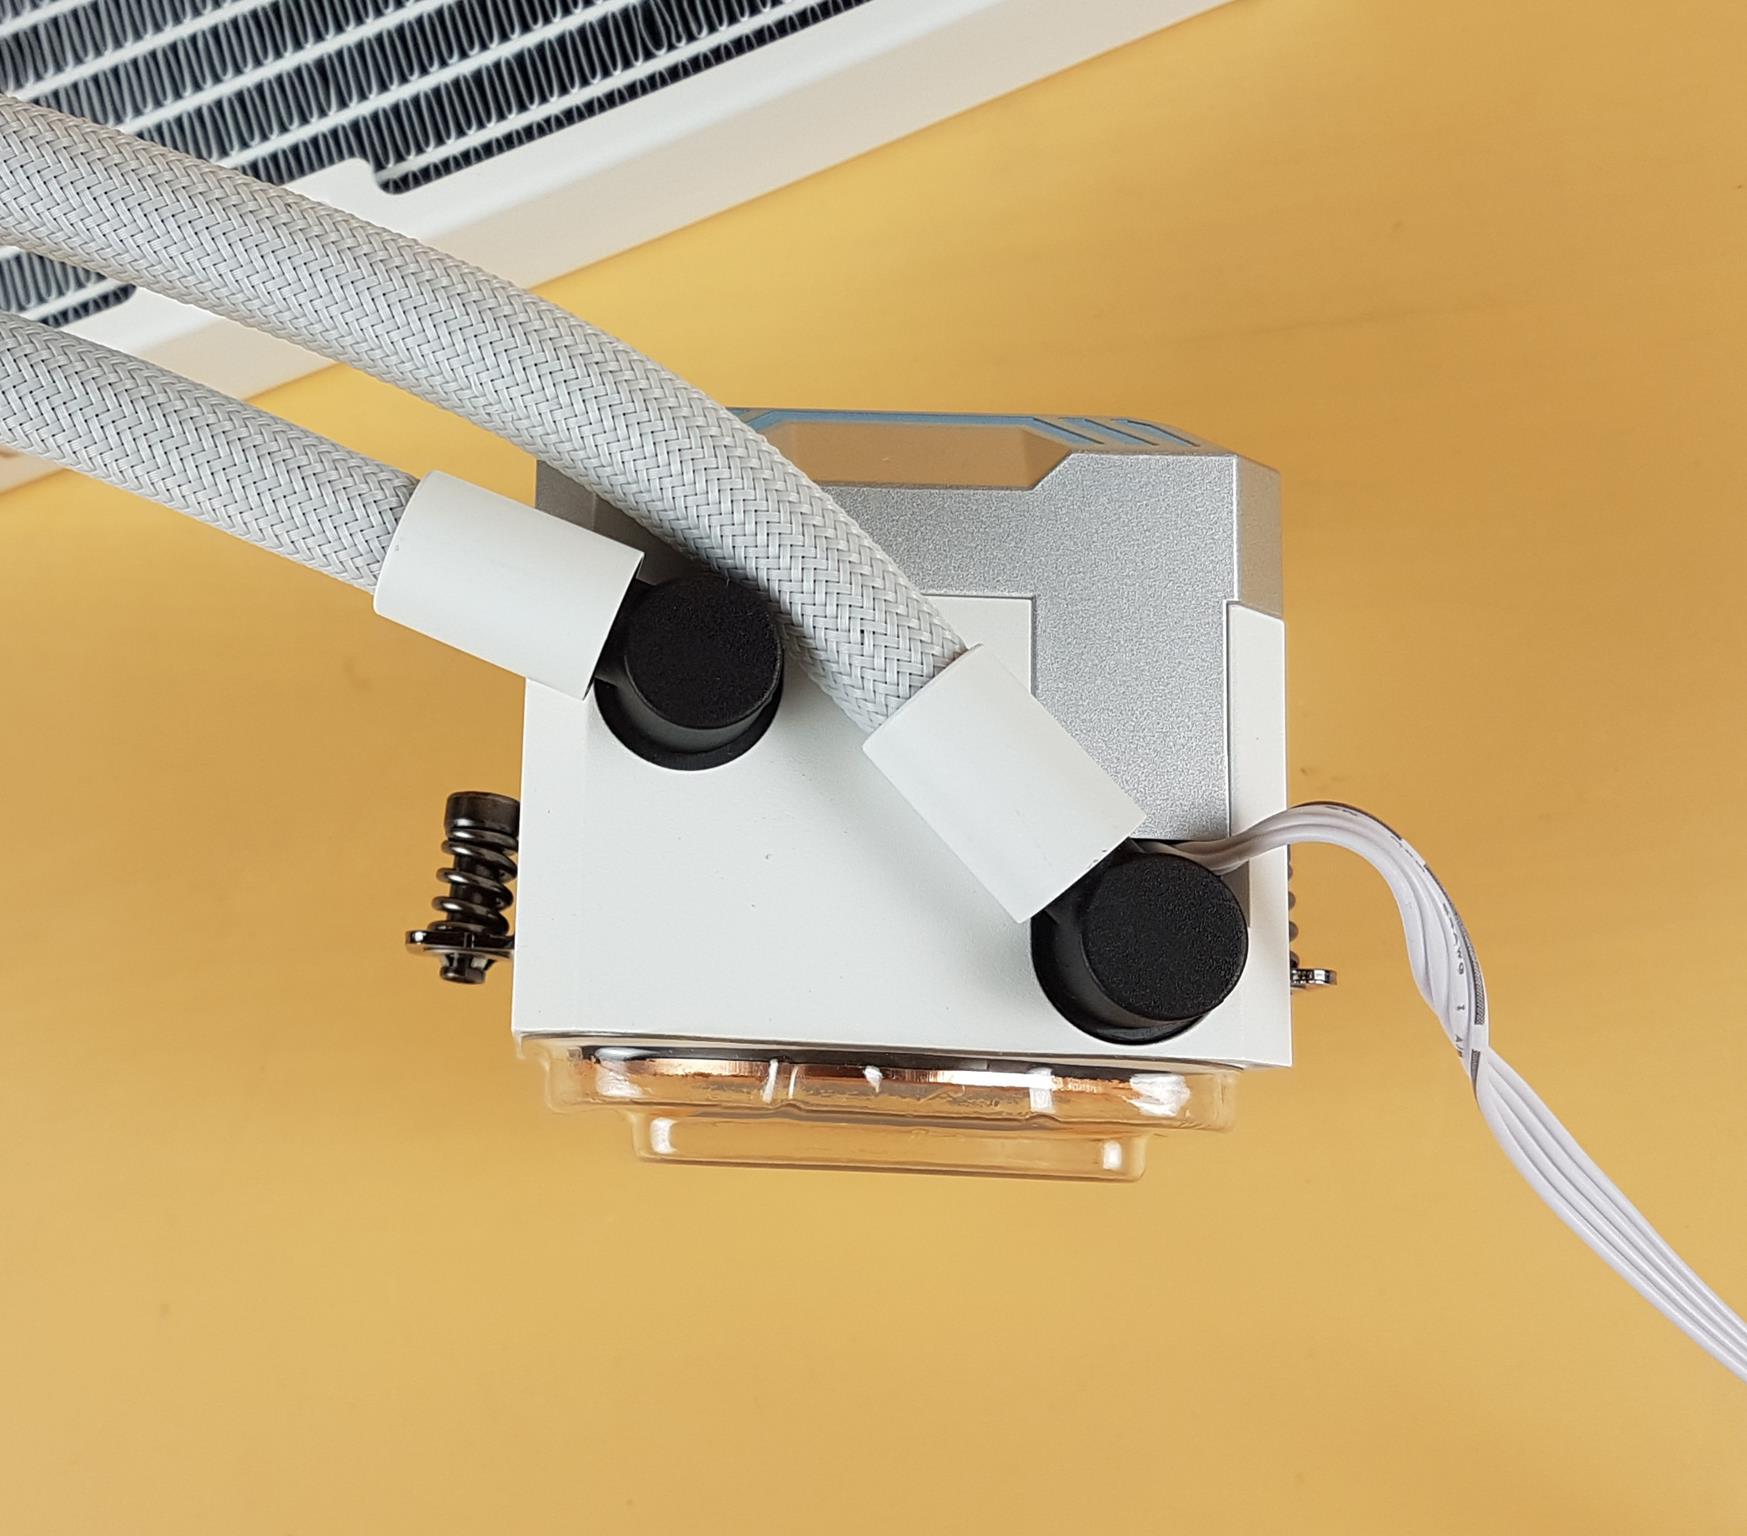
Looking at the backside of the housing we can see an offset tube connection. One tube connection is on the top whereas one is on the bottom. These use black color rotary fittings. These rotary fittings provide easy sliding to the tubes during the installation. There is also a flat cable coming out from the lowered tube connection.
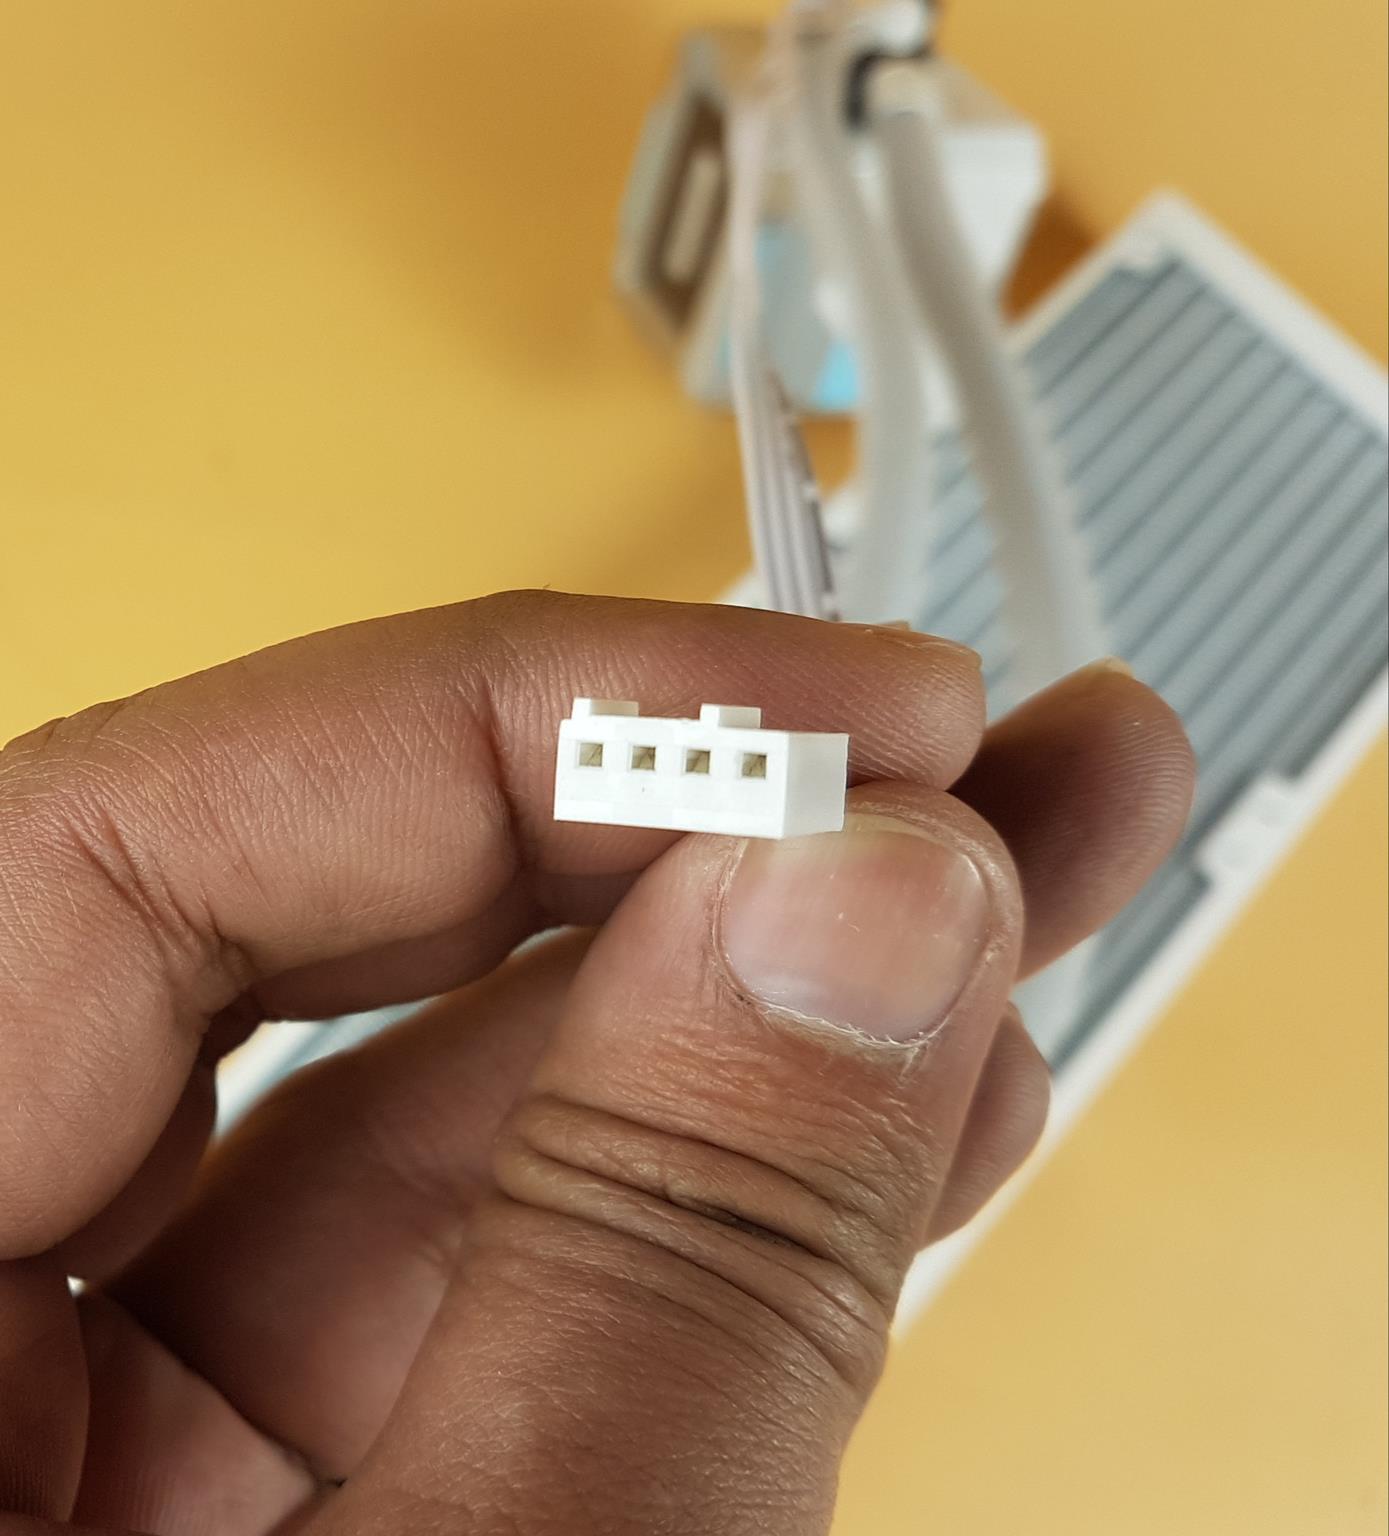
The pump of the unit is PWM controlled for which there is a 4-pin PWM connector provided. My bad that I forgot to measure the RPM of the pump during the testing.
Fans
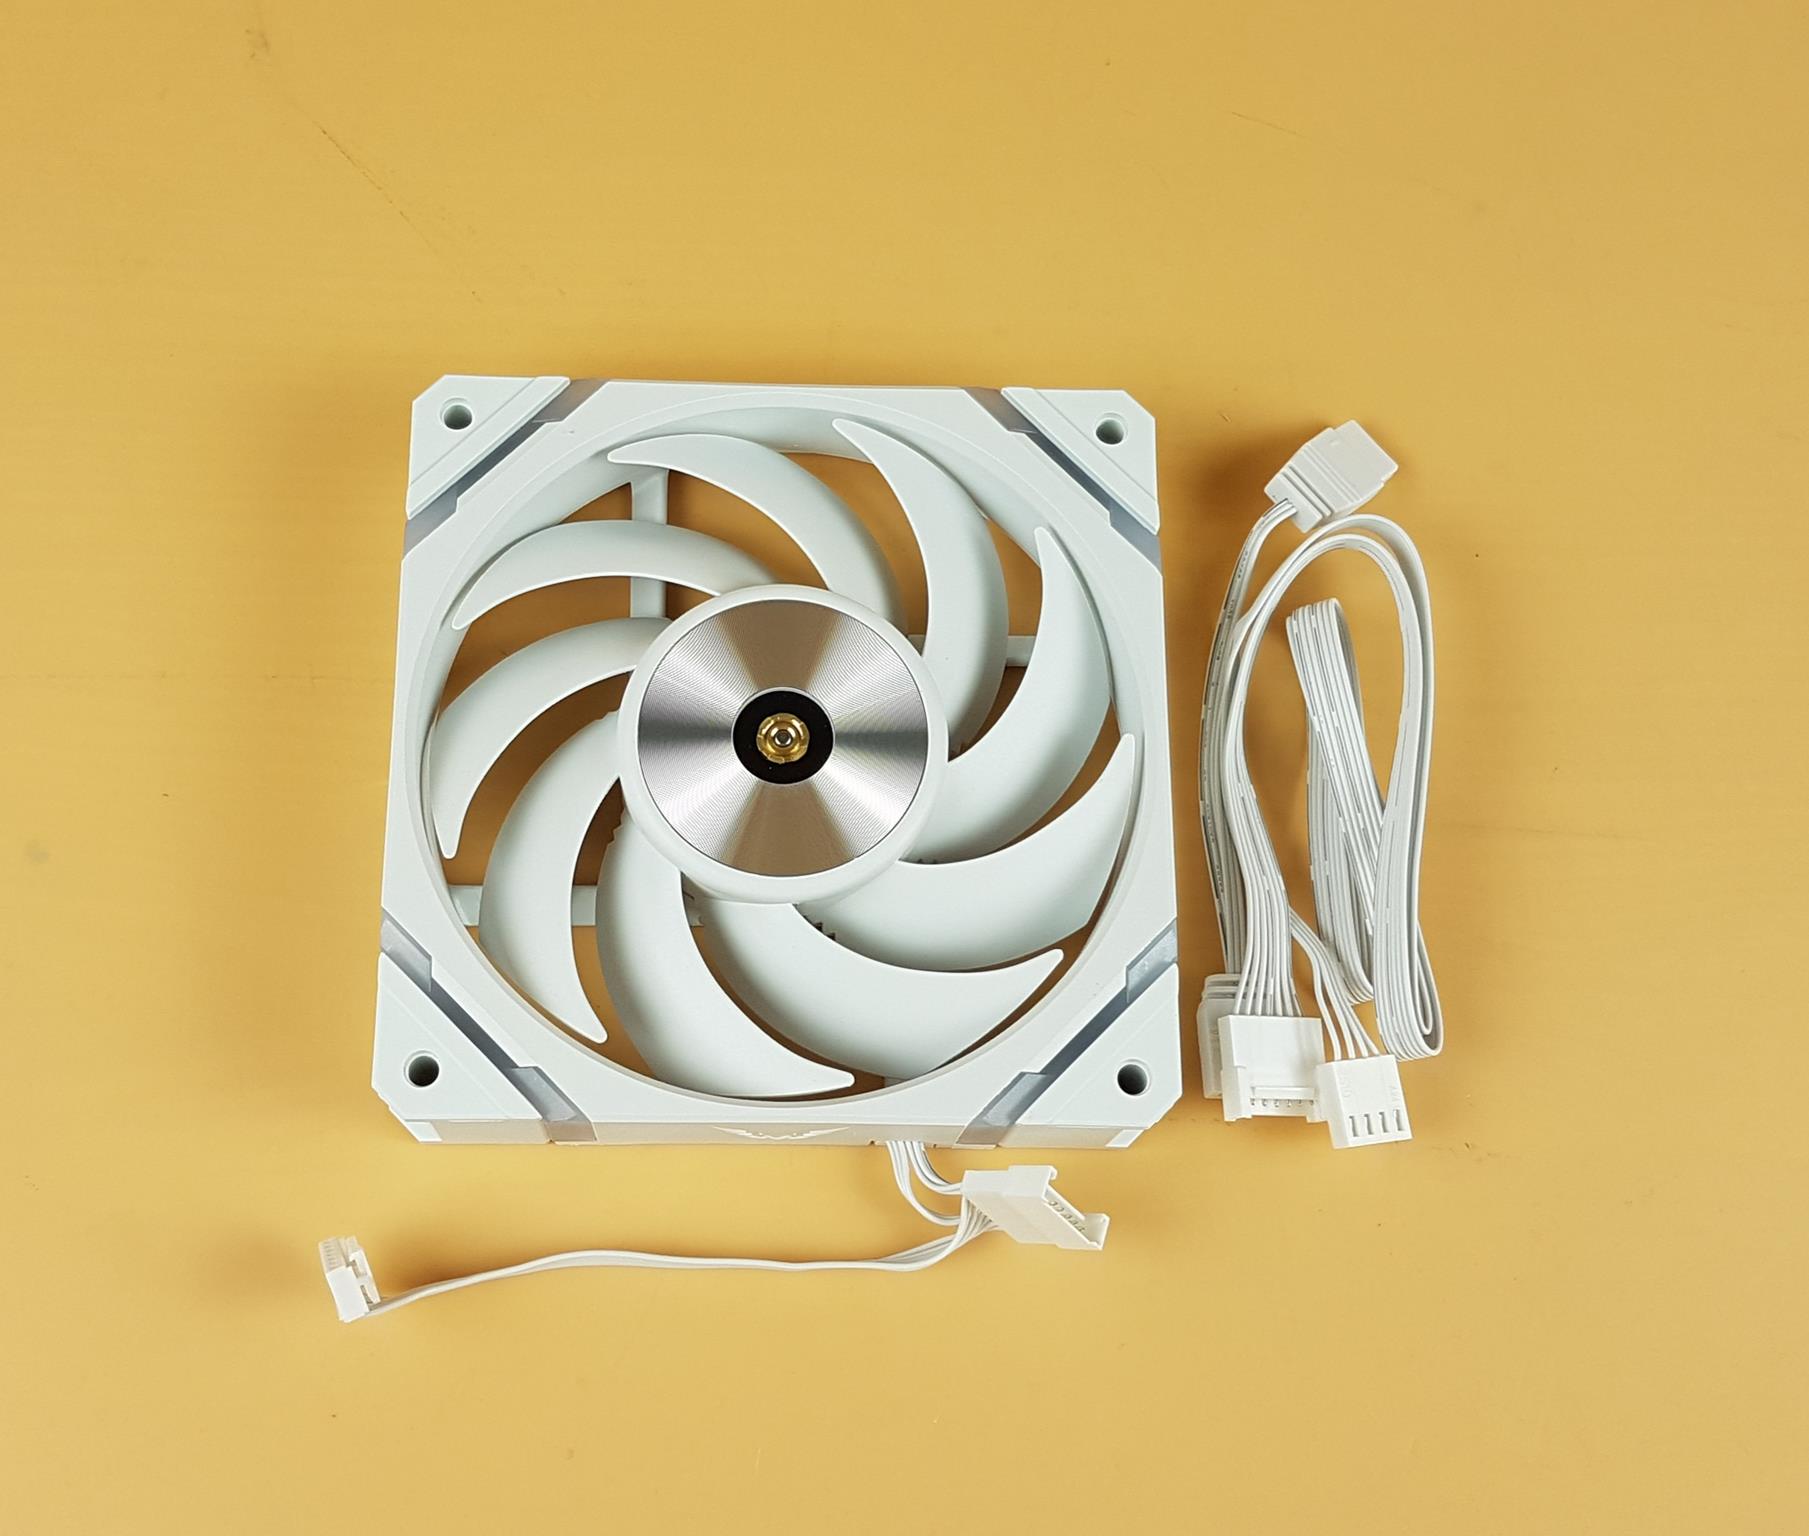
My Valkyrie has provided 3x X12 fans with this cooler. Each fan box has a 120x25mm fan and an extension cable set. This cable would be needed to connect the daisy-chained fans to the motherboard.
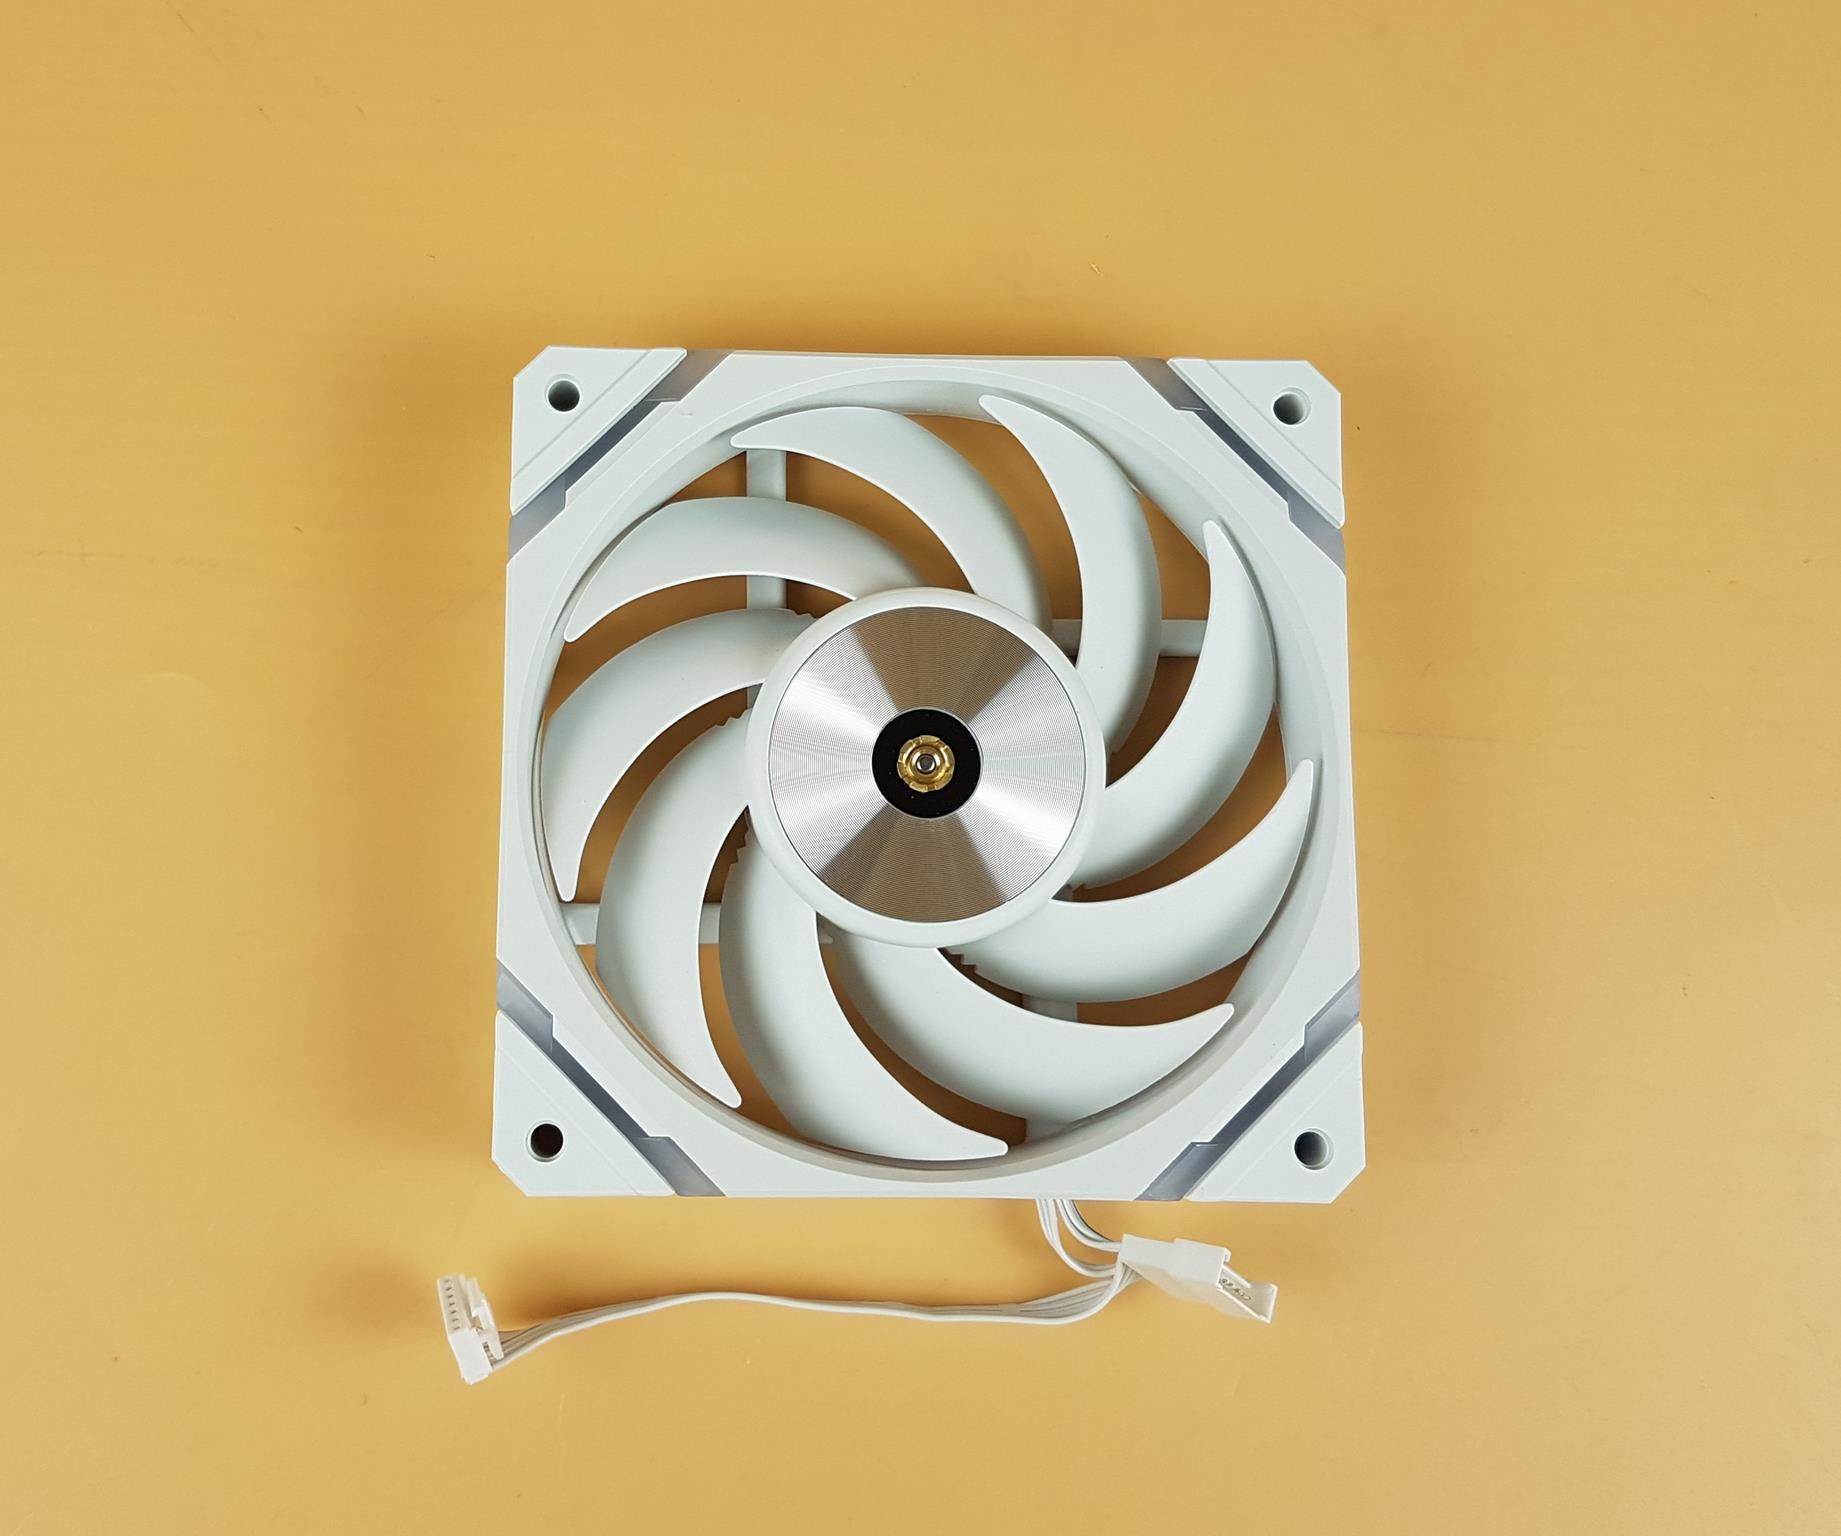
Now, I am showing the front view of the fan. There are 9x blades per fan. Looking closely you will observe 3 notches on the trailing edge towards the center. This is probably to ensure the maximum airflow while reducing the air turbulence. The center has a silver finish and we can see that there is a CNC milled bearing shell that is made of brass material. This provides added stability, and precision.
There are thick diffusers between the main frame and the mounting corners. This is a new design for me at least. The only area that lights up on these fans is the diffuser area. It seems like there is no anti-vibration pad on the mounting corners. Also, it looks like a stepped inlet design on the main frame towards the blades.
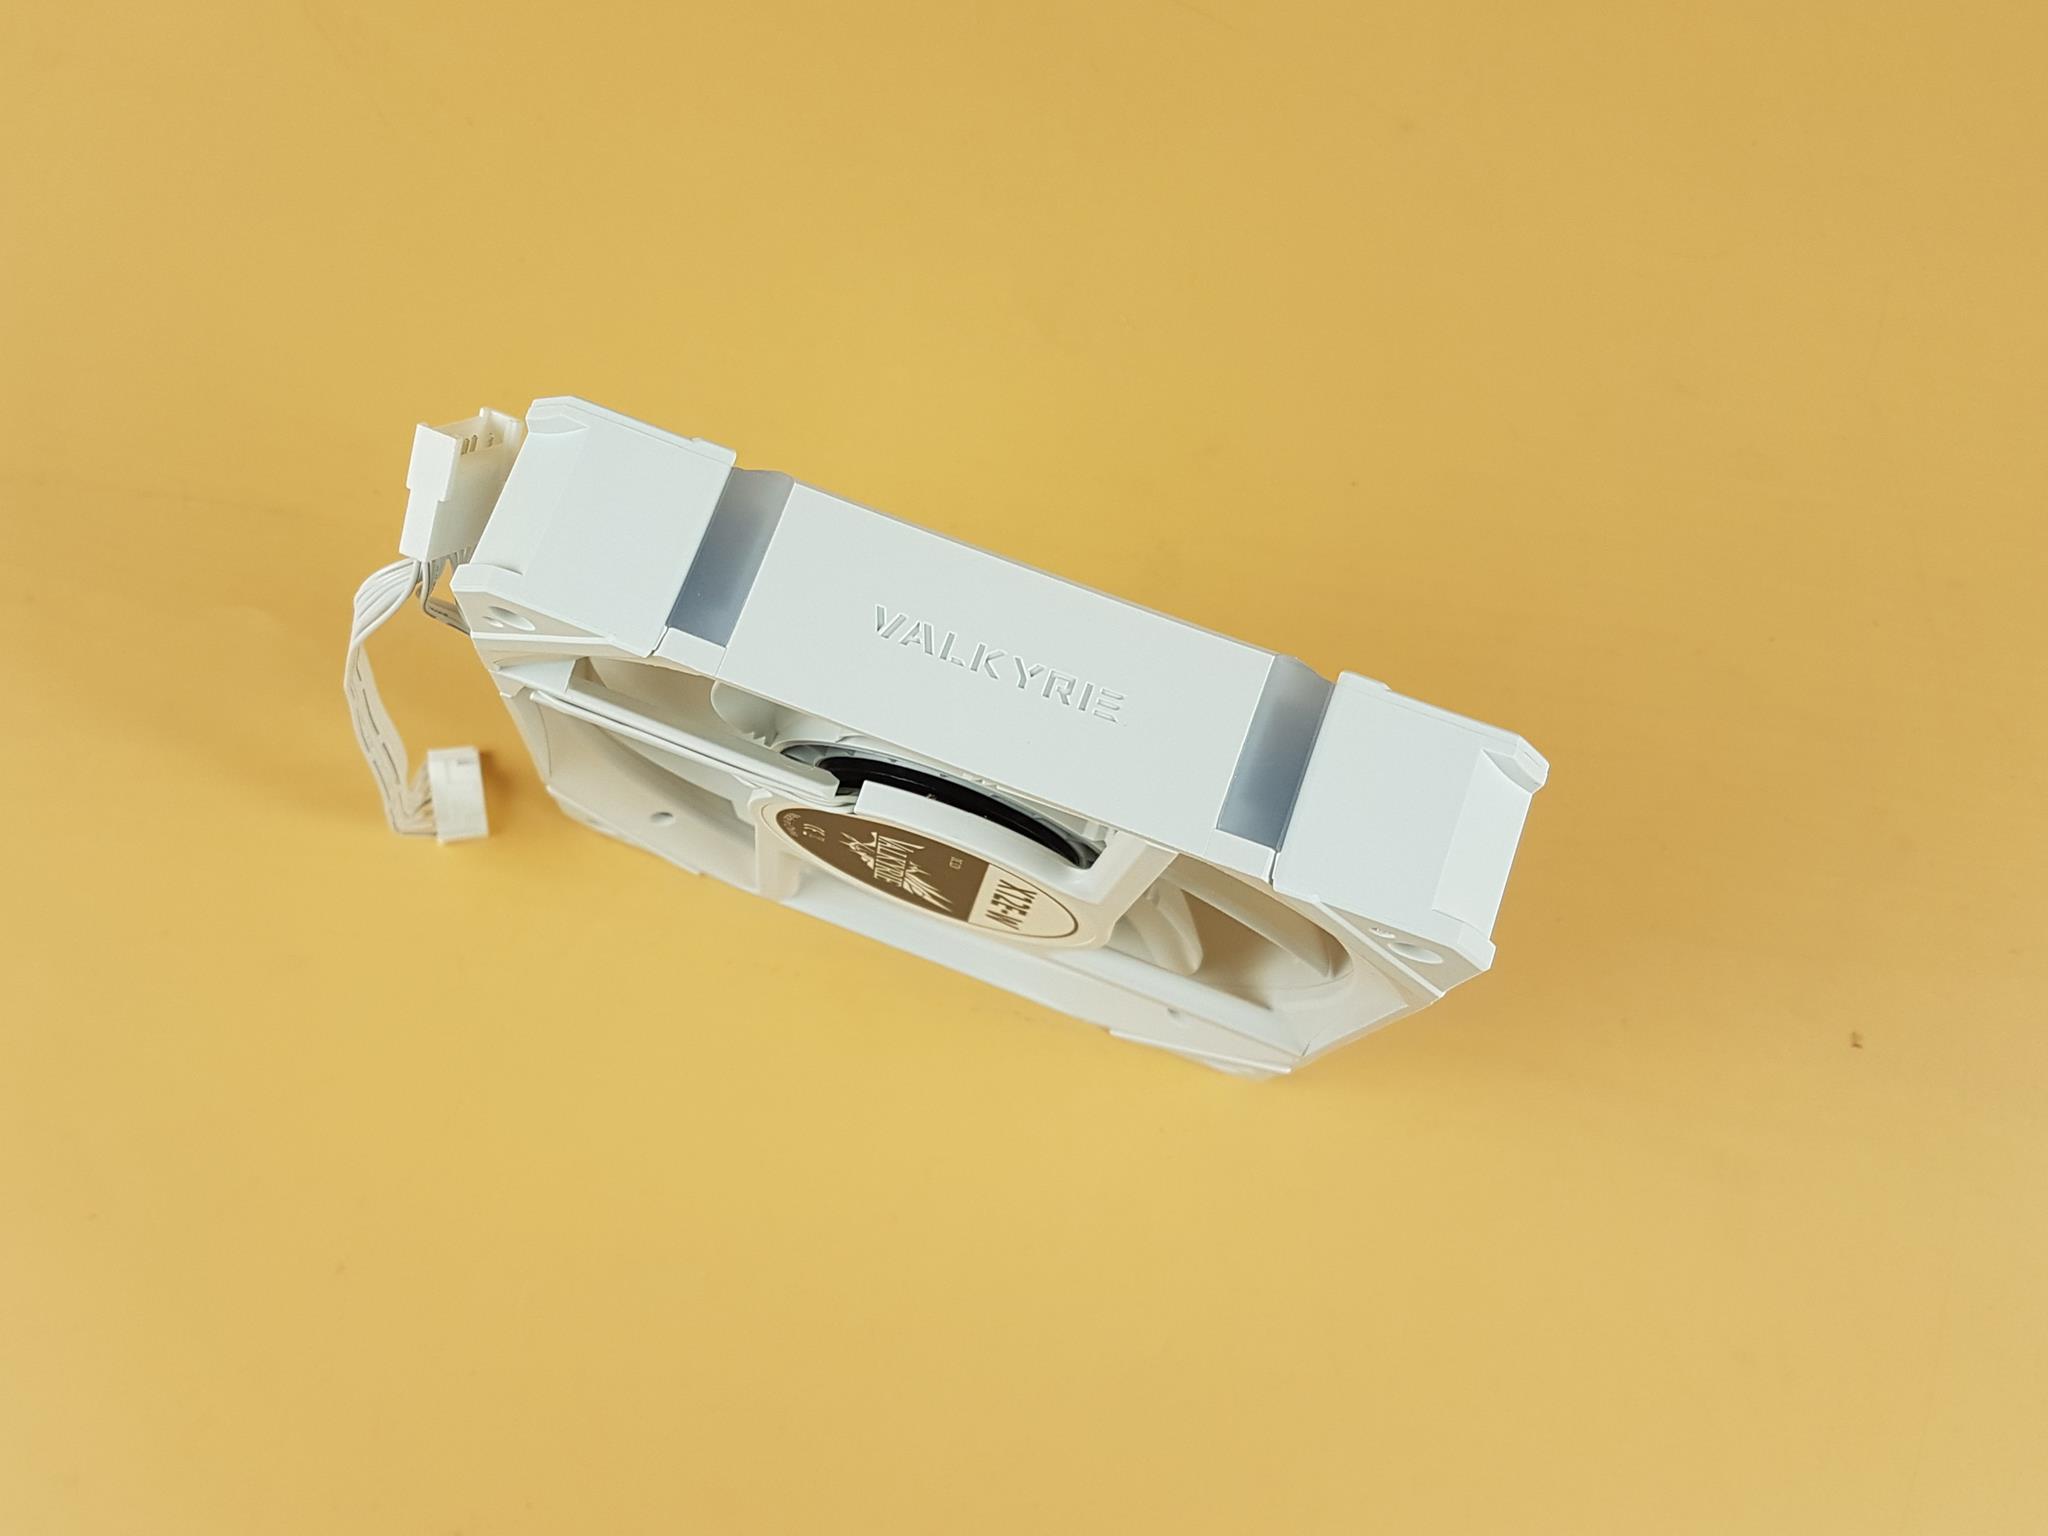
I am showing the side of the frame. There is VALKYRIE branding in the center. You can see the exposed diffuser in a slope design. You can see the ARGB lighting from the side of these fans as well.
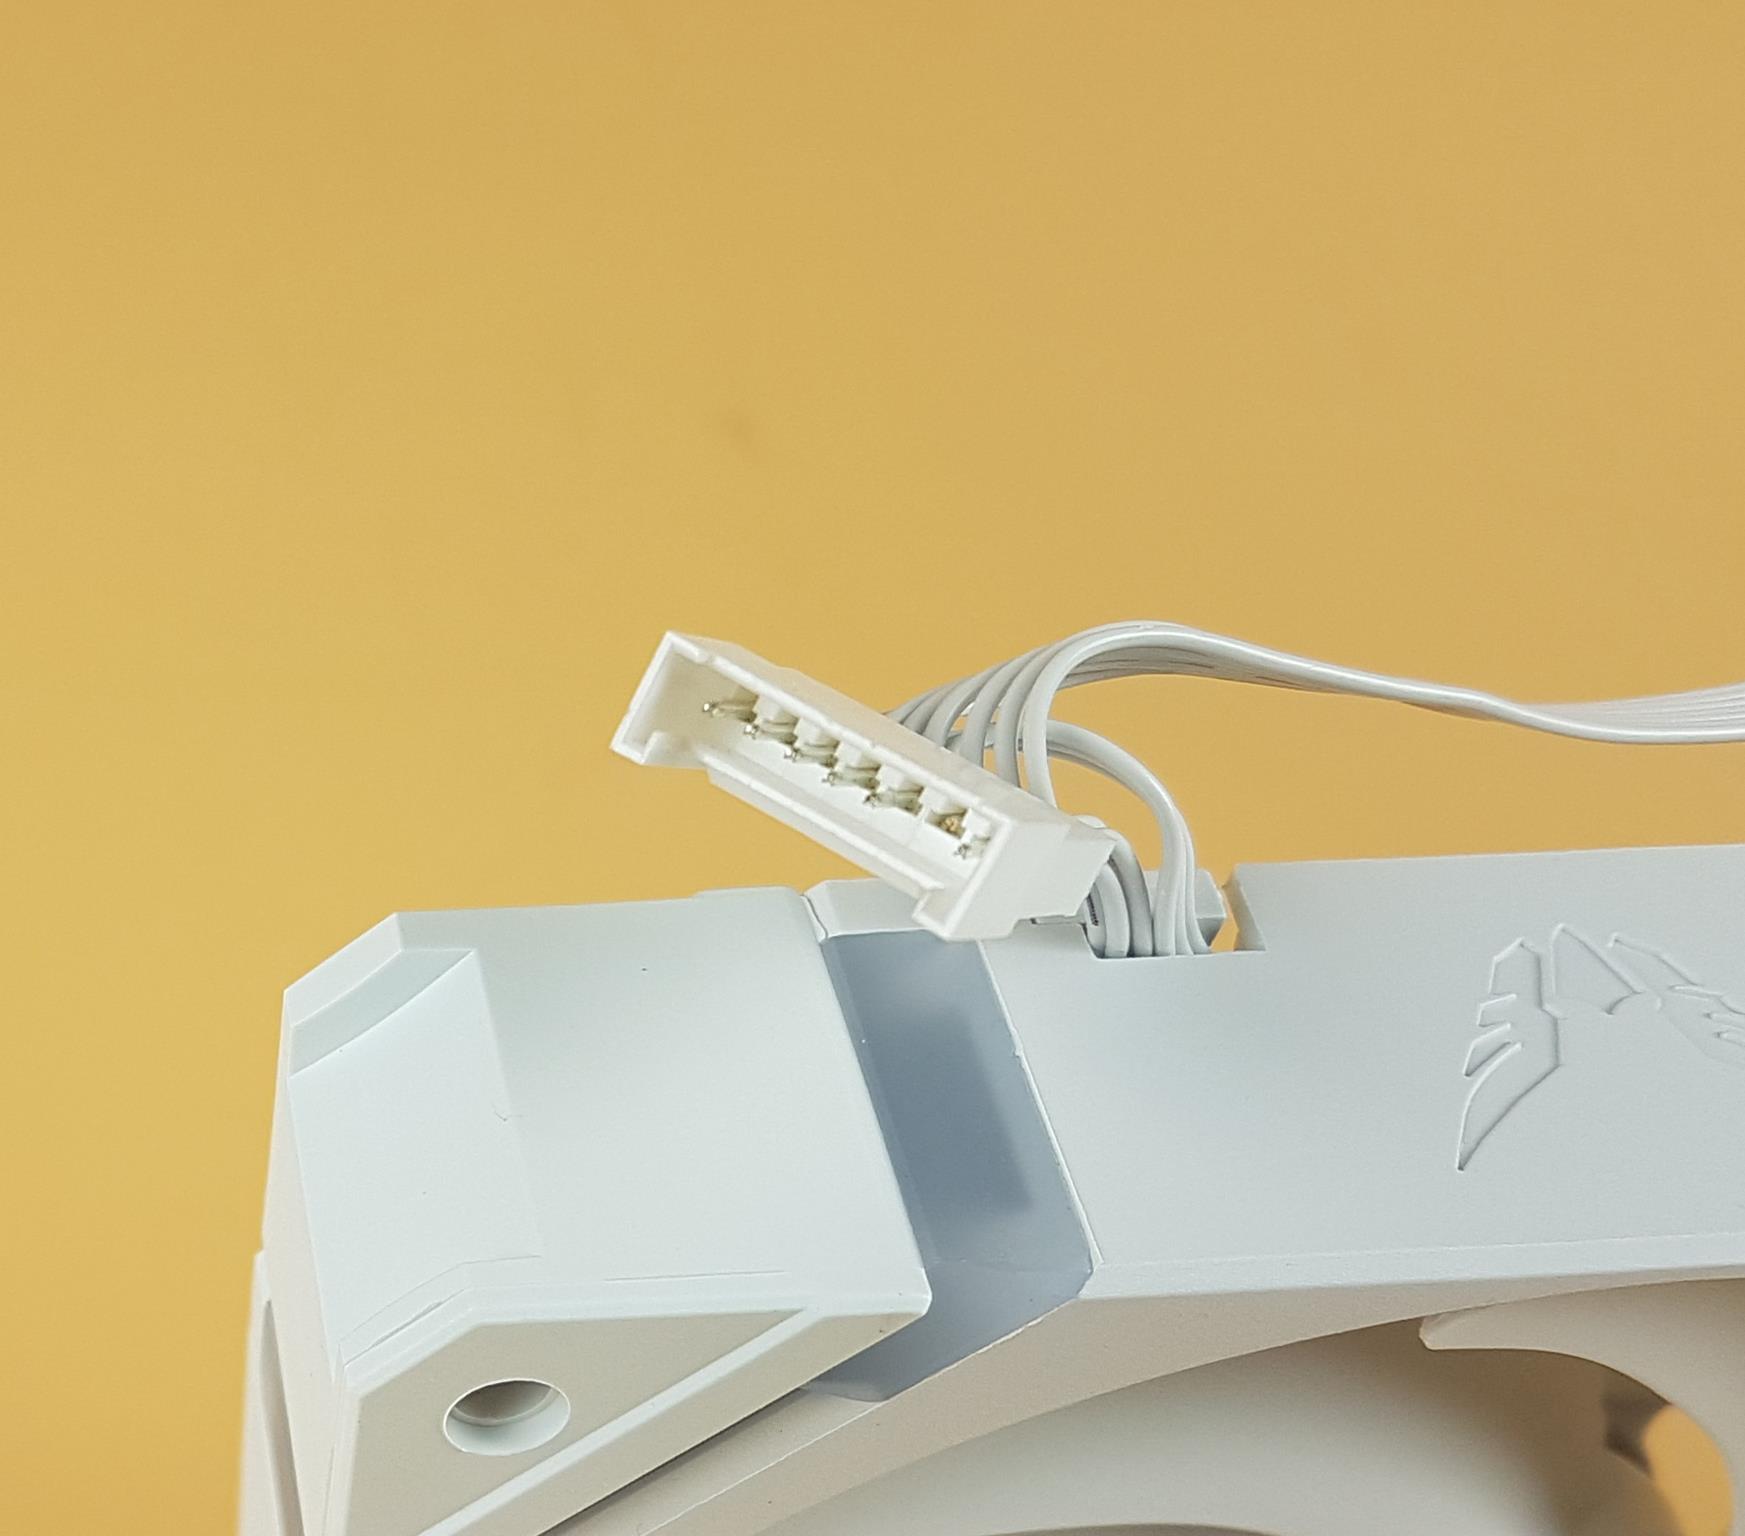
Looking at the side of the fan where the cables are coming out, you can spot a Valkyrie brand logo in the middle with an exposed diffuser. I will show the cables separately. Each fan has a short-length cable that has proprietary connectors on both ends of the cable.
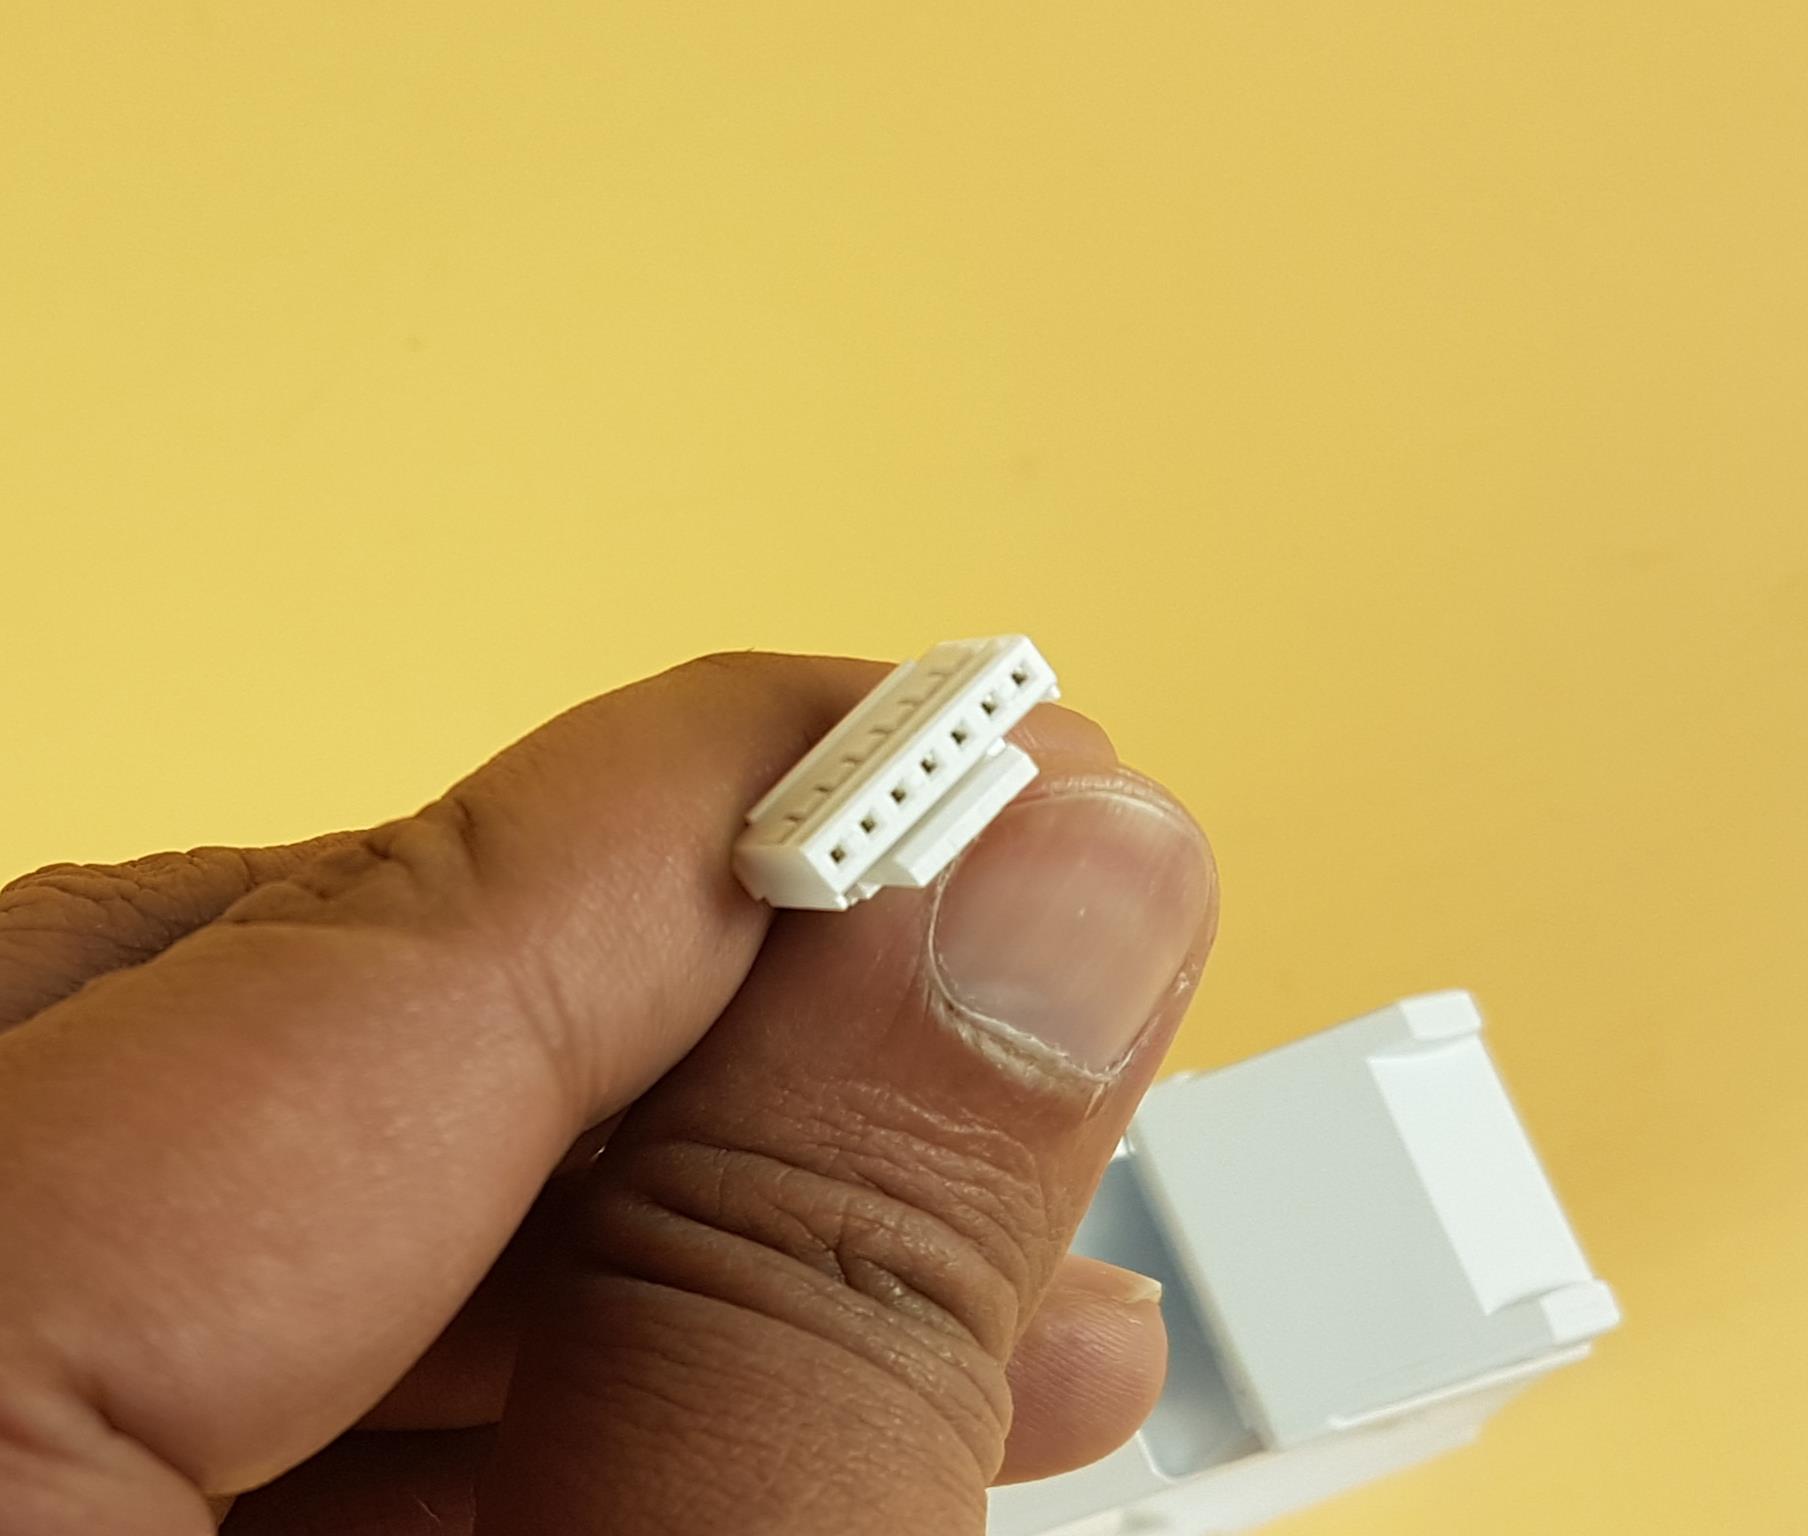
There is a proprietary 7-pin female connector on one end of the cable.
There is a proprietary 7-pin socket connector on the other end of the cable.
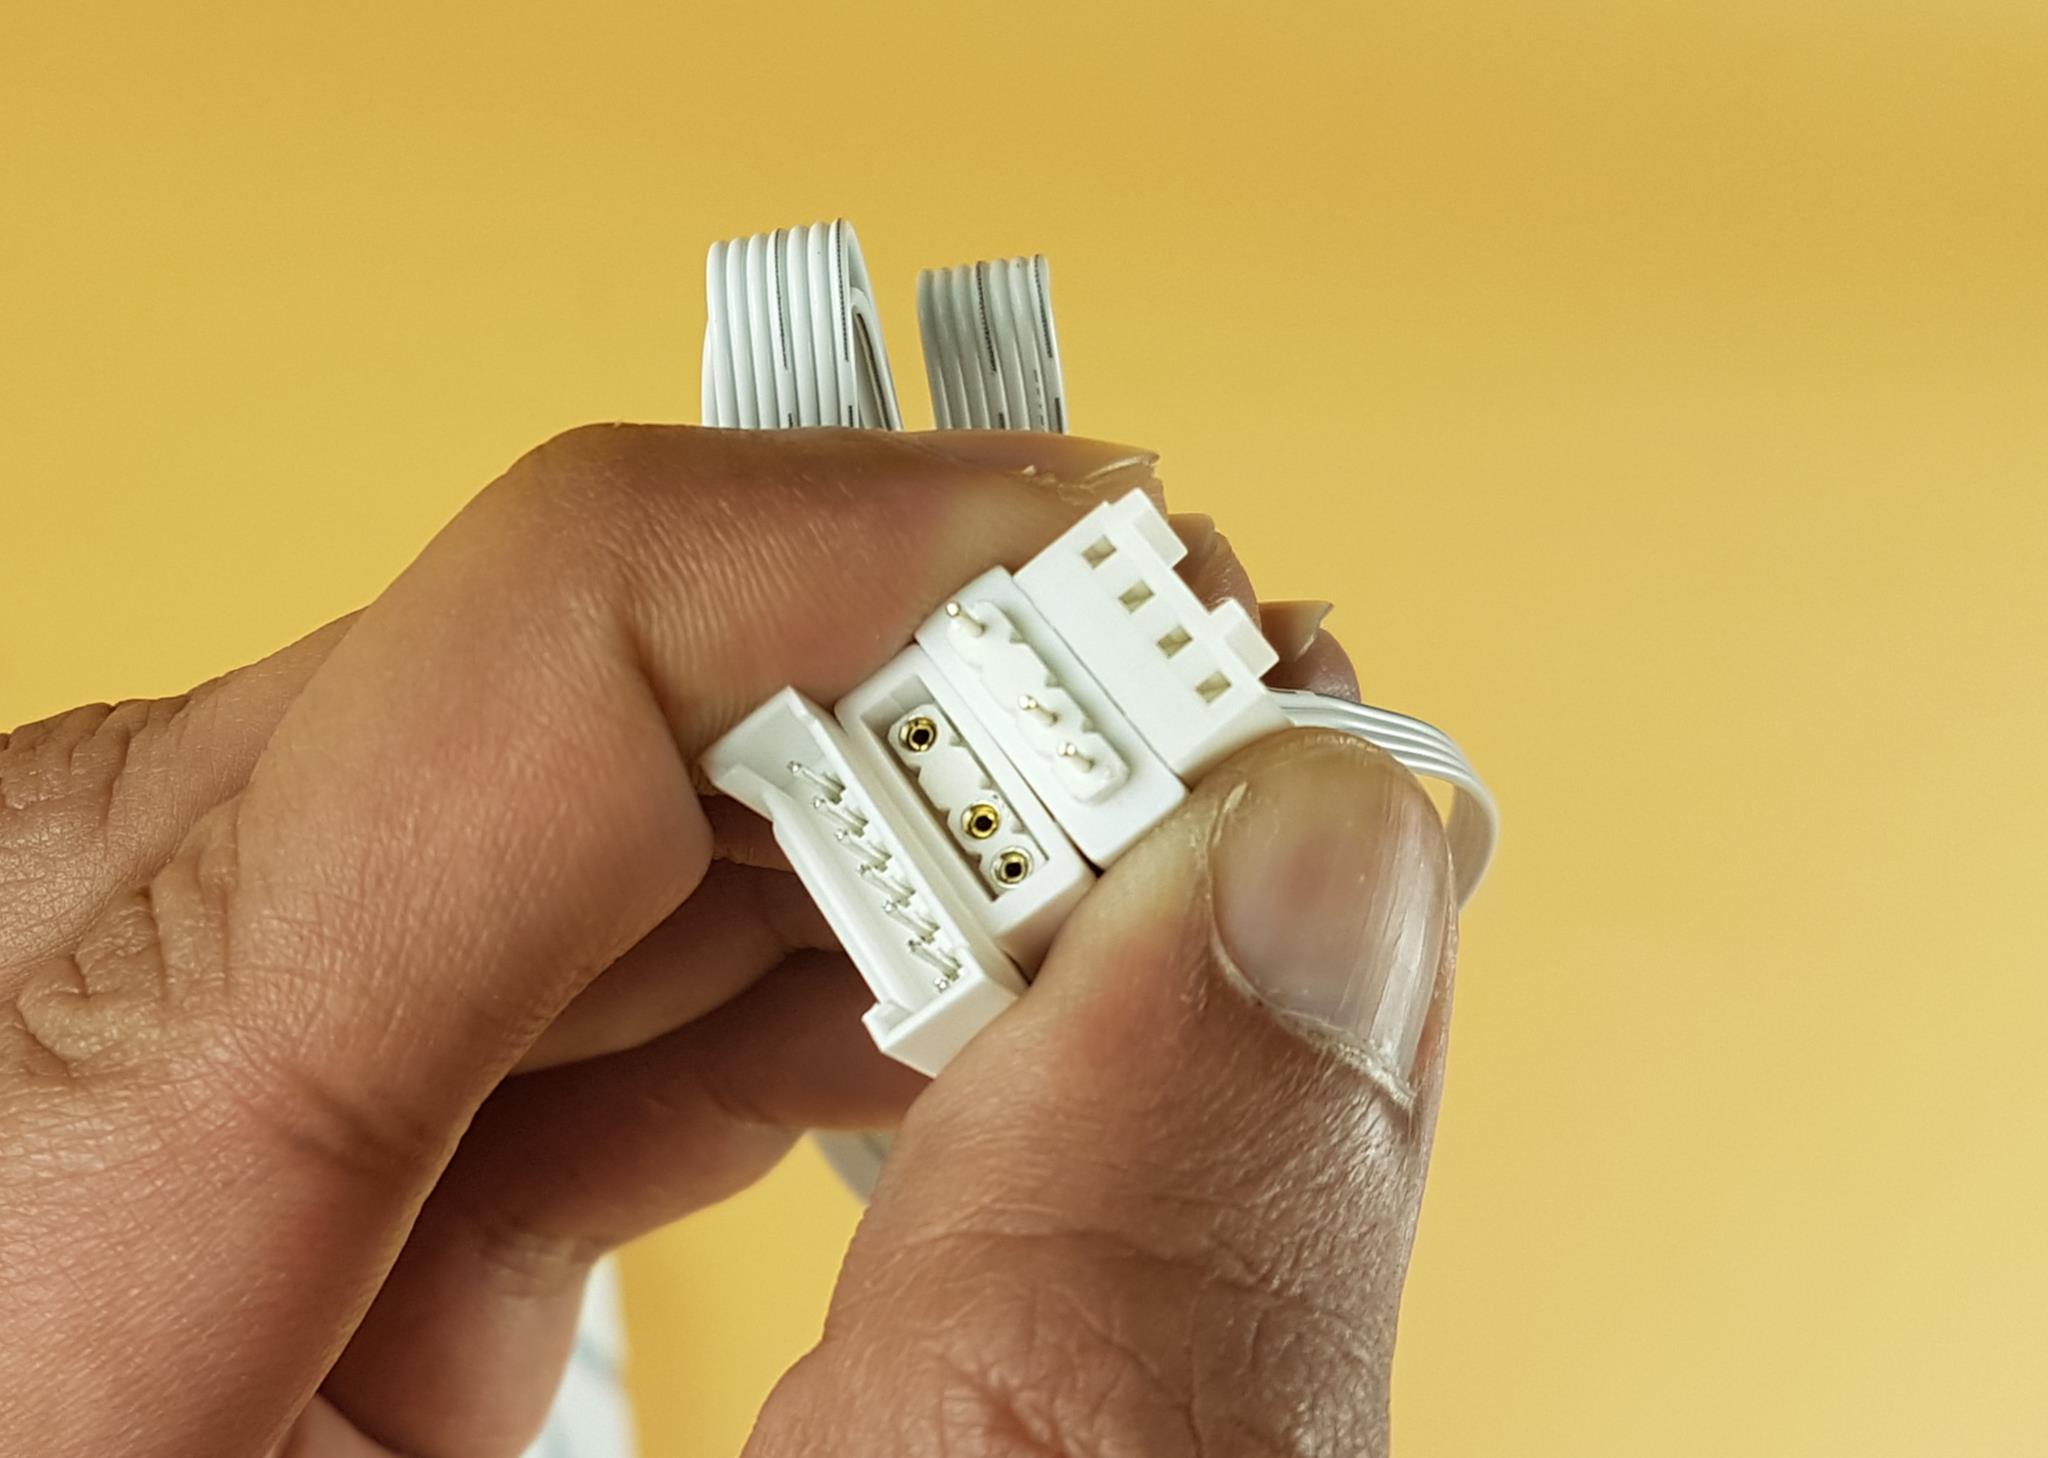
The extension cable has 4 connectors:
- 1x 7-pin socket connector
- 1x 4-pin PWM connector
- 1x 3-pin 5V ARGB Female connector
- 1x 3-pin 5V ARGB Male connector
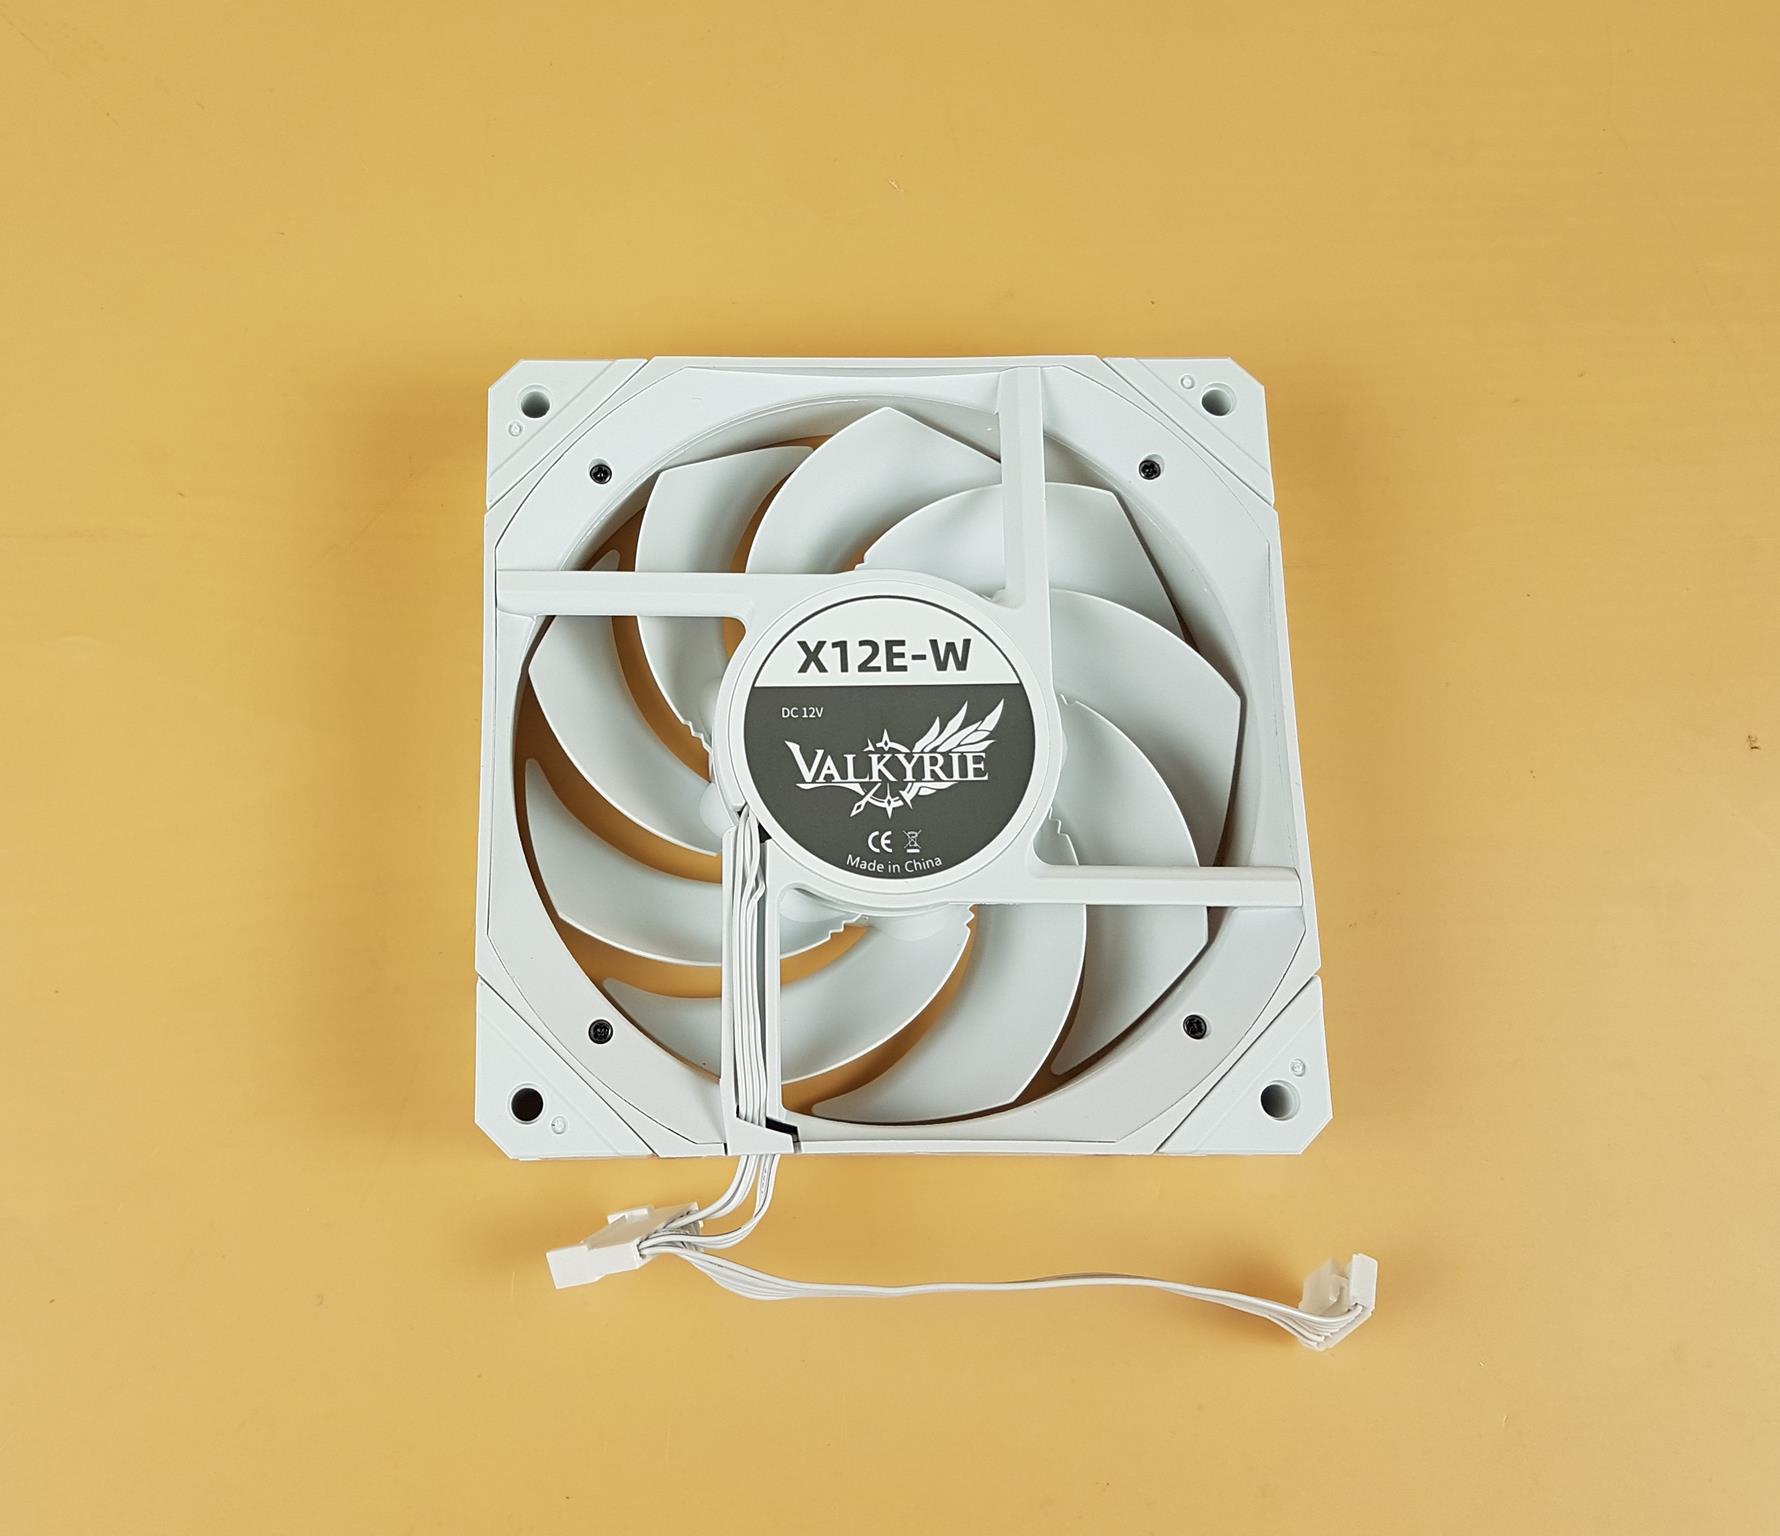
Looking at the backside of the fan, you can see a 4-arms assembly. Each arm has a rounded slope design on one side to form an interrupted and guided airflow. The model of the fan is X12E-W. These fans are made in China and they use Fluid Dynamic Bearings.
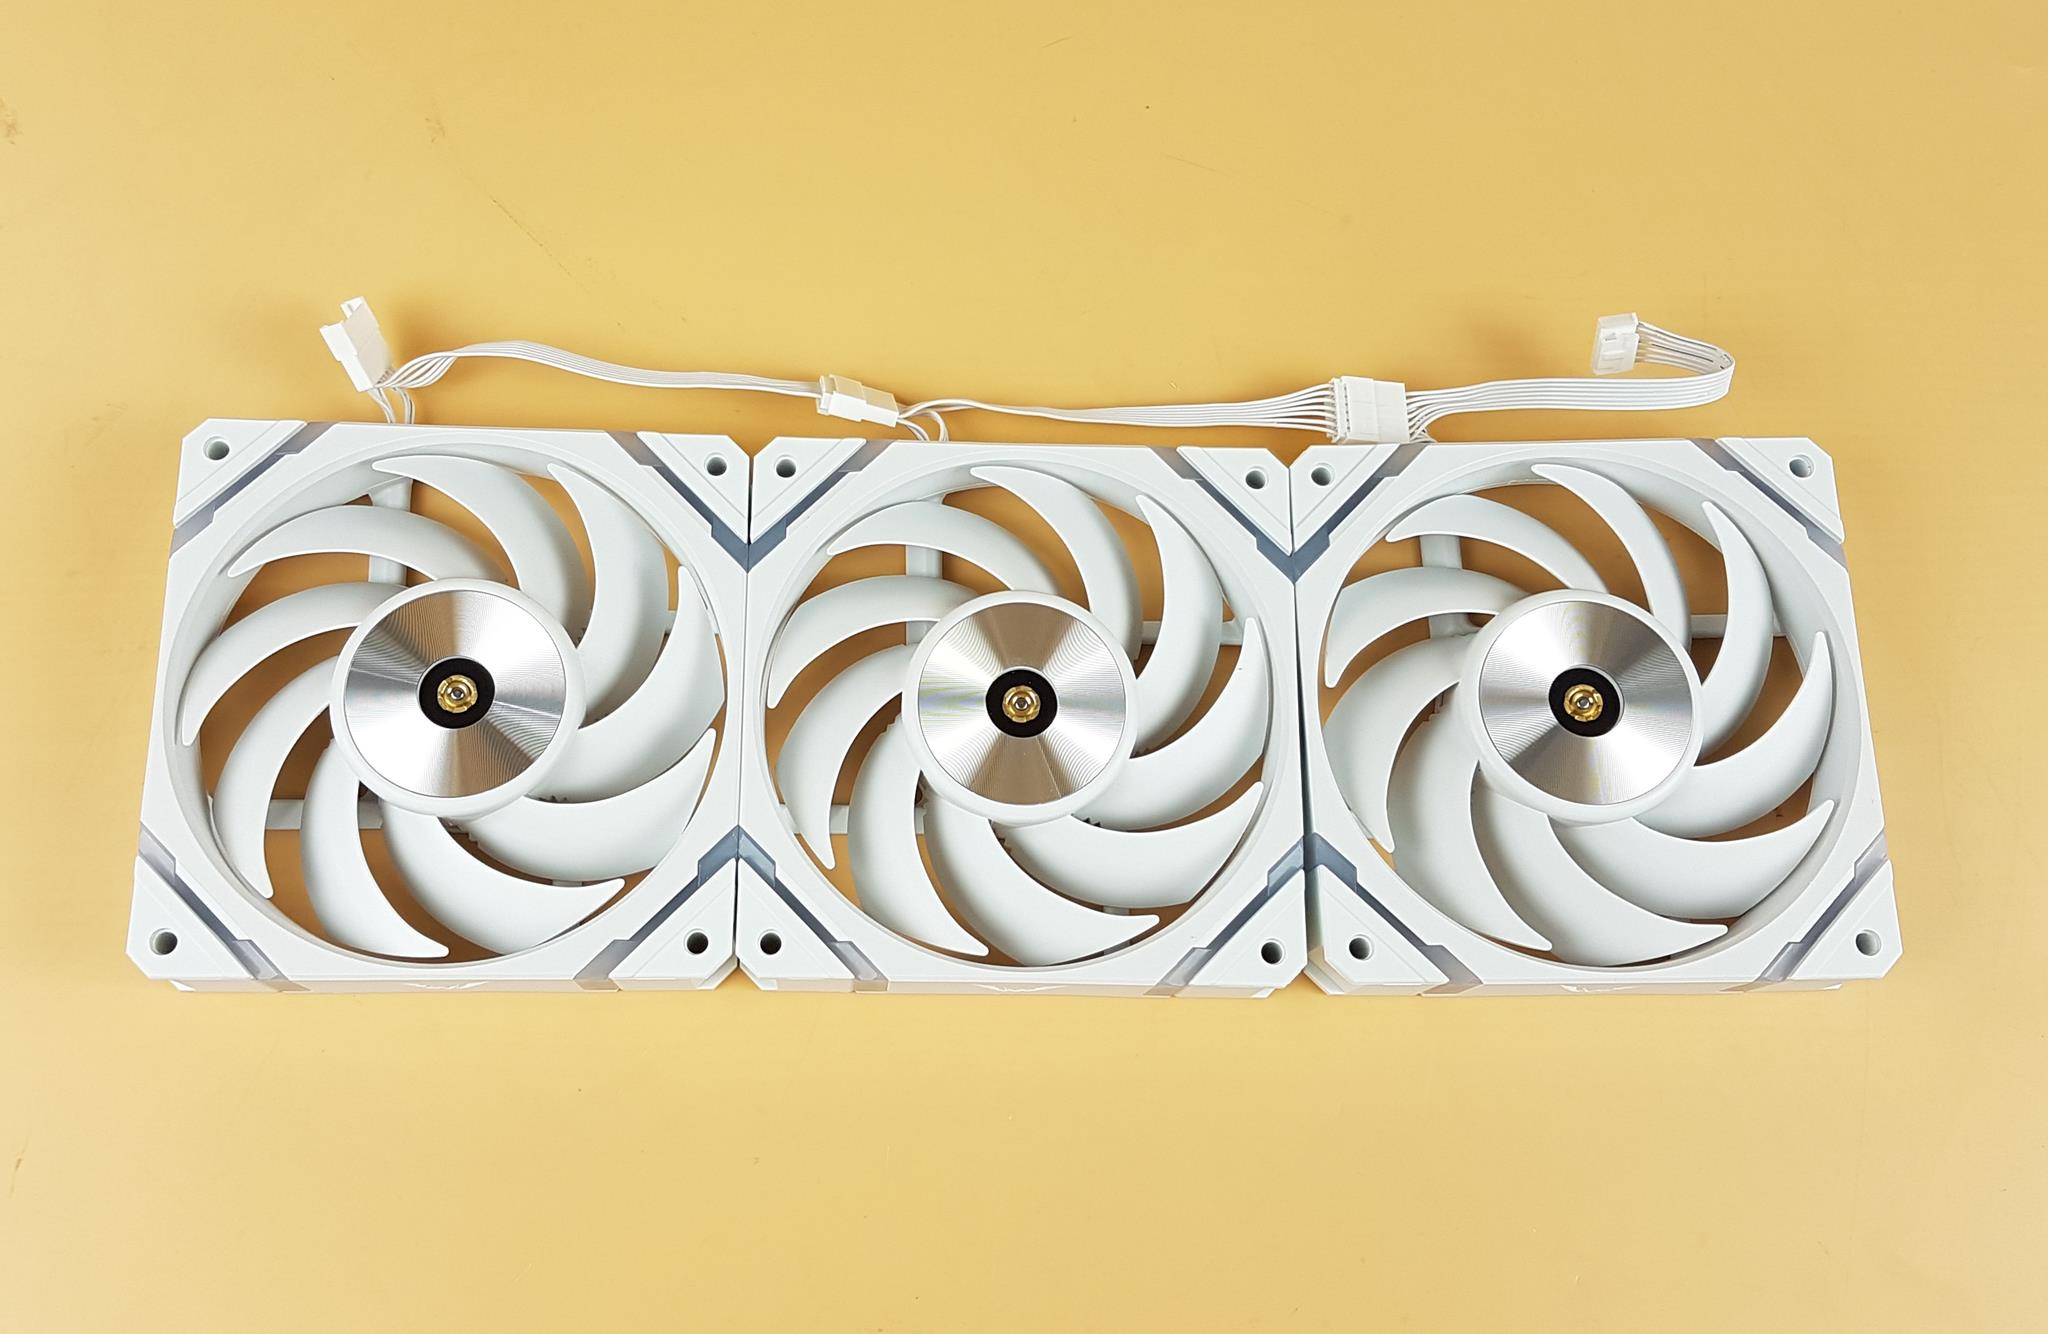
I am showing the concept of daisy-chain fans here using short-length cables. This reduces the cable clutter and you would need only one extension cable to control all fans from a single source.
Salient specifications of these fans include:
| Dimension | 120x120x25mm |
| Speed Range | 800 – 2150 RPM ±10% |
| Noise Level | ≤29 dB(A) |
| Air Flow | 80 CFM |
| Static Pressure | 3.14mmH₂O |
| Bearing | Fluid Dynamic Bearings |
Control Hub
My Valkyrie has also provided a Control Hub with this cooler. I will take a look at this hub now.
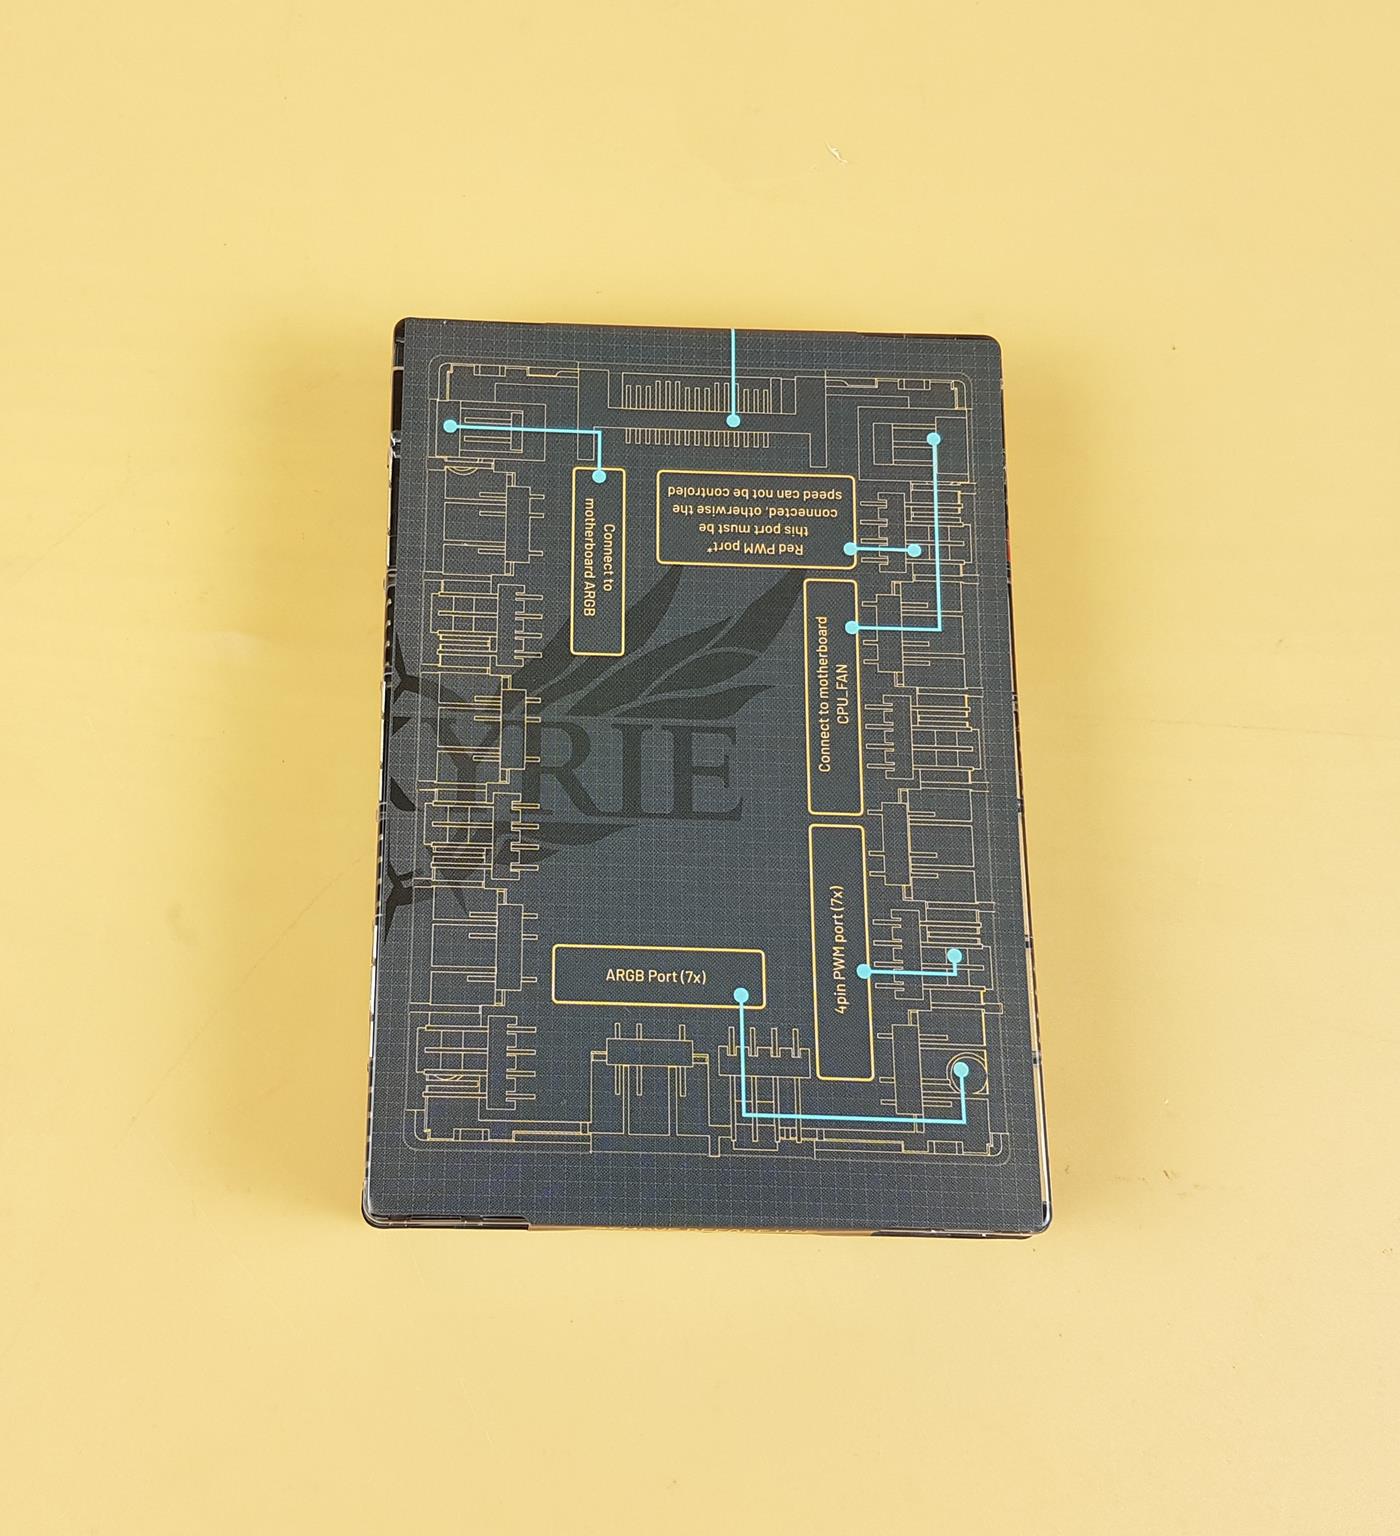
I am showing the top side where there is a printed detailed paper cover identifying the ports and most importantly indicating which ports must be connected to and which ports are to be connected to the motherboard. This leaflet can be removed after reading.
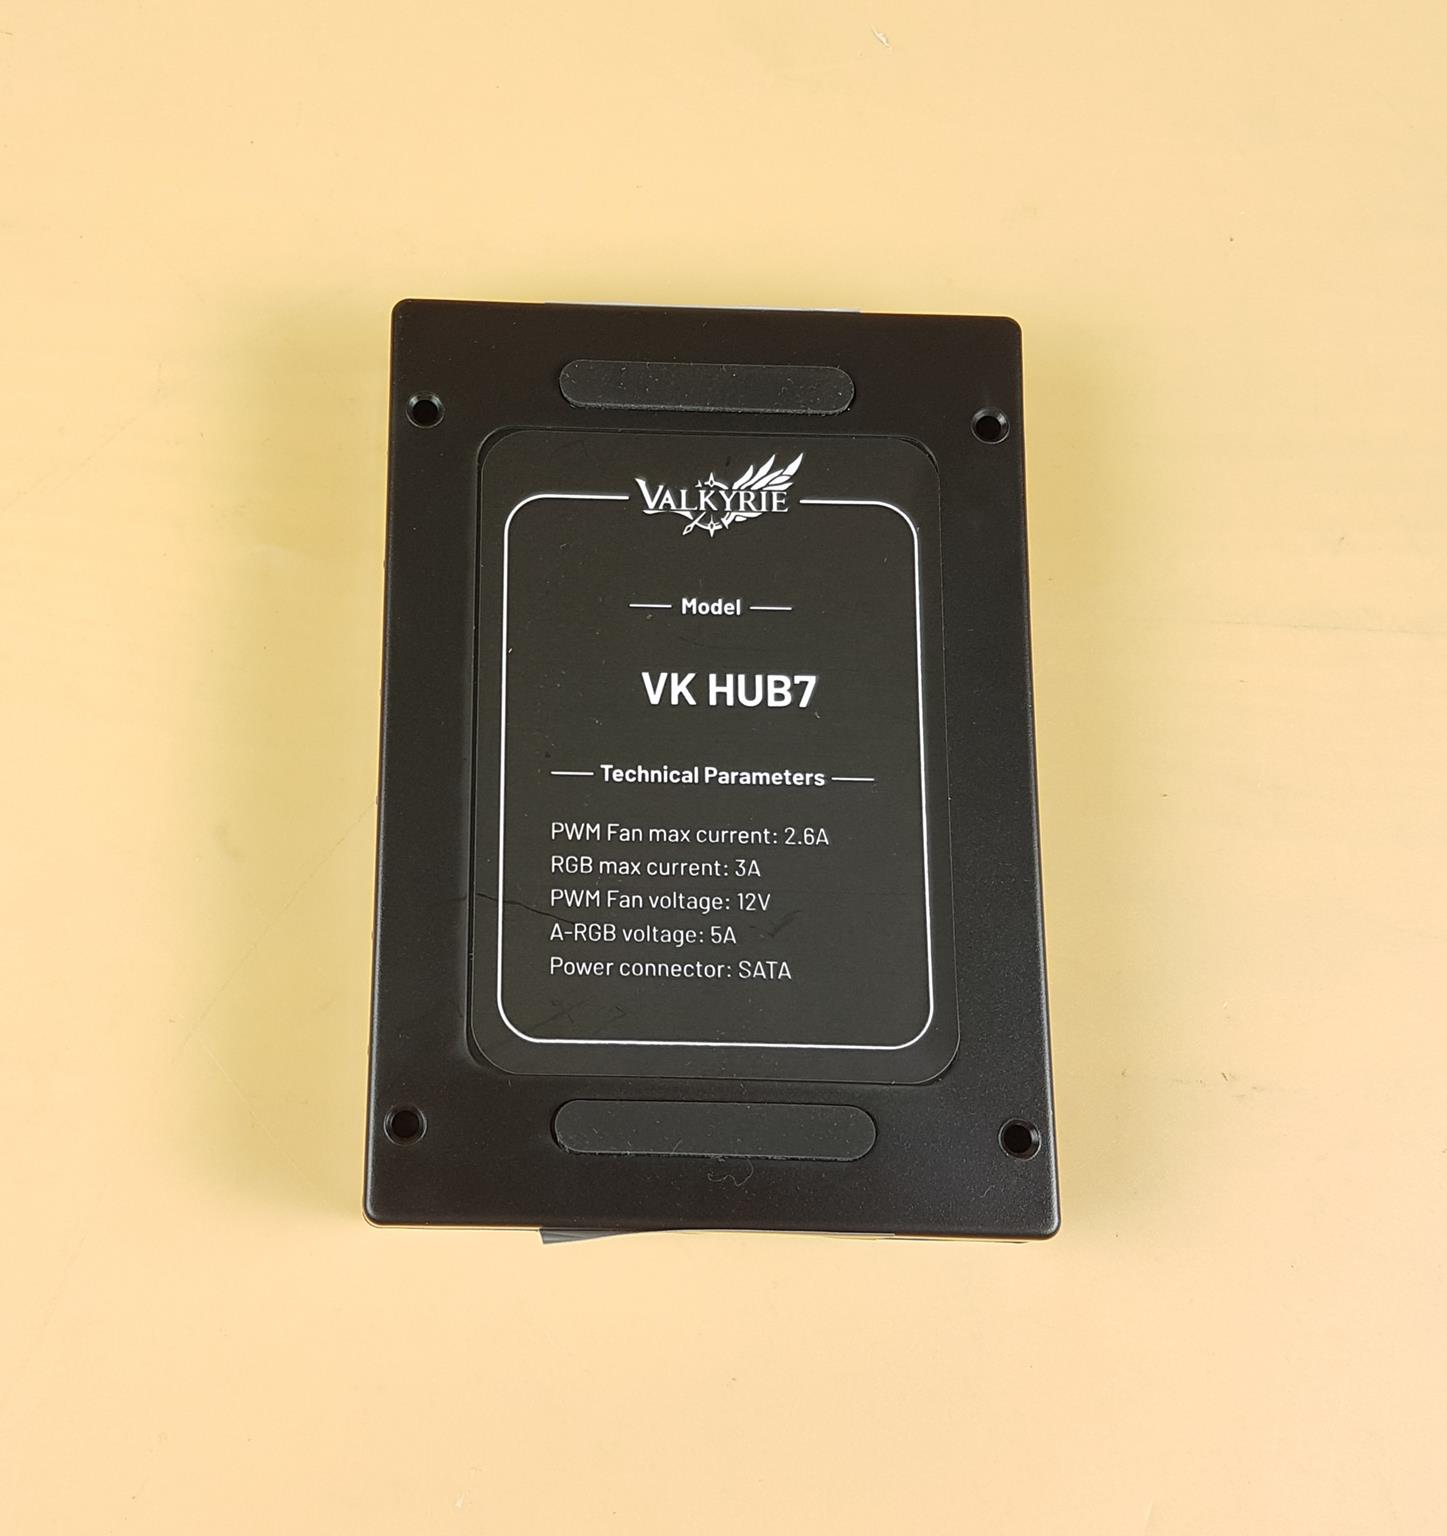
I am showing the backside of the hub. There are 4x mounting holes for which screws are provided separately in the box. This box is SATA powered. The maximum current for the PWM port is 2.6A. This is combined for all ports. The PWM fan voltage is 12VDC. RGB maximum current is 3A at 5VDC which is also combined for all ports.
A-RGB Voltage unit is incorrectly mentioned as 5A where it should be 5VDC.
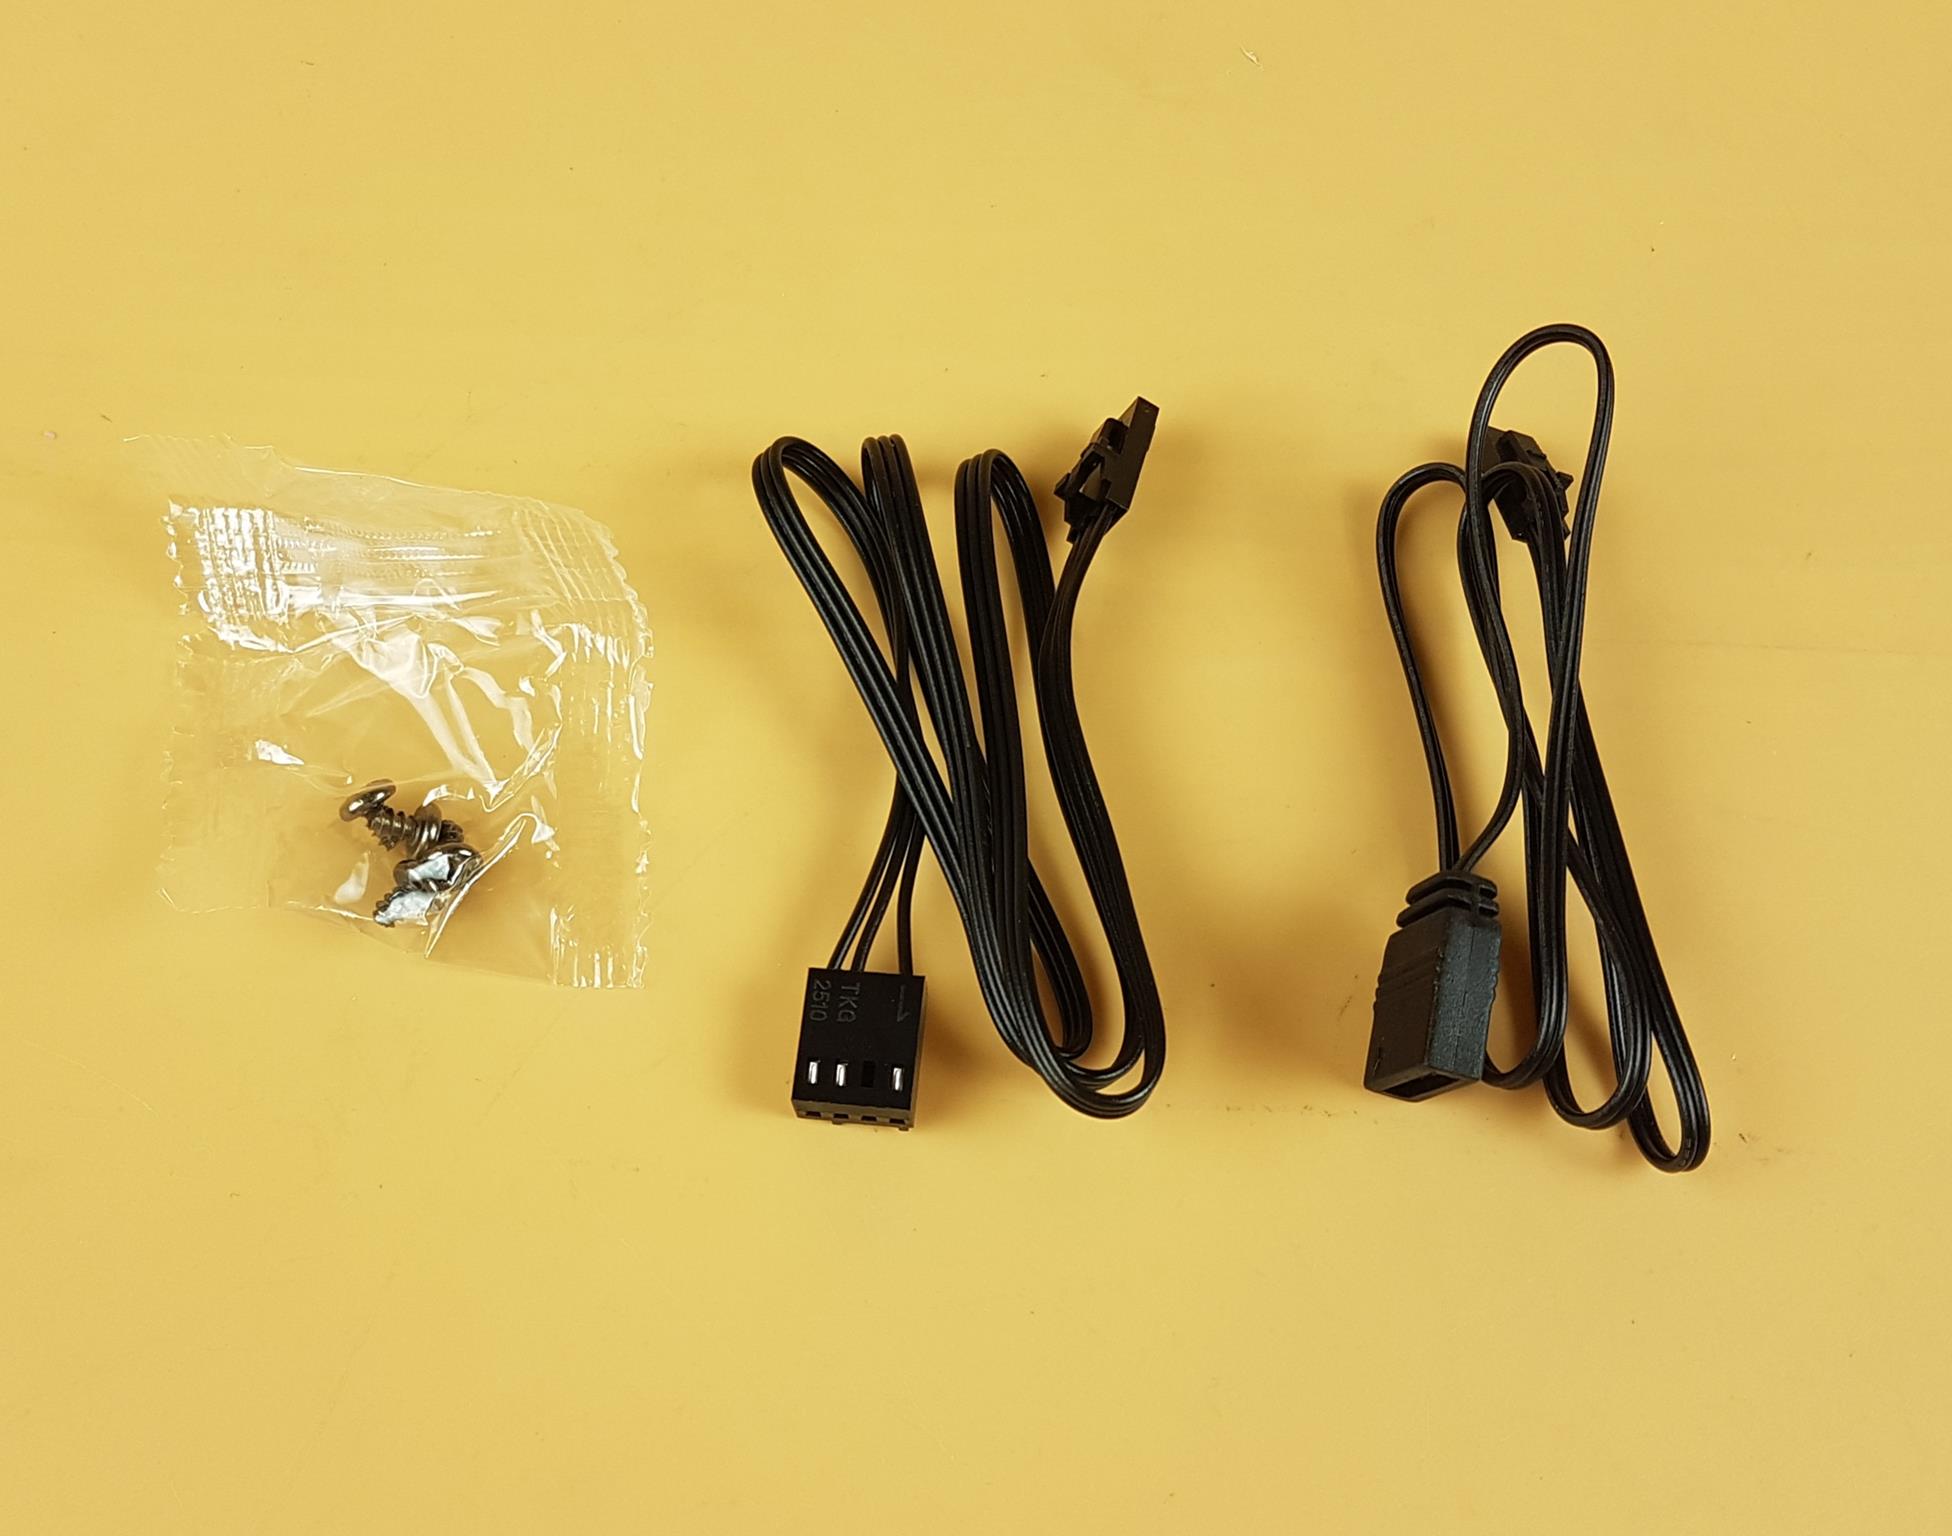
There are 4x screws to install the hub inside the case. There is a PWM connection cable and an A-RGB connection cable. These are required to be connected to the hub and the motherboard. They must be connected.
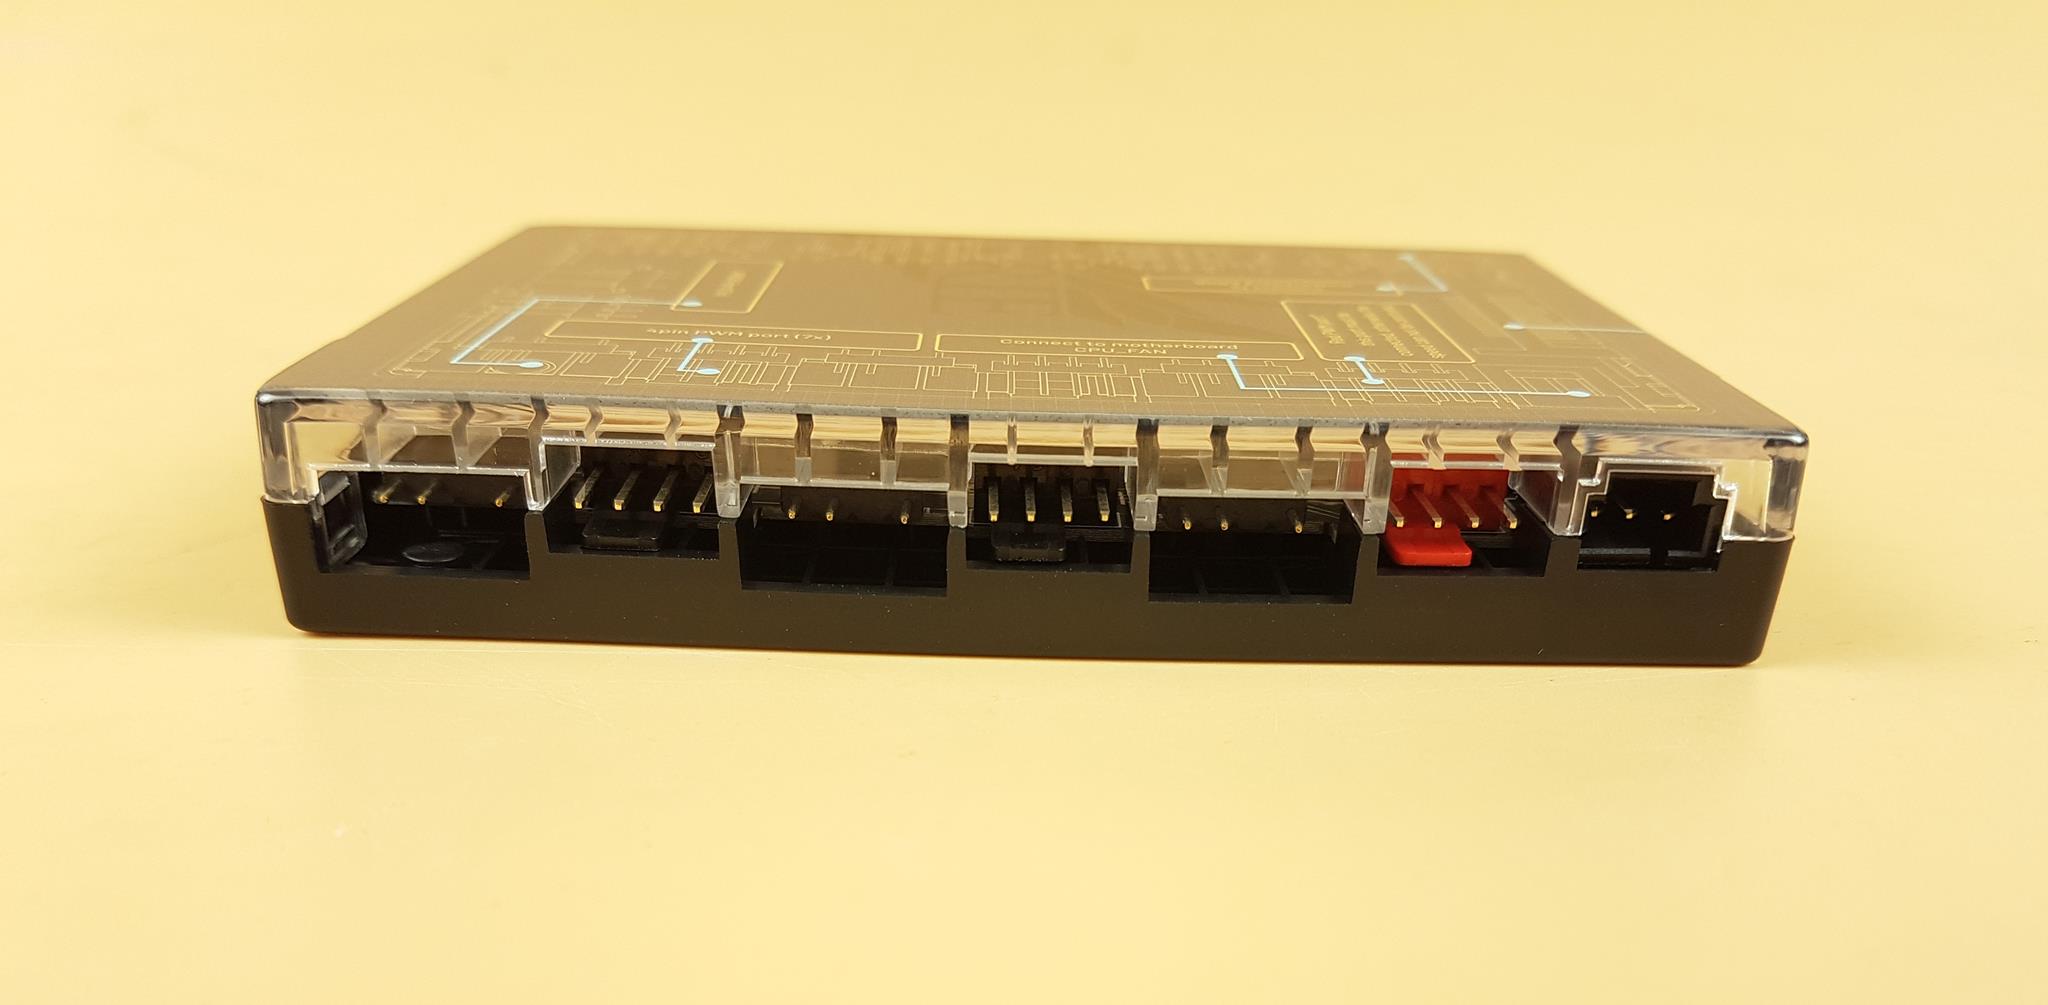
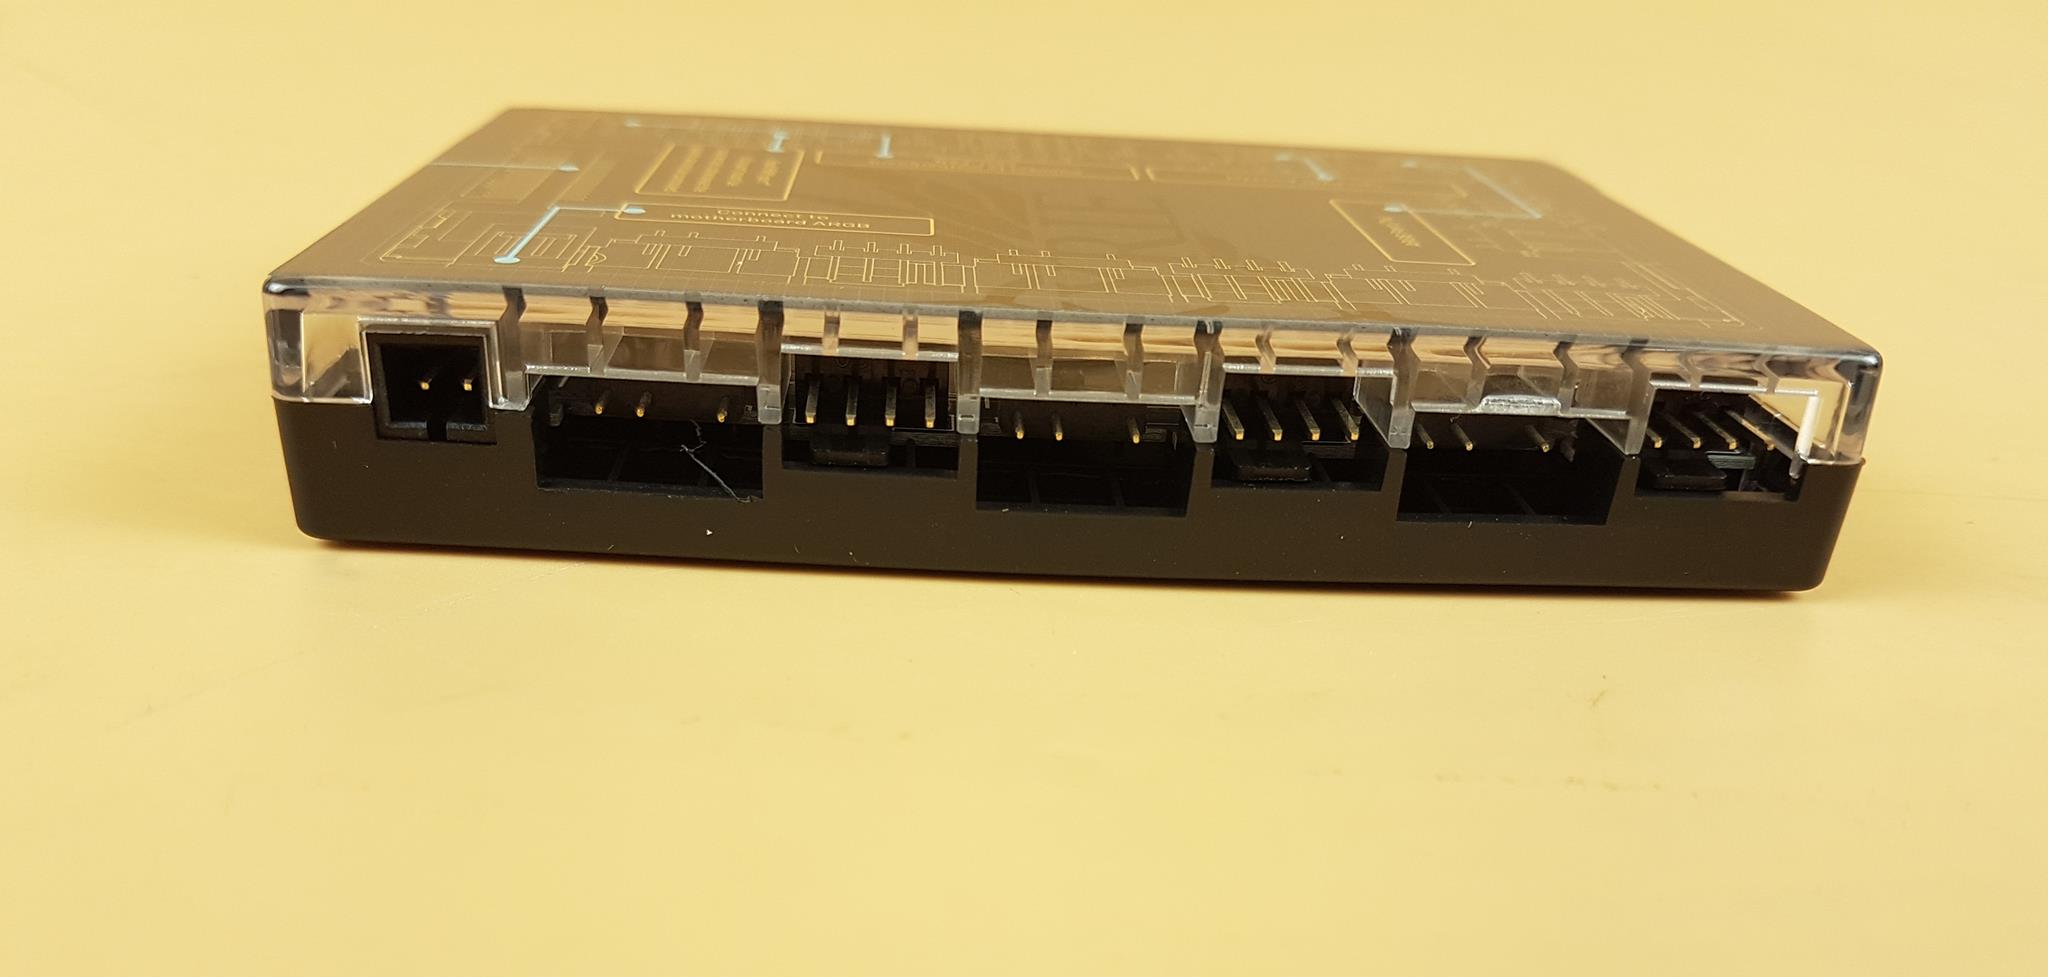
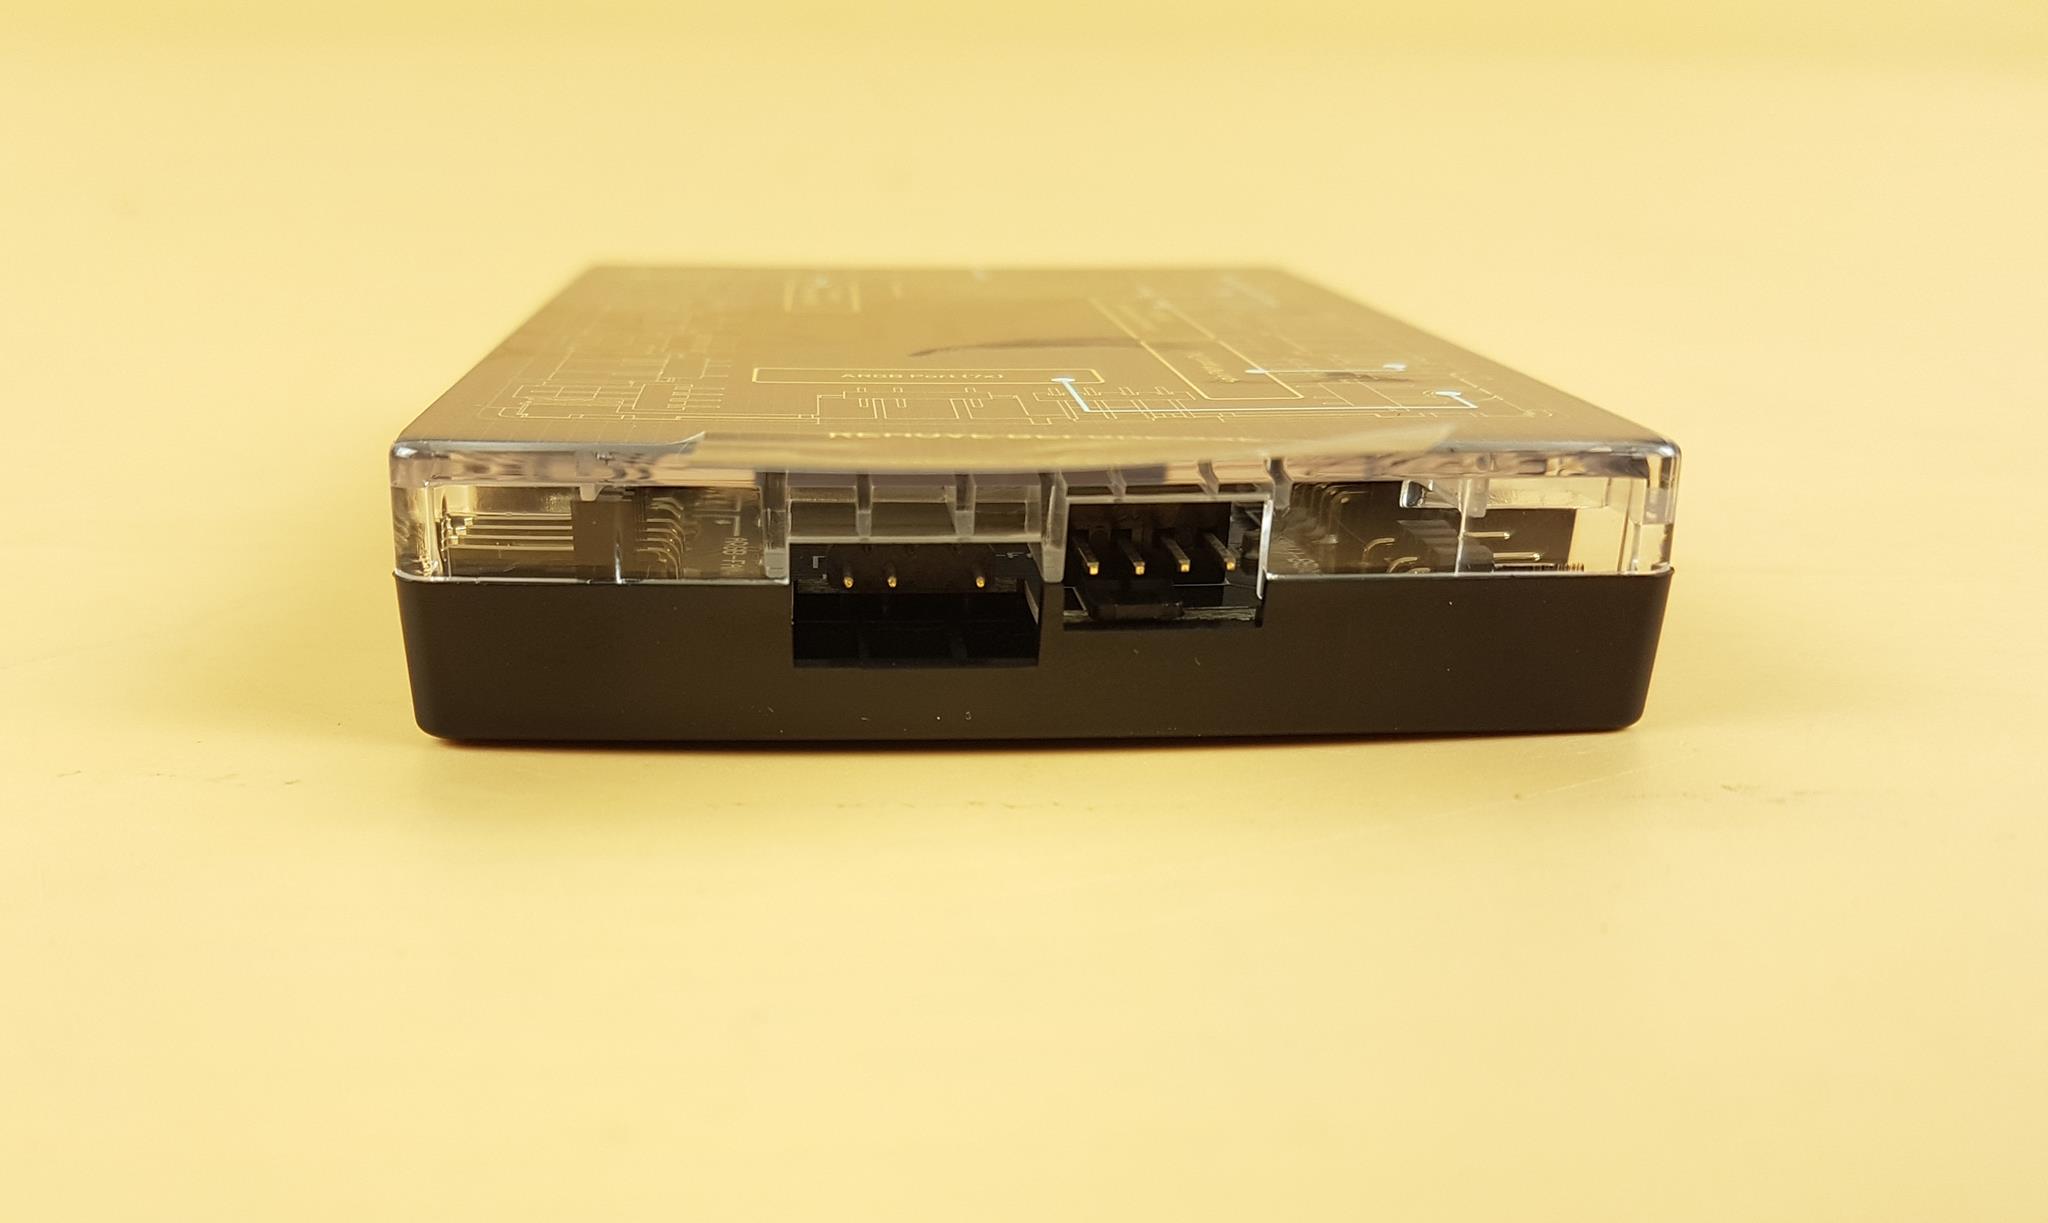
I am showing one side of the hub. There are 3x 4-pin PWM ports and 3-pin ARGB ports. There is also a red color 4-pin PWM port that must be connected to report RPM or TAC signal to the motherboard. This would be used to control all fans on the same PWM regulation. There is a 3-pin port that needs to be connected to the CPU Fan header of the motherboard using the bundled cable.
The opposite end has the same layout. We have 3x 4-pin PWM ports and 3x 3-pin ARGB ports. There is a 2-pin port as well that must be connected to the ARGB header on the motherboard using the bundled cable.
One side has a 4-pin PWM and 3-pin ARGB ports.
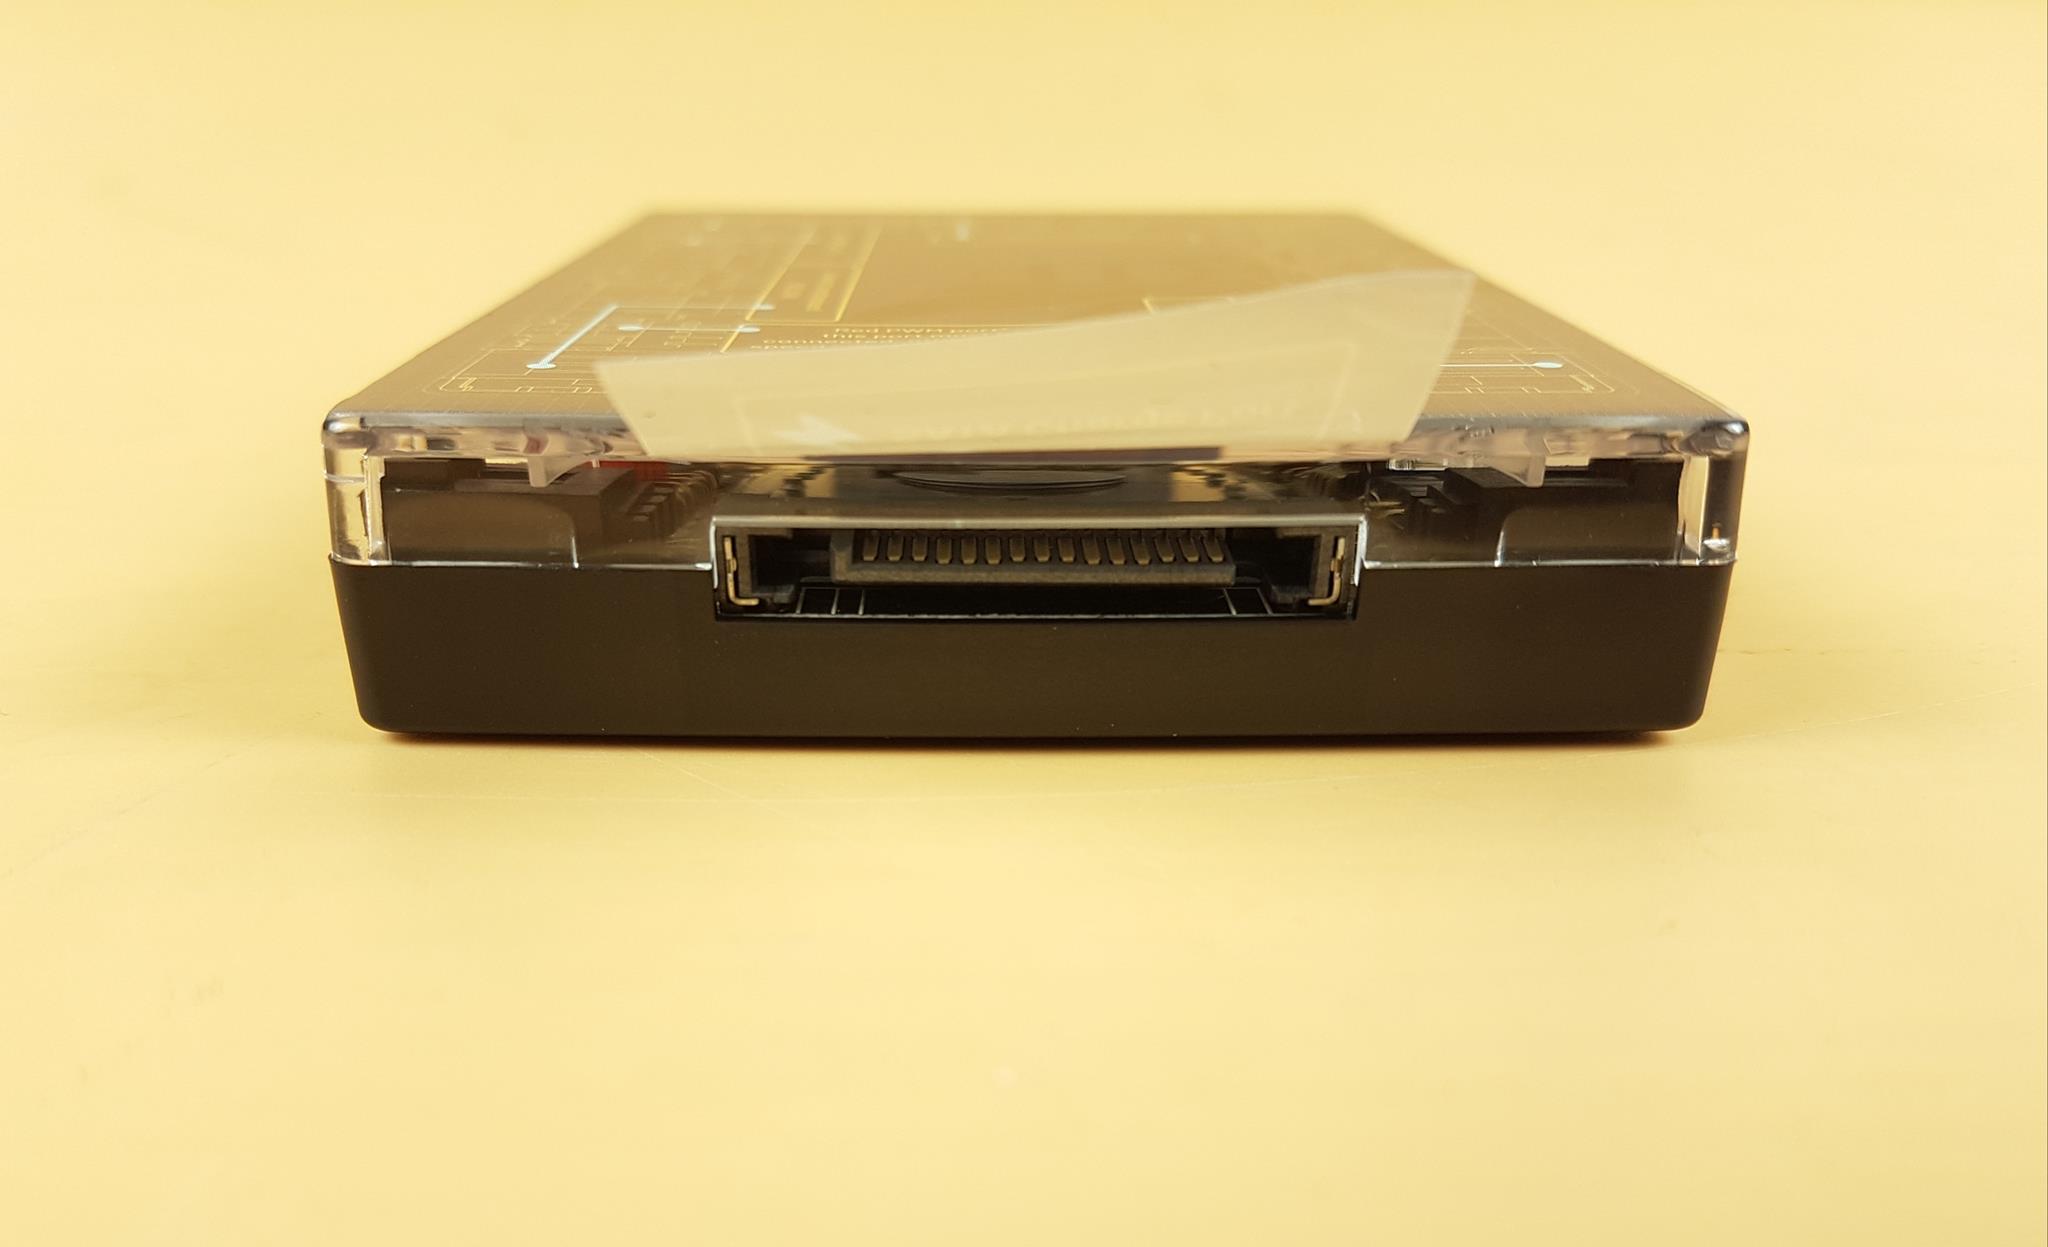
The hub is SATA powered for which you need to connect the SATA cable from your PSU to this port. Please note that this hub is optional and would be handy if going push/pull on the cooler. This hub allows up to 7 connections at the same time.
Installation
We are not covering the details of installation. I only report if there is any issue or observation recorded during installation. My Valkyrie has incorrectly mentioned the standoff screw thread length in the installation manual. They meant to say that the thicker threaded side would face down. Other than that, I did not encounter any issues and overall installation was a breeze.
A-RGB Lighting
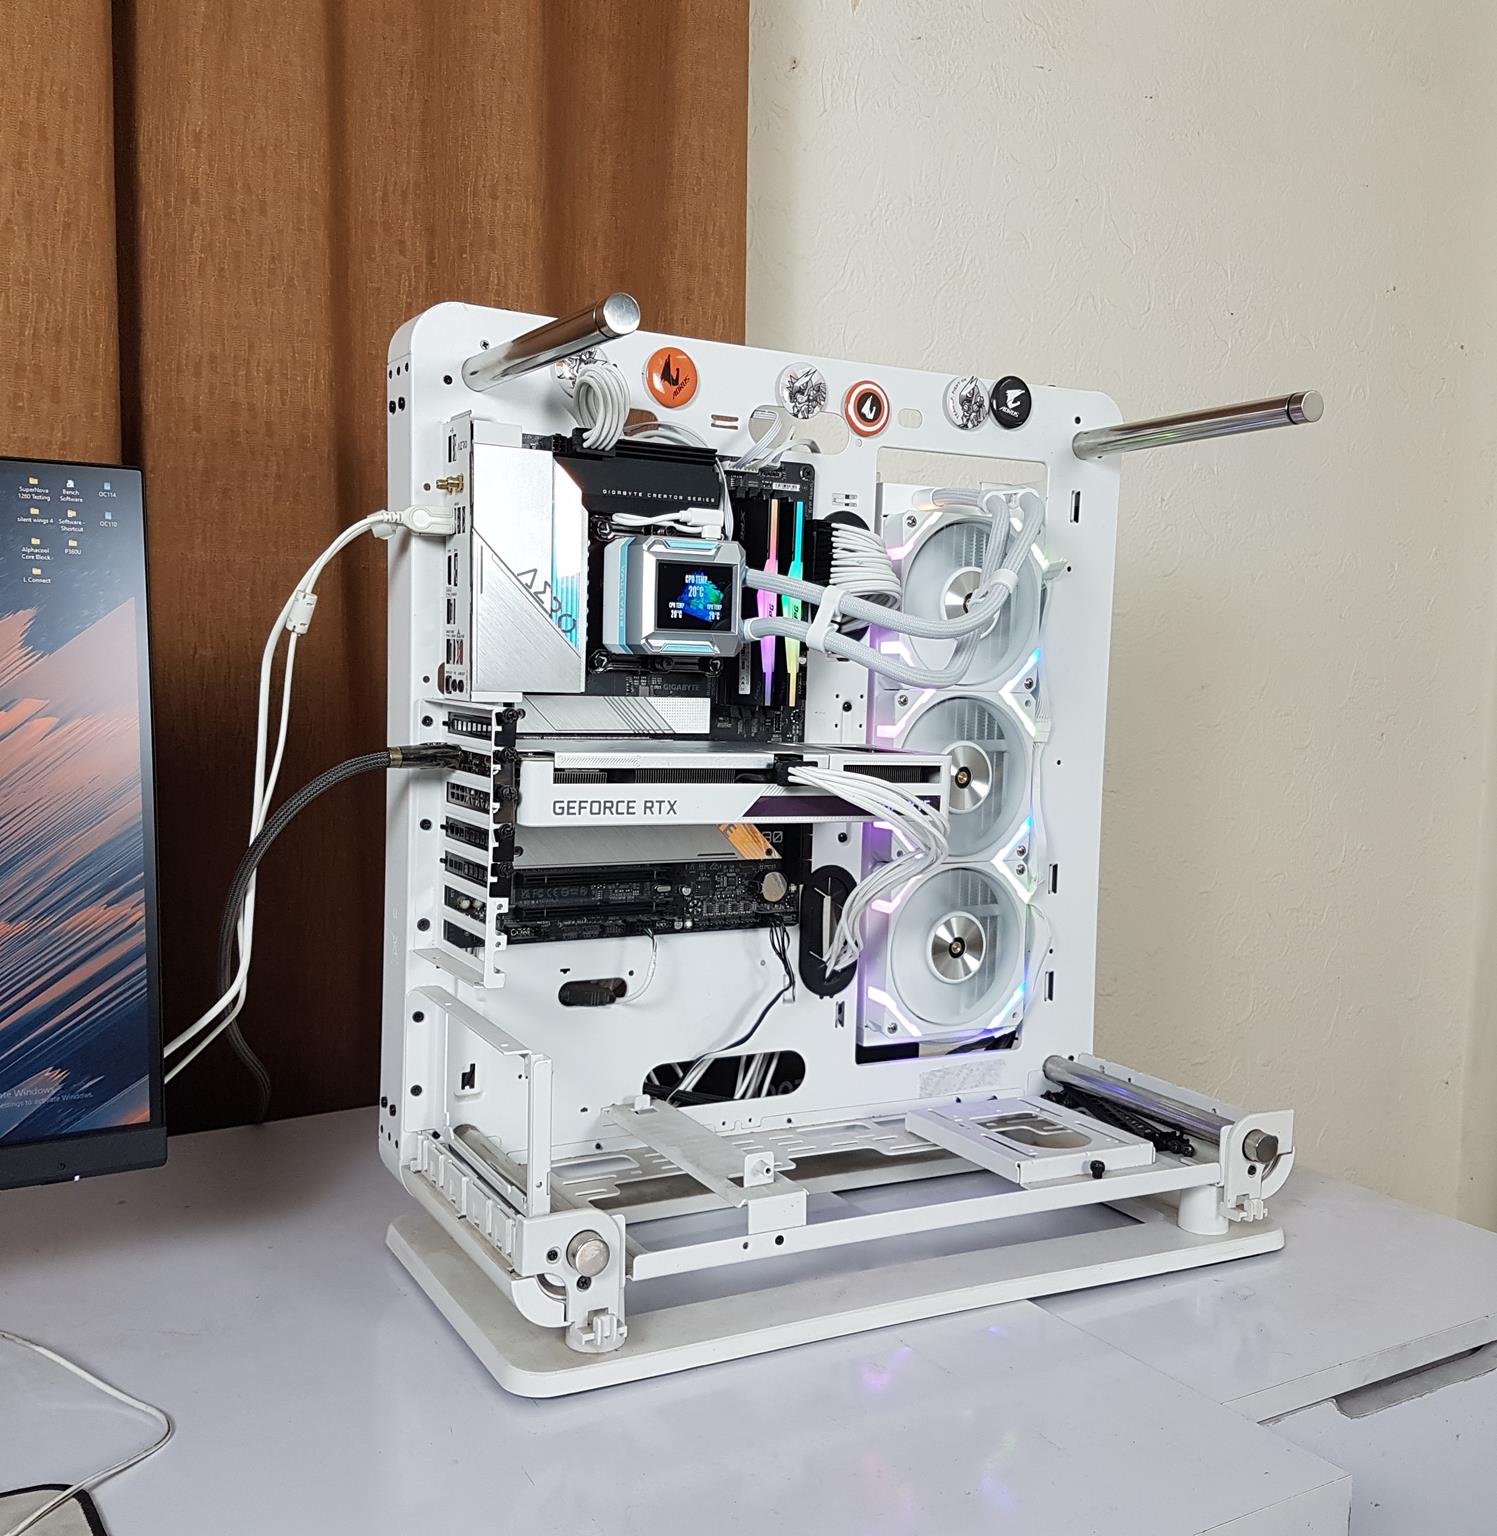
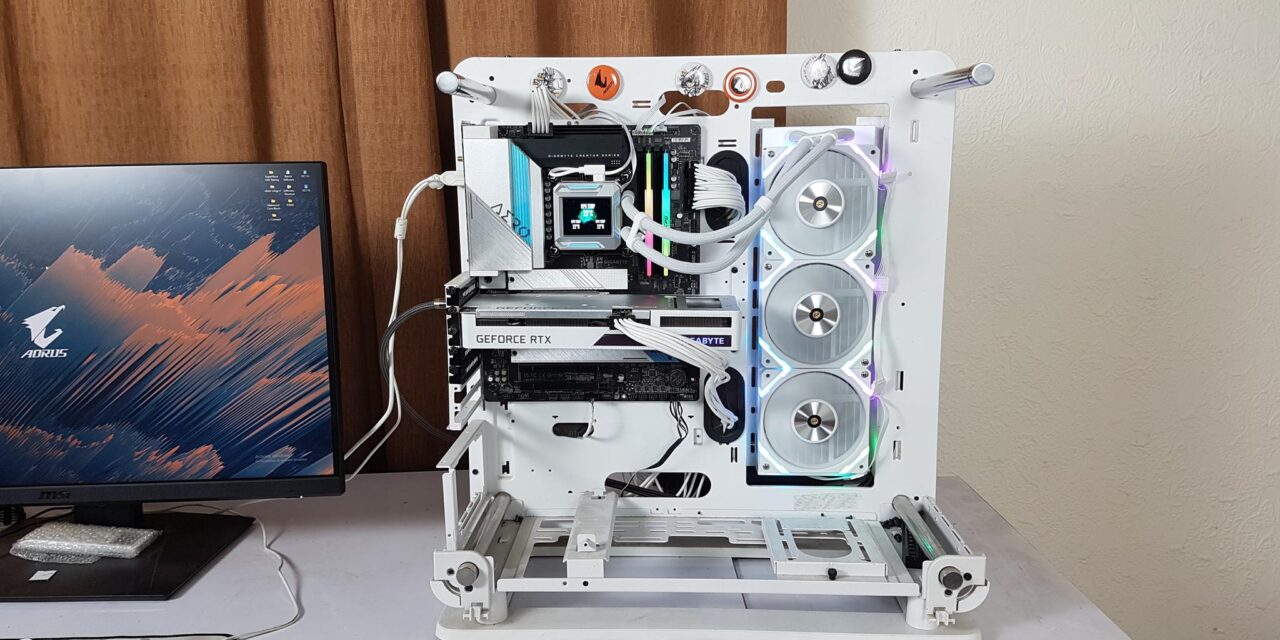
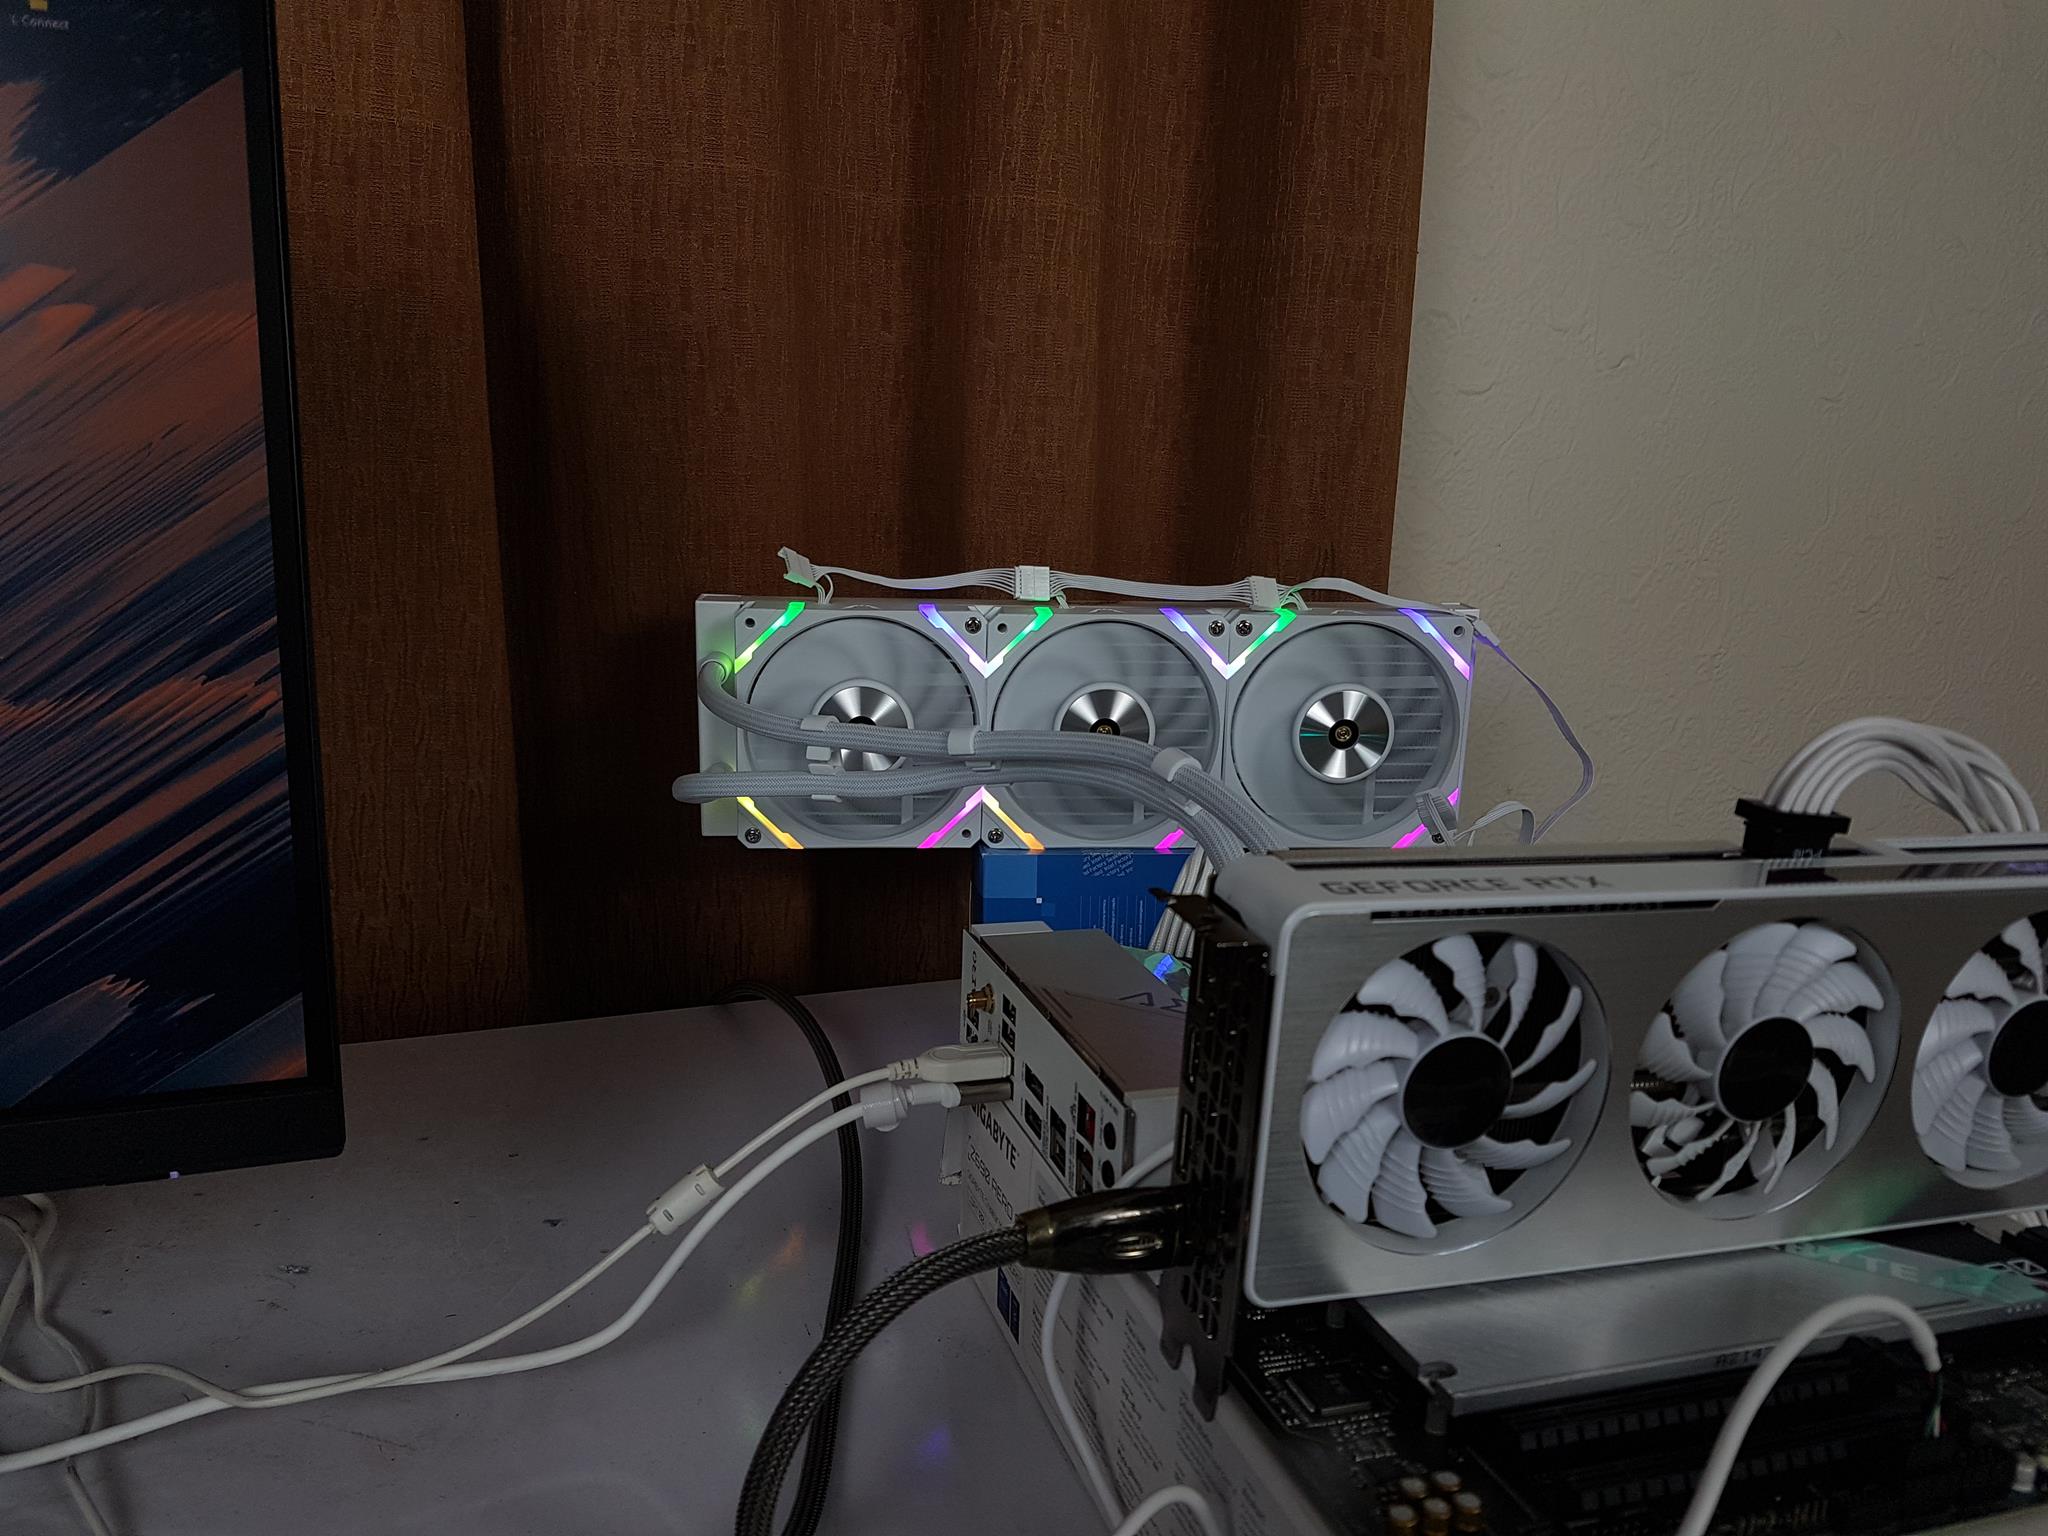
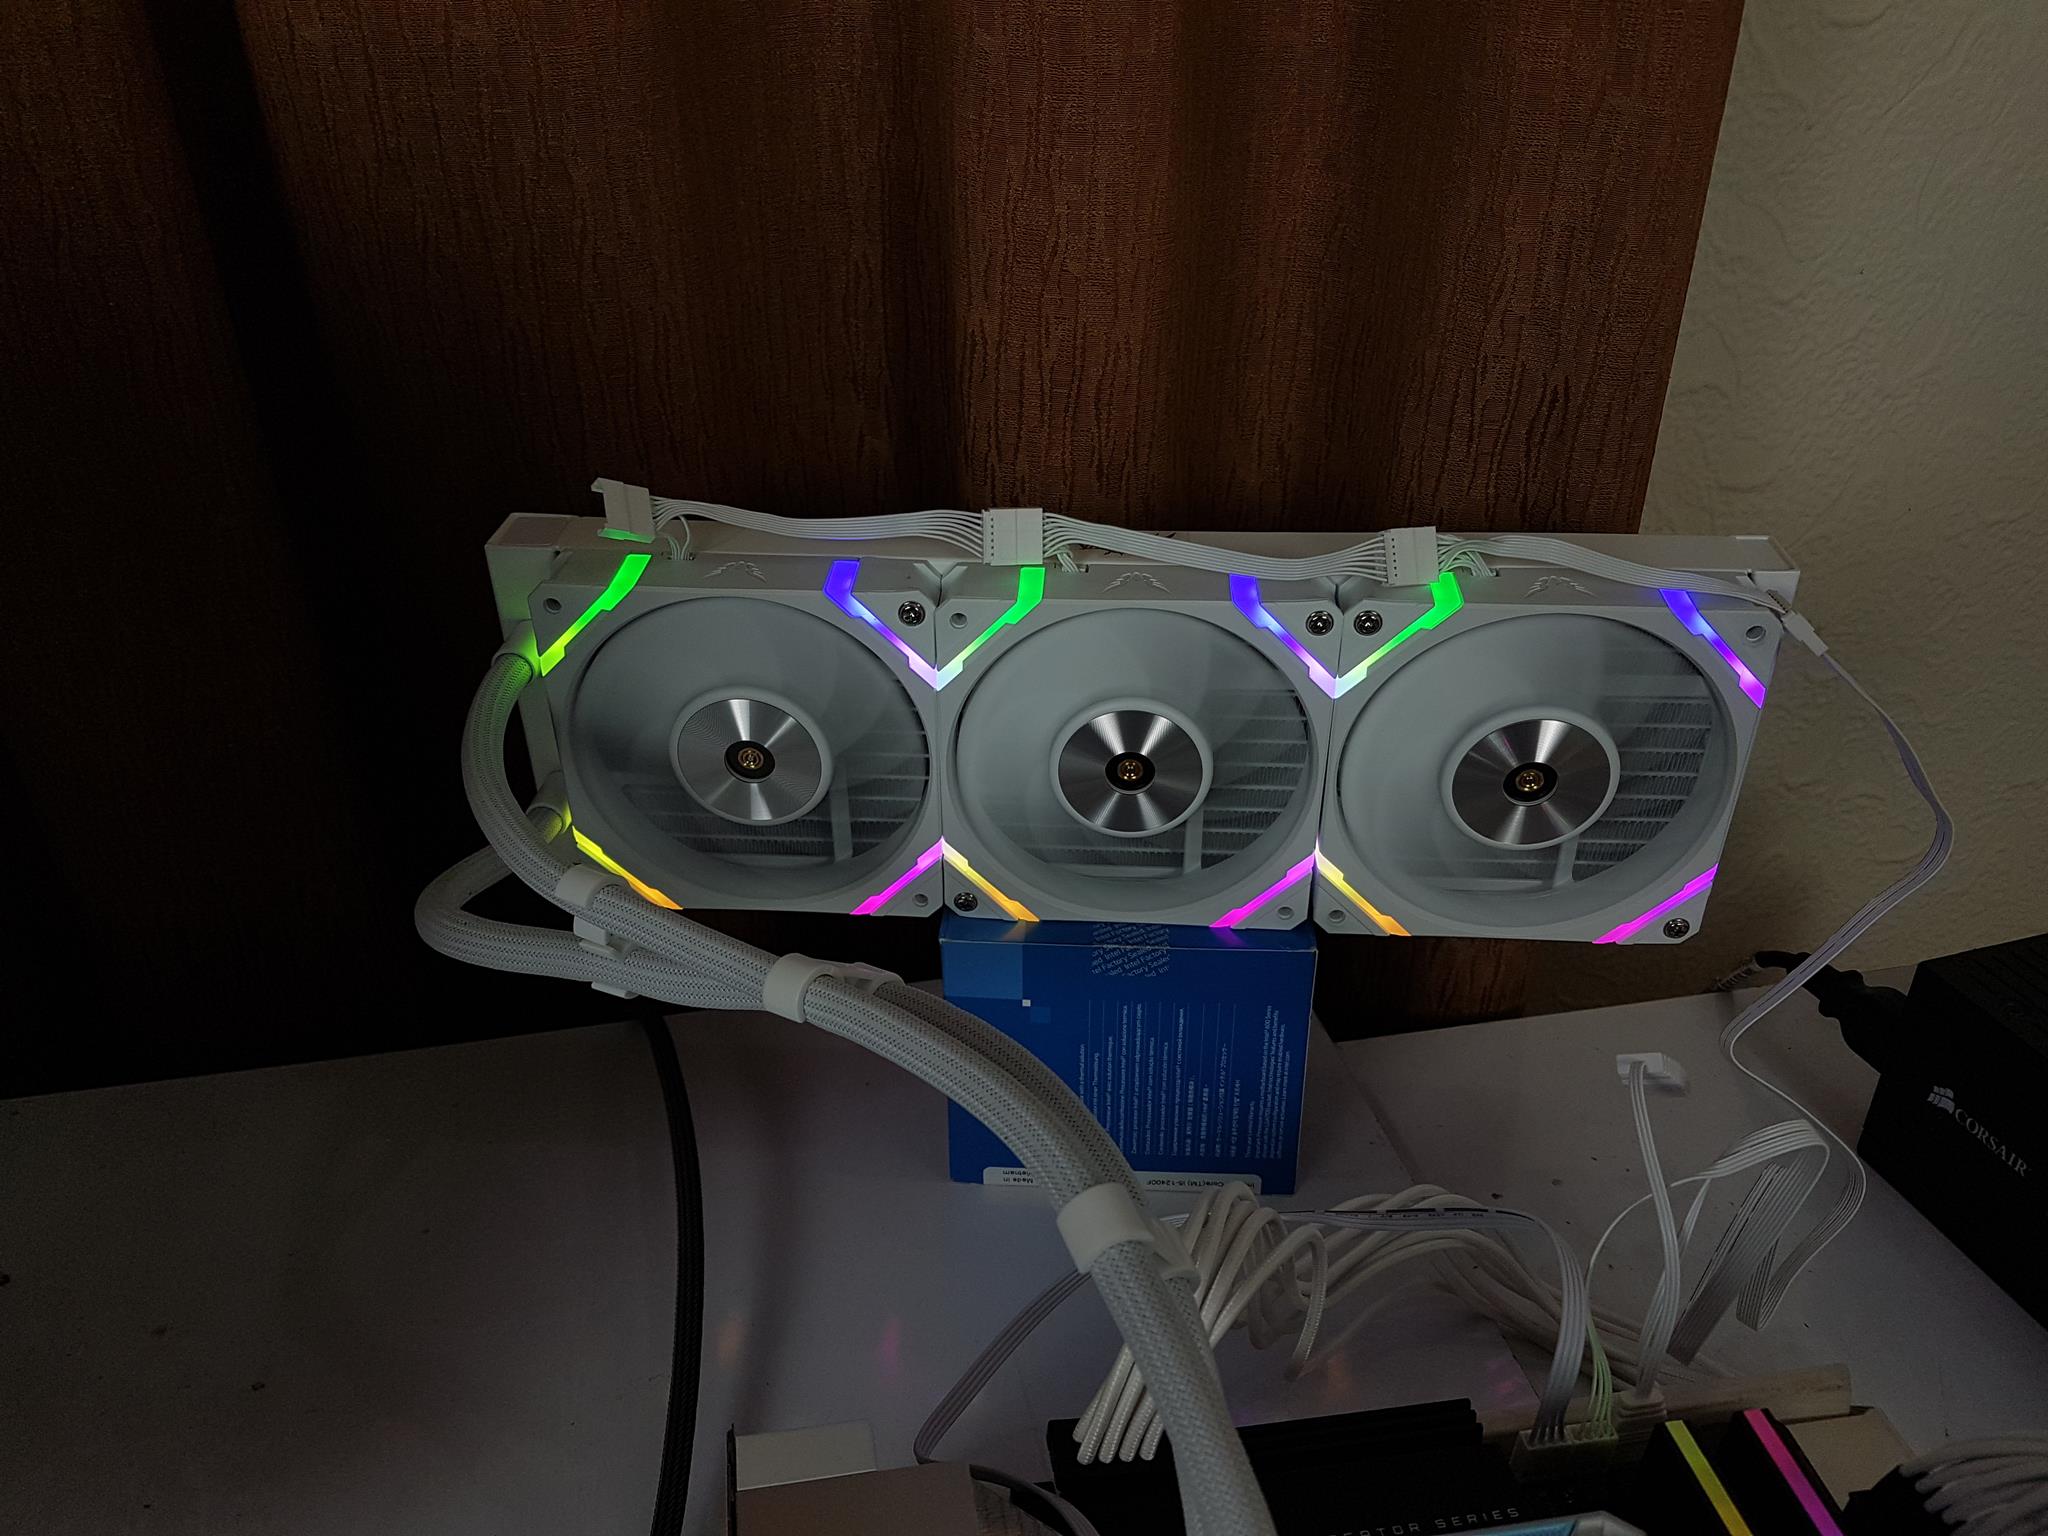
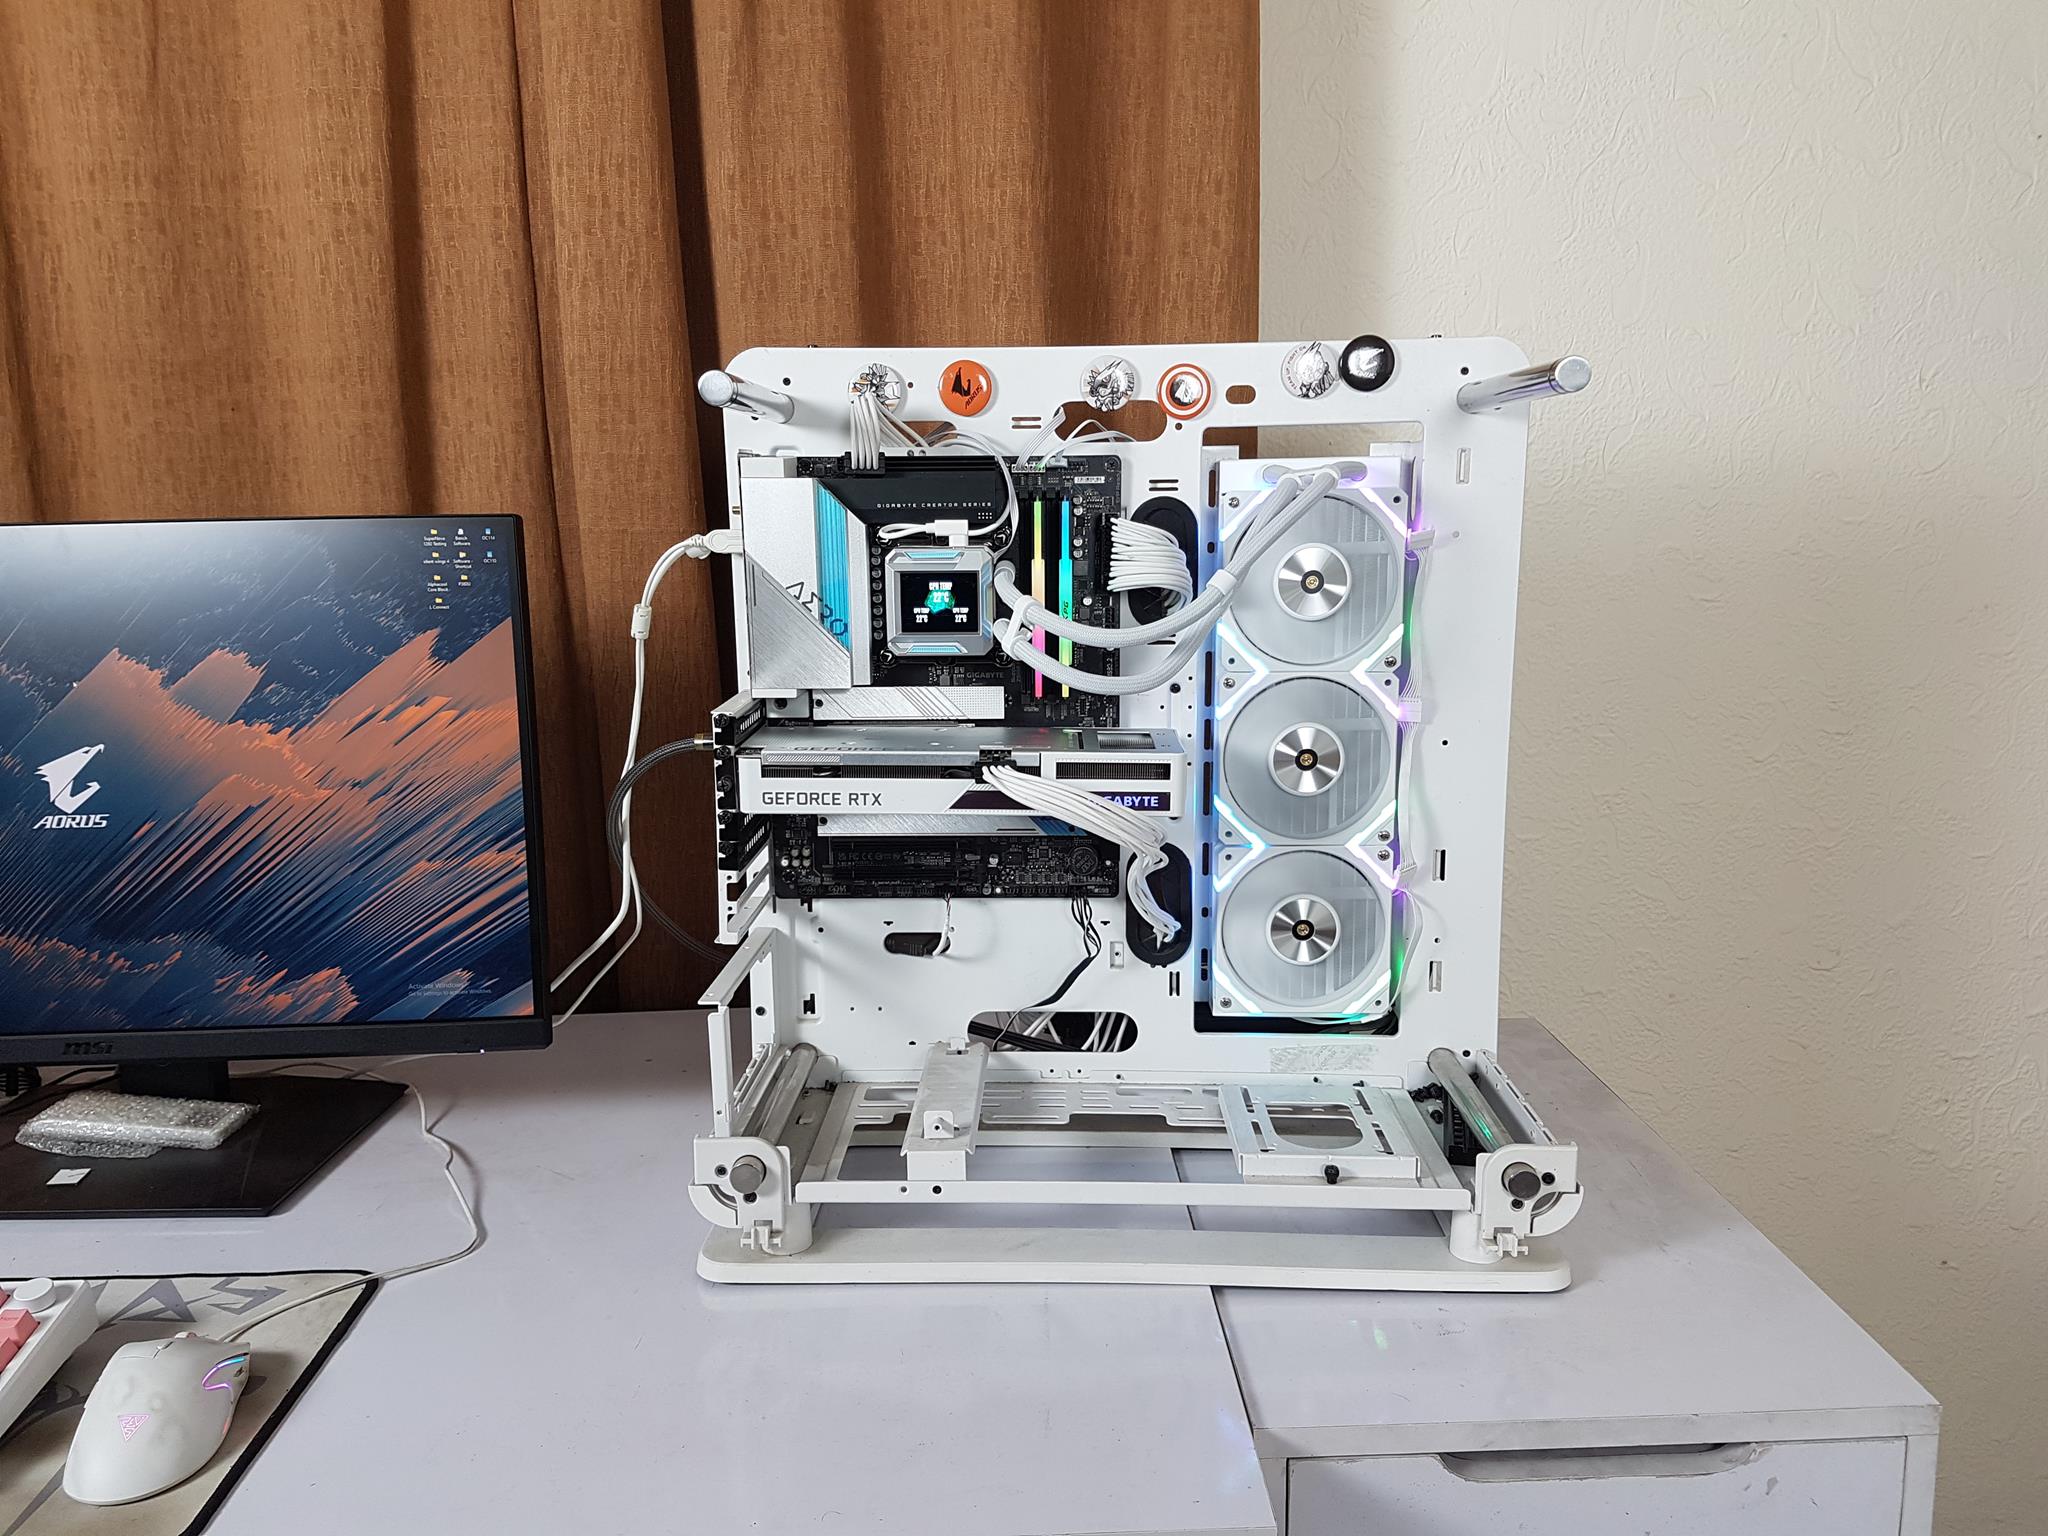
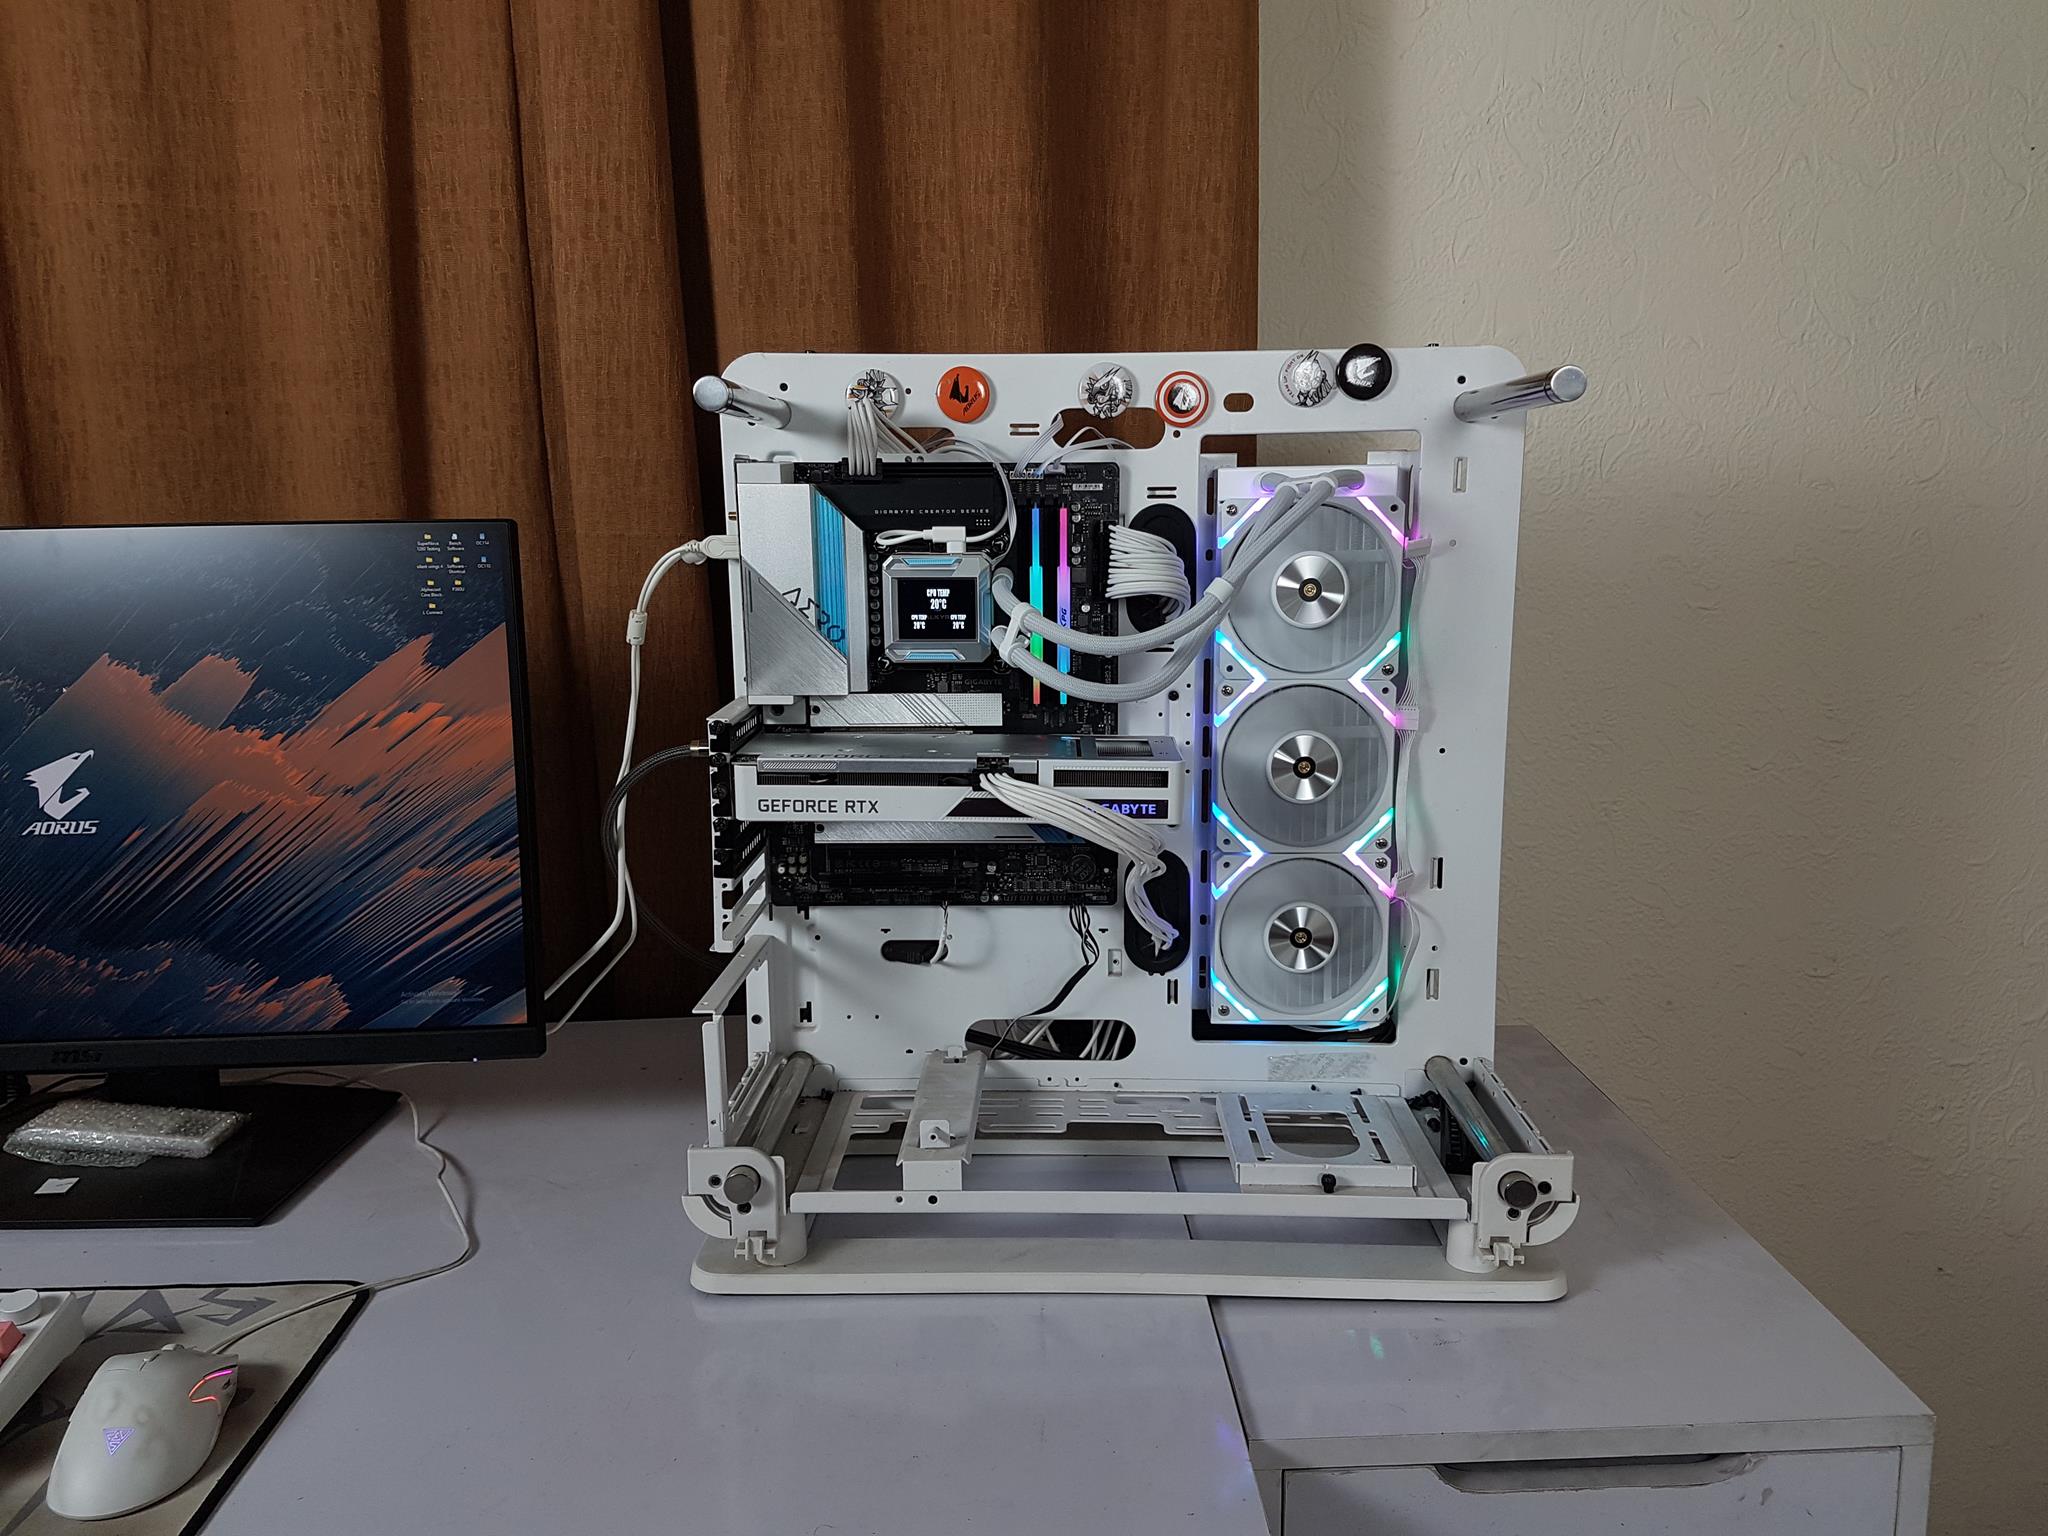
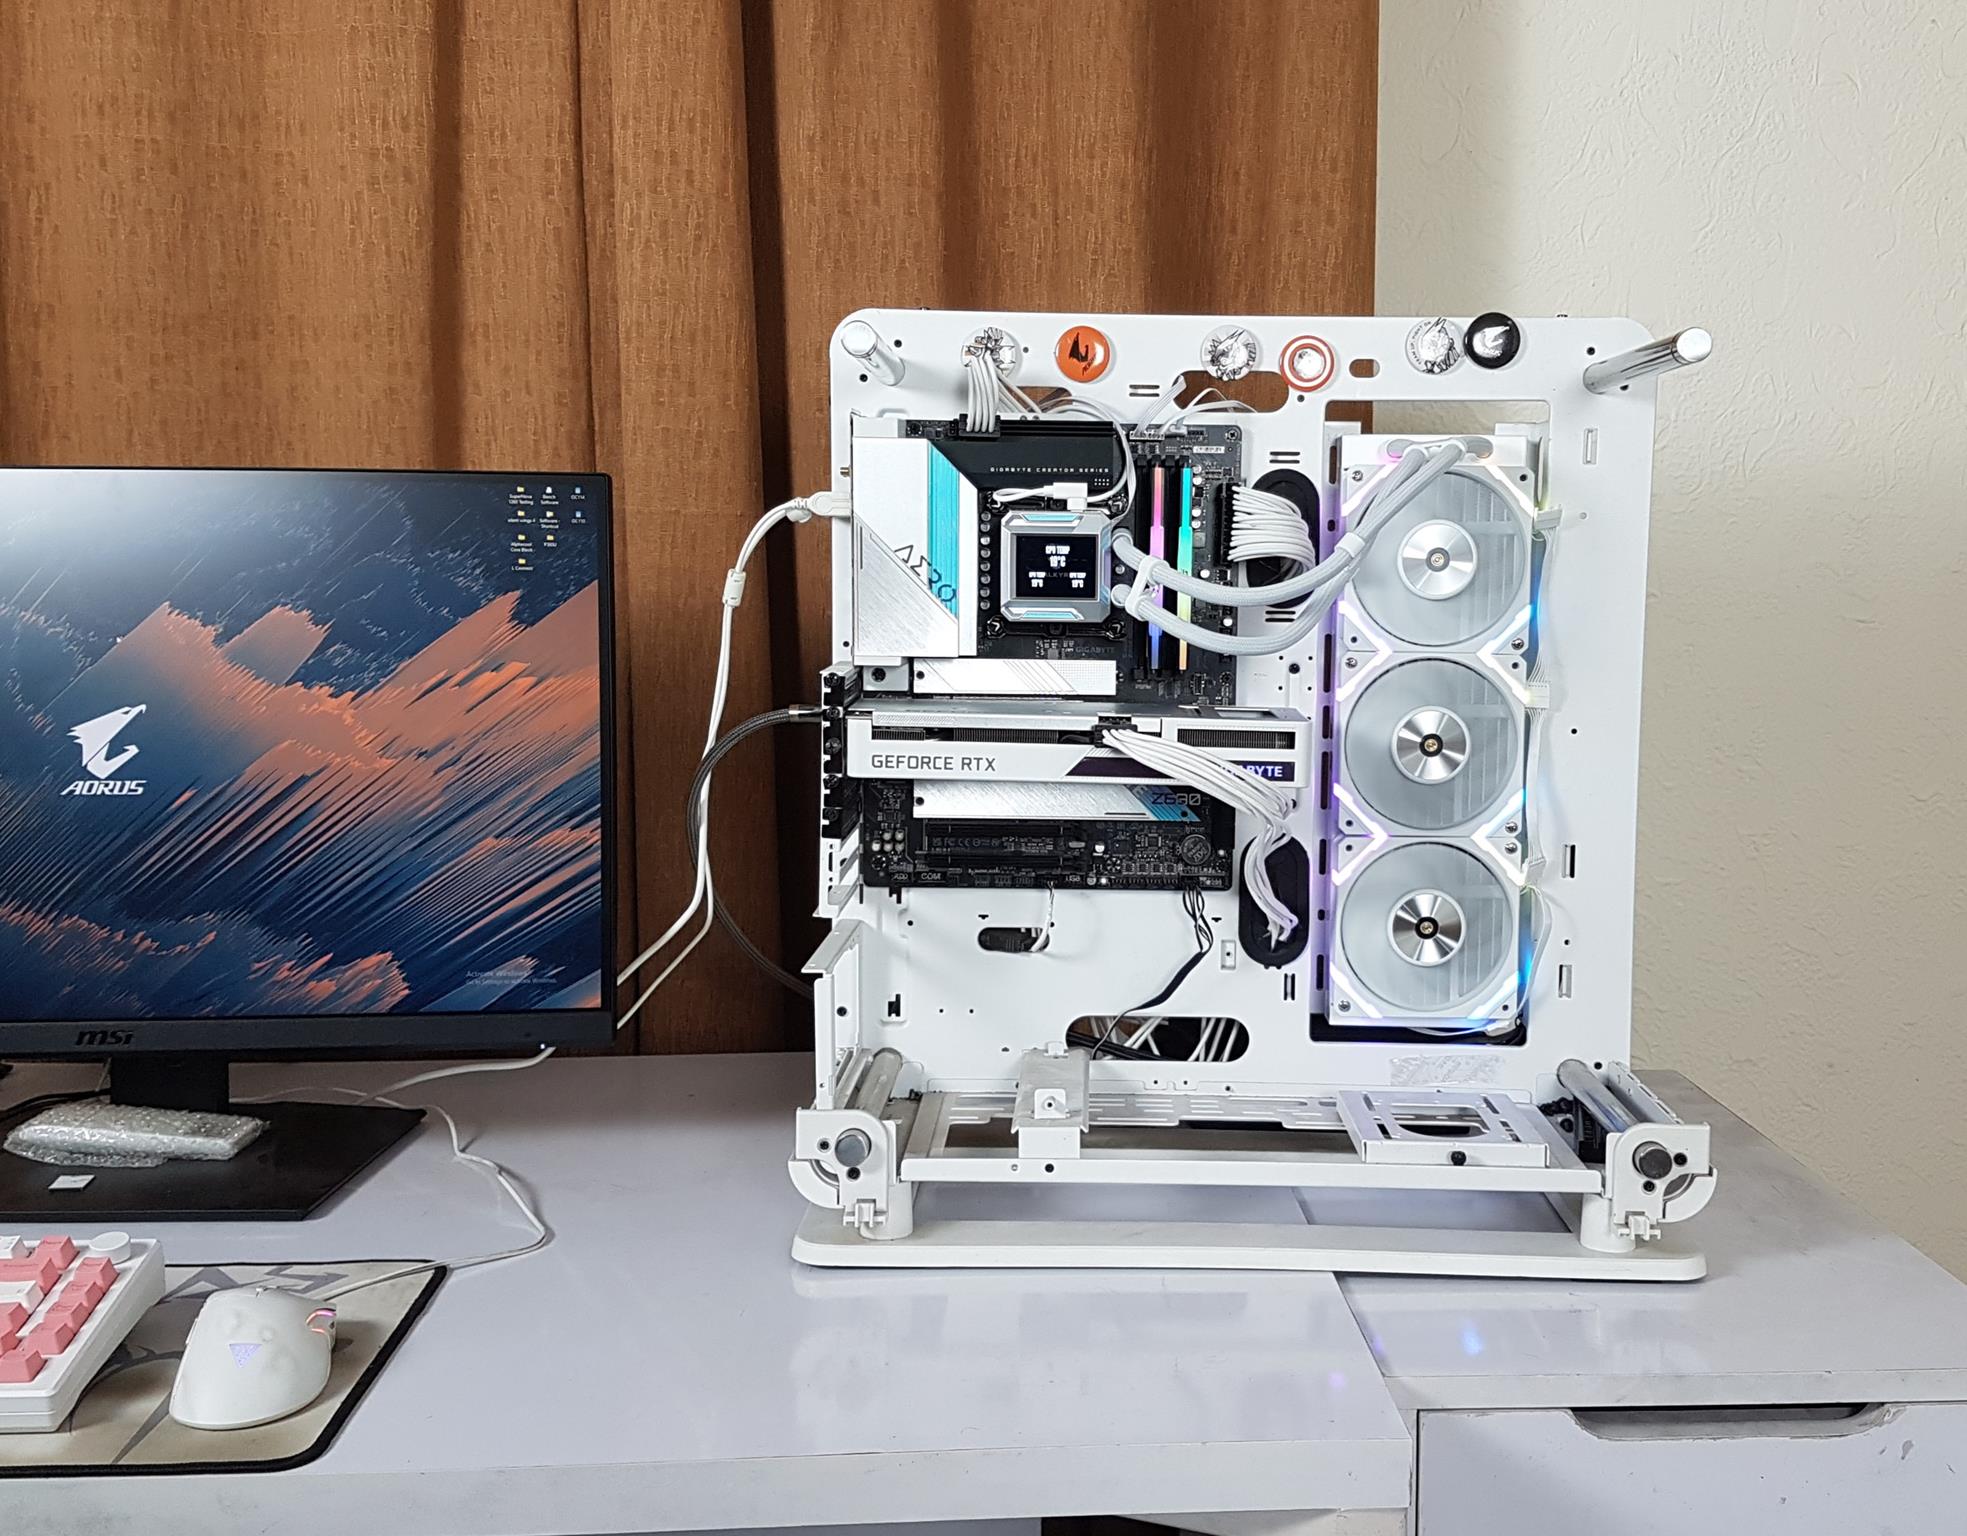
The extension cable for the fans uses standard connectors which makes the ARGB lighting compatible with the RGB sync technology of the motherboard manufacturers. I have tested the cooler on the GIGABYTE Z690 AERO G DDR5 motherboard and control the lighting using the RGB Fusion 2.0 app. It was working flawlessly. I did not use the hub. Here are a few pictures.
Myth.Cool Software
My Valkyrie has provided handy software for the LCD screen. It is named myth.cool. Quite a strange name and no it is not myth. LOL. You can download it from their website under the product page of SYN 360 White cooler.
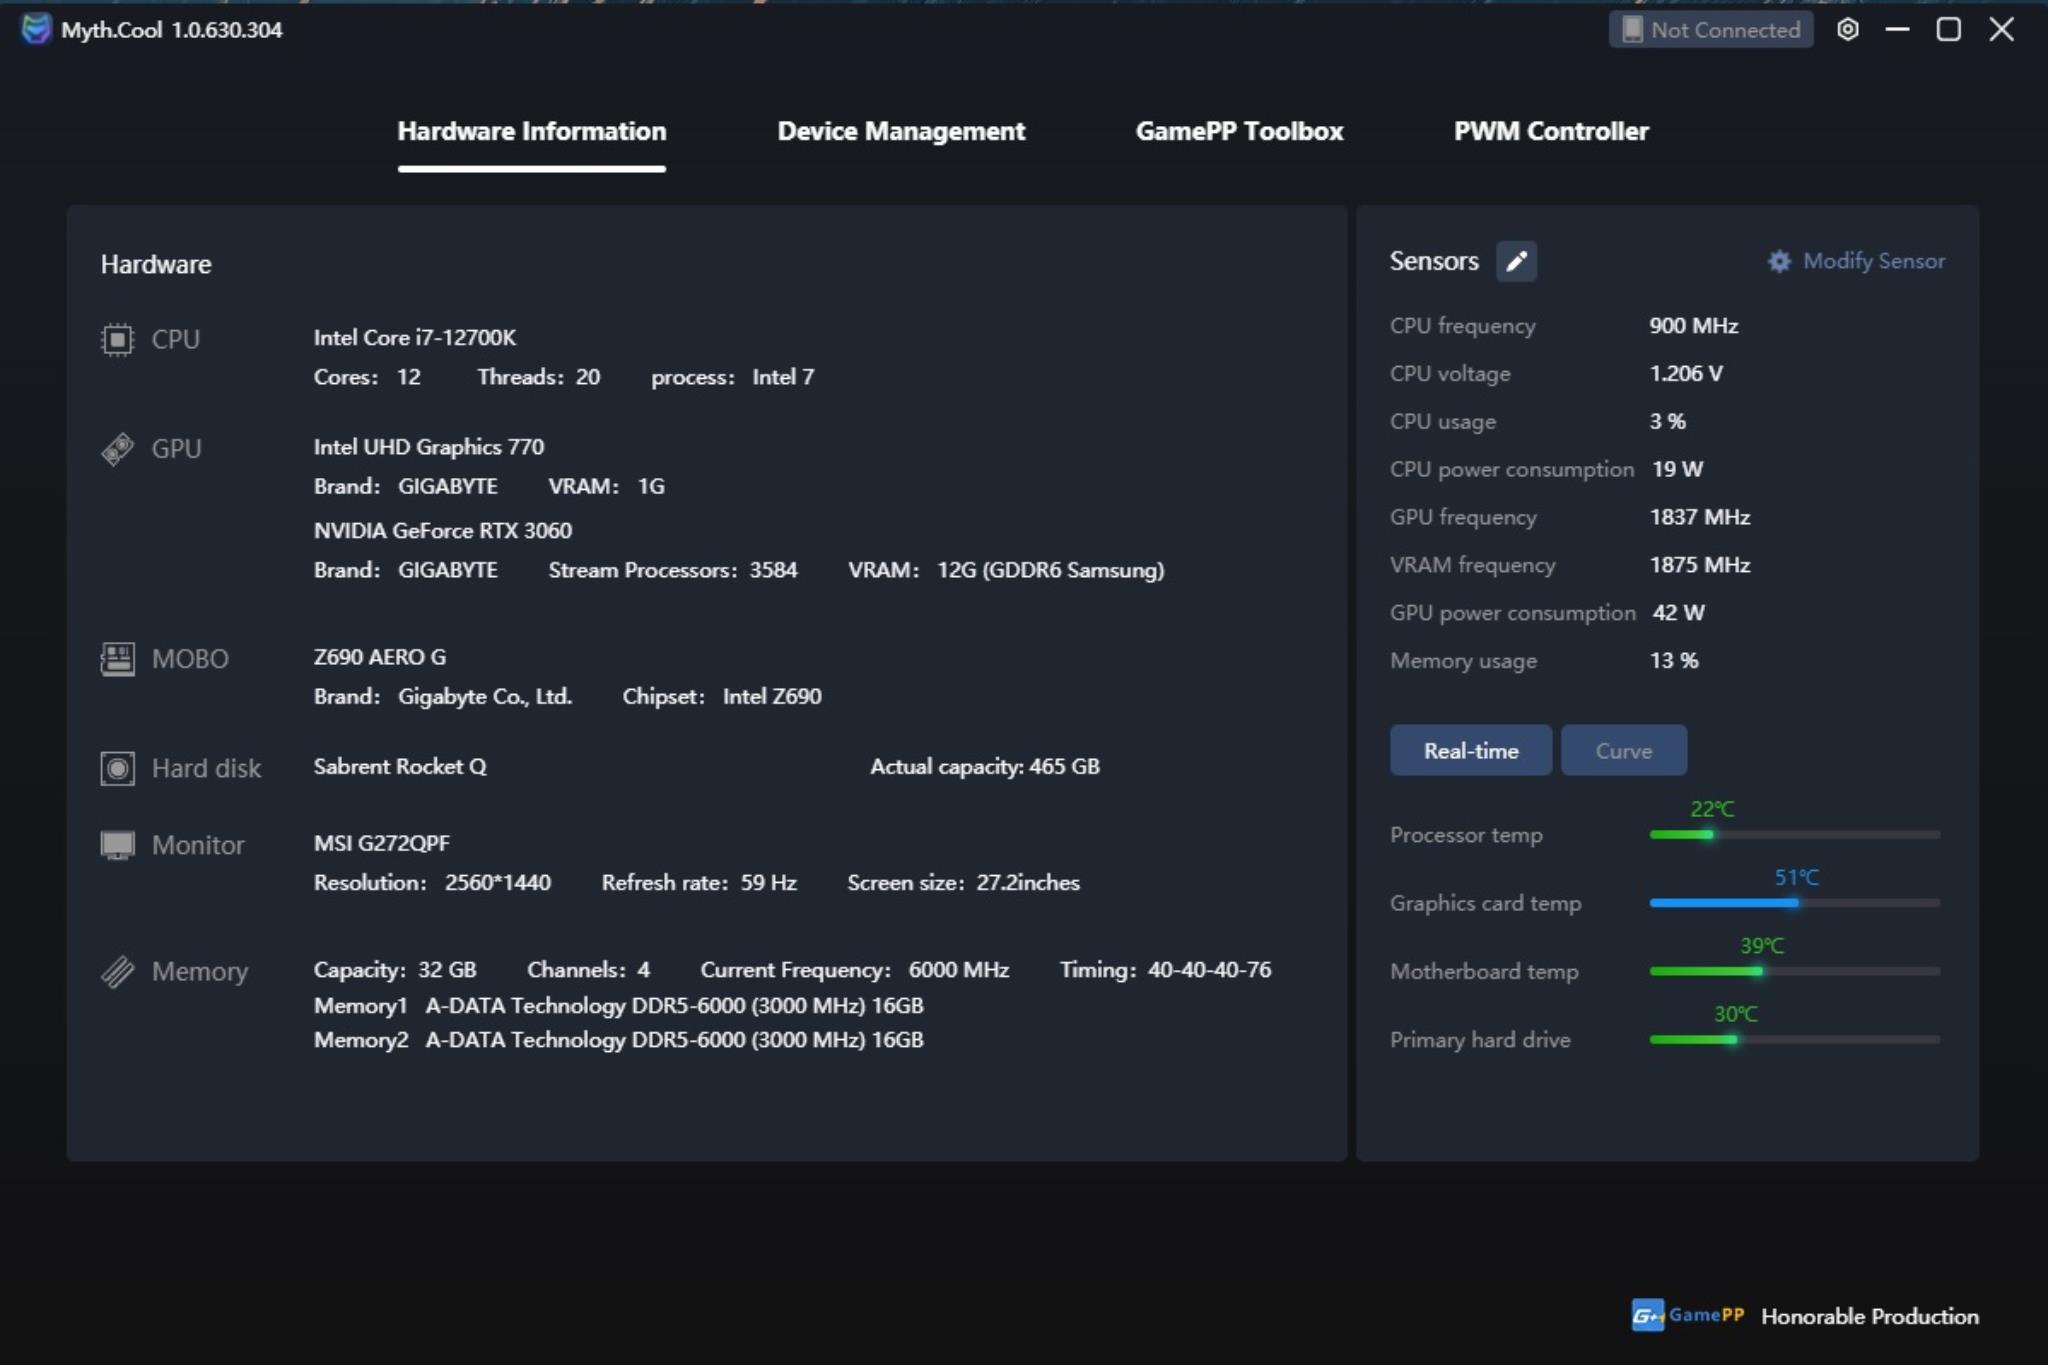
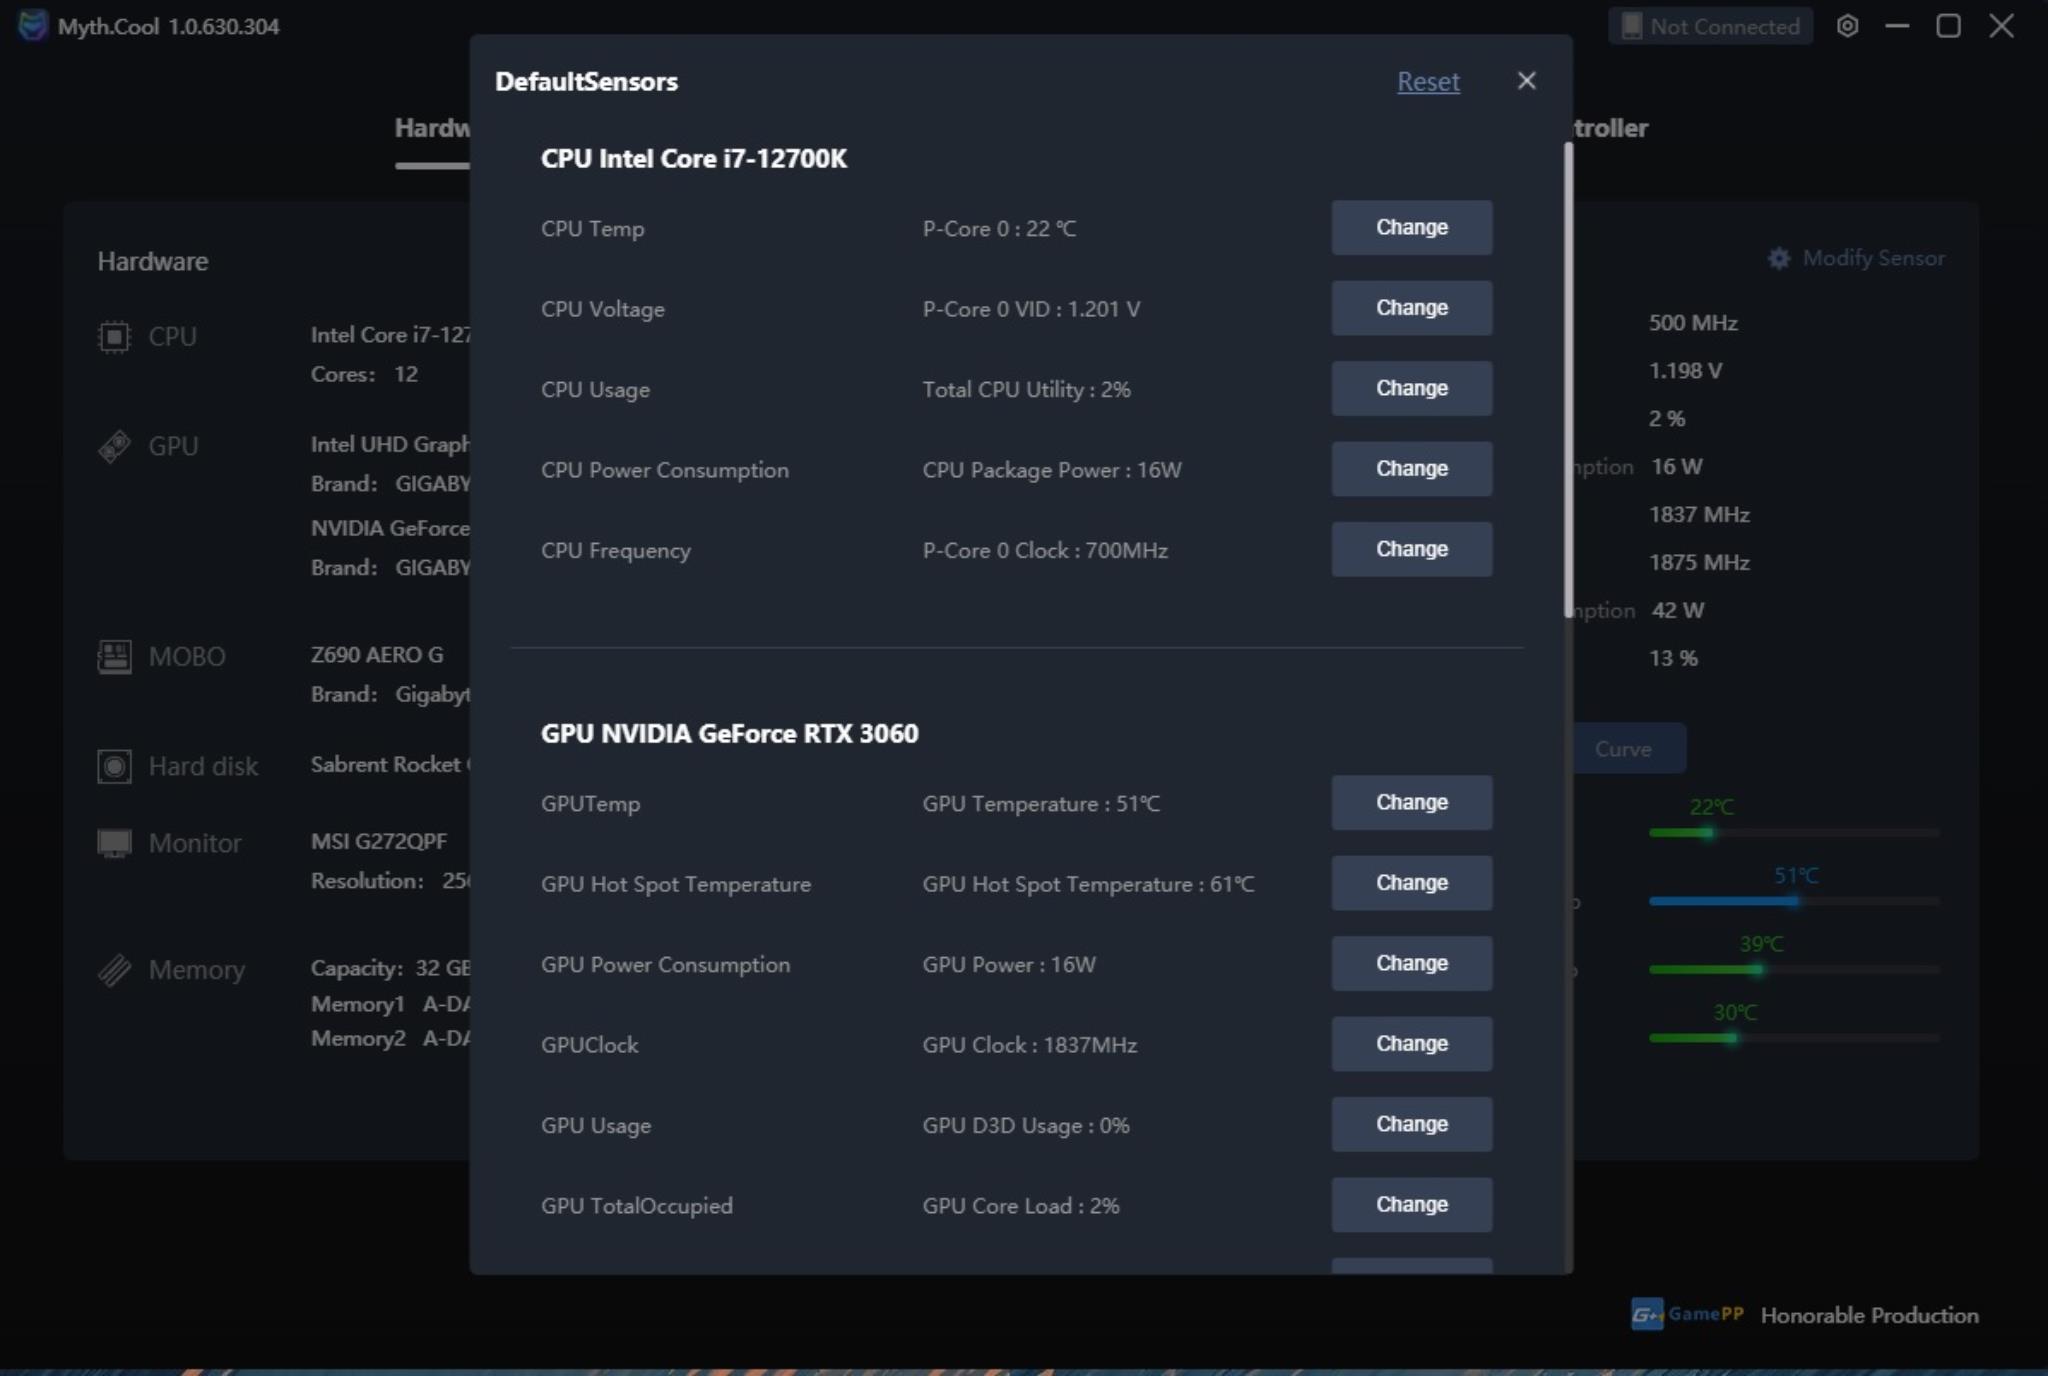
The first page shows the hardware information with all the reported sensors. You can configure which sensor to display on the screen. You can get a real-time data and alternatively use the curve which did not work on my side.
The default sensor is quite long. I am only showing the top-listed sensors.
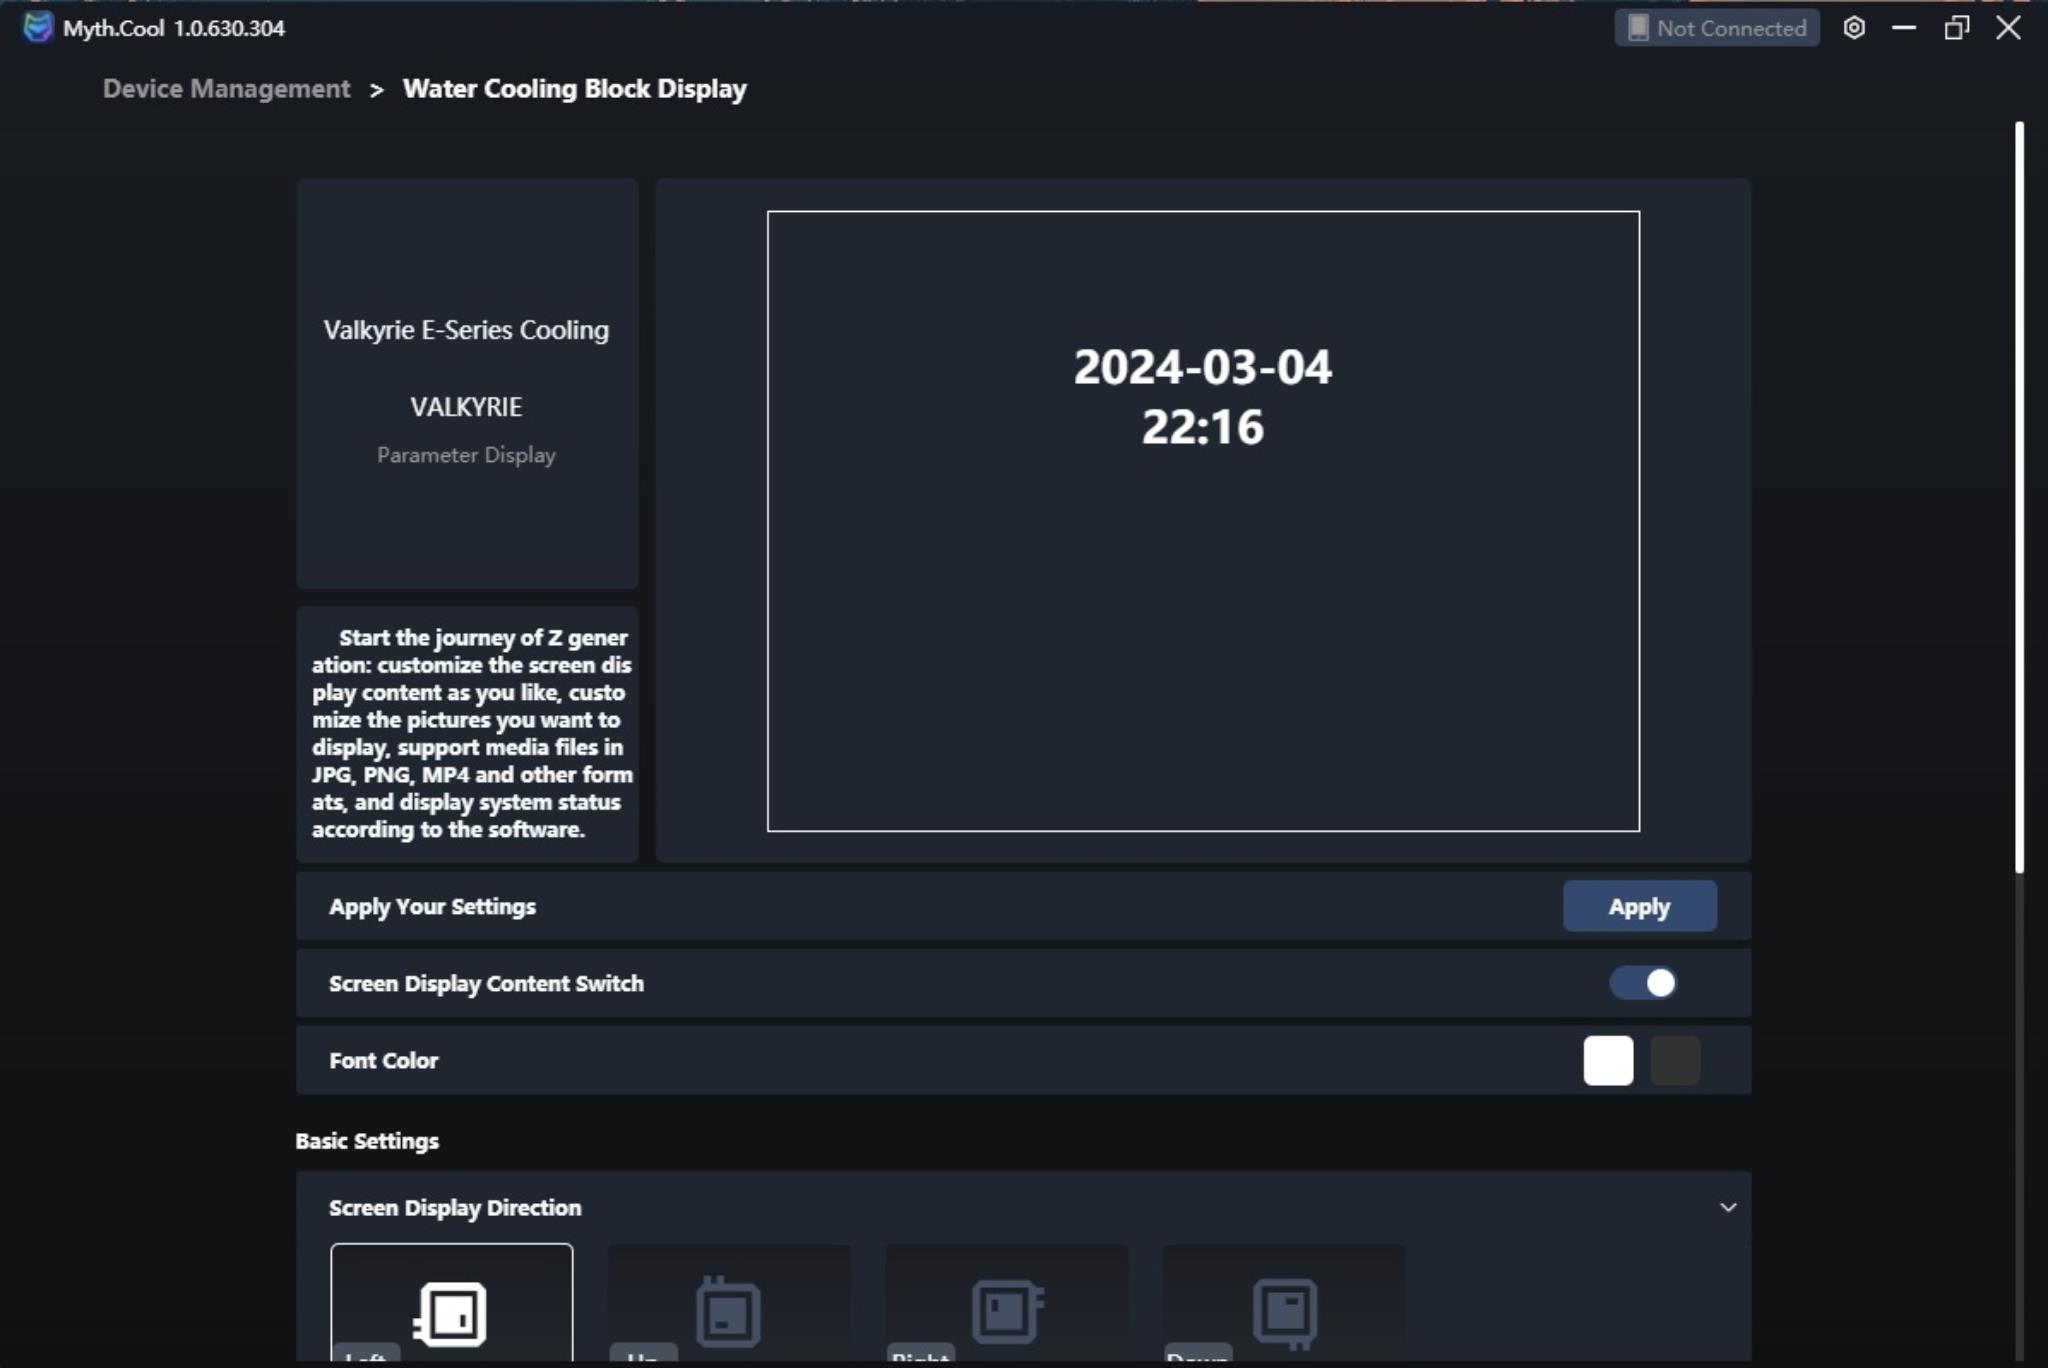
Device Management has a Display Screen control. It is a bit awkward that the page is displaying one option. It should have taken to the screen customization page directly unless My Valkyrie intends to release more options under the Device Management section.
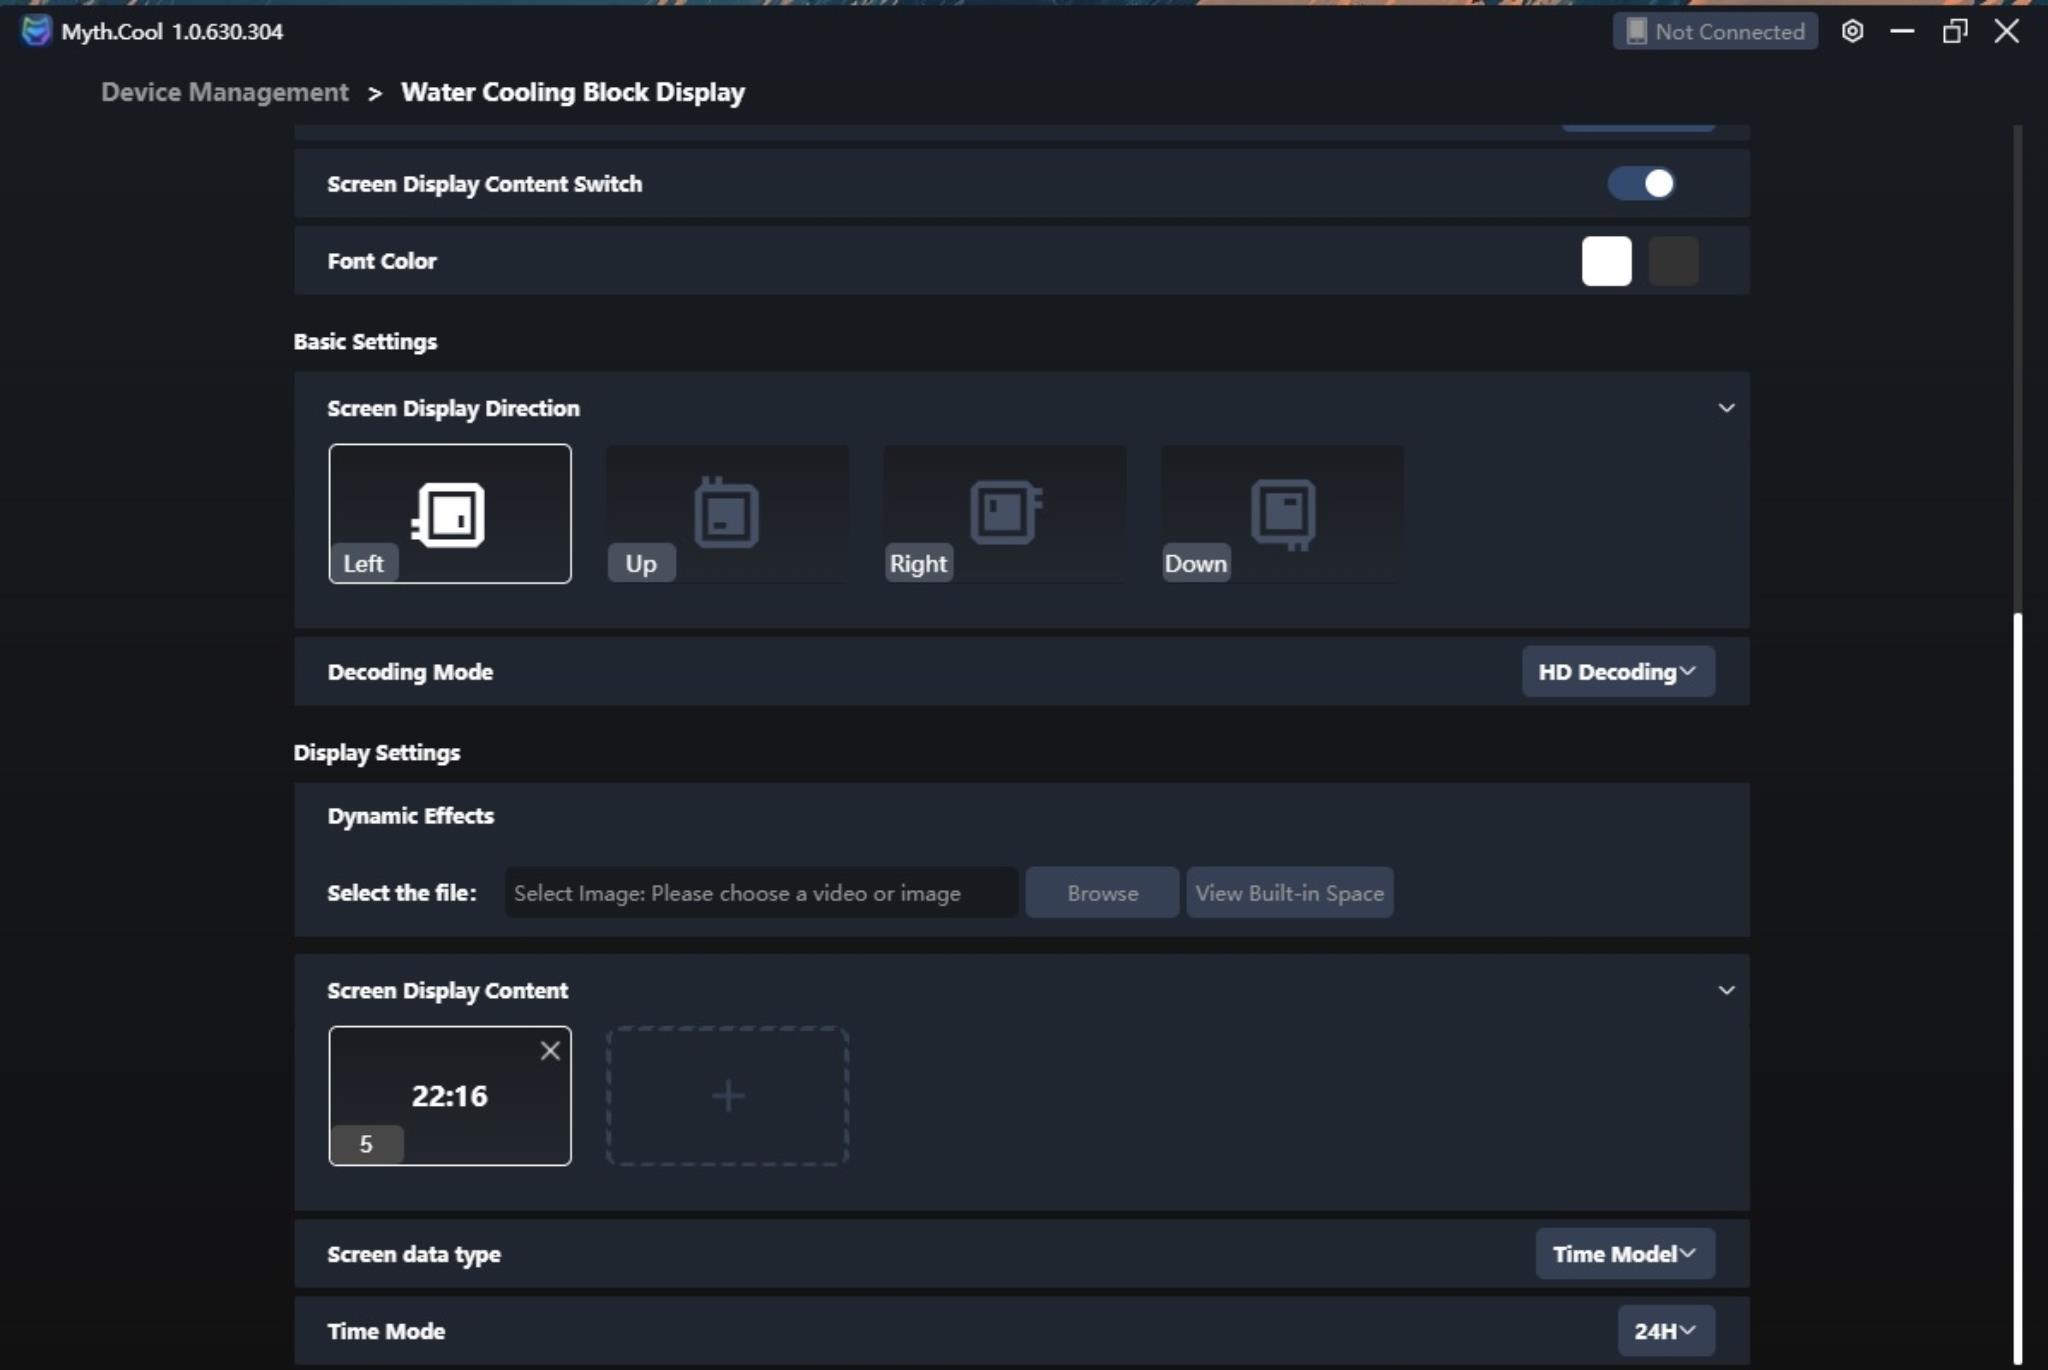
At first, this interface is quite difficult to understand and it is not user-friendly. There is a display content switch that is probably needed to switch from sensor display to media display. The font colors are black and white for the display text on the screen.
You can rotate the display to change the orientation from here. You can browse the local directories to locate the multimedia files for display. Alternatively, you can use the Built-In Space that would come from the TF Card. My TF Card was blank. You can customize the screen display content in frames as well. My suggestion to Valkyrie is to make the interface more user-friendly. Take a look at CORSAIR iCUE.
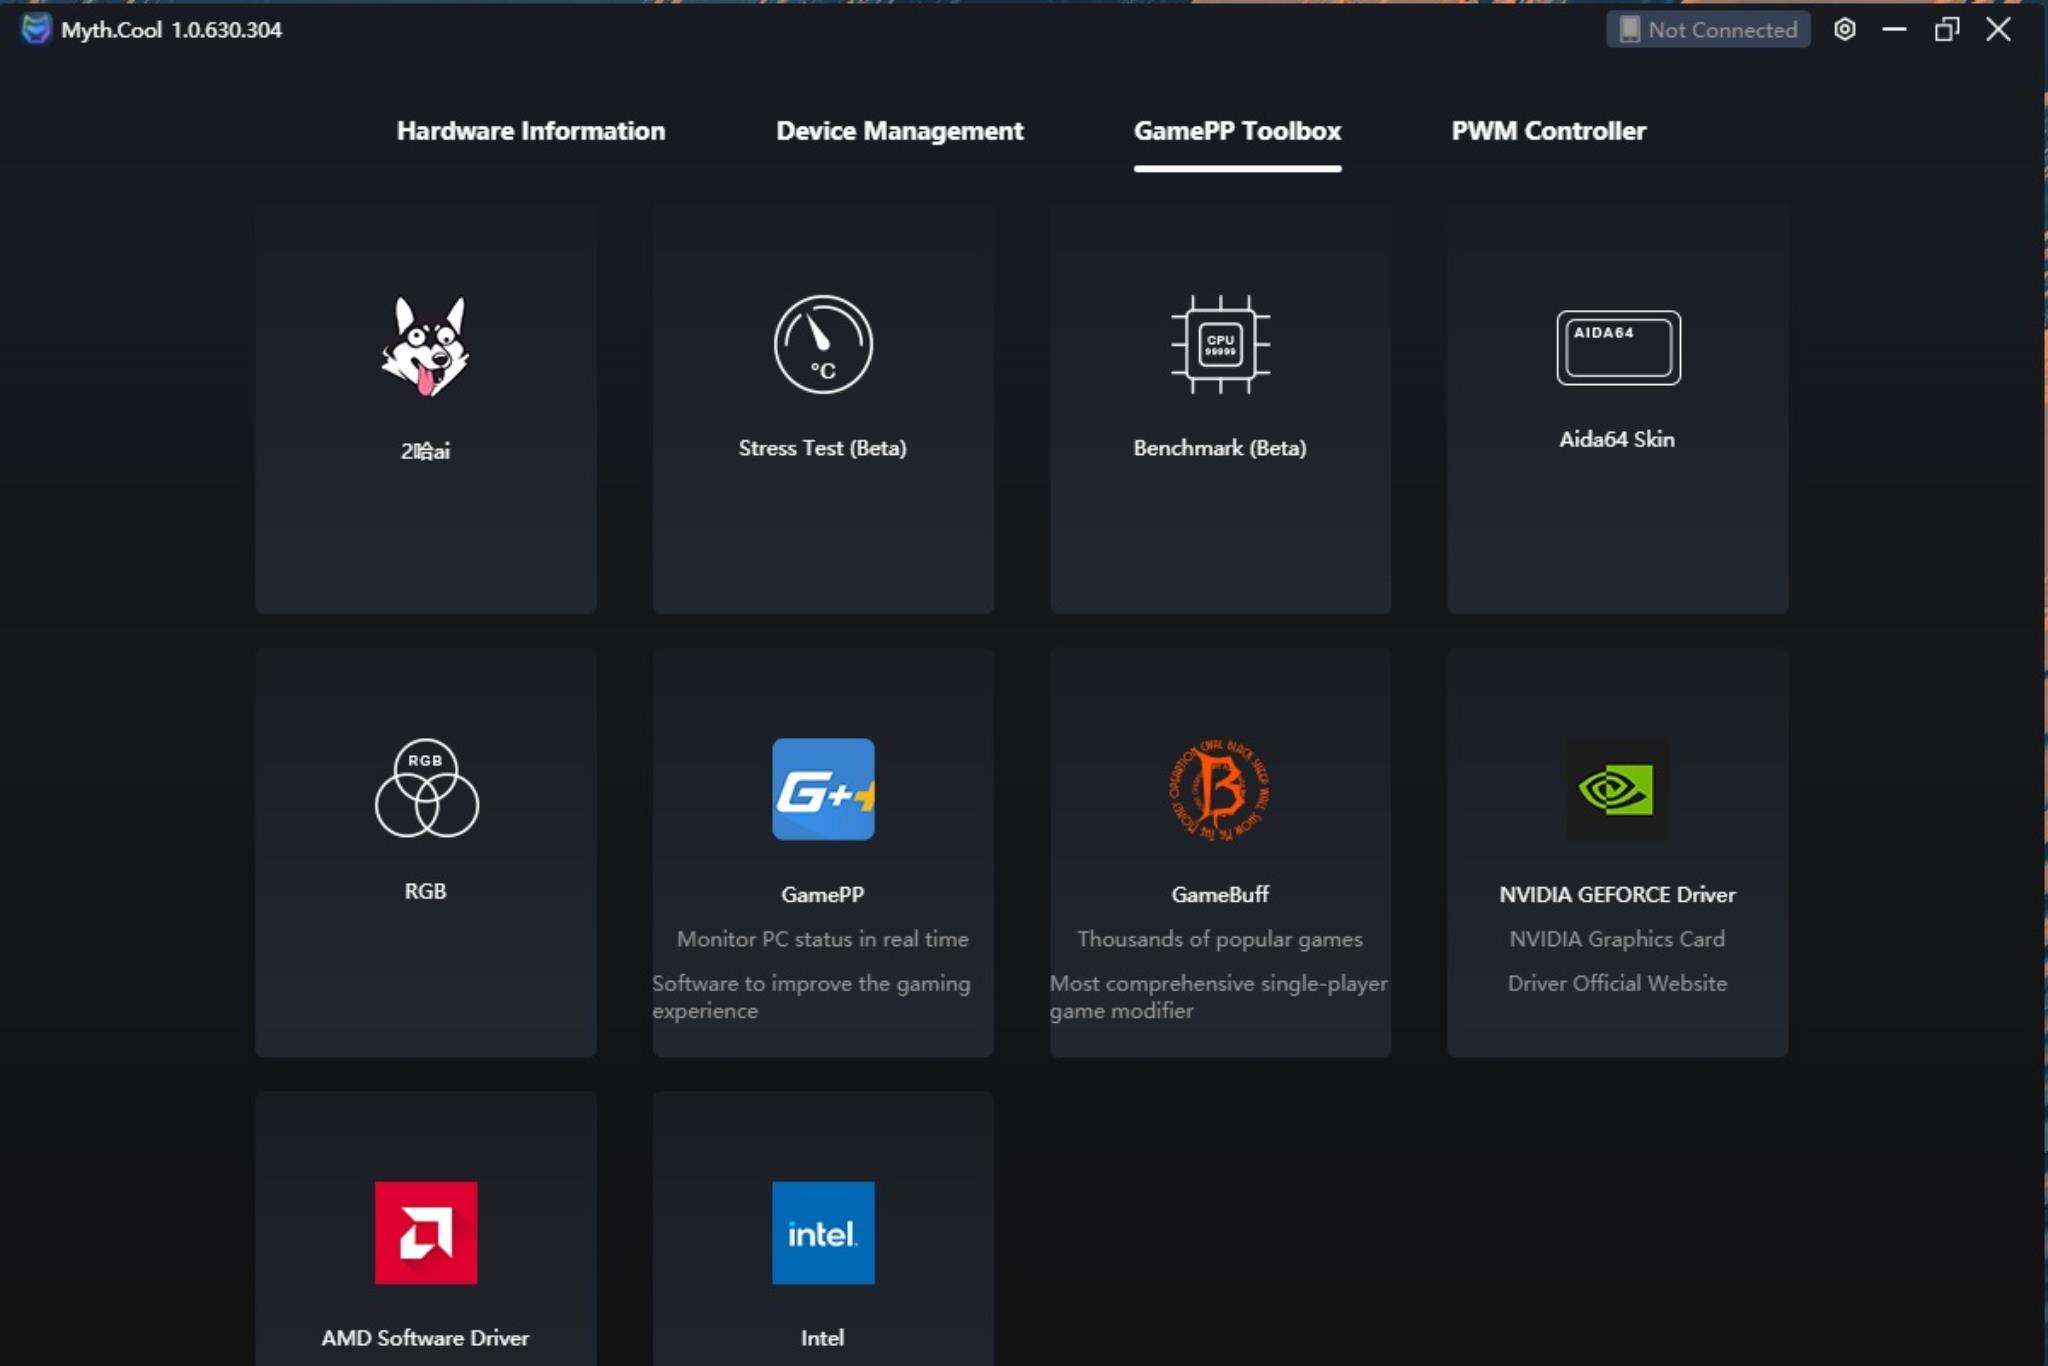
Many tools can be downloaded to measure the performance of your PC and download the drivers as well.
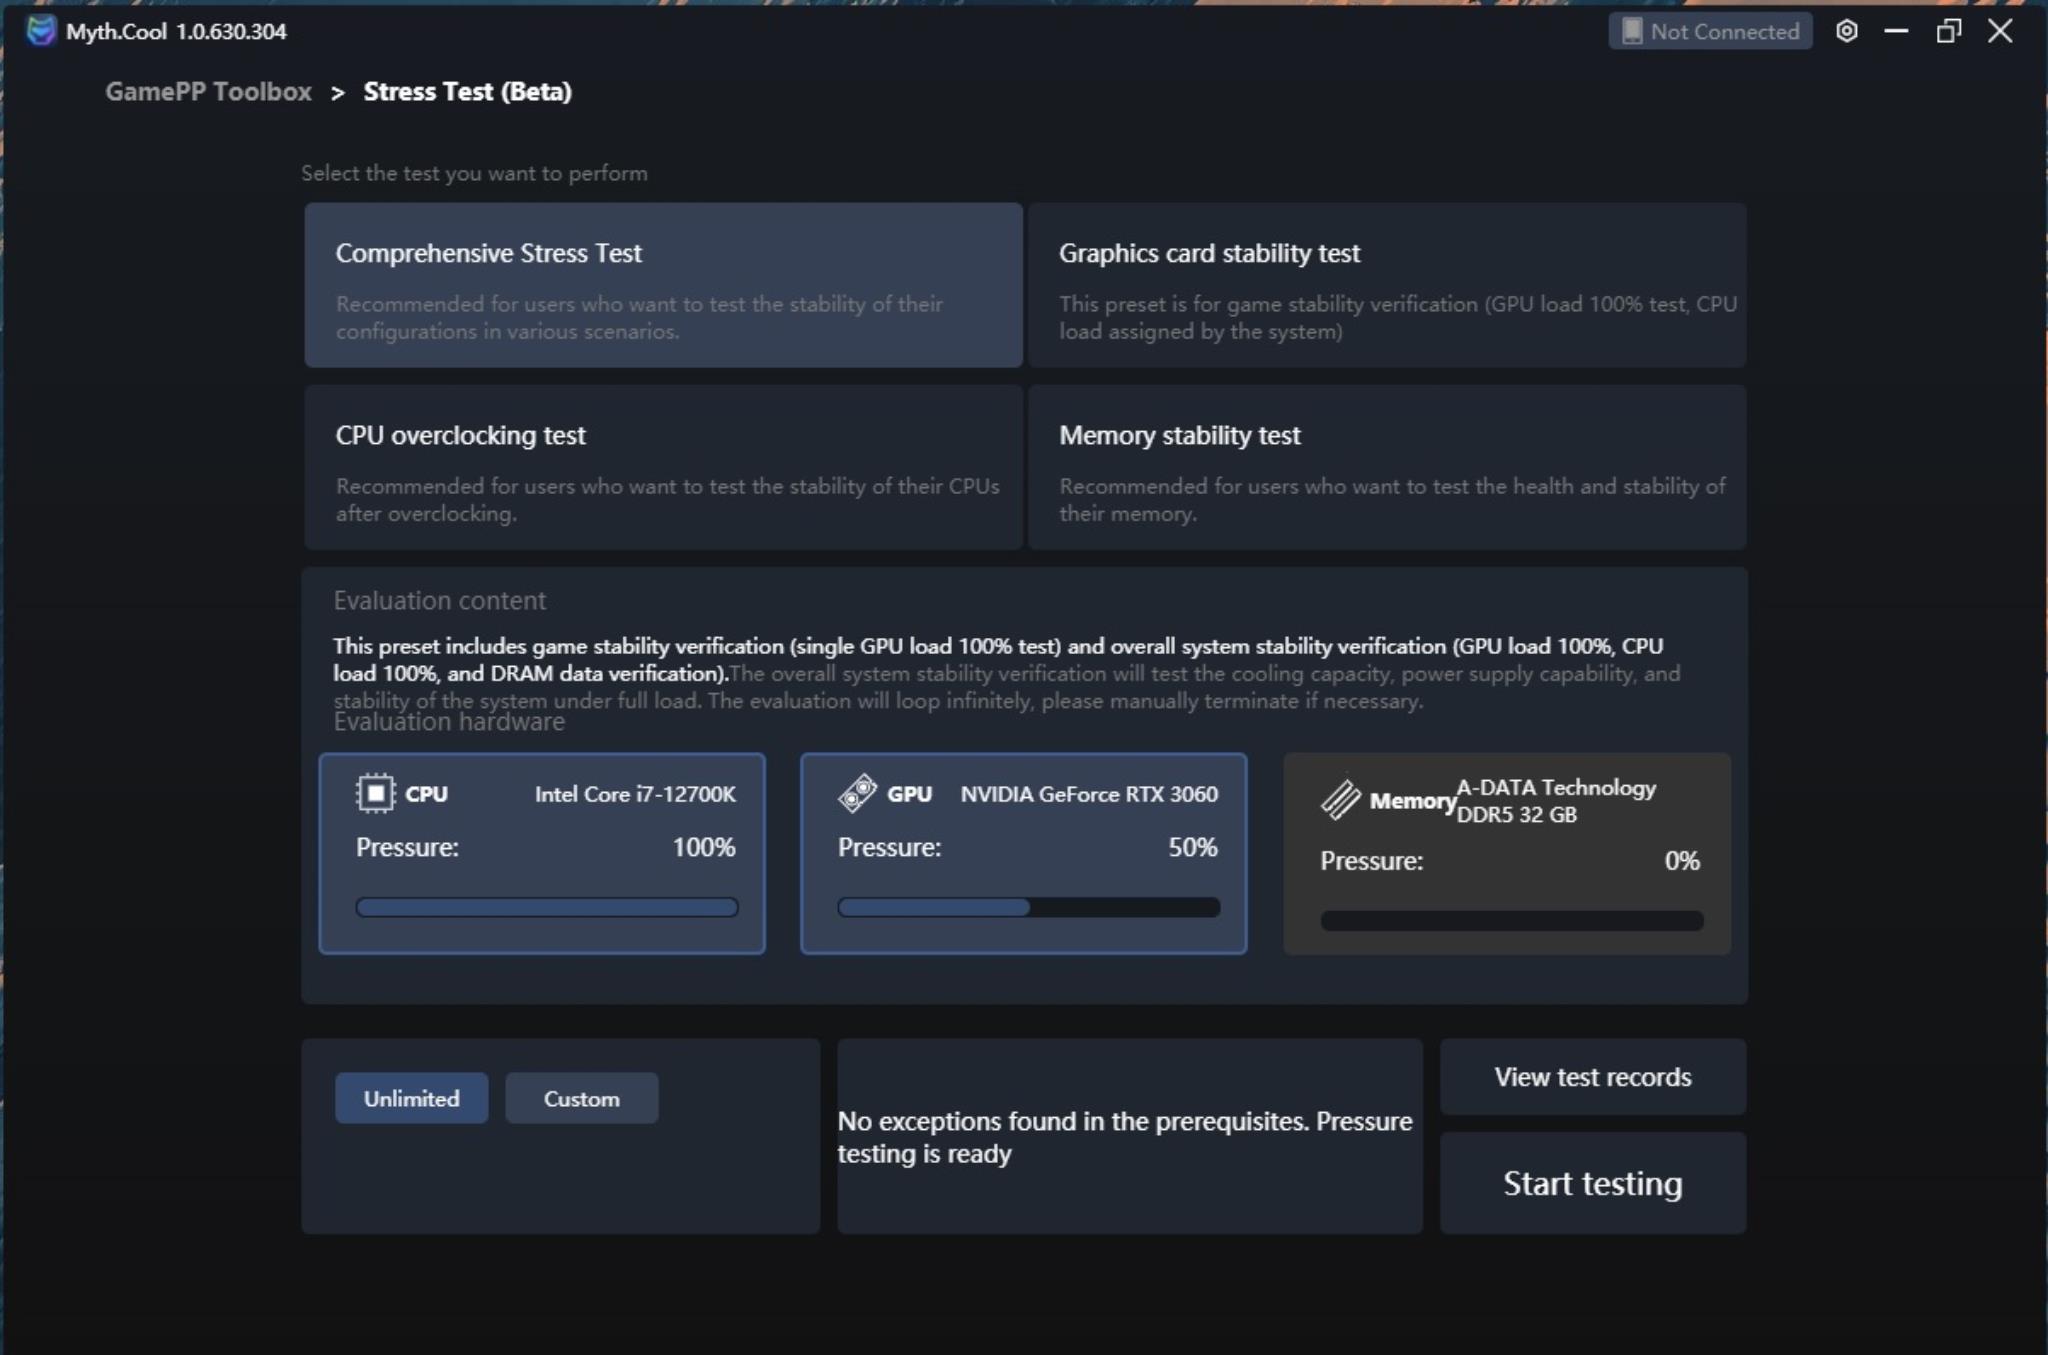
GamePP Toolbox has a further list of tests that can be downloaded as well.
Honestly saying, we don’t need this. They can simplify the software and UX by dithcing this tool page or driver download. We will first install the drivers in Windows and then install other software anyway.
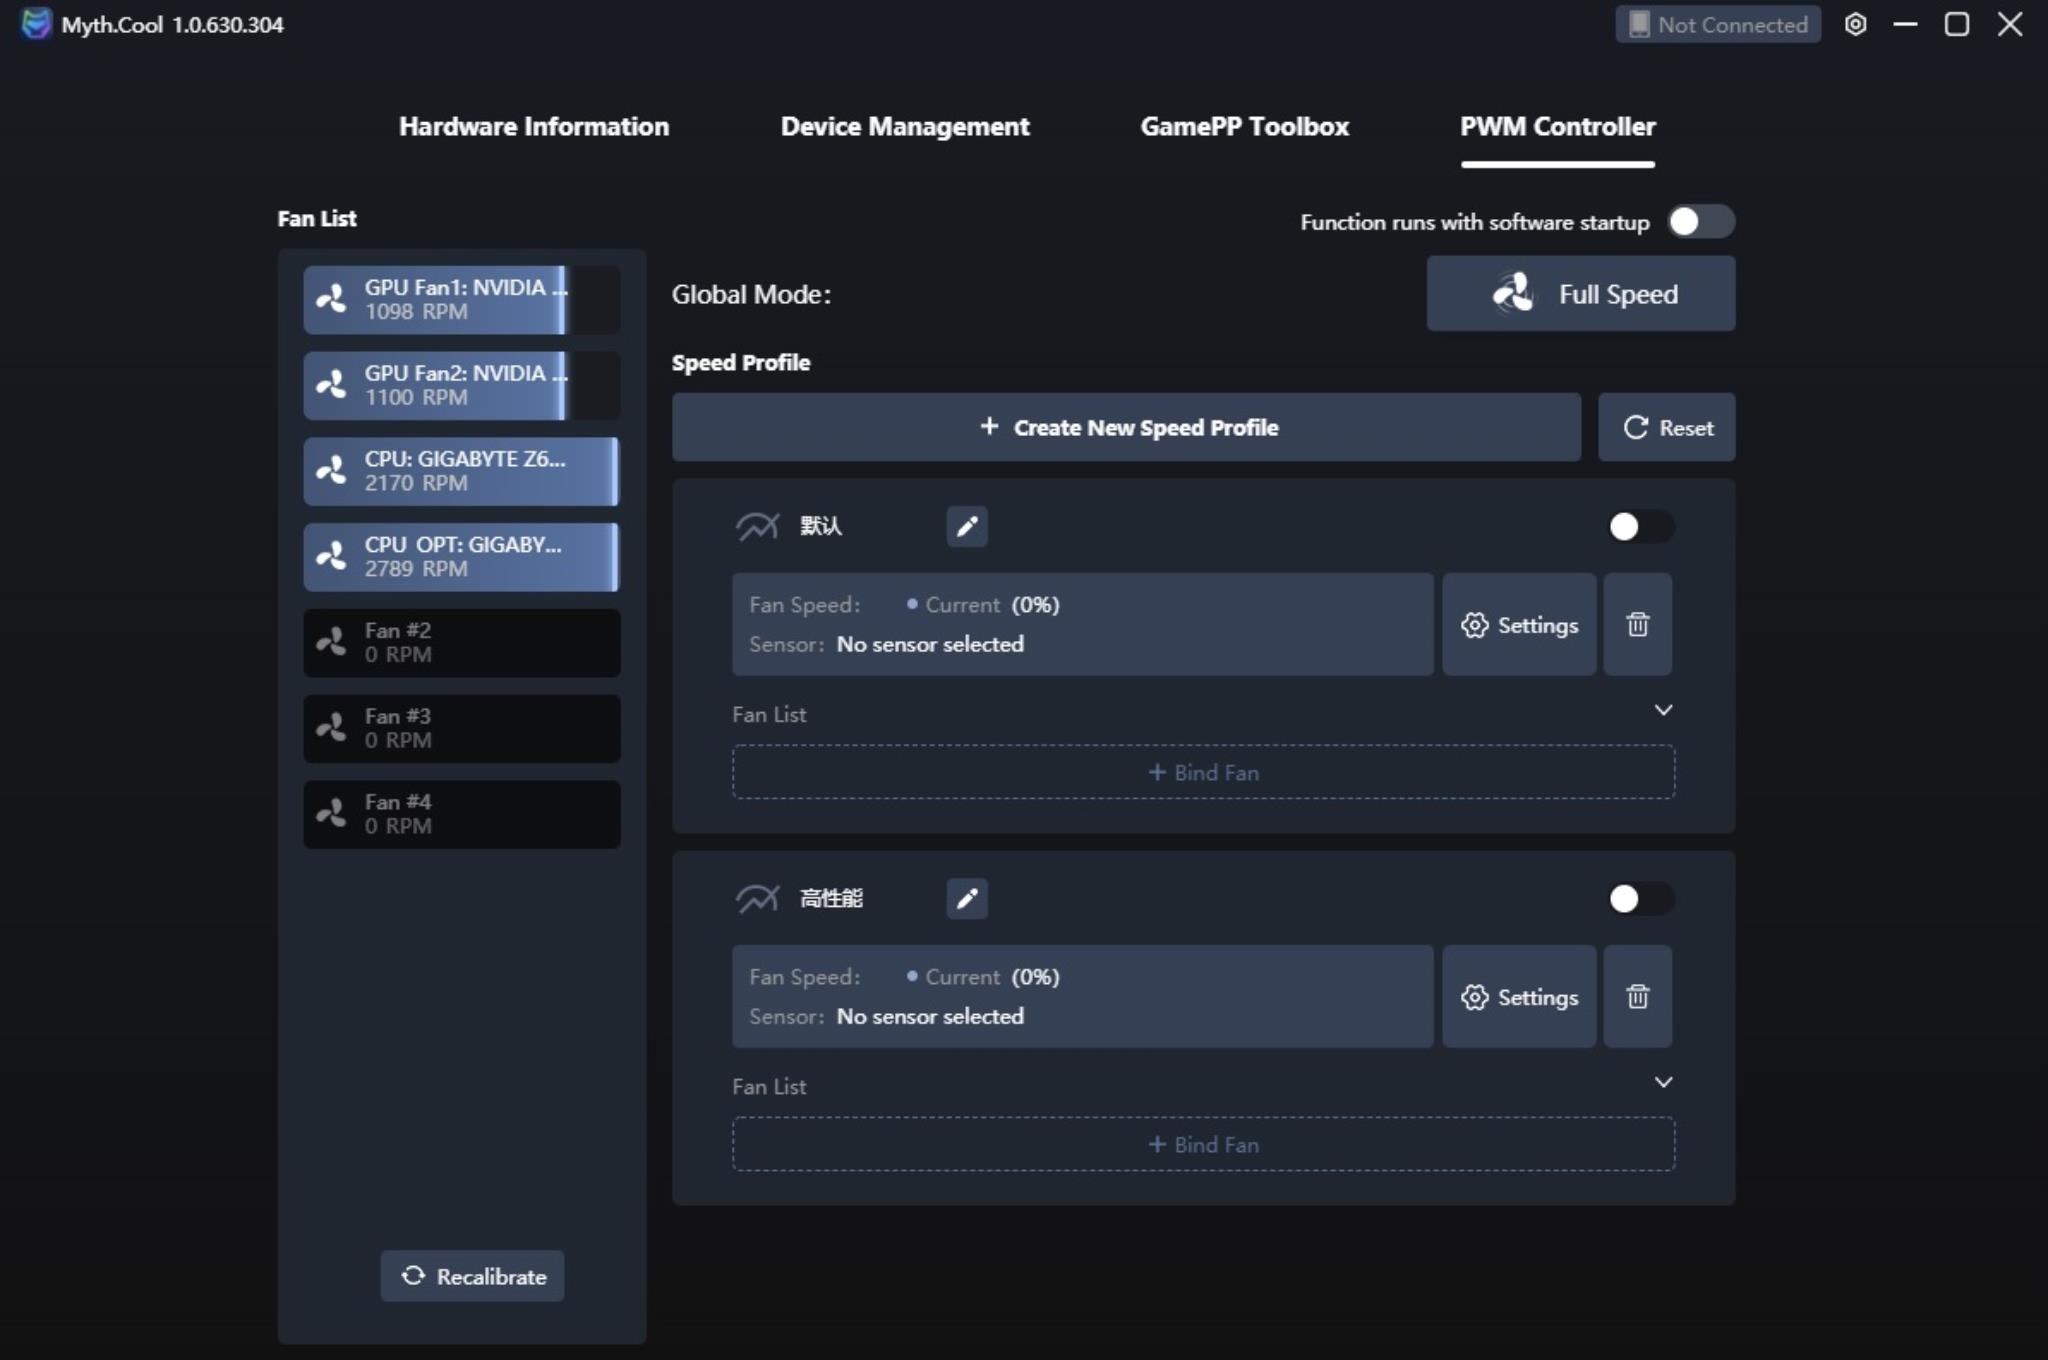
PWM Control is a powerful tool integrated right into the software. It will read every controller that is on the motherboard, graphics card and connected to the motherboard and determine the fans properties along with speed range. However, it failed to control the speed of CPU_Fan Header and CPU_Opt fan header which is a letdown for me.
Testing
We have used the following configurations for testing:
- Intel core i7 12700k
- GIGABYTE Z690 AERO G D5
- XPG Lancer RGB 32GB DDR5 Kit @ 6000MHz
- GIGABYTE GeForce RTX 3060 VISION OC
- Sabrent Rocket Q 500GB NVMe SSD [For OS]
- CORSAIR AX1200i Platinum PSU
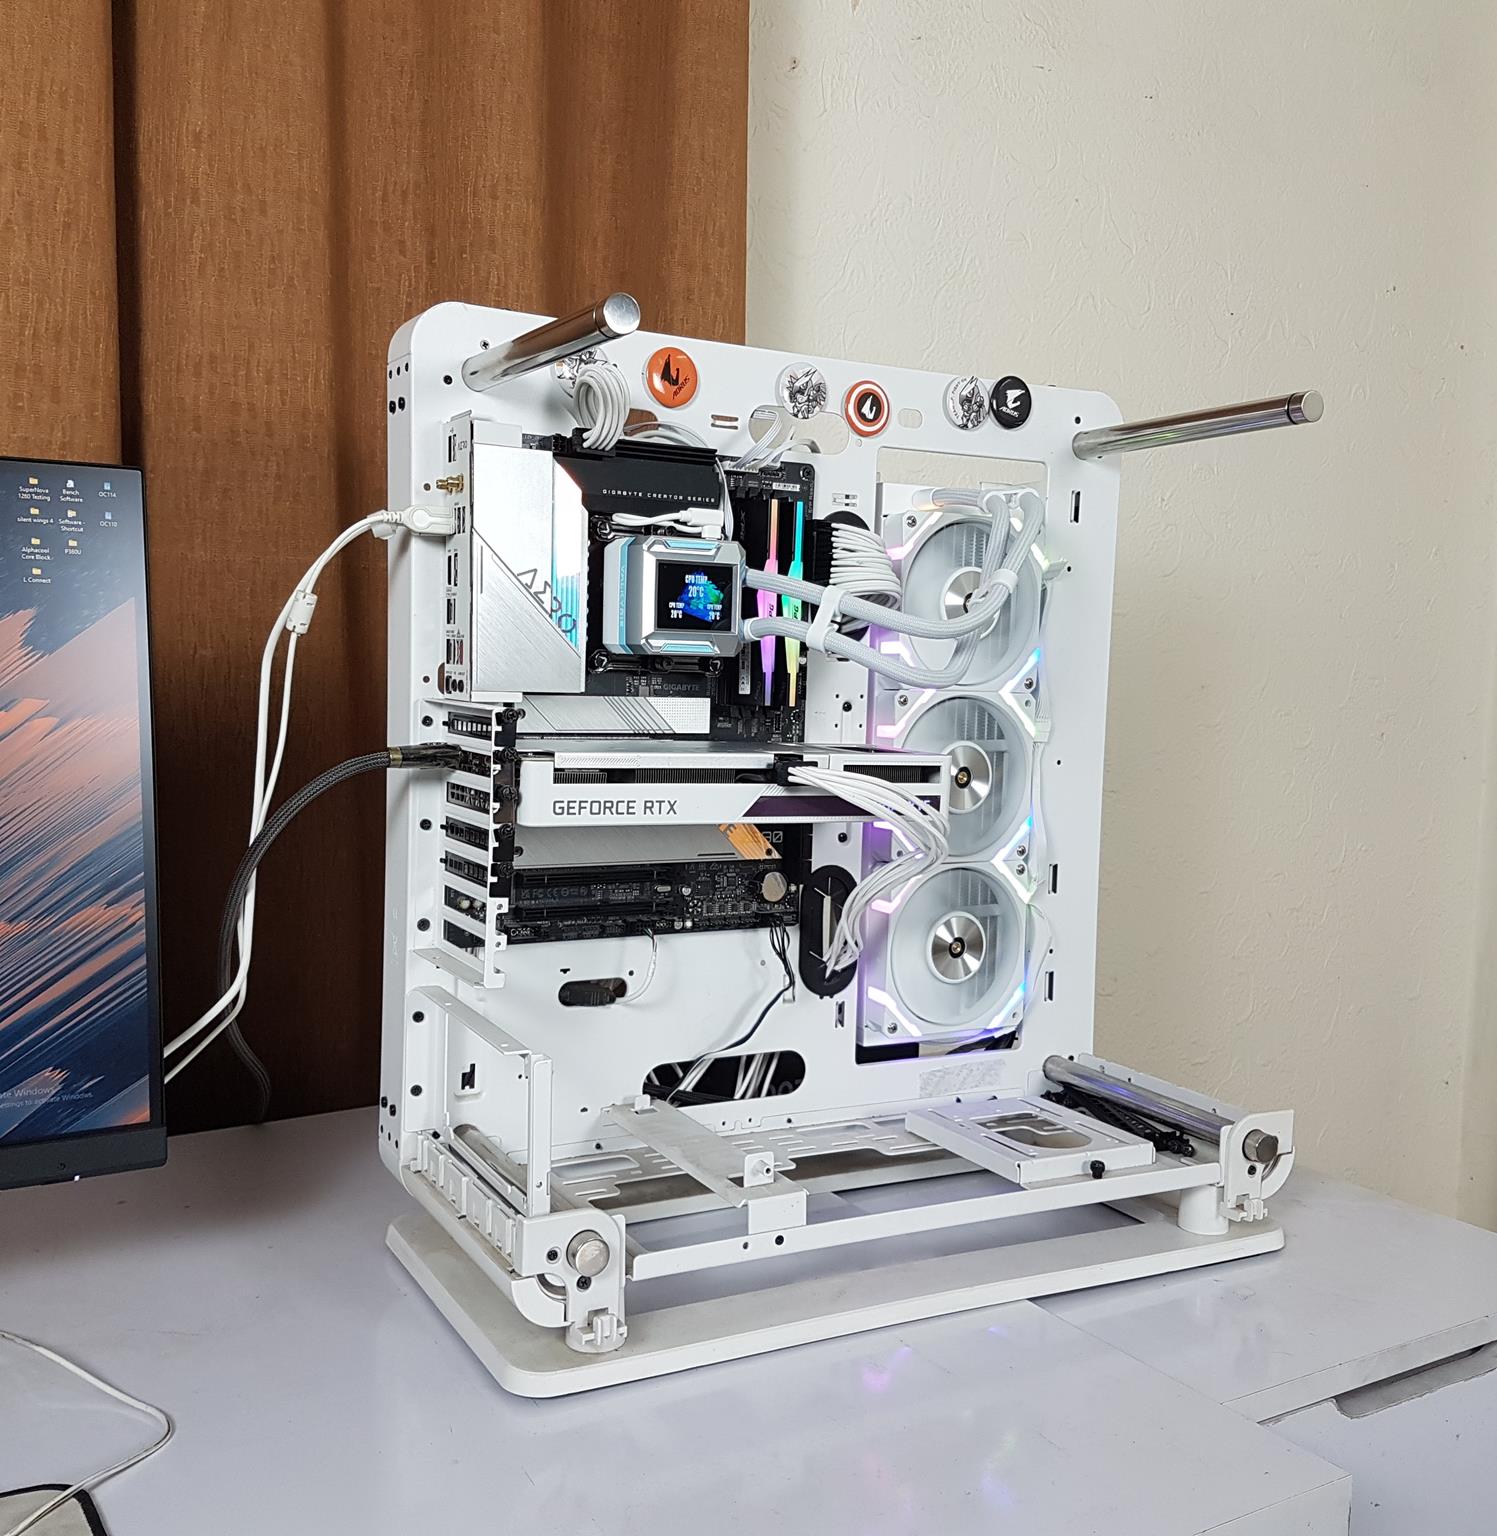
- Thermaltake Core P6 TG Snow Edition in an open frame layout
Test table for Intel core i7 12700k is:
| Clocks | P-Cores 4.8GHz, 5.0GHz
E-Core 3.8GHz, 4.0GHz |
| Voltage | 1.20V |
| C-States | Disabled |
| Speed Step | Disabled |
| Rest of settings | Stock, Auto |
| XMP | XMP Loaded where available |
| Thermal Paste | Stock |
| Thermal Paste Application | Pre-Applied or X method |
| Headers | CPU_FAN, CPU_OPT, and PUMP Headers |
| Stress Software | CINEBENCH R23.2 |
| Stress Run Time | 30 minutes |
| PC Idle Time | 5 minutes |
| Monitoring Software | HWInfo64 |
| OC Tool | Intel XTU |
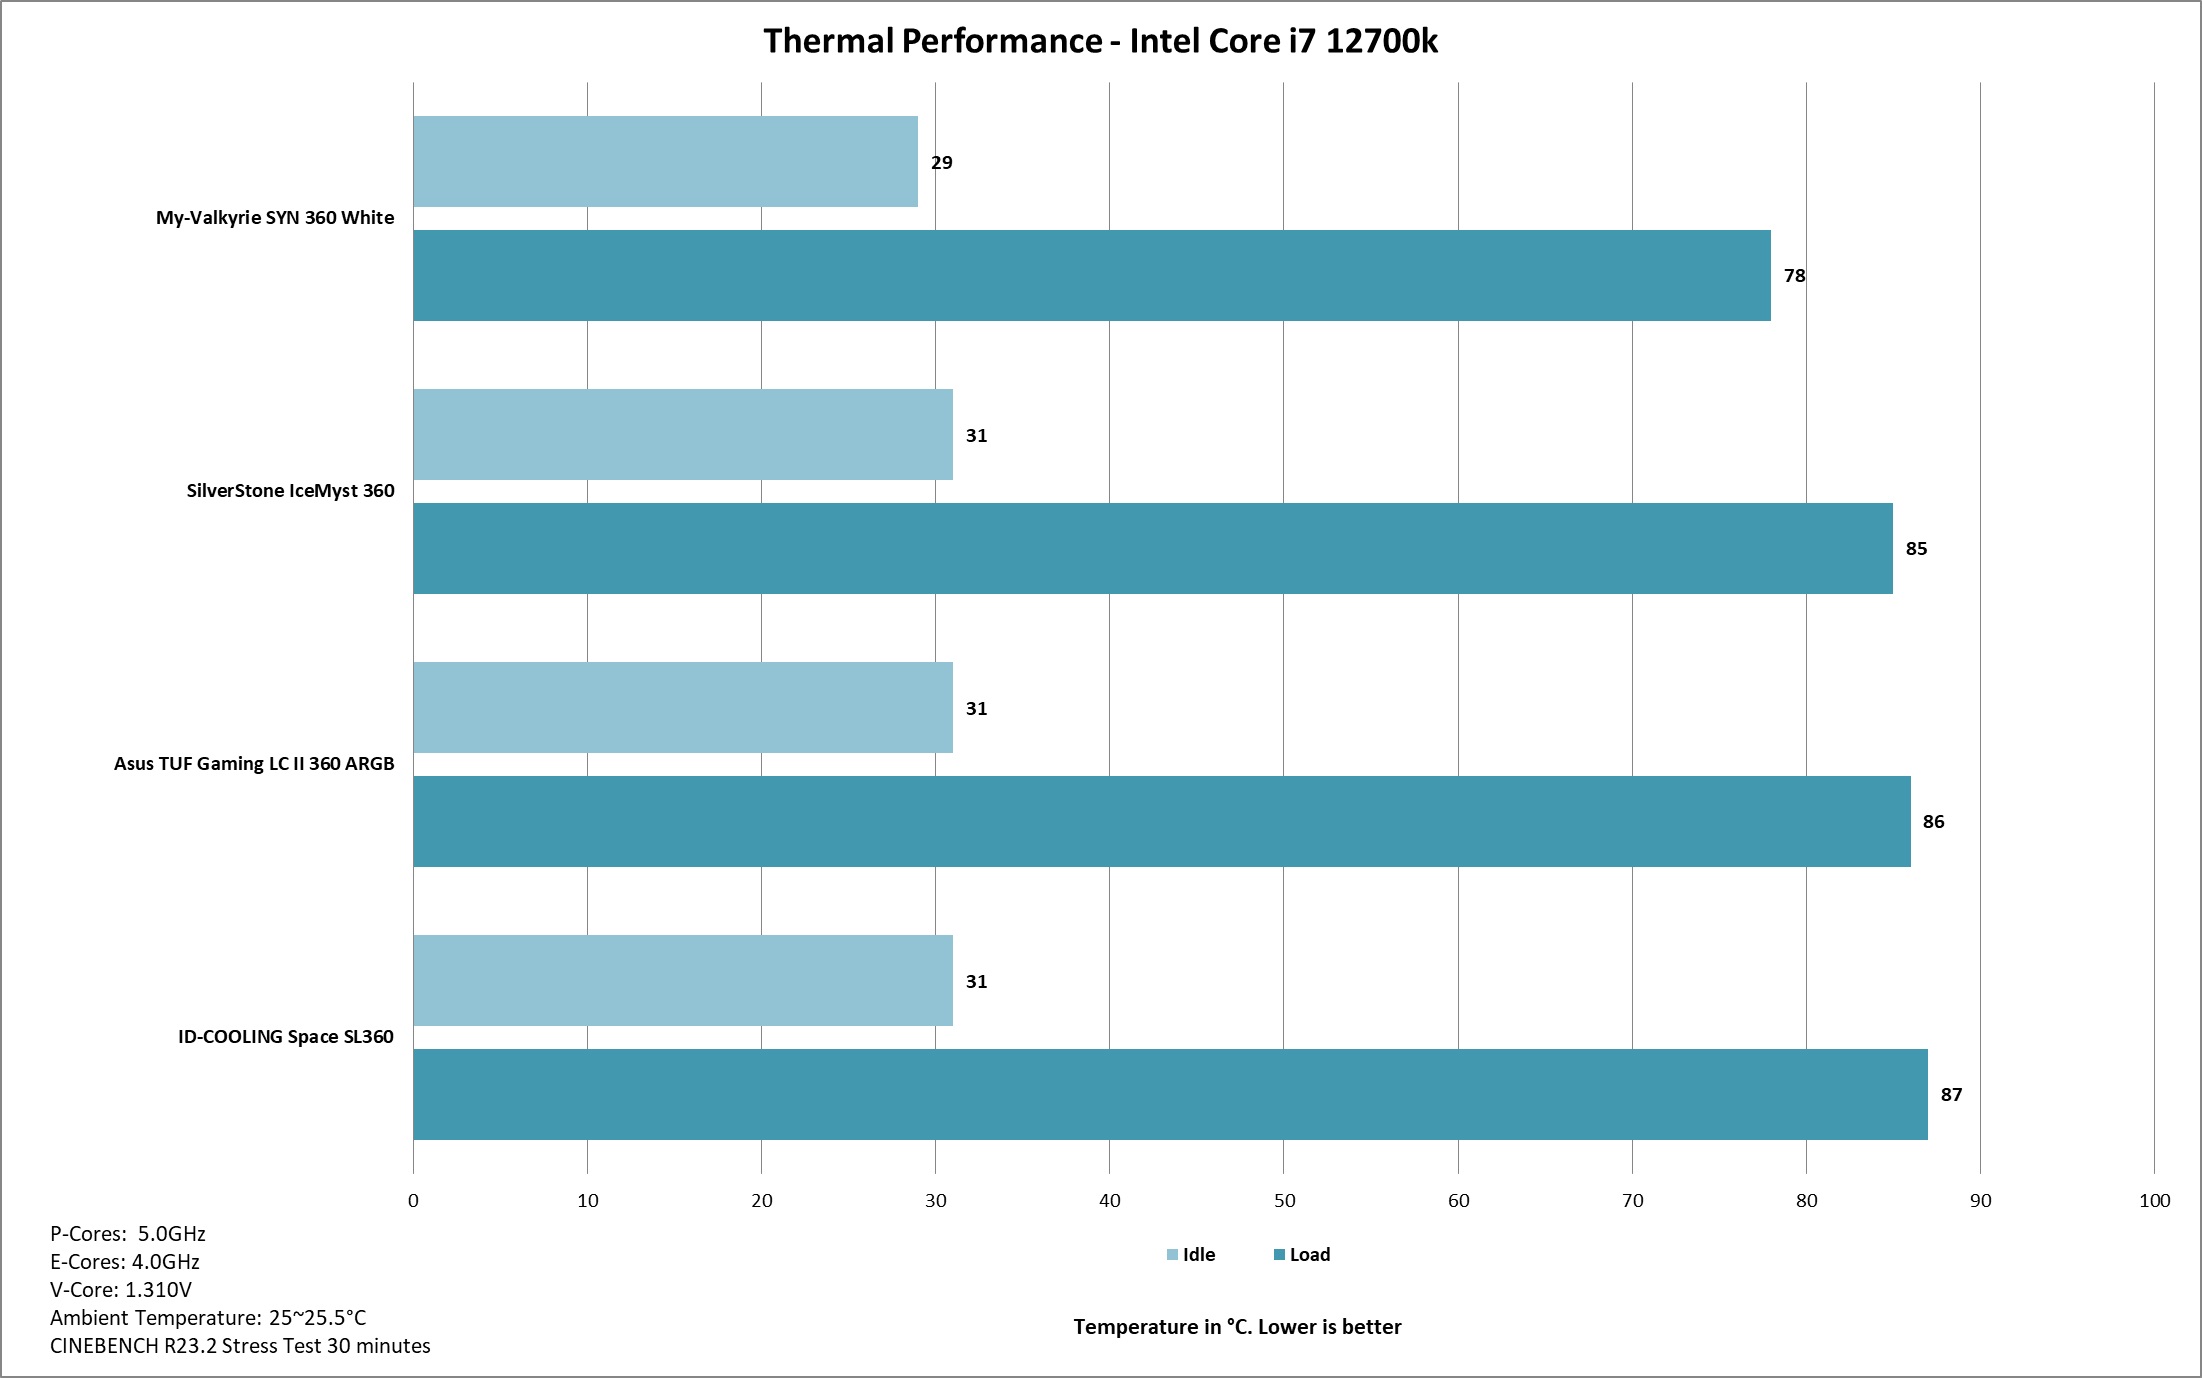
The ambient temperature was in the range of 25°C to 25.5°C. Since the variation in the ambient temperature is within 1°C, we are reporting absolute temperatures in the graph. The testing is done on an open-air bench system. Once inside the chassis, the temperatures are expected to rise and would largely depend upon the optimal airflow inside the chassis.
Disclaimer: Every silicon is different hence no two SKUs are likely to take the same voltage to yield the same performance at the same thermals per se but the margin would be close. Not every stress test run may yield the same result which could be due to various reasons like thermal paste application, ambient temperature variation, the mounting pressure of the cooler, etc. This is very why we have listed our variables and their settings.
Result
Finally, we have a cooler that has managed to beat the EK CR360 Lux cooler. This cooler has become my benchmark due to unrivaled performance but My Valkyrie SYN 360 White has just changed that. This is not all since the EK cooler was operating at 46dBA whereas the SYN 360 White was operating at 44.5 dBA. This is a big win for the My Valkyrie.
I have started 5.0GHz testing quite recently which is why there are no more options in the graph but SYN 360 White has smashed the results here as well.
Conclusion
We have a new player in the market and it is making quite some strong waves already. Say hi to My Valkyrie. They launched their operations in Europe and are now expanding to other markets. They have joined our round-up content of the 360mm project with SYN 360 White. This is their flagship cooler at the moment and is available in black and white colors as well as in 240mm and 360mm sizes.
I have tested SYN 360 White. This cooler is compatible with Intel LGA115x/1200/1700/20XX and AMD AM4/AM5 sockets. The salient features of this cooler are its powerful pump, dense fin stack with improved coolant flow channels on the cold plate, and of course a 2.4” LCD Display screen. This cooler comes with three high-performance X12 White ARGB fans.
The packaging of this cooler is one of its kind and this is why I have given full coverage to the boxing of this cooler as it deserves that. But has My Valkyrie focused too much on the packaging and may give an overlook to the performance? Stay tuned as this is not the case. In fact, we have a new king of the coolers at our hands.
The radiator of this cooler is made of aluminum material which is a standard these days. It has a dimension of 397x120x27mm (LxWxH). The total height of this cooler with 120x25mm fans is 53mm approximately including the heads of the screws. The radiator has a 20 FPI count and it has 12 channels for coolant flow. There were a few bent or pressed fins on the surface. This would not impact the overall performance though.
The FEP corrugated braided sleeve tubing is used in this cooler and these have a mesh sleeve. These tubes run to 425mm which is not short but a full 450mm length would be better. The complete assembly is white and the overall build quality is fine. My Valkyrie has use rotary fittings on the block in an offset manner.
The pump block design is elegant and it is not circular which the majority of the coolers have. The main attraction on the block is a 2.4” LCD Display screen that has a size of 320x240px. It can display media in a 4:3 aspect ratio. My Valkyrie has also included a TF Card that allows the users to keep their favorite media on the card and it would remain available at all times.
There is a software named Myth.Cool that can be downloaded from the My Valkyrie website. It is a comprehensive suite that offers more than meets the eye. However, my gripe is that it is not well laid out and the user interface could have been simplified and bettered. My Valkyrie, please take a look at CORSAIR iCUE for a better understanding, particularly on the screen customization interface. The PWM Control is one heck of a powerful tool but only if it had allowed me to customize the CPU_FAN and CPU_OPT fan headers.
The block itself is made of ABS material along with aluminum and it is a triple-color layout that looks damn well in person. I would ditch the teal color portion of it though. I love the USB C port instead of the micro USB port for the USB connection for the digital display on the screen. My Valkyrie has done many things right in this cooler. The cooler comes with a pre-installed thermal paste and they have also provided a tube of it. The copper base measures 50x50mm whereas the cold plate has an actual dimension of 60x50x3mm. The pump is a PWM controller as well.
My Valkyrie has provided 3x X12E-W fans with this cooler. These fans have 9x blades with each having 3 notches on the trailing edges. There is a brass-made metal reinforced bearing shell in copper color. These fans use Fluid Dynamic Bearings and are rated for a maximum of 2150 RPM ± 10% speed generating 80 CFM airflow while maintaining 3.14mmH₂O static pressure. Their noise rating is ≤29 dBA. These fans have a short-length cable that runs to only one side of the frame and uses proprietary connectors for daisy-chaining. This daisy-chain connection can then be connected to the motherboard using an extension cable. These fans feature different ARGB lighting which suits my taste. Instead of giving a full spectrum color diffusion coming from the blades, the mounting corners have a three-way exposed diffuser for this purpose.
Alternatively, the user can use the Valkyrie hub to connect these fans. Although this way you will be using a plethora of cables. Whereas in a single cable connection, the cable clutter is eliminated. The choice is yours. The hub can house 7x fans and it has 7x 4-pin PWM ports and 7x 3-pin ARGB ports. It is SATA powered and two cables connect the hub to the motherboard.
Speaking of the installation, this cooler is a walk in the park to install. One thing I would appreciate is the nut locker tool that can be used for the nut caps as well as for the standoff screws. EKWB was the first one to come up with this solution and now Valkyrie has done the same. I wish others take note and come up with their solution for convenient installation. Installation of this cooler on an Intel LGA1700 socket requires 11 items to secure the block on the socket. Valkyrie needs to correct the mistyping in the user manual. Since this cooler uses standard connectors on the extension cable and hub, it is compatible with the RGB Sync technology of the motherboard manufacturers.
This cooler is listed at USD 220 in North America and Euro 204 in Europe at the time of this writing. This sounds like a steep pricing but keep in mind that it has a crisp LCD screen and comes with a TF Card as well. Plus attention to detail on the presentation is unremarkable. The EK Nucleus CR360 Lux DRGB was launched at a USD 204 price tag and it did not even have a display screen. Although EKWB has slashed the pricing recently. Why I am referring to the EKWB cooler? So far on my test bench, this cooler has been unrivaled. Even the likes of Lian Li Galahad II Trinity Performance came closer but at 50+ dBA sound level and using software customization.
But, all this has changed now with the emergence of the SYN 360 cooler from My Valkyrie. This cooler has changed the game playing field as it has beaten the EK cooler albeit by 1°C but with a good sound profile (44.5 dBA compared to 46 dBA on the EK cooler in my testing). Plus this cooler has a stunning 2.4” LCD screen and carries a whopping 5-year warranty.
The My Valkyrie SYN 360 White is a comprehensive package for your thermal management needs that delivers a solid punch to the competition with augmented features. I am hoping that My Valkyrie’s customer service is as good as that of the EKWB and CORSAIR! If that is so, this is a win-win for me and the community. I have no trouble in giving the SYN 360 our highest award- Must have!
Pros:
- Excellent Thermal Performance
- 2.4” Display Screen
- Block Customization
- Impressive Presentation
- Powerful Pump and Cold Plate Design
- X12E-W ARGB Fans
- Valkyrie Hub
- Easy Cable Management
- Intel Next-gen Socket support
- Myth.Cool Software
- USB-C Connection
- Included TF Card
- Easy Installation
- Better Noise
- 5-year Warranty
Cons:
- Software needs a redo


