Thermaltake CTE C750 TG ARGB PC Case Review – Plenty of room for almost anything you can imagine!
When it comes to PC cases in 2024, there is a myriad to choose from. Big or small, large and tall, there is something for almost everyone. Today, we are taking a look at a massive case from Thermaltake by way of their CTE C750 ARGB PC Case. This case is coming with more than enough room for pretty much anything you can think of. Whether you are looking to kit it out with many RGB fans, or, you want to add some custom water cooling gear, the C750 has your back.
With plenty of options for cooling and more than enough room to support any hardware you wish, the C750 is ready for whatever you can throw at it, or in it in this case. With that being said, let’s get things underway and take a look at all it has to offer.
CTE C750 Specifications
| P/N | CA-1X6-00F1WN-01 |
|---|---|
| SERIES | CTE |
| CASE TYPE | Full Tower |
| DIMENSION (H X W X D) | 565.2 x 327 x 599.2 mm (22.25 x 12.87 x 23.59 inch) |
| NET WEIGHT | 16.7 kg / 36.82 lbs. |
| PANEL | 4mm Tempered Glass x 2 |
| COLOR | Black |
| MATERIAL | SPCC / ABS |
| COOLING SYSTEM | Front(intake): 140 x 140 x 25 mm CT140 ARGB fan (1500rpm, 30.5 dBA) x 1 Top(exhaust): 140 x 140 x 25 mm CT140 ARGB fan (1500rpm, 30.5 dBA) x 1 Rear(intake): 140 x 140 x 25 mm CT140 ARGB fan (1500rpm, 30.5 dBA) x 1 |
| DRIVE BAYS | 7 x 3.5” or 12 x 2.5” |
| EXPANSION SLOTS | 7 |
| MOTHERBOARDS | 6.7” x 6.7” (Mini ITX), 9.6” x 9.6” (Micro ATX), 12” x 9.6” (ATX), 12” x 13” (E-ATX) |
| I/O PORT | USB 3.2 (Gen 2) Type-C x 1, USB 3.0 x 4, HD Audio x 1 |
| PSU | Standard PS2 PSU (optional) |
| FAN SUPPORT | Front: 3 x 120mm, 2 x 120mm, 1 x 120mm 3 x 140mm, 2 x 140mm, 1 x 140mm 2 x 200mm, 1 x 200mm Top: 2 x 120mm, 1 x 120mm 2 x 140mm, 1 x 140mm Right (M/B Side): 3 x 120mm, 2 x 120mm, 1 x 120mm 3 x 140mm, 2 x 140mm, 1 x 140mm Rear: 3 x 120mm, 2 x 120mm, 1 x 120mm 3 x 140mm, 2 x 140mm, 1 x 140mm 2 x 200mm, 1 x 200mm Bottom: 3 x 120mm, 2 x 120mm, 1 x 120mm 3 x 140mm, 2 x 140mm, 1 x 140mm |
| RADIATOR SUPPORT | Front: 1 x 360mm, 1 x 240mm, 1 x 120mm 1 x 420mm(AIO only), 1 x 280mm, 1 x 140mm Top: 1 x 240mm, 1 x 120mm 1 x 140mm Right (M/B Side): 1 x 360mm, 1 x 240mm, 1 x 120mm 1 x 420mm(AIO only), 1 x 280mm, 1 x 140mm Rear: 1 x 360mm, 1 x 240mm, 1 x 120mm 1 x 420mm(AIO only), 1 x 280mm, 1 x 140mm Bottom: 1 x 360mm, 1 x 240mm, 1 x 120mm 1 x 280mm, 1 x 140mm |
| CLEARANCE | CPU cooler max height: 190mm VGA max length: 370mm (With radiator) 420mm (Without radiator) PSU max length: 220mm |
Closer Look – Exterior
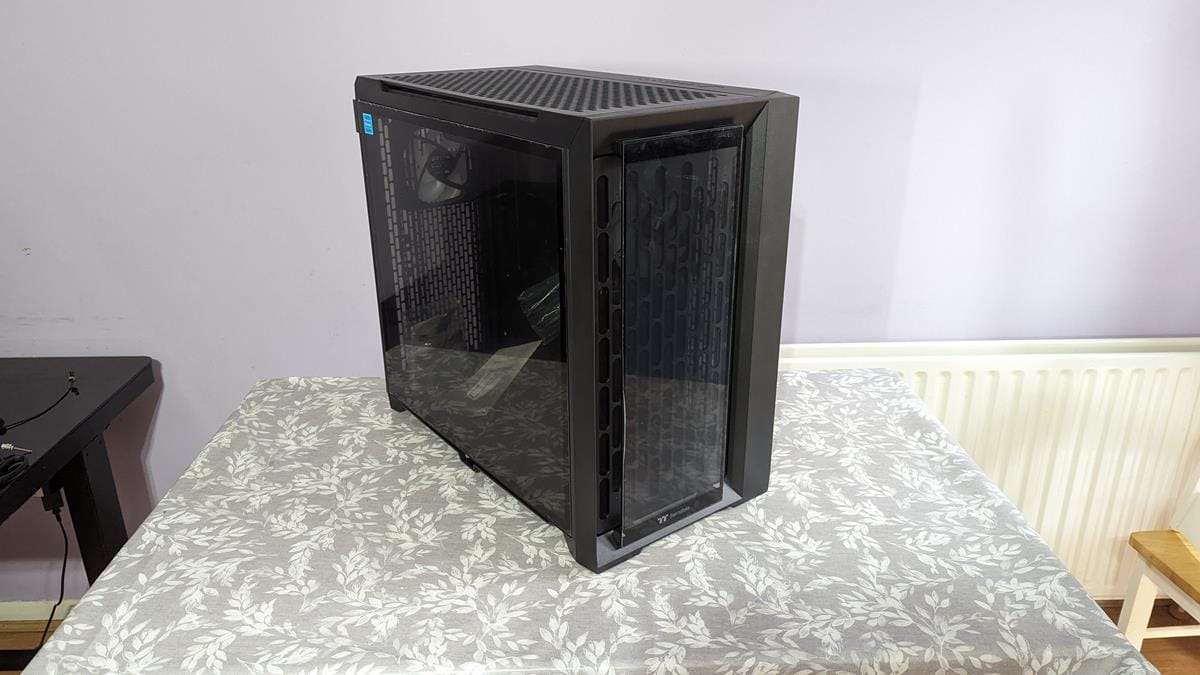
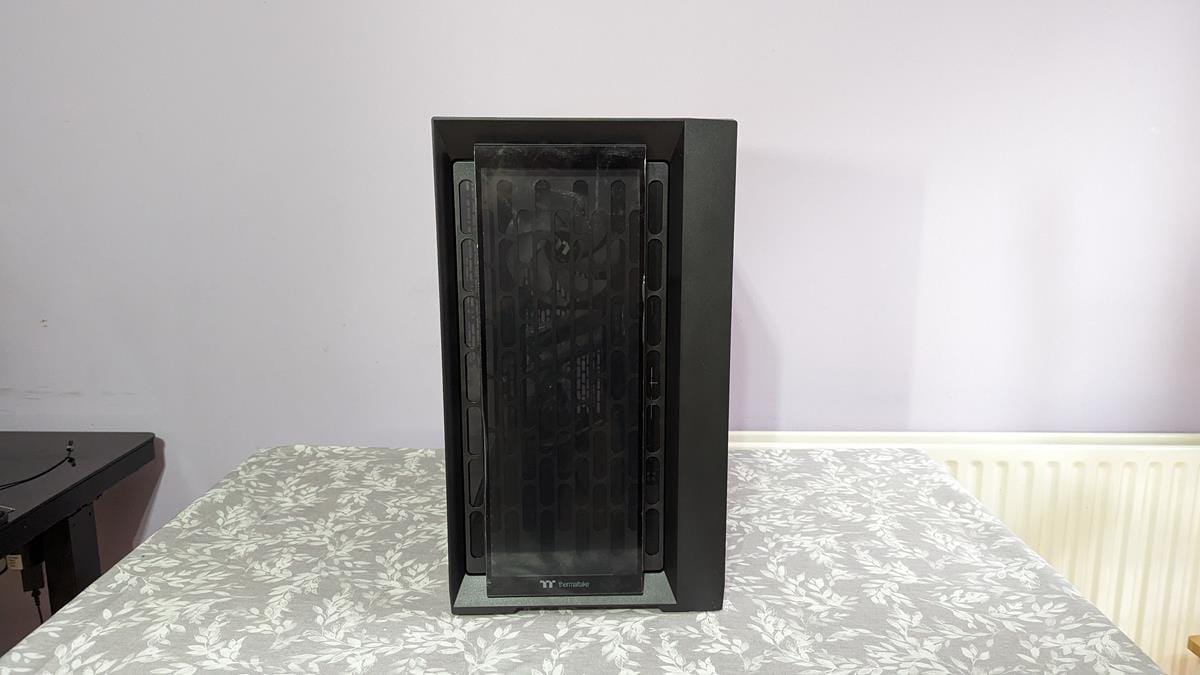
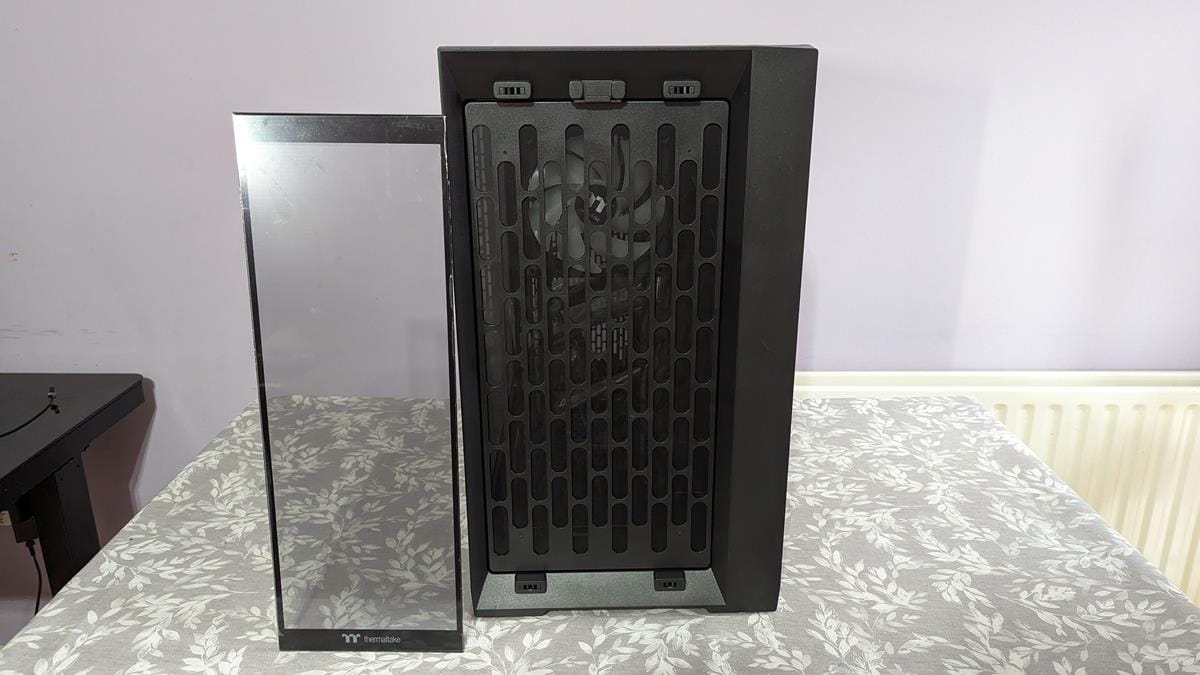
The C750 is ridiculously heavy so make sure you are careful when trying to get it out of the box. On first look, we can see there are two tempered glass panels. You will notice the panel on the front has some room on both sides to allow for better airflow.
With more power-hungry components these days, cooling is more important than ever. Offering extra ventilation is key to helping keep those components cool, even if you plan on going with a water cooling loop
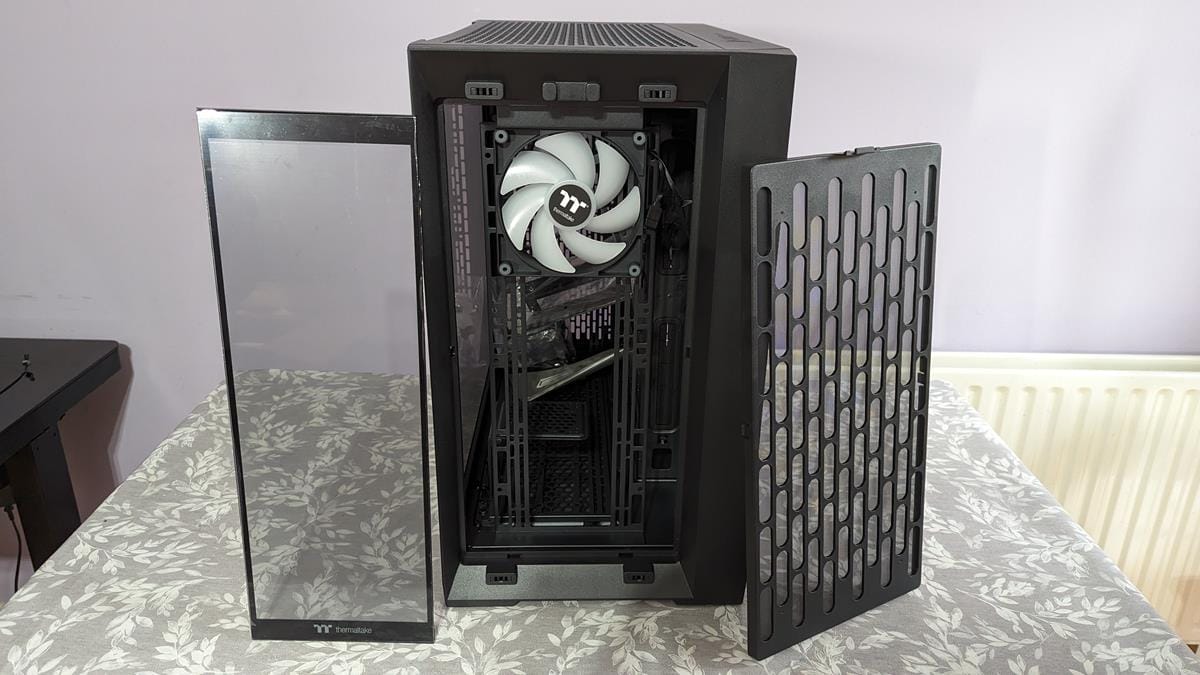
The front panel easily pulls off the case, allowing access to the mesh dust protector which covers the full opening on the front of the case. With more air, comes more dust unfortunately but Thermaltake has us covered in their C750 with plenty of dust protectors strategically placed where needed.
The dust filter can also be easily popped out. This is handy if you need to clean it or if you want to add some more fans to the front of the case. The C750 only comes with a single fan as standard in the front, but you can fit up to 3x 120/140mm fans or even a pair of 200mm fans if you so desire.
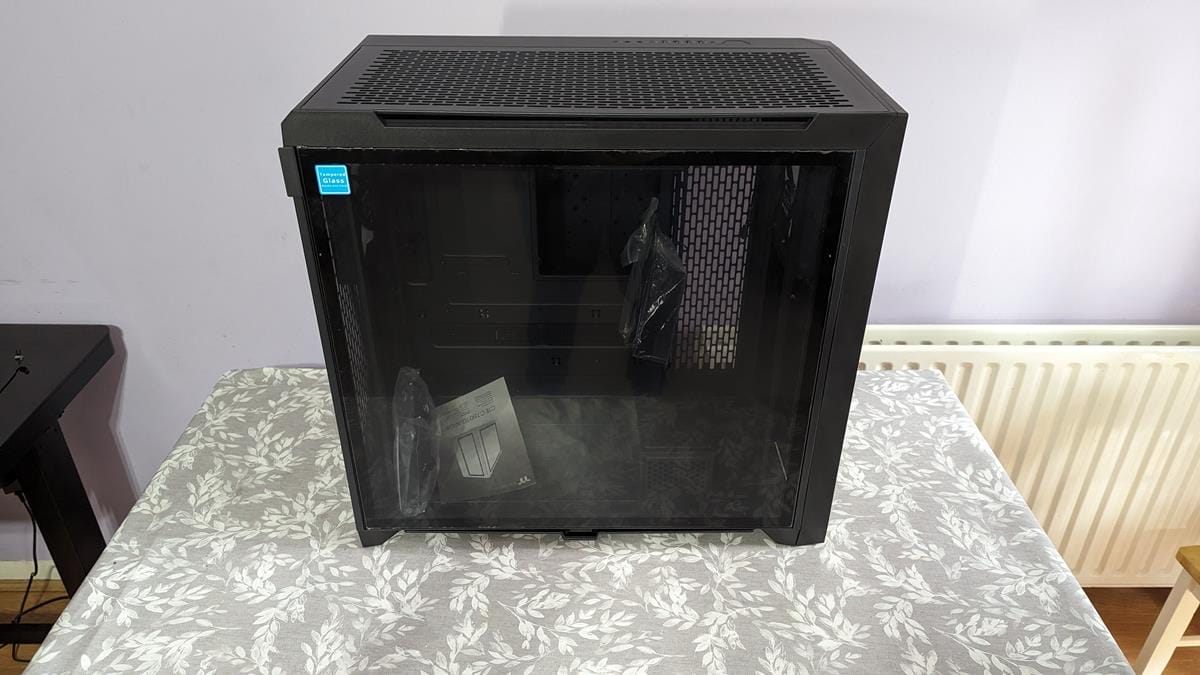
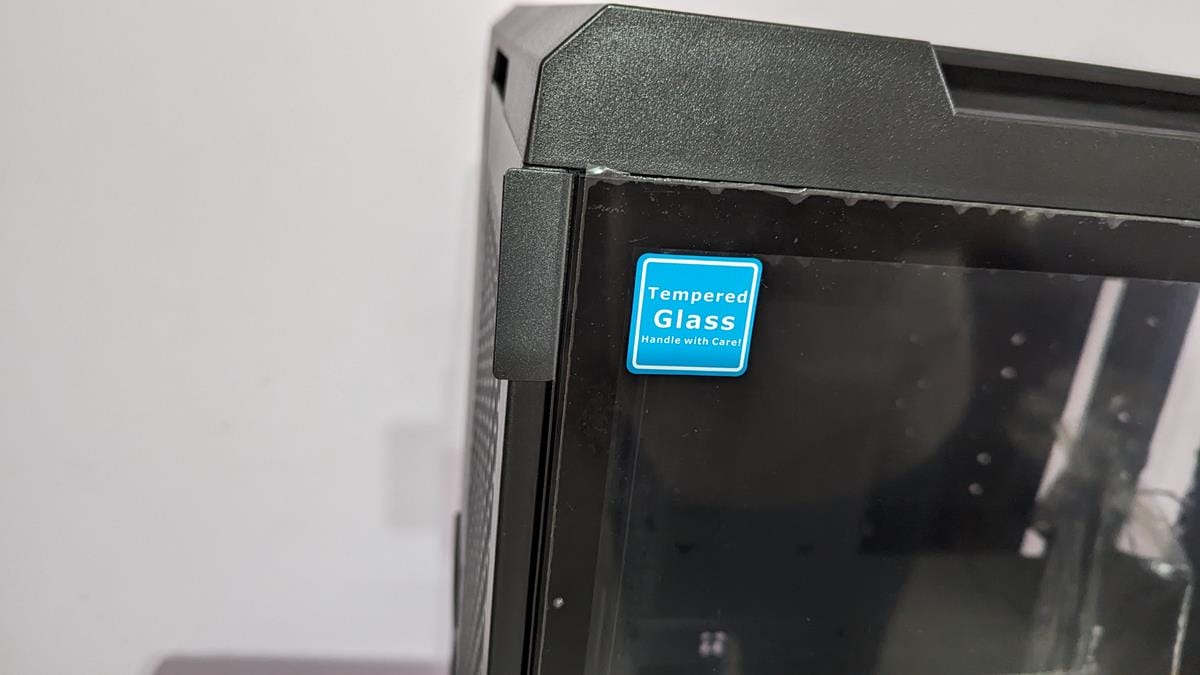
As seen in the first image, the side panel is made from tempered glass. We can now see it pretty much covers the whole side of the case so when our PC is full built, we will be able to see all the hardware inside with ease.
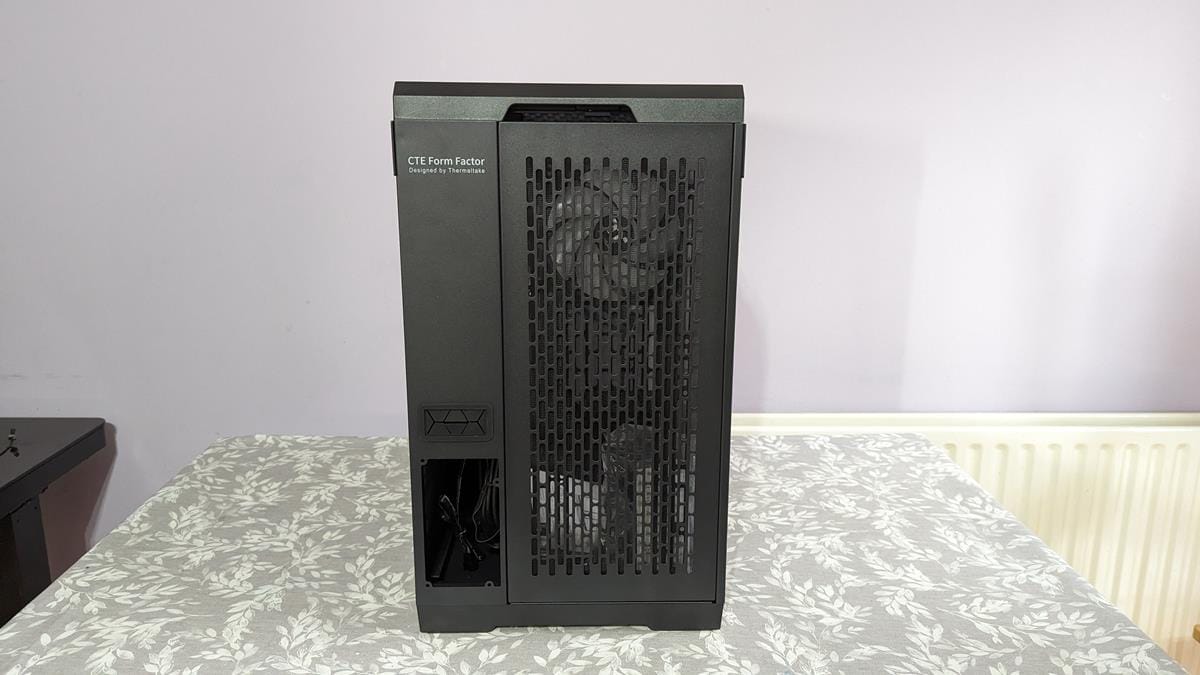
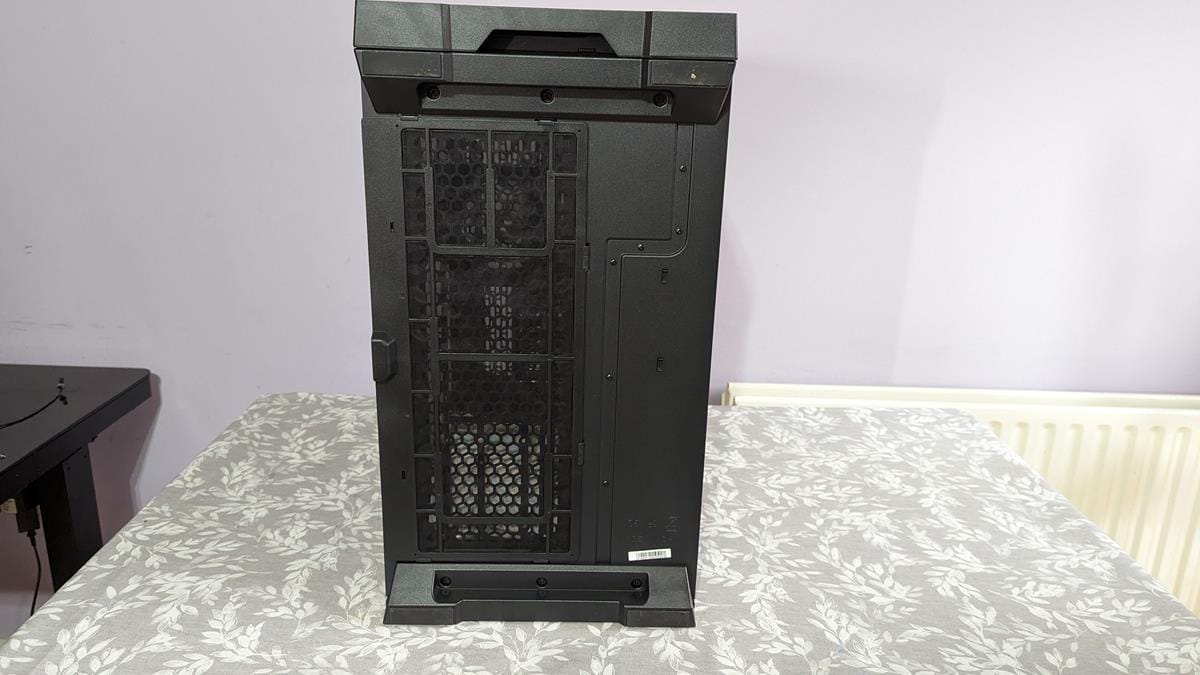
The back of the case looks a bit different than most cases. Here we can see the cutout for the PSU and a nice big mesh area. This is all part of the CTE or Centralized Thermal Efficiency feature Thermaltake offers in these cases. The motherboard has even been rotated 90 degrees so that the full GPU can benefit from the extra airflow coming in from the rear of the case.
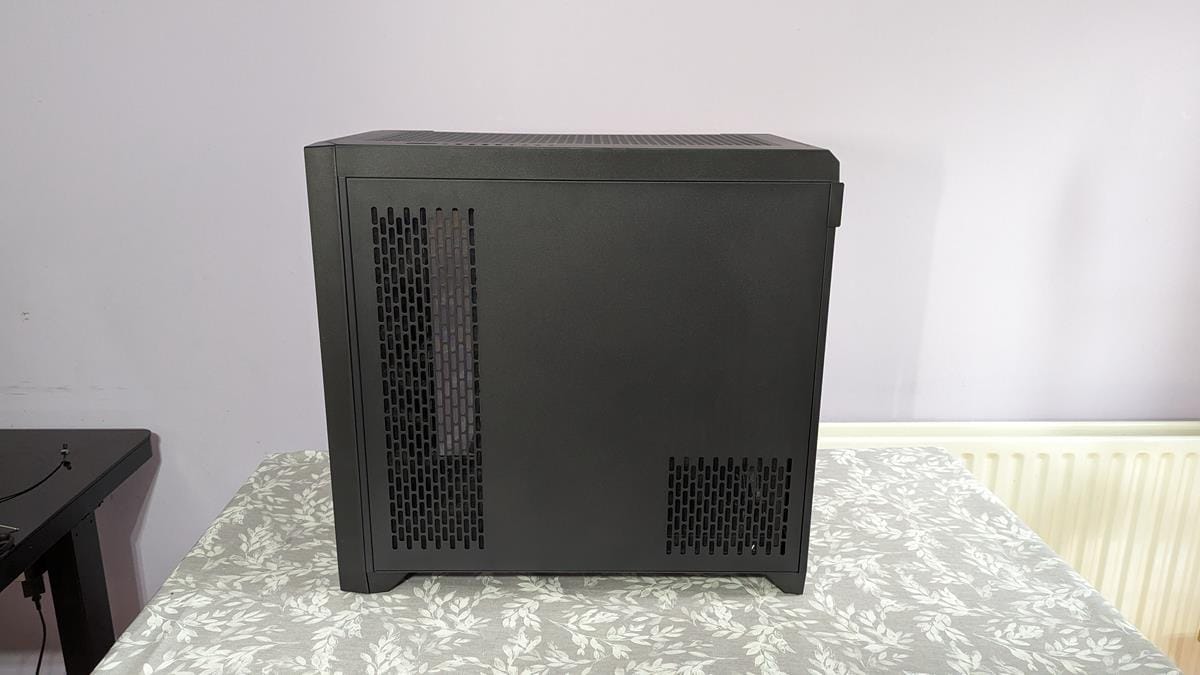
The C750 has more than enough room for fans and airflow. This is the other side panel and we can see the sort of mesh areas for the PSU and also another one for side-mounted fans. We will look at it shortly but the longer mesh area is so you can mount more fans inside the case next to the motherboard offering some seriously insane airflow options.
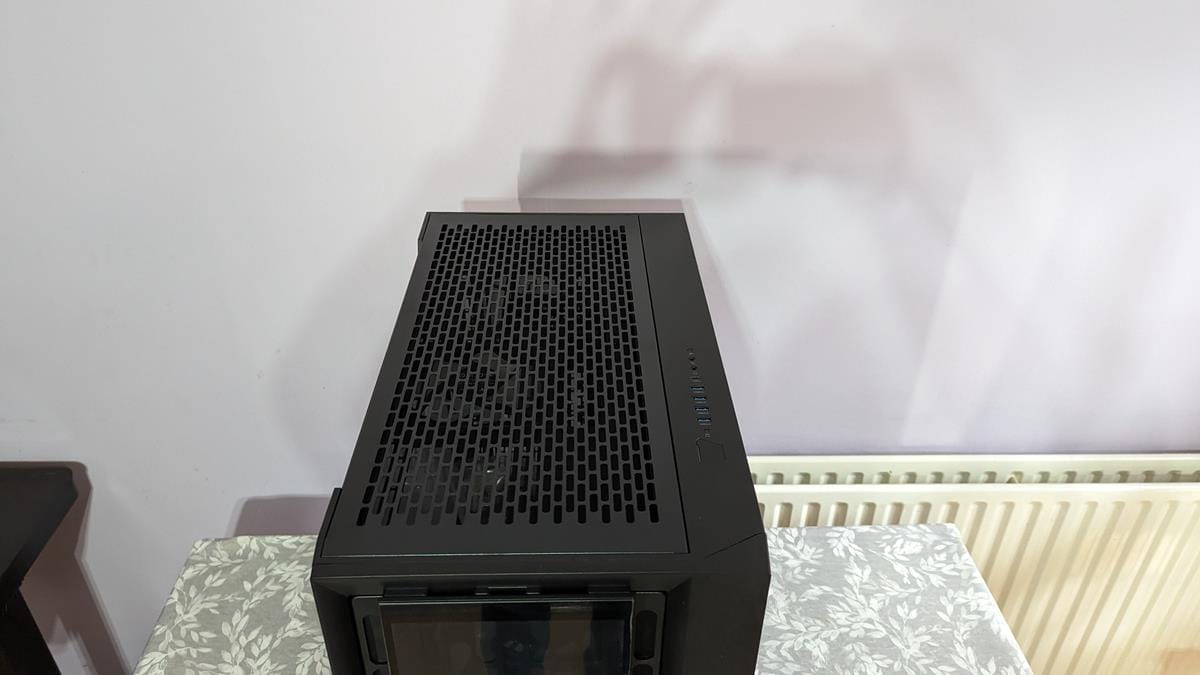
As with the back, the top is also slightly different from your normal cases on the market. Thermaltake has made it so the rear IO of your motherboard will be on top of the case. This is all part of their CTE design to help optimize airflow.
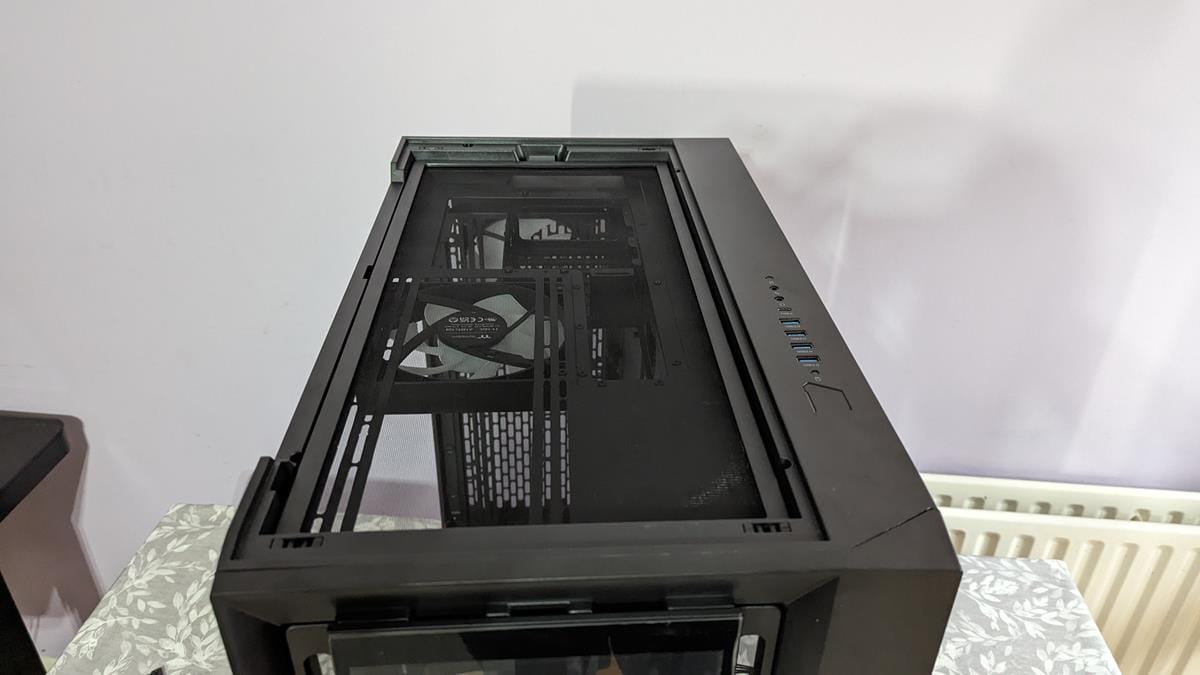
Of course, the top comes off with a nice little pull. You will also notice that there is a dust filter here. Worry not as it won’t get in the way of anything as as we have seen with the others it is easily removed when needed.
One of the main concerns about having the rear IO on the top will no doubt be where all your cables go. Well, worry not as they get routed out the backside of the case and there is more than enough room in the massive case for them. As they say, trust the process.
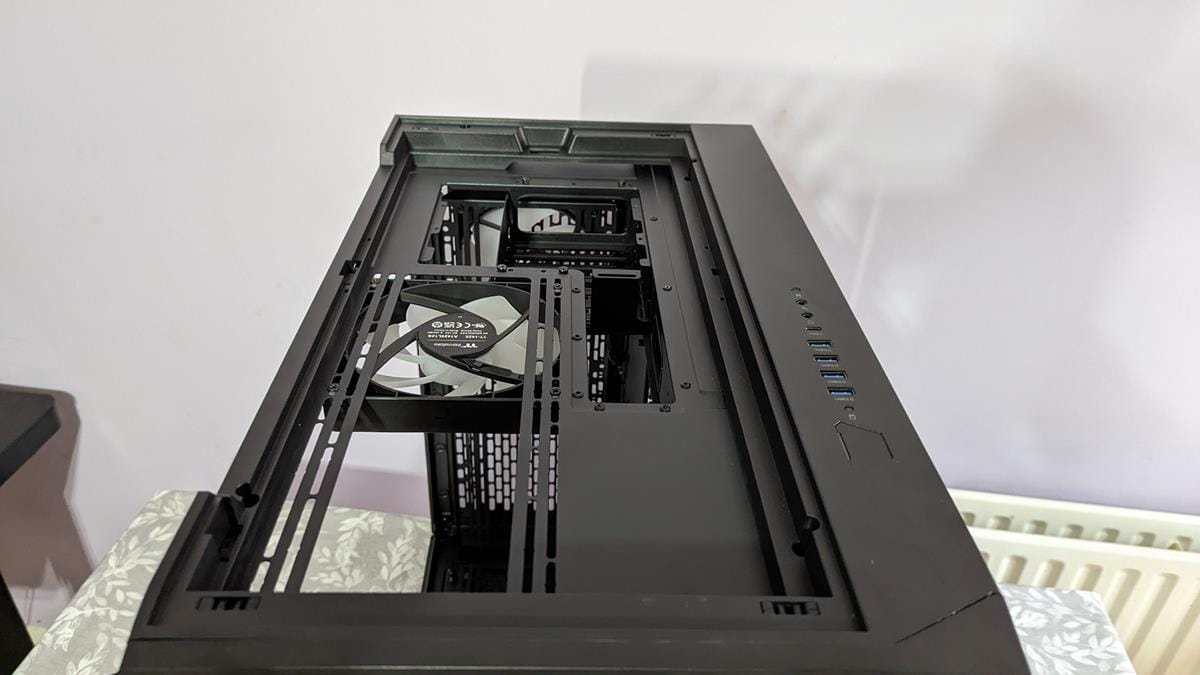
The top of the case also features the front IO which has the power buttons, a ridiculous 4x USB-A ports, and a USB-C port, giving you plenty of connection options.
The bottom of the case also features an easy-to-remove dust protector as you can mount fans inside the bottom of the case. If going with 120mm fans, I think we are up to 14 in total that can be mounted inside the C750 case.
Having such easy access to all areas of this case will make it a breeze to build in. It’s also nice to have proper dust filters that can be removed as you can even just wash them under the sink if need be. Just make sure to let them dry properly before putting them back in to the case should you wash them!
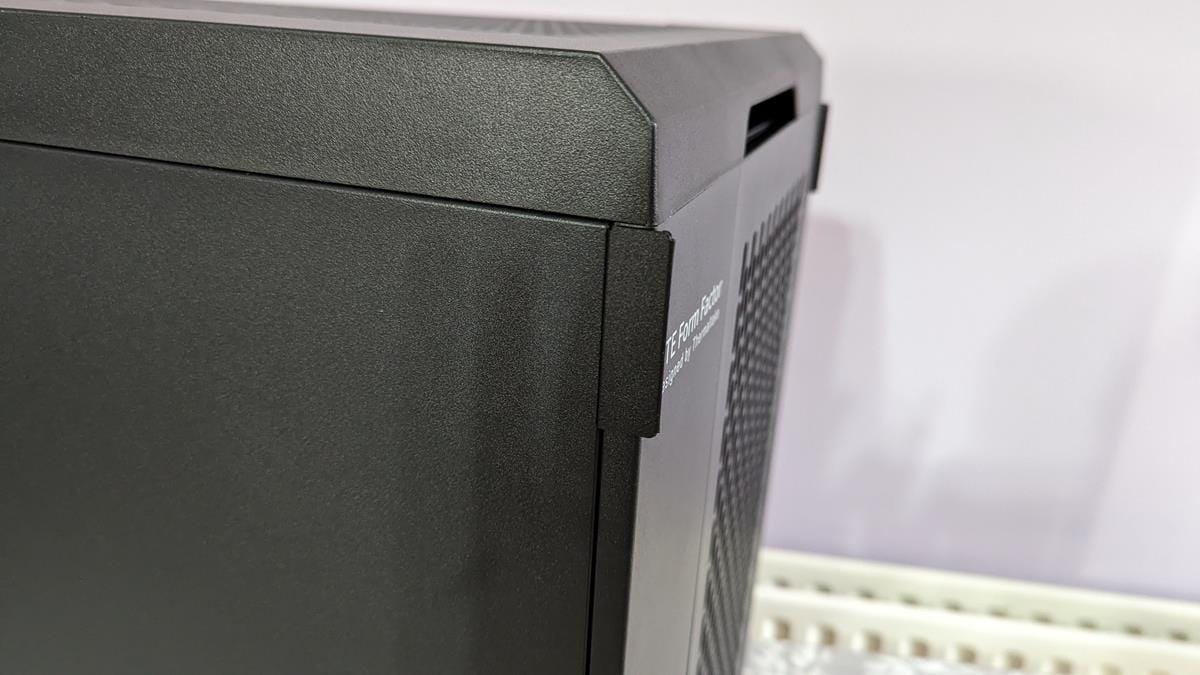
The side panels both have this little tab area. This is going to allow you to easily remove the side panels and in all honesty, they almost go unnoticed when building in the case but are a great touch to have.
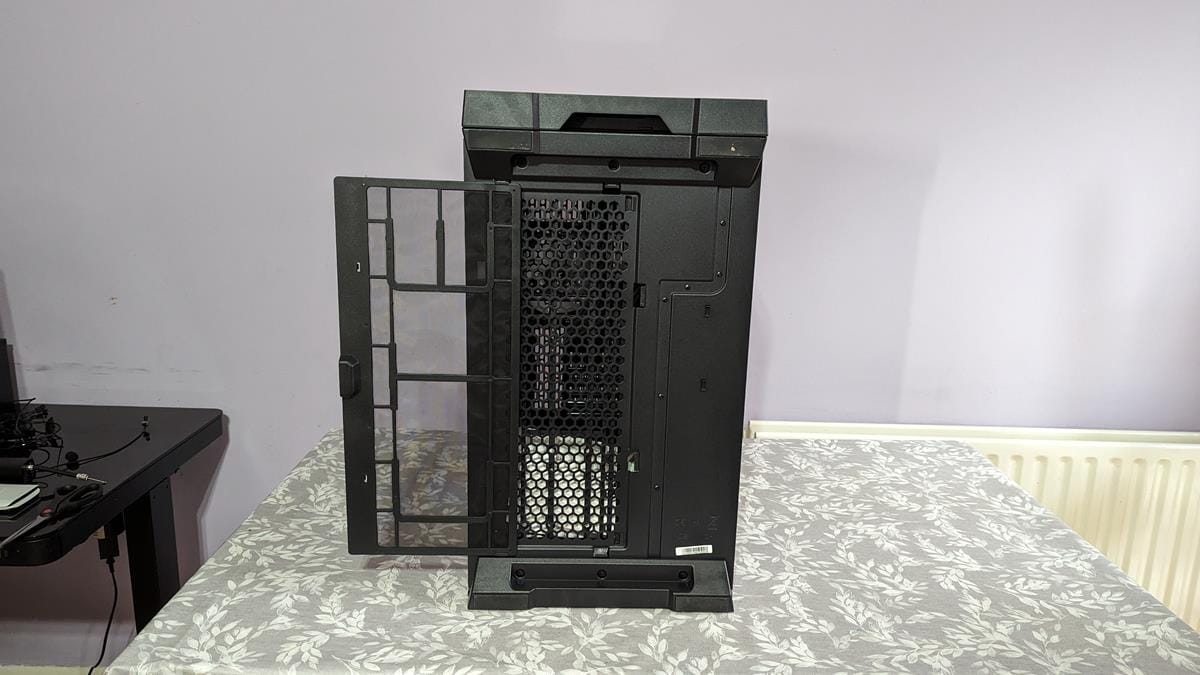
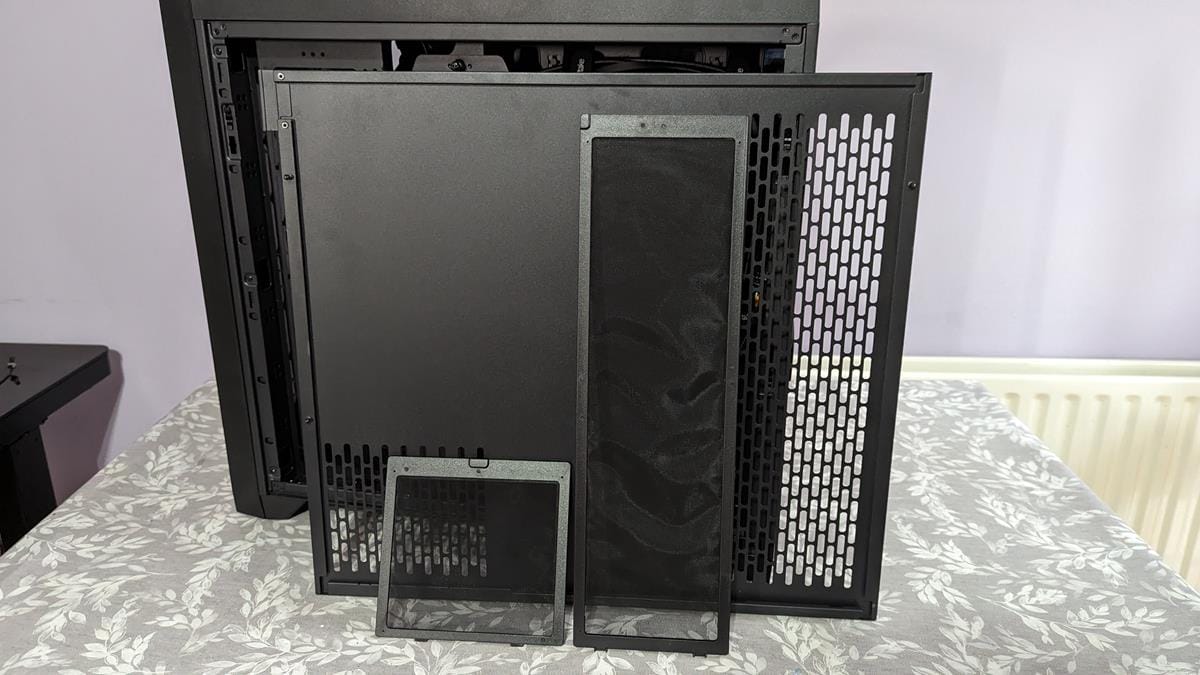
Starting with the panel on the rear side of the motherboard tray of the C750, we have more dust protectors! Yes, both of these mesh areas have their magnetic dust filters to help make sure your PC is as dust-free as it can be.
Looking at the backside of the motherboard tray there is quite a bit going on here. We have a couple of removable trays that can be used to mount your hard drives and 2.5″ SSDs too. There are plenty of pass-through grommets to help route any cables inside the PC. Thermaltake has even gone so far as to include velcro ties for your cables and has already started routing them a bit for you, giving you an idea of what you should be looking to achieve.
Looking at the main side of the CTE 750 and somehow, there is even more going on here!
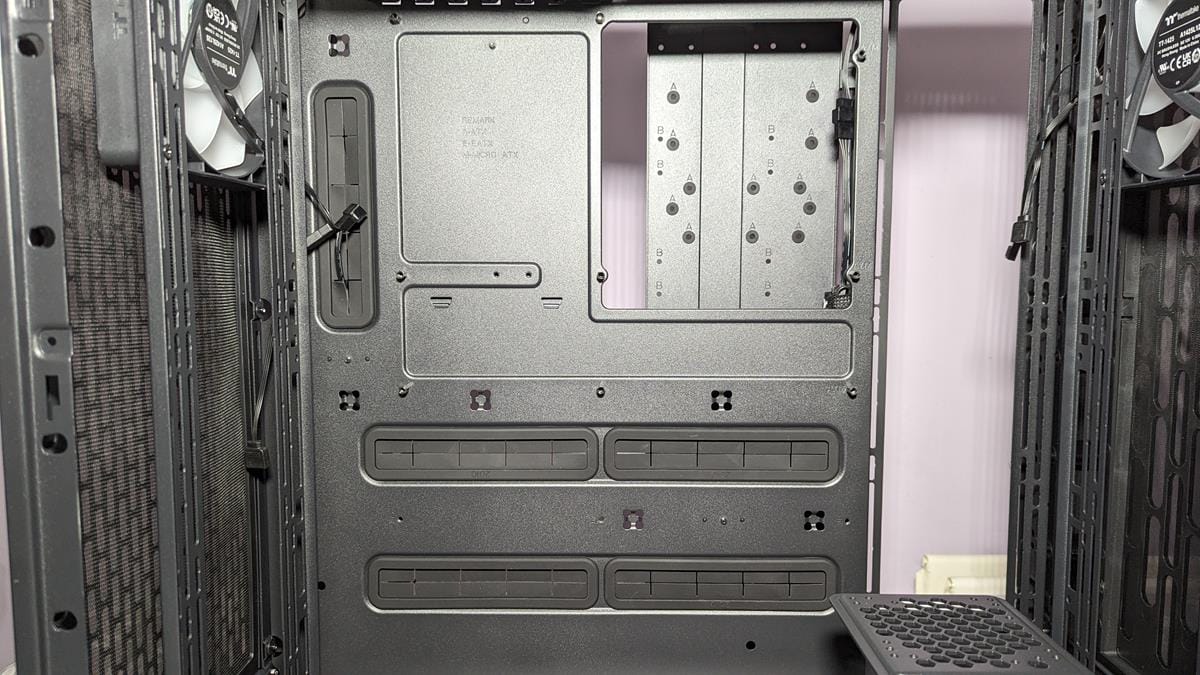
The motherboard tray on the C750 is clearly labeled depending on what form factor motherboard you are looking to install.
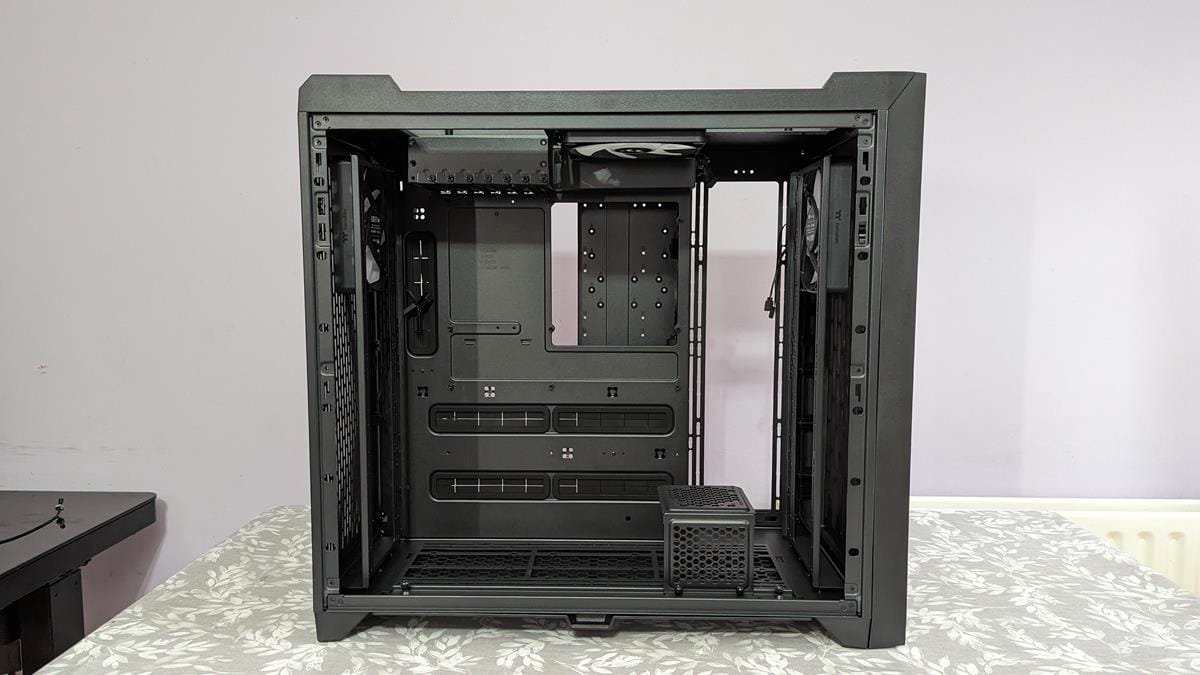
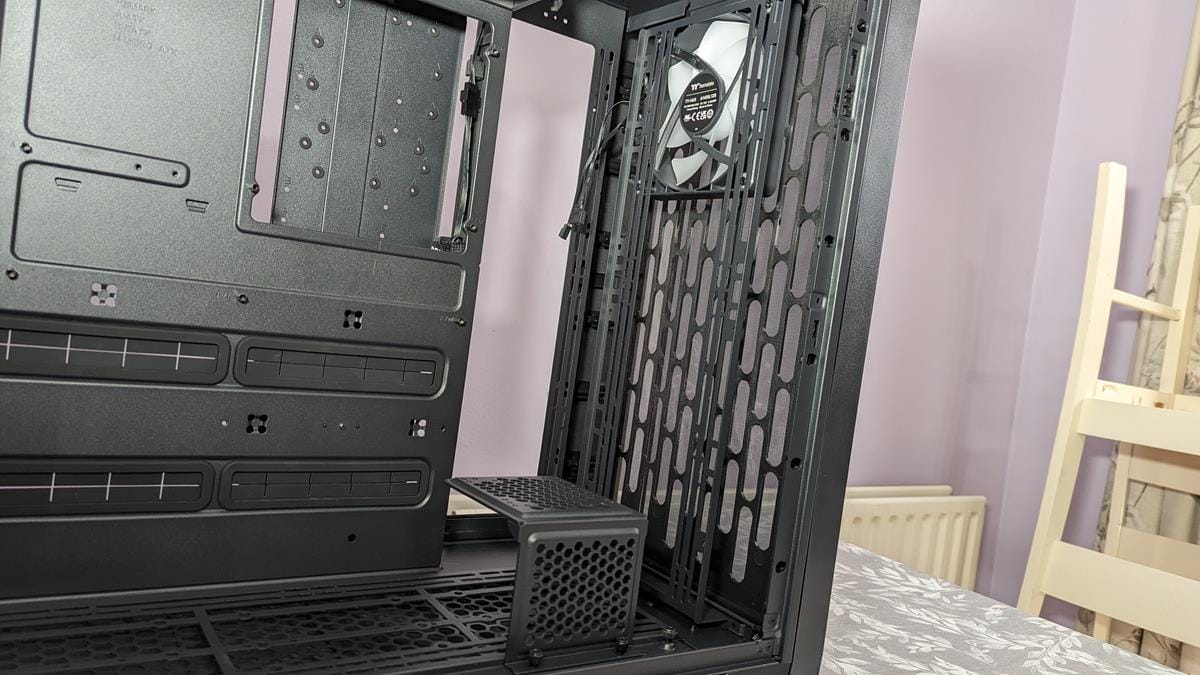
The absolute room for all the fans you can fit in the C750 is quite impressive. Somehow, you can cram over 10 fans in here and it won’t look overly crowded, quite an impressive feat if I may say so. It’s just a shame that it doesn’t come with a couple more fans as standard. I mean, I get why it doesn’t but would still be nice to see a couple more fans inside this massive C750 case.
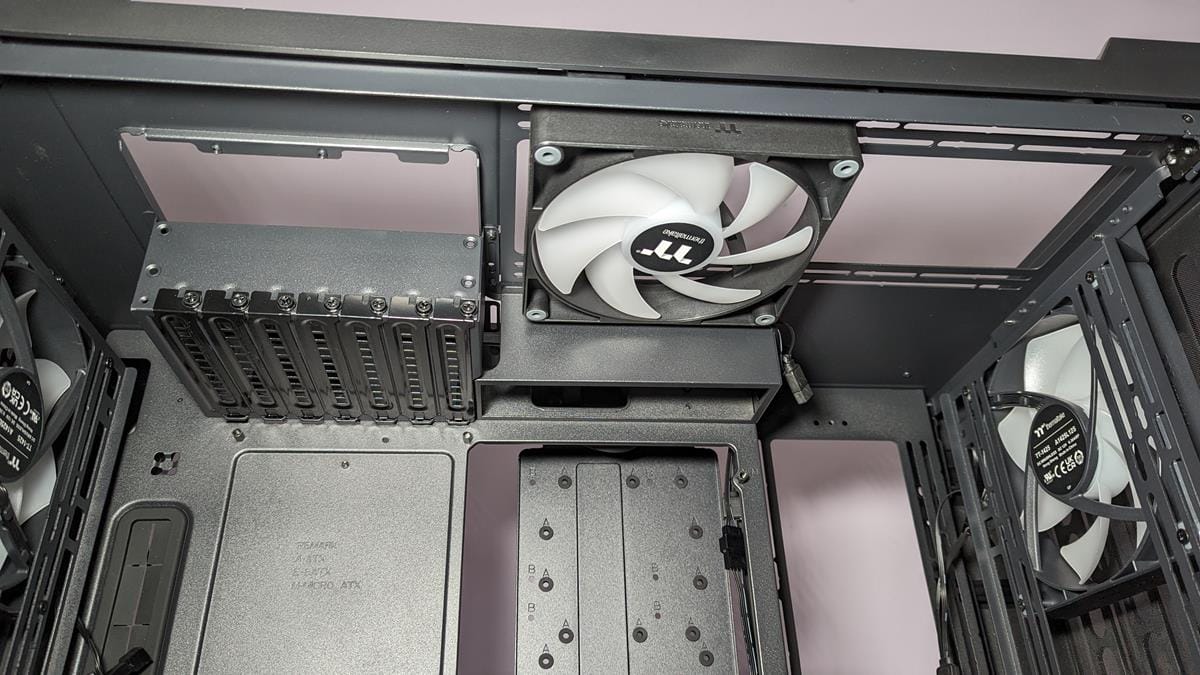
In most normal cases there is only space for one fan above the PCI expansion bays, however, Thermaltake has made it so you can have two fans here in their C750. Could also use this to mount a 240mm radiator if you do go down that custom loop cooling route.
C750 Final Build
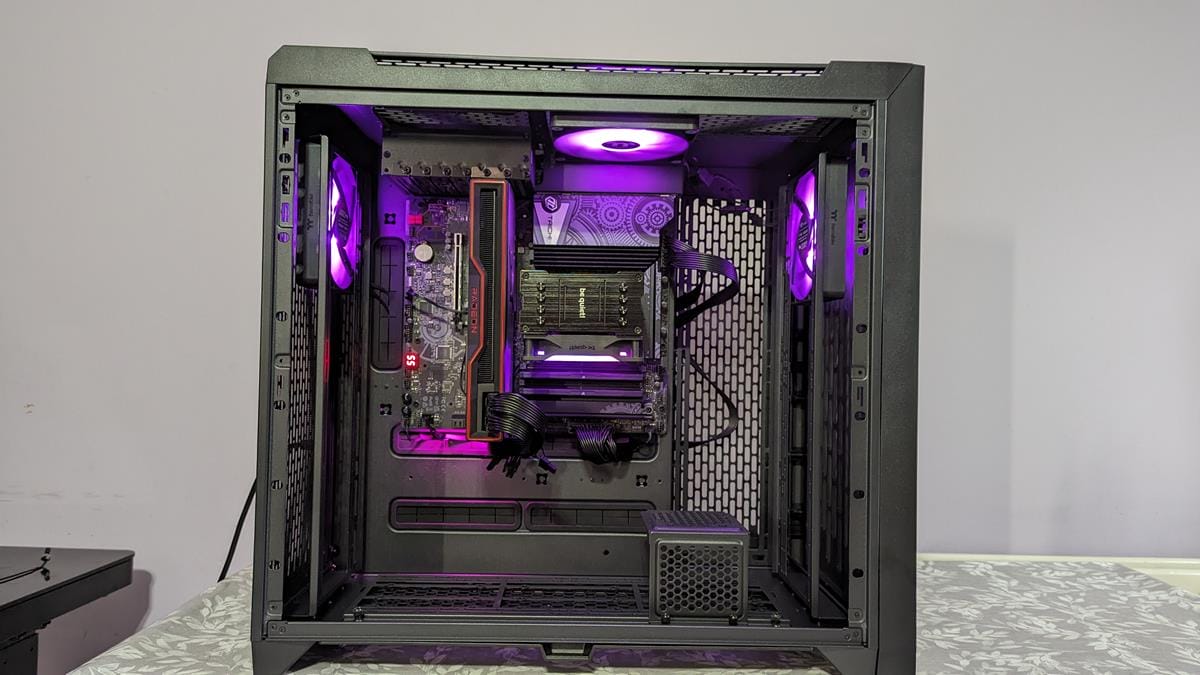
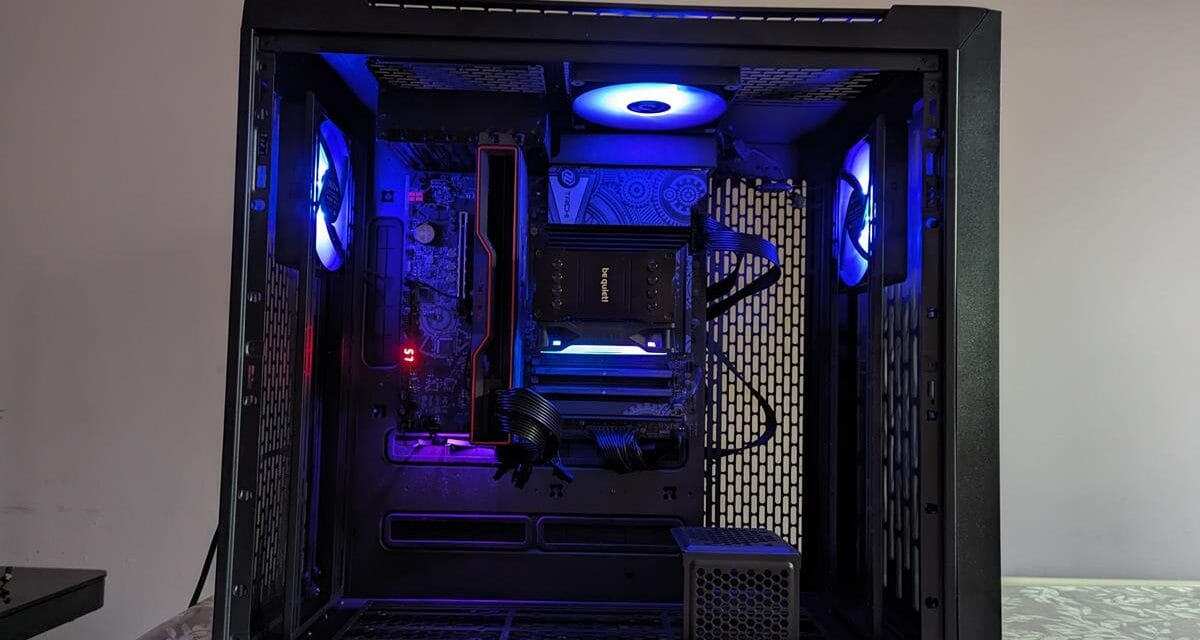
To capture the sheer size of this build, I went with a fairly simple build. Yes, I know it all looks quite a bit out of place but that is a full-size ATX motherboard powering an AMD 7800X3D CPU and an RX 6800 GPU. I wanted to do more but just did not have 14 of the same fans on hand to make use of the case. This build, as mentioned, is just to show you how much room you truly have inside the C750.
Final Words
There is no denying that the Thermaltake CTE C750 is a rather impressive case. However, what might be even more impressive is the current pricing. The C750 can be bought for £129.98 at SCAN.CO.UK at the time of this review. For just shy of £130, you are getting a lot of case. The options you are left with to fit almost any components you wish are truly amazing.
When it comes to performance, it is going to come down to just how many fans you put in the C750. Even just using the 3x included fans, provides sufficient airflow for a standard build. The mass amount of ventilation is going to let air flow freely through the case with ease so while you can fit a silly amount of fans inside, you don’t have to.
This case is designed with customer water cooling loops in mind and rightly so. There is plenty of room from radiators, fans, and even enough room to route your tubing pretty much however you like. Thermaltake has gone above and beyond with this PC case and whether you are a novice or seasoned pro builder, you will have a great time with this case.
Considering all you get for the price, we are going to award the CTE C750 with our must-have award! It offers a ridiculous amount of space in an affordable package that anyone will be able to make the most of.

