Thermaltake Versa C23 TG RGB Case Review
Introduction
Manufacturer: Thermaltake
Product: Versa C23 RGB TG
Purchase: £79.99 At the time of review
Whether you are a fan or not, there is no denying that Thermaltake has to be one of the biggest manufacturers of PC related components. Not only are they on the Global market, they also have sub-brands such as Tt eSports and Luxa which continue to allow them to expand on their wide-range of products they have to offer. Thermaltake has recently been releasing loads of new products as they do, a lot of which currently feature RGB LEDs. Lighting aside, Thermaltake is also big on offering products geared towards modders and those looking to completely show off their internal PC components. Today, we will be taking a look at the Versa C23 RG TG which is one of the new cases they have released.
As the name suggests, the case features RGB Lighting and Tempered Glass (TG) which are currently two of the bigger trends in the case/chassis market. The Versa C23 RGB TG is a Mid Tower and is compatible with ATX, Micro ATX and Mini ITX motherboard. There is also plenty of enough room for some cooling upgrades which can include up to 5x 120mm fans or some custom liquid cooling gear. Those looking to go the LCS route will be happy to know you can fit 2x 240mm and a 120mm radiator in the case alongside a host of different sizes tubing and reservoirs. All in all, the Versa C23 RGB TG looks like a decent case but does it live up to our expectations? Let’s find out!
Versa C23 RGB TG Specifications
| P/N | CA-1H7-00M1WN-00 |
| Dimension (H x W x D) | 510 x 200 x 508mm (20.1 x 7.9 x 20 inch) |
| Net Weight | 8.5 kg / 18.73 lb |
| Side Panel | Tempered Glass*1 |
| Color | Exterior & Interior : Black |
| Material | SPCC |
| Cooling System | Rear (exhaust) : 120 x 120 x 25 mm Turbo fan (1000rpm, 16dBA) |
| Case Type | Mid Tower |
| Drive Bays -Accessible -Hidden |
2 x 3.5’’ or 2 x 2.5”, 4 x 2.5″ |
| Expansion Slots | 7 |
| Motherboards | 6.7” x 6.7” (Mini ITX), 9.6” x 9.6” (Micro ATX), 120” x 9.6” (ATX) |
| I/O Port | USB 3.0 x 2, USB 2.0 x 2, HD Audio x 1 |
| PSU | Standard PS2 PSU (optional) |
| LCS Upgradable | Supports 1/2”、3/8”、1/4” water tube |
| Fan Support | Front: 2 x 120mm Top: 2 x 120mm Rear: 1 x 120mm |
| Radiator Support | Front: 1 x 240mm , 1 x 120mm Top: 1 x 240mm, 1 x 120mm Rear: 1 x 120mm *Only Applicable up to 40mm high and 120mm wide |
| Clearance | CPU cooler height limitation: 155mm VGA length limitation: 400mm(Without Front Fan) PSU length limitation: 220mm |
Closer Look
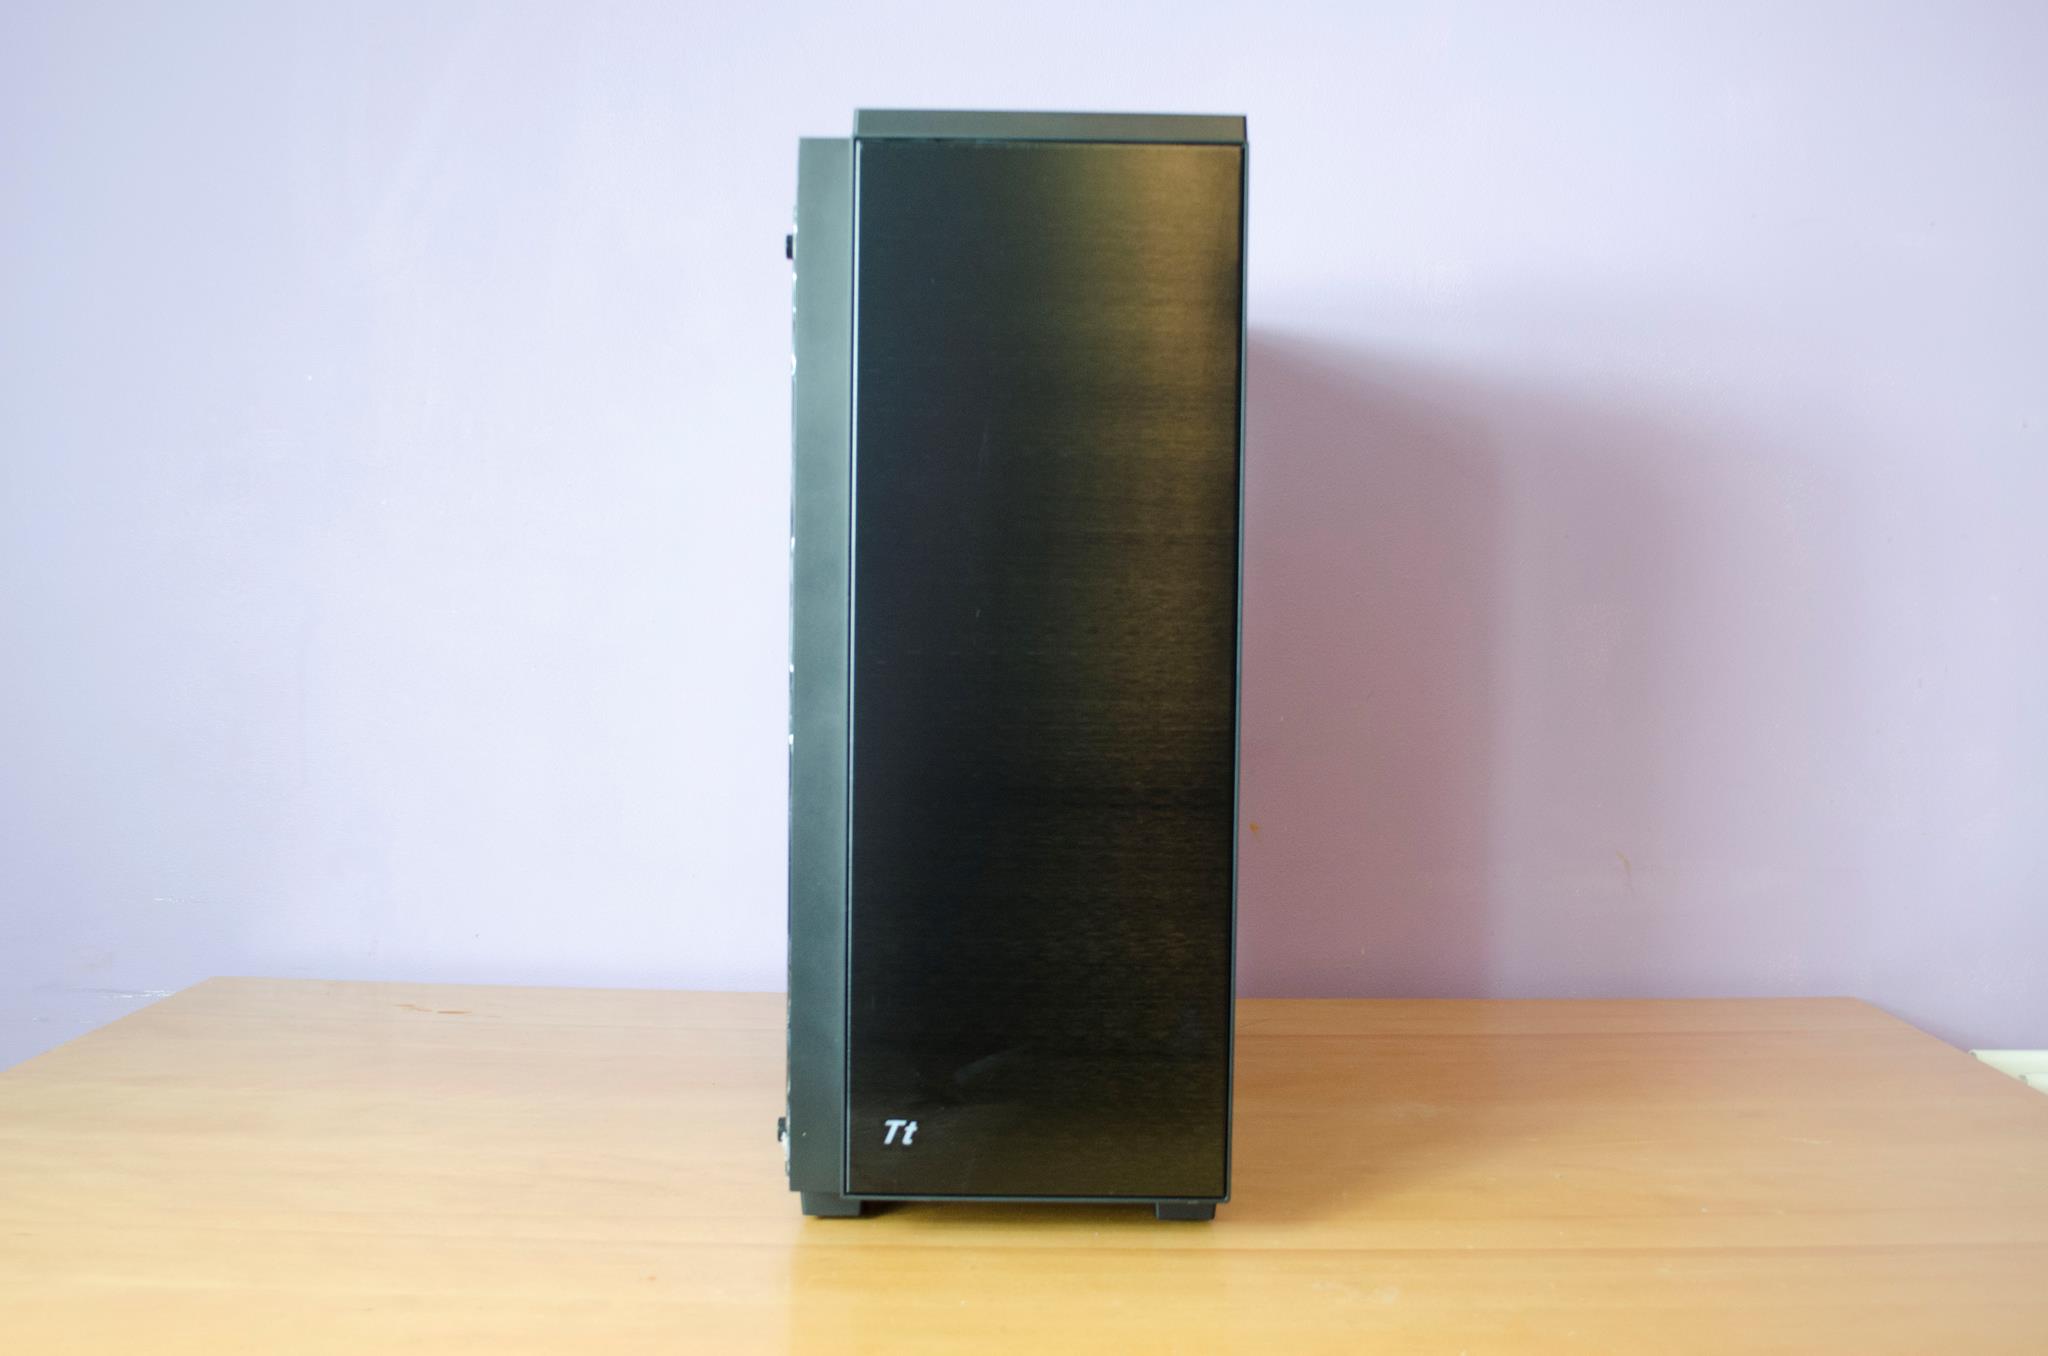
The front of the case has a brushed aluminium look to it with a small RGB capable Tt logo in the bottom left corner.
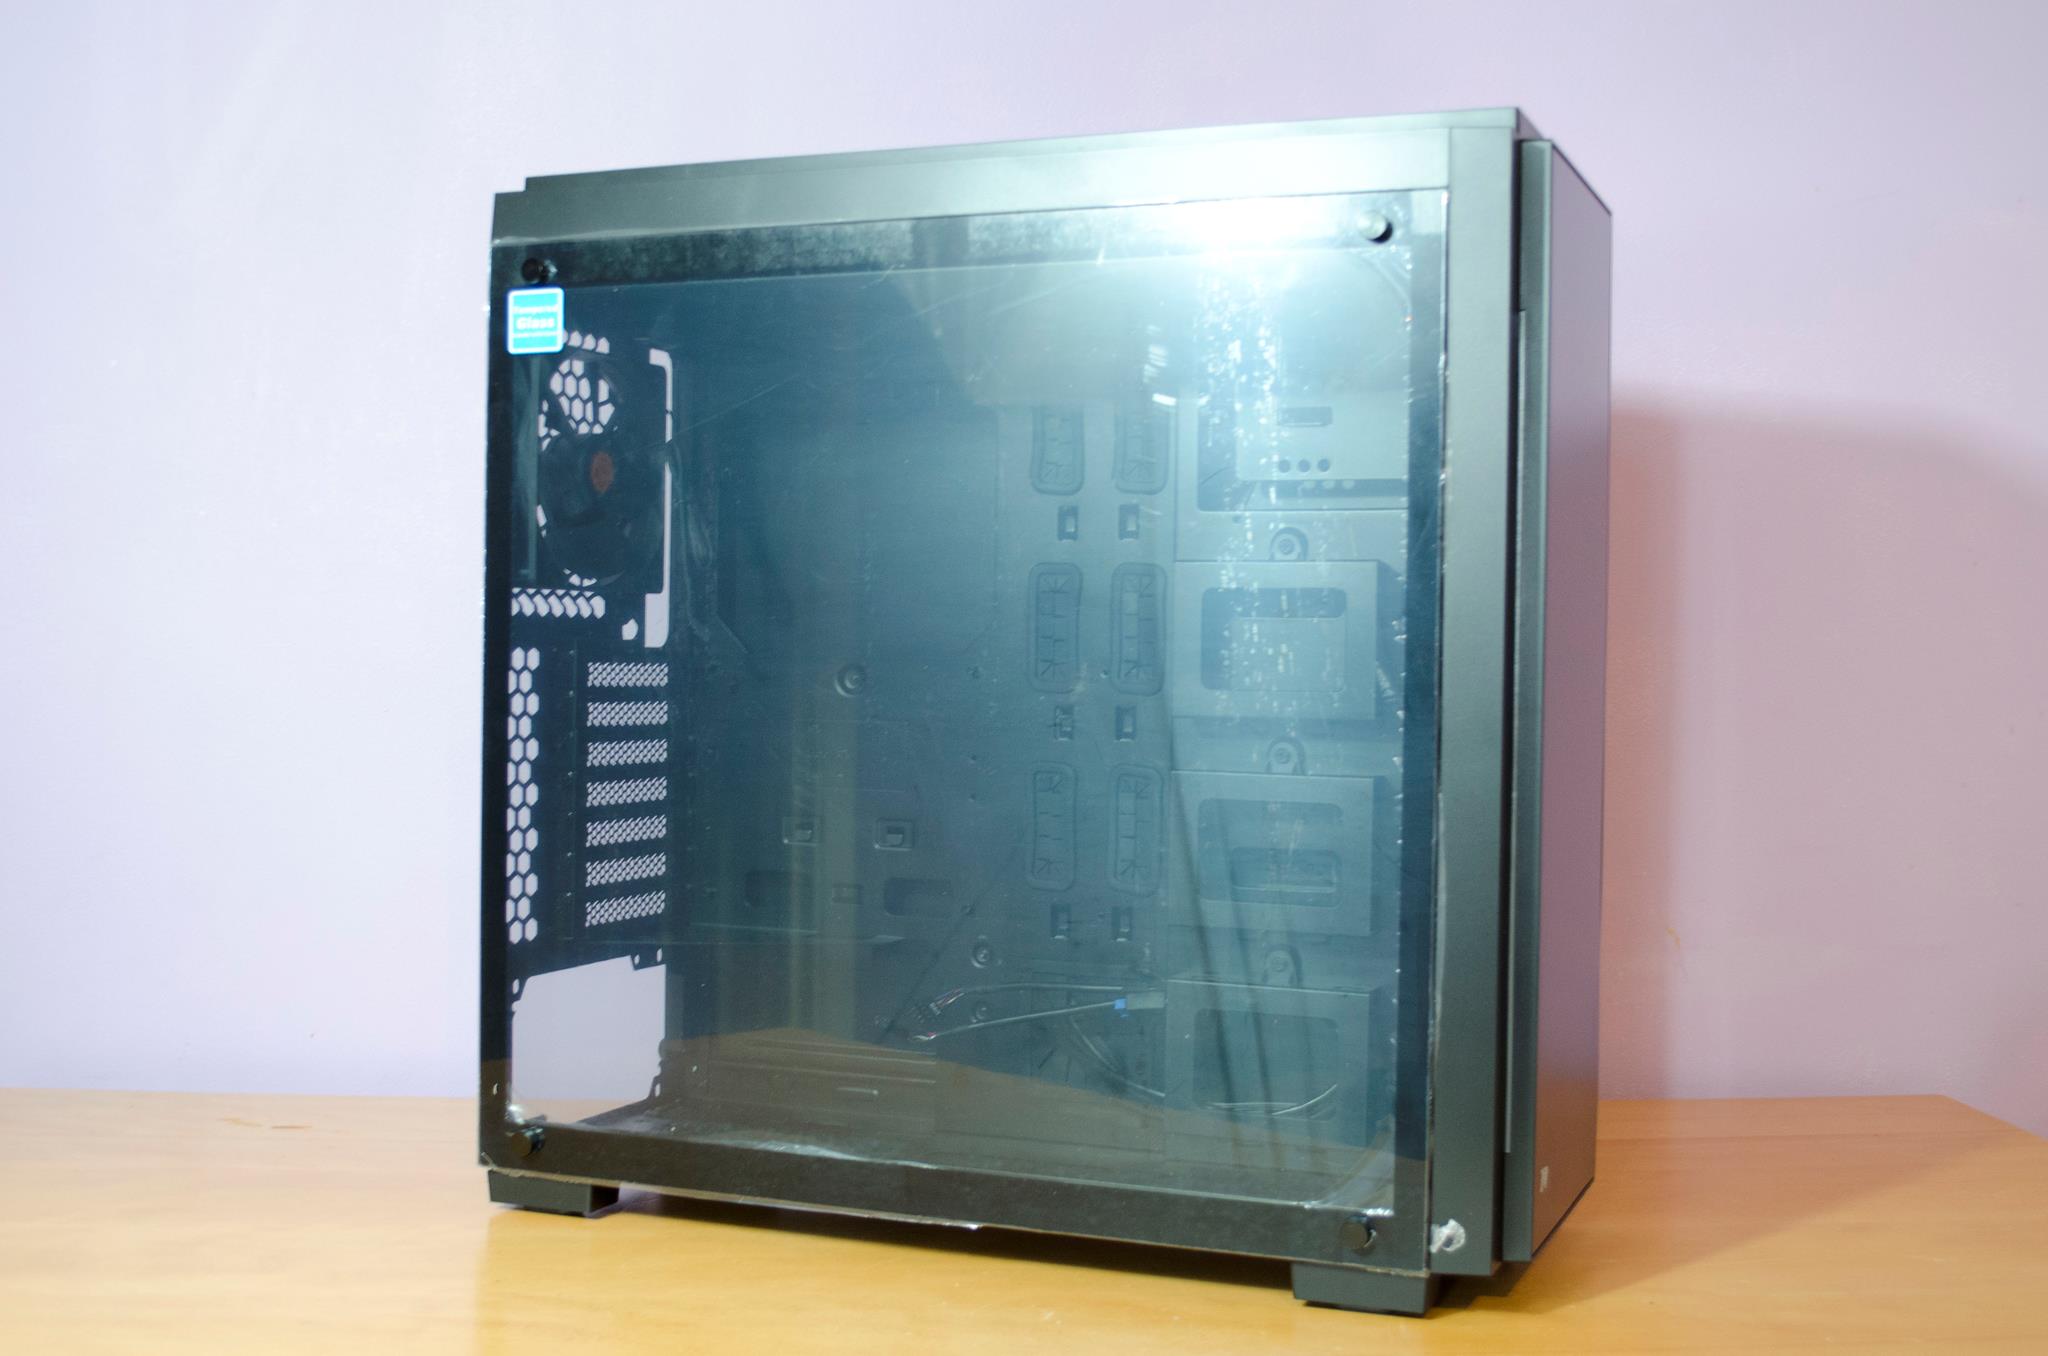
The main side-panel is tempered glass and has 4x thumbscrews holding it onto the case. Simply unscrew these to take the tempered glass off the case. Once all 4 screws are off, you can simply lift the tempered glass off of the case. While the tempered glass shouldn’t just fall off the case, you will definitely want to be careful when removing it.
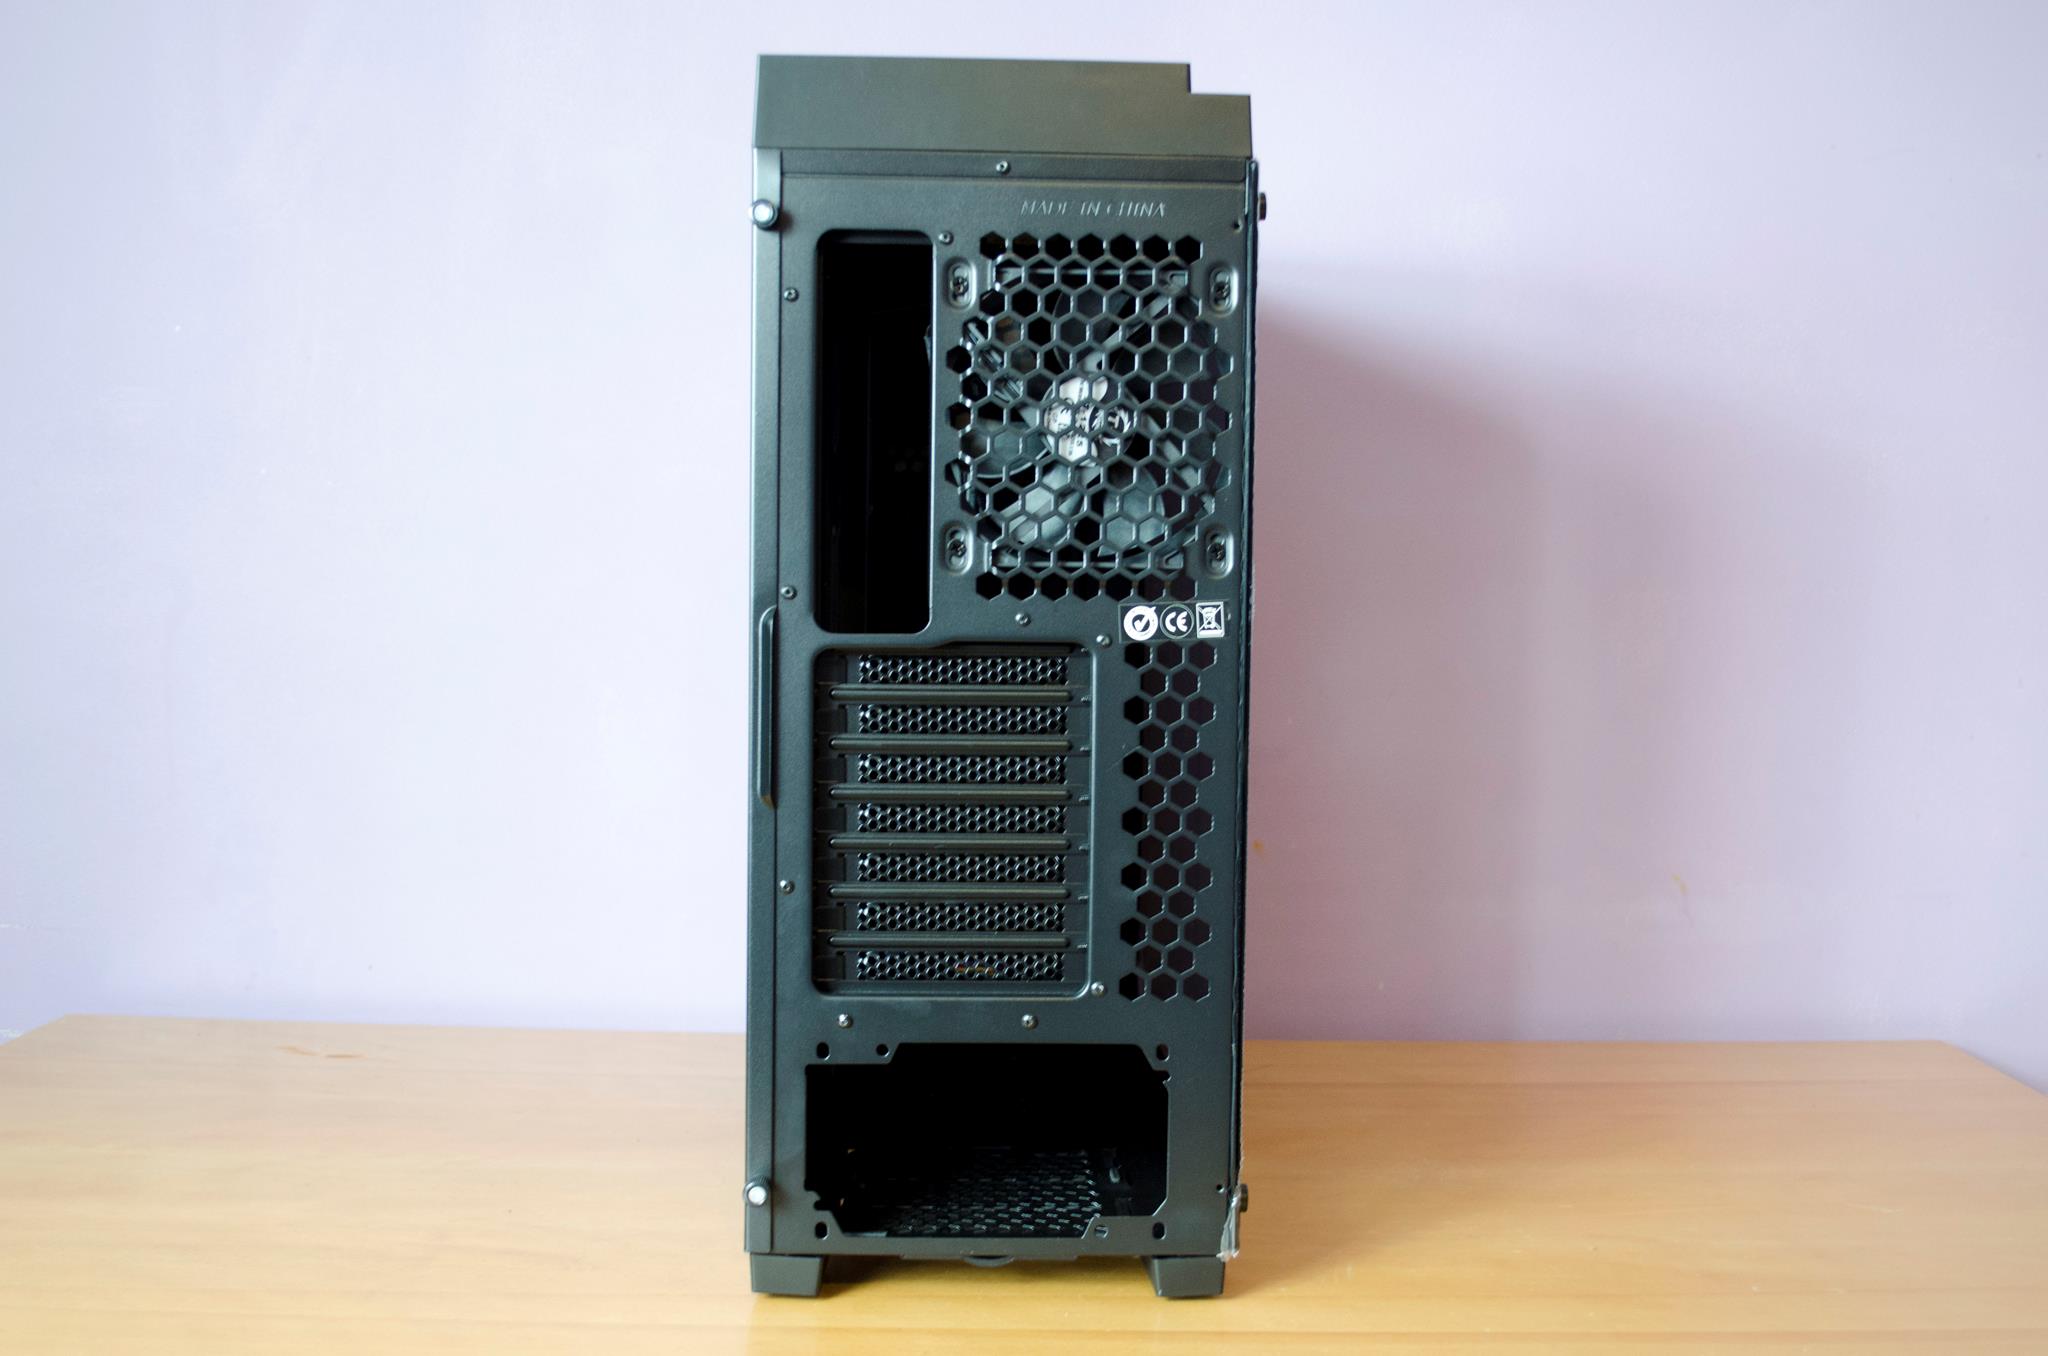
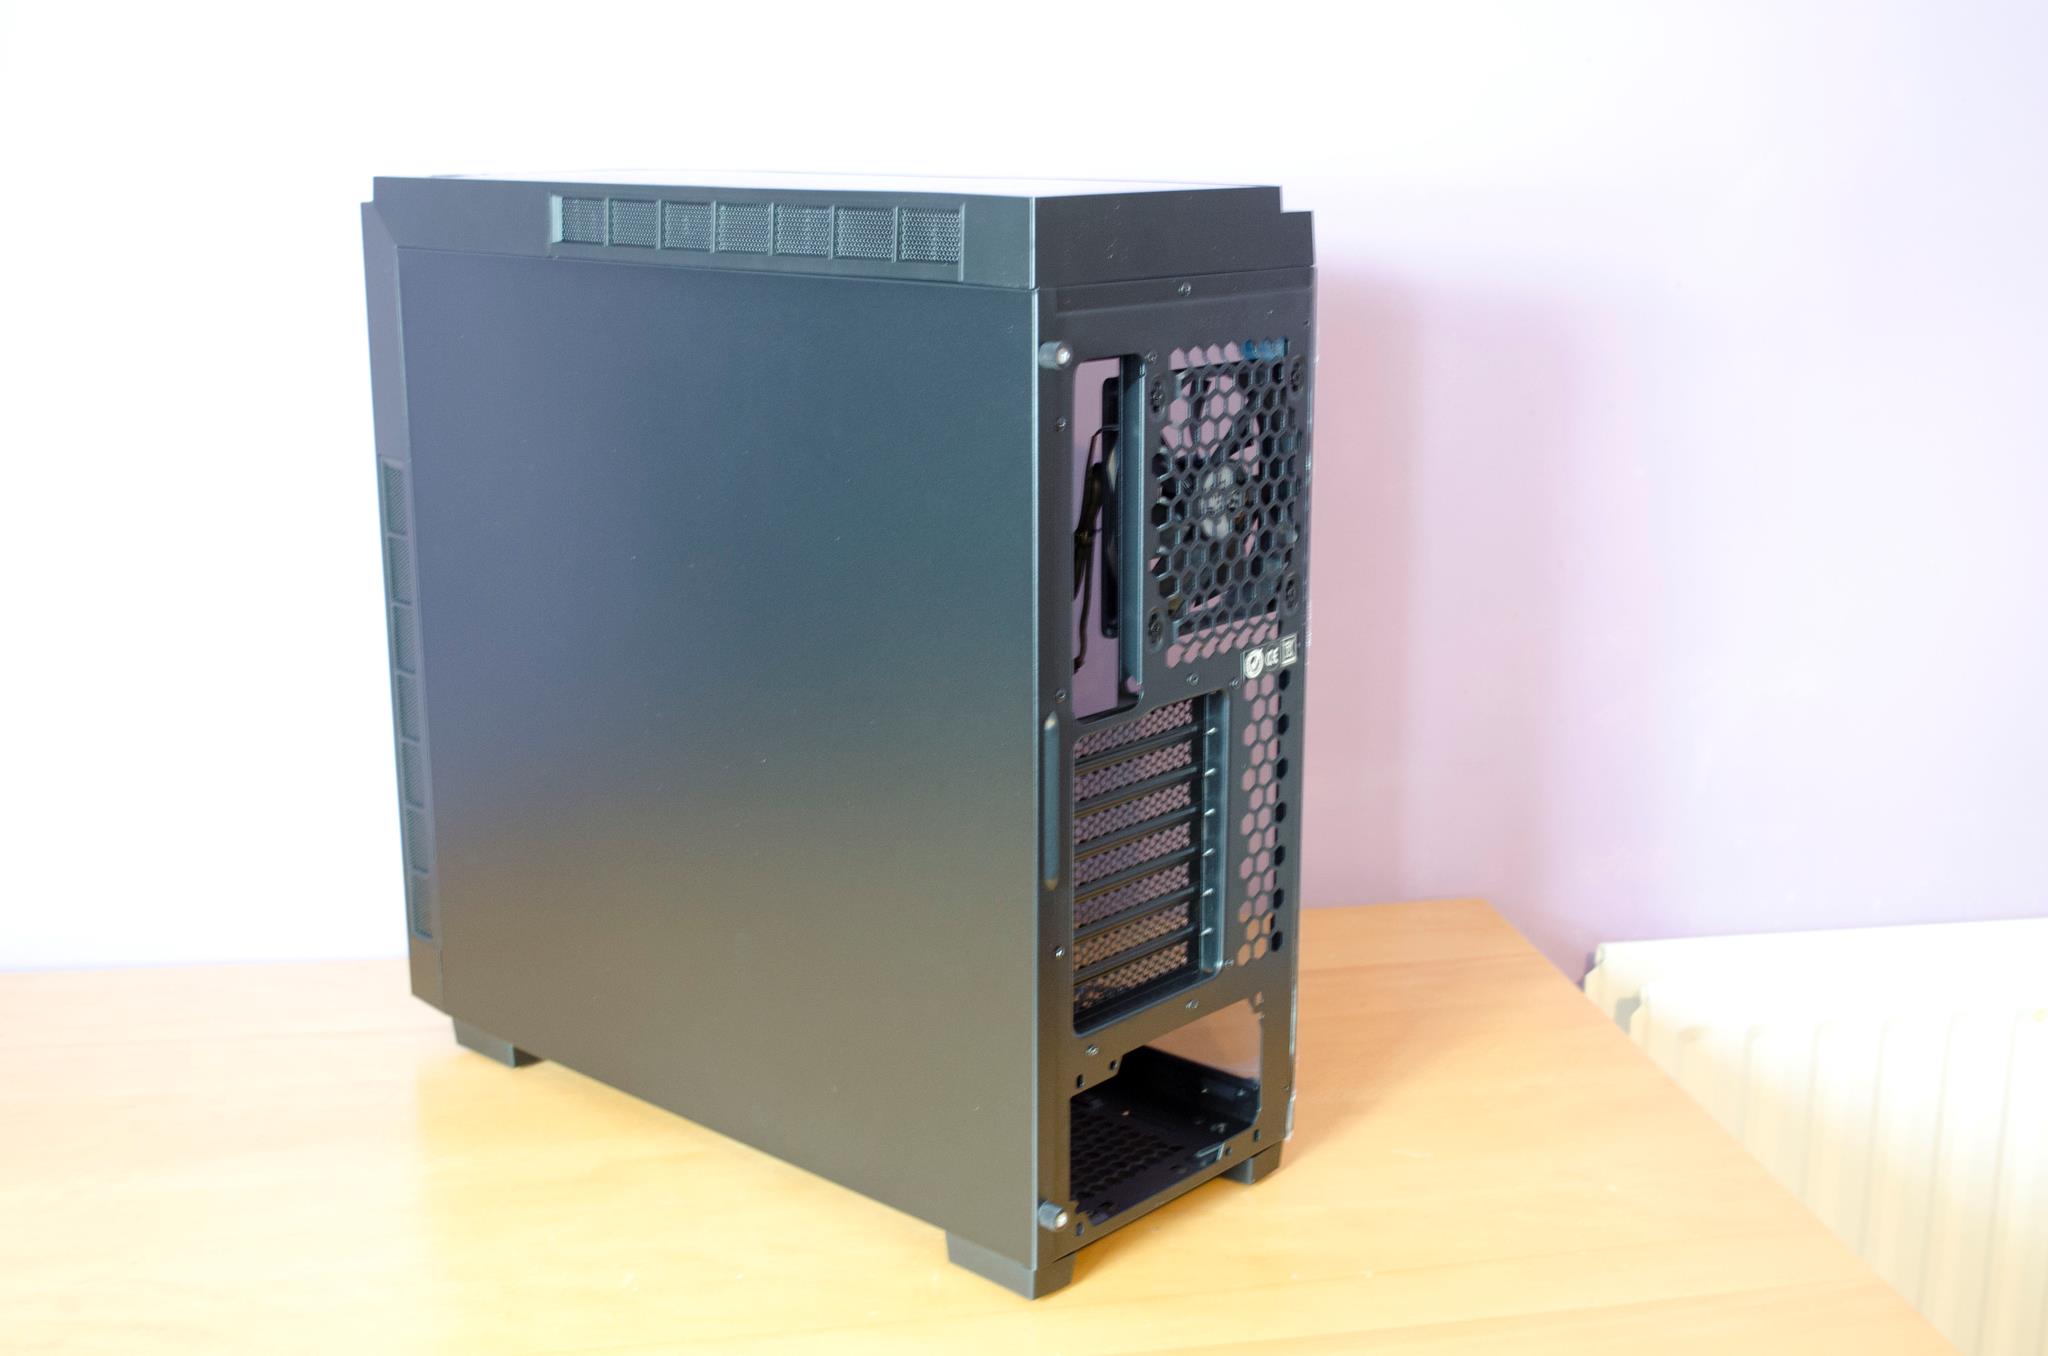
Moving around to the backside and we have the PSU and motherboard cutouts, 7x PCI expansion bays, rear exhaust fan and an added area of ventilation to help and keep airflow moving throughout the case.
The other side panel is flat and doesn’t have anything fun going on with it as it’s main purpose is to hide all those nasty cables from all your components inside your build.
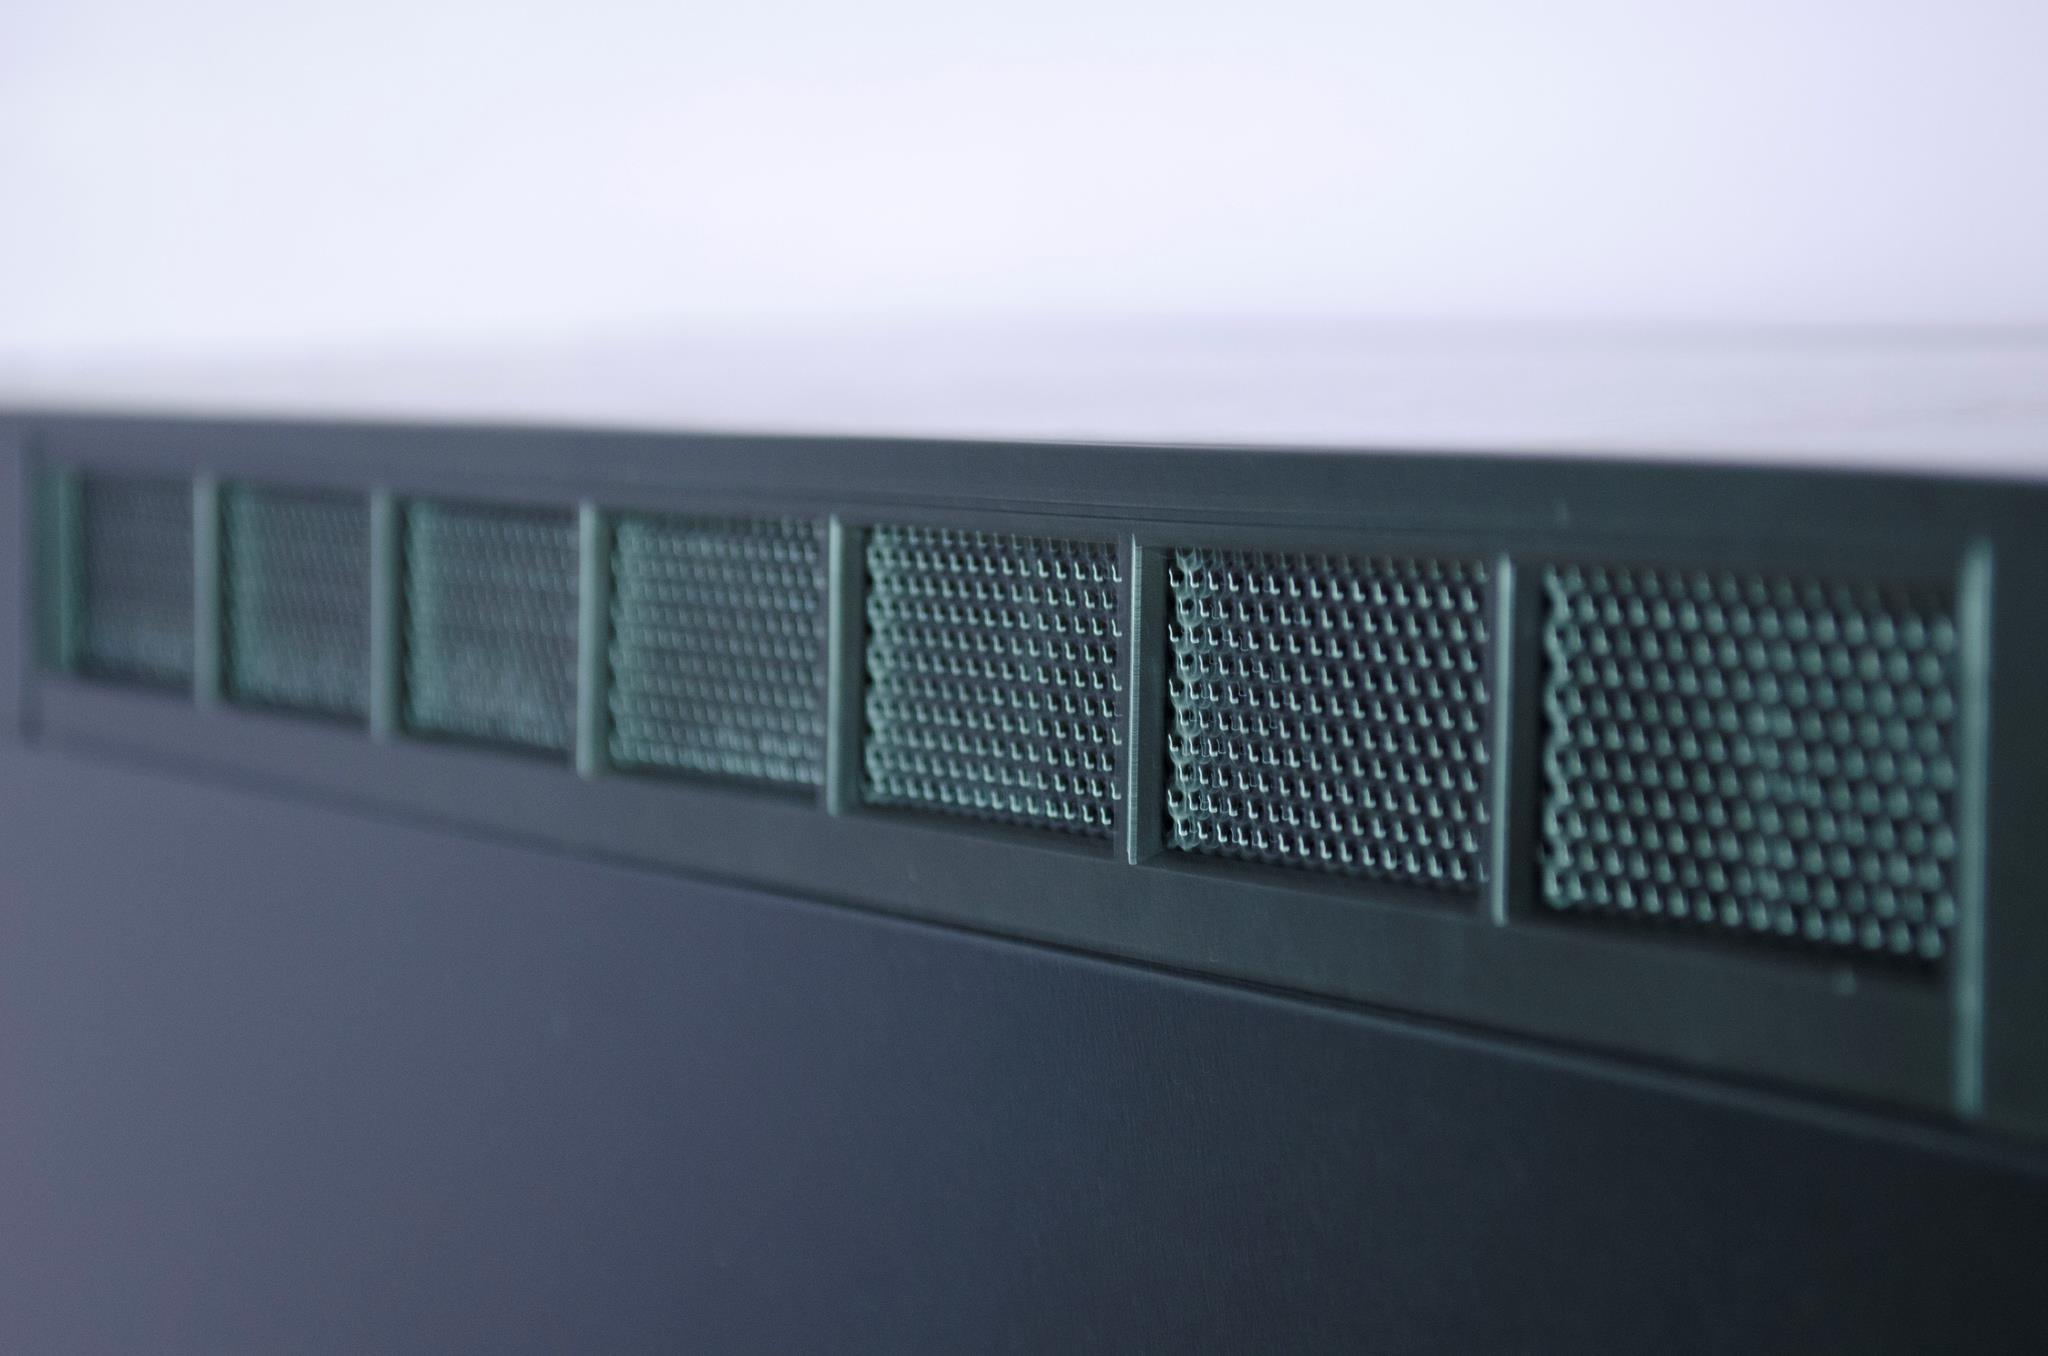
Both the top of the case and the front panel have some added ventilation holes. Instead of having completely ventilated panels, Thermaltake has chosen to take what I would say is a more aesthetically pleasing route. While they may not offer as much airflow as a completely ventilated panel, they should offer a sufficient amount to help and keep your components cool.
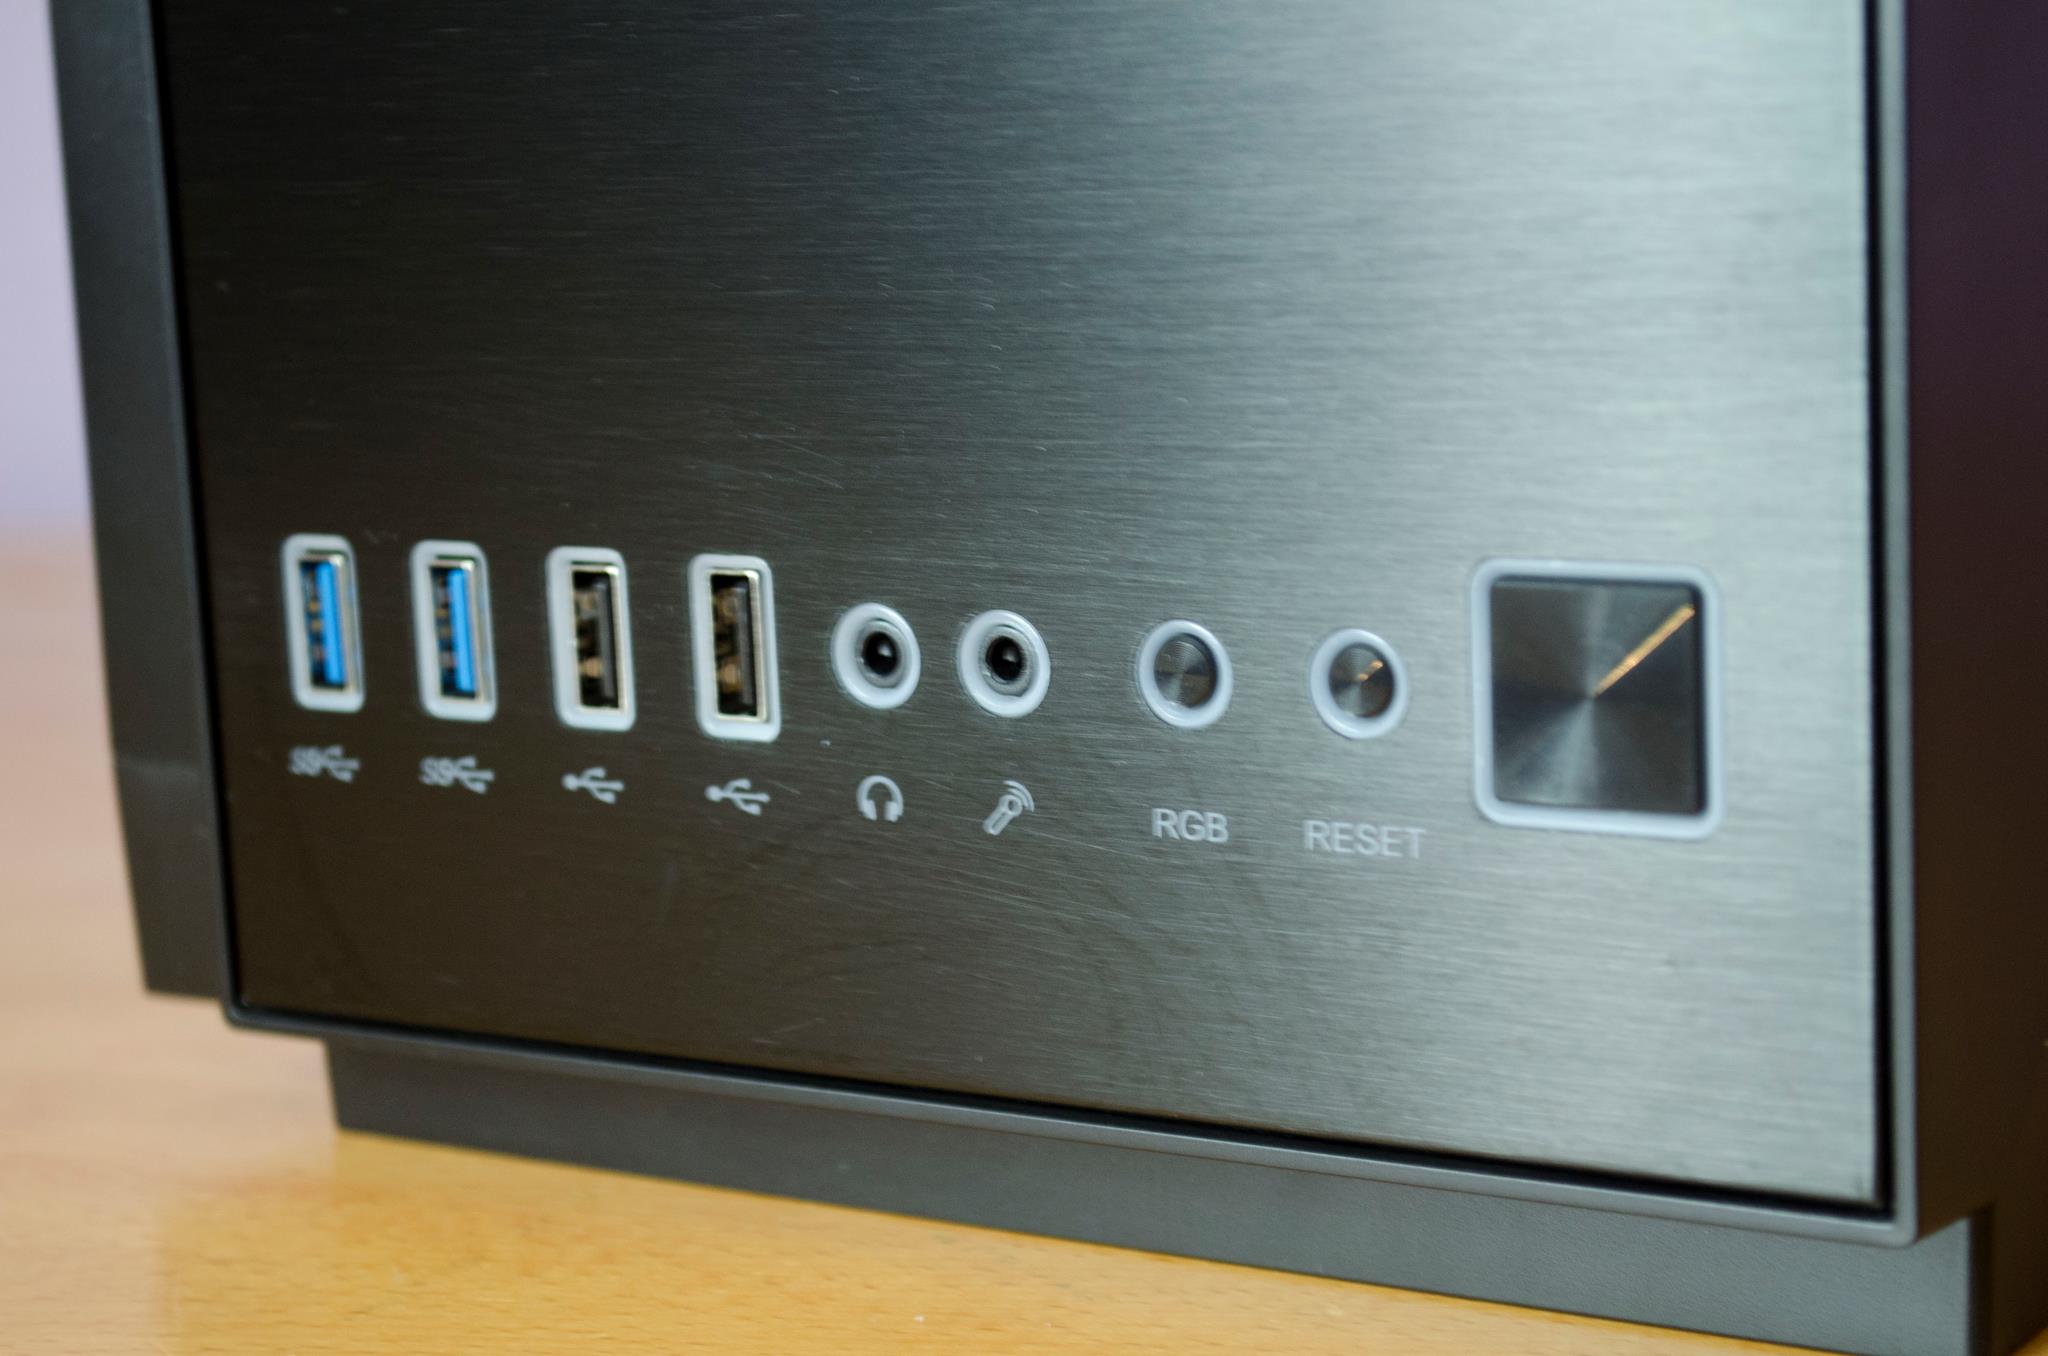
The top IO panel has quite a bit going on with it. Starting on the left we have 2x USB 3.0, 2x USB 2.0, Audio Input and RGB, reset and power buttons. The RGB button is what will allow you to control the LEDs on the case. There are a number of settings that can be used or you can even just turn them off if you so desire though I have no idea why you’d buy an RGB case and turn the LEDs off but it is an option!
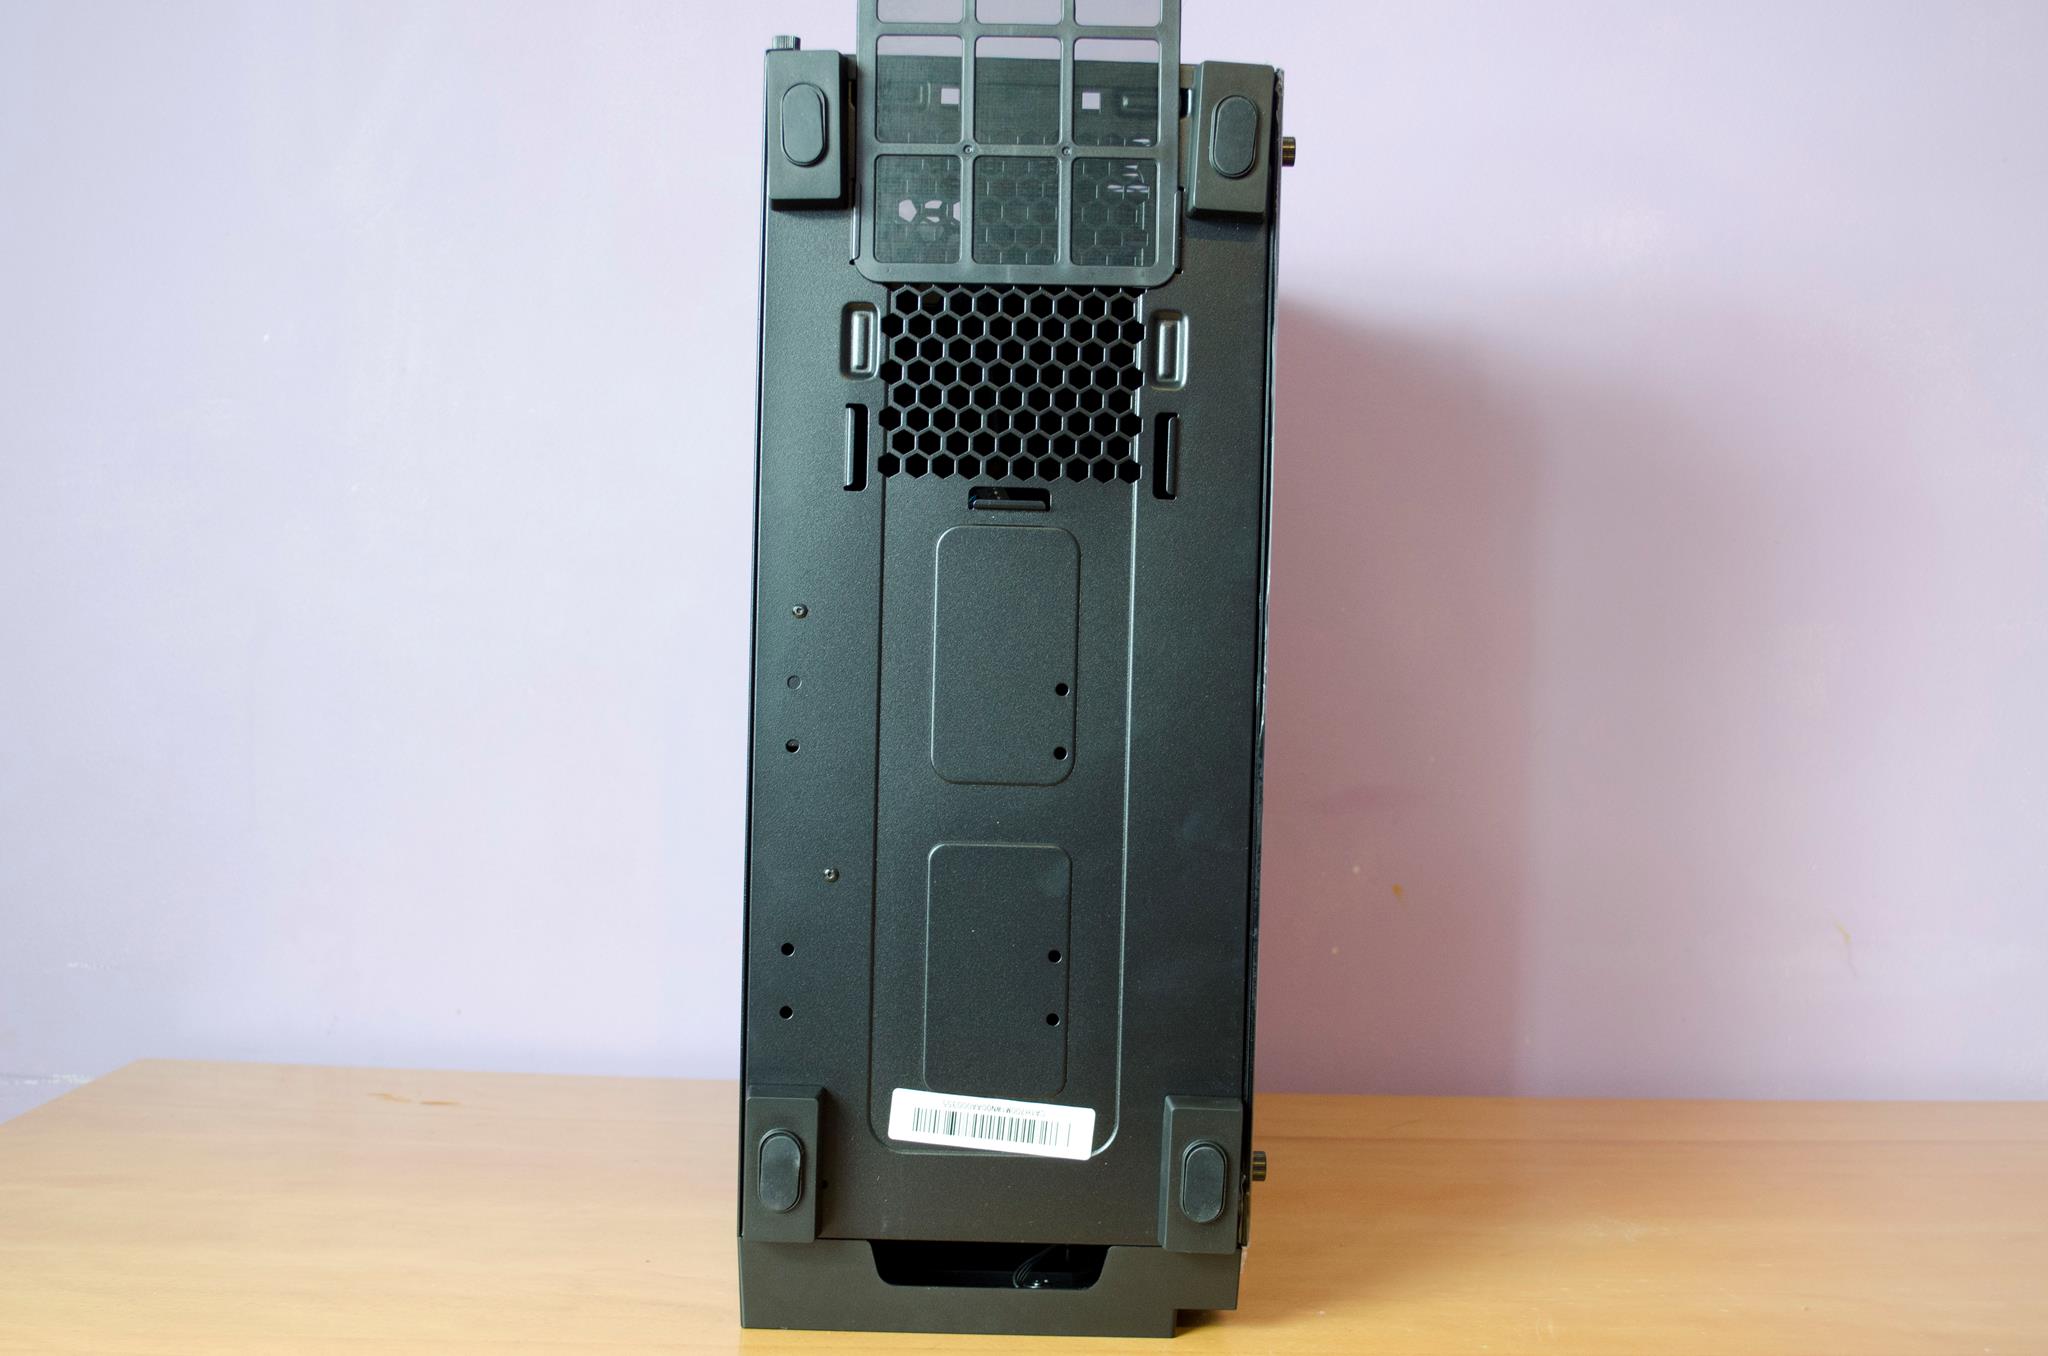
The bottom of the case features a fairly big ventilated area which will allow your PSU to pull in cool air to keep itself cool. This ventilated area comes with an easy to remove dust filter which literally just pulls out from the back of the case so you can clean it with ease.
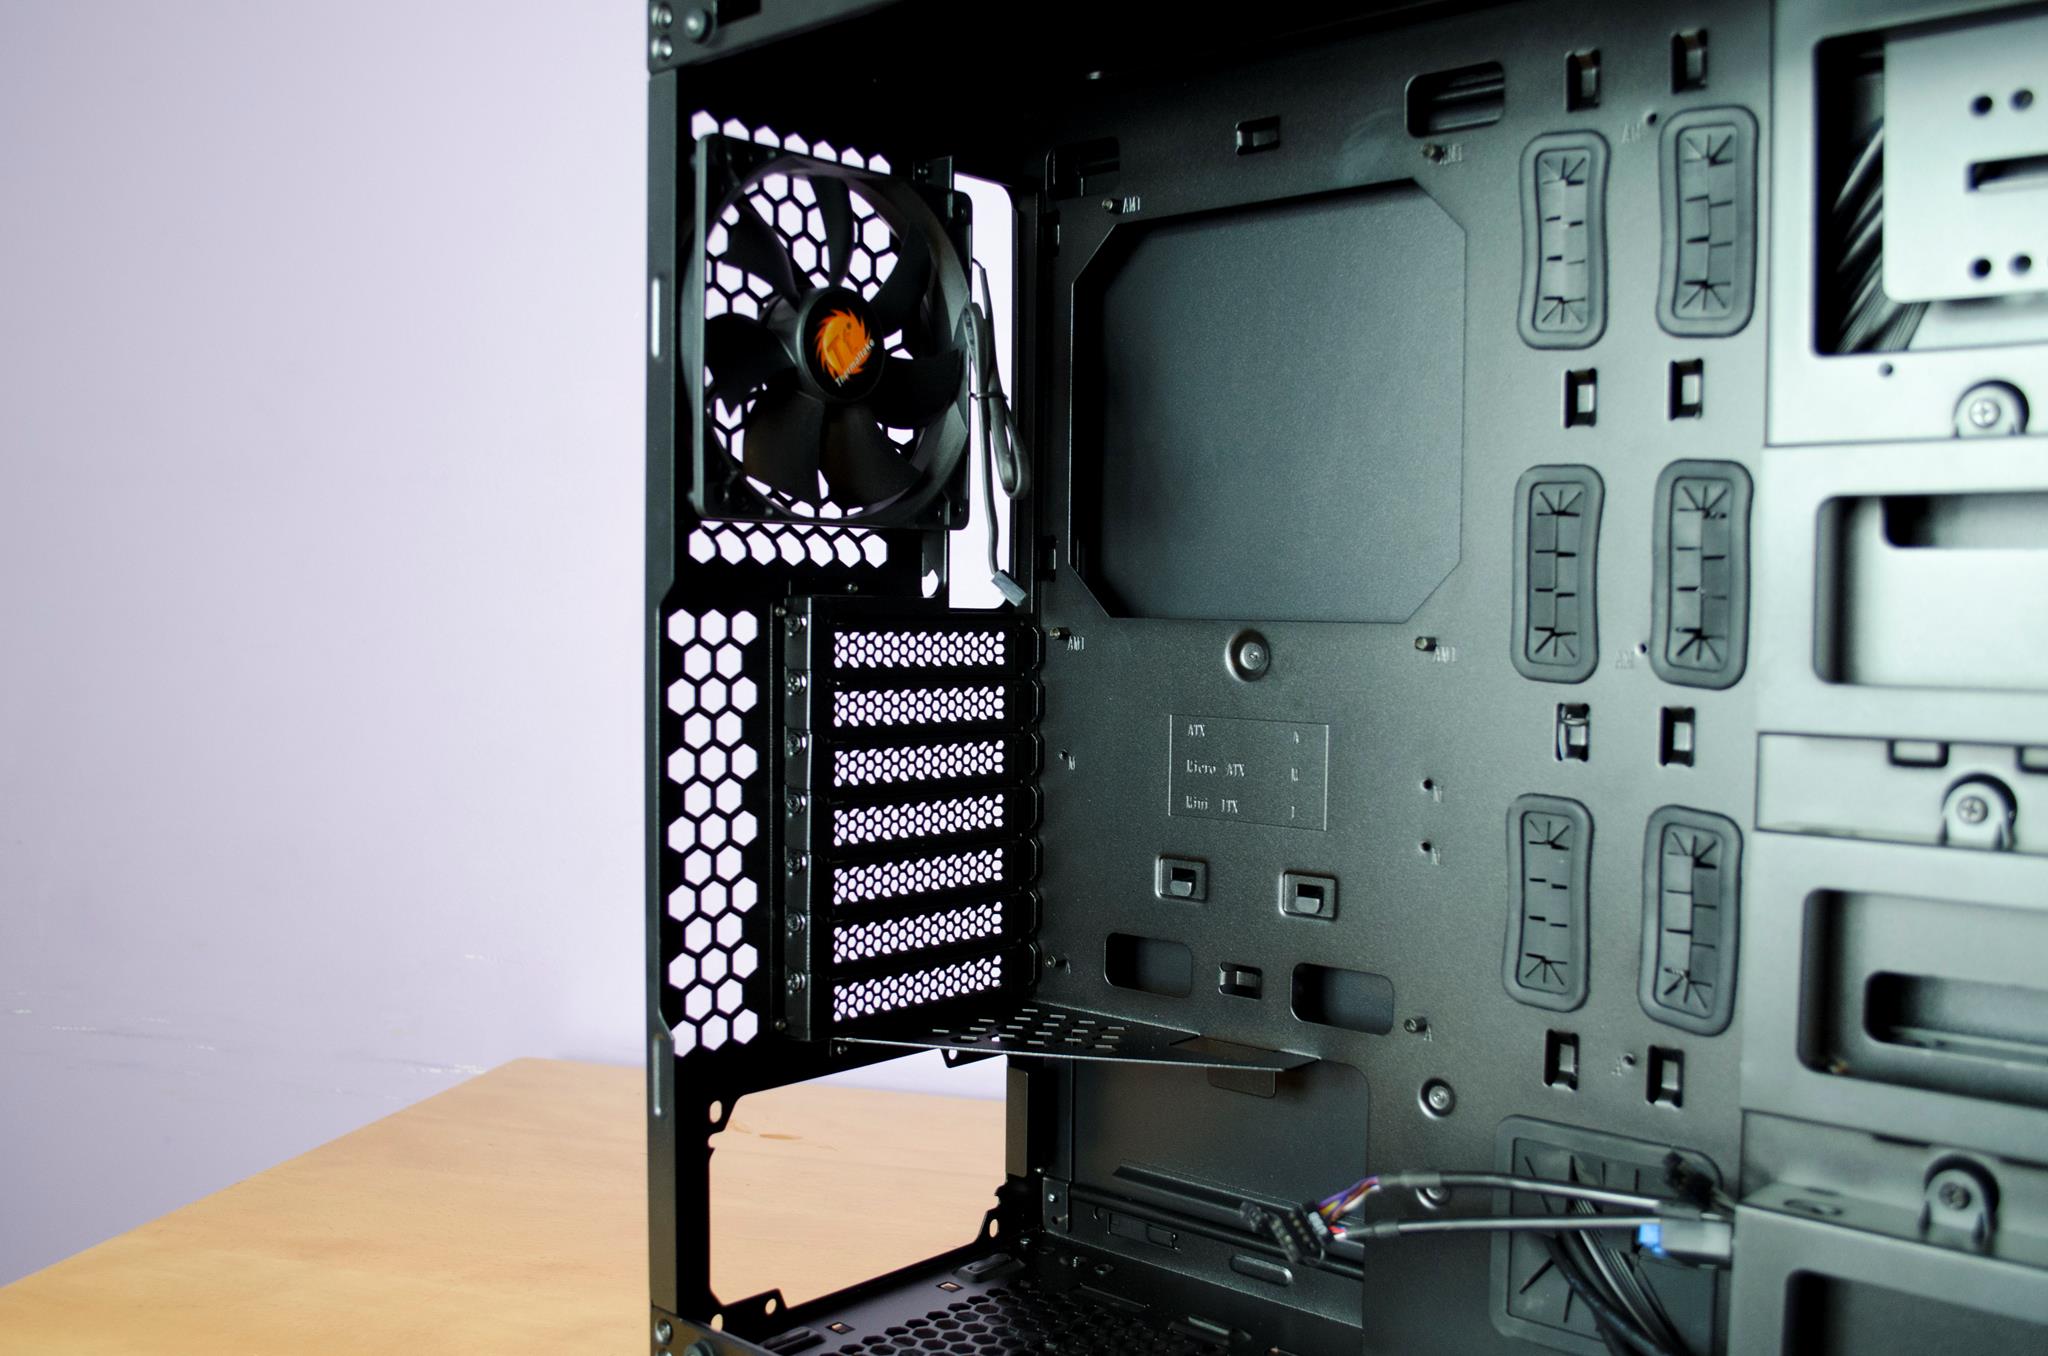
Getting a look at the inside of the case and there are quite a lot of nice features here. First up, we see the nicely sized cutout for easy CPU Cooler installation. To the right of that, we have 7x cable passthrough holes with rubber grommets. These will allow users to pass their cables behind the motherboard tray and the rubber grommets just help to make things look a bit nicer. There is a little tray like piece that sets above where the PSU will be installed, this helps to offer a small barrier between the motherboard and PSU. I am really quite surprised that Thermaltake has opted for this instead of a complete PSU shroud of some sort especially given the price of the case. While I would have personally loved to of seen a PSU shroud of sorts, one could easily be added/modded into place as there is plenty of room. Lastly, from this angle, we can see the pre-installed 120mm rear exhaust fan.
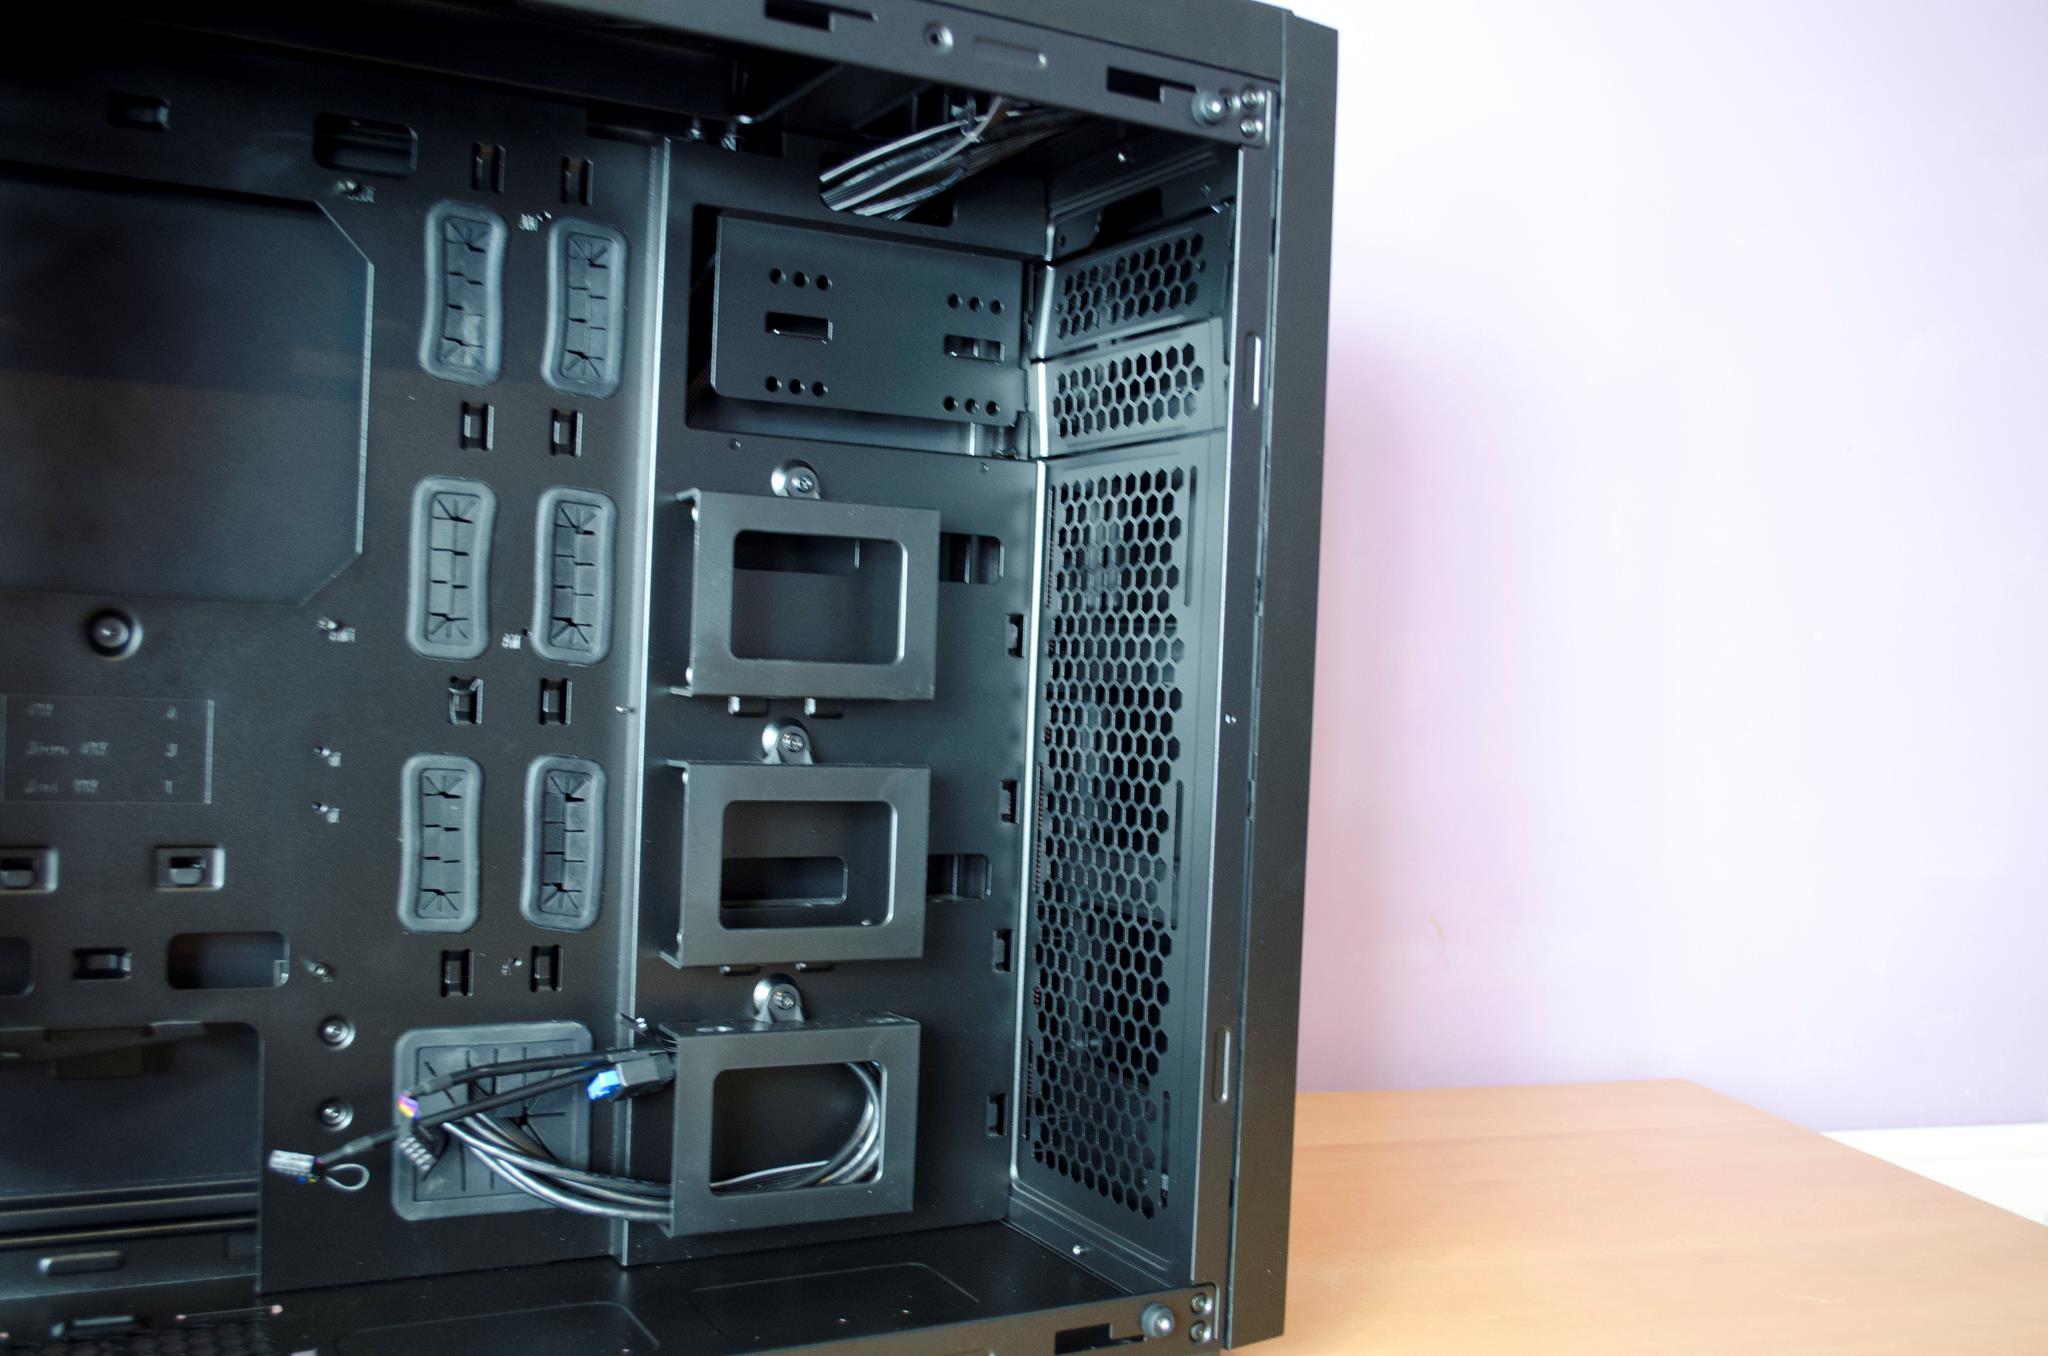
Looking towards the front of the chassis and we can see 3x SSD mounting bays. This bays are quite unique and will also allow users to show off their precious SSDs however, they can be removed if wanted. While there appear to be some optical drive bay mounts on the inside of the case, it’s worth remembering that there isn’t any on the outside of the case. Basically, if you put a DVD drive in here, you’d have to keep your front panel off the case to make use of it.
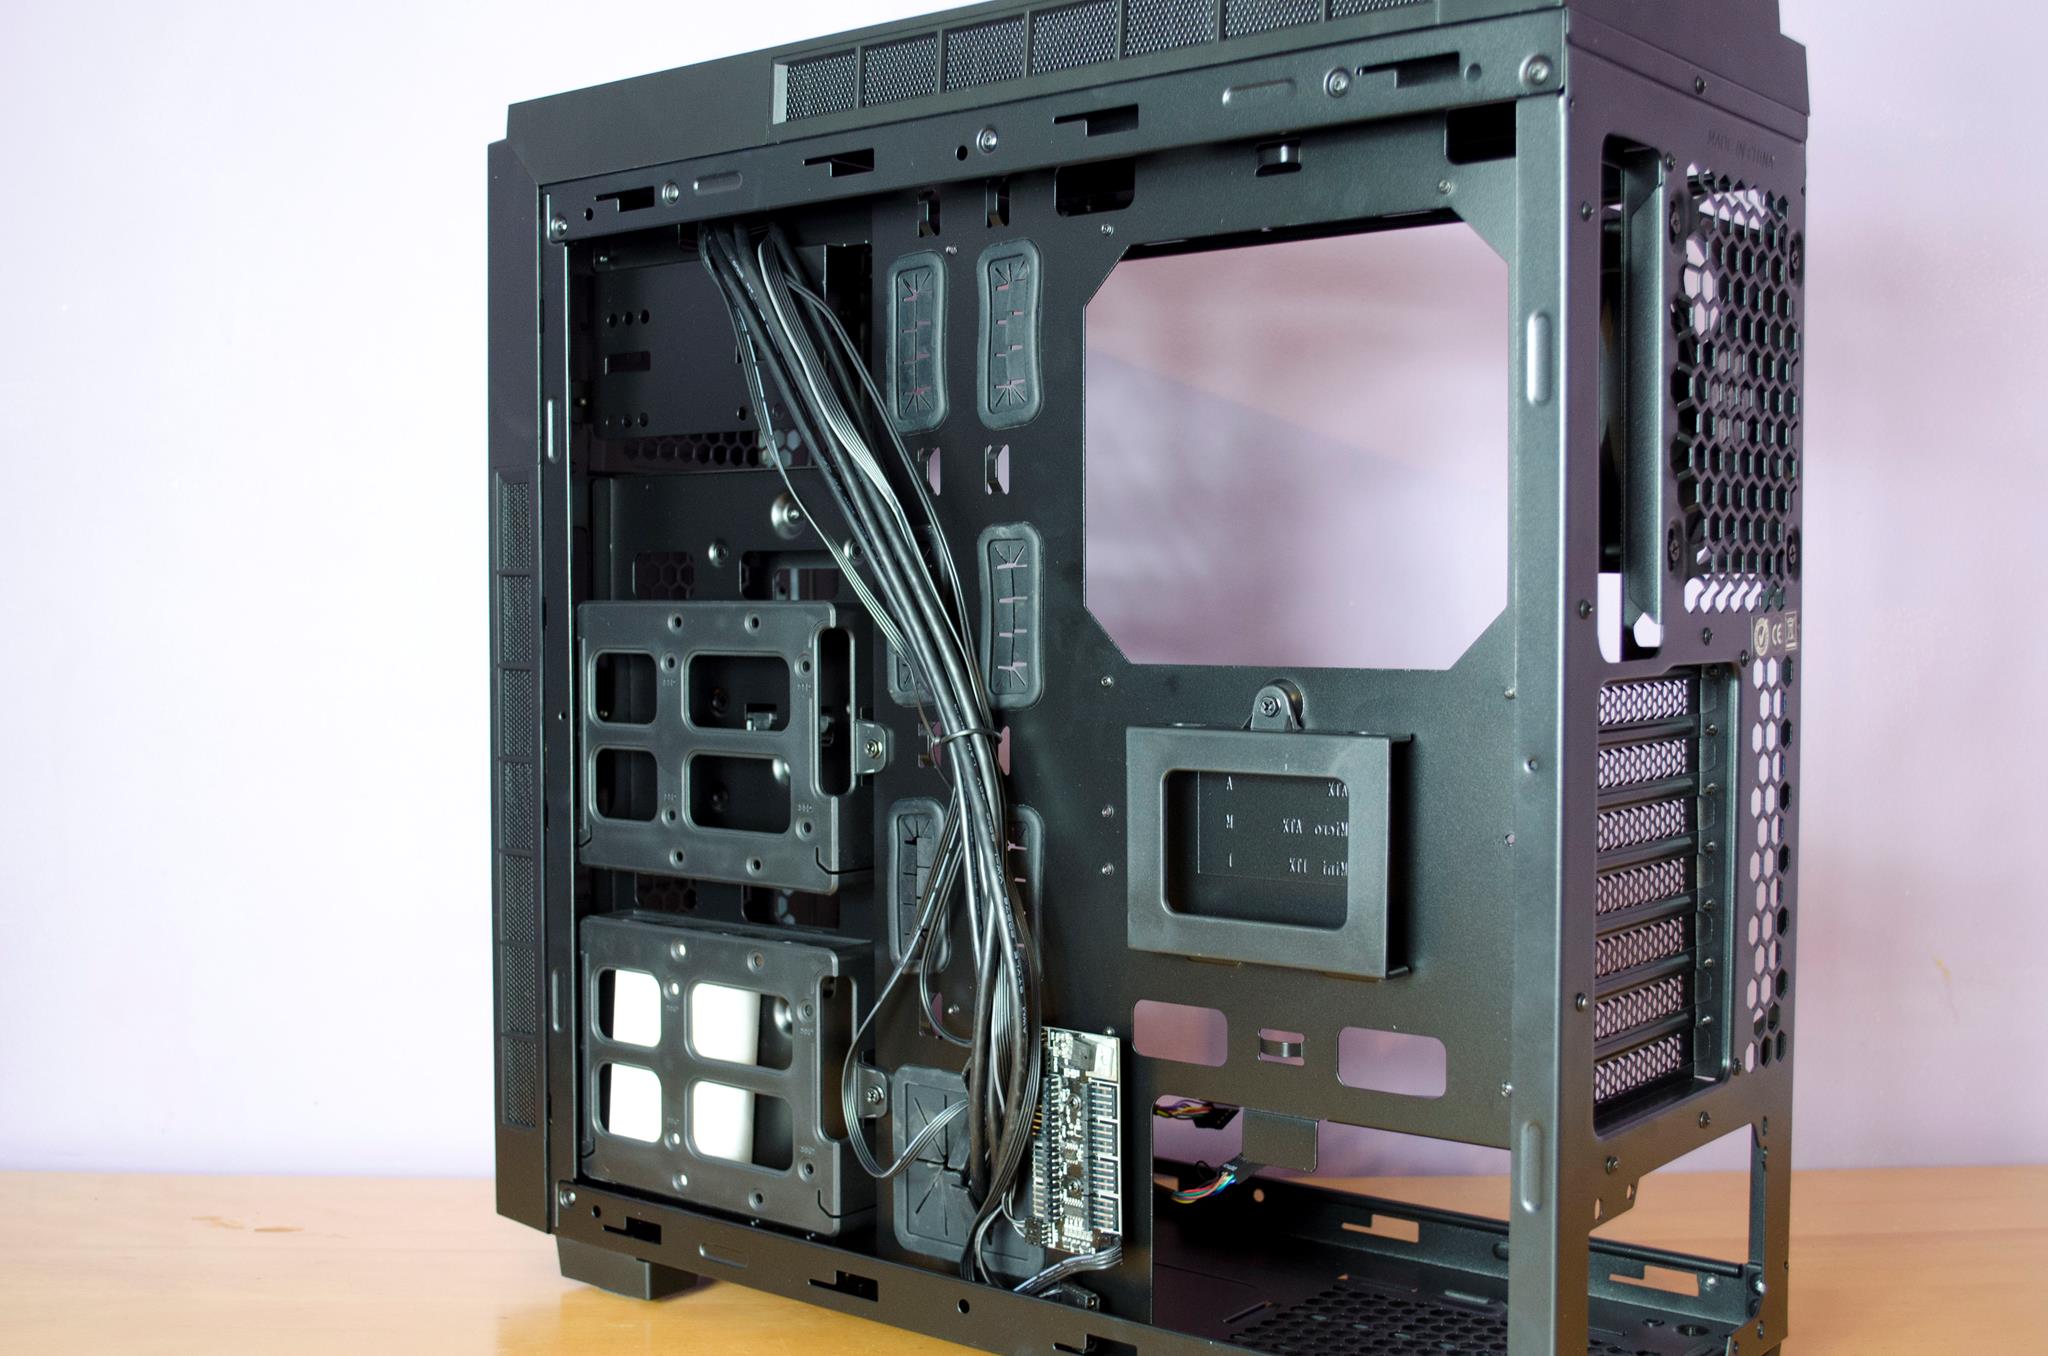
Over onto the backside of the motherboard tray and there are a couple of goodies hiding back here for us. One of the first things I noticed was the 2x 3.5″ and 1x 2.5″ drive bays. It’s also worth noting the 3.5″ drive bays can mount 2.5″ drives as well. Towards the bottom of the case is an RGB controller so you can hook your Riing fans up to the case and have them mirror the case LED lighting effects in most scenarios. Looking around and near the rubber grommets, we can see plenty of places that you can attach a zip tie to and make sure those cables are routed right where you want them.
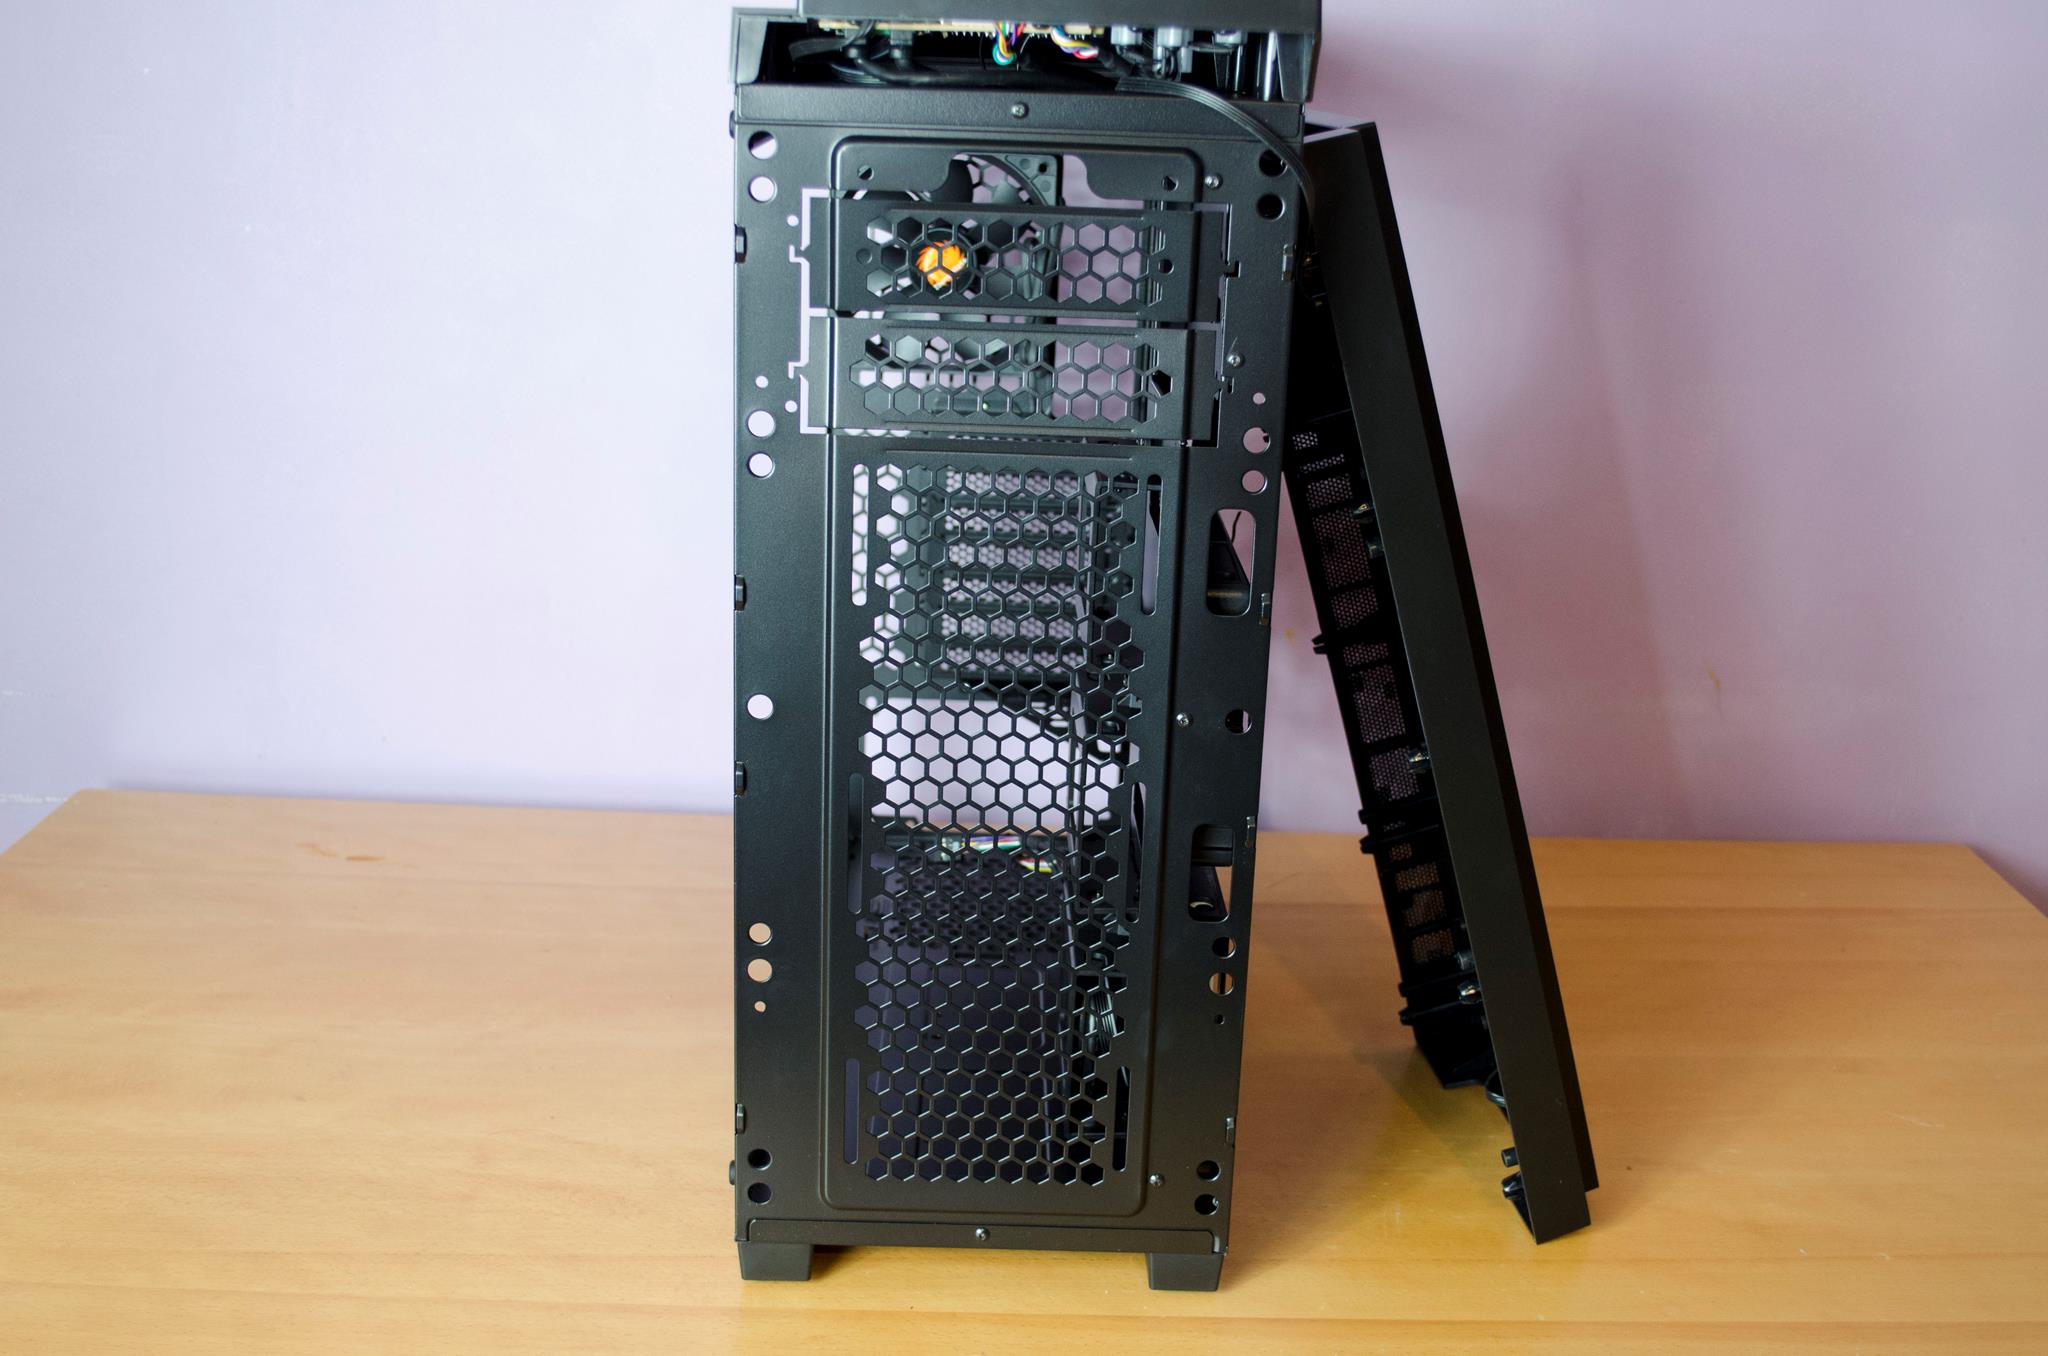
Removing the front and top panels are easy as they just pull off. You’ll want to remove the front panel first and then the top one should you wish to take them both off. Removing the front panel reveals room to mount a couple of fans. We can also see what would appear to be optical drive mounts though as we have seen, the front panel doesn’t have any cutouts/door for optical drives so these can not be used.
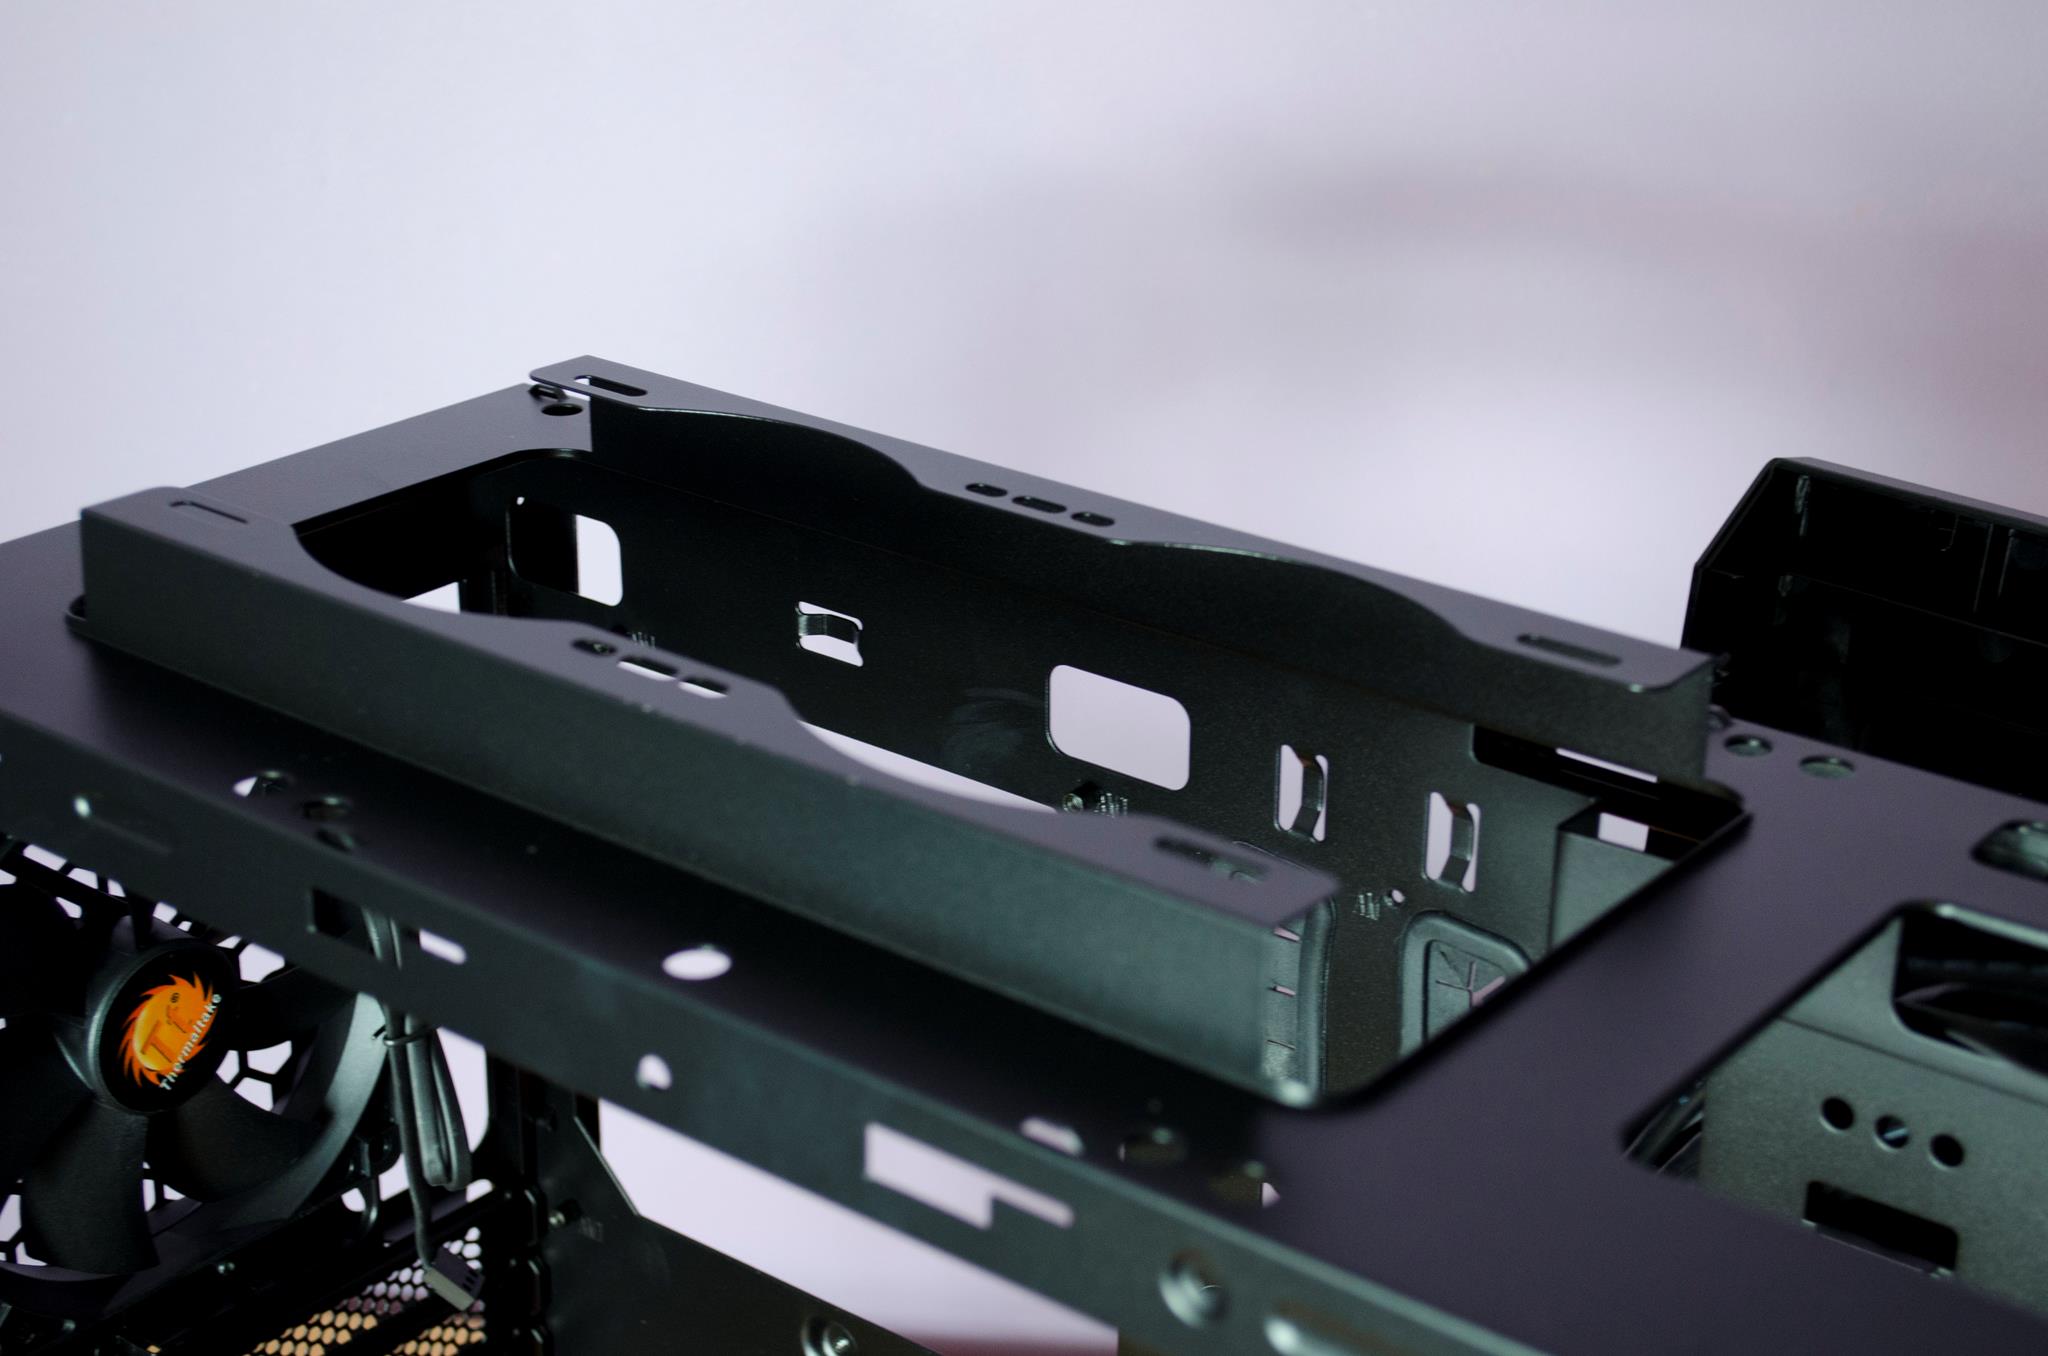
Taking off the top panel reveals a bit of a raised bracket that will allow you to either install a couple of fans, or a radiator of sorts. Having this bracket raised like this will help to make sure you still have plenty of clearance inside the case should you chose to install a radiator with a couple of fans attached to it.
Final Build
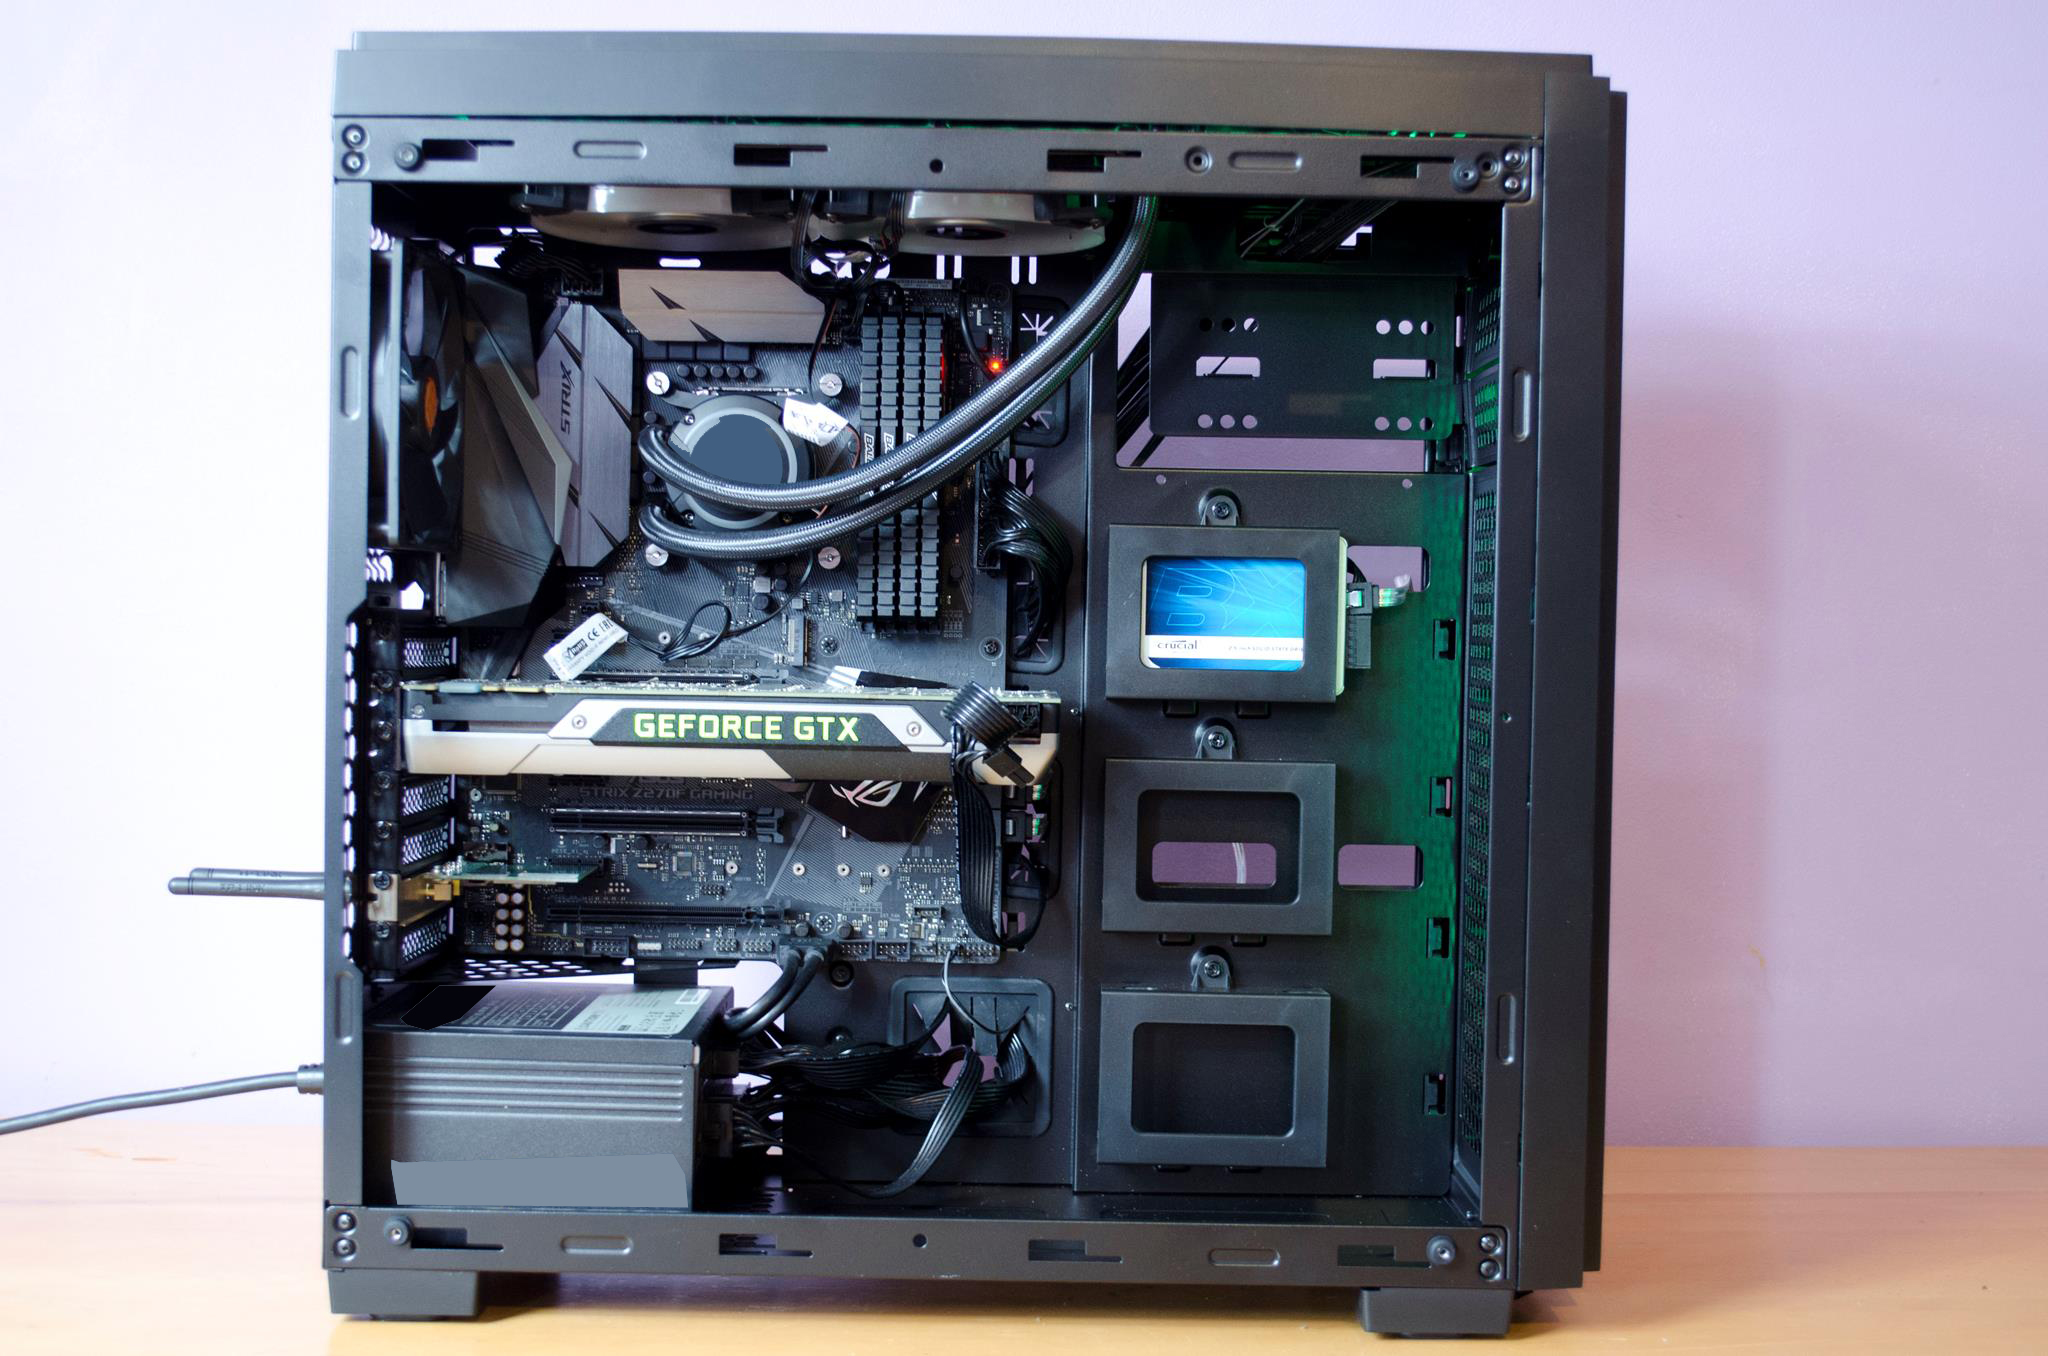
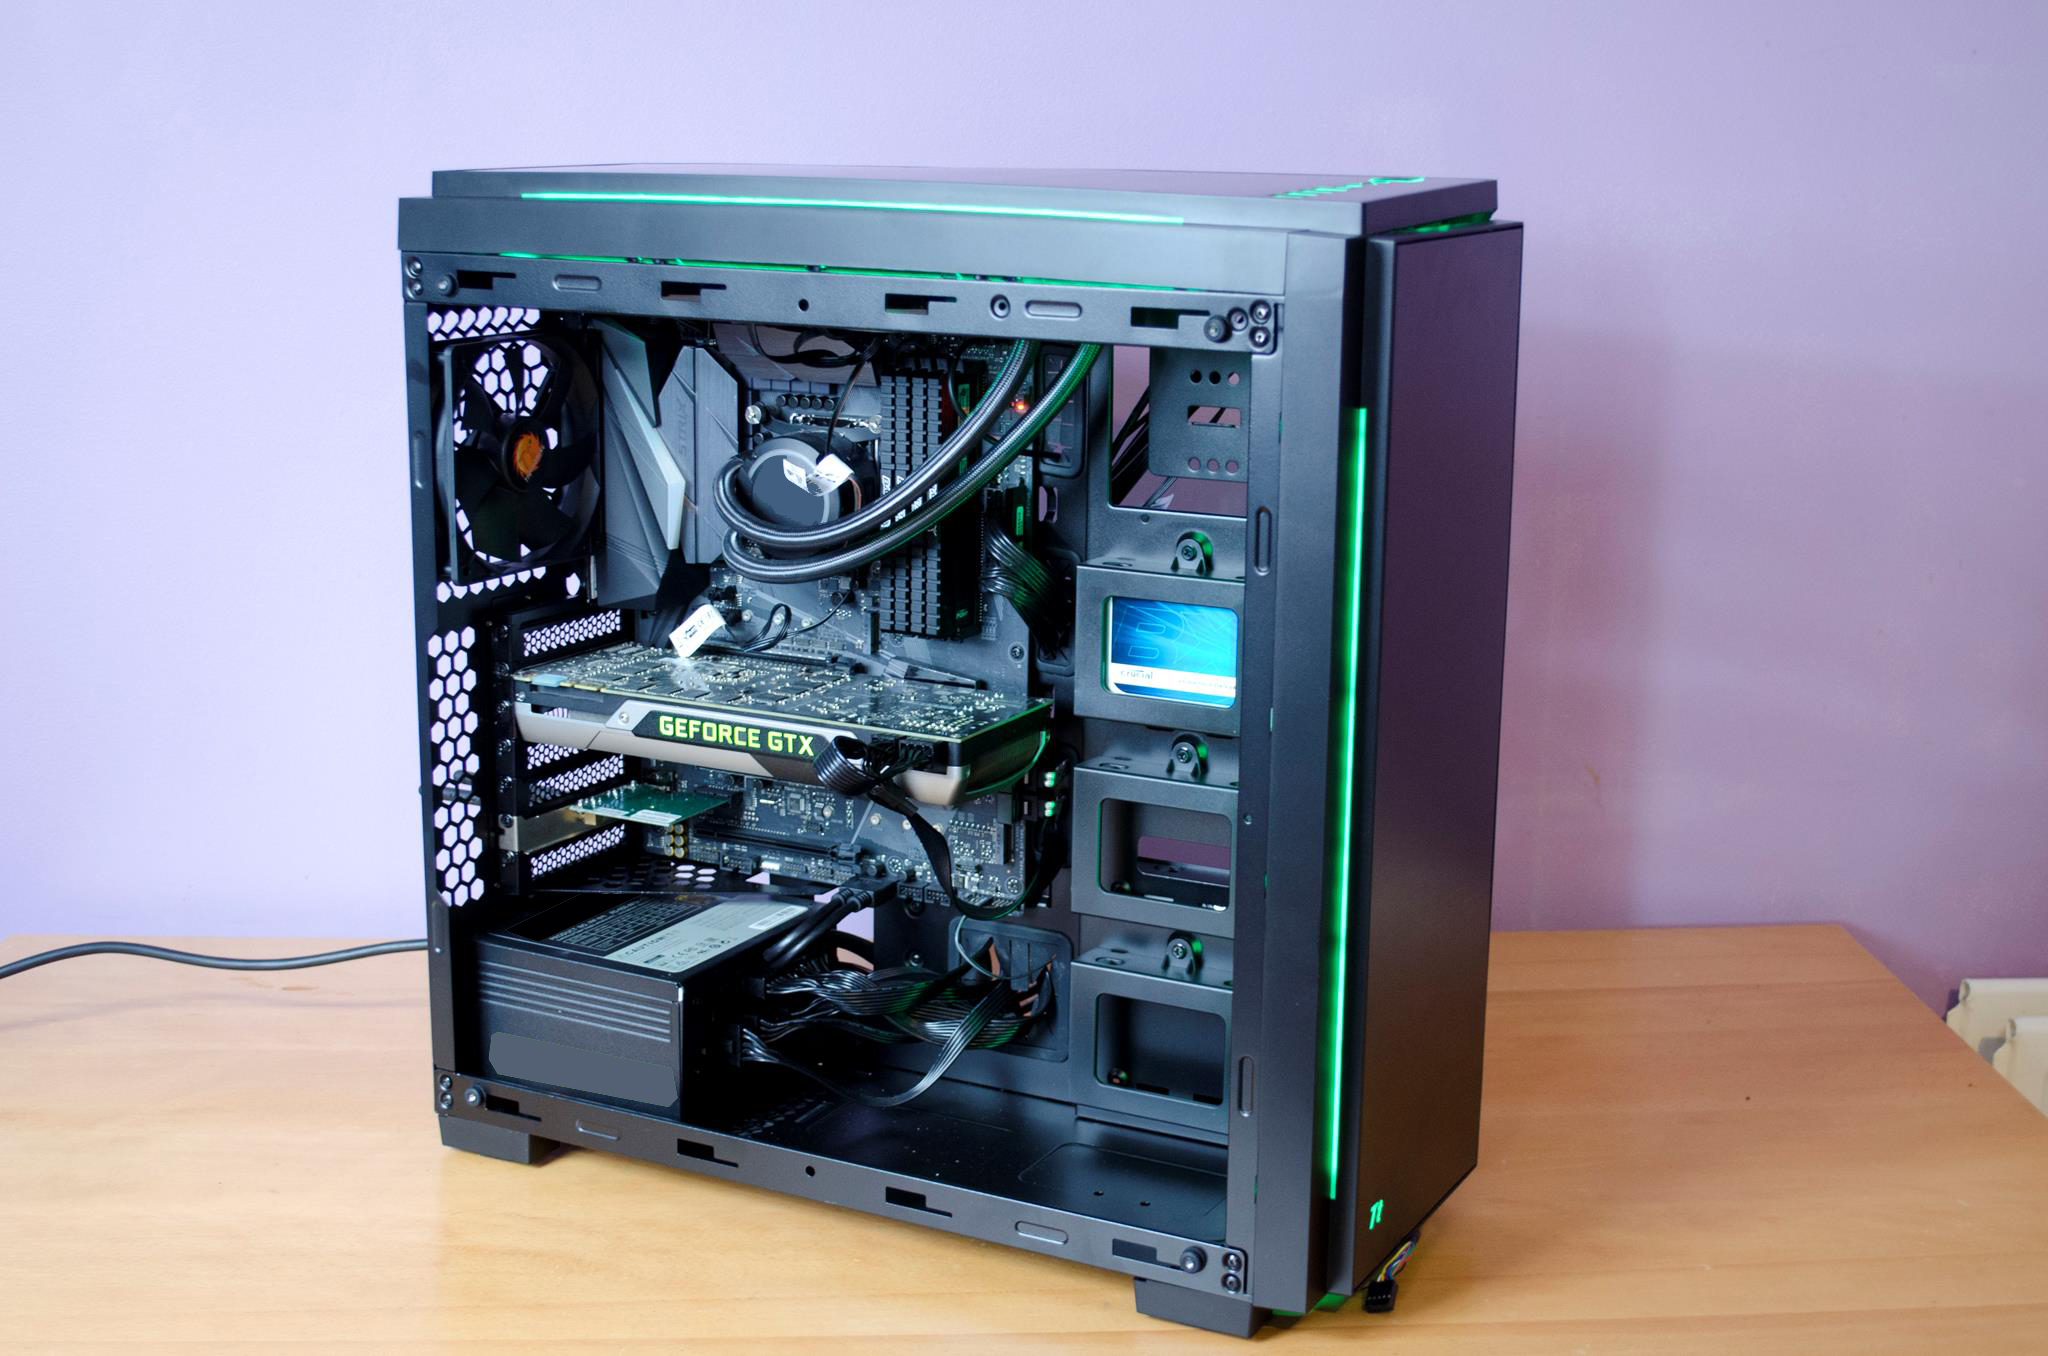
Building inside the Versa C23 RGB TG was a breeze. There was plenty of enough room and more for all my test bench hardware. One of the things I always look for is the installation of a 240mm AIO and the room it has. The Versa C23 RGB TG with its raised brackets up in the top panel allowed plenty of room for a standard 240mm AIO With a pair of fans on it and didn’t cause any clearance issues. There is room for 3x SSD in the main part of the case and they are easily mounted, simply undo the screw holding the bracket to the case and then pop the SSD into the holder. There are already 4x mounting pins that will fit into the holes on the SSD to keep it in place. Aside from that, everything else was easy and straightforward as one could really ask for.
While it would have been nice to have a PSU shroud from an aesthetical standpoint, having the open area like this does save a bit of time and hassle when building. Even with a full build inside, there is still plenty of room for a bit of watercooling, a 2nd GPU or plenty of hard drives or SSDs depending on what you have to hand. Overall, building in the Versa C23 TG was enjoyable and I think the results are quite nice as well!
Conclusion
Performance and Design
This case has a lot to offer from it’s spacious insides to the RGB LEDs on the outside, the Versa C23 does a good job of trying to offer most things people want in a case. The exterior of the case is pleasing and the addition of the subtle RGB LED accenting is a well-welcomed addition to the case. What’s even better is that the LEDs can be controlled right from a button on the case so there is no need for any extra software and you can even connect a good few Riing fans to this as well. Event without the RGB LEDs, the Versa C23 would still be an aesthetically pleasing case.
The inside of the case has plenty of room for some quality hardware as we have seen. Whether you are looking for a fairly standard build, or you want to go SLI and/or maybe consider watercooling, there is plenty of room for all of it. On the mainside, there are 3x 2.5″ drive bay mounts that can easily be removed and the space used for mounting a reservoir instead. There are still more drive bay mounts on the backside of the motherboard tray if this is something you’re interested in so don’t worry about that. A 240mm AIO can easily be tucked into the top panel of the case as to not cause any space or clearance issues with your motherboard or RAM.
There are a couple of small issues for me though personally. 1, the lack of a PSU shroud on a case like this. While it is not the end of the world, it would offer a much cleaner look even if it had to come at an additional price. 2, there are mounts for optical drives on the inside of the case but not in the front panel. This suggests to me that the frame of this case will be used in a completely different case and while that is fine, it may get some users hopes up at first. Lastly, there are no pre-installed intake fans, only a single exhaust fan. While I can understand this is likely so users can mount a radiator to the inside of the front panel, this is 2017 and that should be our choice so I would’ve liked to of seen at least a single intake fan to accompany the exhaust and get that airflow moving!
Value
Coming in at around £80 depending on who your favourite retailer is, the Versa C23 does offer good value for the money. While it does have a few downfalls in my own personal opinion, these can mostly be easily overlooked and depending on your needs and. Overall the case offers plenty of space and features and the lack of a PSU shroud and intake fan may not be something that bothers you.
Many thanks to Thermaltake for supplying a sample of their Versa C23 RGB TG for this review.

