Thermaltake View 31 Tempered Glass PC Chassis Review
Introduction
When it comes to PC Chassis’, the market is filled with a variety of competitive offers starting from low budget range to as high as enthusiast chassis costing up to $900. The industry is taking the modular approach where possible and with Chassis like Phanteks Evolv ATX, Core X9 from Thermaltake etc users now have flexibility in terms of designing the layout for their build and taking out the chassis parts which are not needed. Recently, Phanteks has launched their high-end, enthusiast grade Chassis Enthoo Elite costing a massive $900 for a chassis and giving stiff competition to the likes of Case Labs, though such chassis have a niche market.
Recent trends in the PC Chassis market can be described with two words, Tempered Glass and RGB Lighting. We are now seeing more and more designs based on these trends. This is line with the RGB trend which took the industry all over in recent years and has gone to the extent that the peripherals like mouse mat and even headphones are now equipped with RGB lights.
Thermaltake Technology Inc. was founded in 1999 with the vision of building Thermaltake Technology into “a cultural brand for the enjoyment of entertainment, e-Sports, technology, and lifestyle”. Thermaltake Technology is focused on delivering the perfect user experience. Their products range from Power Supply Units, PC Chassis, Complete Custom Loop solutions, CPU Coolers, Fans to the range of the peripherals like keyboards, mouse, mouse mat, headphones and even gaming chairs. The very essence of the Thermaltake DNA is based on Courage, Passion, and Perseverance.
Today, I will be looking at their new Chassis, Thermaltake View 31 TG Edition where TG stands for the Tempered Glass. There is another variant of the same chassis with the Thermaltake RGB fans. The View 31 Tempered Glass Edition mid tower chassis features dual durable 4mm thick tempered glass window, riser GPU support bracket with optional PCI-e riser cable, two preinstalled 140mm Riing Blue fans with removable filters and outstanding system ventilation. The View 31 TG supports the latest PC hardware and all high-end GPU solutions to satisfy the market where users have opted for stylish PC chassis with advanced features and aesthetic appeal.
Product: View 31
Manufacturer: Thermaltake Technology
Price: $99.99 / PKR 11000
Purchase on Amazon UK: £99.99
Specifications
| Model | View 31 TG |
| Case Type | Mid Tower |
| Dimension (H x W x D) | 497 x 250 x 511 mm (19.5 x 9.8 x 20.1 inch) |
| Net Weight | 9.9 Kg / 21.8 lb |
| Side Panel | 4mm Tempered Glass x2 (Left and Right) |
| Color | Black |
| Material | SPCC |
| Cooling System | Front: 140x140x25 Riing Blue LED Fan
Rear: 140x140x25 Riing Blue LED Fan |
| Drive Bays | 3 x 3.5” or 2.5” HDD Cage |
| Expansion Slots | 8 + 2 |
| Motherboard compatibility | 6.7” x 6.7” (Mini ITX), 9.6” x 9.6” (Micro ATX), 12” x 9.6” (ATX) |
| I/O Port | 2 USB 3.0, 2 USB 2.0, 1 HD Audio |
| PSU | Standard PS2 PSU (Not Included) |
| LCS Upgradable | Supports 1/2”、3/8”、1/4” water tube |
| Fan Support | Top and Front: 3x120mm or 3x140mm or 1x200mm
Rear: 1x120mm or 1x140mm Bottom: 2x120mm or 2x140mm |
| Radiator Support | Top and Front: 1x360mm or 1x 280mm or 1x240mm
Rear and bottom : 1x120mm or 1x140mm |
| Clearance | CPU Cooler Height Limitation : 180mm
VGA Length Limitation: 275mm (with HDD Cage), 420mm (without HDD Cage) PSU Length limitation: 180mm with 1 bottom fan, 220mm without bottom fan |
Packing
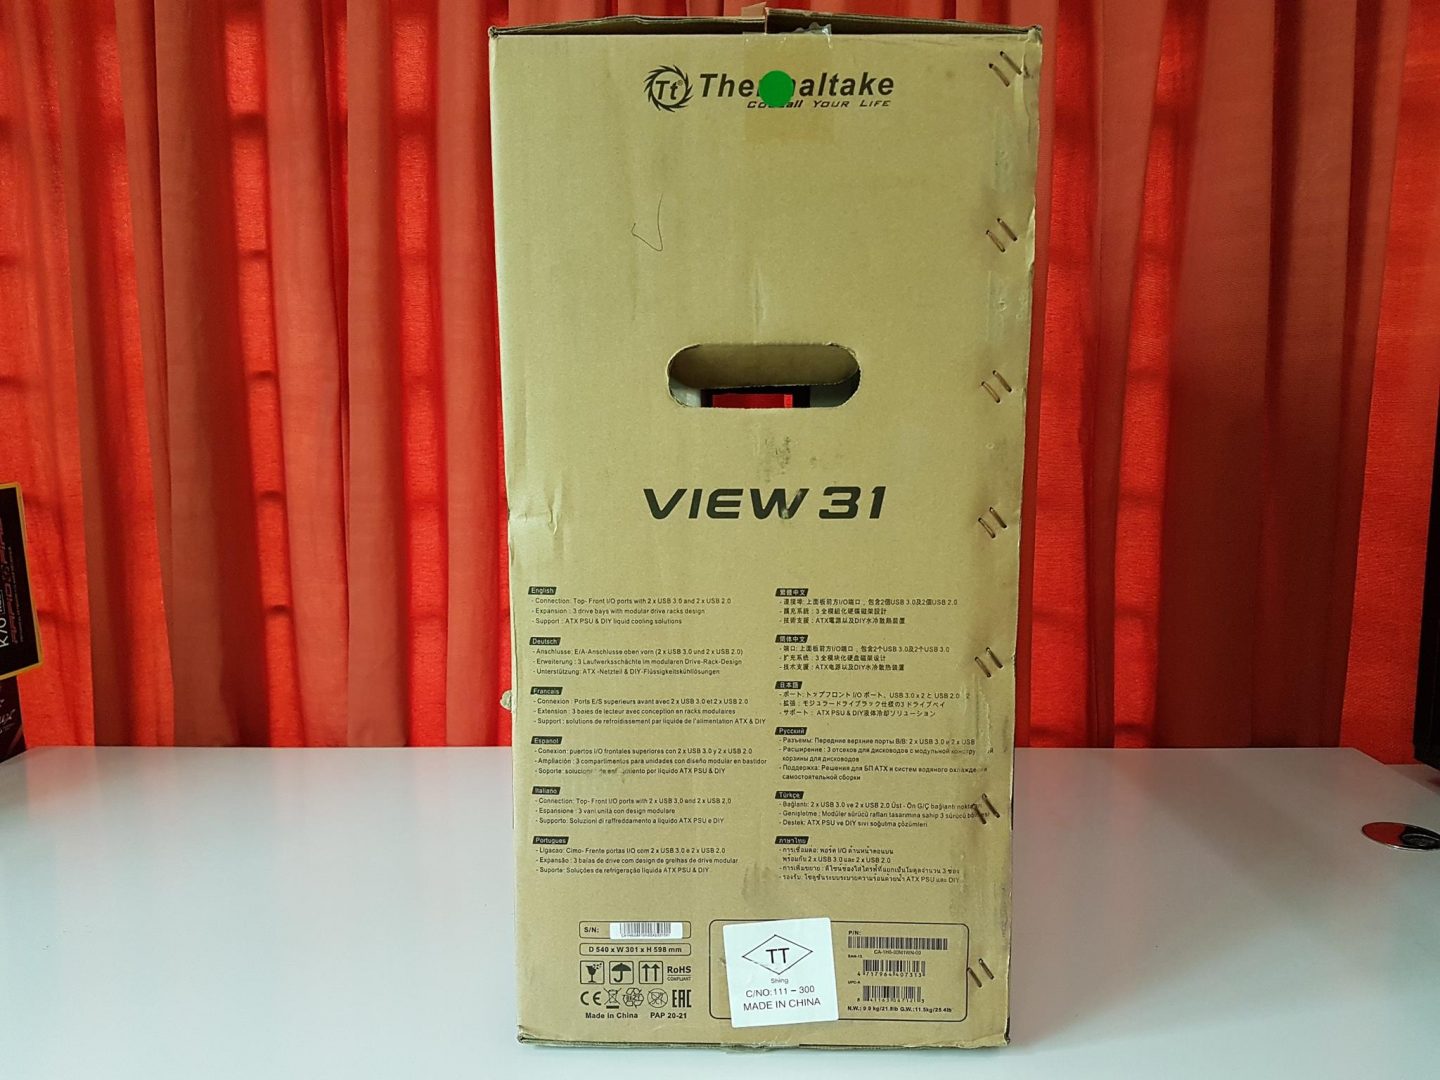
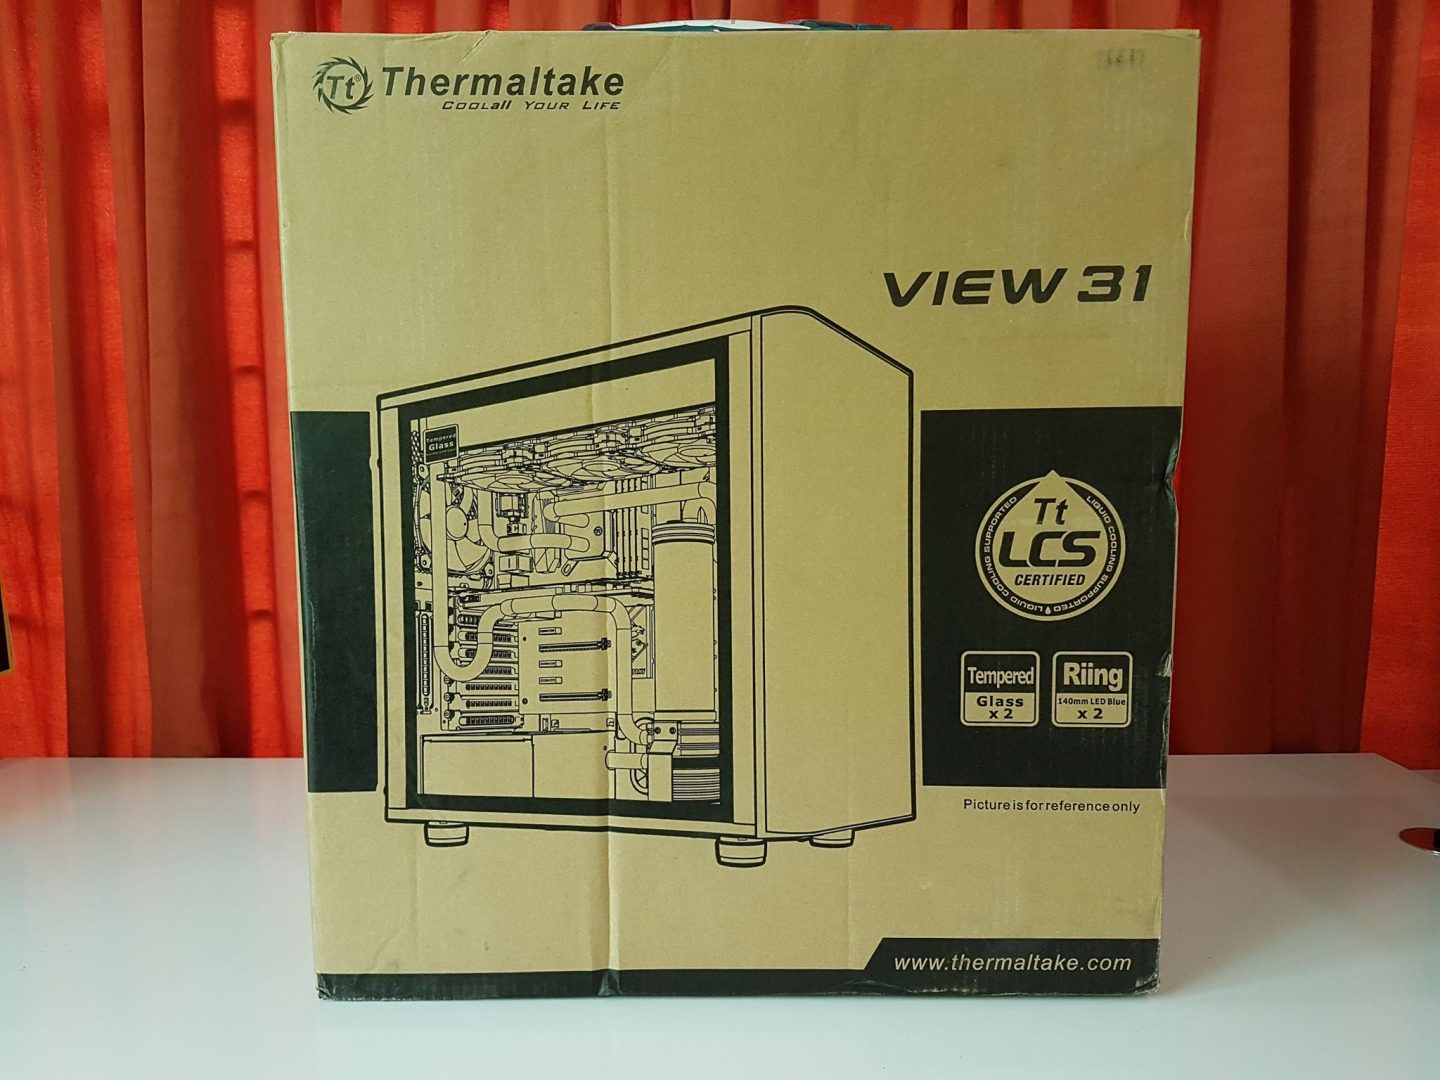
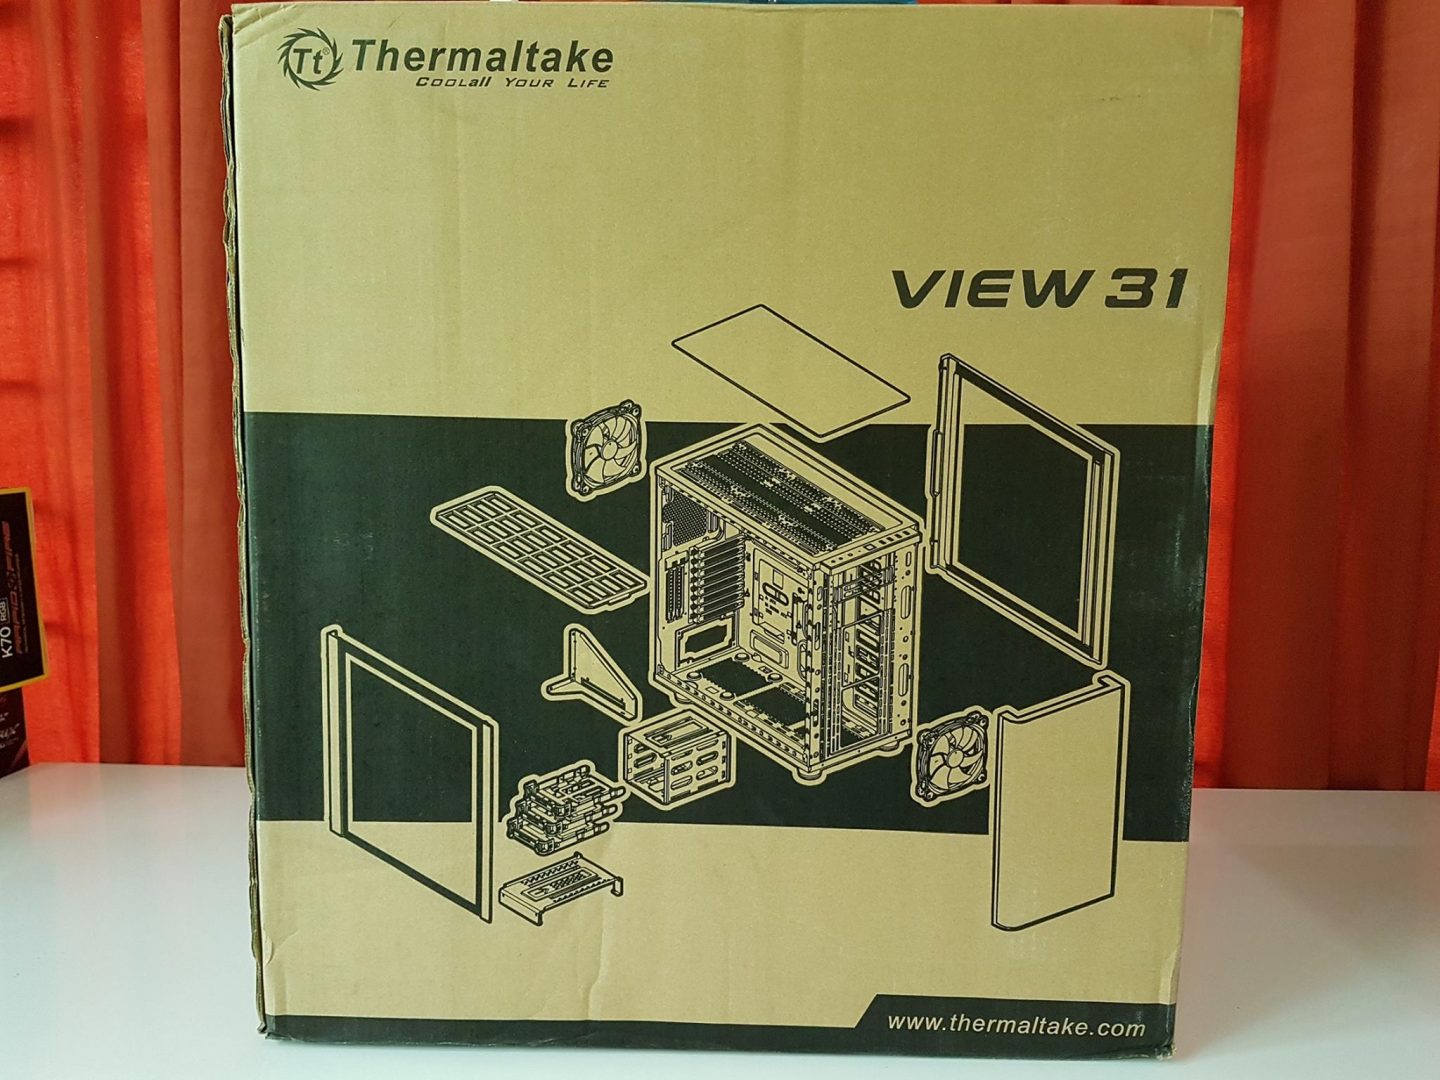
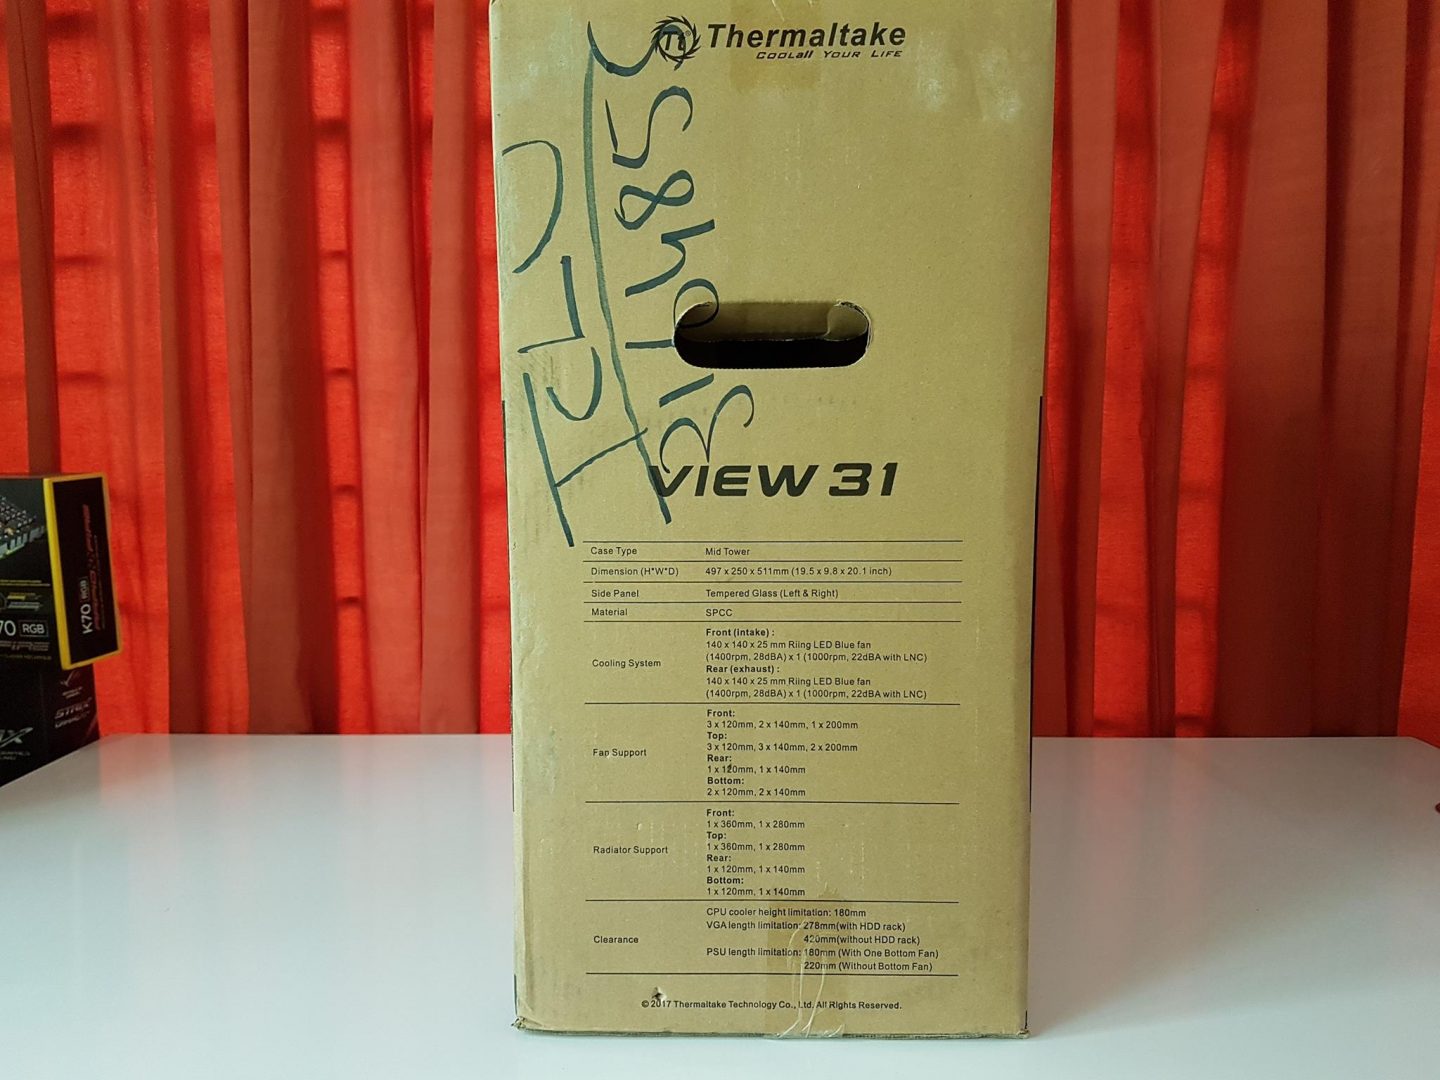
The chassis comes in typical brown color corrugated cardboard box. On the front side, there is a diagram for reference only of the Thermaltake View 31 with highlighted features. On the back, there is a diagram showing the modular components of the chassis. On one side we have specifications of the chassis printed while the other side some salient features are printed in 12 different languages.
Accessories
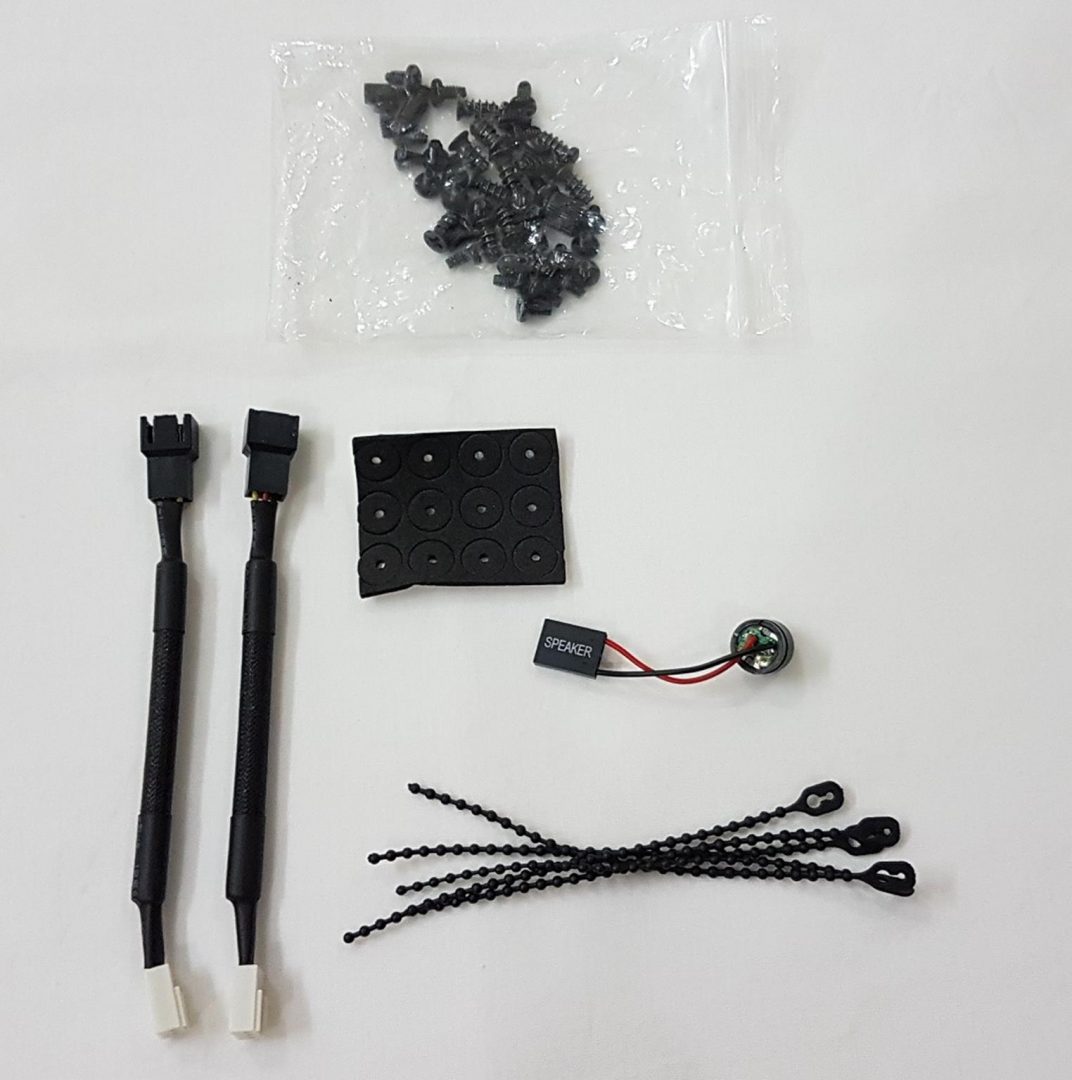
They include:-
- Reusable Zip ties
- Speaker
- Various screws
- Two LNC (Low Noise Cable) for the included 140mm Riing Blue LED fans
- Washers
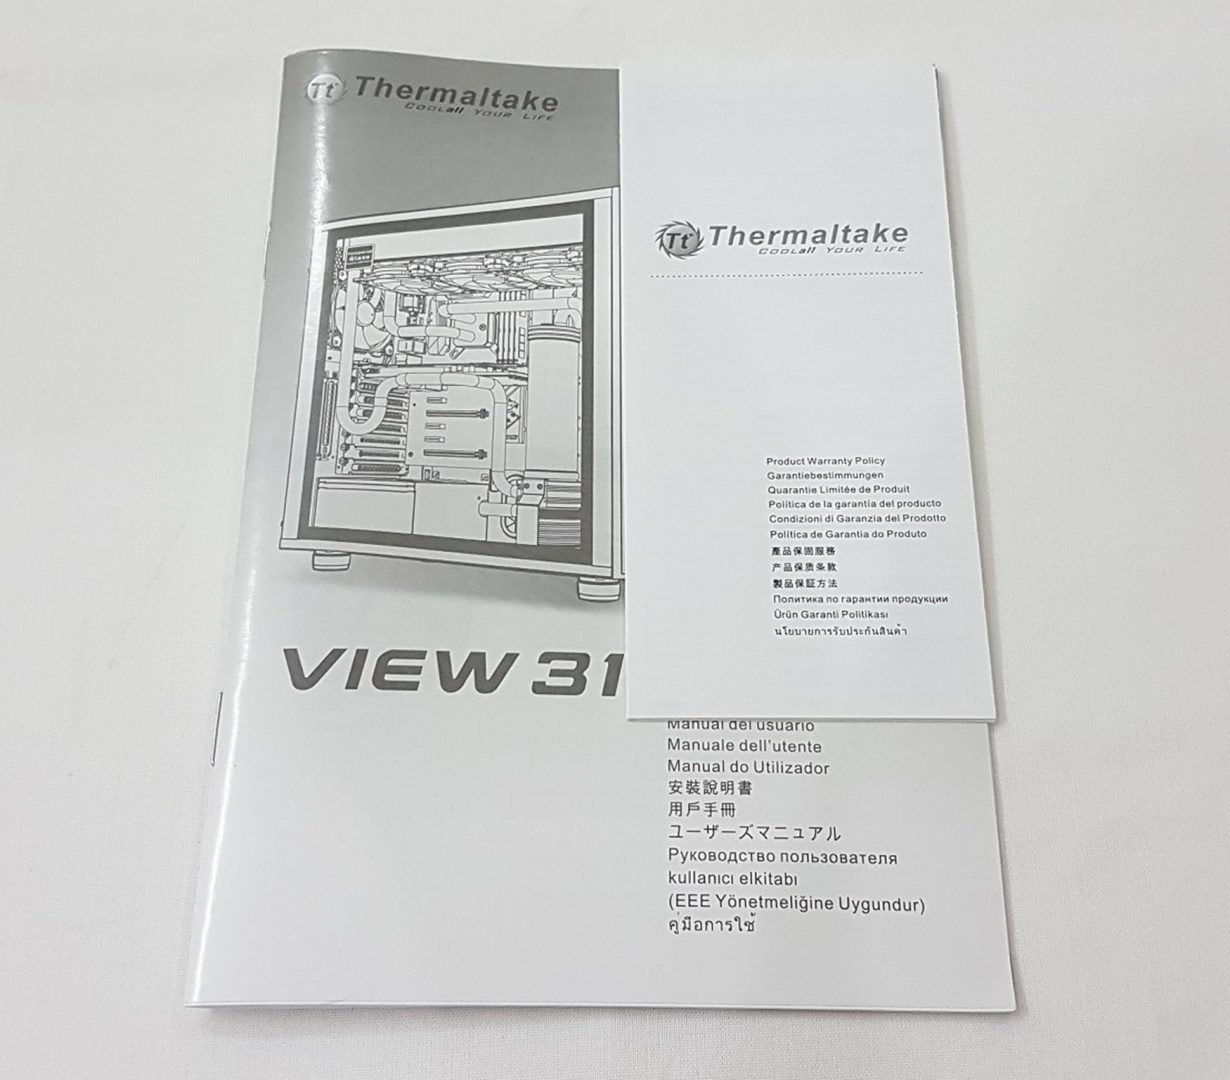
- User Manual
- Warranty Guide
Closer Look
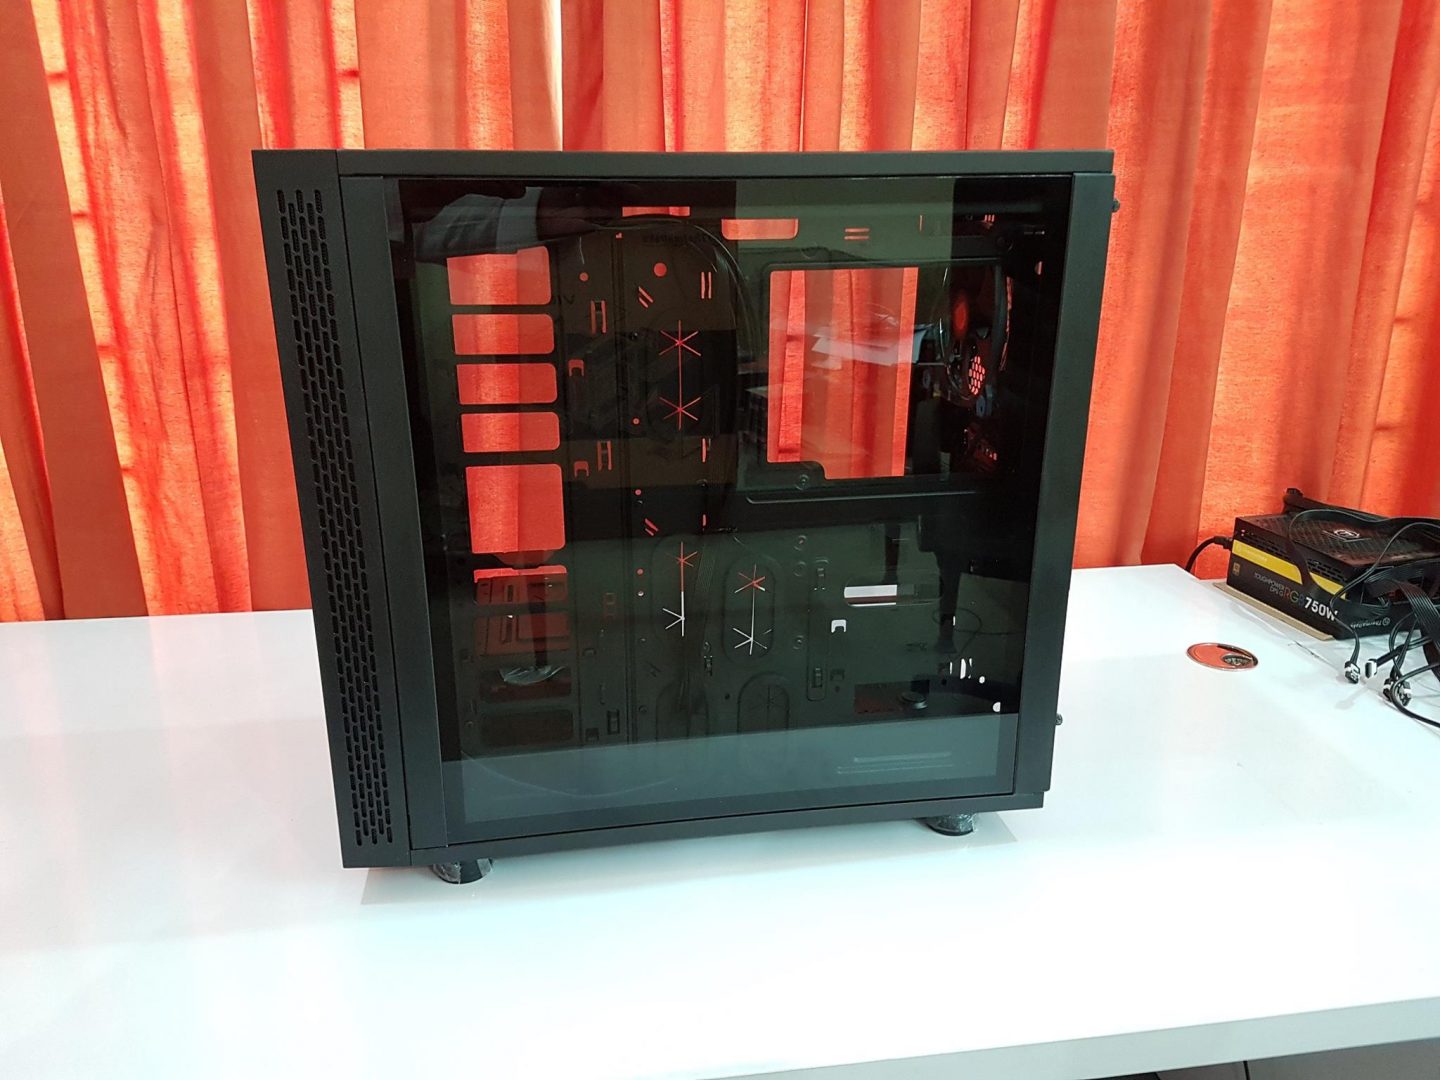
Let us dig into this chassis and see what the hype is all about. The Thermaltake View 31 TG edition is a mid tower unlike the compact mid towers from the likes of the Corsair Crystal 460X or NZXT S340 Elite. Its main feature is obviously the tempered glass side panels. The interior and the exterior are in the black color. SPCC steel has been used. Overall build quality has improved much better than the older chassis like Versa though the competitors are now using SECC steel. The Thermaltake has implemented this chassis with two 4mm thick tinted tempered glass side panels. One is on the right side and the other is on the left side of the chassis. This obviously raises the challenge for the builders to have top-notch cable management on the back side of the chassis as it will be visible to the viewers.
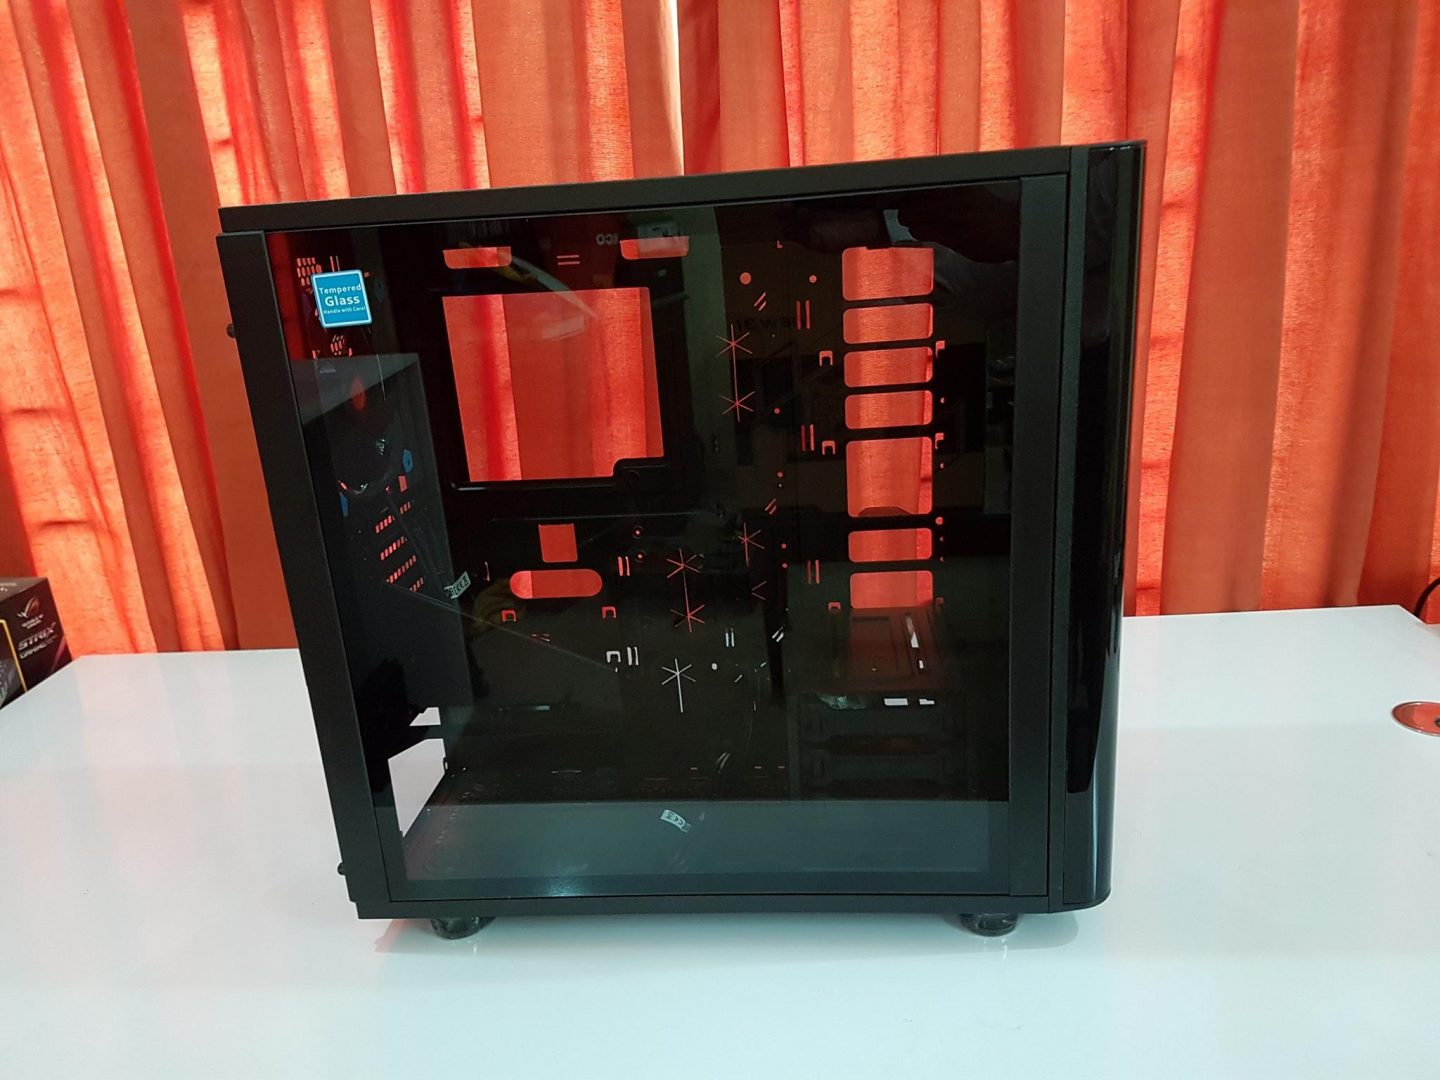
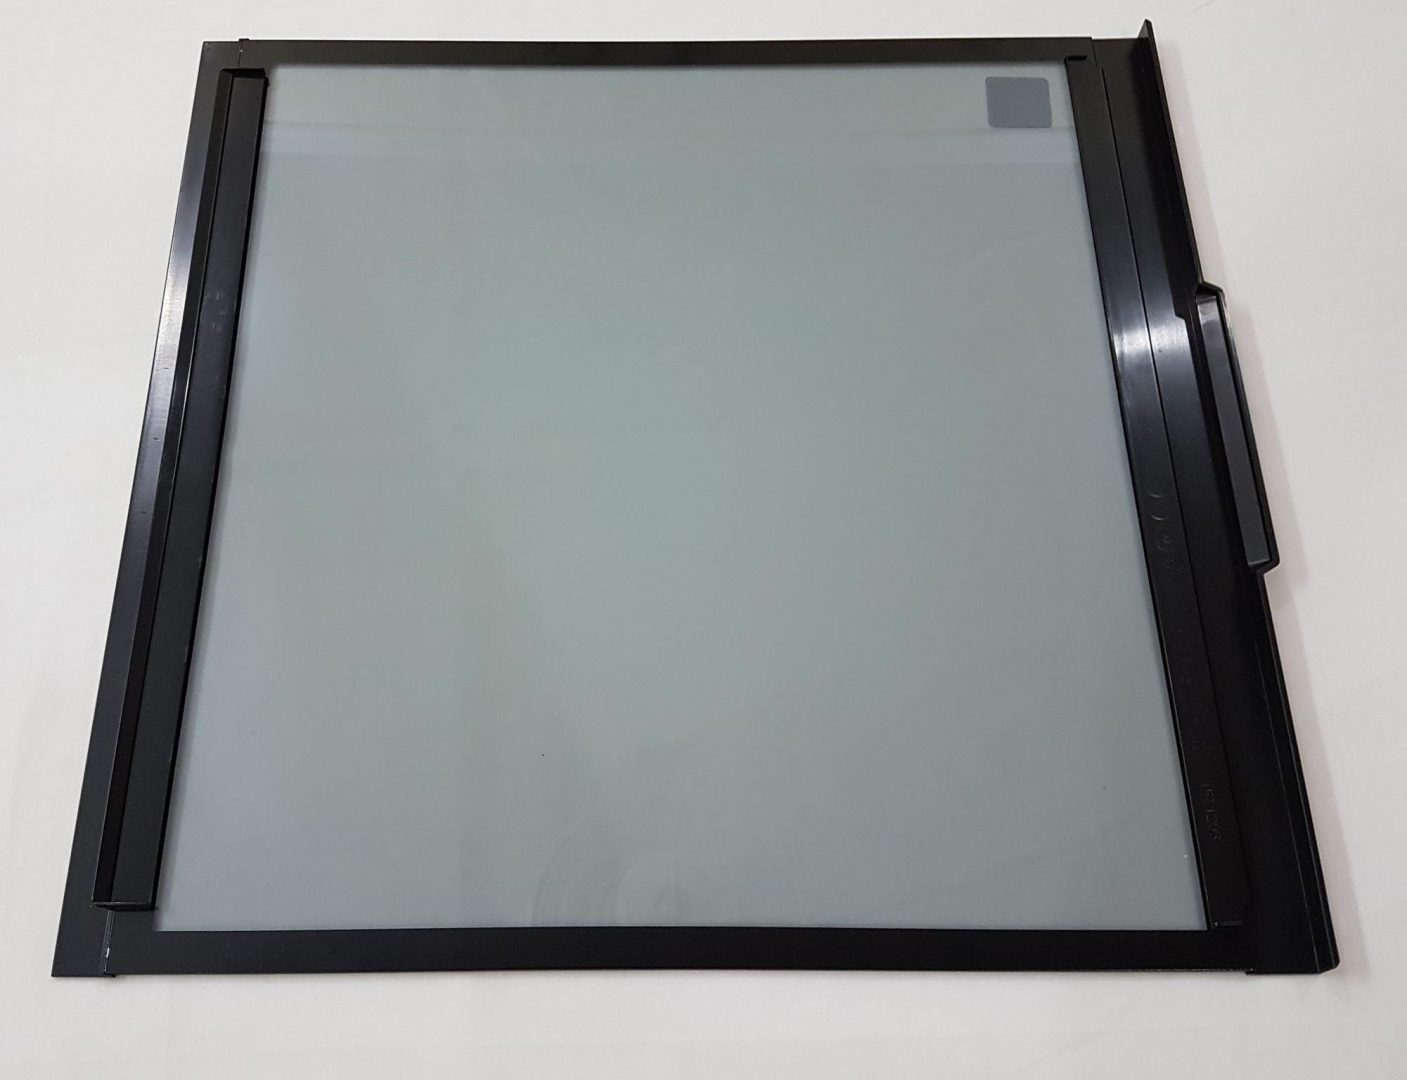
Tempered glass is implemented right into the panel frame which is a good decision as we don’t need those fancy long screws as can be seen on the Corsair Crystal 460X which makes handling bit tough. Both side panels are mounted using two thumb screws per side panel which is a typical side panel implementation. Though this is not a complaint but I would have loved to see the hinged implementation of the side panels as it would make life easier for the user in case there is some change that needs to be made in the build.
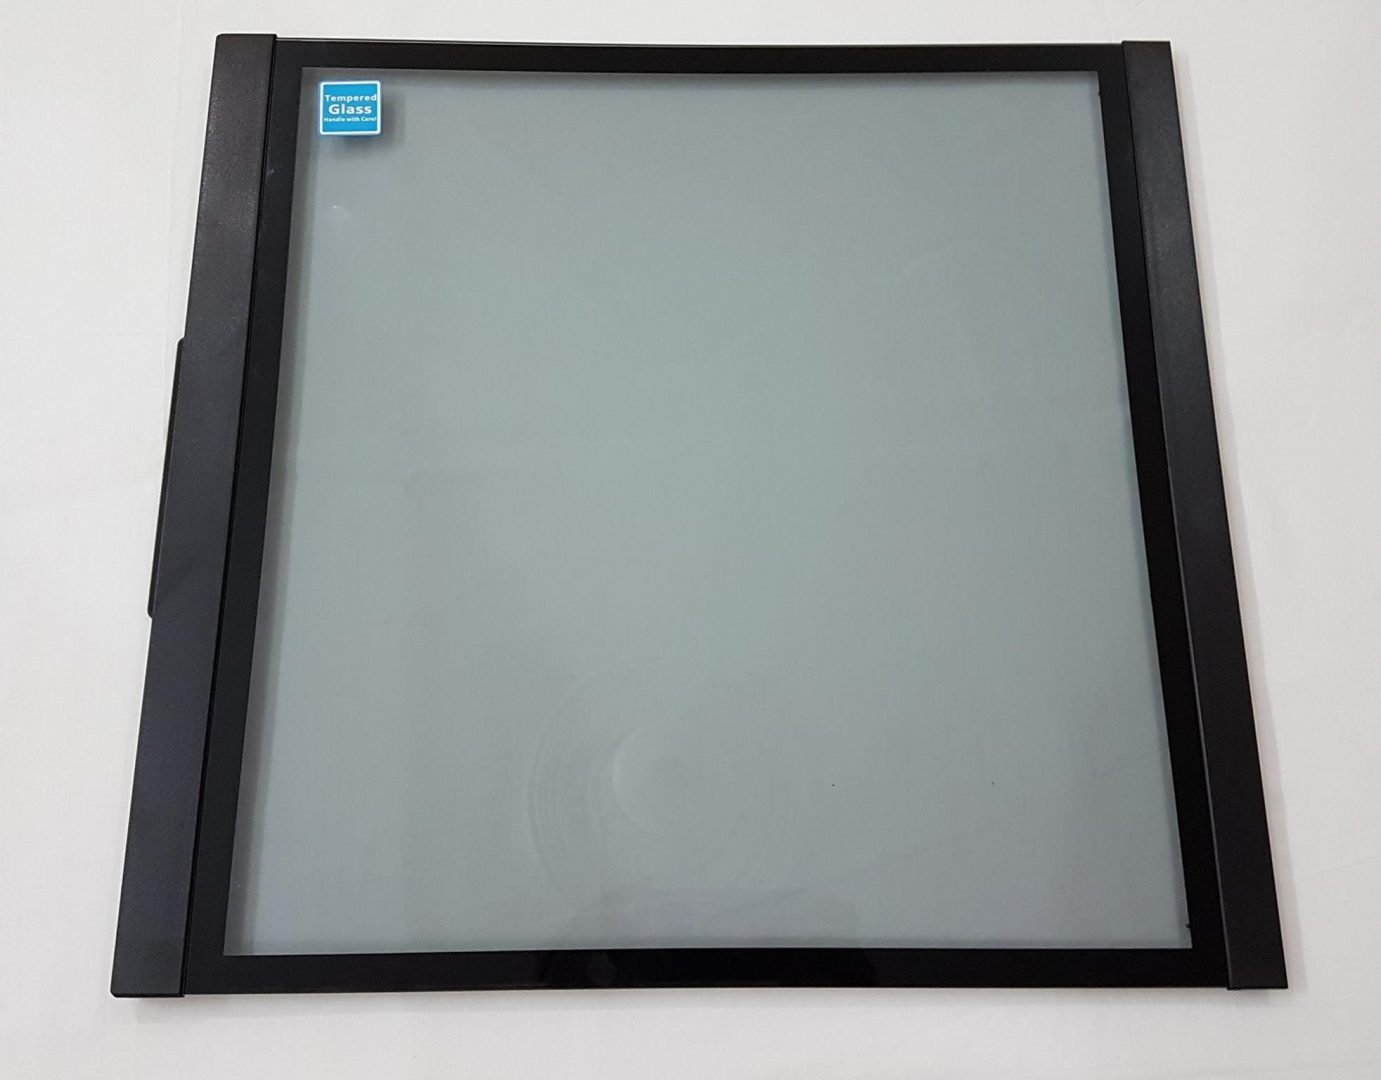
Side panels have the dimension of 465mm x 440mm (L x H). Tempered glasses have the dimension of 418mm x 438mm (L x H). The handling of the tempered glass based side panels is easier. Just remove the two thumb screws and lift off the side panel. Take care while handling the side panels as it is implemented with tempered glass. A light blue color sticker is pasted on the left side panel mentioning the handle with care. Both panels can be used interchangeably.
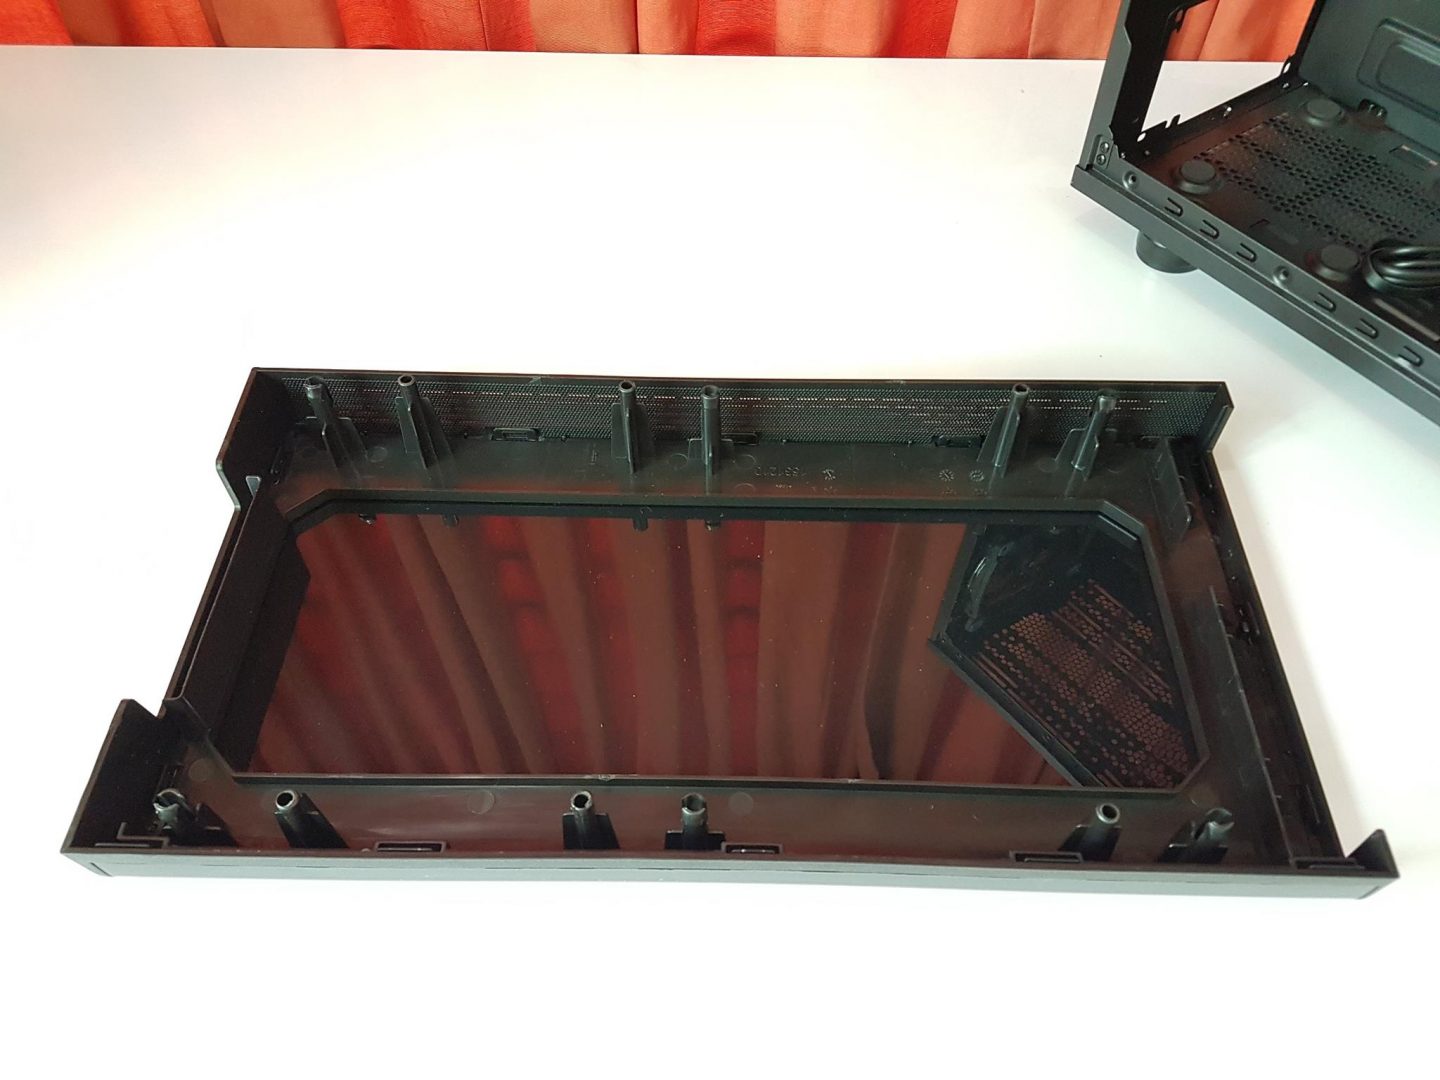
Let’s have a look at the front side of the chassis. The front side has a glossy finished plastic cover with tinted see through window. One should consider installing LED lighting fans upfront to have a real dope effect. Non LED fans would not show the beauty of this panel. The right side of the panel has vents for air intake which have dust filters on them. The dimension of the vented side is 23mm x 426mm (L x H). I was expecting both sides of the front panel to have vents for better air intake but this isn’t the case. While I was skeptical about the airflow intake from the front, this was not the case at all.
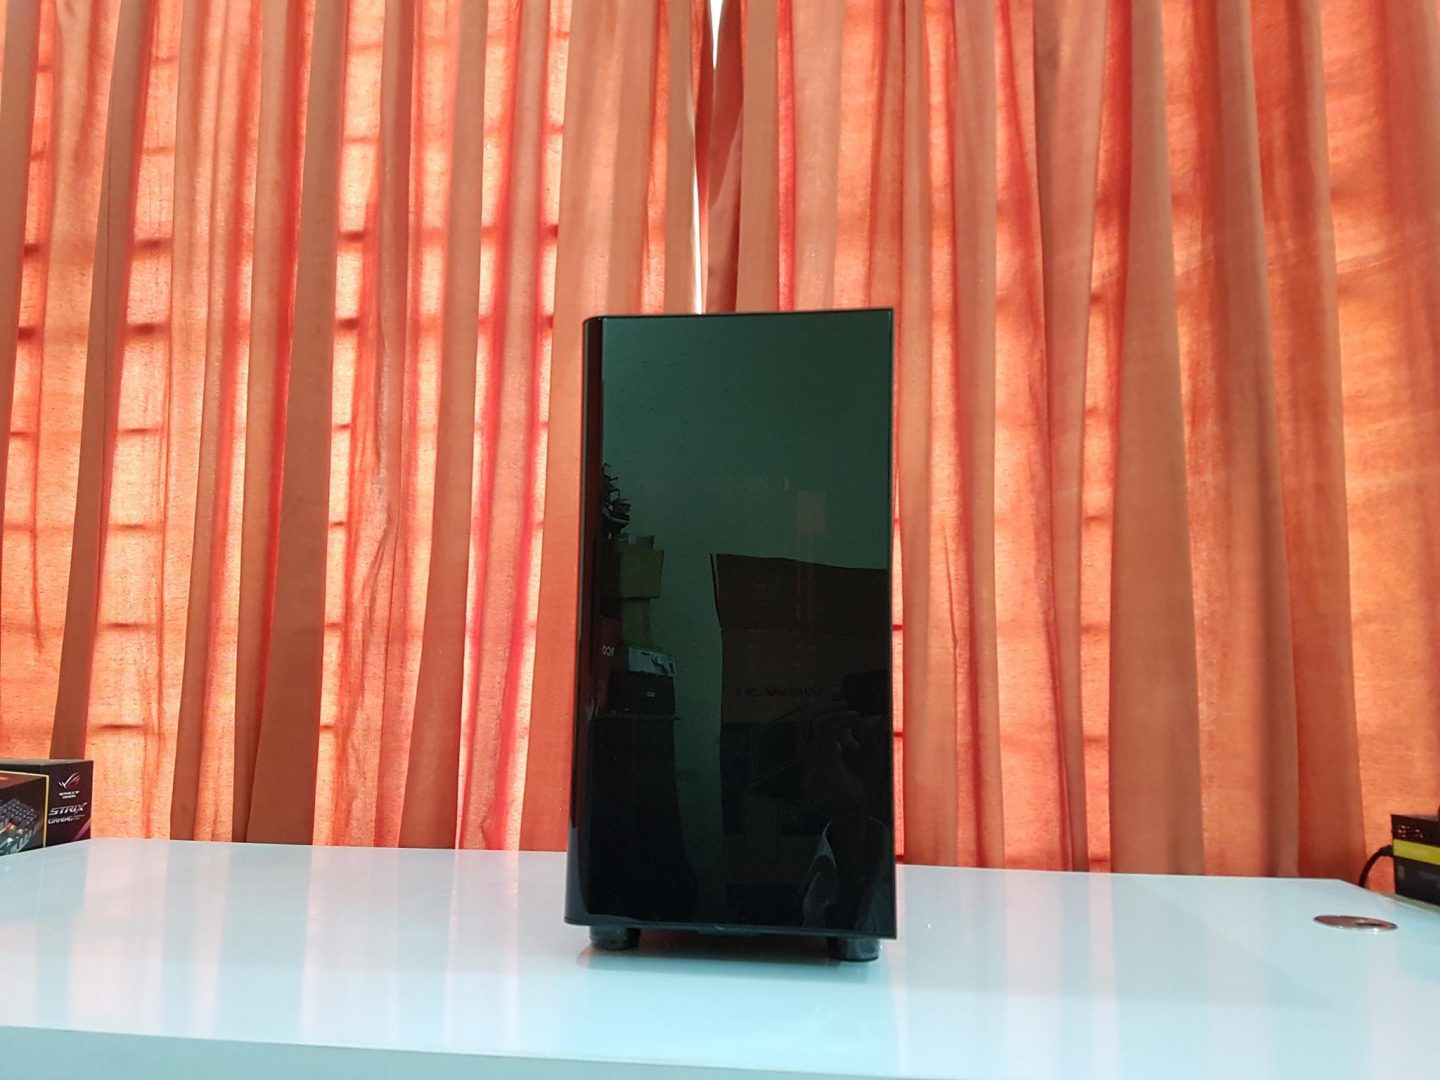
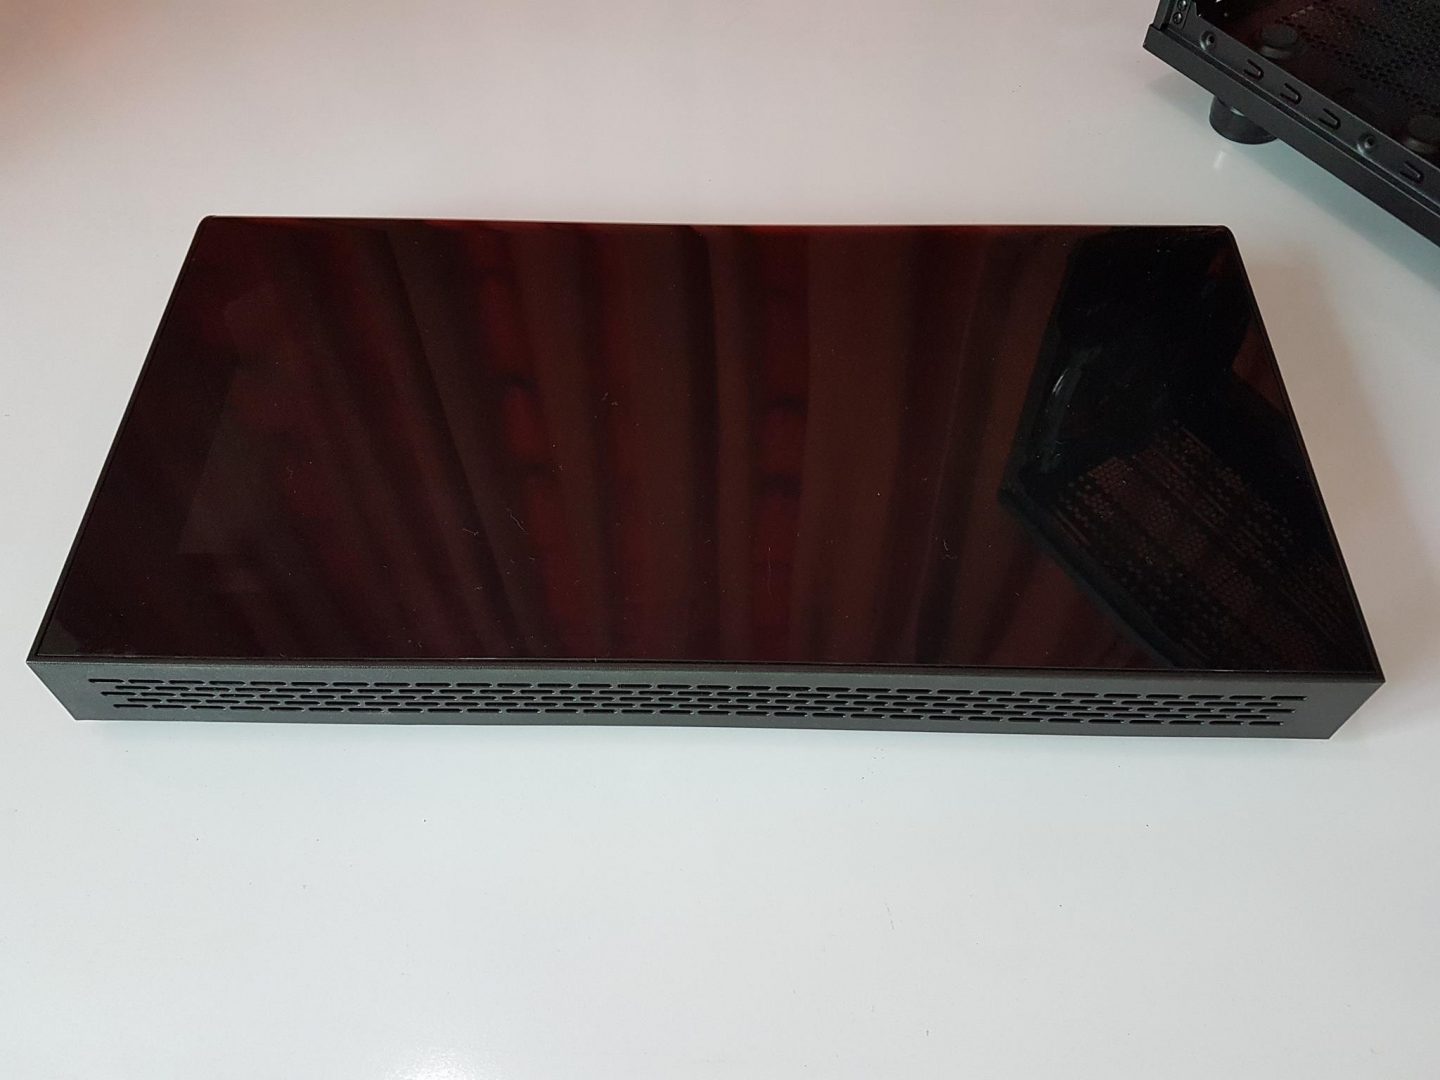
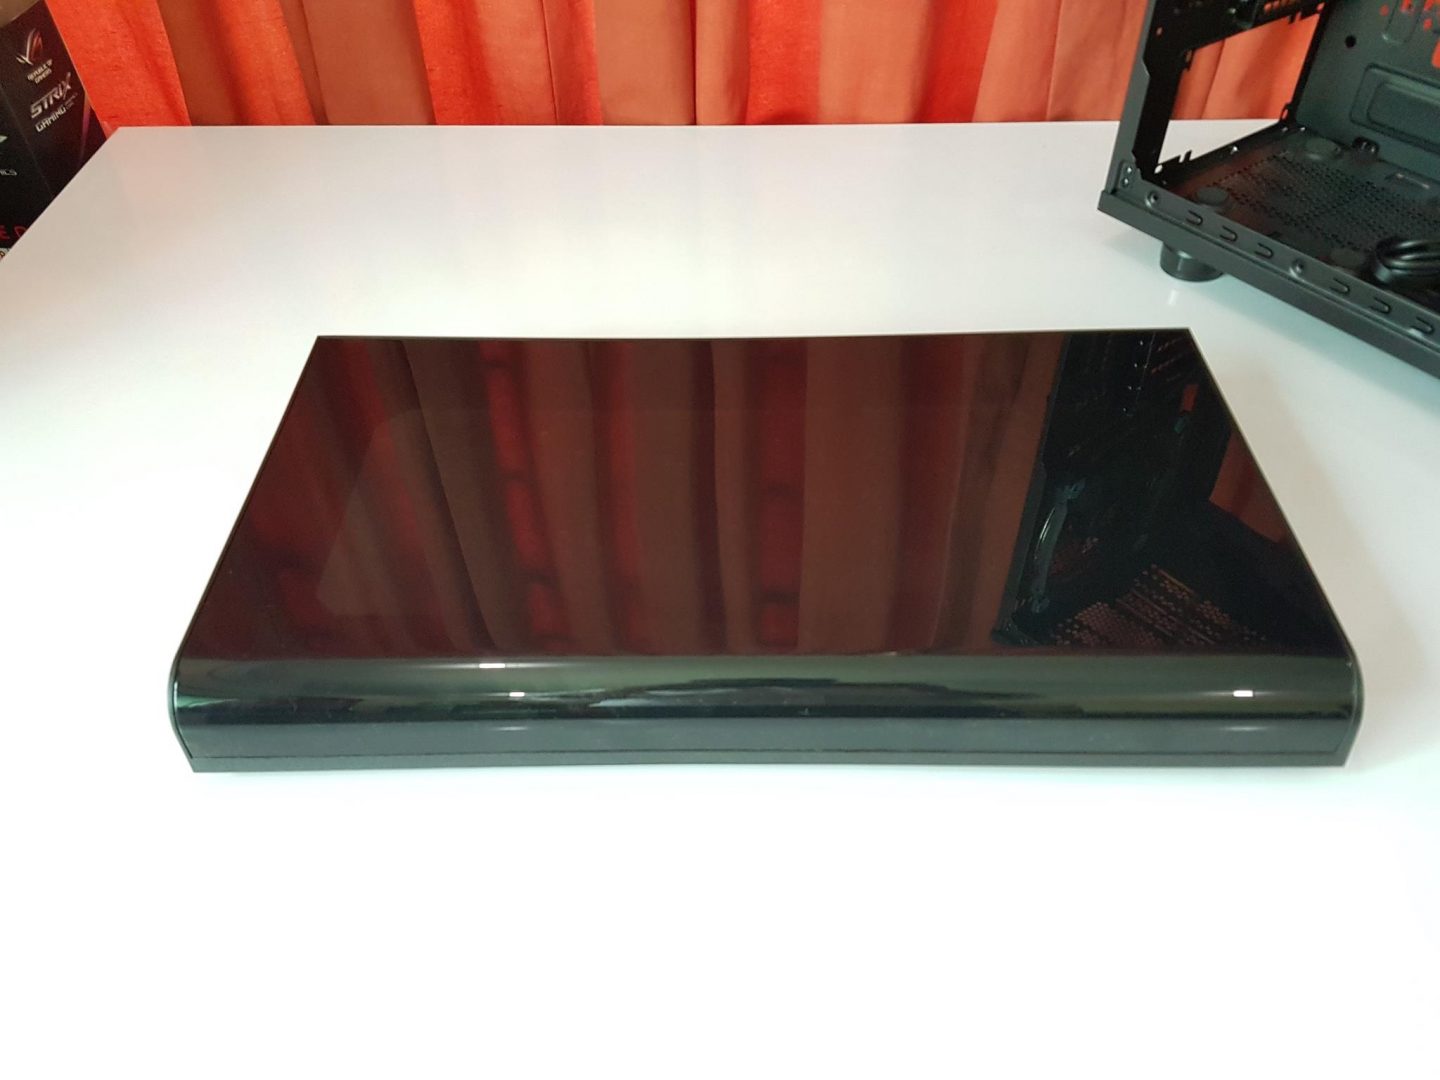
The other side of the front panel is finished in an angular manner which sits perfectly fine with the left side panel.
To remove the front panel, place your hand on the bottom side of it and pull it out. A bit of force would be needed but don’t use excessive force. Once, the panel is removed the front side of the chassis is revealed with the fan mounts. The user can install up to 3x 120mm fans or 3x 140mm fans or a 200mm fan up front. Considering the fact that this is a mid tower, having a provision of 3 140mm fans on the front is a plus. In terms of the radiator support, this chassis can have 120mm / 140mm / 240mm / 280mm and 360mm radiator up front. There is no 5.25″ drive bay on the front hence it rules out the possibility of installing the 5.25″ drives. The top plate is removable and can be adjusted to requirements.
We have 3 cable pass through points on the right side and 3 on the left side. A single 140mm Blue LED Riing fan is preinstalled on the front side.
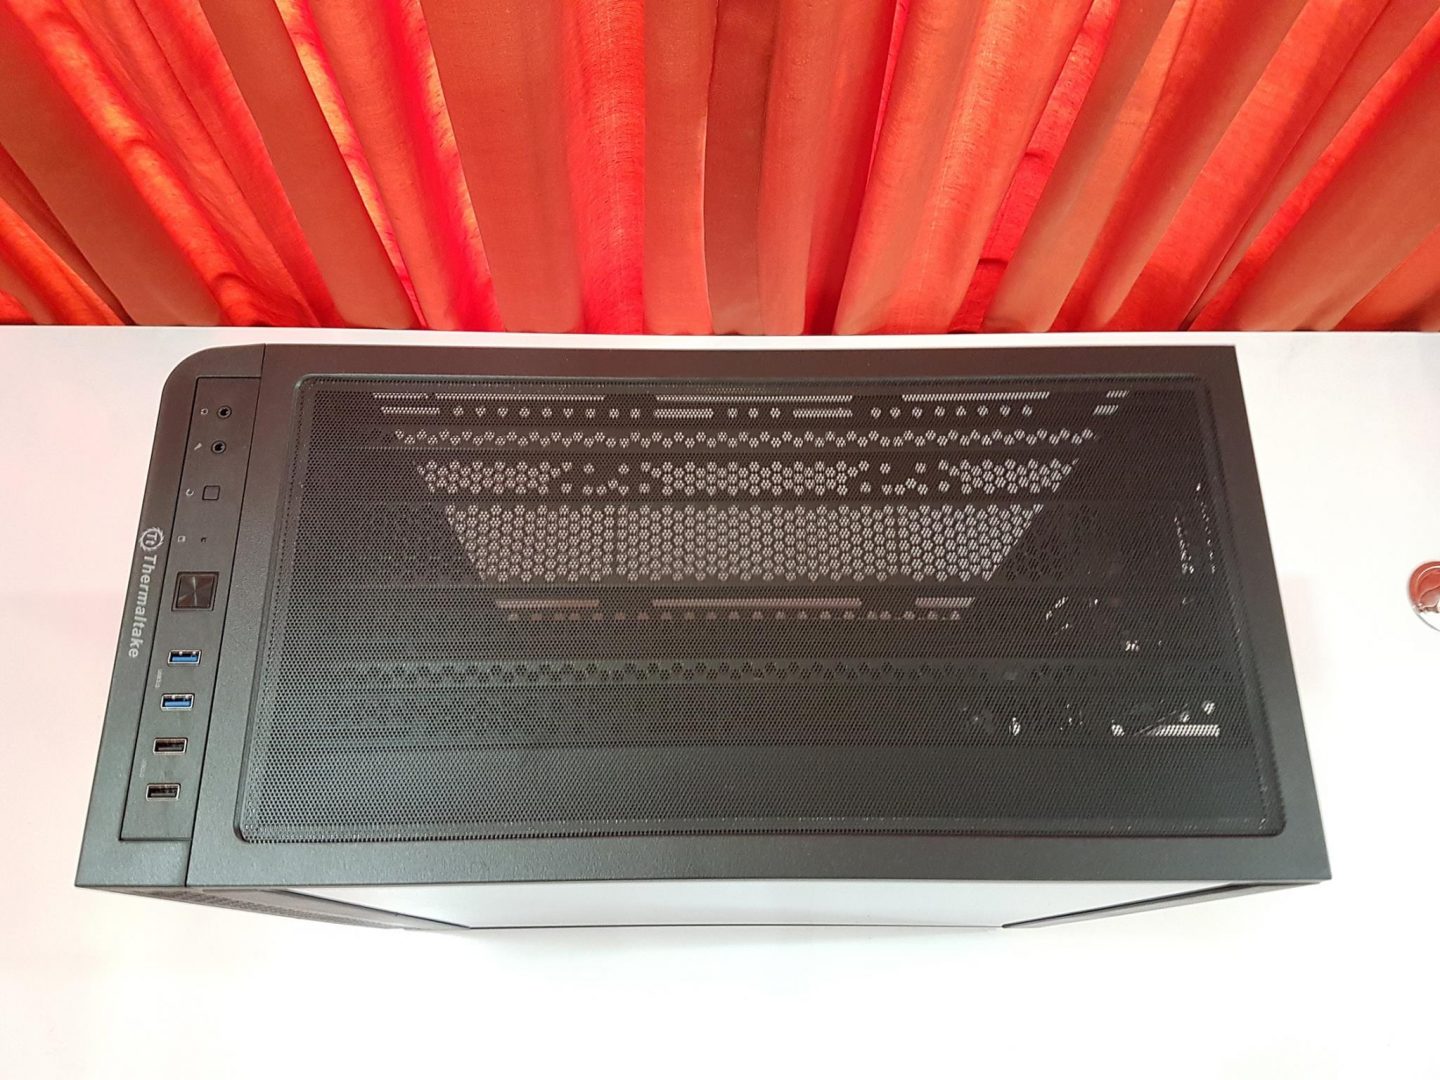
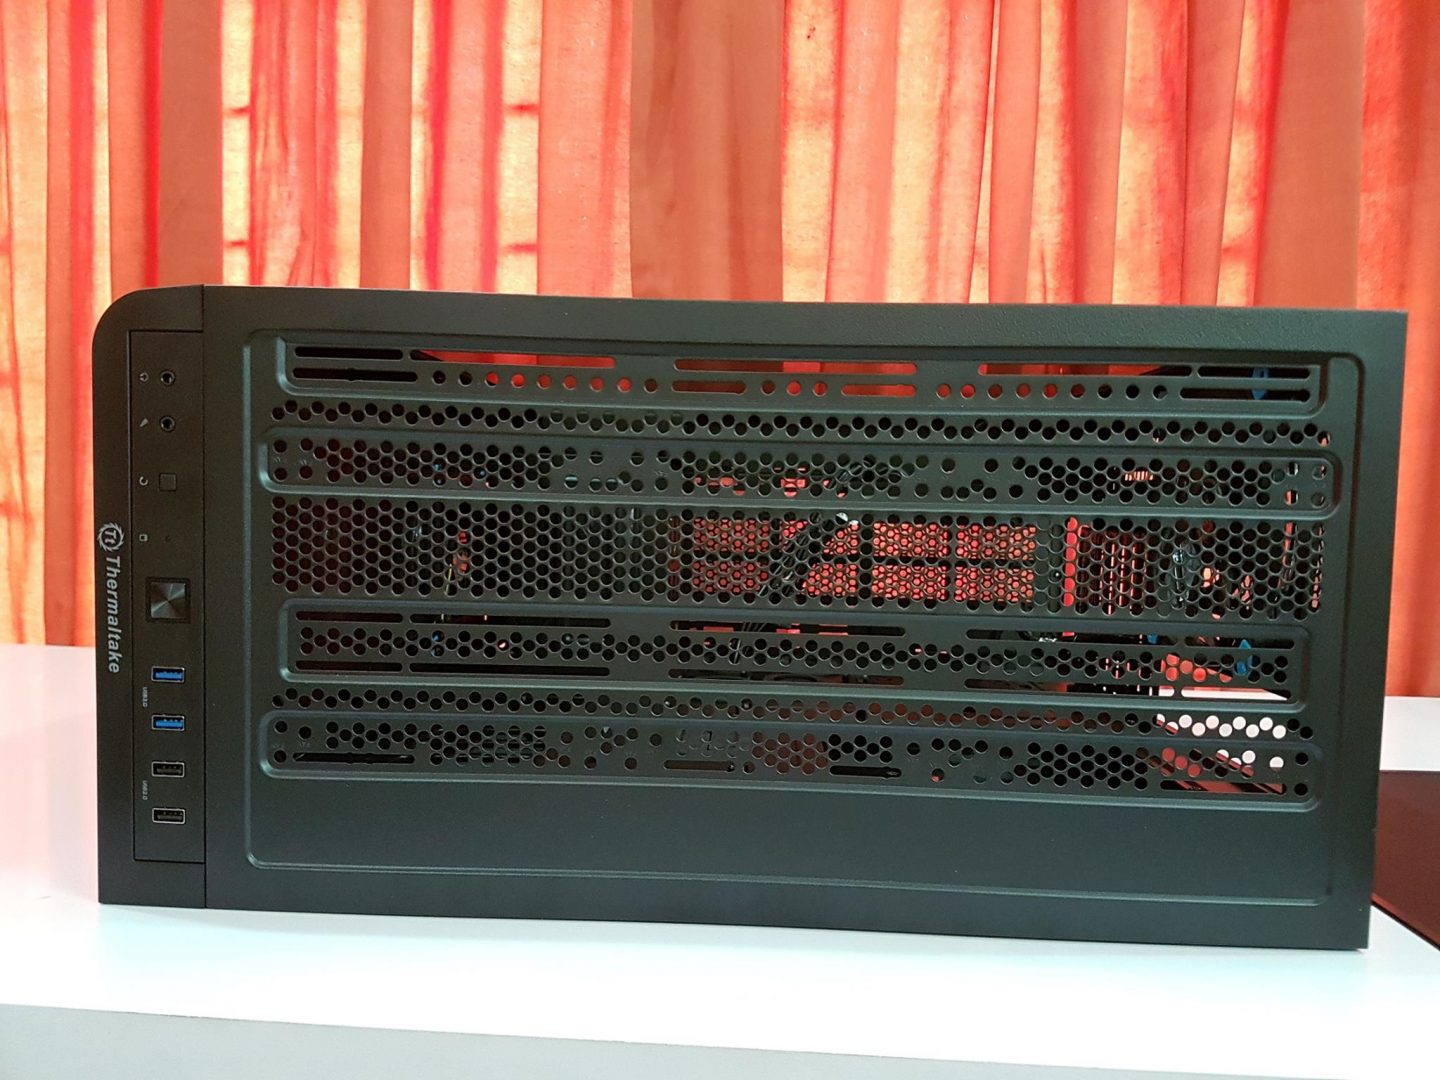
The top side of the chassis has a single piece large size magnetic dust filter covering the entire length of the top chassis on the fan mounts. This is a good implementation by the Thermaltake as it does not obstruct the airflow and at the same time provide protection from the dust. To clean the dust filter, just lift it off, clean it and put it back on. It is that easy.
Removing the dust filter will show the top side of the chassis. The user can install up to 3x 120mm fans or 3x 140mm fans or a 200mm fan on the top. Considering the fact that this is a mid tower, having a provision of 3 140mm fans on the top and on the front gives this chassis a competitive advantage over the likes of the Corsair Crystal 460X / 570X and NZXT S340 Elite etc. In terms of the radiator support, this chassis can have 120mm / 140mm / 240mm / 280mm and 360mm radiator on the top. Yet again, the Thermaltake has delivered in terms of builds possibilities with utmost cooling provision.
Pay attention to the top vented area. From the right side, there is an approximately 54mm of solid cover followed by the vented area. At first, this design can be bit confusing on where to mount the fans exactly. The Thermaltake has printed Fans at various mounting positions to help the user mounting the fans.
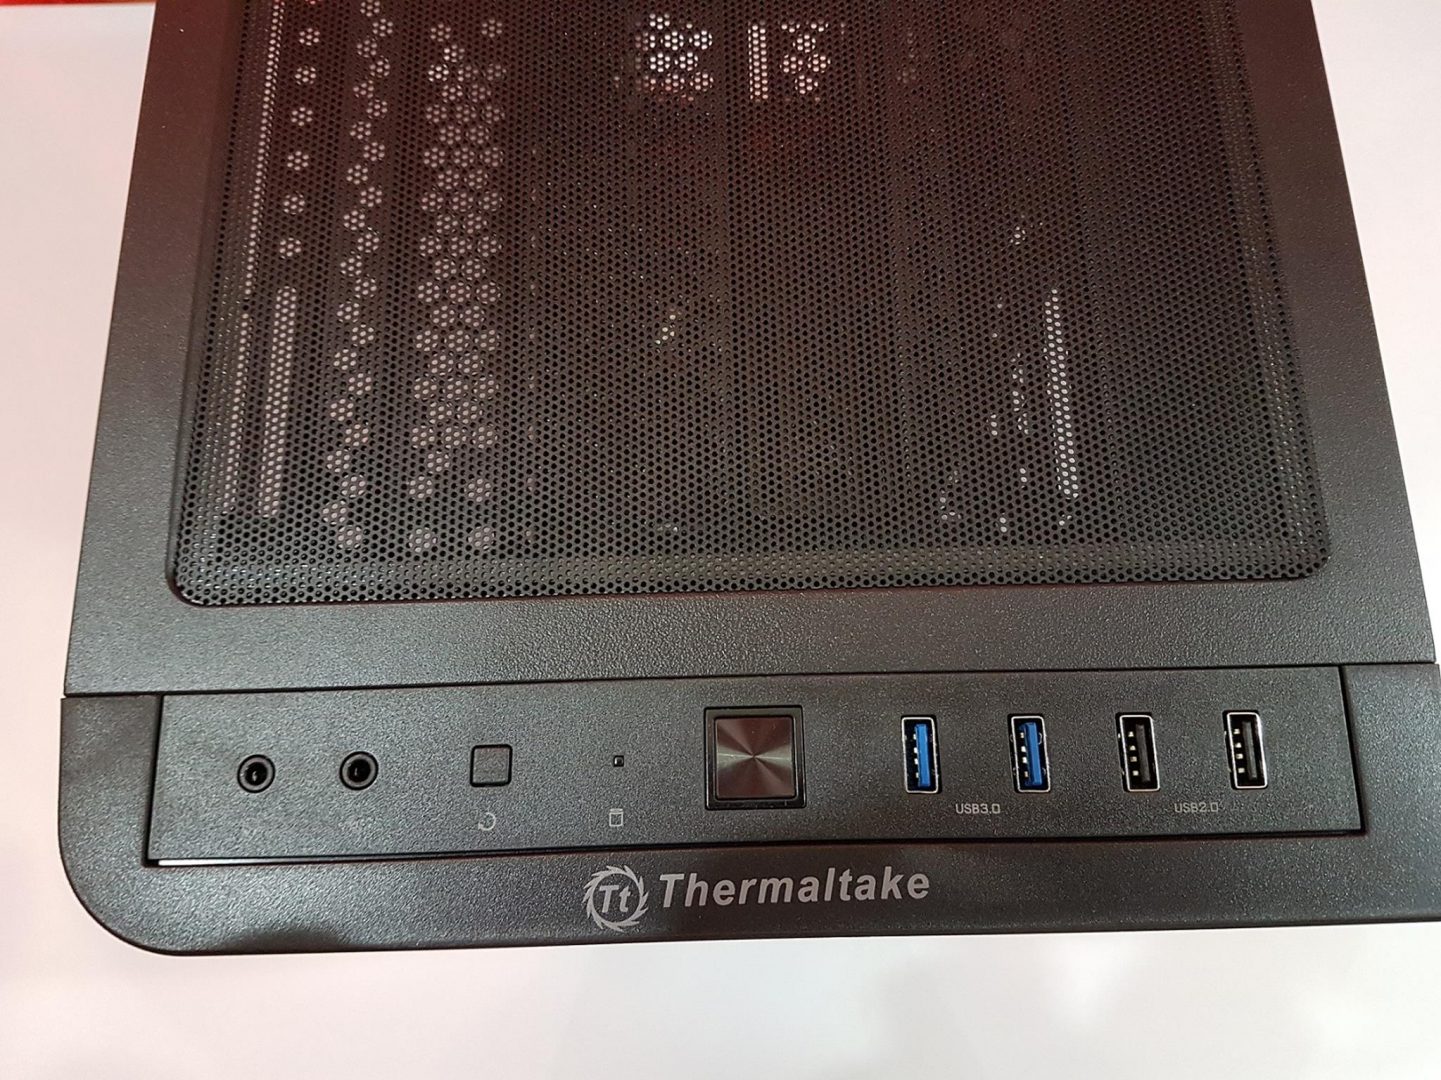
The front I/O panel is implemented on the top side. We have 2 USB 3.0 ports, 2 USB 2.0 ports. There is a rectangular button on the middle which powers on the PC. Once the PC is powered on, the border of the power button lights up in blue color. We have an activity LED indicator on the left side of the power button followed by the small size reset button and the HD audio jacks.
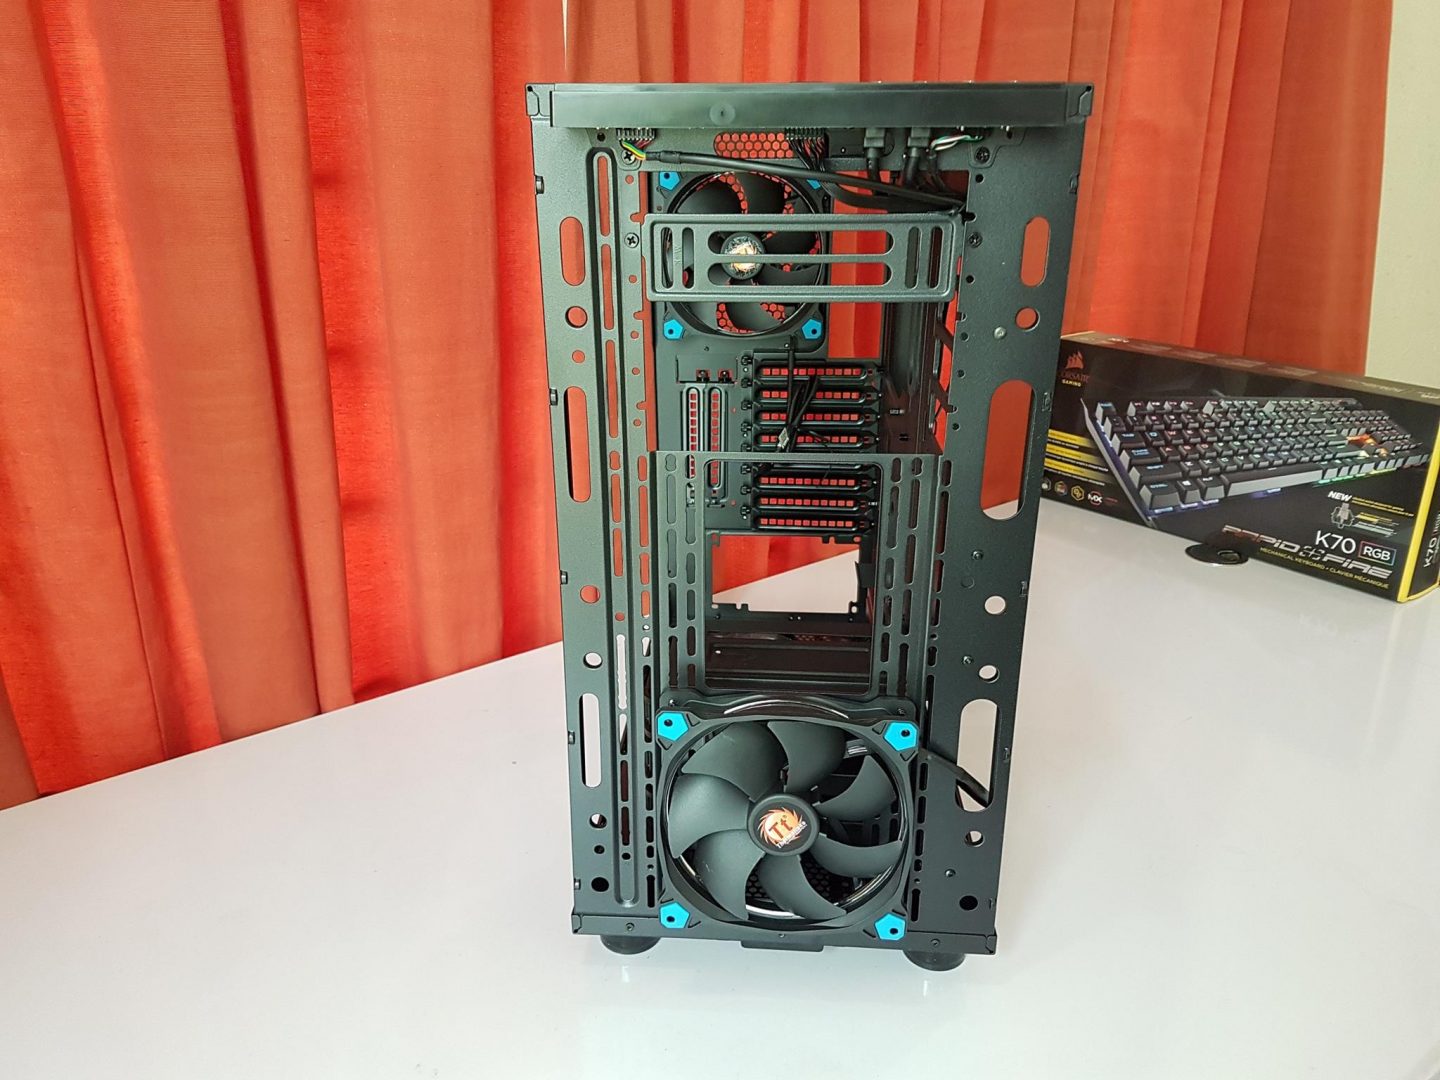
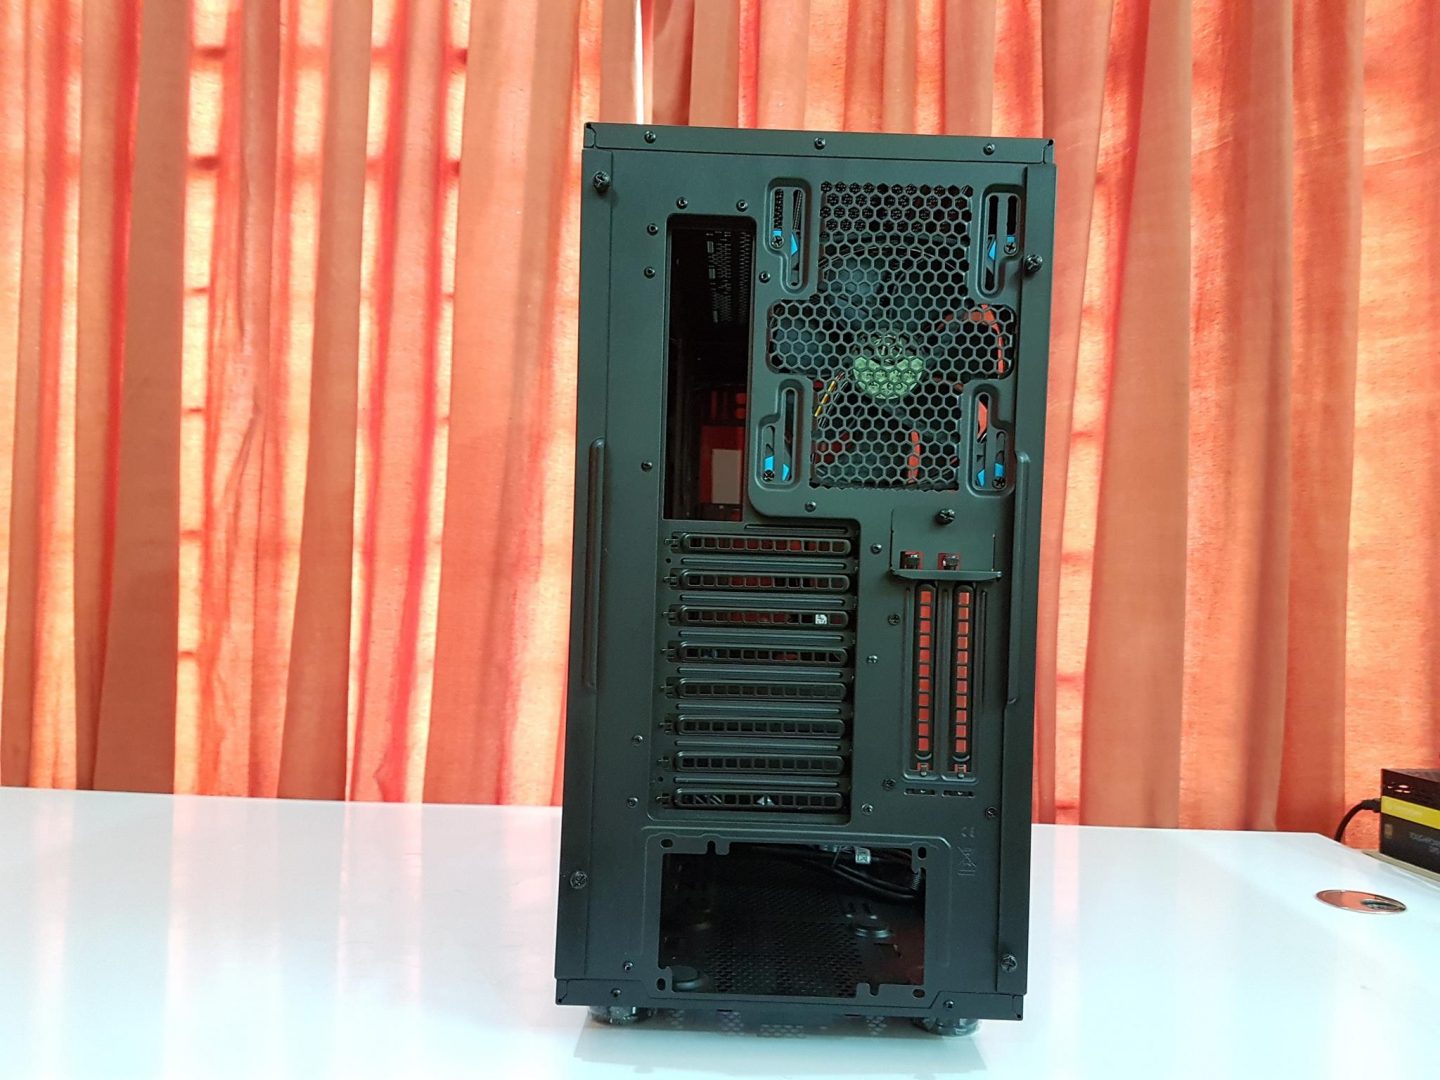
The rear side of the chassis has a typical layout other than the PCIe slot covers. On the top, we have the I/O cut out and the fan mount on its right. The user can install a 120mm or a 140mm fan on the rear and fan’s position can be adjusted. A single 140mm Blue LED Riing fan is preinstalled in the chassis on the rear.
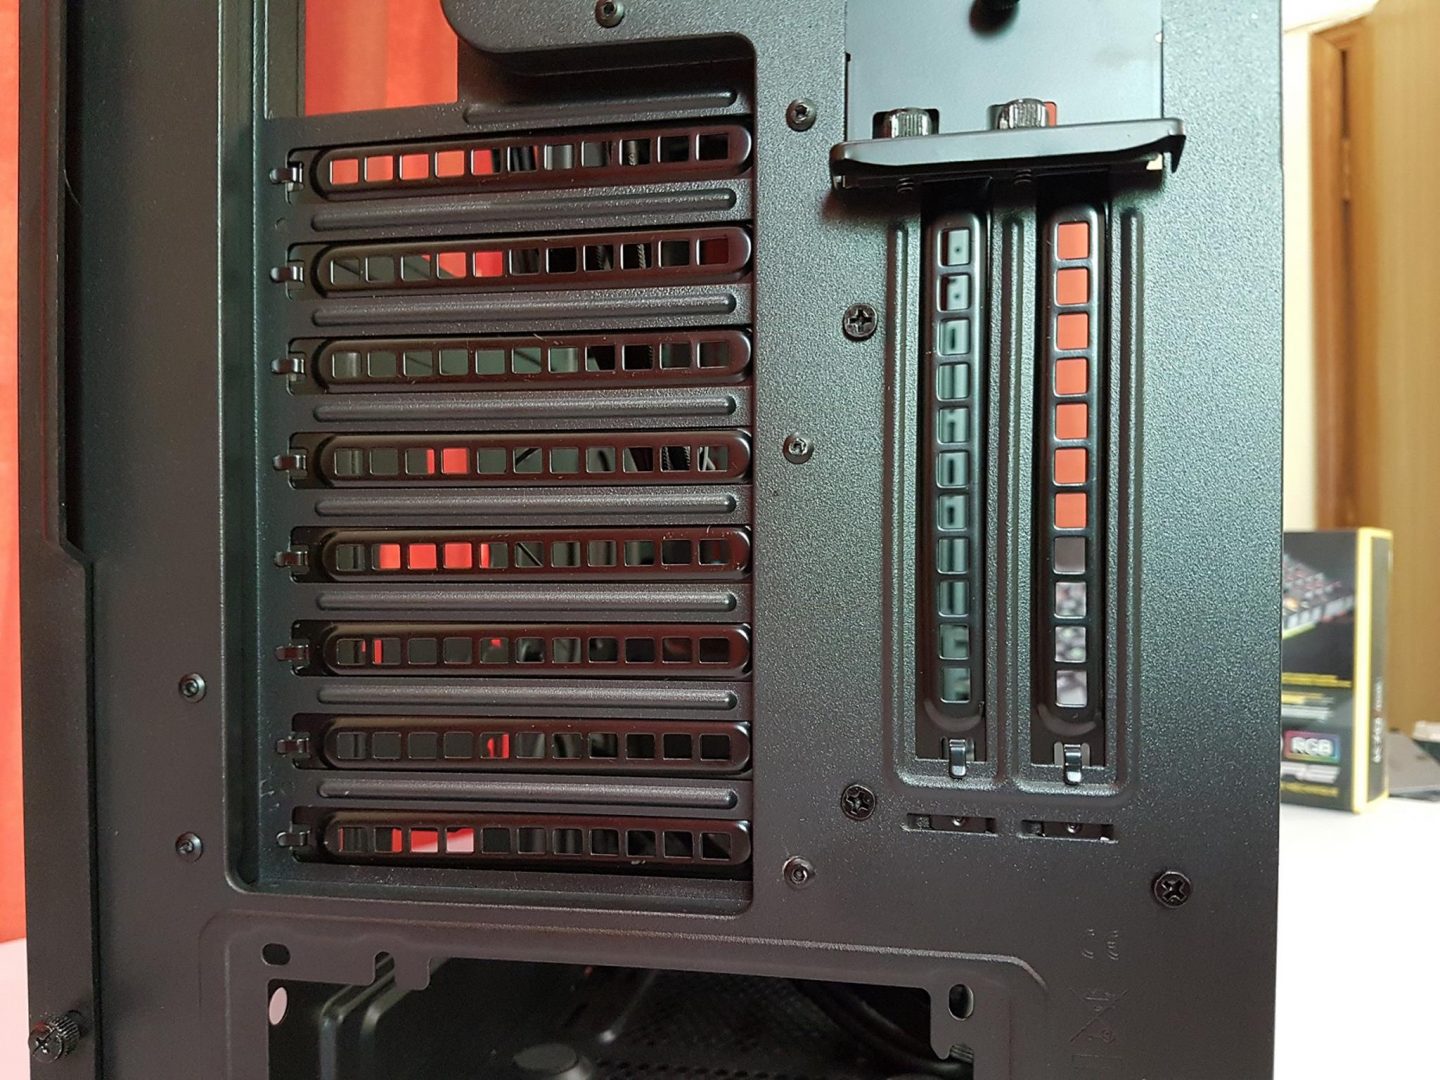
The middle section of the rear has 8 horizontal PCIe slots and 2 vertical PCIe slots. This chassis has the provision of installing the graphics card in vertical orientation.
The bottom side has a standard ATX PSU (Power Supply Unit) housing. Total 4 thumb screws are visible with two on each side. Both side panels are secured with these thumb screws. These screws come off when removed. I would have preferred captive thumb-screws.
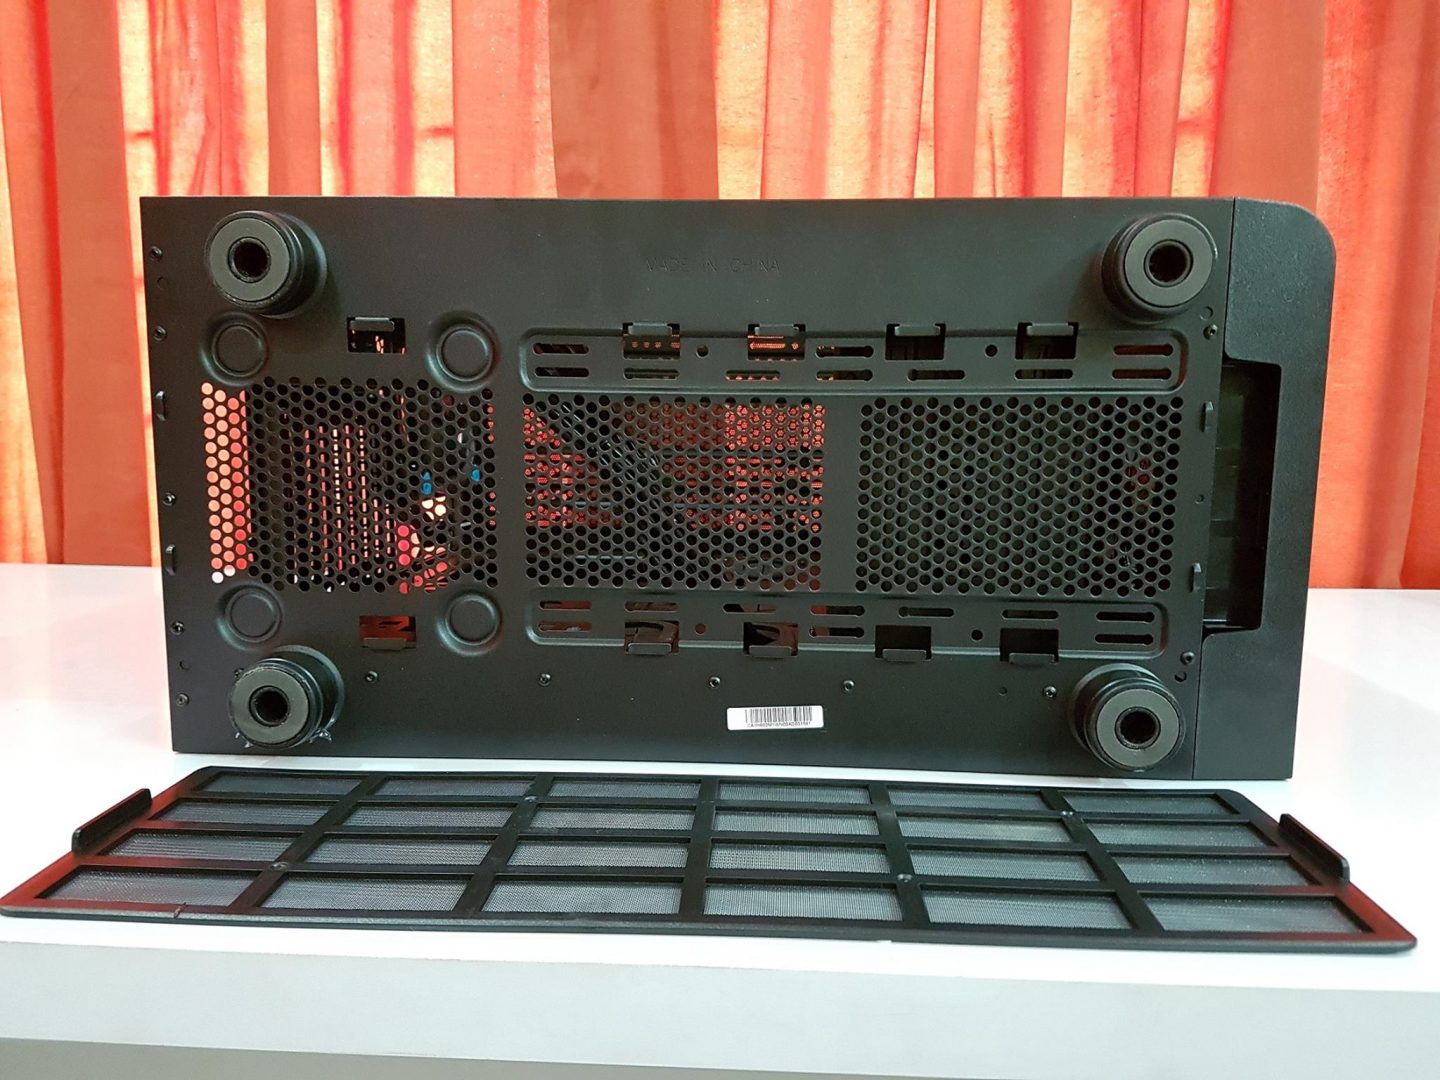
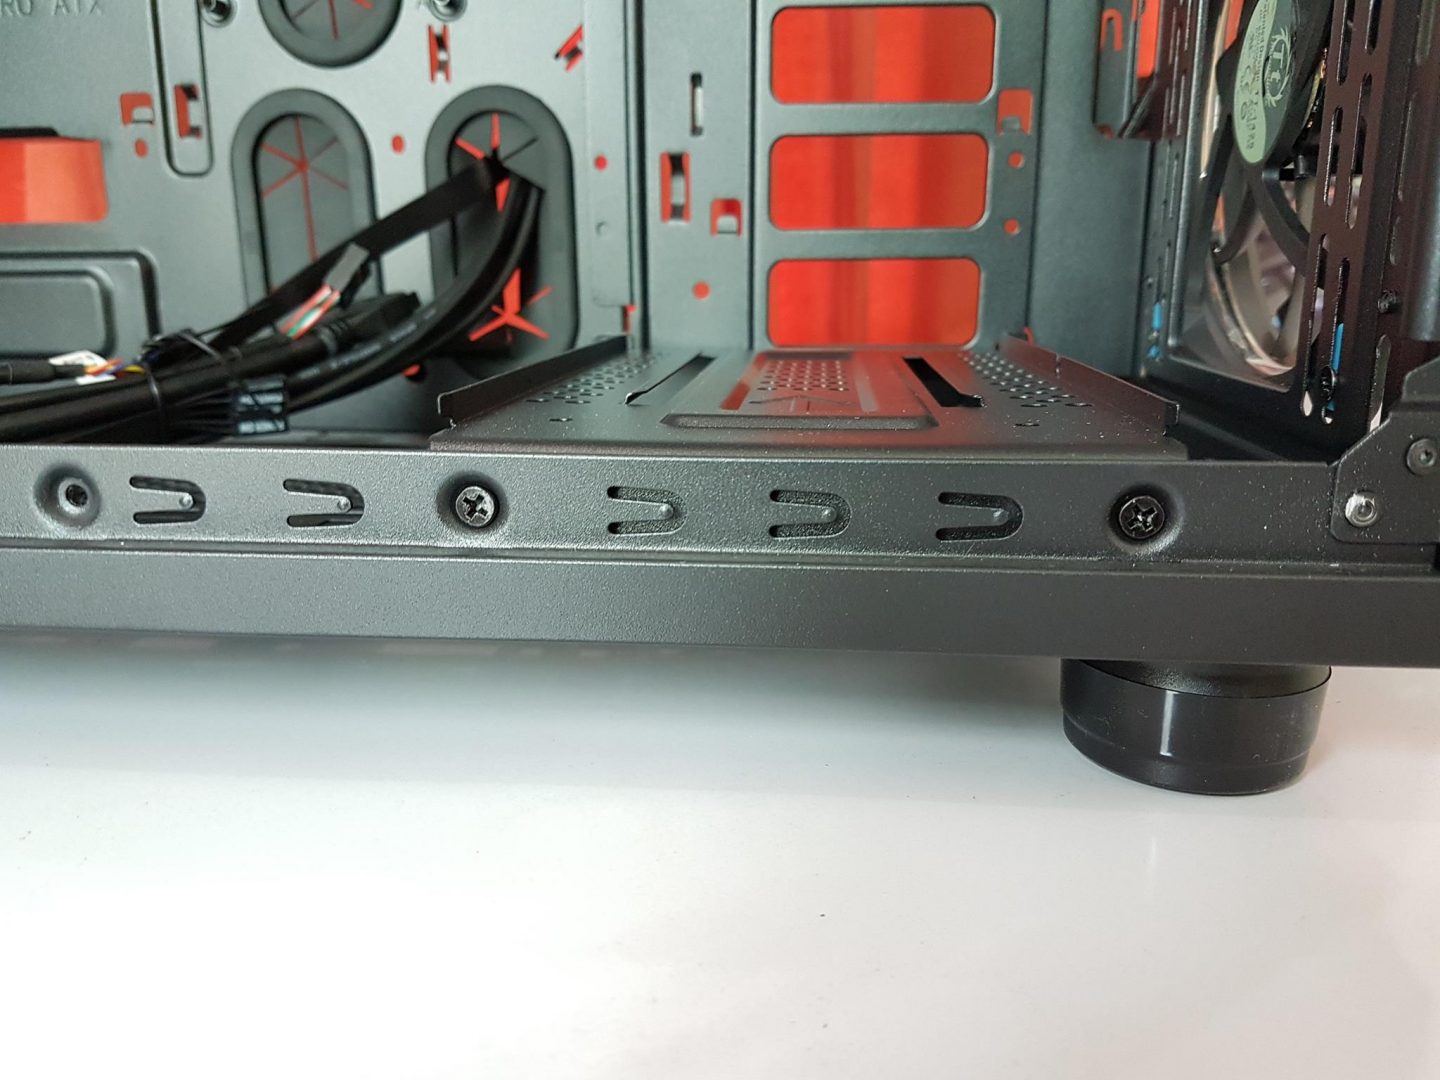
The bottom side of the chassis has a single large size dust filter covering the entire length of the chassis. The Thermaltake has used stylish feet under the chassis. There is an approximately 41mm of space between the bottom side of the chassis and the surface. The Thermaltake has covered every single possible air intake in this chassis.
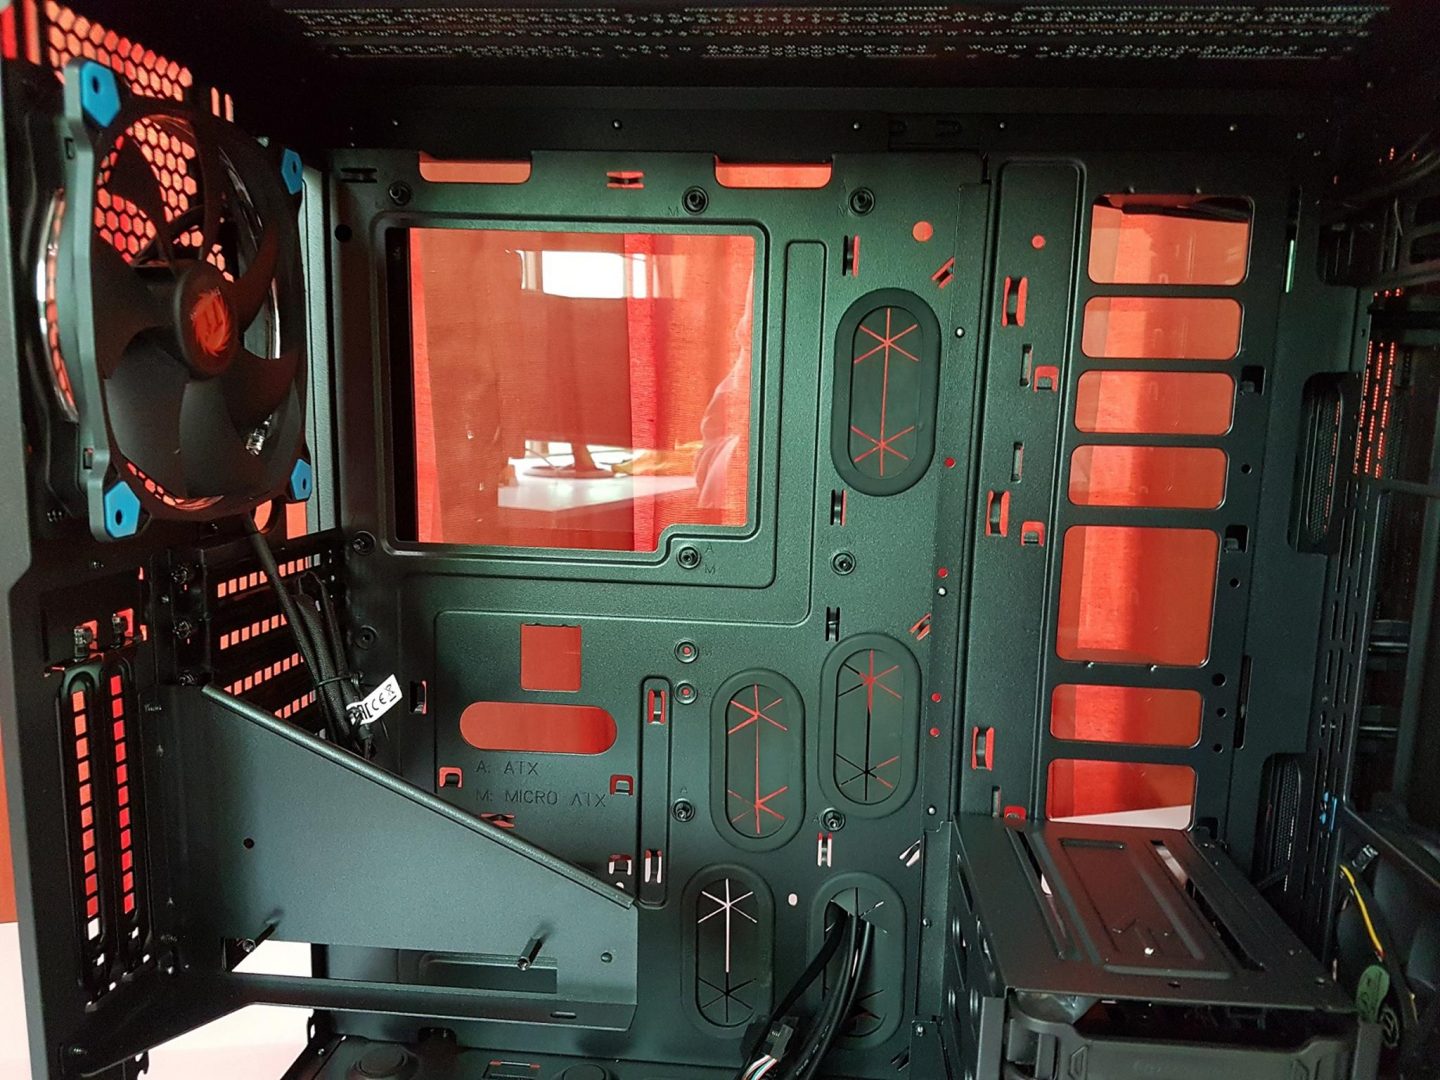
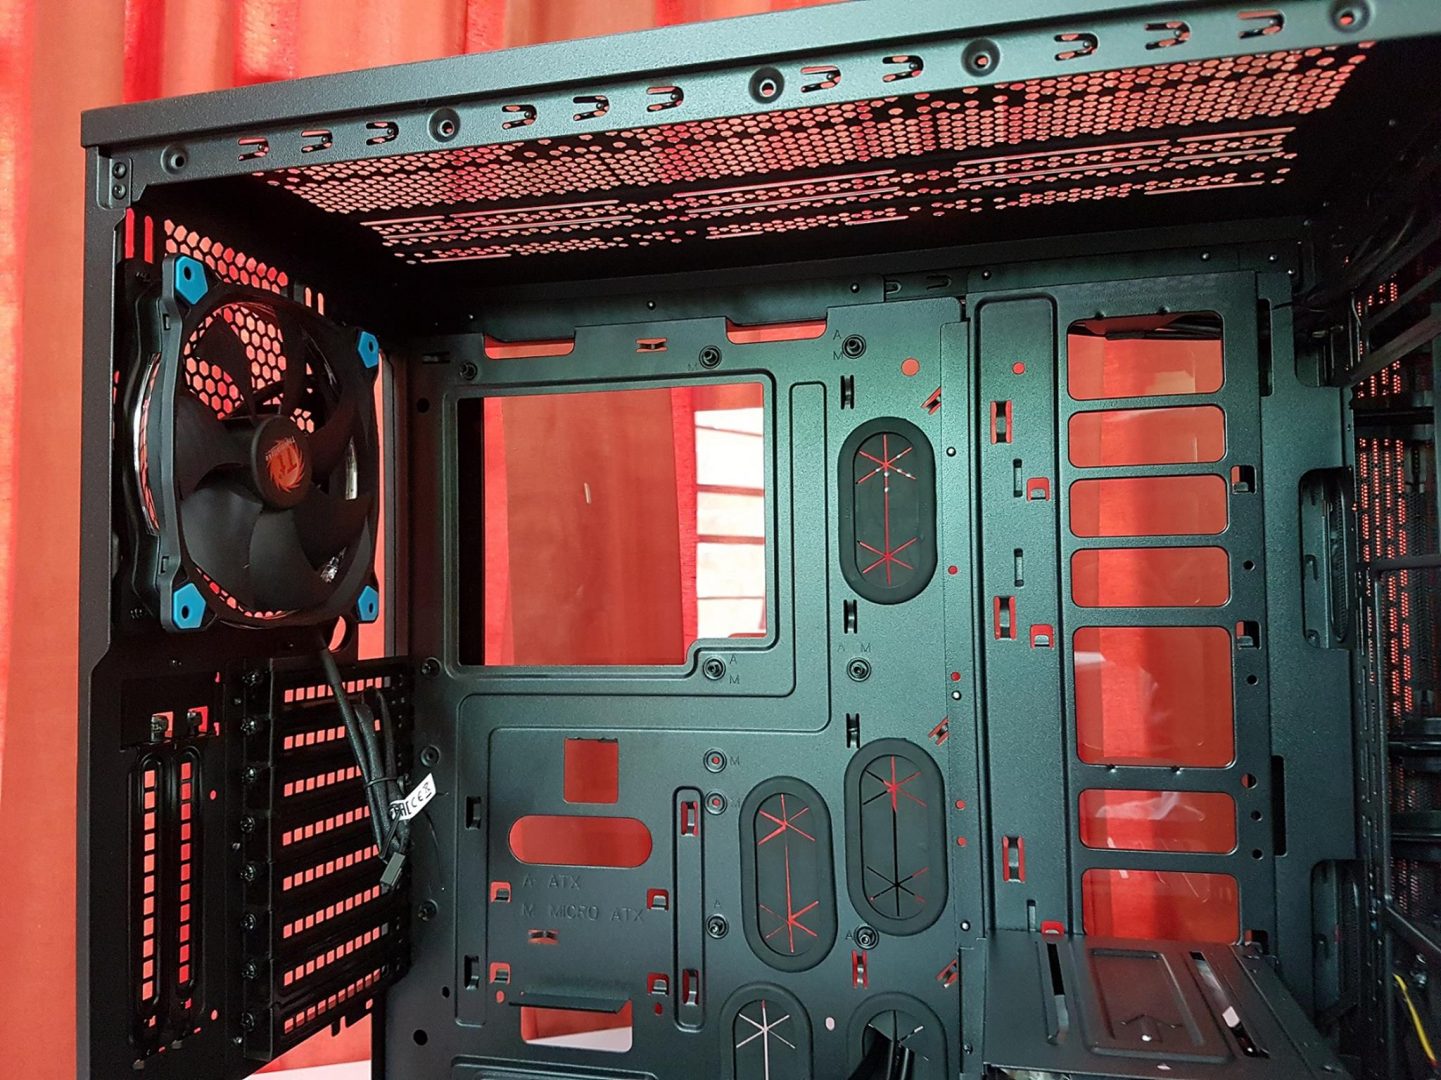
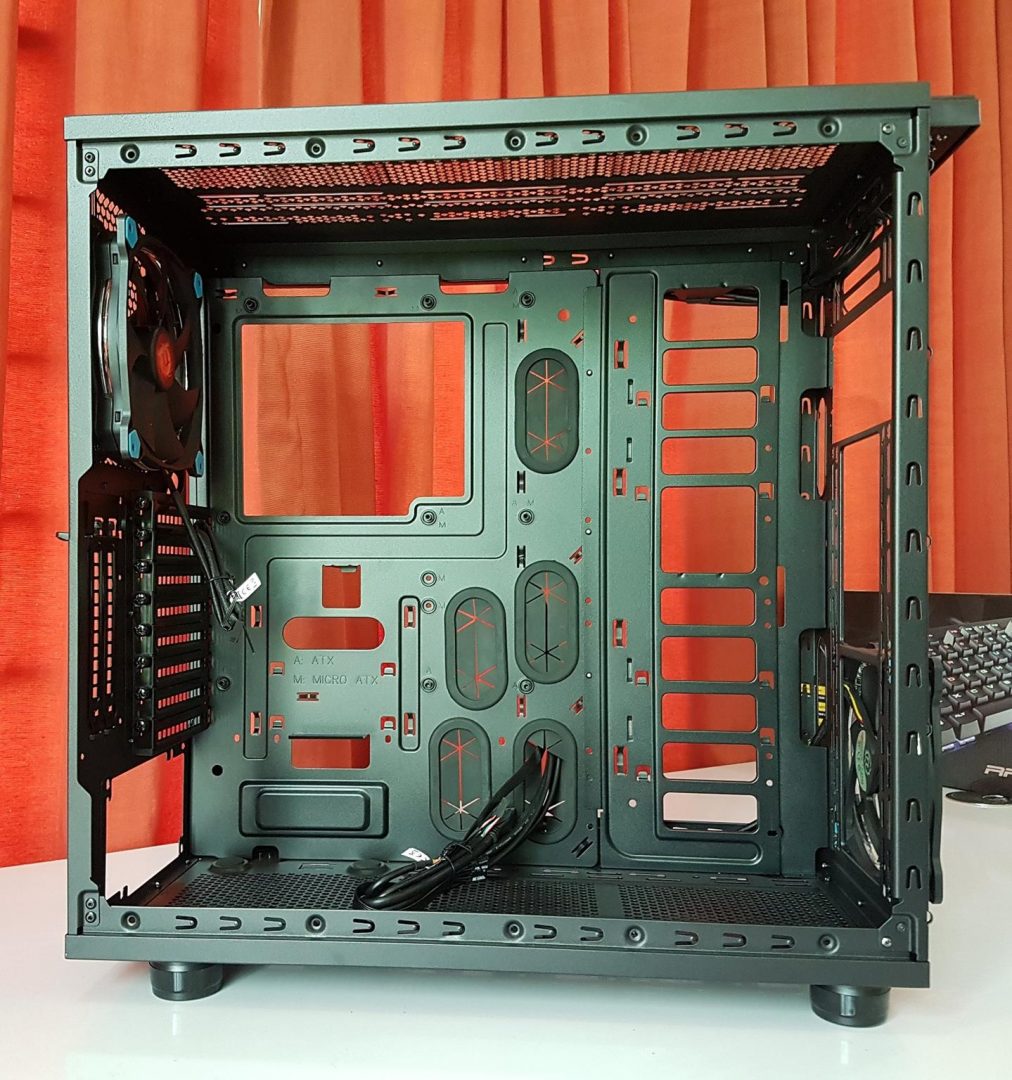
Let’s have a look at the chassis. We have a standard ATX layout inside the chassis. This chassis can host a mini-ITX, micro-ATX, Full ATX size motherboards. Standoffs are preinstalled and labeled with A for ATX and M for microATX. We have a large size CPU cooler cut out area on the top side of the motherboard tray.
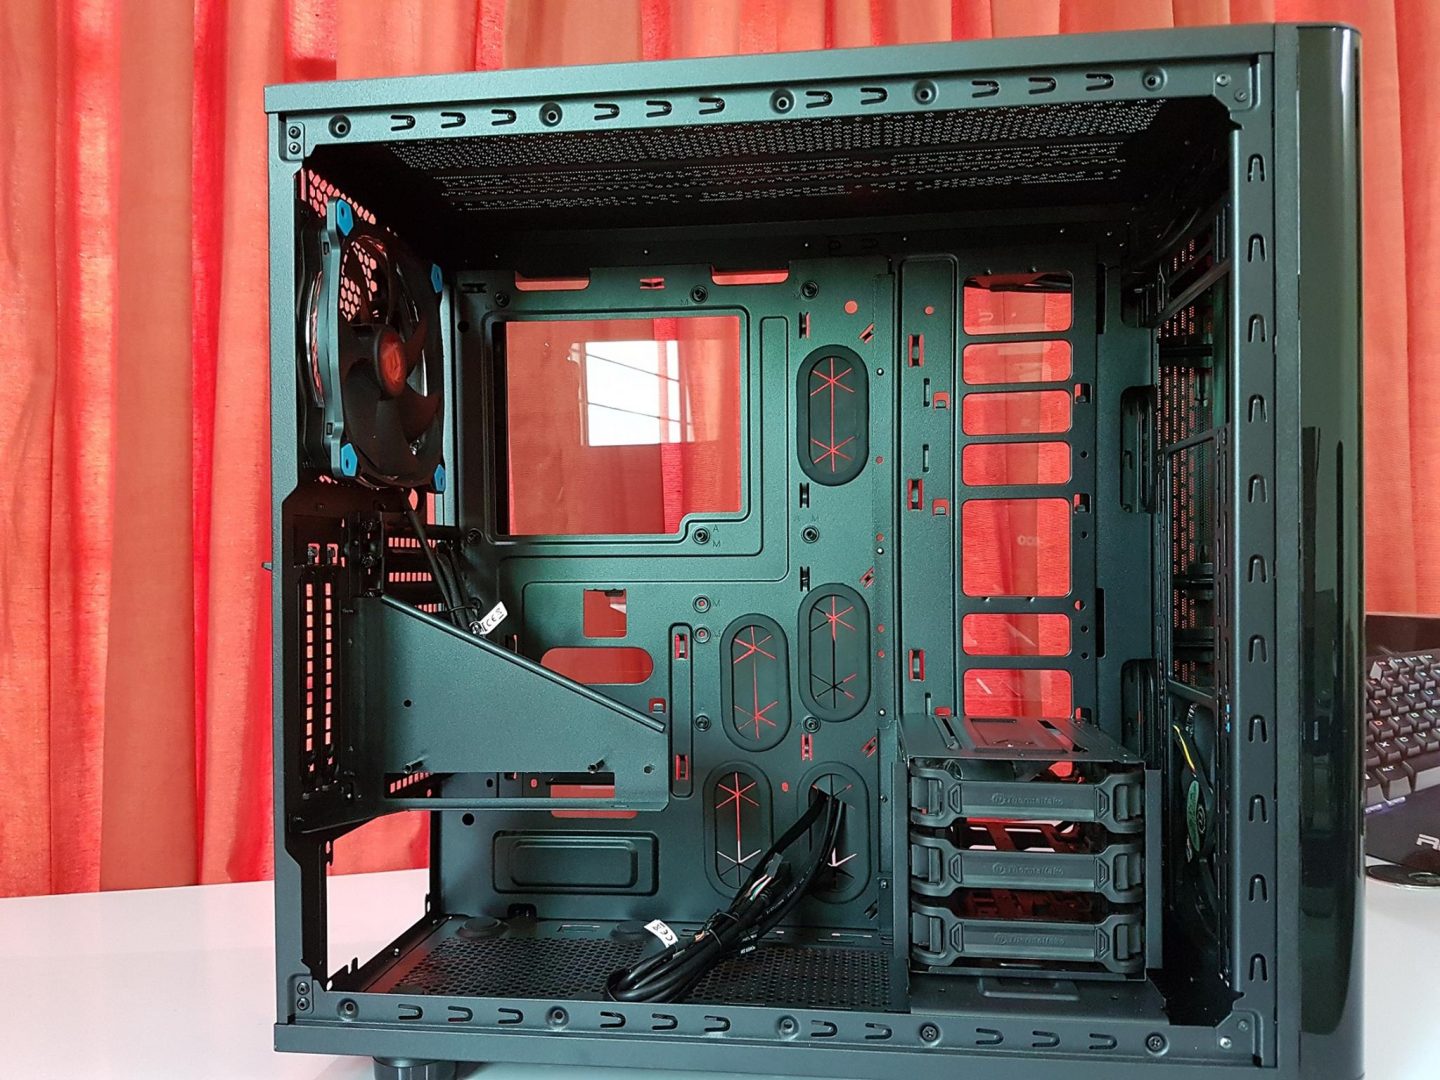
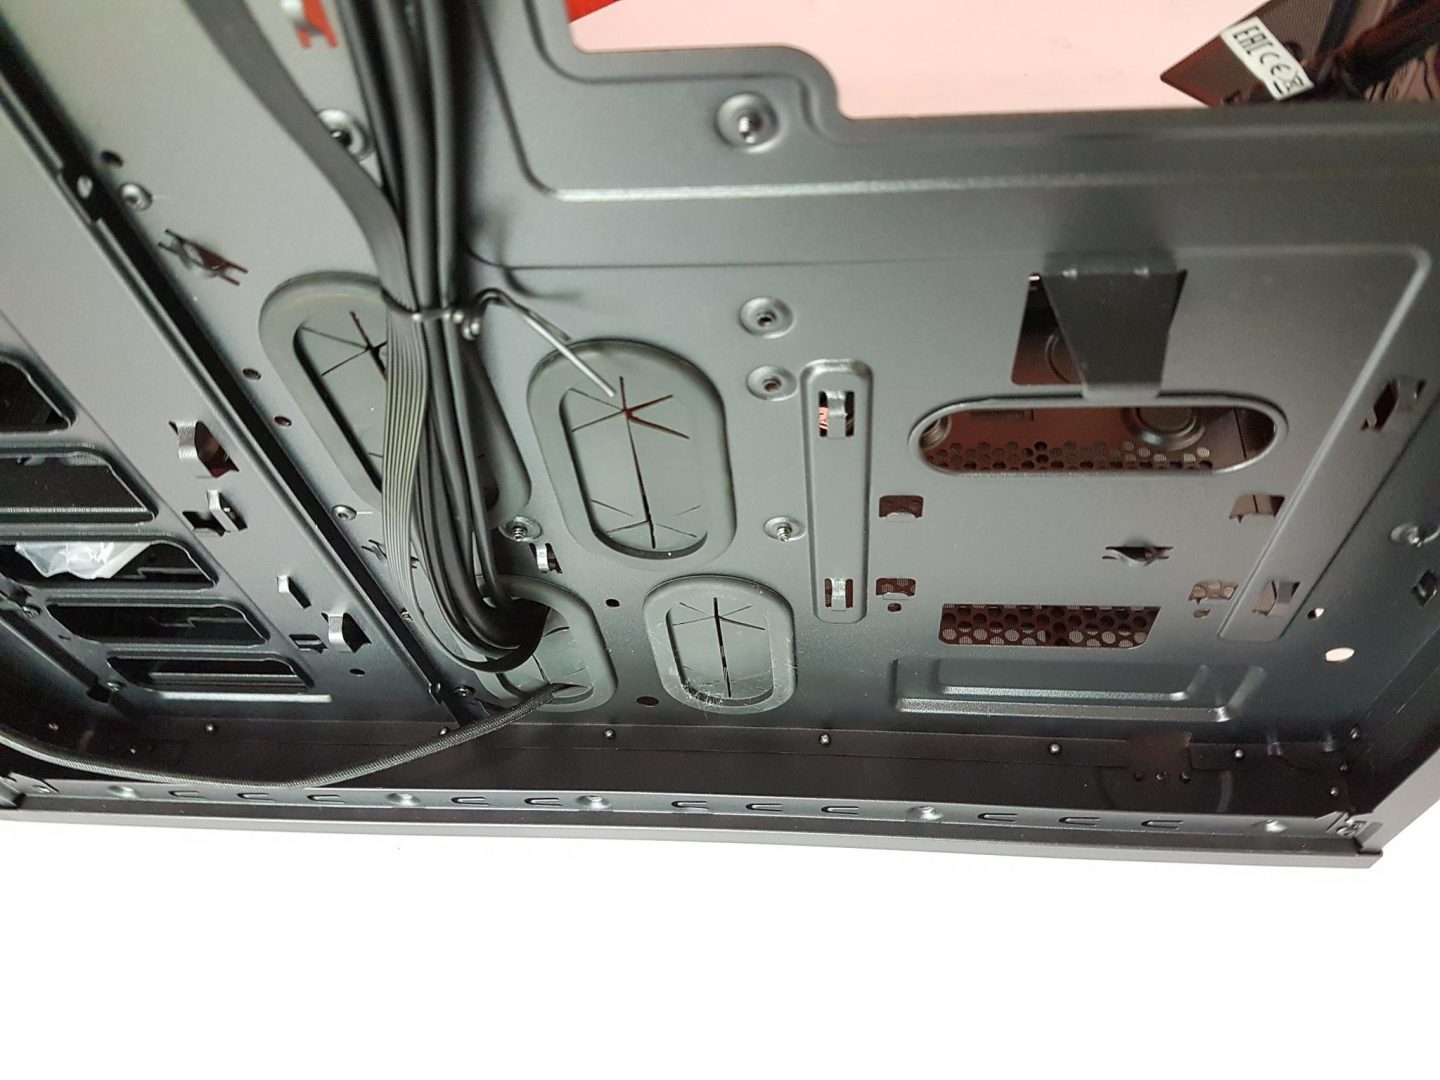
On the adjacent right side of the tray, we have total 5 cut outs for the cables which are covered with rubber grommets. It is nice to see that Thermaltake has provided rubber grommets in this chassis and it makes sense as the grommets were necessary. Being a tempered glass edition the whole idea is based on showing the completed build and as the back side panel also has the tempered glass the lack of rubber grommets would have given the bad looks.
There are two cut-outs on the top of the motherboard tray for passing the cables like EPS and any other fan/pump cable. One can see the preinstalled 140mm Blue LED Riing fan on the rear. Either a 120mm or a 140mm fan can be mounted on the rear. Similarly, either a 120mm radiator or a 140mm radiator can be mounted. There is an approximately 48mm of displacement from the top side of the chassis to the top of the motherboard. The graphics card vertical mounting bracket is preinstalled in the chassis which can be taken off by removing the three screws on the rear side of the chassis as shown in the picture.
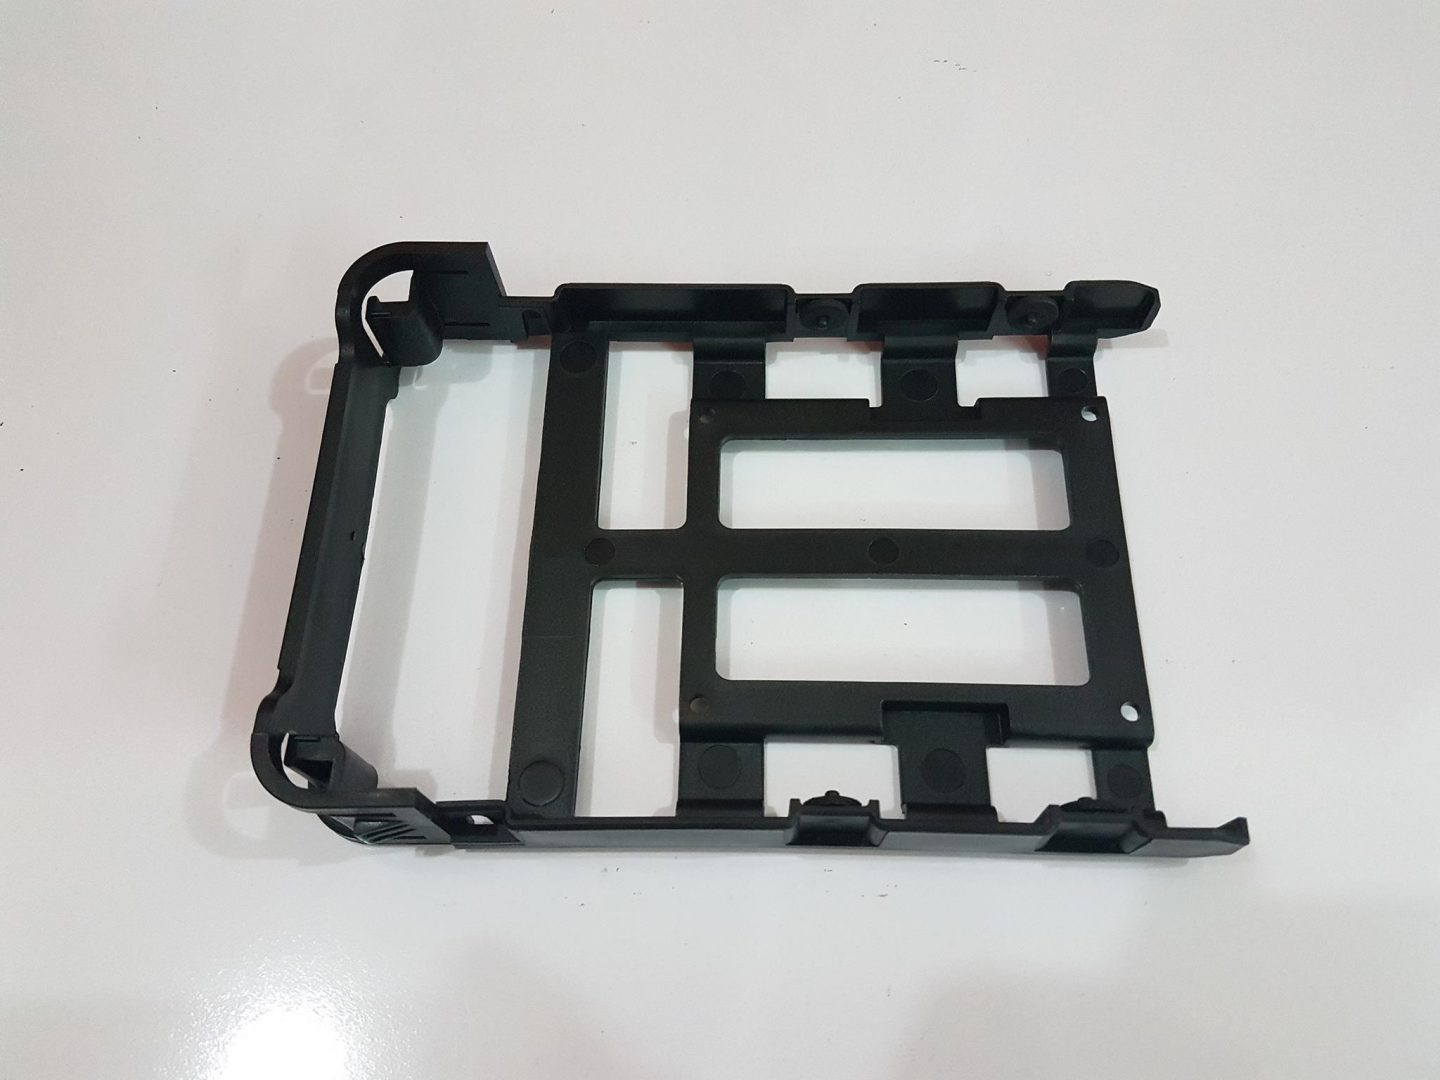
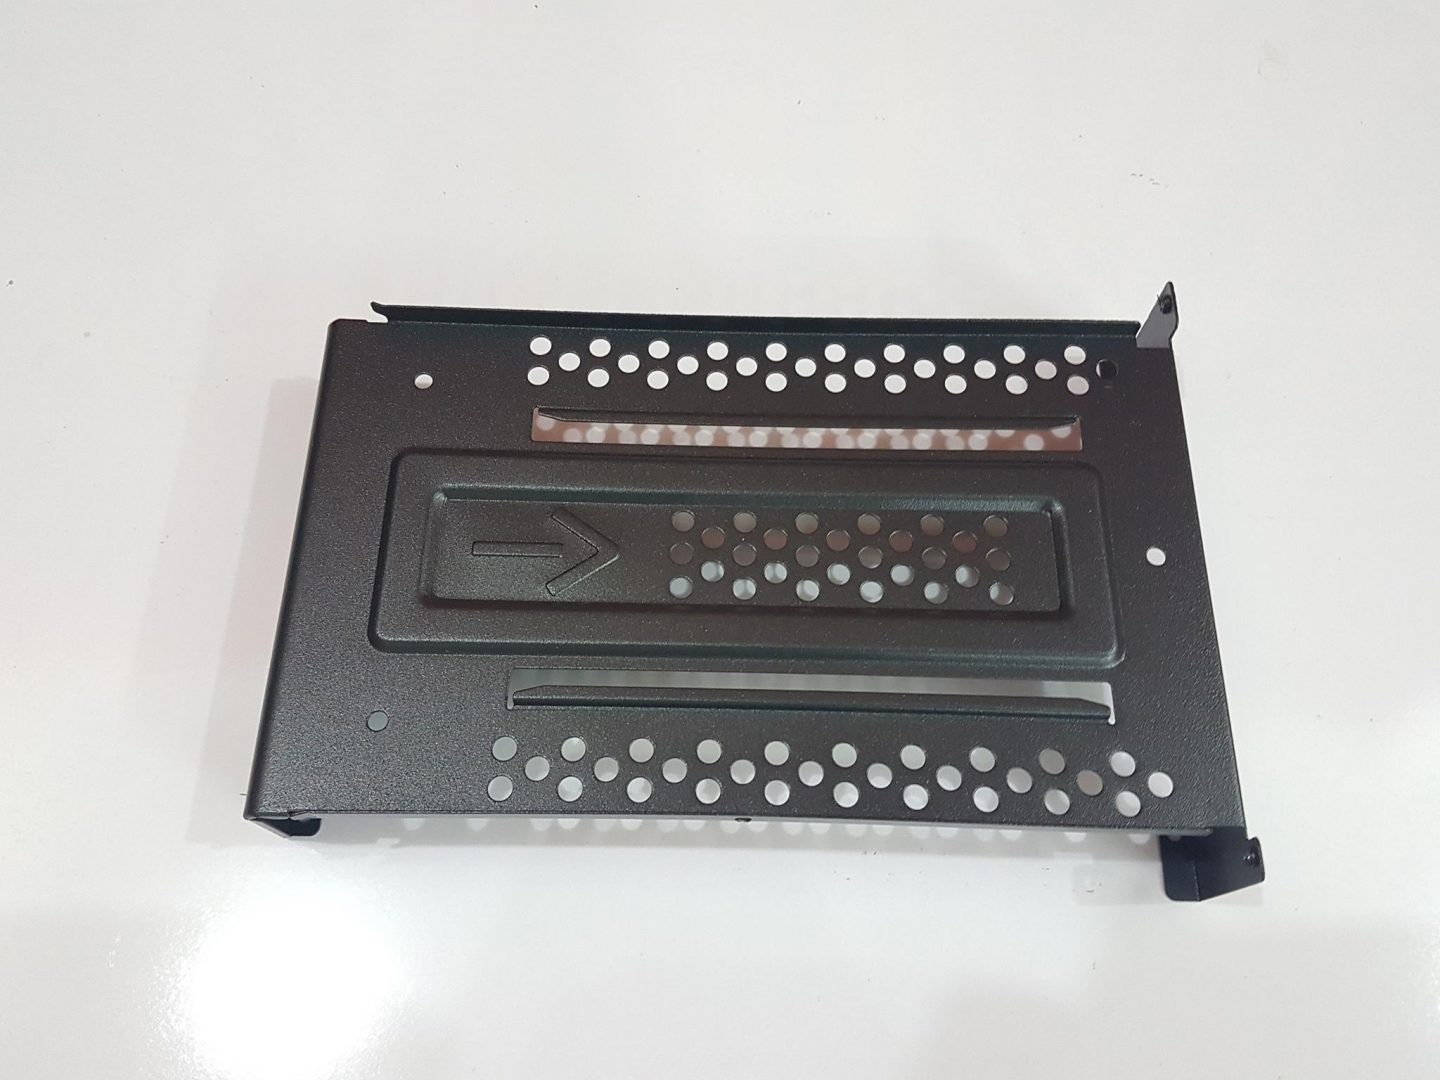
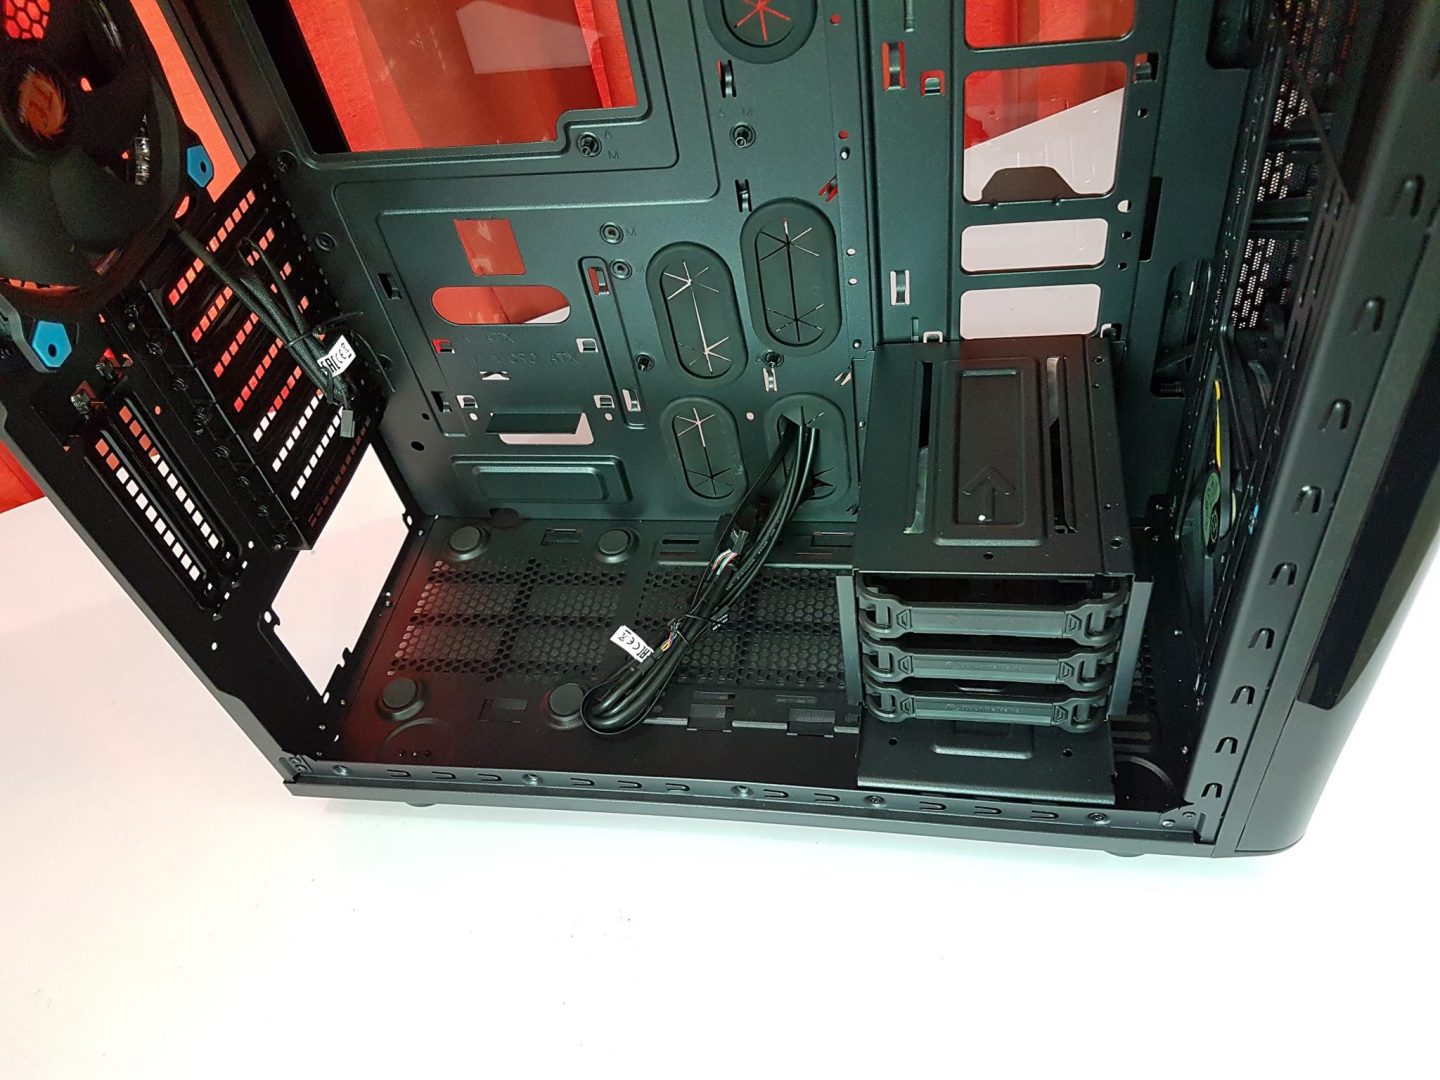
On the right bottom side, we have an HDD cage with three tool-less caddies. HDD Cage can be taken out by removing the 4 screws on the backside of the chassis as shown in the picture. Each caddy can hold either a 3.5″ drive or a 2.5″ drive. A total of 6 drives can be installed in the chassis as there are three hidden bays on the backside of the chassis as well.
The HDD Cage is installed on a bracket which can be taken out by removing two screws as shown in the picture.
There is no PSU shroud in this chassis which otherwise would have been a welcome addition by the majority of the users. Once the HDD Cage is removed, there are mounting positions for the fans. The user can install either 2x 120mm or 2x 140mm fans on the bottom. However, support for the radiator on the bottom is limited and one can only install either a 120mm radiator or a 140mm radiator. But it is still nice to see how in depth the Thermaltake has designed this chassis.
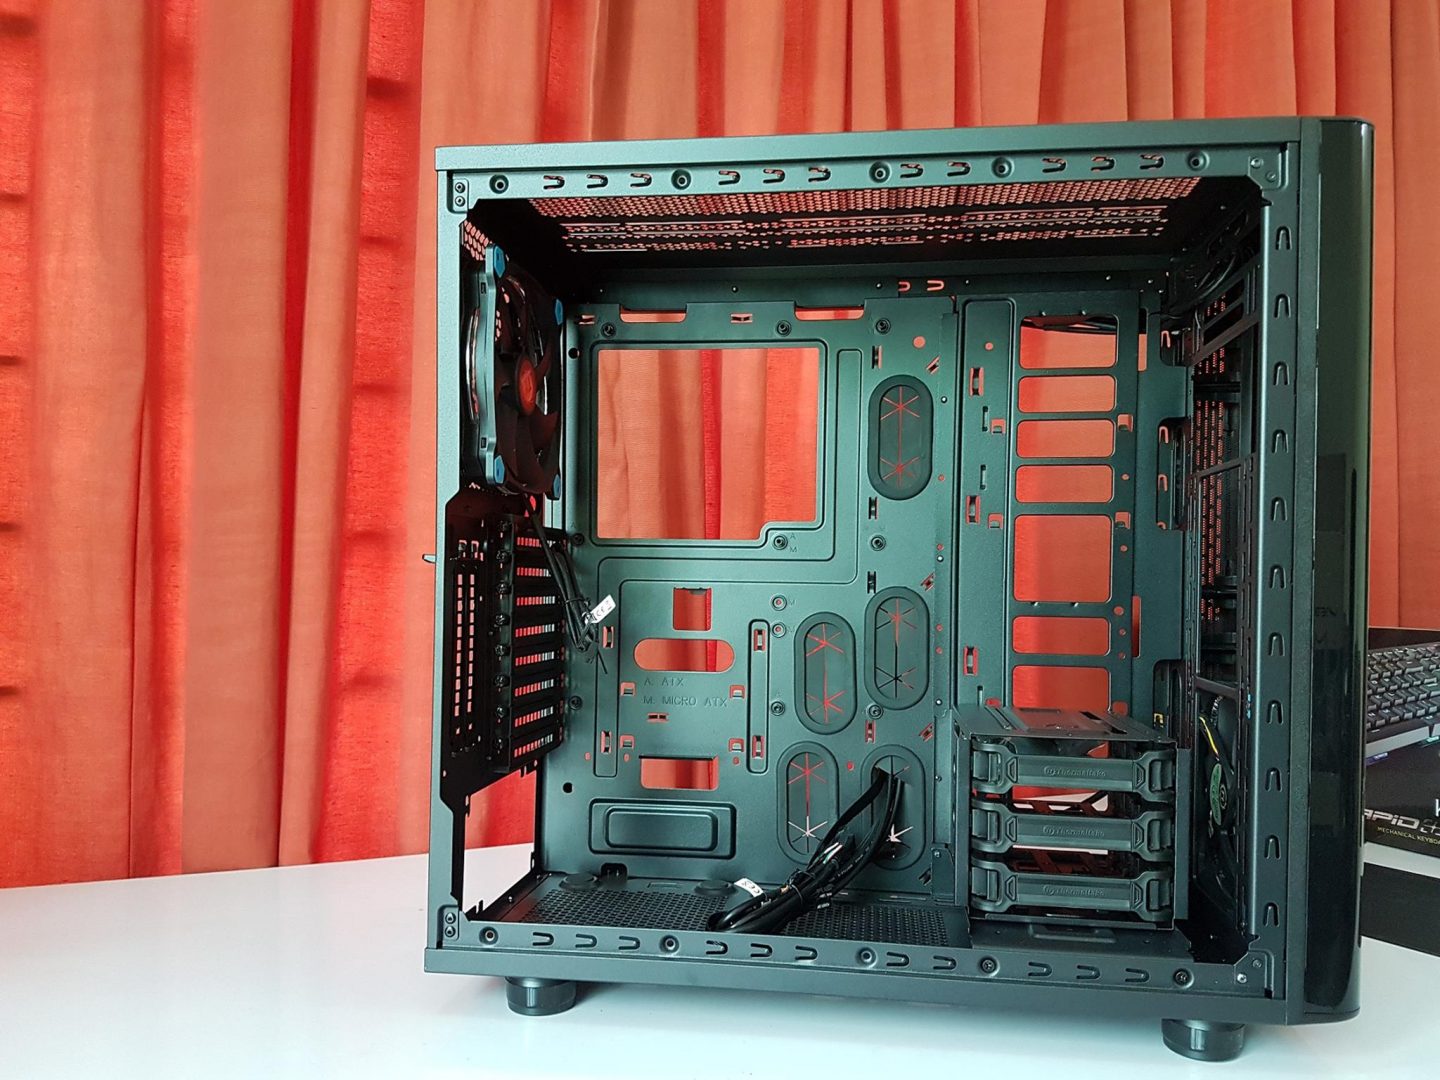
With fans installed the PSU of 180mm length can be installed. Without fans, a 220mm length PSU can be installed. There is a clearance of about 40mm from the left side of the chassis to the left side of the installed PSU.
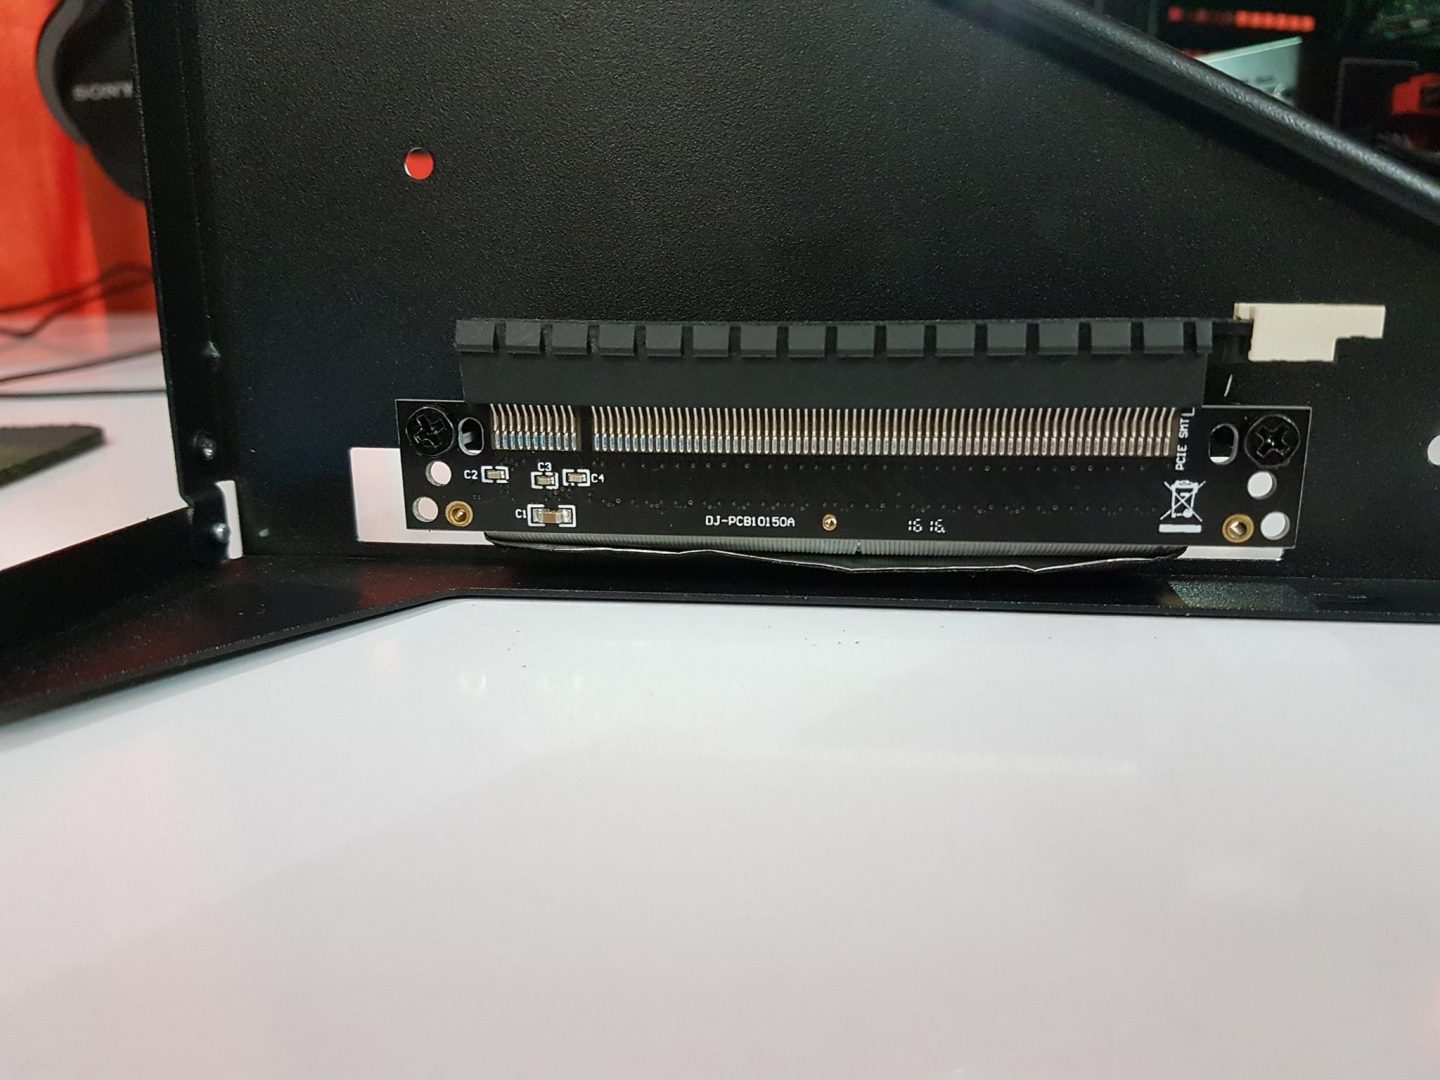
The user has the option to install the graphics card in a typical horizontal orientation or a vertical orientation. The vertically installed graphics card will show the fan shroud part which gives stunning looks to the overall build. The Thermaltake has provided GPU support bracket though the user would still need to buy the riser cable if going this route. The maximum length of the graphics card with HDD cage is 275mm and 420mm without the HDD cage. Graphics Card of up to 50mm thickness can be mounted in vertical position which is roughly 2.5 slot design with 7mm of ventilation space. It is good to see that 2.5 slot design cards can be mounted in vertical position.
So far, it is clear that the Thermaltake has left no stone unturned.
There is a vented area behind the HDD Cage. There are no covers on the openly ended cutouts which is quite surprising. This is the exact area which has two hidden drive bays in vertical position on the other side. The only possible explanation for uncovered cutouts is that the heat coming out of the hard drives would be thrown away by the front mounted fans. But if user opts not to remove the HDD Cage then this probable explanation would not hold valid.
The main point of contention for this area is that as the both side panels are tempered glass this area would remain to see through which does not give good looks though user can mod the chassis to have a beautifully designed cover, covering up the entire area.
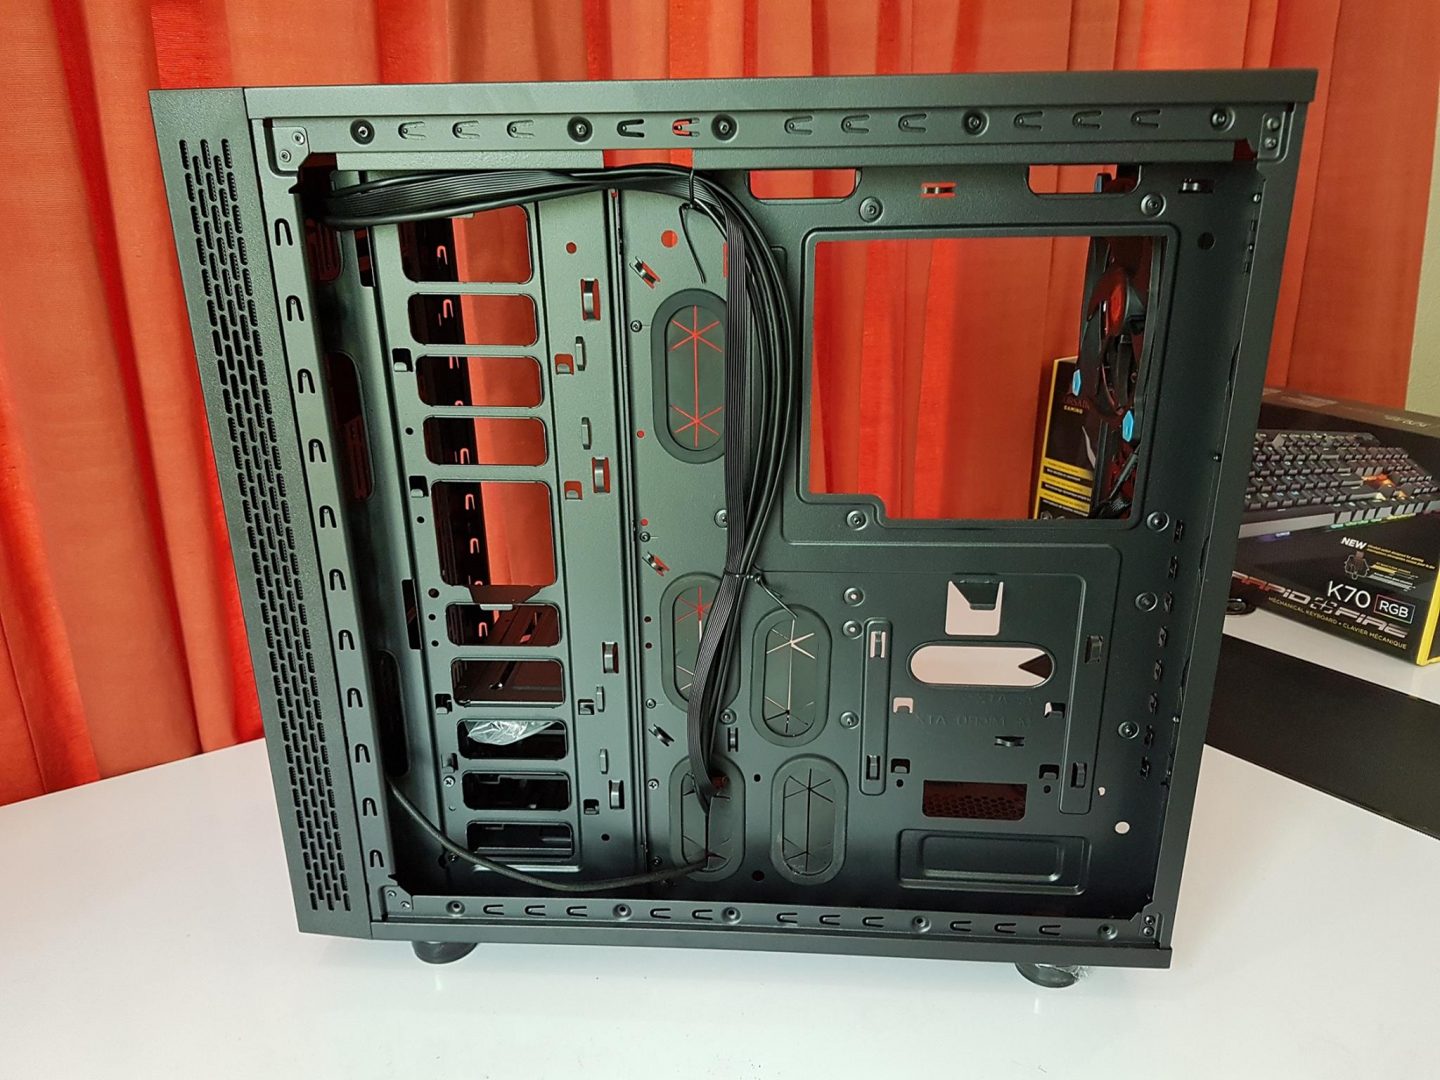
Removing all the modular components would reveal the teardown chassis. It is spacious, to say the least, and having the LCS certification, user can build custom loop based PC with ease. I have absolutely no complaints when it comes to the assembling inside the chassis.
Let’s have a look at the backside of the chassis. We have approximately 40mm of space behind the motherboard tray which is very good for any sort of cable management. There are more than 16 cable tie points for ease of cable management. There are 3 hidden drive bays on the backside. One is directly beneath the CPU cut out area on the backside of the motherboard tray. While the other two are in a vertical mount on the left side of the motherboard tray. To use these areas, simply take out the caddy from the HDD Cage. Mount the storage drive on it. Place and slide the caddy in the designated area(s). It is that simple. The beauty of this design is that even after populating the hidden drive bays, there is still an ample space for the cable management.
The vented air intake is visible on the front panel as discussed above. This area has dust filter from inside the panel for protection from the dust.
Overall build quality of the chassis is very good. The Thermaltake seems to be turning the table around with focus on improving the build quality and other critical design elements.
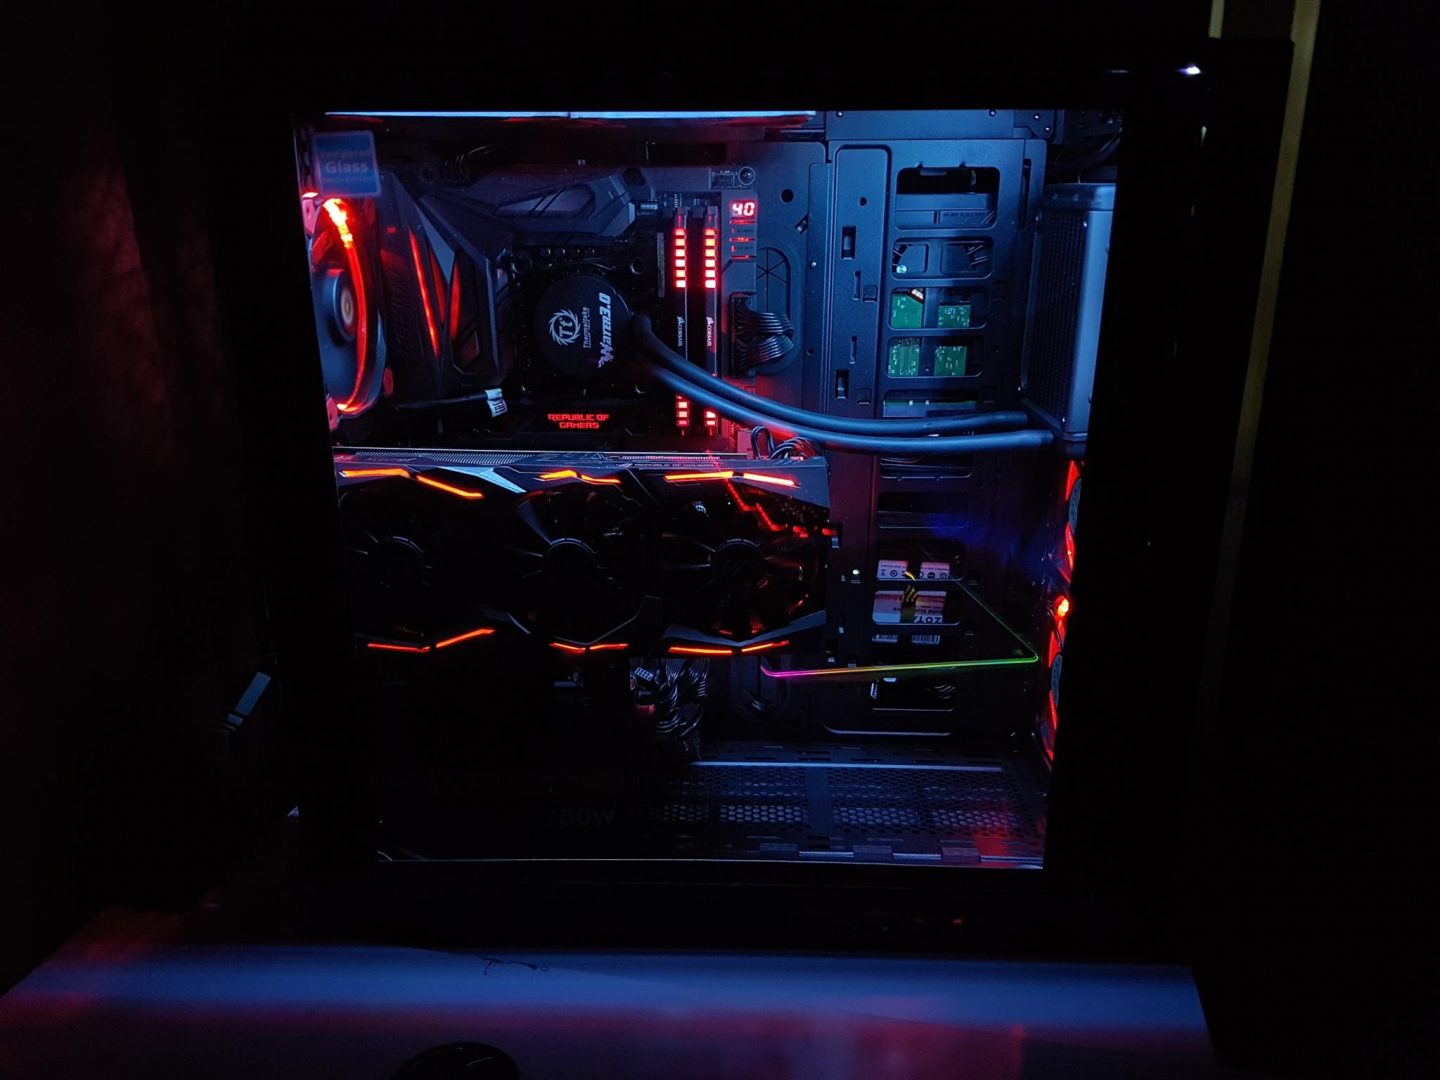
Final Build
Test Build
To test the overall look and feel, build time limitations, design limitations and most of all thermal performance following test build were used:
- Intel i7 7700k
- Asus Maximus IX Code
- Corsair Vengeance 2x8G RED LED DDR4
- Asus Rx 480 O8G
- Thermaltake Water 3.0 Performer C
- Thermaltake Riing 12 RED LED Fans
- Thermaltake TP DPS-G RGB 750W PSU
- Zotac T400 120GB SSD
- Western Digital 6TB Black
- Thermaltake PCIe X16 Riser Cable
I am thankful to the sponsors of this build:
- Asus Pakistan for the motherboard
- PakDukaan for the Zotac SSD
- Thermaltake for the complete package
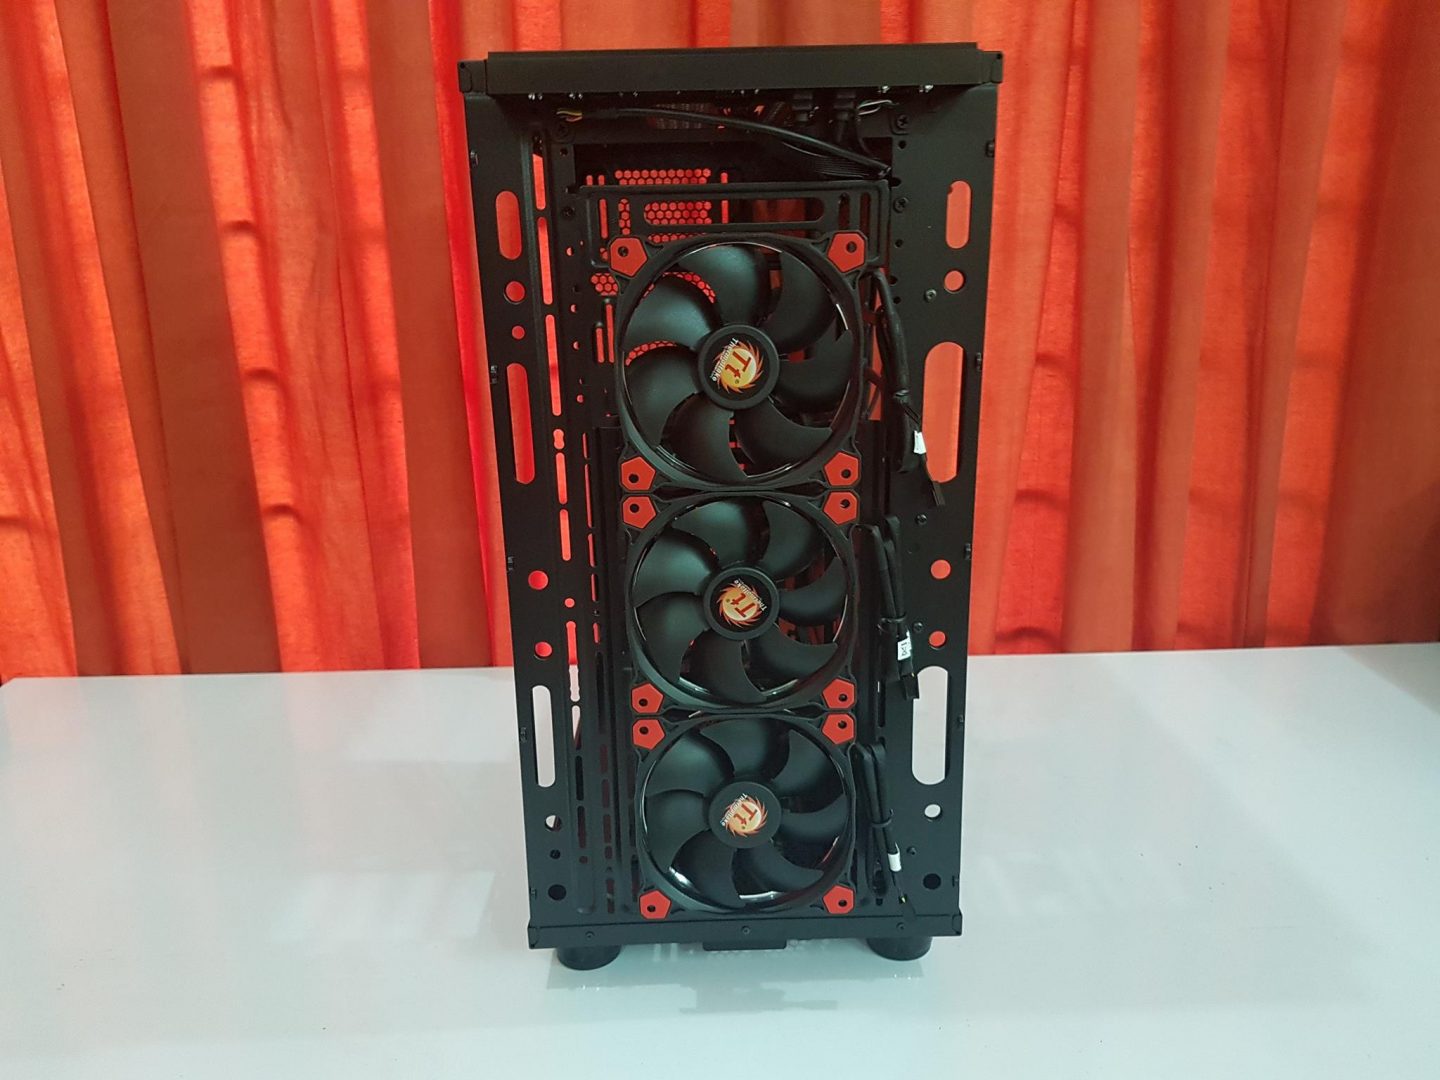
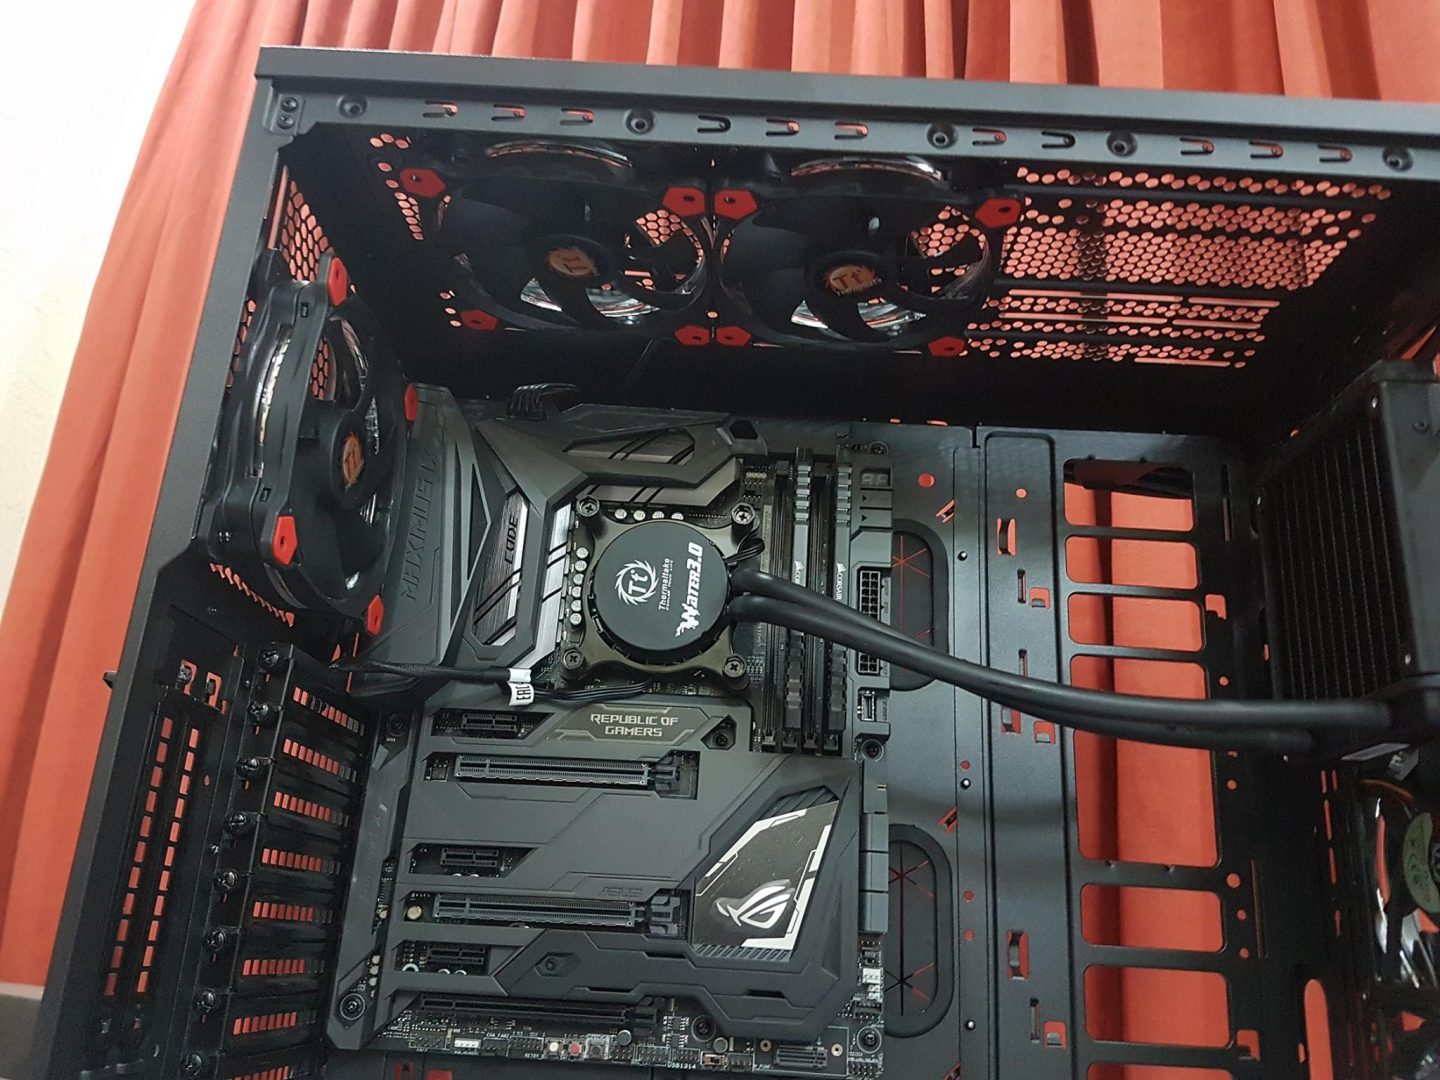
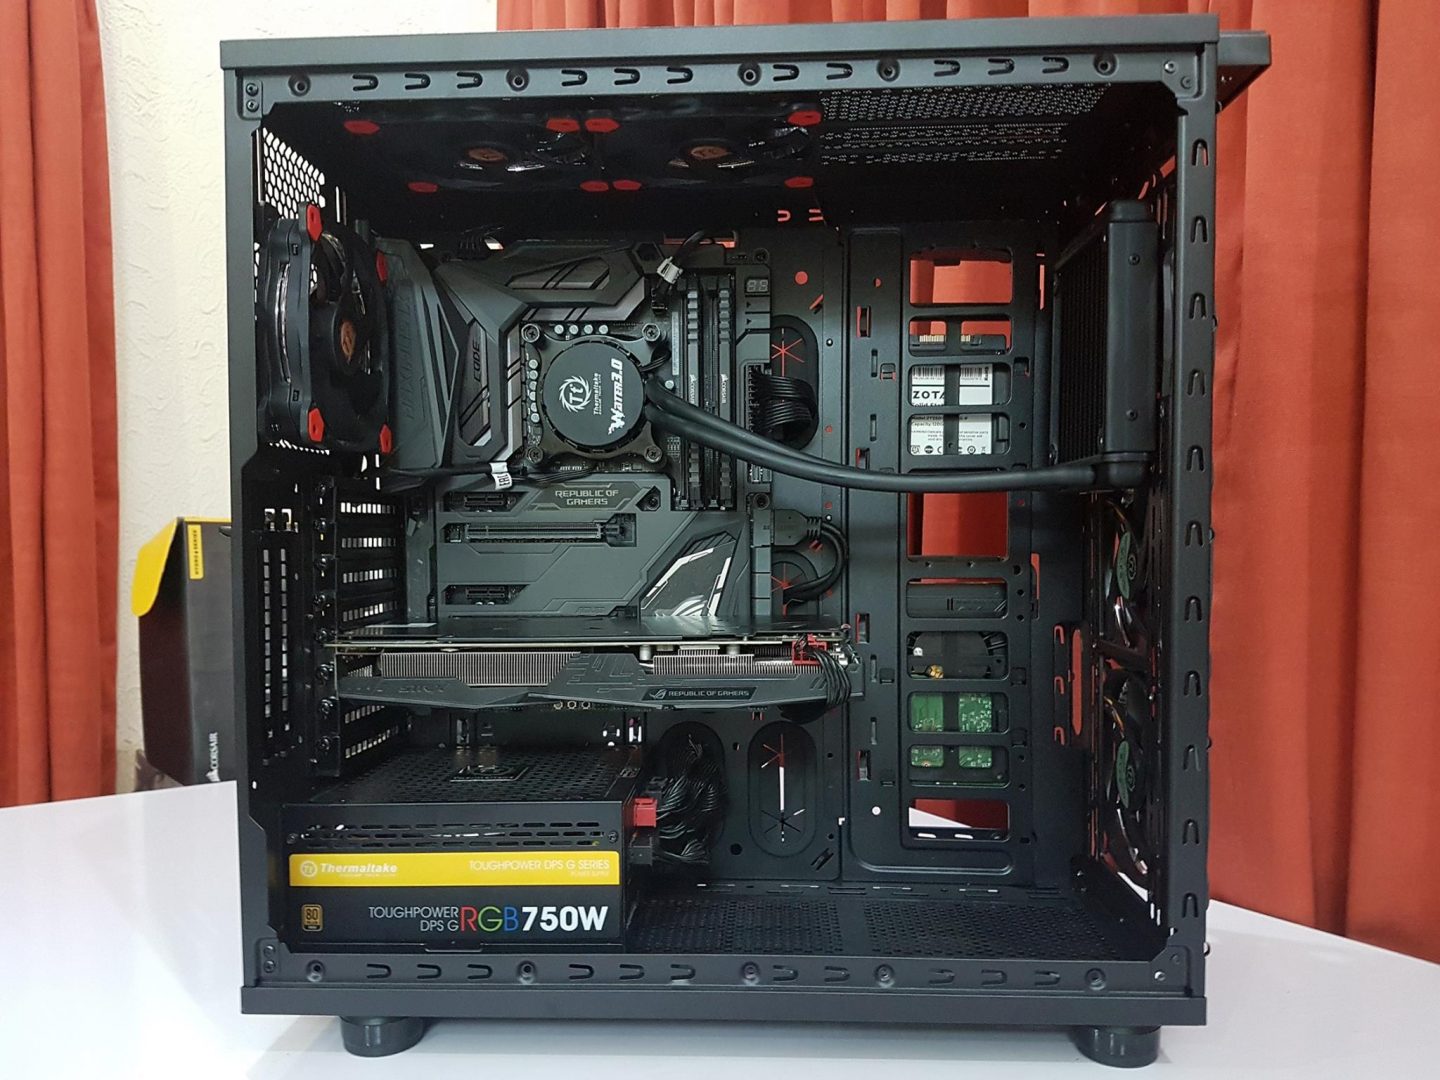
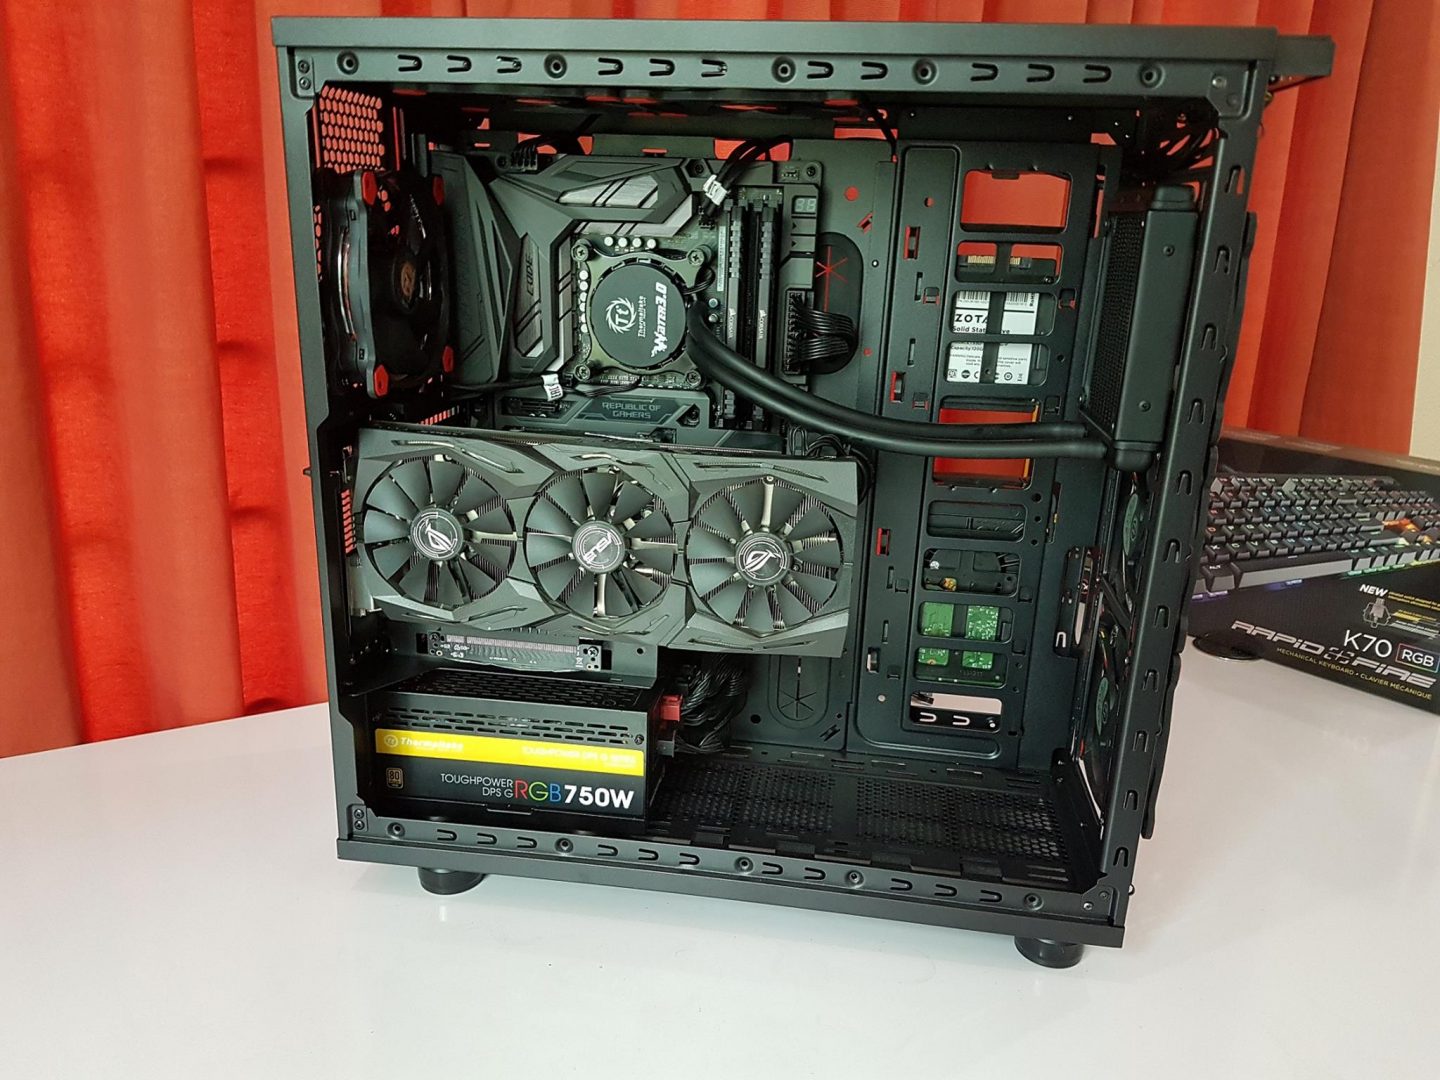
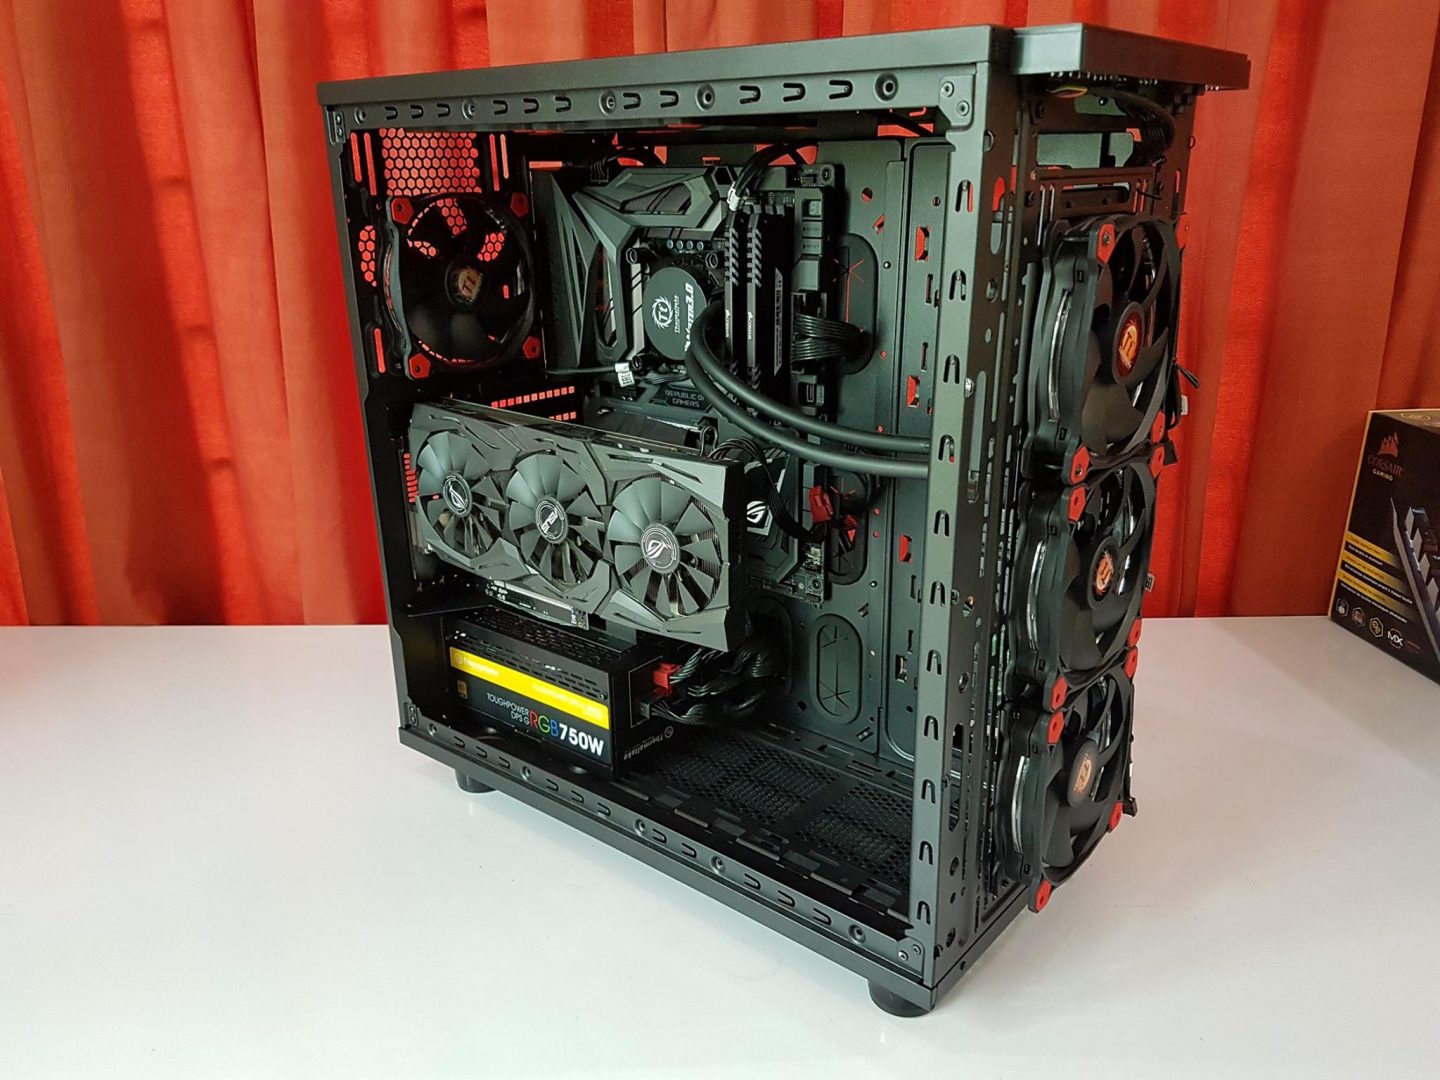
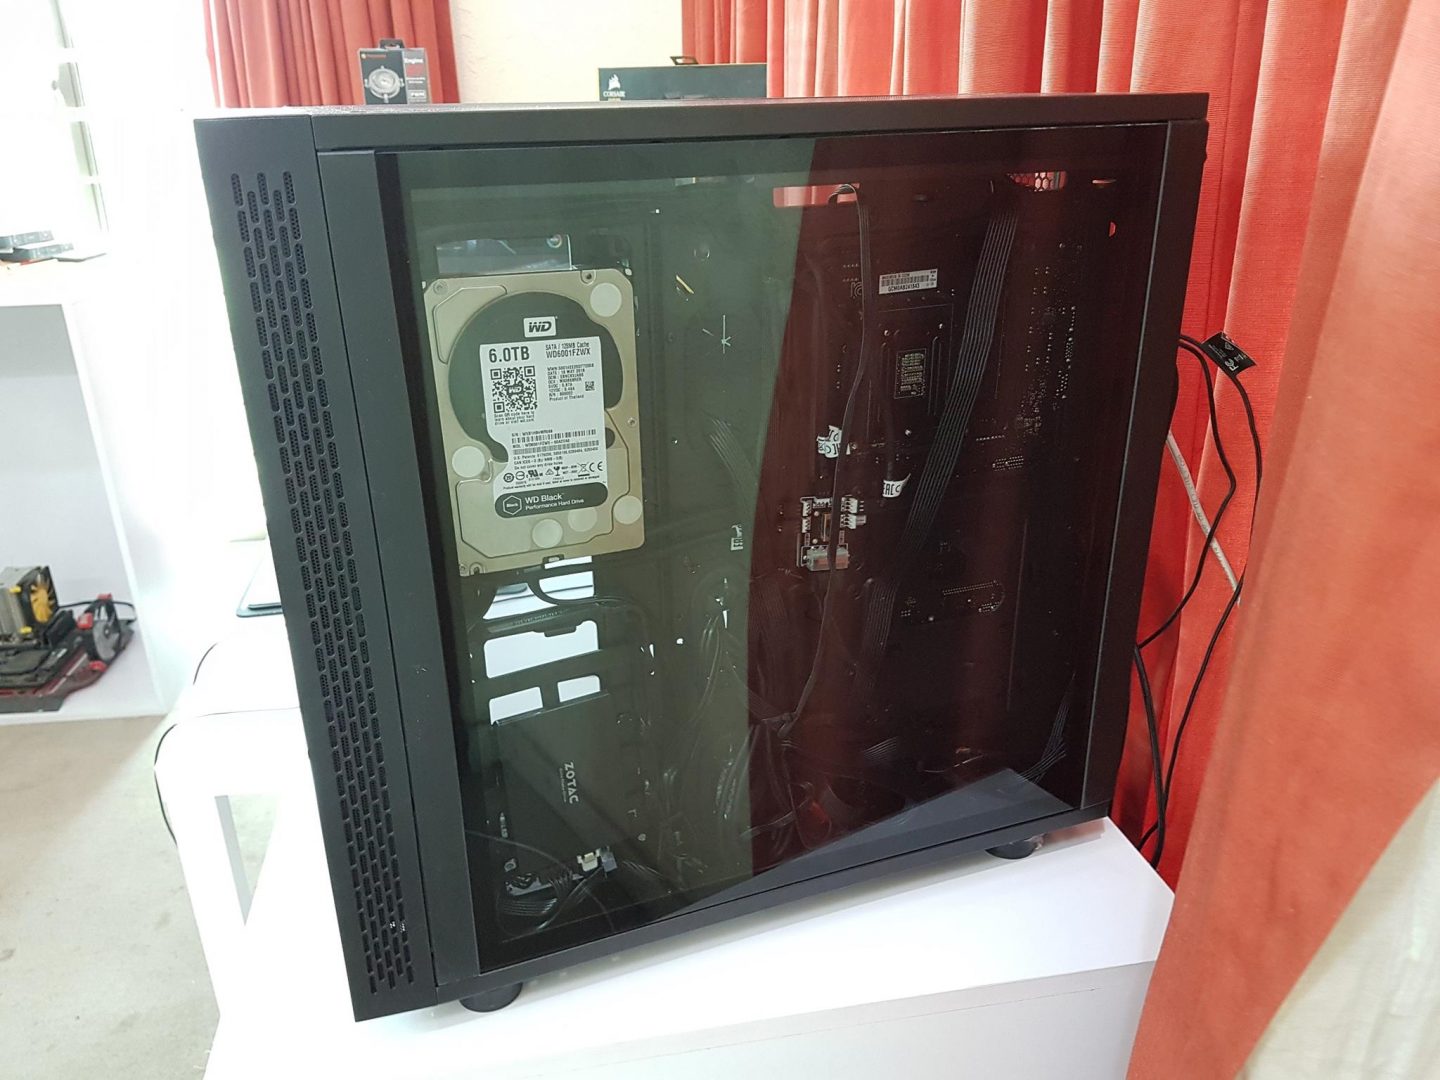
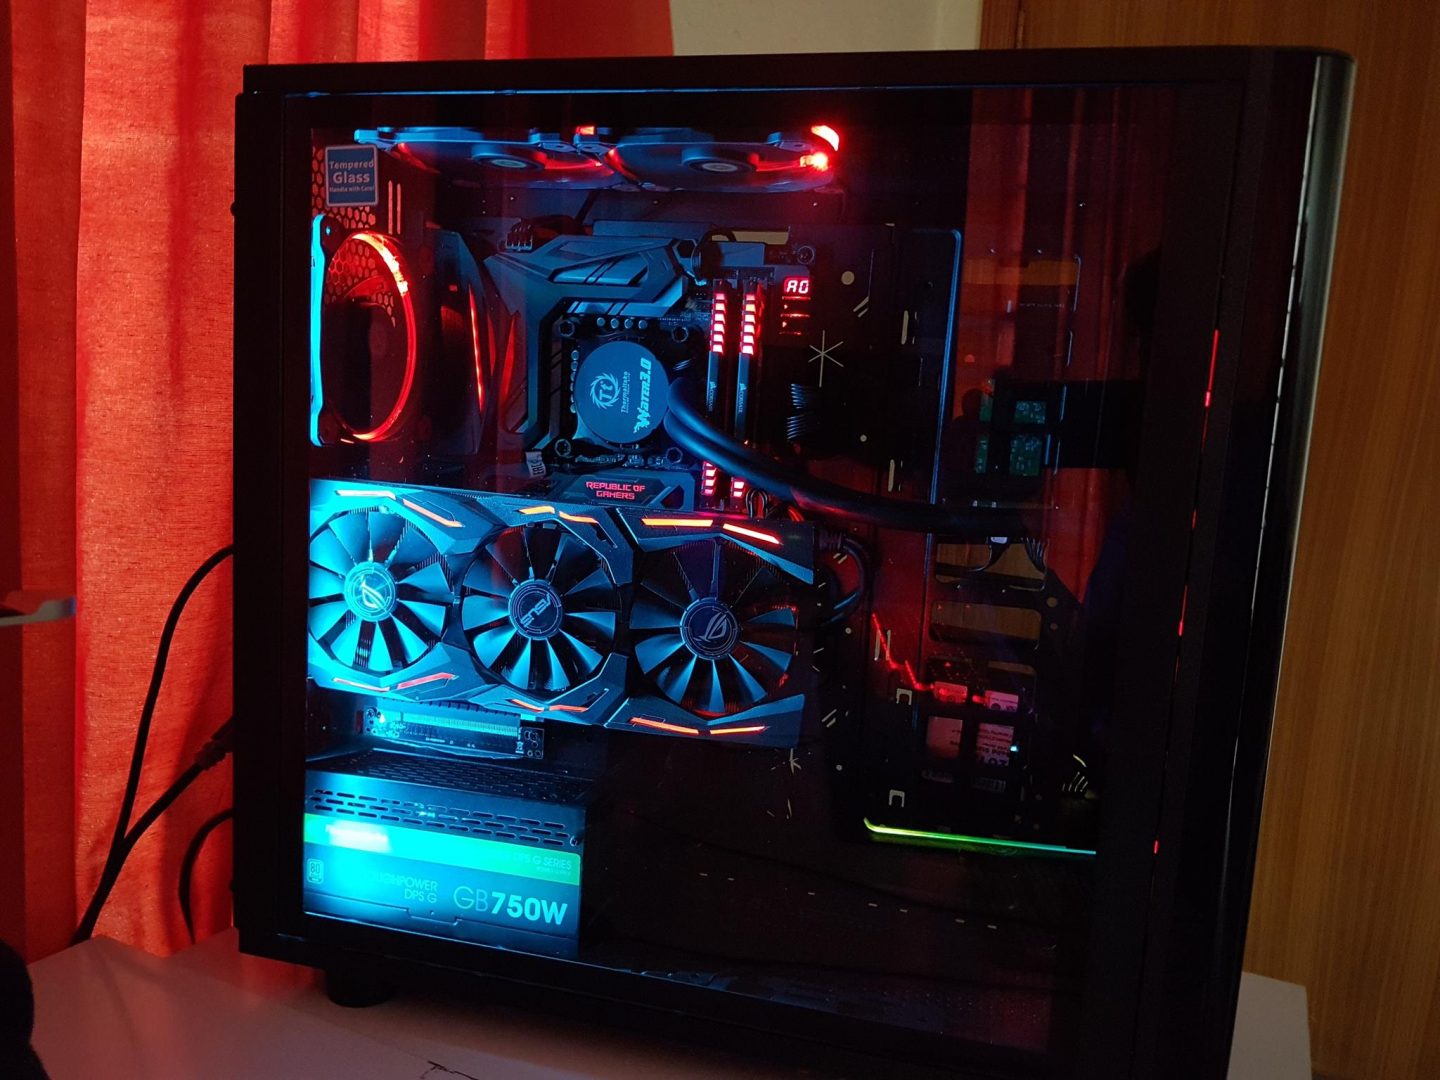
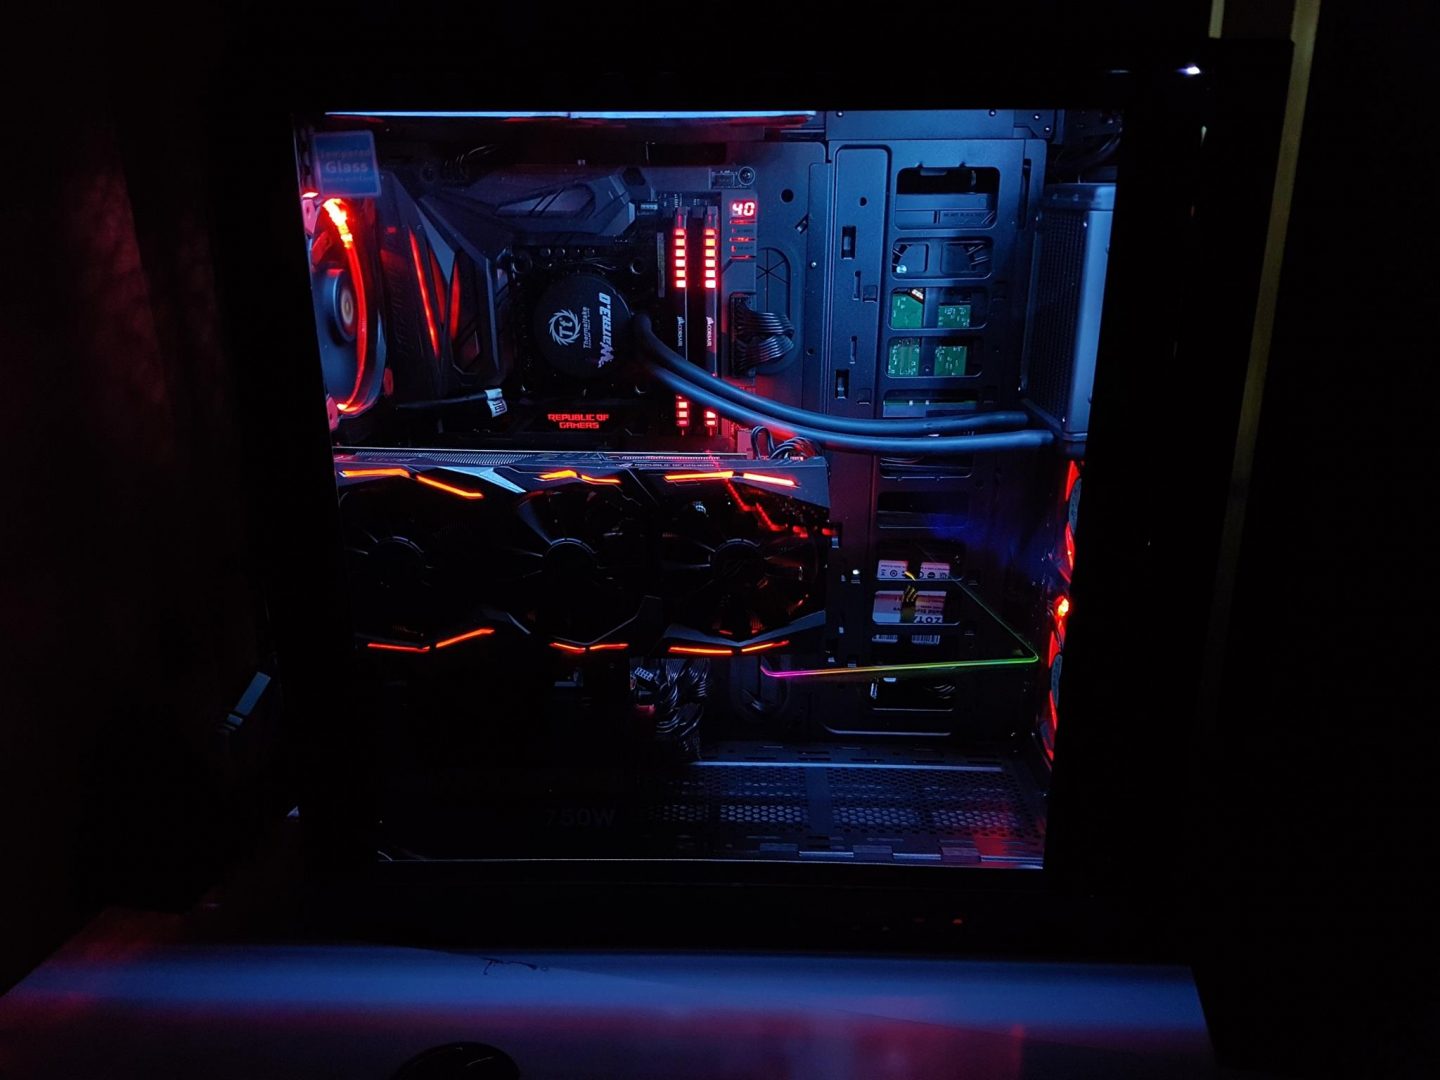
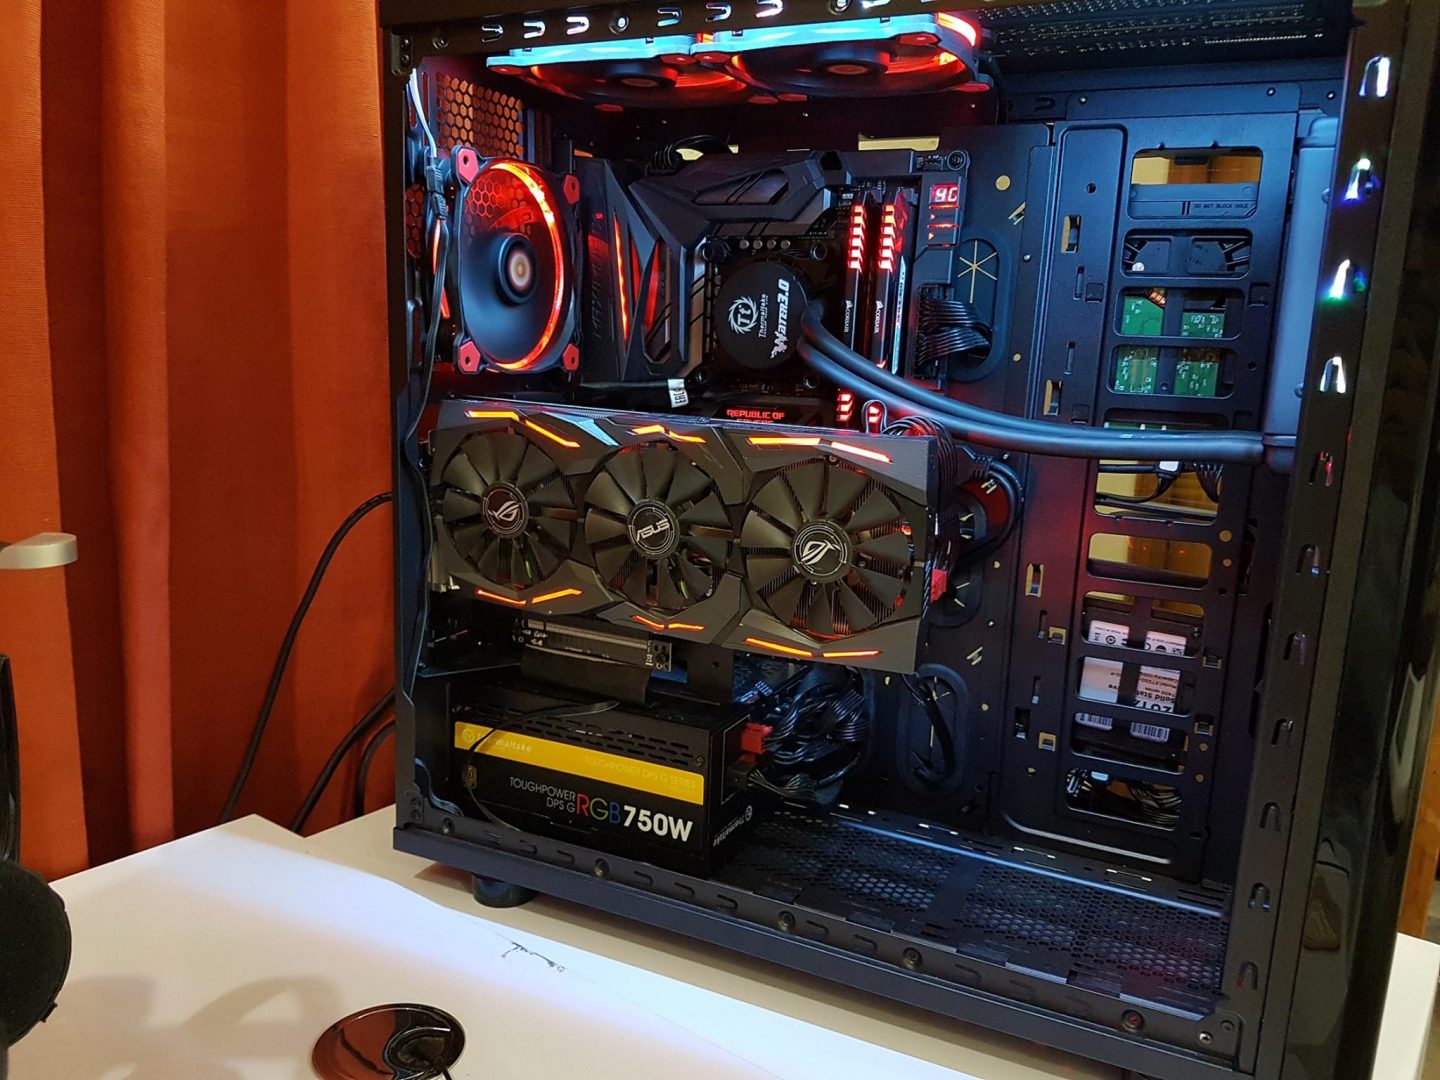
During the assembling process, I did not encounter any issue except that of the riser cable installation on the supporting bracket. The user would need to remove the GPU Supporting bracket before installing the motherboard. I took the approach of putting in the main components first with PSU in the last. 3 Riing 12 Red LED fans were installed on the front side as intake. The CPU cooler being a 120mm AIO was installed on the front side with the top fan in push configuration. Two Riing 12 Red LED fans were installed on the top in a pull configuration. 1 Riing 12 Red LED fan was installed on the rear. I did not spend time with the cable management and tuck the cables in to see if I encounter any issue while handling the right side panel. There was no issue at all.
While installing the riser cable on the supporting bracket it was observed that if the cable is passed through the designated cutout area, it puts pressure on the side where the cable comes out of the bus. The black color sleeve on my cable was torn from both ends. I passed the cable from underneath of the bracket to ease the pressure.
Here are some pics of the PC during and after assembling.
Thermal and Acoustics Performance
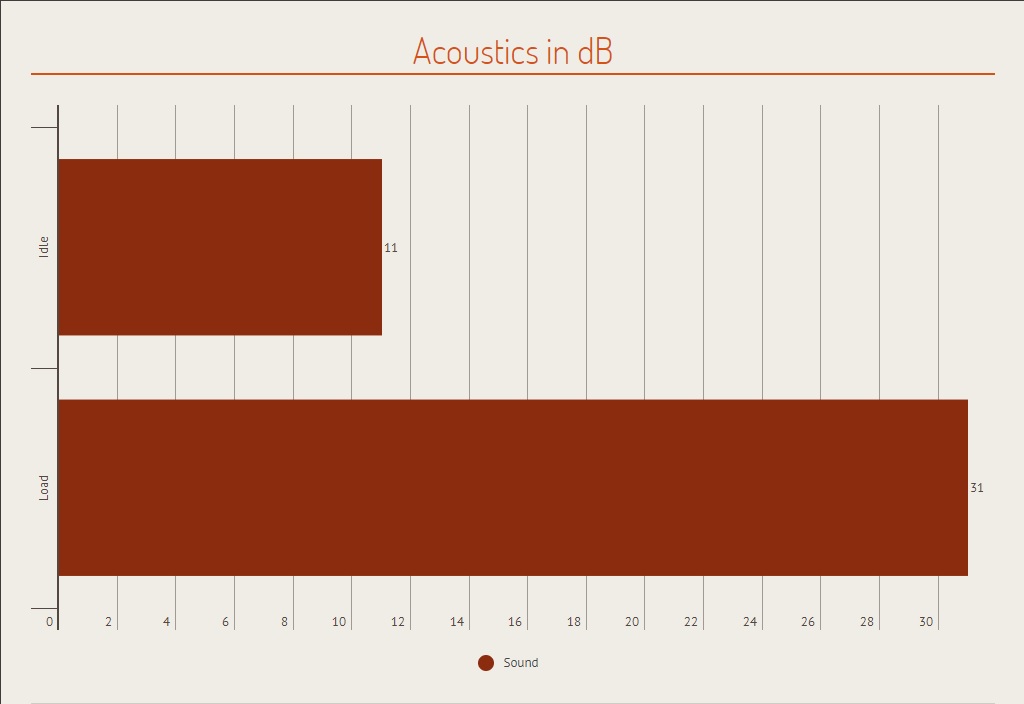
The Fonseo Digital Sound Level Meter was used to record the sound of the PC. The Perfect-Prime WD9819 was used to record the temperature. Room temp was 36C. Furmark and AIDA64 were used at the same time to check the thermal performance of the chassis. Te graphics card and the CPU were not overclocked.
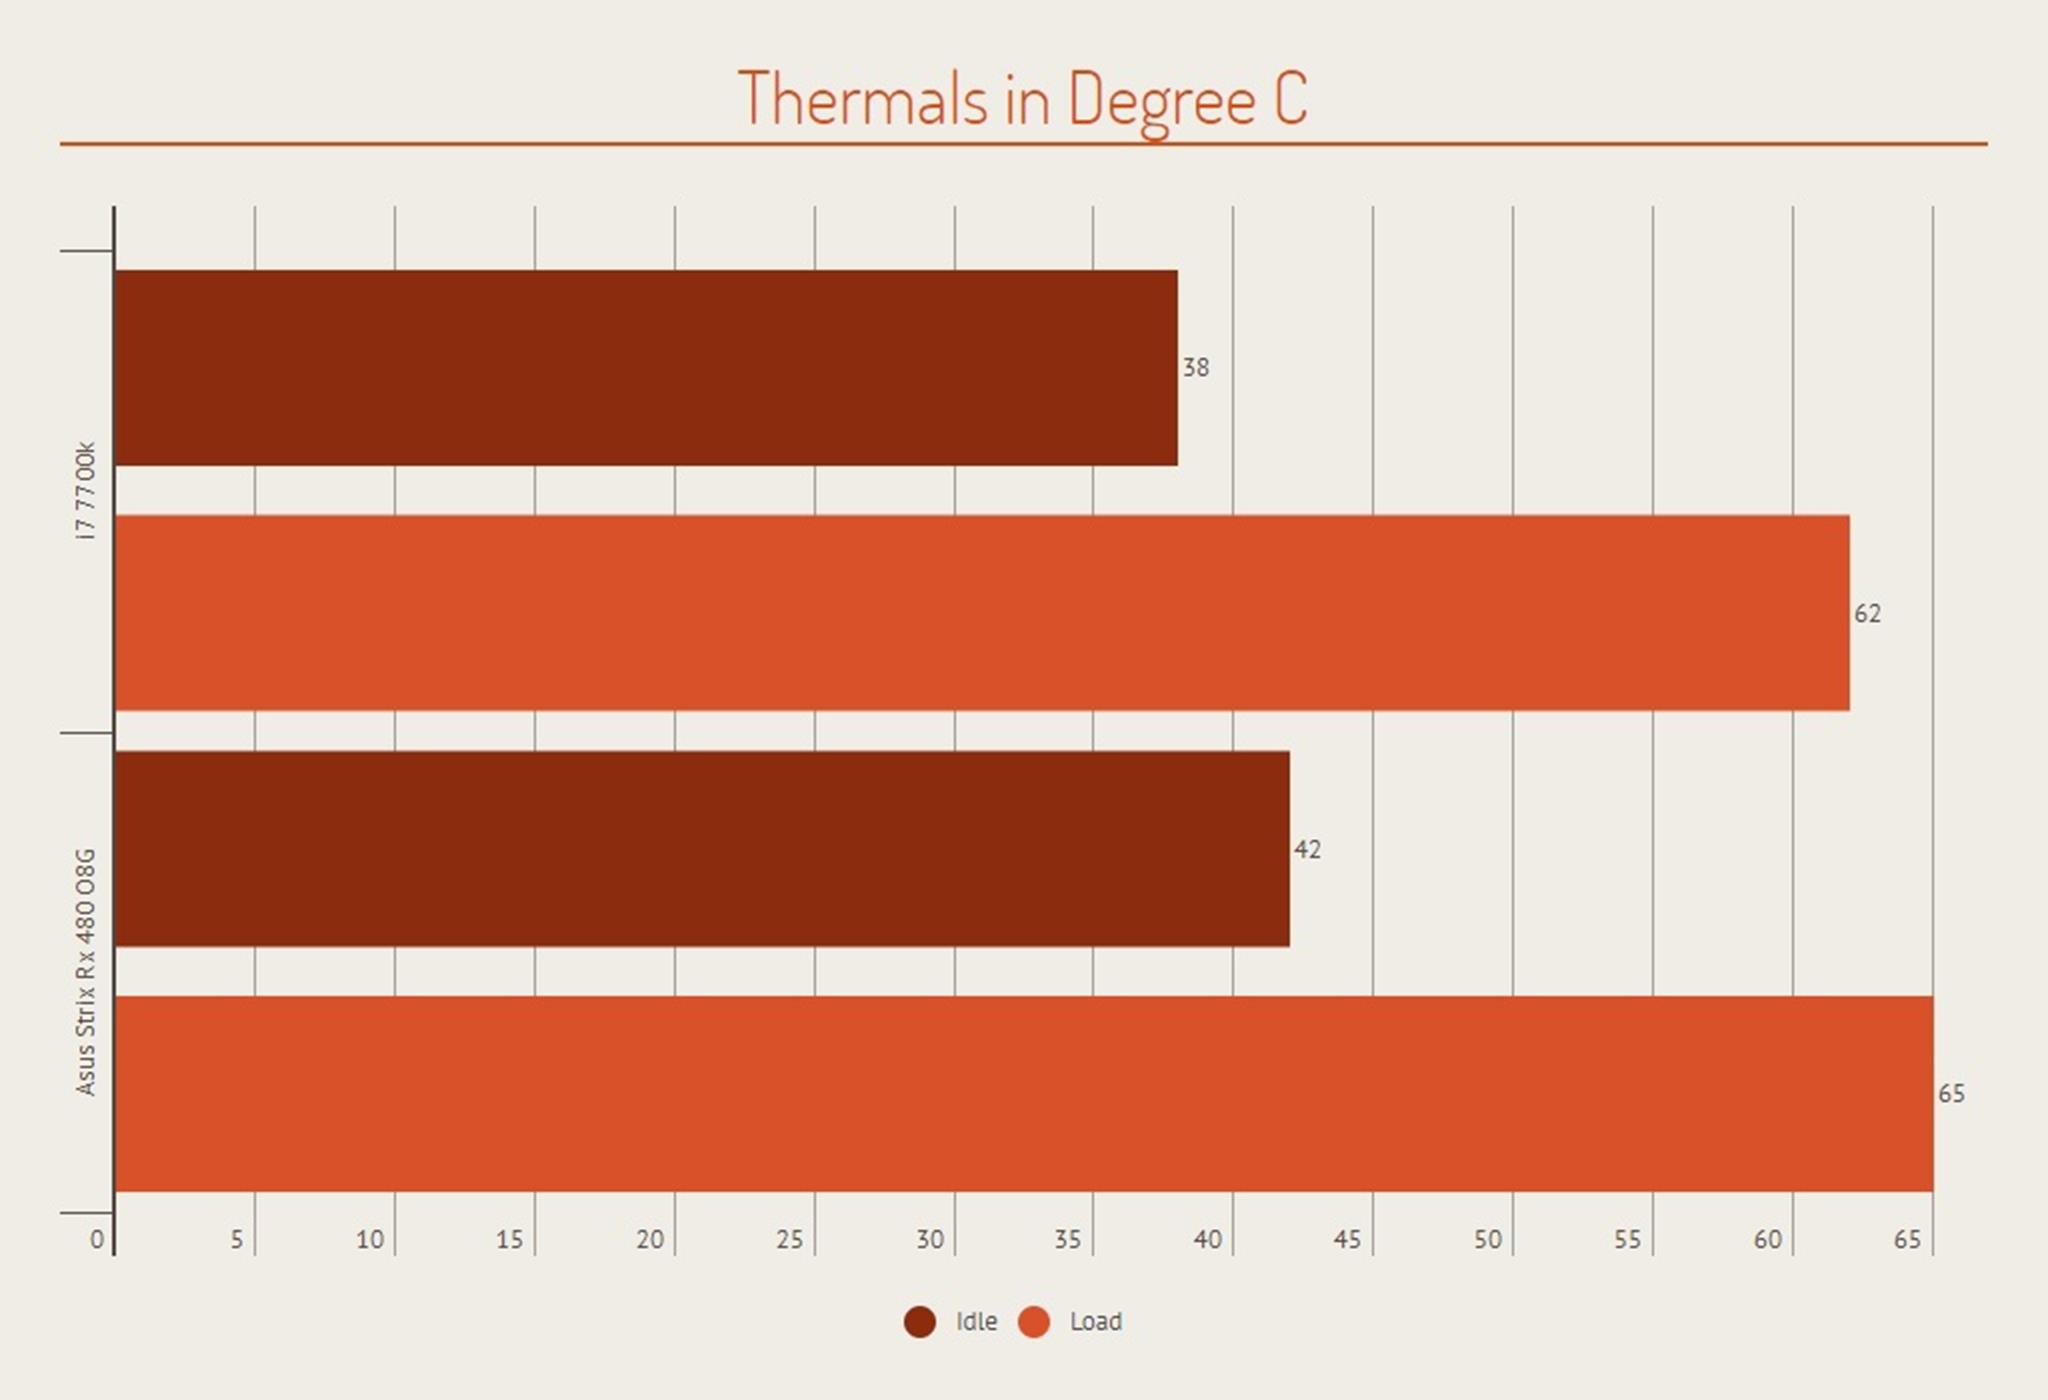
Excellent thermal performance as is evident by the graphs. This chassis has no airflow restriction or limitation not even from the front intake. With just 31 dB overall sound level under load is superb.
Final Thoughts
While the debate over the RGB goodness or madness is in full swing with both sides arguing for and against it, it is beyond any doubt that there is consensus over the Tempered Glass addition on the chassis. In fact, this was the basic element that was missing so far. Now, we have more offerings in the market based on tempered glass side panels. The Corsair has gone ahead and has implemented the tempered glass on the front panel as well in their Crystal series 460X and taking to the ultimate level, they have implemented tempered glass on all the four sides of the Crystal series 570X. The Thermaltake has recently introduced their budget level mid-tower chassis implemented with the tempered glass panels and the RGB fans. There are two editions of this chassis namely The Thermaltake View 31 TG and Thermaltake View 31 RGB TG.
I have got the opportunity to review the Thermaltake View 31 TG edition and it has left me with surprise, to say the least. This is a mid-tower chassis which is not compact as is the case with the Corsair Crystal Series 460X and the NZXT S340 Elite. In fact, this chassis has more width to it than the regular mid tower chassis. This is a critical design element which has paid off for the Thermaltake as it has enabled them to provide the best combination of form and factor. Users would get to have ample cable management space behind the motherboard tray. With its modular aspect, user can remove the GPU support bracket and the HDD cage to free up space in case they are going for custom loop. Users also get to experience vertical mounting of the graphics card which gives stunning looks to the overall build and it is best complemented by the 4mm thick tinted tempered glass side panels. The front panel is a see through plastic which adds a doping effect if LED fans are installed on the front. Up to 6 storage drives can be mounted in the chassis with 3 hidden mountings on the backside. There are 4 gorgeous rounded feet raising the level of the chassis enough from the ground. Above all these chassis has support for maximum possible cooling solution for being a mid-tower chassis. The user can mount up to 3x 120mm or 3x 140mm on the front and on the top sides. A 120mm or a 140mm fan with adjustable height can be mounted on the rear. That is not all. The bottom side can also host up to 2x 120mm or 2x 140mm fans. This is something not all mid tower chassis provide. Even the Corsair Crystal 460X and the NZXT Elite S340 are limited in terms of the space and the fan mounts with former having possible more fan mounts which are space constrained though. All possible air intakes are covered with the dust filter with top side has a full-length magnetic dust filter which is a very good implementation. The bottom side also a full-length dust filter which is not magnetic but can be taken out from the front or the rear side. With this chassis, the Thermaltake seems to be turning the tables around and without doubt, has provided a much better quality chassis. If there is a Con to my eyes for this chassis, it is the open-ended cut outs on the right side of the motherboard tray which are not covered. Why is that a Con? Well, the right side and left side panels are both implemented with the tempered glass and with this open end design one can see through the chassis. Even with the HDD caddies installed on the hidden drive bays on the backside of this area, the ugly backside of the hard disk drives would show which definitely not a good sight is. There is no PSU shroud which would have been a welcome addition though users can mod the chassis to design their own covers for this purpose. Other than that, I have no complaints with this chassis.
Value
This chassis retails at PKR 11000 which is really a sweet spot for the set of features that this chassis provides. NZXT S340 Elite retails at 14000/- whereas the Corsair Crystal series 460X retails at PKR 13000/-. If we take into consideration the full set of features across these chassis the Thermaltake View 31 TG stands out and offers better value for your bucks.
Performance
While I was sceptical initially based on the only one side intake on the front side, this chassis has much better thermals and acoustics on it. With 36C room temperature the maximum temperature of the CPU was 62C and the 65C on the graphics card under stress test at the same time. This is not an open bench environment and the thermal performance is very good indeed.
Thermaltake has delivered a much better chassis at the best possible price for the masses in the form of the Thermaltake View 31 TG. With just a few caveats, this chassis has a near perfect solution for your PC build requirements. It has won our Performance Award.
I am thankful to the Thermaltake for giving me the opportunity to review their View 31 TG edition chassis. In addition, they sent the fans and the AIO so that the test build could feature maximum of their products. I am also thankful to the Asus Pakistan, PakDukaan for sponsoring the motherboard and the Zotac SSD respectively.

