TRENDNET 4K WIRELESS PRESENTER KIT (TWP-100R1K) REVIEW – A POWERFUL AND FUNCTIONAL WAY TO EXTEND HDMI WIRELESSLY.
The TRENDnet 4K Wireless Presenter Kit is ideal for meeting rooms and classrooms alike. With split screen, 5.1 audio over HDMI and support for Android and Apple devices, there isn’t much not to like. It’s perfect for on-site meetings without costly licenses being needed. It might come across to some as a bit of a niche product, but there are plenty of environments where this could work well.
Pros
- Easy to use
- Supports Android and iOS
- No expensive licensing
- 4-user split screen
- HDMI 1.4 compliant with HDCP 1.4 support
- Lightweight
Cons
- No status lights make it hard to tell if it’s powered on or not
- Initial outlay expensive
- Some latency when casting (whilst the transmitter is connected to WiFi)

PRICING
| Amazon.com | £299.99 |
TWP-100R1K SPECIFICATION
| Ports | 1x HDMI Port, 1x USB 2.0 Port, 1x Ethernet |
| Supported Resolutions | Up to 1920 x 1080 @ 60Hz (60fps) Up to 3840 x 2160 @ 30Hz (30fps) Up to 4096 x 2160 @ 24Hz (24fps) |
| Power Consumption | Up to 10W |
| Dimensions | TWP-101T – 80 x 80 x 25mm TWP-101R – 120 x 120 x 25.4mm |
| Weight | TWP-101T – 136g TWP-101R – 144g |
A CLOSER LOOK
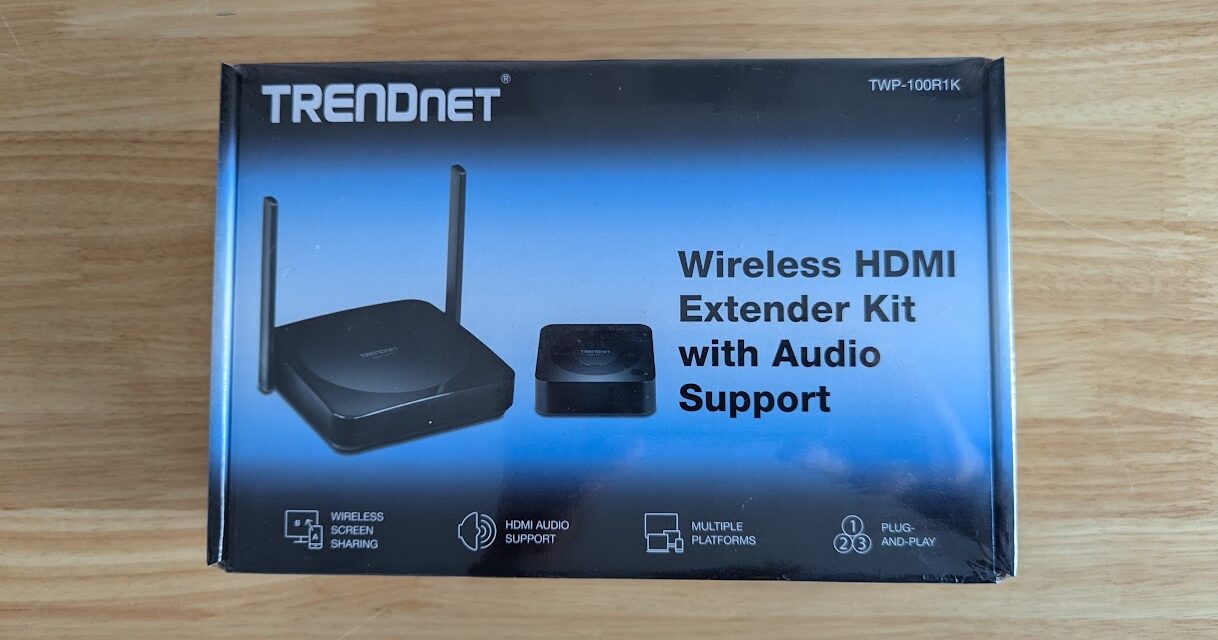
With TRENDnet products, you get some quite nice-looking and aesthetically pleasing packaging. The transmitter kit is no different in this regard. It has the TRENDnet logo, an illustration of the product, and a brief mention of the specs underneath.
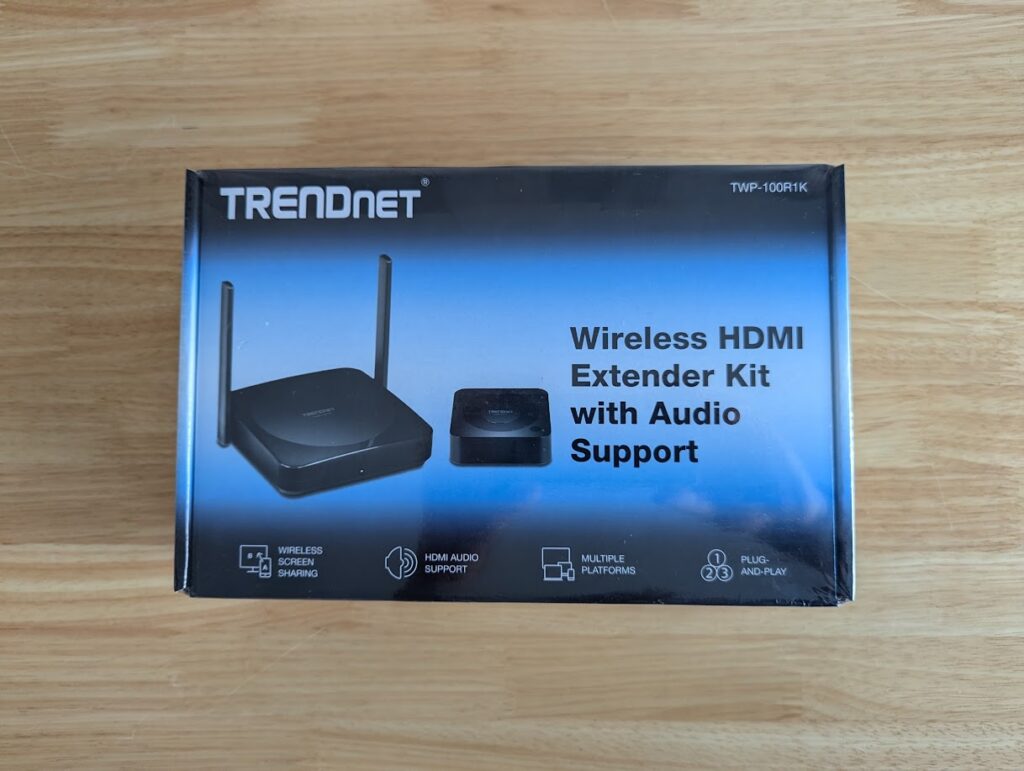
The rear of the box illustrates how the transmitter and receiver connect, followed by a brief description of the features in several different languages.
Unboxing it all, you can see the receiver and transmitter (the receiver is the larger of the two) and the transmitter which plugs in with a USB-A cable and a HDMI cable. Also included are some different adapters for the plug and the obligatory quick start/instruction manual.
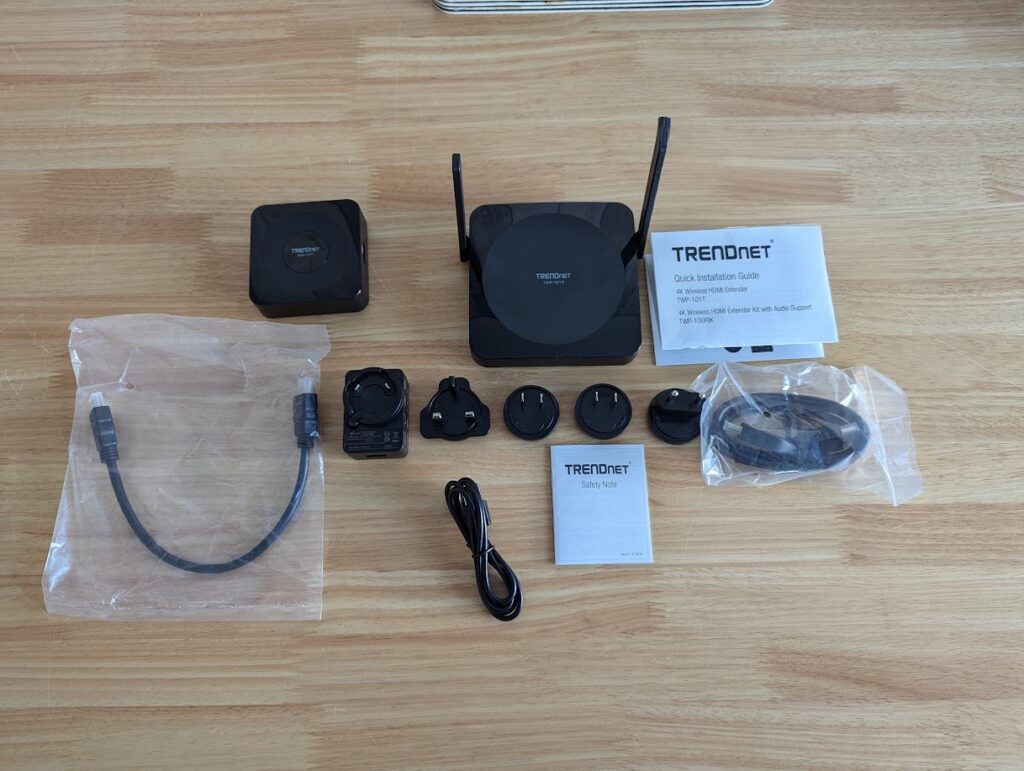
What I love most about this product is the fact it’s well-supported by both Apple and Android devices. So you don’t have to use a laptop if you want to do a quick presentation on the fly. It’s also really customizable as we’ll show you a bit more later on. So as an example. you could cast/present from a mobile or tablet device if say you left your laptop at home.
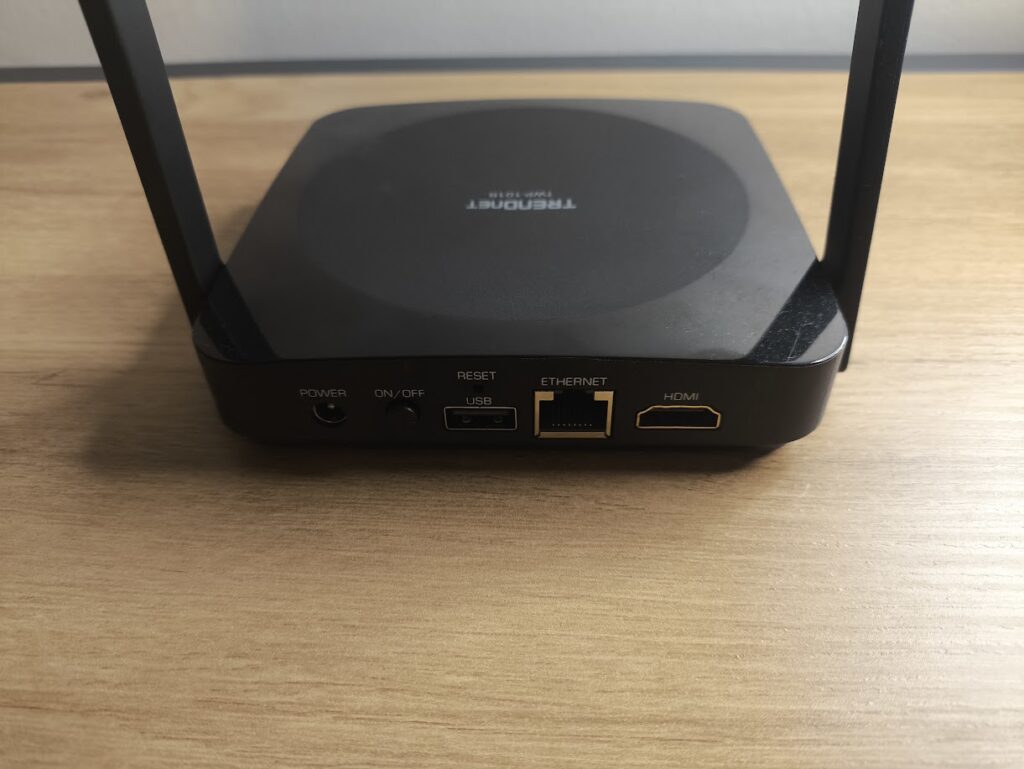
Having a quick look at the back of the receiver, you can see the power, on/off switch, a reset button, USB port, ethernet port and HDMI port. There isn’t much else to it. All pretty self-explanatory. The slim line profile of the receiver means you could easily mount it behind or underneath the TV. Let’s get it powered up and see what it looks like.

Okay, let’s explain a little about the home screen. You get presented with the TRENDnet home screen (which again is customizable). You either need to connect the receiver to an ethernet port on a switch/router or connect it to your 5Ghz WiFi. Once connected, you will see a “Direct Link IP” which is the IP address you open in a web browser to configure the device. The Infrastructure IP is simply the IP address of the device itself, once it is connected to your network. Hopefully, that makes sense.
At the top of the screen, you can see the SSID that the transmitter is broadcasting (for you to connect to and set it up) and the password is hidden (there is an option to unhide it for ease of use). You can also see several status icons in the top right-hand corner of the picture.
Note for Android users – Before you can cast to the device, you will need to update the firmware of the receiver. This is due to a bug in Android 14/15 which prevents casting from working correctly on some devices. The latest firmware fixes this though. In case you were wondering, the latest firmware version is 1.16163.266.
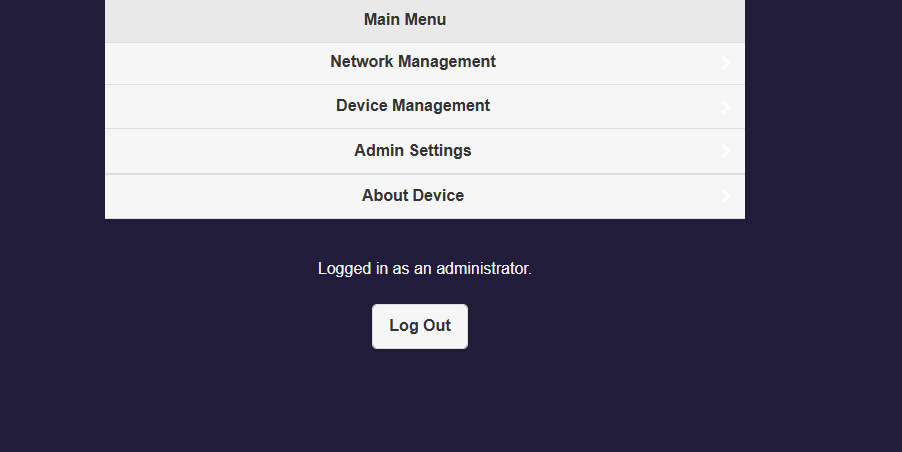
Logging into the “Infrastructure IP” of the device. You can see a nice cleanly laid out menu with a few different options. We’ll run through some of the configuration options but as you’ll see, there’s plenty of tweaking to be had, should you need a specific custom configuration for your environment.
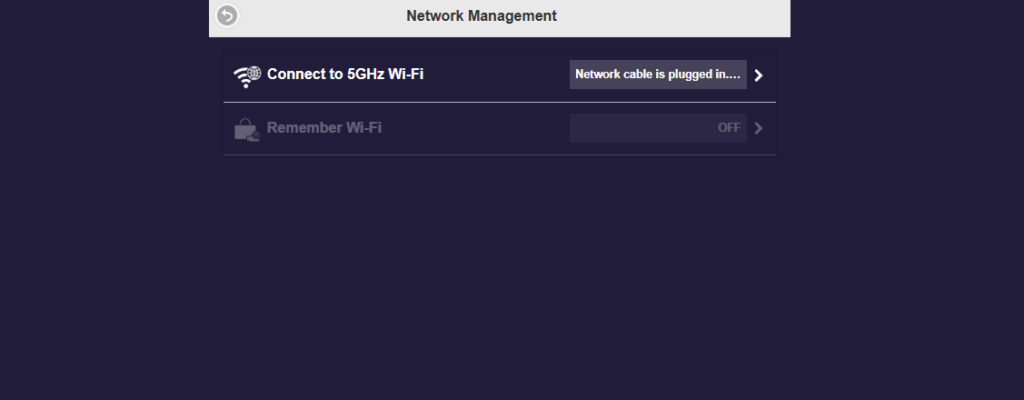
The network settings are pretty straight forward, you have the option of 5Ghz connectivity, or connecting via ethernet. It’s an interesting approach for TRENDnet to only allow 5Ghz network, this is probably for the speed of bandwidth required say if you were streaming in high definition.
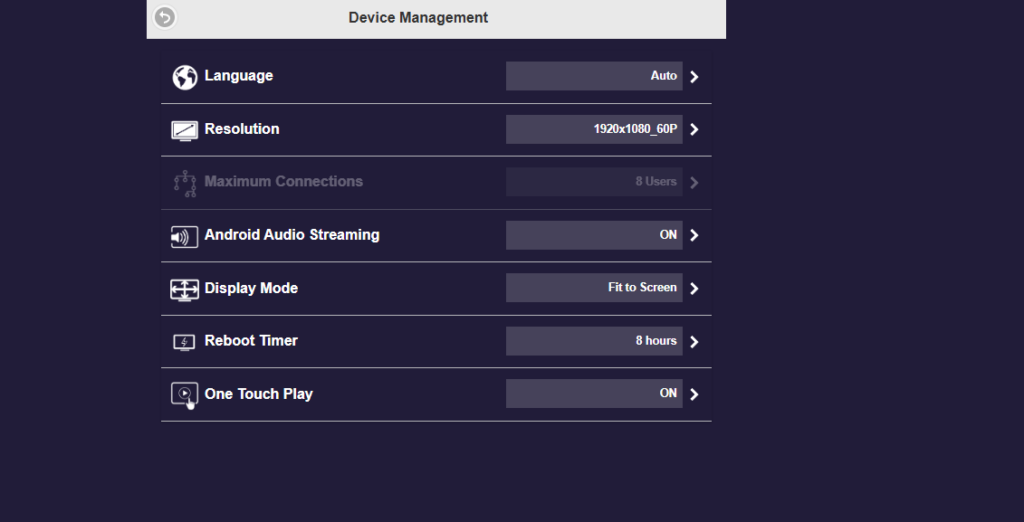
Device management is again pretty straightforward. You have various options including resolution (interesting that it’s set to 1920×180 by default, but you can change this up or down if required), an option to stream Android audio, a display mode setting where you can either fit to screen or stretch to full screen, a reboot timer option (for how often you would like the device to reboot) and one-touch play which allows devices to start casting immediately.
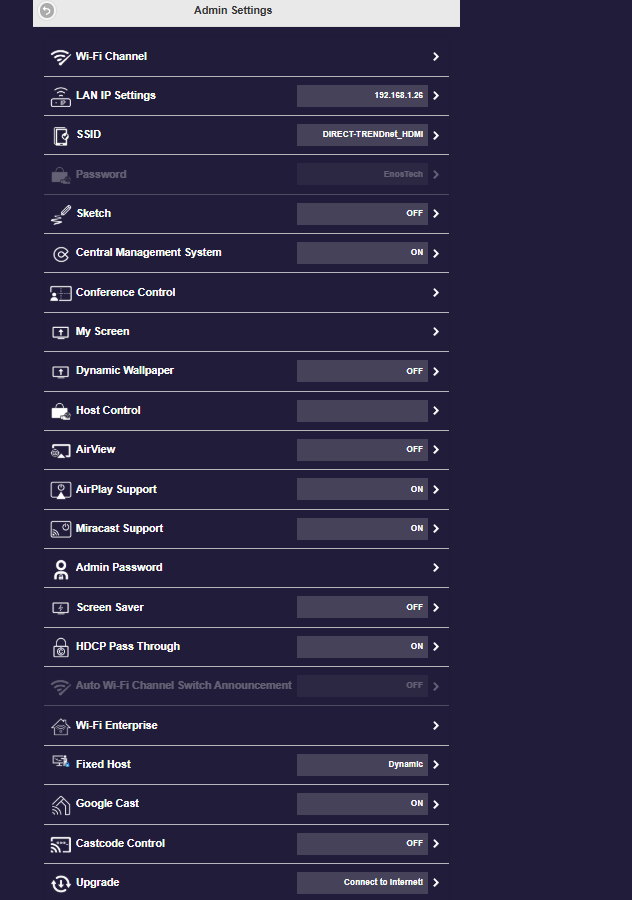
The admin settings screen has a whole myriad of features you can tinker with. We won’t cover them all, otherwise we’d be here all day. But most importantly there are options for configuring the devices’s SSID for clients to connect to, as well as options for AirPlay, Miracast, and Google Cast. The option to upgrade the firmware is down the very bottom of this screen. But as you can see, it’s quite feature-intensive. It also has options for connecting to enterprise-grade wifi by the use of certificates etc.
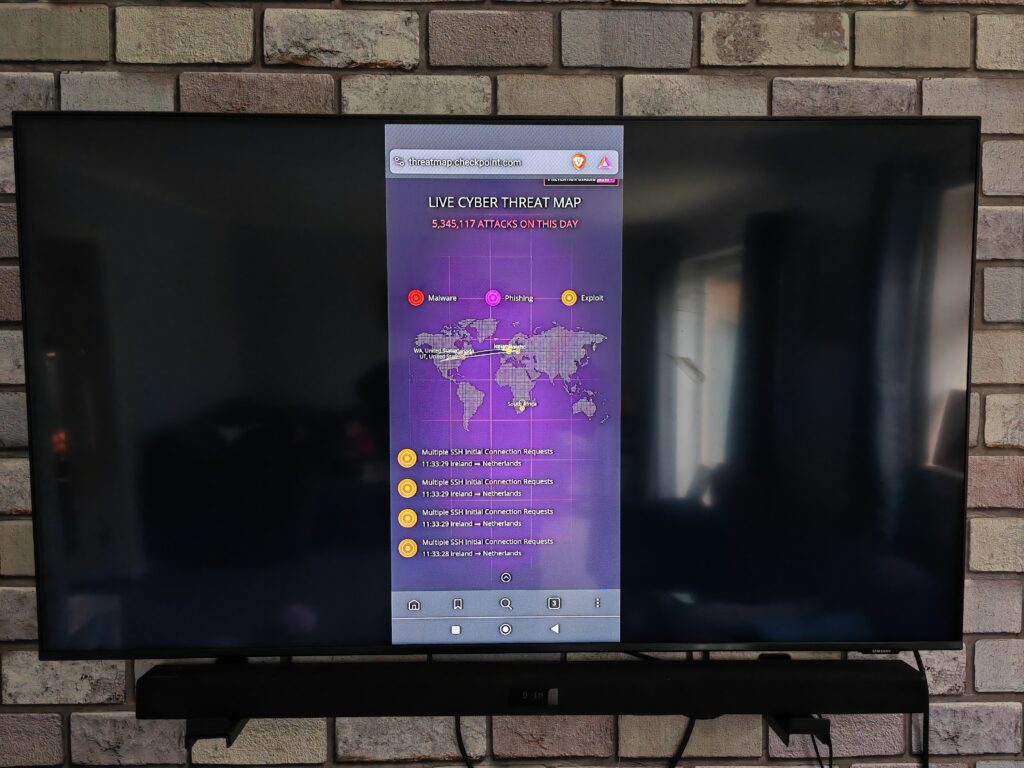
We started casting to it through our Android phone and loaded up a live cyber security threat map from Checkpoint. After all, who doesn’t love fancy graphics right? At this point, we only had the receiver connected up to 5Ghz WiFi. But we noticed some latency every few seconds. So we switched the device to a wired ethernet connection and noticed a big improvement, there was still a very slight latency issue every now and again, but it wasn’t as bad as just being reliant on the 5Ghz WiFi connection. Now this could be an us problem, phone, router configuration issue, etc. This may not be the same in your environment. But wired always wins over wireless when it comes to connectivity anyway.
TRANSMITTING FROM PC / LAPTOP
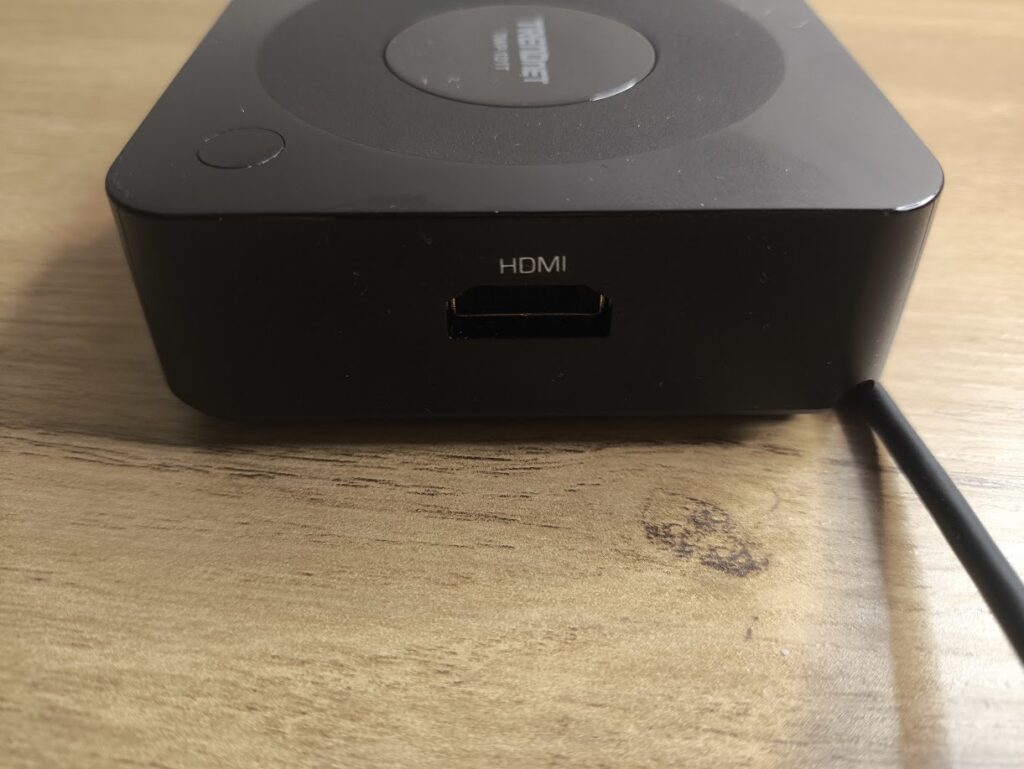
To transmit from a PC or Laptop, you need to plug the transmitter into a USB port, then plug an HDMI cable from your laptop to the transmitter (pretend like you were plugging your laptop into an external monitor). Then it’s as easy as pressing the middle button and the transmitter starts broadcasting to the receiver. It doesn’t get much easier than that.
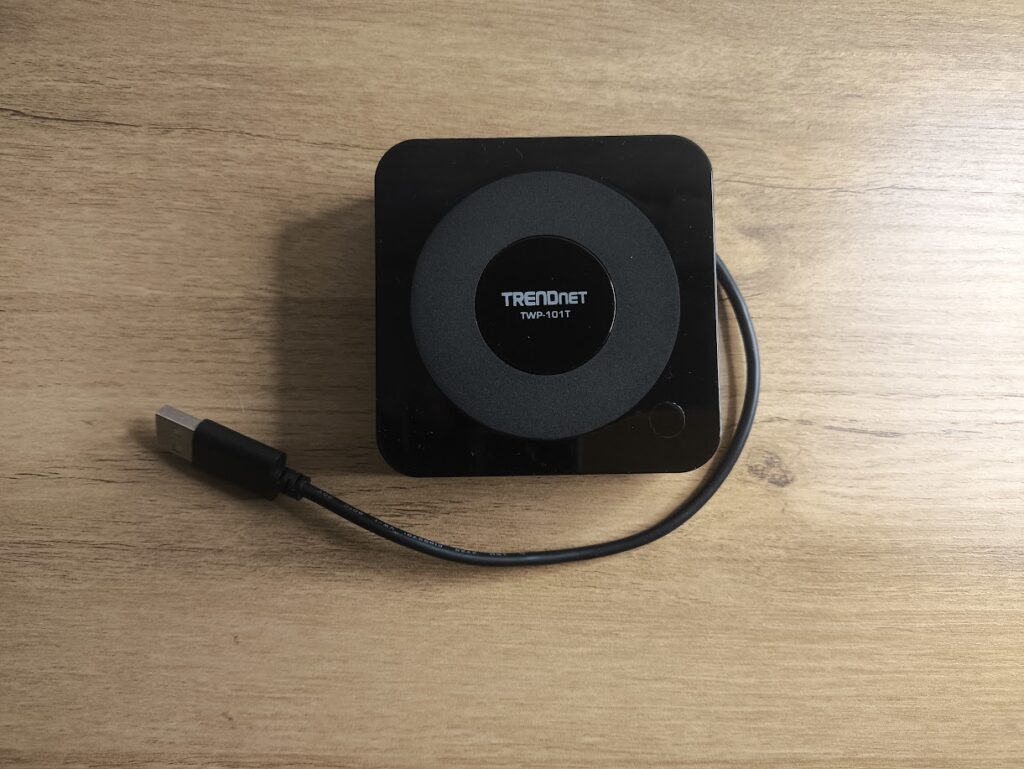
As you can see this thing is tiny, but boy did it improve the overall experience. It’s another small tool you could easily keep in your bag so it’s ready to go at a moment’s notice. Initially when we connected everything up, we were getting two flashing red lights on the transmitter (indicating that it was not paired with the receiver).
After speaking to TRENDnet, their technical team were amazing. If this were to happen to you or say you were to purchase an additional transmitter, you plug the transmitter into the receiver and press the middle button, this will pair the two devices together. It wasn’t very well documented on how to get the devices to pair with each other, and this is something ideally that should have been working out of the box.
But I love it when an organisation can admit there’s an issue and work with you to put it right. TRENDnet’s service was top notch and I really respect that. However, it also shows how easy it is to expand and have multiple transmitters connected to the same receiver.
We did the same test to Checkpoint’s threat map and using the laptop rather than the phone, the experience was improved tenfold. There was no latency and the map worked beautifully. We also loaded up a 1080p YouTube video and again the latency was minimal, audio played almost perfectly. So using a laptop or a PC is definitely the way to go. Hopefully, in time the casting side of things from a mobile / tablet will improve. You can have up to 32 transmitters paired to the same receiver with 4 streaming at the same time. So this would be fantastic for on-site meetings, or in a classroom as it would allow multiple students to present information simultaneously. Great for those group projects without messing around with Microsoft Teams or dodgy USB sticks.
FINAL WORDS
The TWP-100R1K is quirky; some might say it is a niche bit of equipment, but it does the job well. The sheer ease of being plug-and-play means you don’t need a lot of technical knowledge to be able to use it. If you need to do regular on-site presentations without the hassle and additional cost of licensing (like Microsoft Teams Rooms) as an example, then it could work well for you.
The only negative for us was that mobile streaming had a few latency issues, but as we explained earlier, every office environment is different, so what we experienced, might not be the same for you. But if you have your laptop readily available, then we feel that transmitting via that method is definitely the way to go.
The only other thing I didn’t like was the lack of LED/status lights on the transmitter itself, I had to keep glancing up at the screen to see what was going on. Even just a power LED would have been good. There are a couple of lights on the transmitter, so why not on the receiver itself?
Apart from that, this is a fantastic modular system that would fit well in certain environments, so if you’re doing regular presentations on-site, then the TWP-100R1K would be worth considering. You can’t transmit to remote users, so this is an on-site physical device only. But we can see where it would work well.


